Community Brag Posts

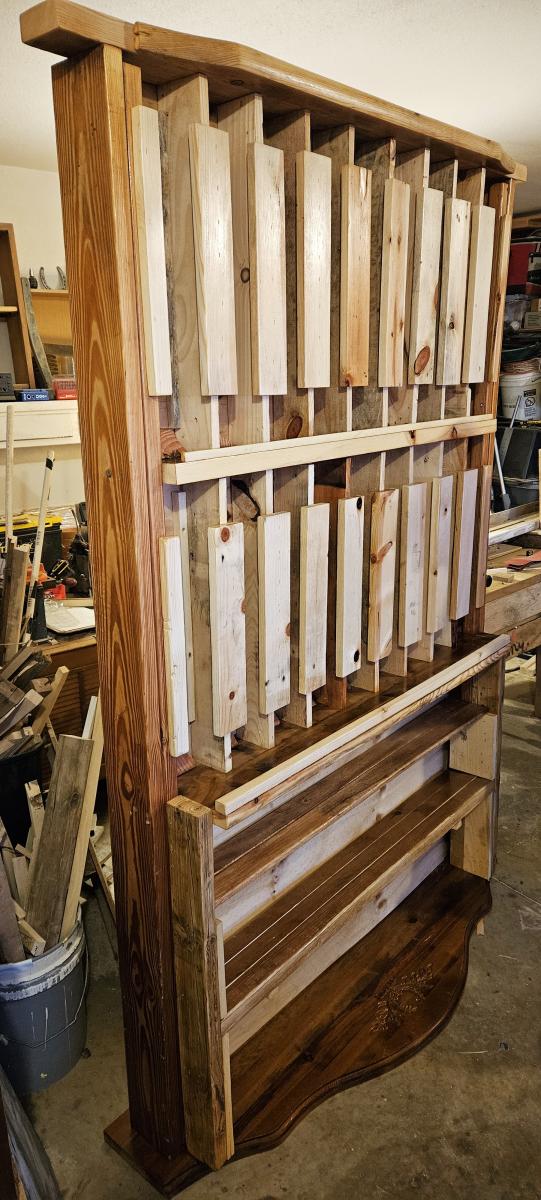
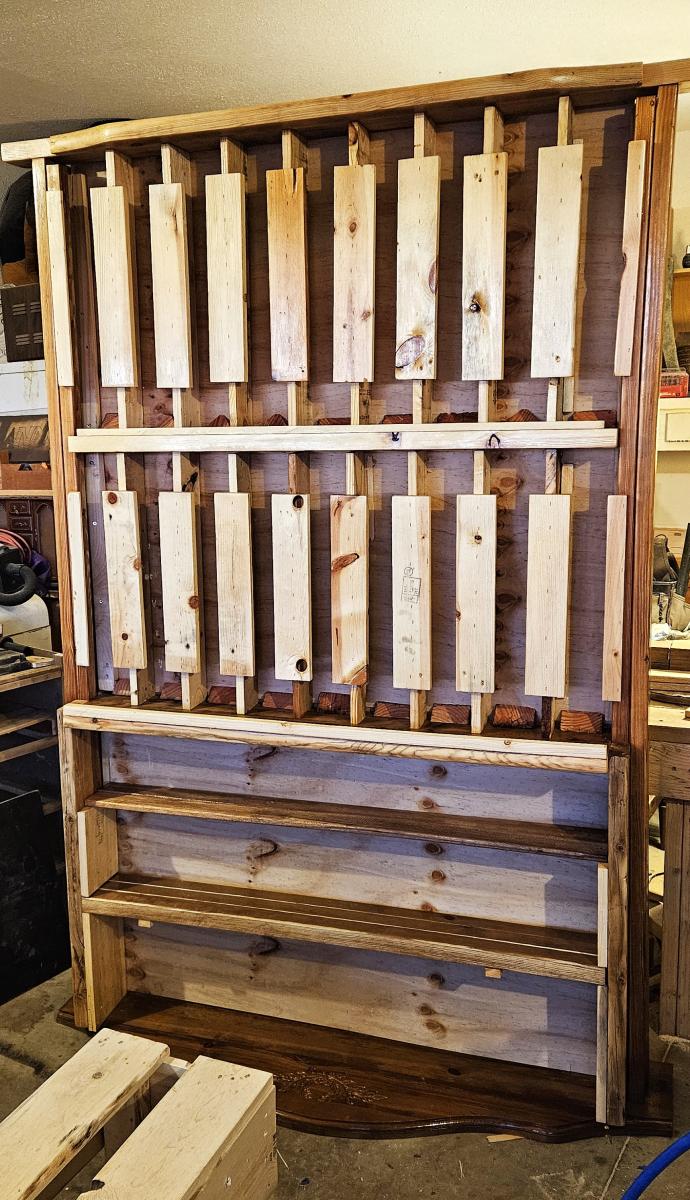
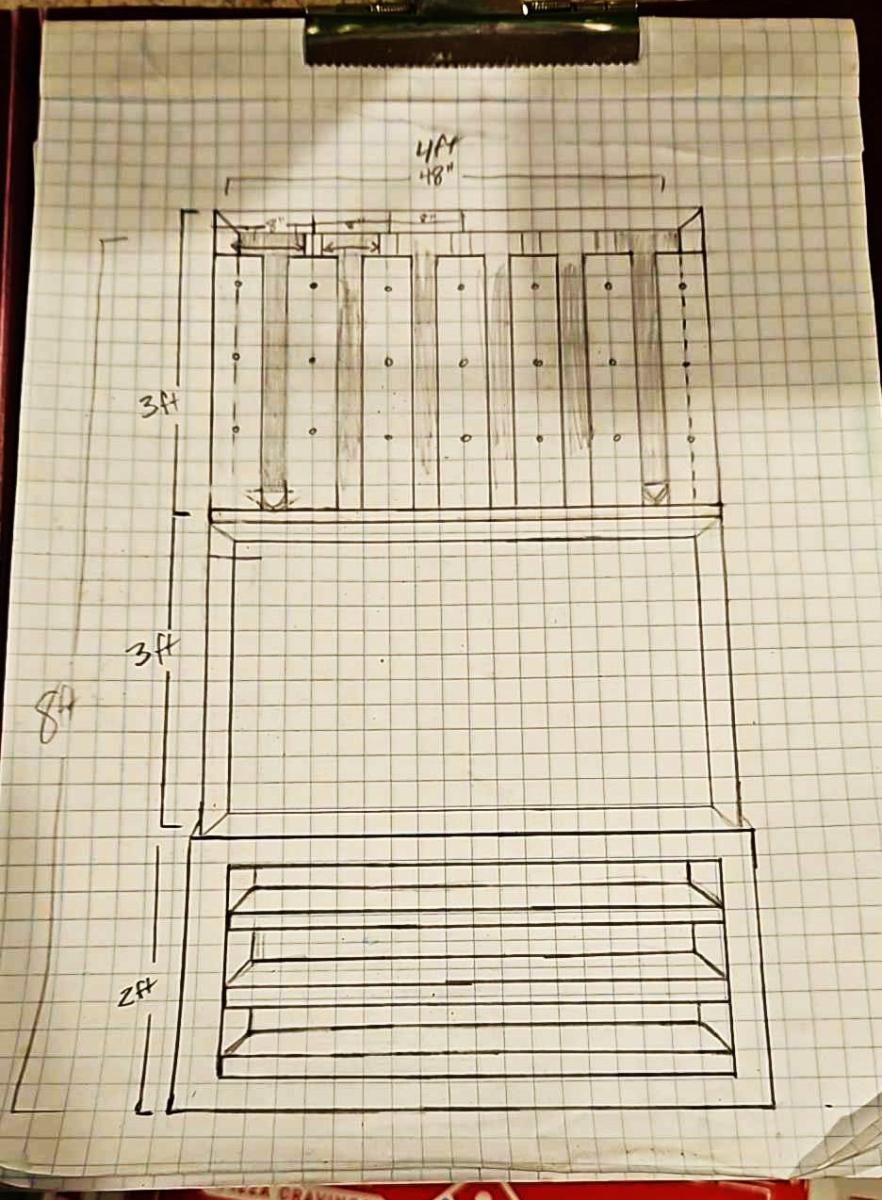
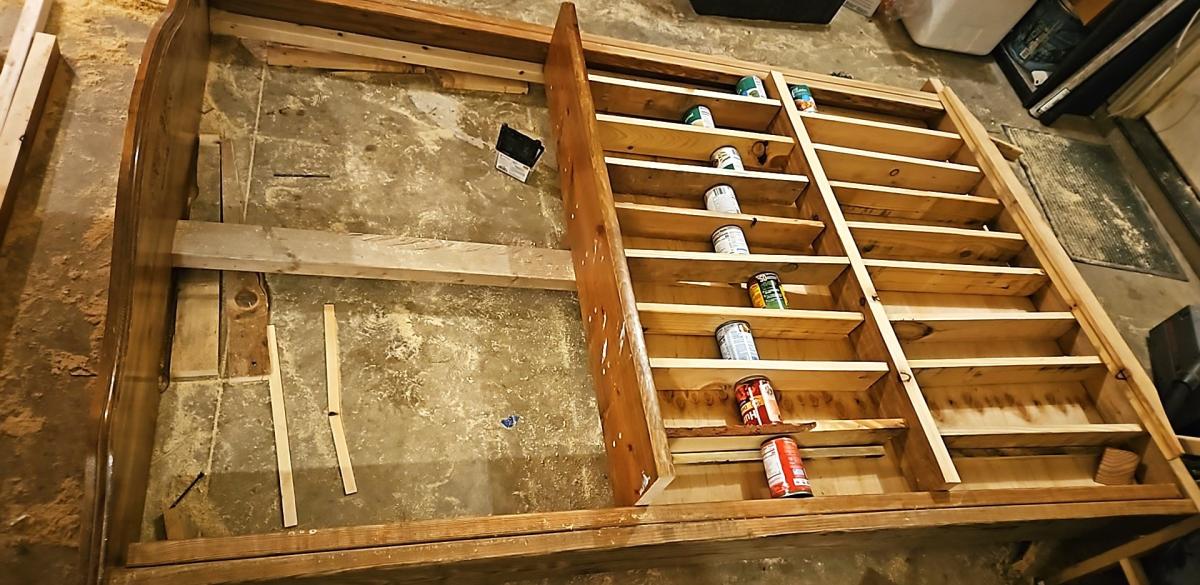
Built-in Bookshelves

Submitted by keribeth on Fri, 07/06/2012 - 14:55

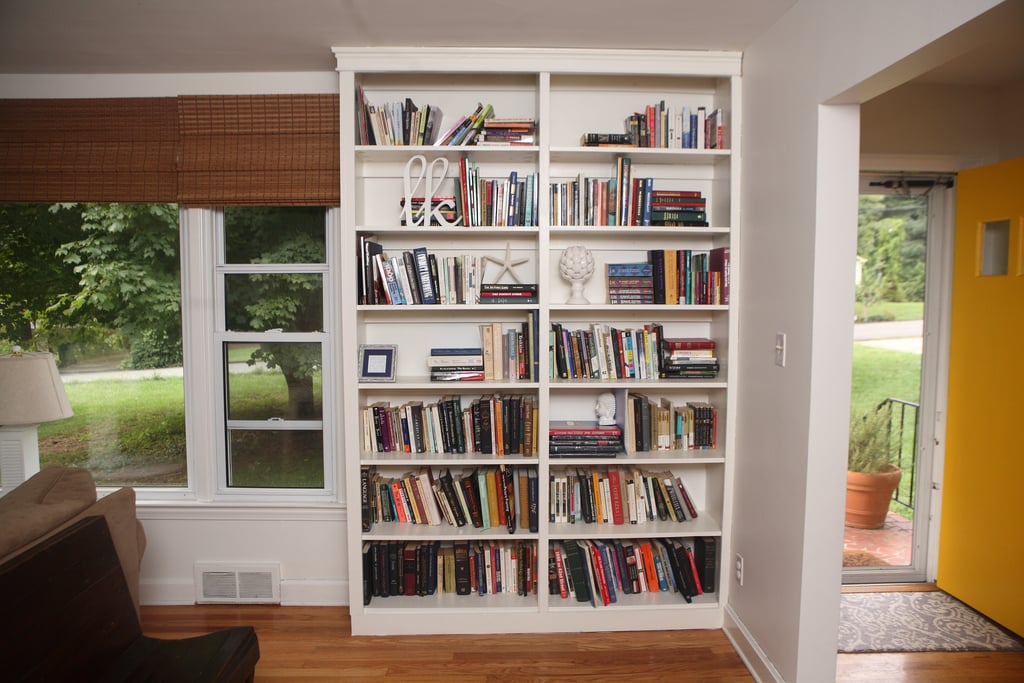
These built-in bookshelves were my first project, and were loosely based on the Willy bookshelf plans, although I changed the dimensions, set them on a 2x4 base, and added trim to the sides and molding on top.

Built from Plan(s)
Estimated Cost
~$120 in lumber
Estimated Time Investment
Weekend Project (10-20 Hours)
Finish Used
Benjamin Moore white dove in advance
Recommended Skill Level
Starter Project

Comments

smoser

Sat, 08/11/2012 - 05:58

hello,

Just wondering how the sides and middle part are built. They look like thicker than 1/2 in.Is it a trim or a 1x2? or did you use some 2x4 too?
I am looking at building a bookcase too but i wanted something more massive than 1/2 in. like yours.
Thanks

Great job!! looks awesome

keribeth

Tue, 08/21/2012 - 05:31

I made the two bookshelves separately so I could move them in my house easier. Each has 1x12 sides (so 3/4" thick), and and that's 1x2 trim over the side and middle.

Thanks!

Dining cart

This dining cart is very versatile. It could be used in any room of the house. I love that it has wheels on the bottom so you can move it easily if needed.

Built from Plan(s)
Estimated Cost
100.00
Estimated Time Investment
Day Project (6-9 Hours)
Finish Used
Rustoleum Early American, Polyurethane
Recommended Skill Level
Beginner

Toy Box finished today!

Submitted by Anonymous (not verified) on Sat, 07/23/2016 - 15:27

Thanks for the step by step! That Kreg jig was amazing I didn't even know that existed. 

Built from Plan(s)
Estimated Time Investment
Afternoon Project (3-6 Hours)
Finish Used
White Gildens Premium
Recommended Skill Level
Intermediate

Dry Can Storage - Holds 144 Cans!

Submitted by Anonymous (not verified) on Sun, 01/14/2024 - 18:27

can holder

can holder

144 can dry storage for a pantry. In Amarillo Texas.

Jeremy Racette

Comments

Miter Saw Cart

Submitted by solomonson on Sat, 07/07/2012 - 20:41

I saw Gina's post and this moved straight to the top of the to-build list. It's gotten my saw off the floor of my garage and provided a ton of storage for my other tools and bits. I also added another shelf after taking this picture. I modified this slightly: I made the wings 24" only, added a short back to provide more stability and reinforcement to the top shelf, added a diagonal support to the wings, and reinforced the top shelf from the sides with 3" dowels. I got my wood from a local lumberyard and the wheels from Blue.

Built from Plan(s)
Estimated Time Investment
Afternoon Project (3-6 Hours)
Finish Used
I sanded the heck out of everything. Other than that, nothing.
Recommended Skill Level
Beginner

Tv stand from Grandy sliding door console

Submitted by Anonymous (not verified) on Mon, 07/25/2016 - 20:52

Built this at the request of my pregnant wife, got to crunch time with baby and sliding doors will have to wait until the craziness of the baby dies down. Prioritiezed and built the changing table first.   Cut it down from 4 openings to 3 due to size of our wall.  

Built from Plan(s)
Estimated Cost
$160
Estimated Time Investment
Weekend Project (10-20 Hours)
Recommended Skill Level
Intermediate

Comments

Modern Farmhouse Bed

Submitted by Anonymous (not verified) on Sun, 05/17/2020 - 16:52

Made this in a weekend, took us about 12 hours total. Loved how it came out and used the recommended stain. I ended up doing three coats on the headboard. My boyfriend and I used douglas fir, definitely came out very sturdy. We did have to make some adjustments and it was a bit of a learning process with the pocket holes. The plans should be a little more detailed but if you take your time the pieces come out so great!

Built from Plan(s)
Estimated Cost
$200
Estimated Time Investment
Weekend Project (10-20 Hours)
Finish Used
We used varanthane weathered wood accelerator in gray. I sanded everything done with 320 grit and stained the wood twice. The boards for the headboard needed a third coat. I also used a rag and rubbed additional stain on any errors that looked thin and to remove excess brush marks.
Recommended Skill Level
Intermediate

Comments

Bar Cabinet with Floating Shelves

Submitted by Anonymous (not verified) on Mon, 01/15/2024 - 18:36

I had never built cabinets before, but I’ve been wanting to learn how to, and this corner in our house had been screaming for a bar area for awhile. I’m quite happy with the result, given that I’m only one year into woodworking! Thank you, Ana, for all your inspiration!

Jaclyn Pietrafetta

Wood Plank Magnet Boards

Submitted by sraper2 on Mon, 07/09/2012 - 19:56

I actually got the idea from Shanty 2 Chic and I thought I would share my take on it here. It was super simply...I just kreg jig'd the boards together and built a frame to the size I wanted. I bought the aluminum from Lowe's and cut it down. I actually built 6 of these so I could give 5 away as thank you gifts. The price for all 6 was under $50 and I think only about $30 of that was the materials to make the boards. The rest was spend on the stuff I made for the boards.

Here is a link for their post! http://www.shanty-2-chic.com/2012/05/diy-12-magnetic-memo-board.html

Estimated Time Investment
An Hour or Two (0-2 Hours)
Recommended Skill Level
Starter Project

Di Bello Family

We needed a table for the breakfast nook in our new home that we will be moving to in June. We were so excited about this table that we built it ahead of time and sold our other dining room table. We love this table! Thank you so much for the awesome plans.

Estimated Time Investment
Week Long Project (20 Hours or More)
Recommended Skill Level
Beginner

Comments

Smaller Version finished in colonial

Submitted by Anonymous (not verified) on Thu, 07/28/2016 - 09:21

I modified the table to be a little smaller for a space. it came out beautifully. Love this build as it allows for a very large yet stable table that allows for seating on the ends as well. 


Side note i found notching out the x brace and using only two solid pieces to a be a more effective way of creating both a solid joint as well as well as a smoother looking joint. 

Built from Plan(s)
Estimated Time Investment
Weekend Project (10-20 Hours)
Finish Used
Minwax Colonial
Recommended Skill Level
Intermediate

Patio Table

Submitted by wasson23 on Thu, 07/12/2012 - 10:47

We built this table using Ana White's patio table plan. We modified it slightly only to use pallet wood for the top. With the pallet wood varying by width, we had to adjust the quantity of slats needed for the top. Using the pallet wood for the top also reduced the cost a bit. We think it turned out great! The plan was VERY easy!

Estimated Cost
$15
Estimated Time Investment
Day Project (6-9 Hours)
Recommended Skill Level
Starter Project

Toddler vanity turned toddler sized media center

I found the plan for a small vanity and fell in love! I really wanted to build it for my 3 year old. With her room being small and all of her toys having separate spaces for each her room was getting crowded! So with some thinking I came up with a plan to double the whole plan and got myself a media center that took up less space than everything else while still looking pretty! My little girl loves that she can store all her toys, still have her desk and be able to watch movies from her bed.

Built from Plan(s)
Estimated Cost
$30
Estimated Time Investment
Afternoon Project (3-6 Hours)
Finish Used
Used a white paint that is durable and can easily be wiped down. Not sure of the name.
Recommended Skill Level
Beginner

Adirondack stool /end table

Submitted by ranlim on Mon, 08/01/2016 - 16:05

Cheap and easy. My cuts weren't the best on this one so it has a slight wobble. I plan to have match the finish of my adirondack chair

Estimated Cost
$5
Estimated Time Investment
Afternoon Project (3-6 Hours)
Recommended Skill Level
Beginner

Workbench Console Table

Submitted by JSchrageII on Mon, 07/16/2012 - 16:17

This is my version of the workbench console table. The plans were very easy to follow. I used studs for the top of the table, but at least one of them was warped. This left me with a warped top. Therefore, I had to redo the top, ensuring that I had straight studs the second time. I actually laid them all out in the aisle of the hardware store to make sure they were straight. I wish I did this the first time.

The towel rack is just piping and a valve from the hardware store. There's also a bottle opener on the right side.

I was going for a more rustic/industrial feel, so I didn't use a polyurethane.

Built from Plan(s)
Estimated Cost
$50
Estimated Time Investment
Weekend Project (10-20 Hours)
Finish Used
I used a mahogany stain, and no sealer. I wanted to keep an industrial/rustic look to it with no shine.
Recommended Skill Level
Beginner

Computer Desk

This is my first furniture project I wanted to replace my cheap computer desk that was falling apart. The build was pretty simple, the only problem was finding a good project board and finding a good stain. Tried several different stains an a piece of scrap before deciding on red elm gel stain. Project took longer than I anticipated but most of that time was in getting the finish right, the build part was pretty quick.

Estimated Cost
$175
Estimated Time Investment
Week Long Project (20 Hours or More)
Finish Used
mini wax red elm gel stain
clear matte poly spray
almond color paint
Recommended Skill Level
Beginner

Comments

CSaintD

Mon, 05/05/2014 - 08:29

Well done. I feel your pain in looking for good boards - it takes me about an hour at Lowes just to find 4 or 5 good boards. Wish I had a lumber yard close by.
I like your finish on the top. I will try that one next time.

Not your typical garage shelf

Submitted by lookitsash on Wed, 08/03/2016 - 11:08

After undertaking many home improvement projects over the past few years, my garage was getting a little out of control. I had too many bulky tools taking up space, making it hard to get work done efficiently. I decided to build a storage shelf, but looking for more of a challenge, I wanted to add sliding shelves to provide easy access to items in the rear.  Check out my blog post at JustMeasuringUp.com for all the details.  I documented the project from beginning to end with lots of pics.


http://www.justmeasuringup.com/blog/creating-more-garage-storage


The shelves are 3 ft deep and stores a lot of stuff now.  When I need something at the back, rather than wading through the stuff at the front, I just grab a handle and slide the whole shelf forward.  So if you're looking to improve upon the pretty standard garage shelf design out there, check out mine!

Estimated Cost
Under $200 (even had extra wood to build a standard wall mounted shelf for additional storage)
Estimated Time Investment
Day Project (6-9 Hours)
Finish Used
No finish, I like the natural look of wood
Recommended Skill Level
Beginner

Simple 2x4 potting benxh

Submitted by Anonymous (not verified) on Sun, 05/24/2020 - 16:10

Loved this project! The plans were so easy to follow, even for a begginer. Thank you so much!

Estimated Cost
$55
Estimated Time Investment
An Hour or Two (0-2 Hours)
Finish Used
Walnut stain
Recommended Skill Level
Beginner
Seasonal And Holiday

Pony Wall Workbench with Drawer

Submitted by Anonymous (not verified) on Mon, 02/05/2024 - 09:29

Made mine 8ft long, with just one drawer. So far the bench is great for my space, highly functional, holds all my stuff, and looks good too (I think).

bonan.califonica

Built from Plan(s)

Refinished End Table

Submitted by MikeB on Wed, 07/18/2012 - 10:19

My mother found this old end table in her mother's basement in the mid 90's and brought it home with her to refinish. The table was very flimsy and Mom just didn't know how to fix it, so it sat in her garage since then. I saw it back in March when helping clean out the garage. I asked if I could restore it for her. I think it turned out really nice. Thanks to this site, I have been given the confidence to tackle projects like this. Just wanted to share the project and say thanks to everyone here for making this site a great resource.

I fixed the table legs, sanded the table, used red mahogany stain, and about 15 coats of Poly to give the table a high gloss finish.

The additional photos are 1 of the original table and 1 of the table after staining and no Poly applied.

Mom was shocked with the finished project. Nothing more pleasing then see Mom smile!

Built from Plan(s)
Estimated Cost
$10.00
Estimated Time Investment
Week Long Project (20 Hours or More)
Finish Used
red mahogany stain and Poly.
Recommended Skill Level
Beginner
Back