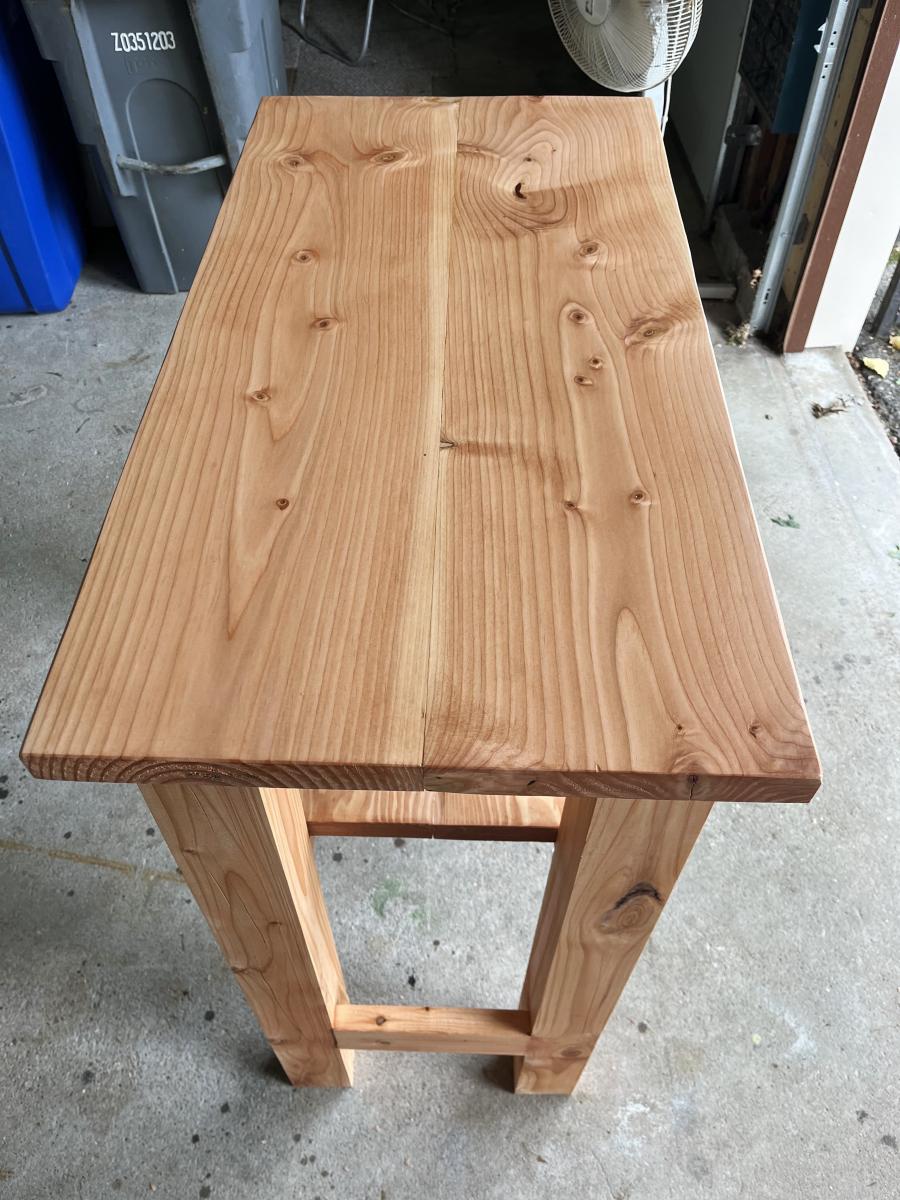
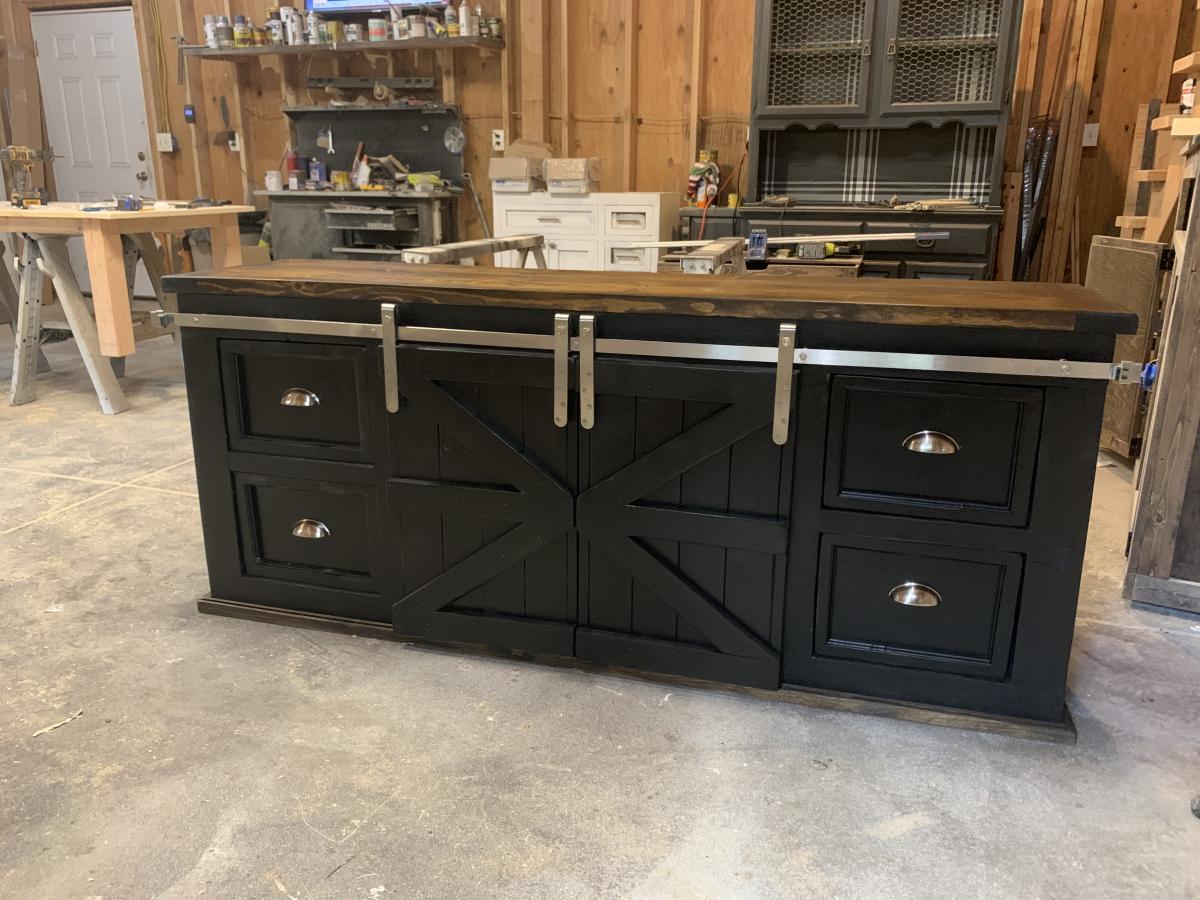
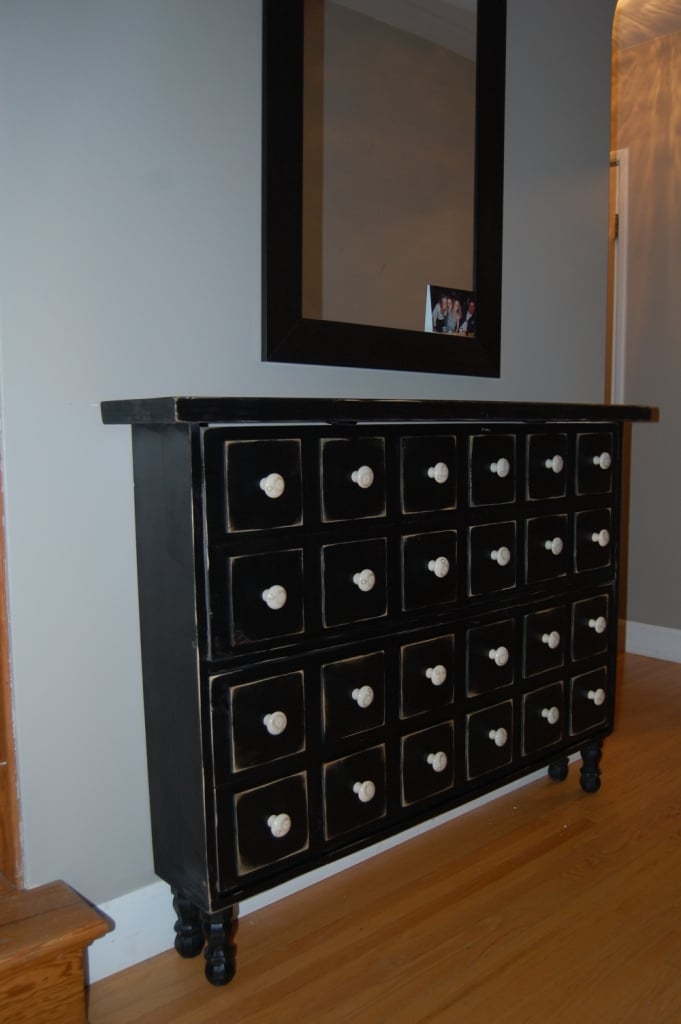
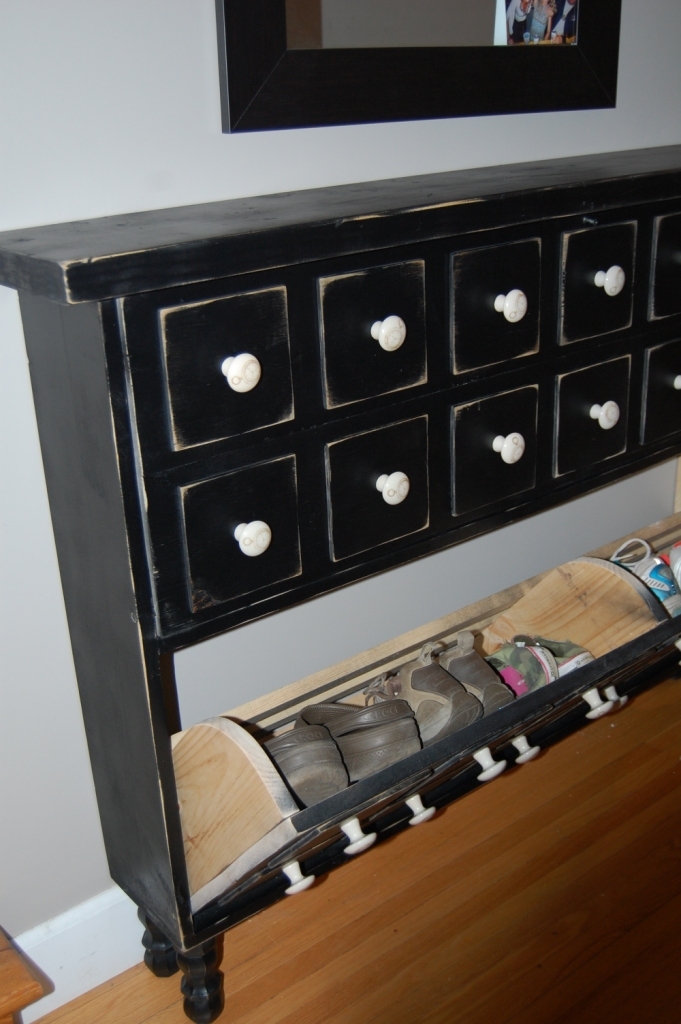
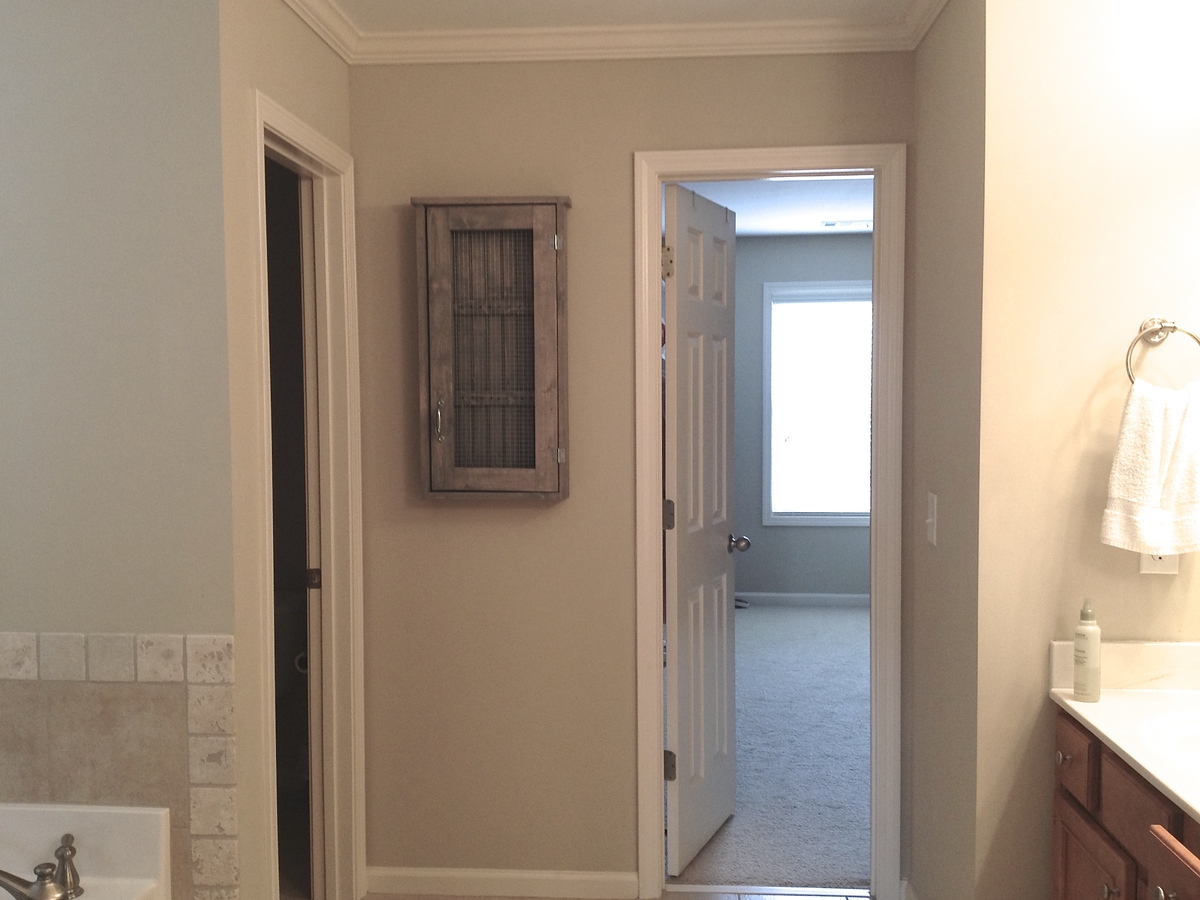
Jewelry Cabinet
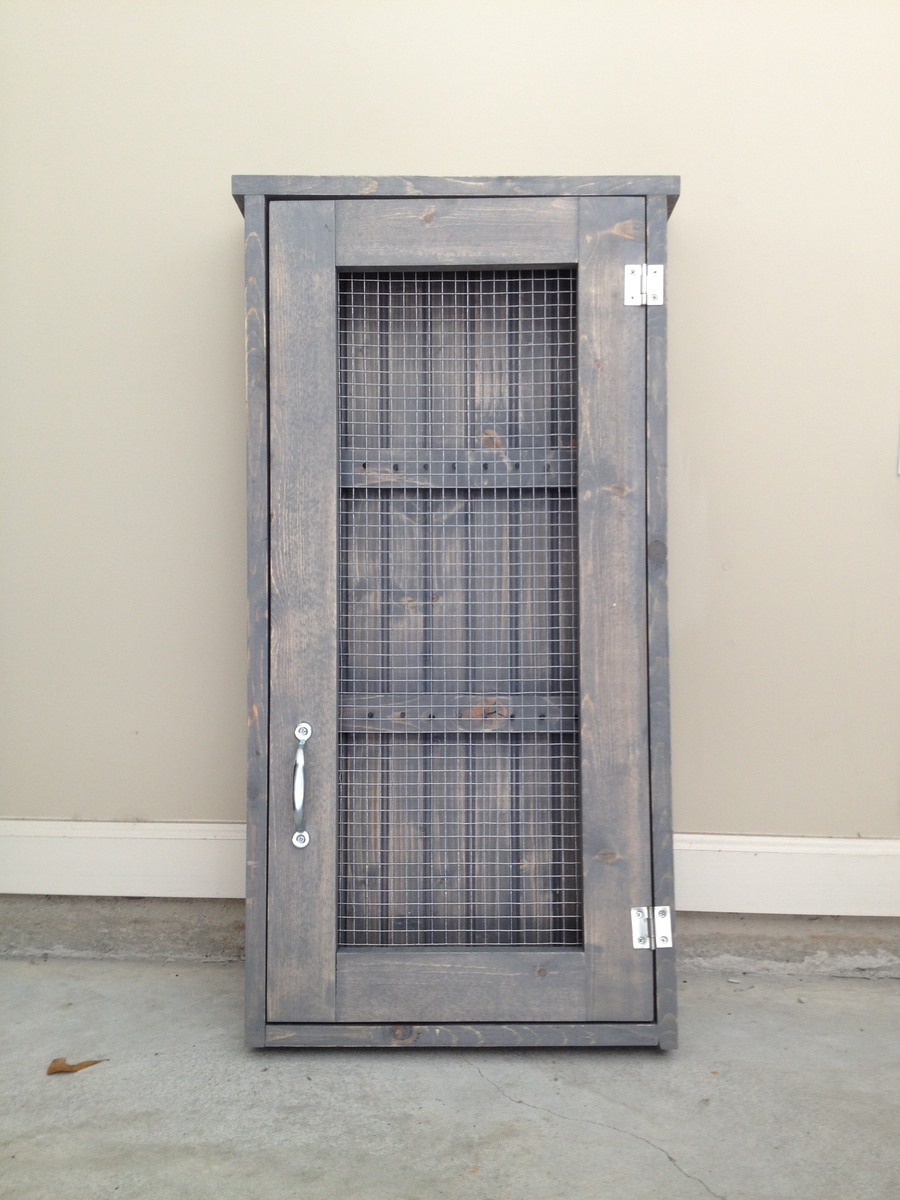
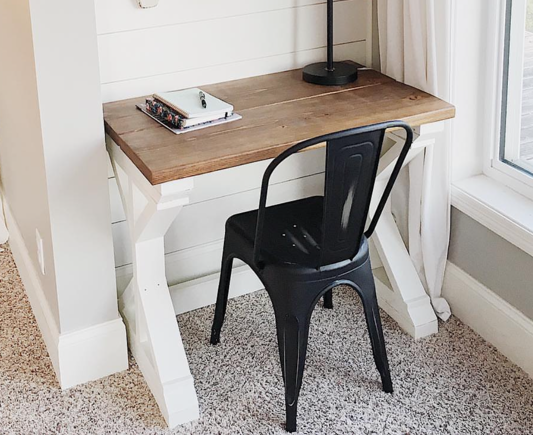
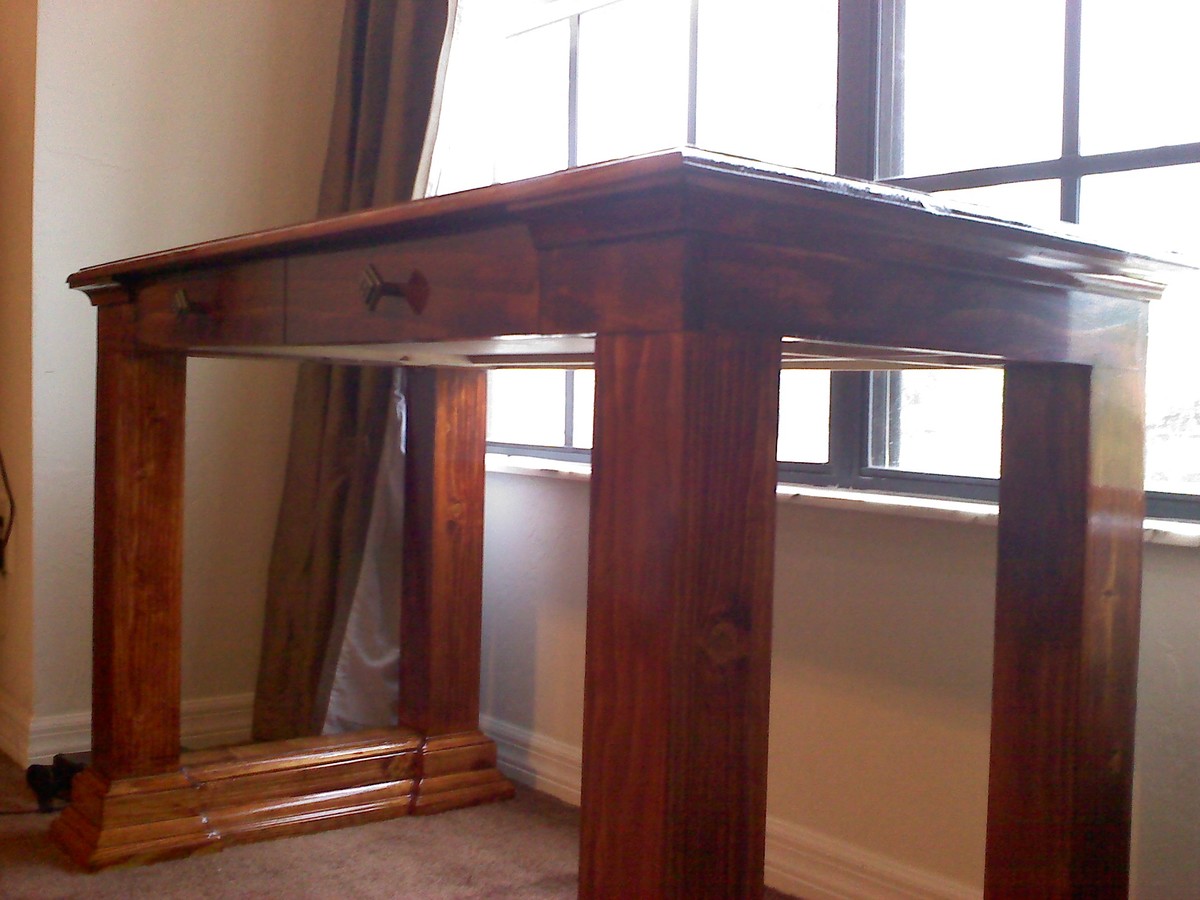
Building this Jewelry Cabinet was really fun and easier than I expected. I made one to give away as a birthday gift, could not resist making another to keep. I don't really have that much jewelry, I just think its gorgeous! I loved the look of the original posted project, that I wanted to duplicate it just as it was.

Built from Plan(s)
Estimated Cost
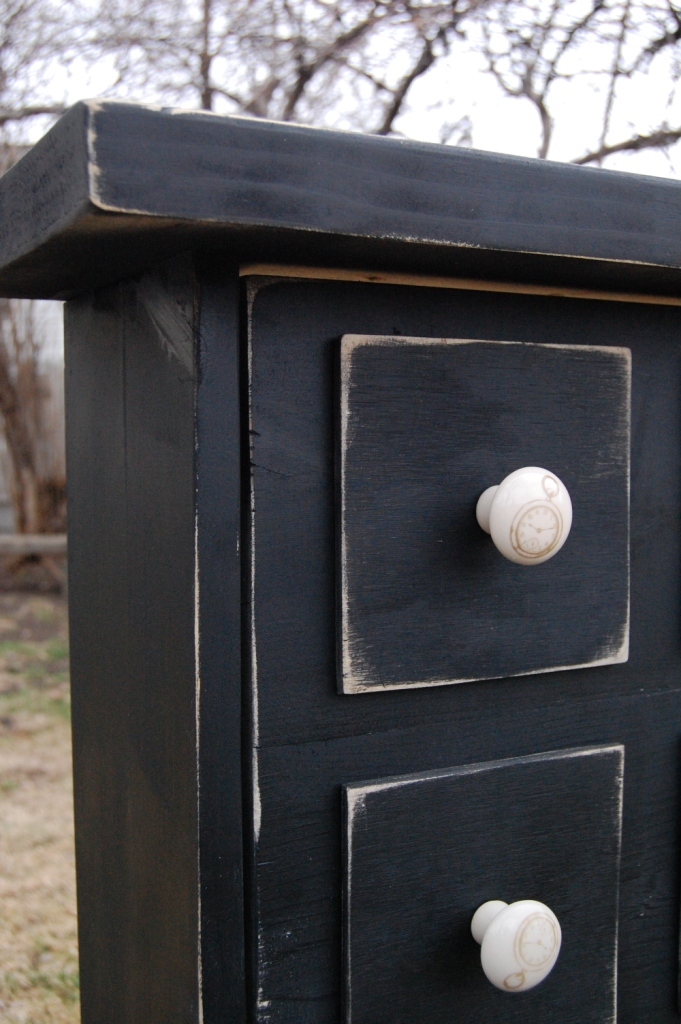
$35 for wood, hardware, and hardware cloth
Estimated Time Investment
Afternoon Project (3-6 Hours)
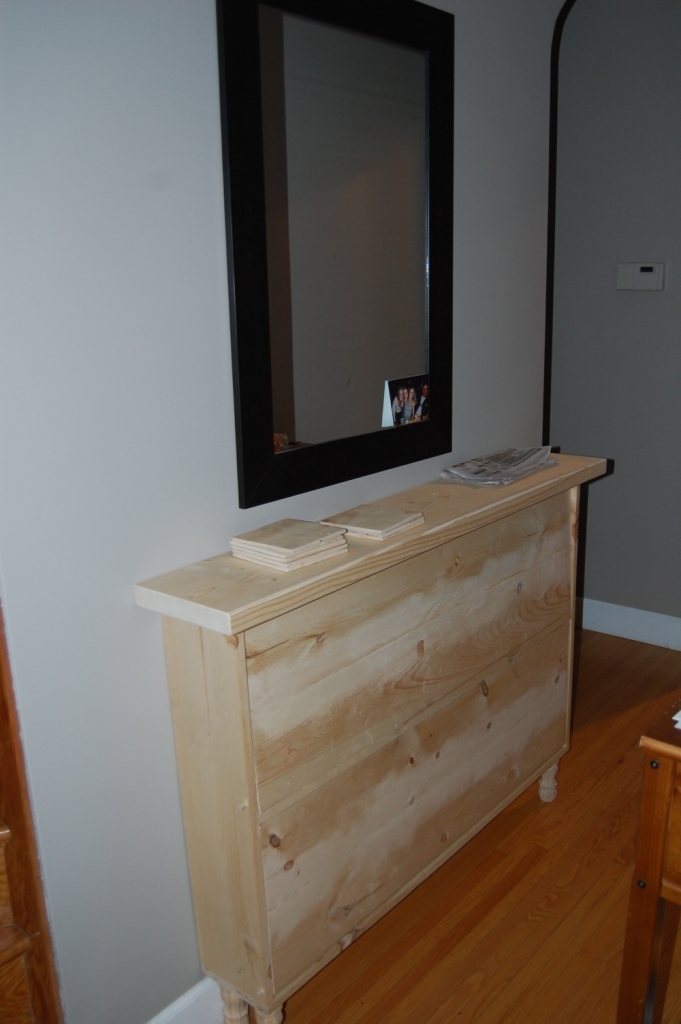
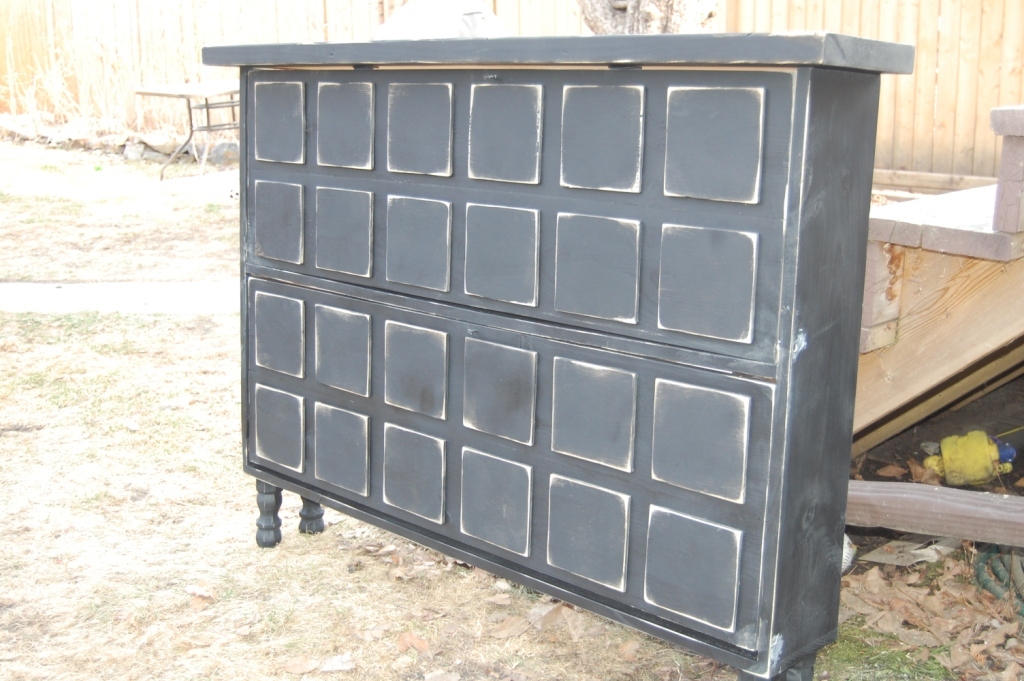
Finish Used
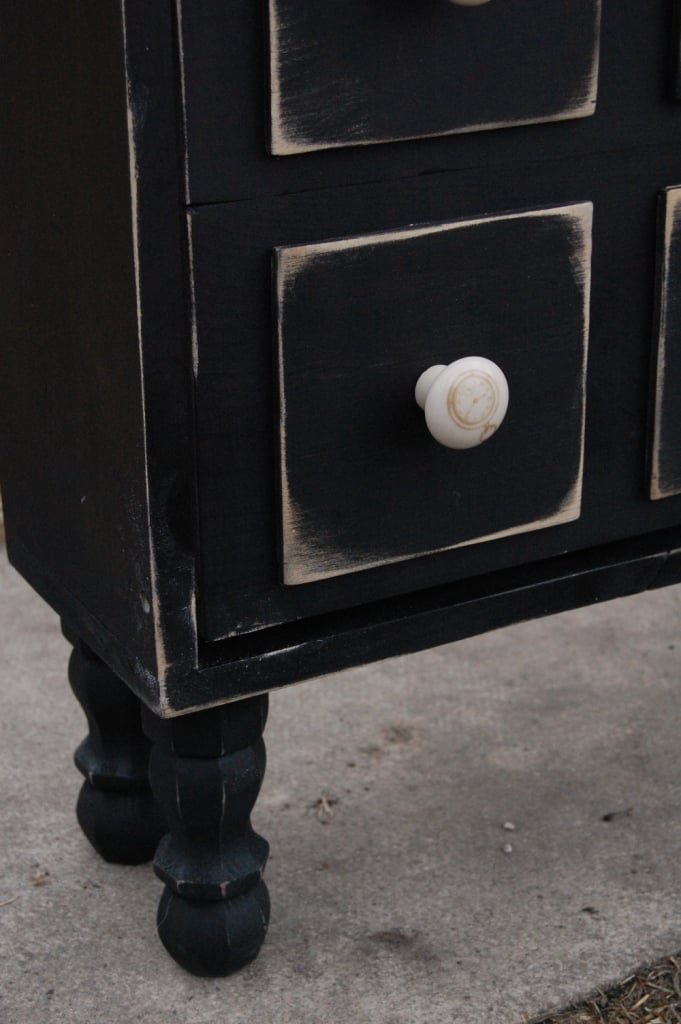
Rustoleum Weathered Gray, then sanded for weathered look
Recommended Skill Level
Starter Project