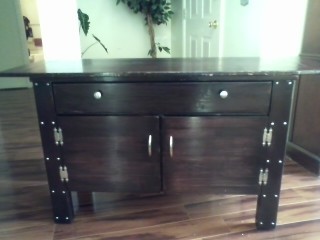
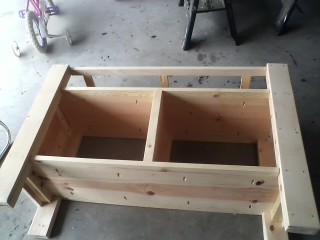
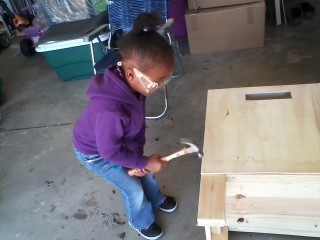
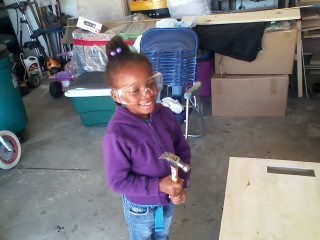
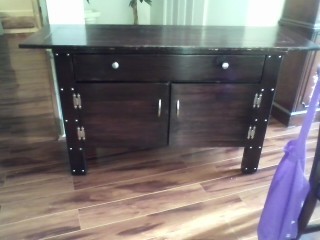
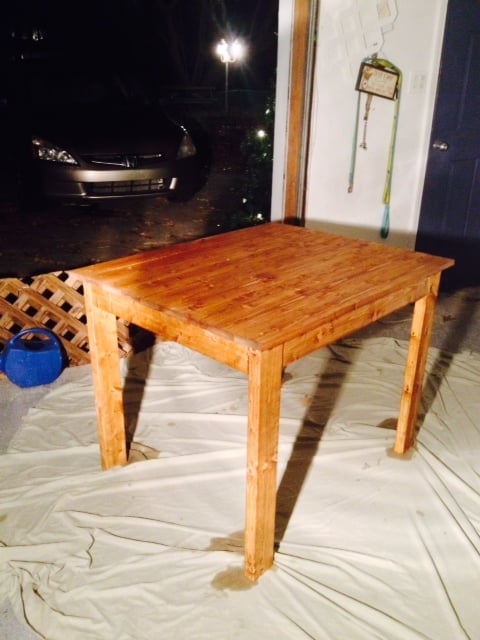
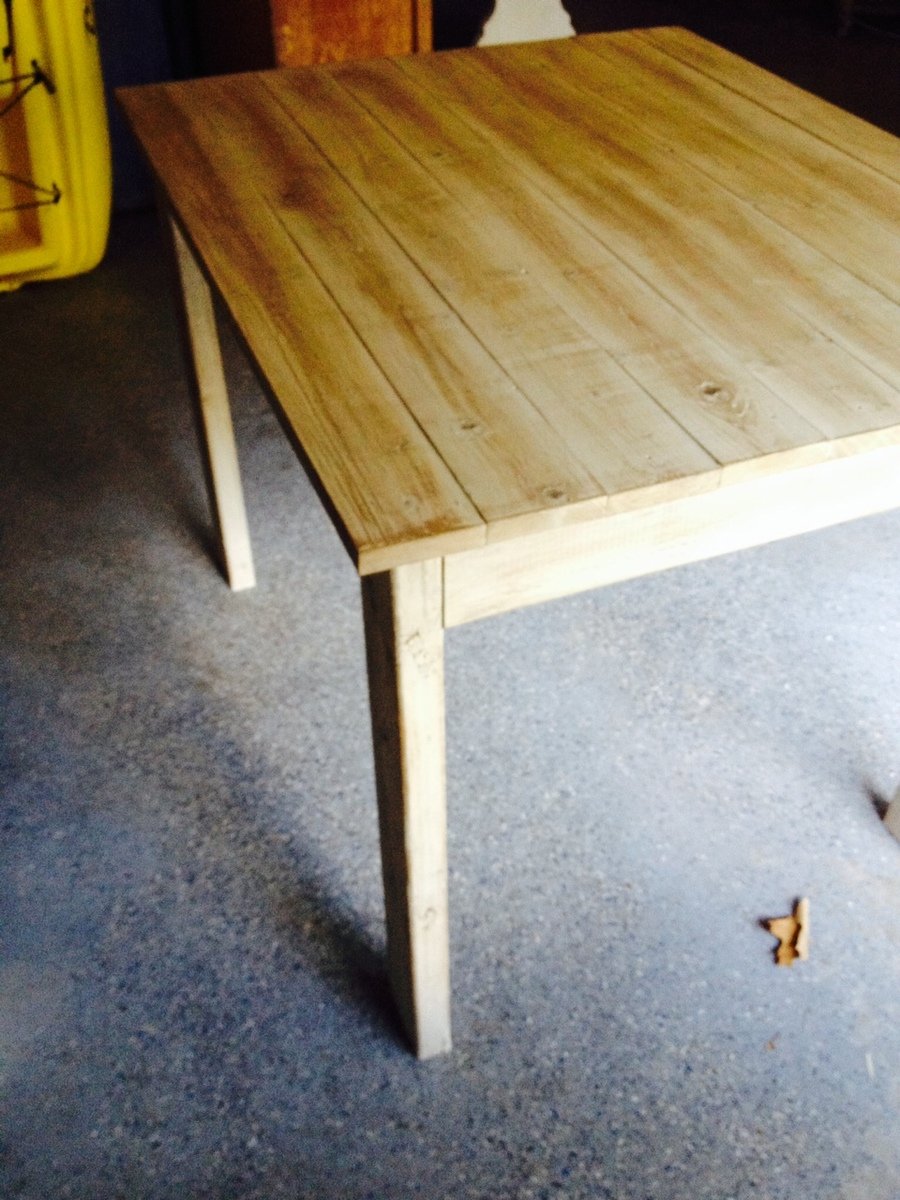
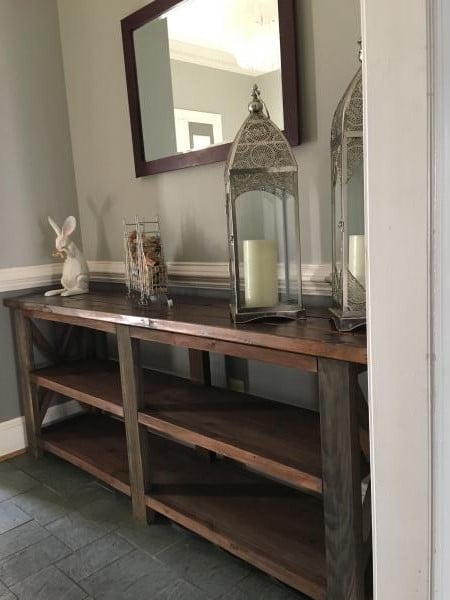
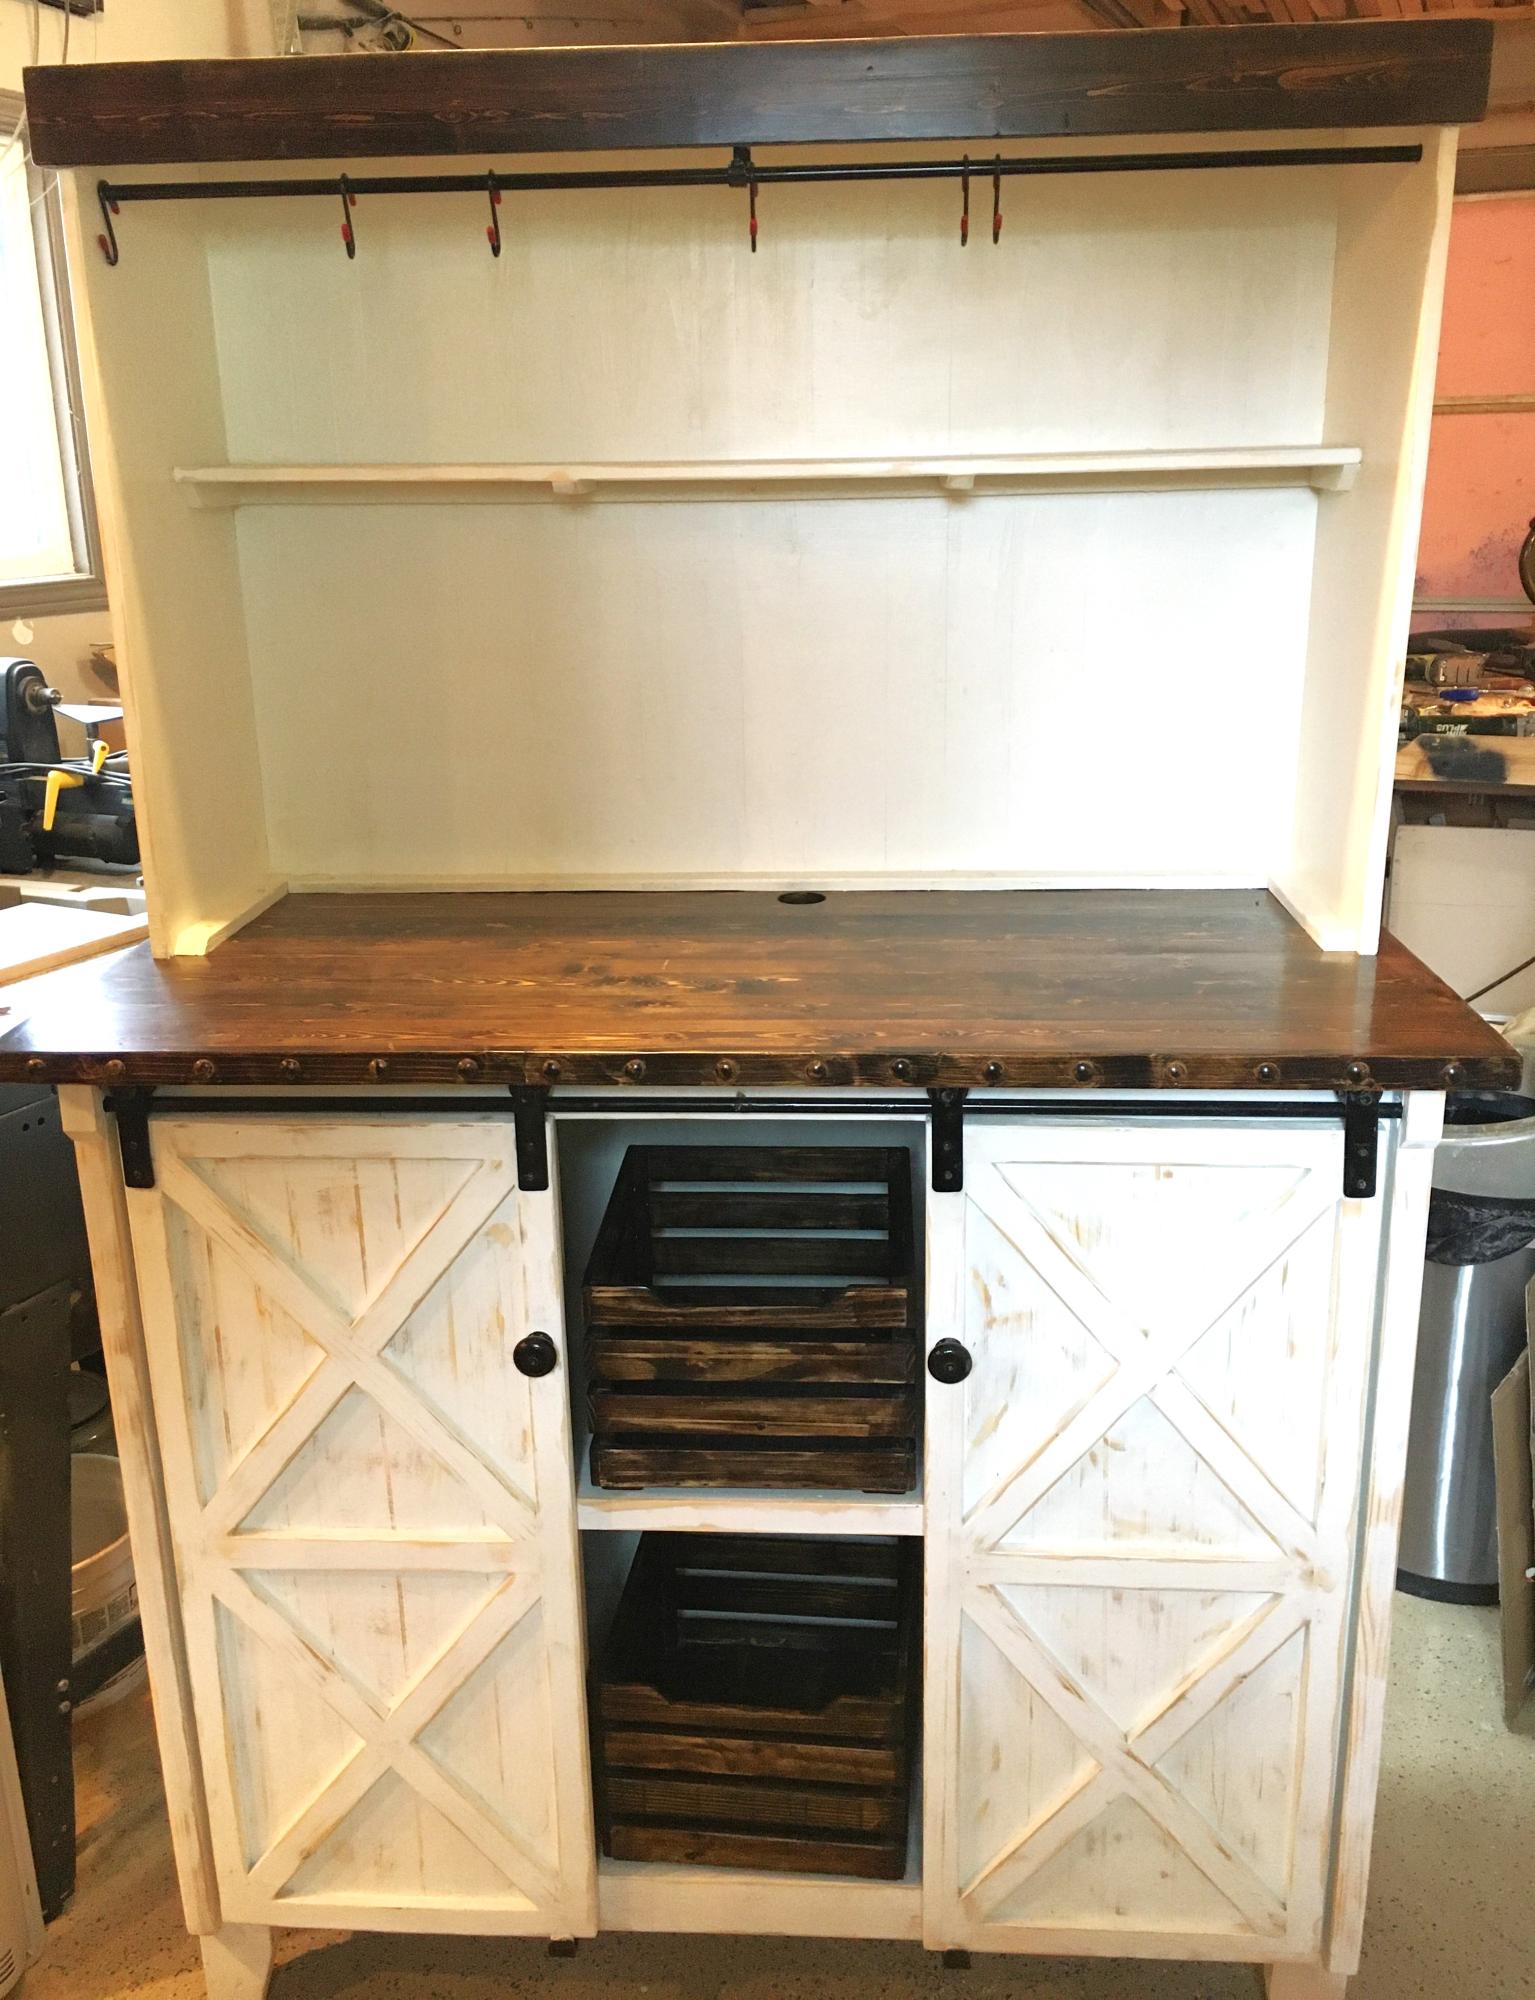
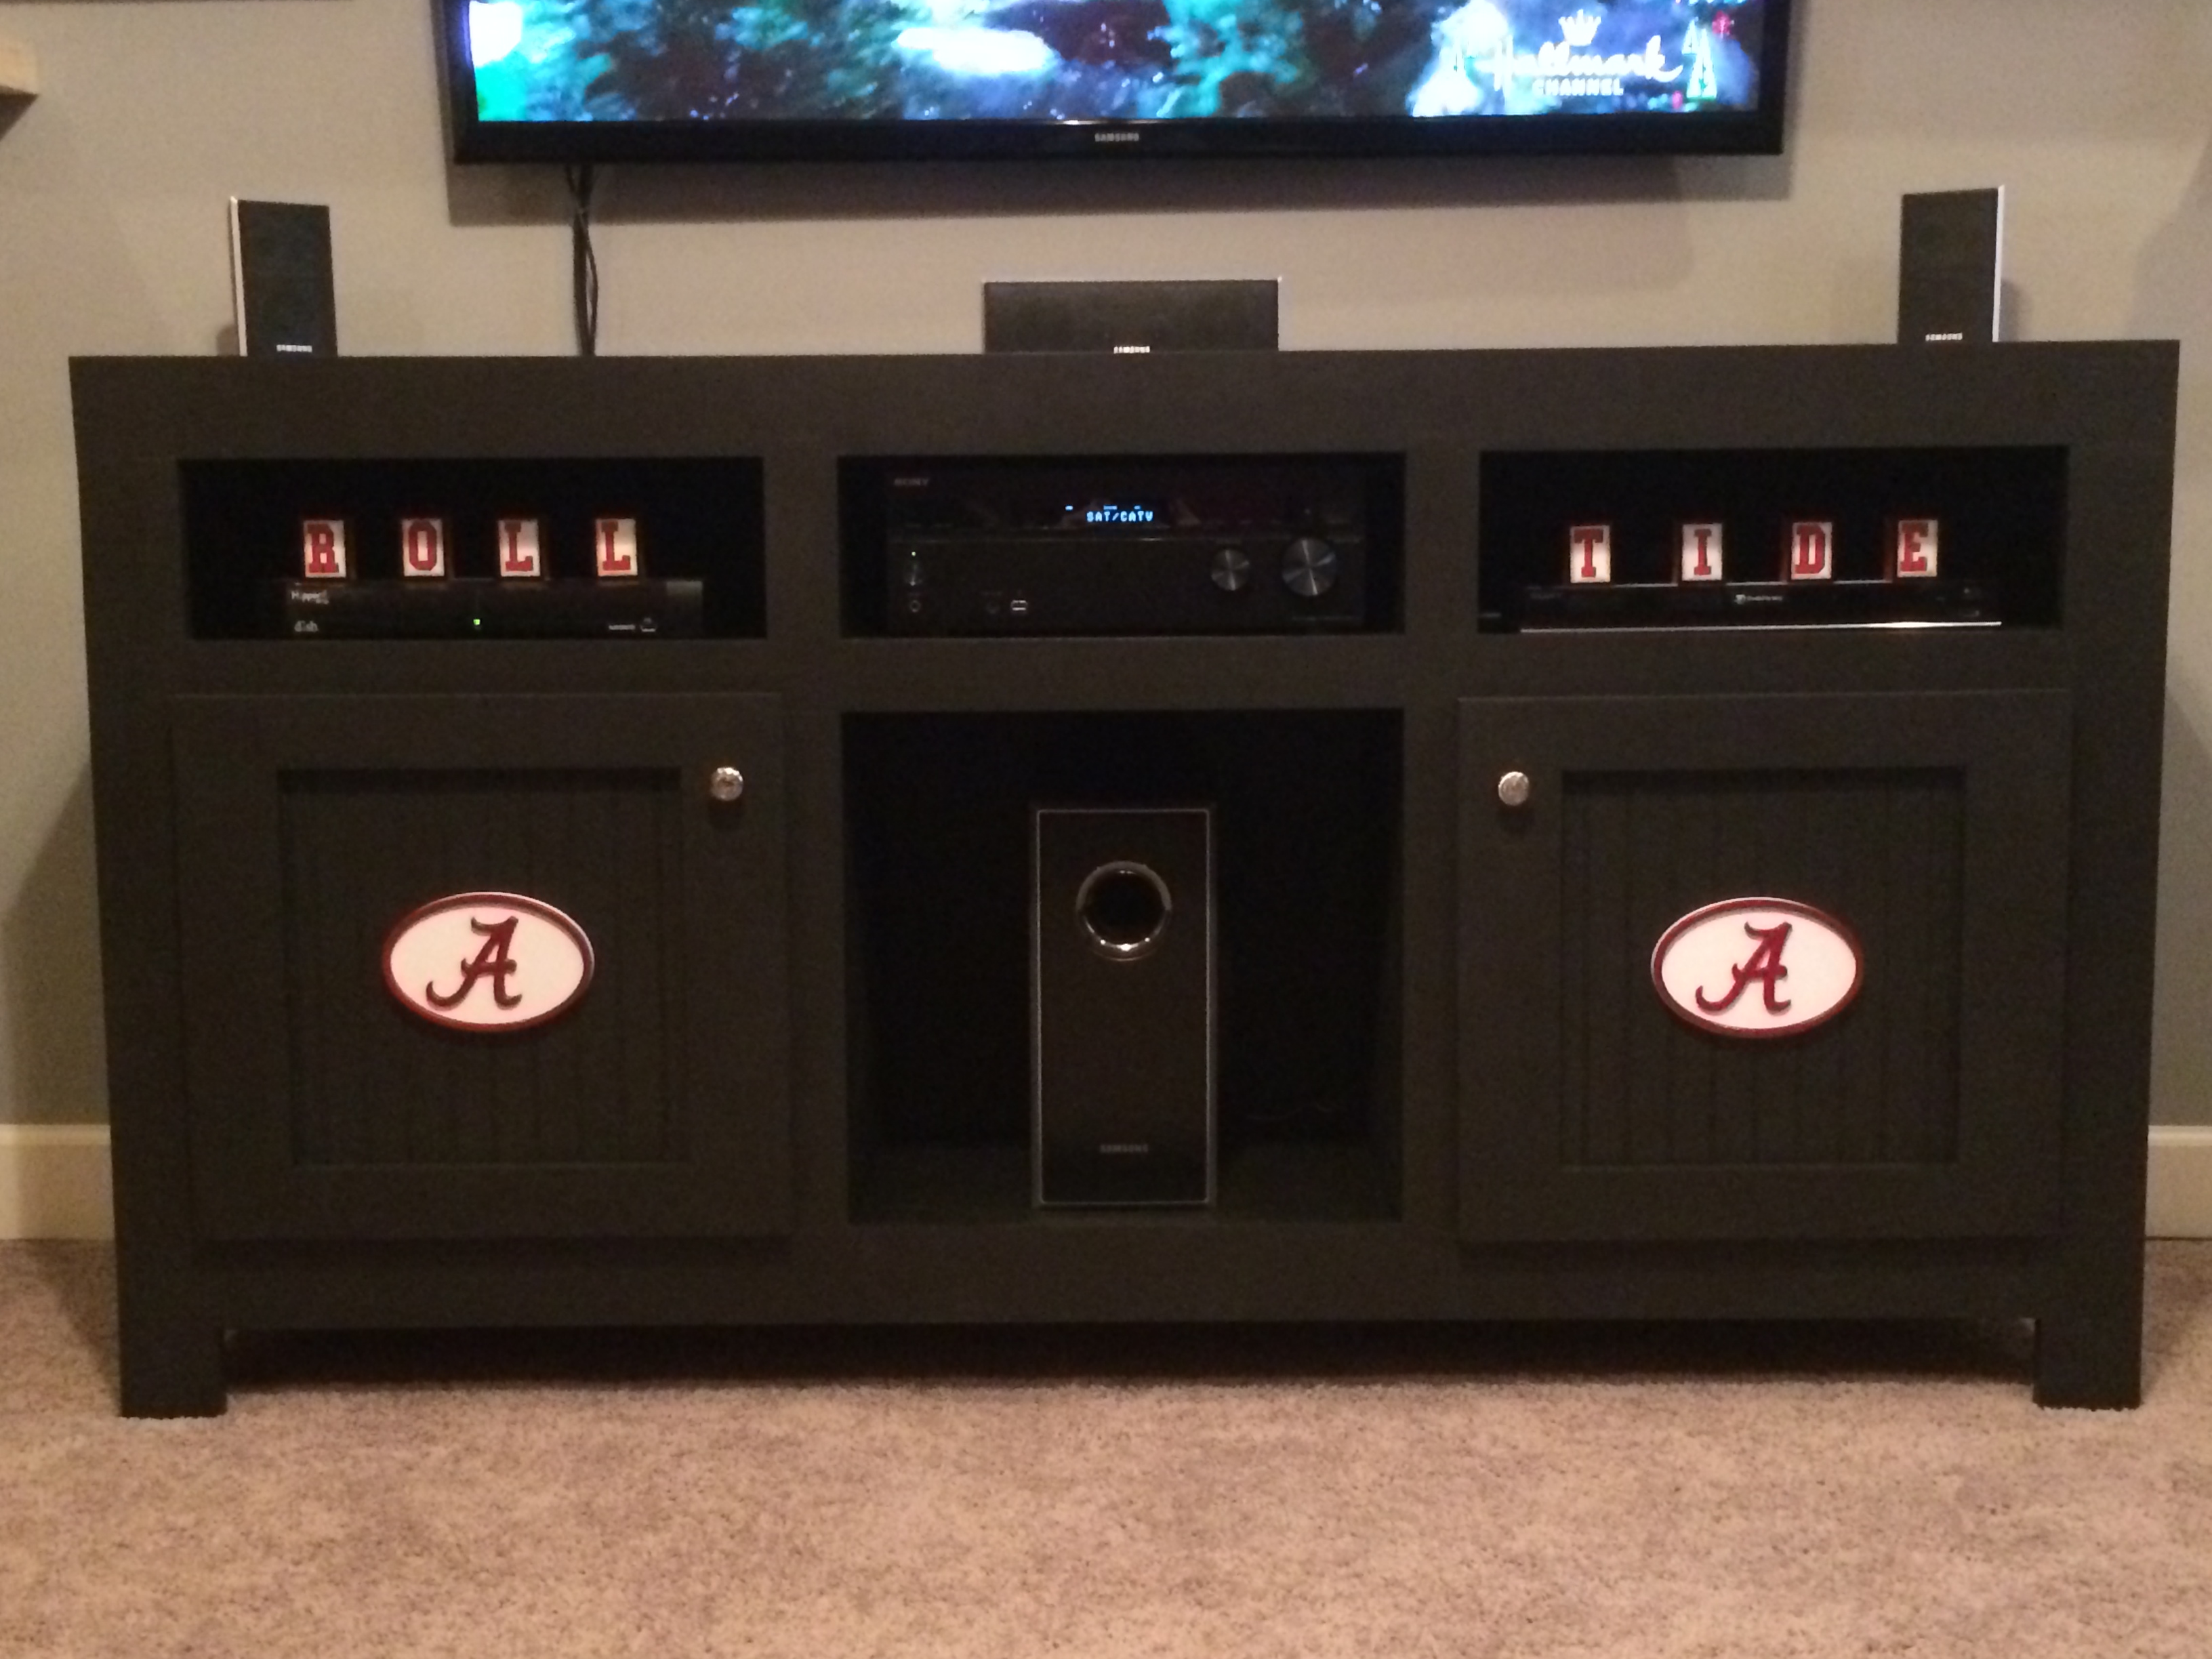
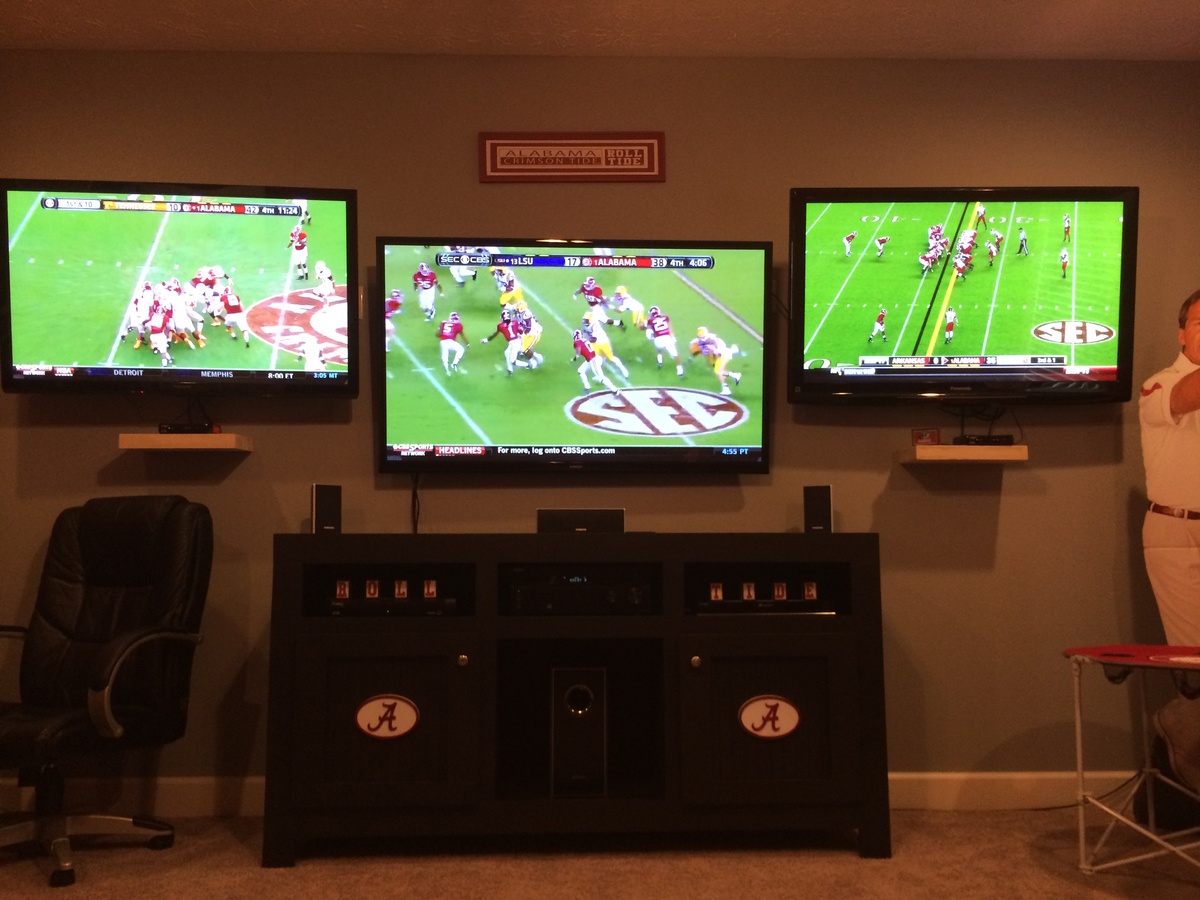
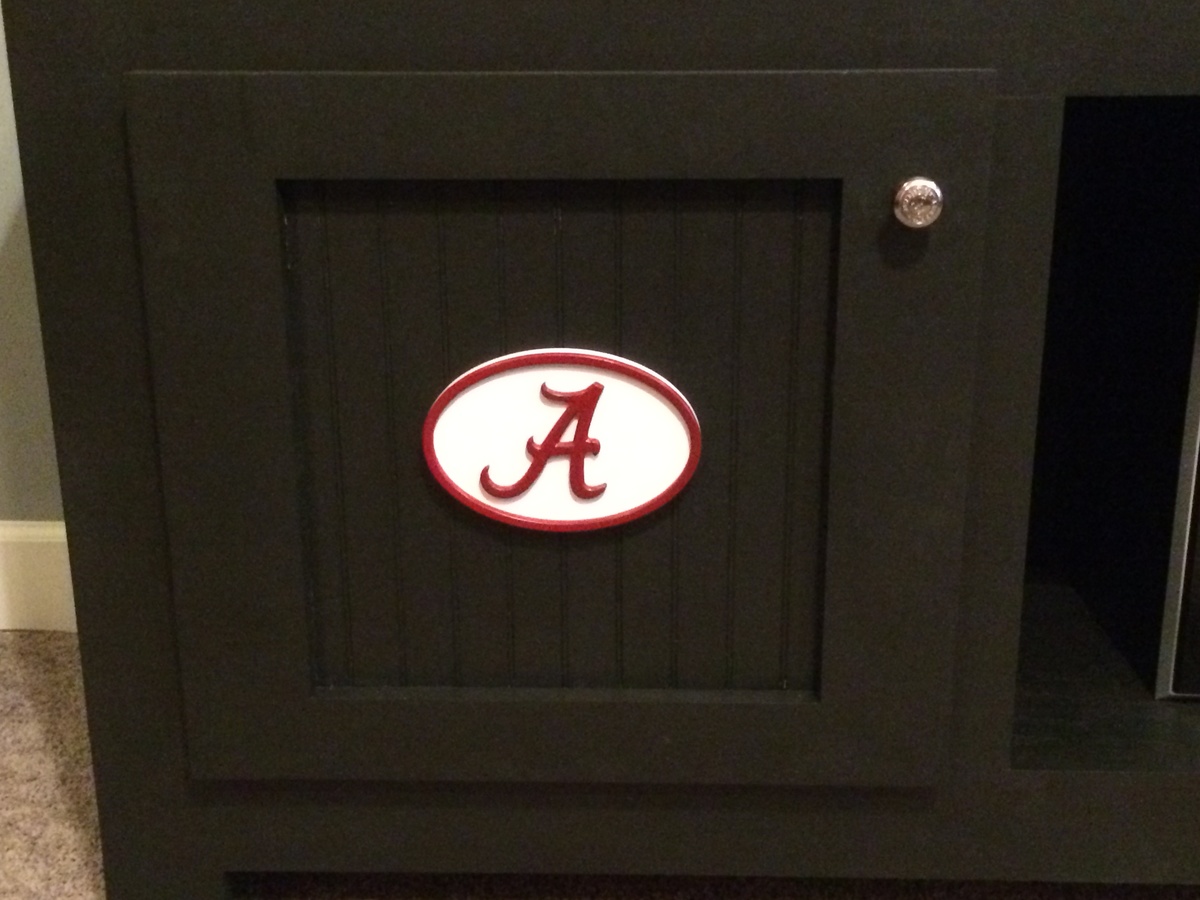
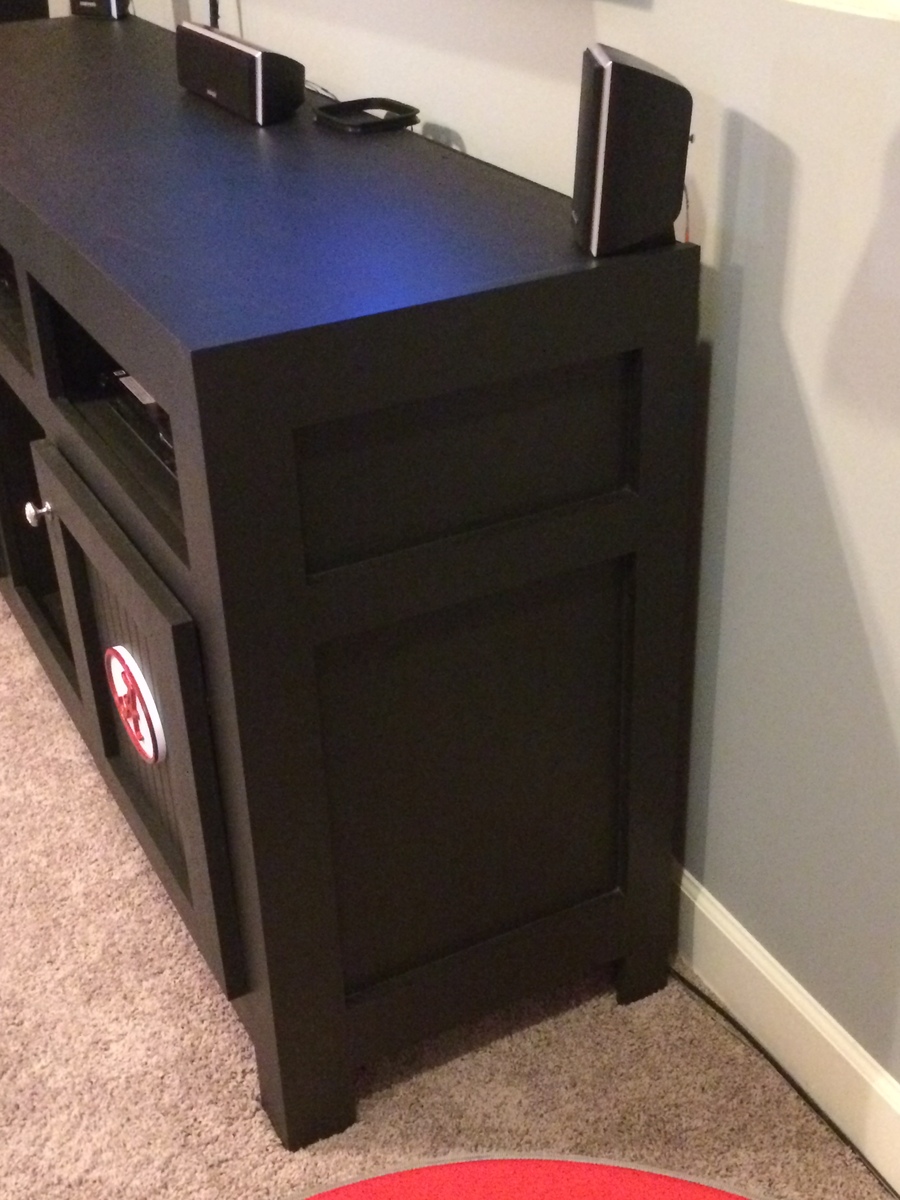
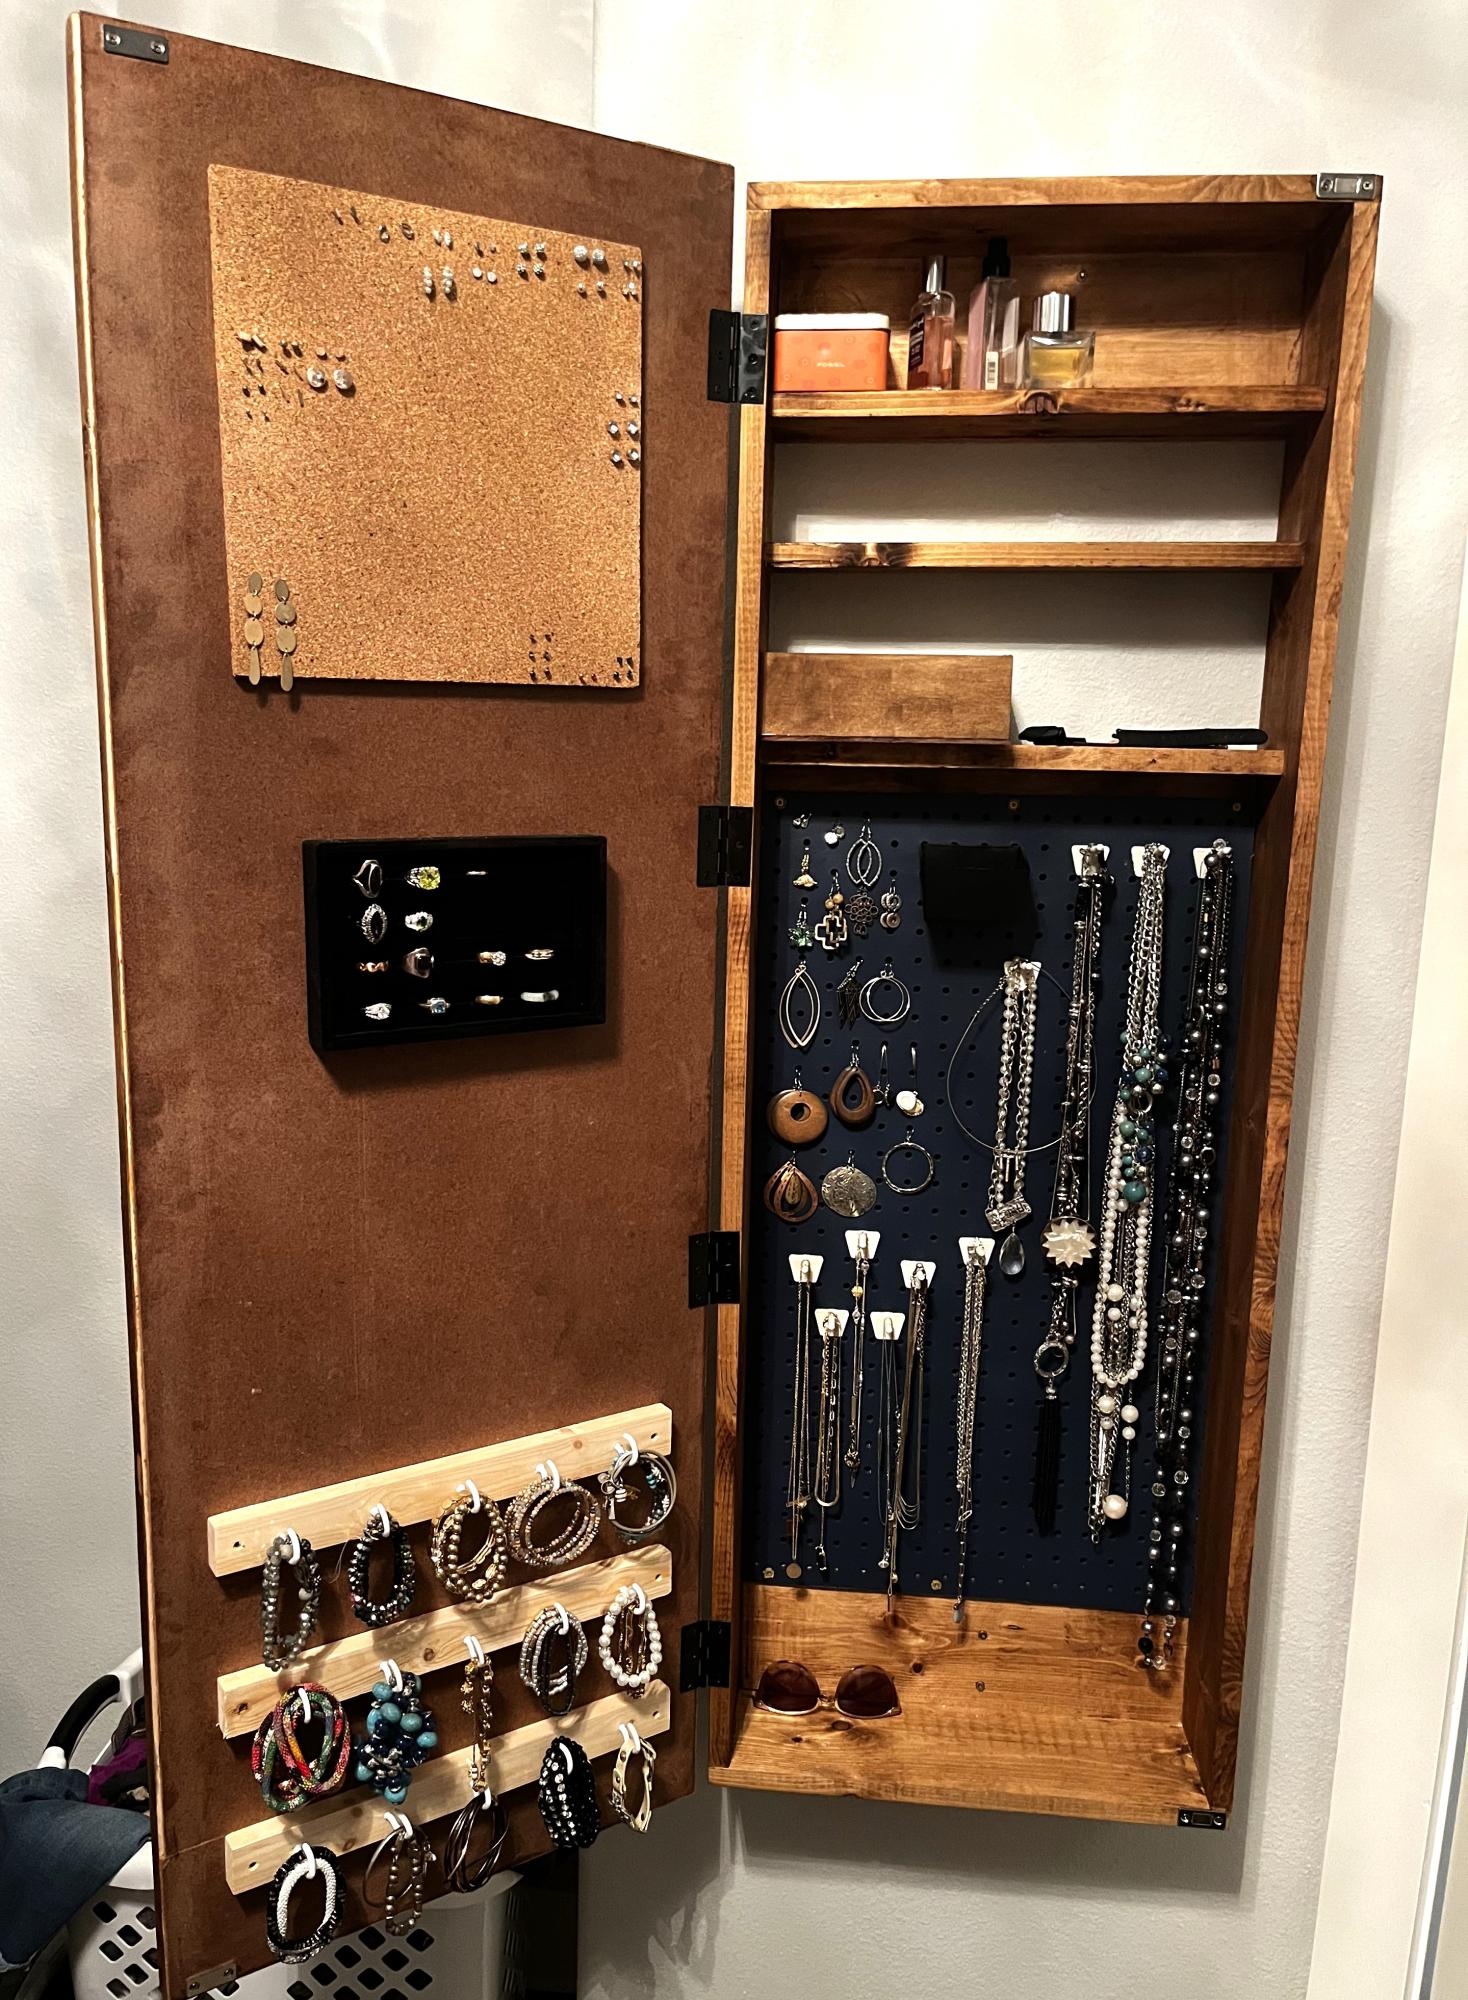
I built this media console several months ago. In the beginning I saw the one Ridge Media Console and loved it, but I don't have the right tools to make the drawers like the plans, so I decided to take a couple of plans to make mine different. I also wanted to build a console that was easy enough because I'm still a beginner. I also loved the Benchwright media console and used some of the plans to get what I wanted. The storage flips down by adding euro hinges. And I added doors. I added my own silver decorative pieces. At 1st I thought that was too much silver, but now I like it. When I first built it I would pass by it and had to remind myself I did not buy this at a store, but built it. I can't say how much it cost because frankly I'm not that organized just yet. Since I'm a beginner I go back and forth to Lowes getting something here and there. Lowes and me have this weird relationship. They wonder why I'm there AGAIN; and I just keep coming back, AGAIN. They better watch it, I may dump them for Home Depot - lol.
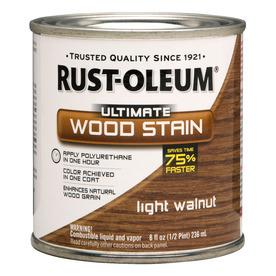
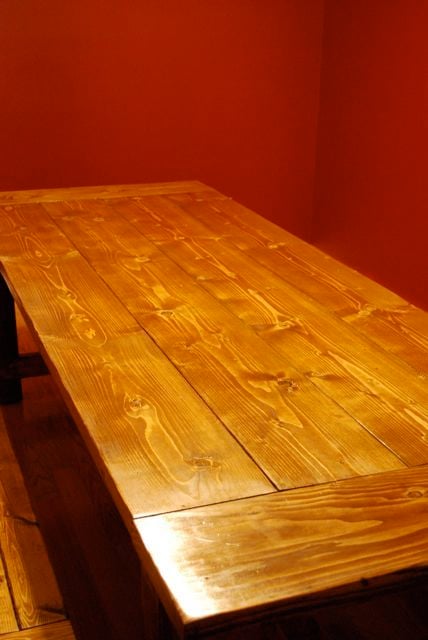
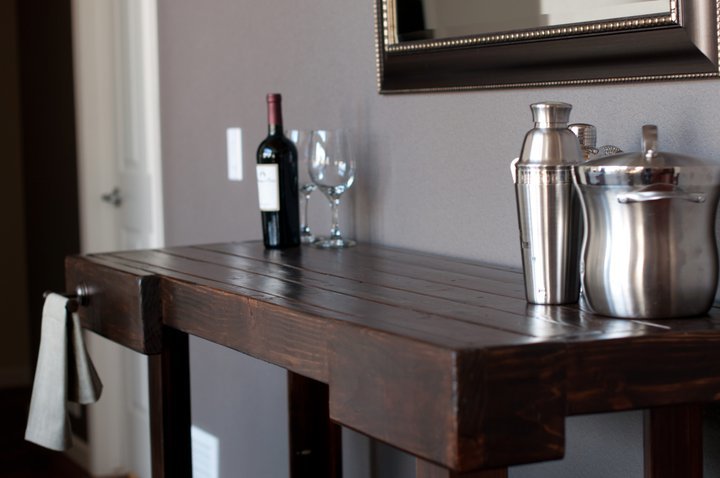
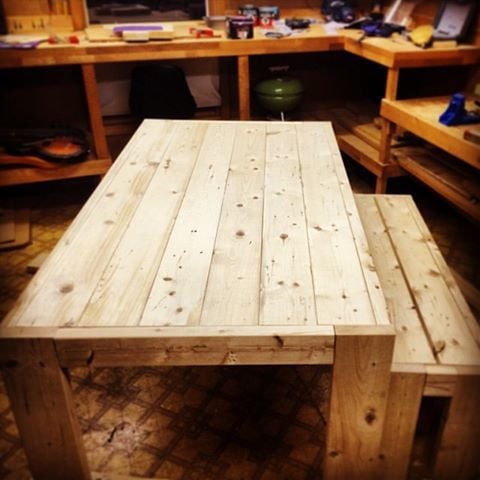
For the finish I used Rustoleum stains and finishes. I use this because I don't wipe them off and they dry quicker. I use one coat and it's done. Dries by the end of the day and ready for poly. I added the pic for the stain, but Lowes didn't have my colors on their website (shame on you Lowes).
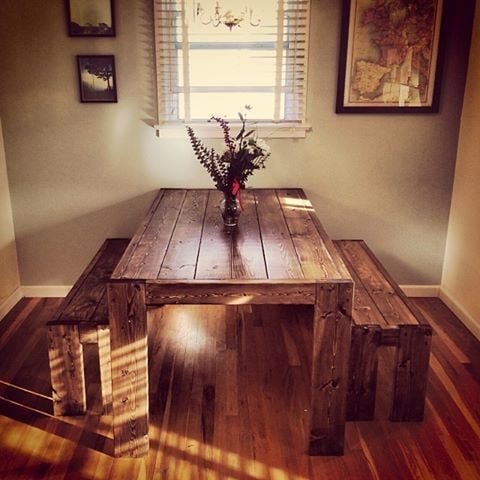
The colors I used were 1 part black cherry and 2 parts dark walnut. I loved the colors so much I plan on using them for the rest of my builds in my living and dining rooms.


Comments
lmhaney (not verified)
Fri, 03/09/2012 - 05:36
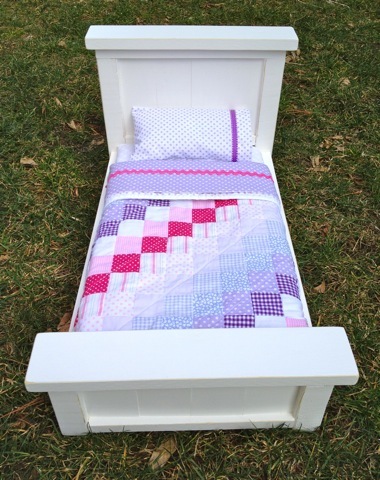
What are your finished
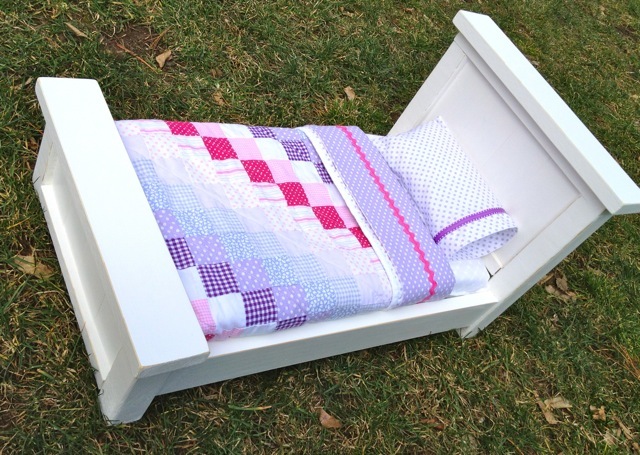
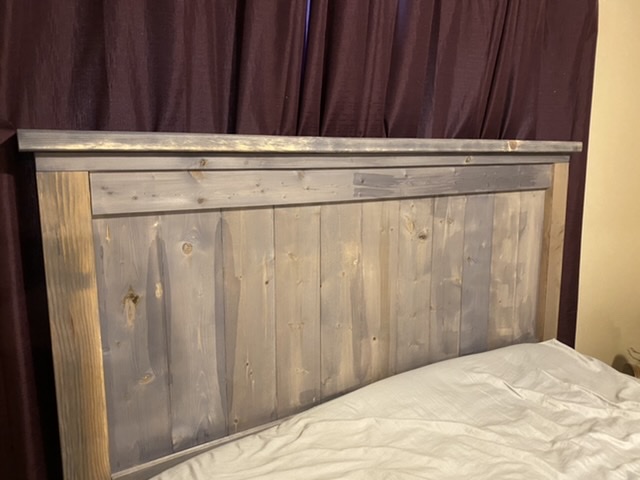
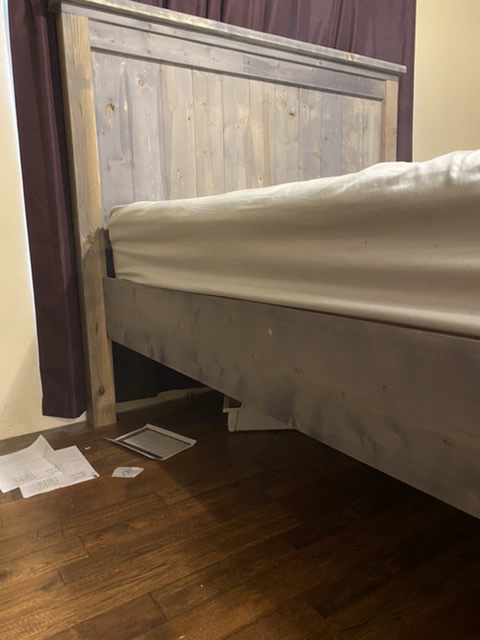
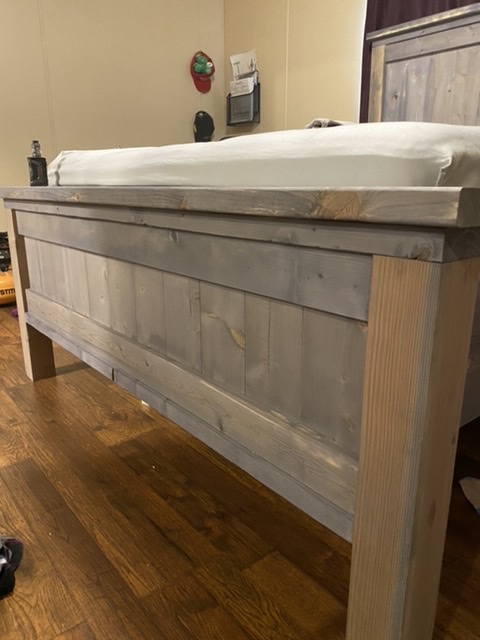
What are your finished dimensions on this bed? I was thinking of making it with one less slat also to make it more like a twin bed.