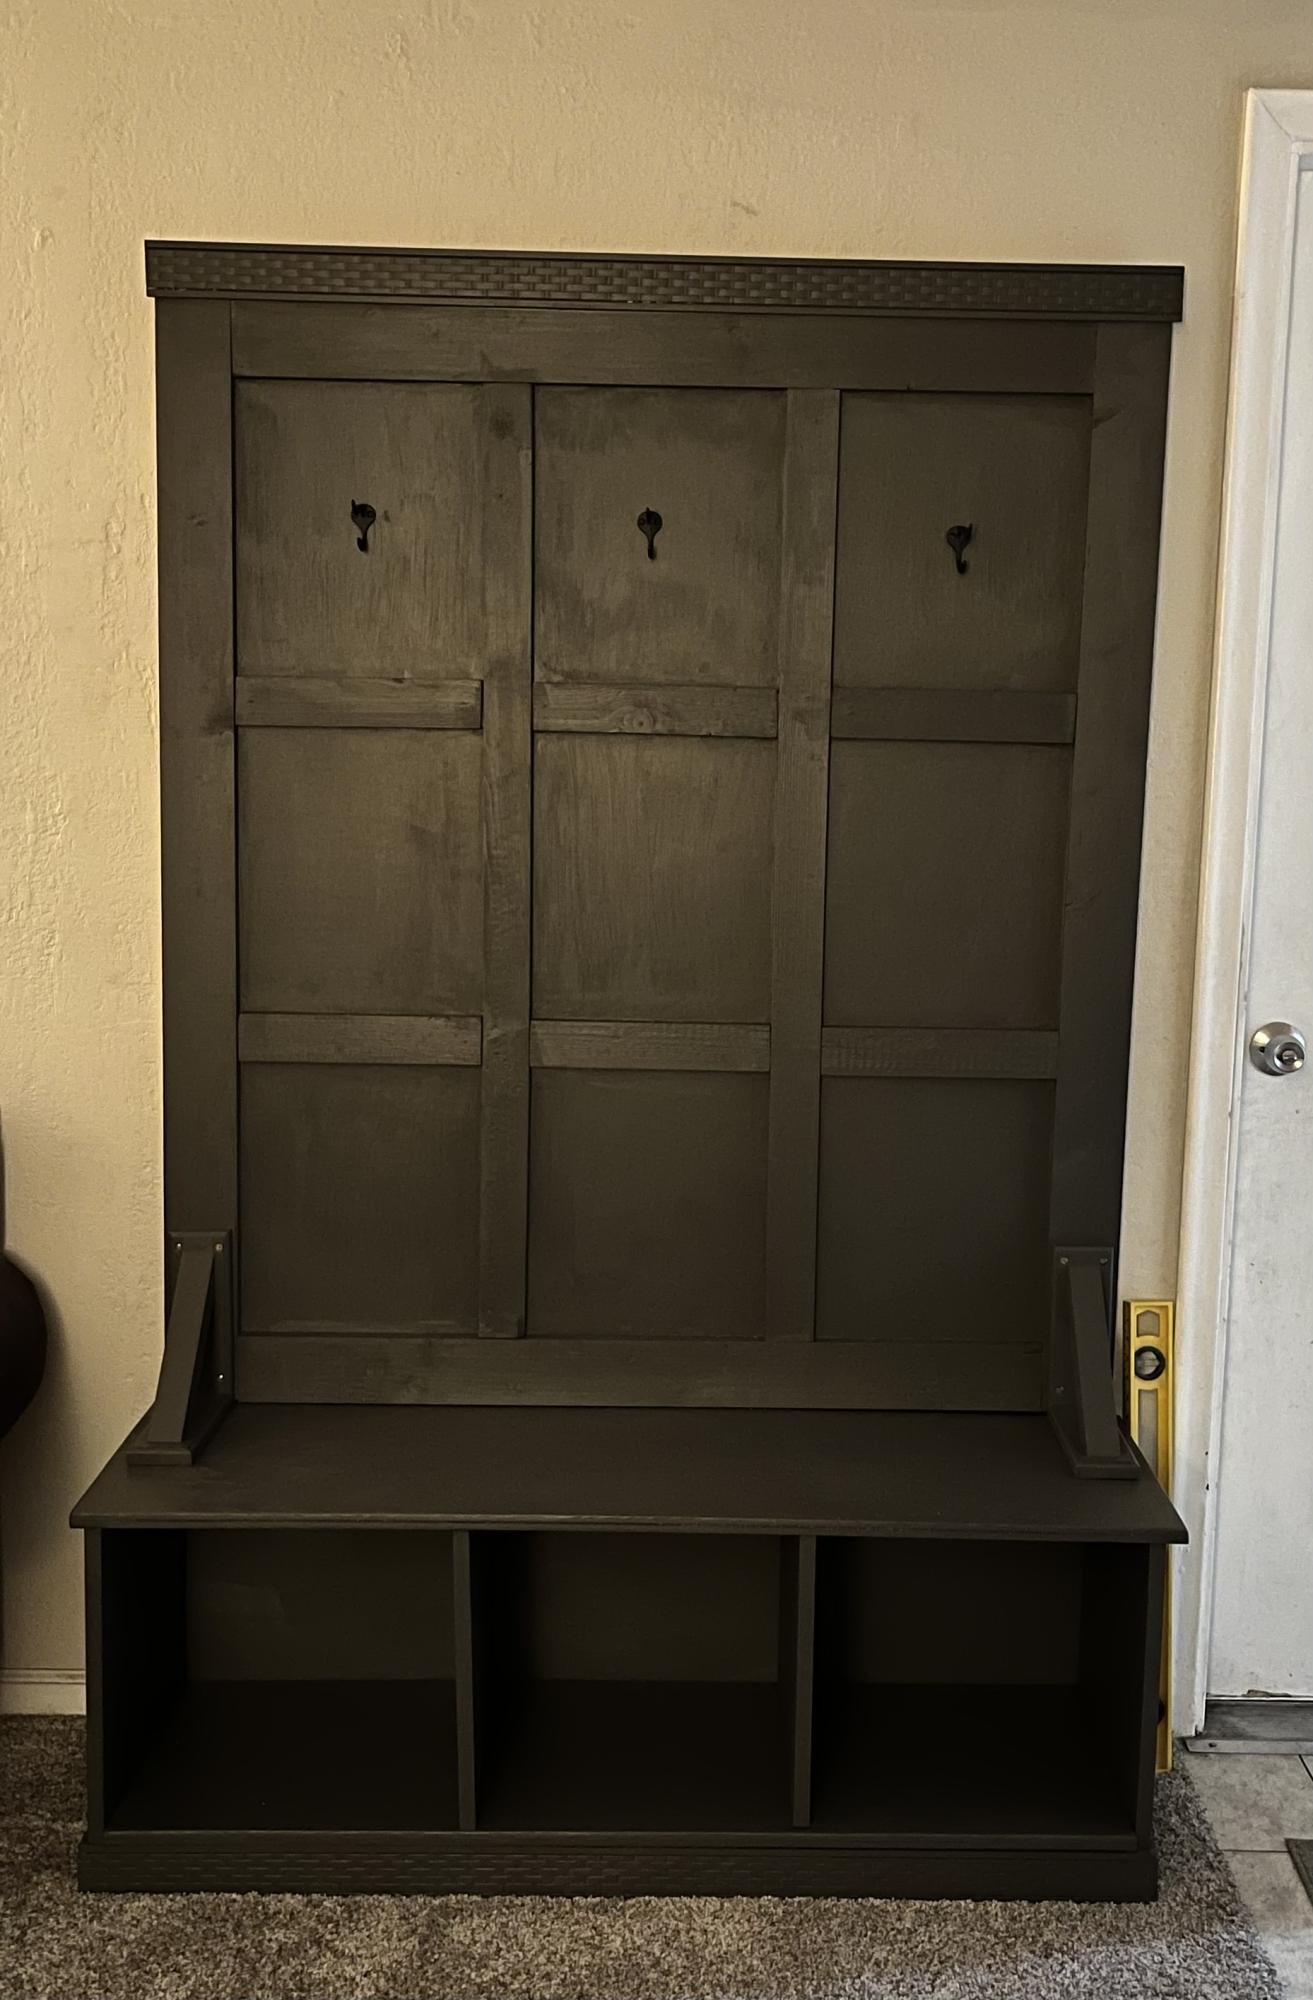
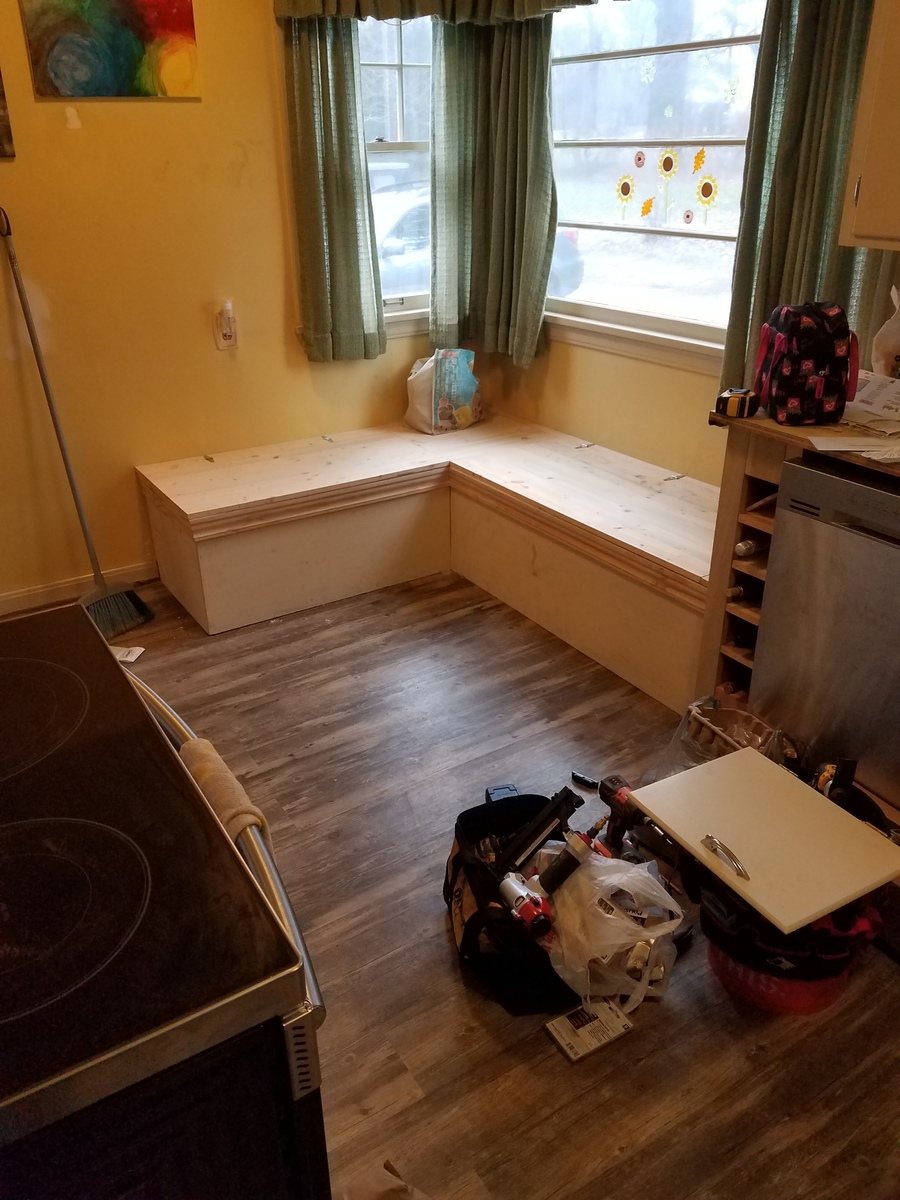
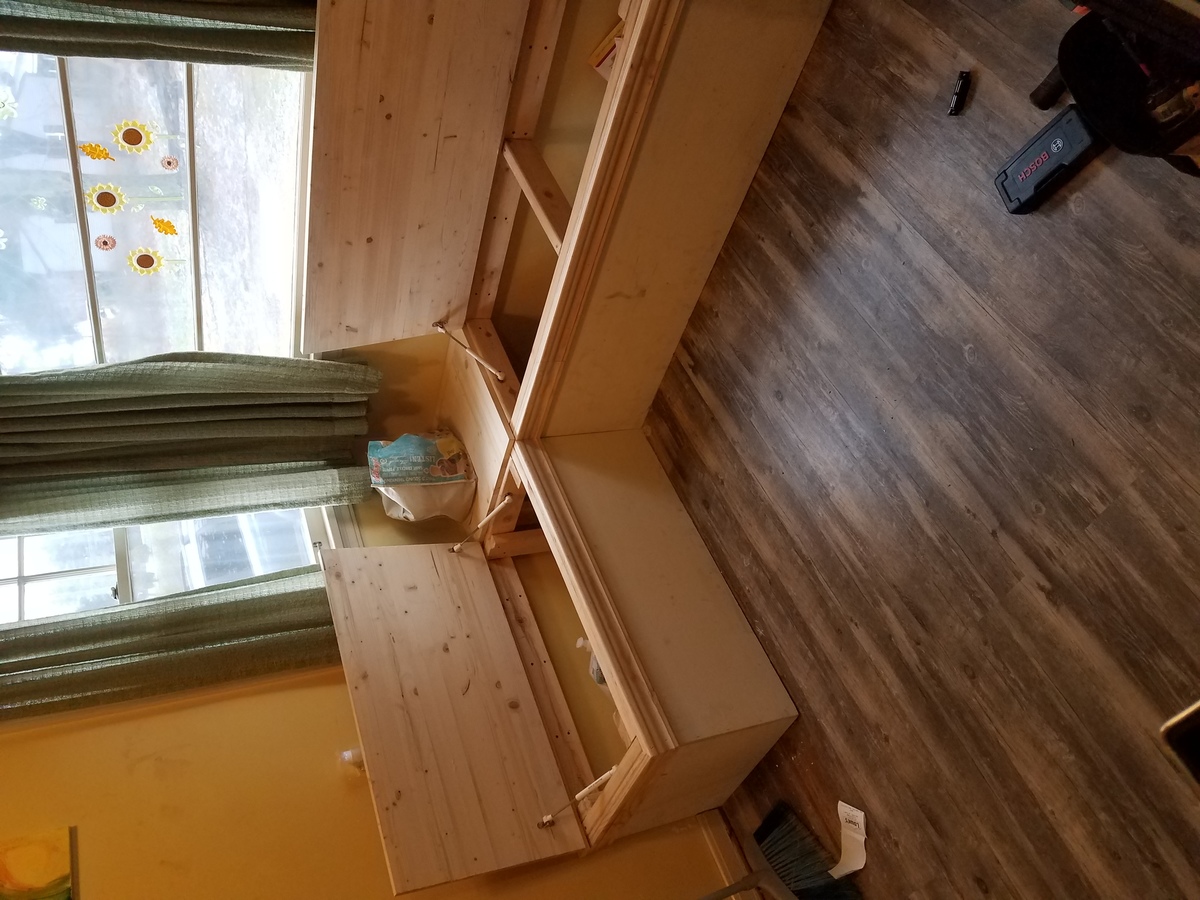
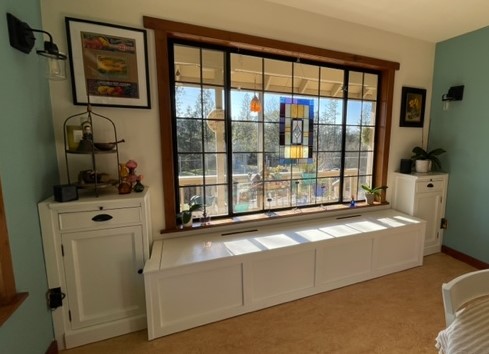
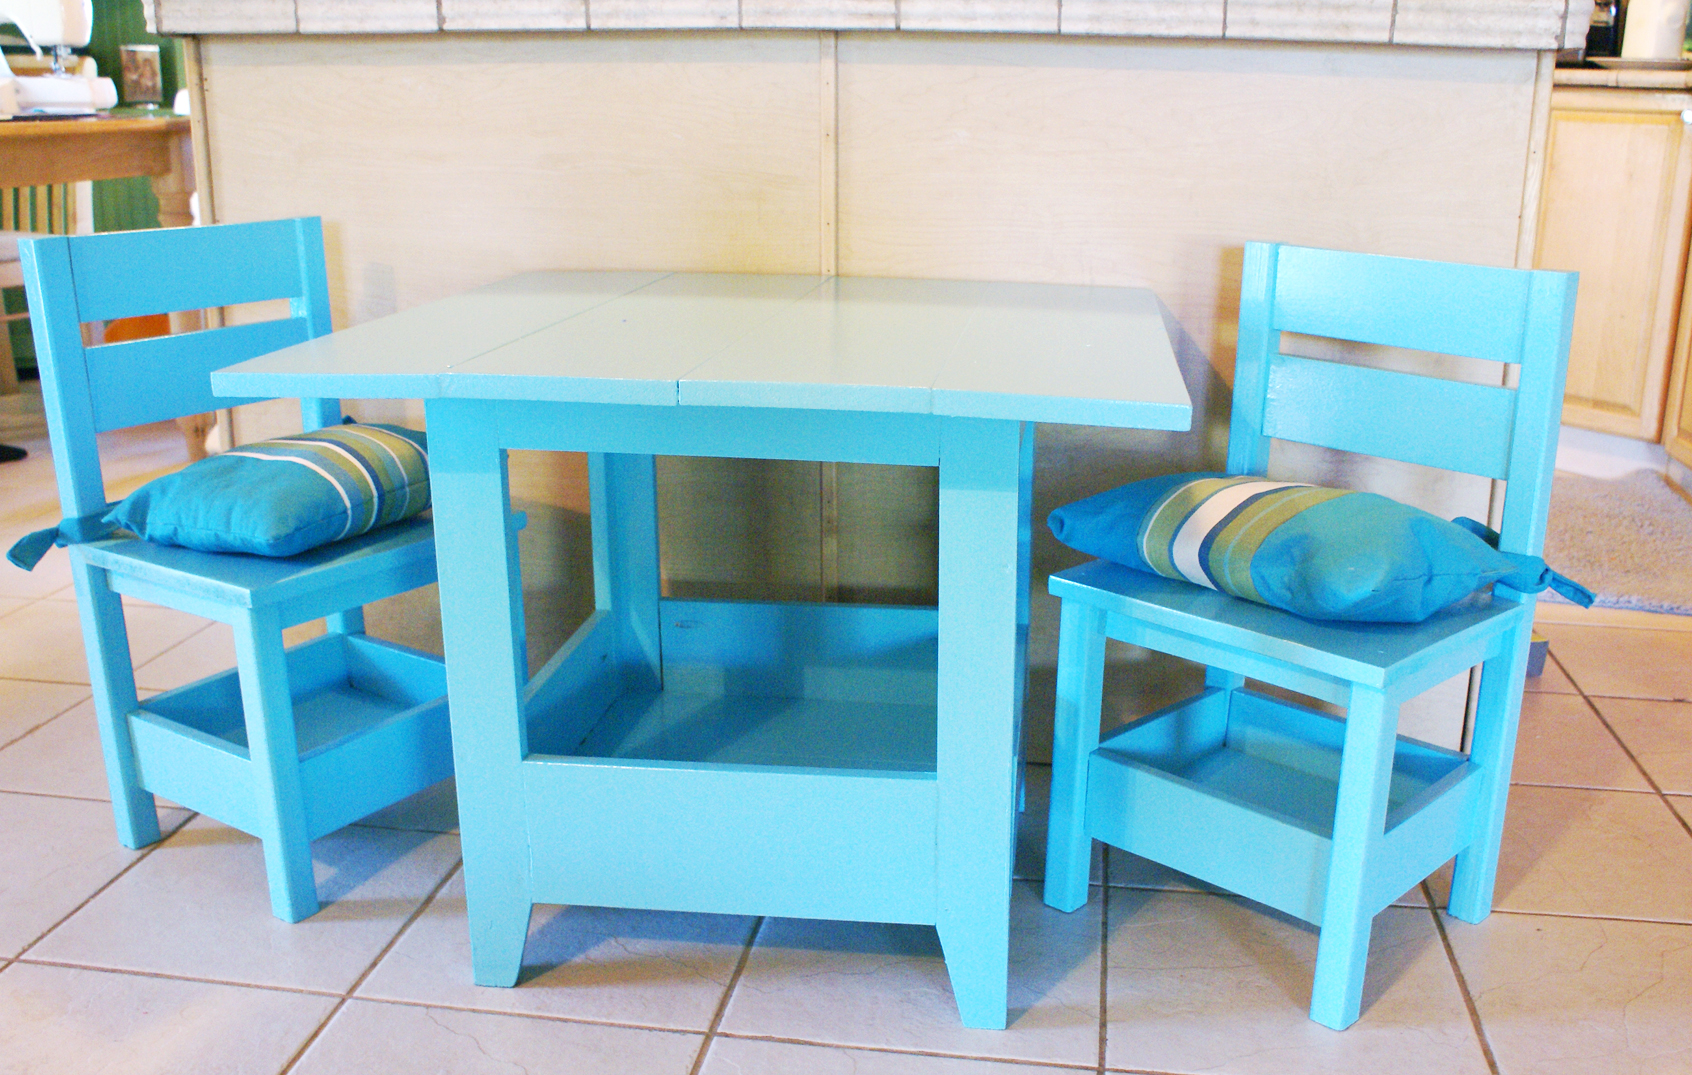
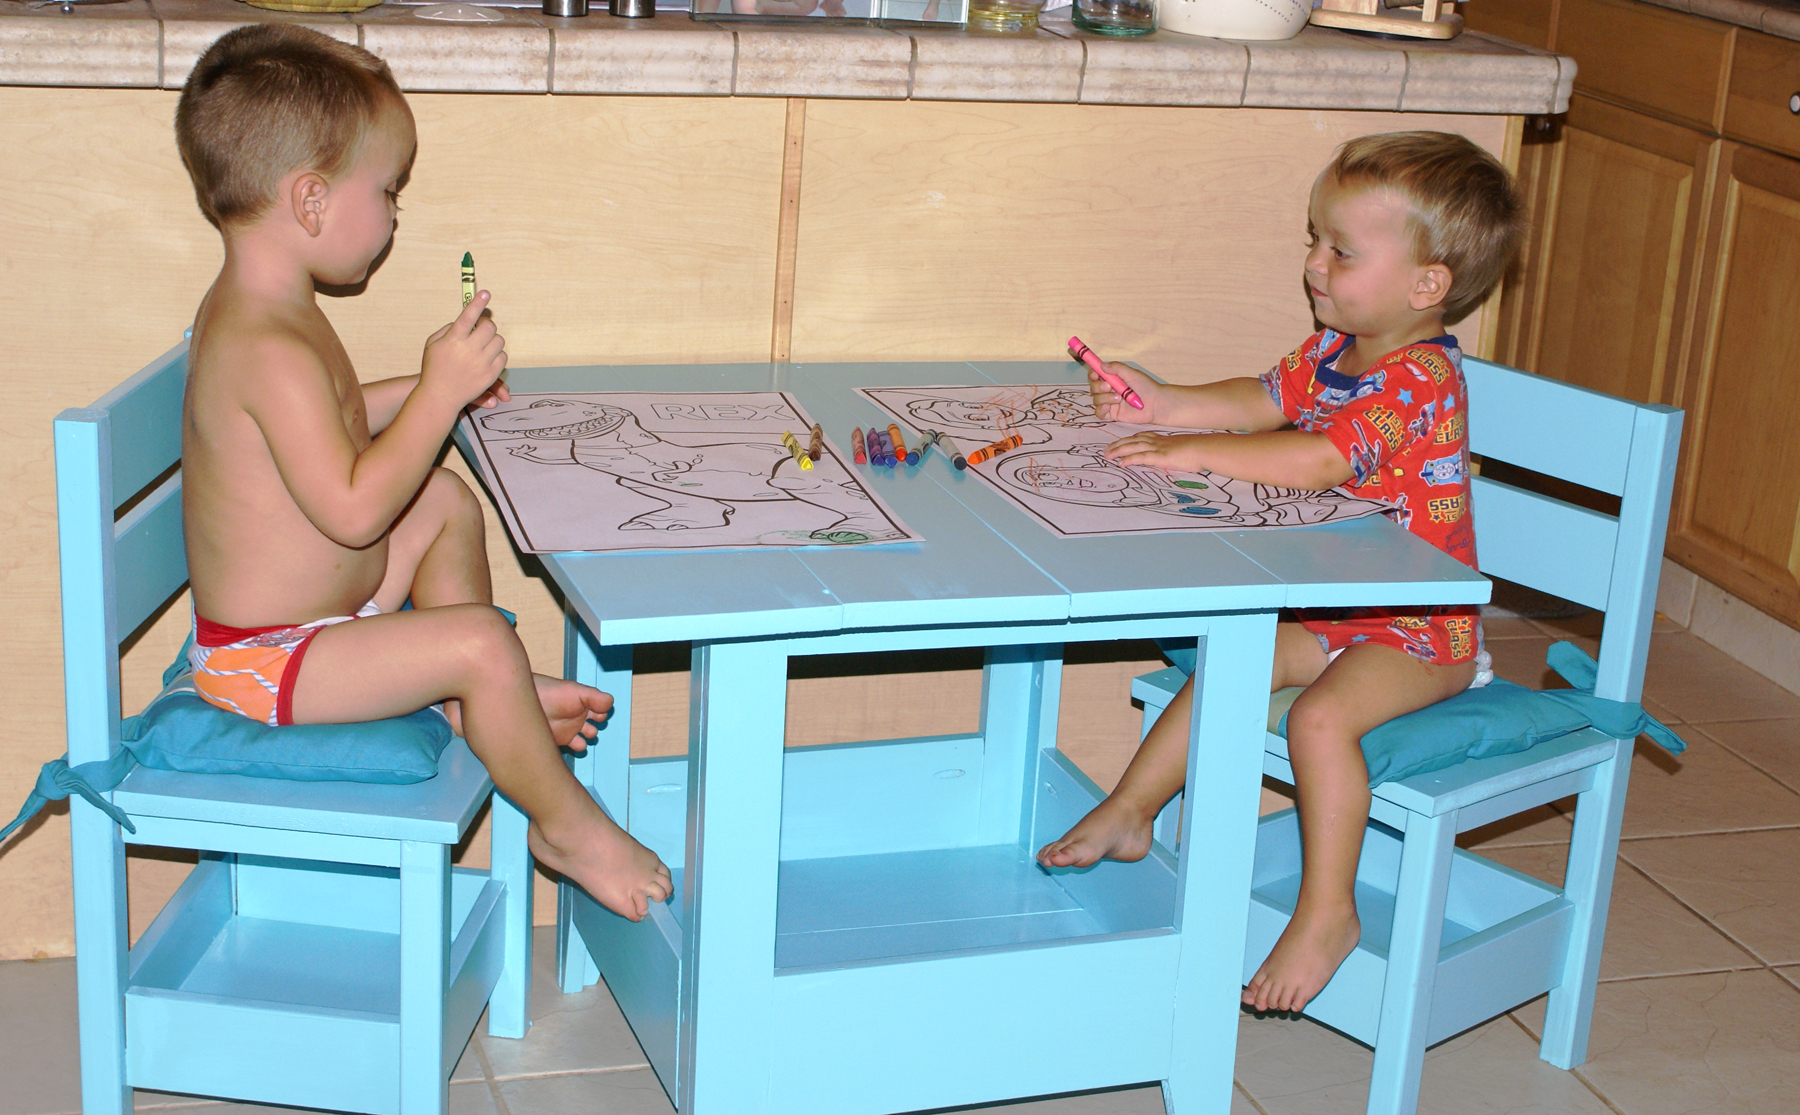
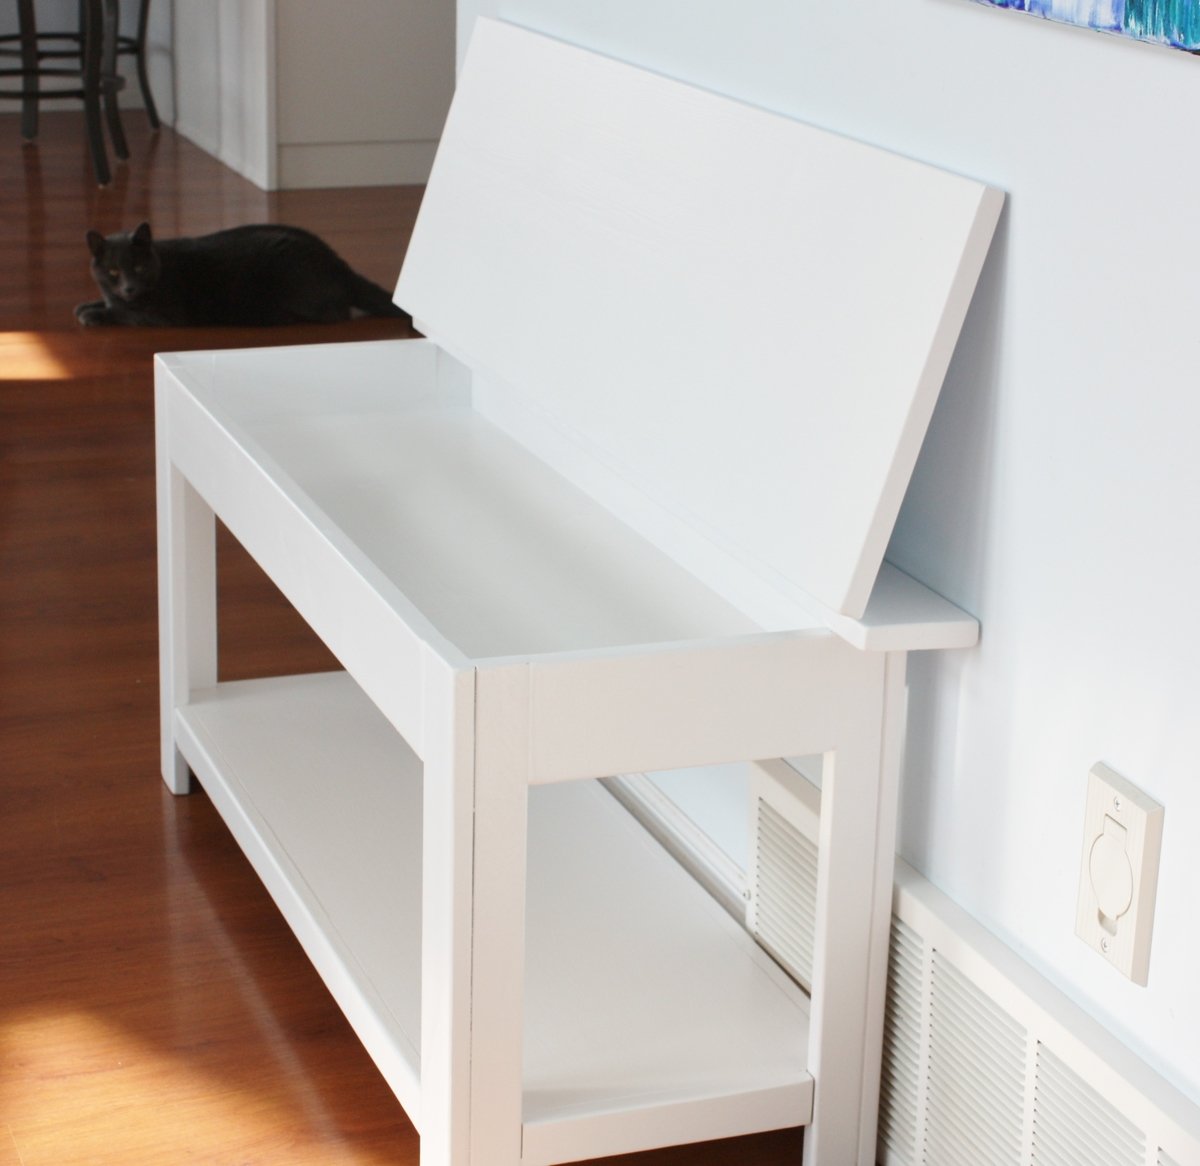
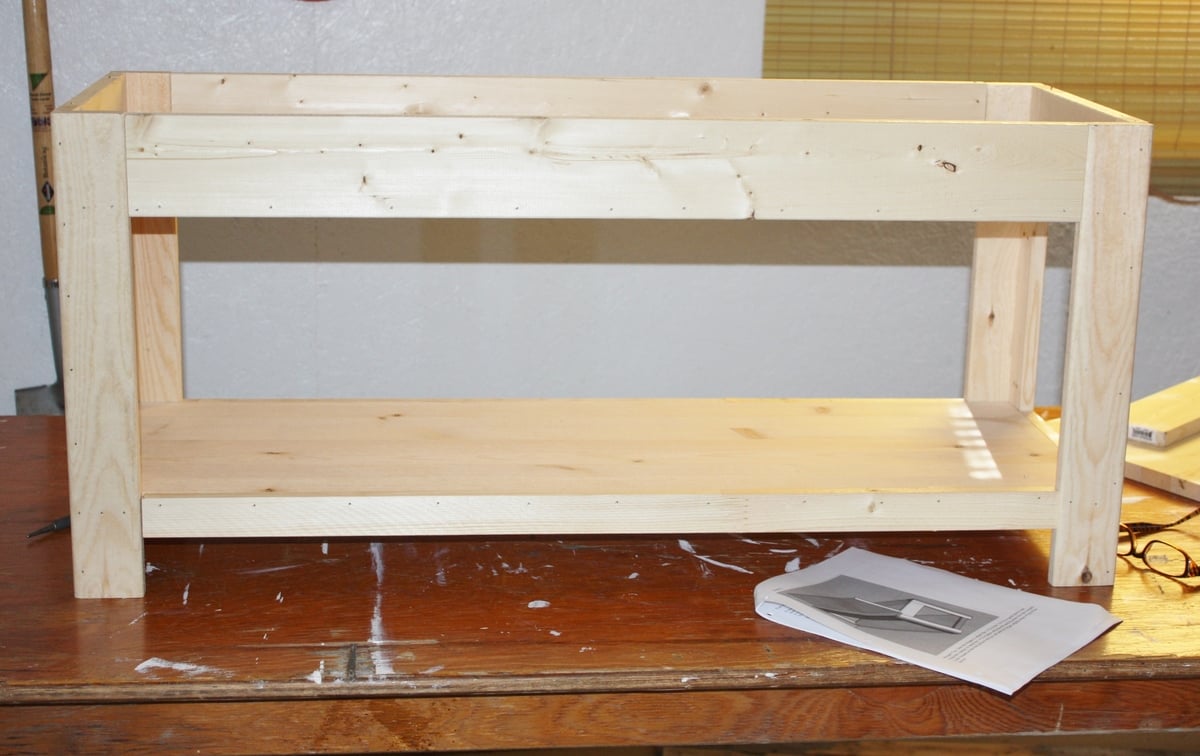
Flip Top Storage Bench
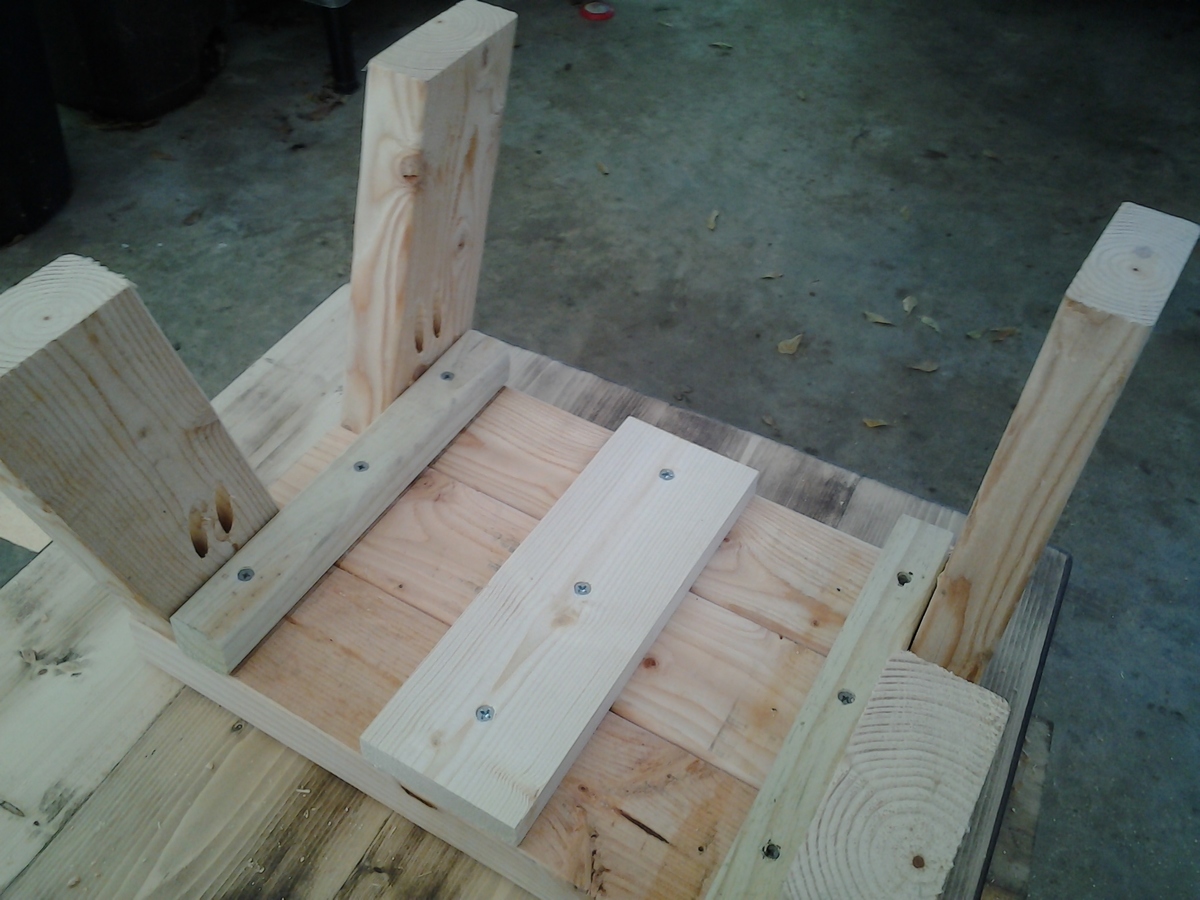
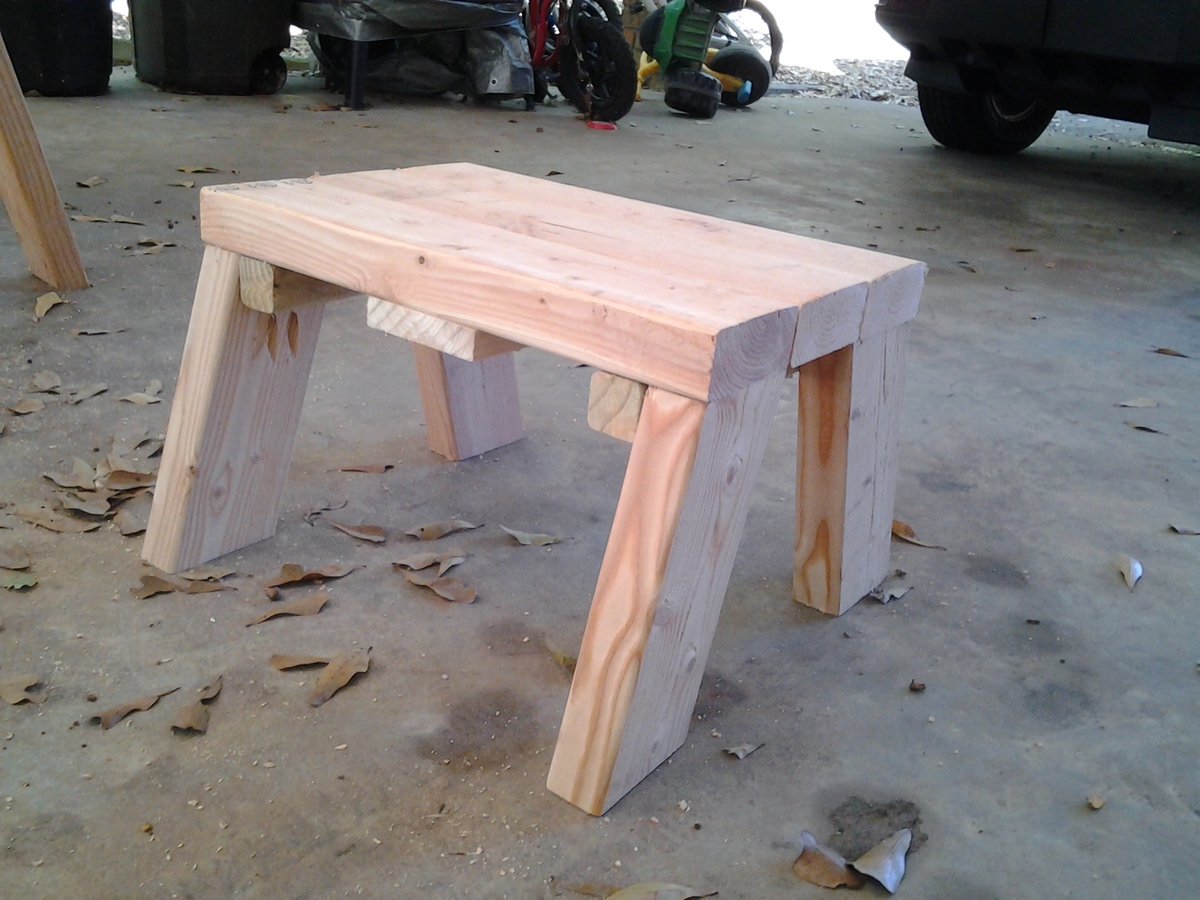
This bench was so easy to build! It's the first project that I've built completely with the nail gun. Wow does that speed up the process! Thanks again for the great plans, Ana!
Everyone gets projects from Ana-White plans for Christmas this year.
I can't wait to give them away.
This was incredibly easy to build for a semi-newbie! The shopping list and cut list were a huge help! We love Ana-White.com!!!
This was my first ever woodoworking project. I was looking for a good plan for me to use. At first, the kennel was going to be in the living room, but we couldn't imagine spending nights without our little girl in the room with us. The only thing is that the bedroom is quite small. However, the TV stand she was using at the time was lower than the level of the bed making it awkward to watch TV. I decided to create an entertainment stand out of the kennel in order to save space and make the TV at a viewable height.
Well, I already had a kreg jig for a project I am planning in the future. I borrowed a circular saw from my dad and I had a few tools of my own. It took a total of two days from start to finish. I ran into a few hitches because I wasnt using the jig properly, and a few other rookie mistakes, but I fought through and managed to get it done! I can't wait to do some more plans from this site!
Tue, 10/11/2011 - 06:21
It looks to be plenty large enough for your pup and an attractive and functional piece of furniture too. I just love multi-function furniture. Nice job!
We adapted the original barn beam ledge plans on a much larger scale to occupy the bare wall space above our couch. Each ledge was 5 feet in length.
I wanted an easy way for my girls to play with their legos and not have to fight over an area or who had the Lego bin. So I took the plans and tweaked them to have a cutout and storage area for legos. I built this by myself in two days. I had to wait till the kids were asleep since it was a Christmas present. All in all it took maybe 2 hours to build and another 2 for sanding and painting.
Wed, 12/30/2015 - 16:21
Great job! I love the space for separate builds and storage underneath.
I have just finished this project one thing I recommend is the pneumatic lifts for the lids they are 10 dollars a piece and make a huge difference
This is made from Pecan. Its the first dining room table I made. It is finished with Teak oil.
I've never built anything before. Not a single thing. When I couldn't find a bookshelf I liked in any stores I decided to build one and modified the 25 Cubbies On A Wall design to make it something a little different.
I'm stoked with the result.
Thank you for such a great site with wonderful plans.
My partner has now asked me to "whip up" a kitchen island, entertainment unit, more bookshelves and the list goes on.
I might need to look at some more of your plans.
Wed, 10/19/2011 - 16:19
I don't really know how to describe the wood because I'm truly a novice, but here goes:
It's 29cm deep and approximately 2cm thick.
The bottom shelf is 2m long and each cube is 40cm x 40cm. So to build this I got 2x 200cm sheets, 1x 160cm, 1x 120cm, 1x 80cm and 21x 40cm.
I measured and marked then glued and screwed the verticals to the shelves, then used dowel and glue to attach each row to the row below.
I decided to put feet on the bottom so I could lift it above the skirting boards on the floor and have it sit more flush against the wall.
I hope this explains it OK.
Sun, 10/16/2011 - 11:58
looks like 1x12, but you could do it with 1x10 just as well.
That's a slick design, too.
Wed, 10/19/2011 - 16:27
Thank you for your comment. I knew I didn't want a standard everyday bookshelf design and when I saw the "25 Cubbies" design my little head started ticking over and this is what I came up with.
I've seen a few similar things around, but nothing fit exactly what I wanted and there was certainly nothing of this size for a reasonable price.
You can imagine my joy when I found this website and the plans that I could modify to build exactly what I wanted.
I'm really very happy with how it worked out!
Wed, 10/19/2011 - 16:36
Thank you for taking the time to post your comment.
I'm really happy with the end result.
I never thought I'd be able to put together something like this. I always knew I could hammer a nail or put in a screw, but to build something that's actually functional and looks kinda good too, I never thought I'd be able to pull it off.
Needless to say, my confidence is now soaring and I'm looking forward to my next few days off work so I can do some more projects for around the house.
My father has asked me where I get my building skills, to which I reply with a grin that I don't know but I always thought I looked a little like the milk man :)
We needed a couple of sturdy step stools for the bathrooms. My boys are not tall enough to reach the sink for hand washing and teeth brushing. Wally wanted $8 for a plastic thing. So I headed to the big orange store and bought a few 2X4's. $12 for both stools, plus the paint and screws which I already had.
I used the plans from the Skipper's Stool for some of my cuts. But I used 3-2X4 pieces for the top and shortened the legs to 10 inches. I was going to put on the side stretchers but it was super sturdy with the pocket holes and 2.5 inch pocket hole screws. So I left them off. A few coats of paint and they are good to go. Two of my boys can stand on one so that makes them a hit.
I wanted something quick and easy to display or hold magazines or blankets. I used two 3x5x8, cut the bottom at 5 degrees and the top that leans against the wall at 85 degrees. You don't have to do this, but I liked the look. Last, I drilled 8 holes at 1 1/4" diameter to fit 1 1/4" dowel cut in inch increments: 18, 17, 16, 15, 14, 13, 12, 11. I used a brad nailer to hold the dowels in place from behind.
Fun and easy project!
IKEA dresser drawers bit the dust....SURPRISE! So I needed a dresser and quick. Then after a trip to our fire fighter museum I decided to make lockers instead.
I used the basis from the beach cottage dresser, omitted drawers and used shelves and doors instead.
My husband and I built this after the Rustic X coffee table won us over. The end table building plan is awesome, straight-forward, easy to follow. What we have learned from building the coffee table was that it is much easier to finish the frame and then mark the 2x2 against the bars for exact cut. We tried following the cut list, but turned out if the other cuts are slightly off, or the table is not squared, or the wood is not straight, then there may be a slight gap. So marking the 2x2 against the built frame was a much easier option for us. Of note, the end table is pretty big. So if you have a smaller living room, you may want to size down accordingly.
Thank you for the awesome banquet plans! The banquet will have cushions added and be a nice place to put an extra table for the kids at holidays. It is also amazing storage.
I saw where another builder had modified this plan slightly to have the square top, and I just loved it. We needed a homeschooling space that would be big enough for my preschooler and his little brother. My guys LOVE their table. I had a glass top that I had planned to top it with because I really loved that about the other table too, but as I wash placing the glass on my finished project it shattered in my hands. I took that as the Lord telling me to hold off on the glass top for now :)
This table and chair set is awesome, sturdy, easy to follow and perfect for our needs!
Tue, 10/25/2011 - 11:33
Really great job! Looks like your little ones like it, too.
Mon, 03/26/2012 - 01:36
Hi, I'm on a time crunch trying to get some projects built this week while my husband is off work & before he might deploy! He just built a desk yesterday to provide some work space/laptop space for me & it turned out amazing! The other thing I really want to complete is a kids table/chair set & I was considering your design after seeing the cute picture of your kids & how large the table appeared with them sitting at it. Can you tell me, are there plans for this one & if so, where or what it is called & also how tall your table is & what the length/width of the table top is? It looks like a large work space/surface on top which is something I'm hoping for with a preschooler homeschooling & his little brother to use together when he's older (still a baby for now). How old are your kids in the picture?! I'm trying to get an idea how long this sort of table set might be able to get use before it is outgrown like our current set. Any other tips/help would be great if you have the chance! Thanks so much!!!
Mon, 03/26/2012 - 01:42
Hi, I was wondering if you could tell me where the plans are for this table & the size of your table top Length/Width? It looks like a large space with both your kids using it - how old are they in the picture (I have a 4 year old and an infant). I'm wondering if my 4 year old & his friends would fit this table well with room to grow into it. Anyway, any tips if we were to build this? I have my husband home for a week & he built a desk yesterday that turned out amazing (one of the modular type plans that Ana shared). Anyway, if you are able to respond quickly, I'd love to try to run to Lowe's today & work on this with him tomorrow possibly. Thanks so much!
In reply to Questions by Guest (not verified)
Mon, 03/26/2012 - 05:16
I used the plan for the storage table : http://ana-white.com/2009/11/plan-kids-large-storage-play-table.html. I just modified the top like I had seen someone else do. I believe it was 31" x 31" or something very close to that. My boys are 3.5 and 2 in the photo, and now at 4.5 and 2.5 they both still have lots of room to grow. They love having their little table just for them.
Hope this helps!!! Good luck!
Tue, 03/27/2012 - 04:58
Thanks! I saw that the other builder posted something about 30x30. Would 31x31 also work or would it be too tipsy if leaned upon?! If you get a second, would you mind measuring yours? I love the color too by the way! My oldest is 3.5 right now so that make me more confident that he'll fit the table okay for a while. He seems to be growing fast these days though, so hopefully he won't outgrow it too fast! Thanks so much!
Tue, 03/27/2012 - 08:41
My top measures 29" x 29" actually. It doesn't seem to be anywhere close to tipping when my munchkins are leaning on it, but if you wanted to do the 31" squared, it may be best to add an extra inch or two to the bottom base as well. Just to insure the stability. It shouldn't be too hard to do.
Hopefully this helps!
This was a kitchen for friends daughters birthday. I used my nail gun on this, made it so much easier:)
Thank you for the inspiration - I love how mine turned out!
Mon, 01/04/2016 - 17:11
It looks beautiful! What did you use to stain the table top?