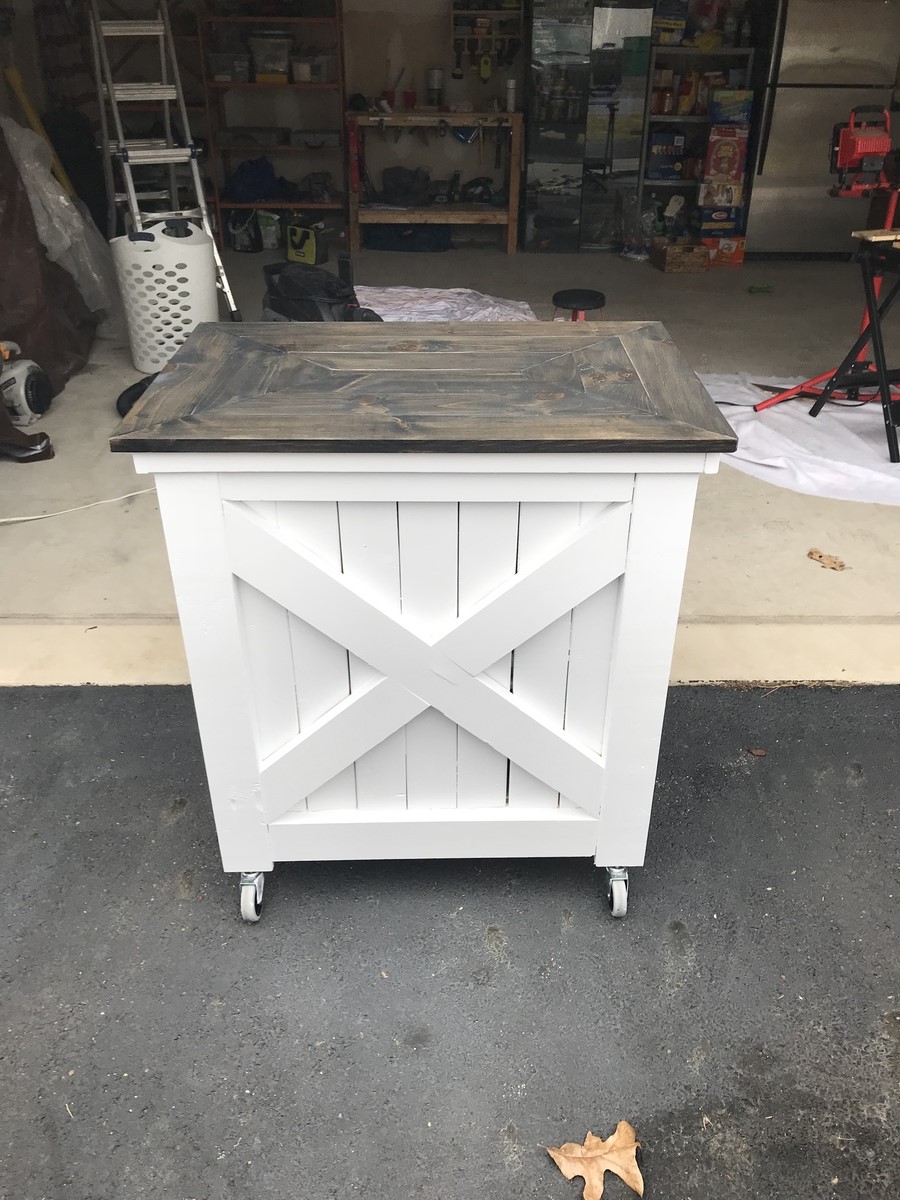
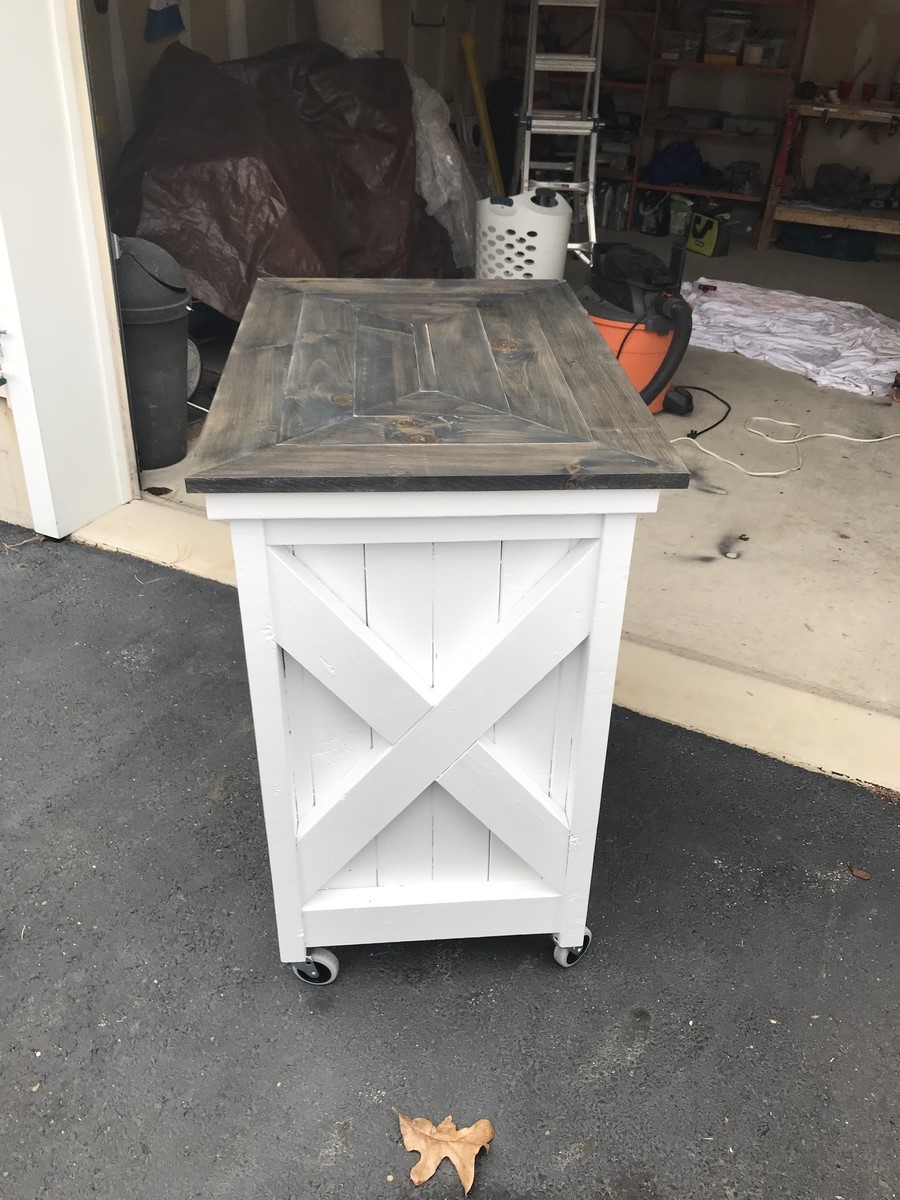
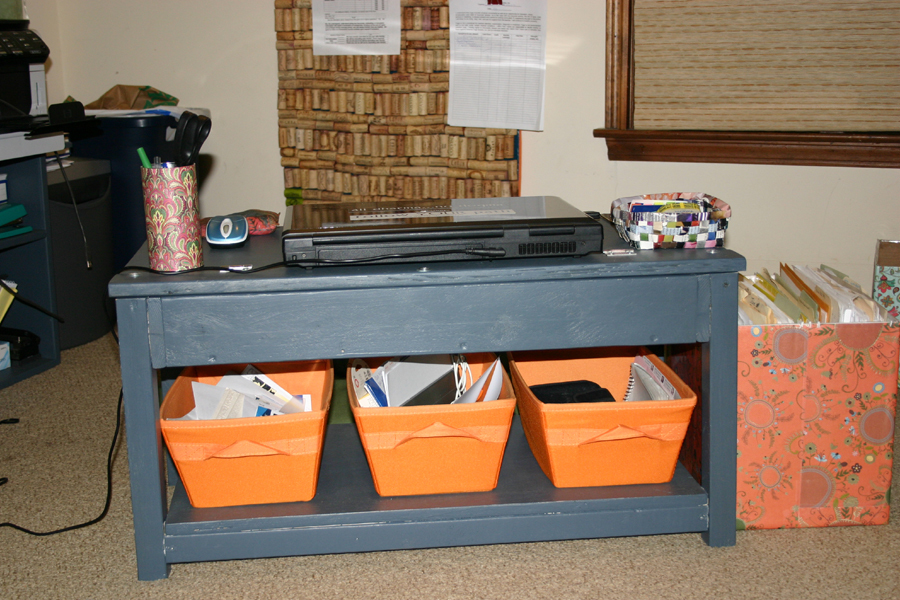
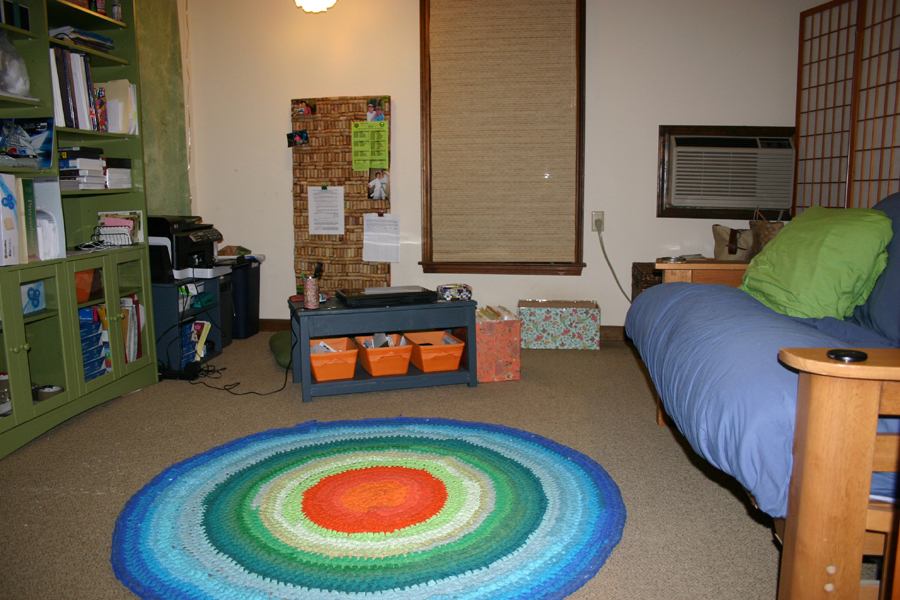
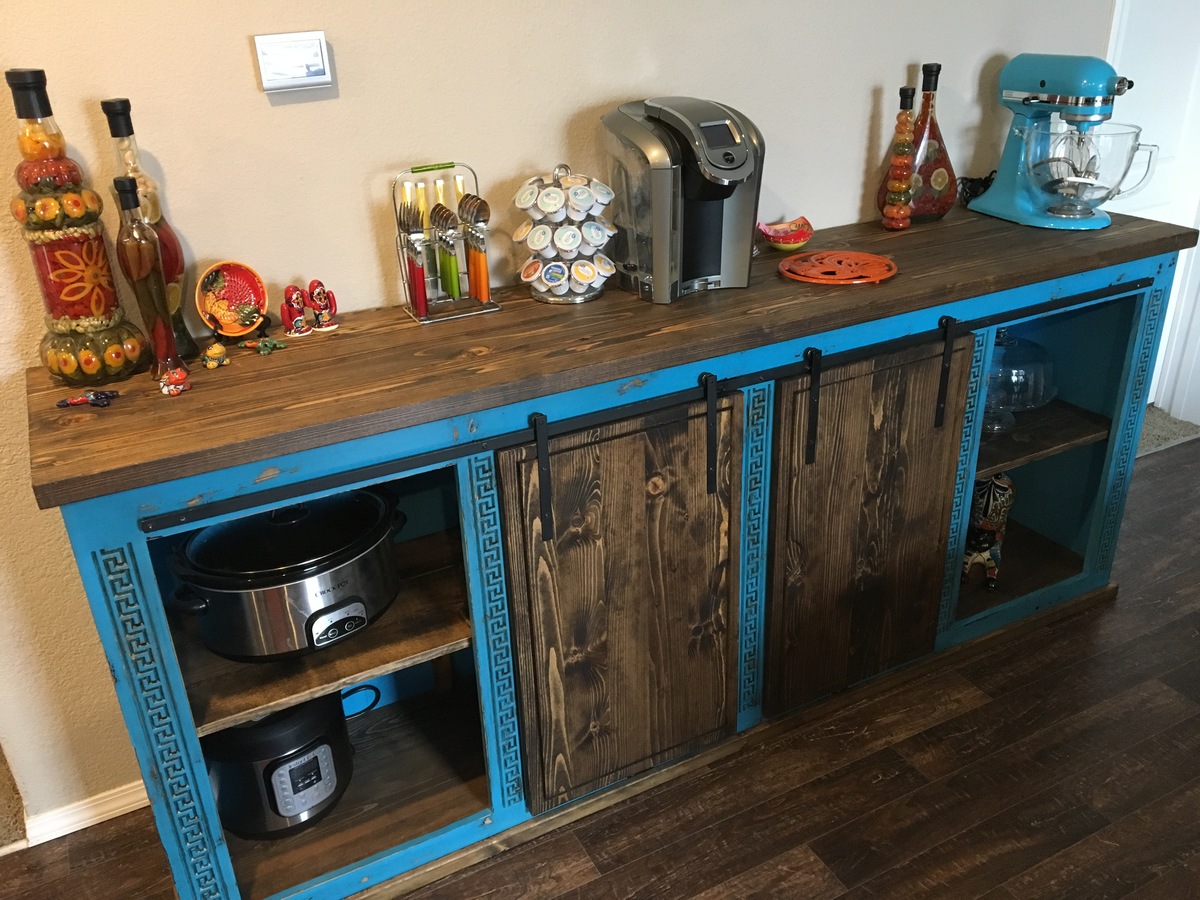
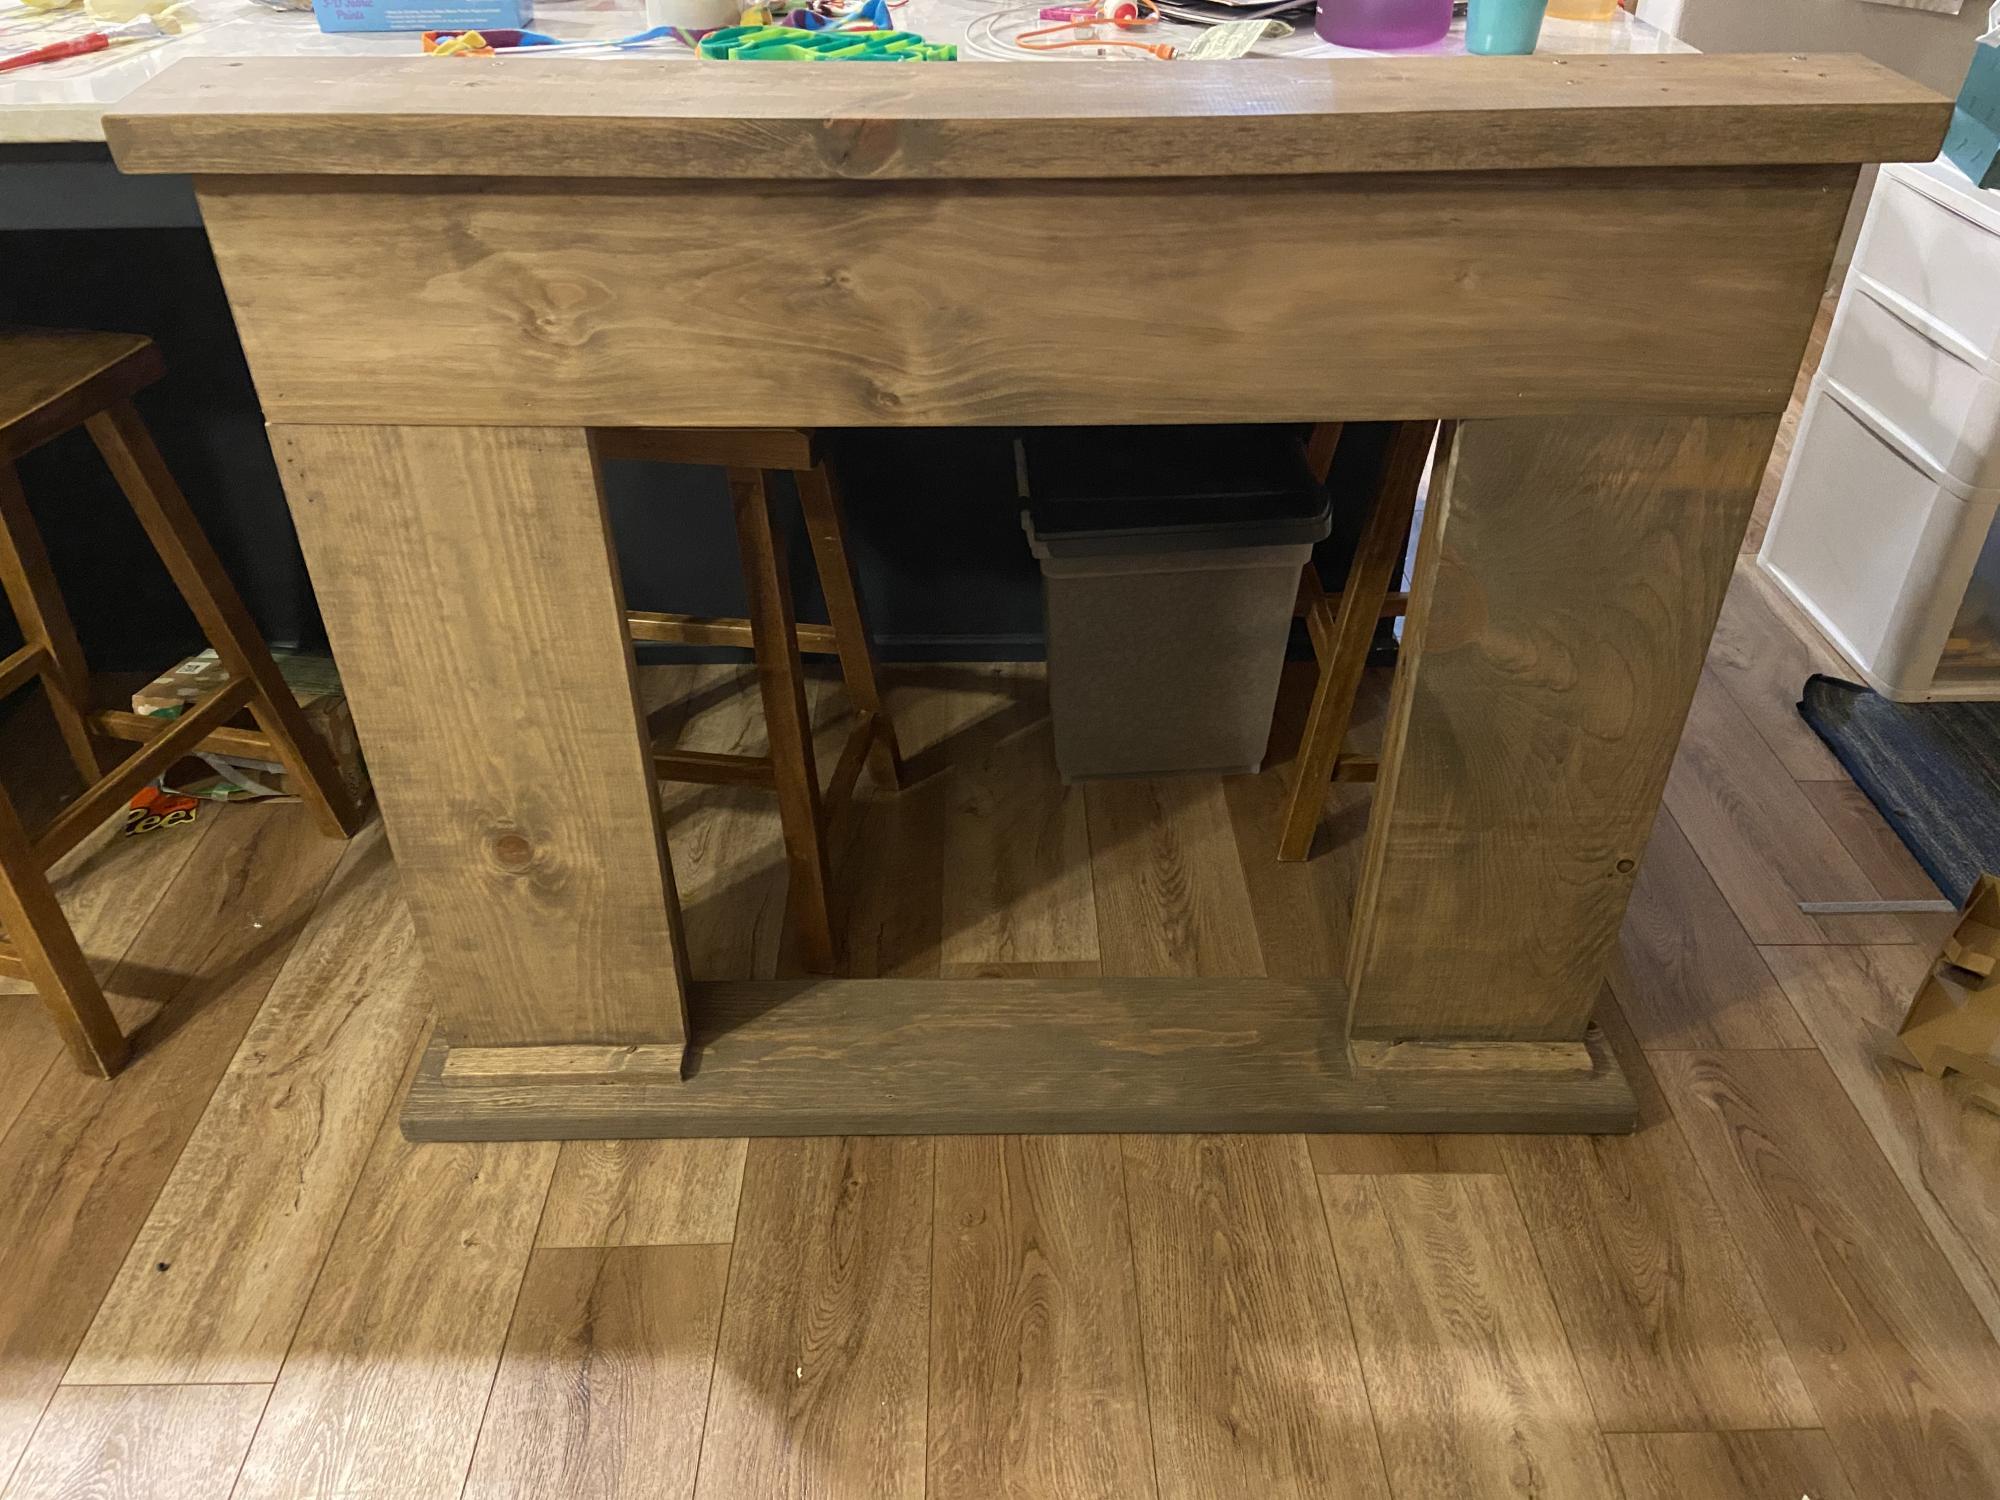
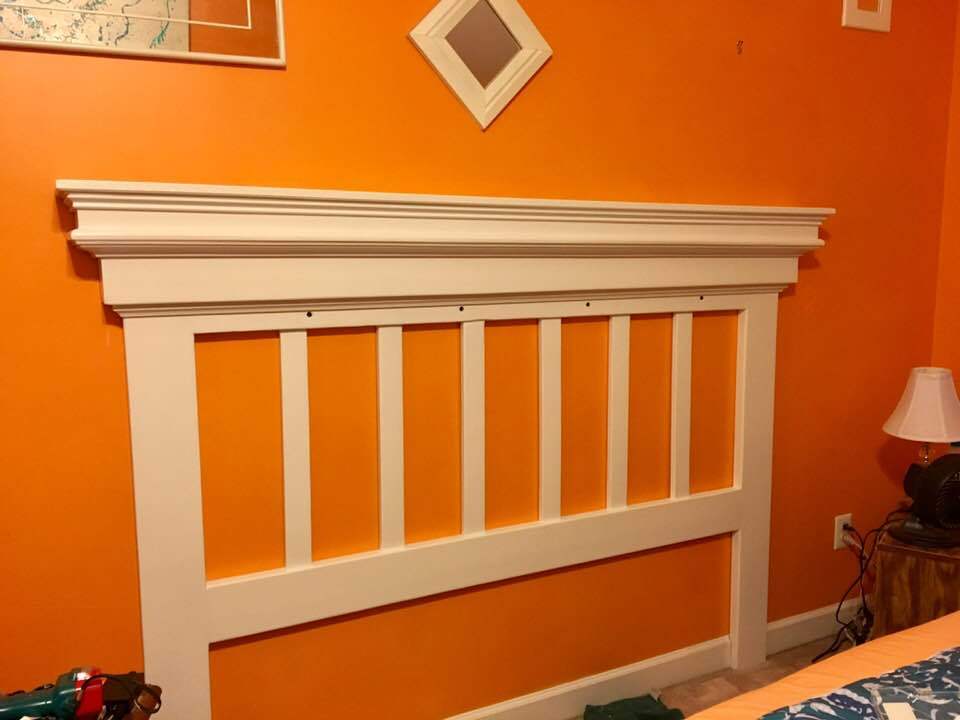
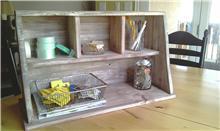
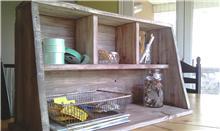
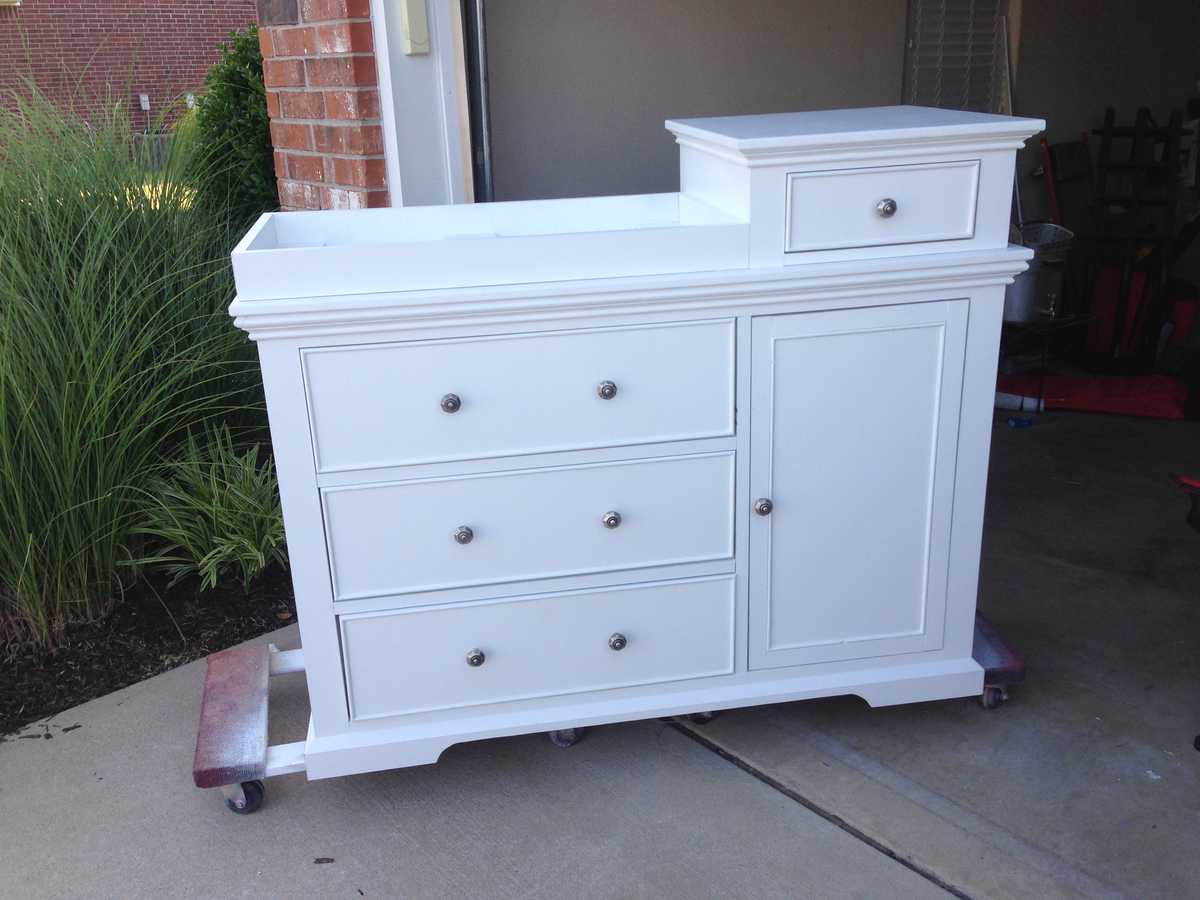
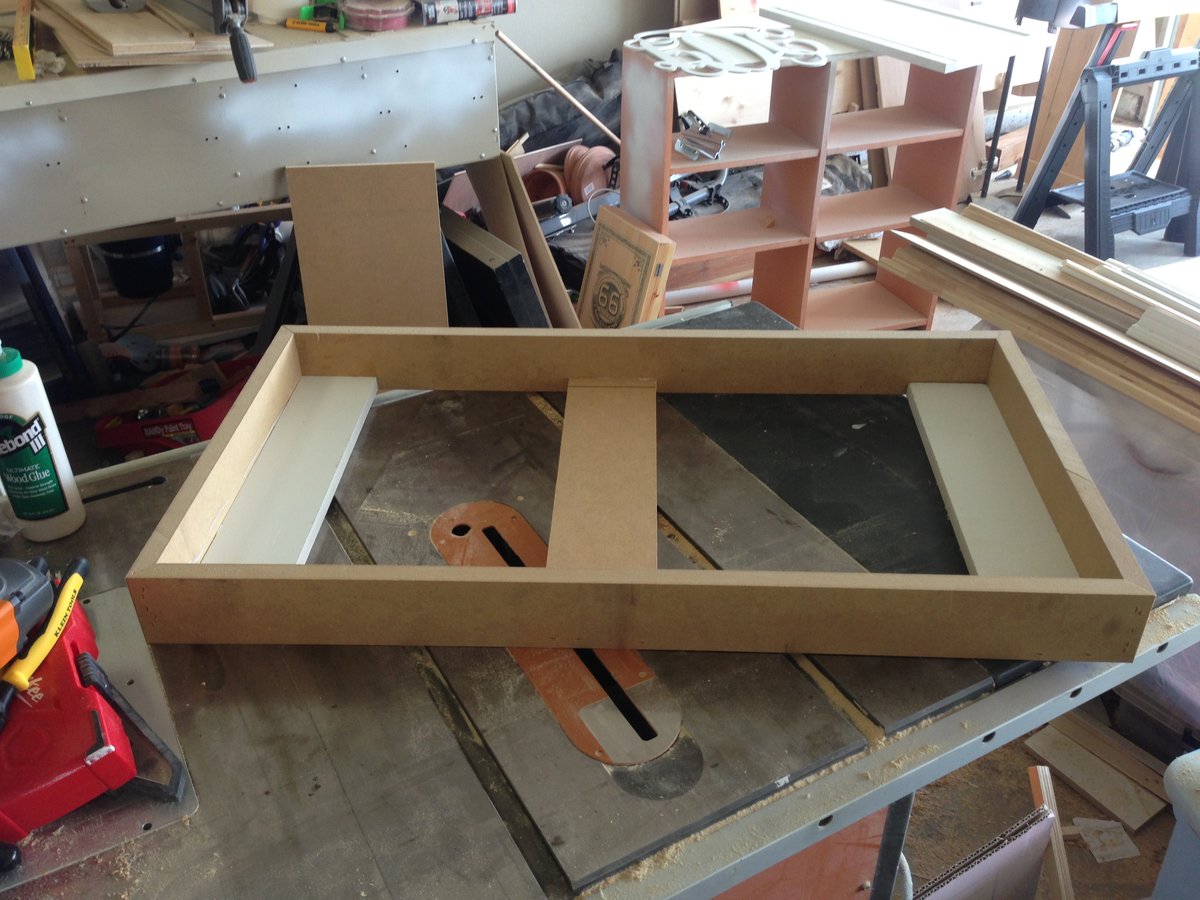
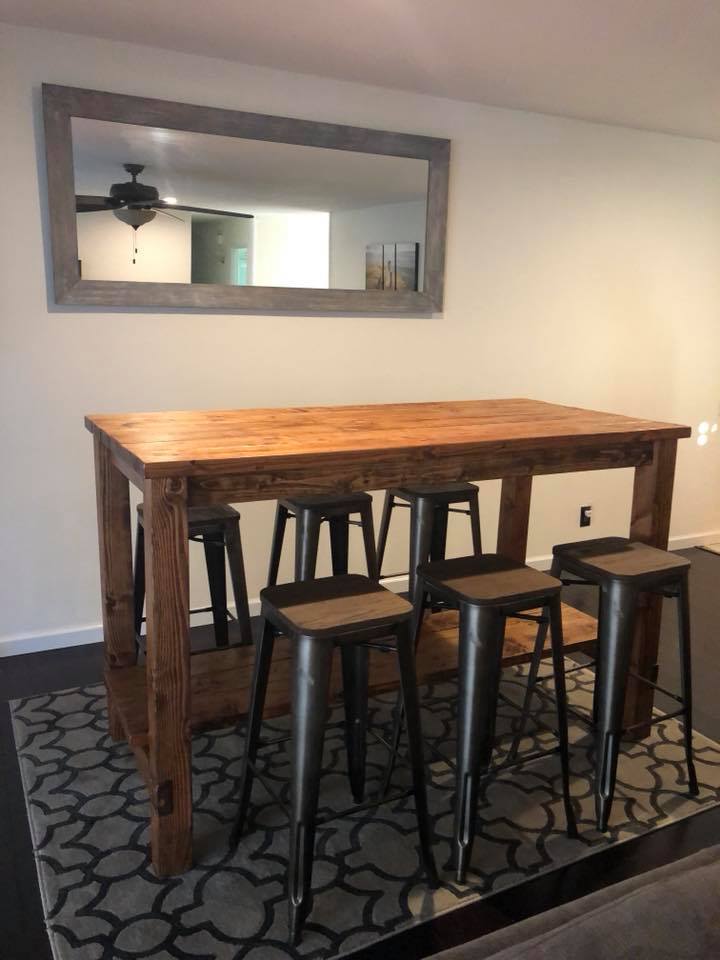
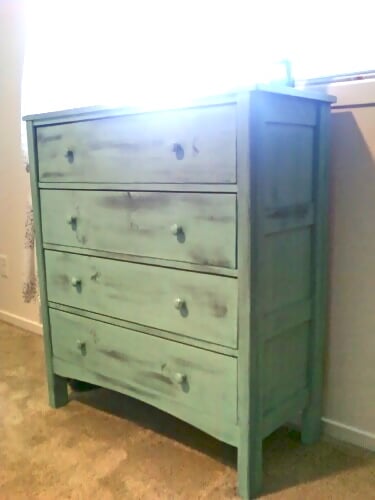
Rustic Kitchen Island

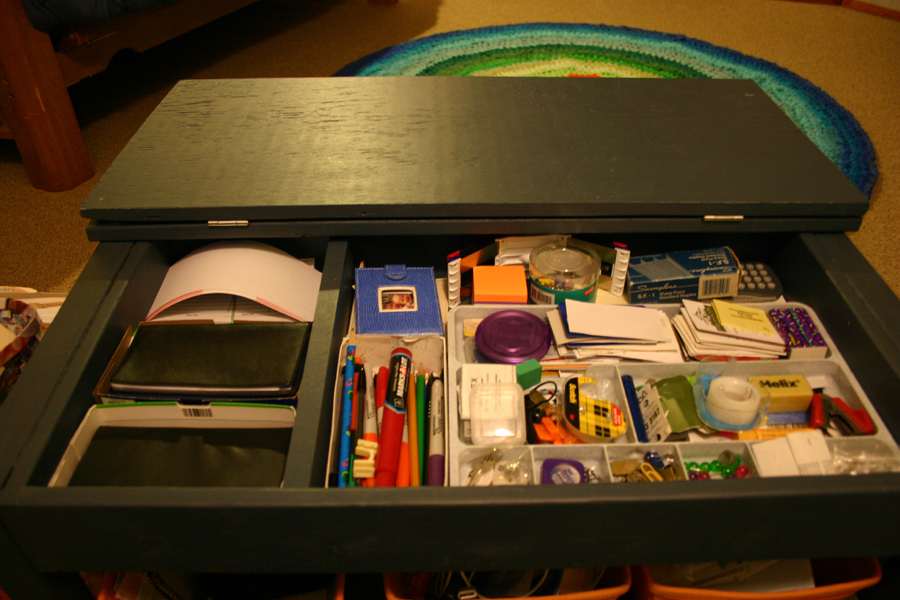
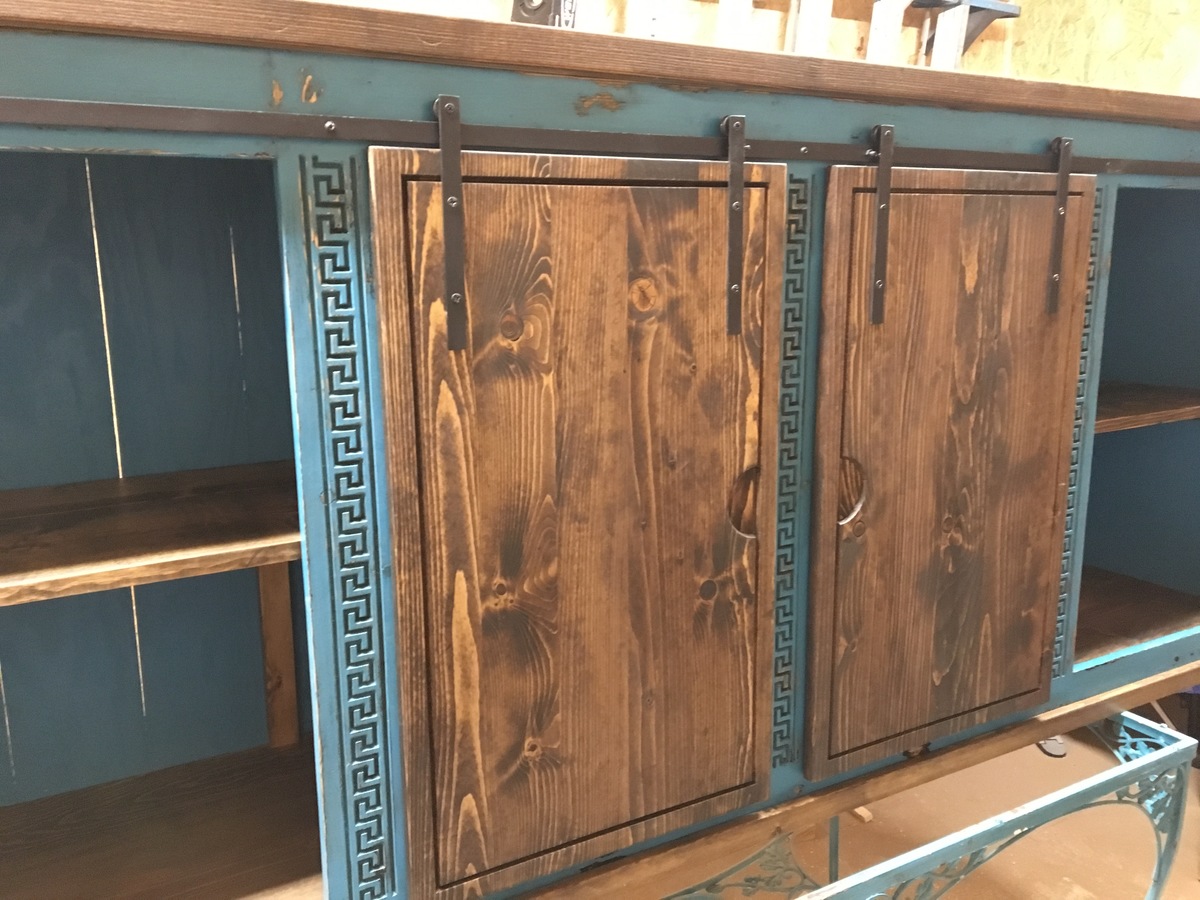
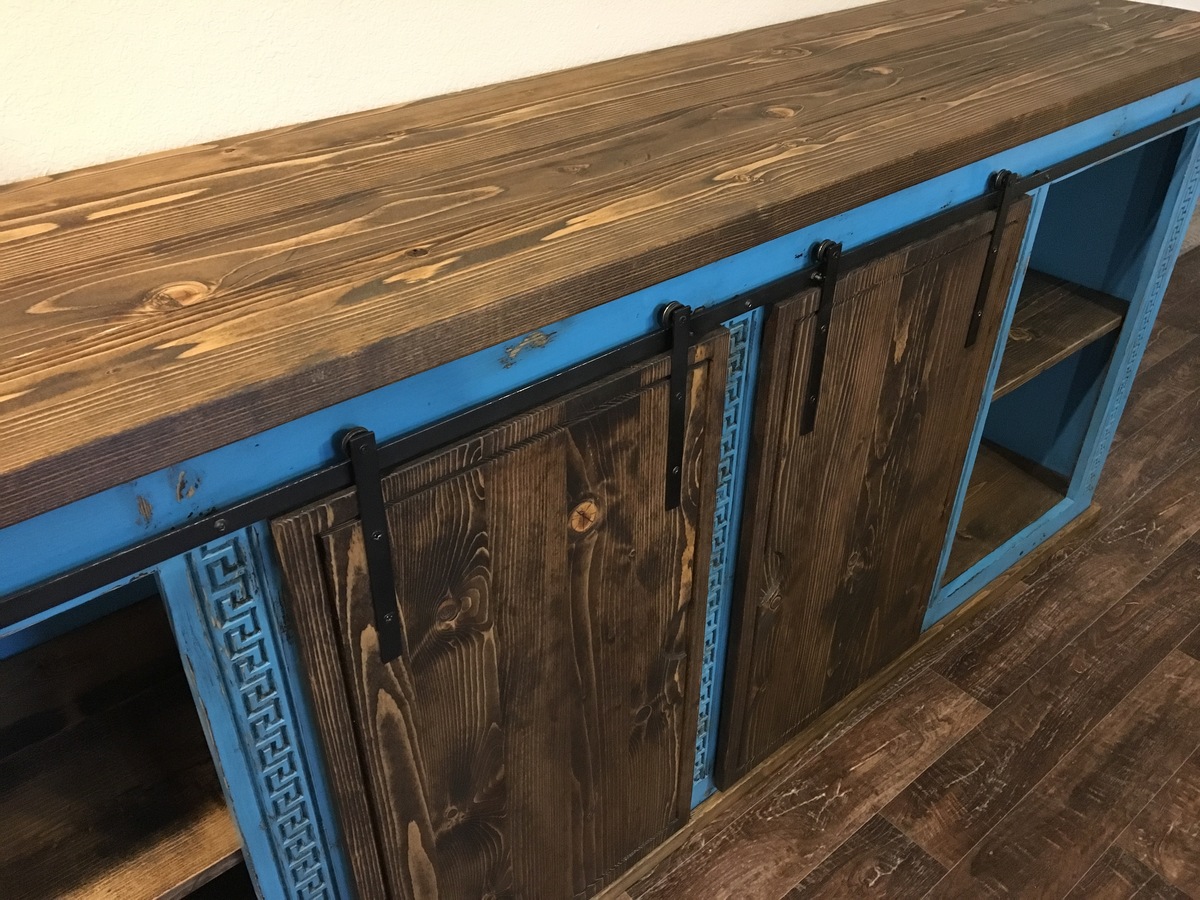
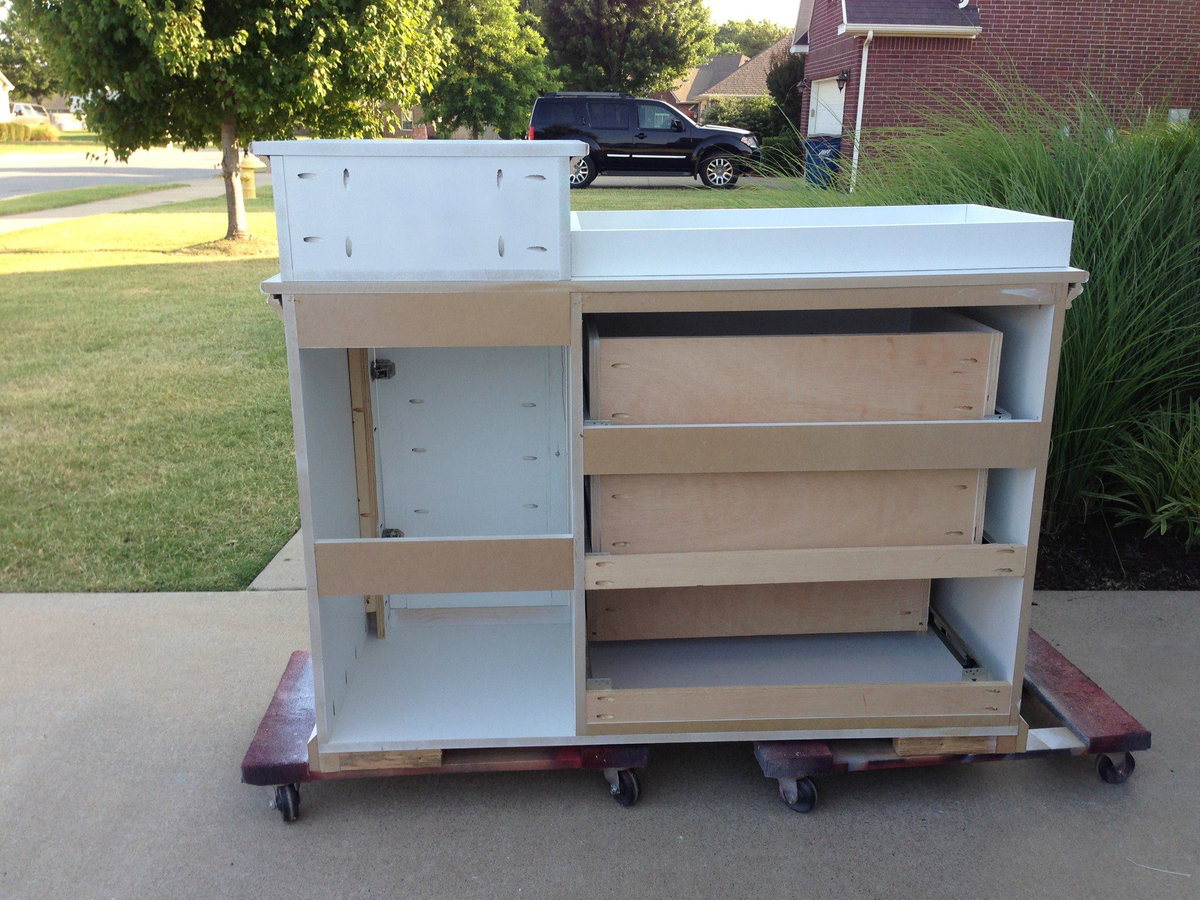
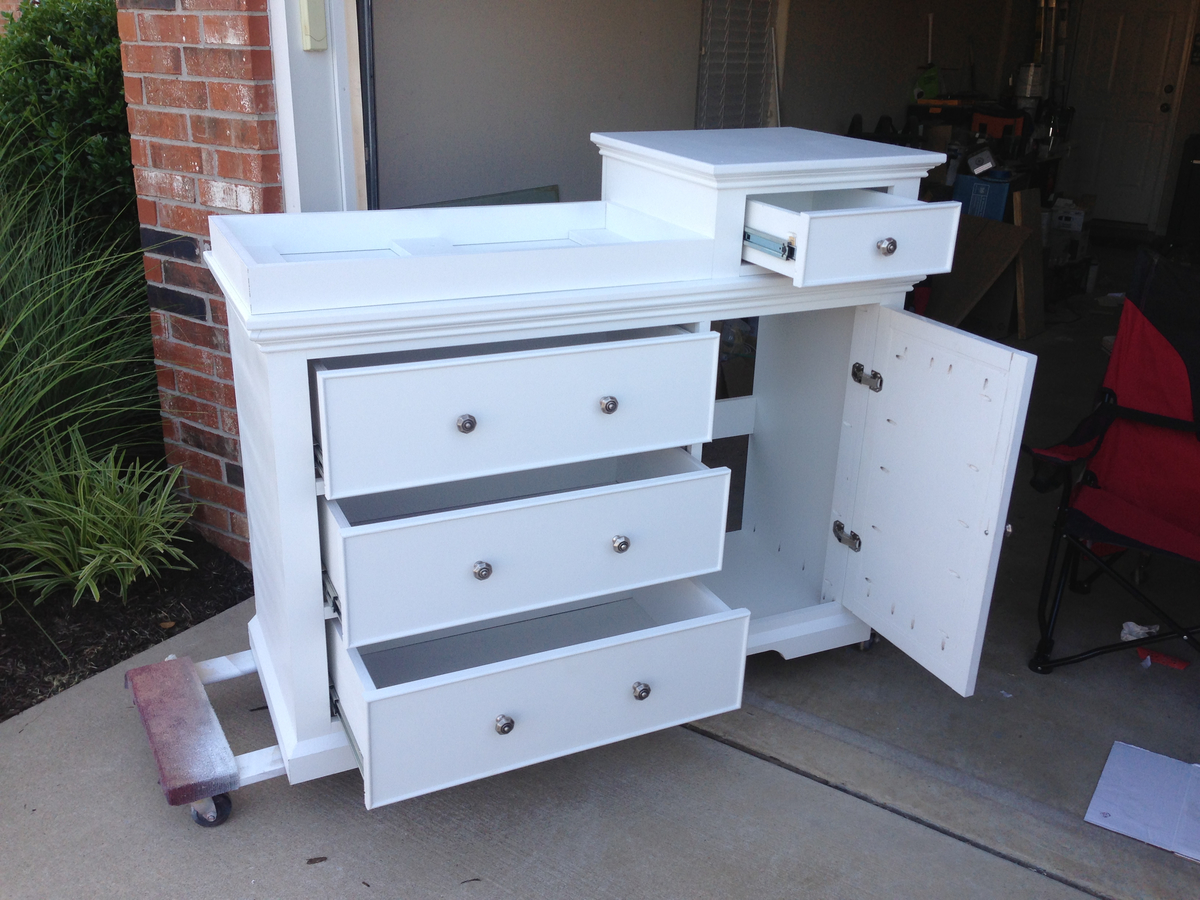
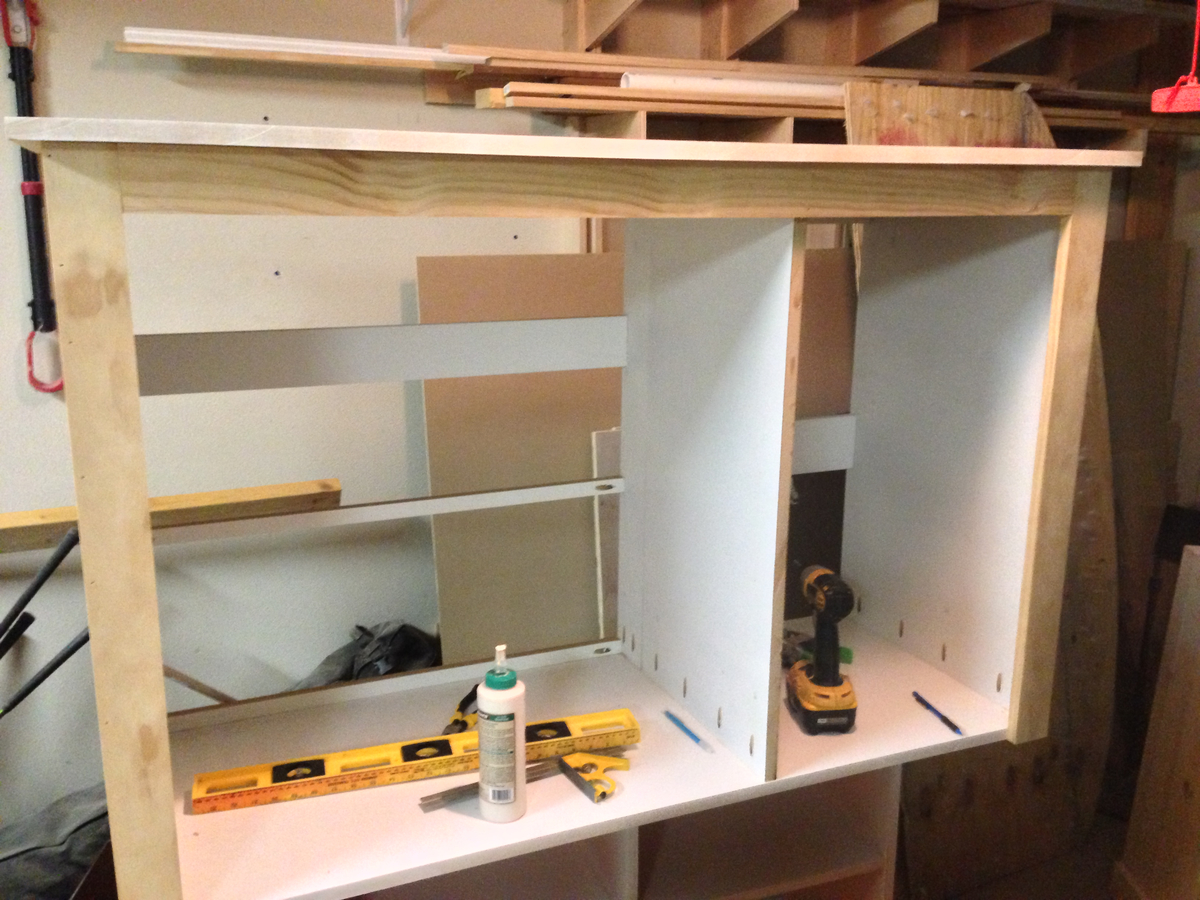
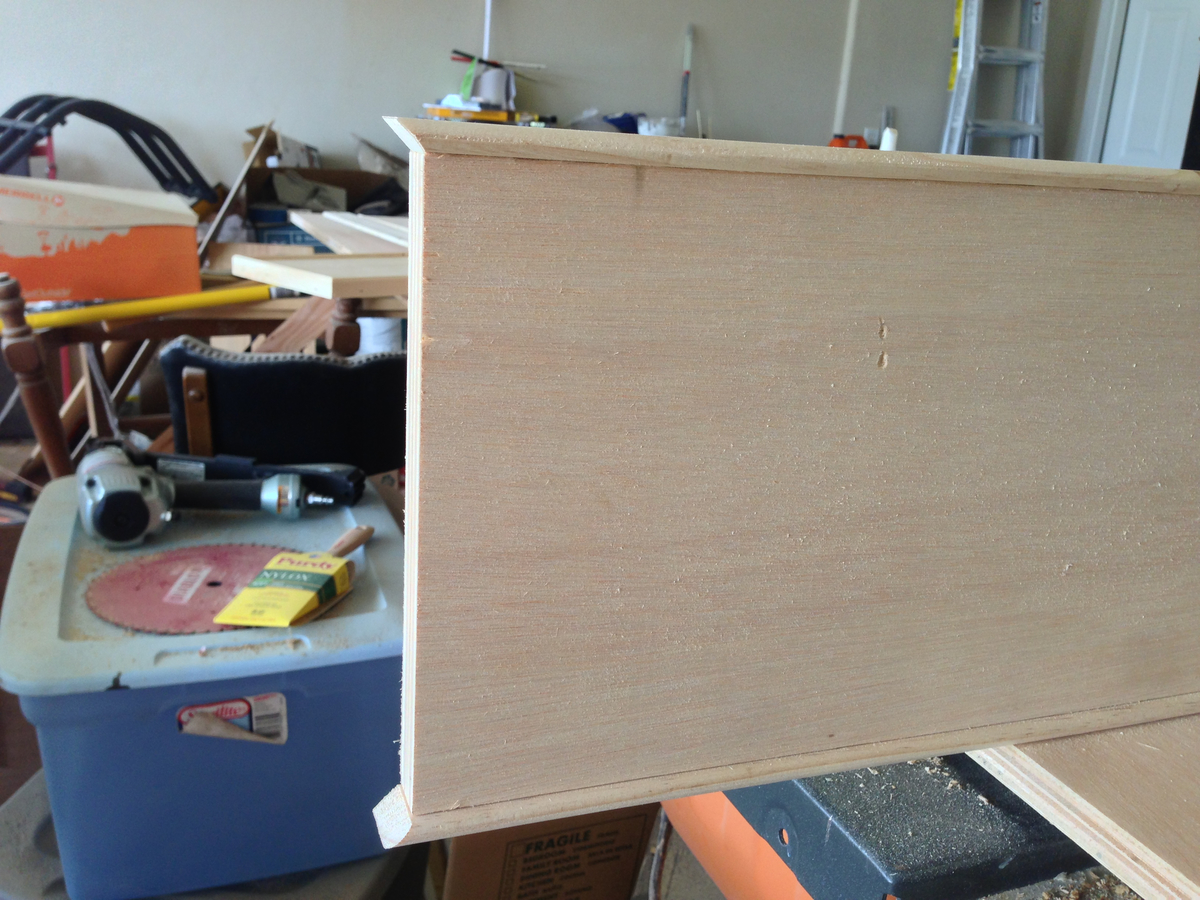
I used the Rustic Kitchen Island plans to build this. I made my own modifications making the draw and the shelves the entire width of the unit. I also used 1x2’s behind the X’s to give it more of a barn look.
Built from Plan(s)
Estimated Cost
$100
Estimated Time Investment
Weekend Project (10-20 Hours)
Finish Used
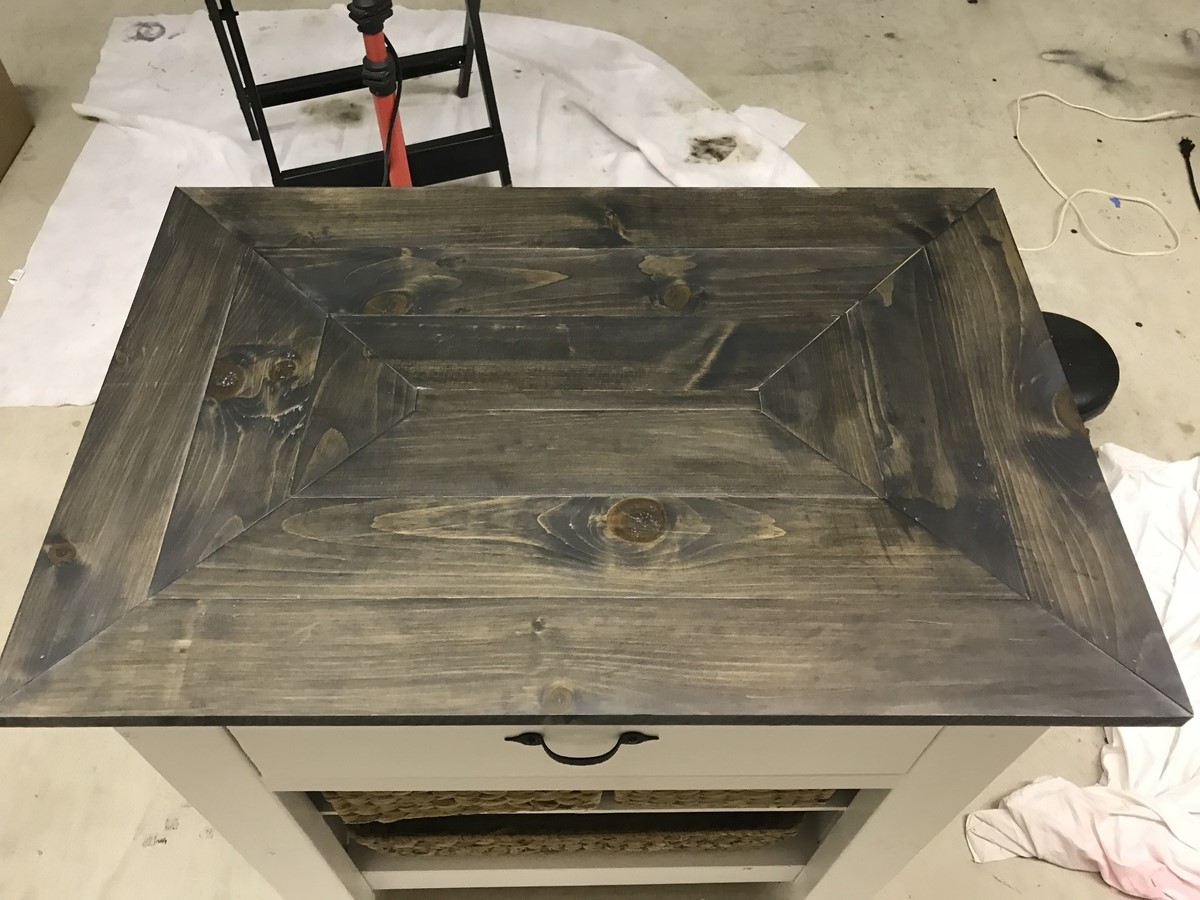
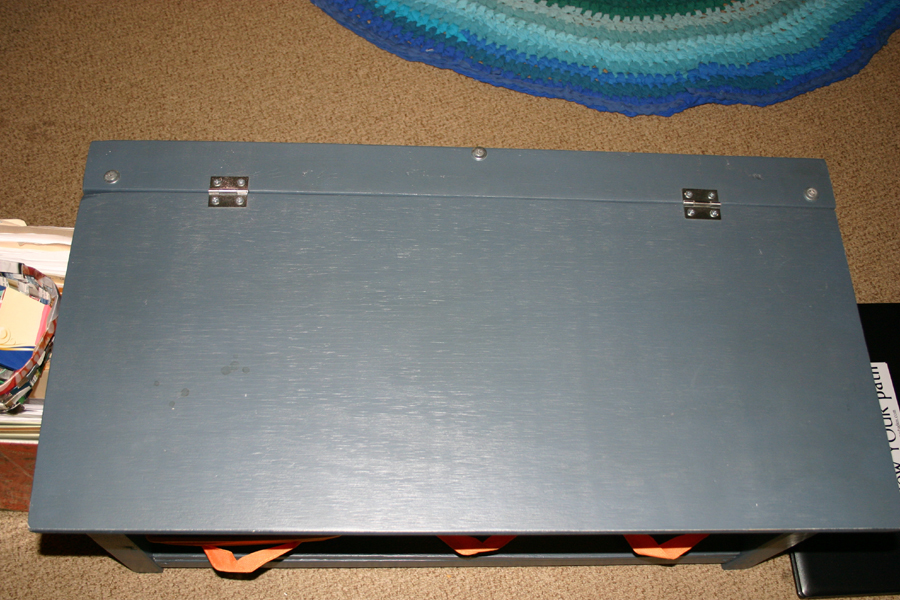
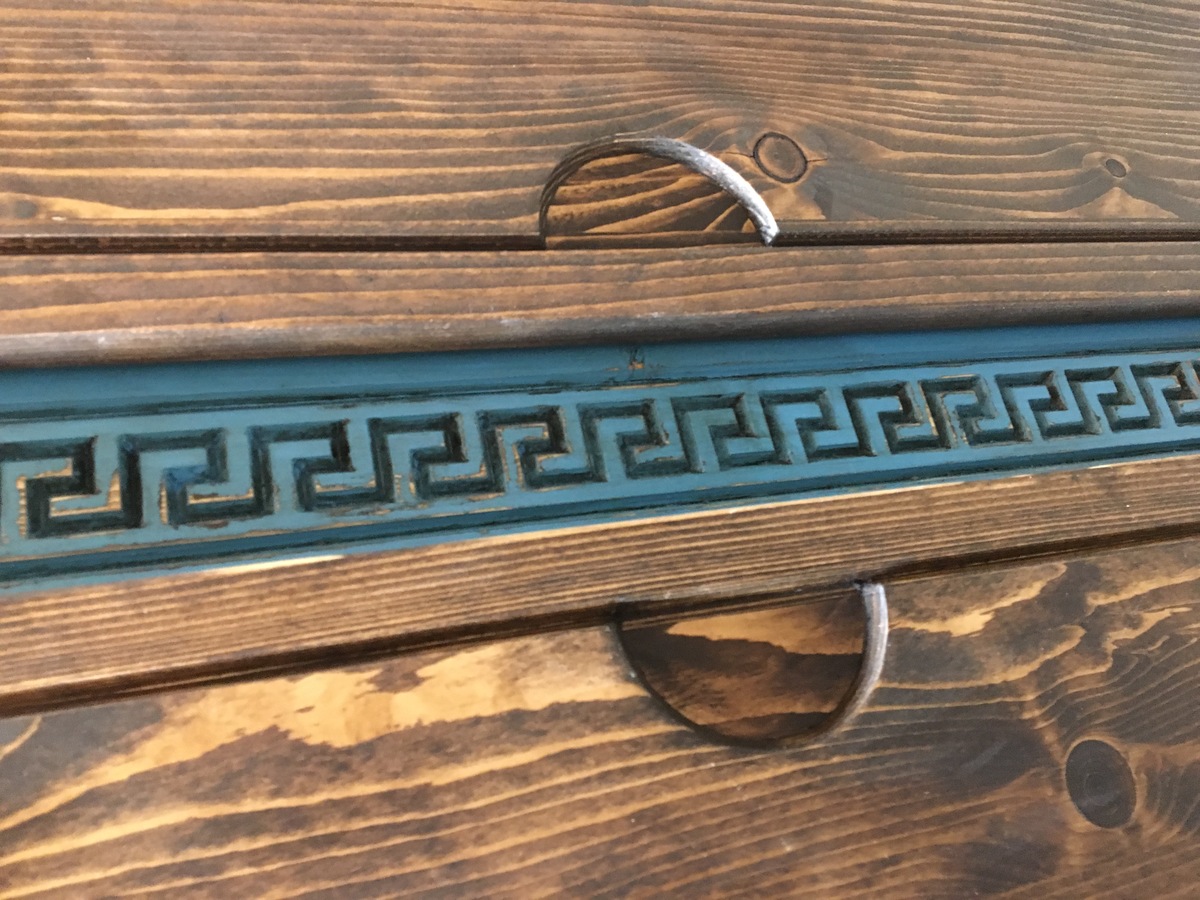
I used a white satin enamel from Lowe’s on the body and the top I used Minwax weathered gray and then rubbed ebony in lighty over it.
Recommended Skill Level
Advanced


Comments
cslavinsky
Mon, 09/17/2018 - 07:34
Love the top of this - great
Love the top of this - great job!