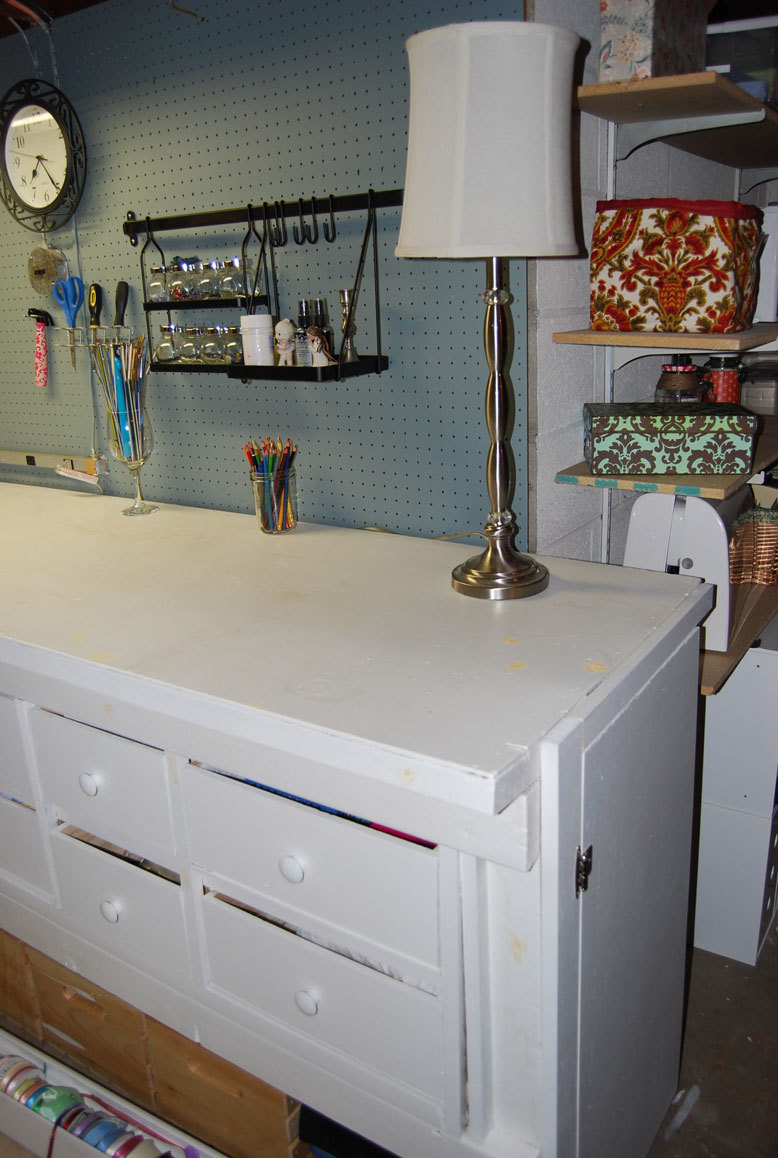
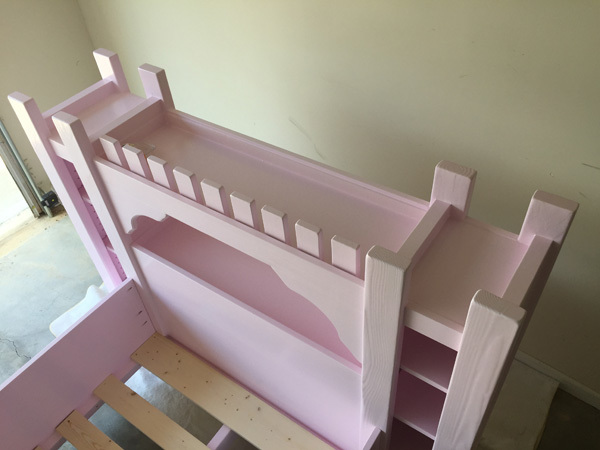
Dresser
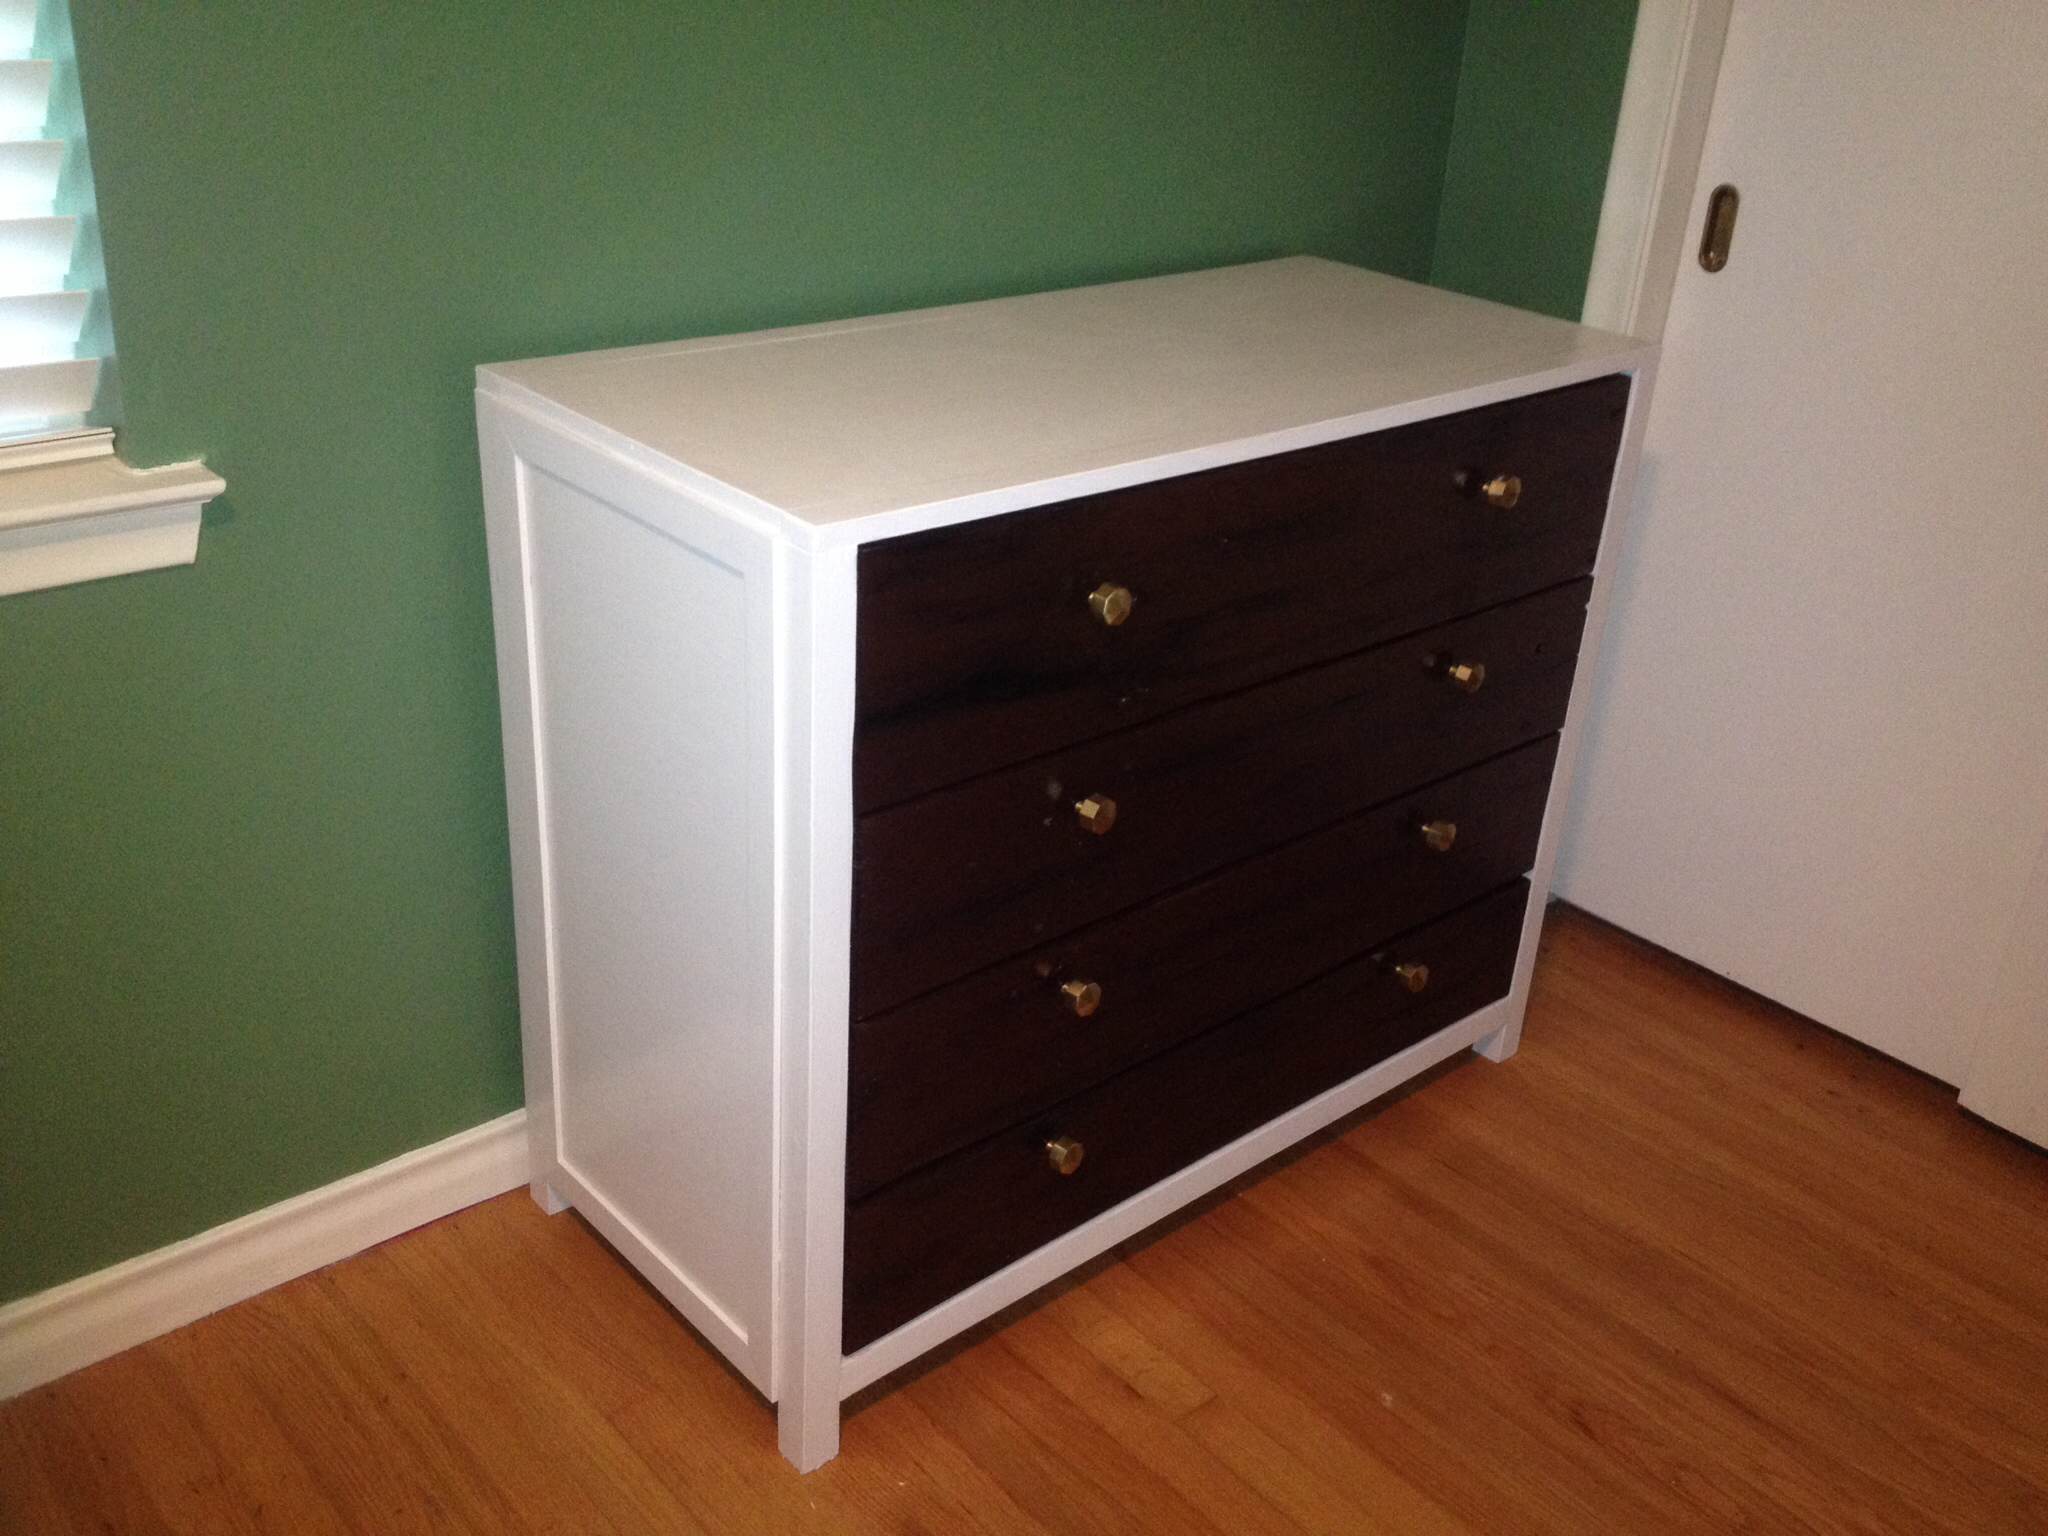
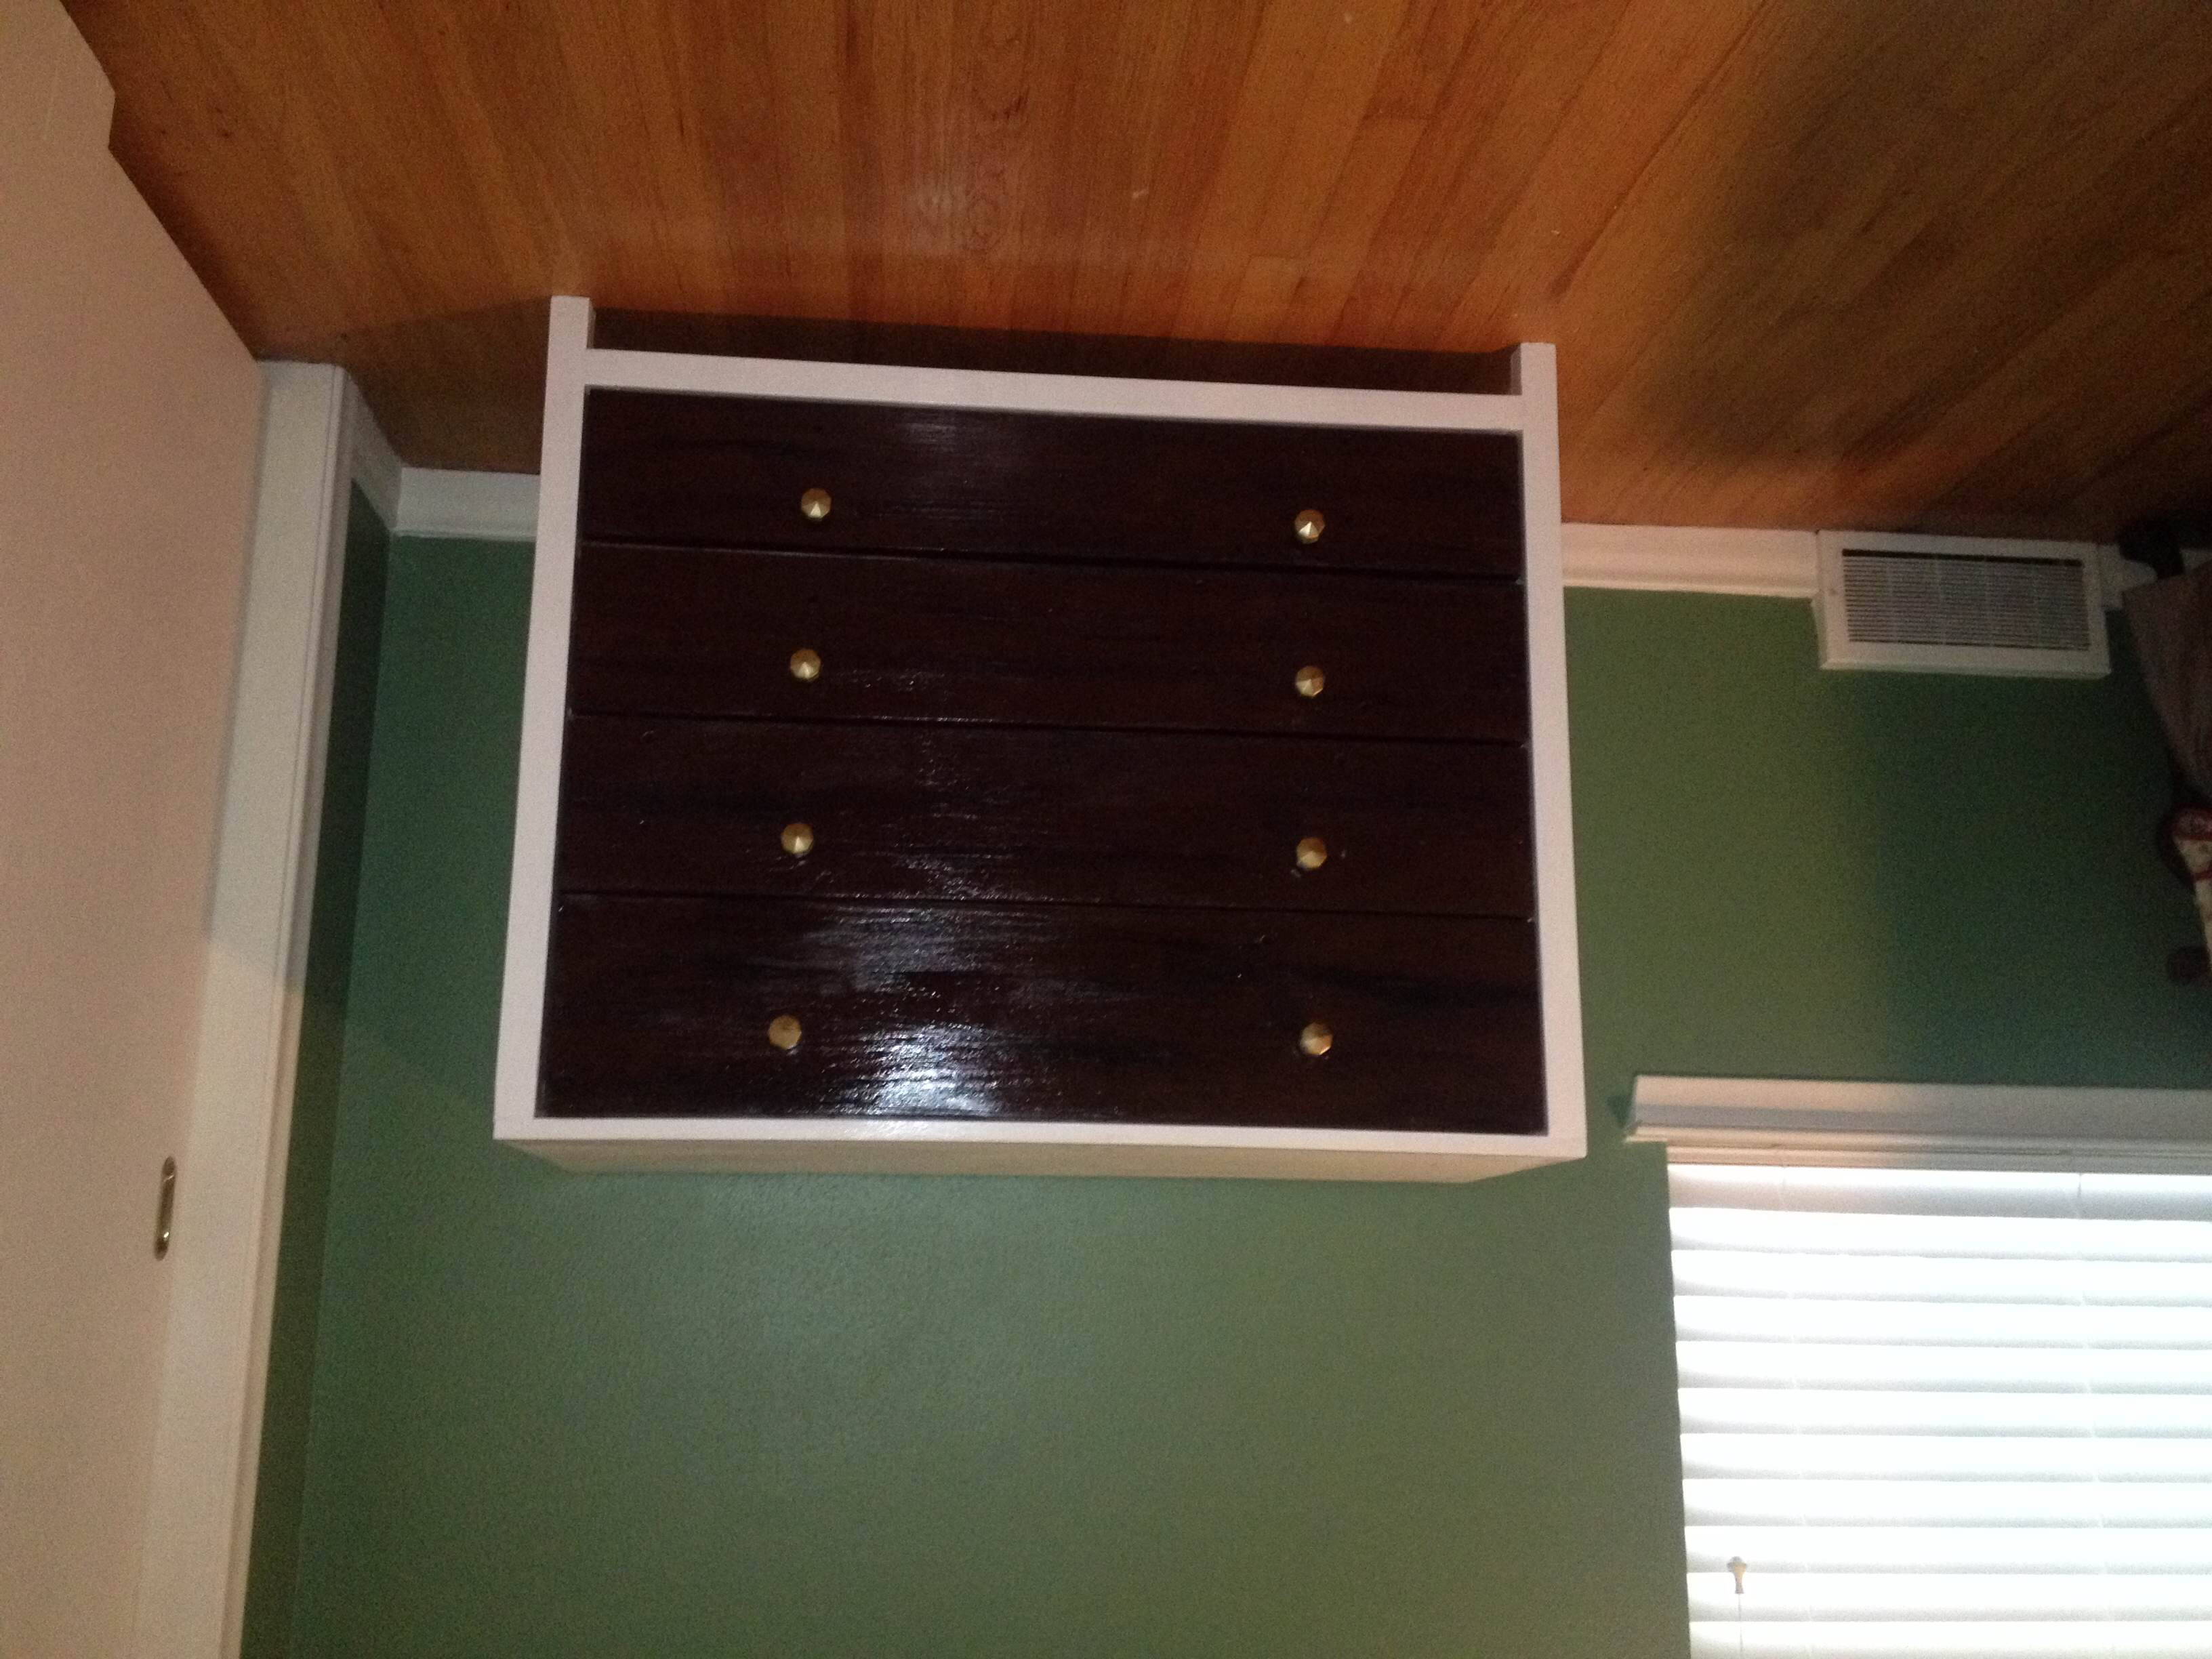
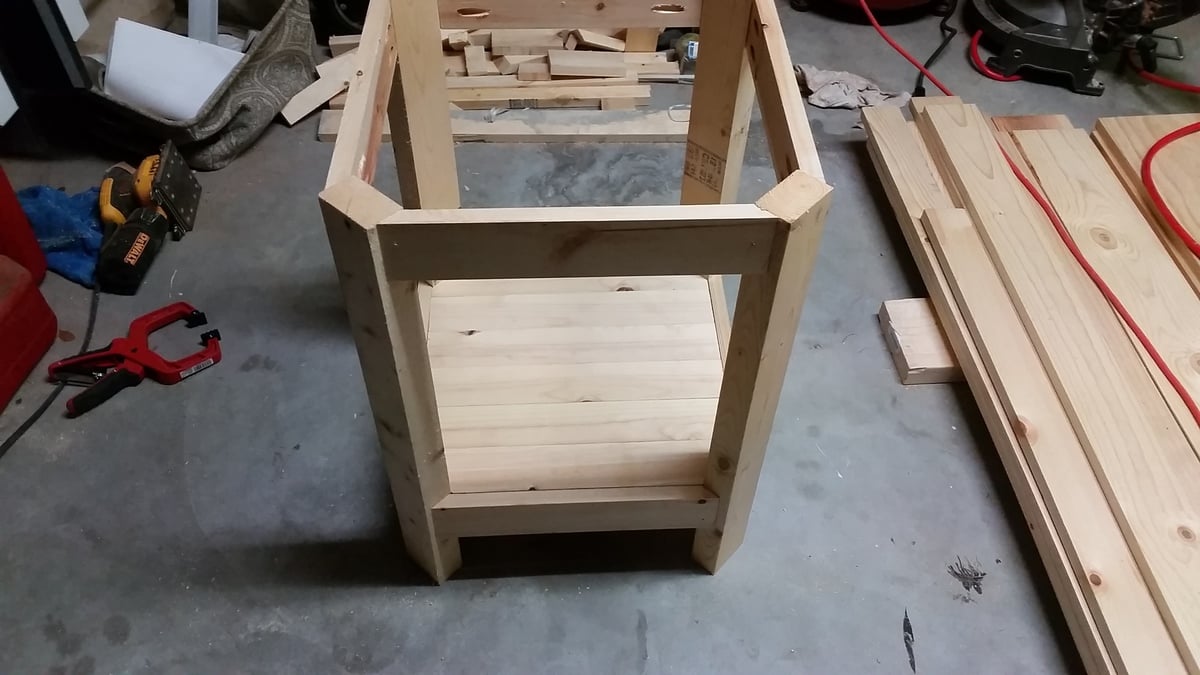
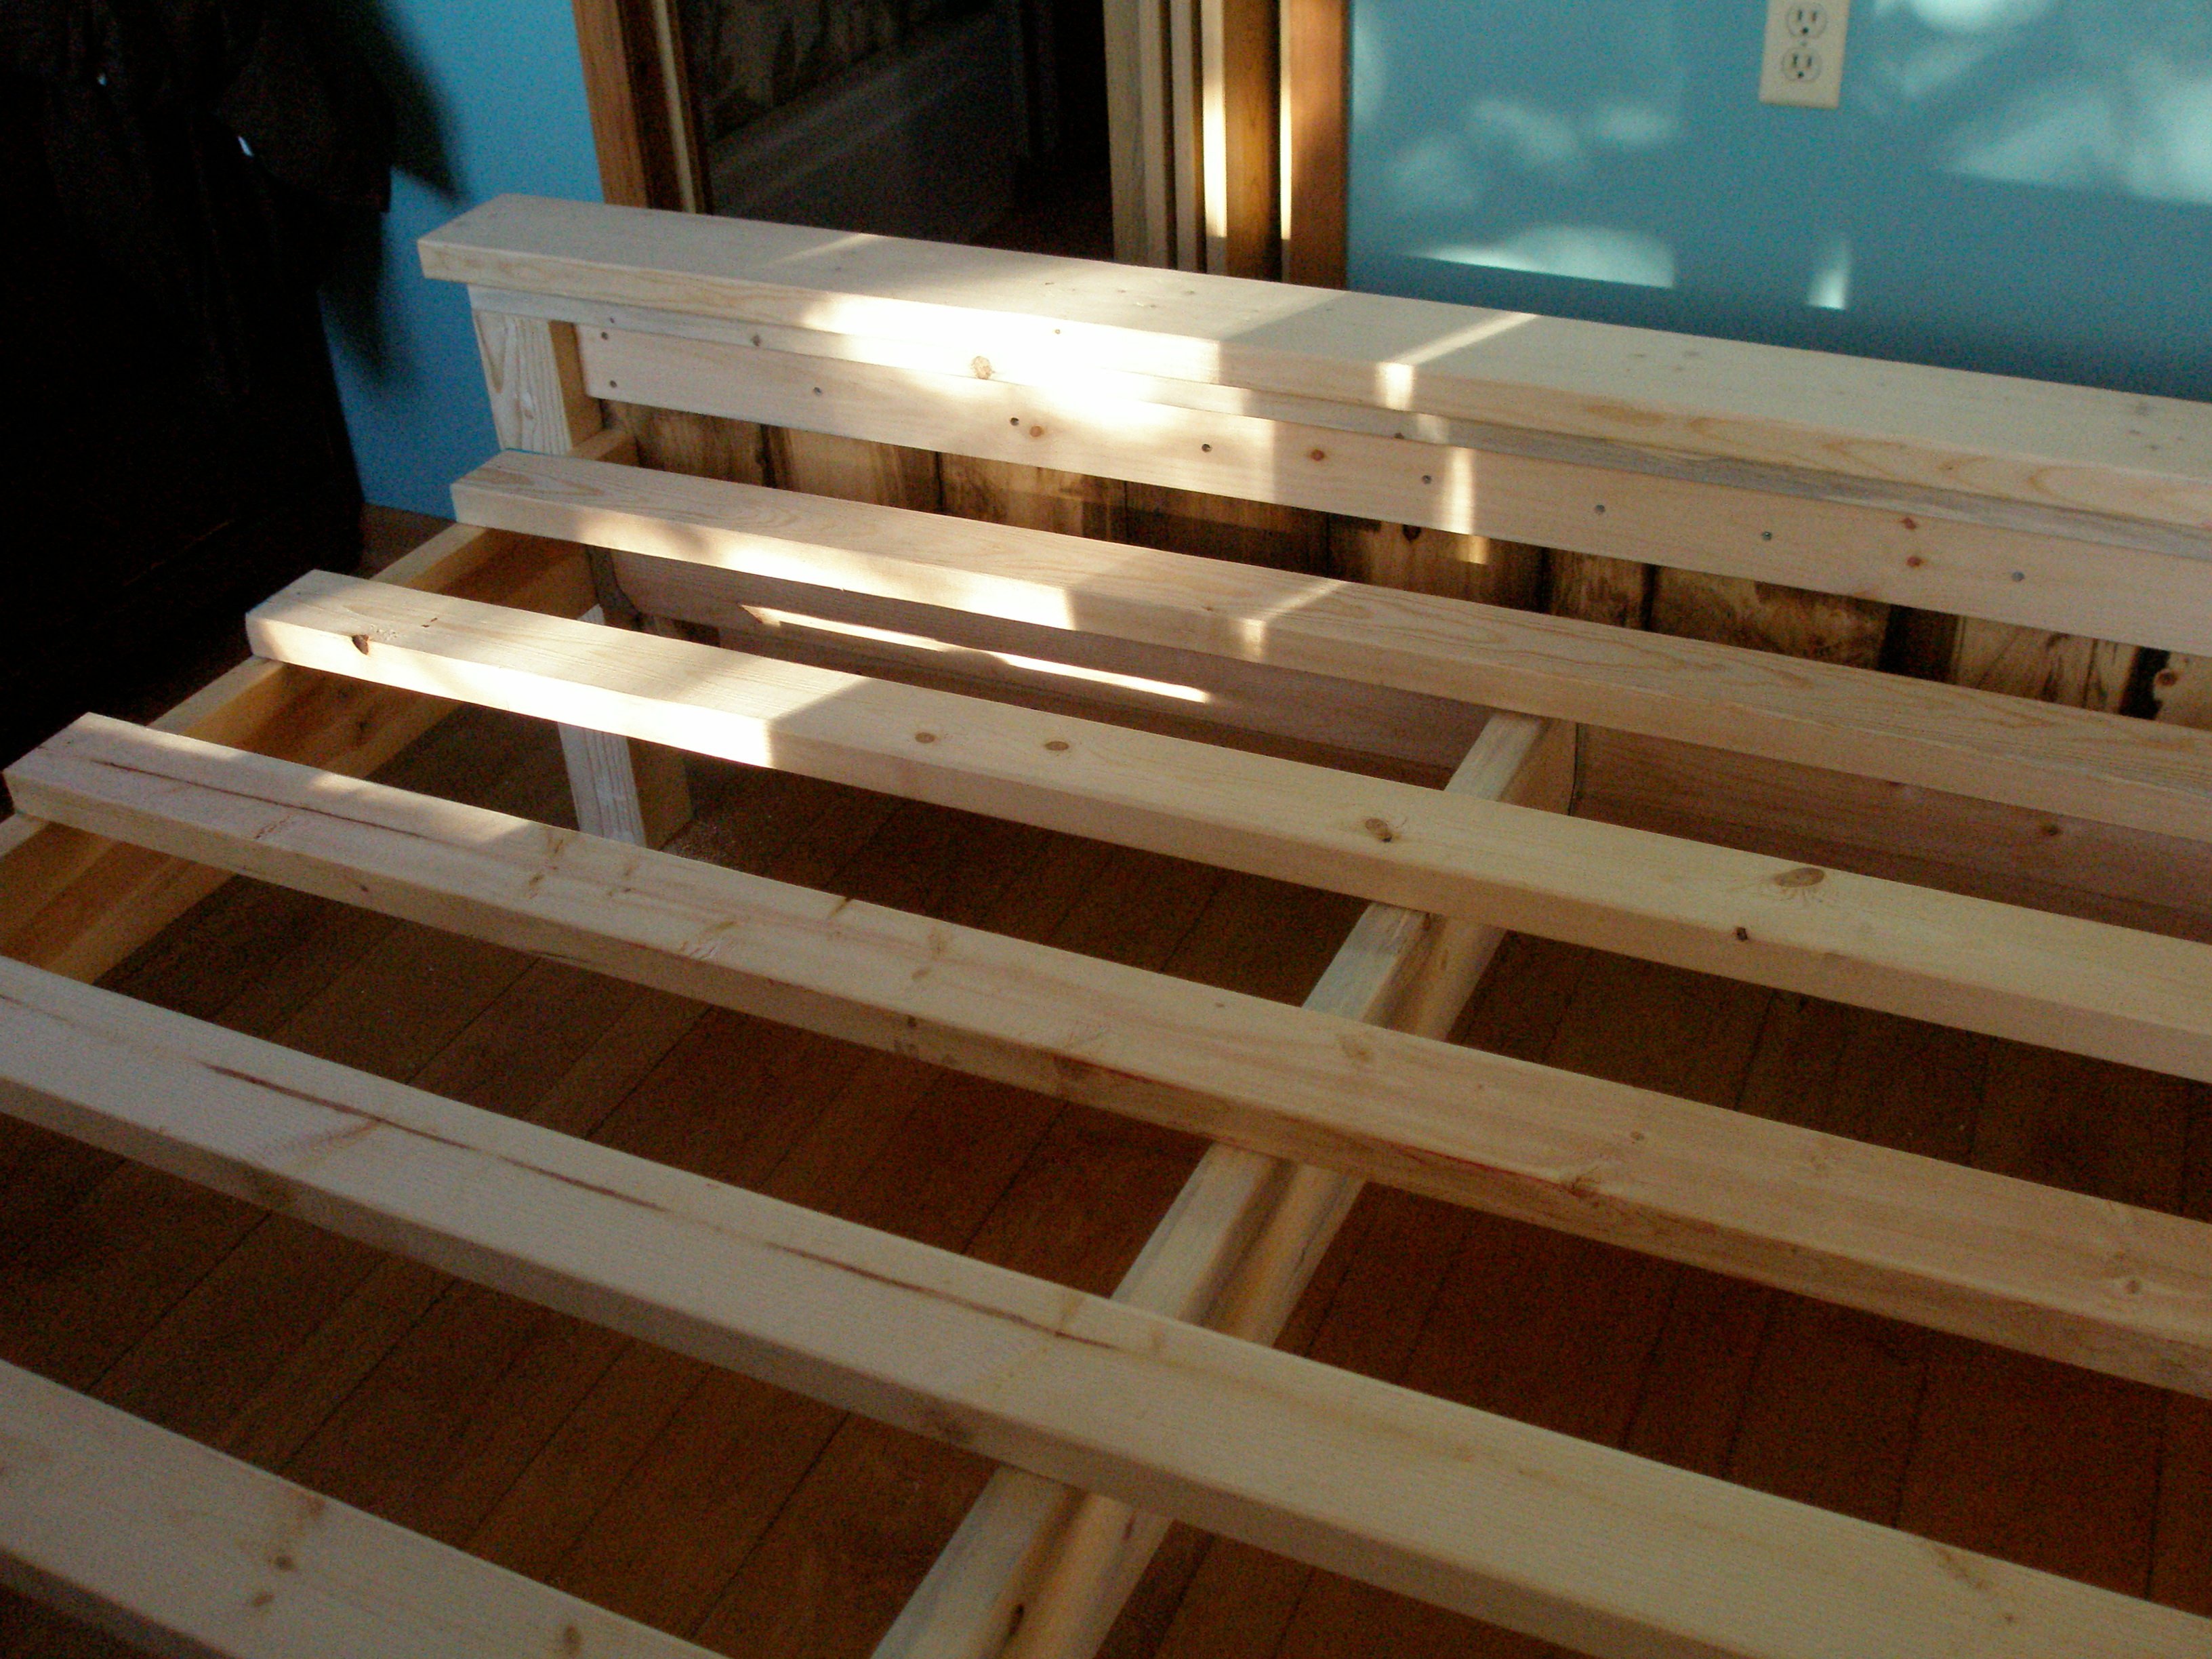
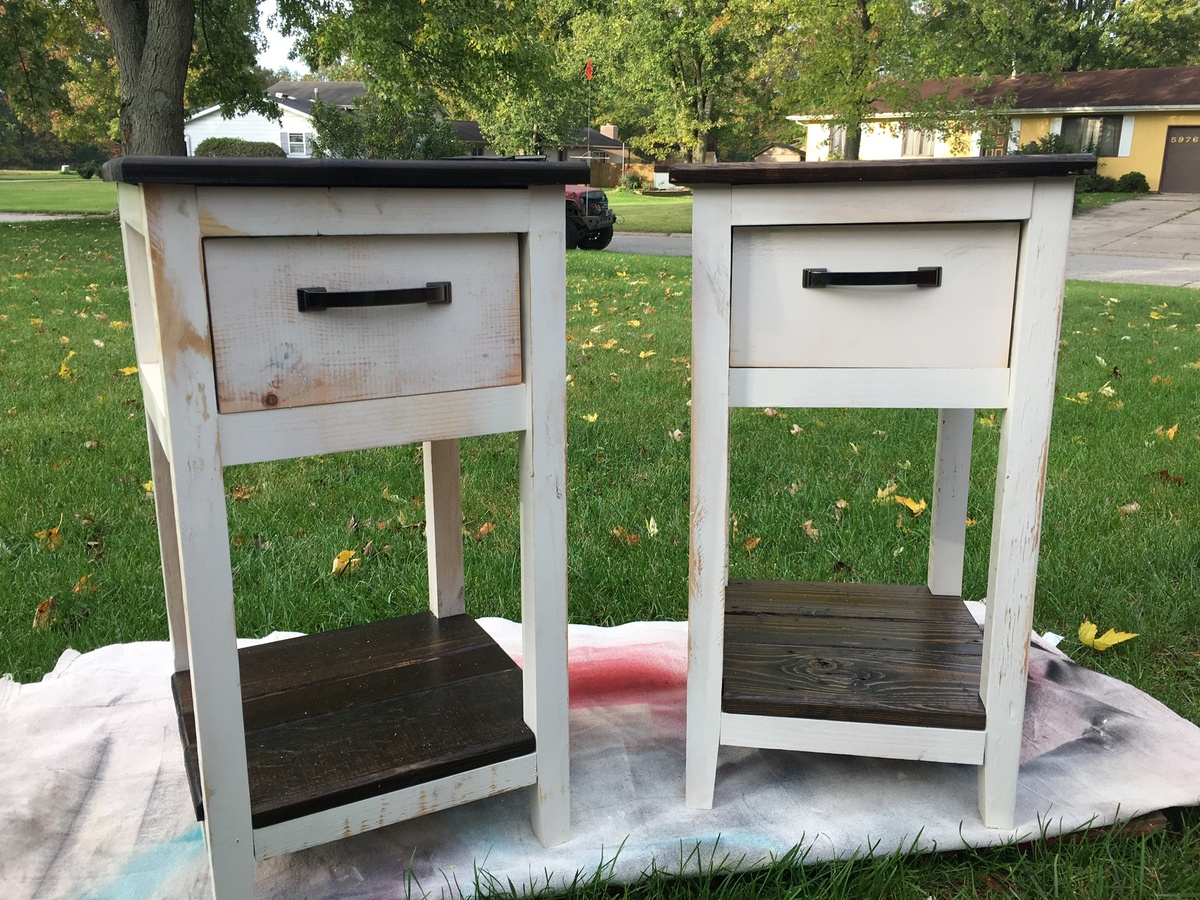
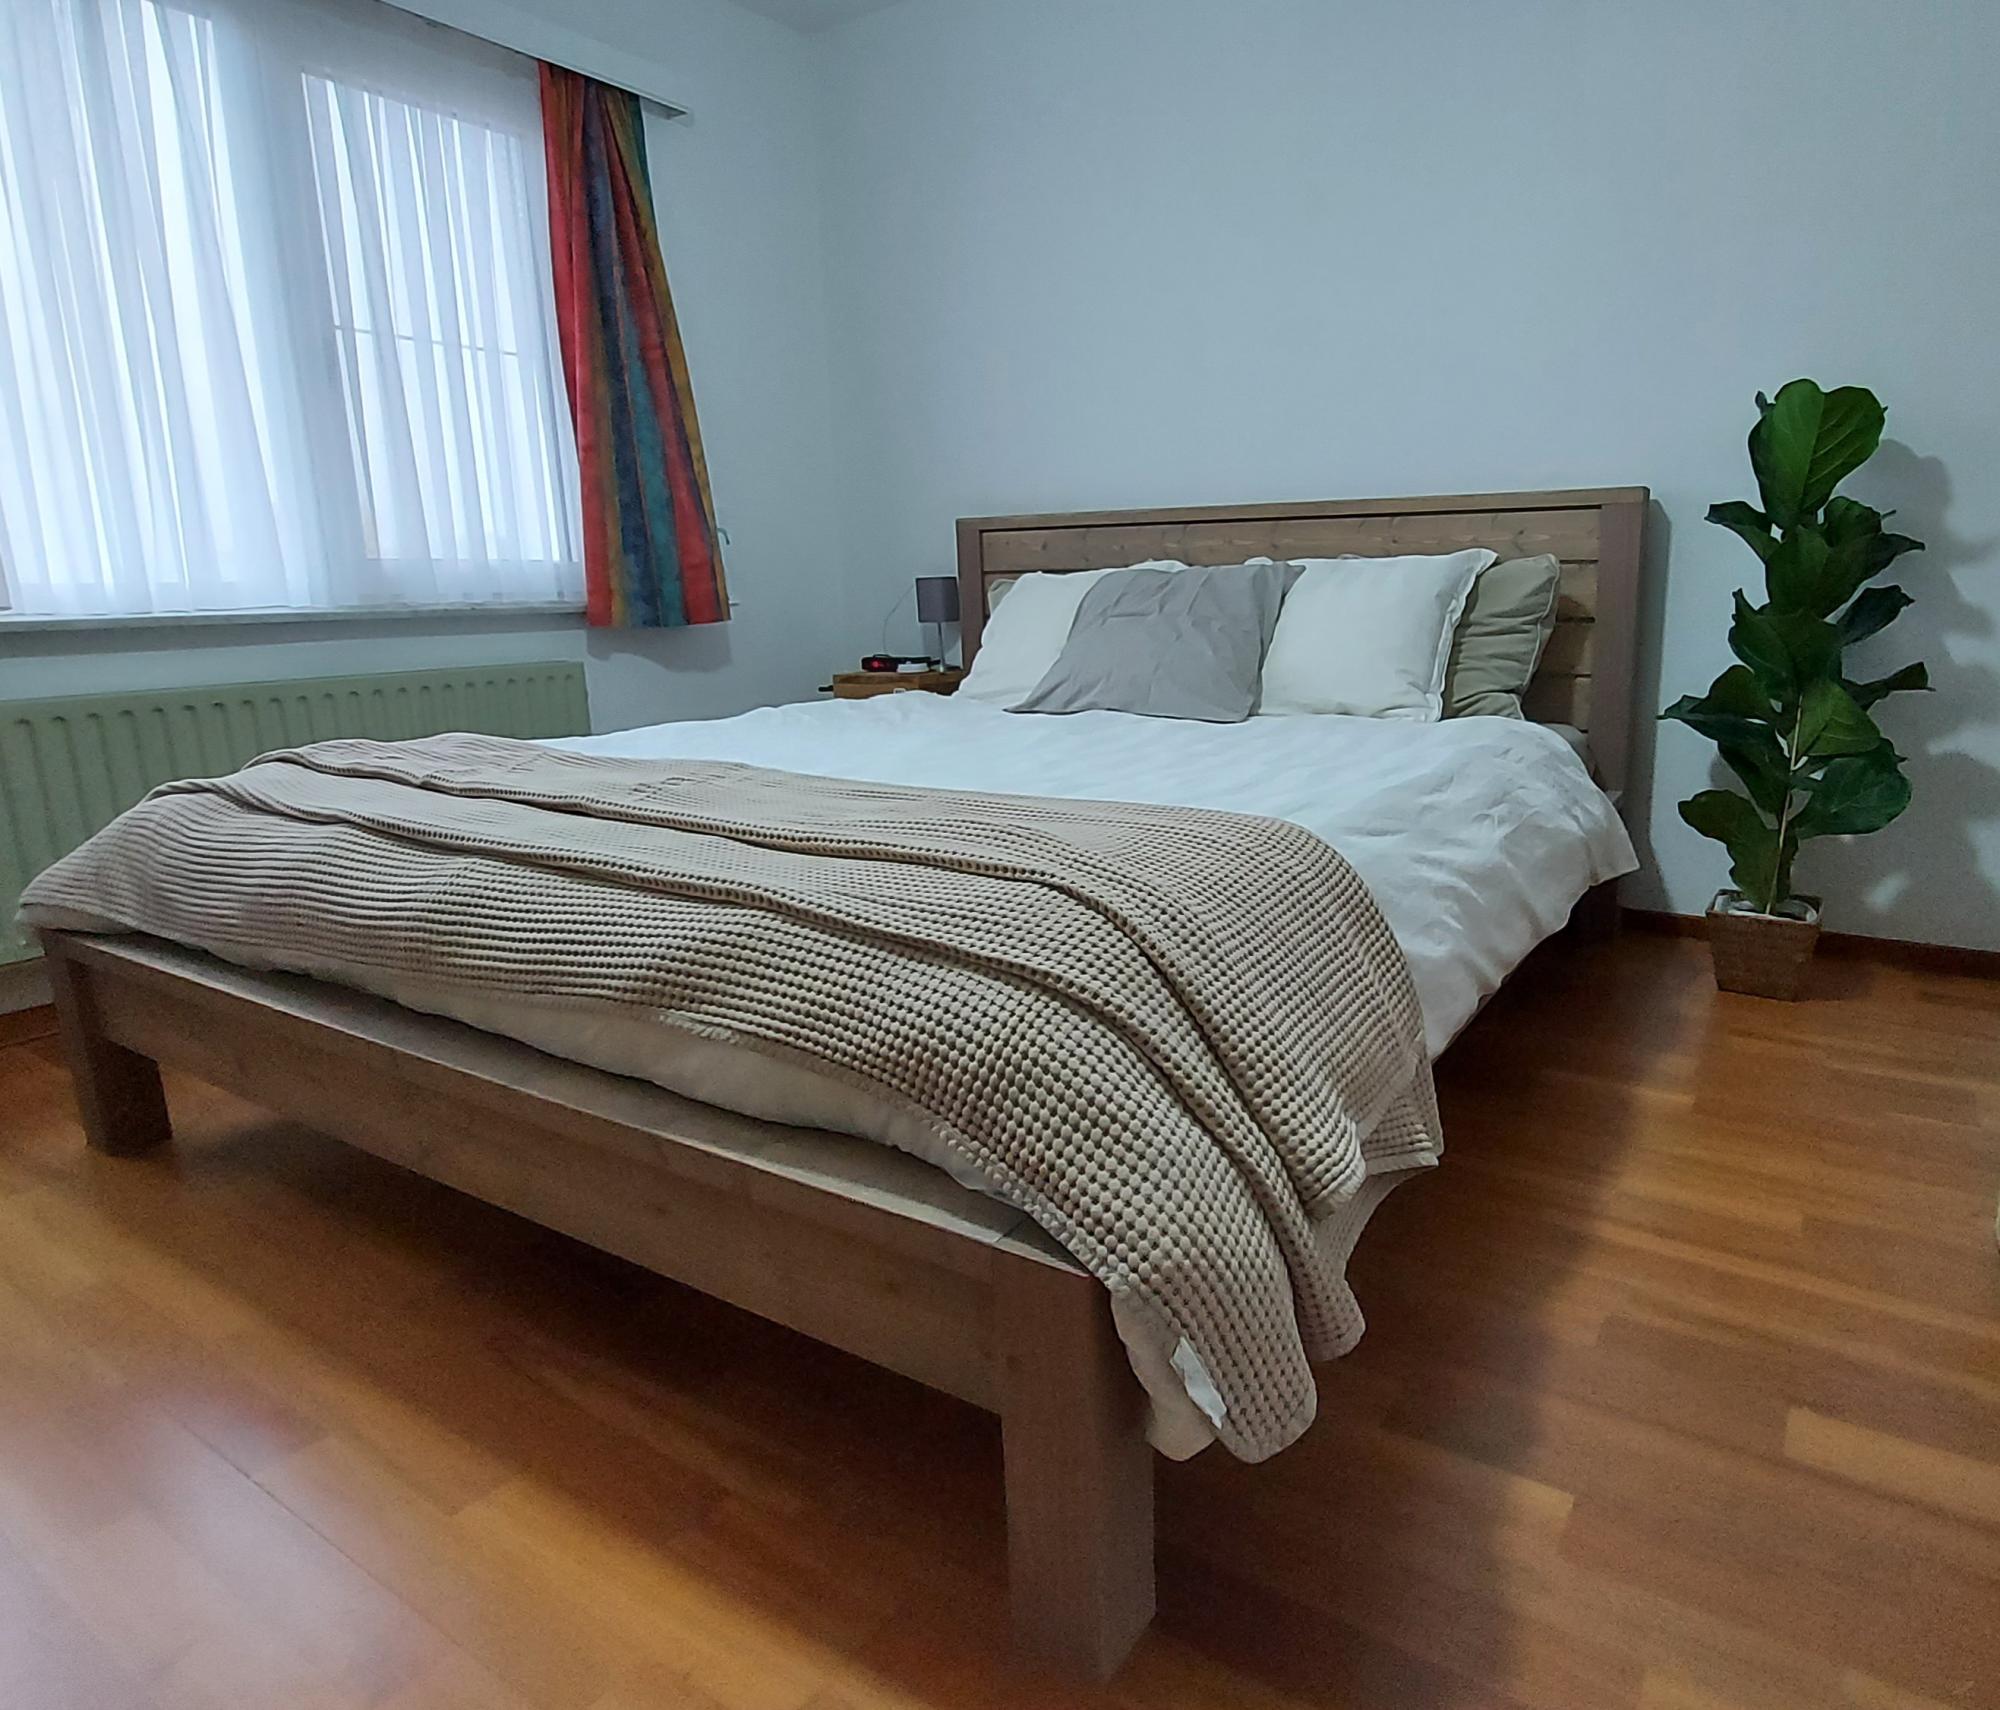
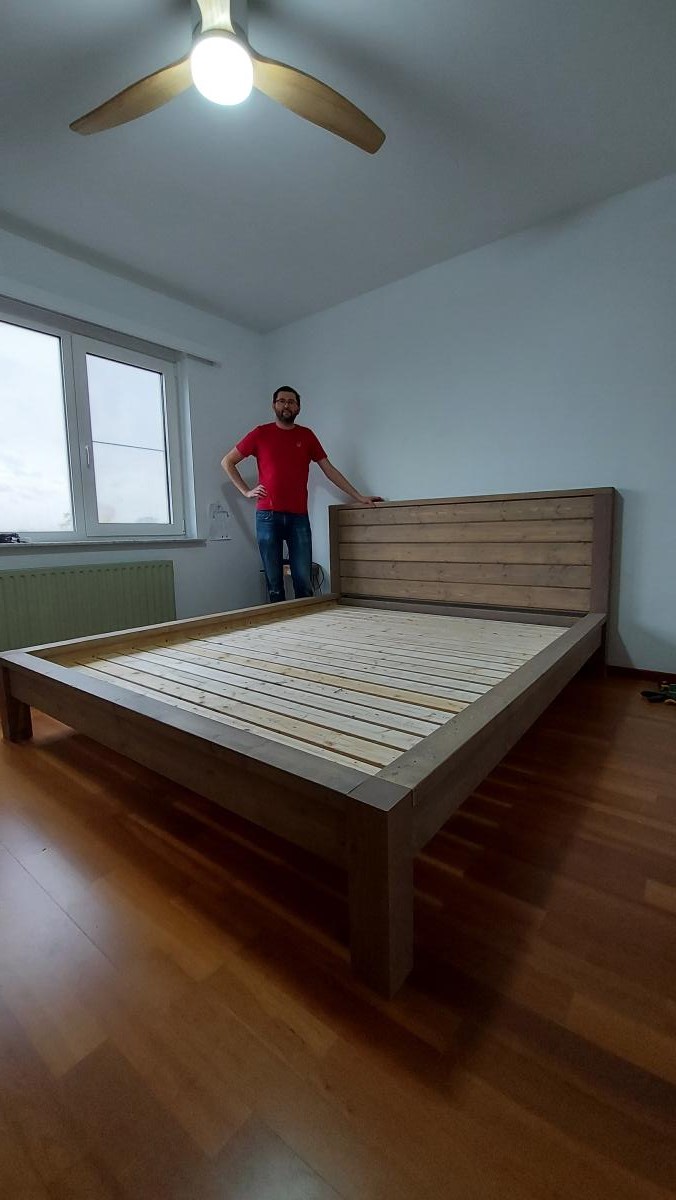
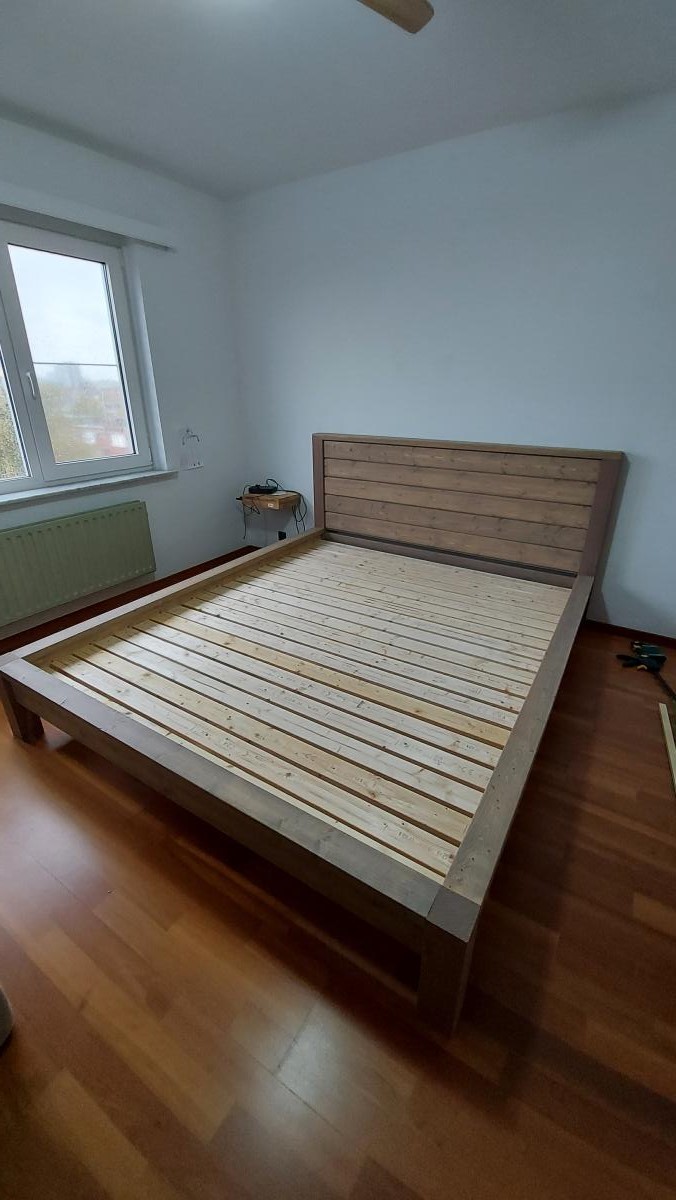
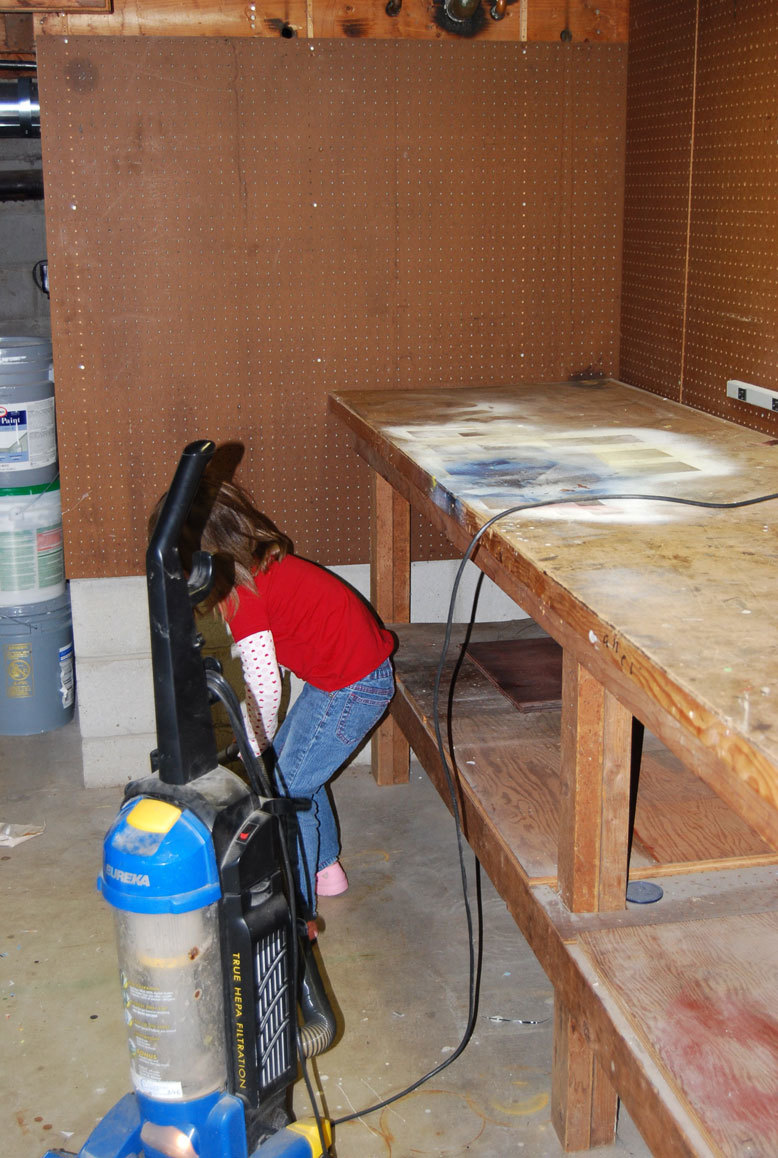
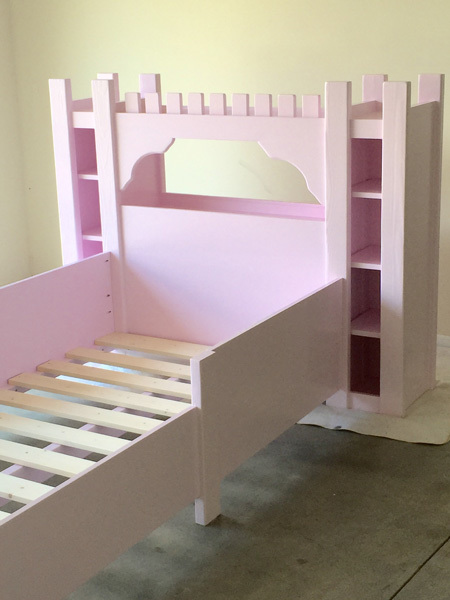
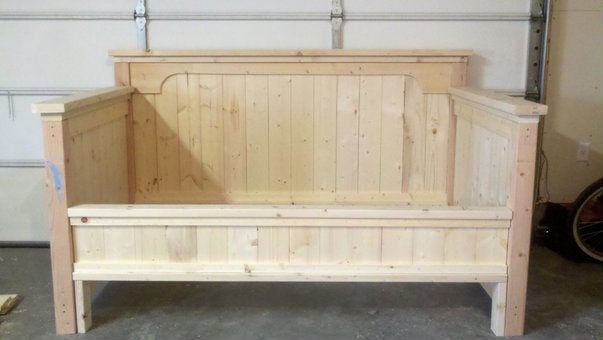
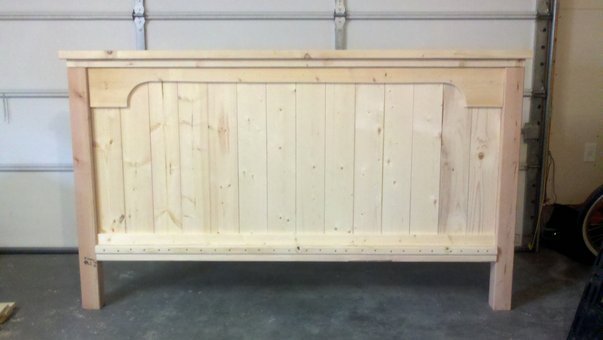
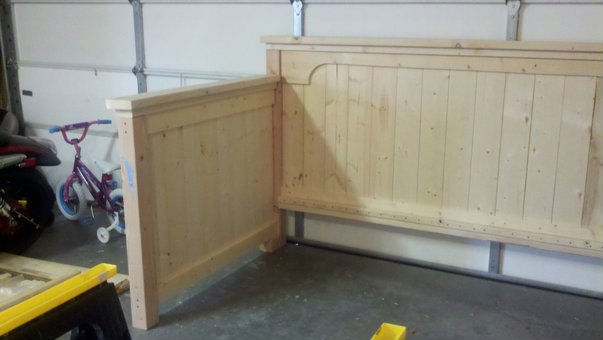
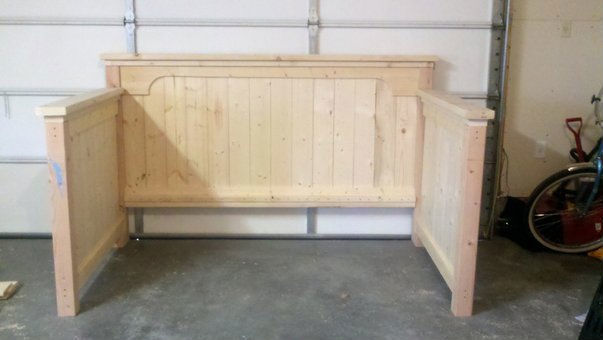
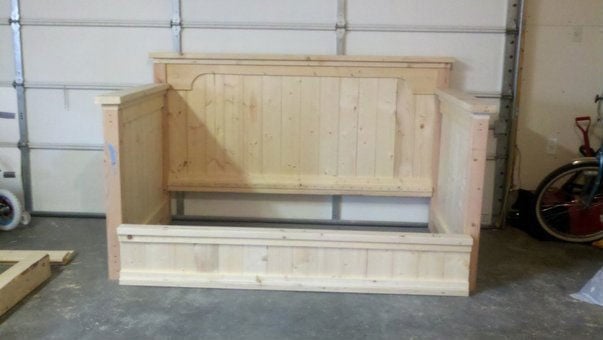
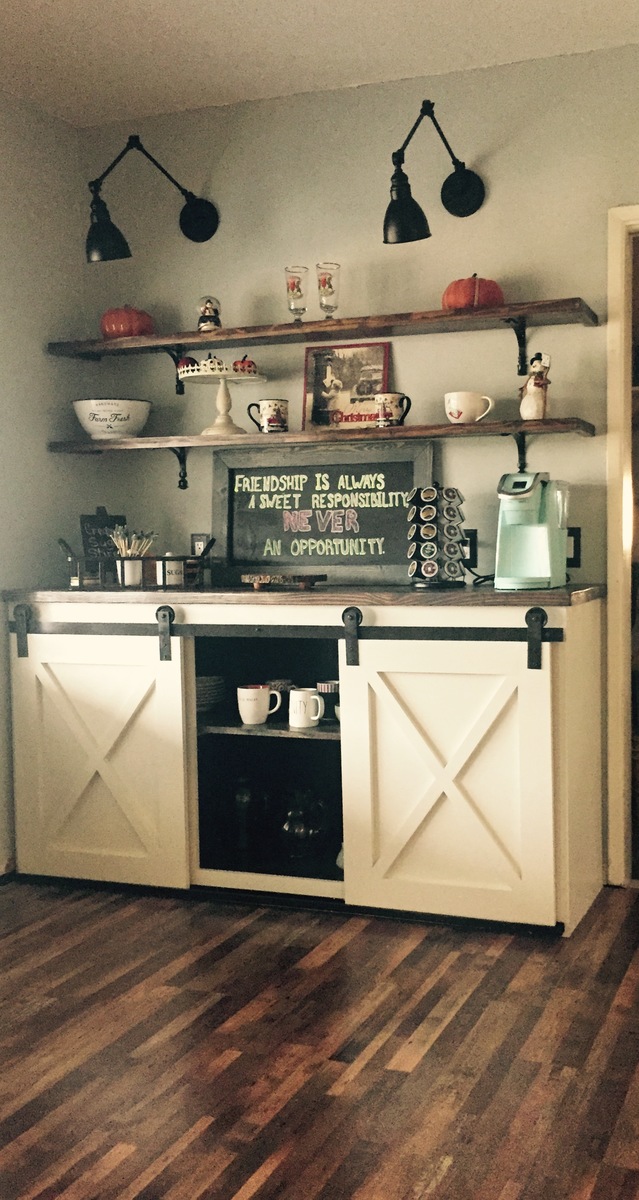
My wife and I are expecting our first child, a baby girl, in September. I decided that I was going to make as much of the furniture as possible, and started with this dresser/changing table.
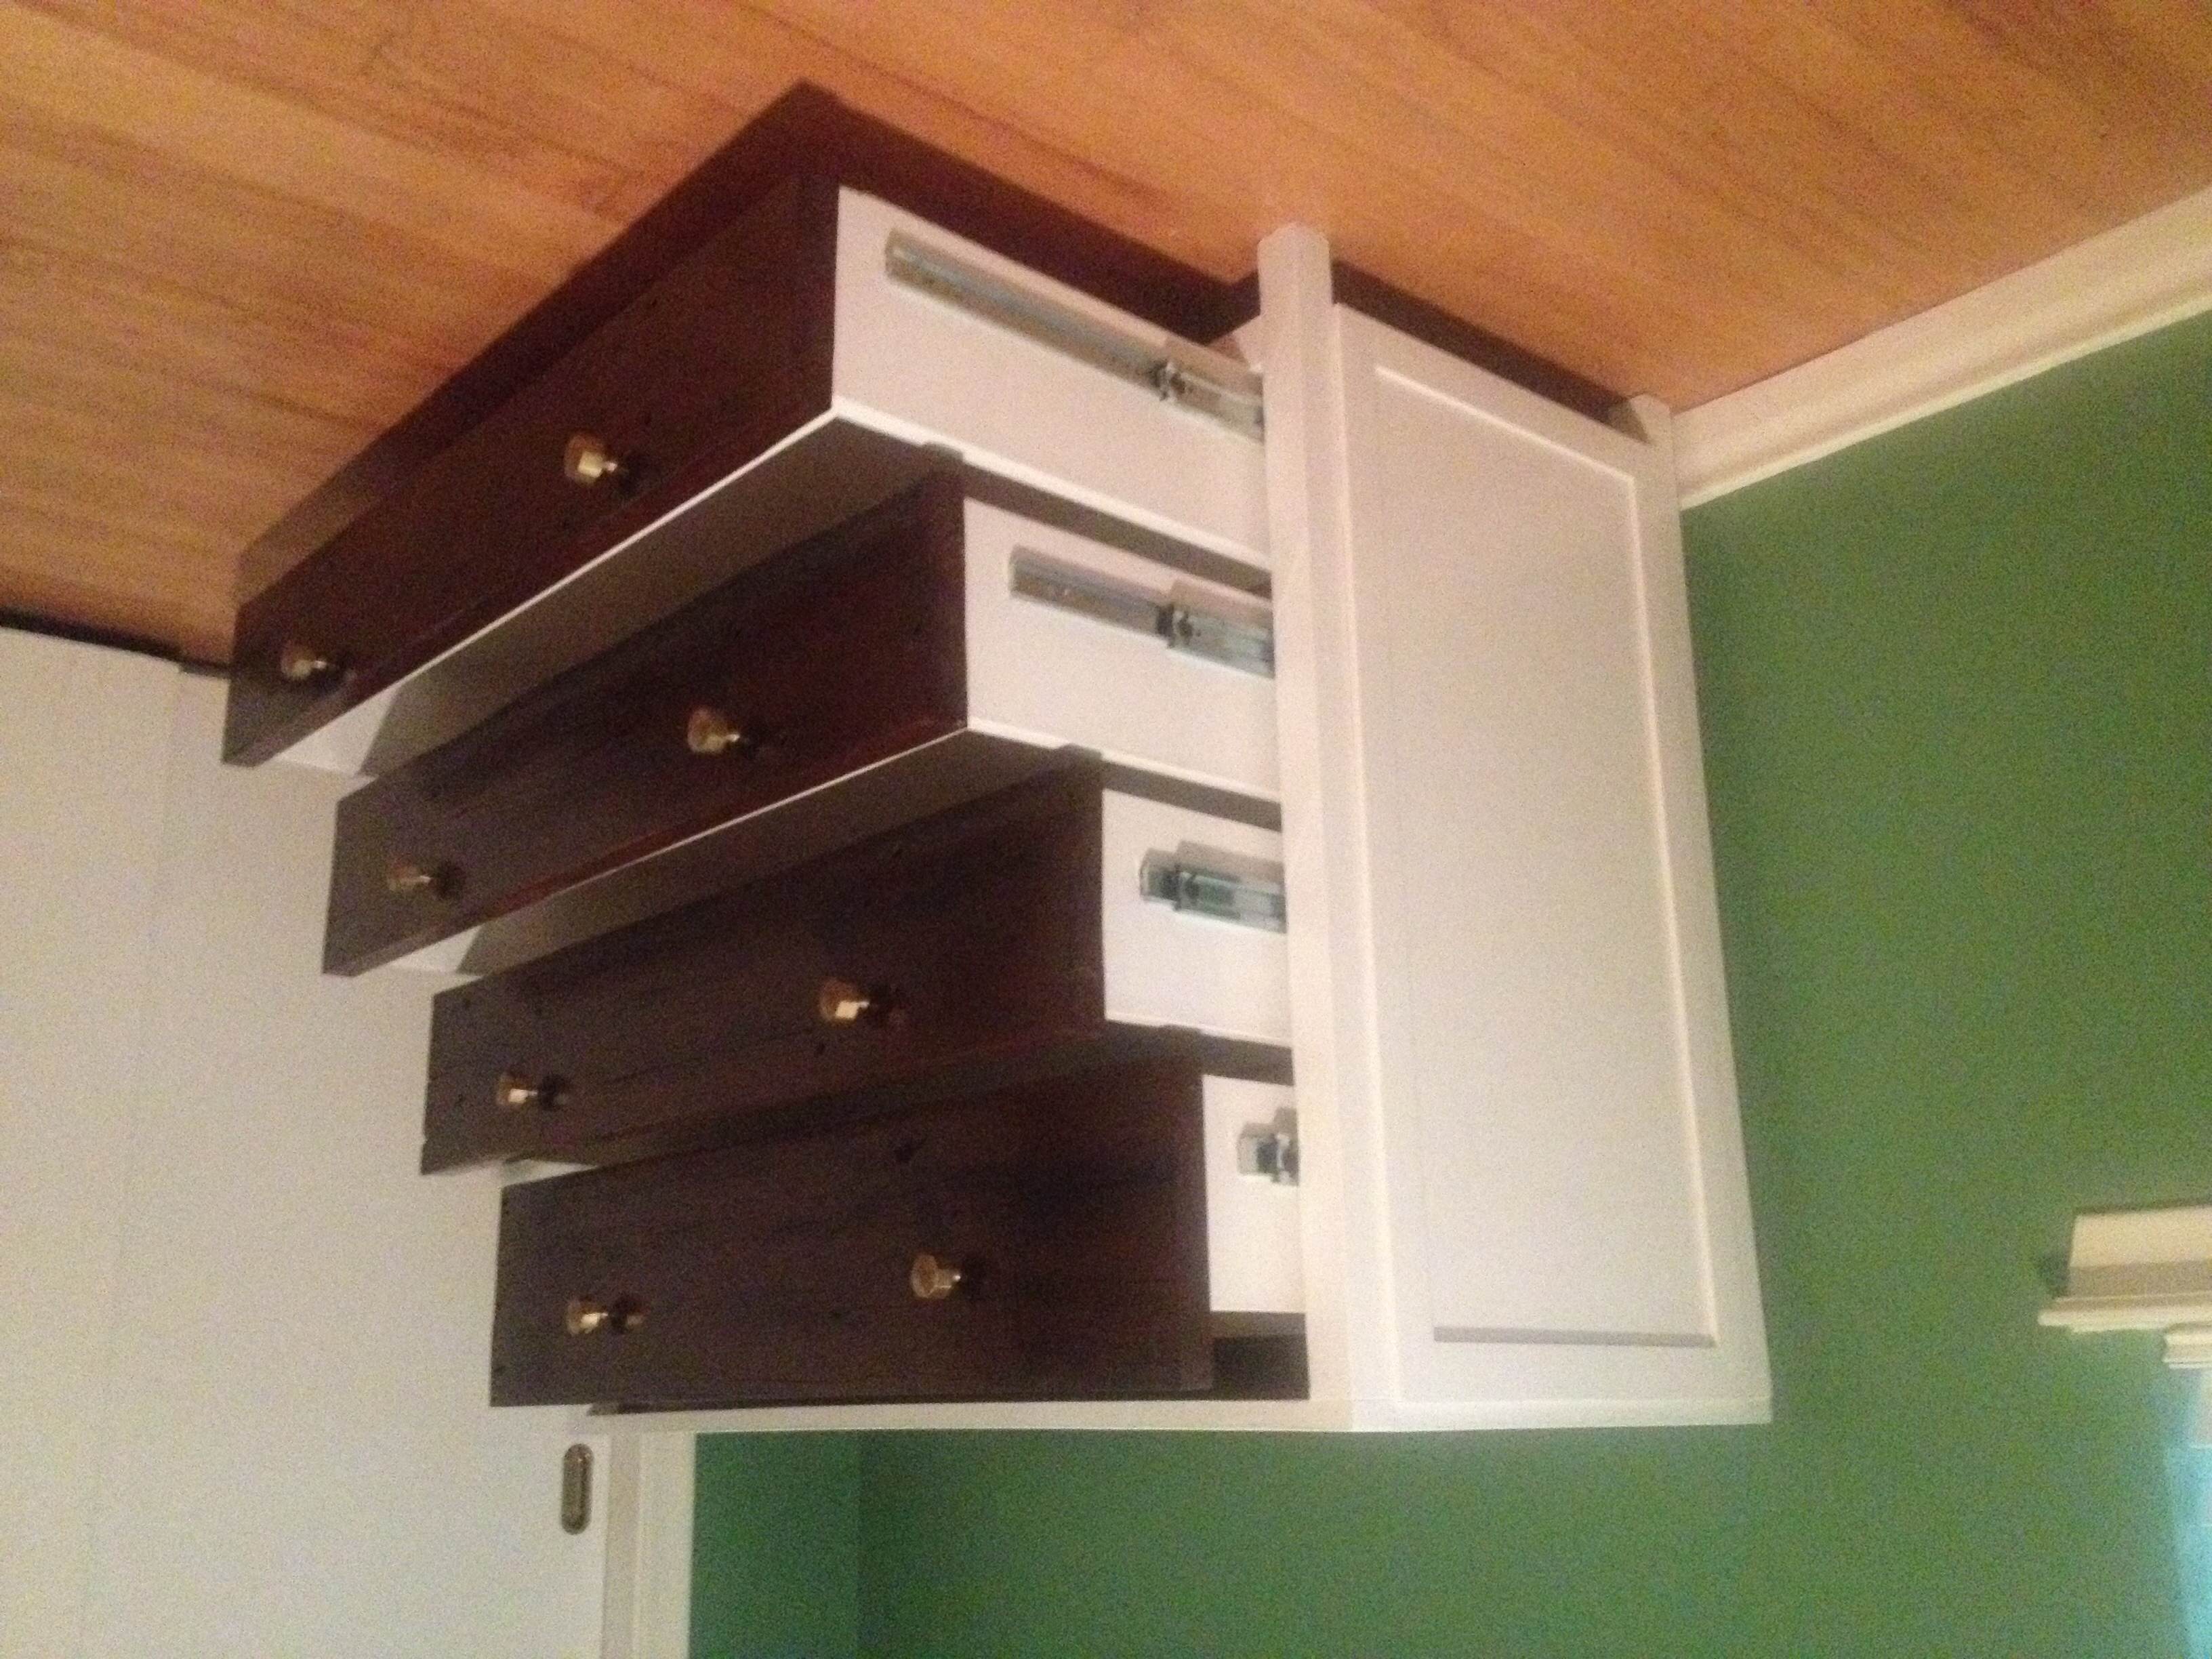
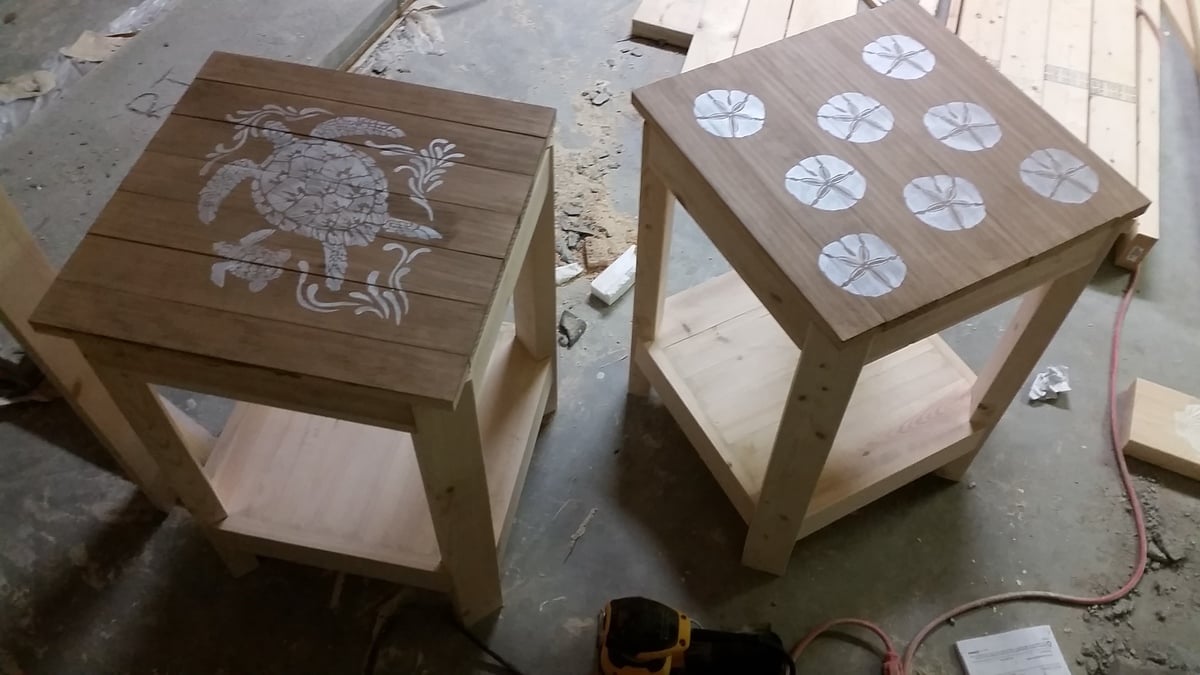
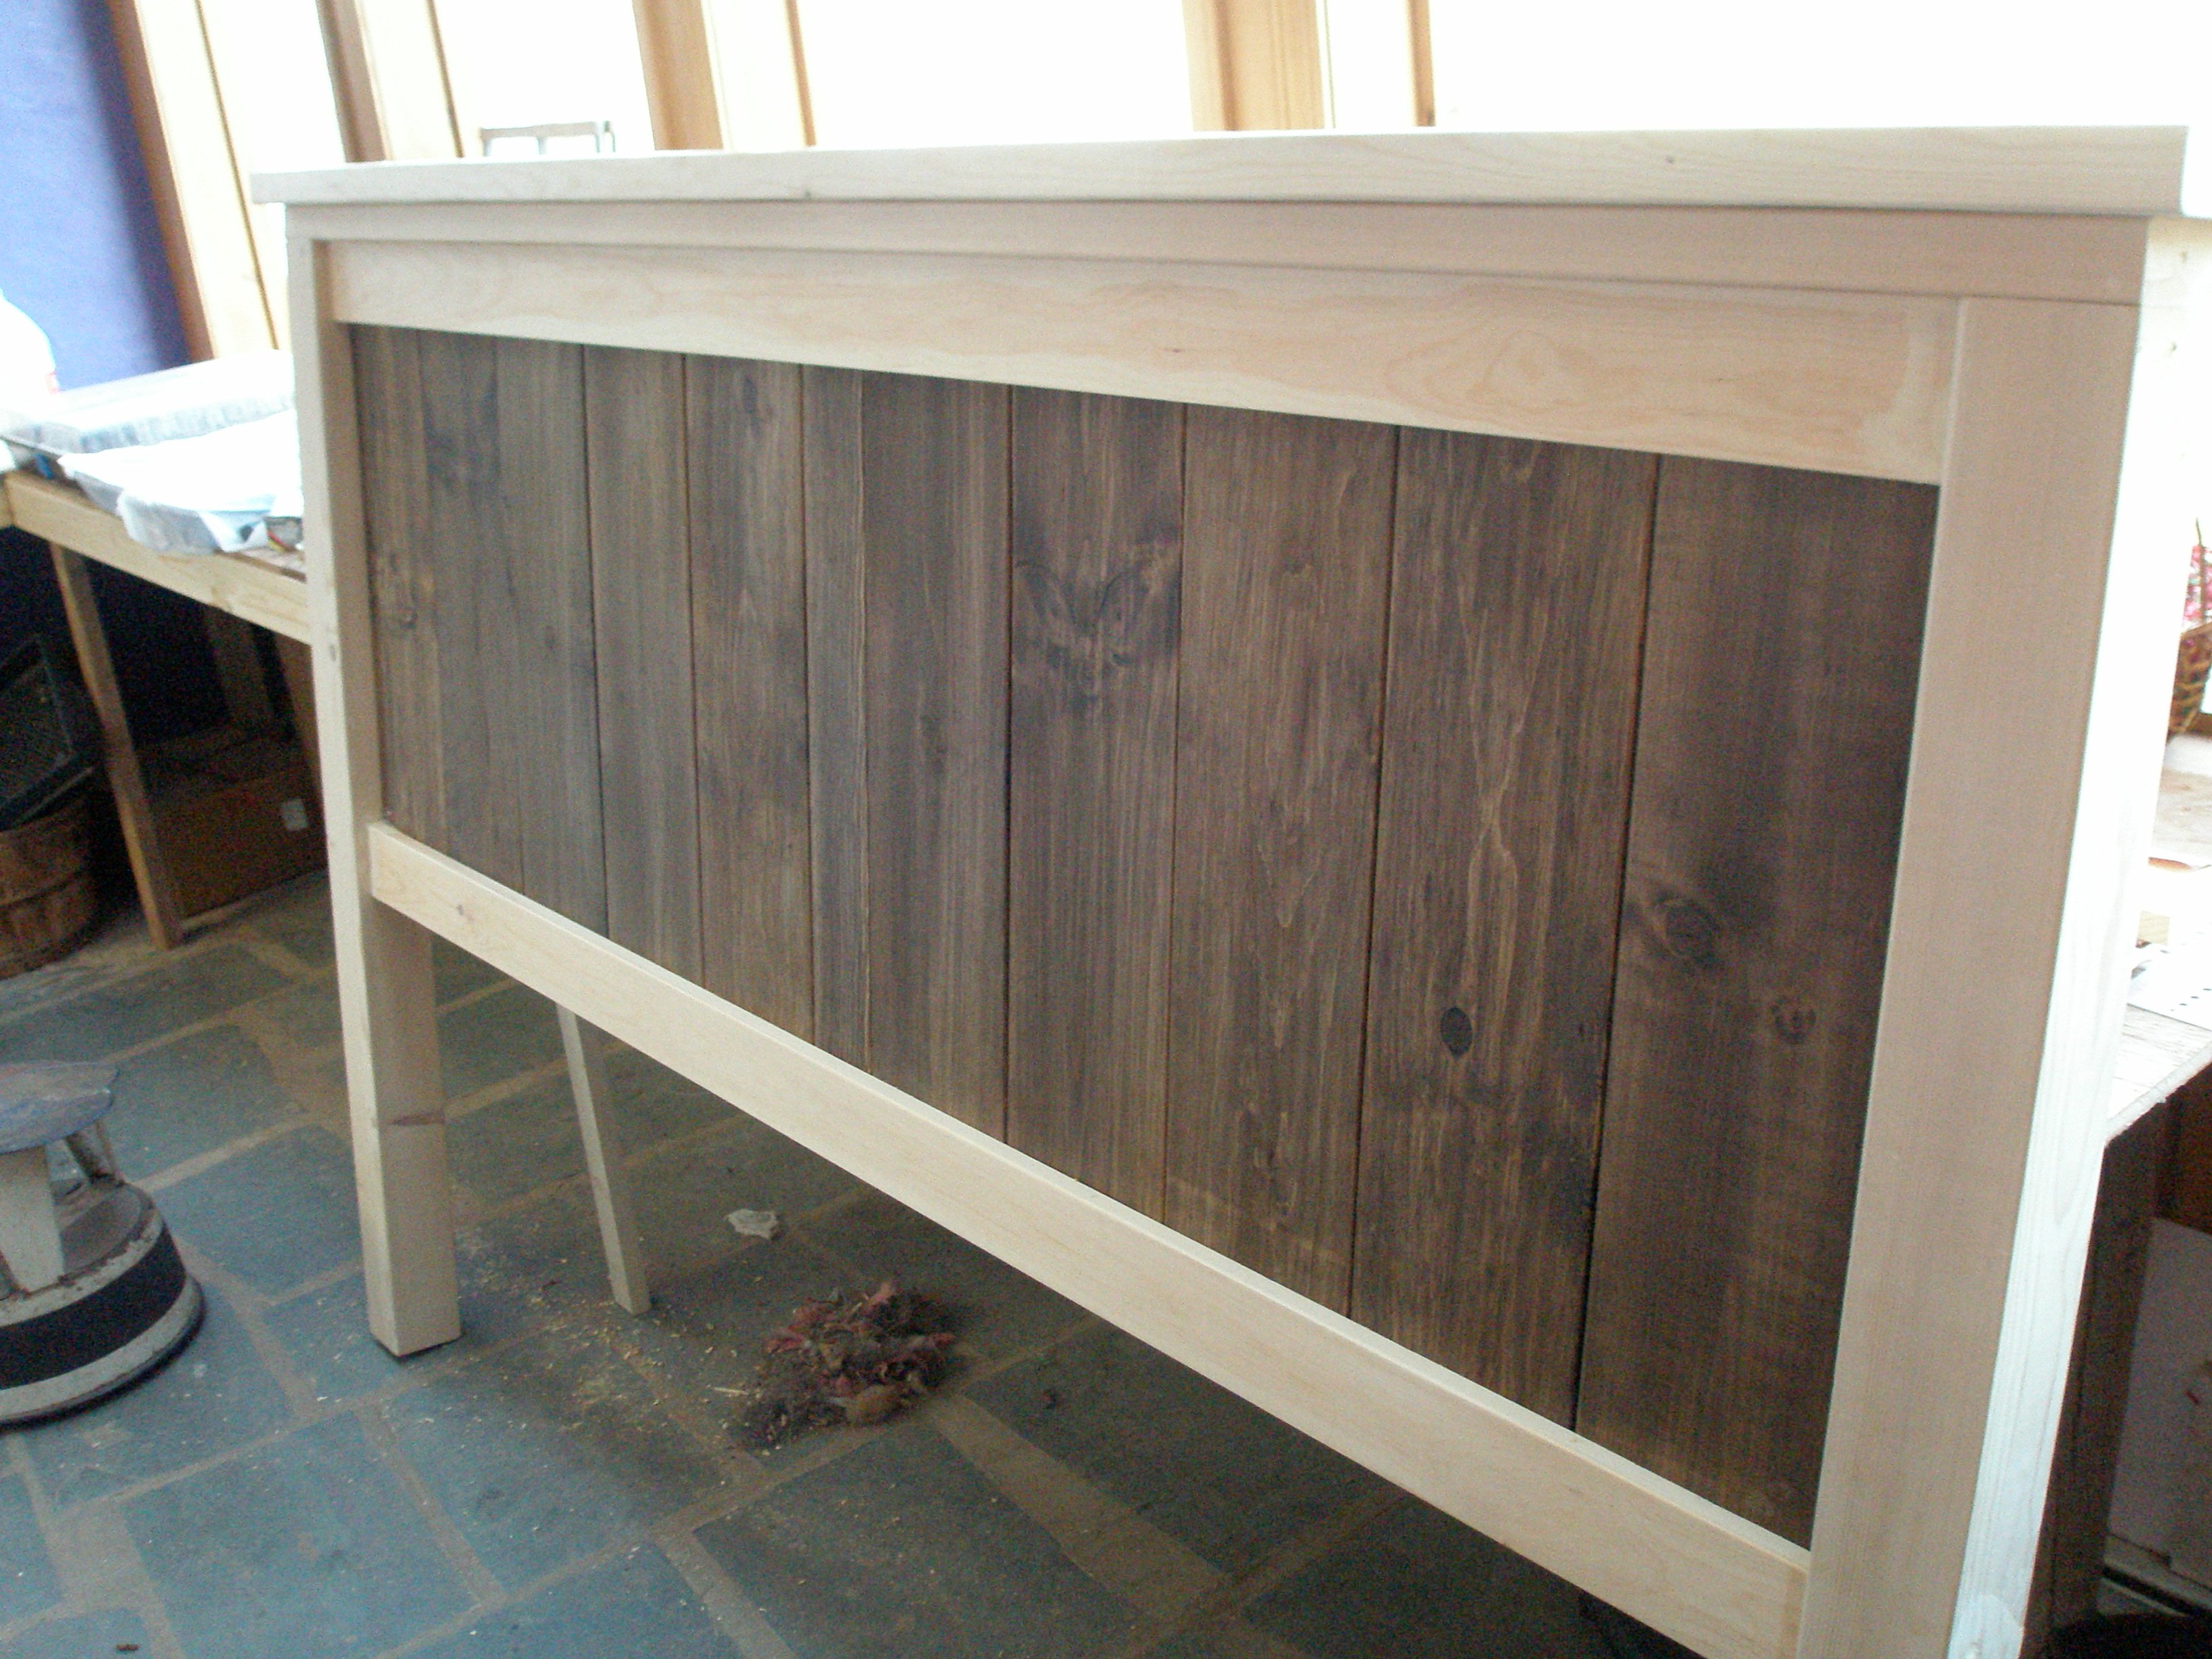
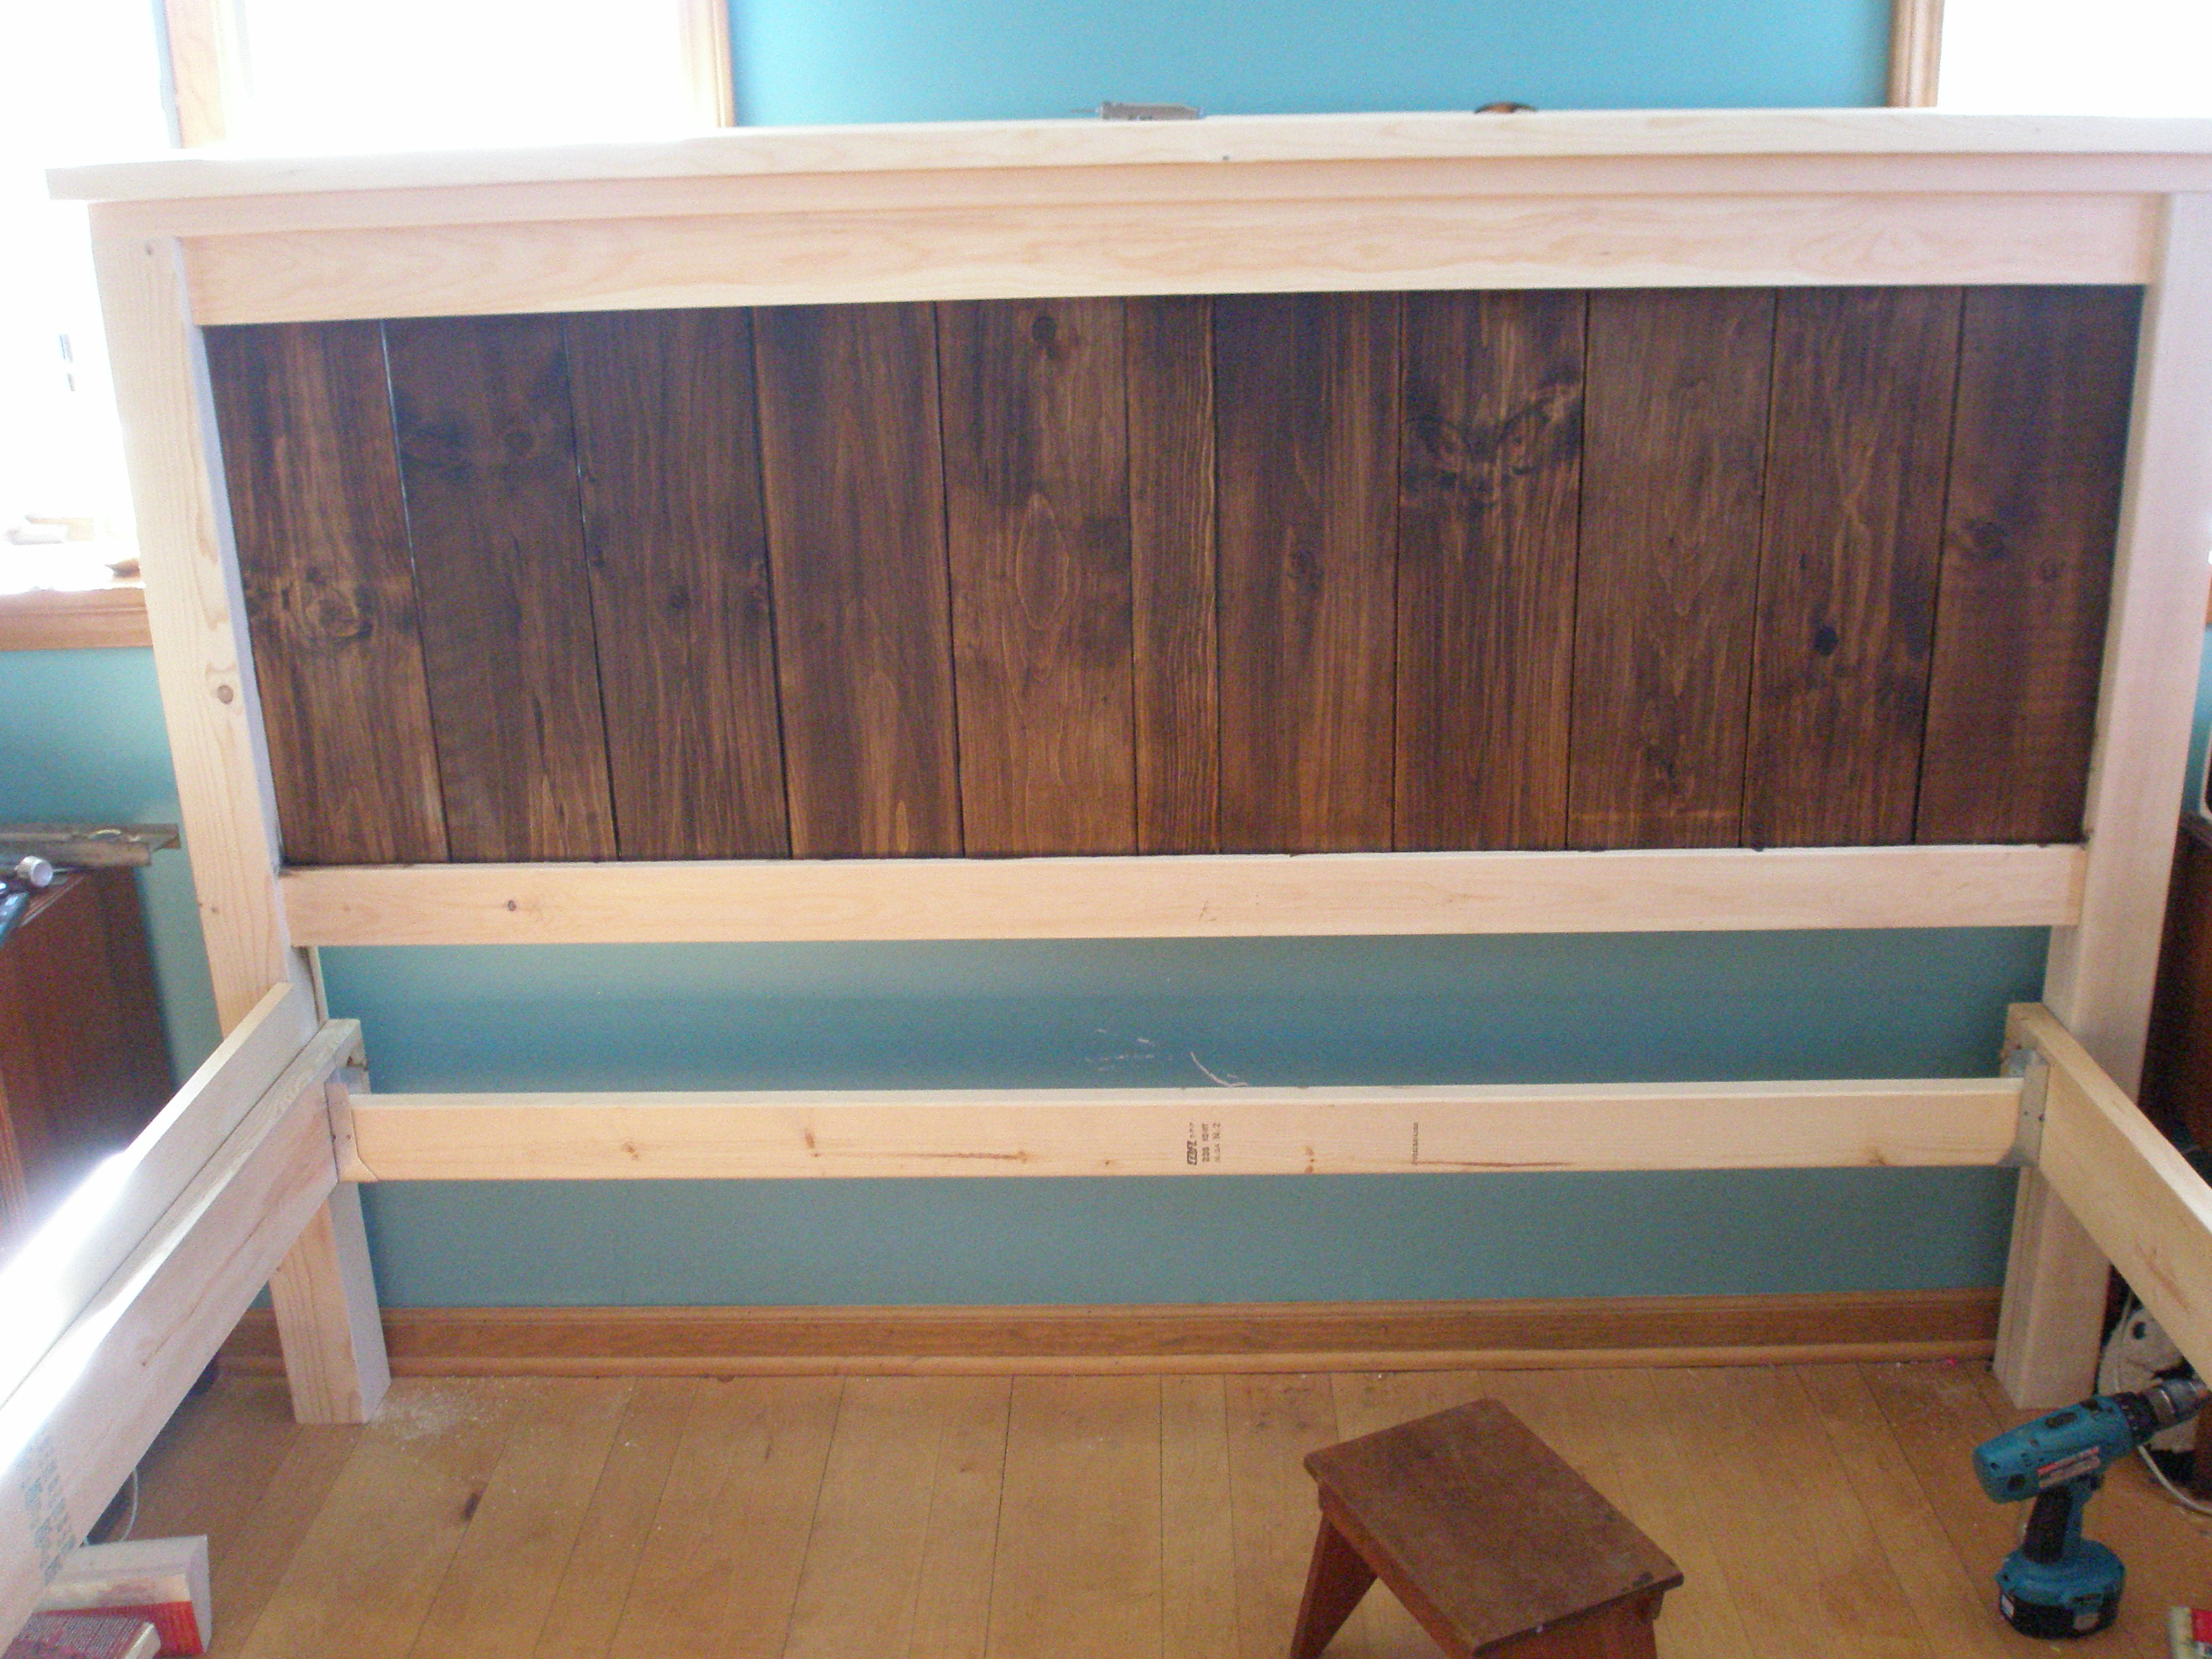
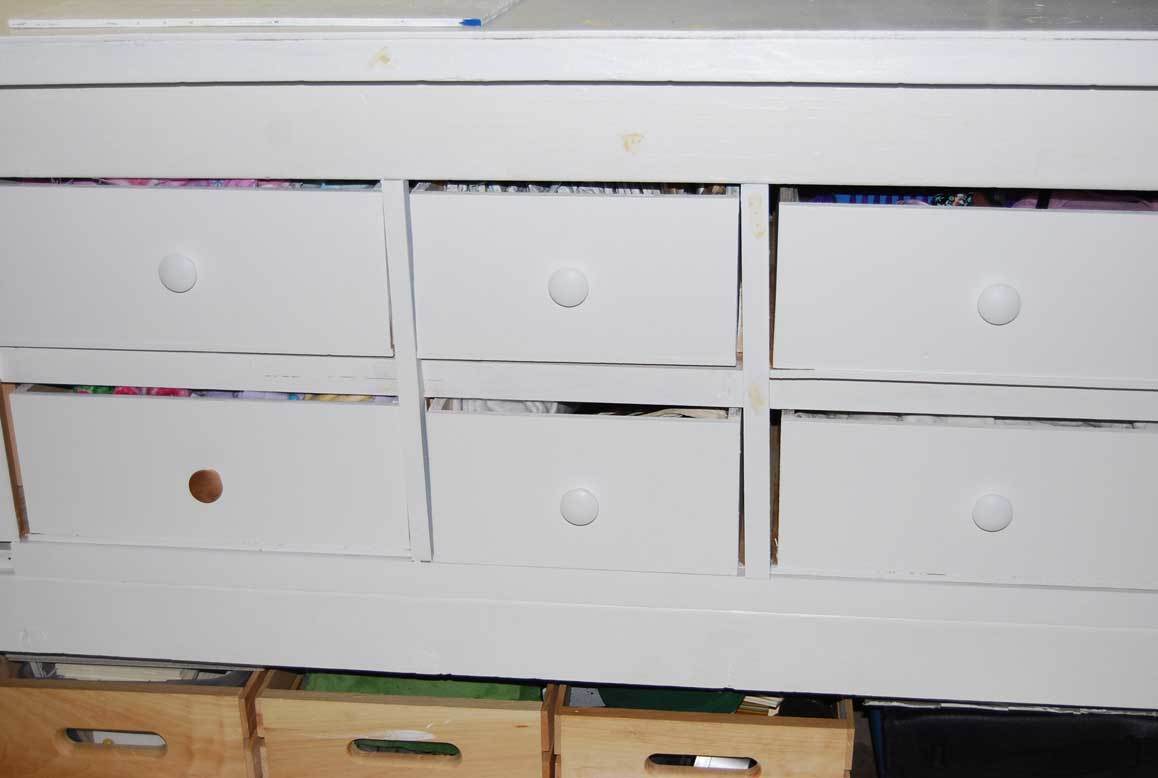
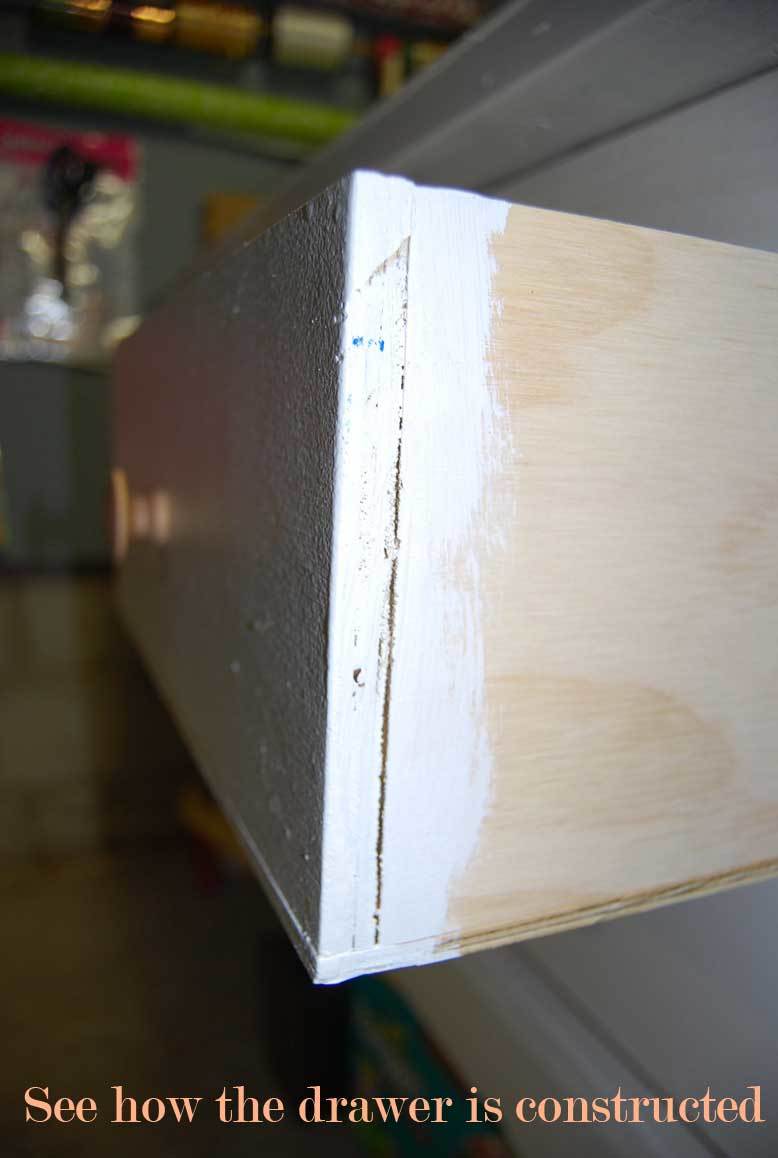
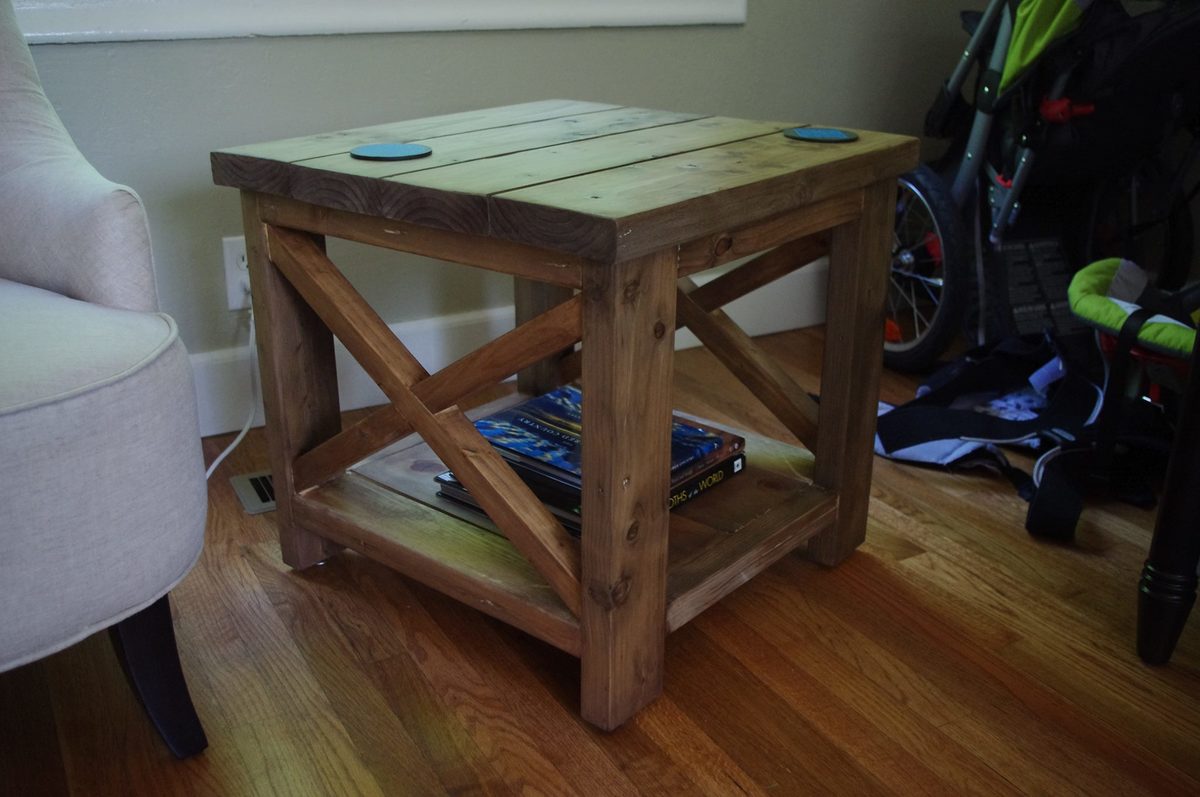
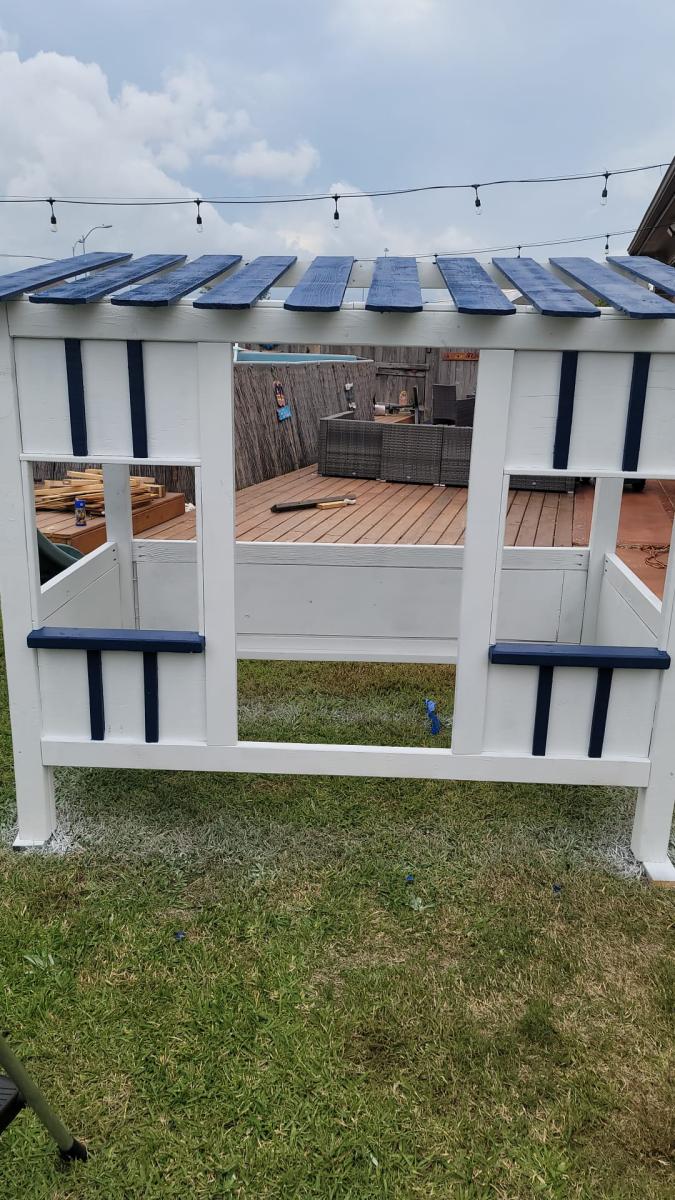
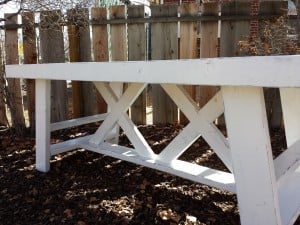
This is the first project I've made with drawers, and they were a bit of a challenge. Other than that building the dresser was straight forward. The drawer fronts are made from up-cycled deck boards and the knobs are from Anthropologie
Built from Plan(s)
Estimated Cost
The wood wasn't that expensive but the hardware (drawer pulls and slides) drove up the cost. In total probably around $300
Estimated Time Investment
Week Long Project (20 Hours or More)
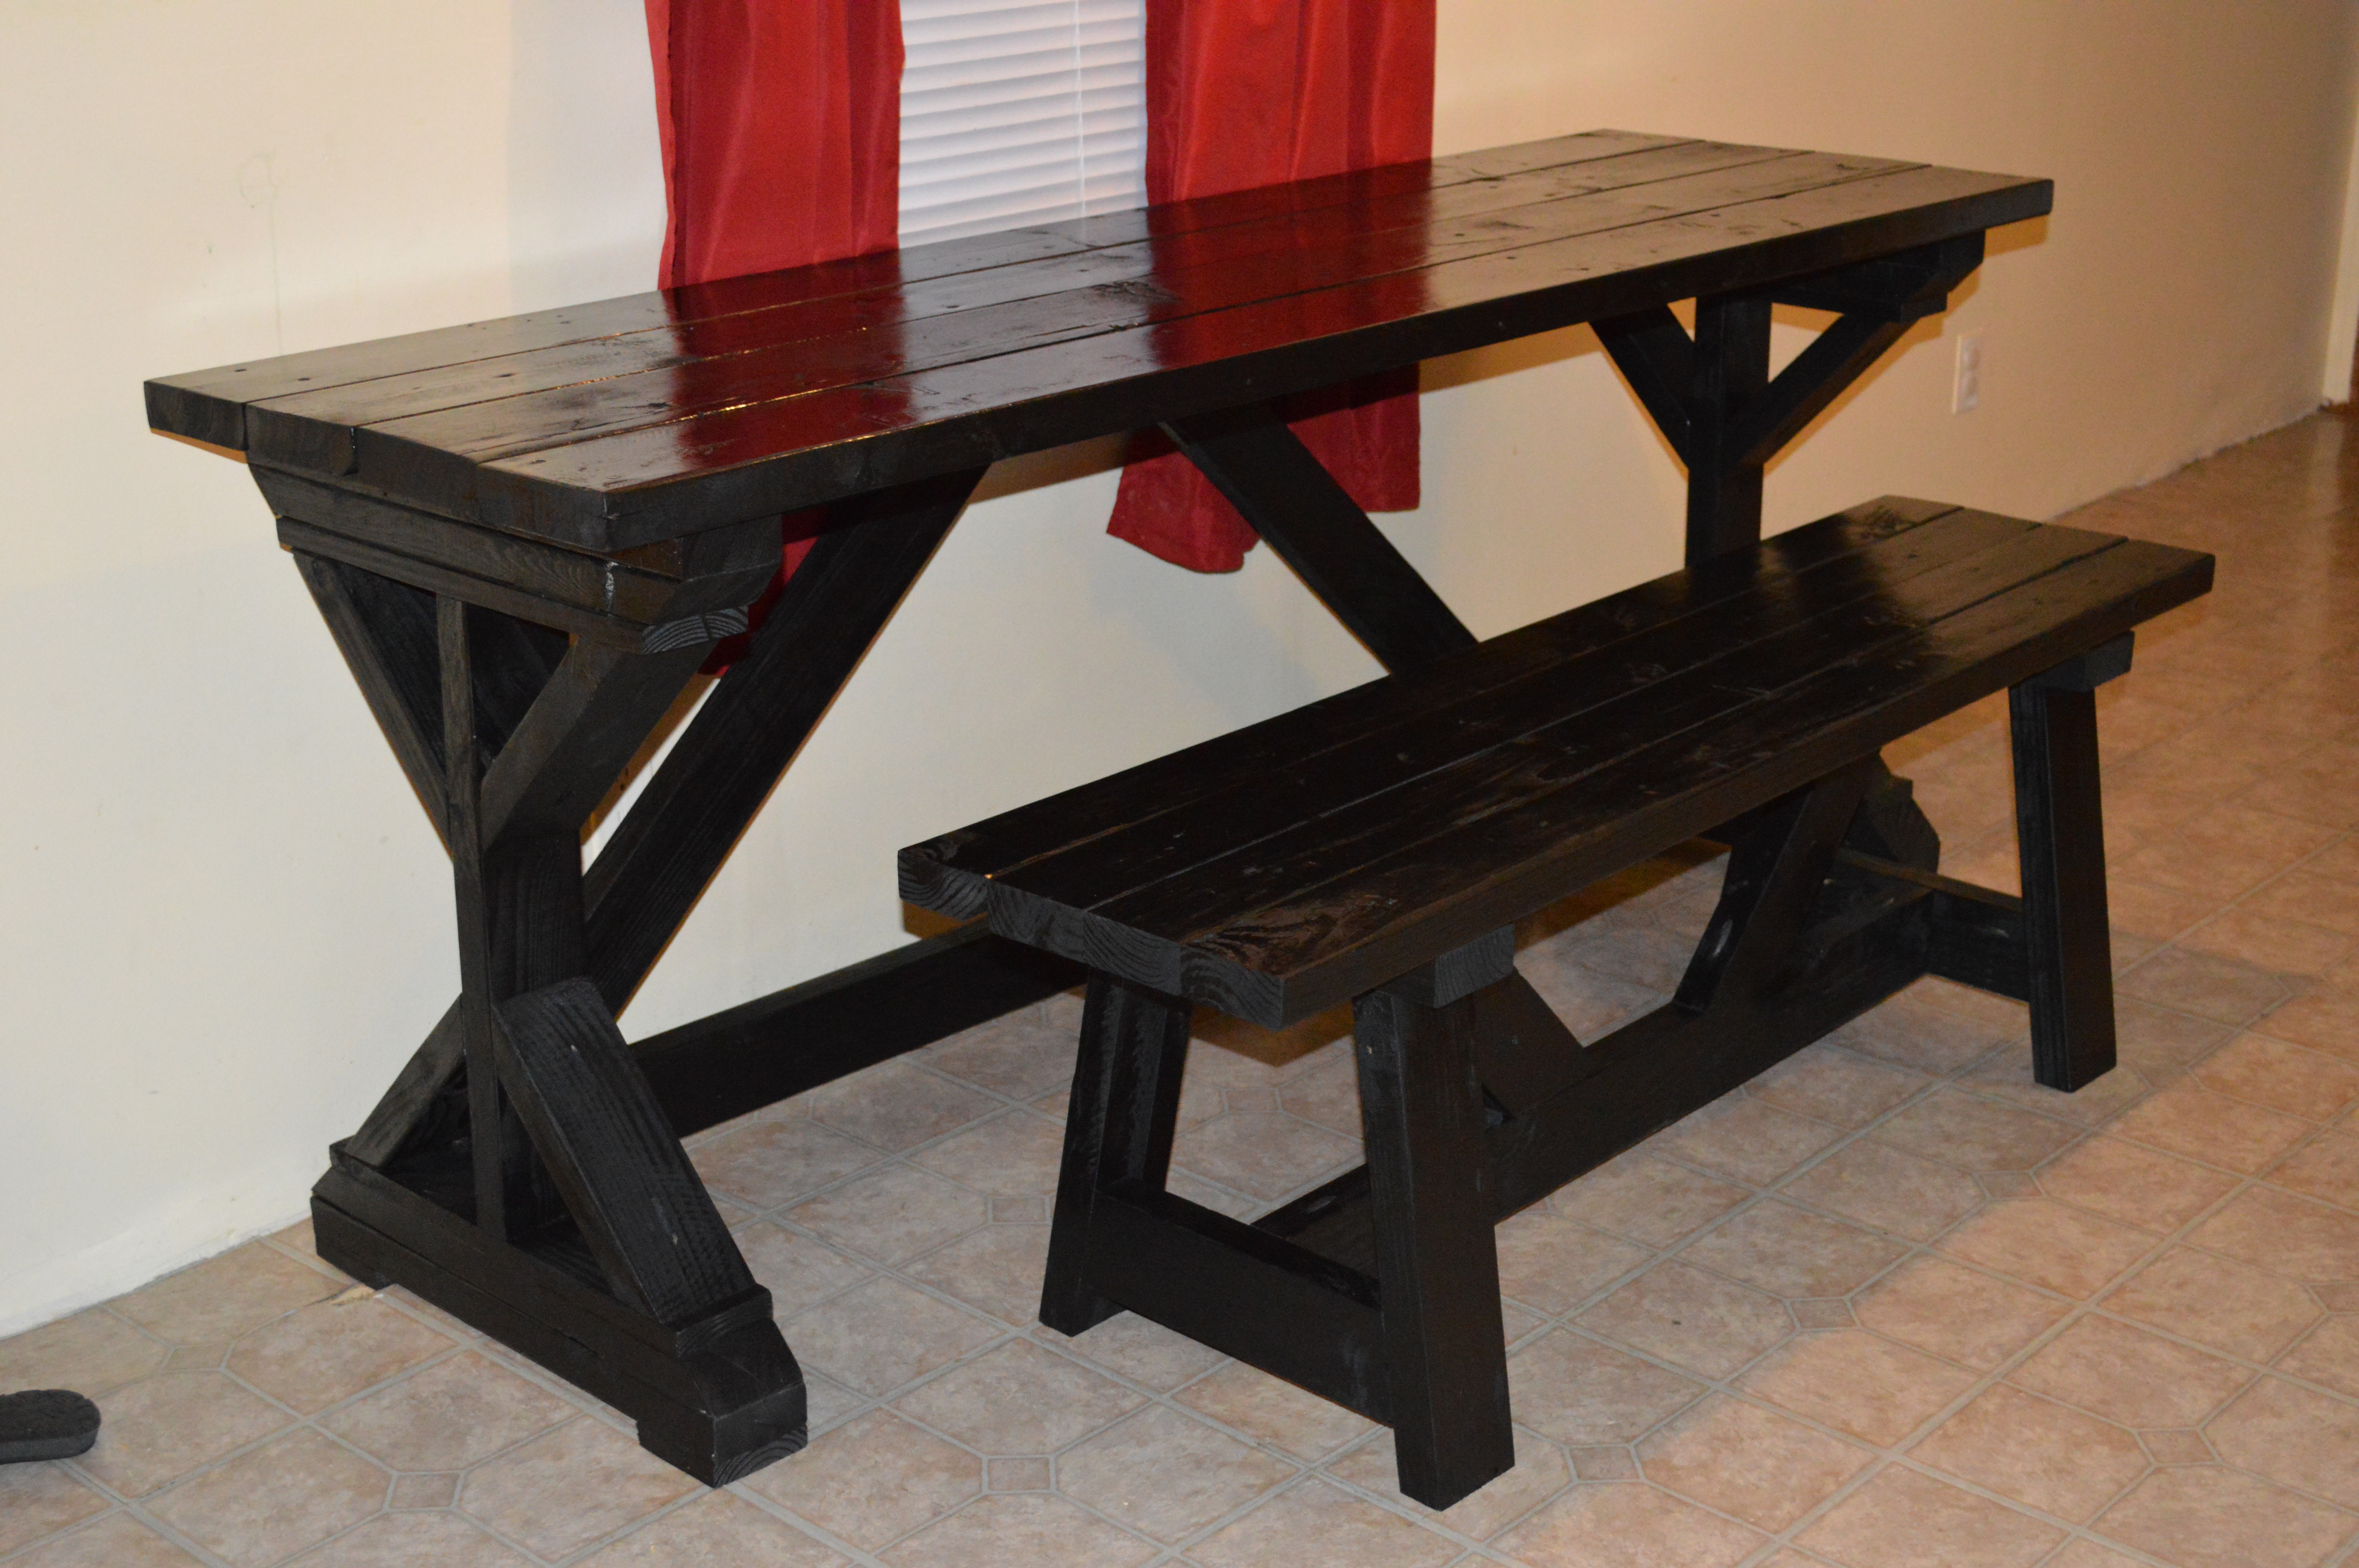
Finish Used
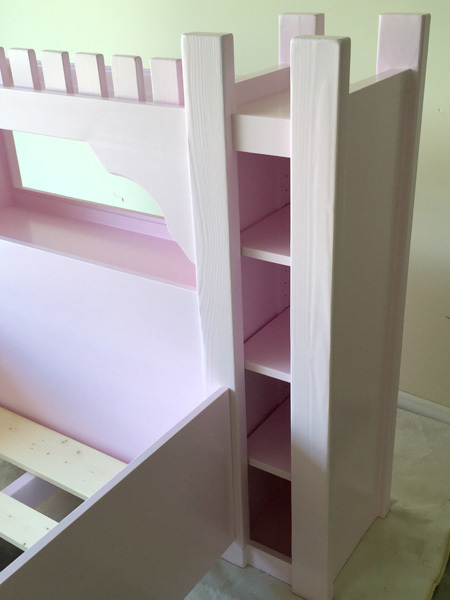
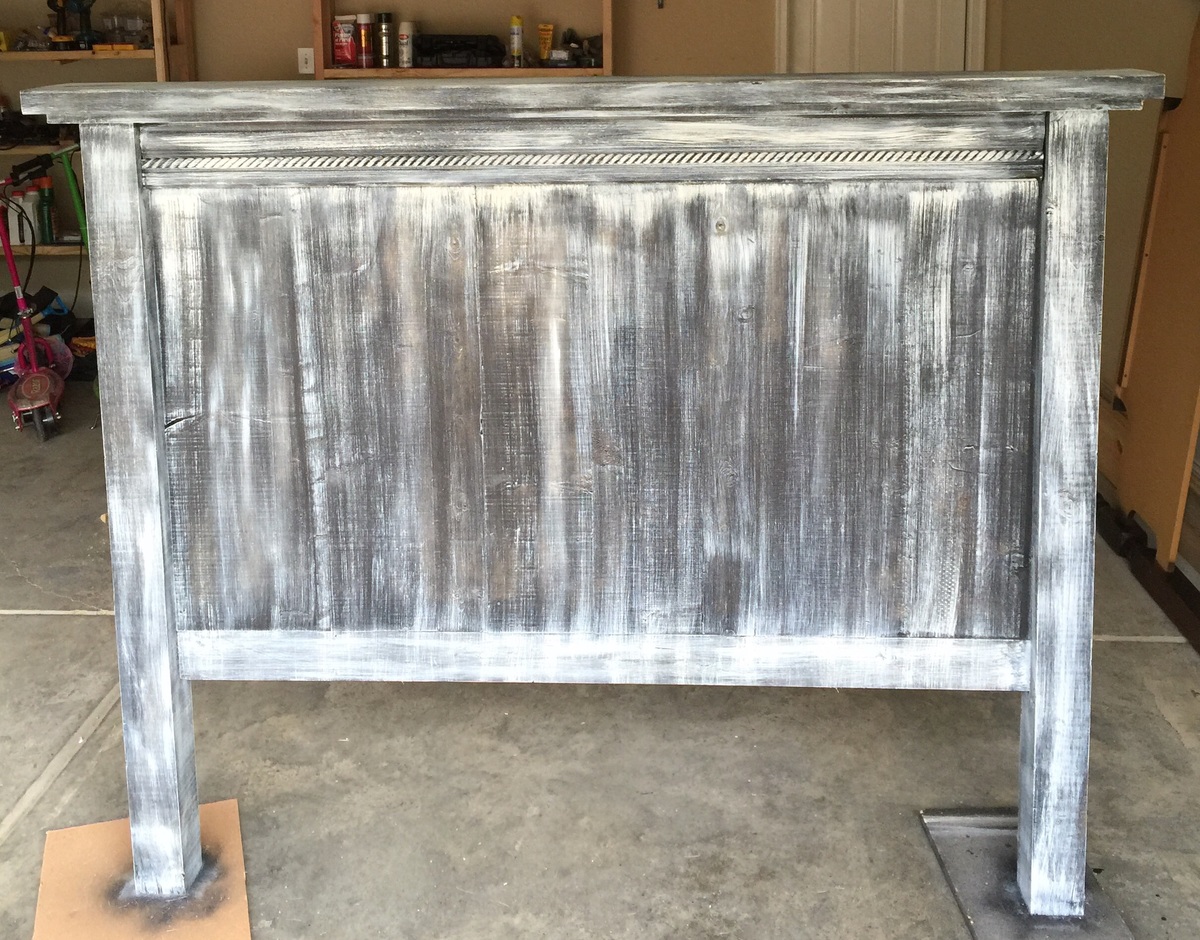
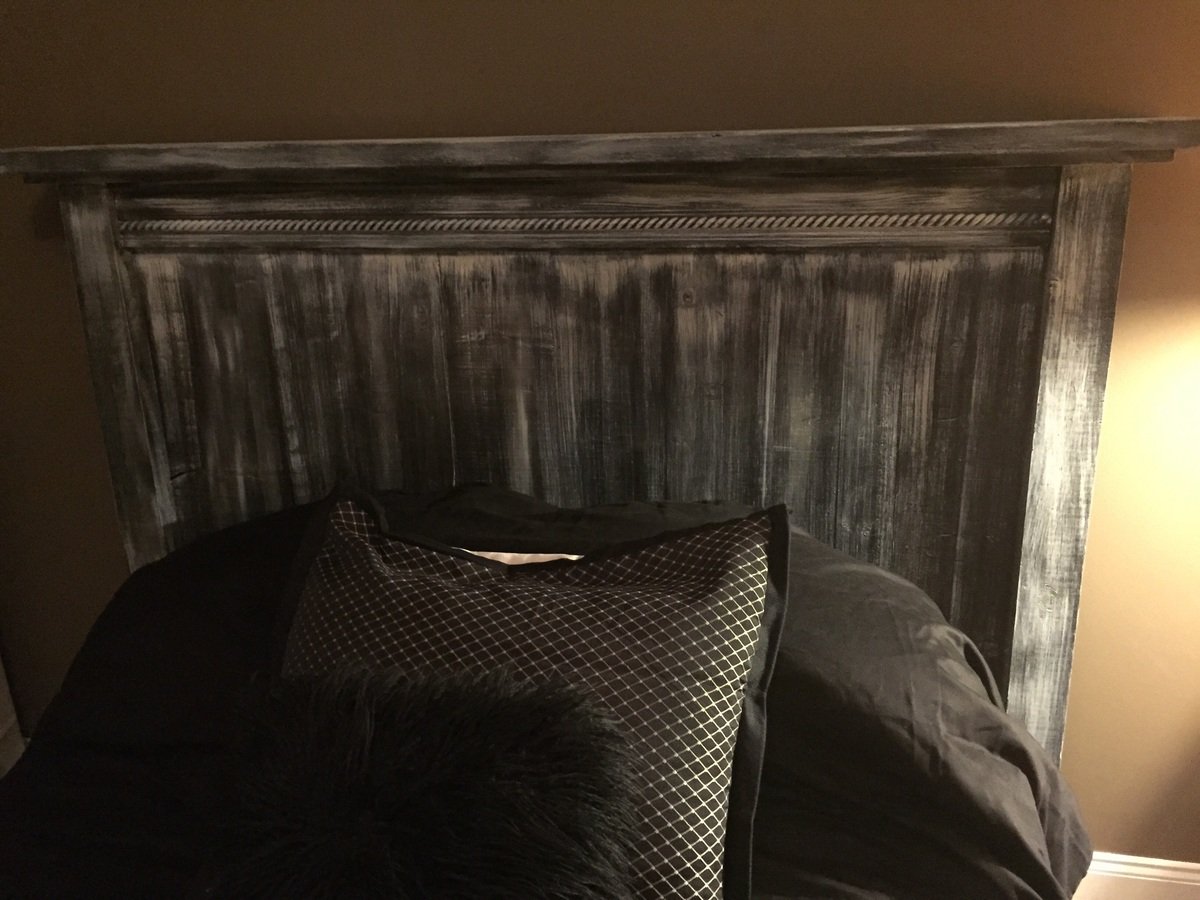
oil-based white paint
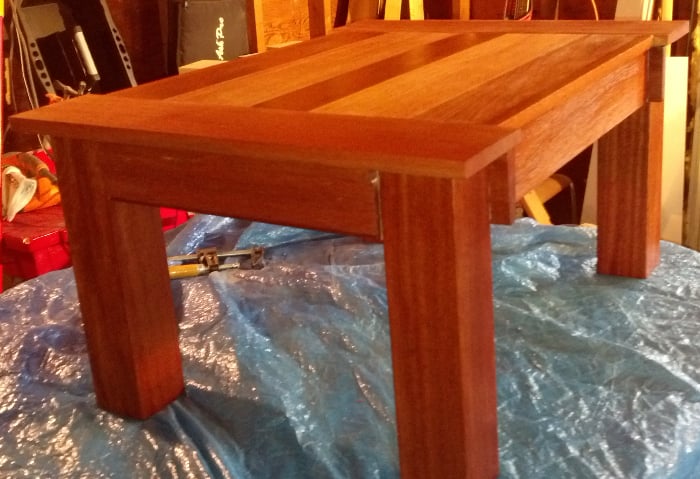
red mahogany Varathane stain rubbed with black shoe polish
red mahogany Varathane stain rubbed with black shoe polish
Recommended Skill Level
Intermediate


Comments
smettauer
Sat, 05/09/2015 - 06:21
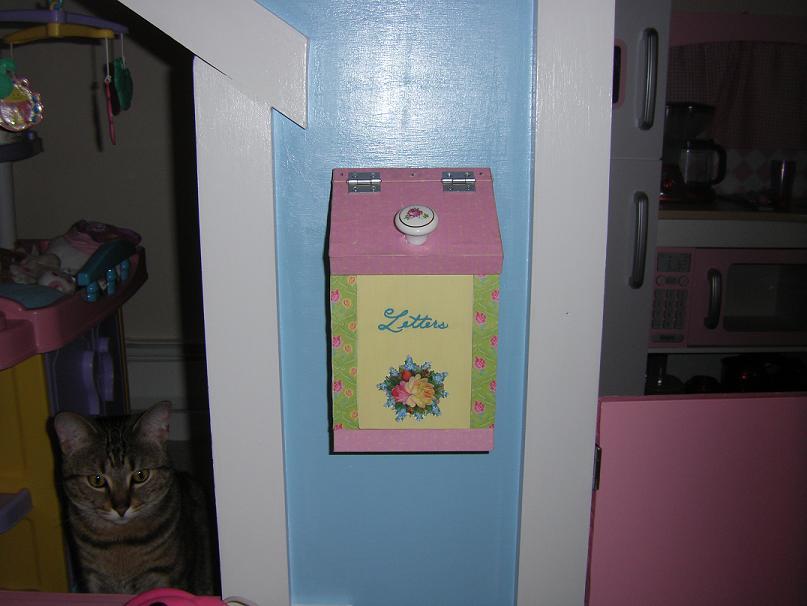
pictures
Sorry the pics are upside down - when I created the post they were shown as being correct. I will try to update later