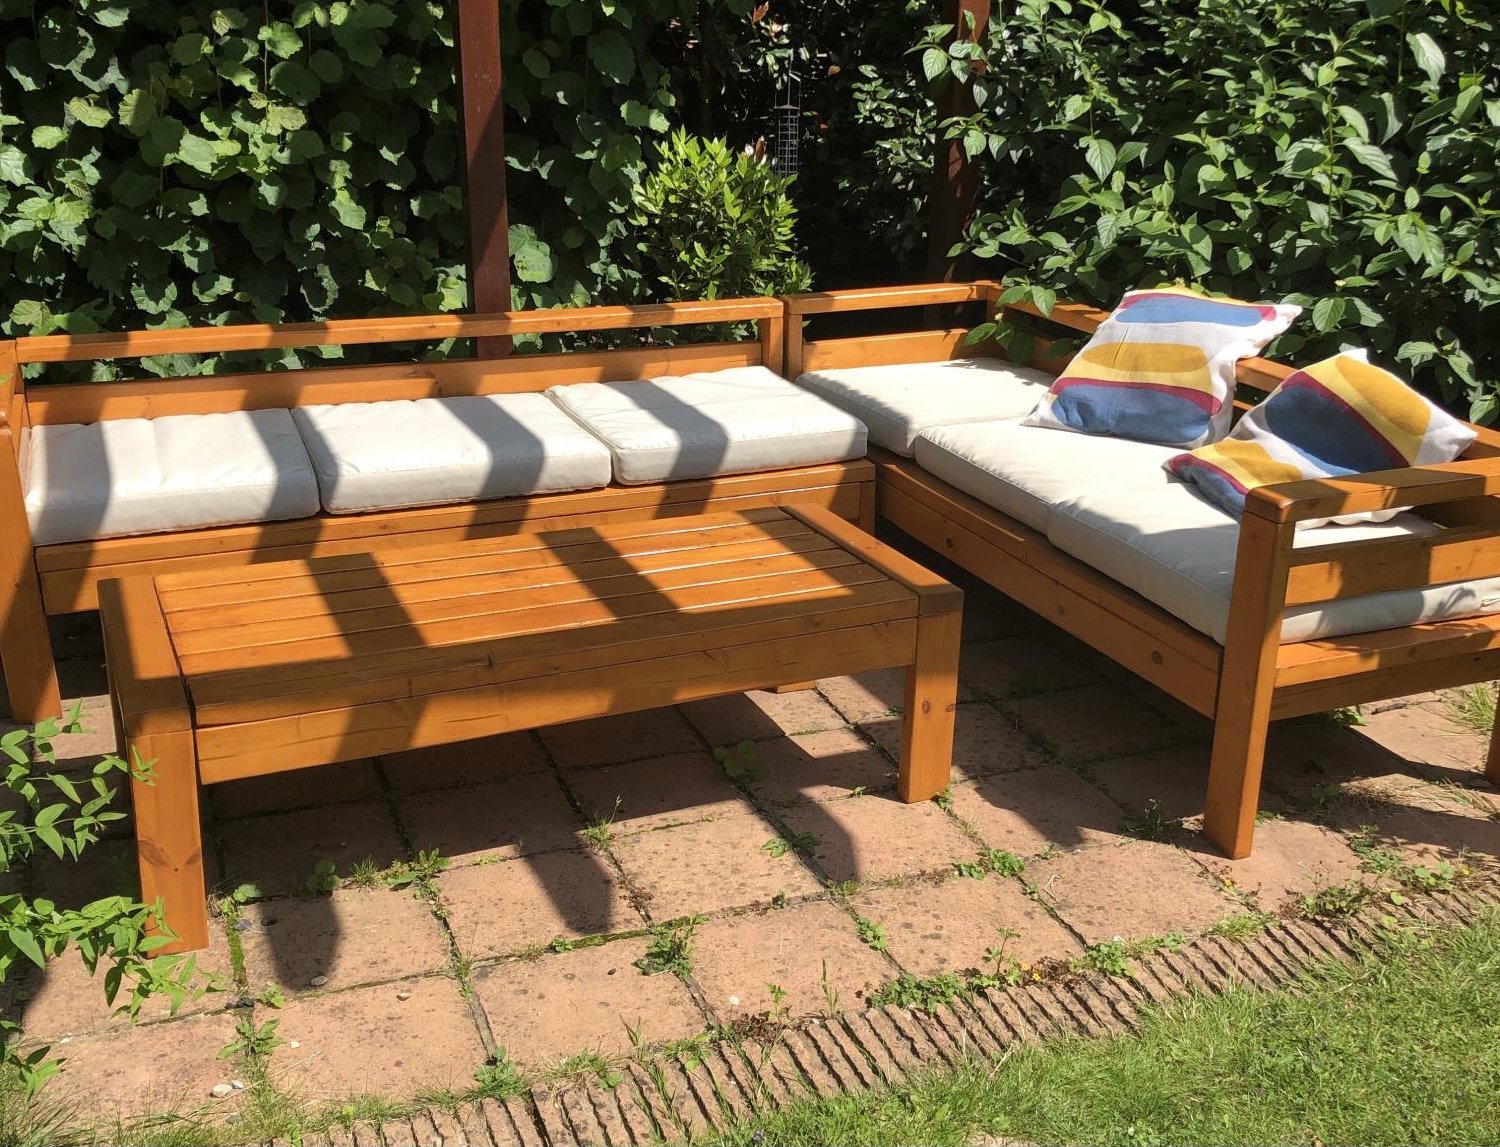
Garden sectional and table
Easy to do though some thought required for conversion into centimetres .
Built from Plan(s)
Easy to do though some thought required for conversion into centimetres .
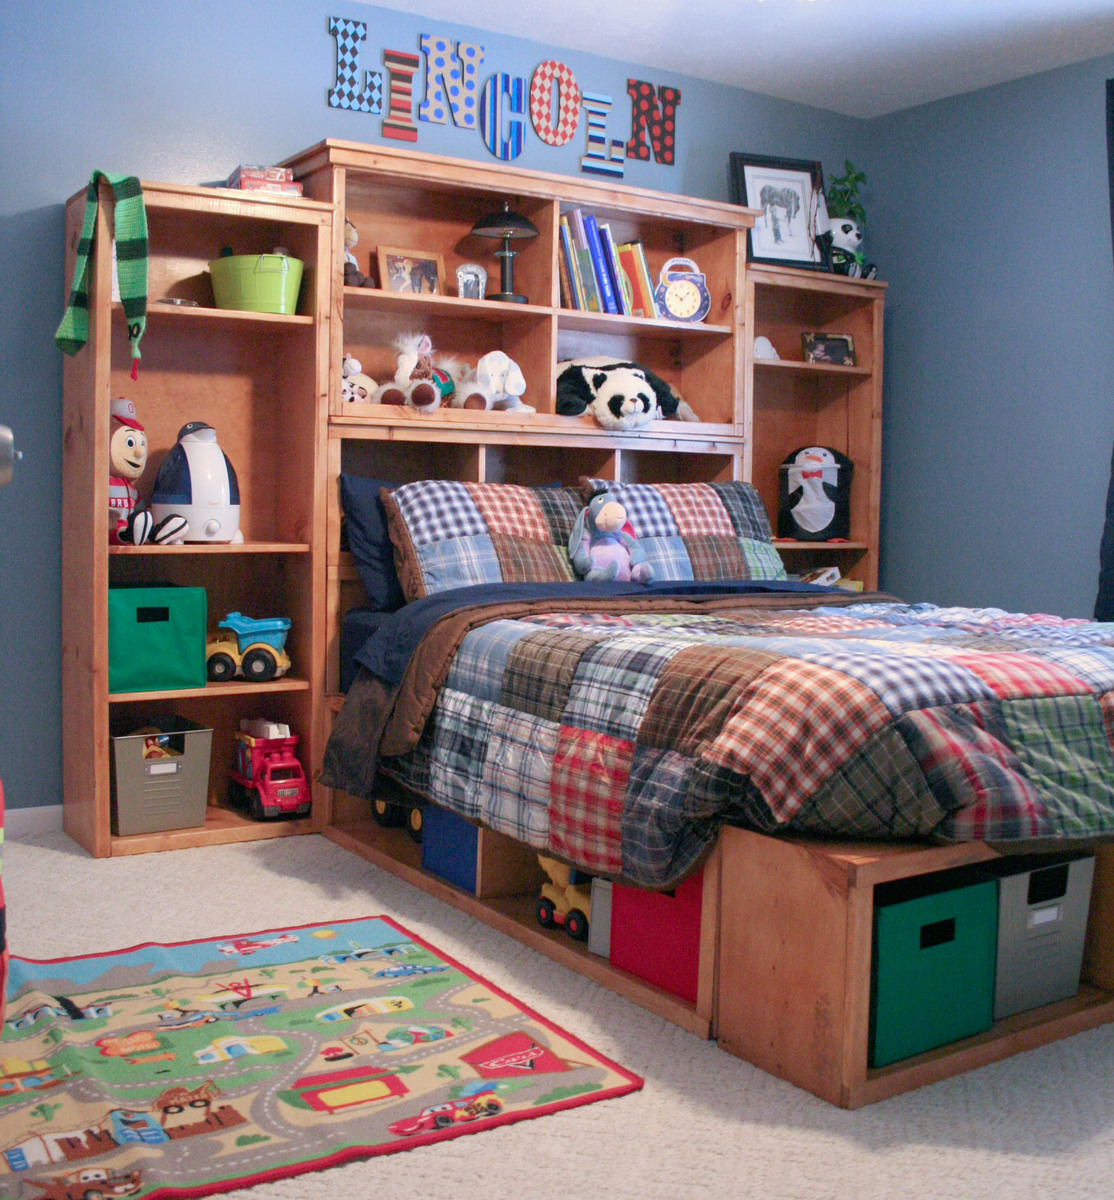
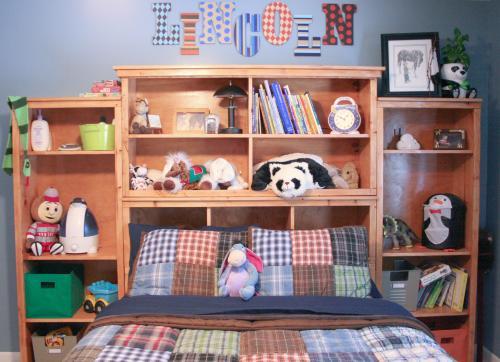
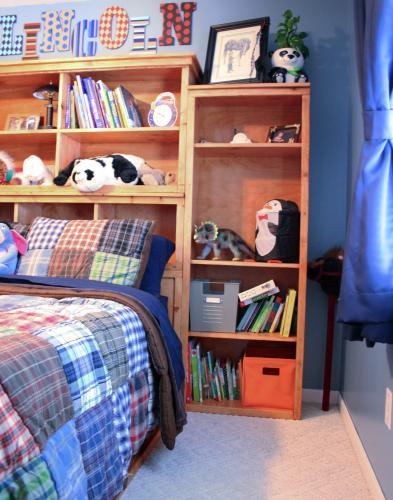
With a new baby on the way, my husband, Steve and I had to move our 2yr old son out of the nursery and into his big boy bedroom. After casually looking at storage beds and falling over in shock at the prices, I came across Ana’s plans for the storage bed. Knowing that Steve is extremely handy but had not attempted to build furniture before, I started talking him into building this bed. He was sold the moment I told him that we would save close to $2400 by building it ourselves. This was a longer than anticipated project mainly due to Steve’s full time work schedule, my inablility to handle stain fumes, allowing a toddler to “help” build his bed and working around said toddler’s nap schedule. We modified Ana’s plans by adding some trim to the cubby hutch, omitting the doors on the small hutch and sizing everything to a full size bed. We also omitted the shelves on the storage headboard since we weren’t going to use them with the side towers. I am absolutely in LOVE with the final result and have a long list of other projects that we will be building in the near future.
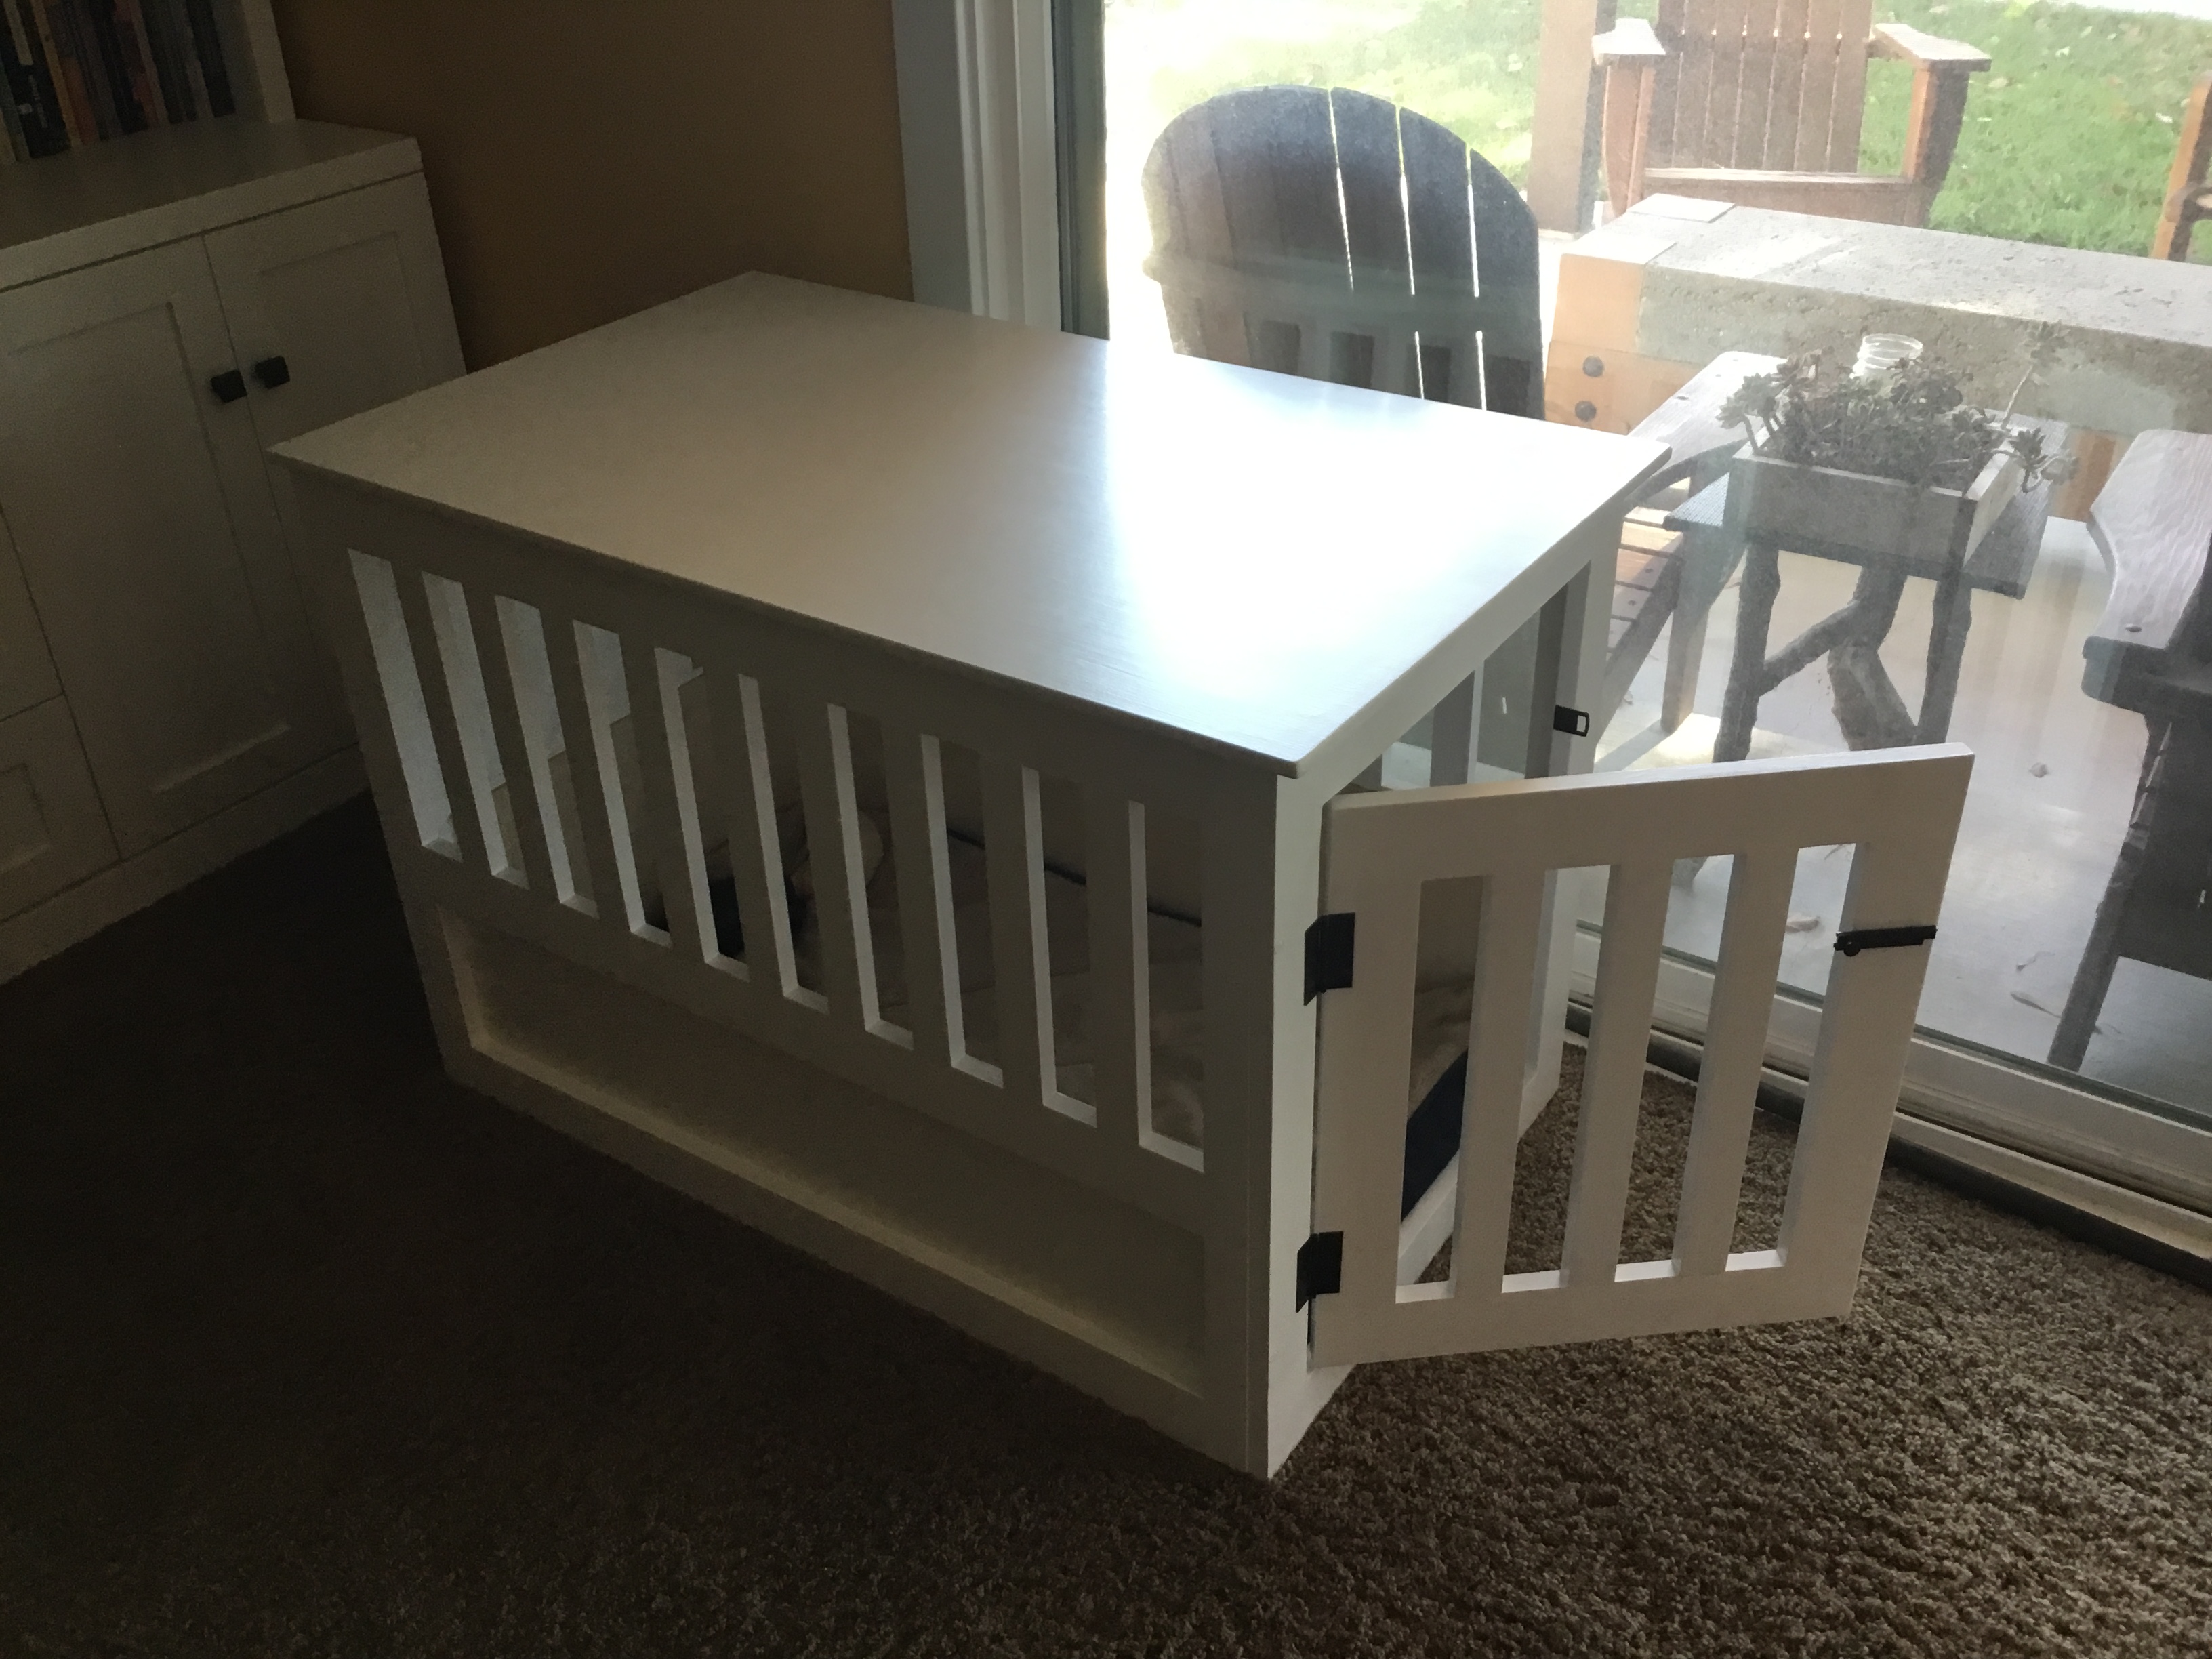
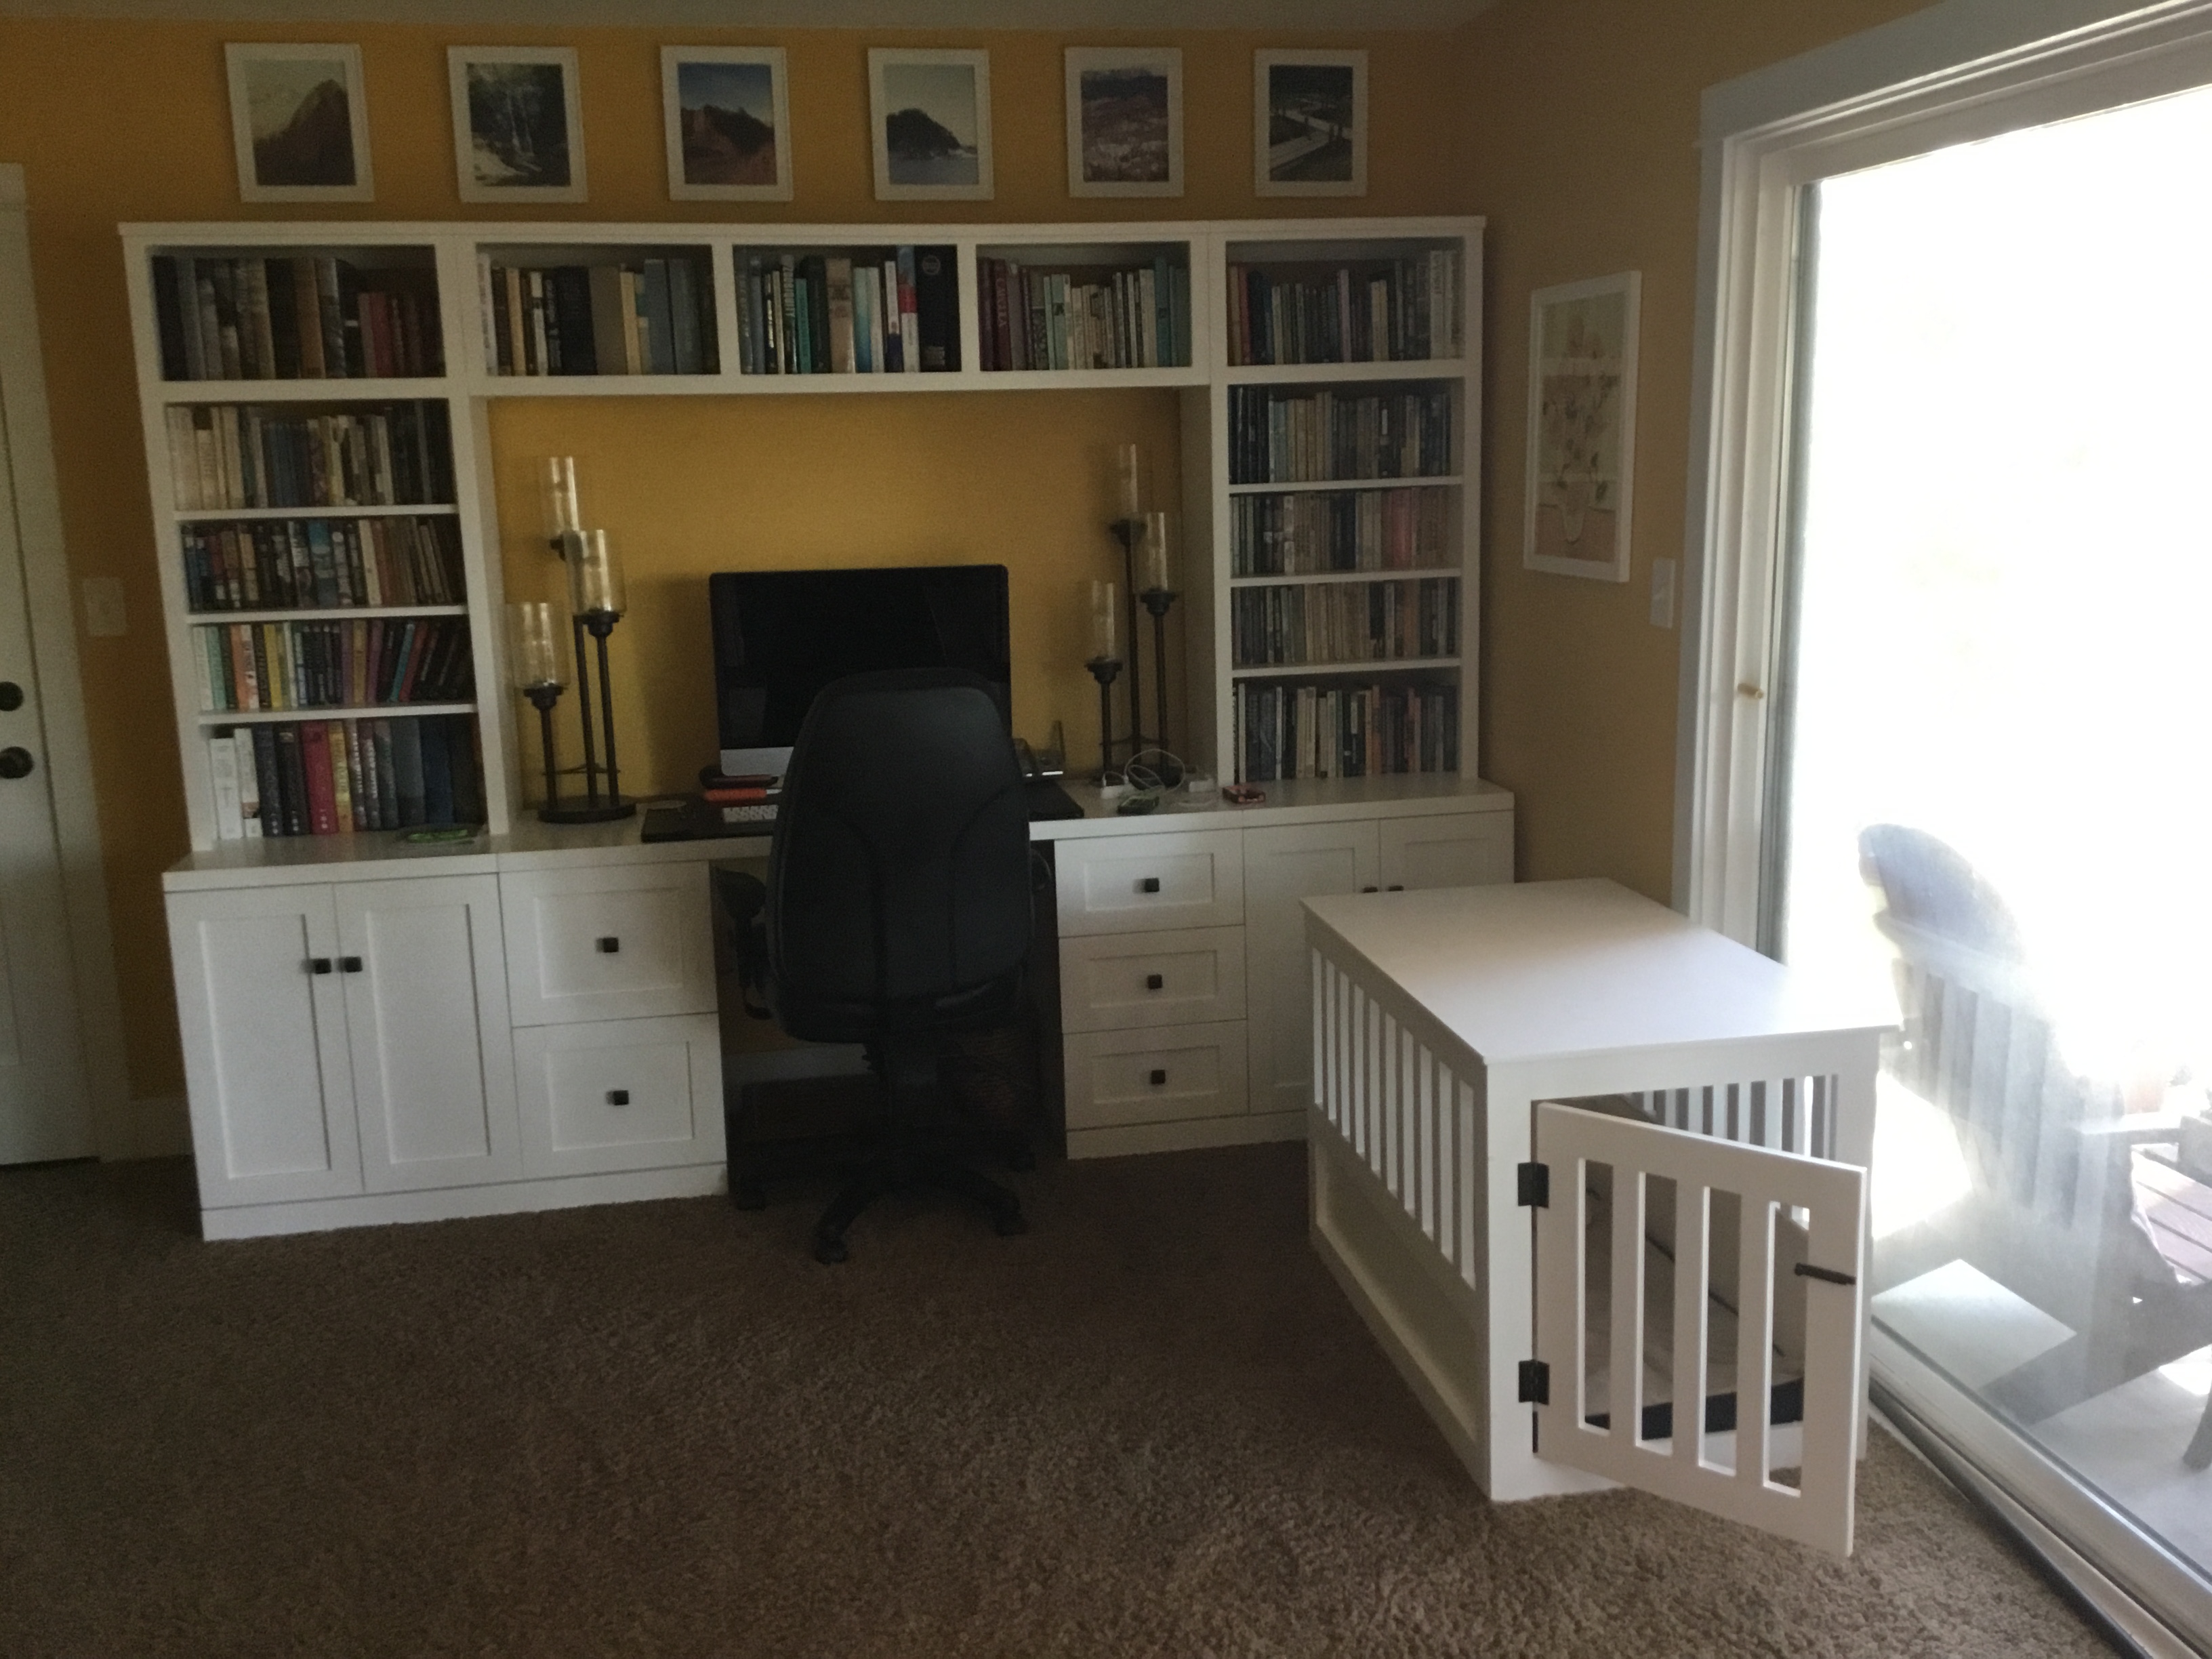
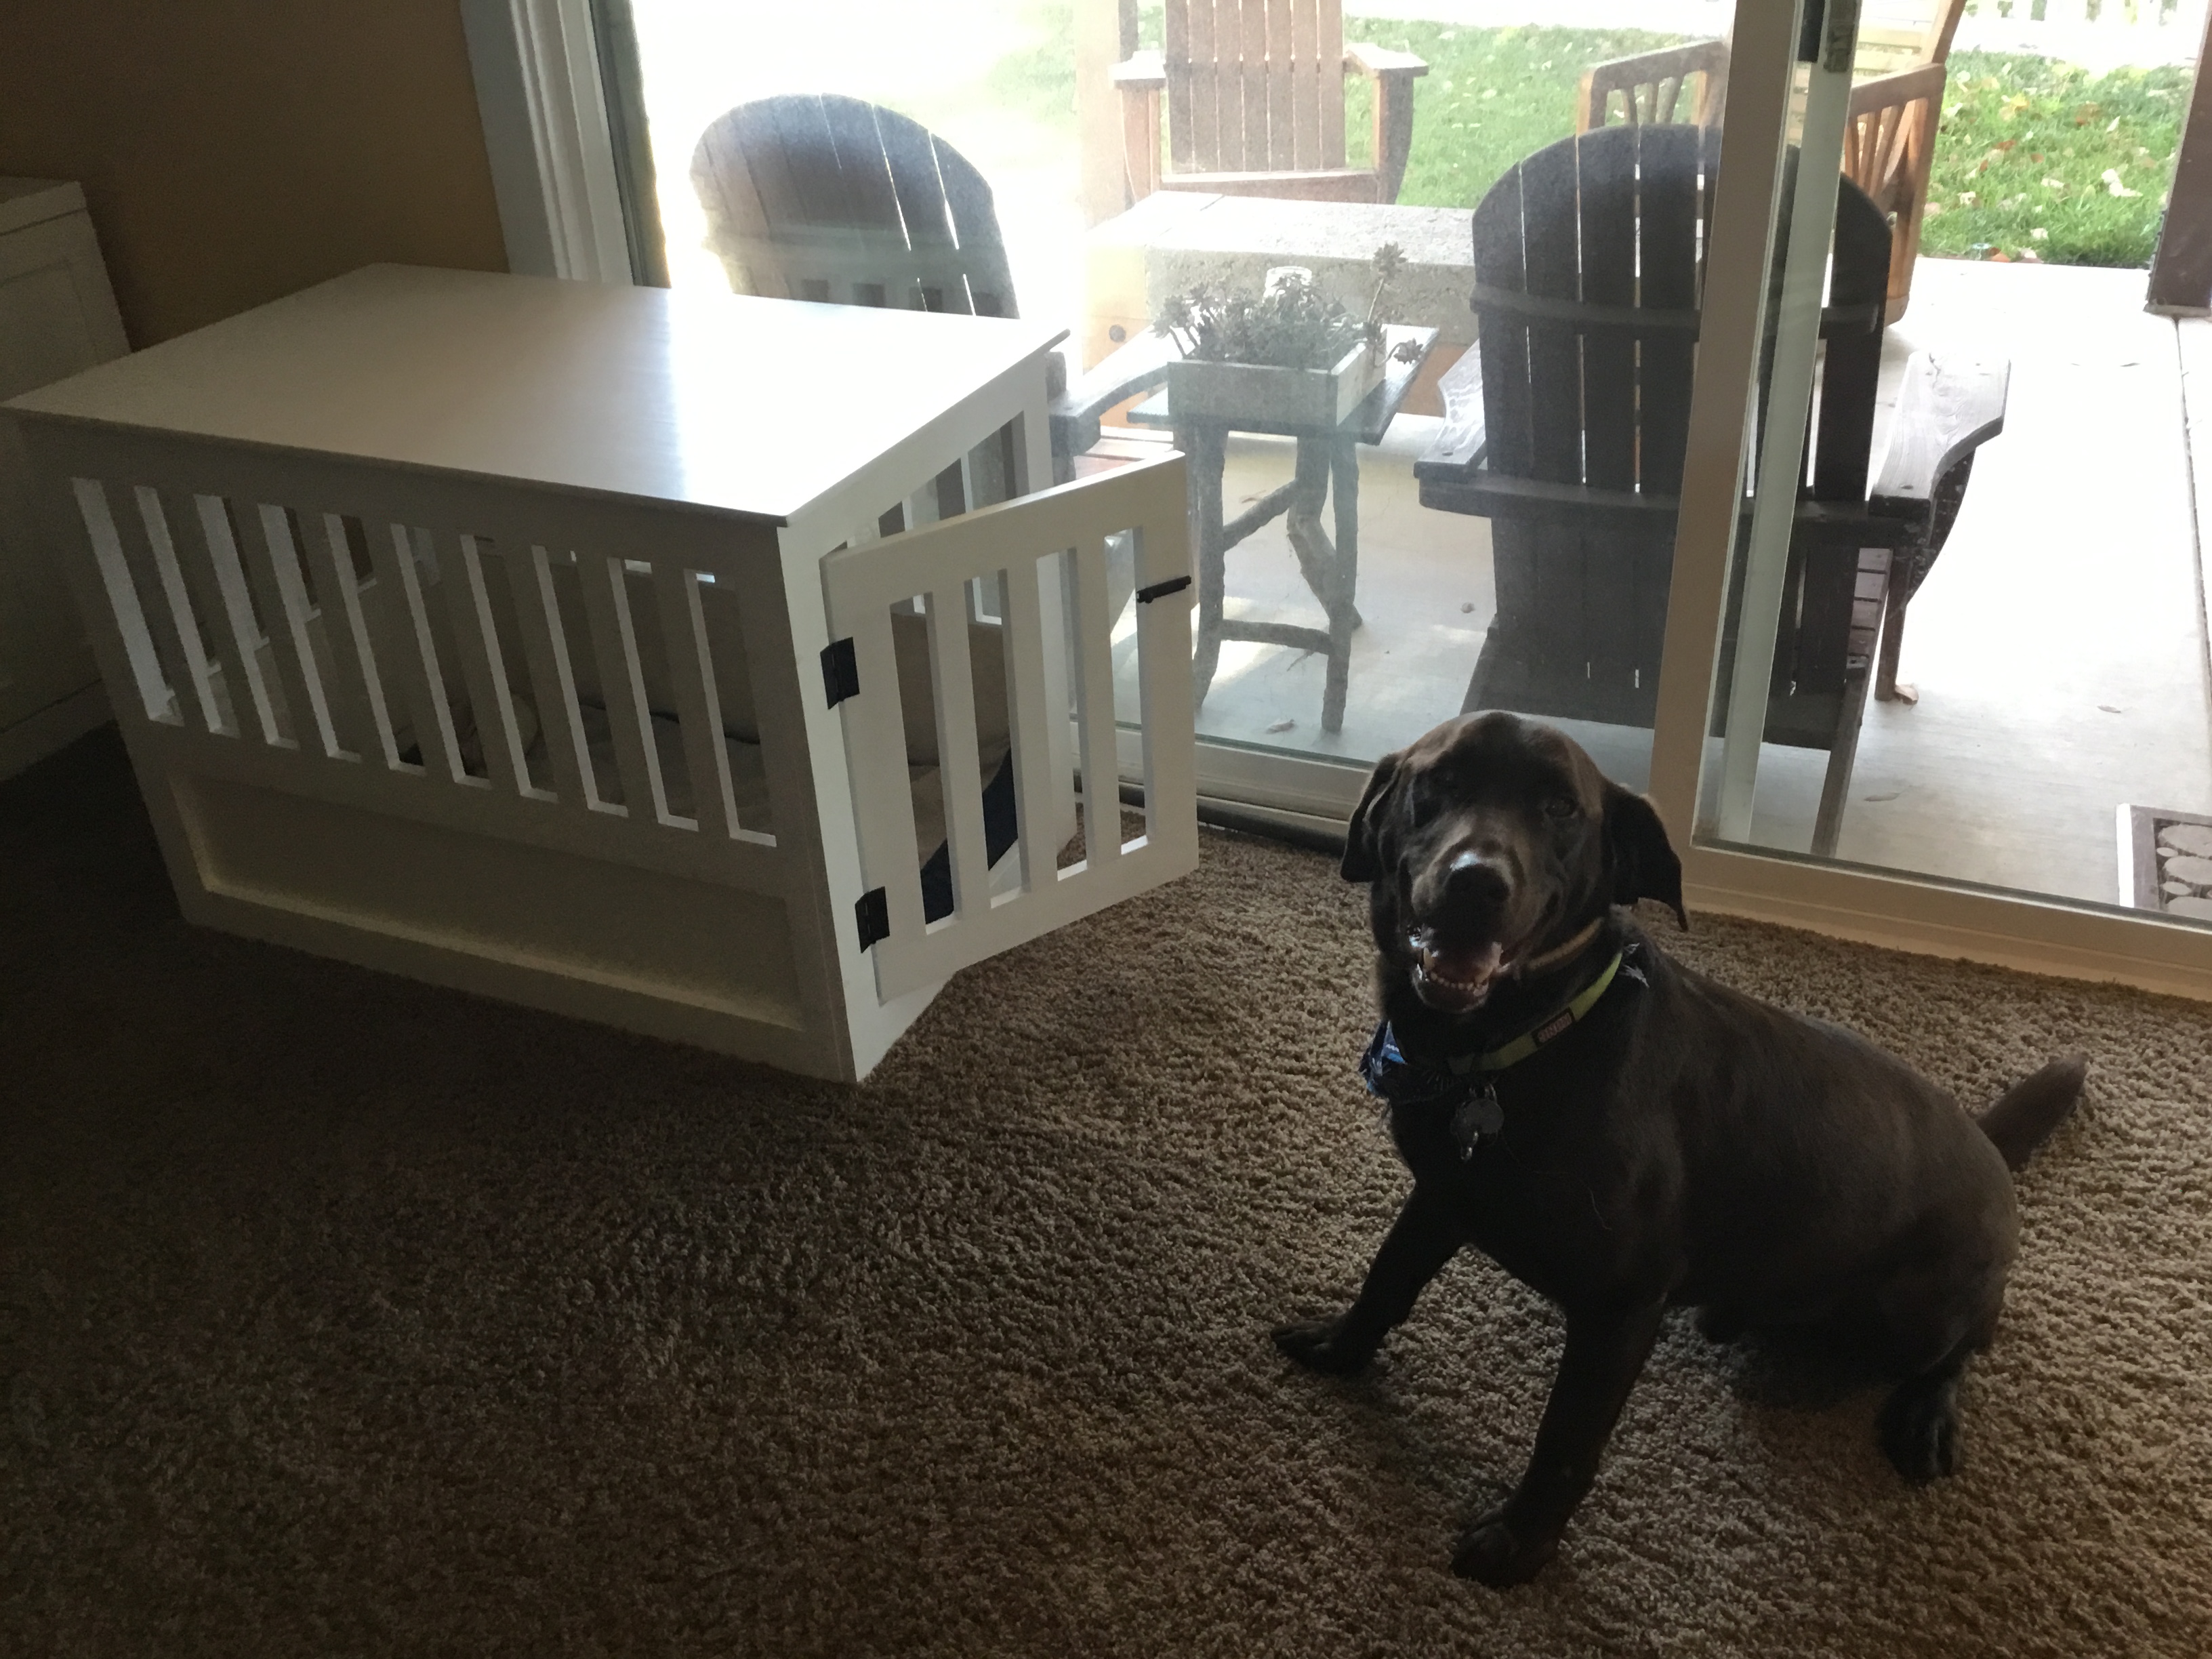
Great plans! I tweaked some dimensions to make it several inches longer, and I made the bars 12 inches instead of 6 to open it up more. Clyde loved it immediately!! It goes perfectly with our craftsman/mission themed design. Thank you!
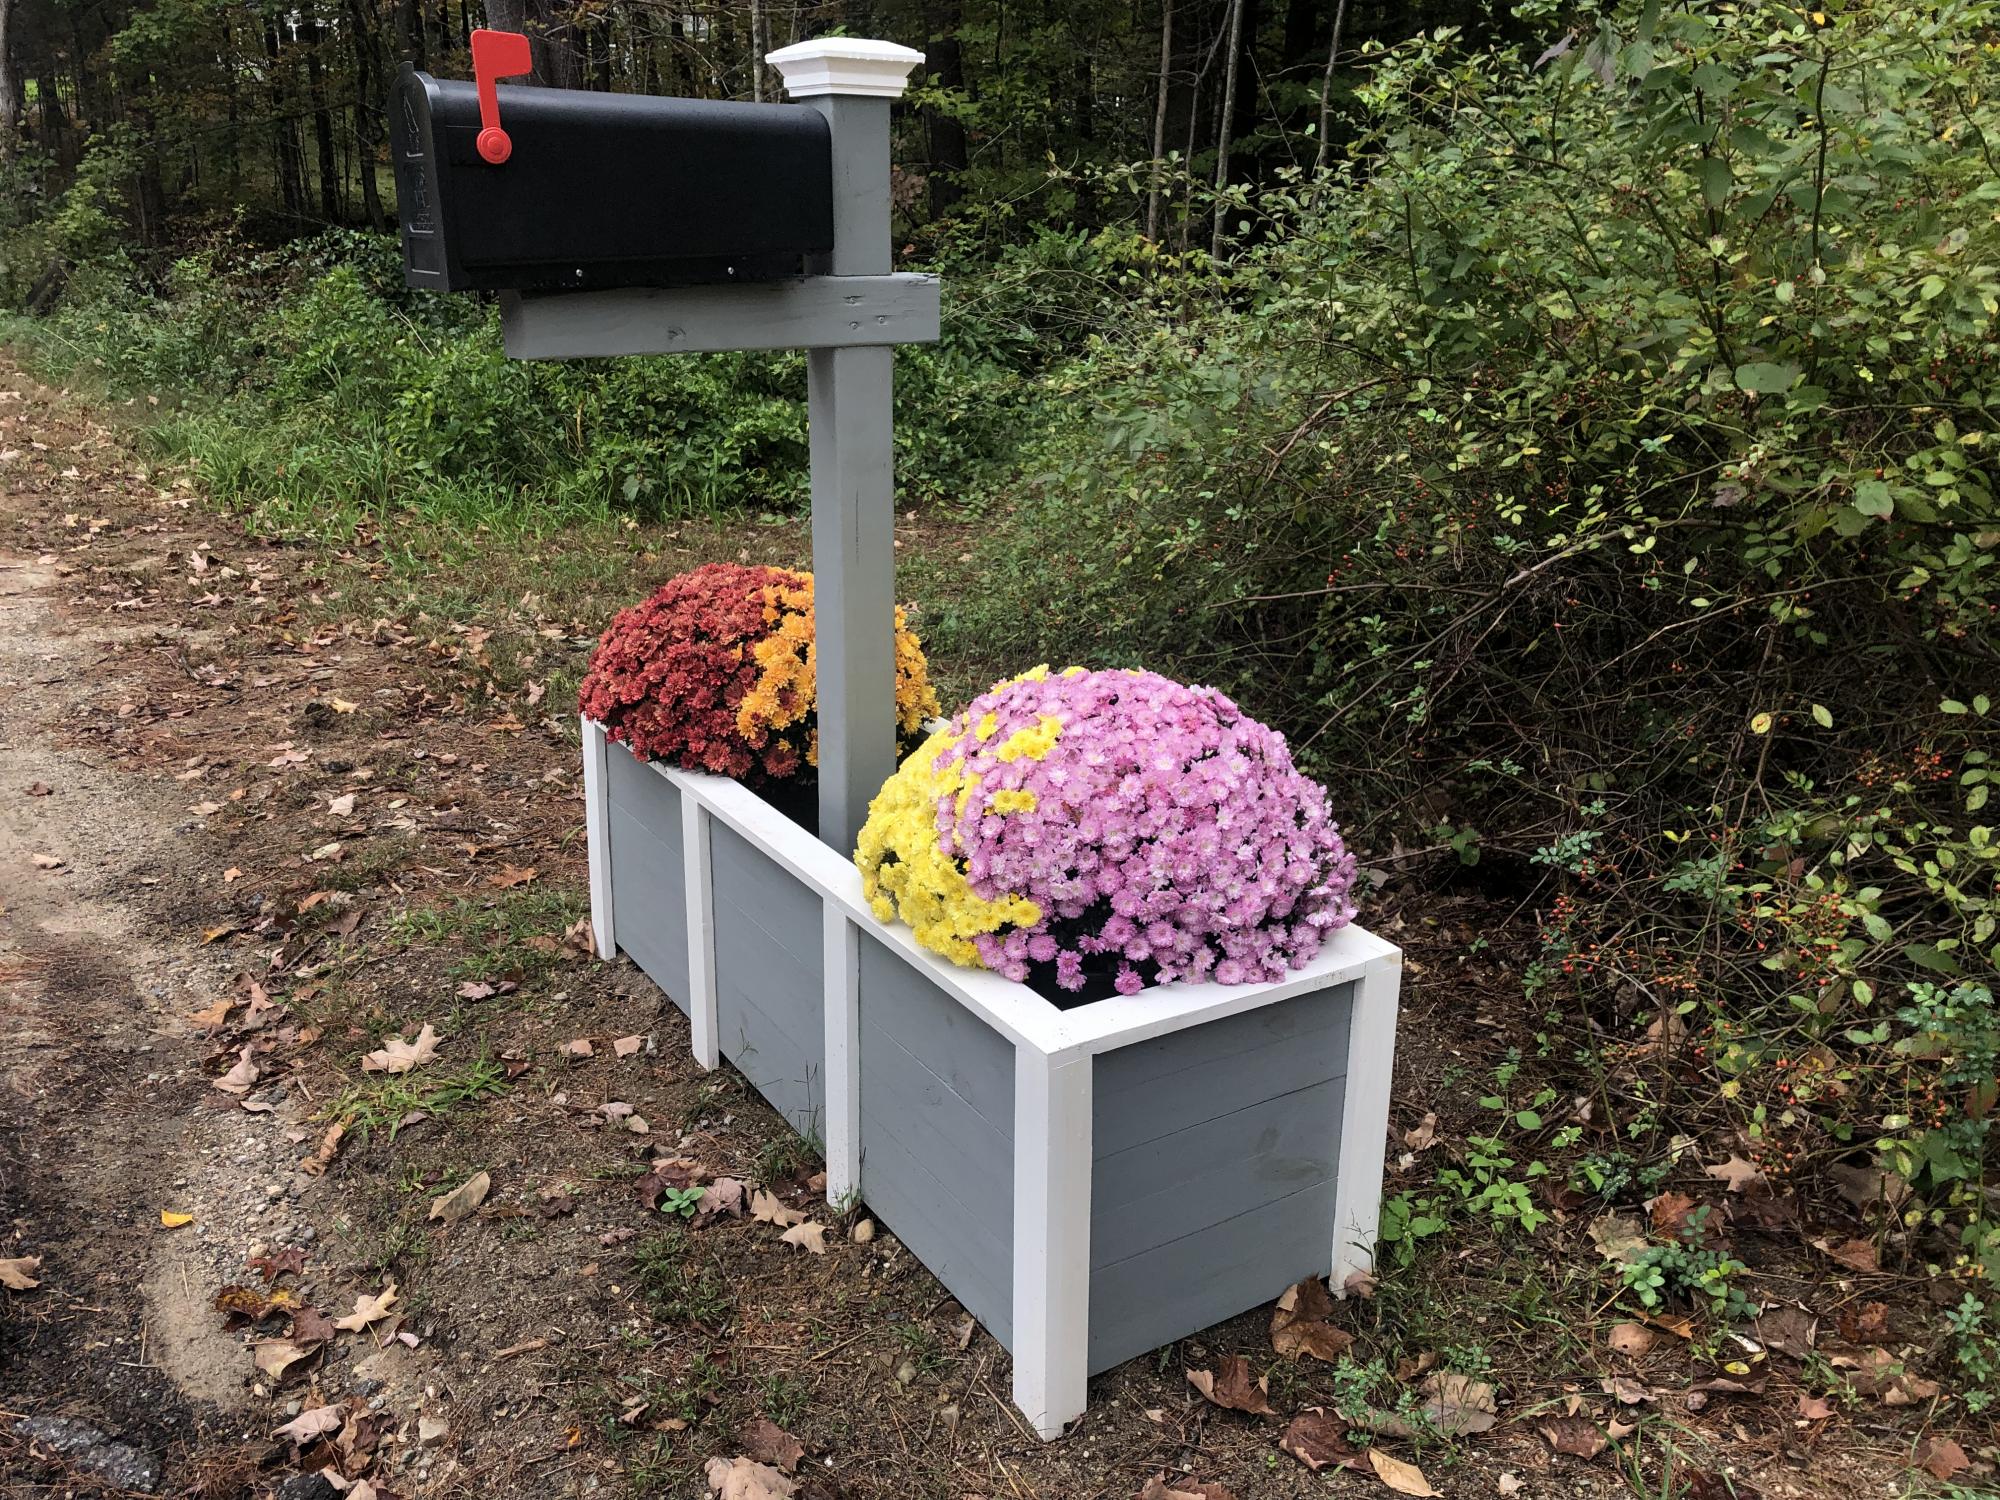
I wanted to put a planter around our new mailbox. So, I took your single planter design and build it as if it were three separate boxes only leaving out the interior pieces. It required making a T section for the middle pieces, And I made sure I used plenty of glue to firm up the structure and provide stiffness.

Easy and fun. Don't worry yourself over the angle on the left side of the stringer. The 15 degree one matters, the other, not so much. Buy an extra 1x4 unless you want to spend a pile of time figuring out how to cut them to maximize the space!
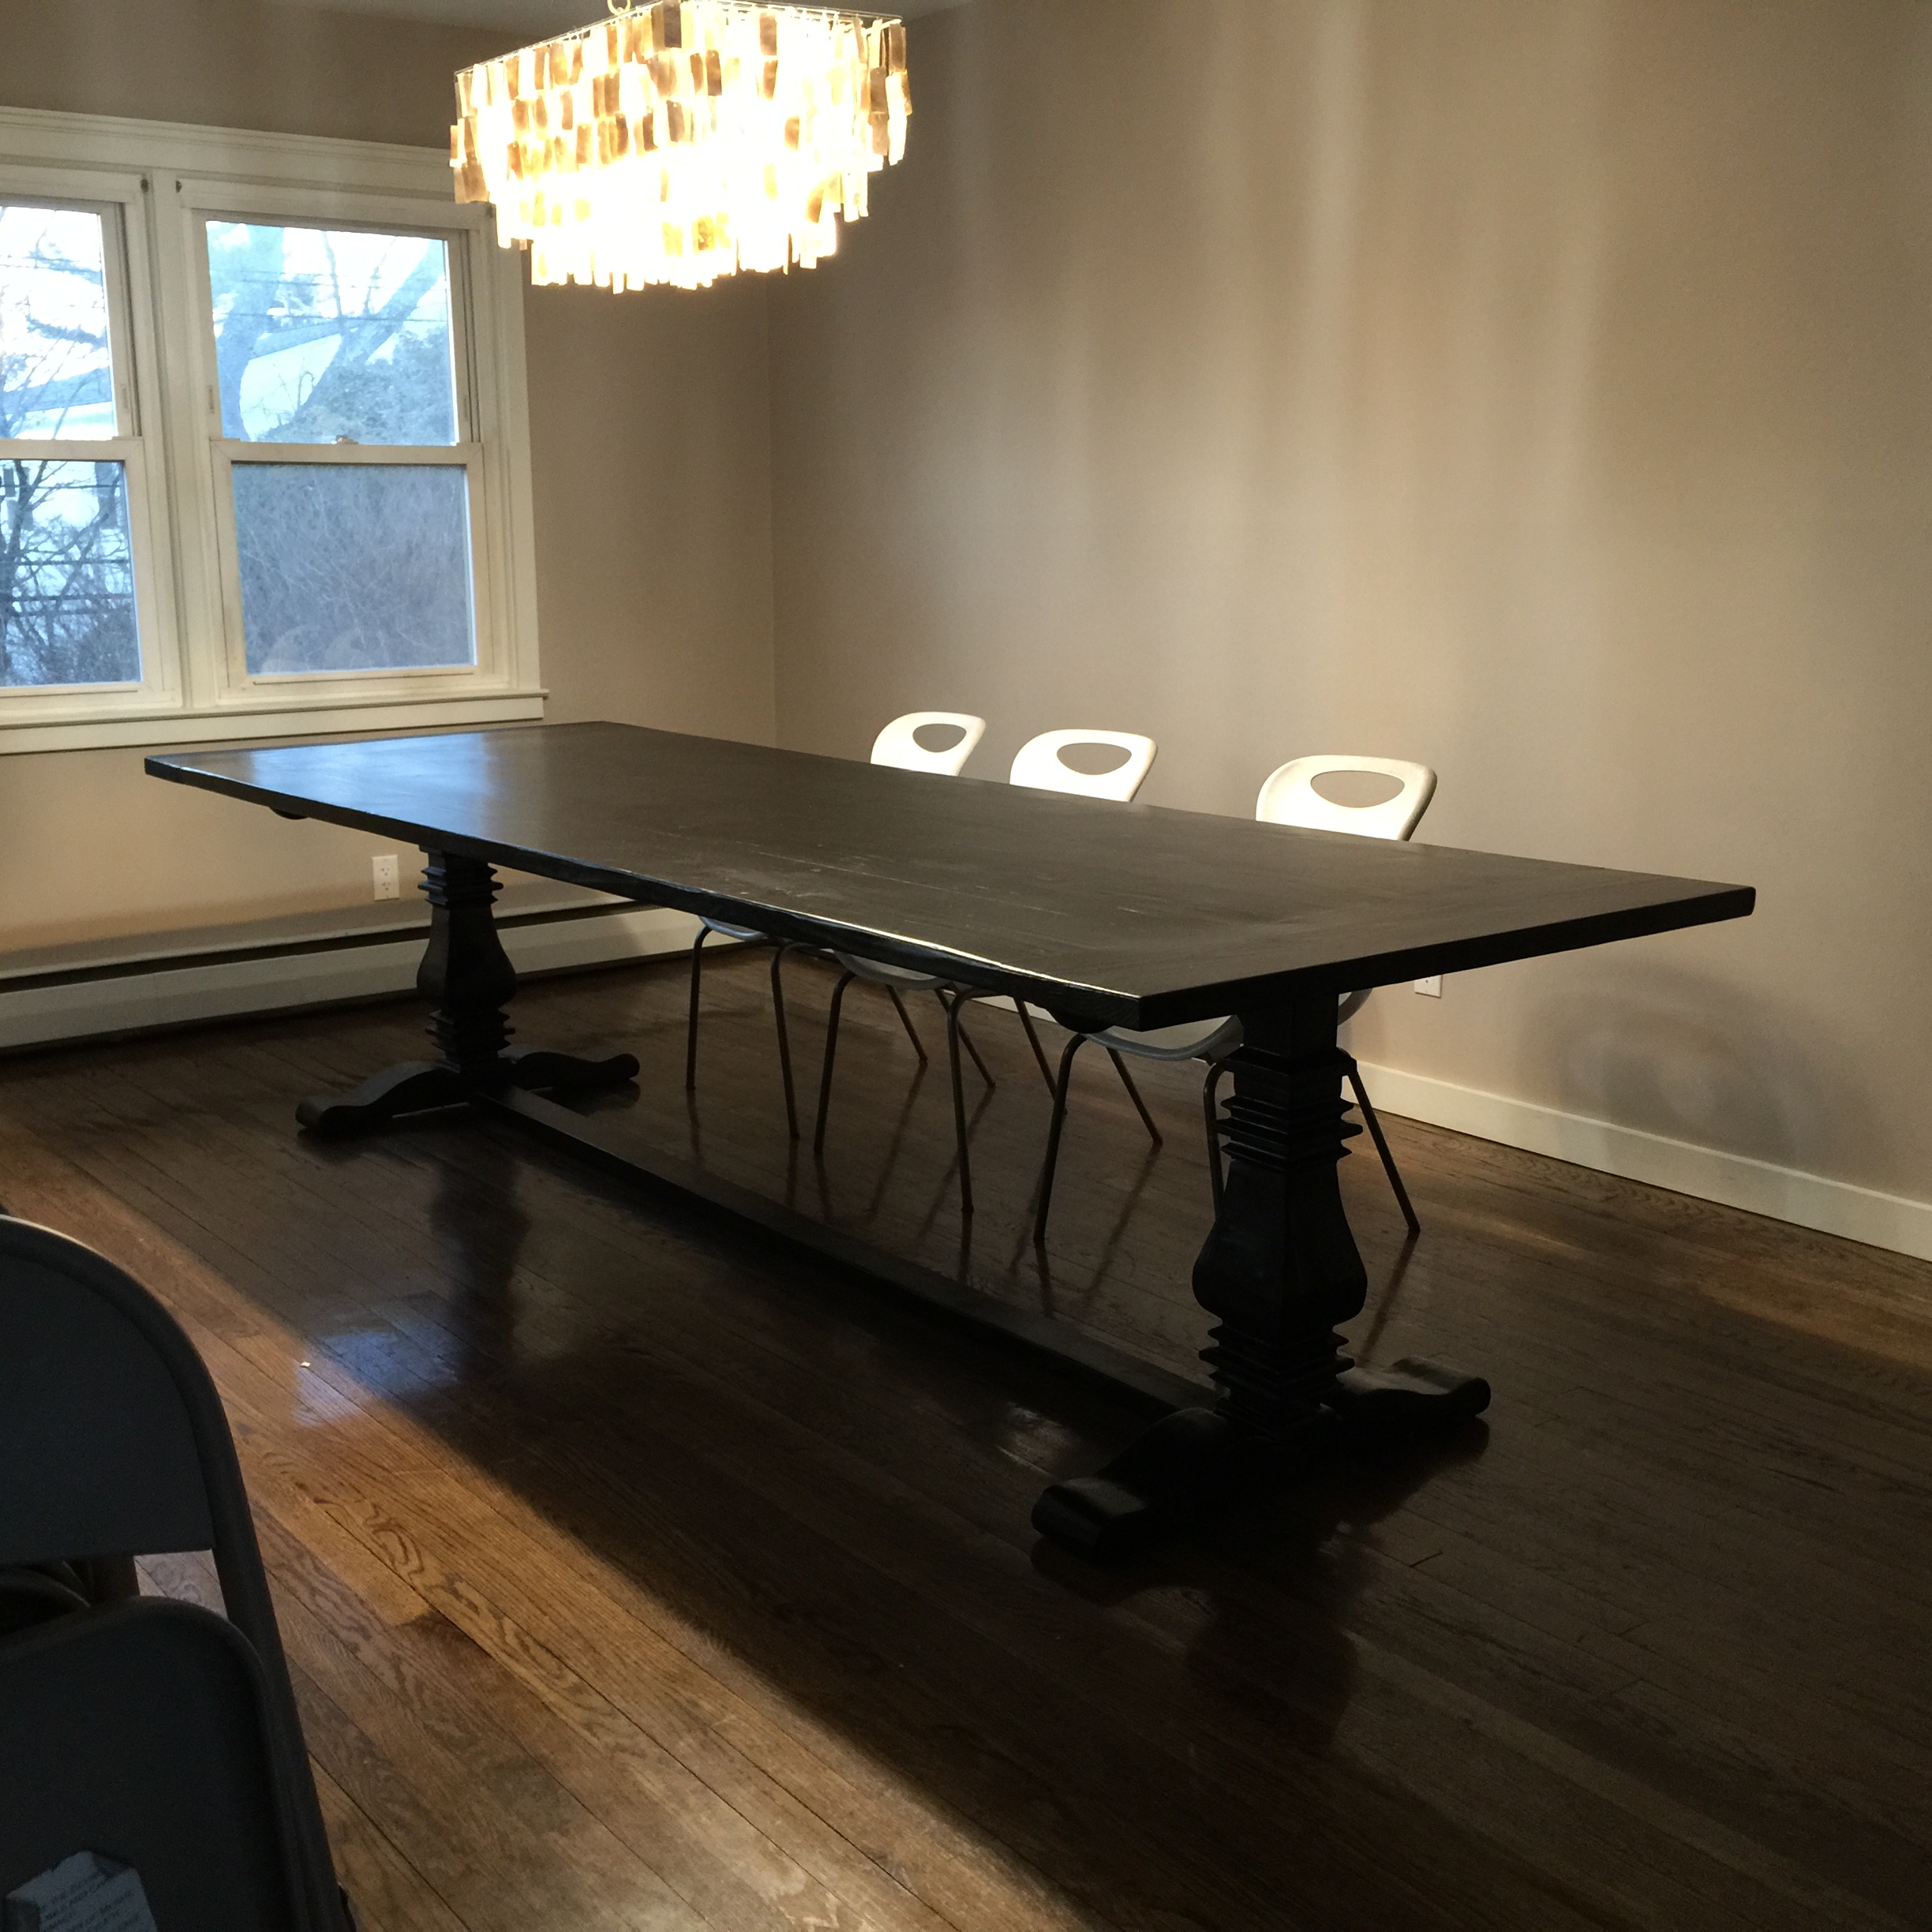
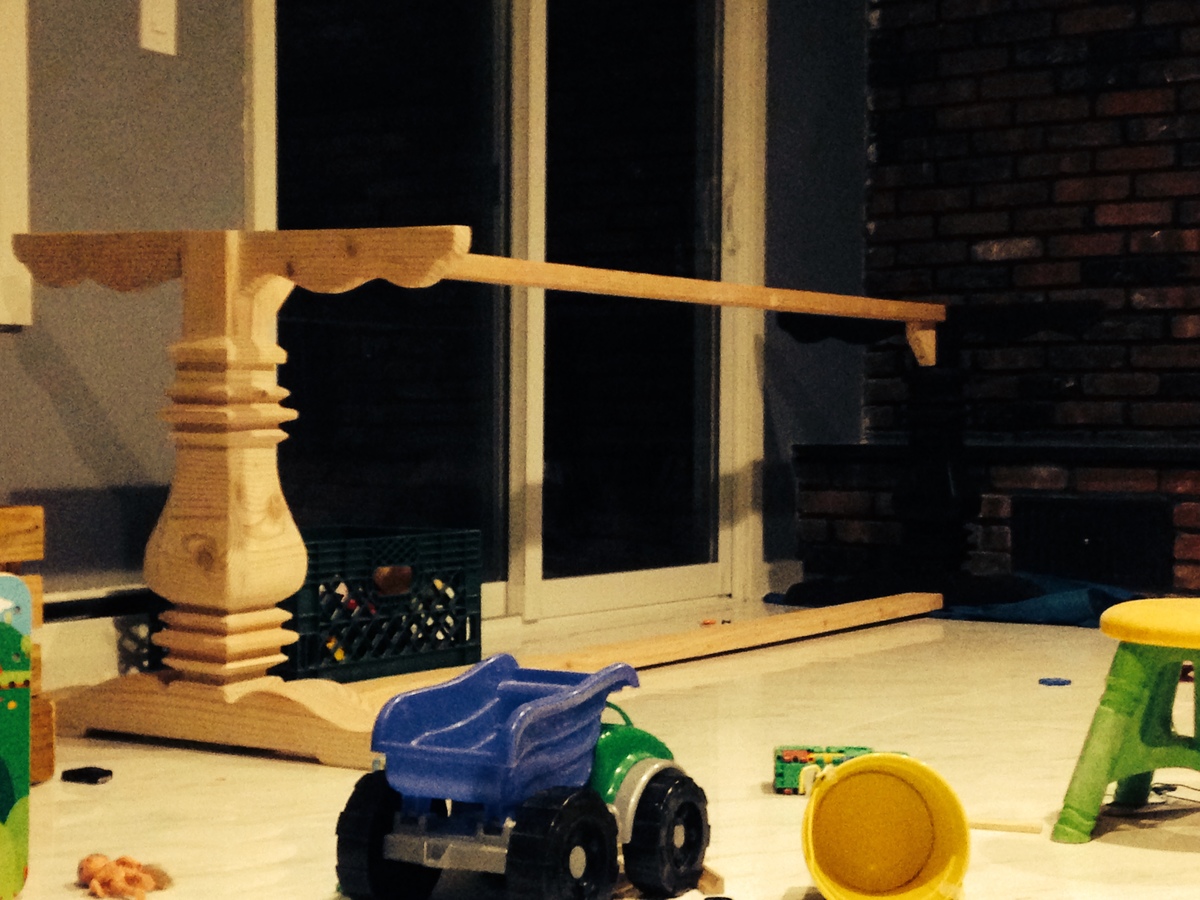
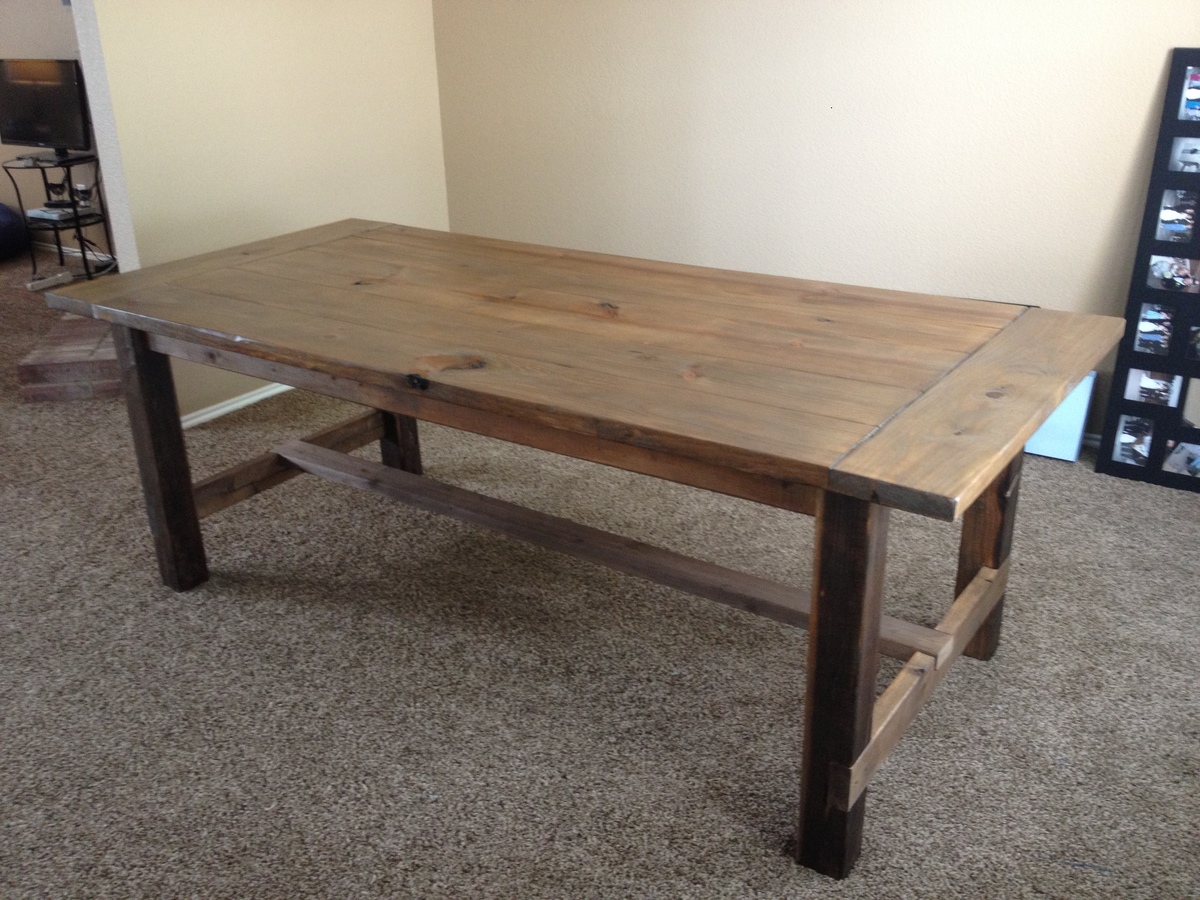
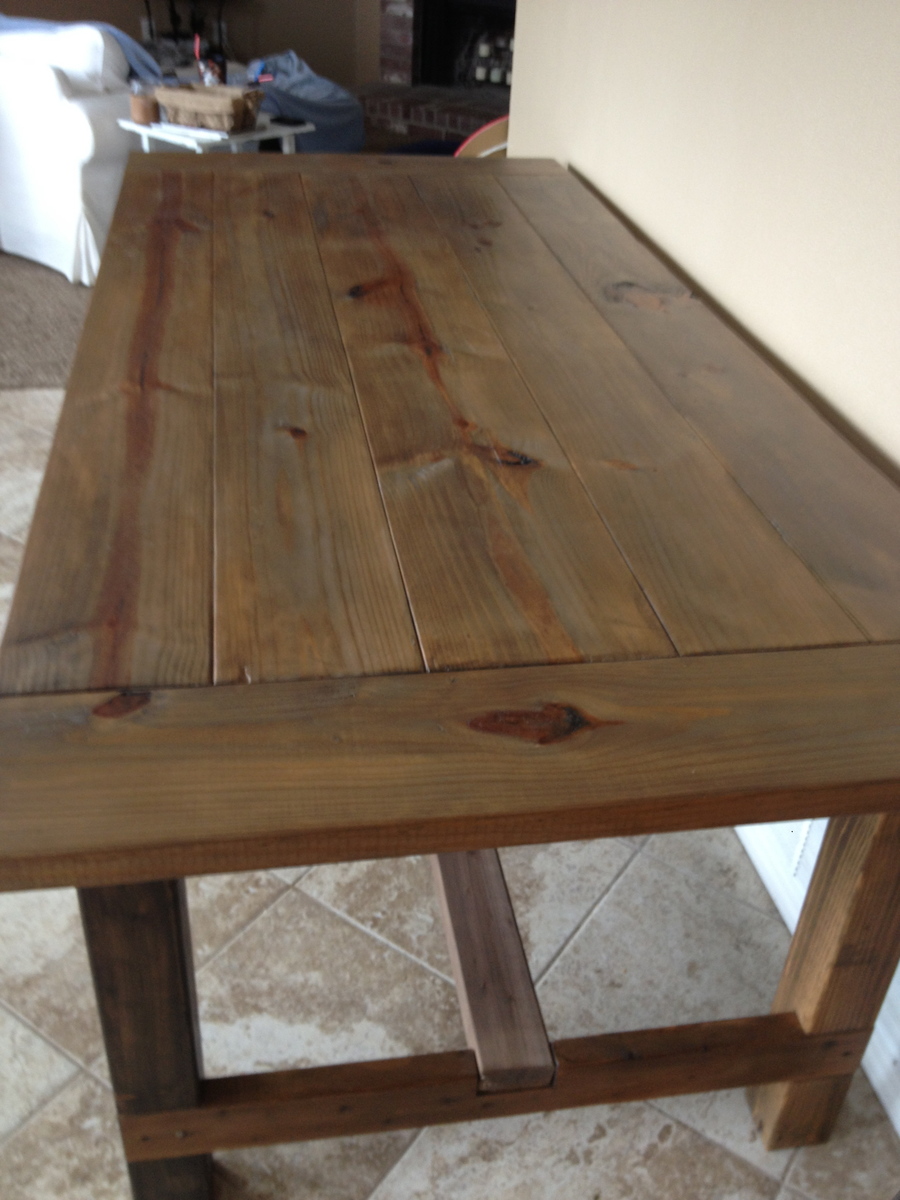
wife wanted restoration hardware table after looking at the price decided to make it myself cost was about 300-350 dollars - spend a nice amount of free time on it ~ 10 feet long - solid pine wood
im not a such a skilled carpenter but think it can easily be done with the correct tools

Fri, 04/03/2015 - 11:37
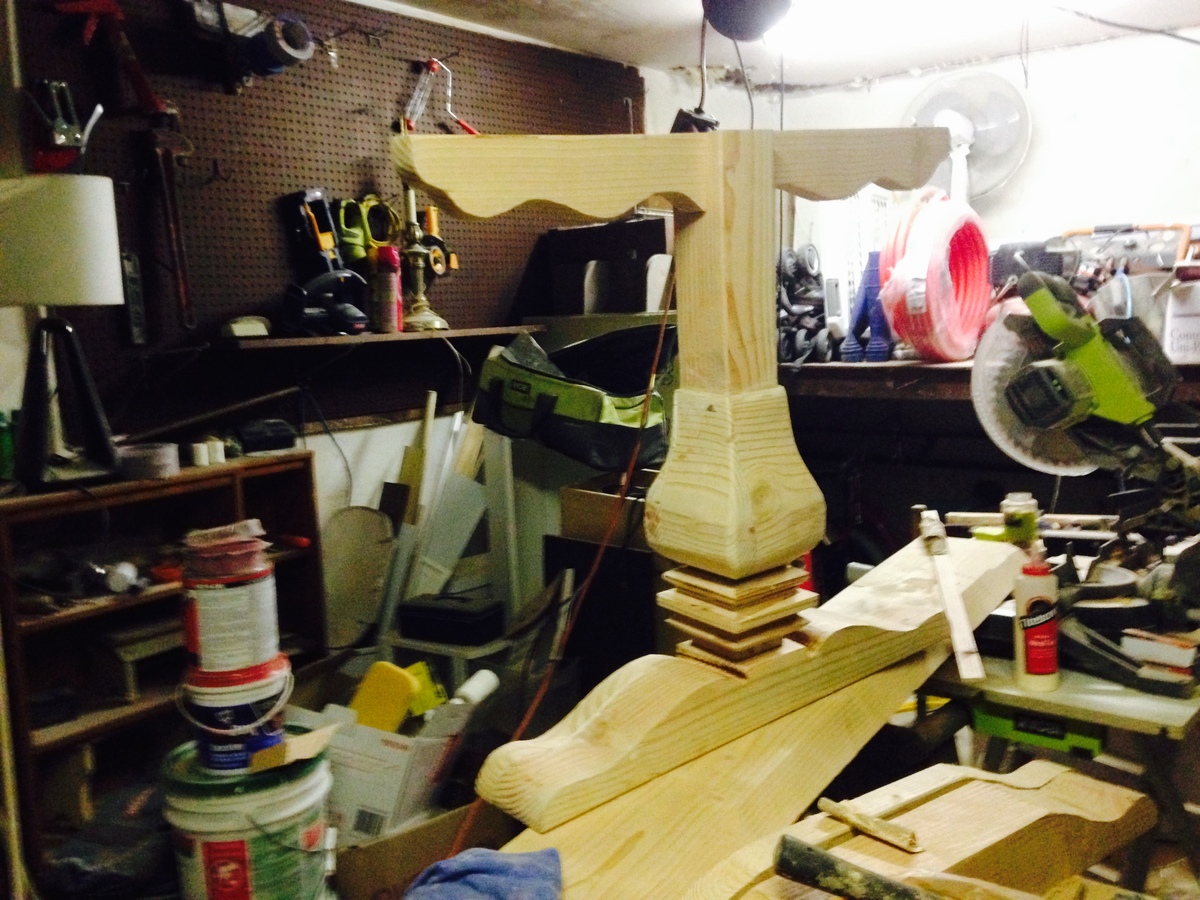
First I drew it out on a cardboard template then once chosen I traced the edges on the wood and cut it ,i made them using table saw, jig saw, miter saw, orbital sander.
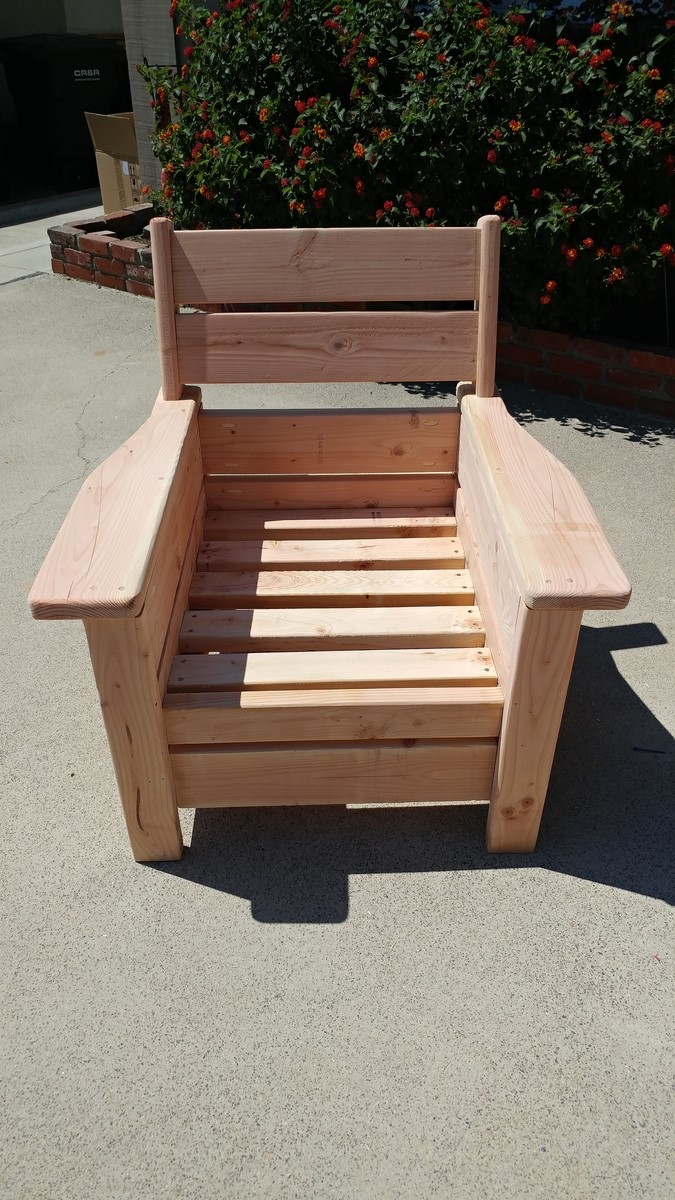
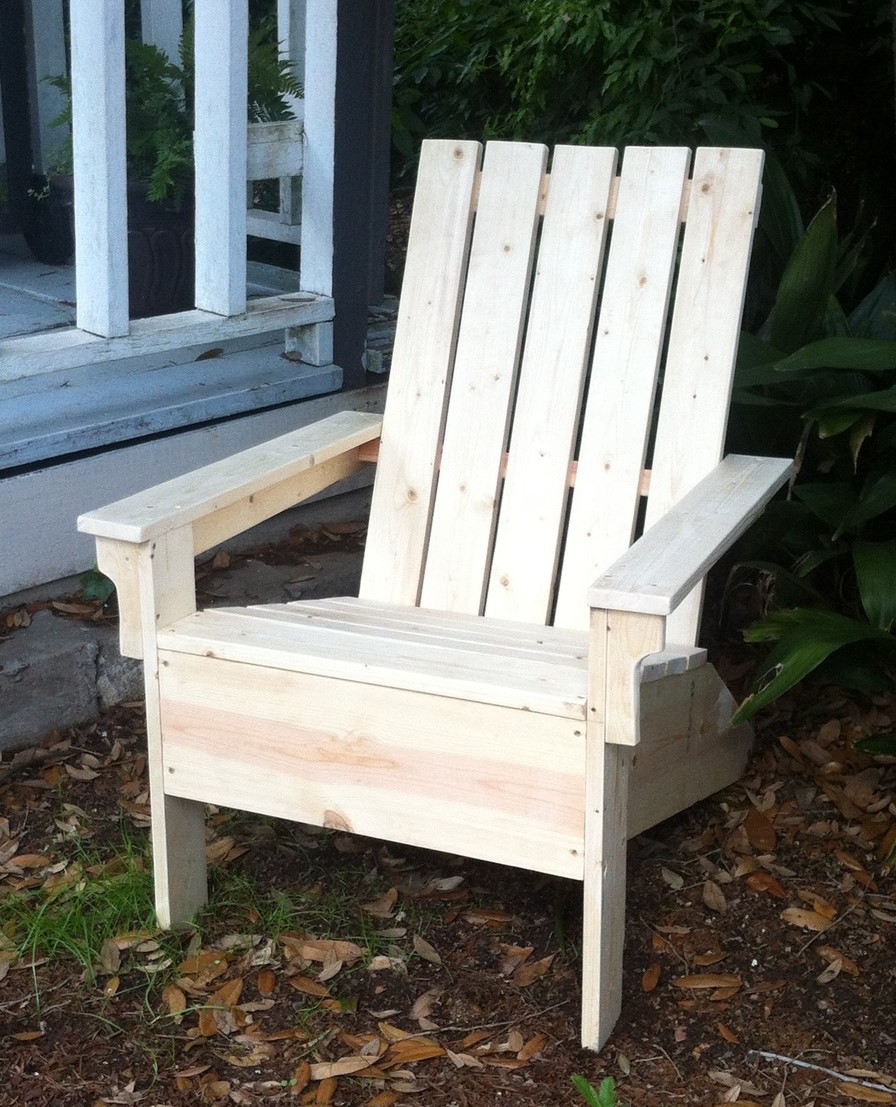
Taken from the Modern Outdoor chair project and added a back. Then decided that I love the andorak style chair arms and thus the Andrmodern chair was born..

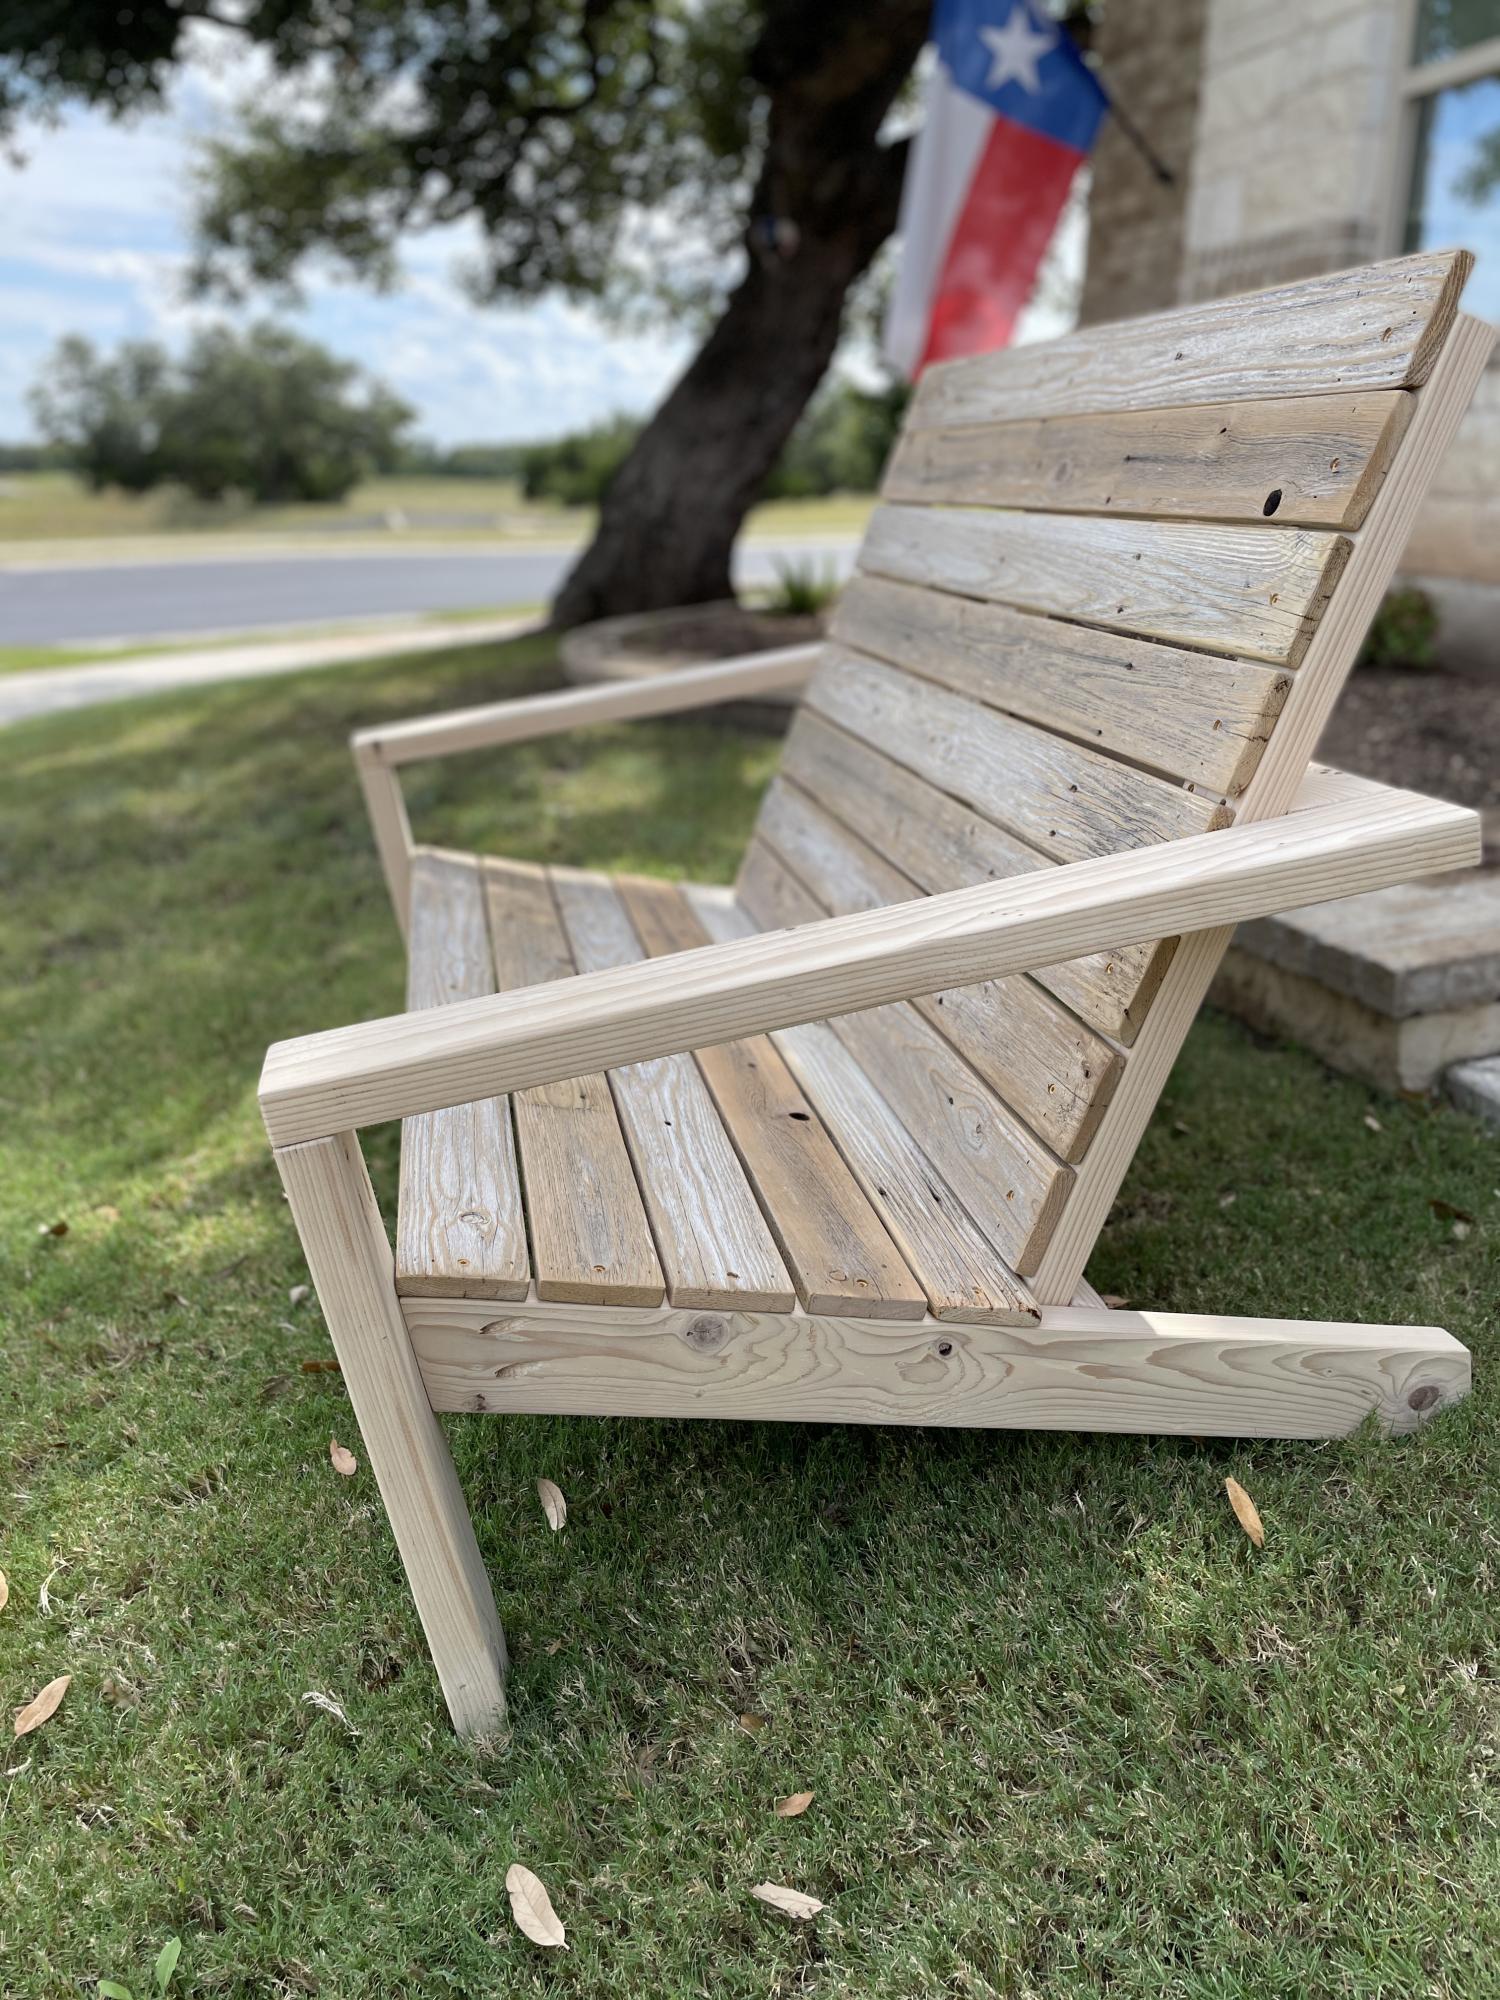
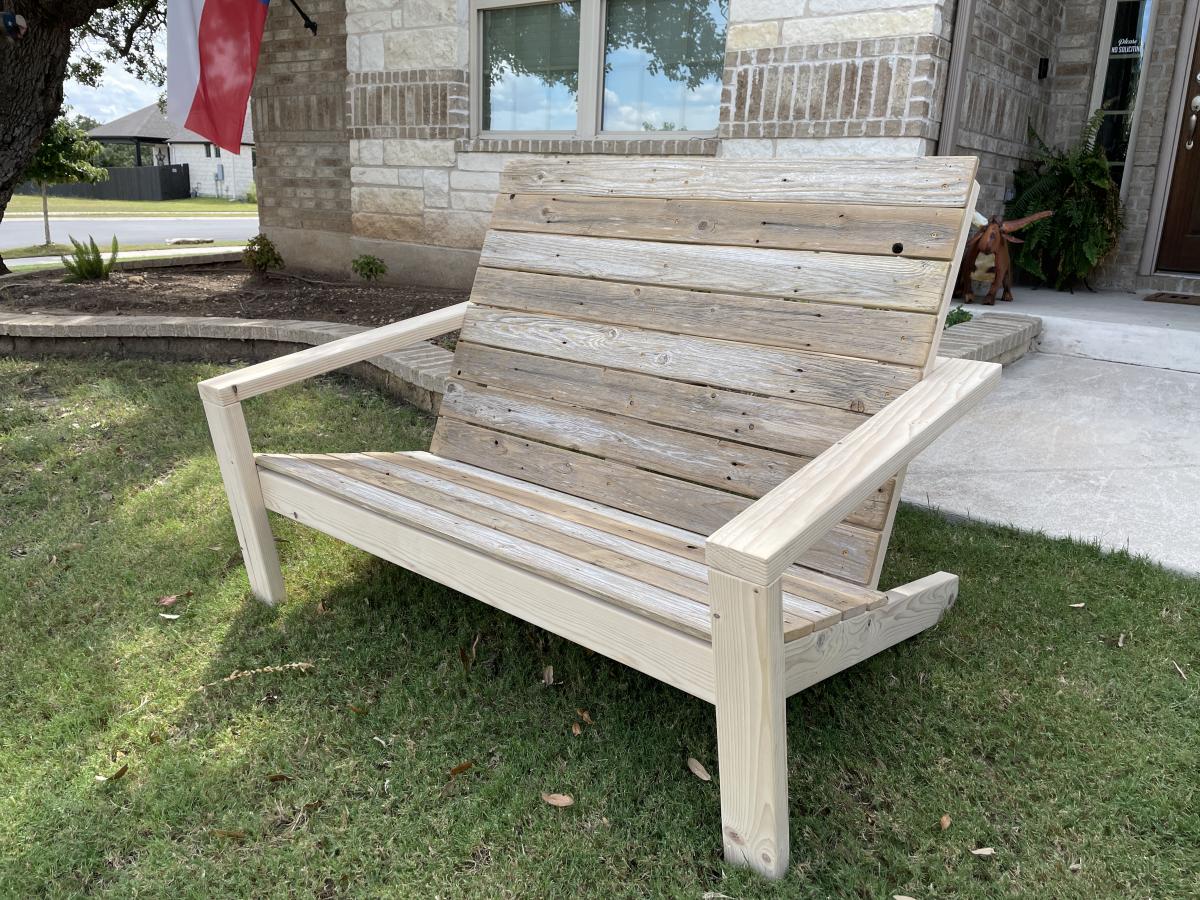
I’ve been enjoying making the modern Adirondack chairs, only with reclaimed wood seats and backs. Finally made a love seat version.
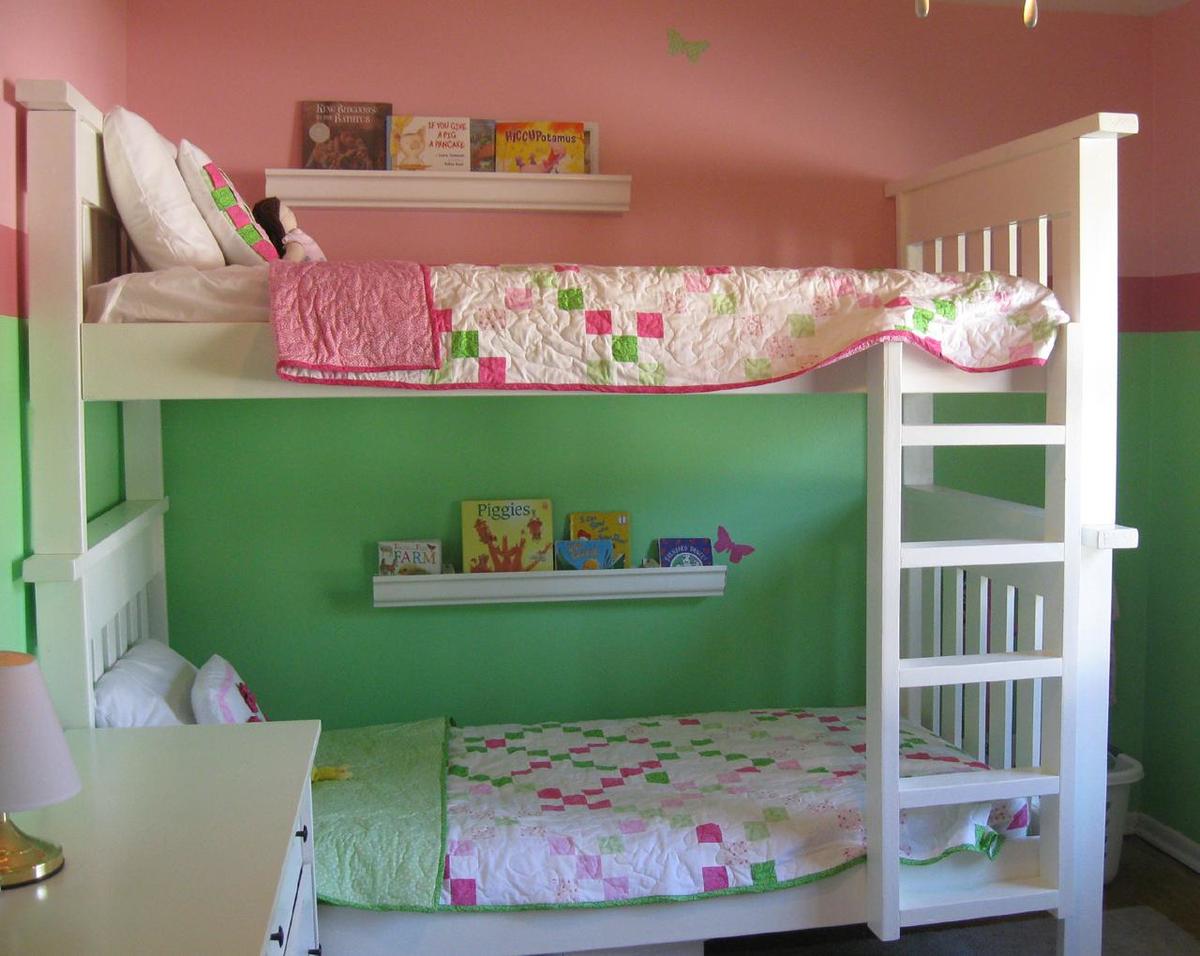
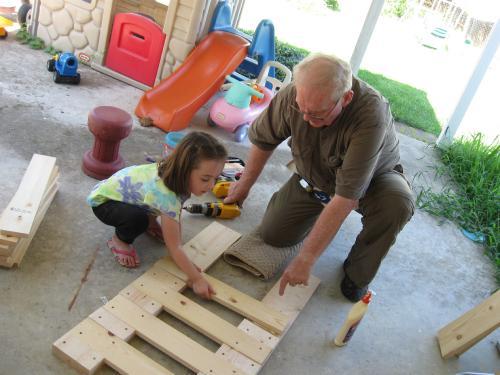
I redid this whole room for less than $600! Make sure you take your time with cuts and fitting. I did this with my father in law (my daughter even got to help out!), and it's less than perfect due to some rushing! More details on my blog.
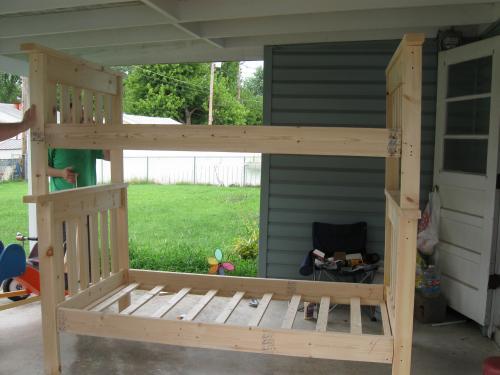
I also couldn't find any 4x4's. Instead of doubling up on 2x4's, I just used one. That allowed me to change the tops of the head/foot boards to only 48" instead of 50 1/2. You can get enough for a head and foot board out of one board this way.
After looking at a TON of bunk bed ladders online, I designed my own. Just some leftover 2x4's. The sides are 47 1/2 inches long, and the rungs are 13 1/2 inches long. It's screwed to the bunk bed from the back so you don't see the screws.

This was my first building project. All in all I'd say it was pretty easy. My husband had to help me on some parts because sometimes you just need more than 2 hands! I love my table and can't wait to start my next project. This was pretty large scale so I think I'll tackle something smaller next time.
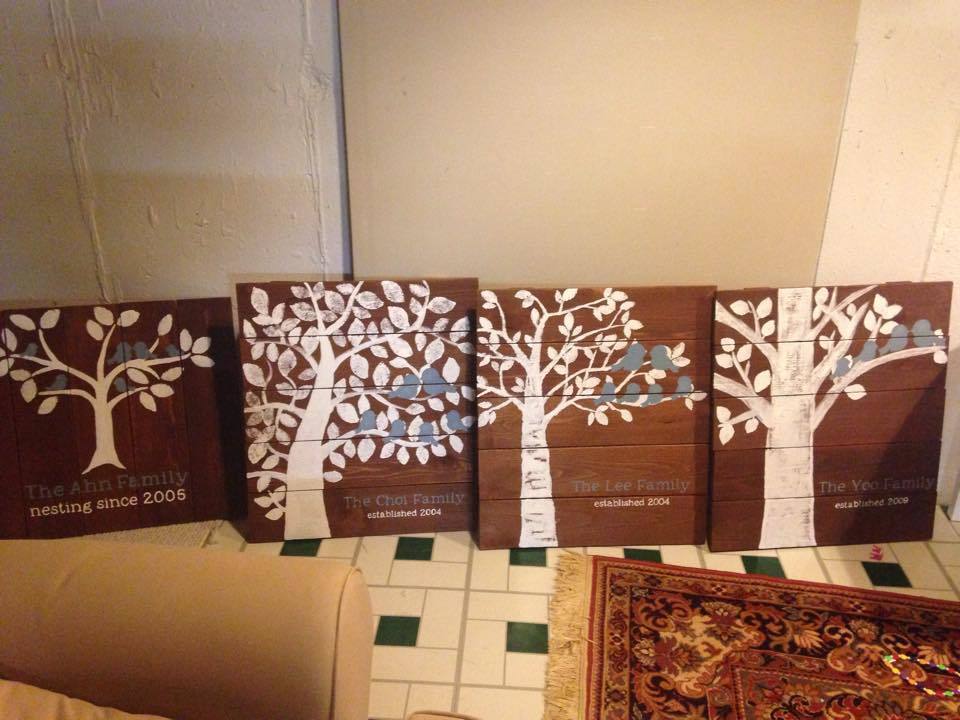
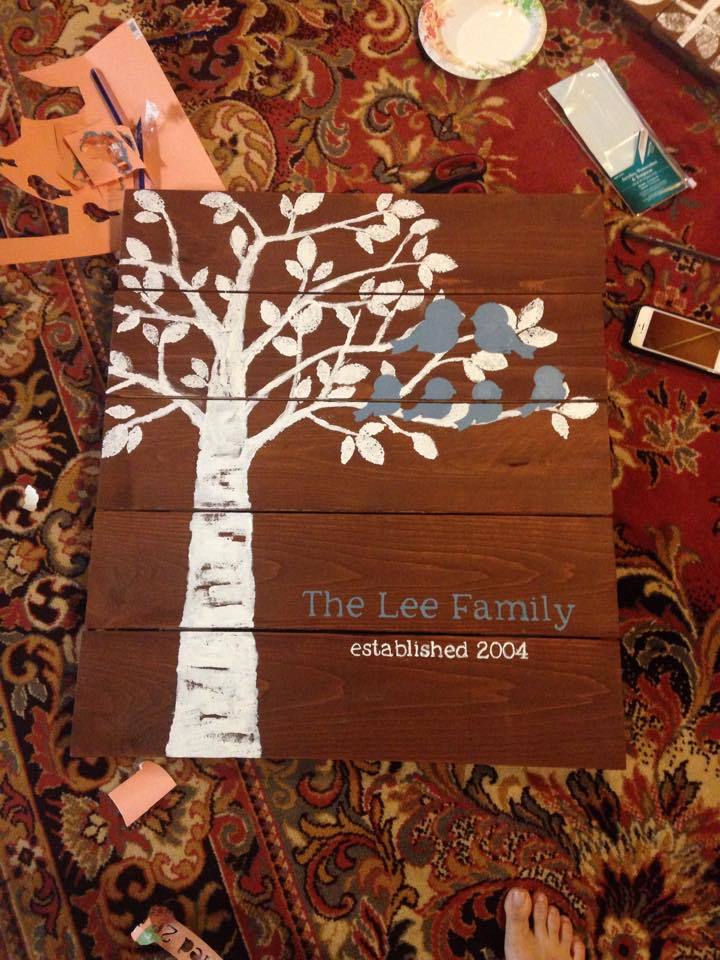
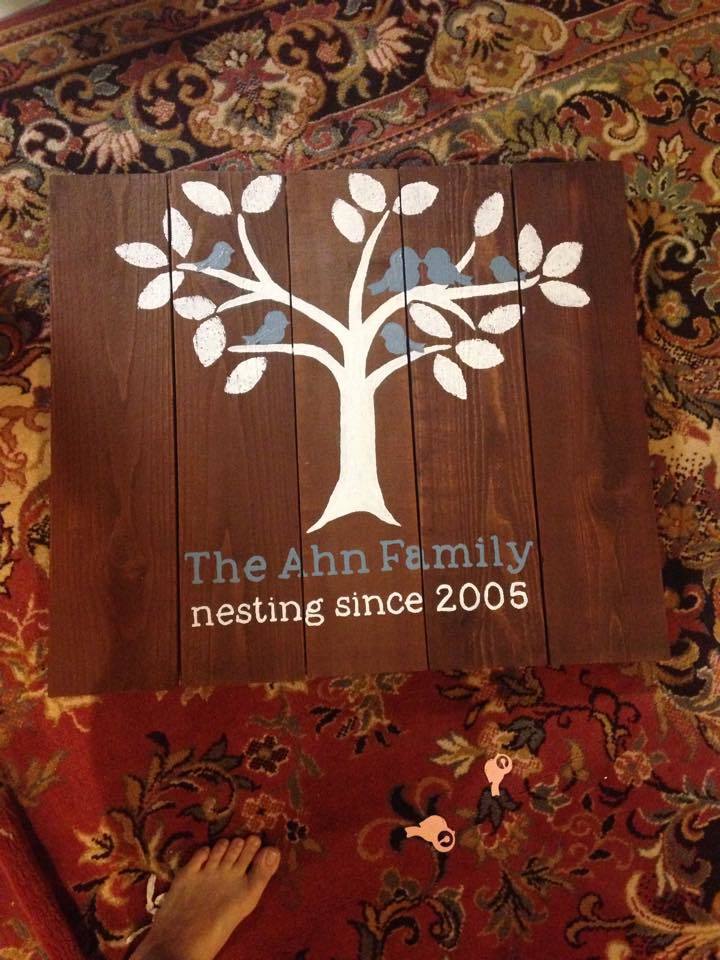
We wanted to a group painting class that seems to be really popular right now and offered all over the place. Instead of spending $30/person on a class we thought we would try doing something like this on our own! We had a great time and would do it again! Ours was smaller than the original in the tutorial because we wanted to make 4. Each person found an image online that they liked to make it more individualized.
Now that I've had a taste of working with wood, I'm ready for more! Ana, you're an inspiration! Thanks for the great site!


Mon, 04/06/2015 - 08:05
What a great and fun project for a group of friends. They all look wonderful!

Mon, 04/06/2015 - 16:27
What a creative and cool idea! Thanks for sharing and these all look amazing!
Built this one based on a few of the other brag posts. We are happy with how it turned out!

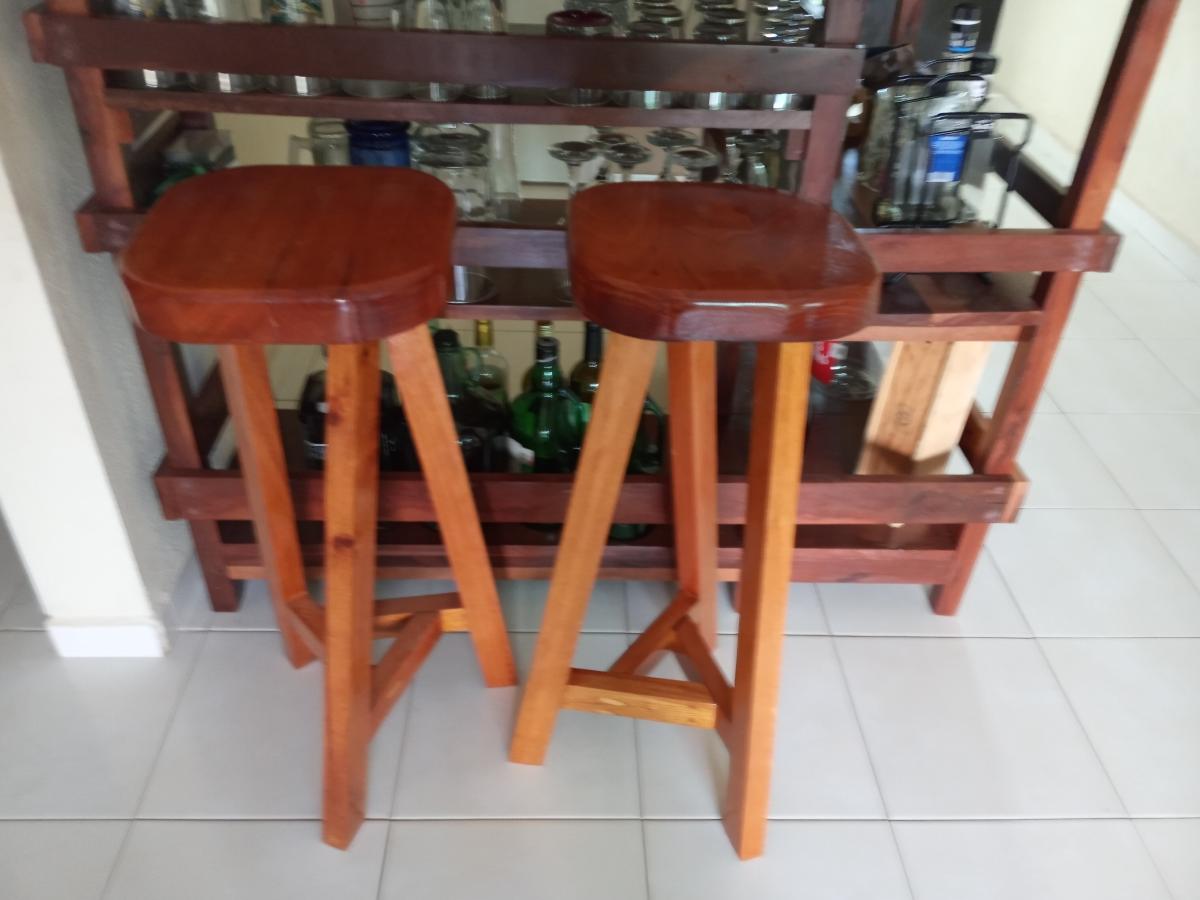
I adapted the plans somewhat. The headboard is made from Pucte, a trpical hardwood with frame of Cedro, a Mahogany. The seats of the stools are also Cedro and legs of Caoba, another Mahogany. I live in Yucatan so these woods are available. The Pucte was repurposed old salvage free
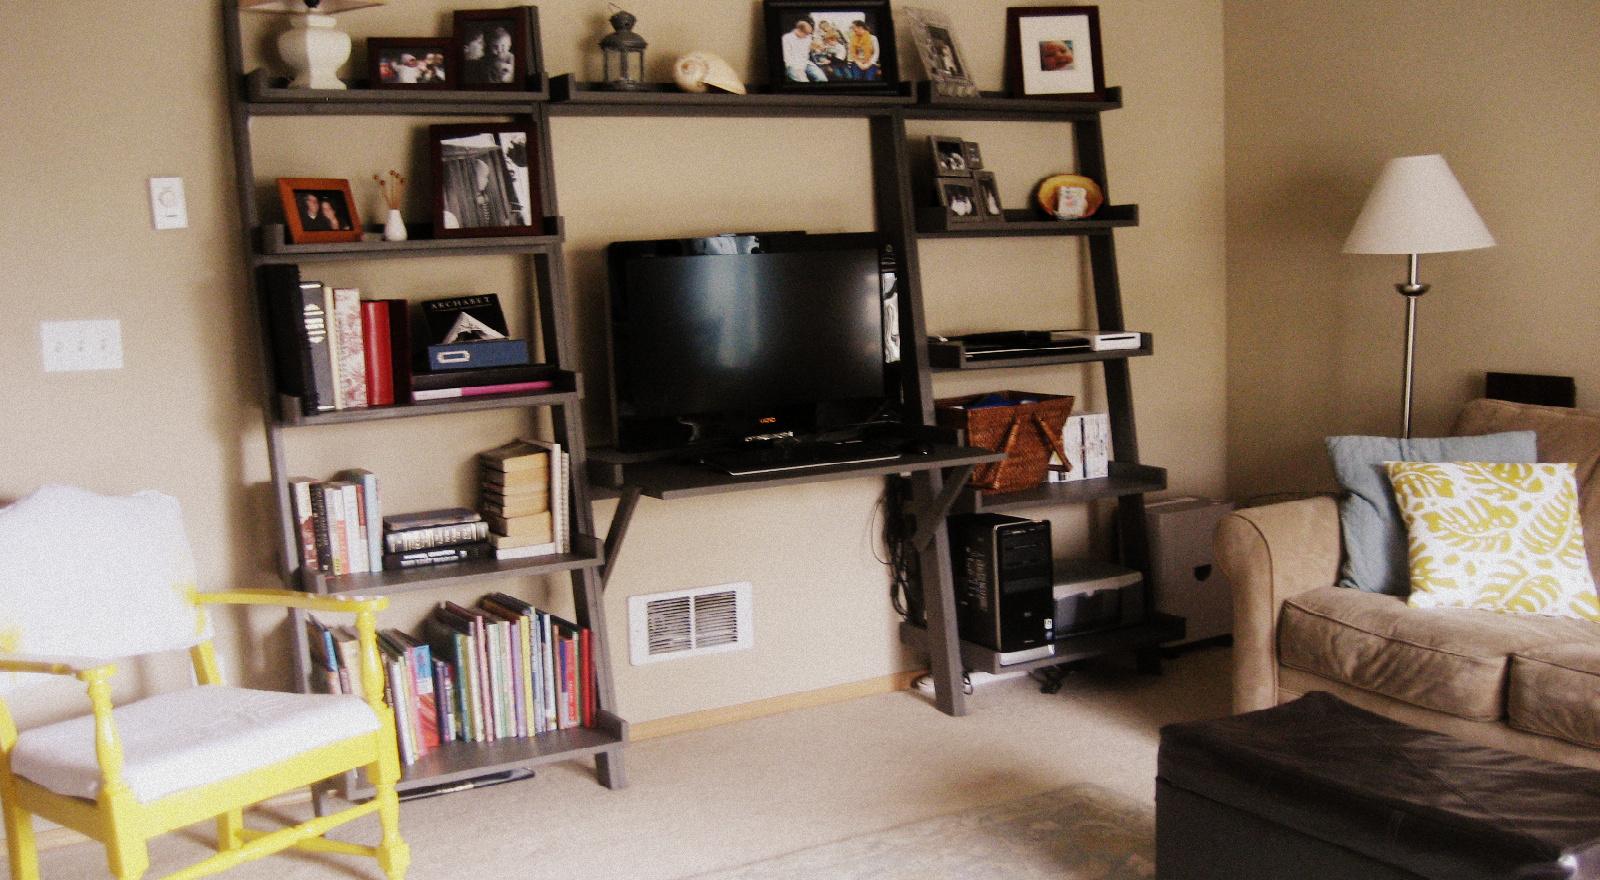
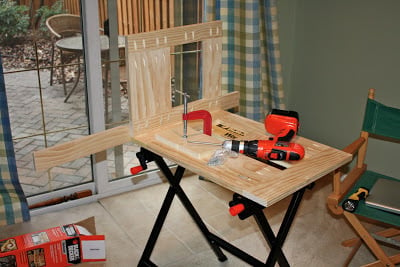
Recently I was a Crate and Barrel and I found the Sloane Leaning Desk and thought that it would be perfect for my media center. (See that wall heater under the desk, I needed that to be open and I was tired of my big wood box of a media center on the, now, couch wall.) So knowing that I had seen the Leaning Wall Shelf on this site I knew I could reconfigure it a bit to work out for my own needs.
First, I cut the dimensions down a bit. Instead of the 31 1/2" length on all of the shelves I cut them at 24". Then then all the back trim at 25 1/2". Then for the middle section, I cut the shelf and desk at 36" and the back trim to 37 1/2". The side trim for the desk is 14 1/4". The desk itself was 22x36" and the top shelf was cut from a 1x8x6. I did this because I could cut all the other shelves and the desk from one piece of 4x8' plywood. For added support I used a 2x4 as the brace under the desk and added 1x2 braces (cut at a 45 degree angle) for extra support on the front/ sides of the desk (see photo). I also left all the edges squared off for a more modern look, like the Sloane.
I hope this helps you and good luck with your project! FYI, this was my first build EVER, and with a little help from my dad cutting the wood and getting it level, I got it done pretty easily. Oh, and get yourself some large clamps or an extra set of hands to help hold things together while you're drilling.
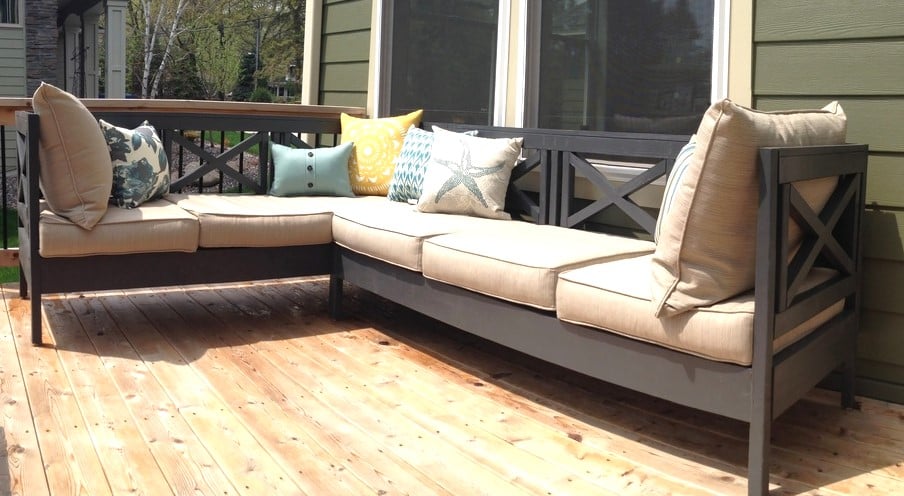
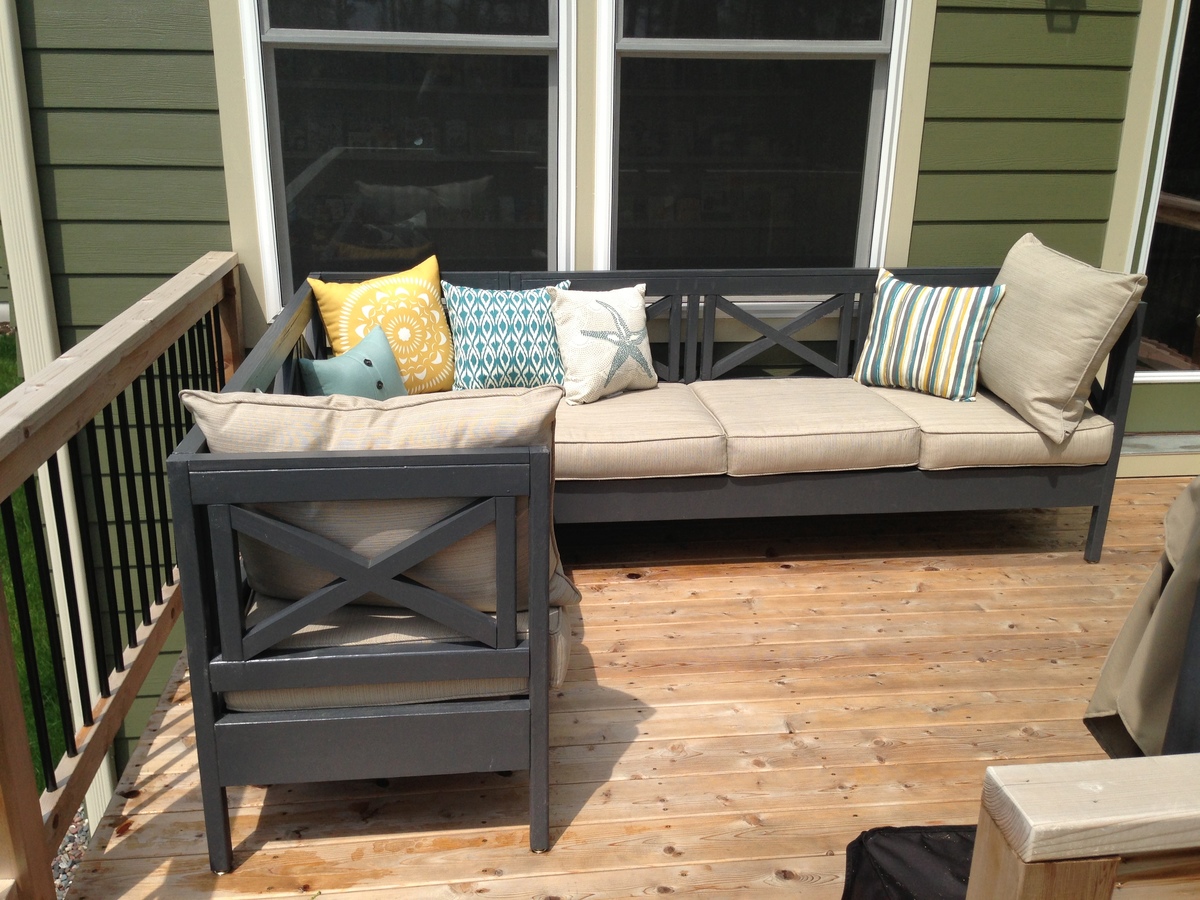
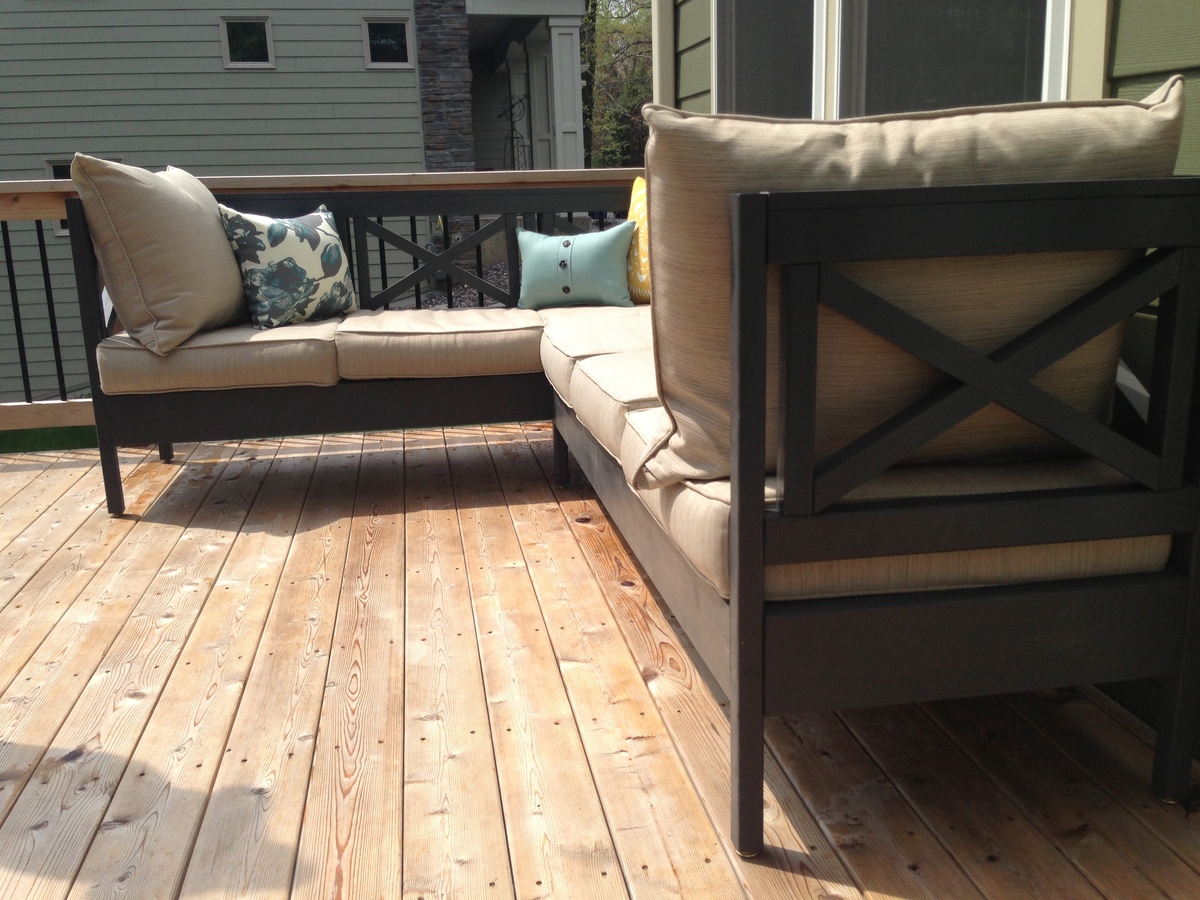
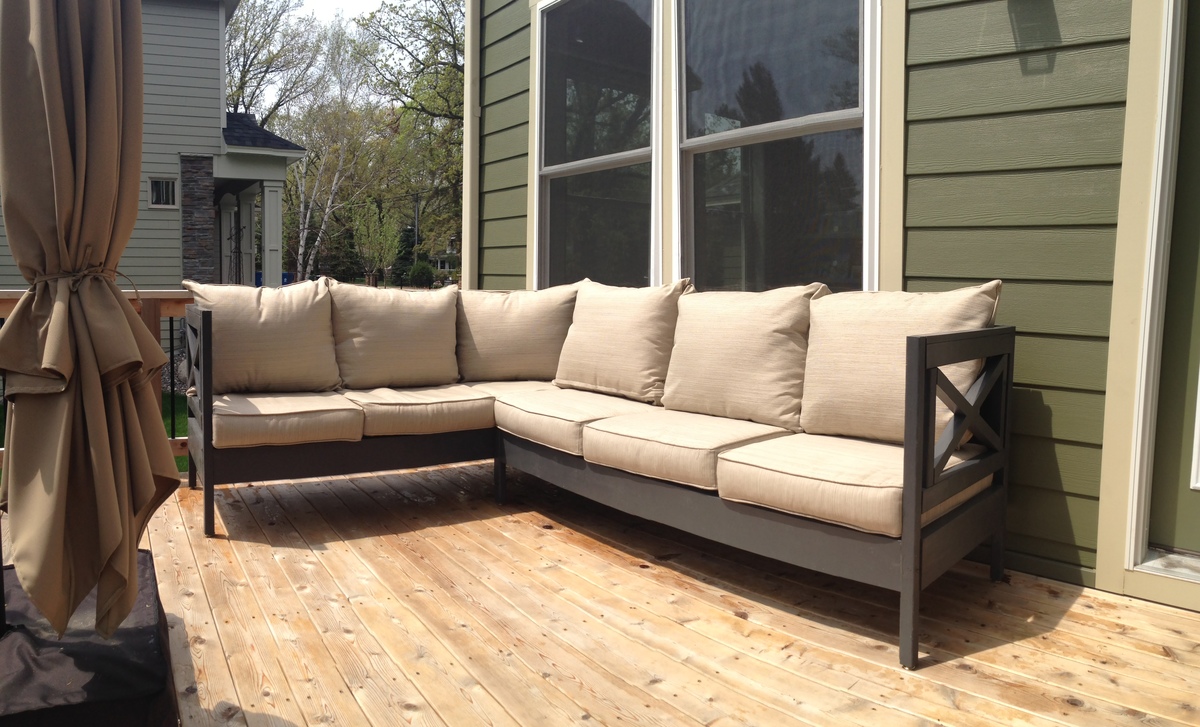
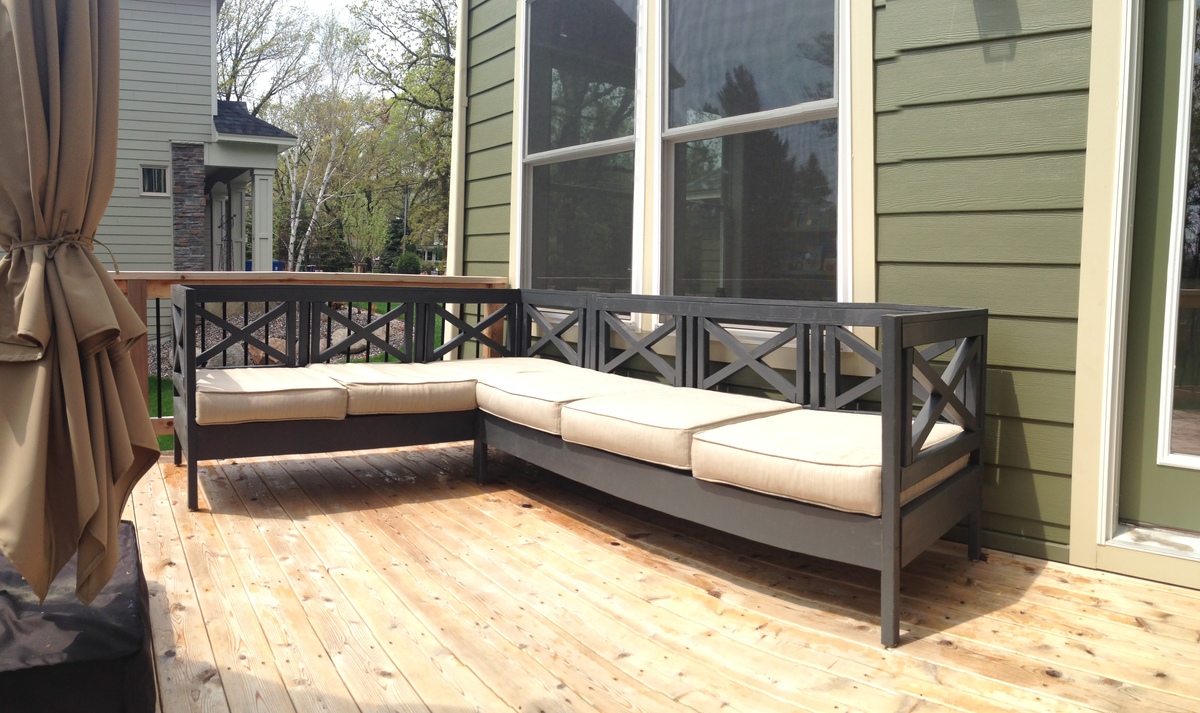
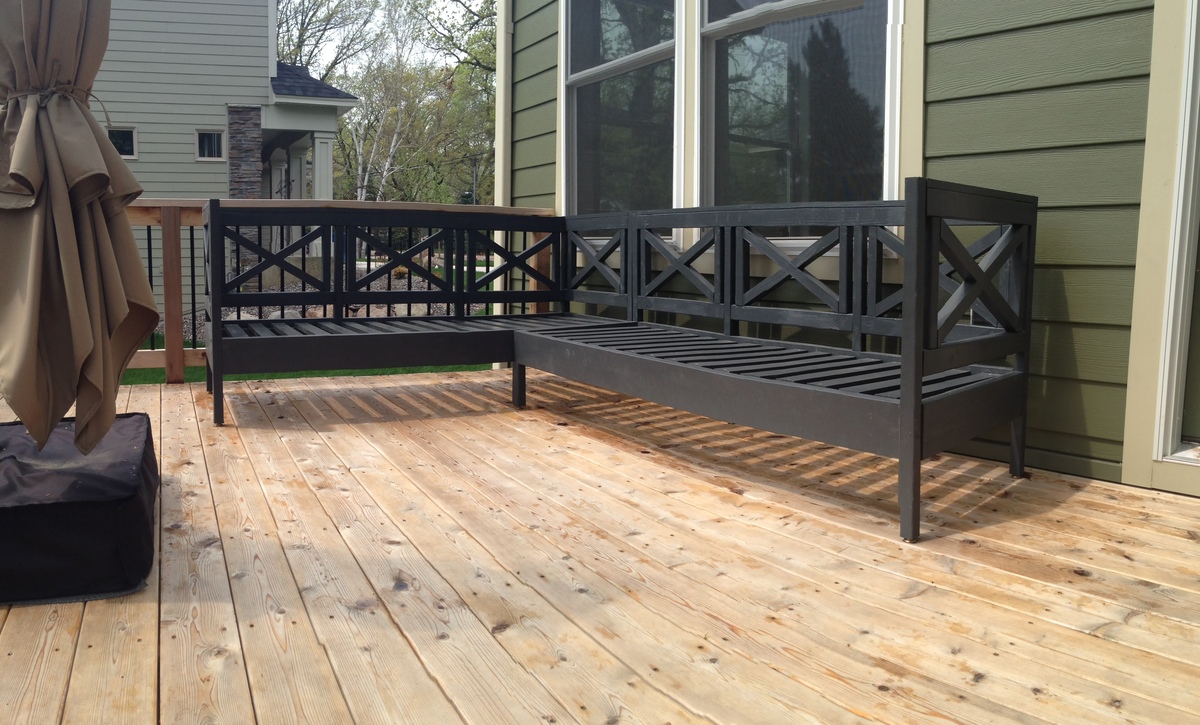
We made two Weatherly Sofas and referenced the Weatherly Loveseat instructions for making one side of one of the sectionals armless. We were able to return several pieces of wood from the original wood list, so save your receipts if you're building something similar. After we placed it on the deck, we used two 5/16" carriage bolts with disc washers and nuts through the aprons to connect the two pieces of the sectional. ***General Advice*** There are a LOT of repetitive cuts in this so make use of cutting jigs to speed up the cutting process. This will allow you to simply cut, slide the next piece into place, and cut again. On a project of this magnitude it will save you a couple of hours. Paint before assembling. You end up painting more sides than necessary, but it goes faster than painting after assembly and your finished product looks better, too. If you are using a soft wood, finish brads will work fine when constructing the x's (as opposed to the finish nails recommended in the plan). *** Price Breakdown *** Wood $162.95 Screws, Hardware, Feet $27.77 Paint $38.58 Wood filler $17.13 Seat cushions w/ matching back cushions purchased from Lowe's (allen + roth 46.5-in L x 25-in W Natural Chair Cushion) $360.31 Pillows purchased from Target and West Elm $119.24 *** Duration of Each Step *** Purchasing wood: 90 min Straight cuts: 90 min 30* cuts: 70 min Assembling Xs: 60 min Sanding: 3.5 hrs Painting: 6.5 hrs More Assembly: 3 hrs Wood Filler: 60 min Final Assembly: 6 hrs Touch-Up: 15 min
Sat, 05/18/2013 - 18:57
My cushions are 25 inches wide and they are wedged in there REALLY tight. 24-inch cushions would fit much better.
In one of my pictures, you can see "back rest" pillows that use the same material as the seat cushions. If you want big cushy cushions like this, you will probably want to modify the plan so the seat is deeper. The cushions look great, but I've decided to leave them off for actual use.
I have been sitting out on the patio for HOURS reading a Pride & Prejudice spin-off and it is sooo cozy. Highly recommend this project if you want a comfortable luxurious sectional for your patio without spending big bucks at Pottery Barn!
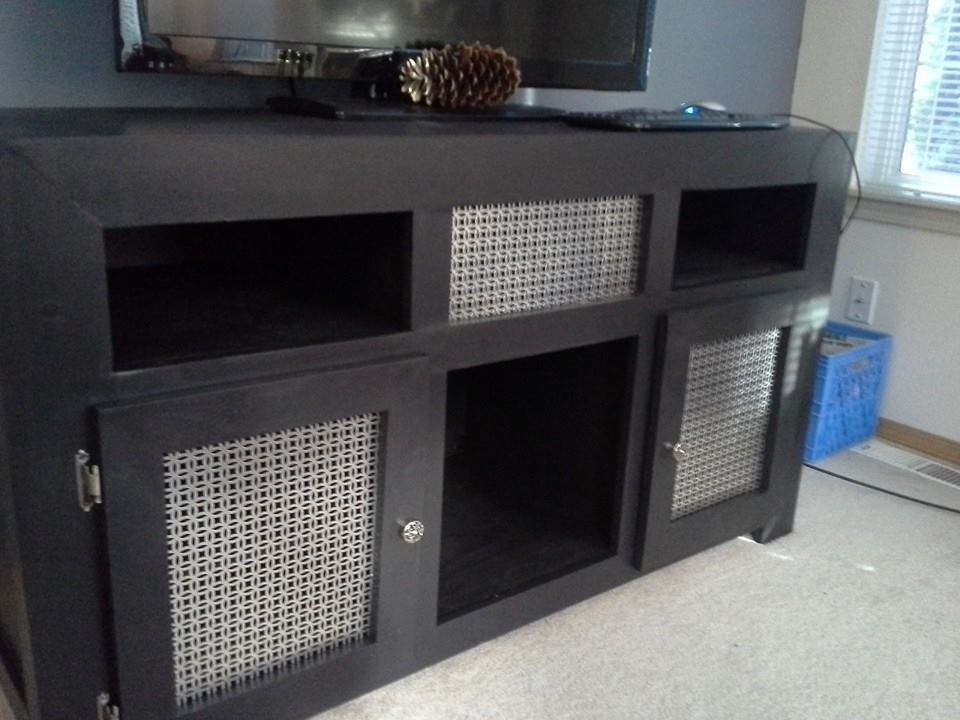
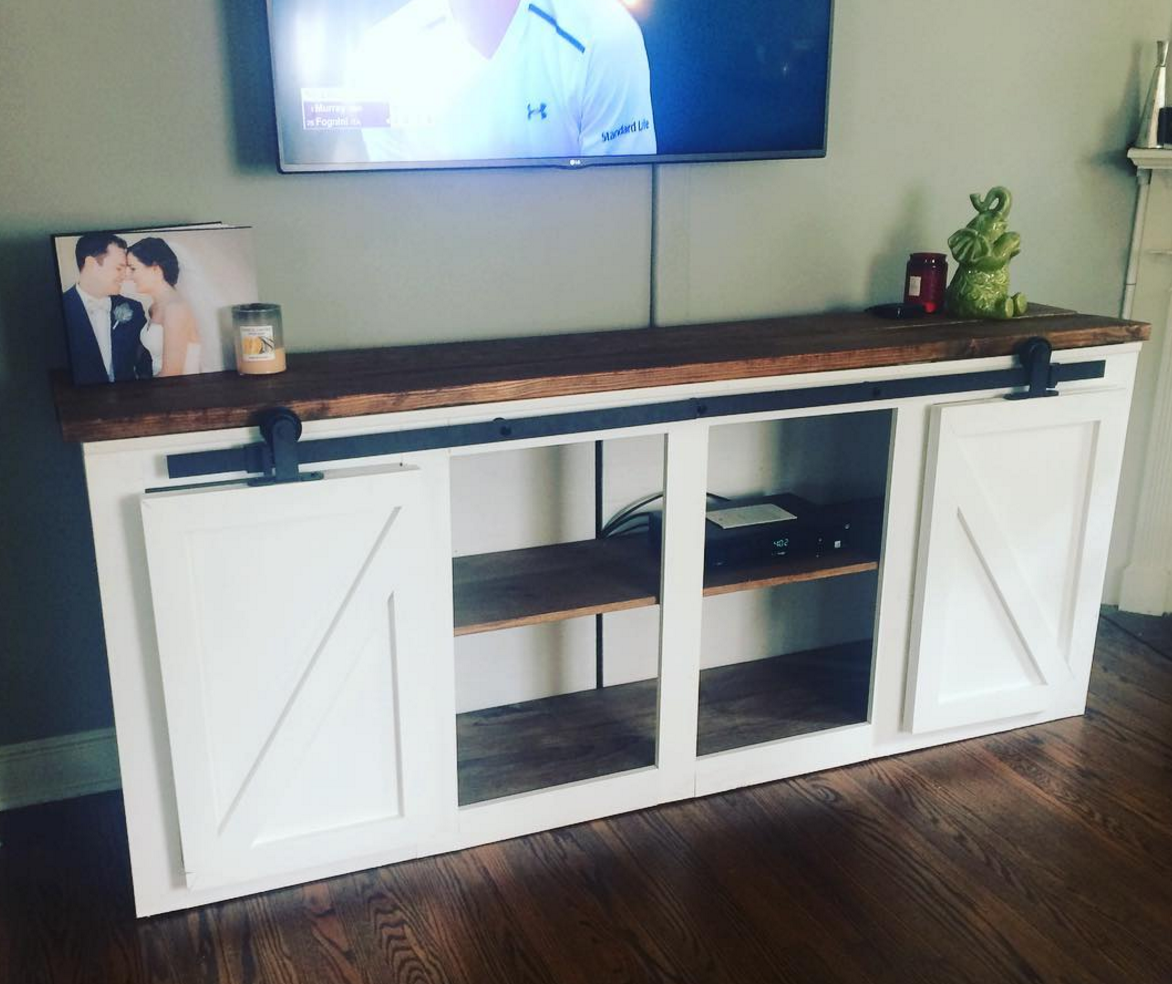
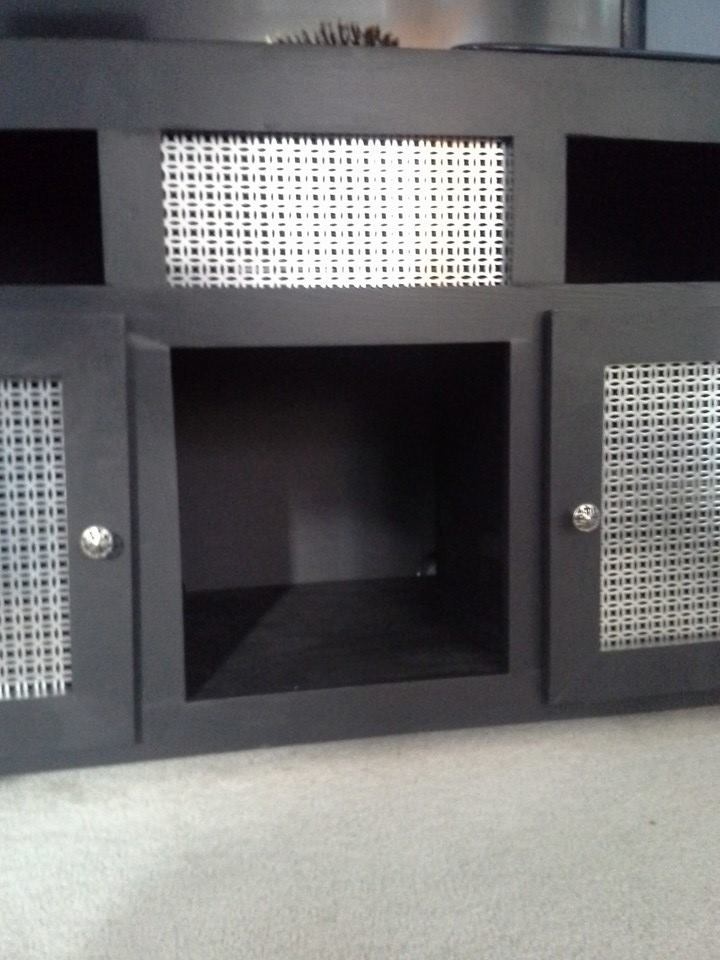
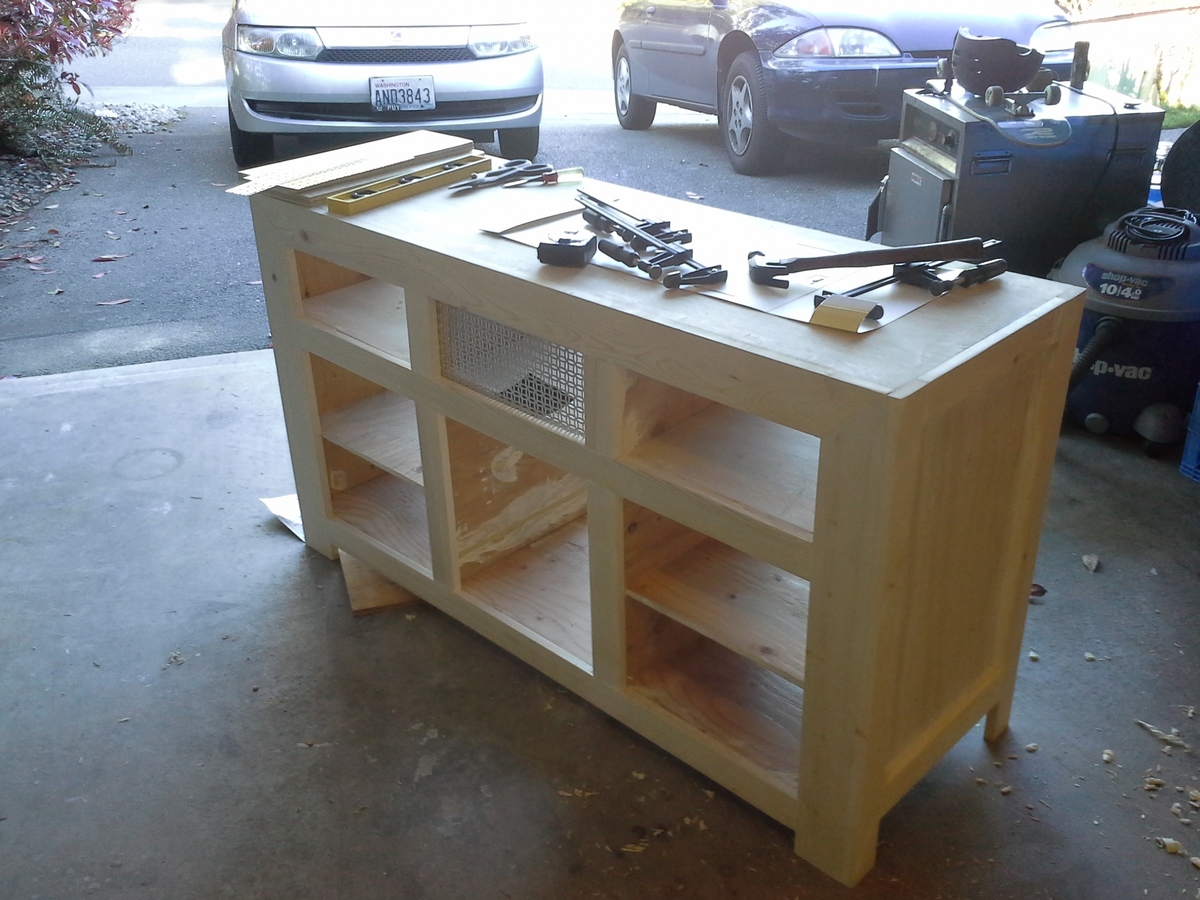
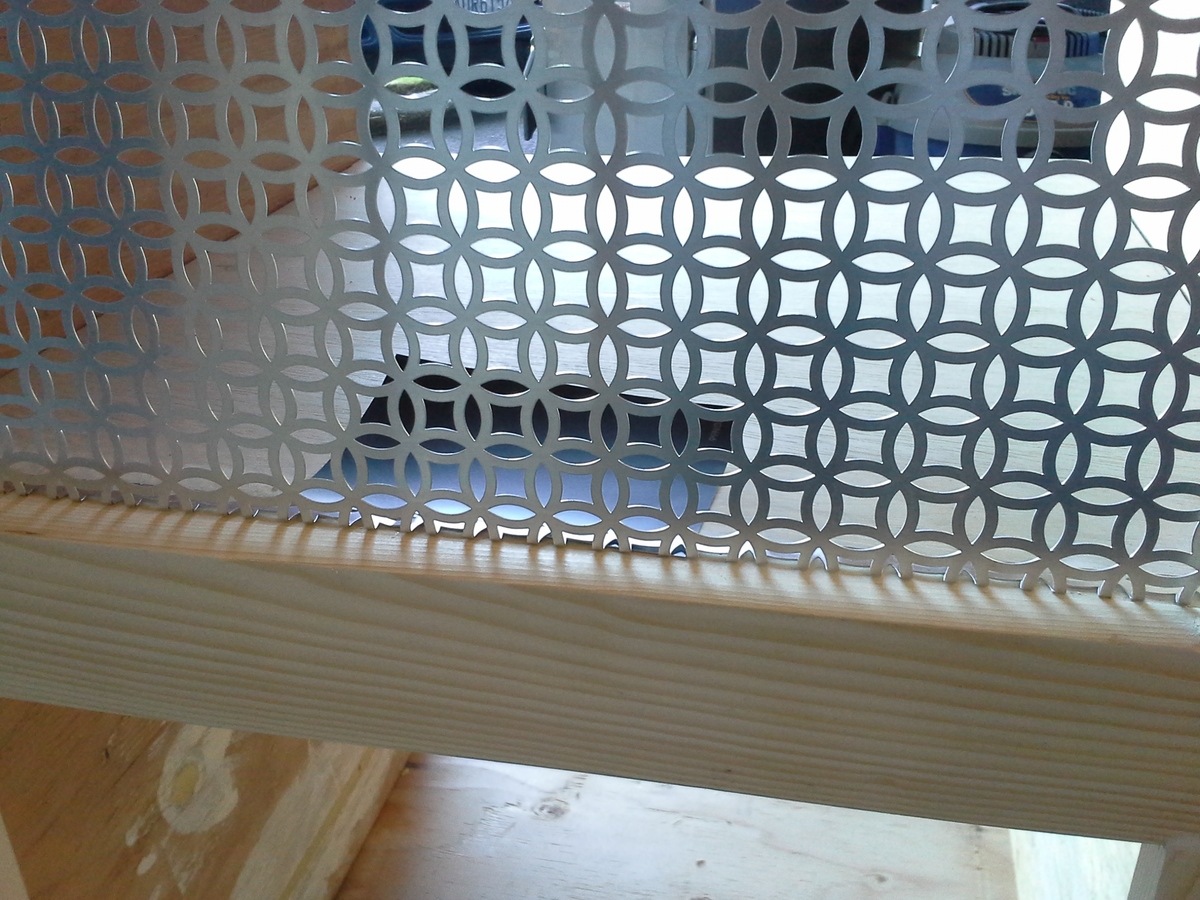
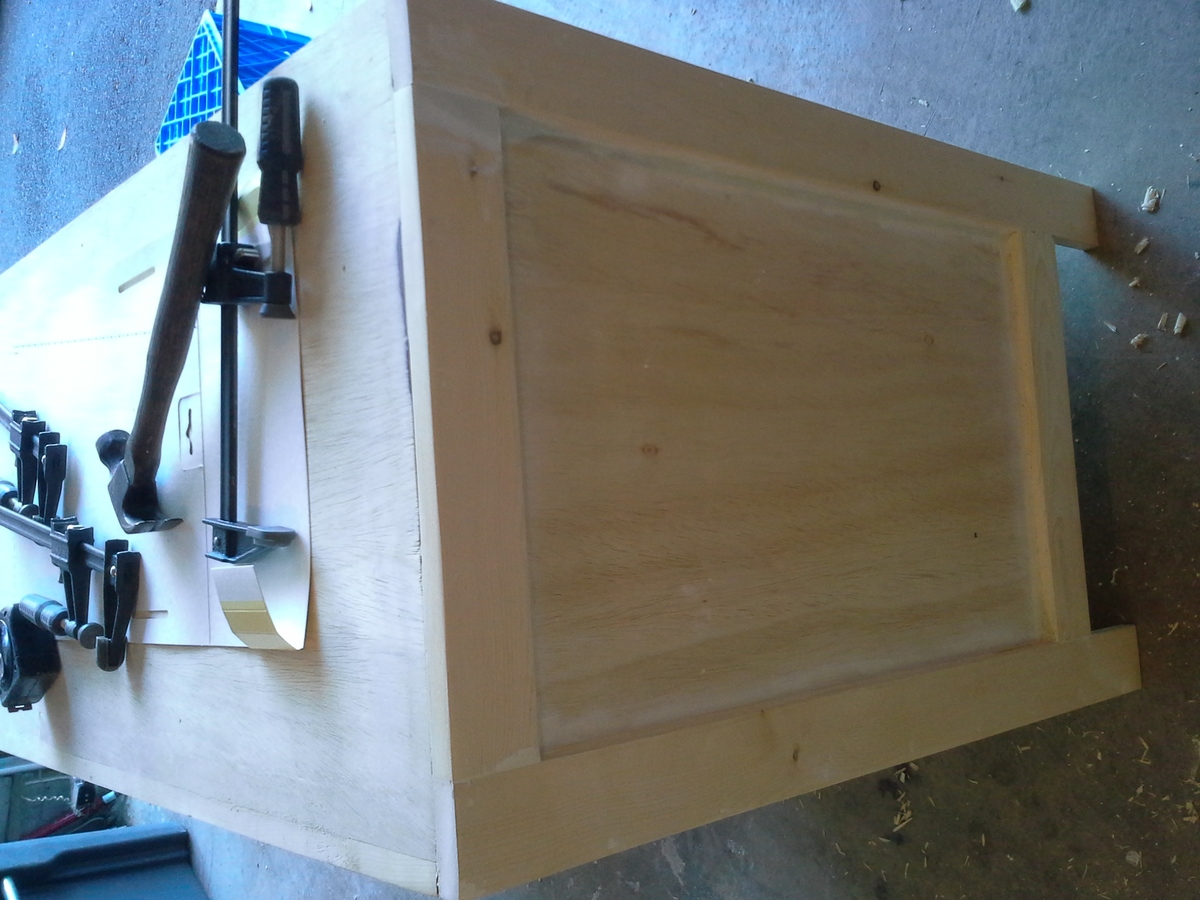
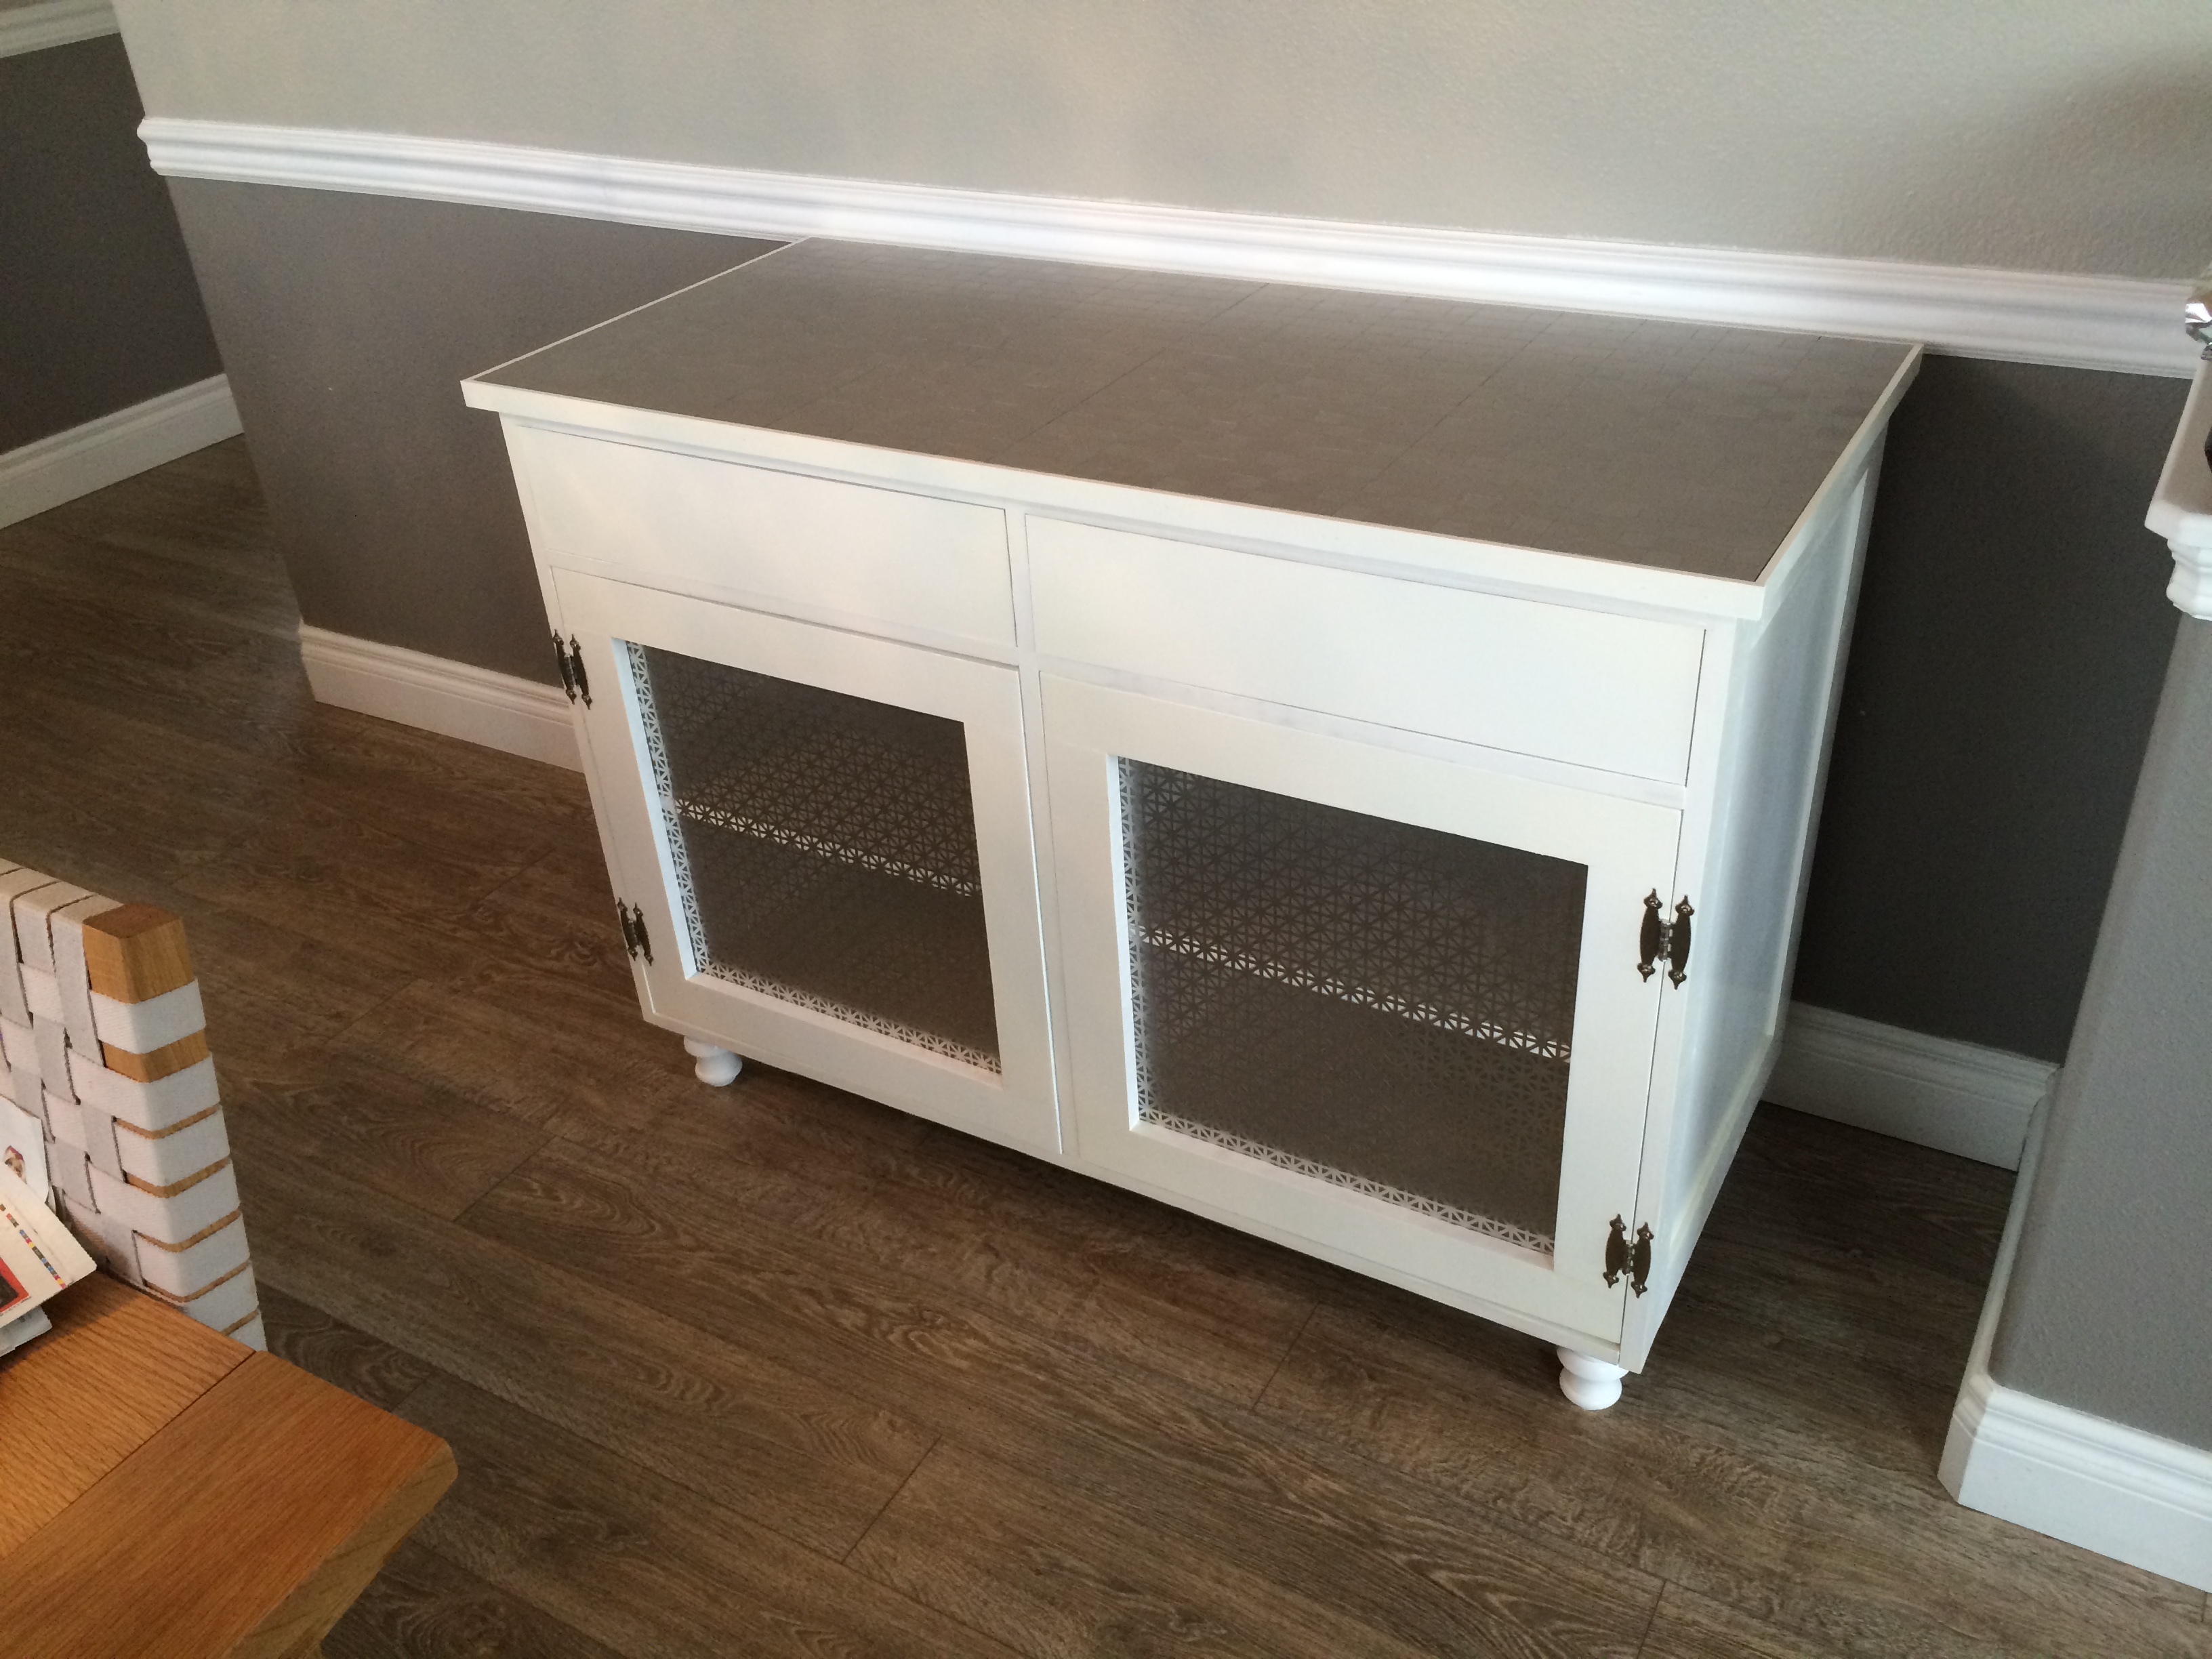
We built our version of the Dawsen Media Console to replace our TV stand. We adjusted the size to fit our living room. The length is 59" and 20" deep. We went with the open areas and enclosed the front middle to "hide" the tv boxes. We also used the screen in the doors to match the middle screen.
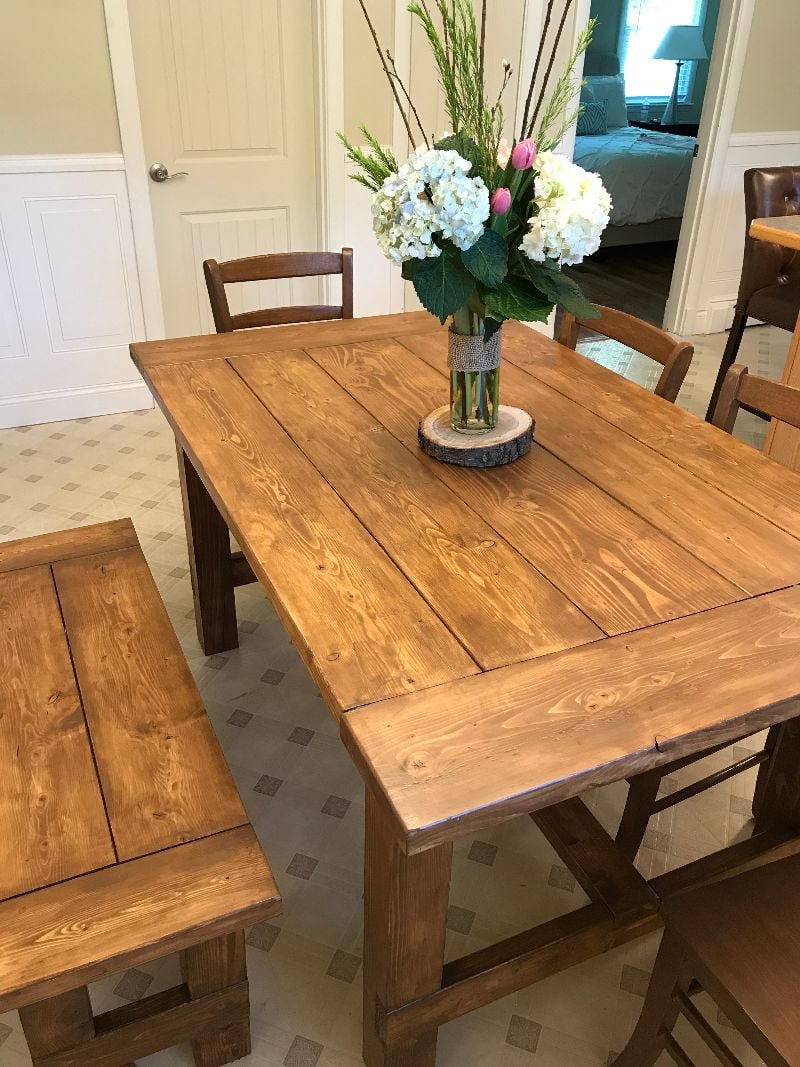
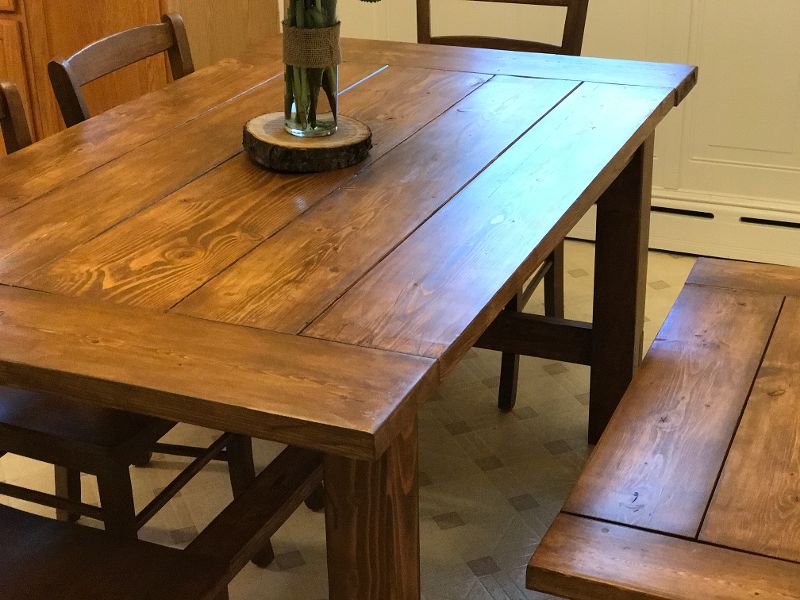
Farm Table I built for my Son. 2 two different sets of plans then modified to the size I needed.
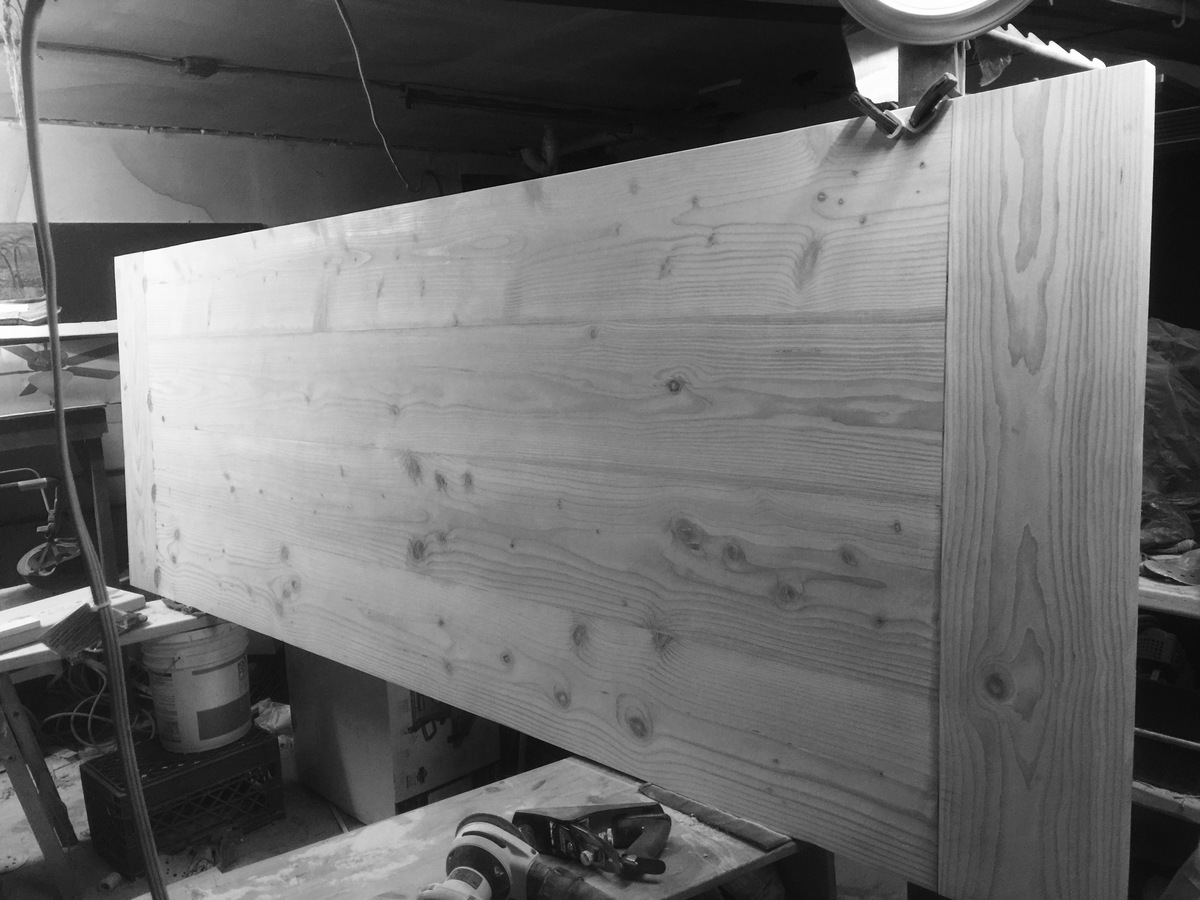
For the Table Top I used Wood Planks (2) 2x8 (1) 2x10
For the Bread Boards I used (1) 2x8
For the Base I used (2) 2x4
For the Legs I used (2) 4x4
For The Bench I Used
Seat of Bench (1) 2x6 Left over from the table
Bread Boards (1) 2x5
Legs 4x4 left over from the table
Tools Used
Drill
Kreg Jig
2 1/2 and 1 1/4 Kreg Screws
Clamps
Sqaure
Glue
Mitre Saw
Tape Measure
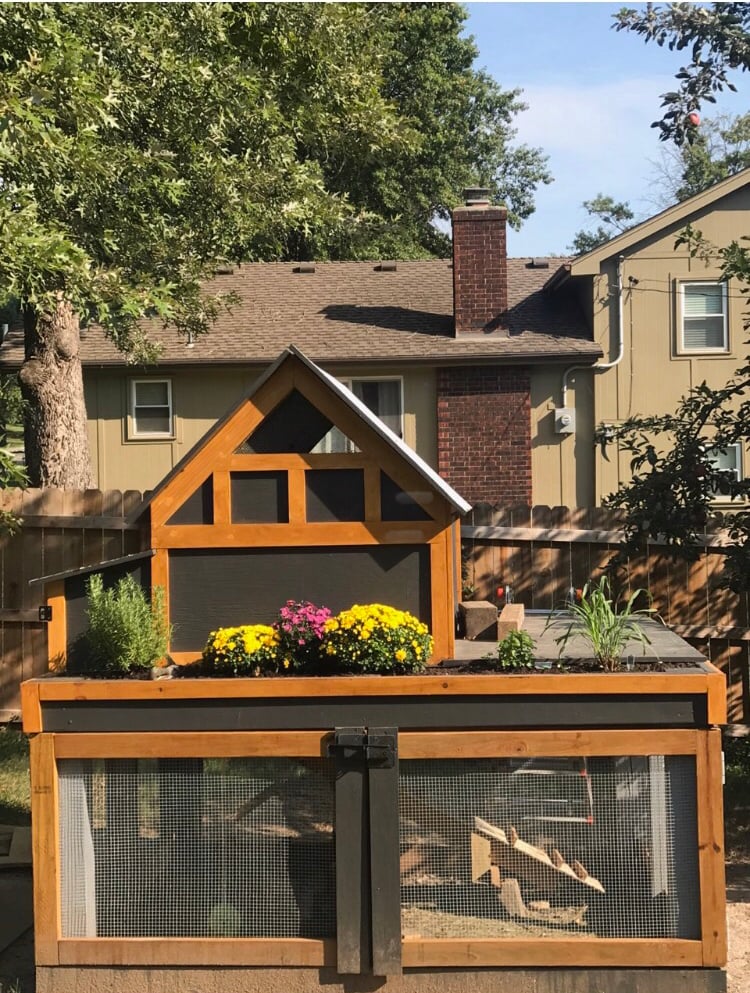
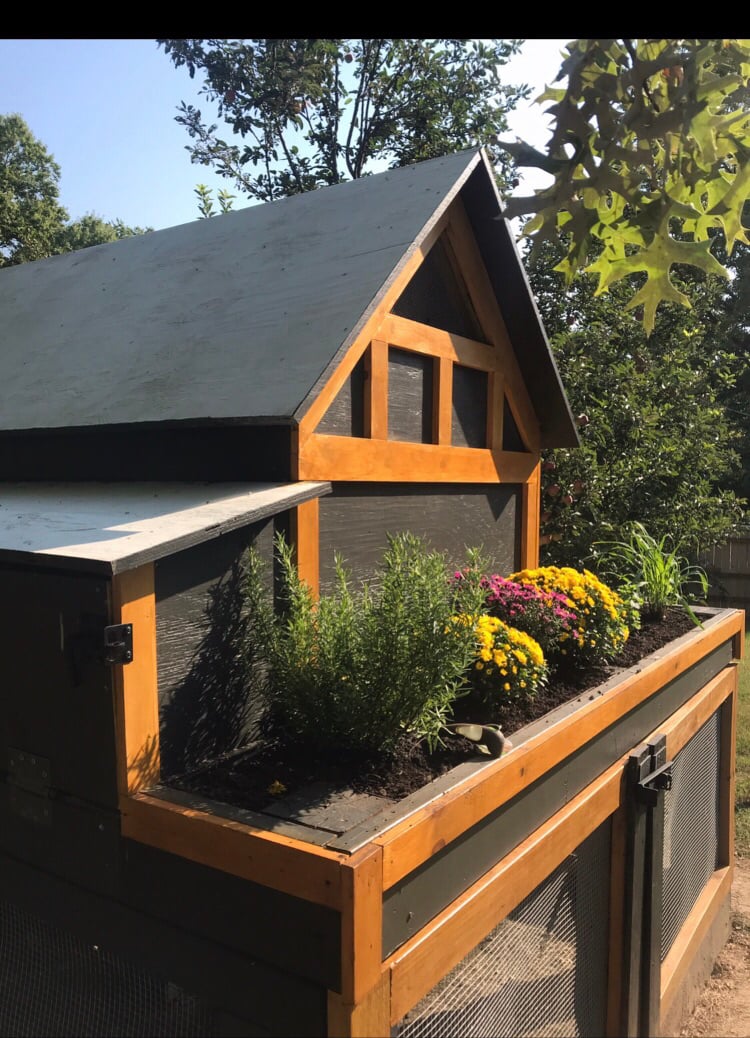
We made this Chicken Coop this summer , with lots of help. We doubled the coop and the chicken run is 8x8 . We used the base of a previous clubhouse!! Thanks so much for the plans
Mon, 10/04/2021 - 16:40
Beautiful, love the finish, thank you for sharing!
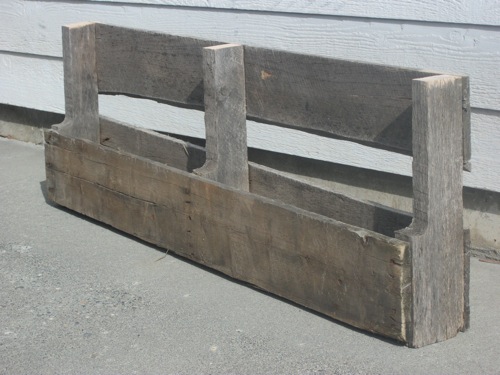
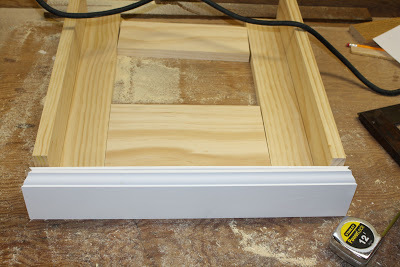
Ok, so no one is going to get really jazzed about this but me, but hey.. I actually had to cut this, which I did on my own with no help from the hubs and nail in the bottom boards. That was a bit tricky cause I used other pallet wood so I didn't have to rob any of the nice stuff from my scrap pile. :-)
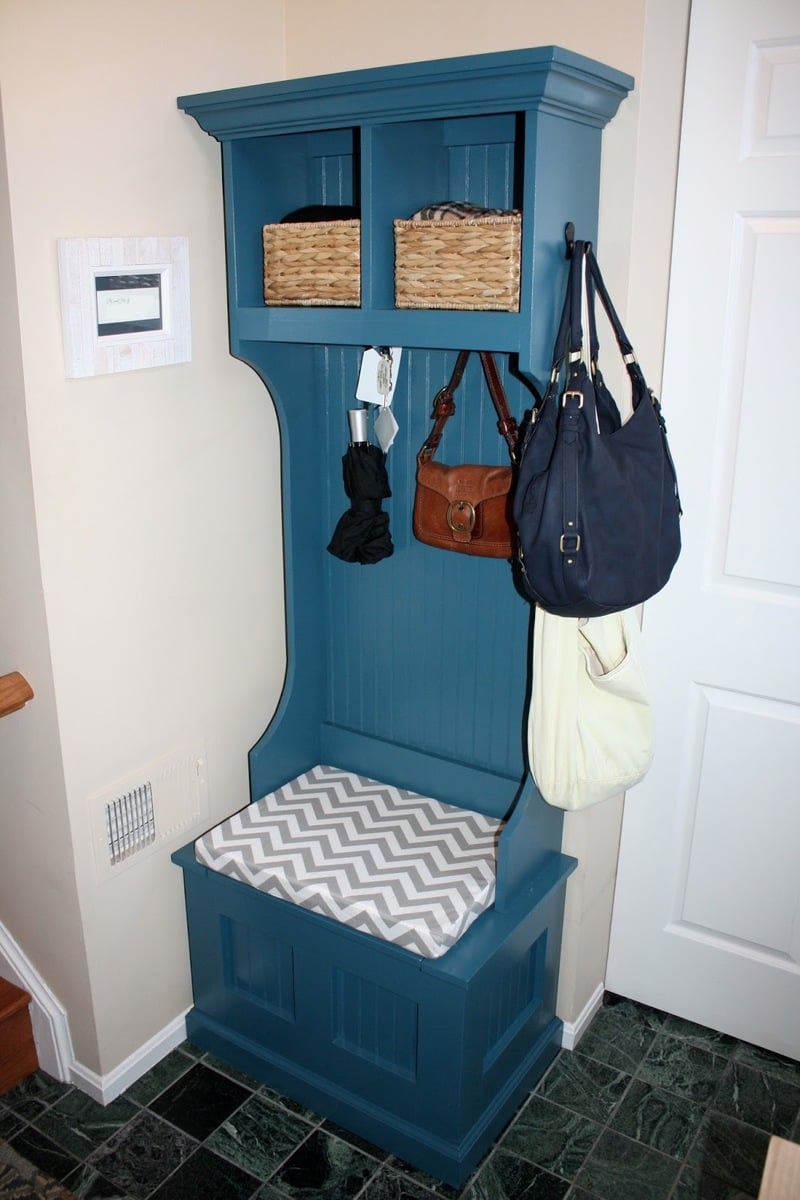
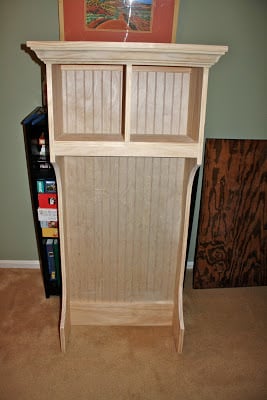
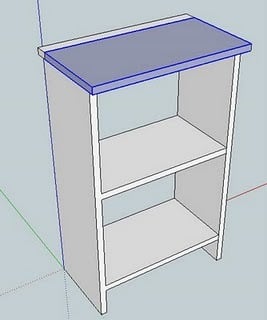
I used the plans from Mimi's Storage bench to create my own foyer storage. I narrowed the width to fit my space, but otherwise kept the plans nearly the same. You can read more about the details on my blog:
http://magic-blue-smoke.blogspot.com/2012/12/foyer-storage-part-1.html
http://magic-blue-smoke.blogspot.com/2013/02/foyer-storage-part-2.html
http://magic-blue-smoke.blogspot.com/2013/02/tree-hutch-part-3.html
http://magic-blue-smoke.blogspot.com/2013/03/final-bench-post.html
http://magic-blue-smoke.blogspot.com/2013/03/bench-painting-for-real-th…
http://magic-blue-smoke.blogspot.com/2013/03/tree-hutch-top.html
http://magic-blue-smoke.blogspot.com/2013/03/foyer-furniture-finally-co…
http://magic-blue-smoke.blogspot.com/2013/04/making-bench-cushion.html
Tue, 05/21/2013 - 06:42
Thanks! :) I probably should have mentioned the color - Aubusson Blue (Annie Sloan).


Comments
Ana White Admin
Tue, 10/05/2021 - 11:26
Way to convert to metric!
Looks amazing, thank you so much for sharing!