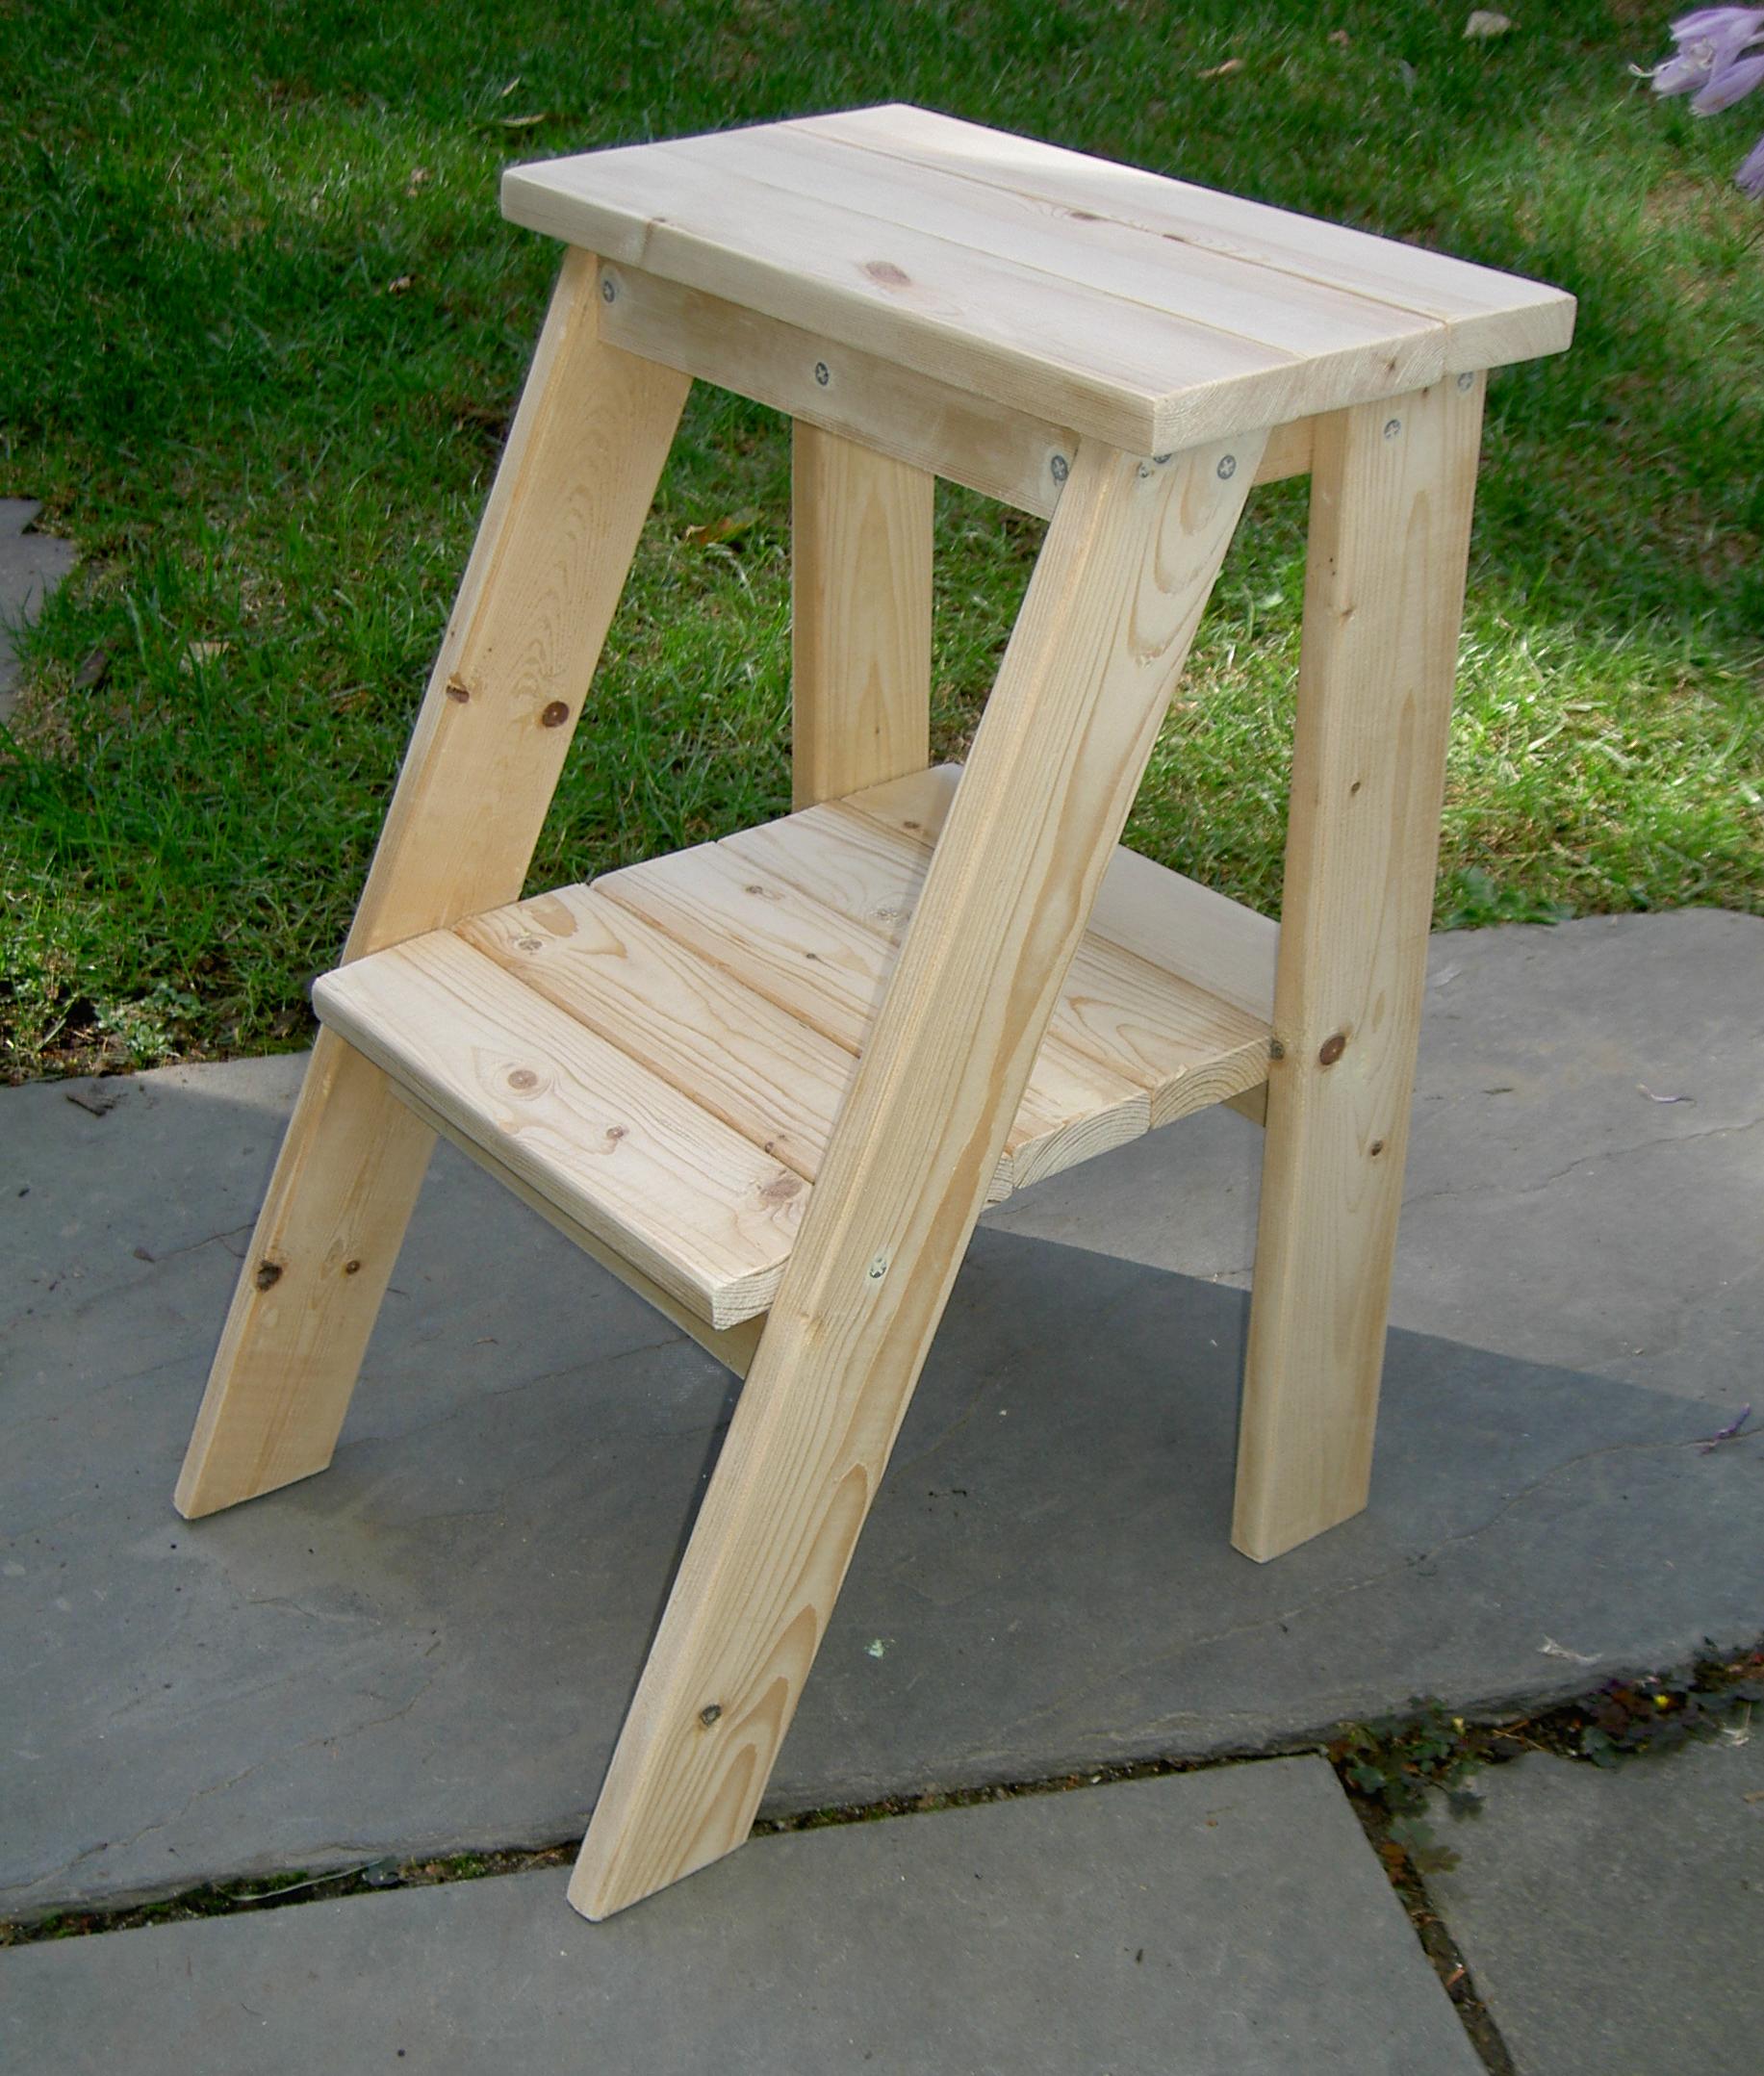
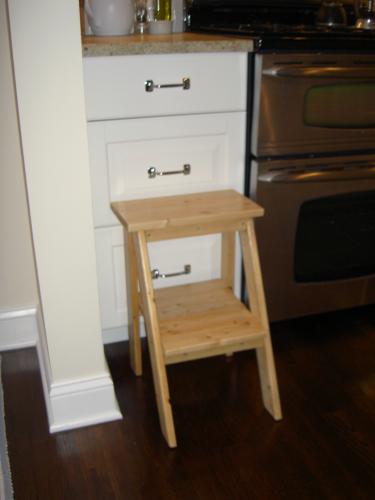
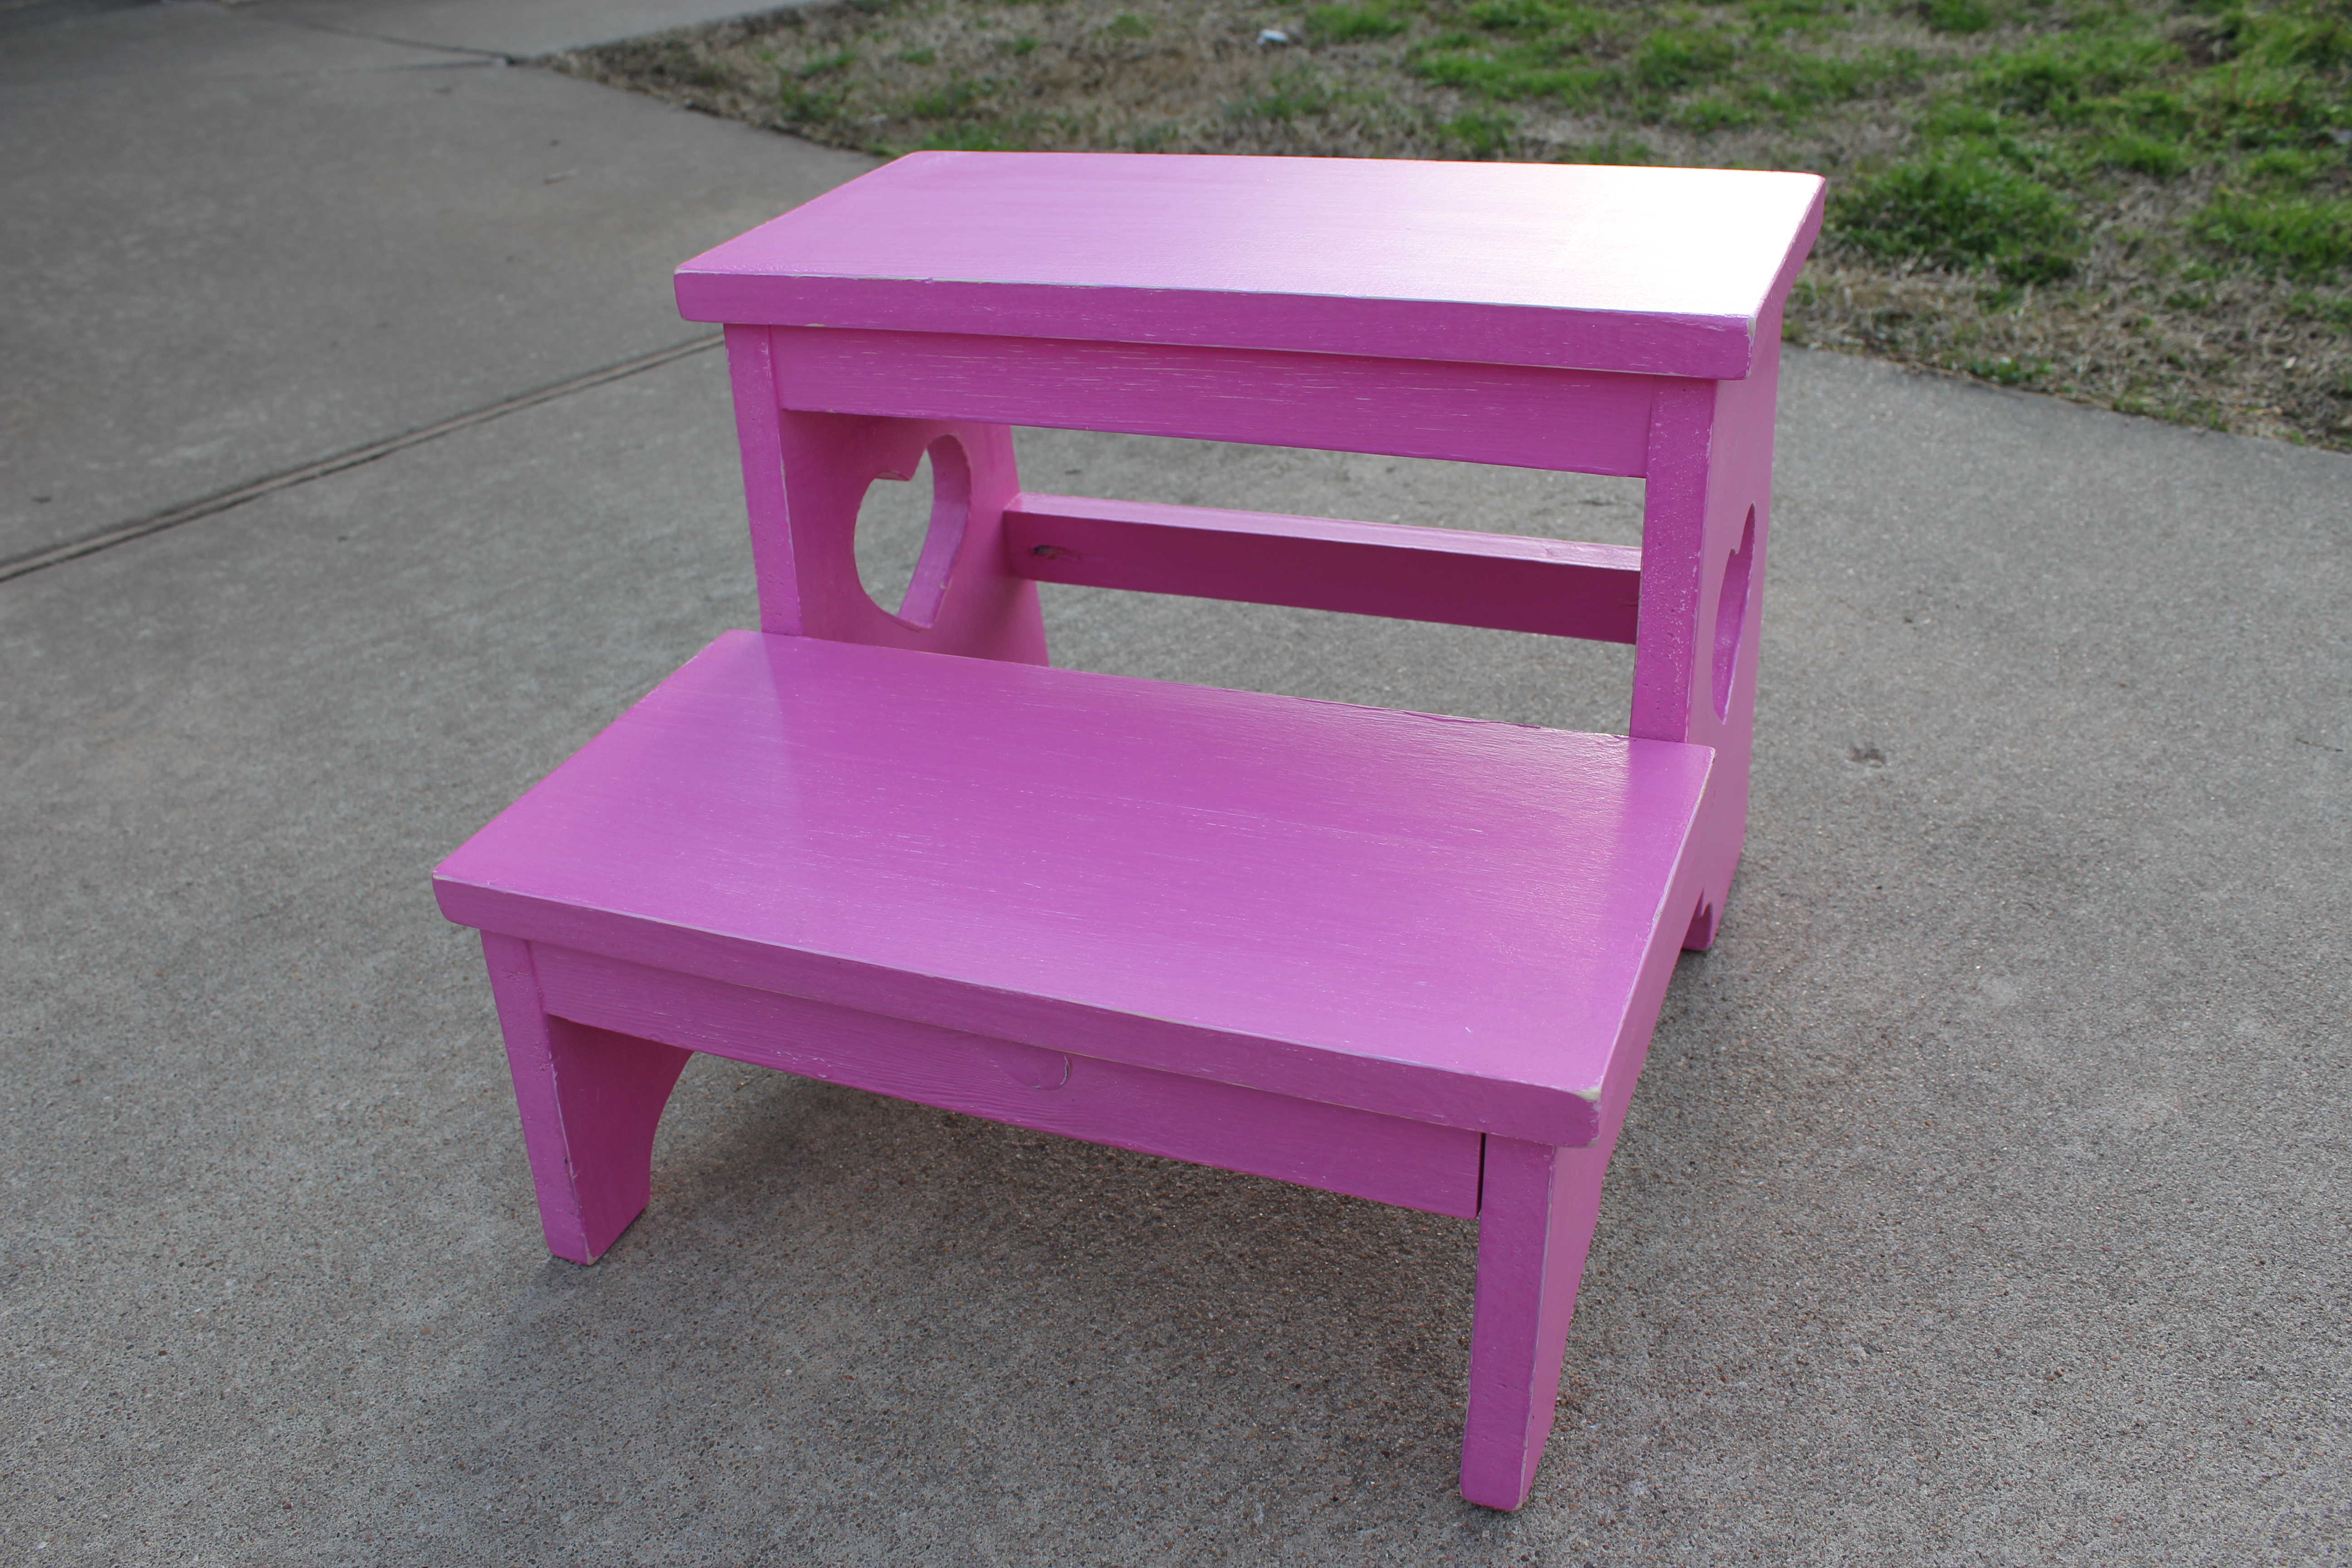
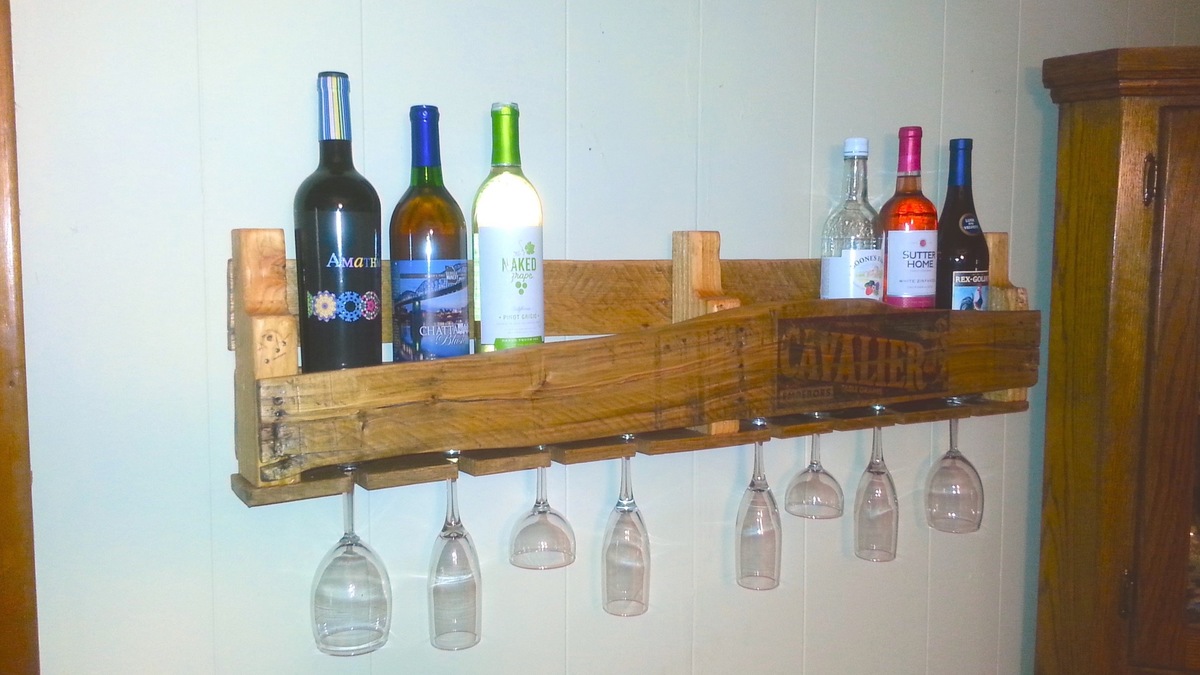
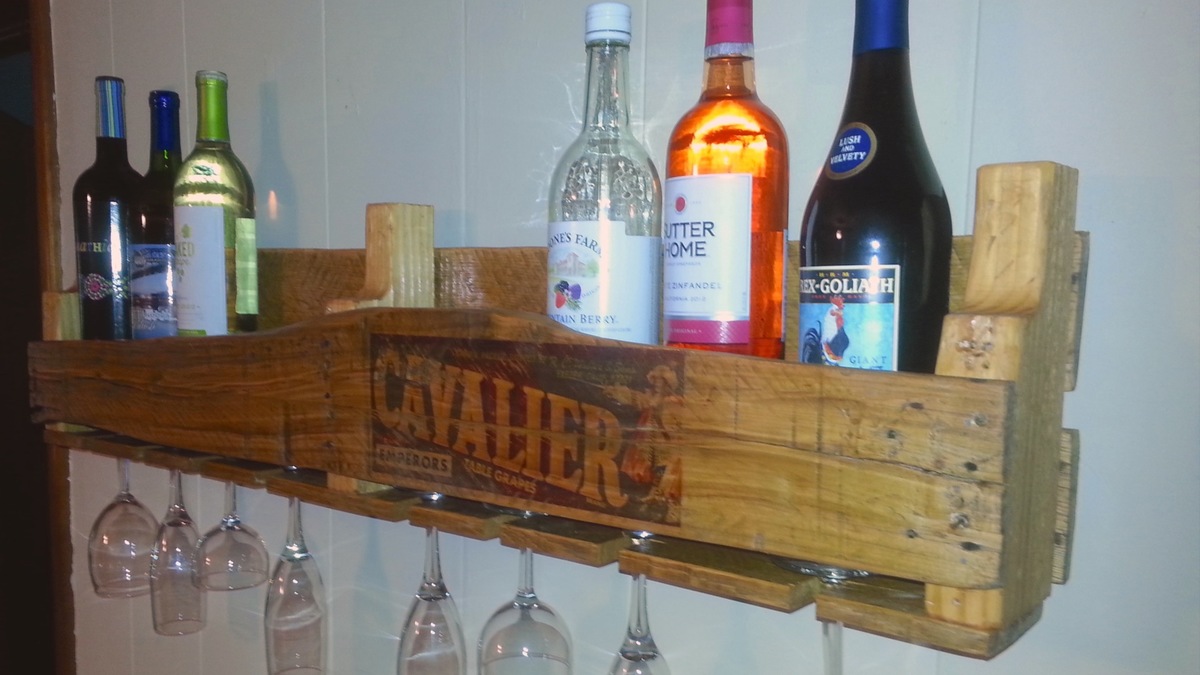
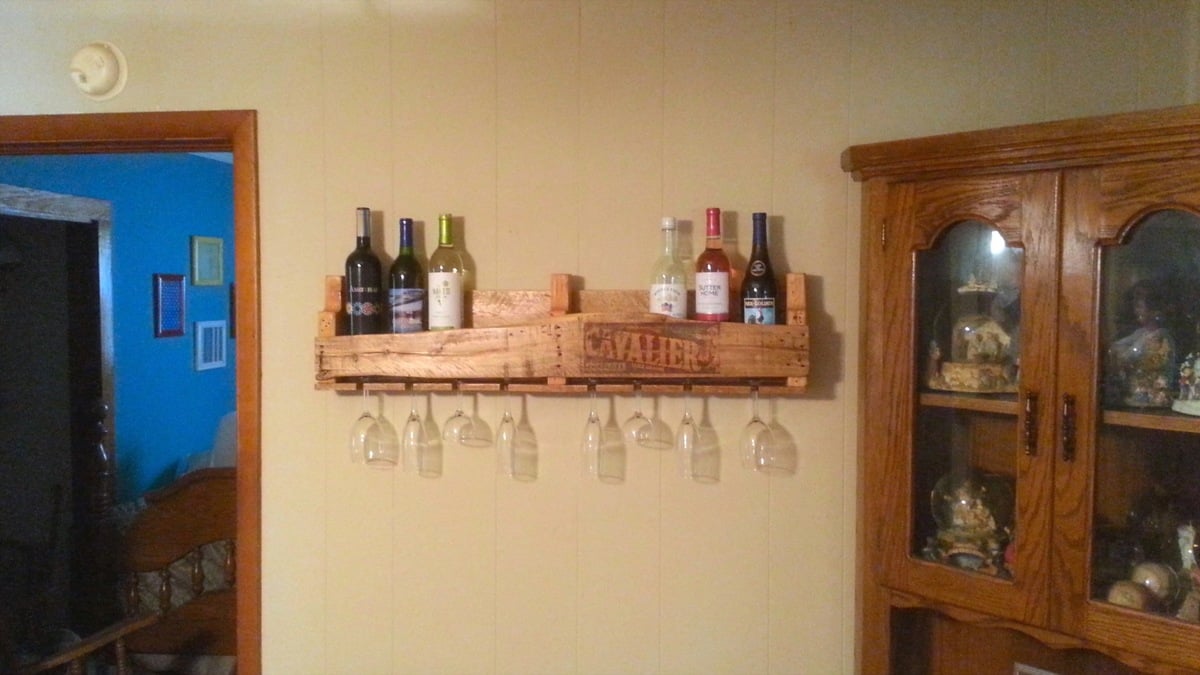
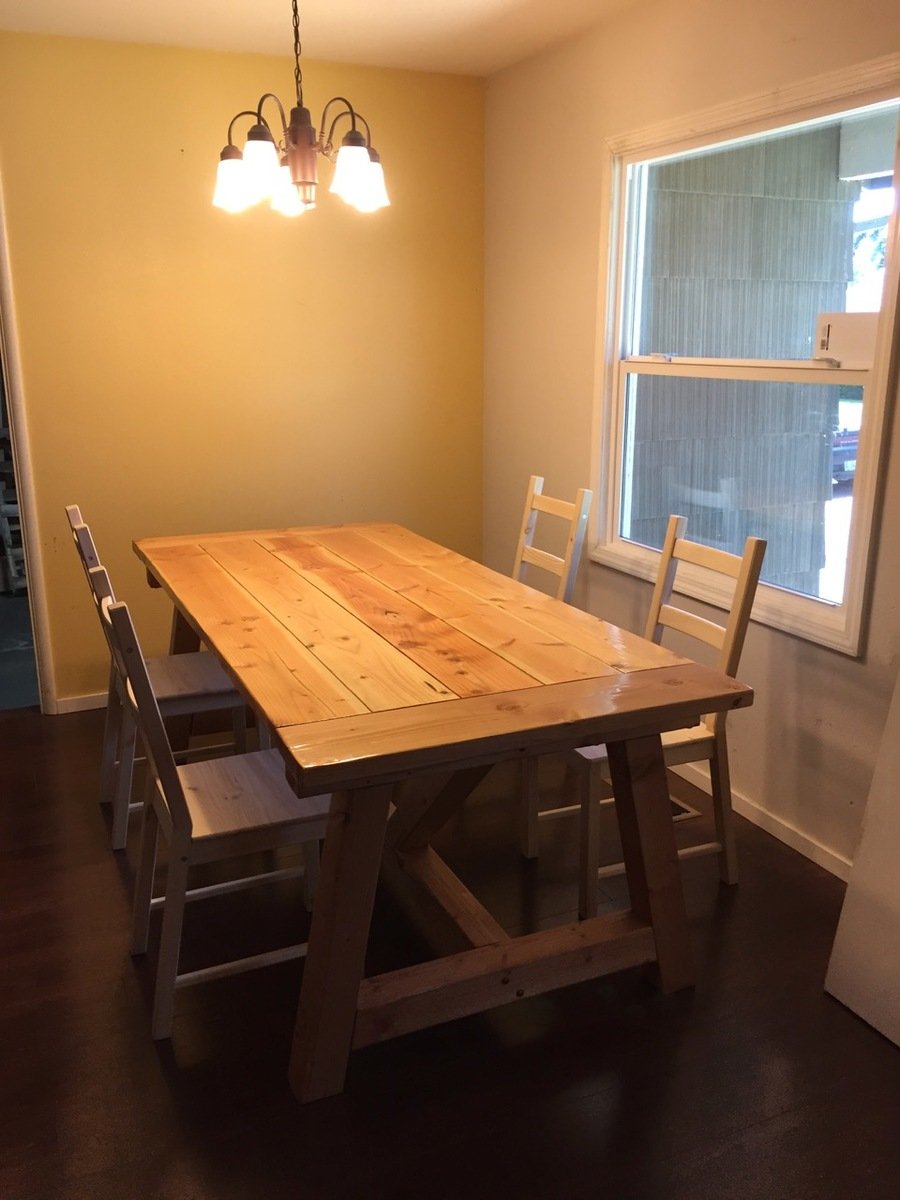
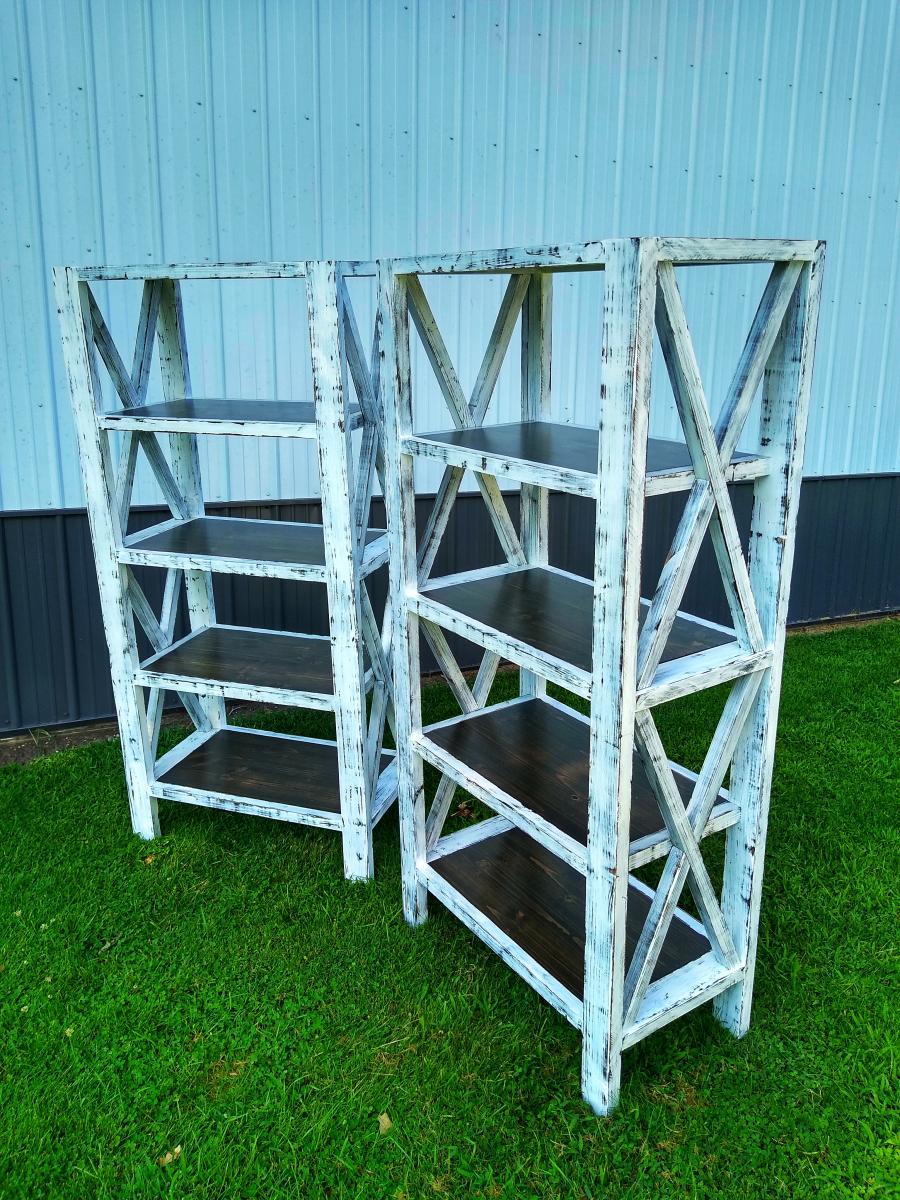
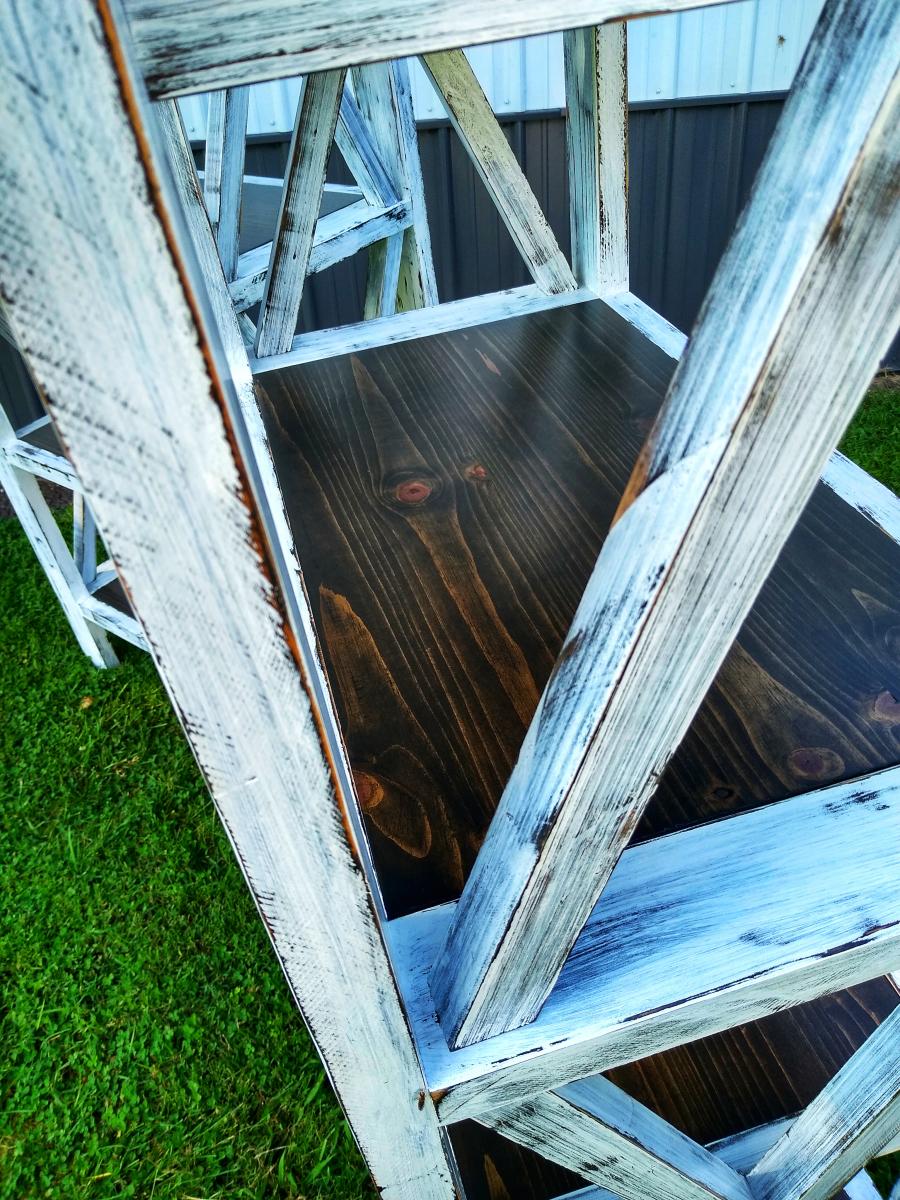
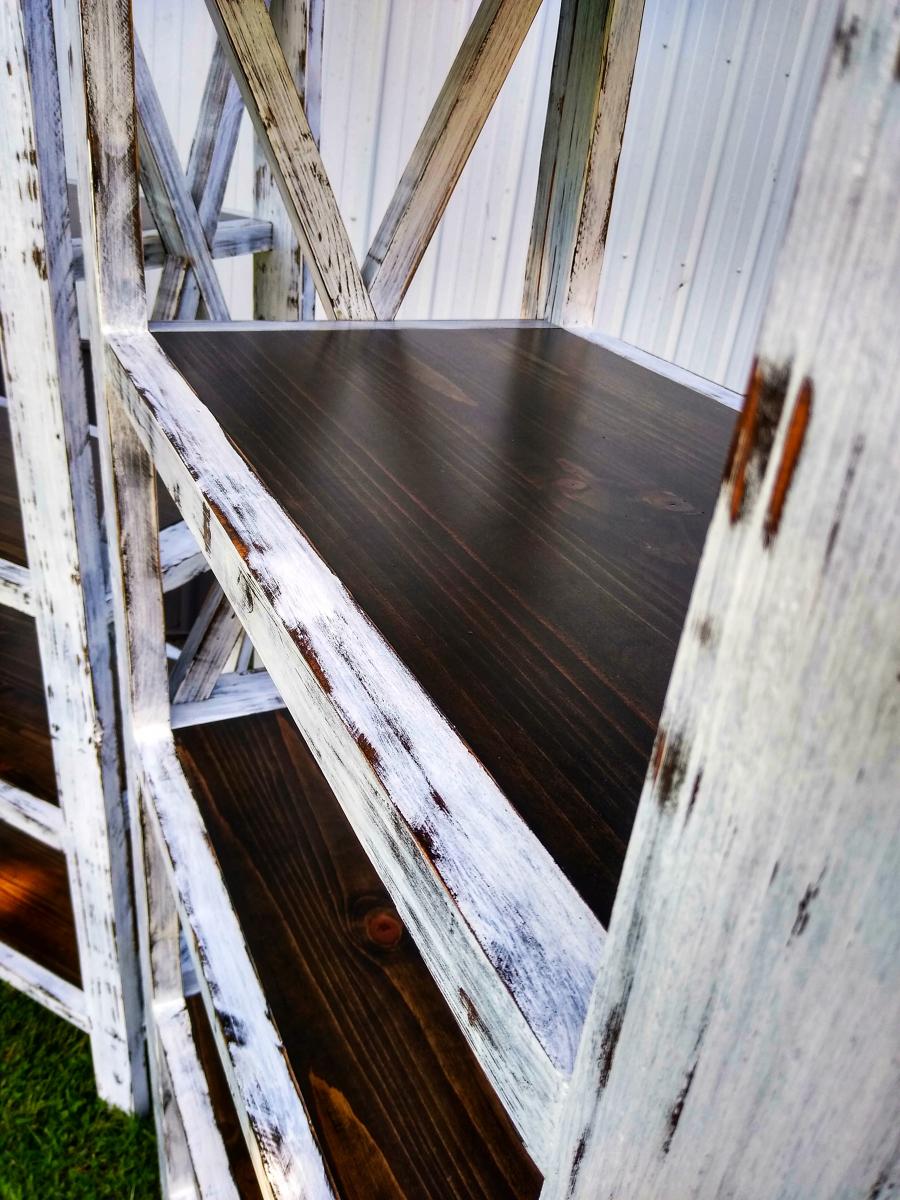
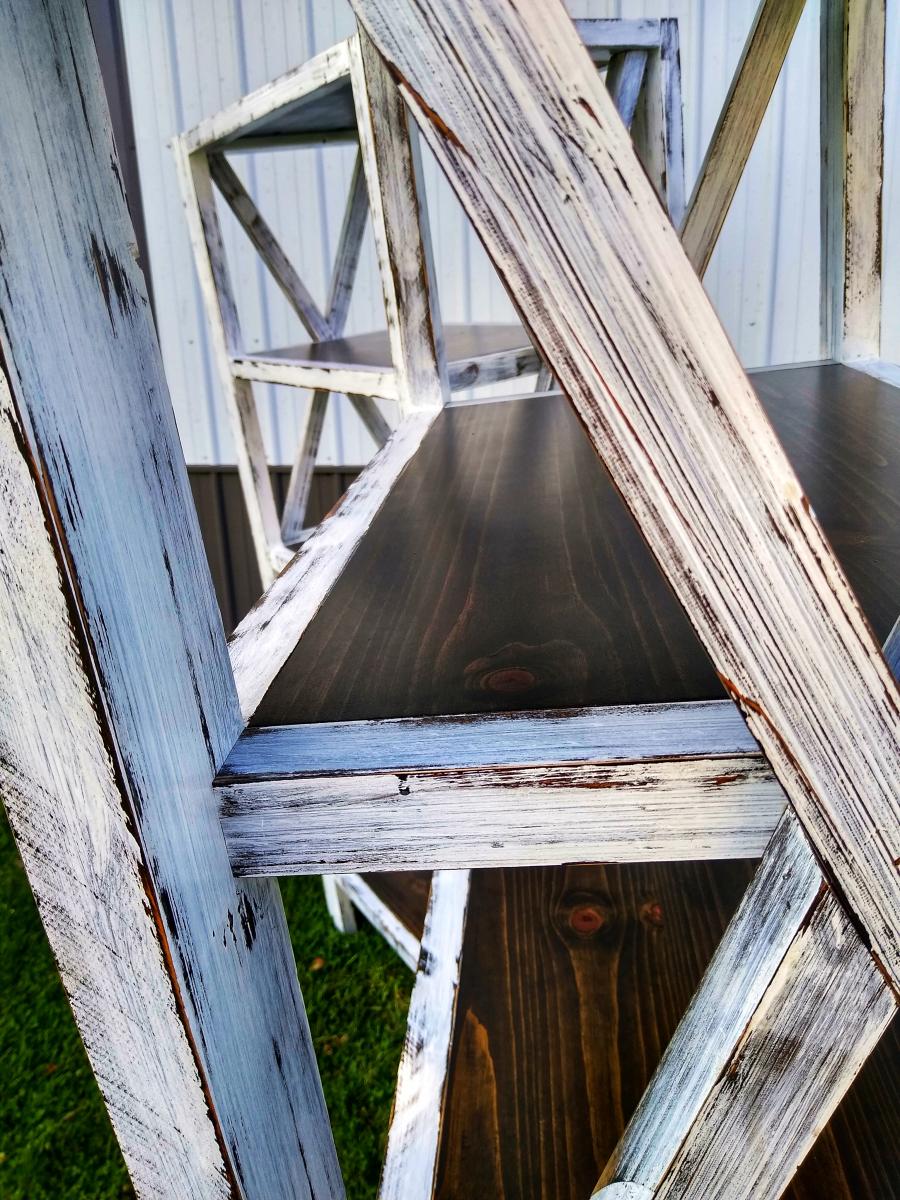
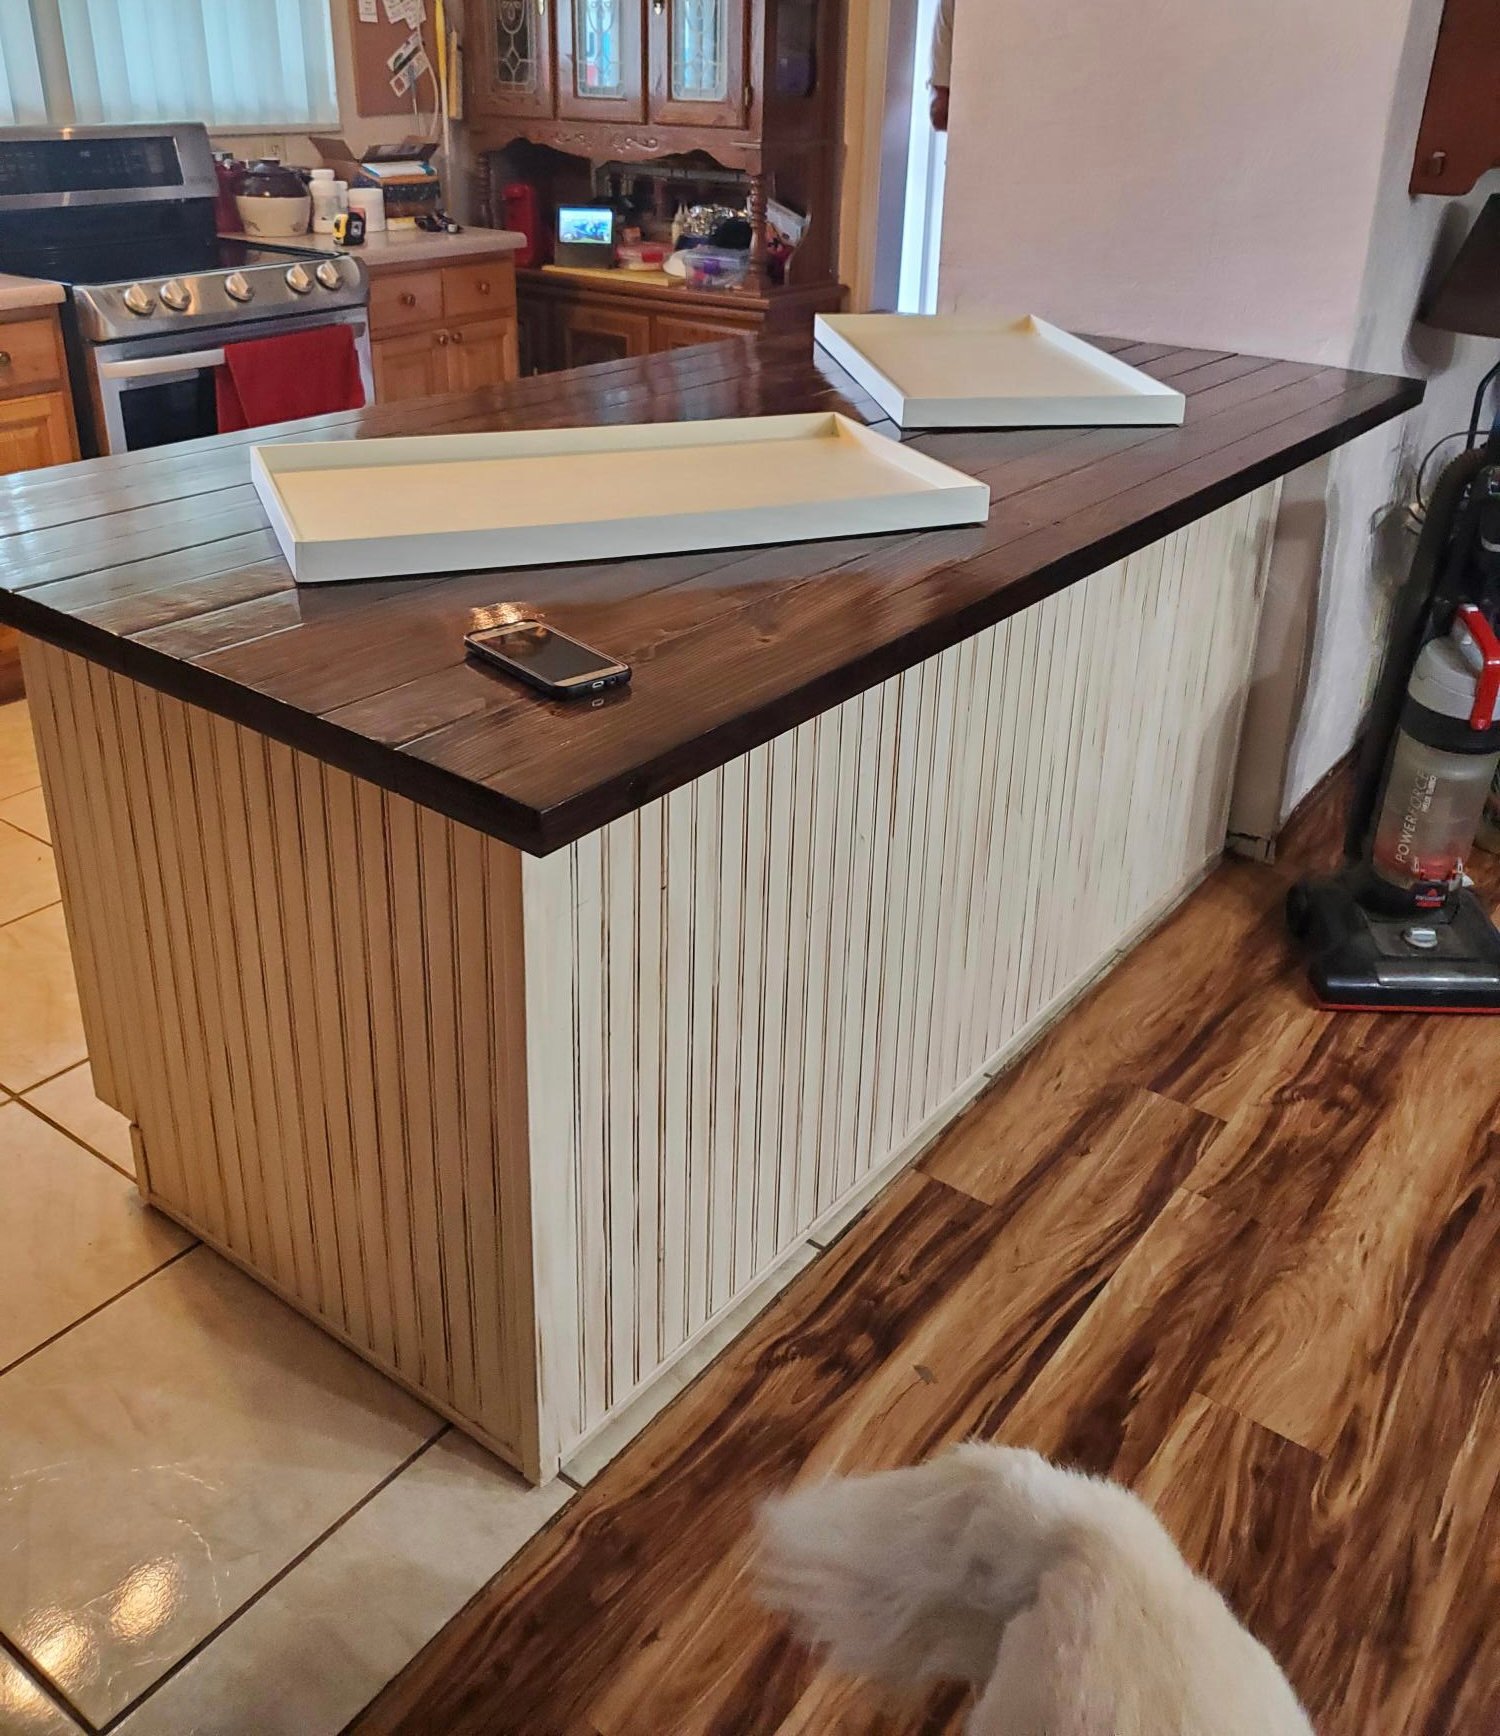
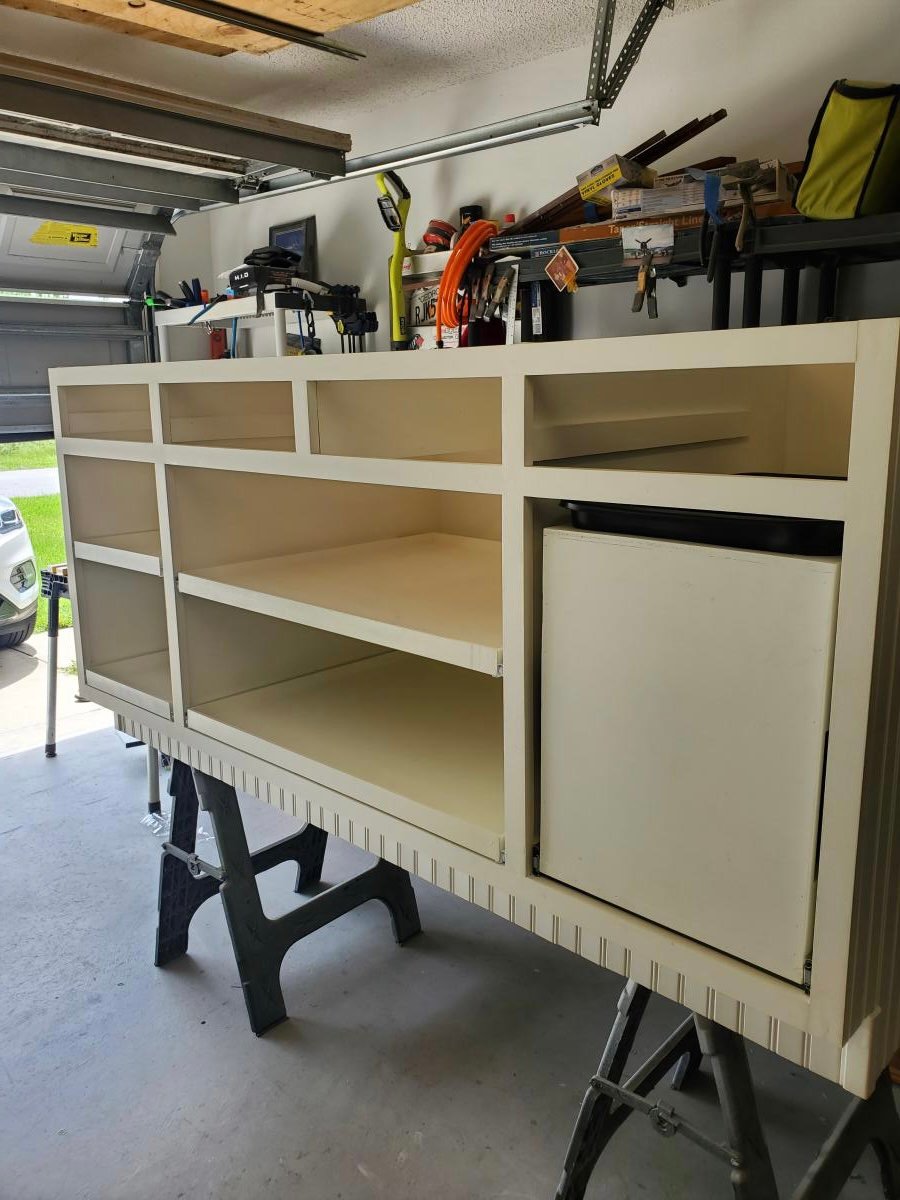
Portable countertop
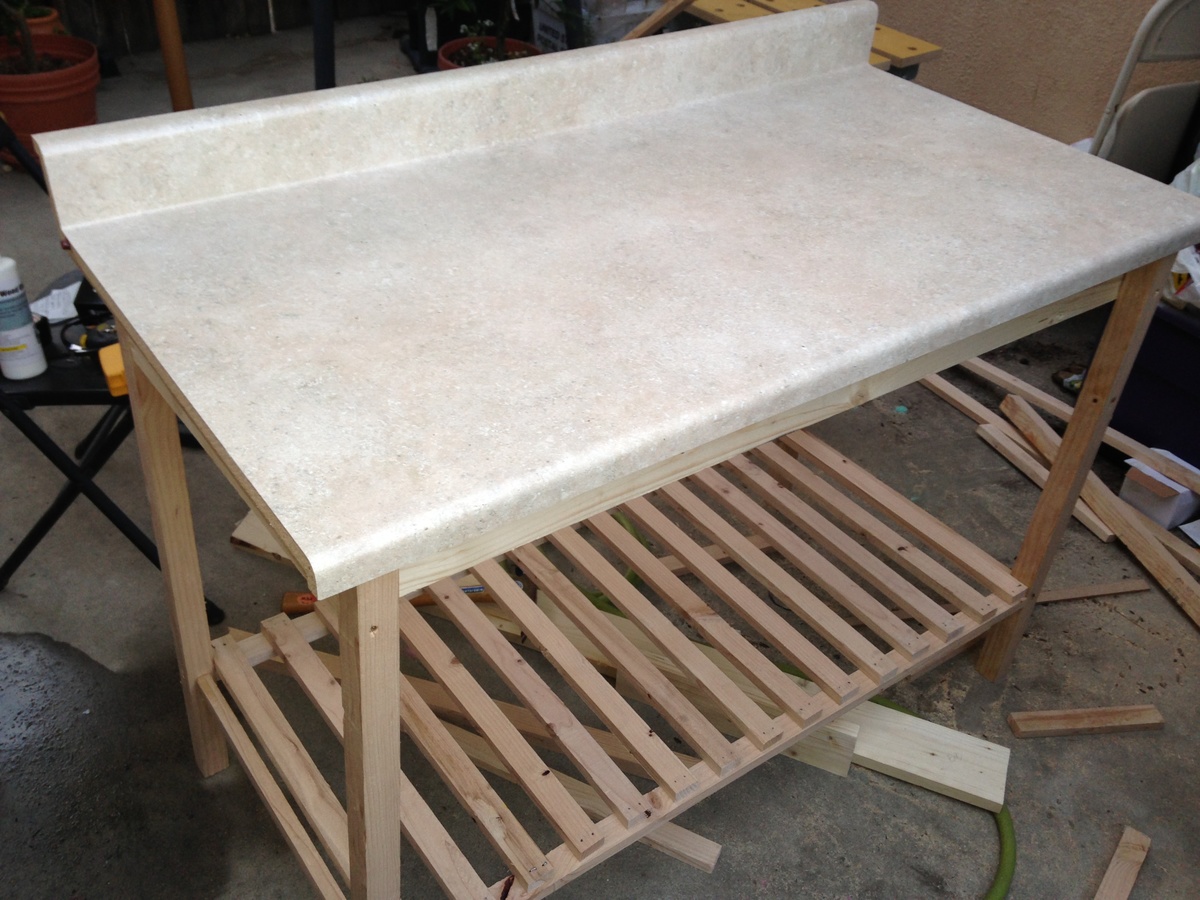
I made this from the kitchen island plans, but added a countertop. It's really sturdy and cost about $65 in materials. I love it.
I basically just followed the plans on this site. it is really a pretty simple build but it helps to have a second person and it is very time consuming.
Sliding door to my laundry room with etched, stained glass window
During Covid, we had hybrid classes going on. As a teacher of Stagecraft Technology, we had no sets to create, no large flats or walls to build, so I took your Adirondack chair design and had each student build one using any type of repurposed or up cycled wood. It was a great success, and many of the teachers and staff members started placing orders. The students worked their fingers to the bone, got lots of tool experience, and in the end were proud of their creations, many that we donated to charities, families, etc. Thank You for such a great design.
Wed, 10/06/2021 - 20:15
That is so inspiring, great work and thank you so much for sharing!
Our fifth build.
Built from rough pine.
Modified for 1x2s in both panels.
Footboard is stacked a little different because silly me got carried away and cut a board, before it was time to cut, and cut it too short. Oooops. Still works though. And looks superb I think.
We did not screw the joists vertical, and through the sideboards. I cut 1 inch pieces off the scraps from the joists, and mounted them from the inside, then laid the joists thick side up, and screwed them down into the mounted pieces.
For step by step instructions, and details on where to buy everything, see my blog. I blogged each step of the way. It took us a month to build this due to life obstacles and bad timing on baby naps, but you should be able to do it in one good afternoon.
I made this awesome step stool for my daughter to be able to reach things a little bit better. It works perfectly. And the heart adds the perfect touch, don't you think?
This week's project was a wine rack that I built for my aunt.
Blog: http://www.lanebroswoodshop.com/2015/04/pallet-wine-rack.html
YouTube Video: https://www.youtube.com/watch?v=NUB6UEaLXtE
This is the dining room table I built for my house. It was based on the 4x4 truss beam table plans I found here on Ana's website. I opted against stain, and decided on a clear polyurethane finish to highlight the wood's natural beauty. I've had this table for over a year now, and it has withstood the rigors of young children quite nicely. Thanks Ana!
Sincerely,
Ron Floyd
Portland, OR
I was commissioned to build these bookshelves to go along with the “Rustic X” consoles table. The finish is distressed white and True Browns stain.
I love this little farmhouse bed. I made it for my daughter for Christmas. It is spacious for one doll and cozy for two.
This was our first project. The directions were easy to follow. We used wood screws to put this project together as I do not have a nail gun. My five year old was in charge of the electric screwdriver. I just used 1 peice of wood for the table top and diagonally screwed into it from the bottom. It took us a few days to complete as when you are working with a little one, everything takes quite a bit longer. This was the perfect project for us to work on together! My husband requested a table to put next to the hottub so he could put his drink on it, but I don't want this to move outside! Maybe I'll have to make another one. :)
My version of the Herb Garden Planter.
This is a really easy project to make. The goal is to separate the ring from the puzzle. Refer to the solution video if you can't figure it out.
Build Instructions:
https://www.instructables.com/id/Rope-Ring-Puzzle/
Solution:
When I saw the farmhouse toddler bed plans on Ana’s site, I knew I had to build it for my daughter. I added siderails (modified from the bunk bed rail plans) and a canopy (modified from the adult size farmhouse bed canopy plans).
I can’t really give an estimate of how long this project took…I had to work on it while keeping my five year old and one year old entertained. If I’d had no distractions, it probably would have taken only 3 or 4 hours to build it (more for the painting).
We went exactly as planned in the Build a Toybox outline, but bought 12x1 instead of 16x1. This caused a problem when we started putting it together. The two short sides were taller than the long sides. We decided to make lemons from lemonade and turn it into a toolbox/toybox, and in the end really liked the result. We added an additional cut with 1.5" holes on either side and a 1.5" diameter 36" long dowel rod for the handle. We added casters to the bottom and poof! done. Fun project! We made it for our soon to be nephew and filled with gifts for the baby shower.
My first build!!!! I live in an apartment, so I was nervous to undertake any project... luckily I was able to borrow a garage one weekend to build it, and then moved it in and finished it. It took more than just the weekend to complete. It probably took me a lot longer than if I had more experience and knew what I was doing...I stopped every two minutes to double check myself and reread the directions lol. I'm so happy with how it turned out. I used the IKEA center beam from my old bed for the center support, and cut wood slats for my mattress to rest on so I don't have to use a box spring. It looks so much more expensive than it was. my next project is a headboard...as soon as I have a space to build it in :)