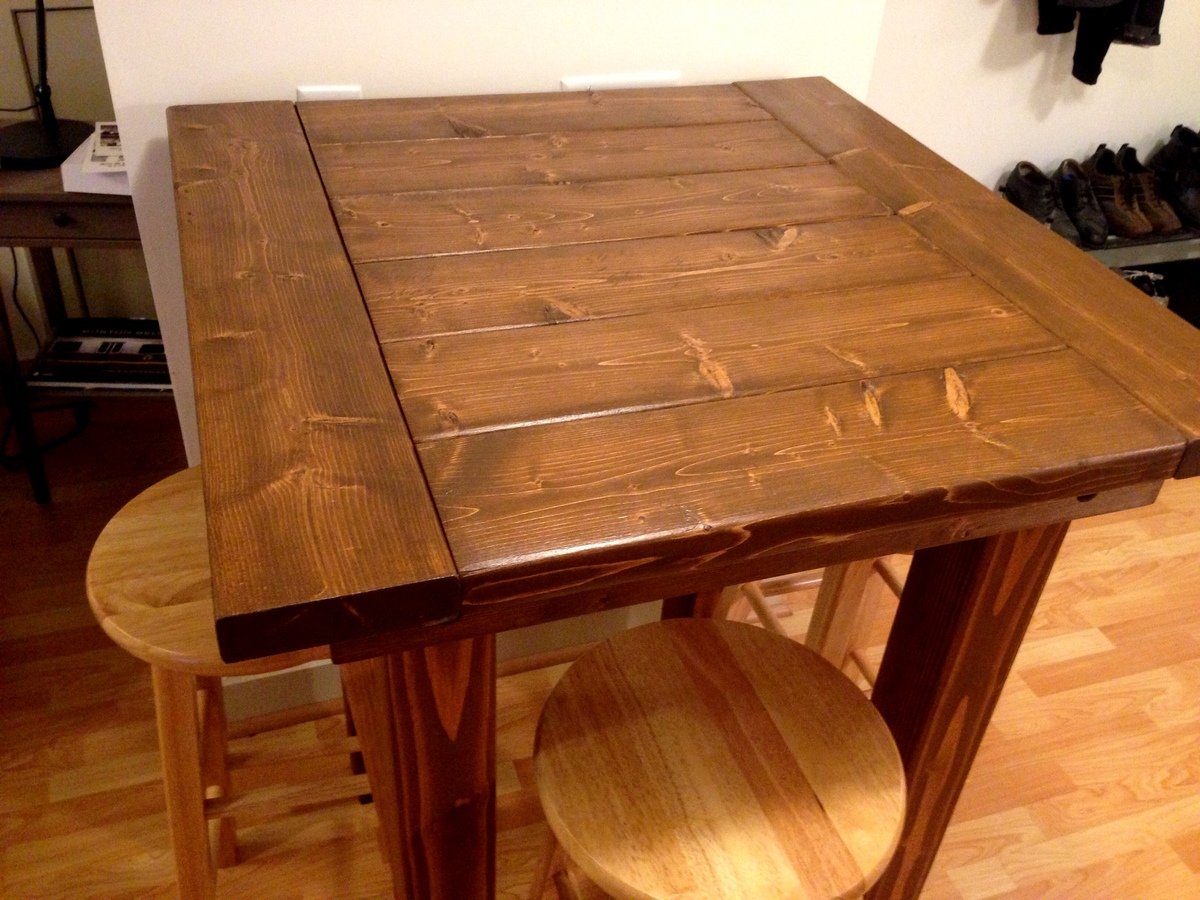
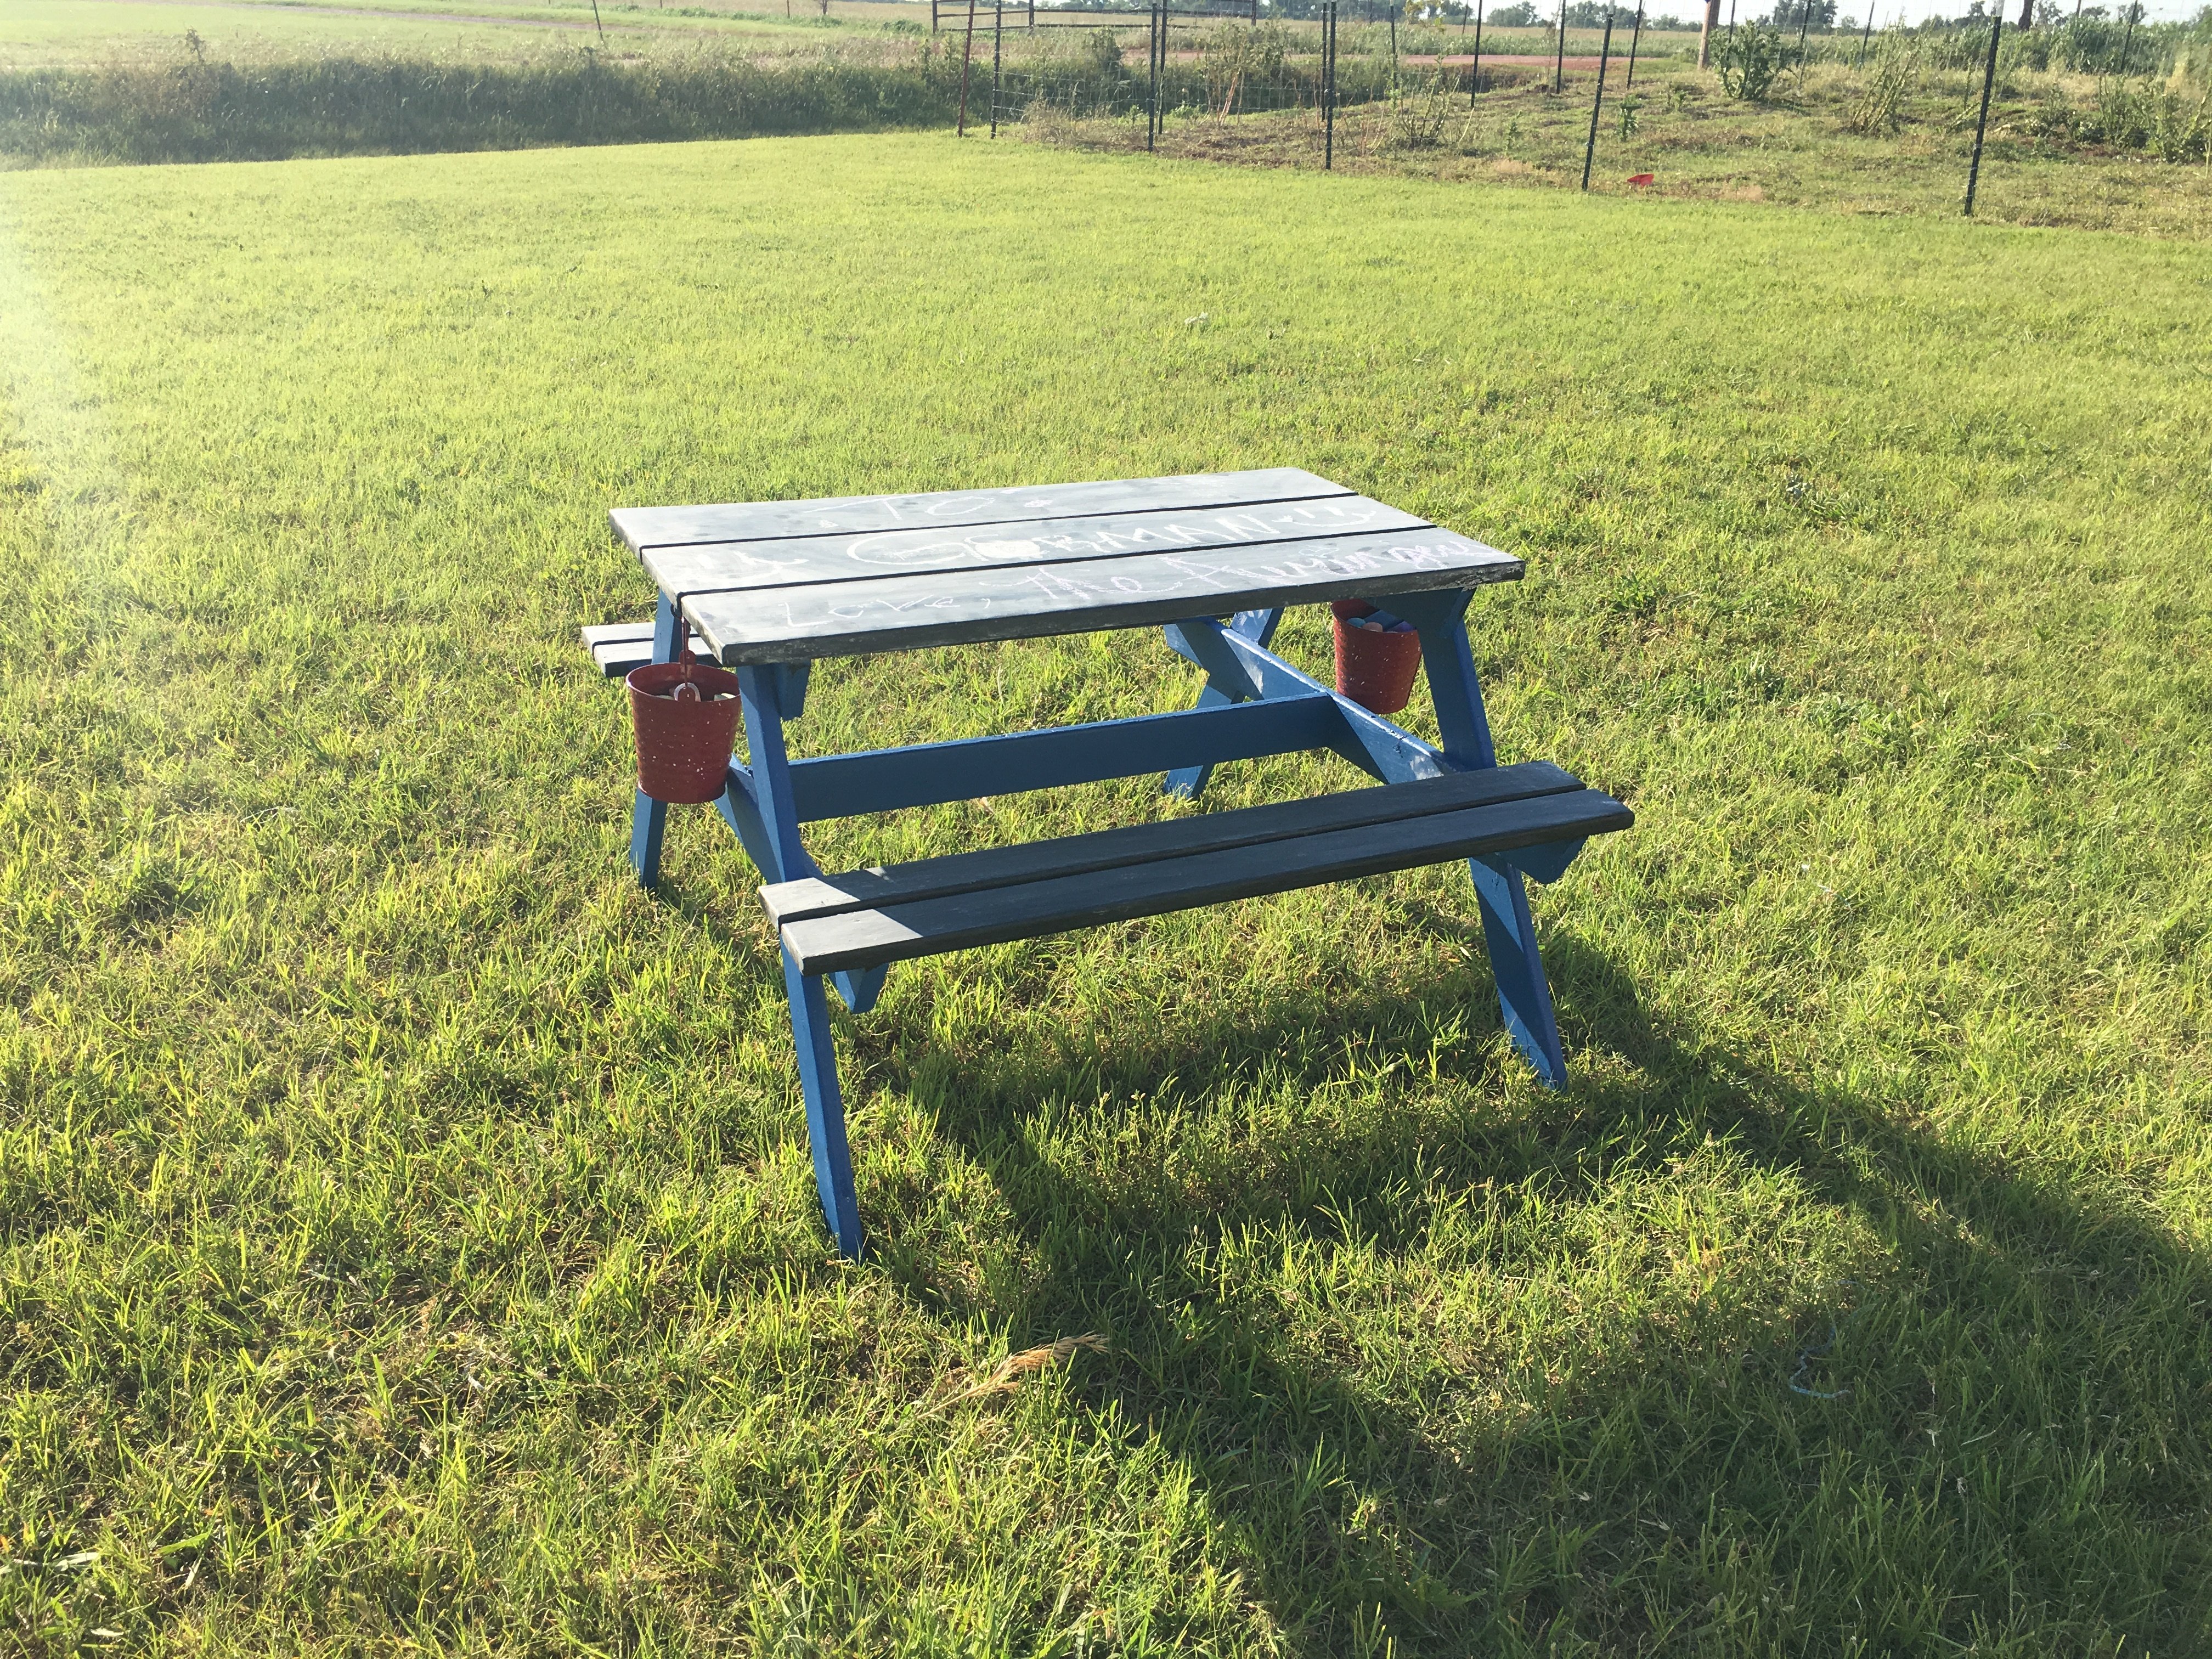
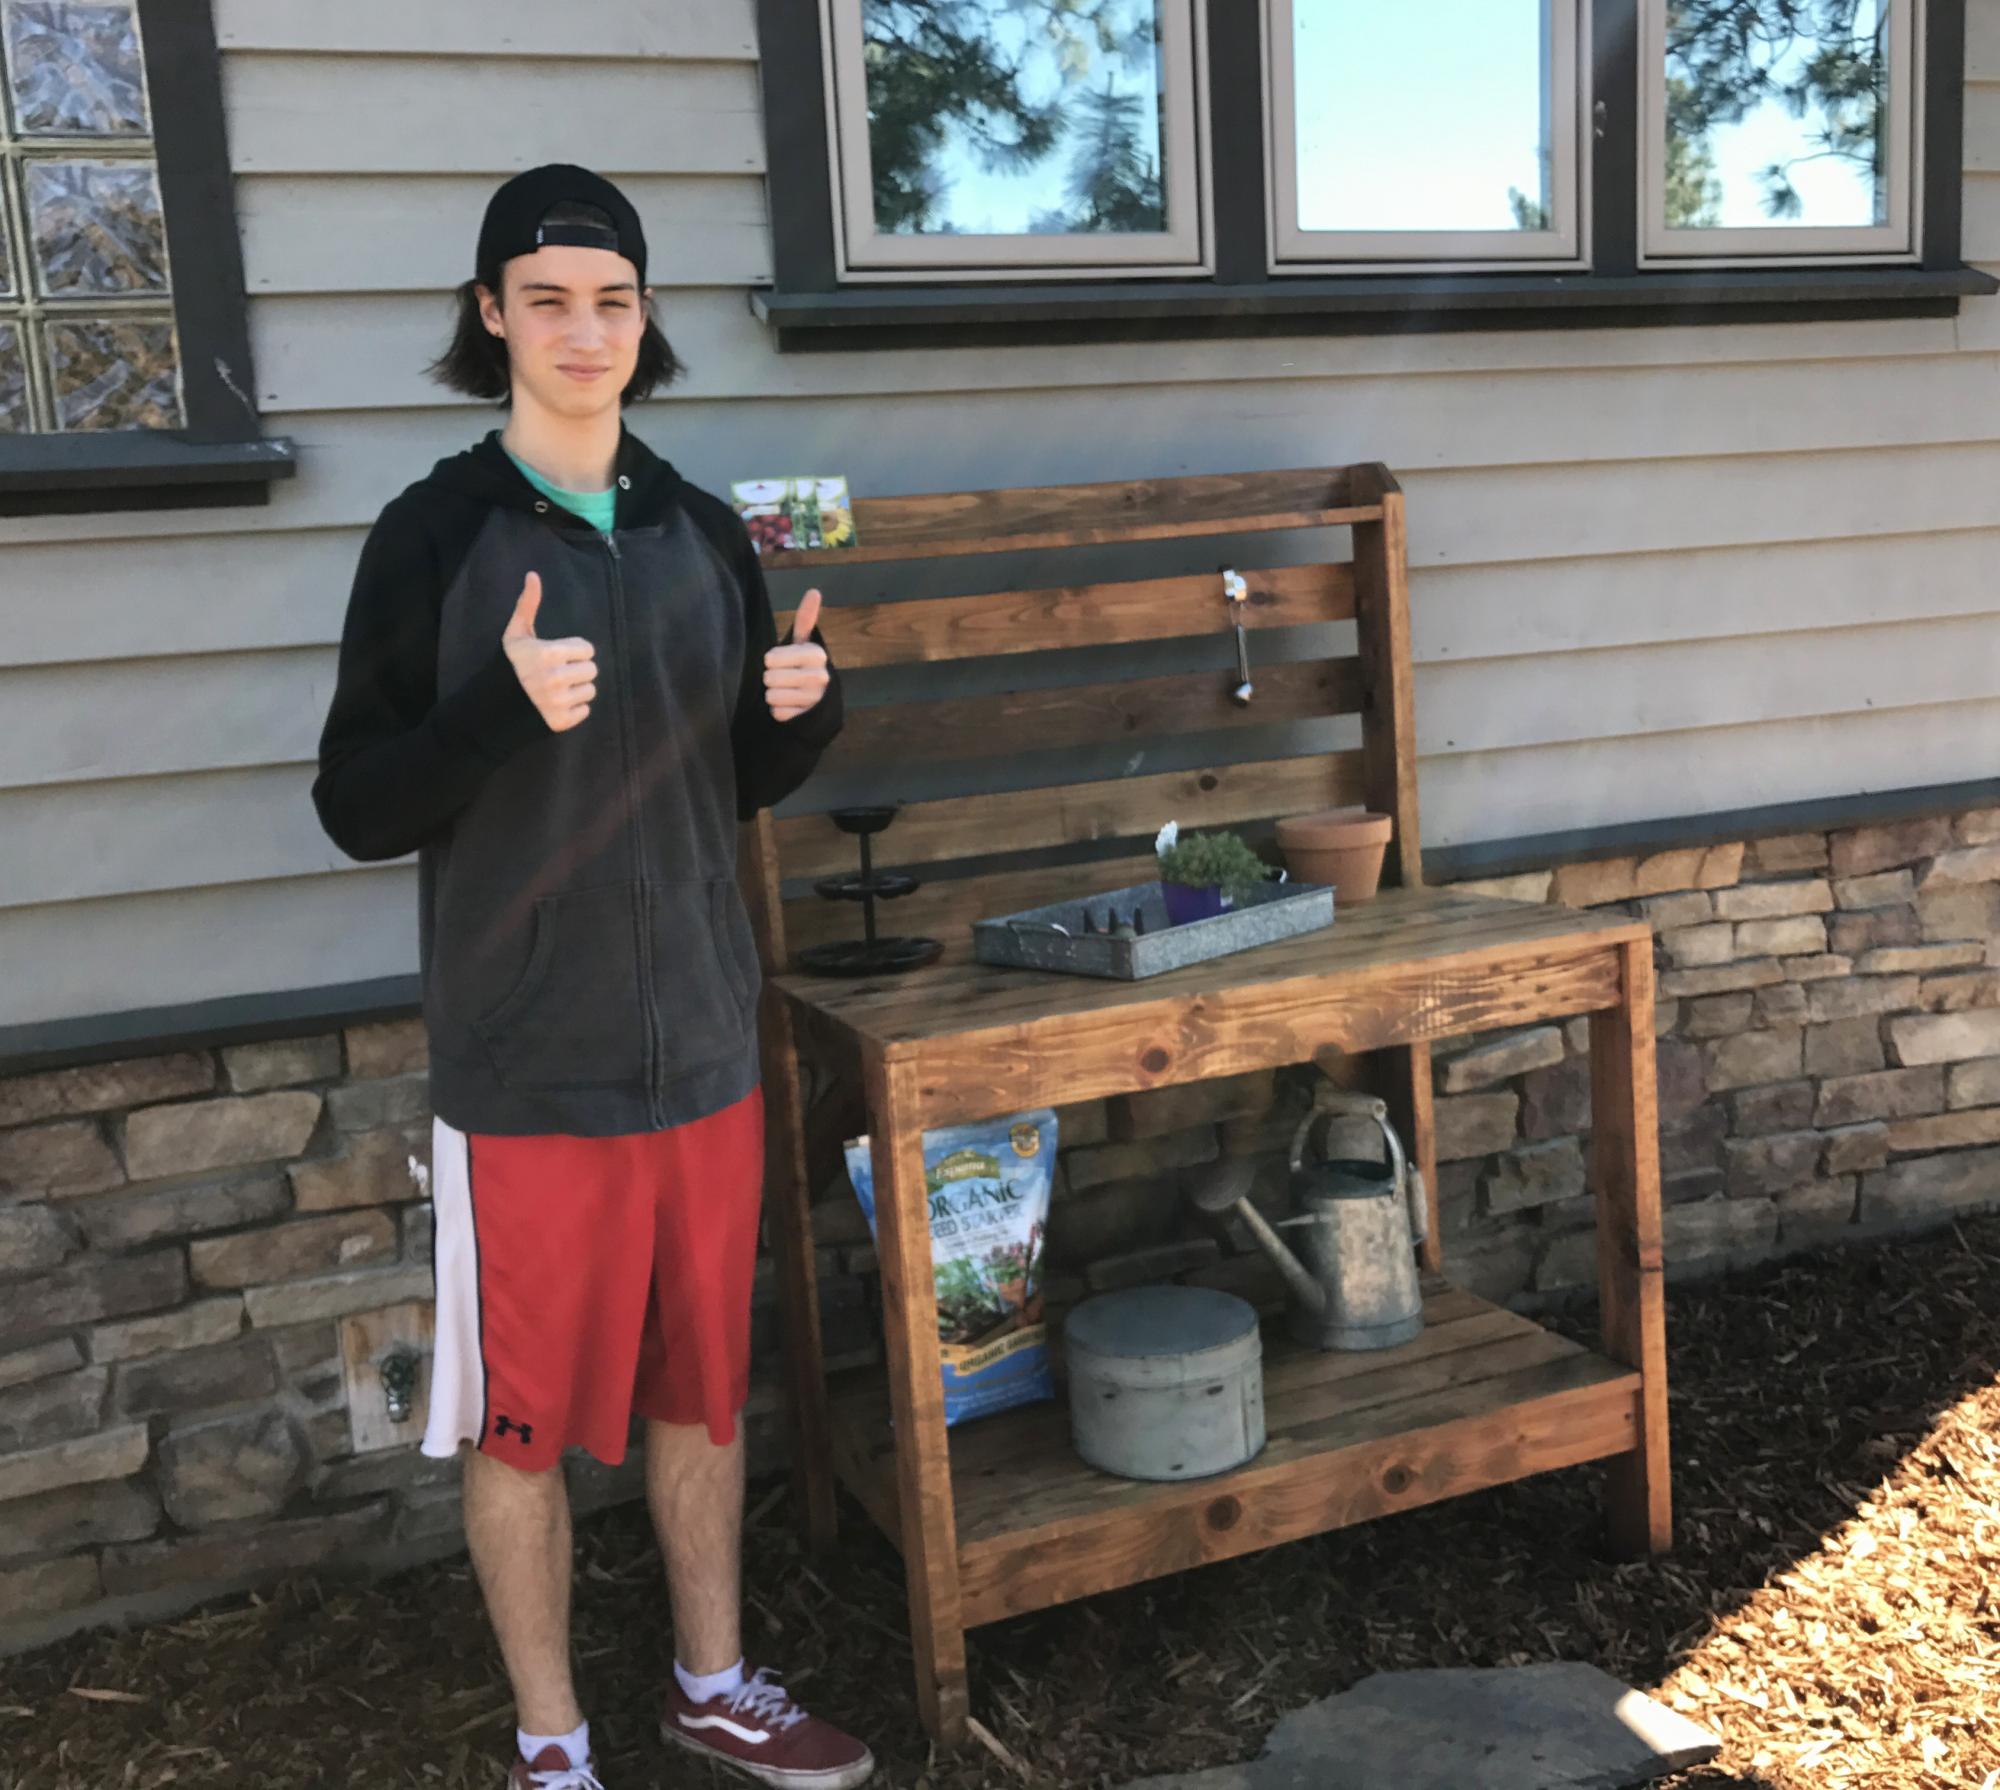
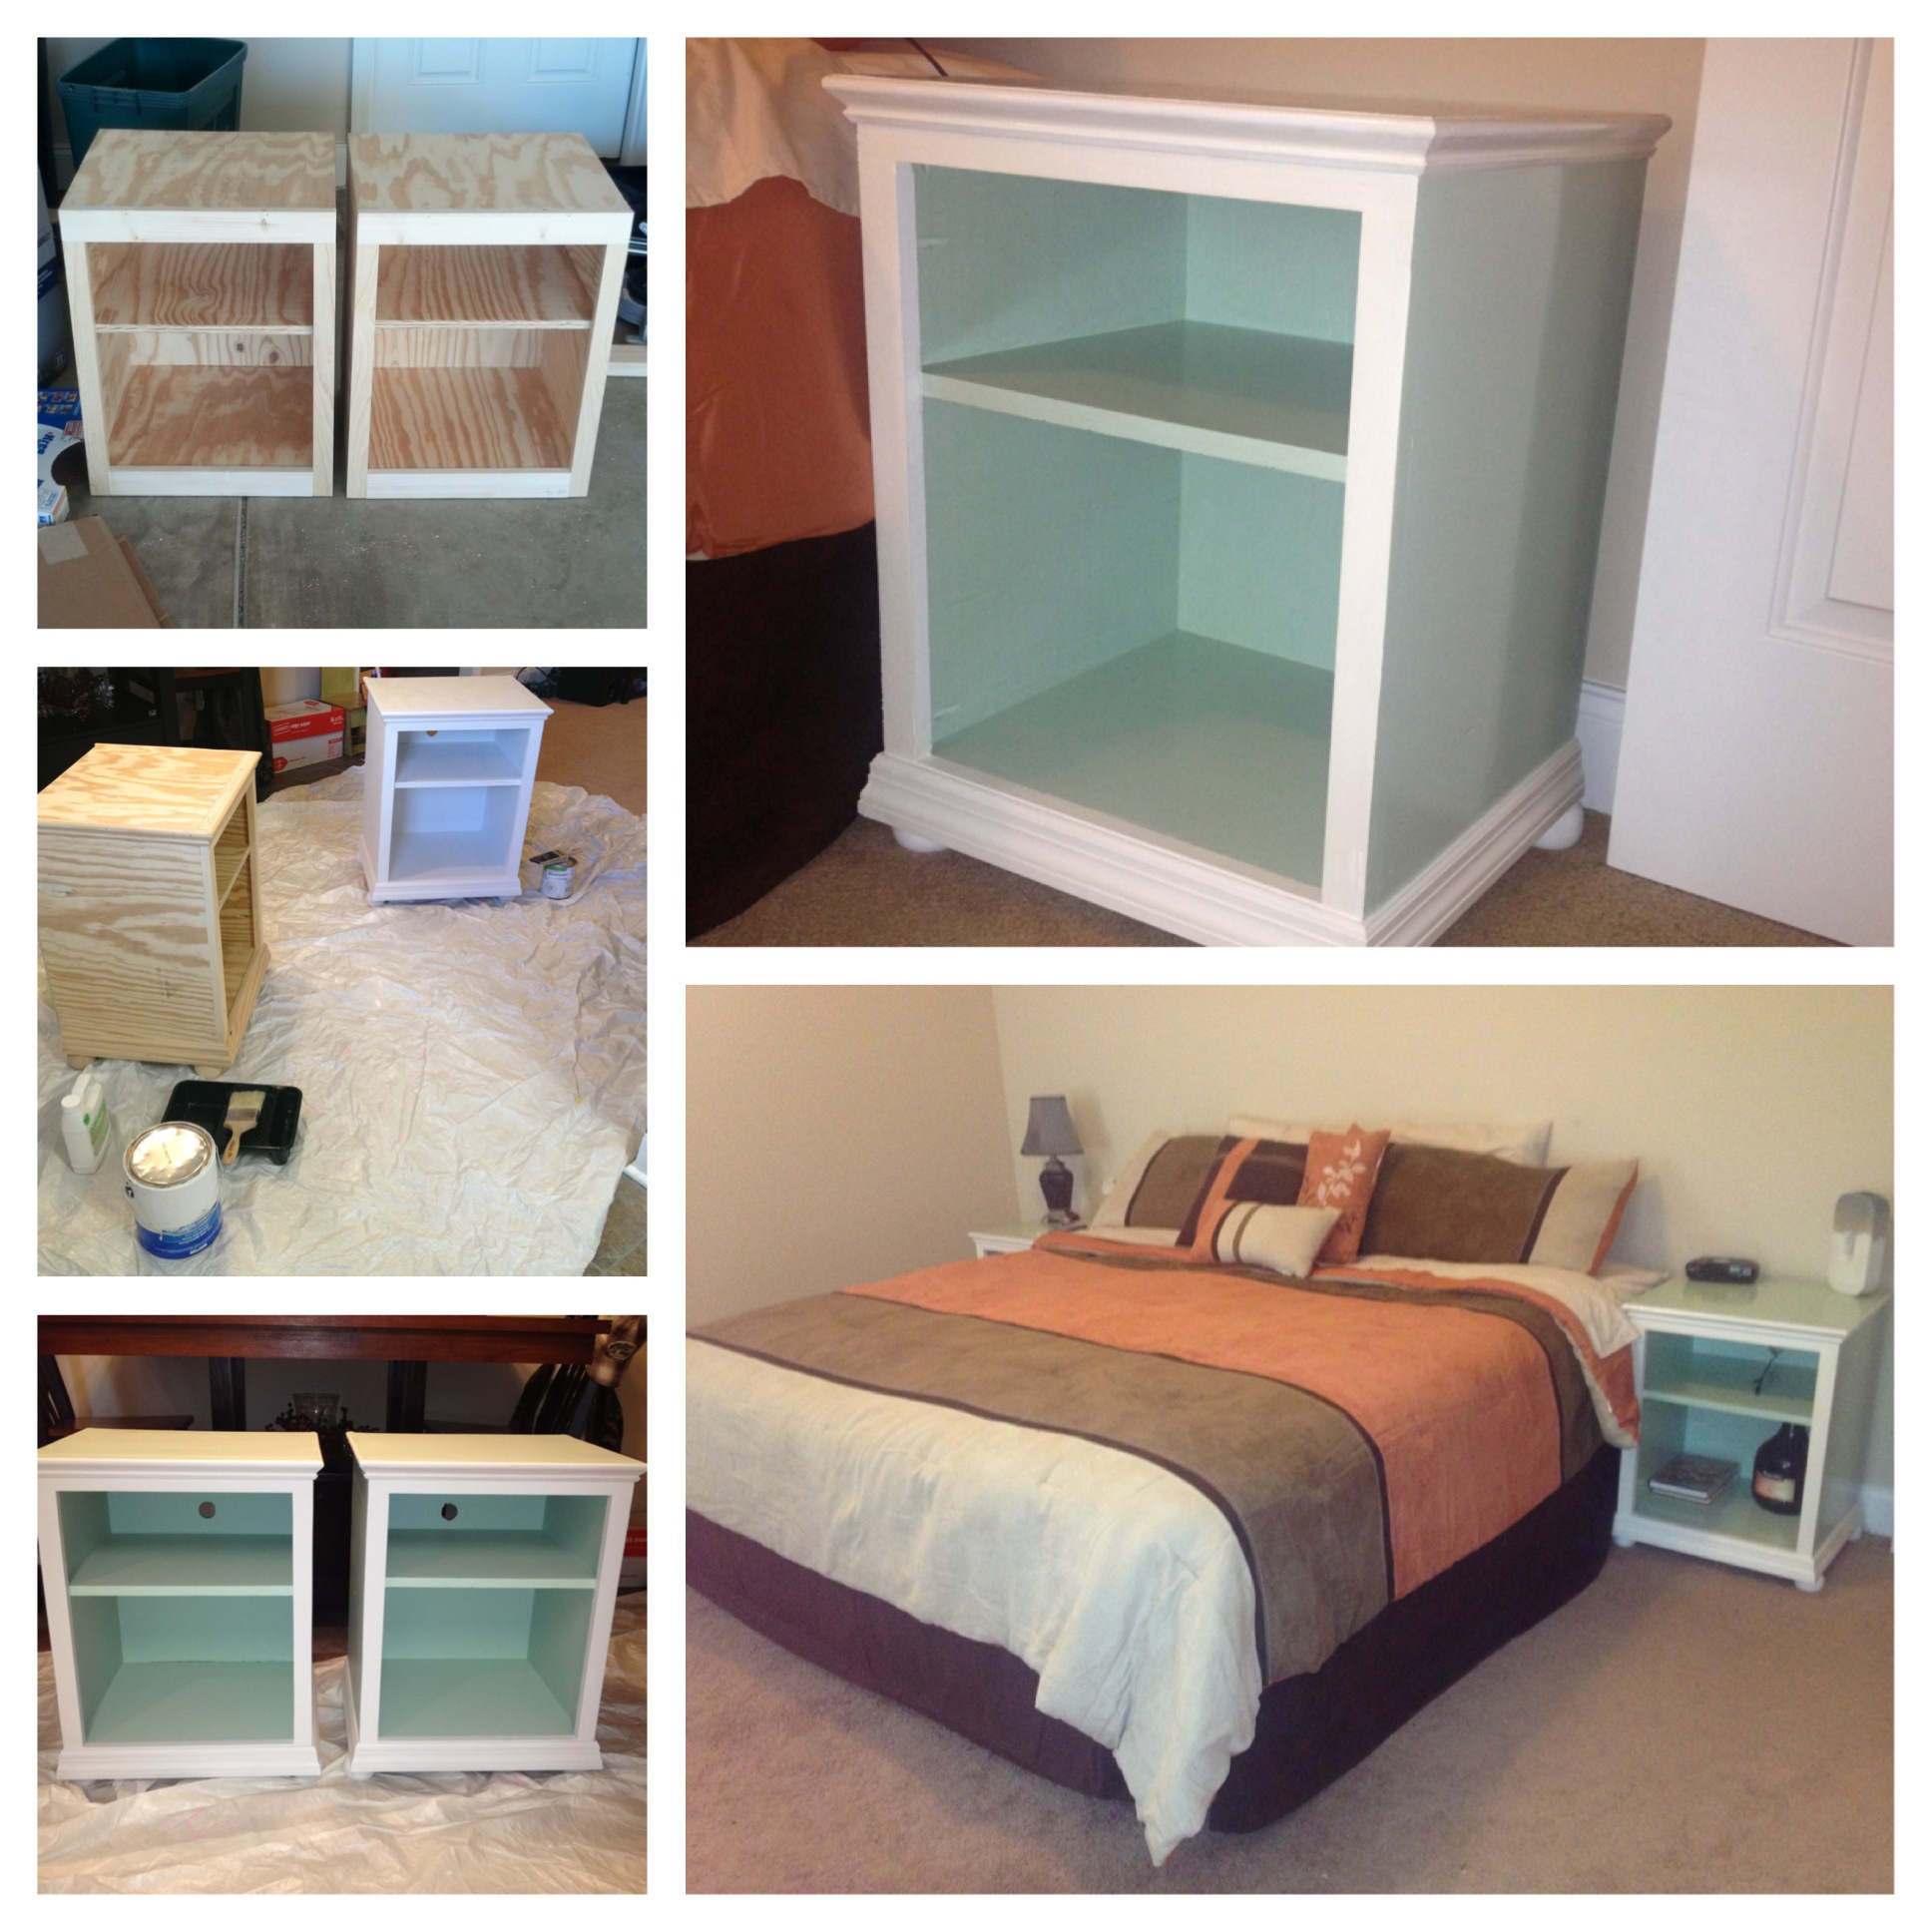
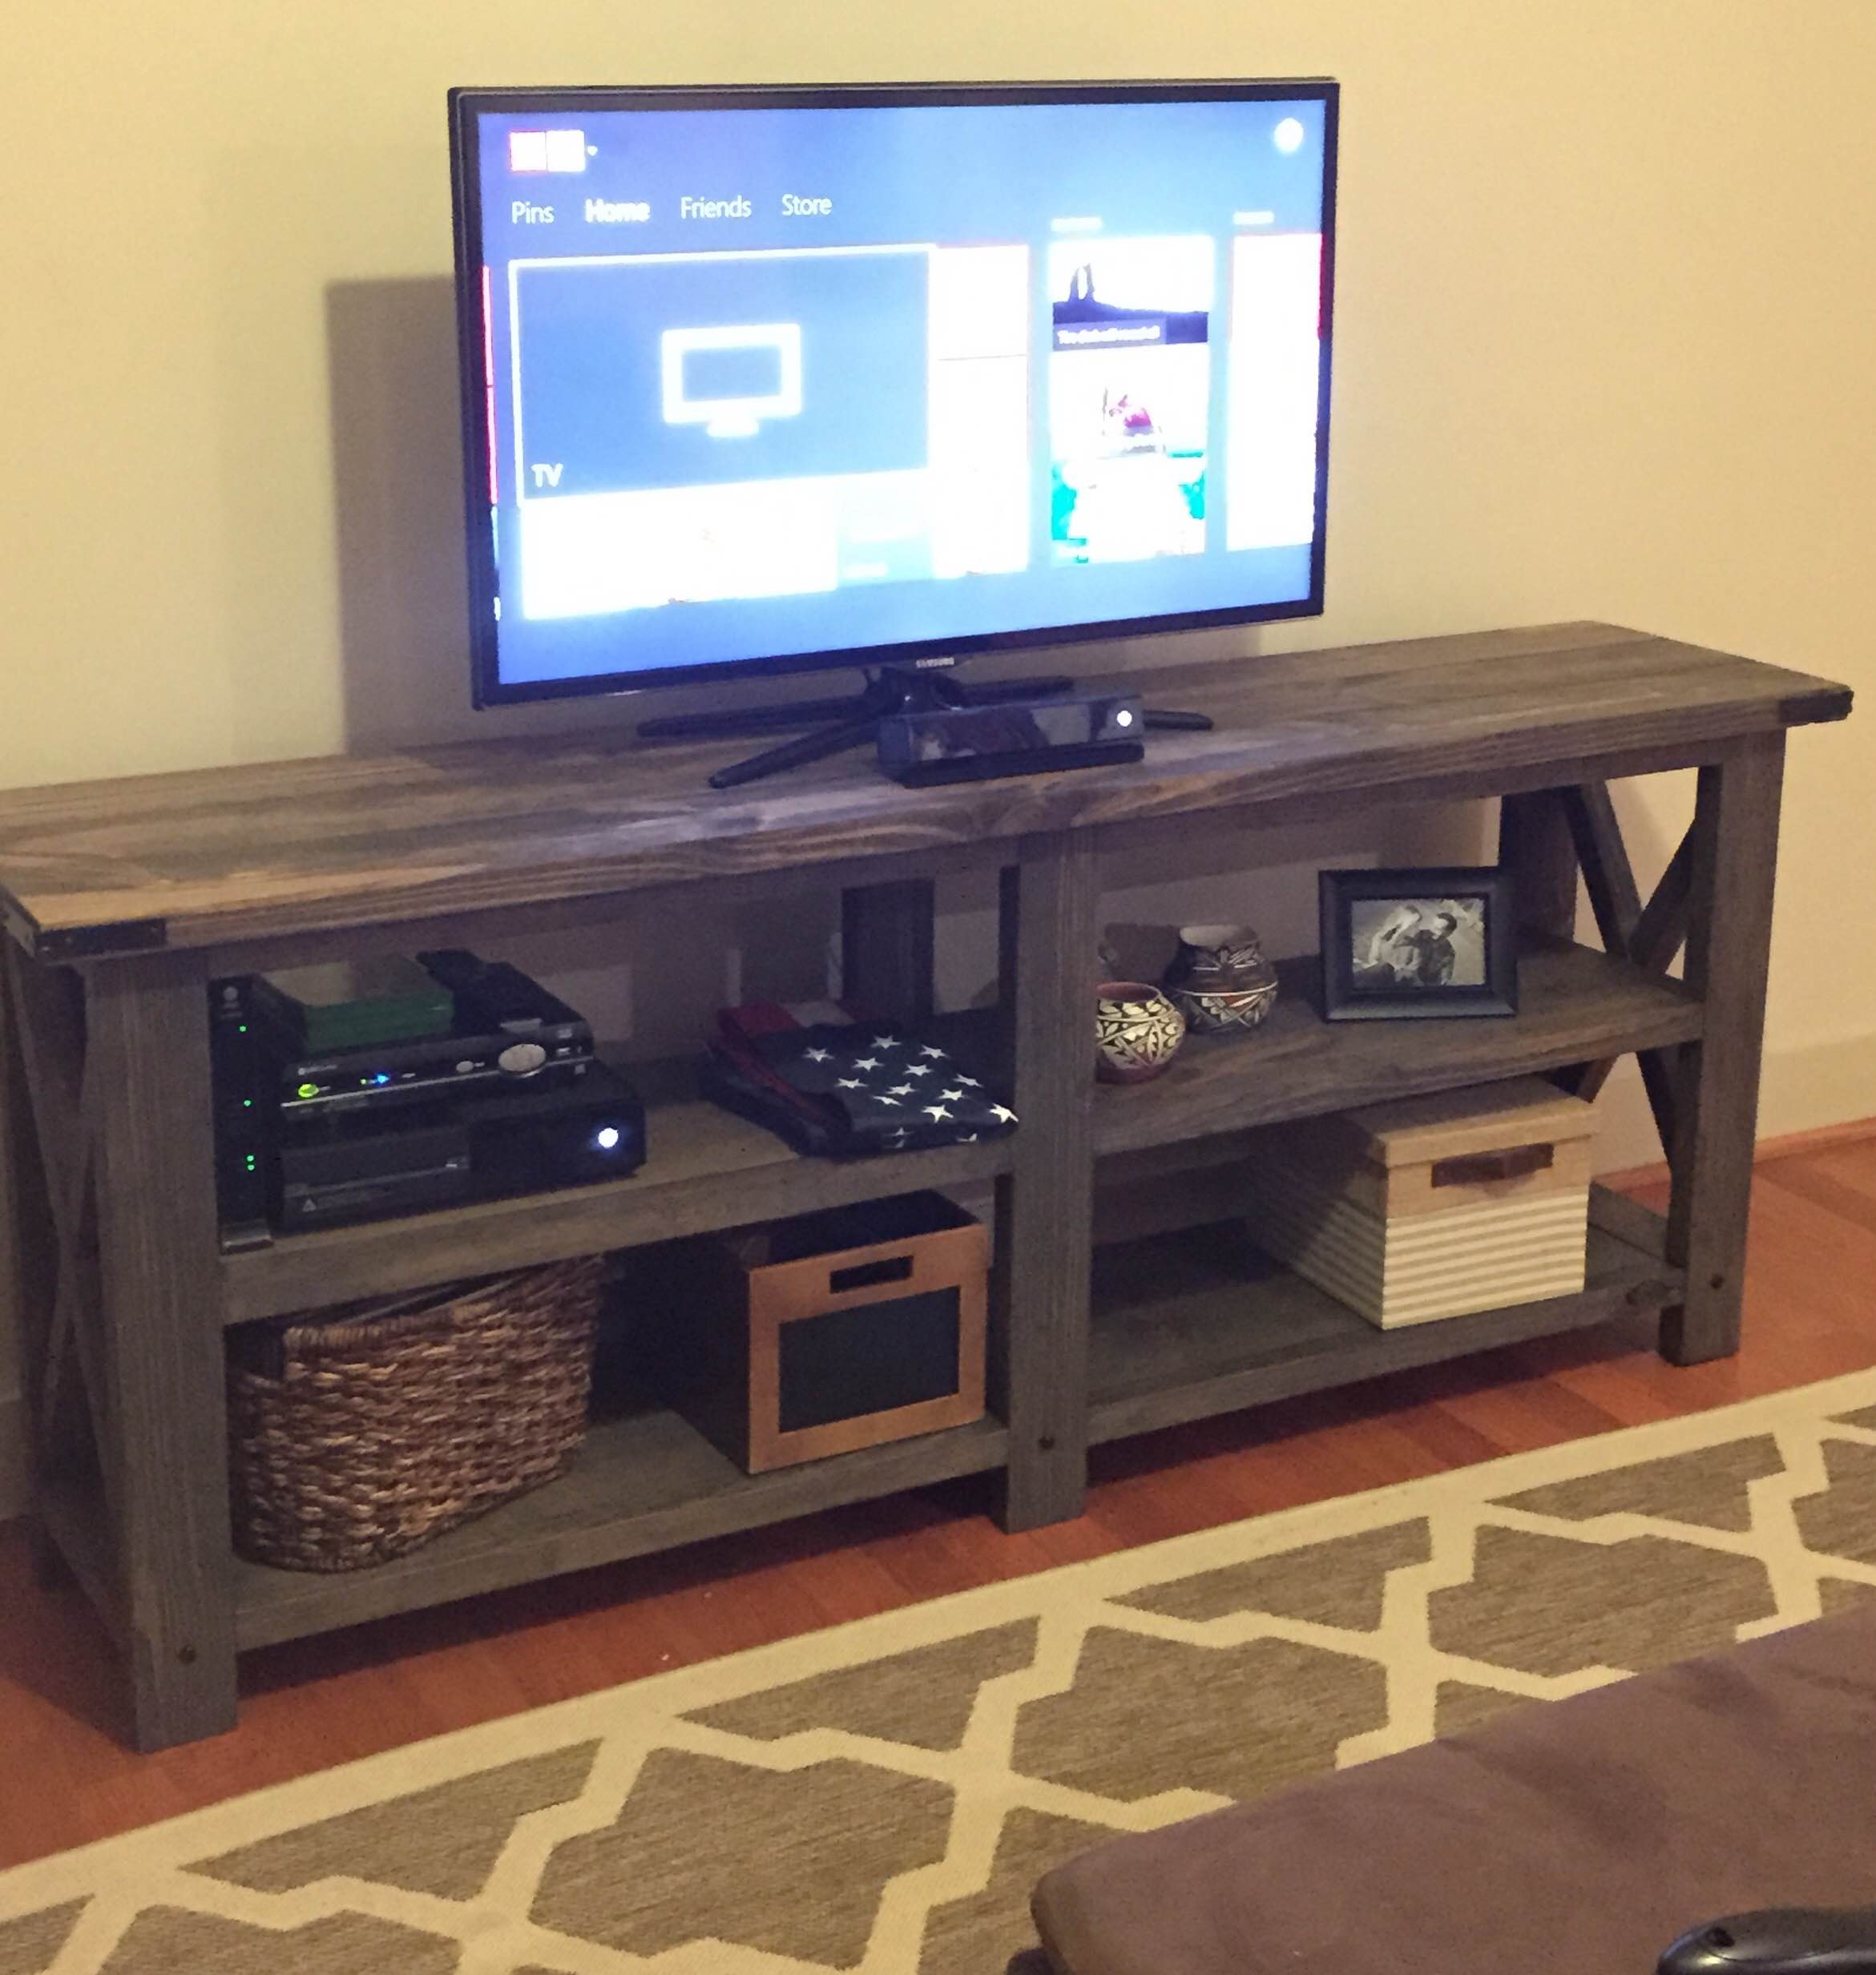
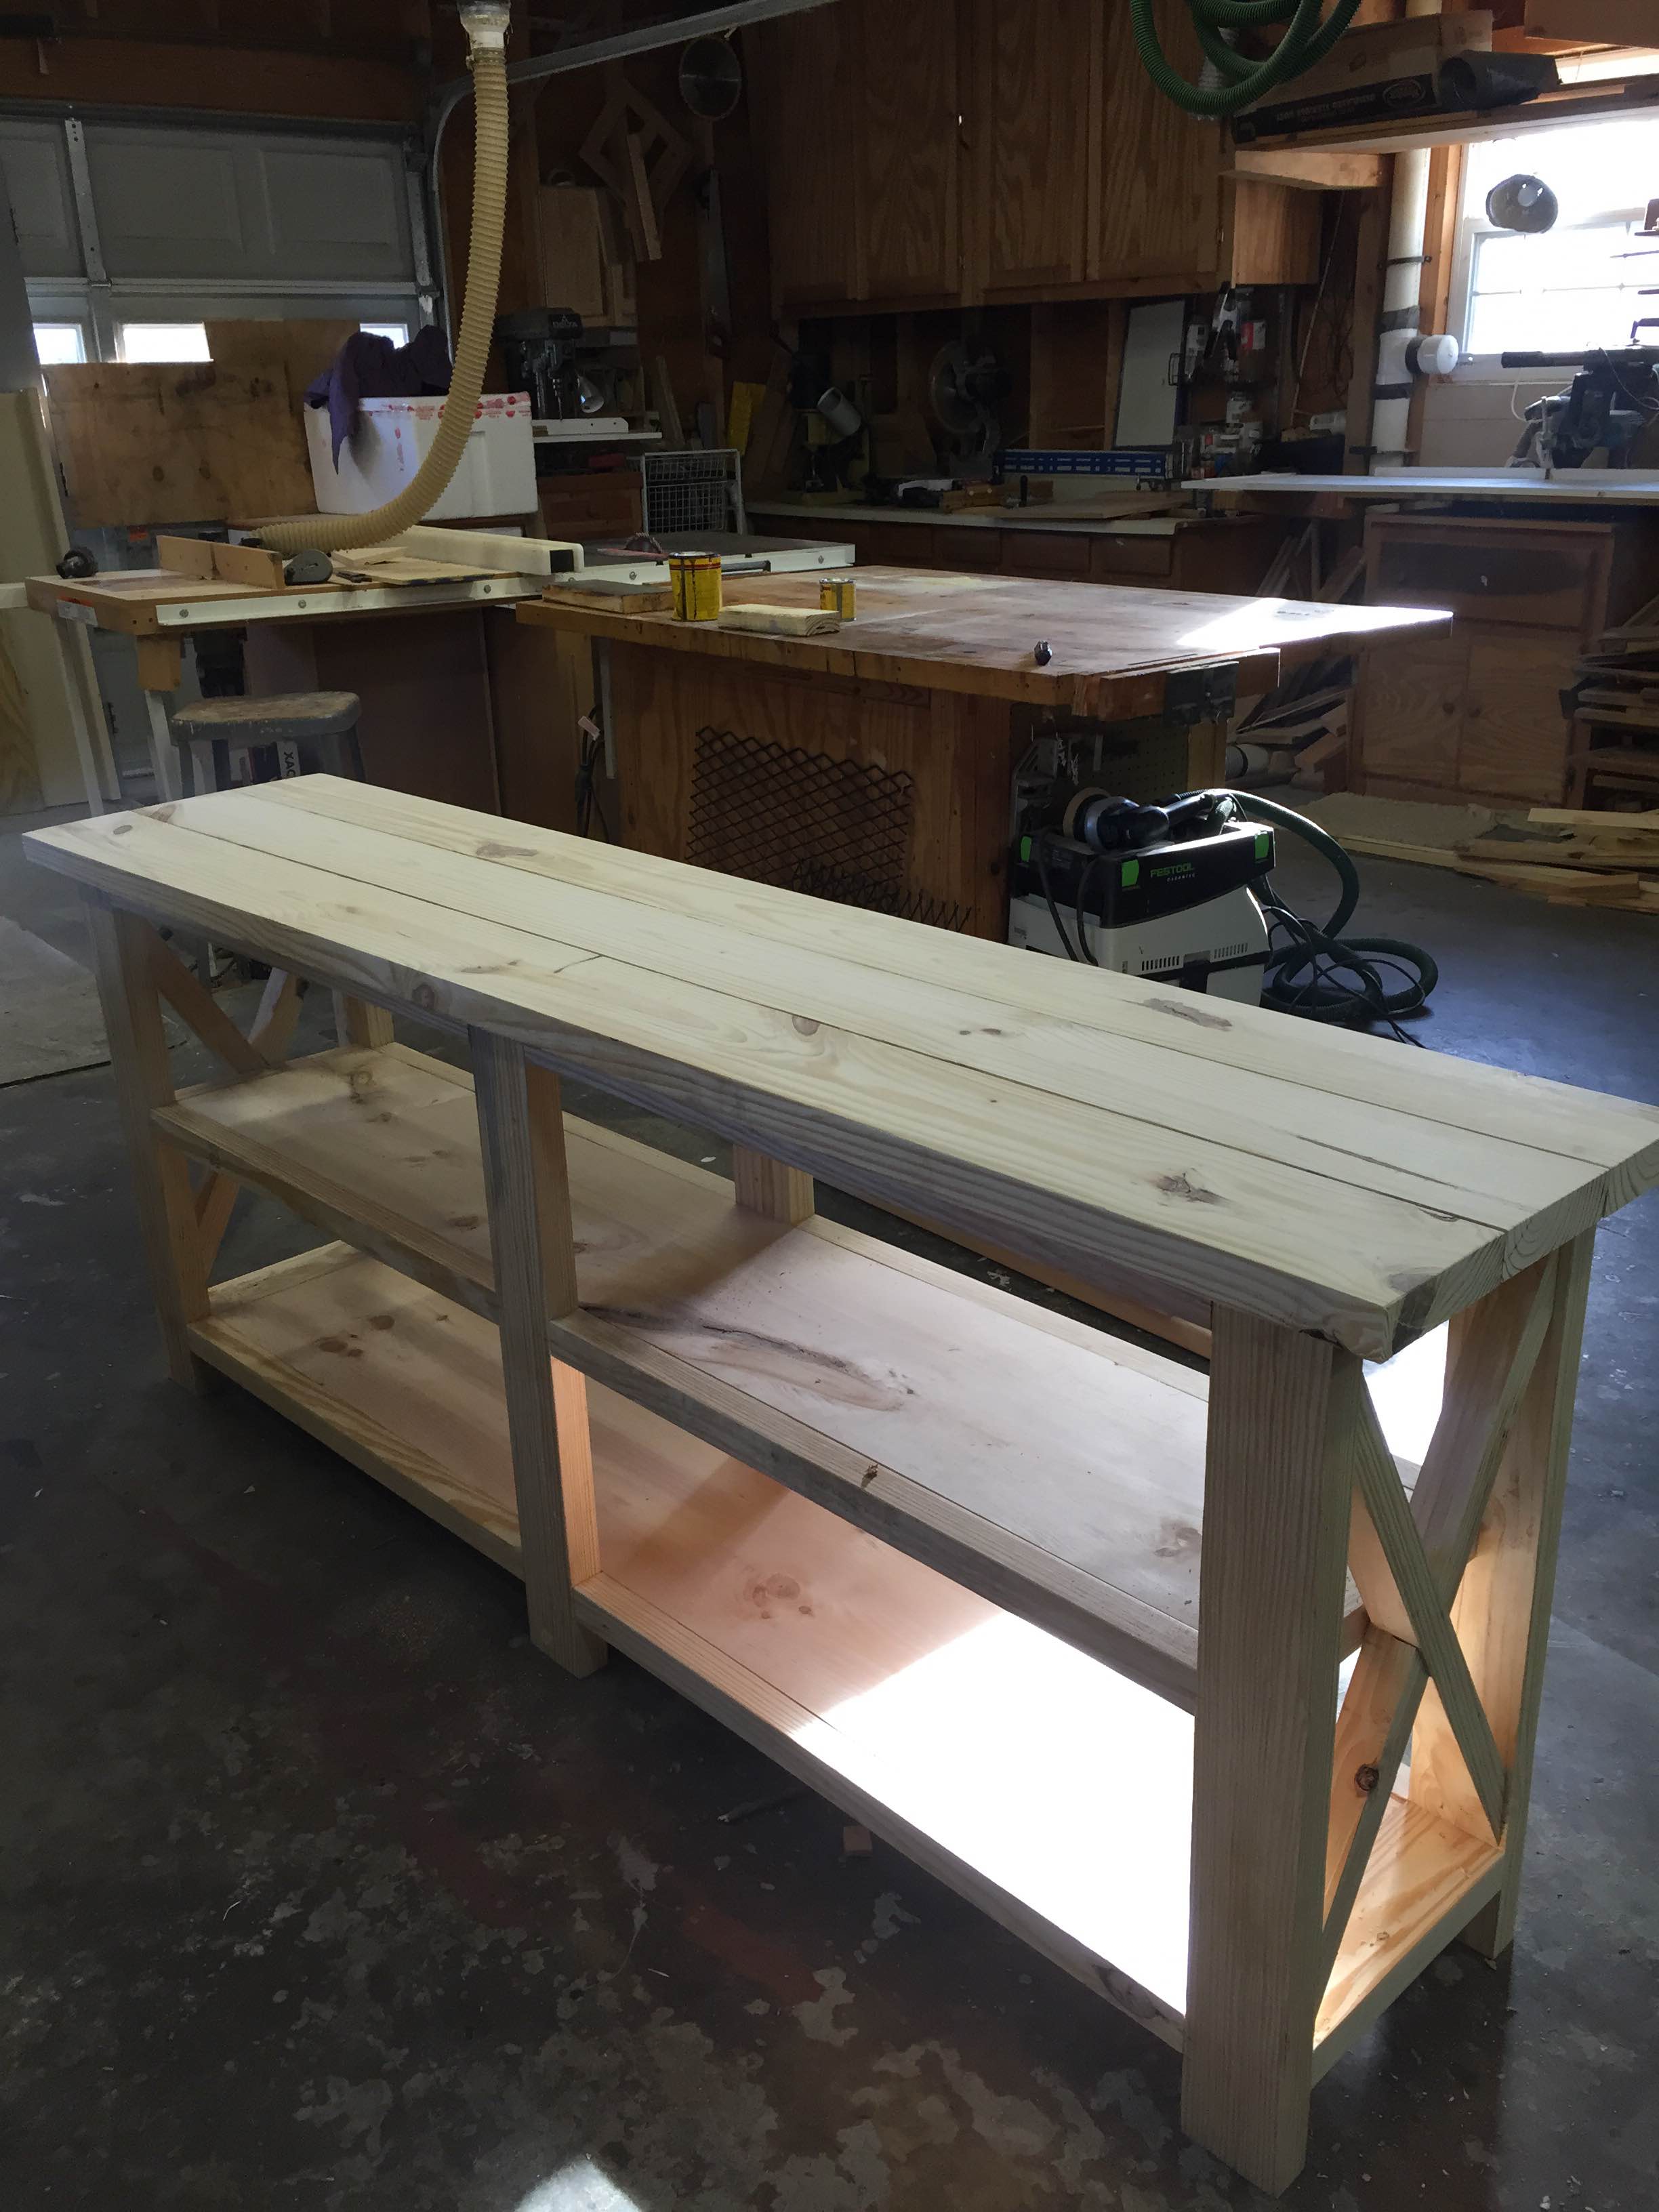
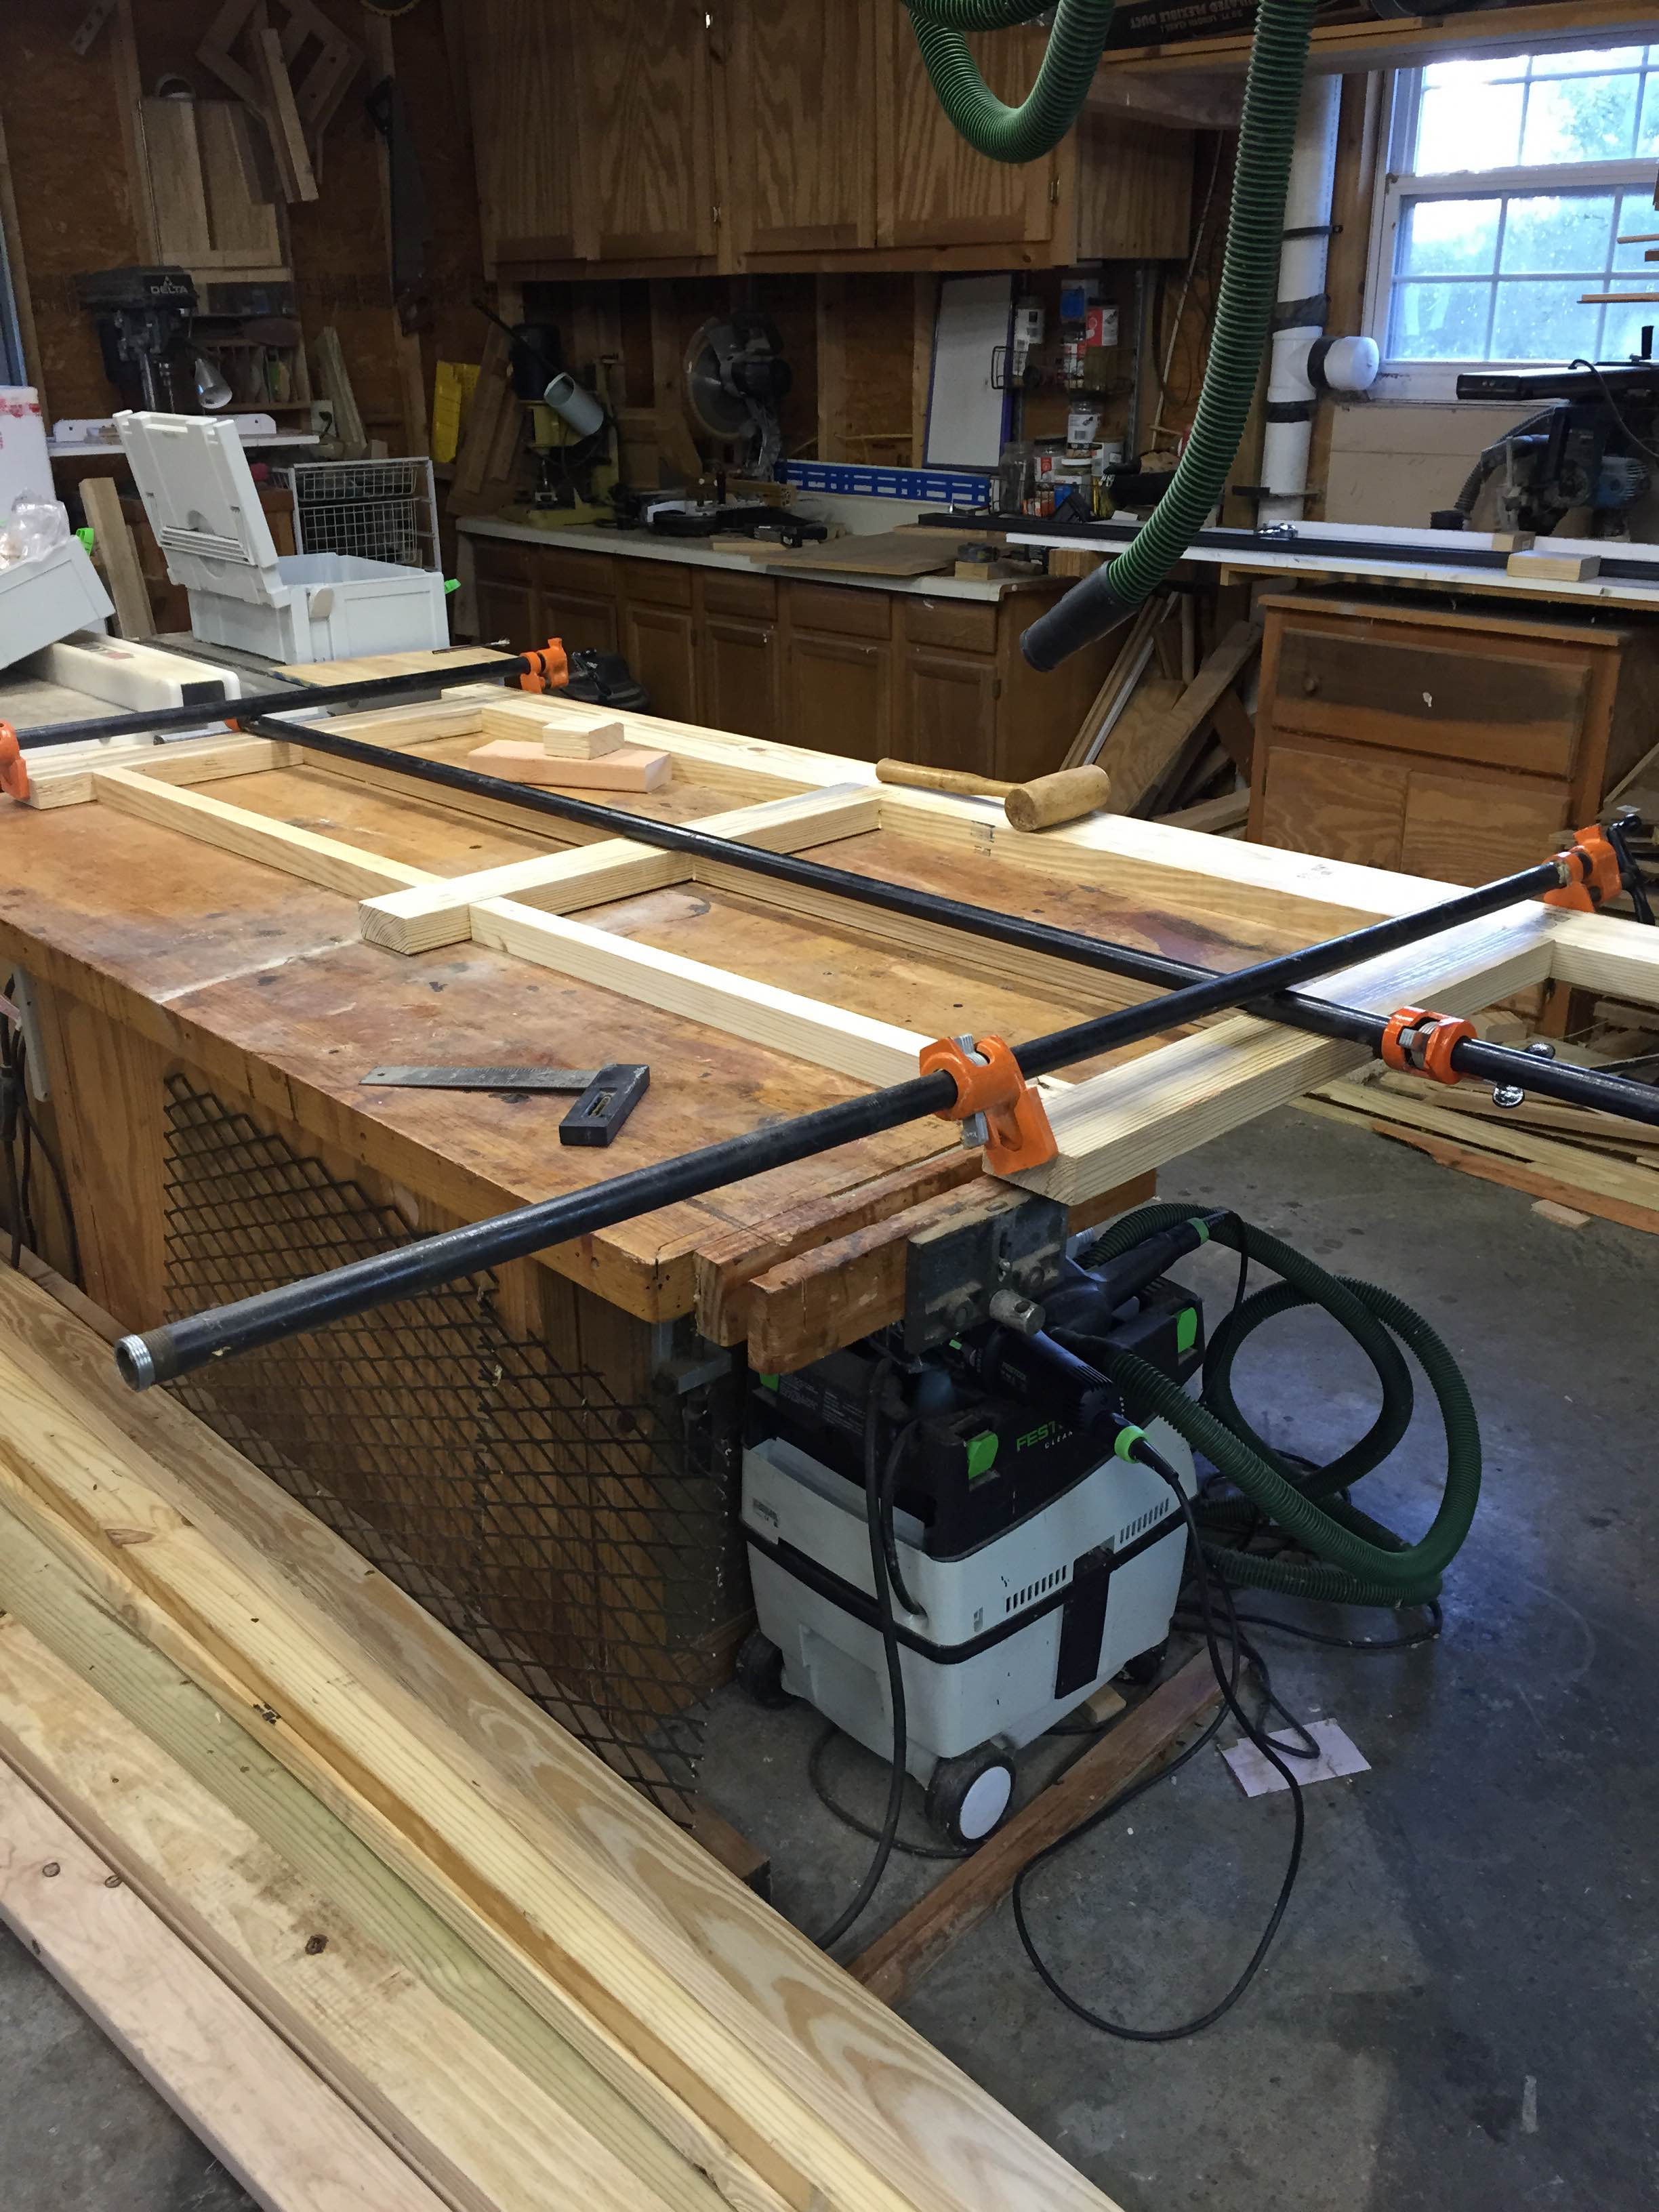
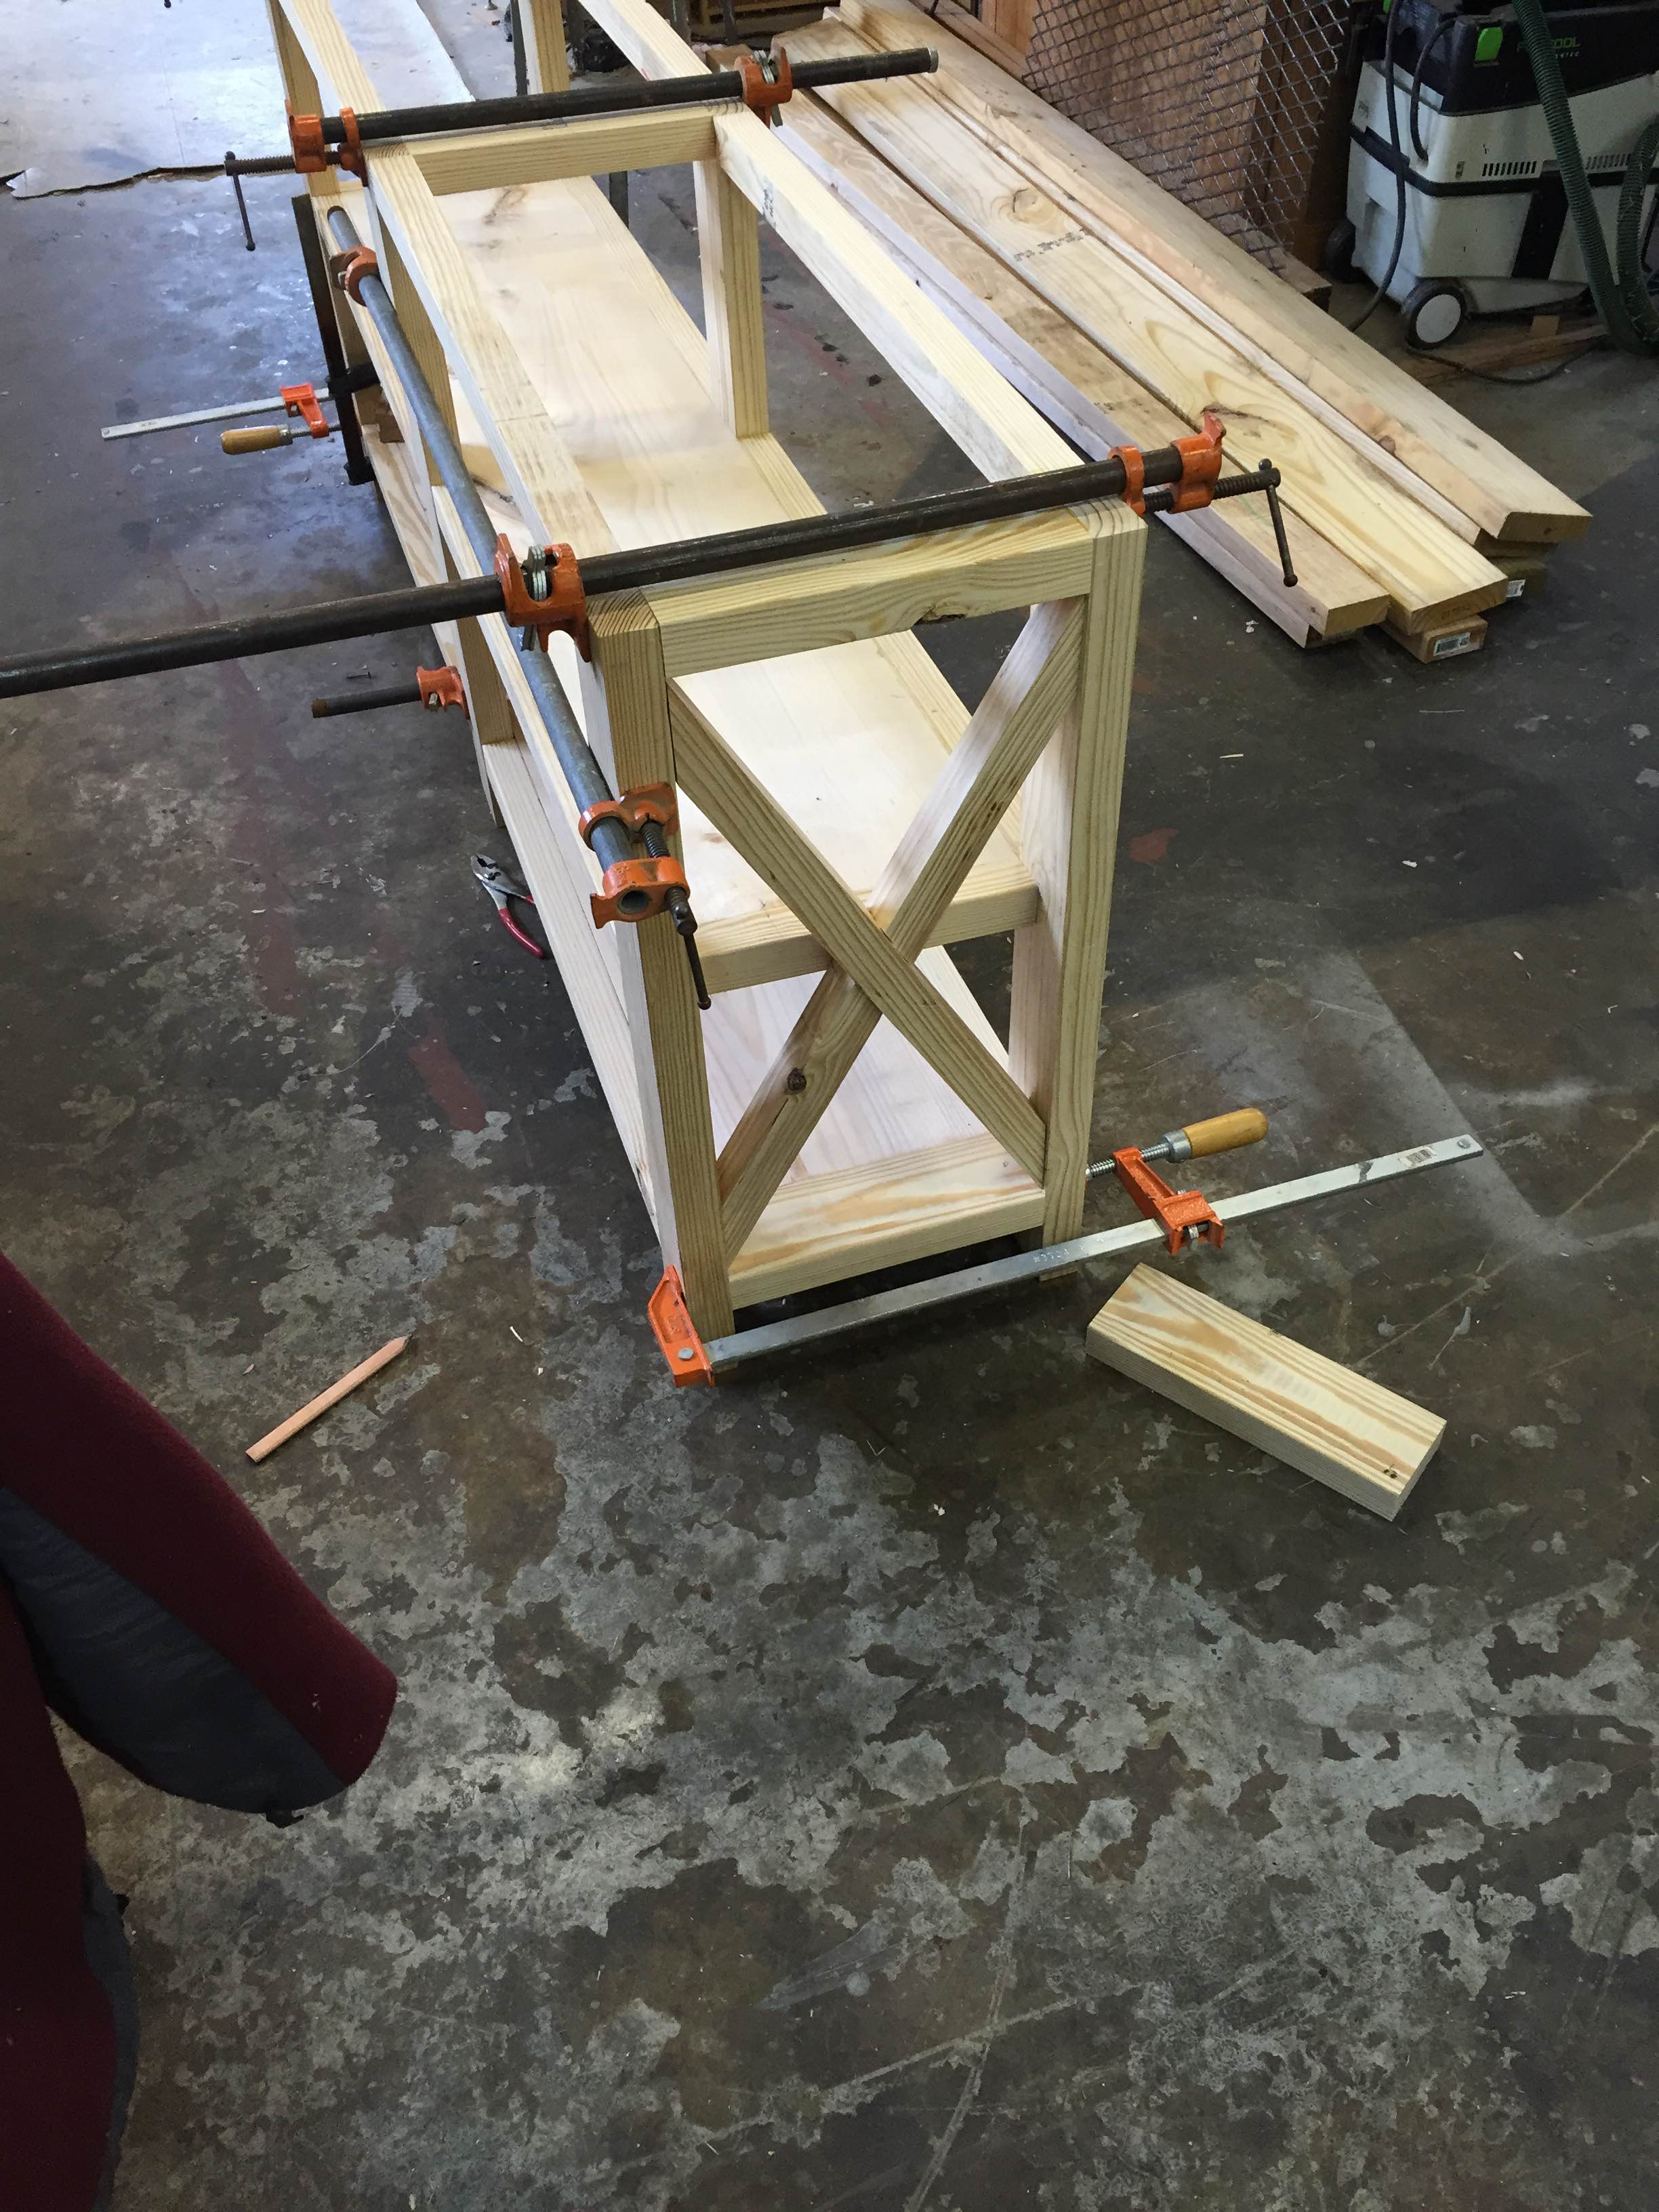
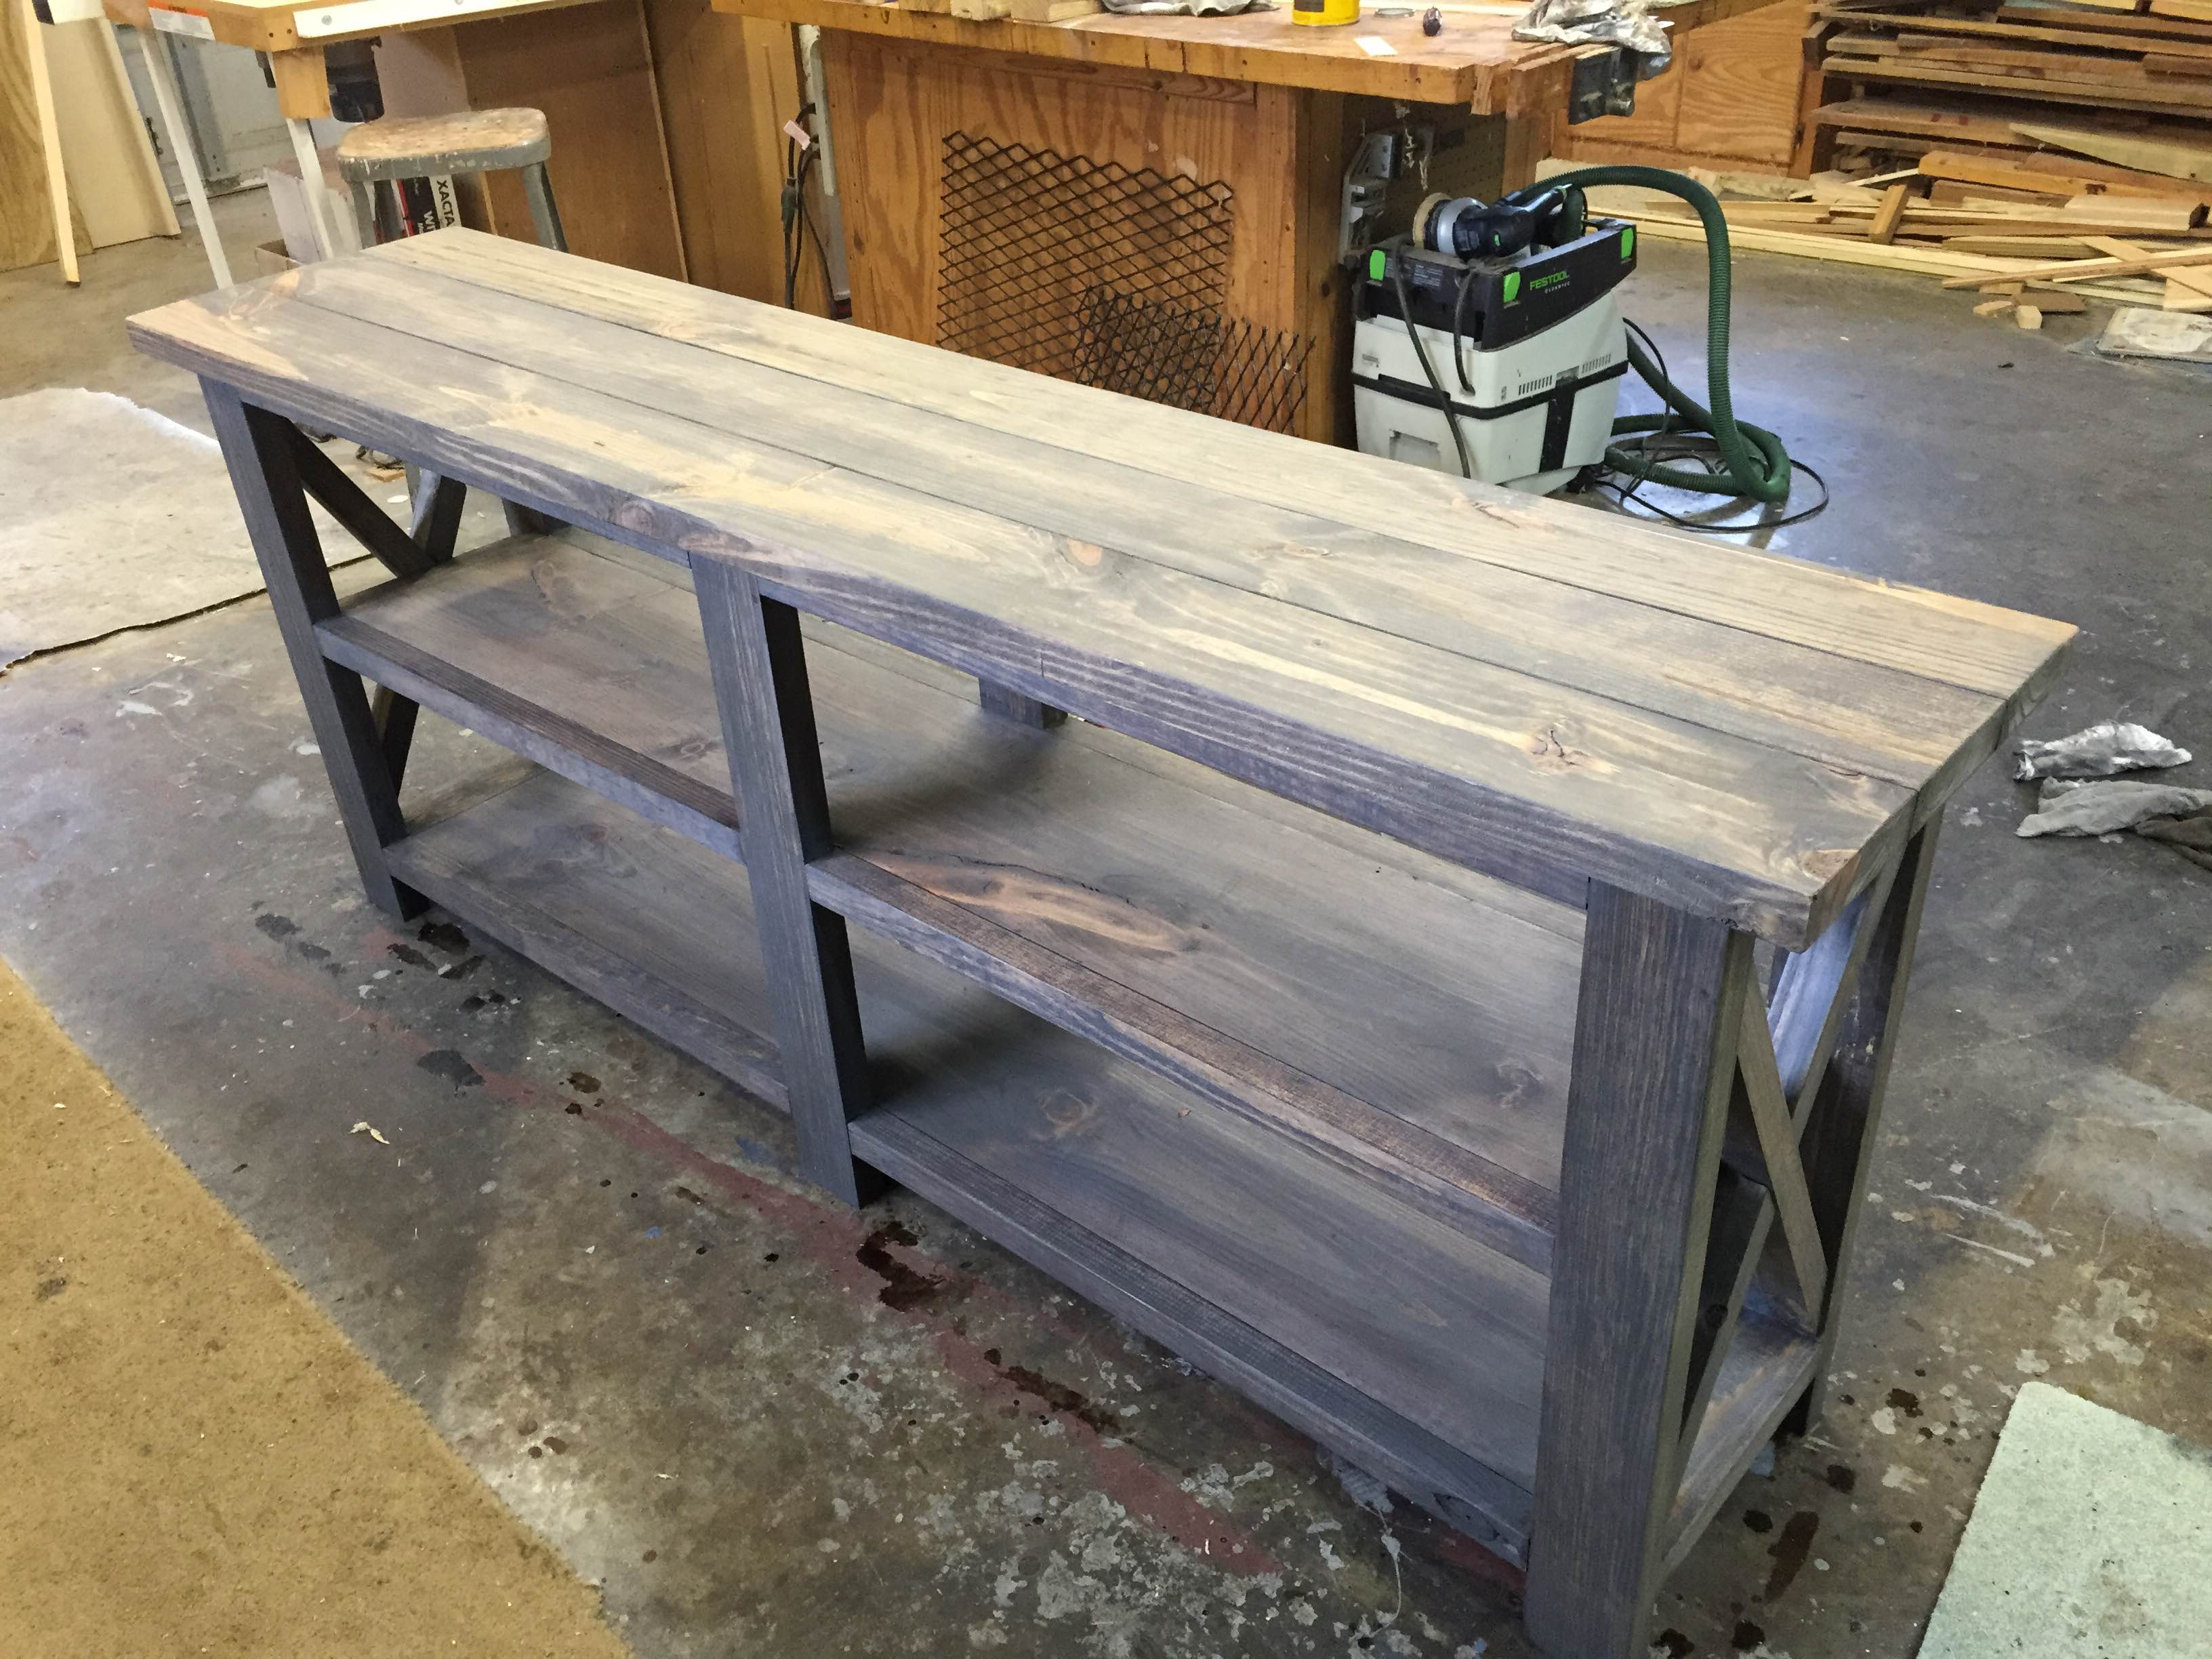
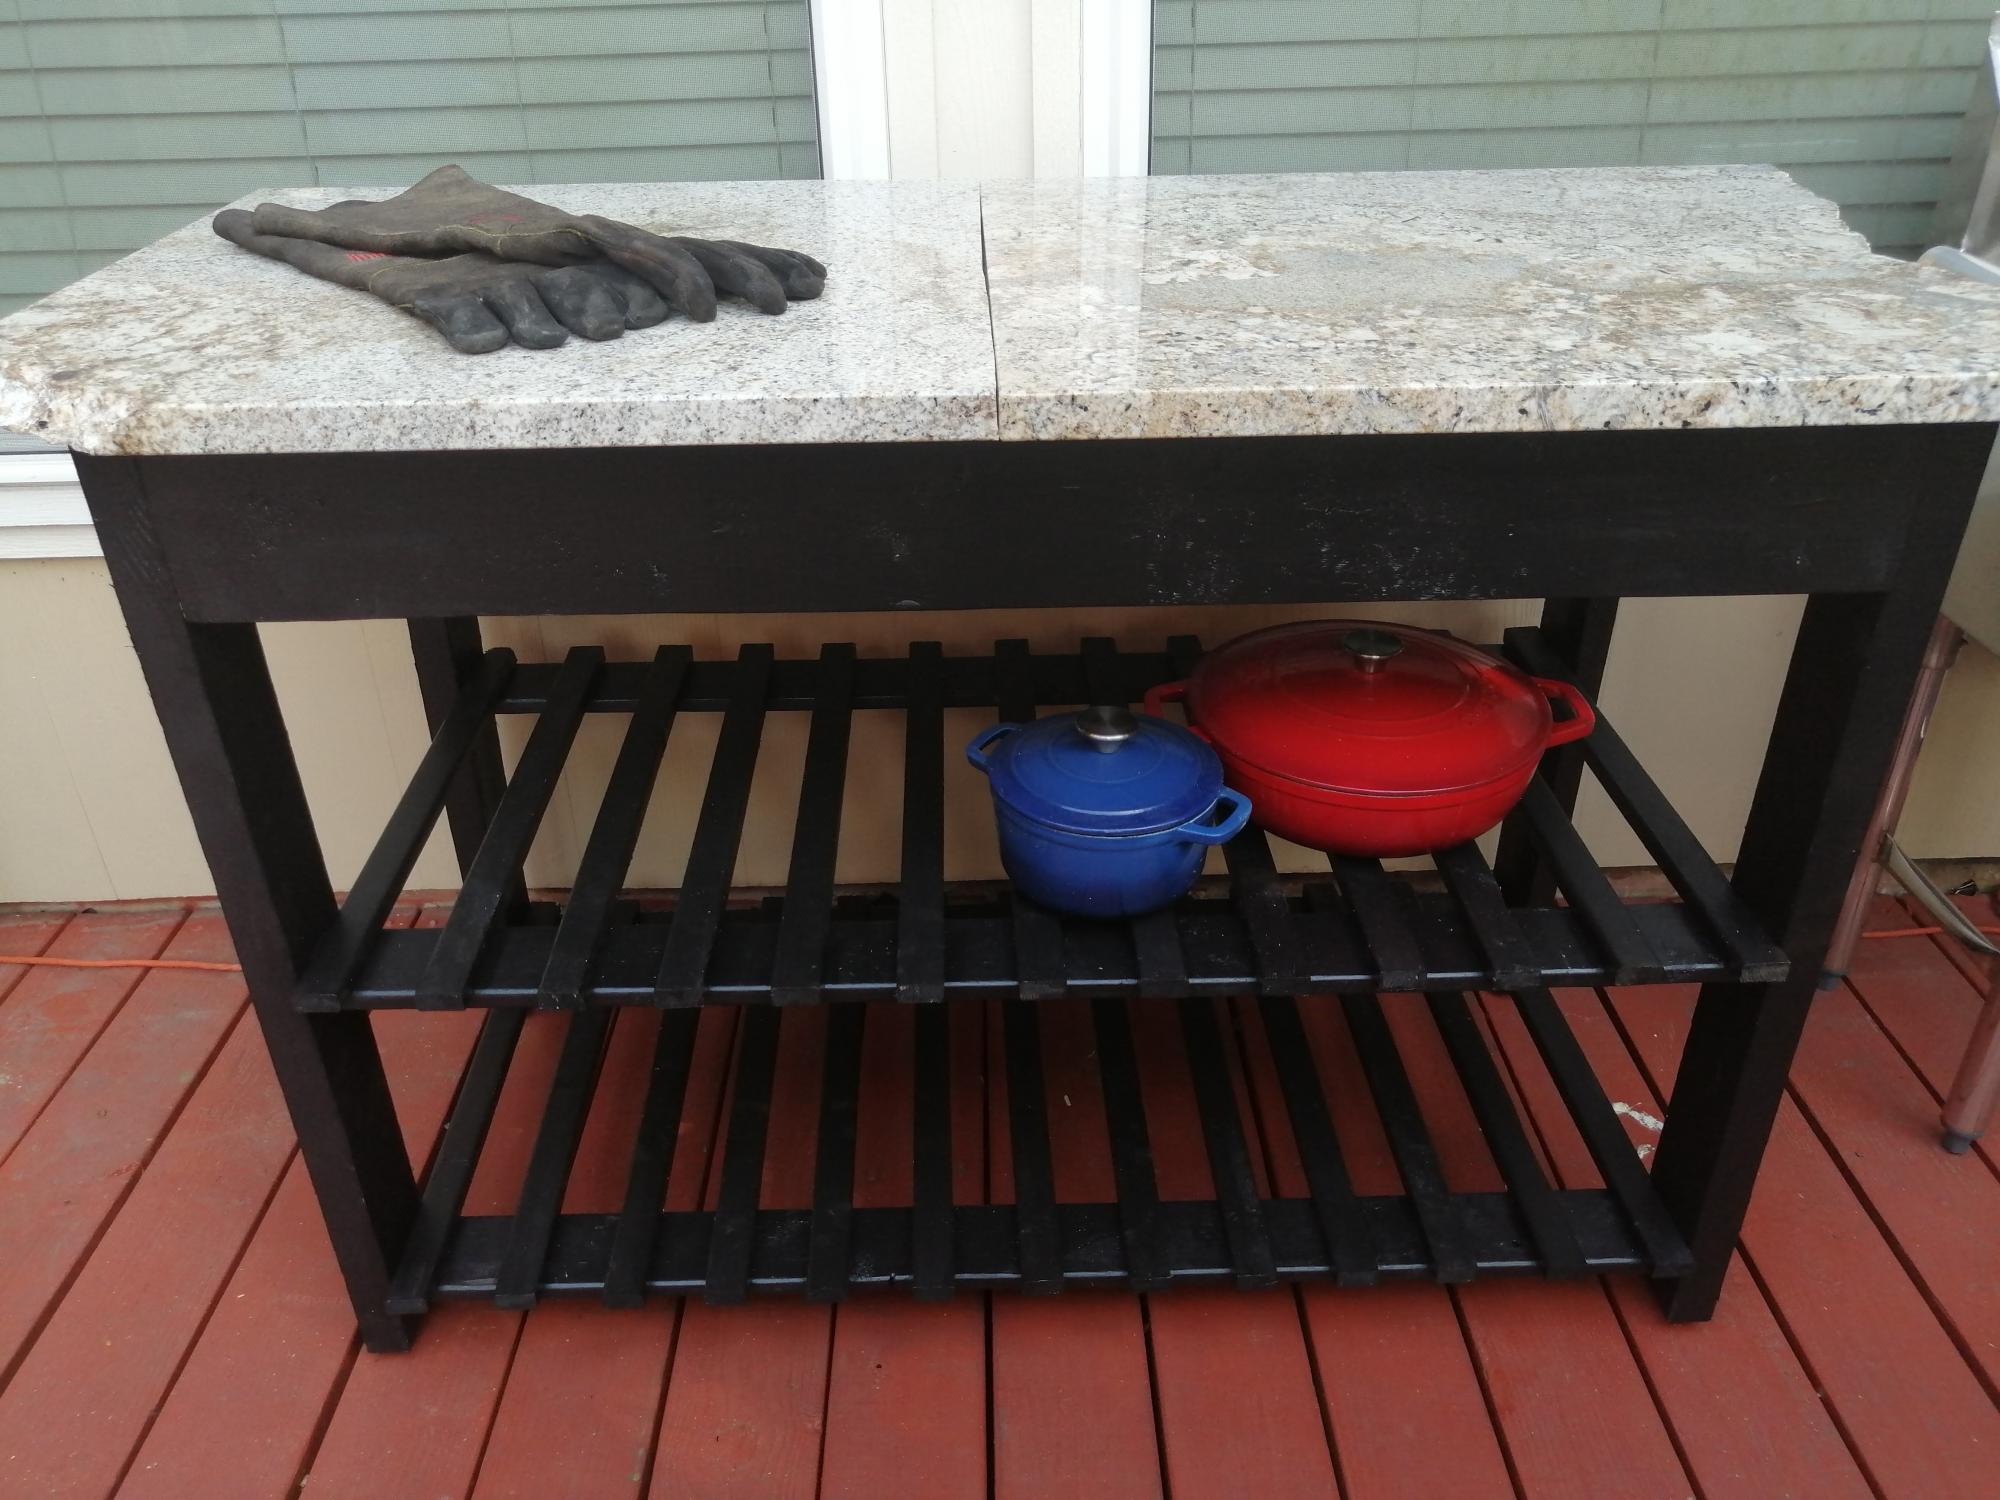
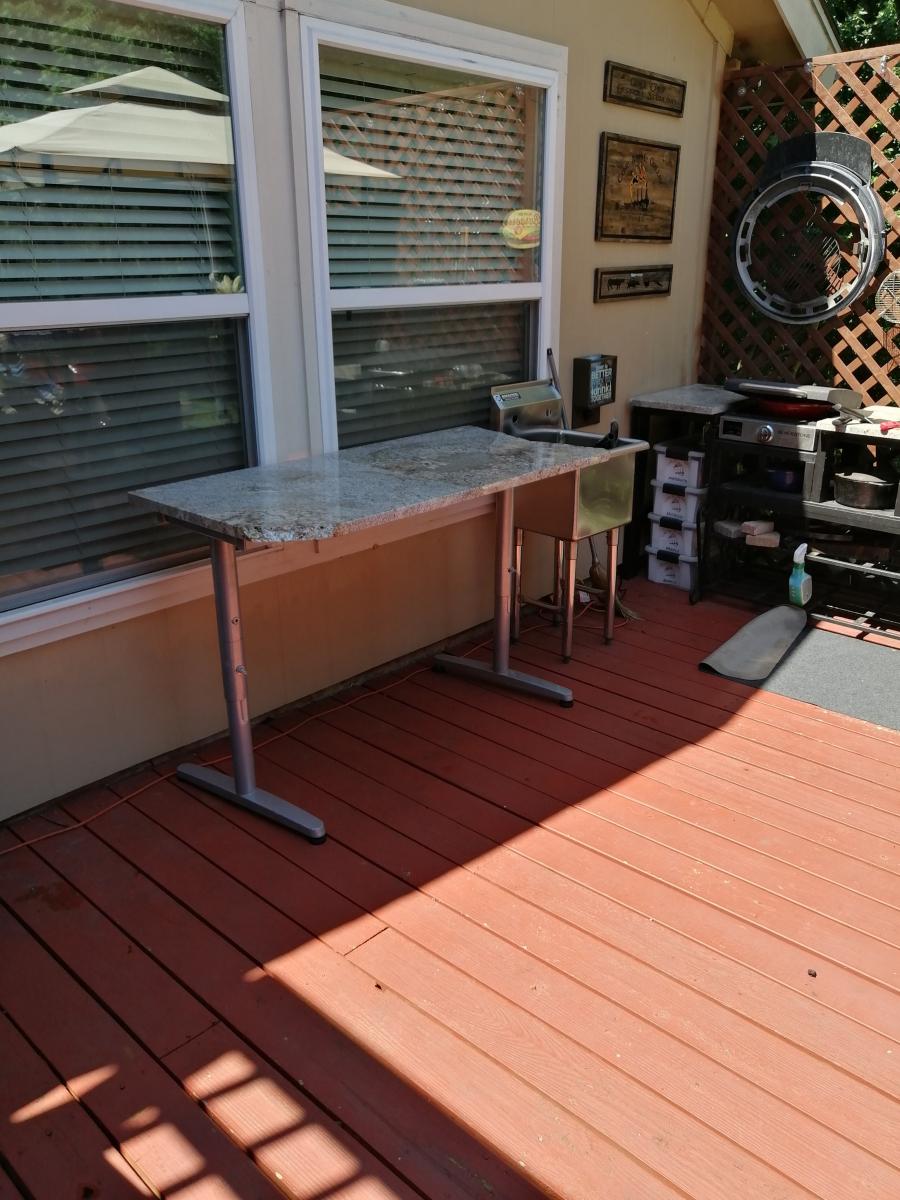
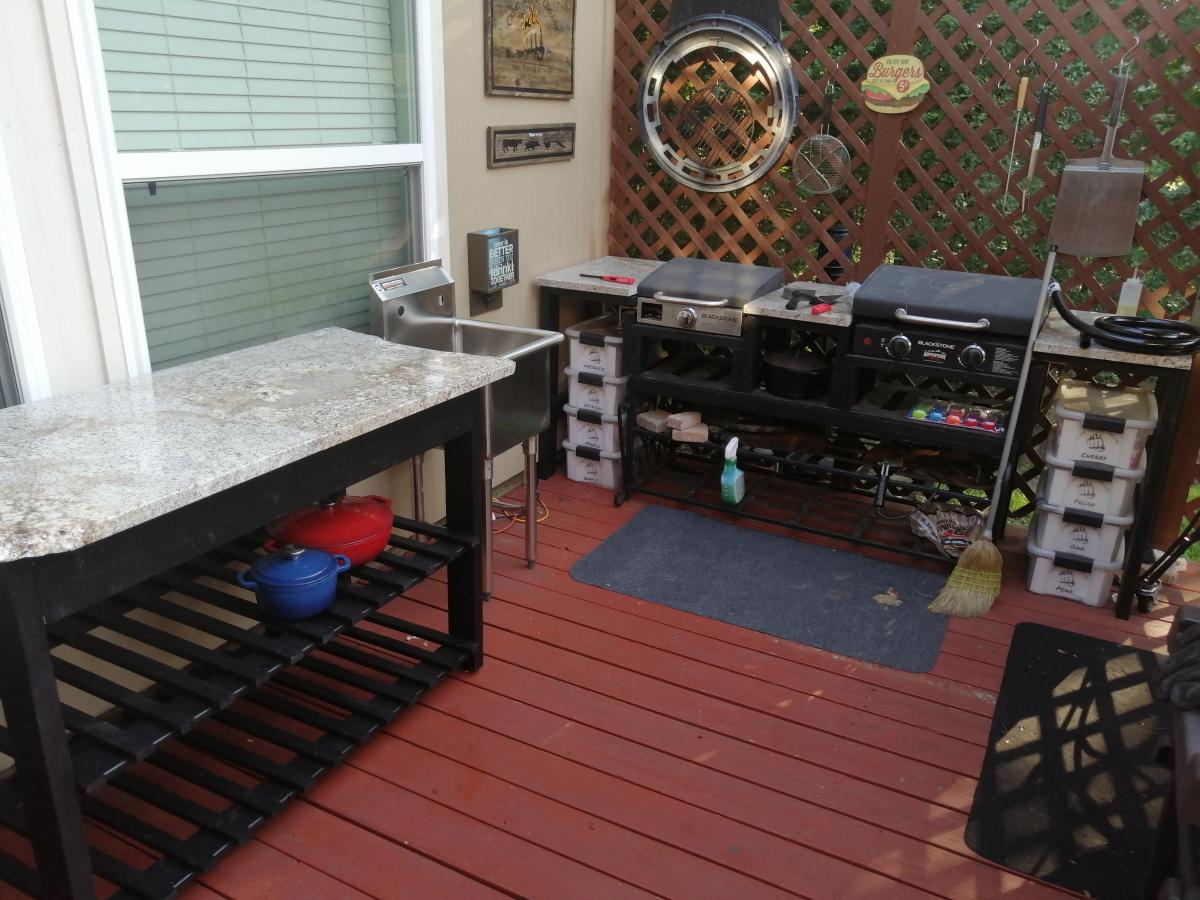
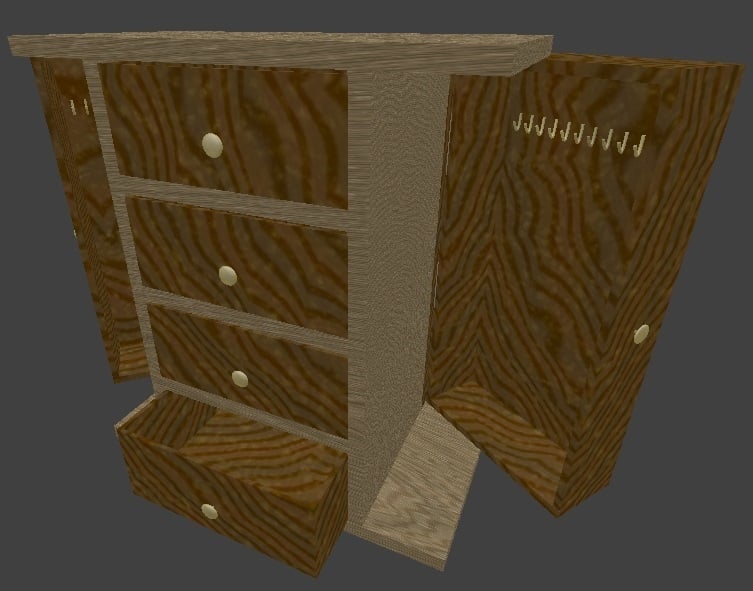
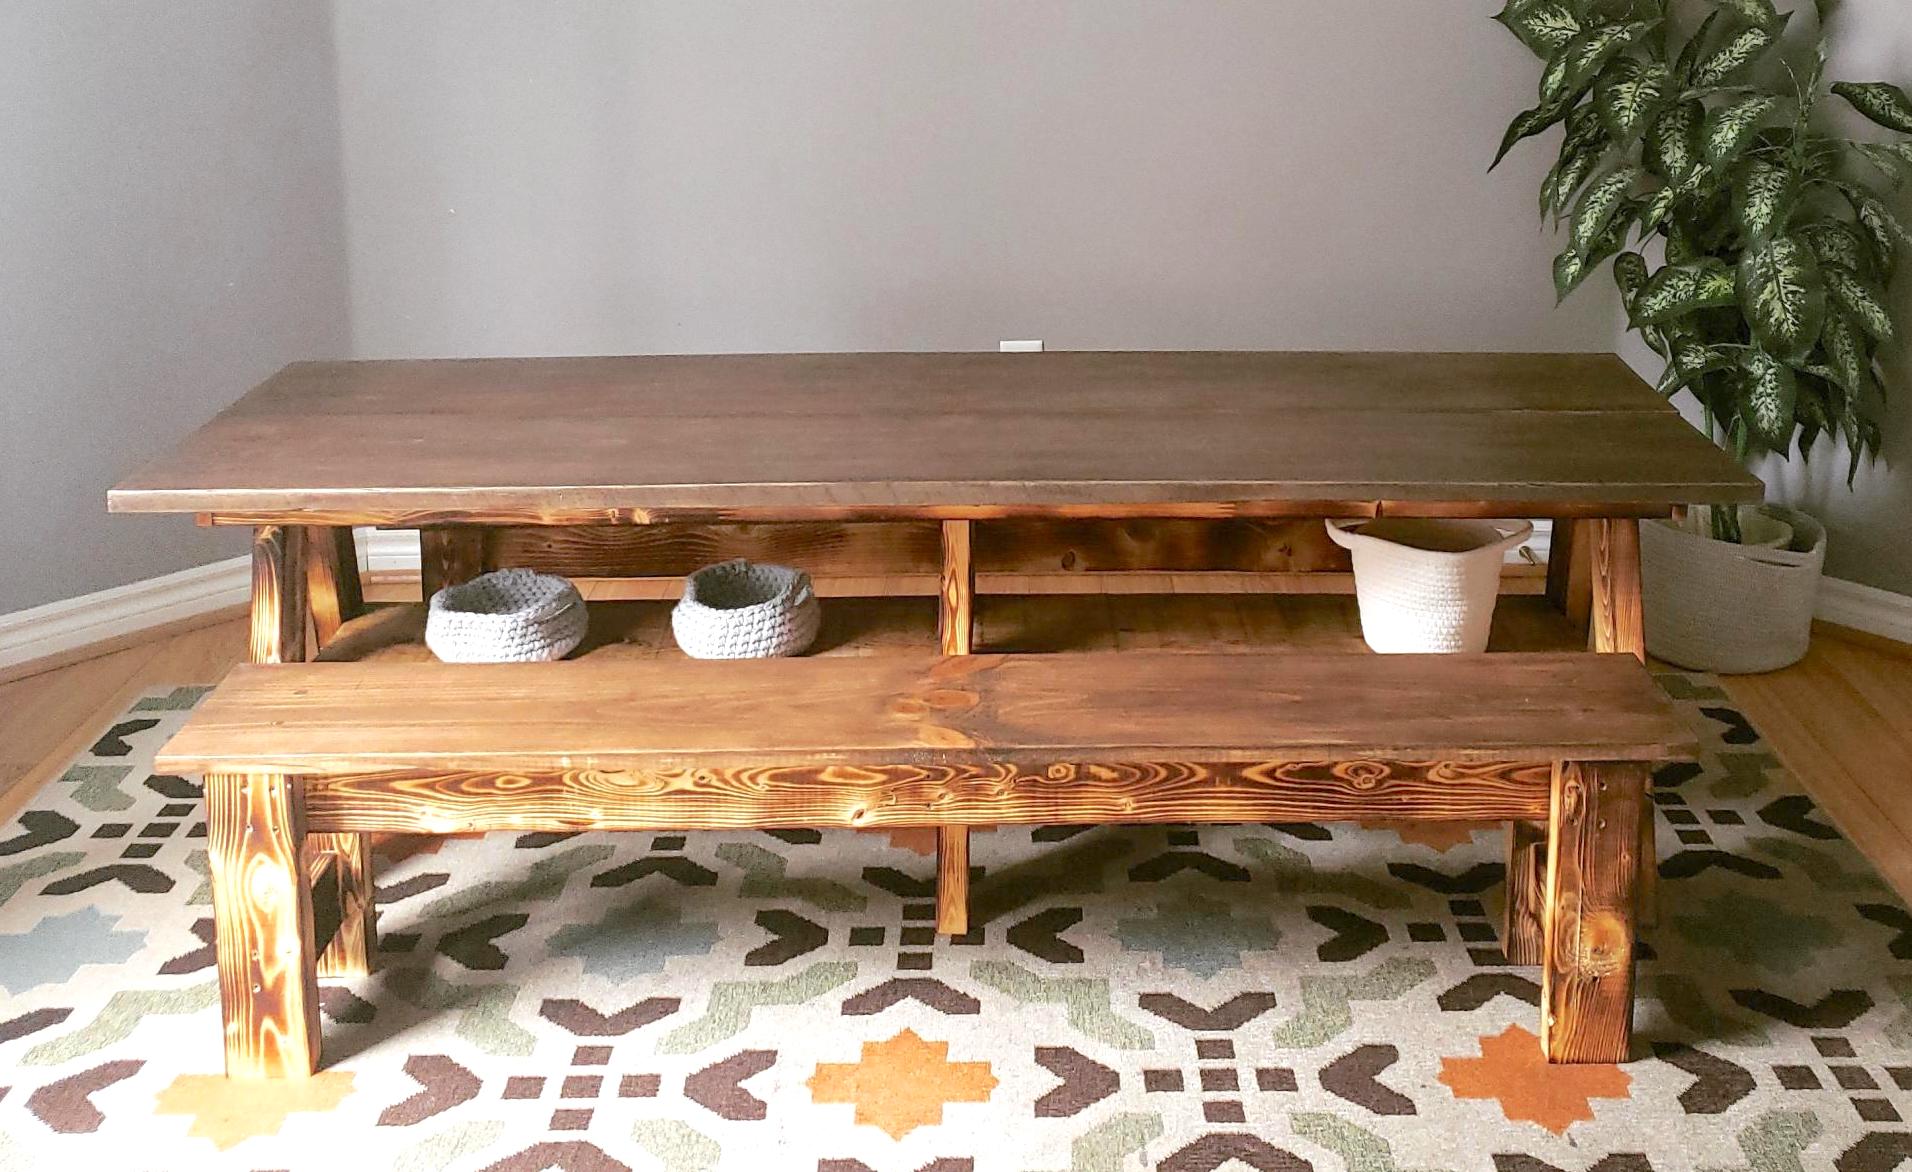
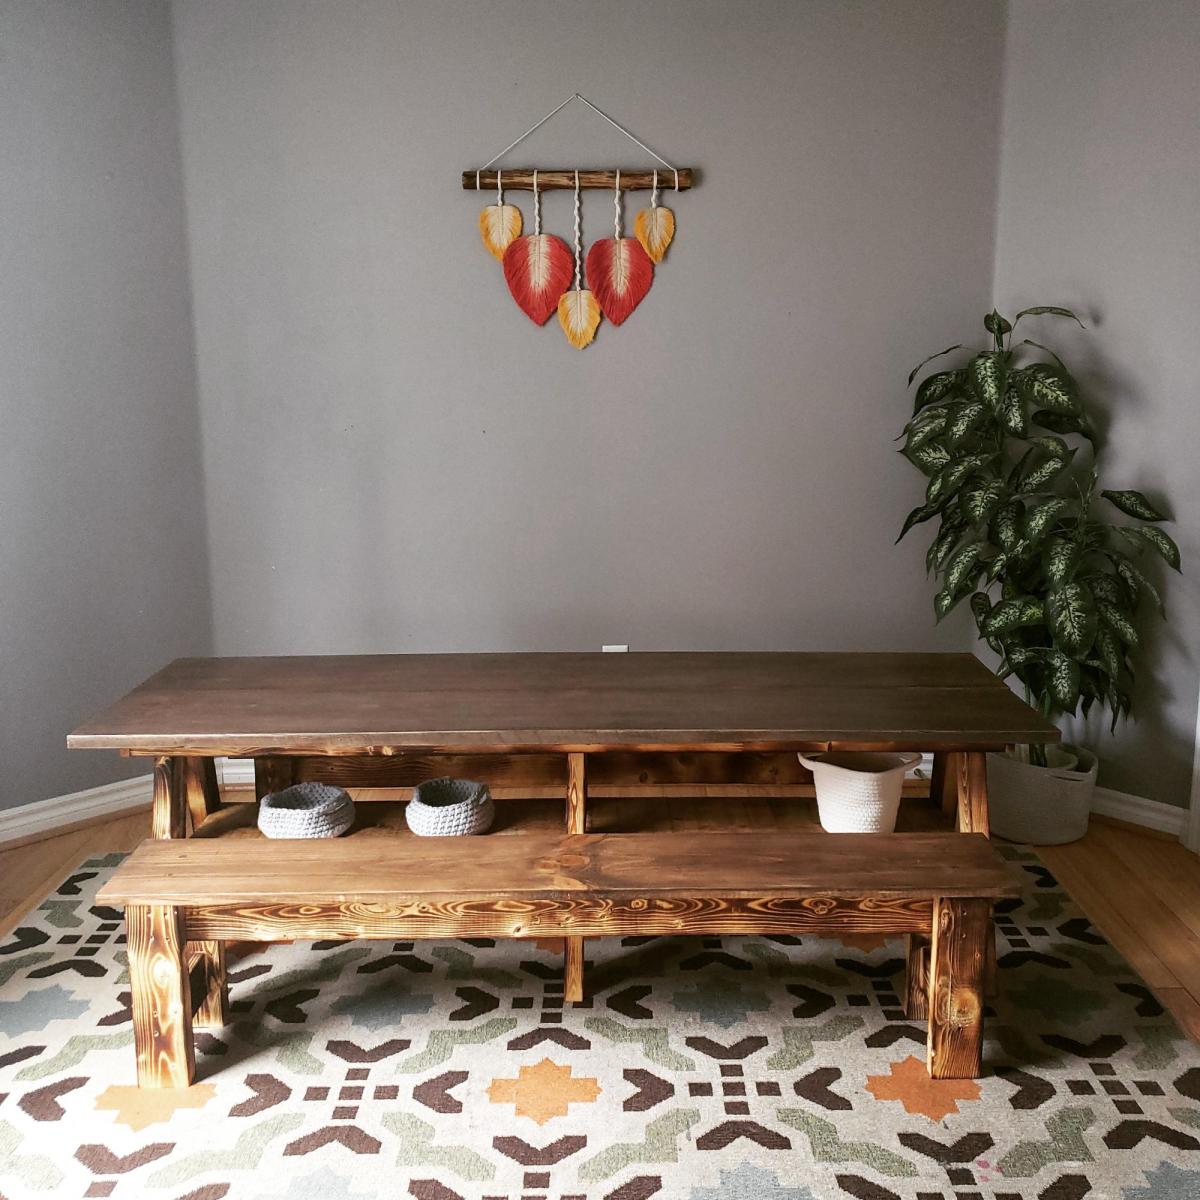
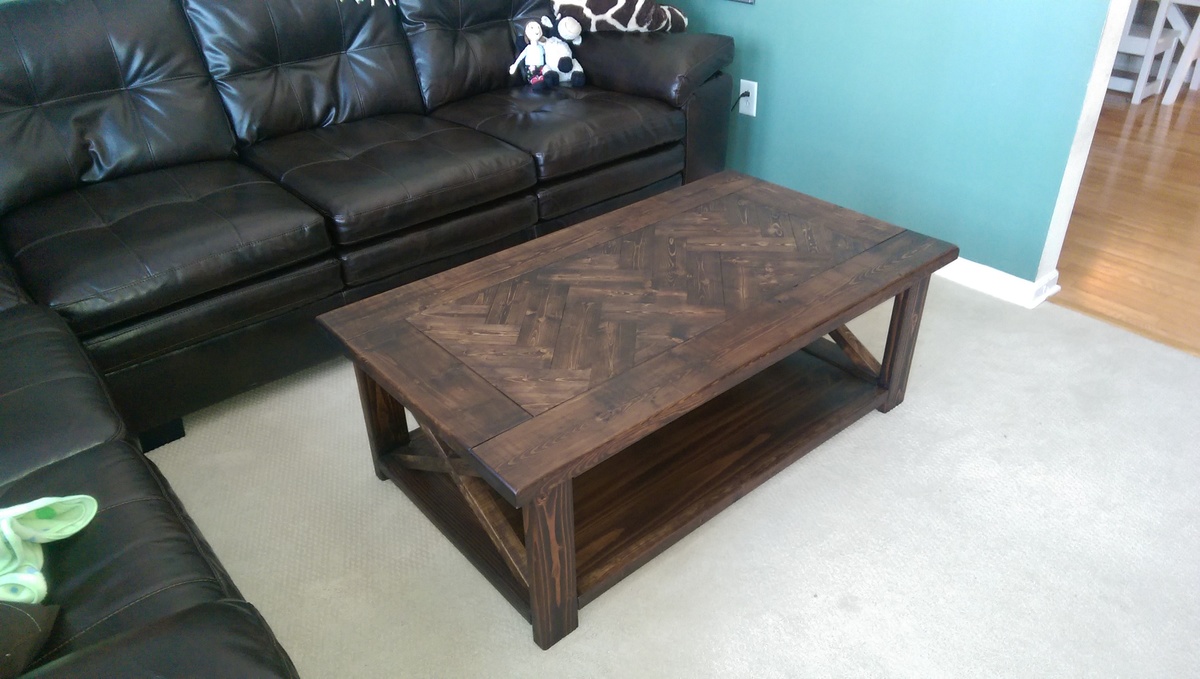
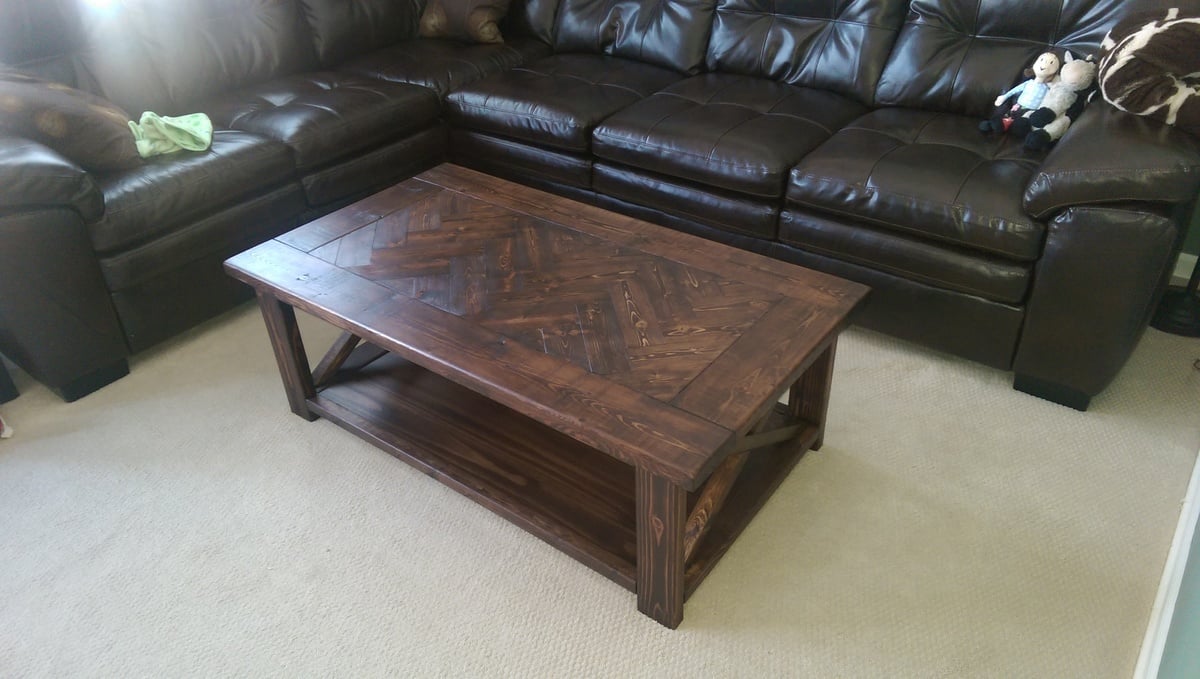
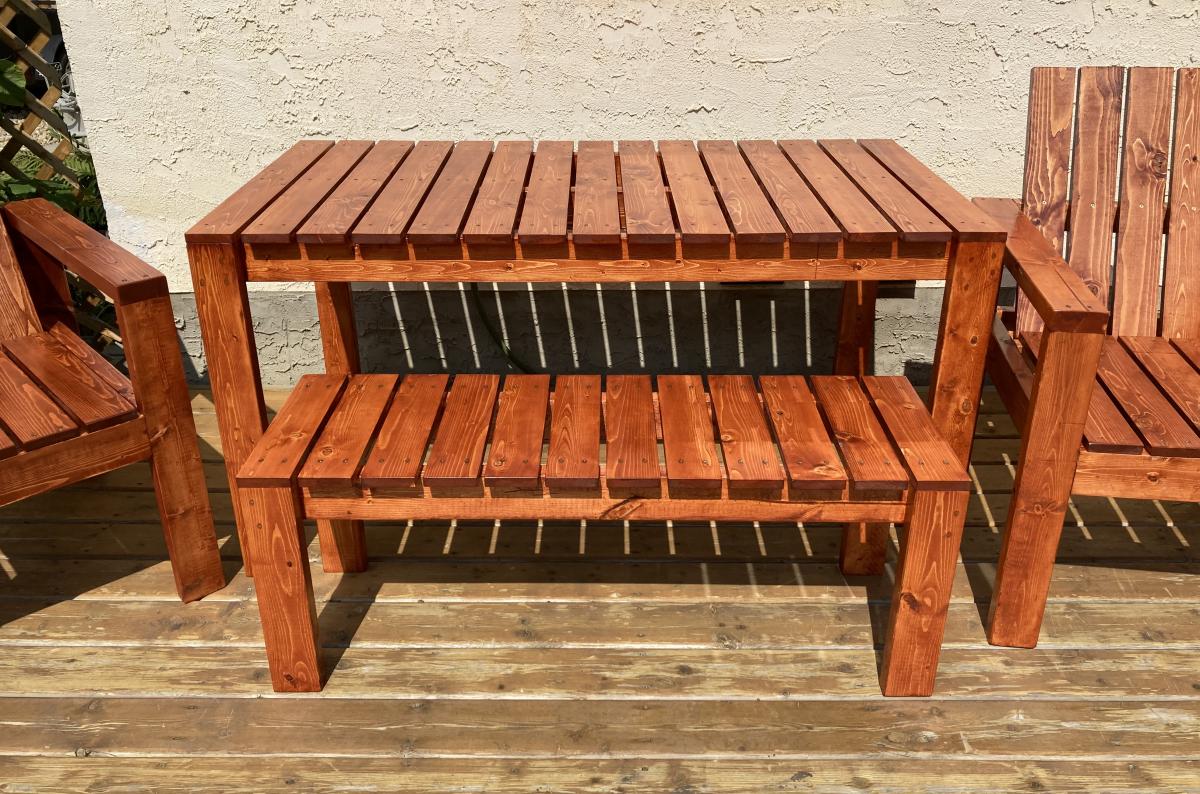
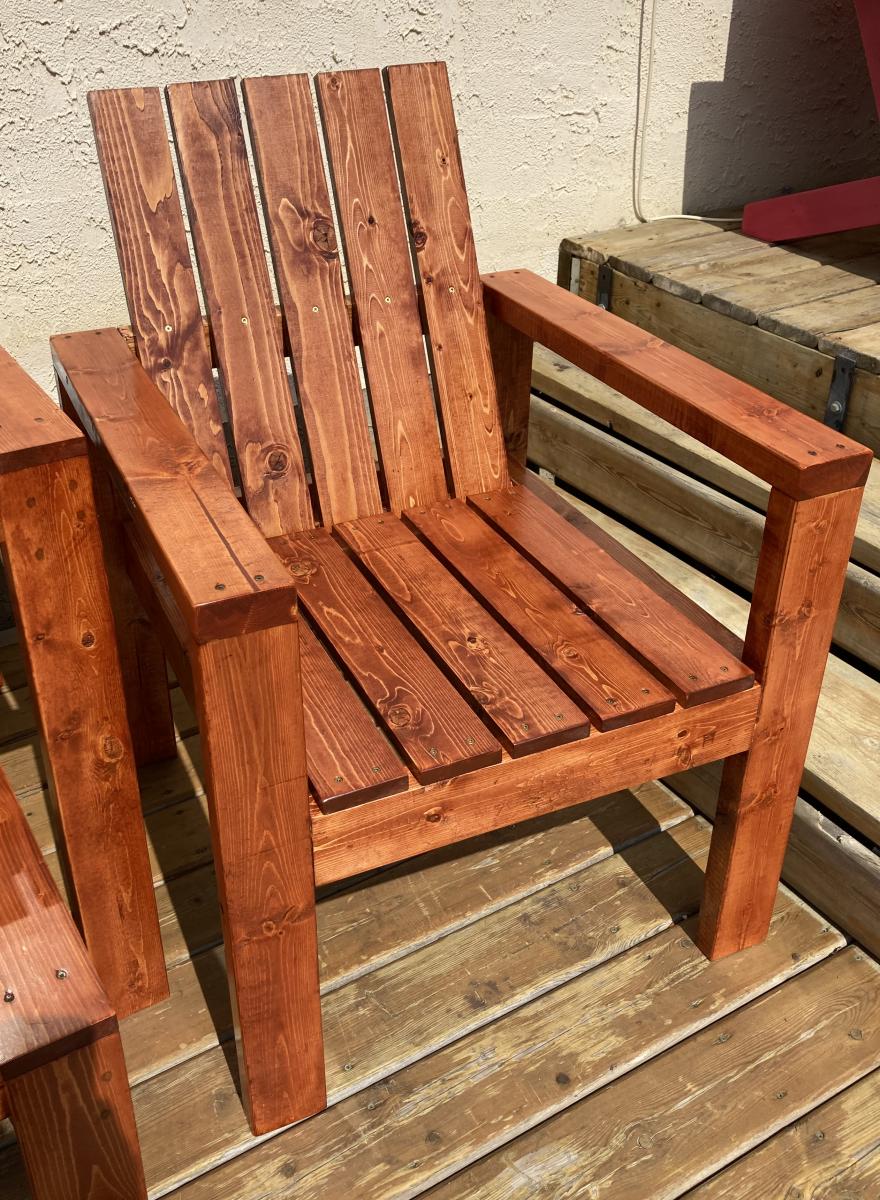
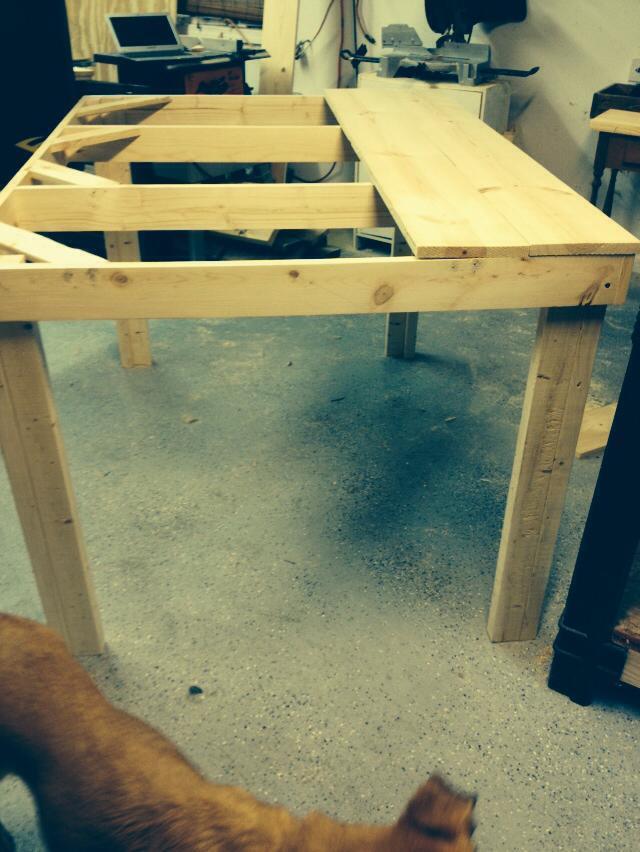
Rustic table
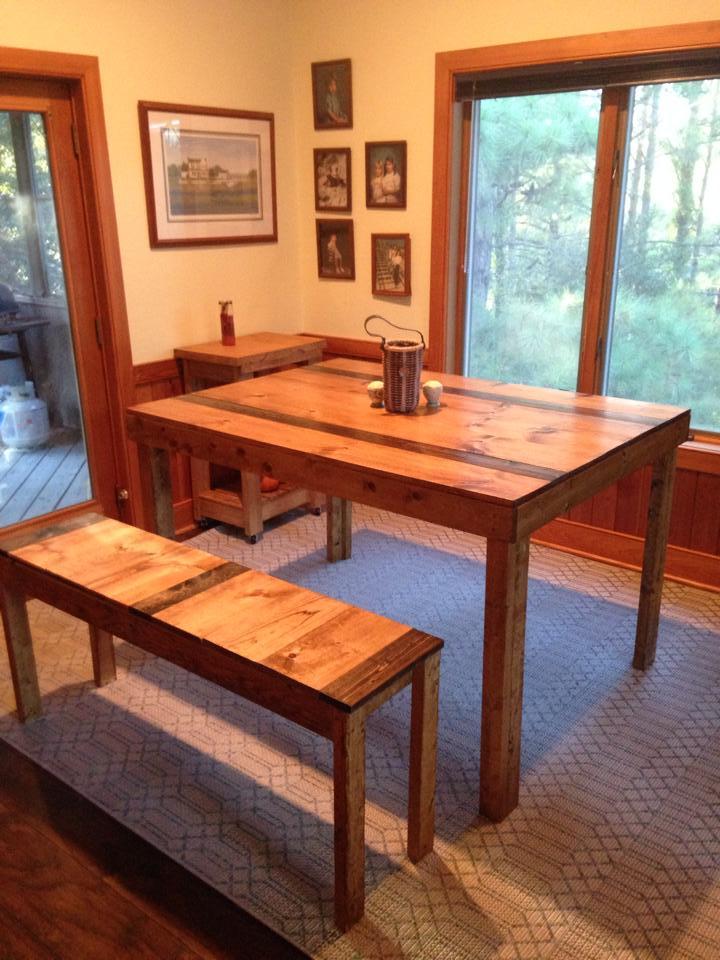
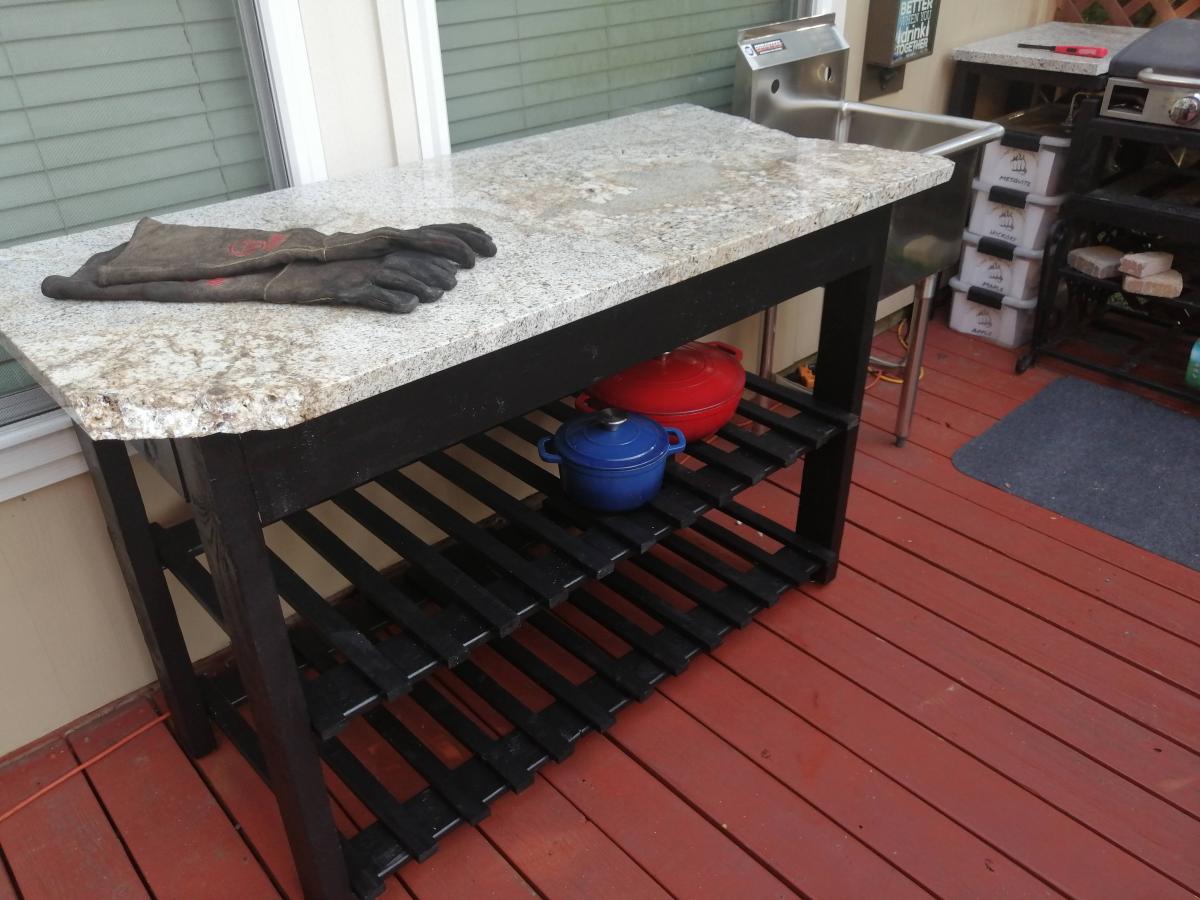
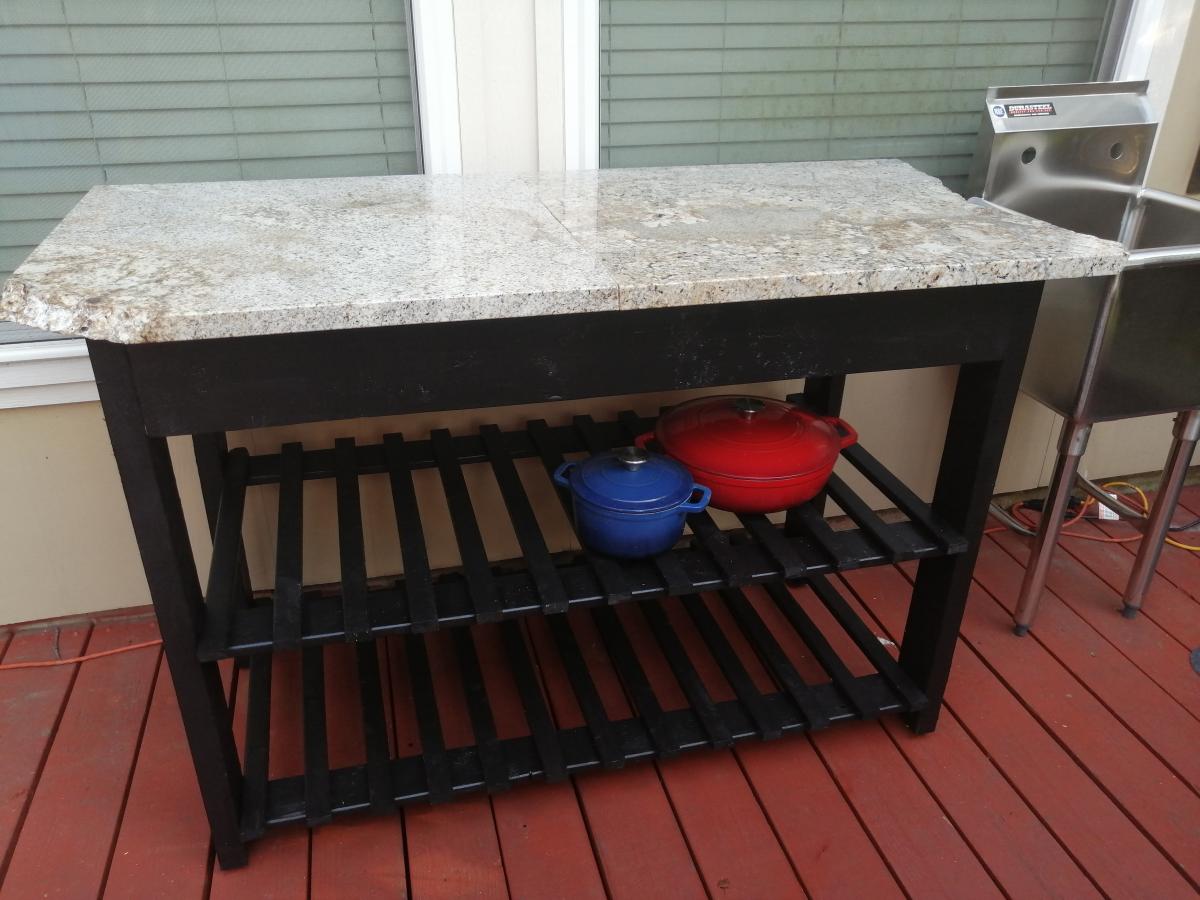
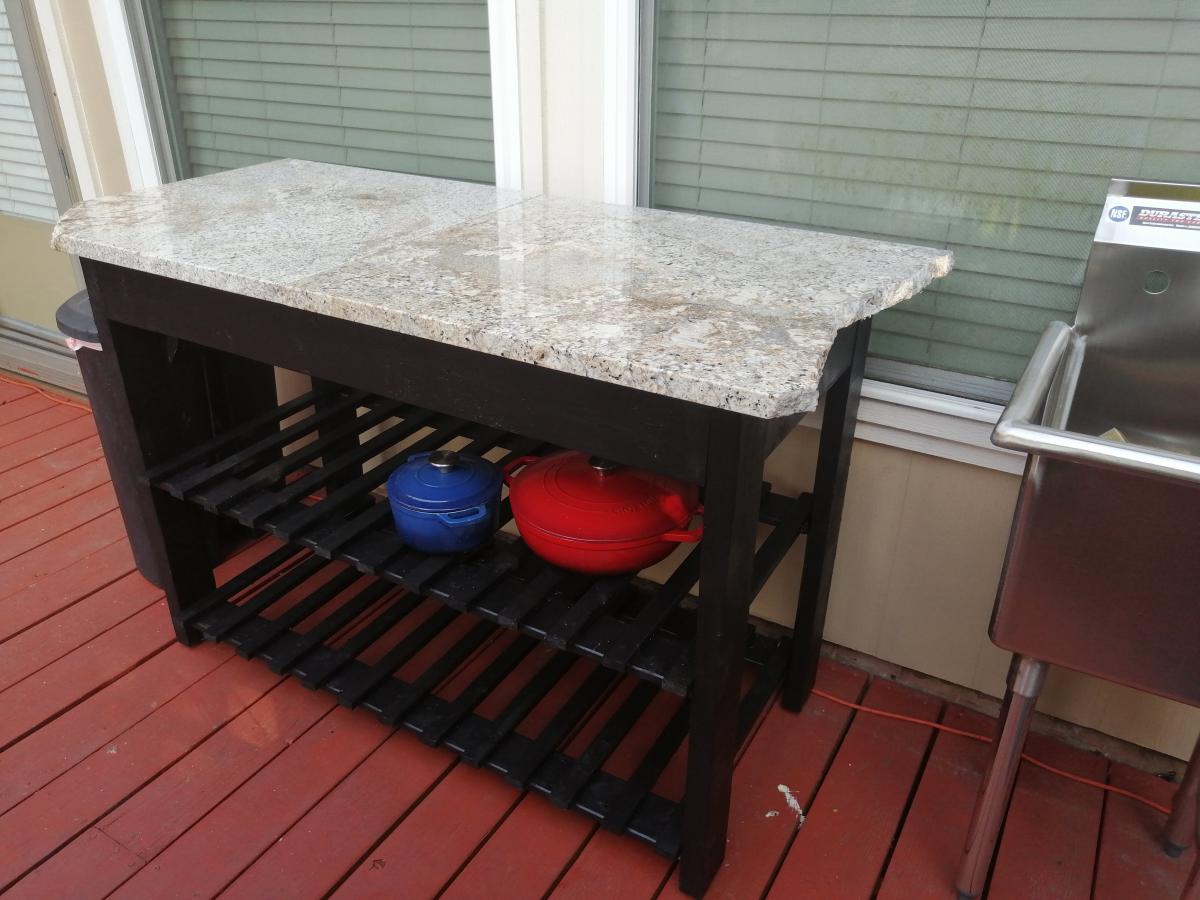
Modeled after the rustic table. I made it smaller and taller. I used Pine boards and golden oak stain and also jacobean stain. The legs can come off by unscrewing them.
Built from Plan(s)
Estimated Time Investment
Weekend Project (10-20 Hours)
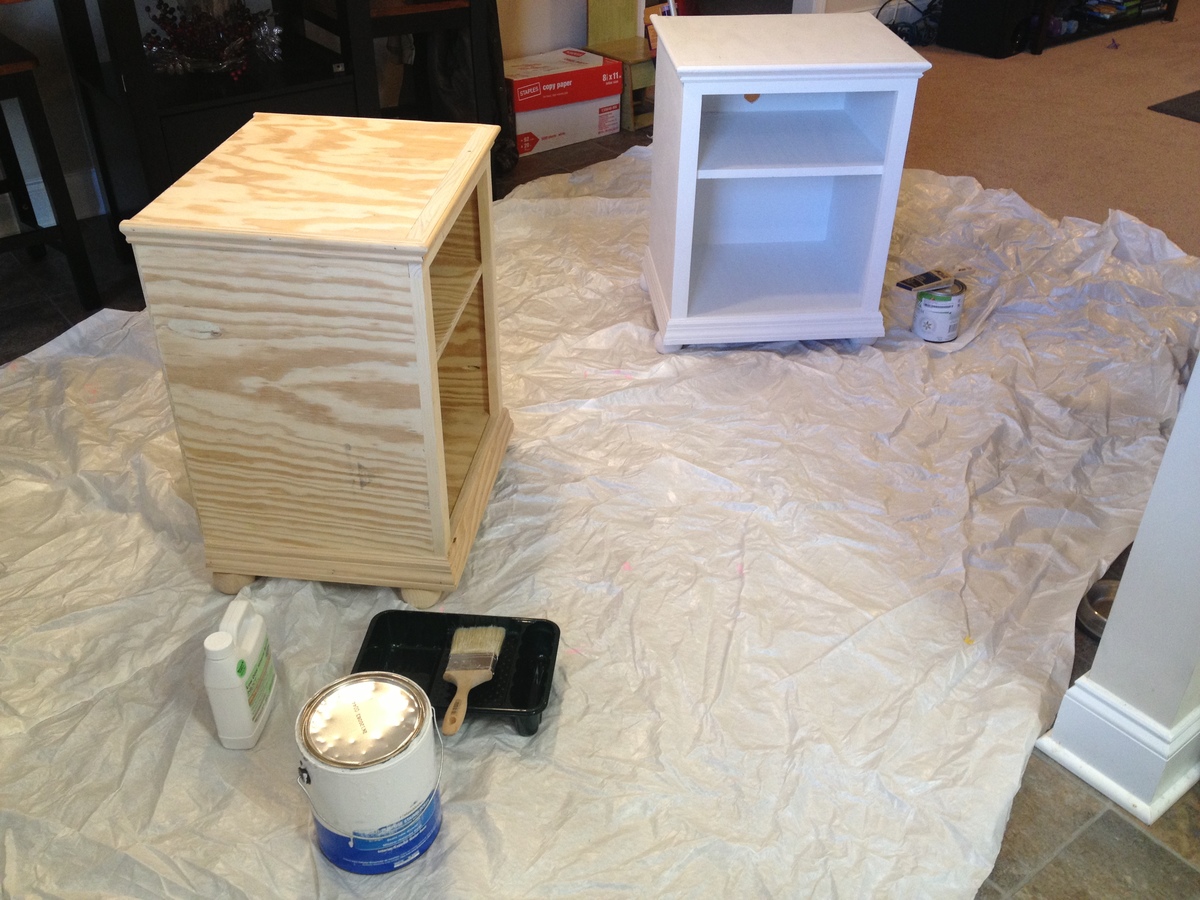
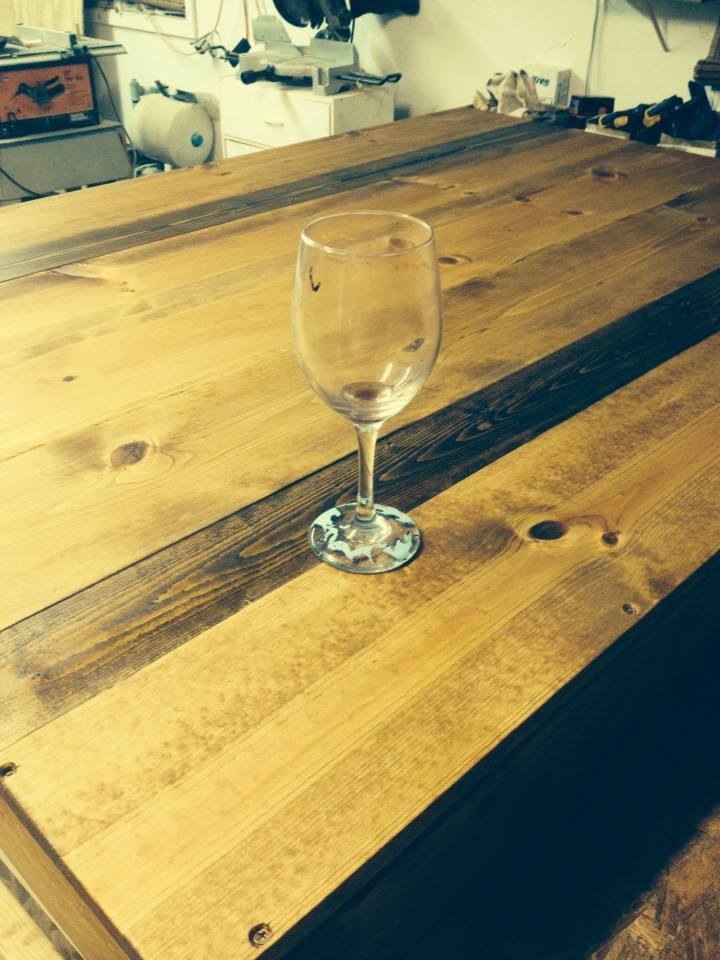
Finish Used
Golden Oak and Jacobean stain. Poly over that.
Recommended Skill Level
Intermediate