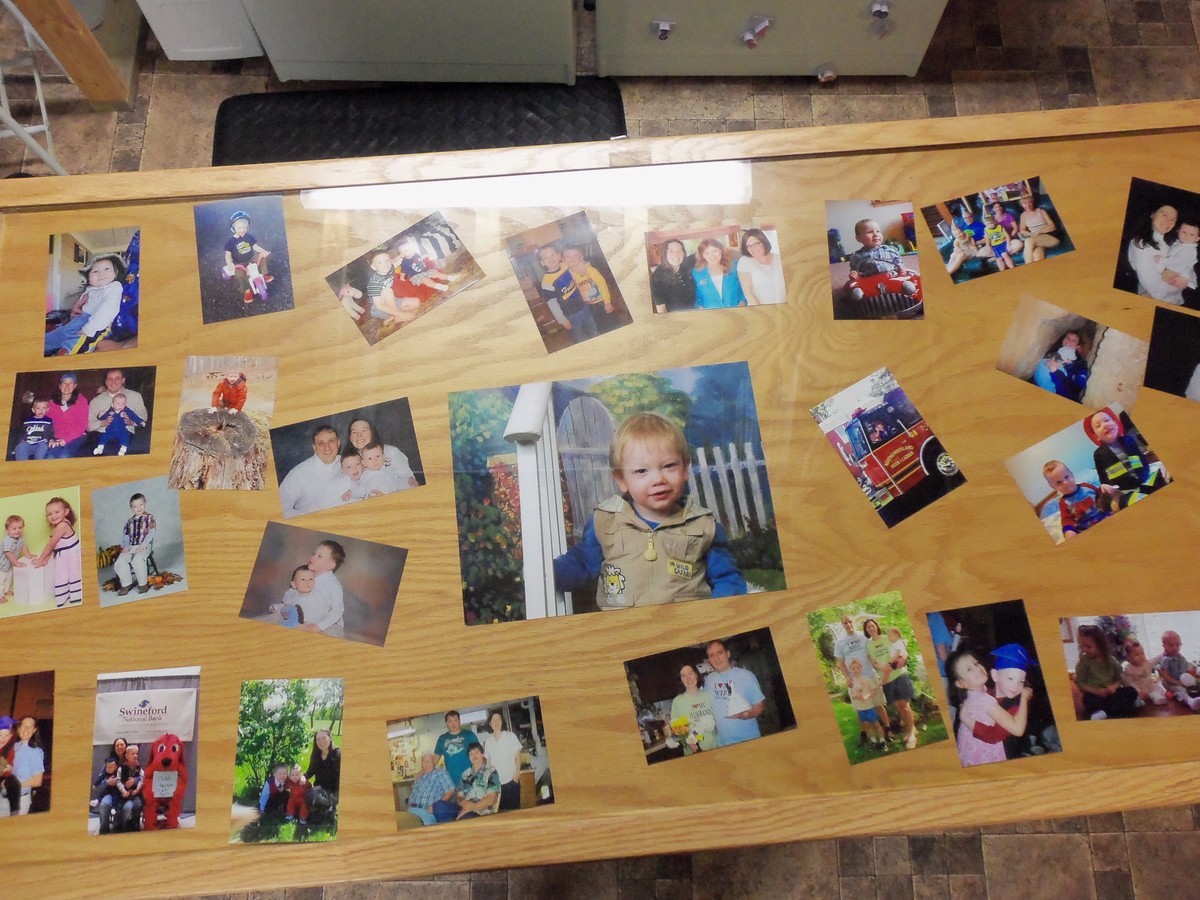
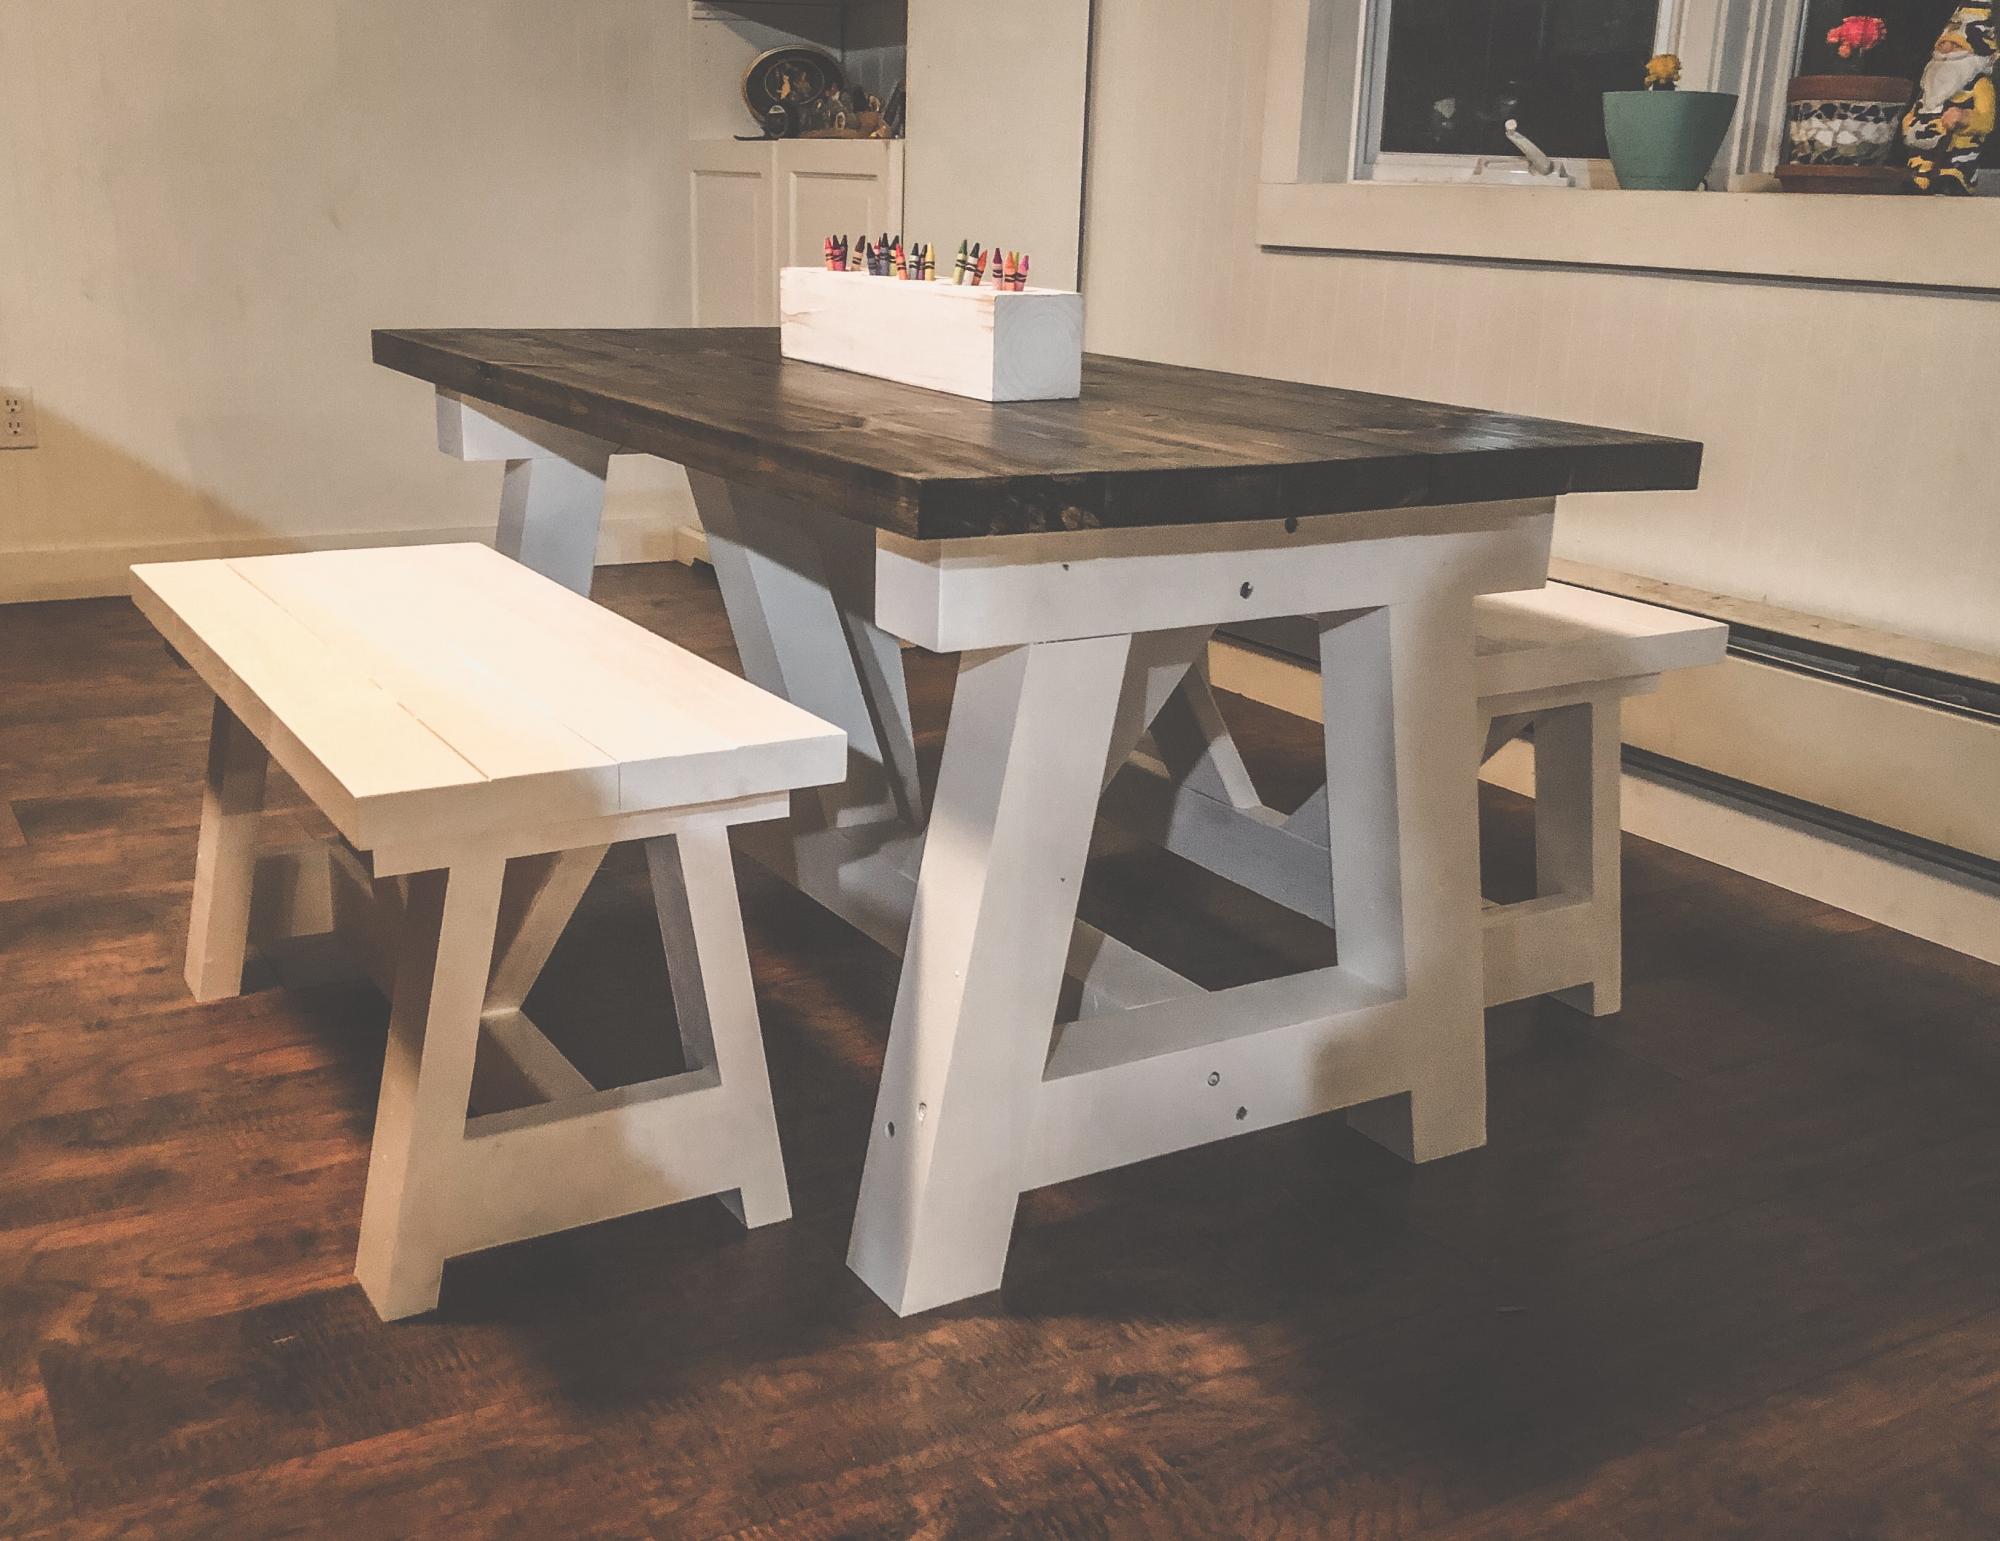
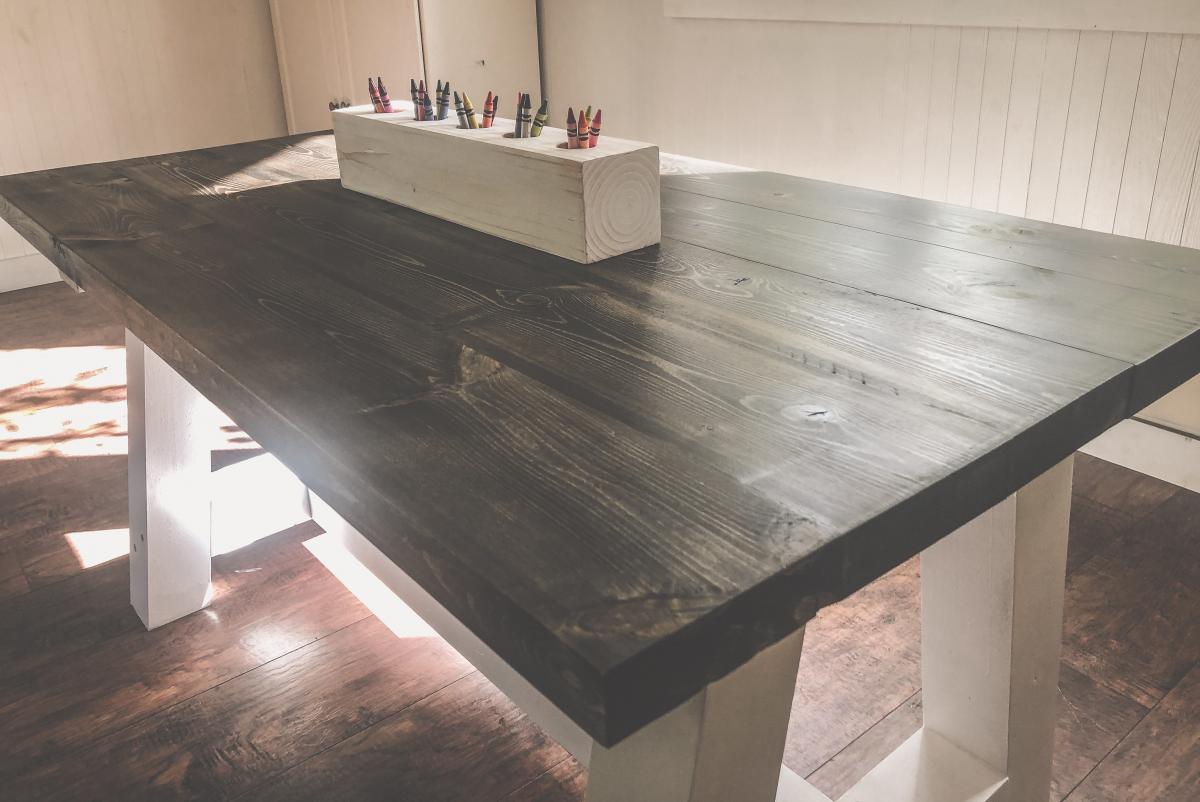
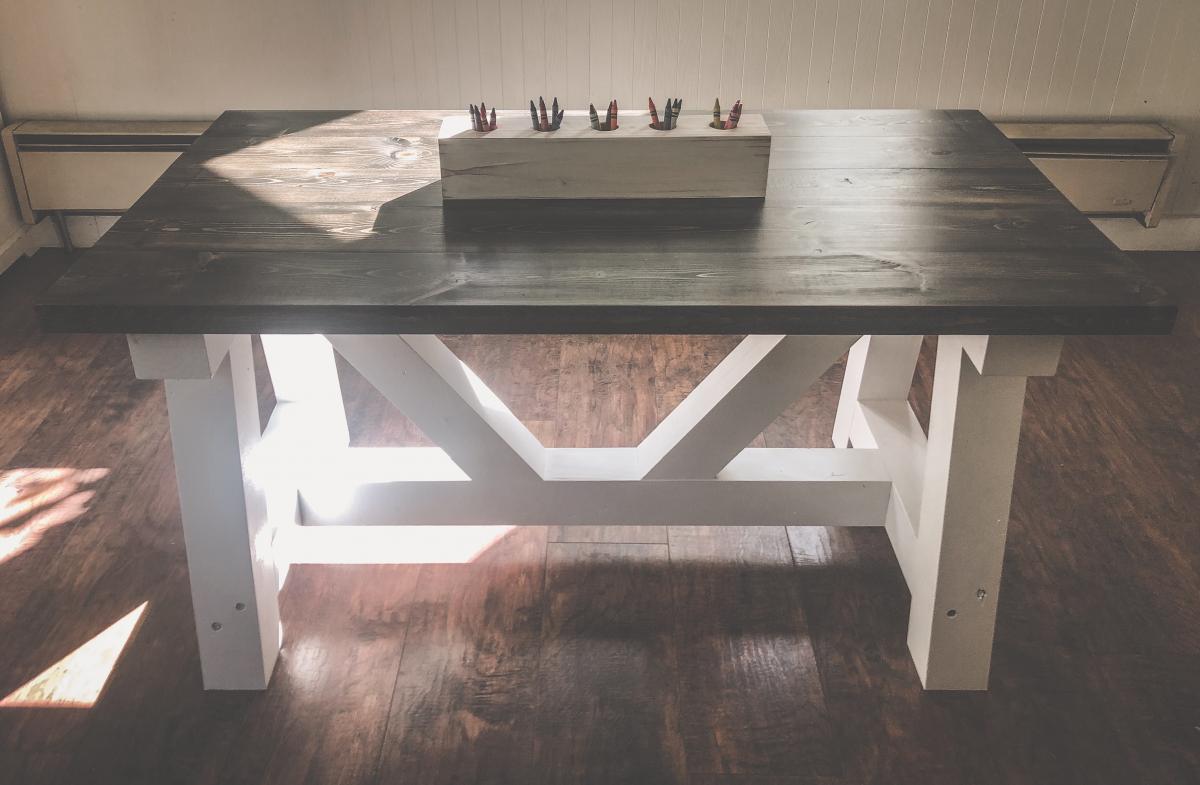
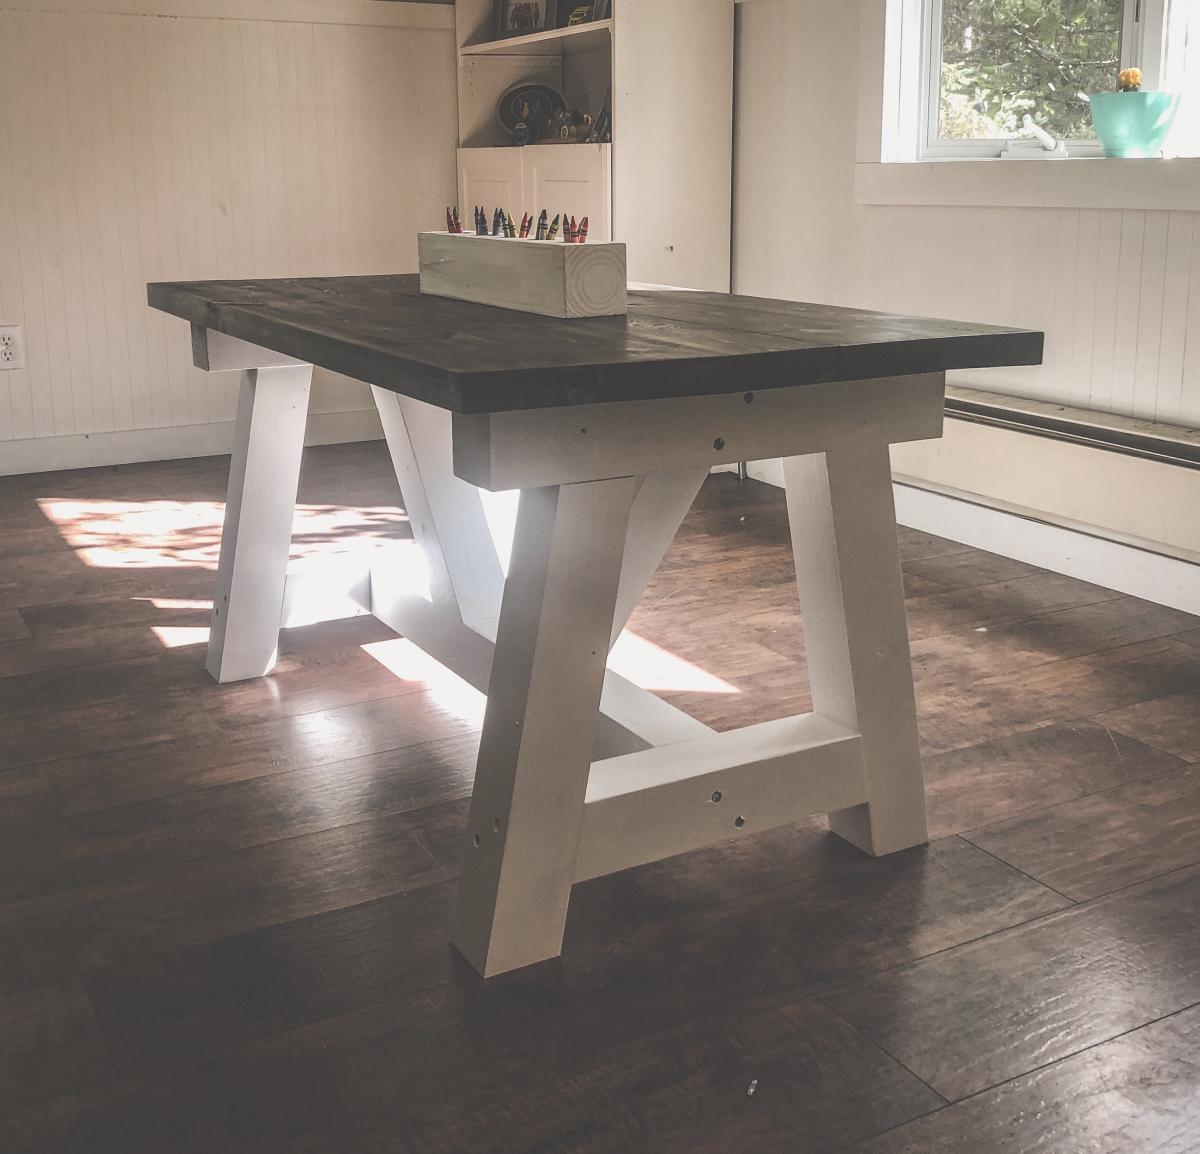
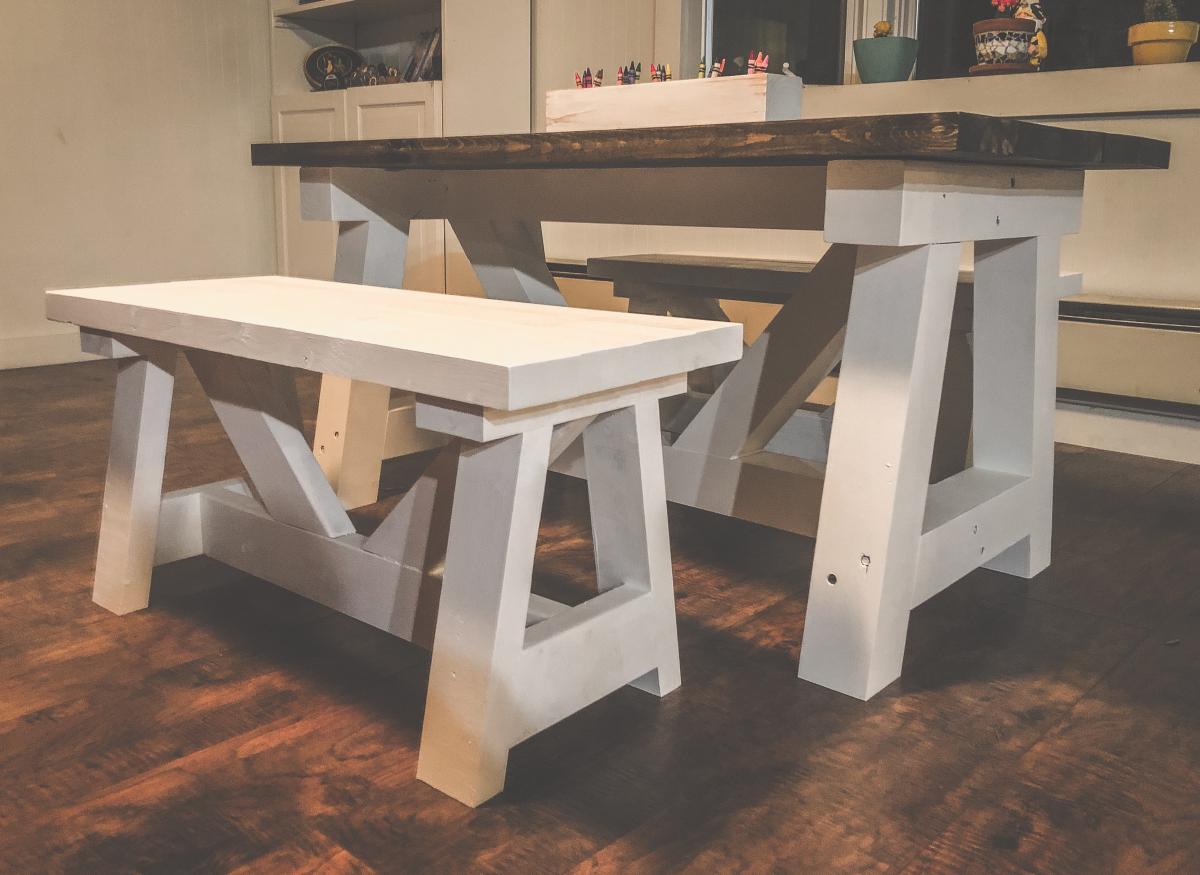
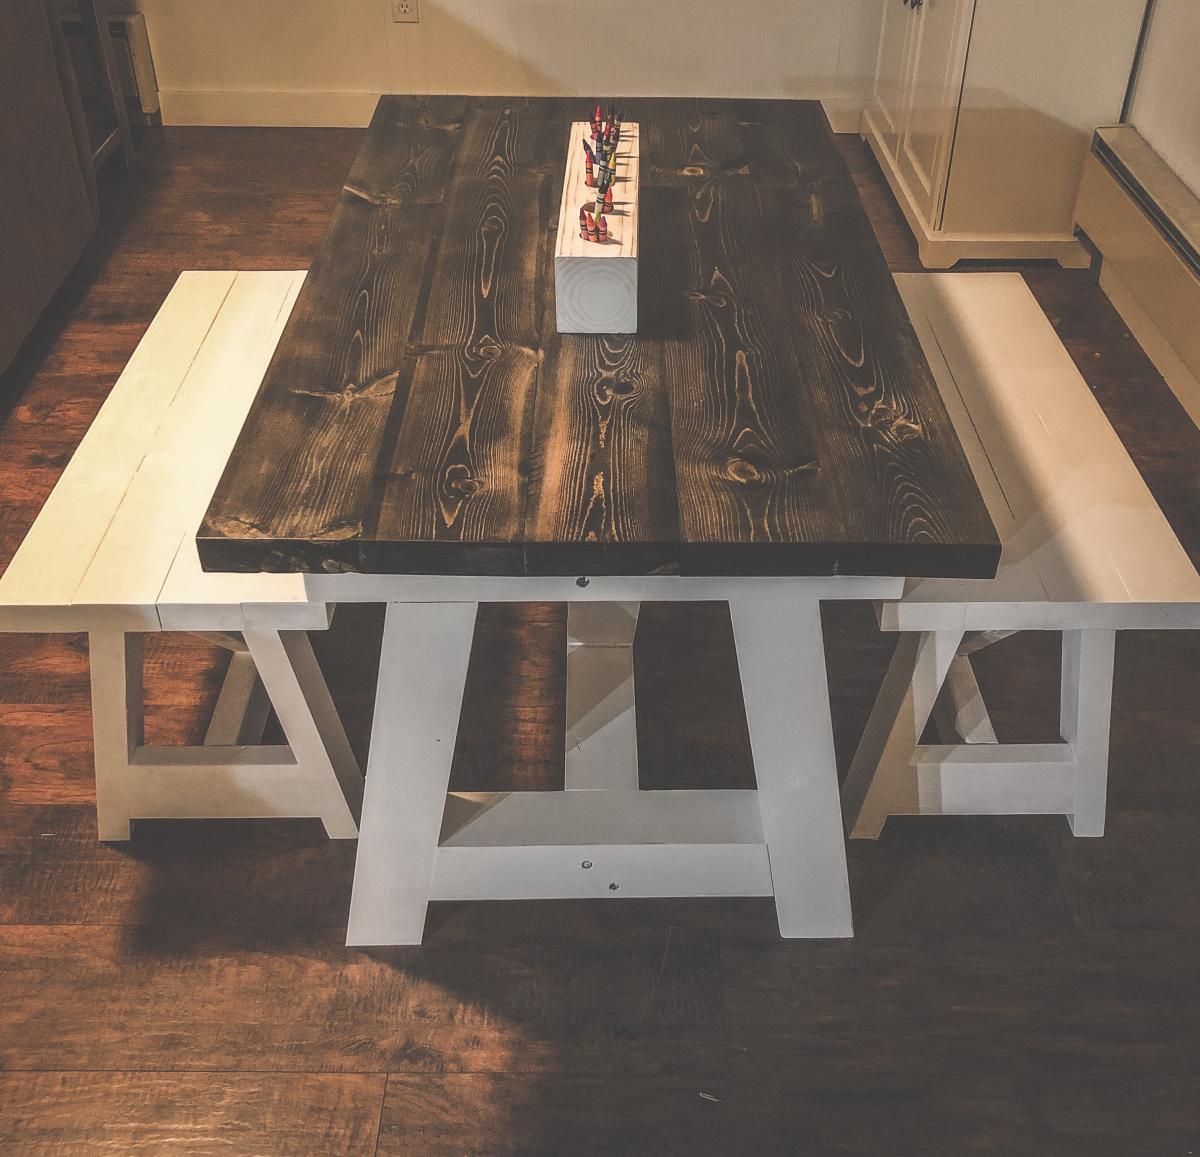
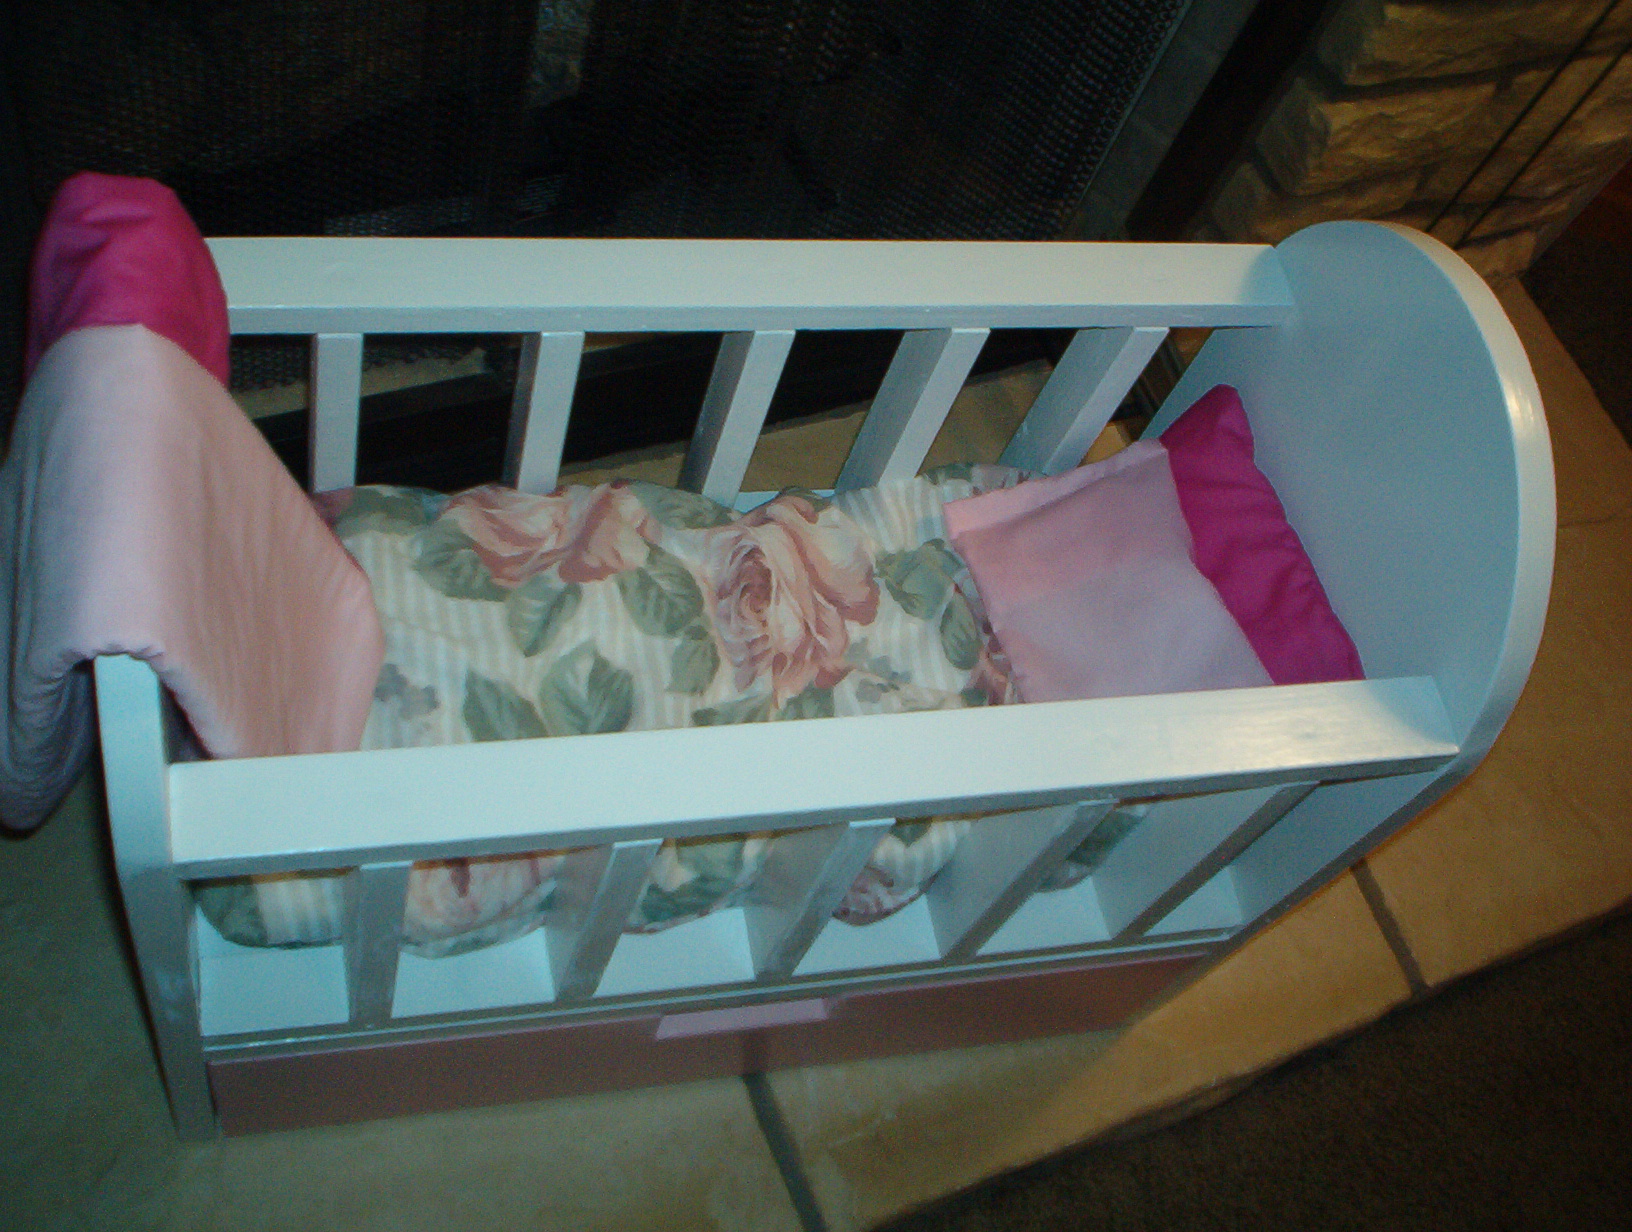
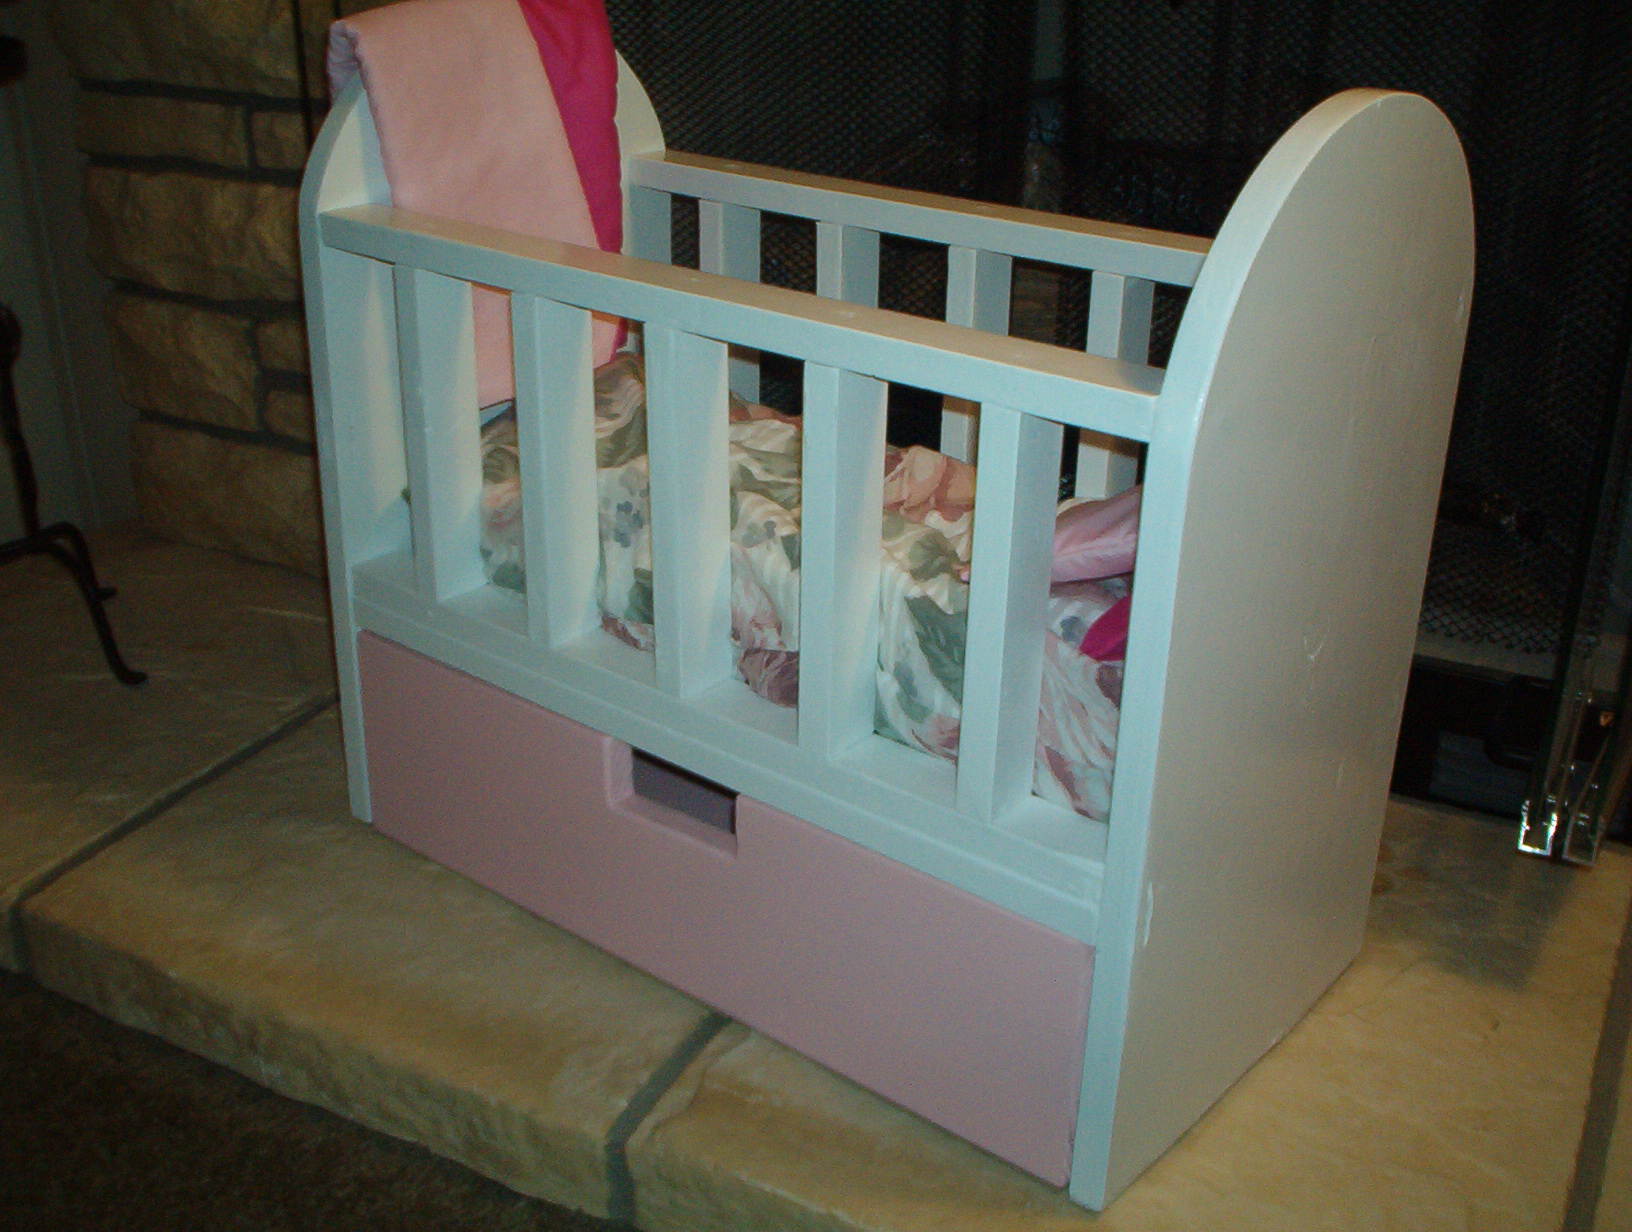
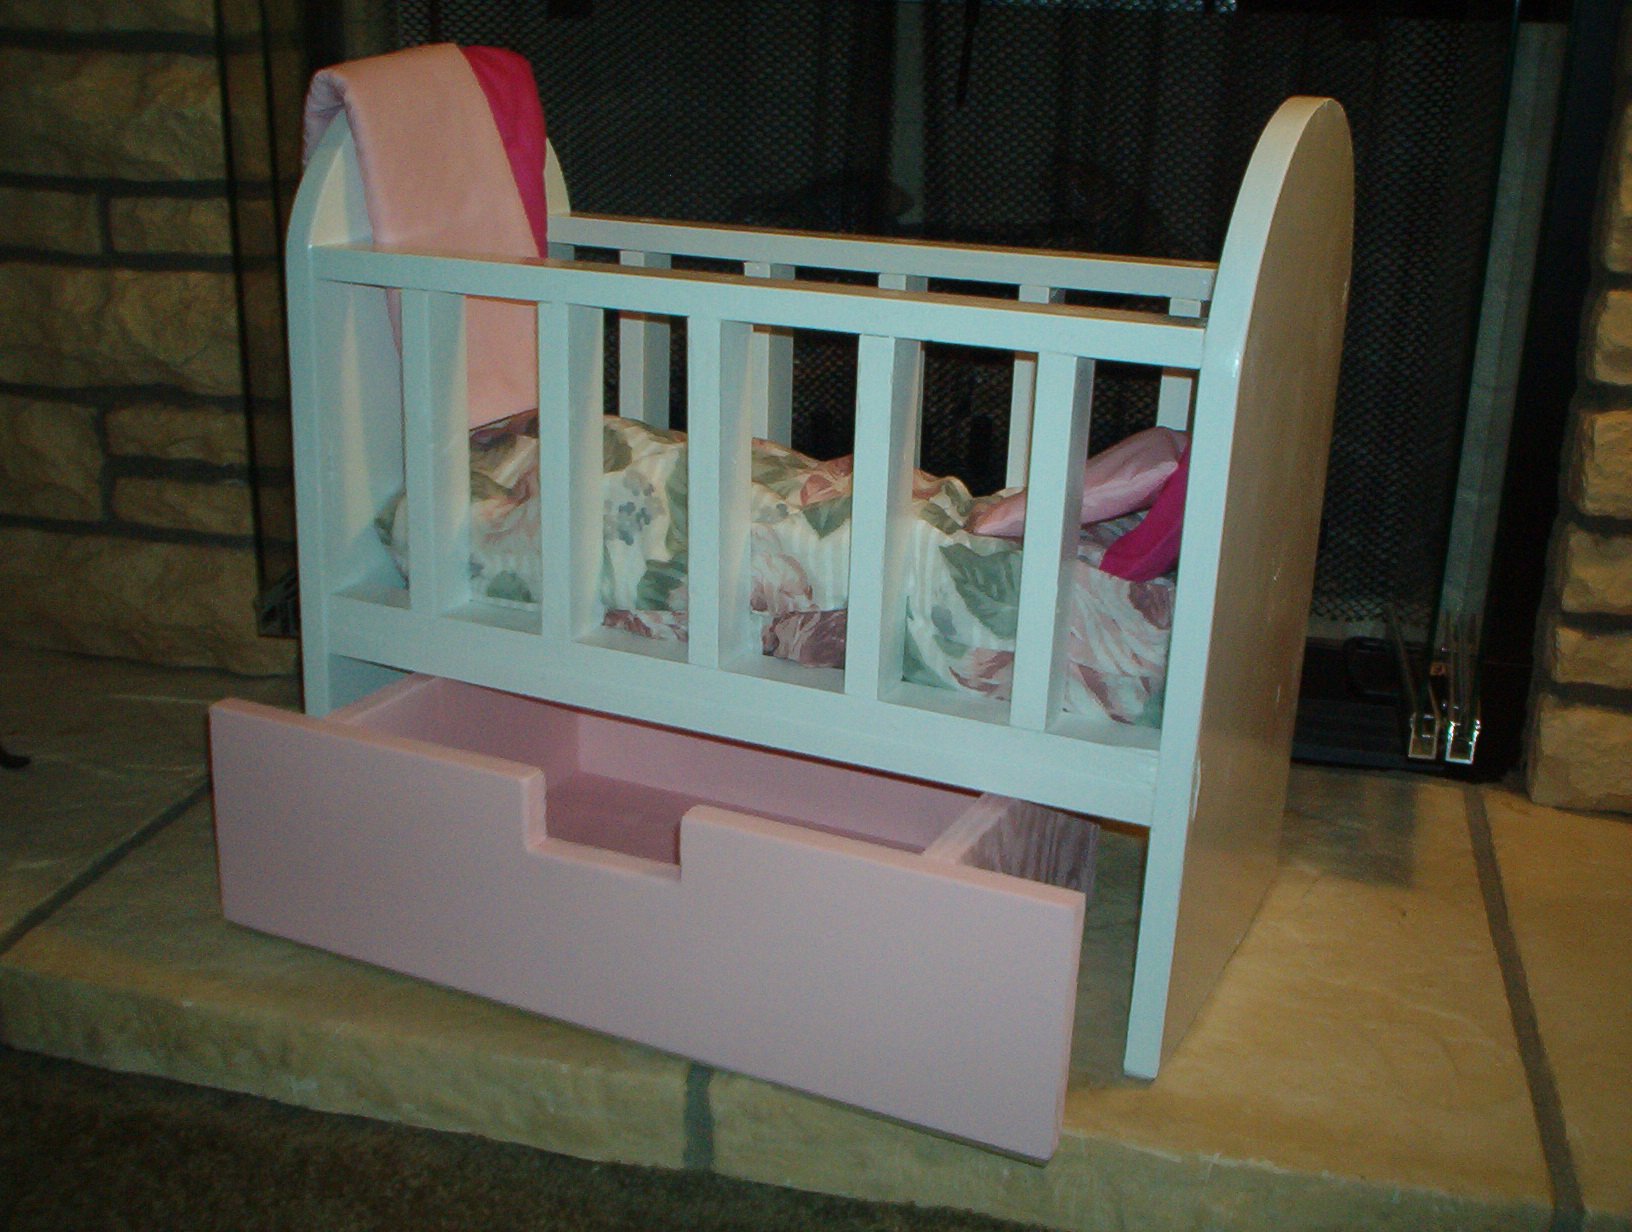
Farmhouse table
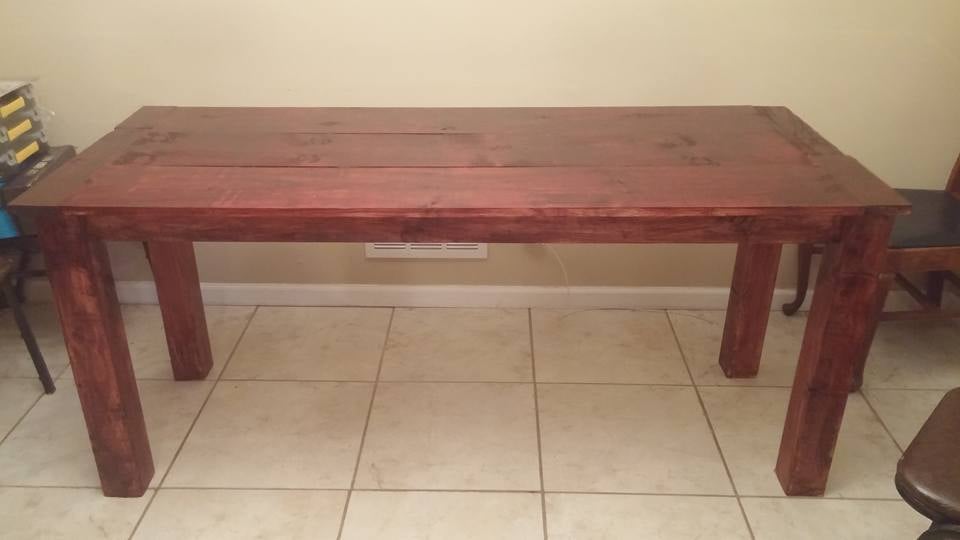
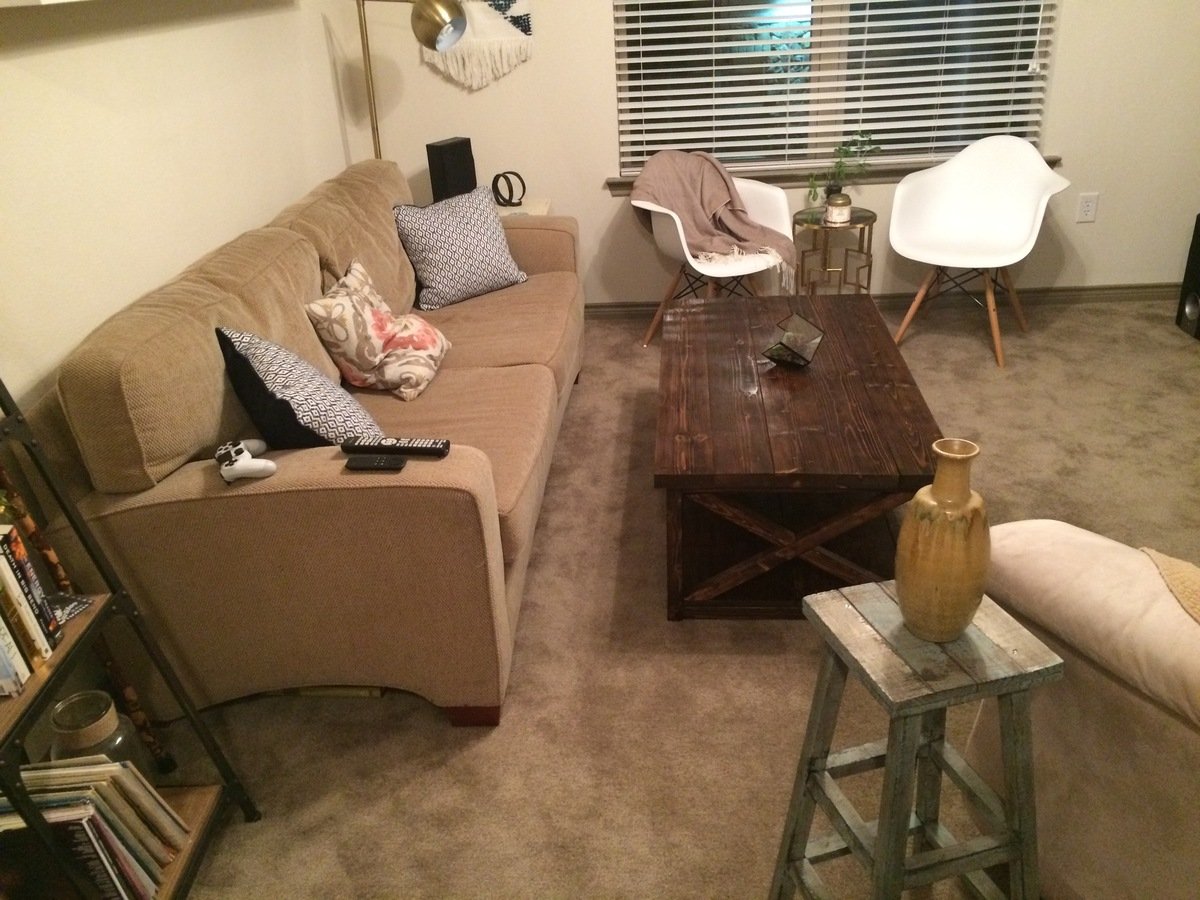
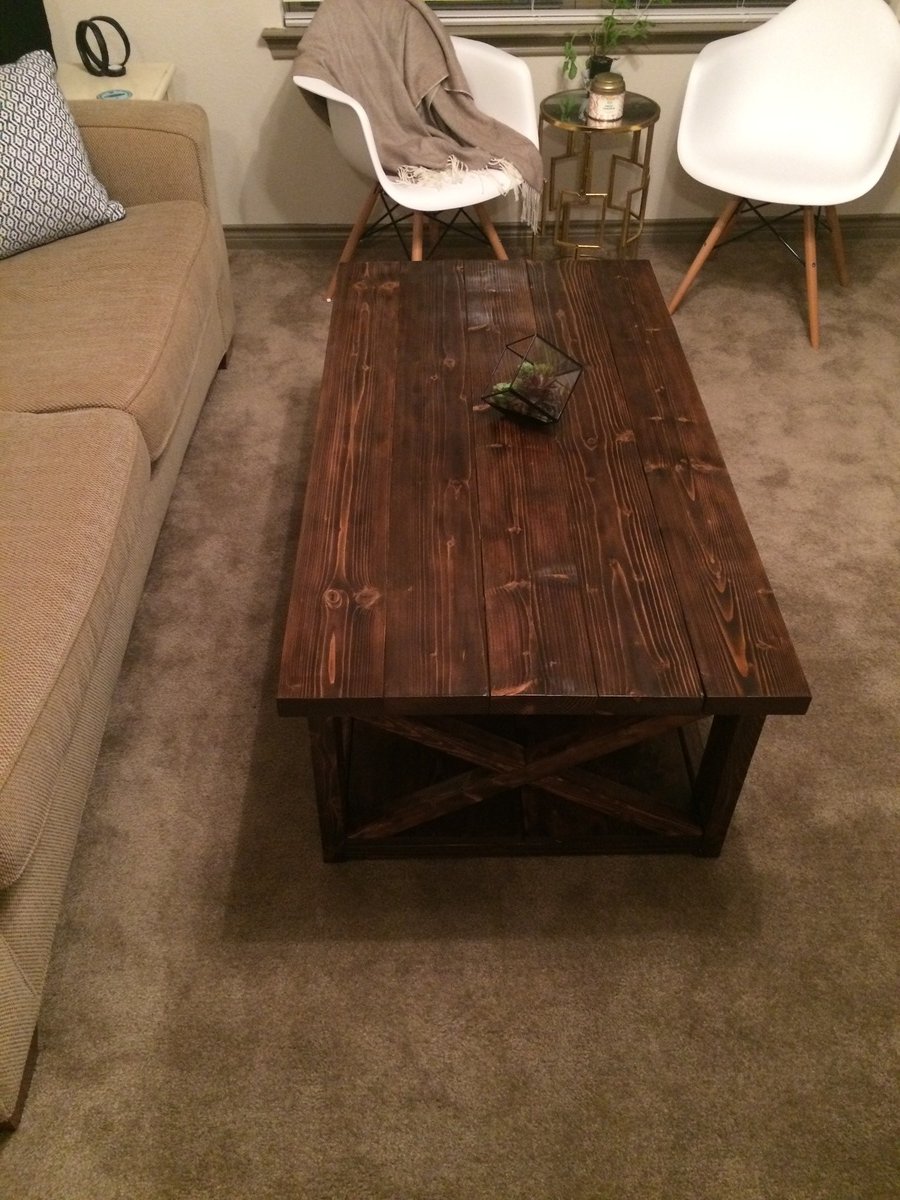
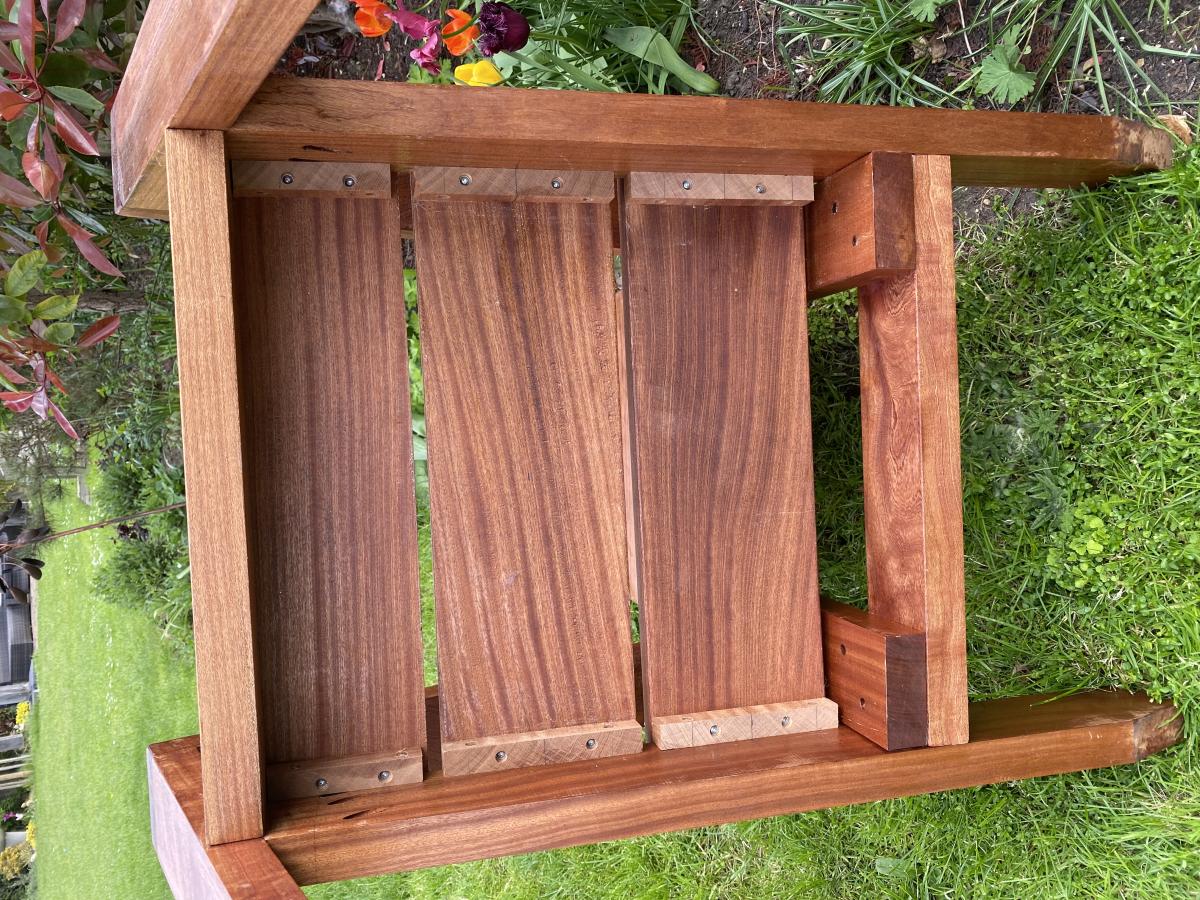
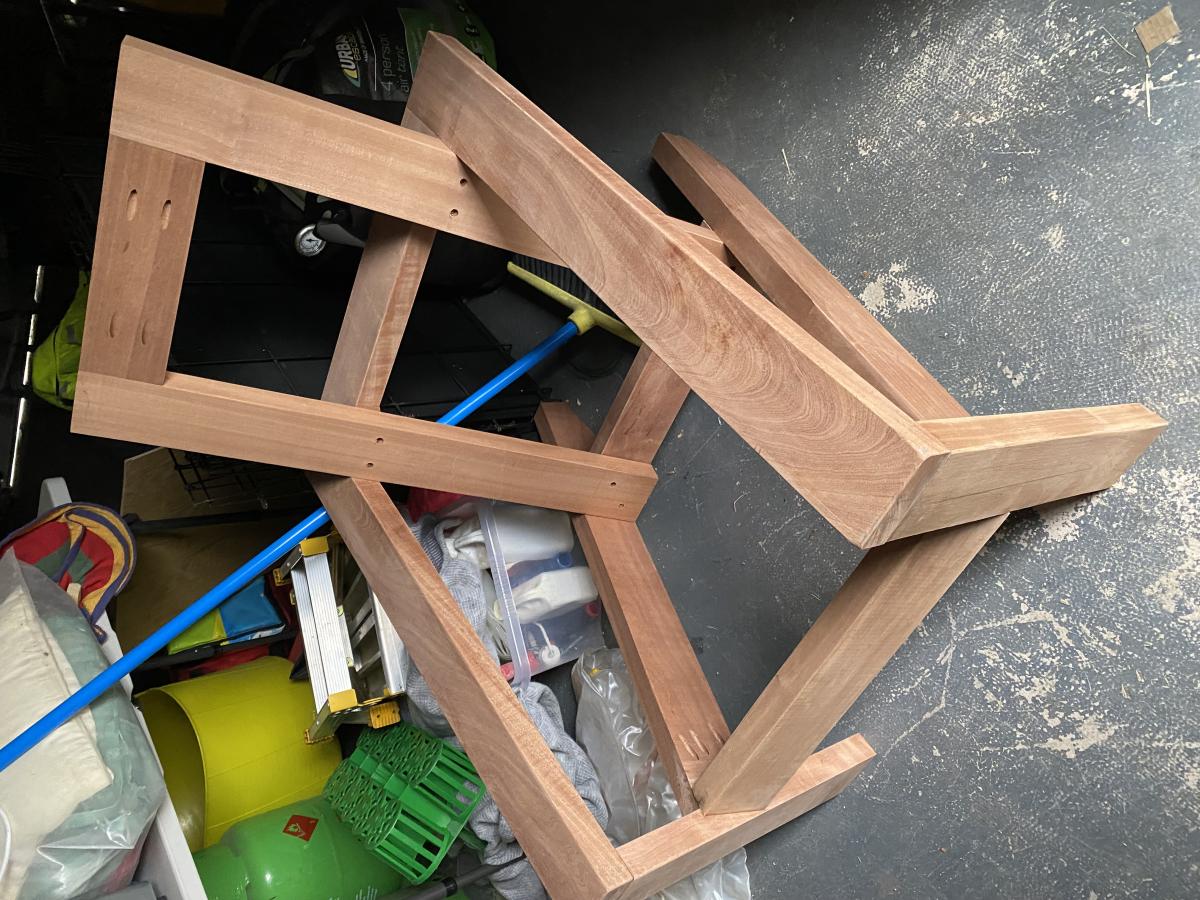
This was my first "big" project. I built it for Thanksgiving. I recently bought a home, and everyone wanted to have Thanksgiving at my new home I had no table, so I built one. Can't wait to start my next project. Love the site!
Built from Plan(s)
Estimated Cost
$50-$75
Estimated Time Investment
Afternoon Project (3-6 Hours)
Finish Used
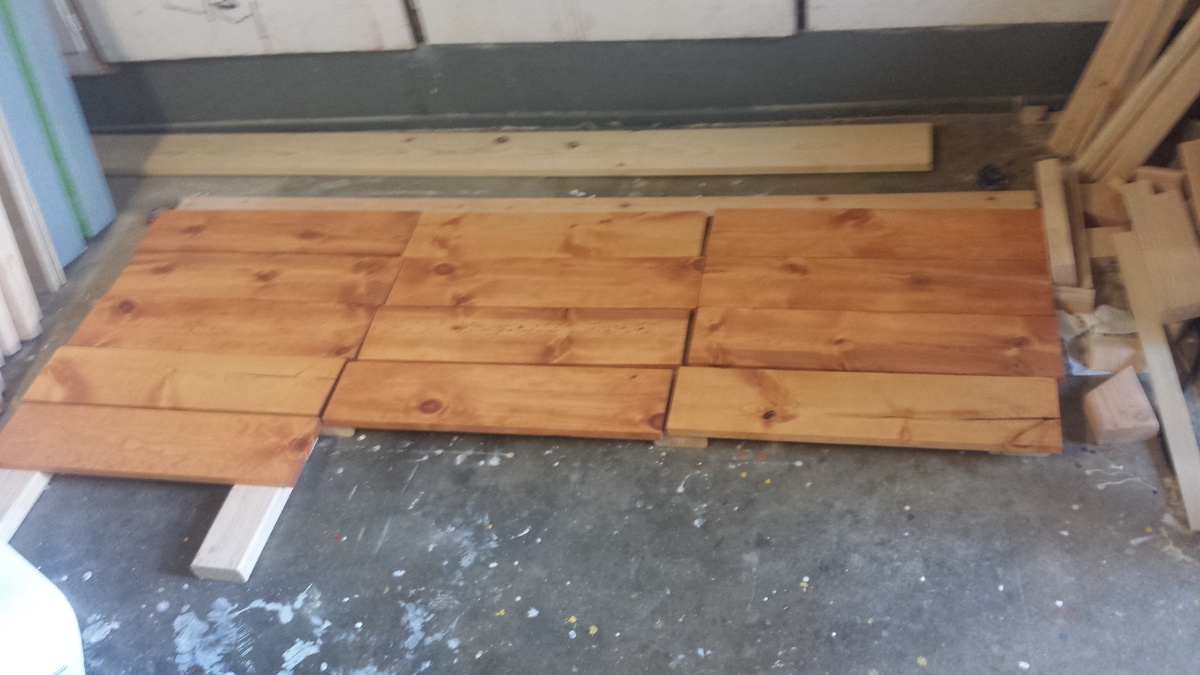
Minwax polyshades in Bombay Mahogany, I just sanded the entire table, and applied with a stain brush. Nothing fancy, just applied two coats.
Recommended Skill Level
Beginner