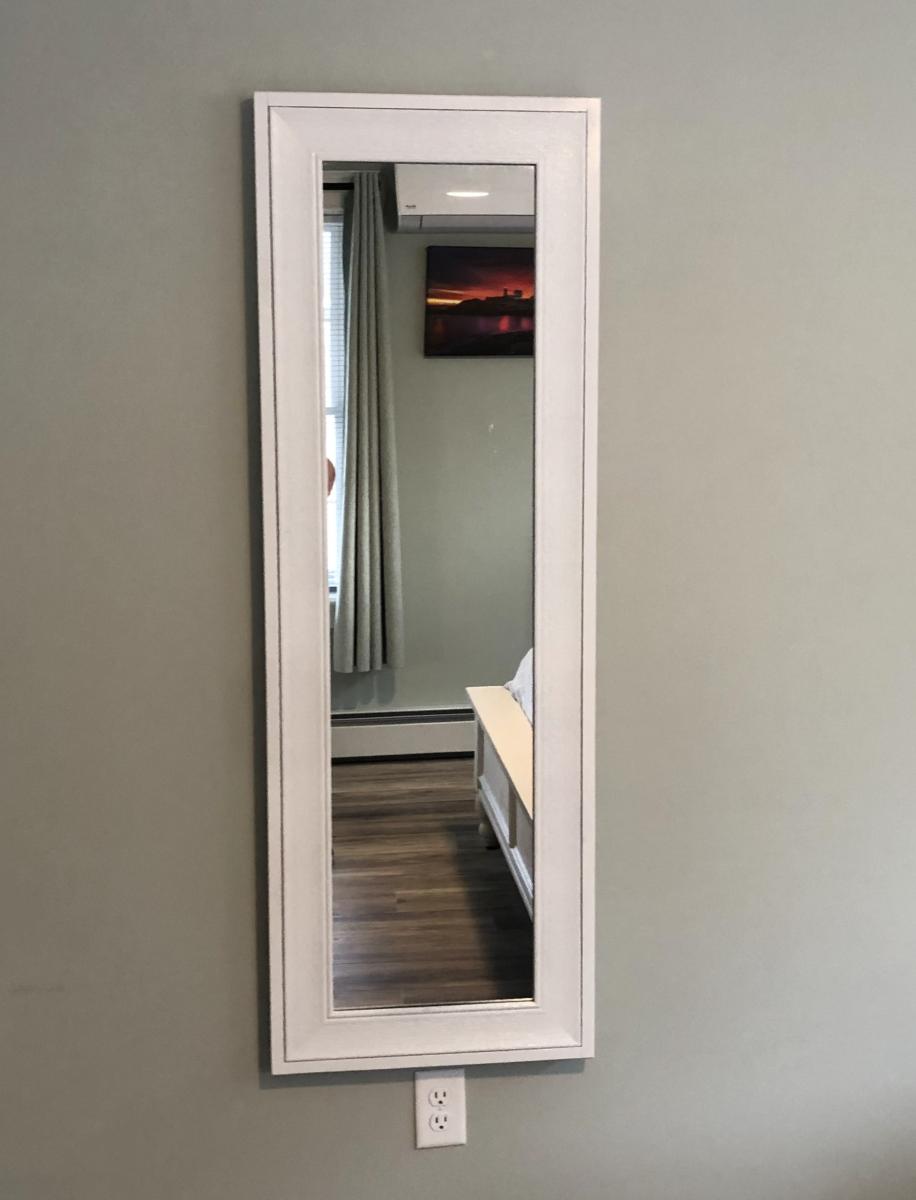
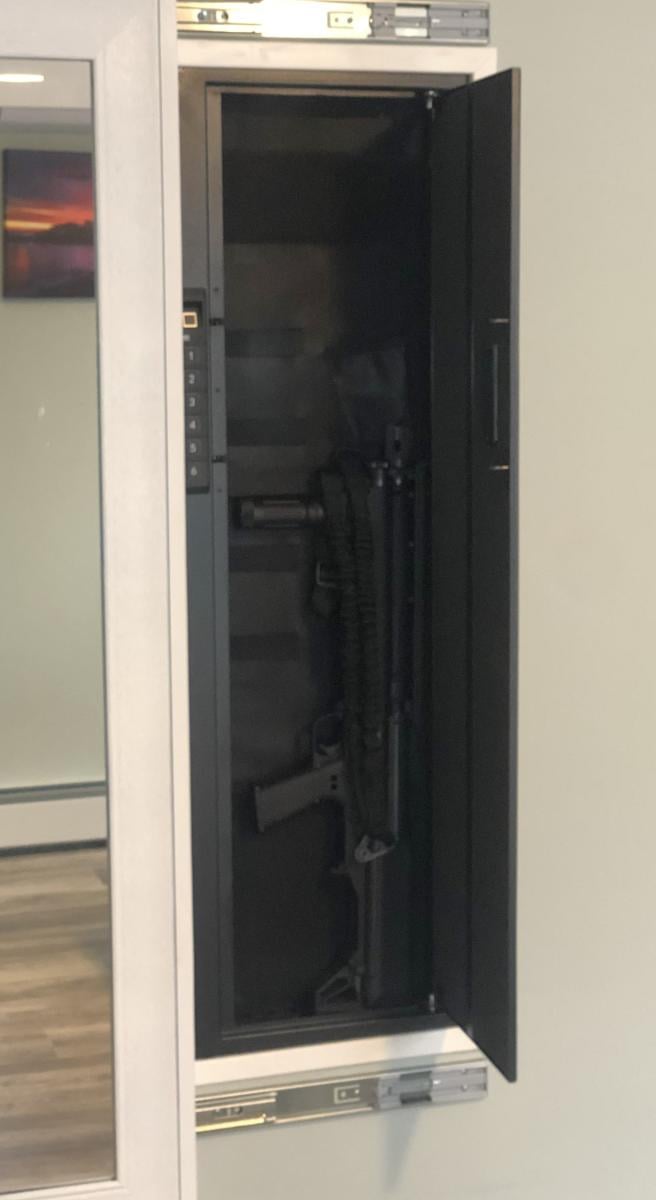
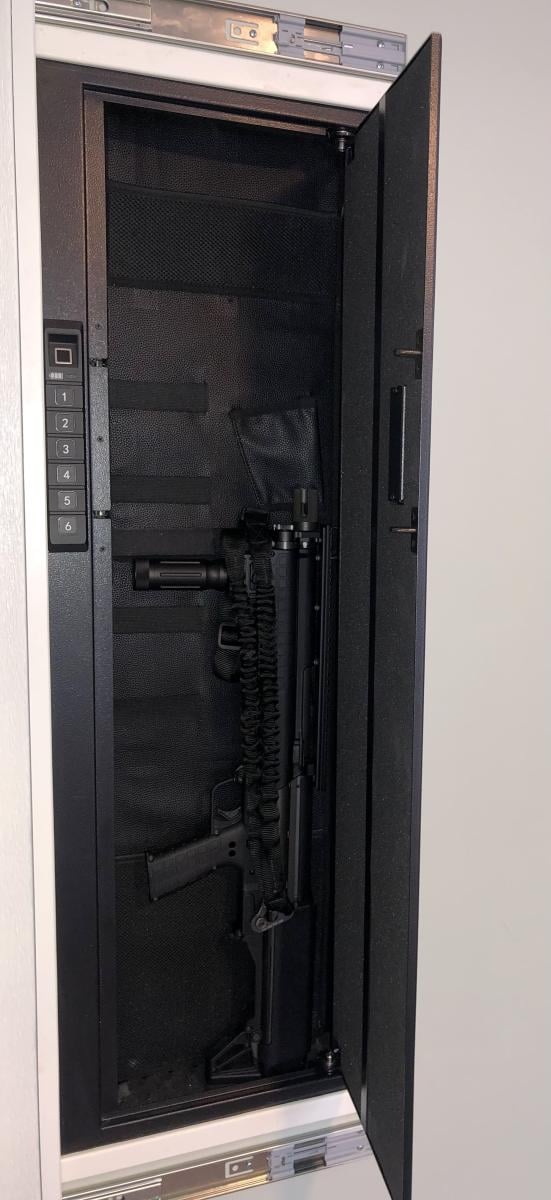
Hidden Gun Safe
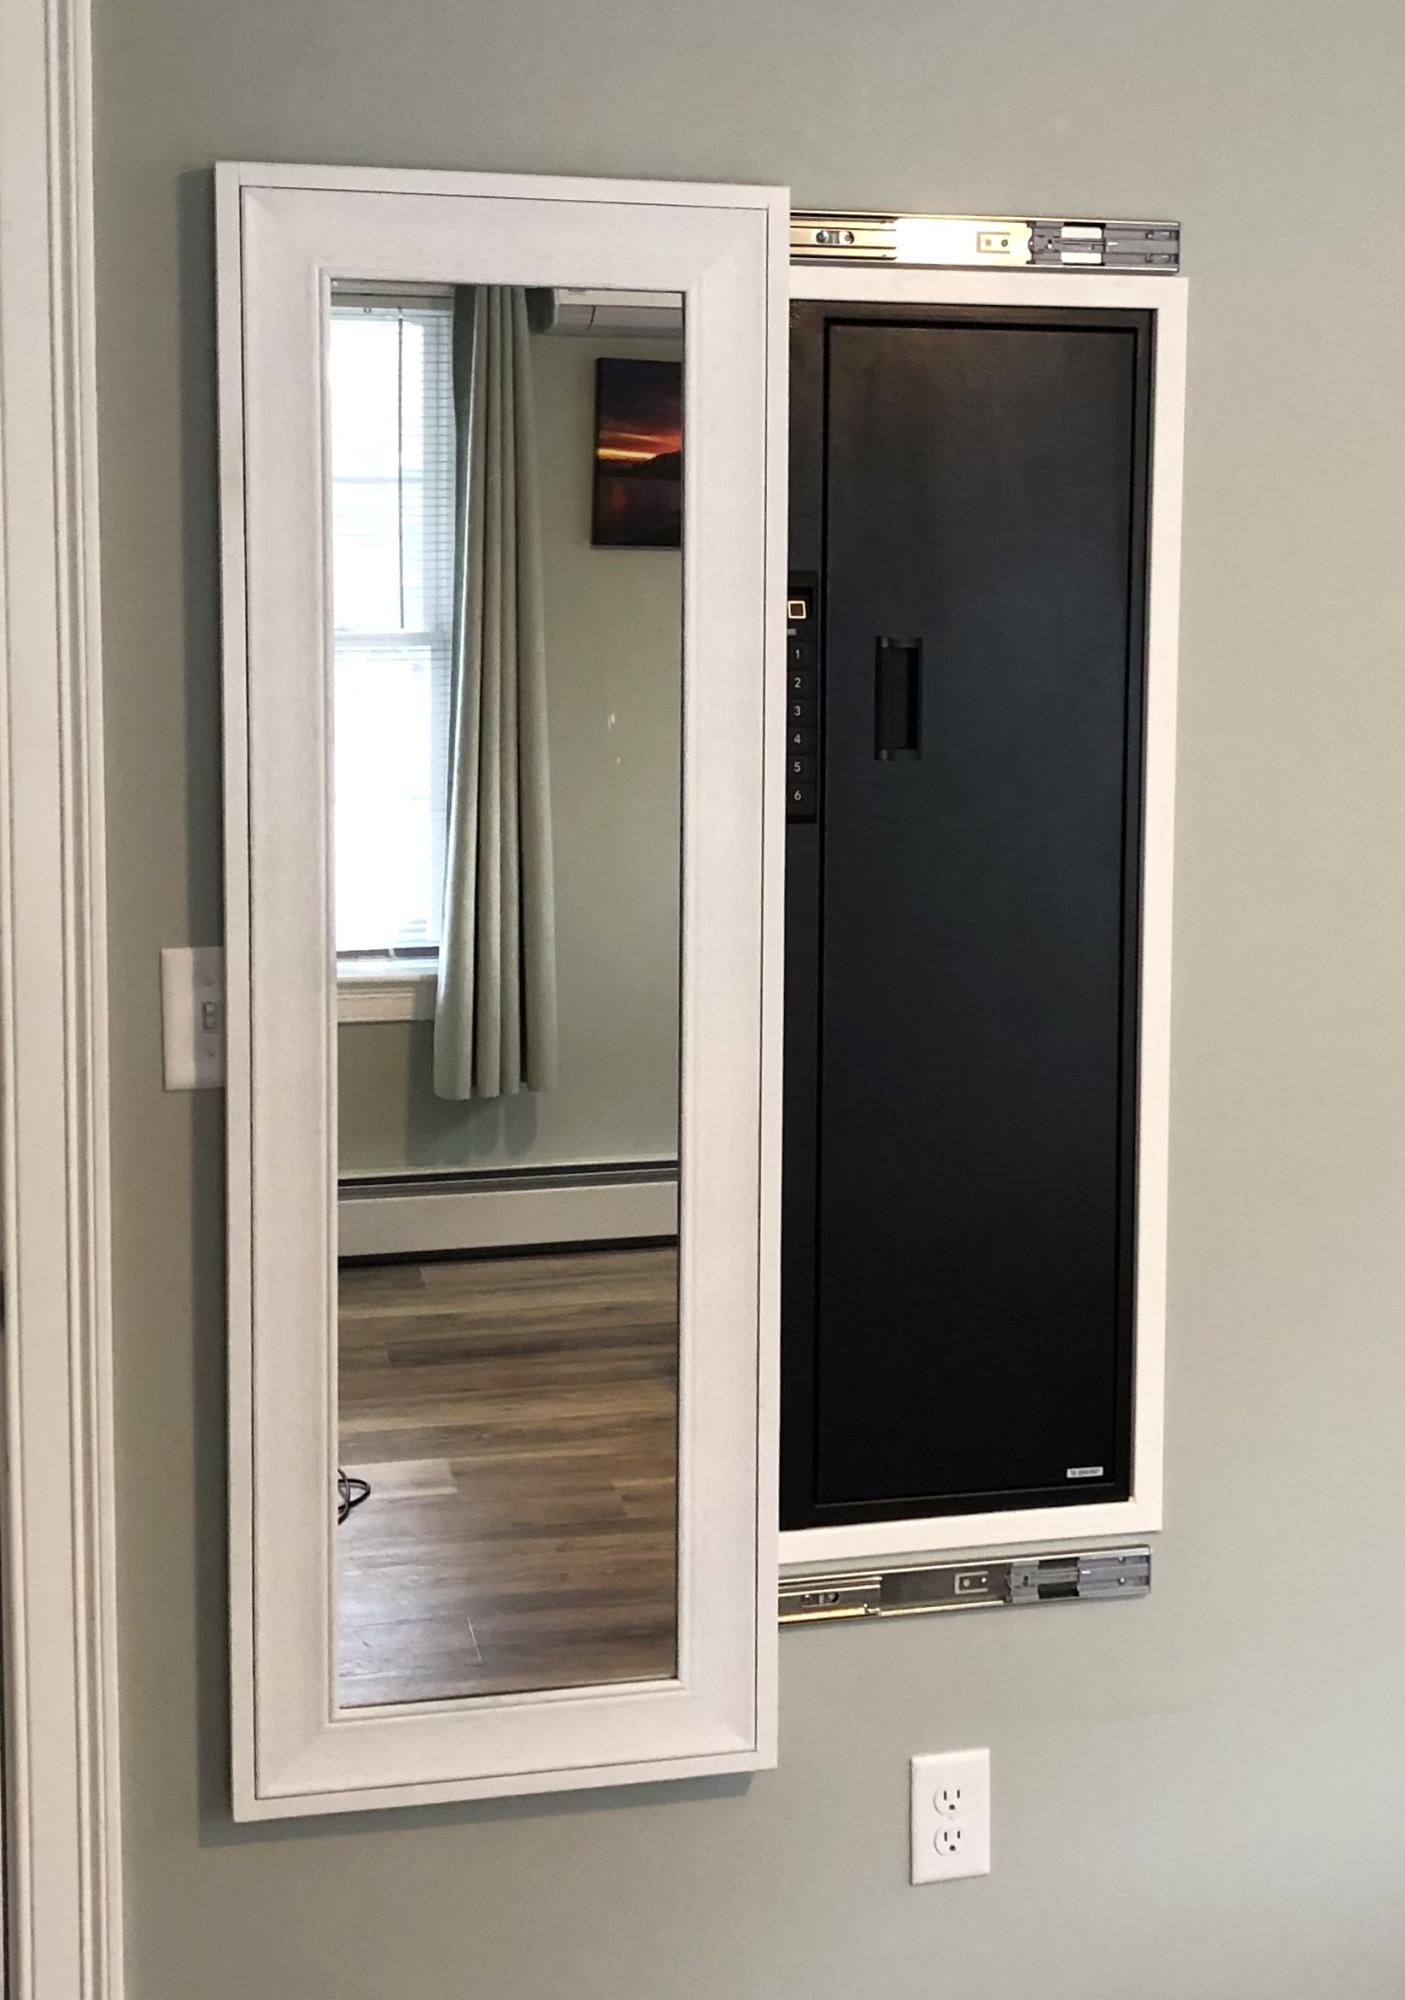
I used your frame idea to install a hidden wall safe for valuables and firearms.
Bill Devereaux
Built from Plan(s)
I used your frame idea to install a hidden wall safe for valuables and firearms.
Bill Devereaux
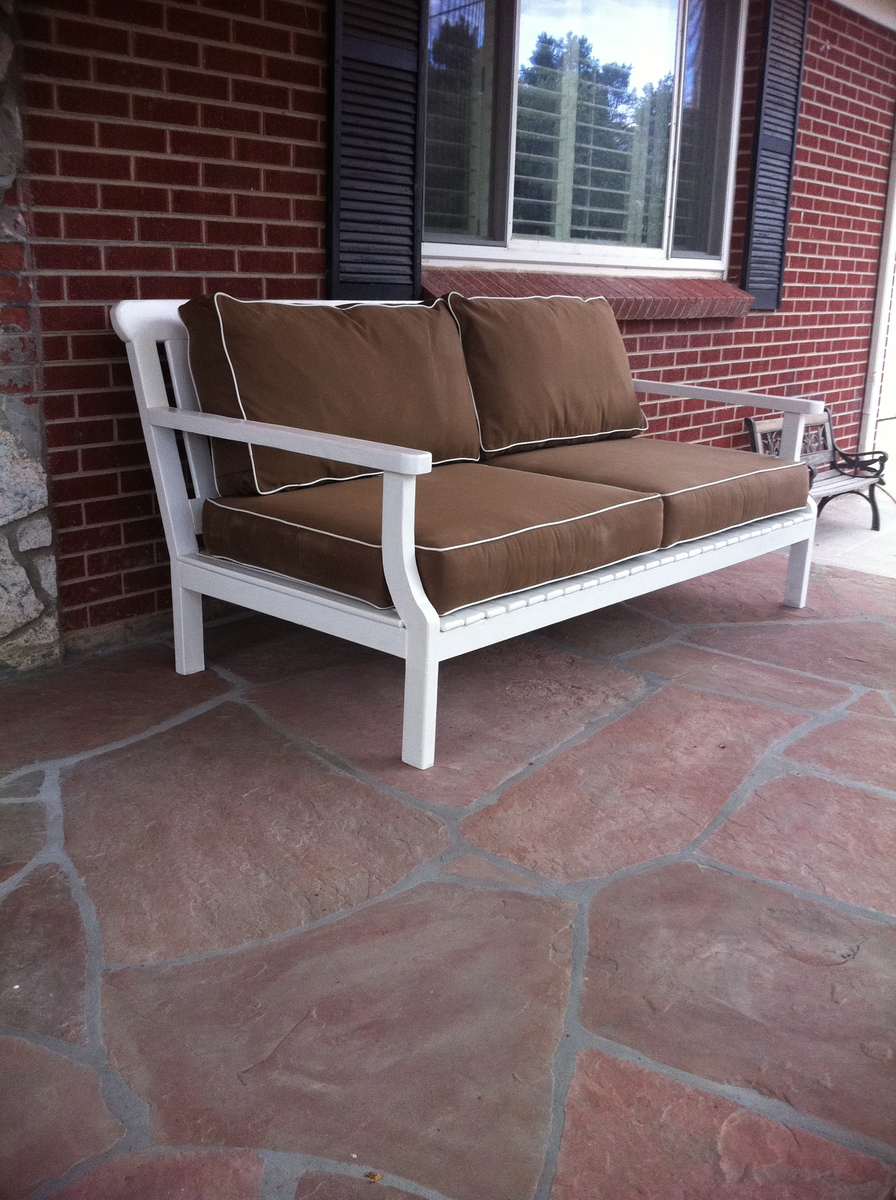
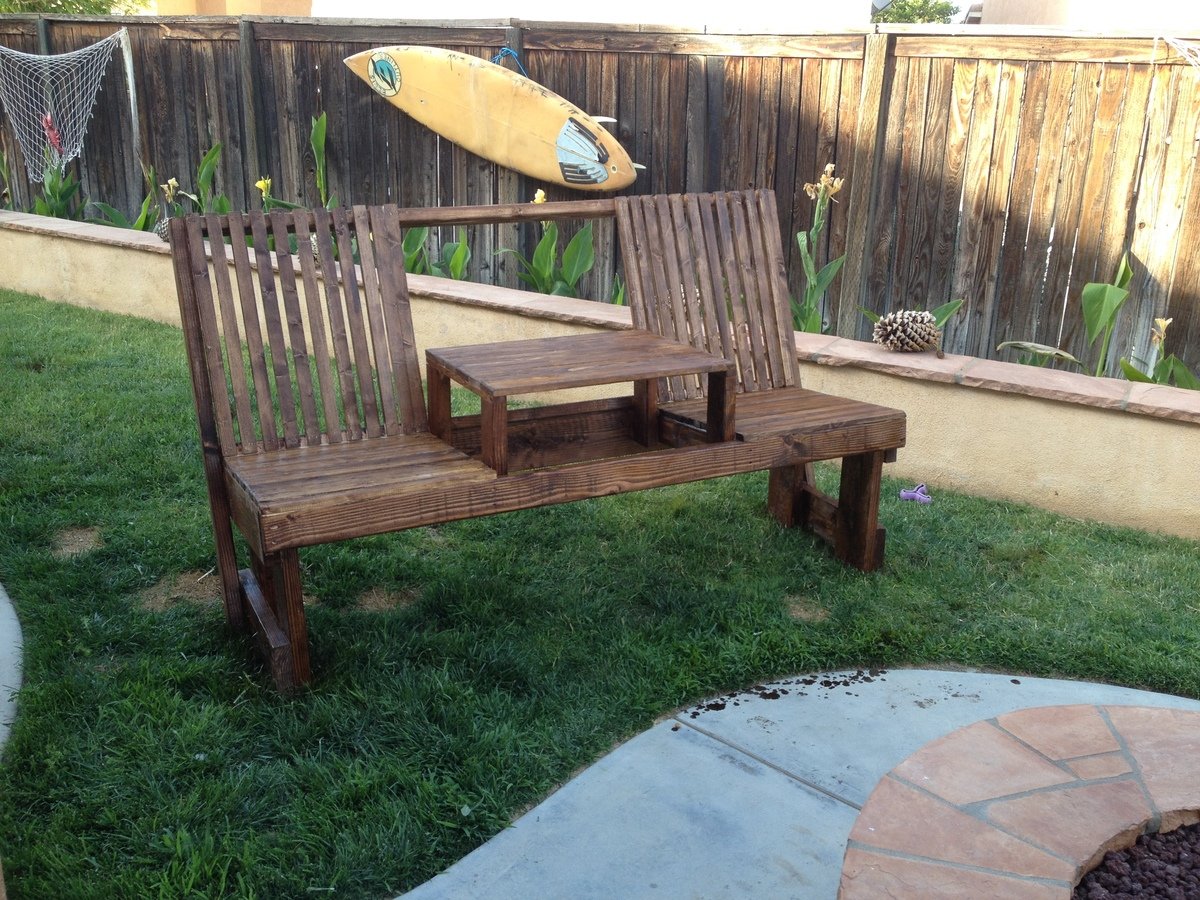
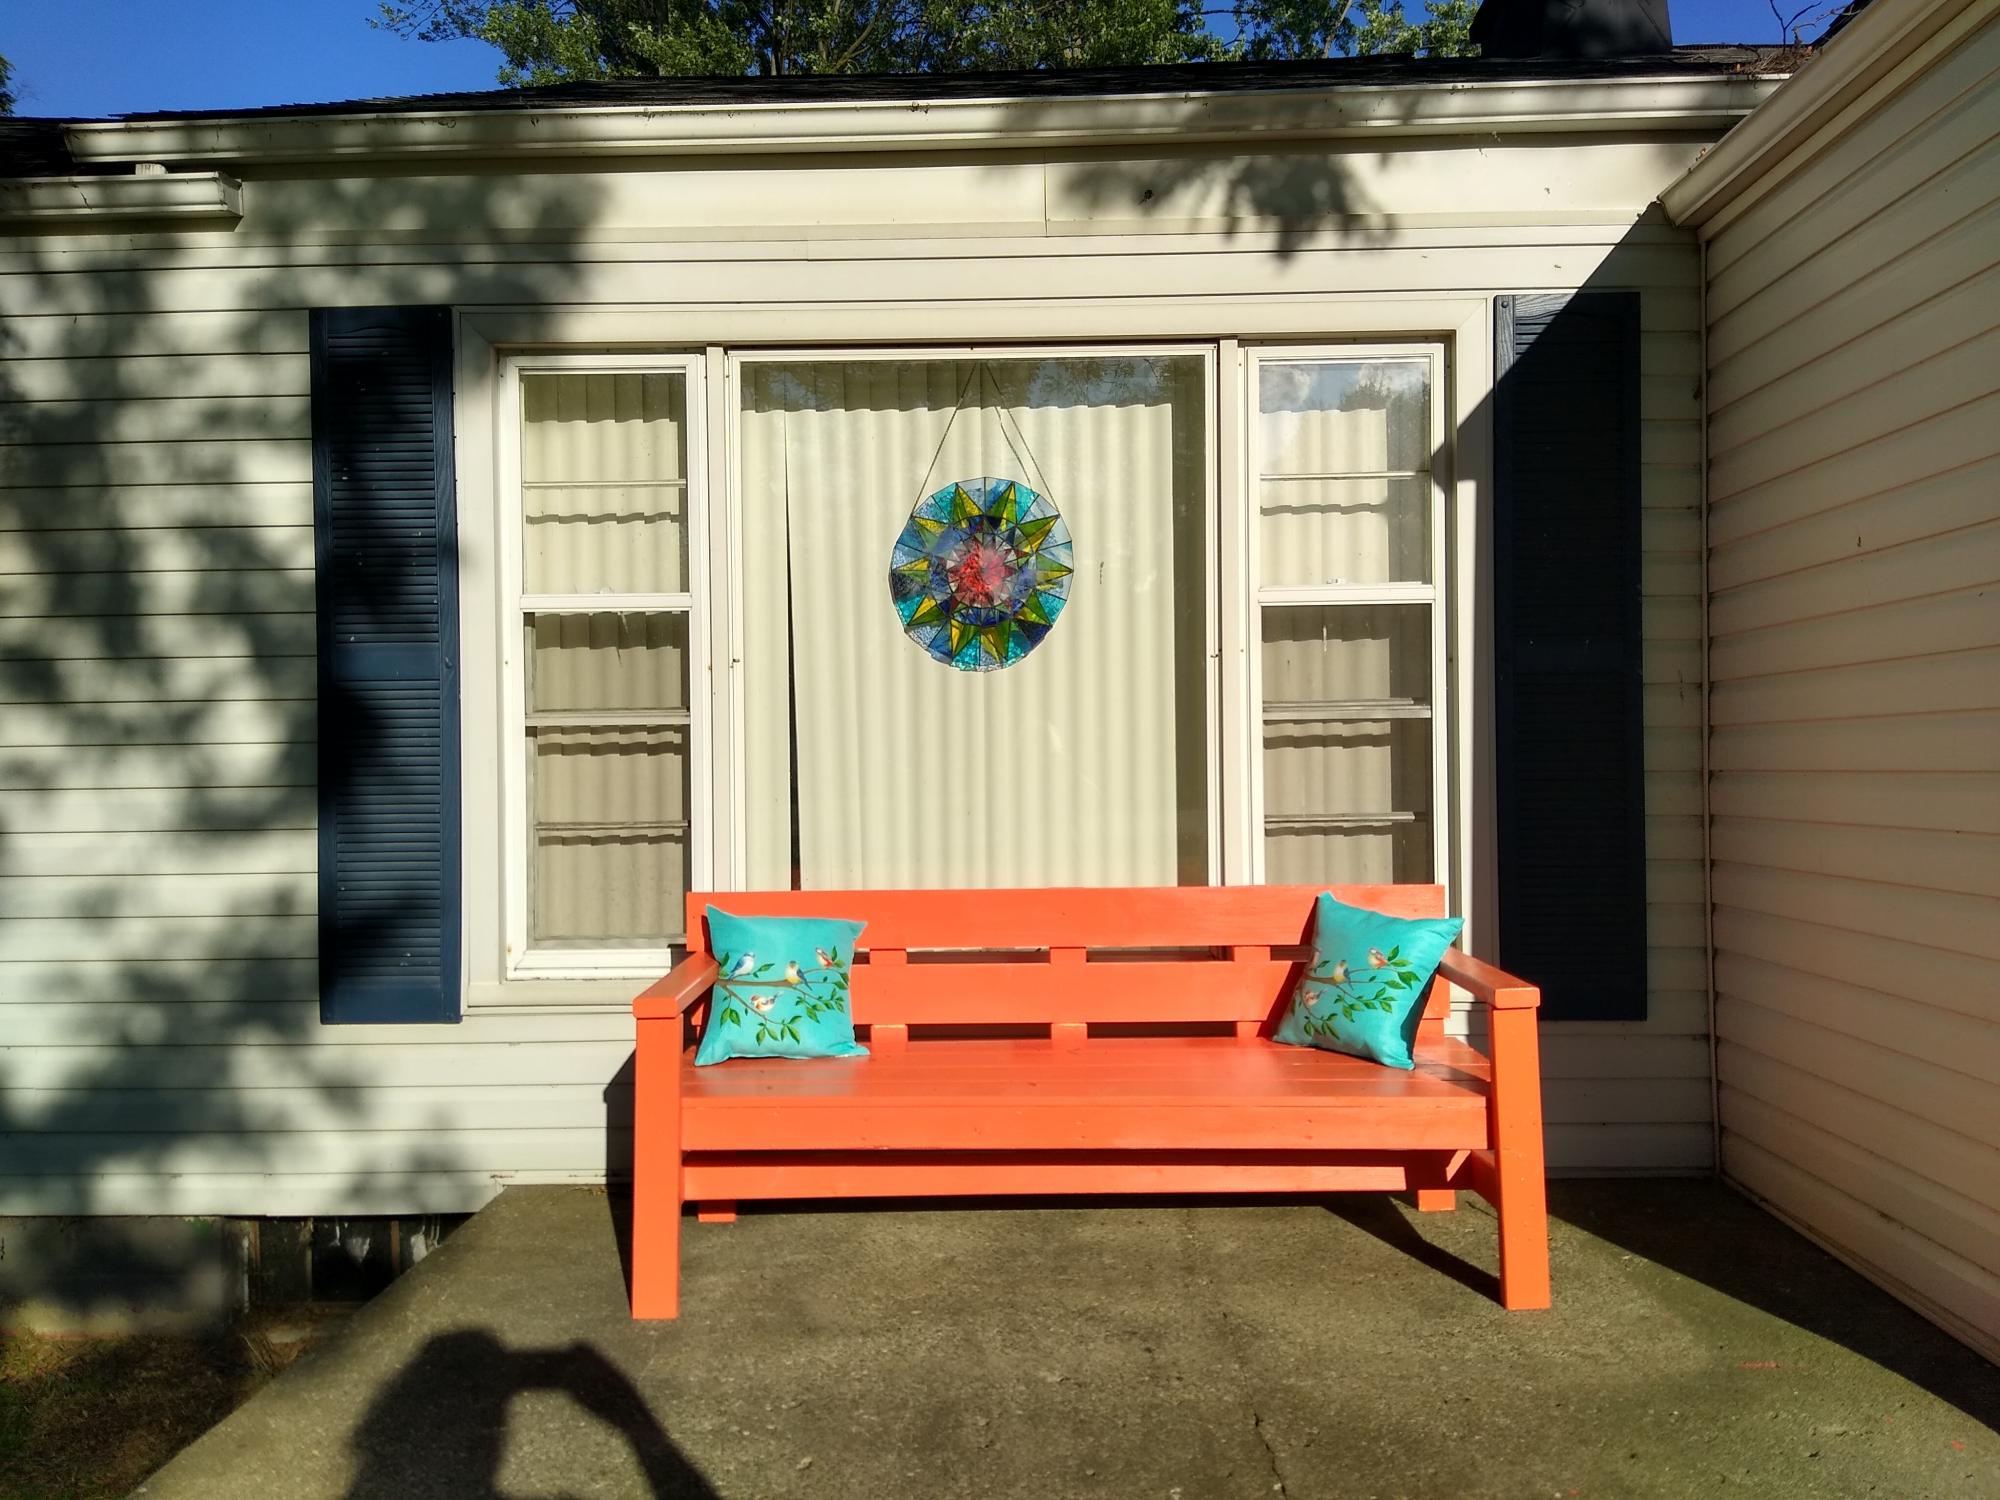
So I love Restoration Hardware but think their prices are exploitative. I found a picture of a couch I really like from there. Turns out it was discontinued so I looked on Ebay and found cushions for it and I just tried to copy the picture as best I could. I considered trying to learn about bending wood for the arms but that would have significantly delayed the process so I just took a 2x6 and cut the curves with a band saw. It worked.
Sun, 05/12/2013 - 09:31
could you please share your instructions for your couch? My email addy is [email protected] thanks!!!
Thu, 05/16/2013 - 11:30
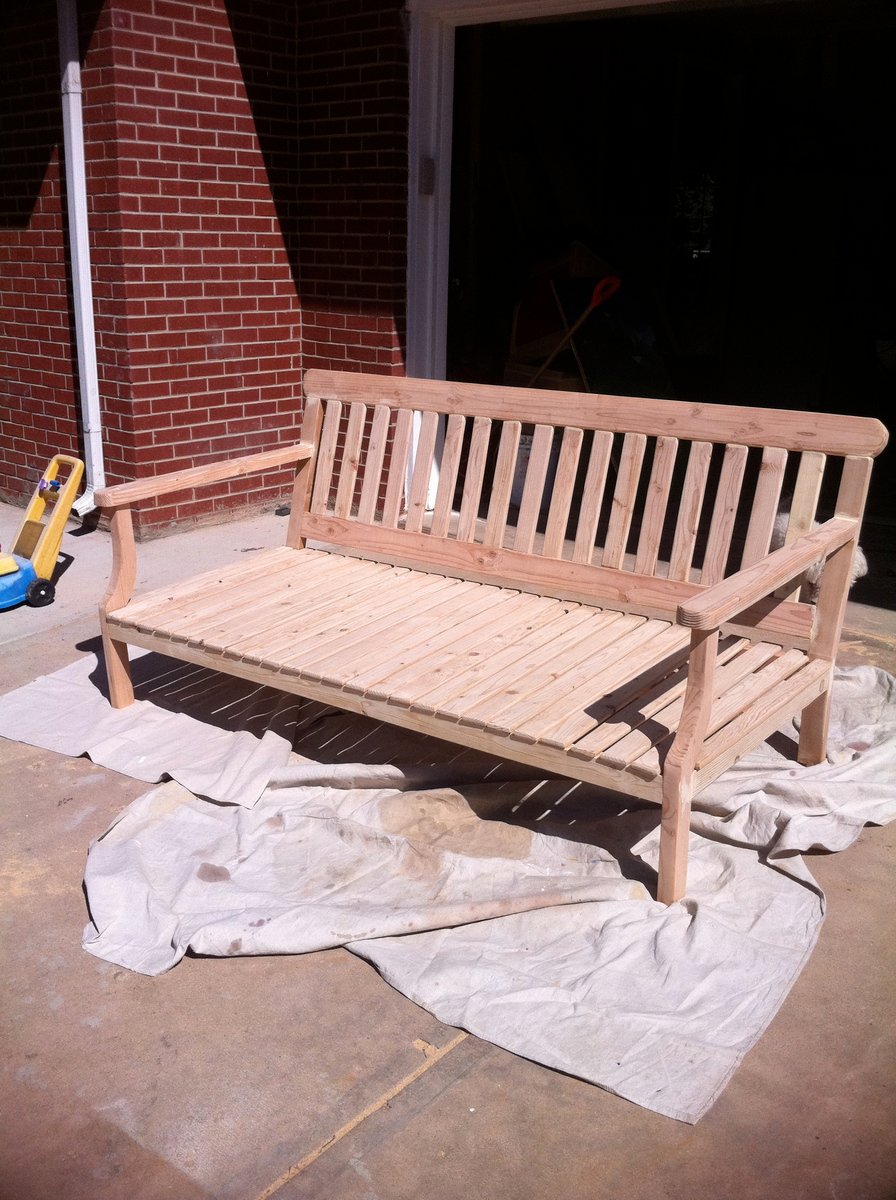
I love your variation!! It looks like a cross between the outdoor sofa and the Bristol? Could you tell us what size wood you used for the different components? I know 2x6 cut to shape for the front leg......but what about the seating area slats (1x3?) and the back rest slats (1x3?) and the back leg/backrest upright (2x4?) and the top of the back rest(2x4? with radius end) and the box for the seating area (2x4?) You did a truly amazing job!!!!!!! I would love to see more pictures if you have any showing your progress through the build! [email protected]
Tue, 05/13/2014 - 12:51
I like the way you curved the front legs.
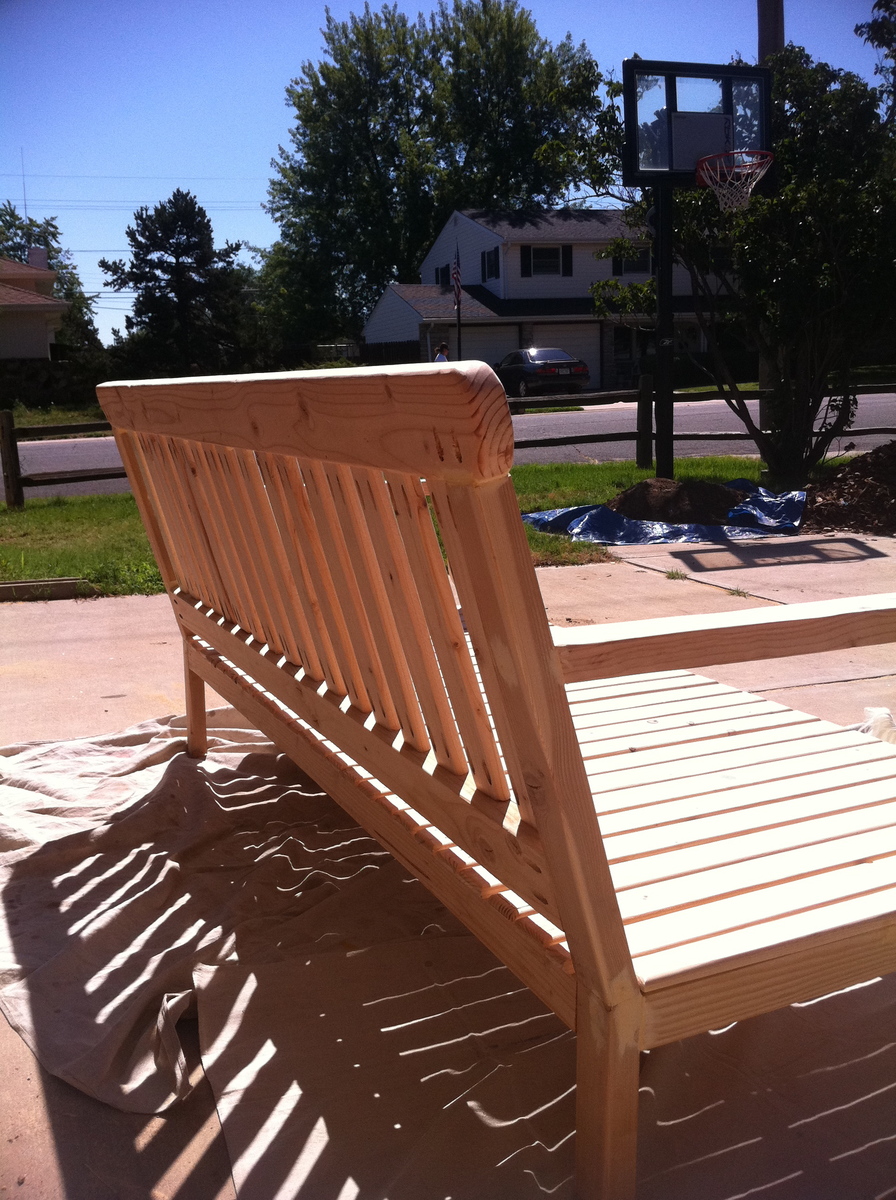
I am wondering how you curved the back legs/backrest?

Sun, 07/13/2014 - 09:42
Great job. Since its now 2 years later, how are your joints holding up at those
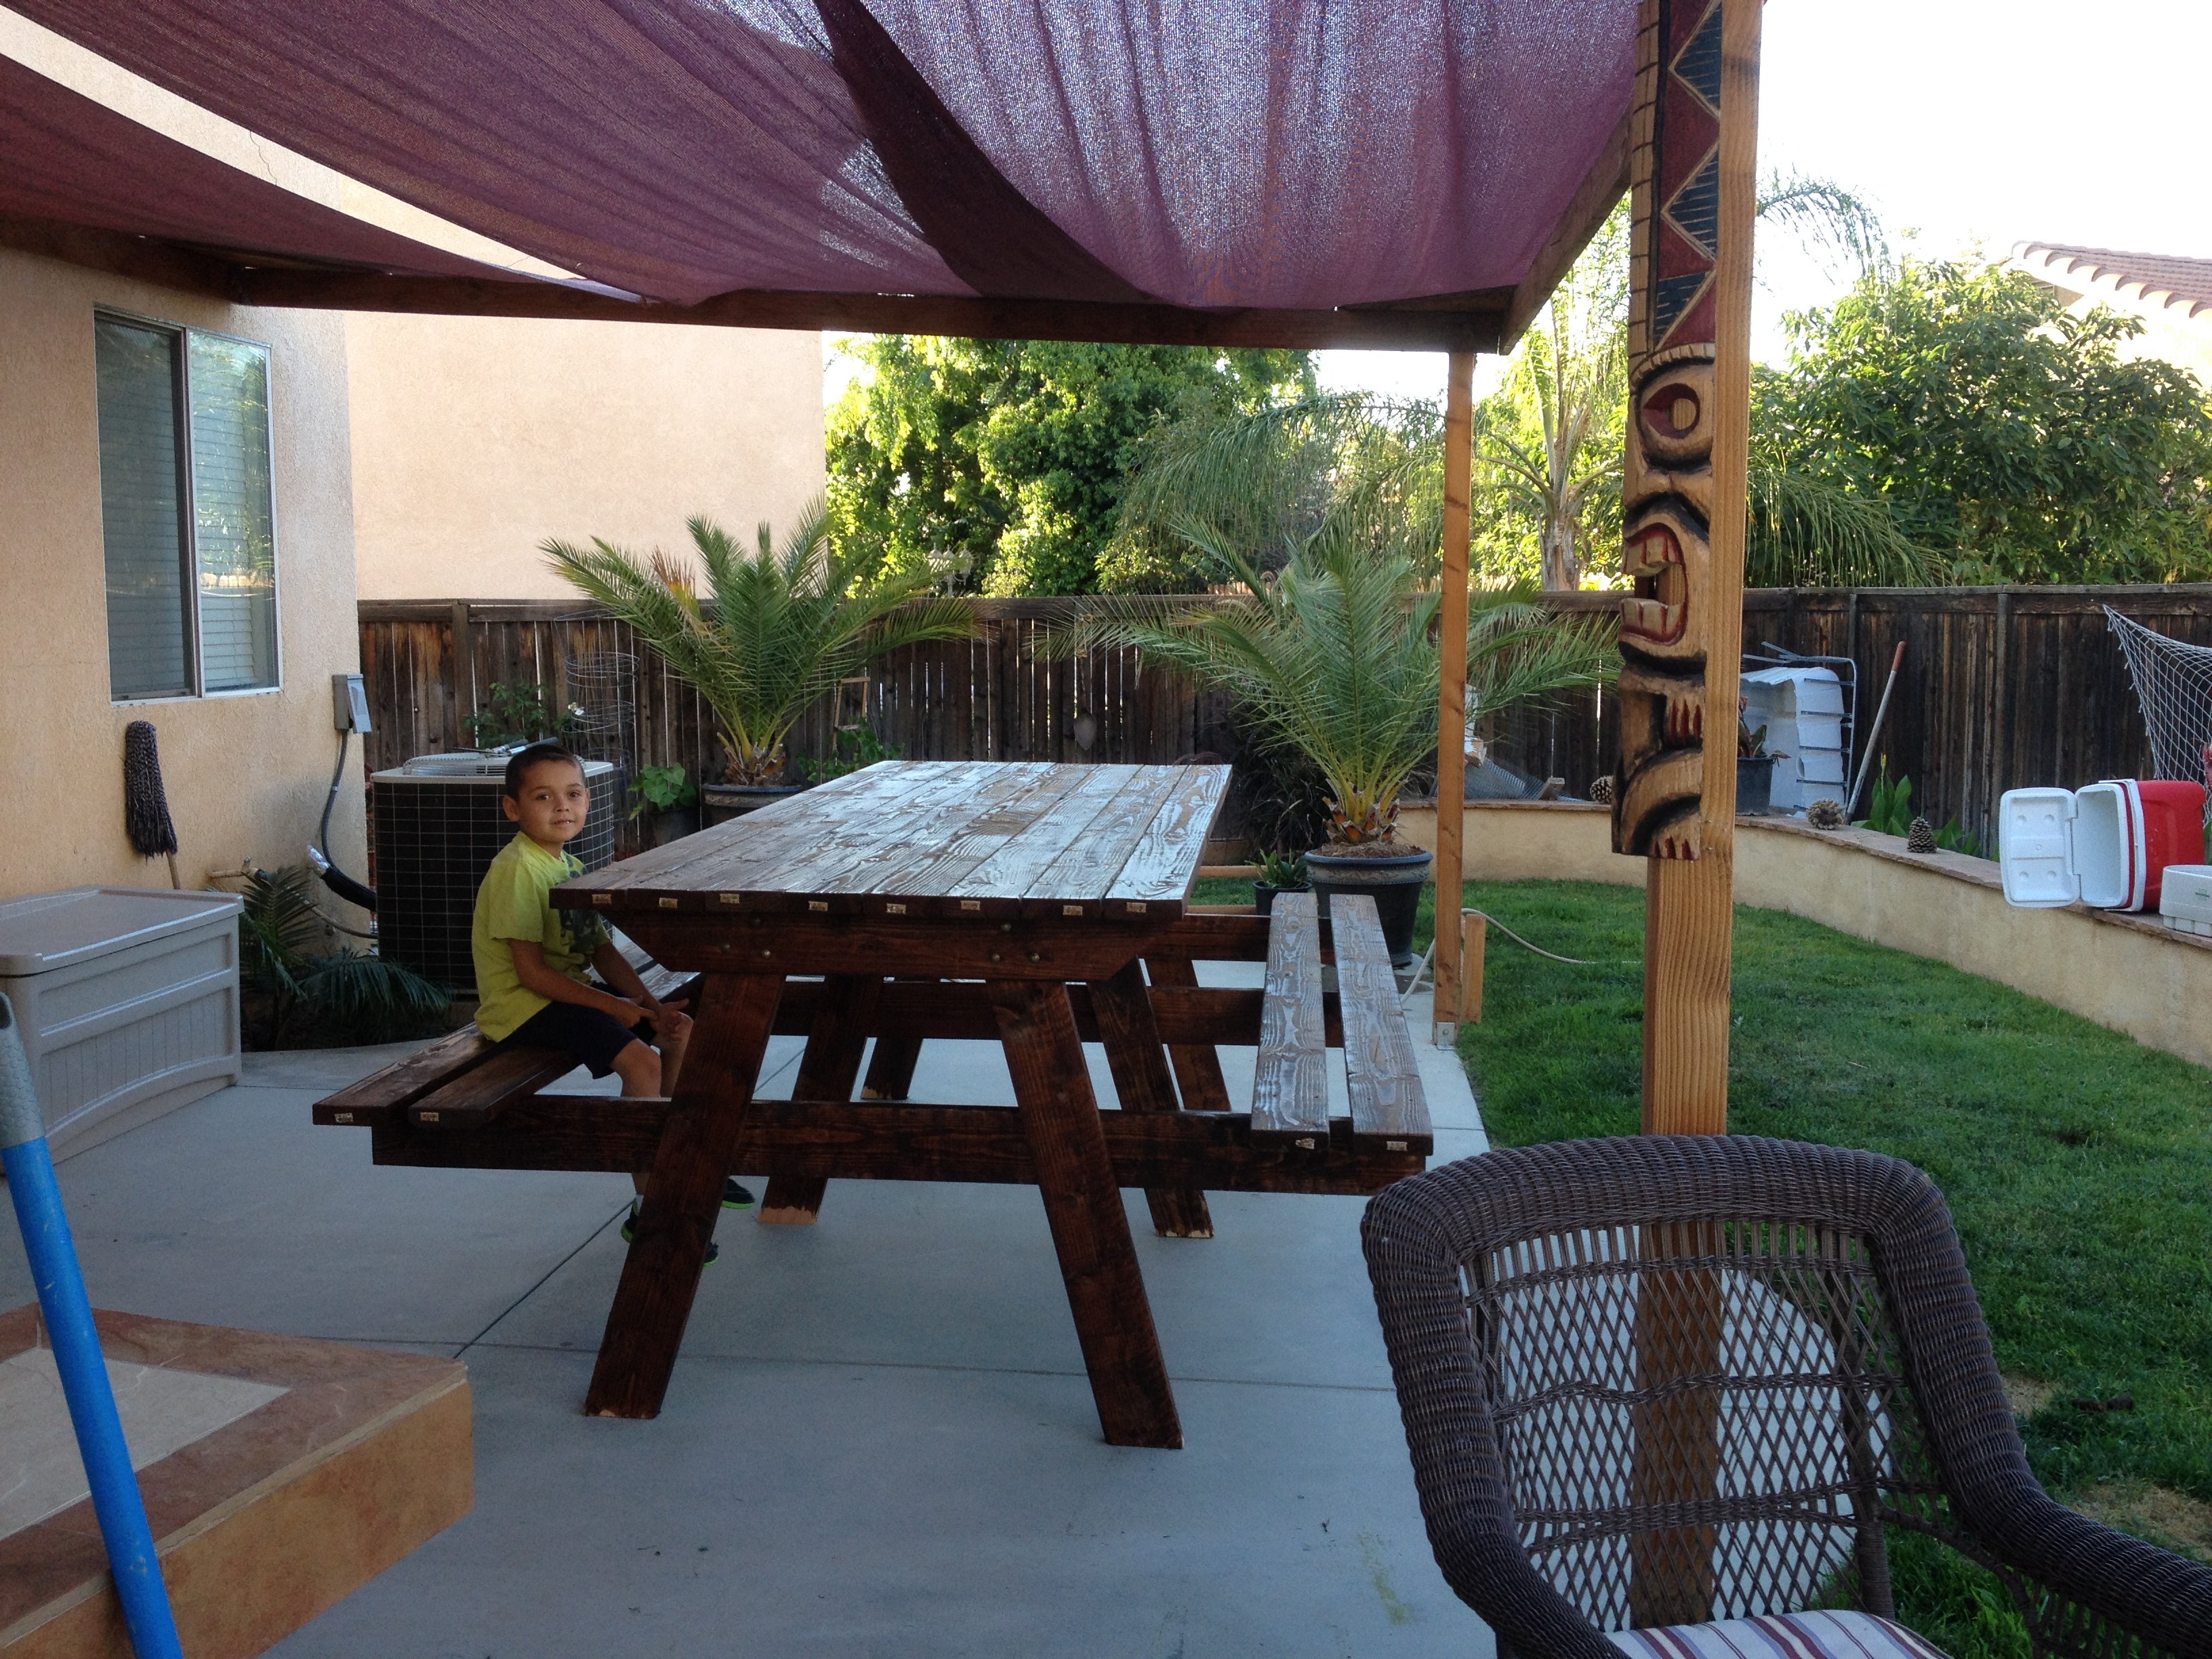
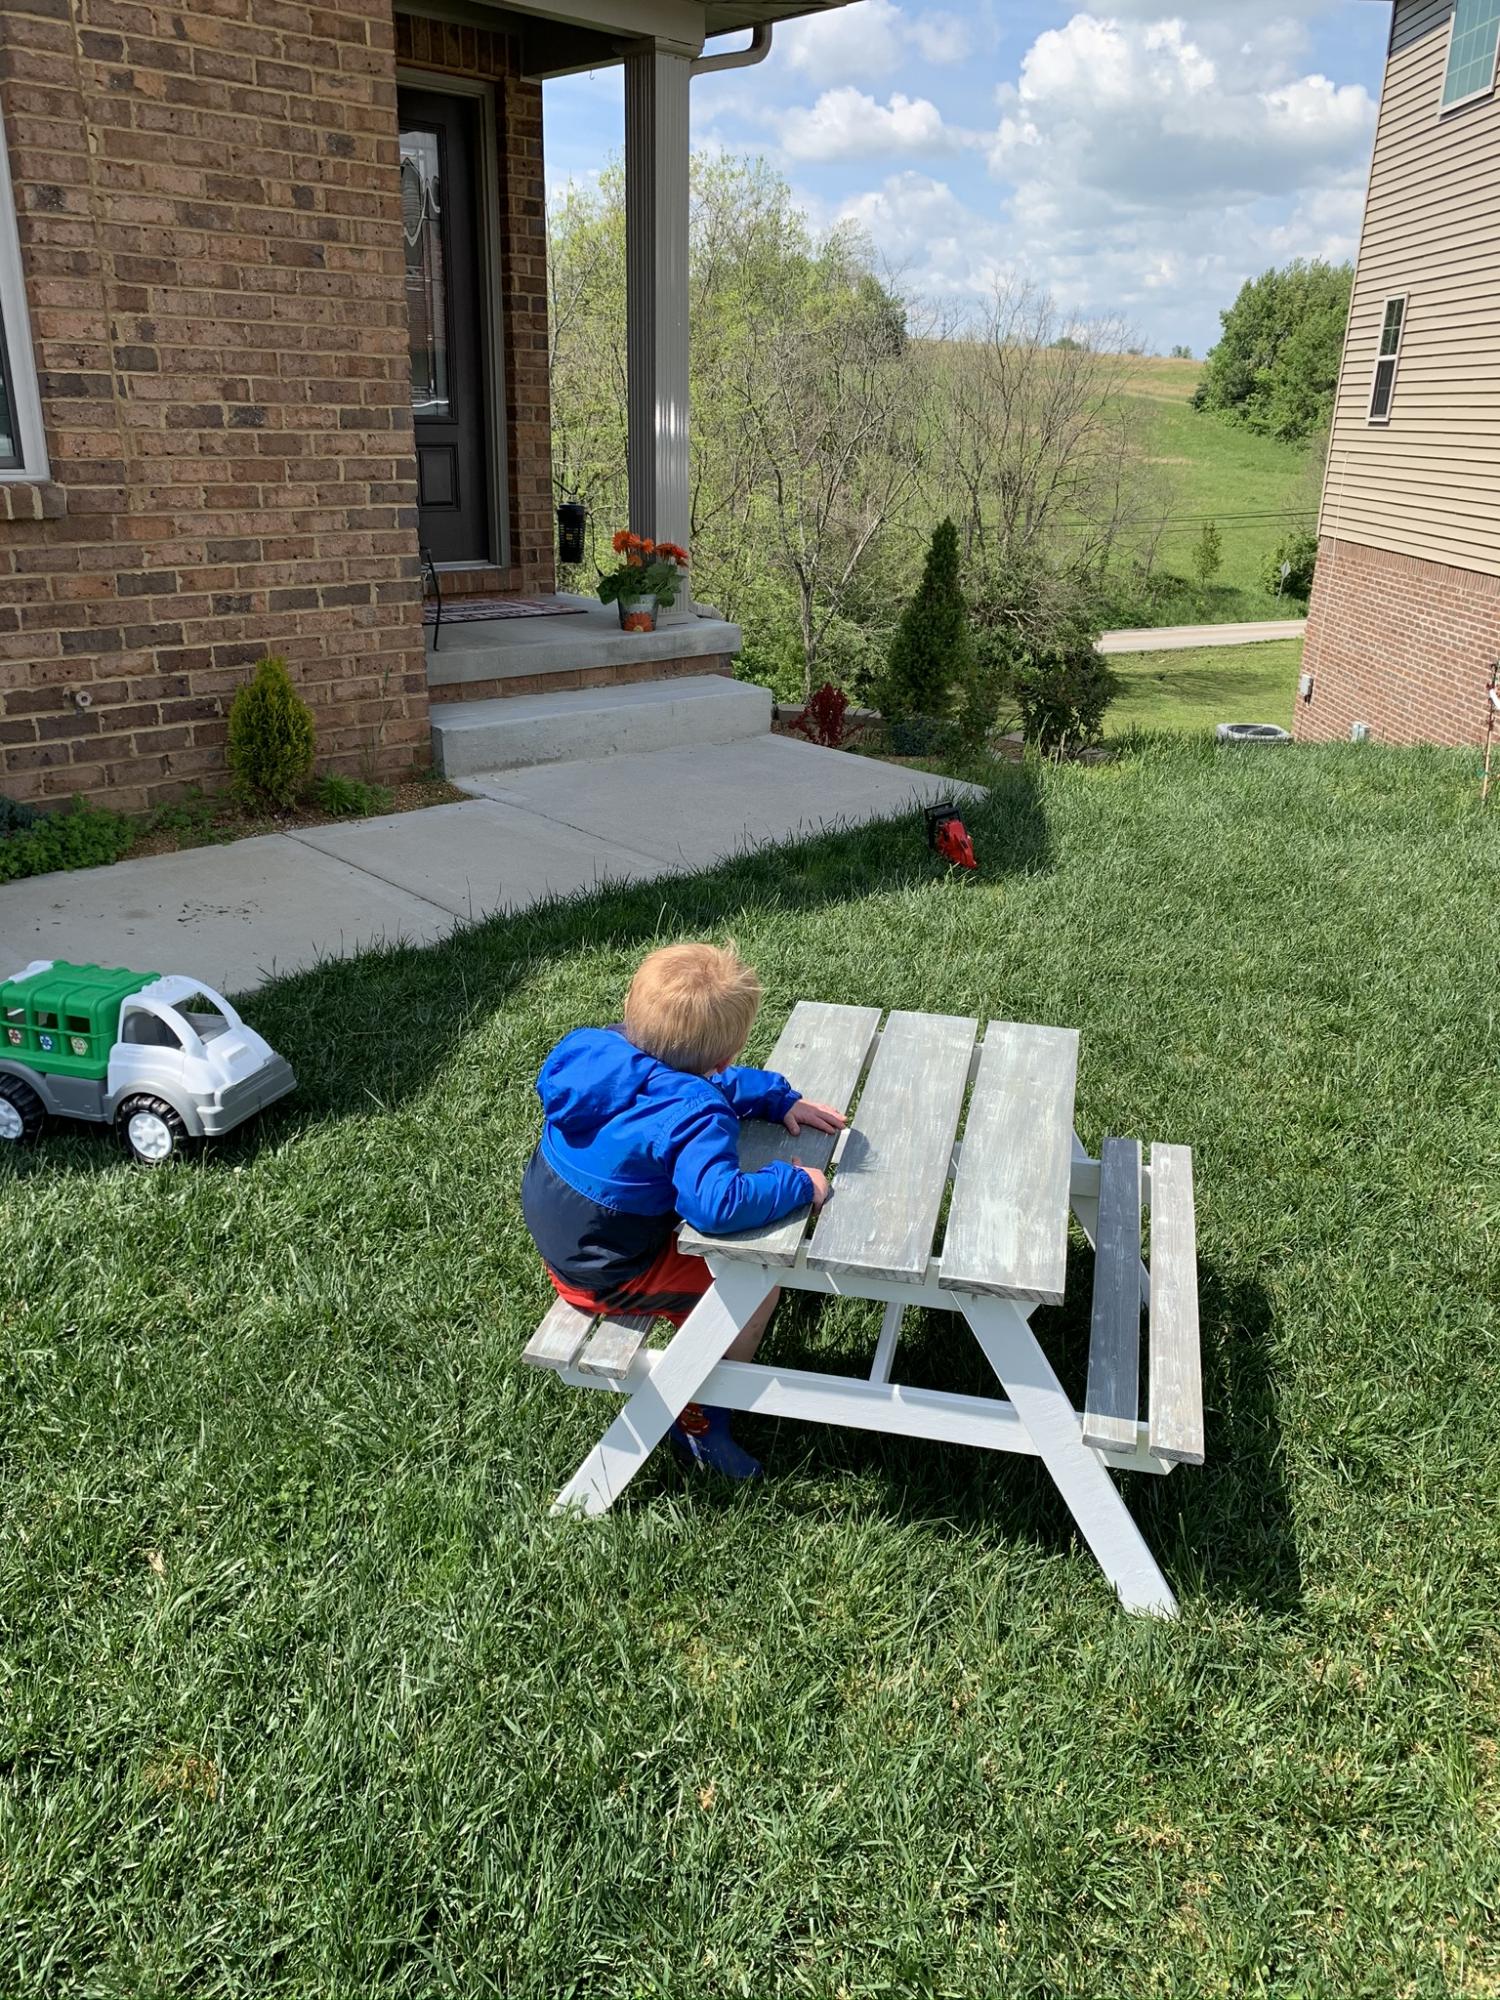
This is my 10ft long picnic table (which is bar height) that we built for the patio. We needed better seating for parties and BBQ's. I will post the plans later! Also featured is the couch that we designed and built with the center table.
Thu, 04/02/2015 - 17:06
Table looks great exactly what I need for my patio, do you happen to have the plans?
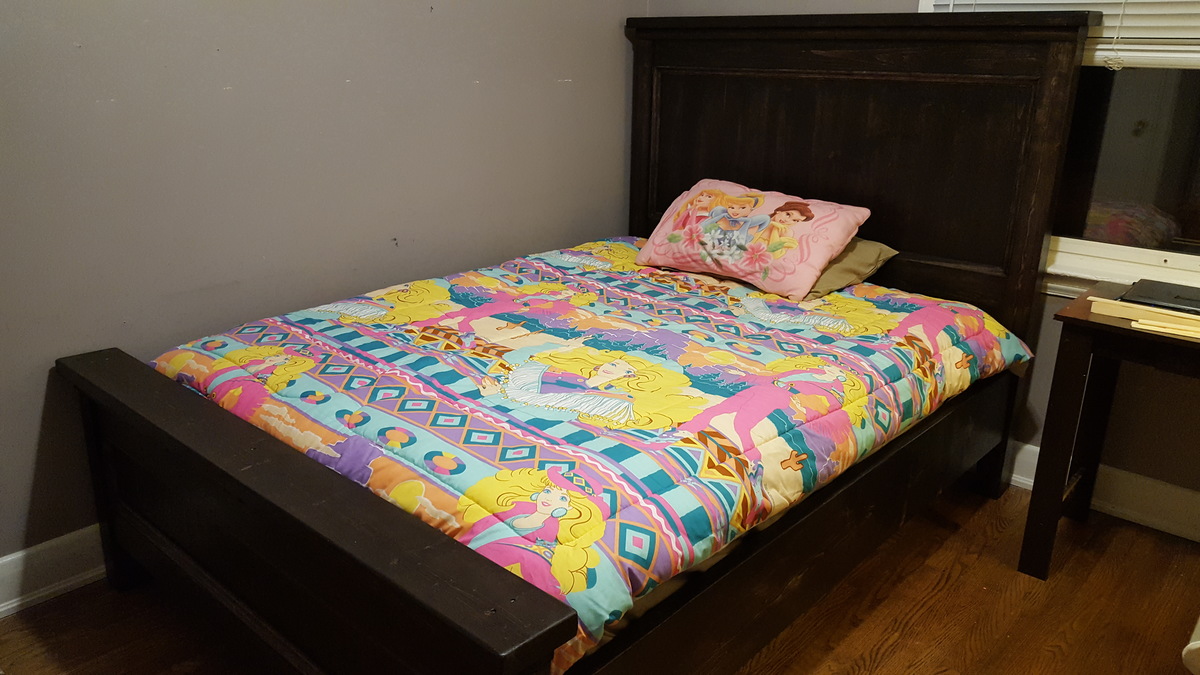
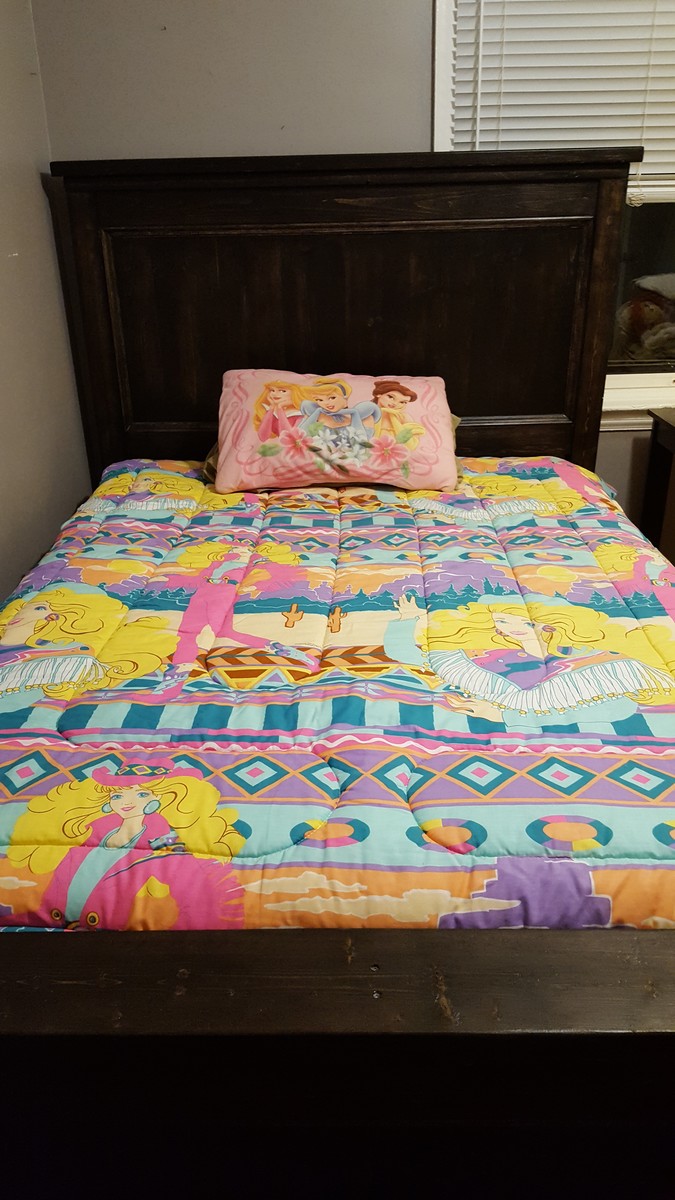
This was my first Farmhouse bed! I am totally in love with how it turned out! These plans were very detailed and easy to follow. I added some fancy trim like in the Mom's Fancy Farmhouse bed. I also changed the way I attached the side rails. I used siderail supports from Lee Valley as I wanted to be able to dismantle the bed for easier moving if needed.
I am also thinking of adding a trundle to it.
Thank you so much Ana, for these wonderful plans.
I have made numerous items from your site and will continue to do so.
Fun to make and so pretty!
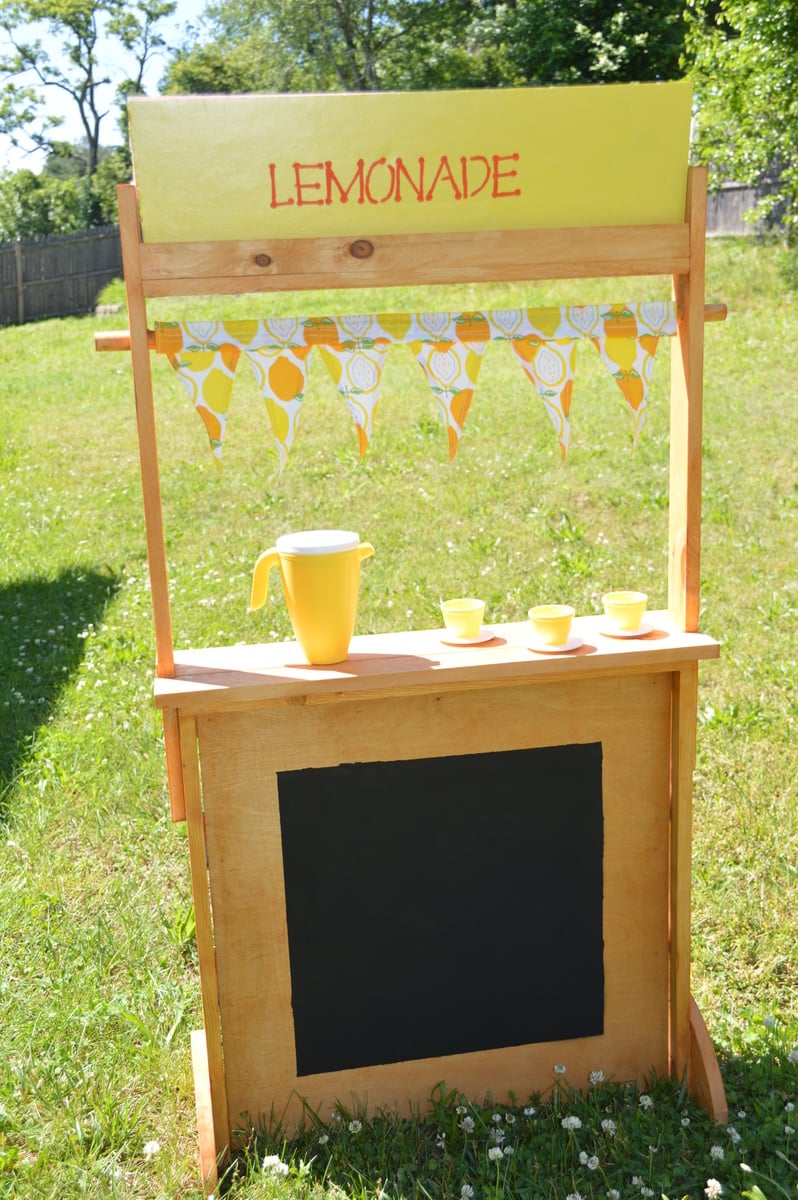
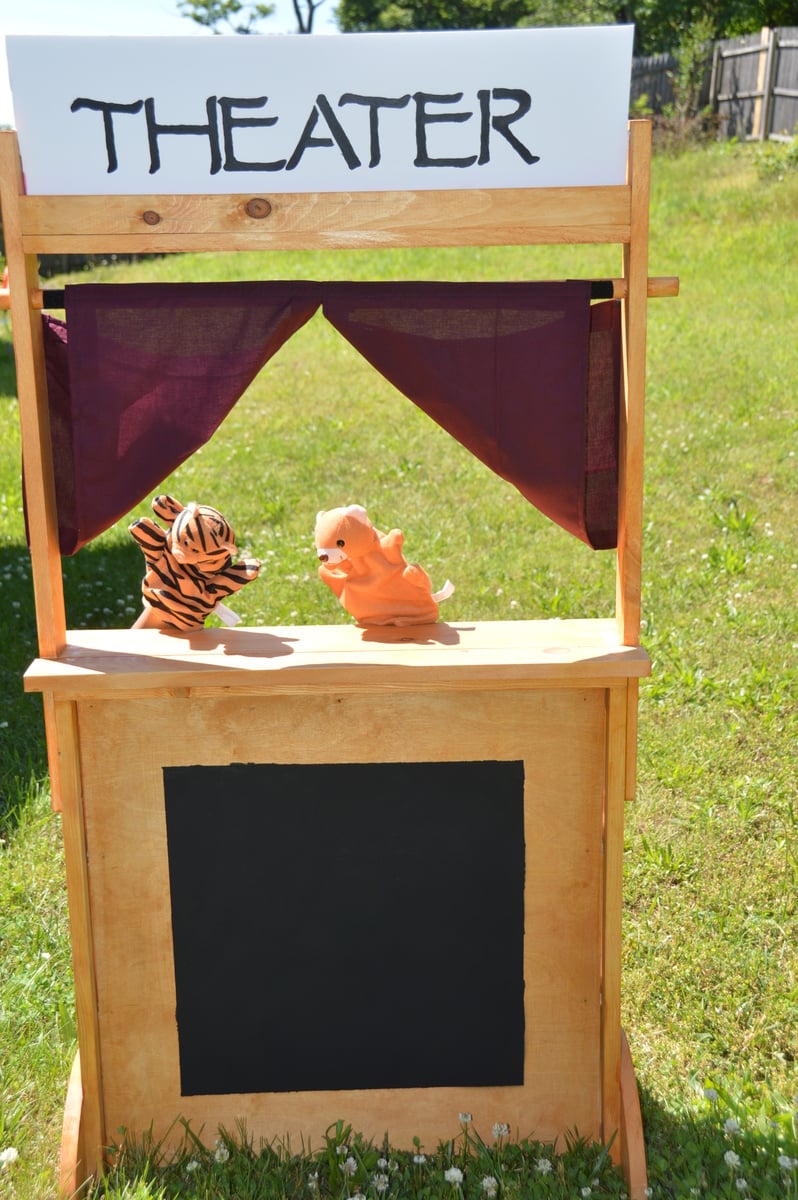
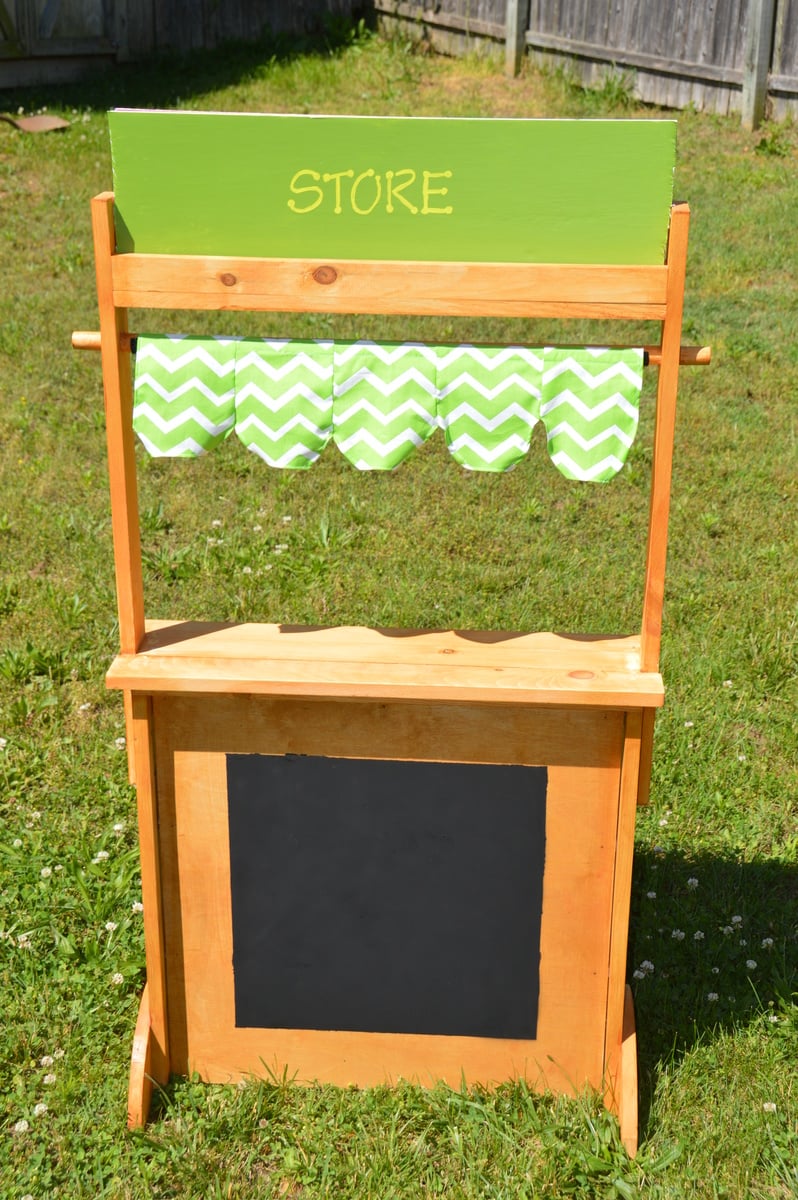
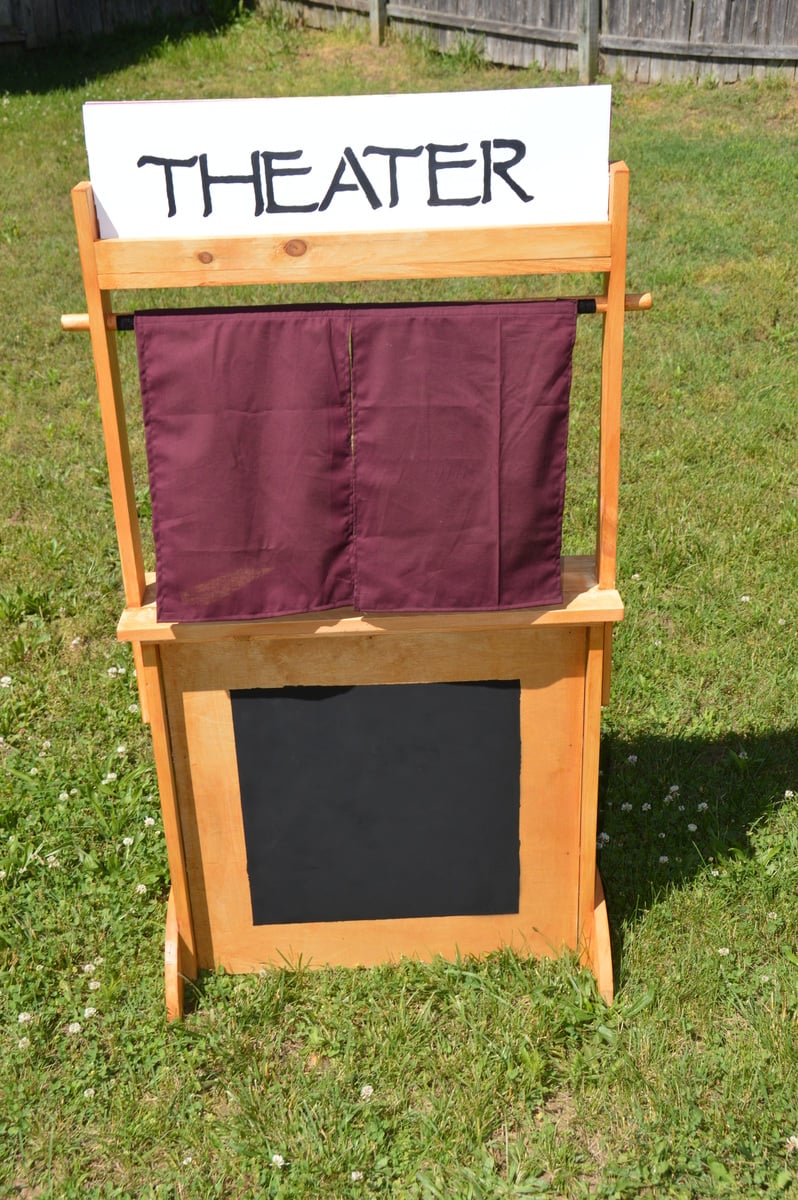
My husband and I made this completely fabulous DIY playstand for my niece's birthday. It turned out fantastic. Ana's plans were straightforward and easy to follow. The most difficult part was making the buntings, but even those turned out fine. The only recommendations that I have beyond what is in Ana's post are use a good piece of plywood since it isn't easy to sand, and to put the extra velcro for holding back the theater curtains on the back. My cost is a little higher than the one on the original plans, but I also factored in the cost of the different fabrics, velcro, etc.
You can read more about it on my blog.

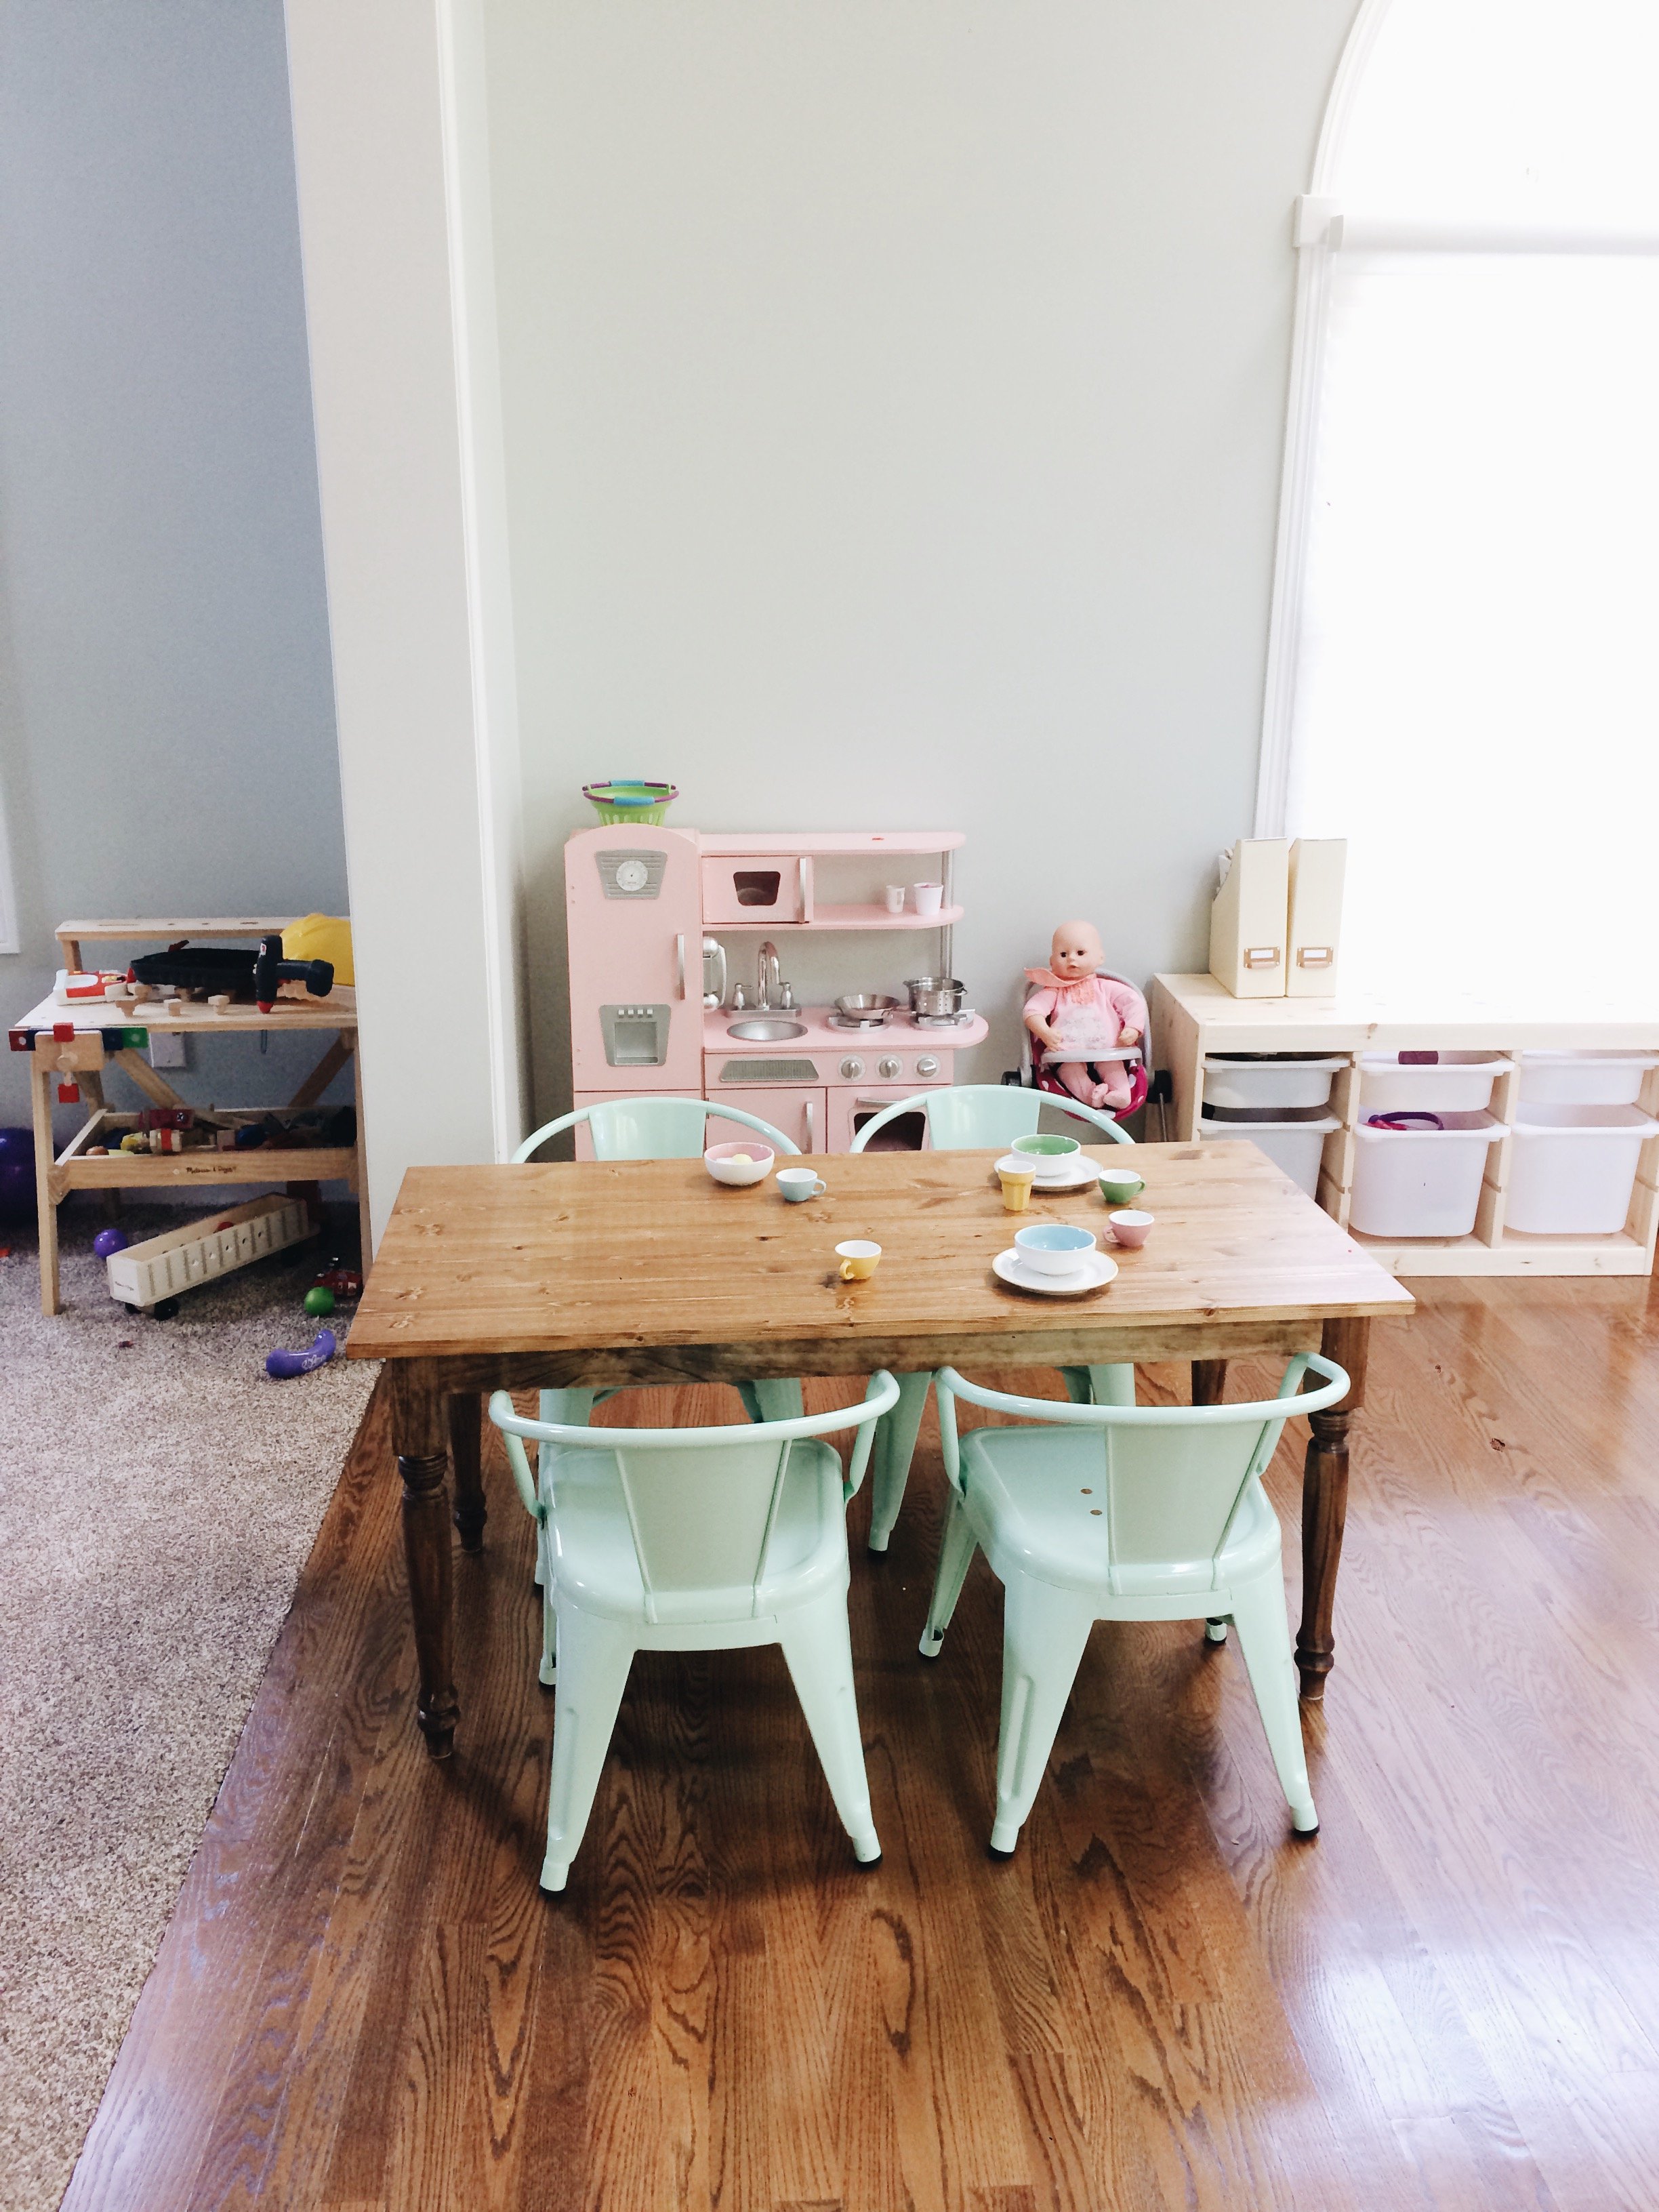
My husband took care of cutting, drilling and putting together the table. I took care of sanding, staining and sealing. It was an easy project. Thank you for the plans, our kids love this table!
This was my first Ana White build and I love it! Built all by myself in 4.5 hours. Decided to paint it to match the plaster in our pool since it will be located close by. I am very pleased with how quickly it came together and how sturdy it is. I did an an additional 2x4 brace in the center of each top to help keep the 1x4's straight and hopefully prevent sagging.
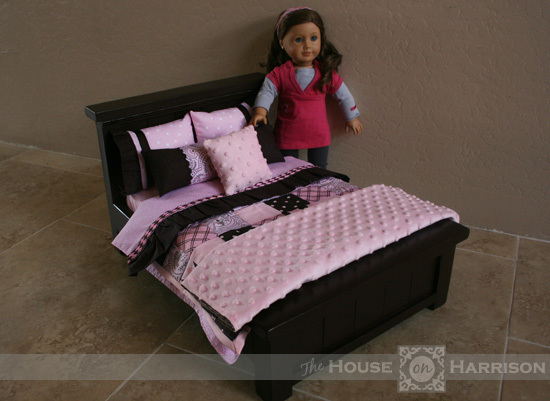
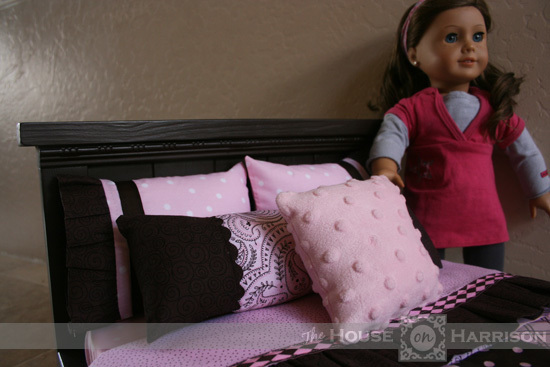
This was a quick and easy project we made with all the scrap wood in the garage. It went together in a few hours, and made a great gift for one of my daughter's friends. It was so much cuter than any of the American Girl doll beds at the store, and WAY cheaper, too.
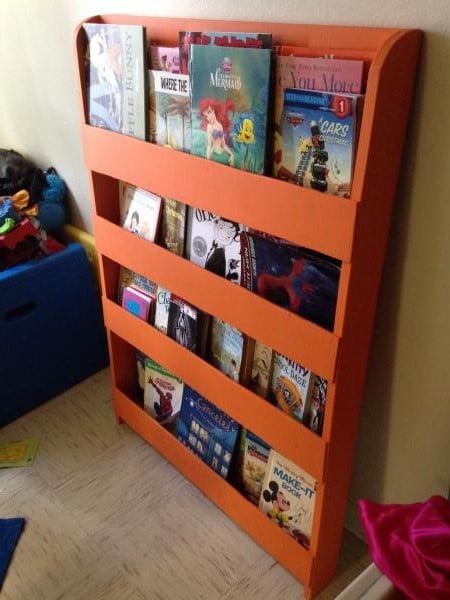
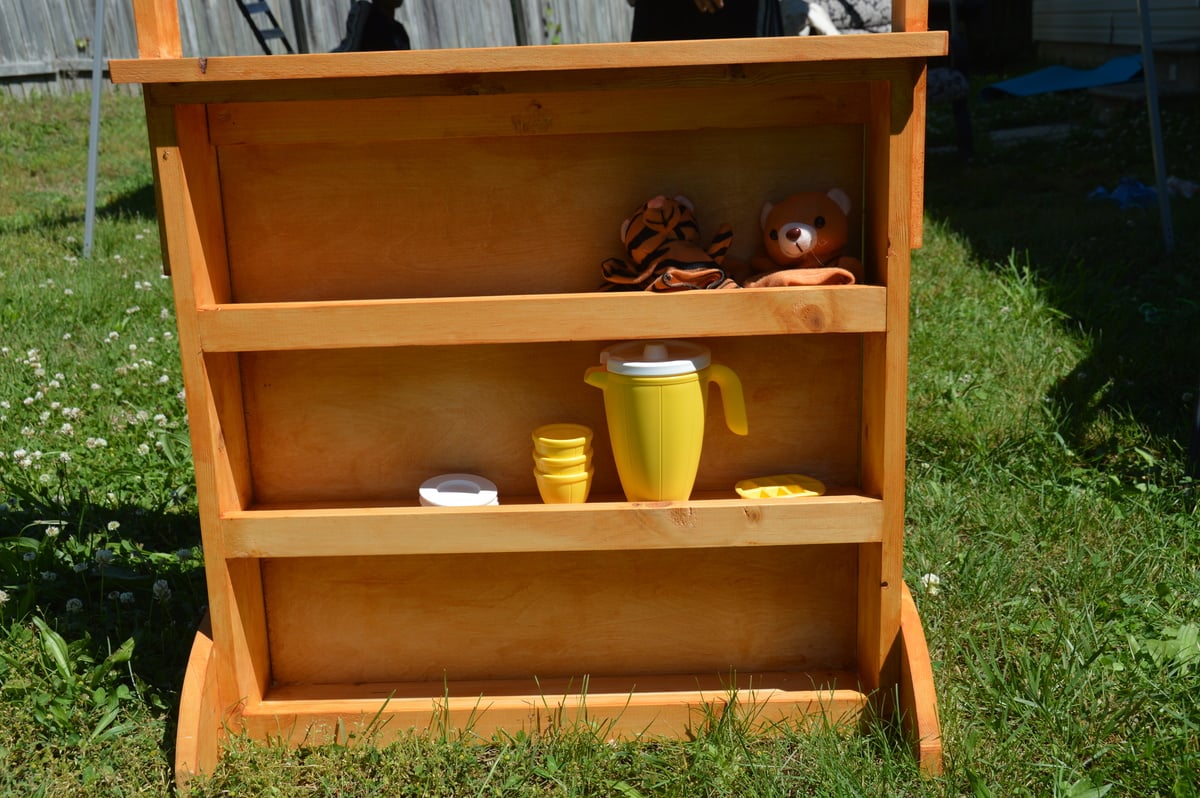
This was our first family project. My husband has built a lot of things, but I've been so inspired I wanted to start building things too! Our two older kids were involved as much as possible (hence the very orange color) and we had a lot of fun. I definitely need some practice cutting straight lines haha, but practice makes perfect! My kids love to read and it is eye-catching as it is functional!
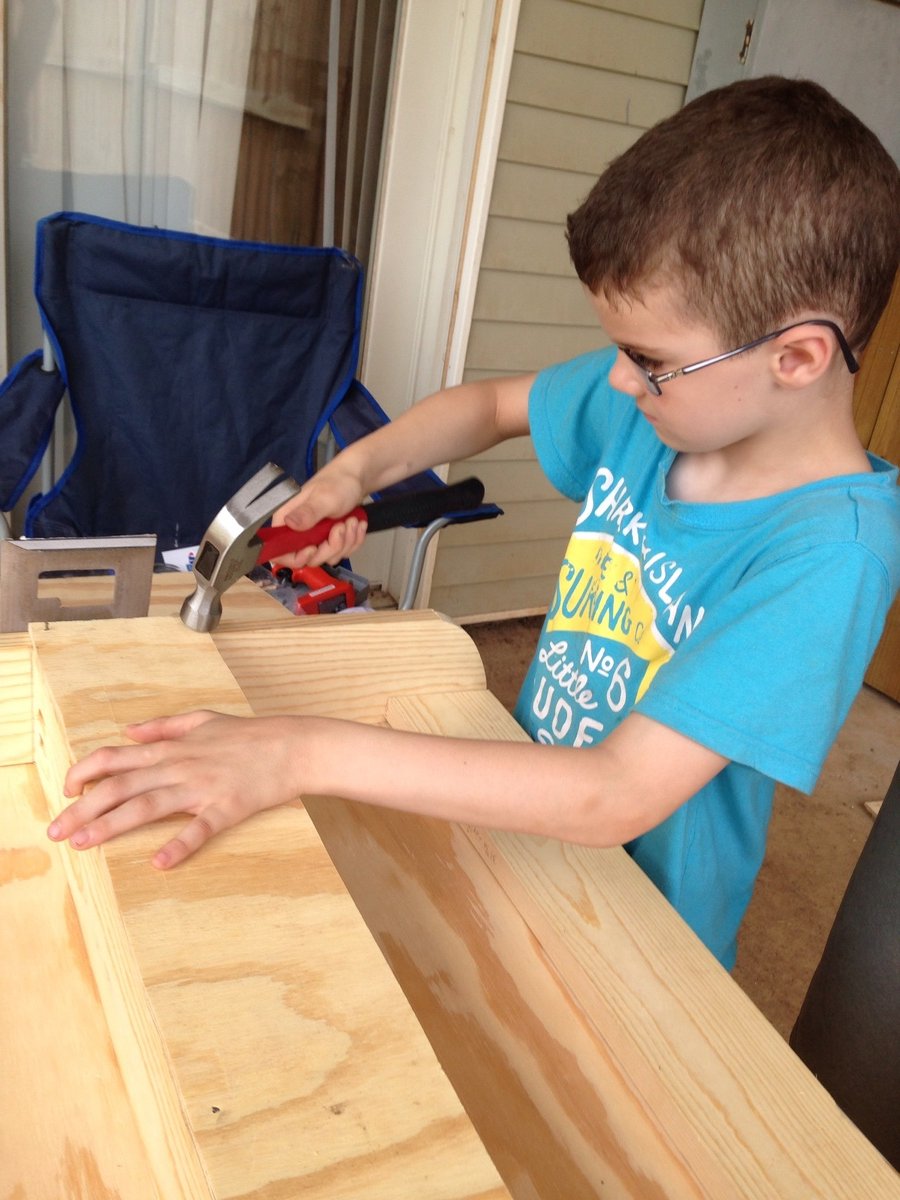
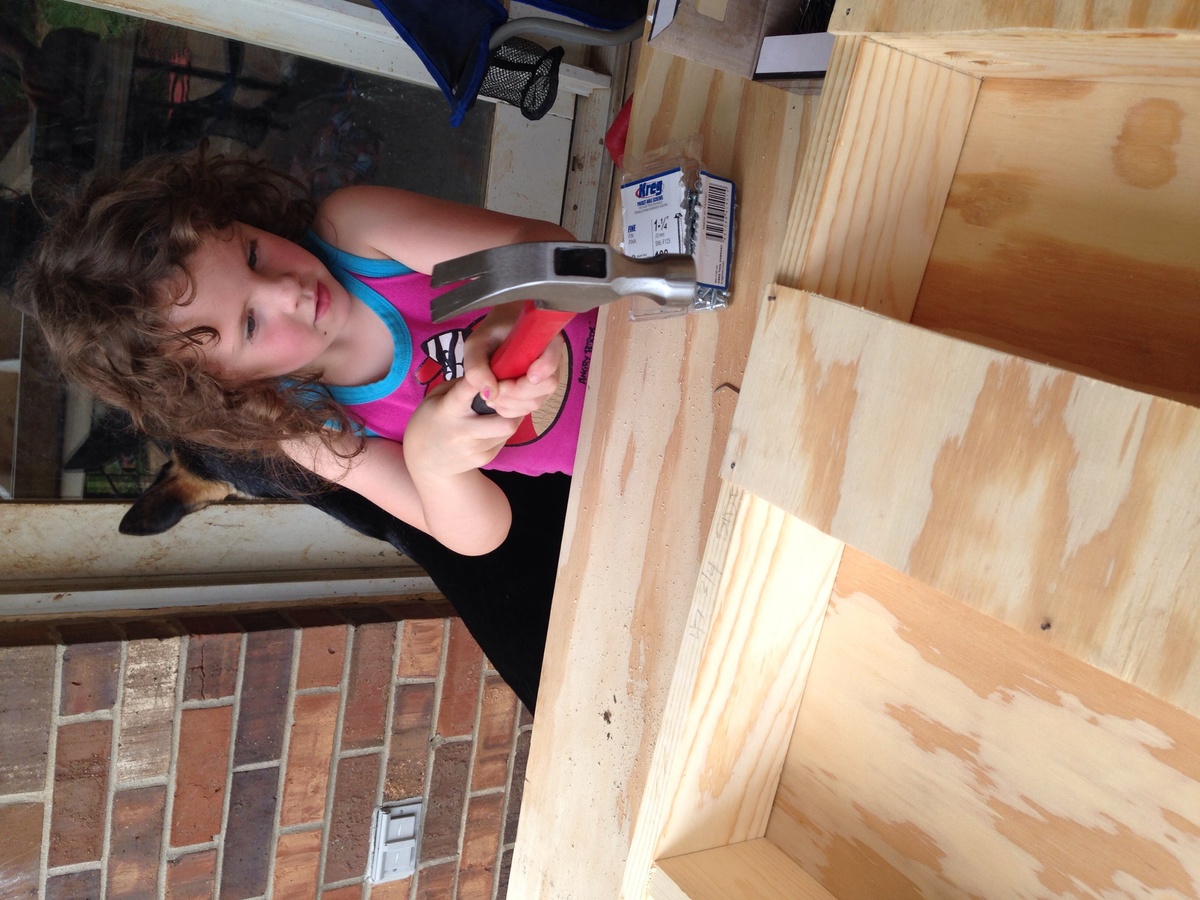
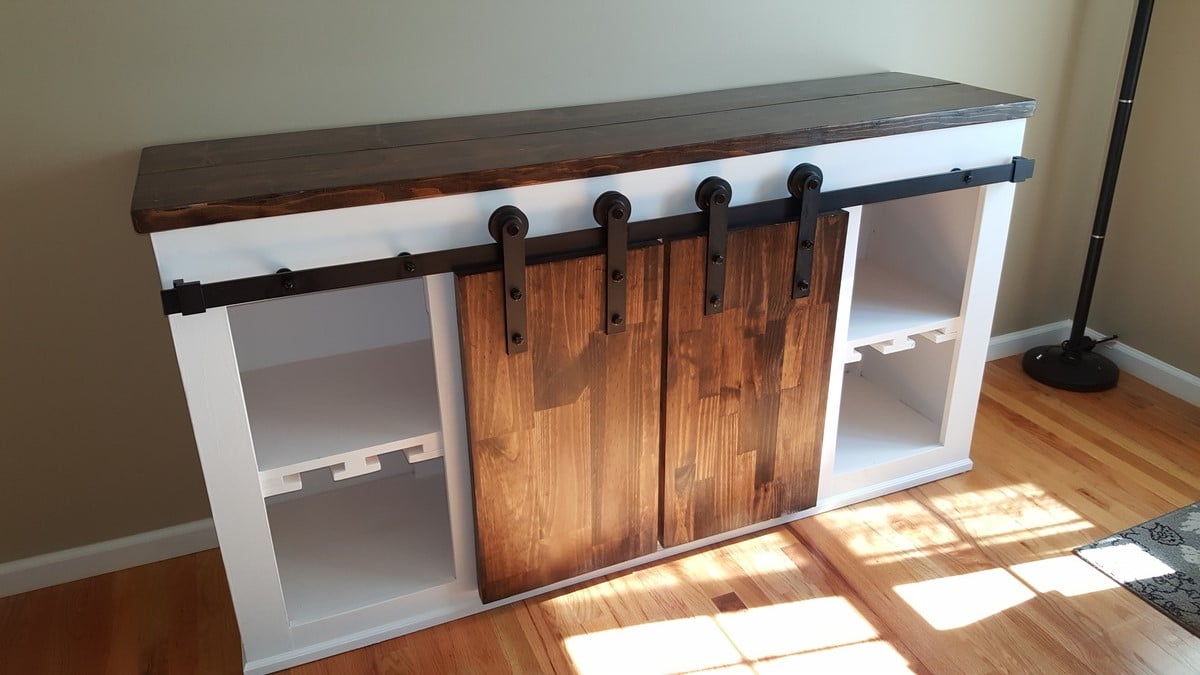
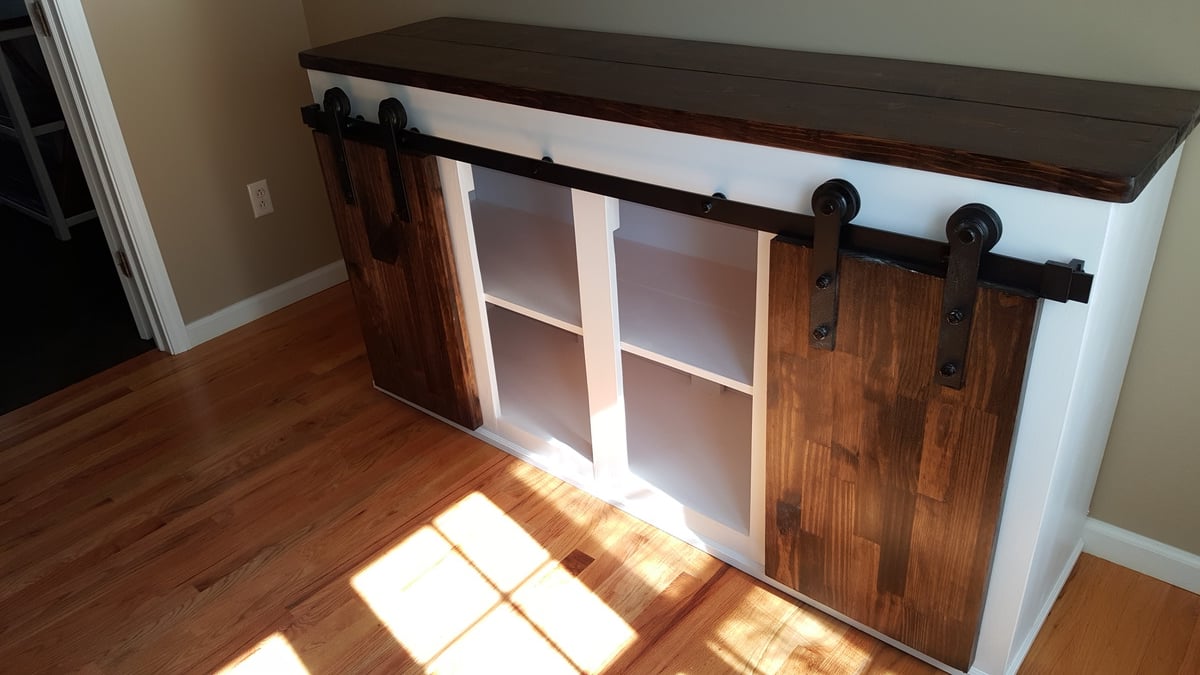
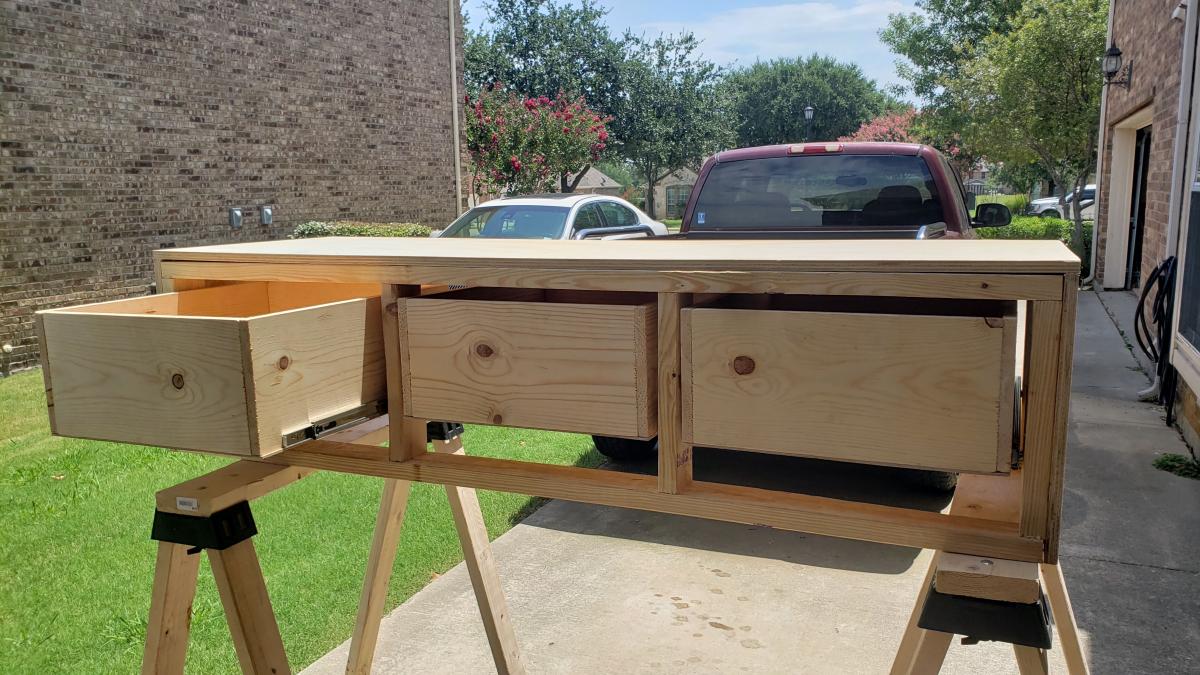
I shrunk the size and dumbed down the plans to fit my skill level.
Mon, 10/10/2016 - 09:08
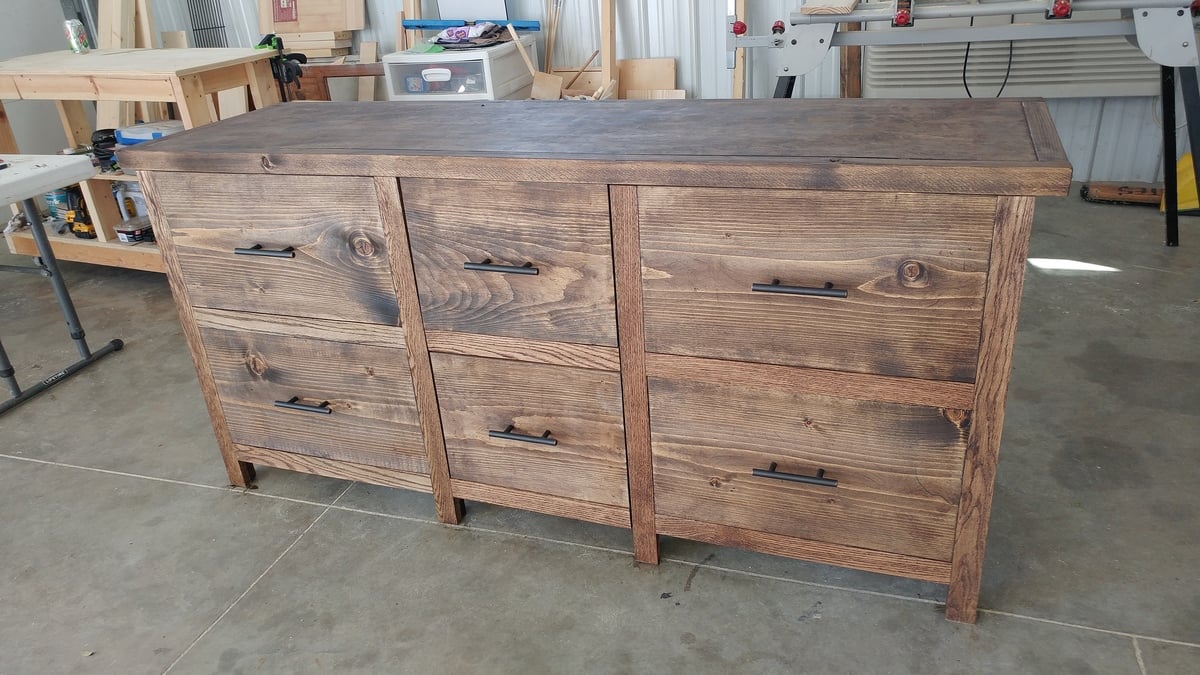
I love what you did! It looks so great! I prefer this style, which is more simplistic than the other. Great work!!

Mon, 10/10/2016 - 10:28
Love how this turned out - the simpler drawers is just as (if not more) beautiful!
Tue, 10/11/2016 - 14:56
Thanks! I wish I would of set up an account before I posted so I could get notifications. I honestly didn't think anyone would notice it :)
Tue, 10/11/2016 - 14:58
I am so excited that people noticed this :) Is there any way of putting this under my account? I didnt make an account until today and I would like to get notifications. I have my project on my facebook page and can prove that I made it with other pictures. Thanks!
Mon, 01/20/2020 - 07:44
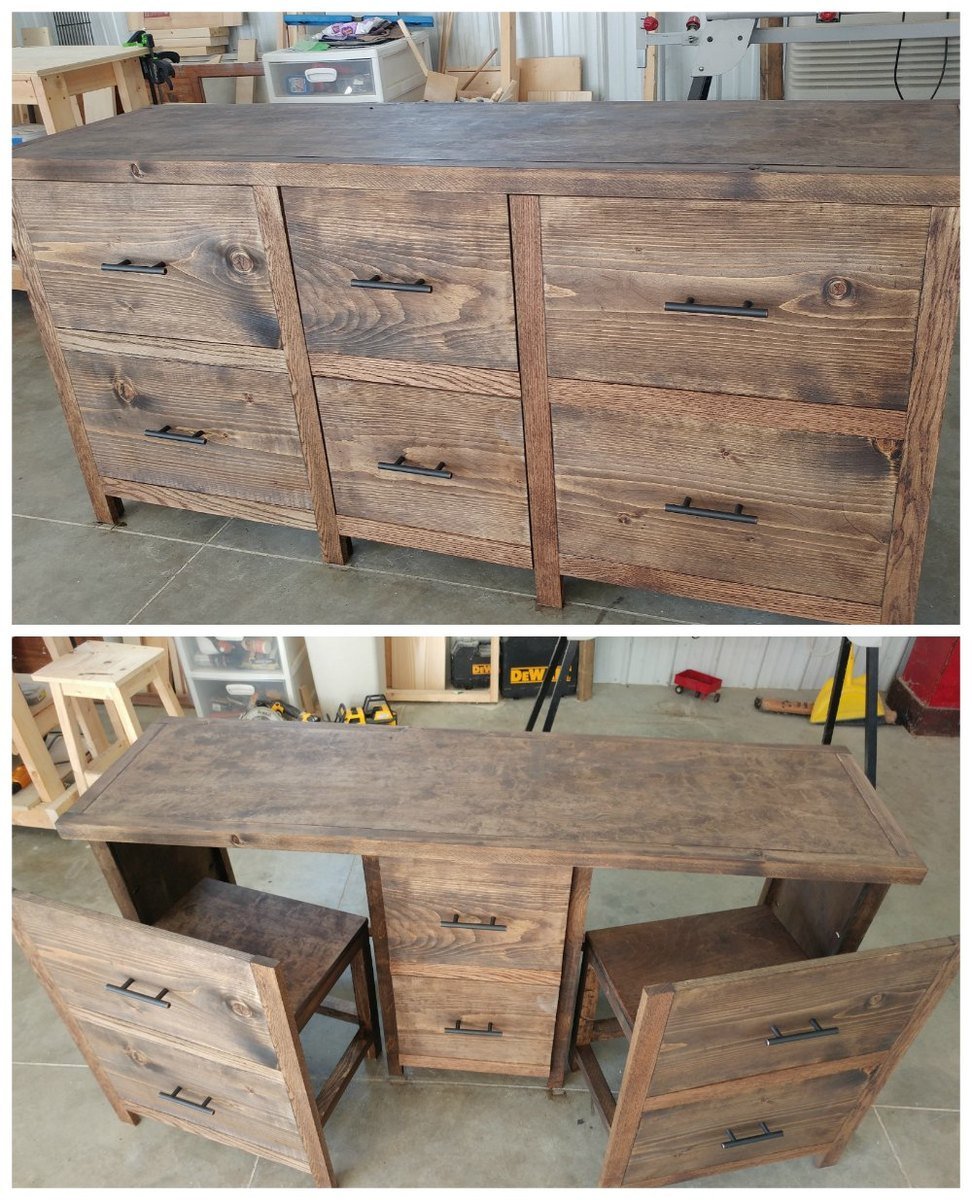
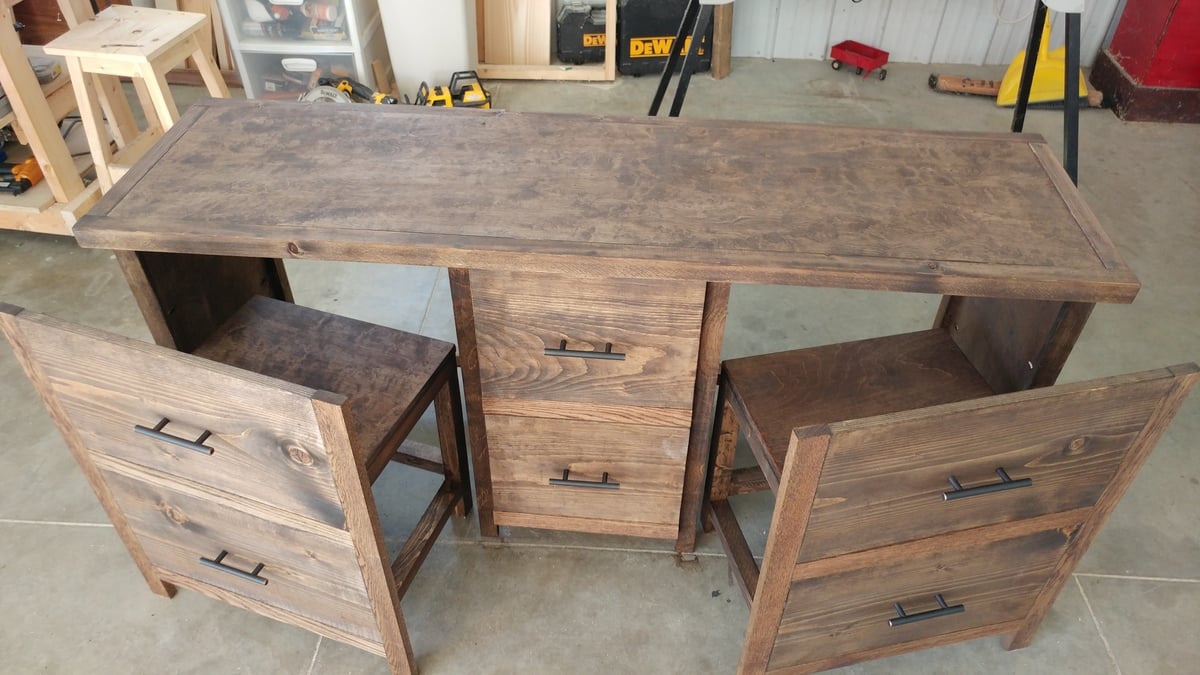
I would love to see this in a farm-house (rather than rustic) aesthetic along with drawers under the seats for extra storage. Maybe on casters with a fold up extension on the other side? So many ideas running through my head with this!
My son loves this table . Great size and super lightweight

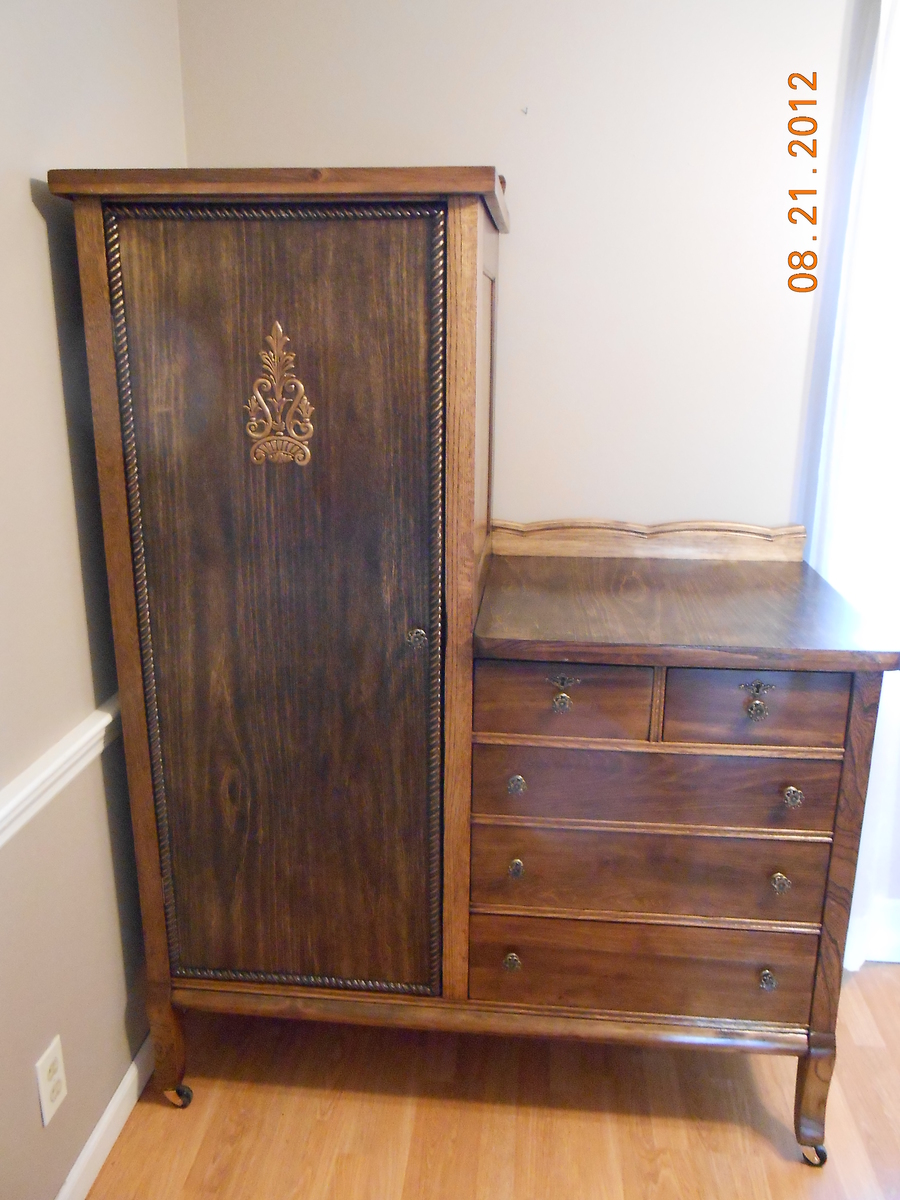
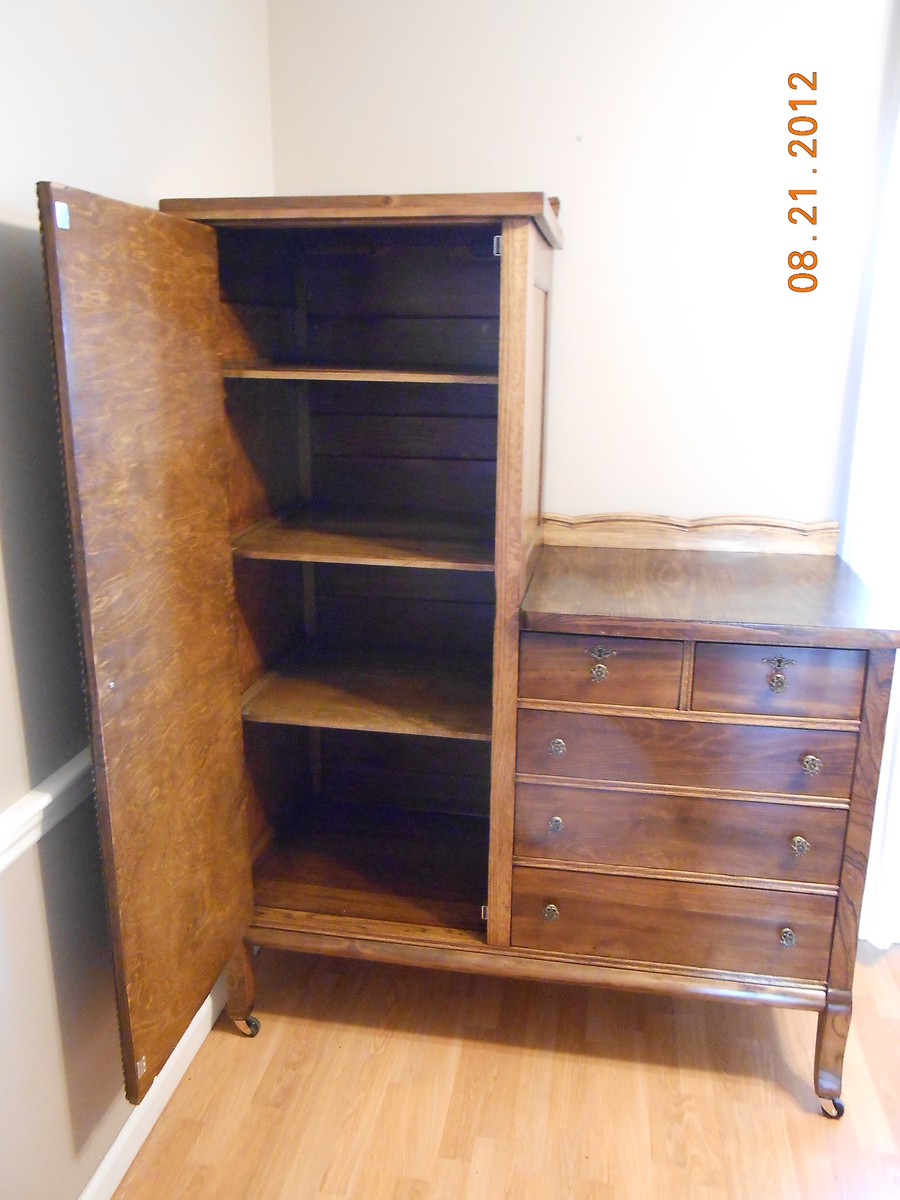
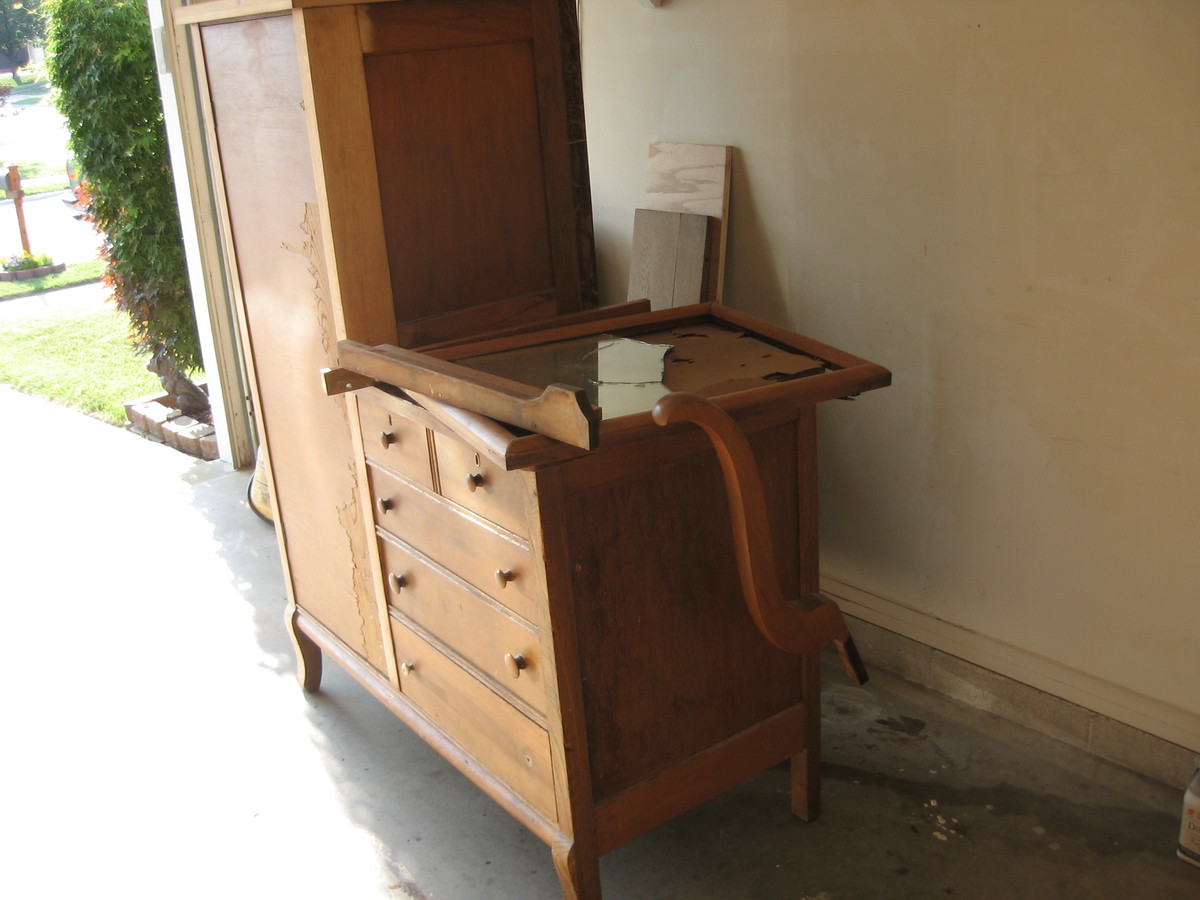
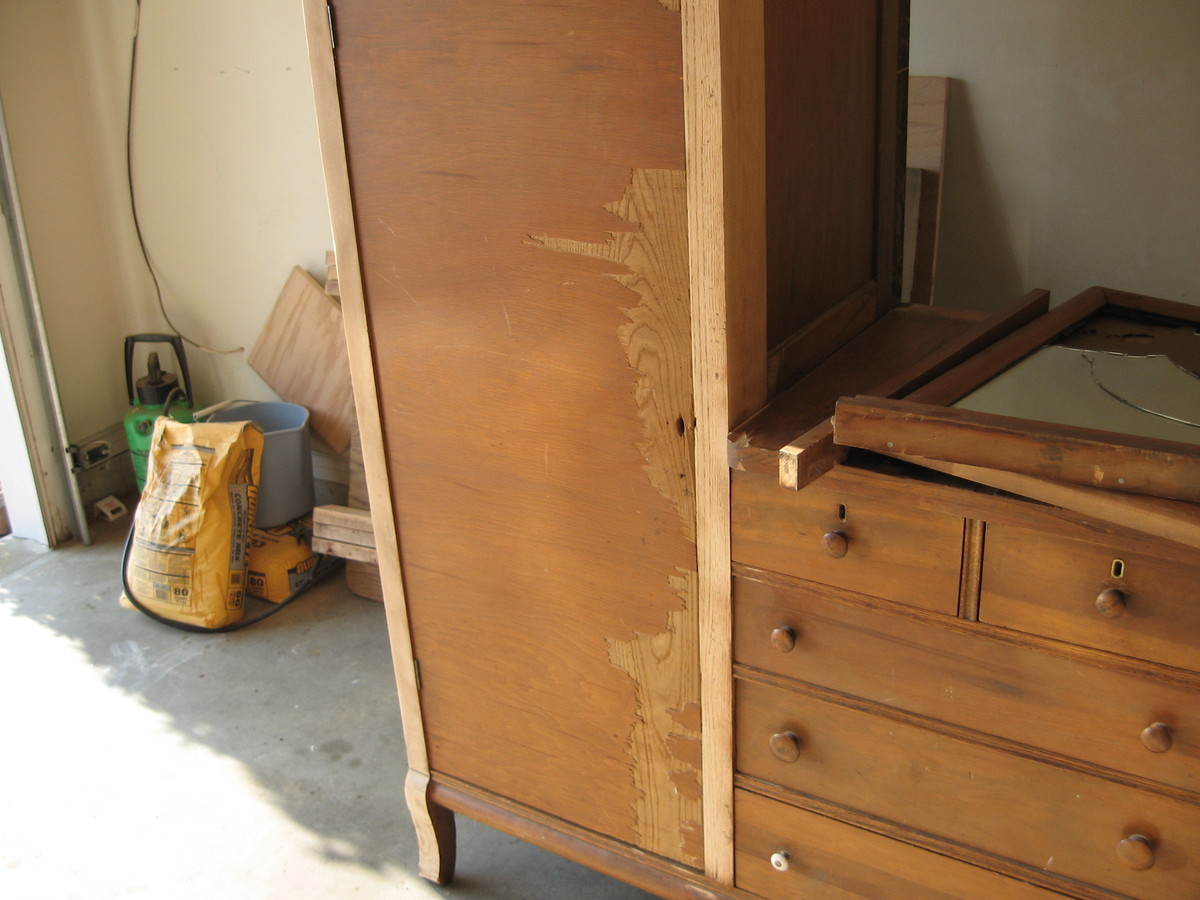
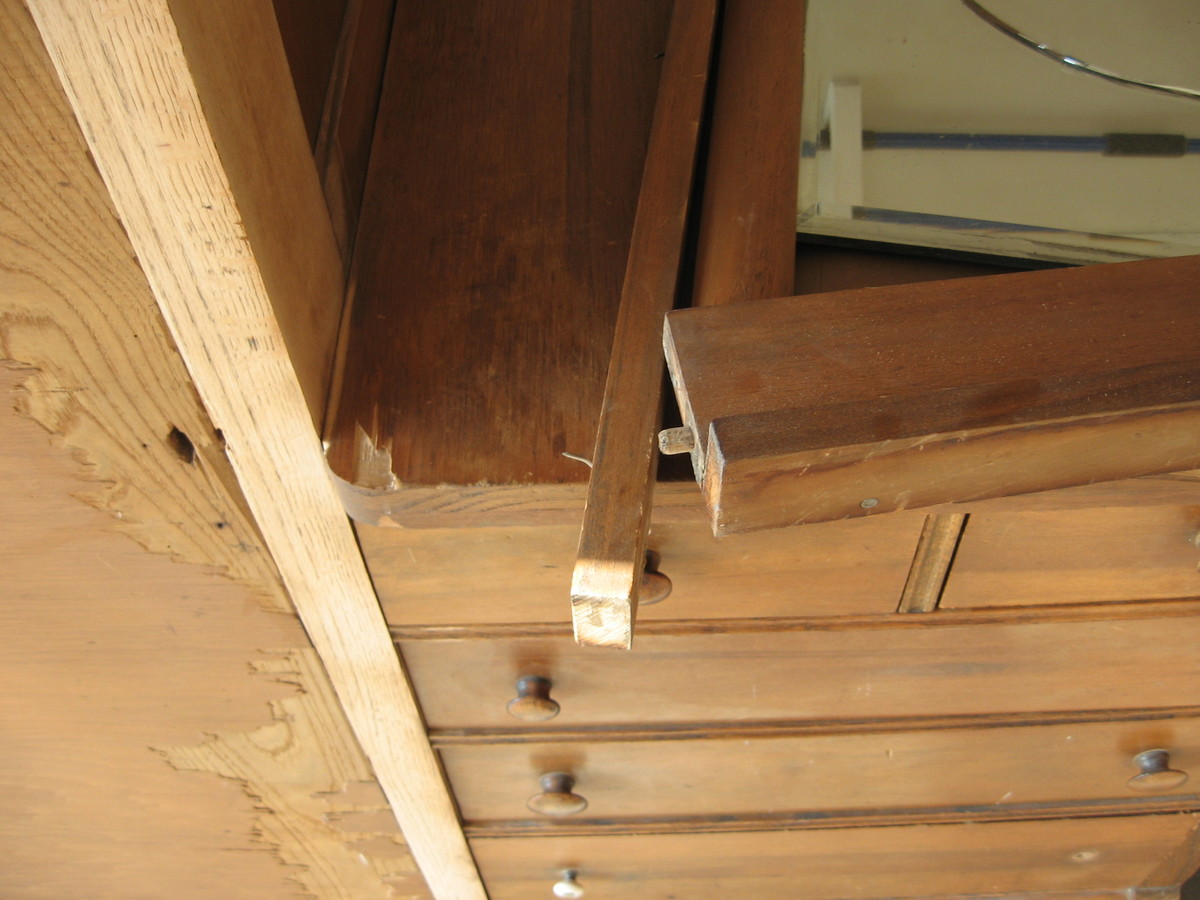
This is a poplar (yellow tulip) chifferobe I purchased off of Craigslist for $40. I included some before and after photos. It was in sad shape. Much of the veneer was broken or coming off. My wife wanted me to add shelves inside. I began stripping off the old finish using liquid stripped and by sanding. I removed the old veneer by using a very hot steam iron and a putty knife. I ordered up the new veneer from veneersupplies.com and new hardware from Kennedy Hardware.
I built the new shelves using 1/2" poplar. I then began putting on the new veneer. I used 22 mil. paperback veneer and contact cement. If you have never replaced veneer spend $10 and get a veneer cutter and another $10 and purchase a scraper. They make the job much easier.
I then began applying the stain which is Minwax Aged Oak gel stain. I had a challenge with trying to match the stain. The old veneer was tough to match the stain with the new veneer. Father time adds his patina so I had to darken the stain. I used Minwax Jacobean stain. I think I got it too dark but since it is completed I like the contrast. I went ahead and purchased some 1/2" rope trim (poplar) and a poplar applique to add to the door. Since the mirror was broken I decided to go ahead and fabricate new back splashes for the chifferobe. I found these on Ebay. A gentleman had bought out these from an out of business pool table company. They are poplar and once I cut them down they really seemed to match. I will use the mirror frame for a later project to make a photo frame.
My wife and I had wanted to put this into our bedroom for extra storage. We didn't realize that we couldn't get it into the bedroom due to a narrow hallway. It ended up in the kitchen/dining room as a buffet. The funny thing was that it looks like it belongs there now.
The whole project cost me around $150 and took approximately 40 hours to complete.

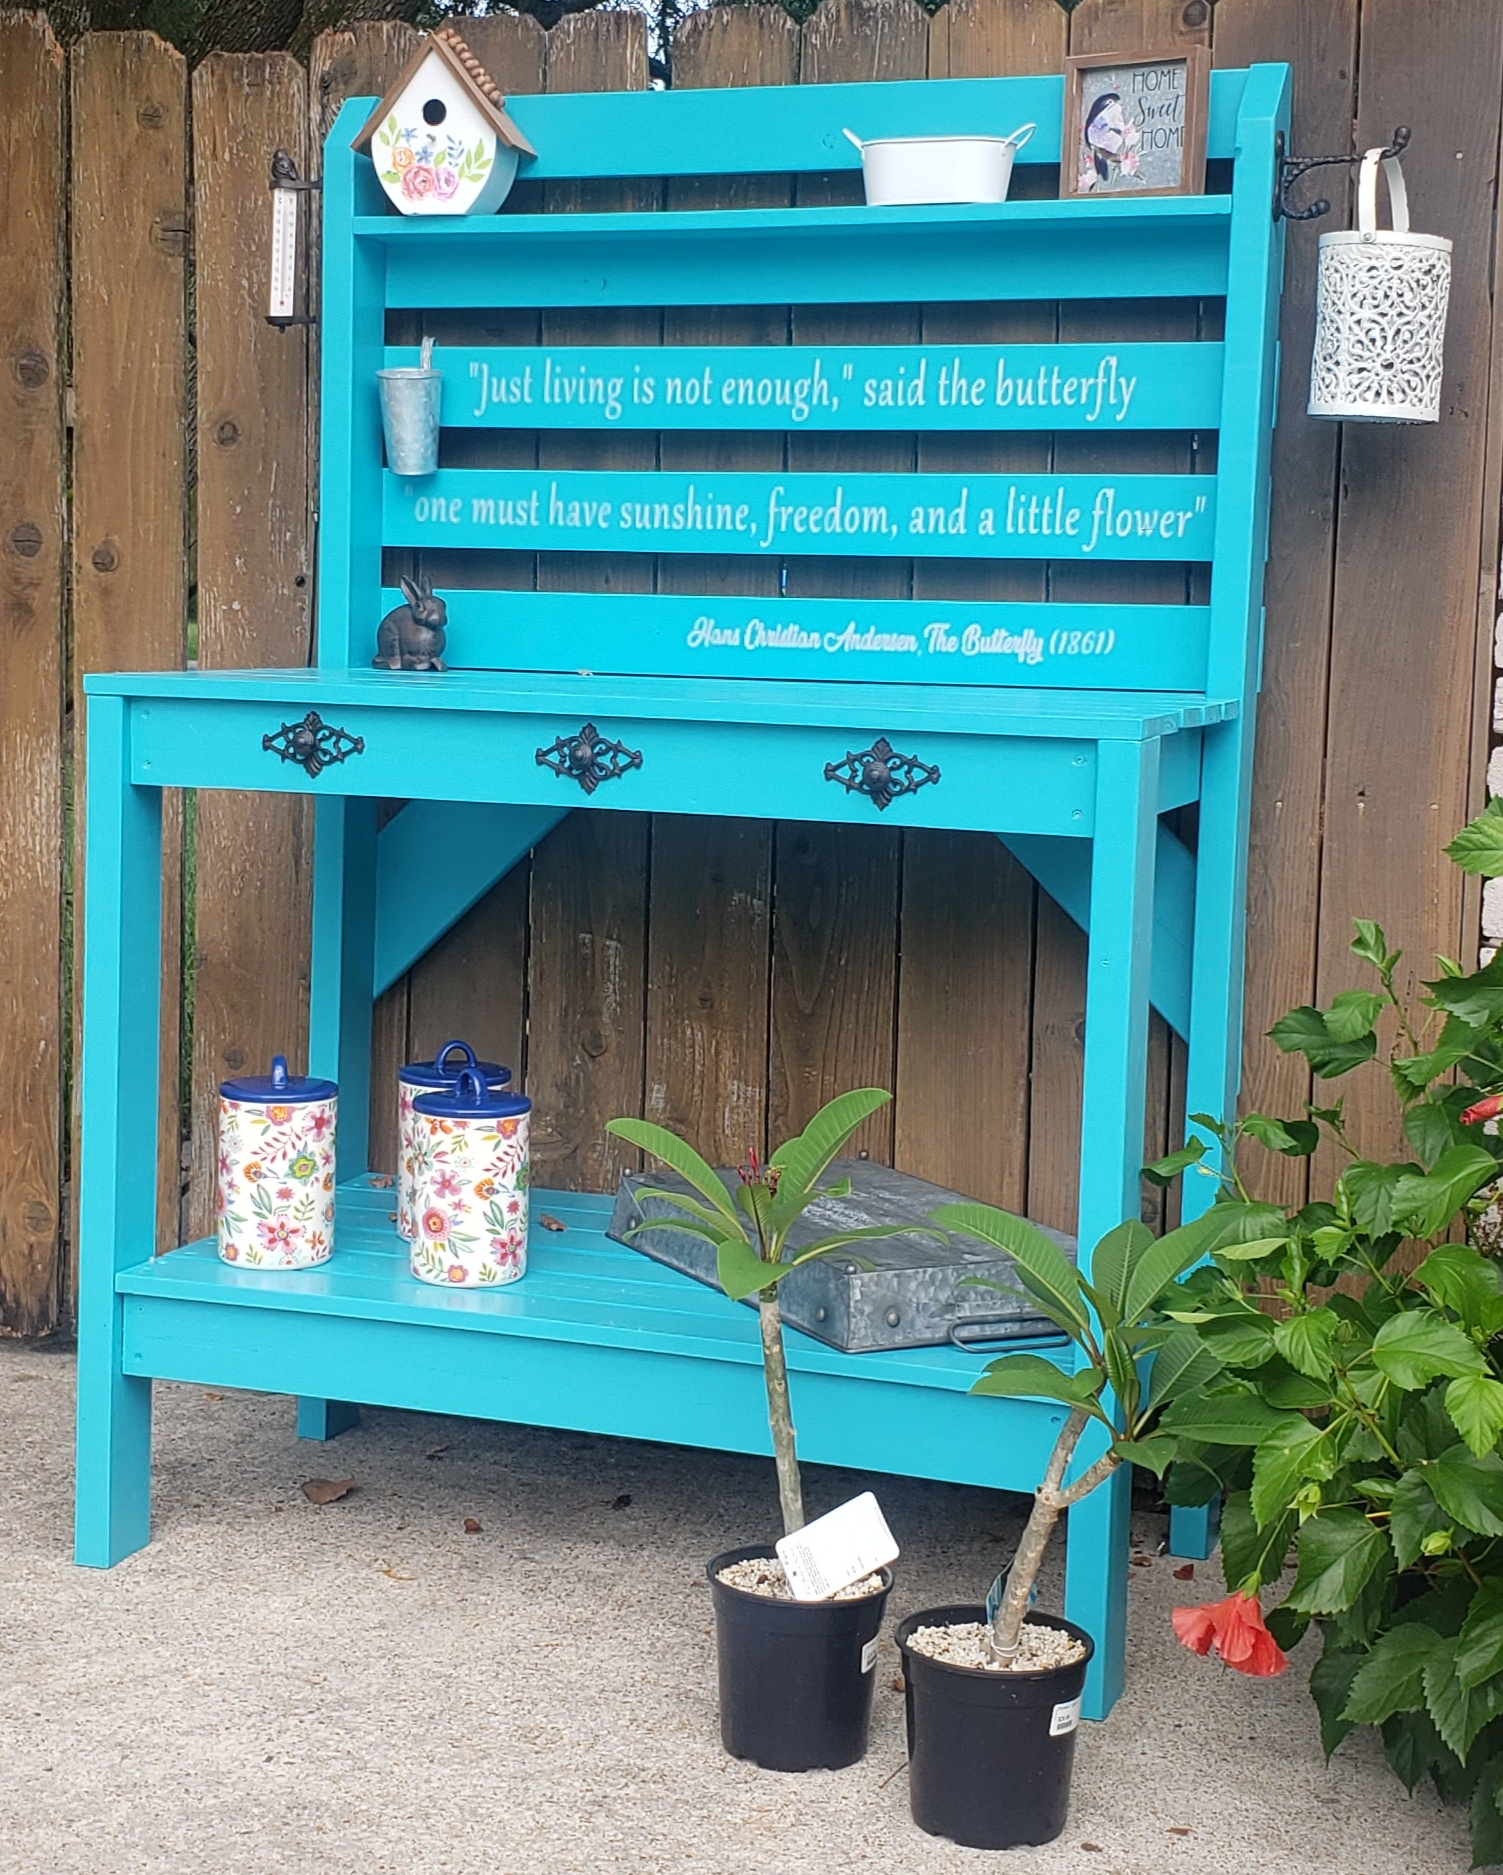
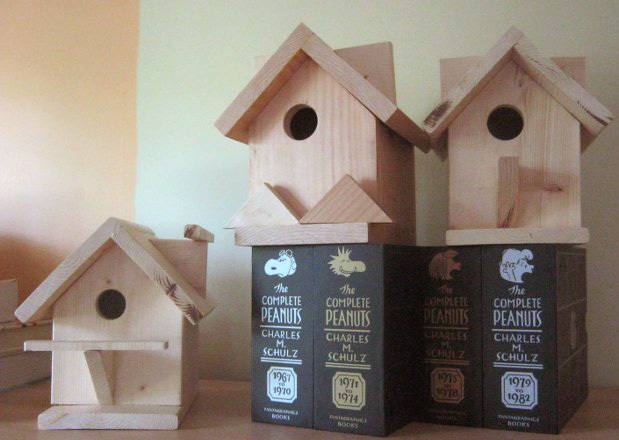
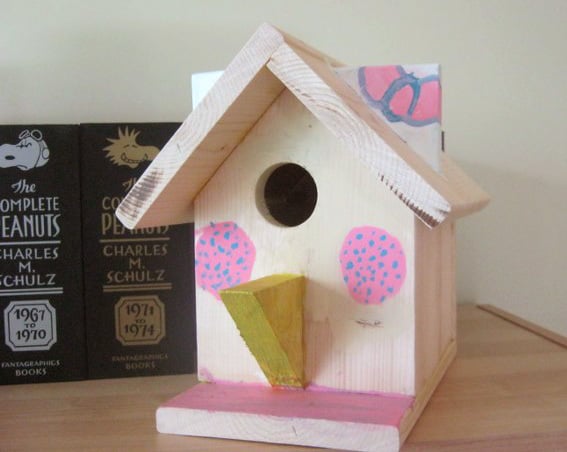
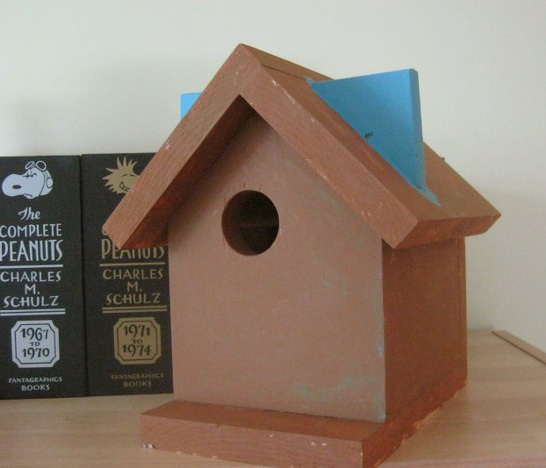
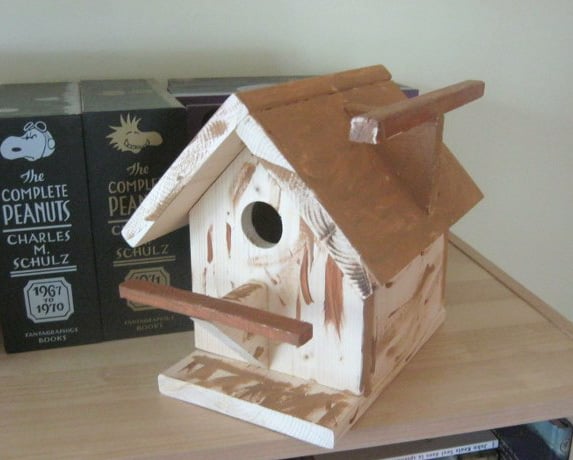
Our first plan from Ana White. It was really easy to follow and this was a fun project to do with the children. We used pine wood because it was cheaper than cedar, so we will try to not put them directly under the rain.
We were able to make two birdhouses in removing .25 inch in one birdhouse. We used wood we already had for the third one.
We let the children added some details to the birdhouses. Because of the birds we want to attract here, one hole is 1.25 inch and the other two are 1.5 inch.

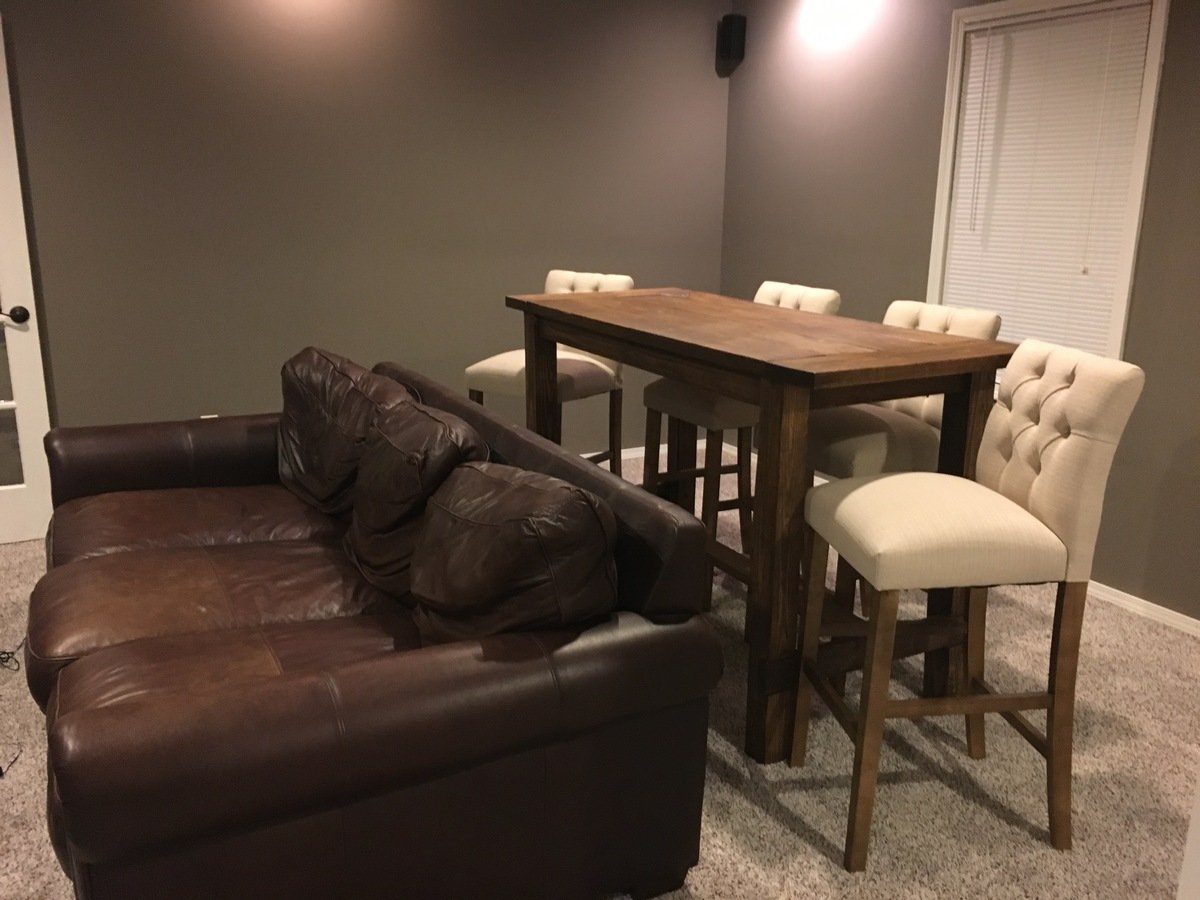
I made several changes to the original Ana White plan. I wanted to build a bar height table for my husband's man cave. I left the length at 5ft long, but instead of dinner table height, I raised it to be a bar top. It perfectly accomodates typical bar height stools, as seen in the picture.
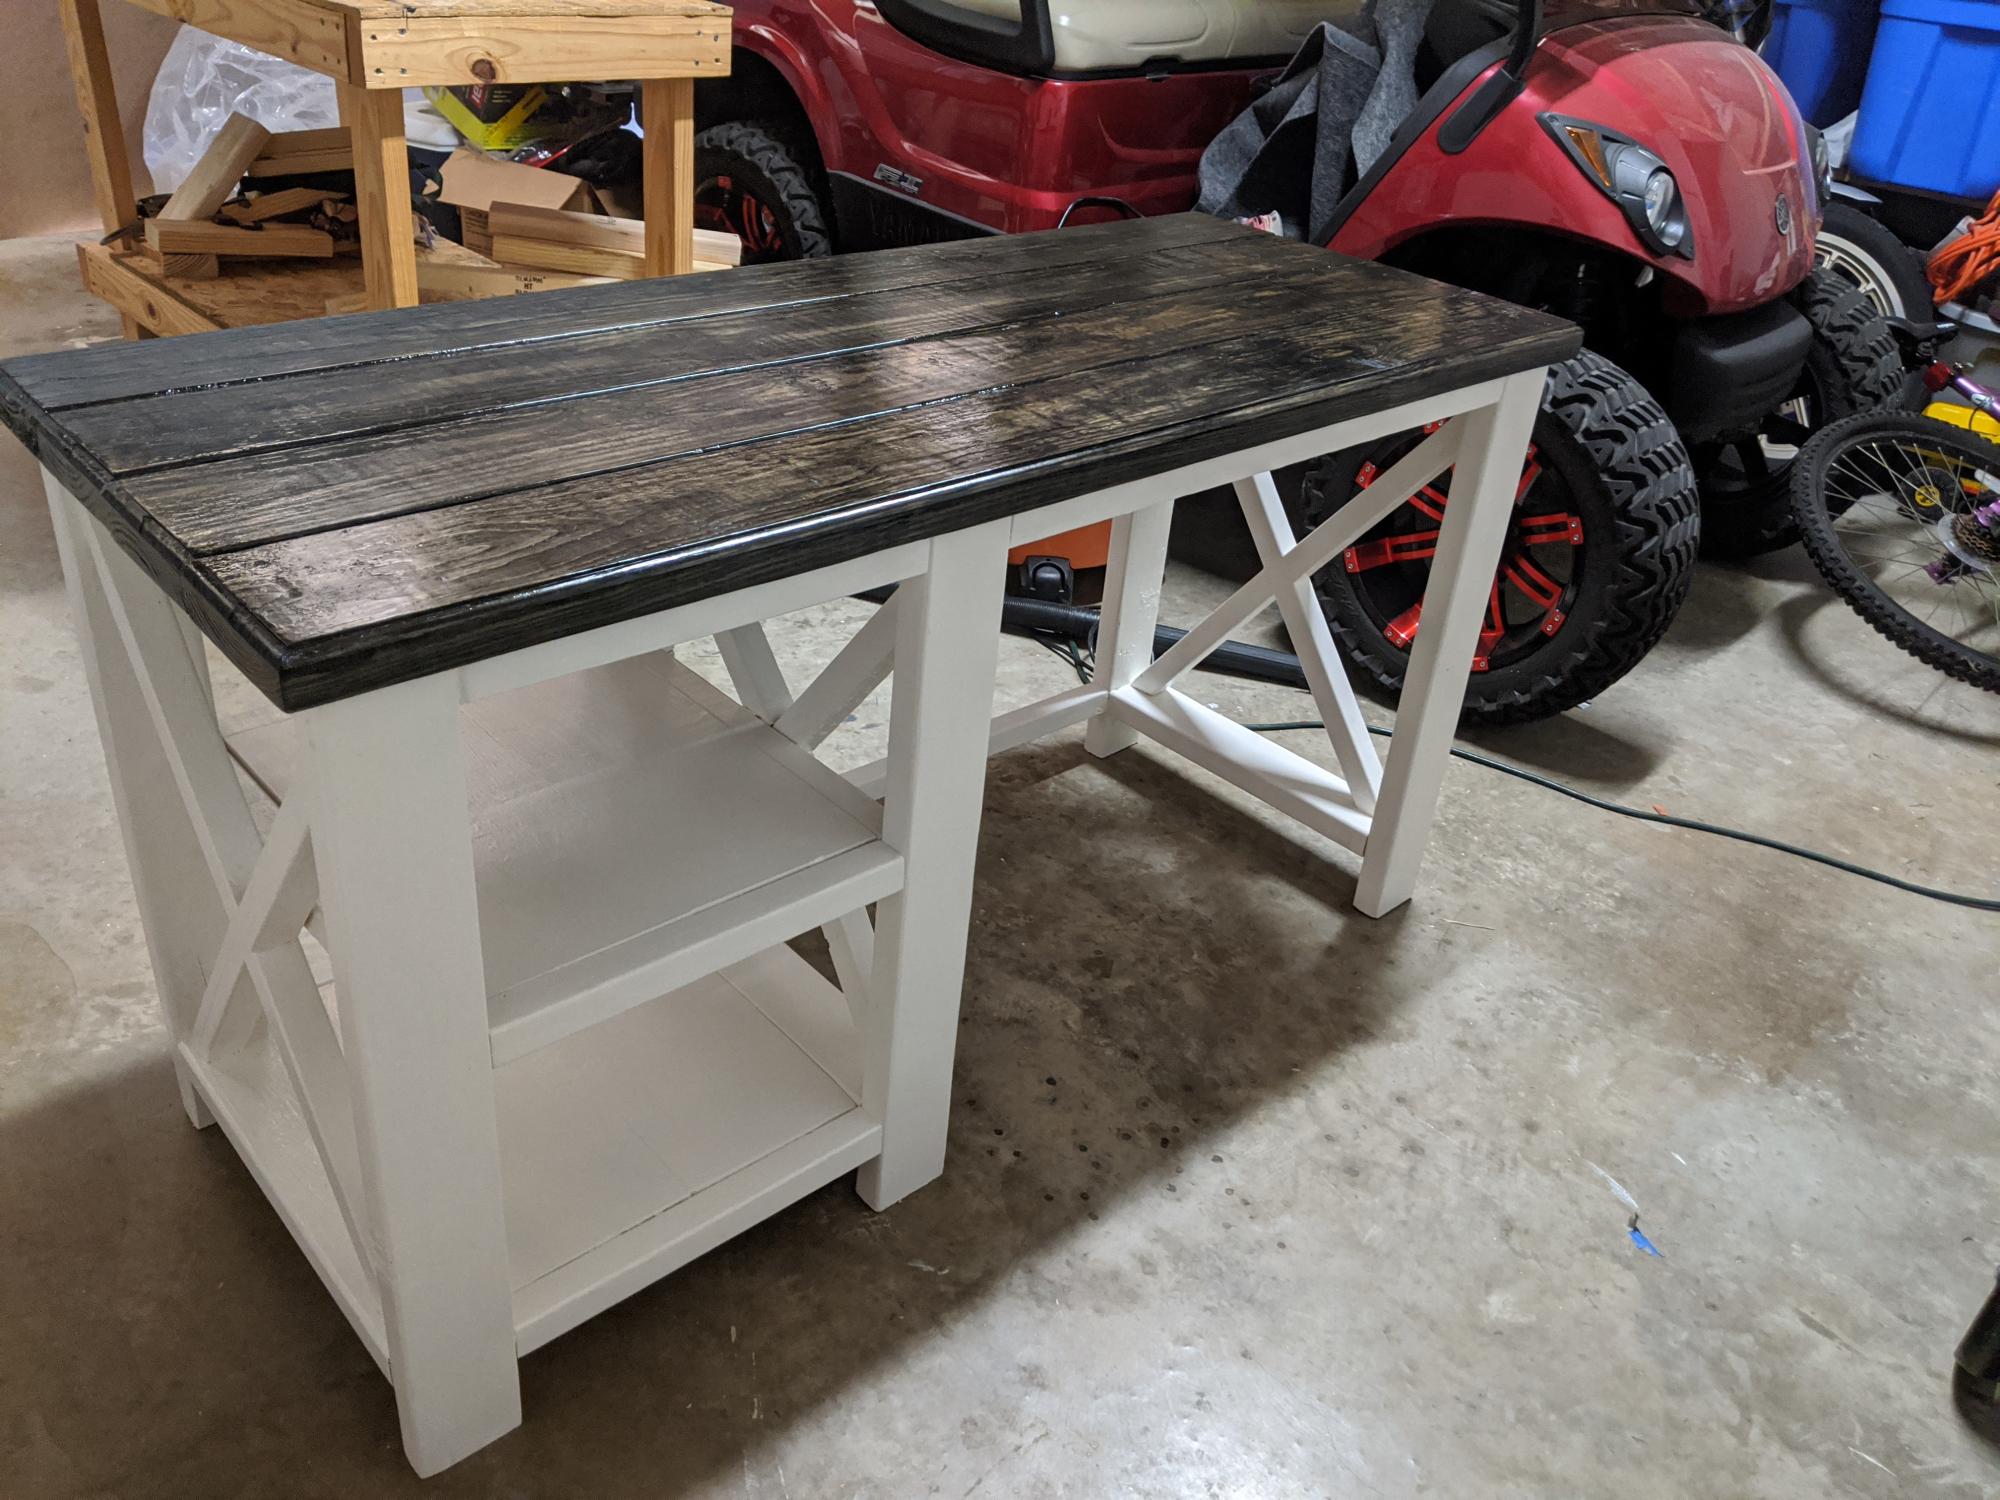
The only modification was I used 1x8's instead of the 1x10's on the plan and I also routered the edge of the top, first time attempting this.
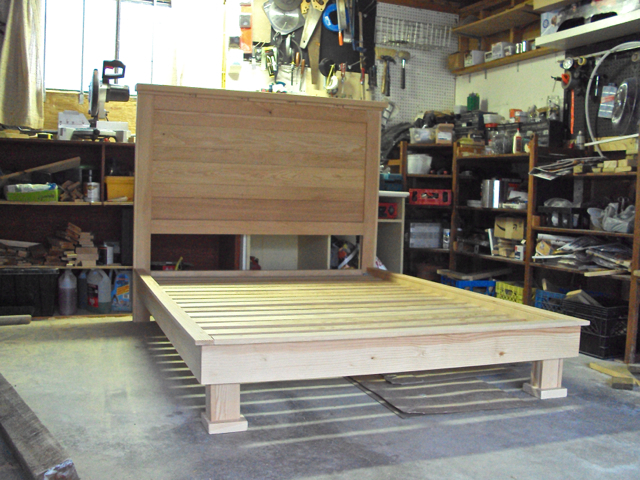
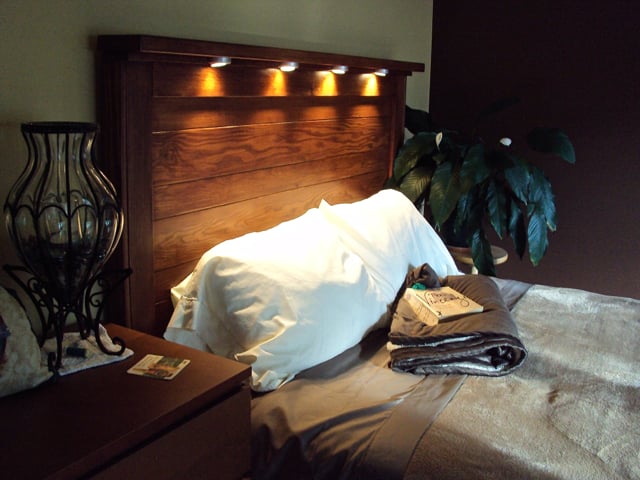
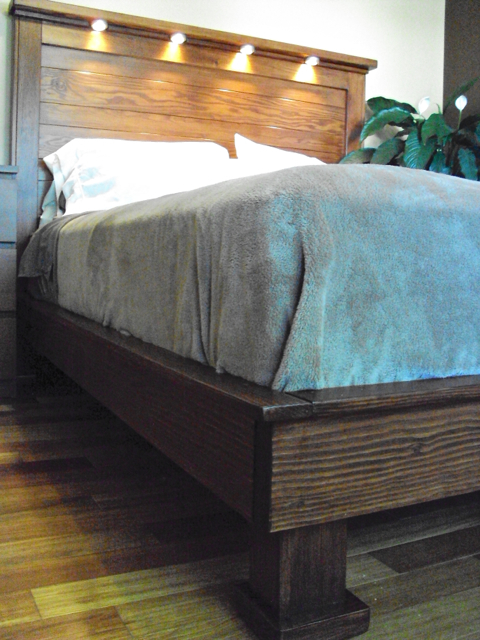
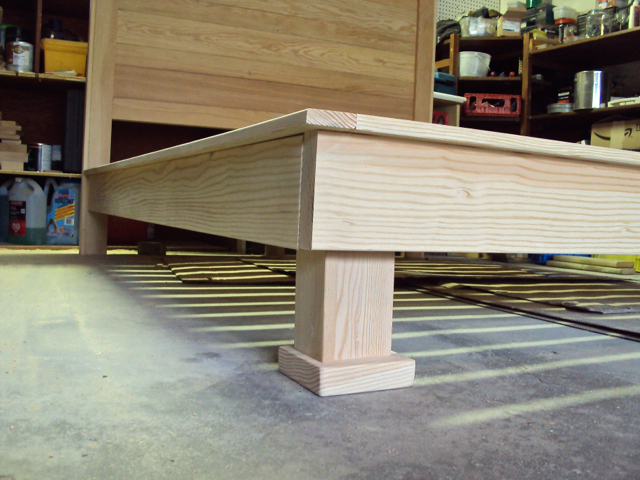
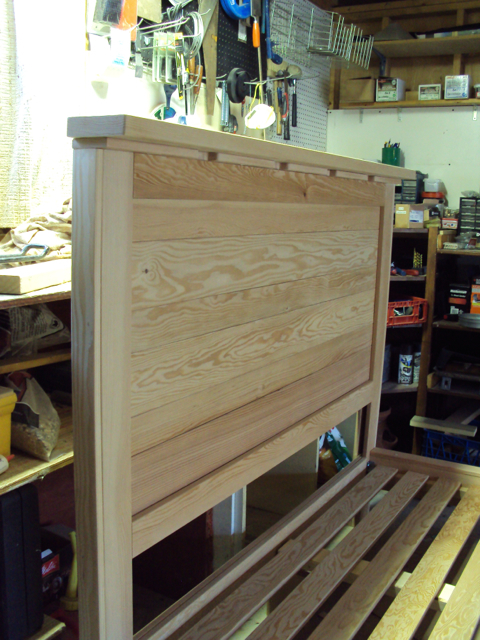
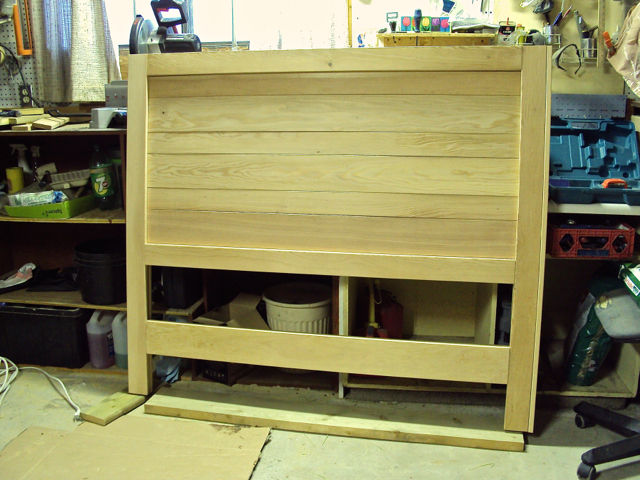
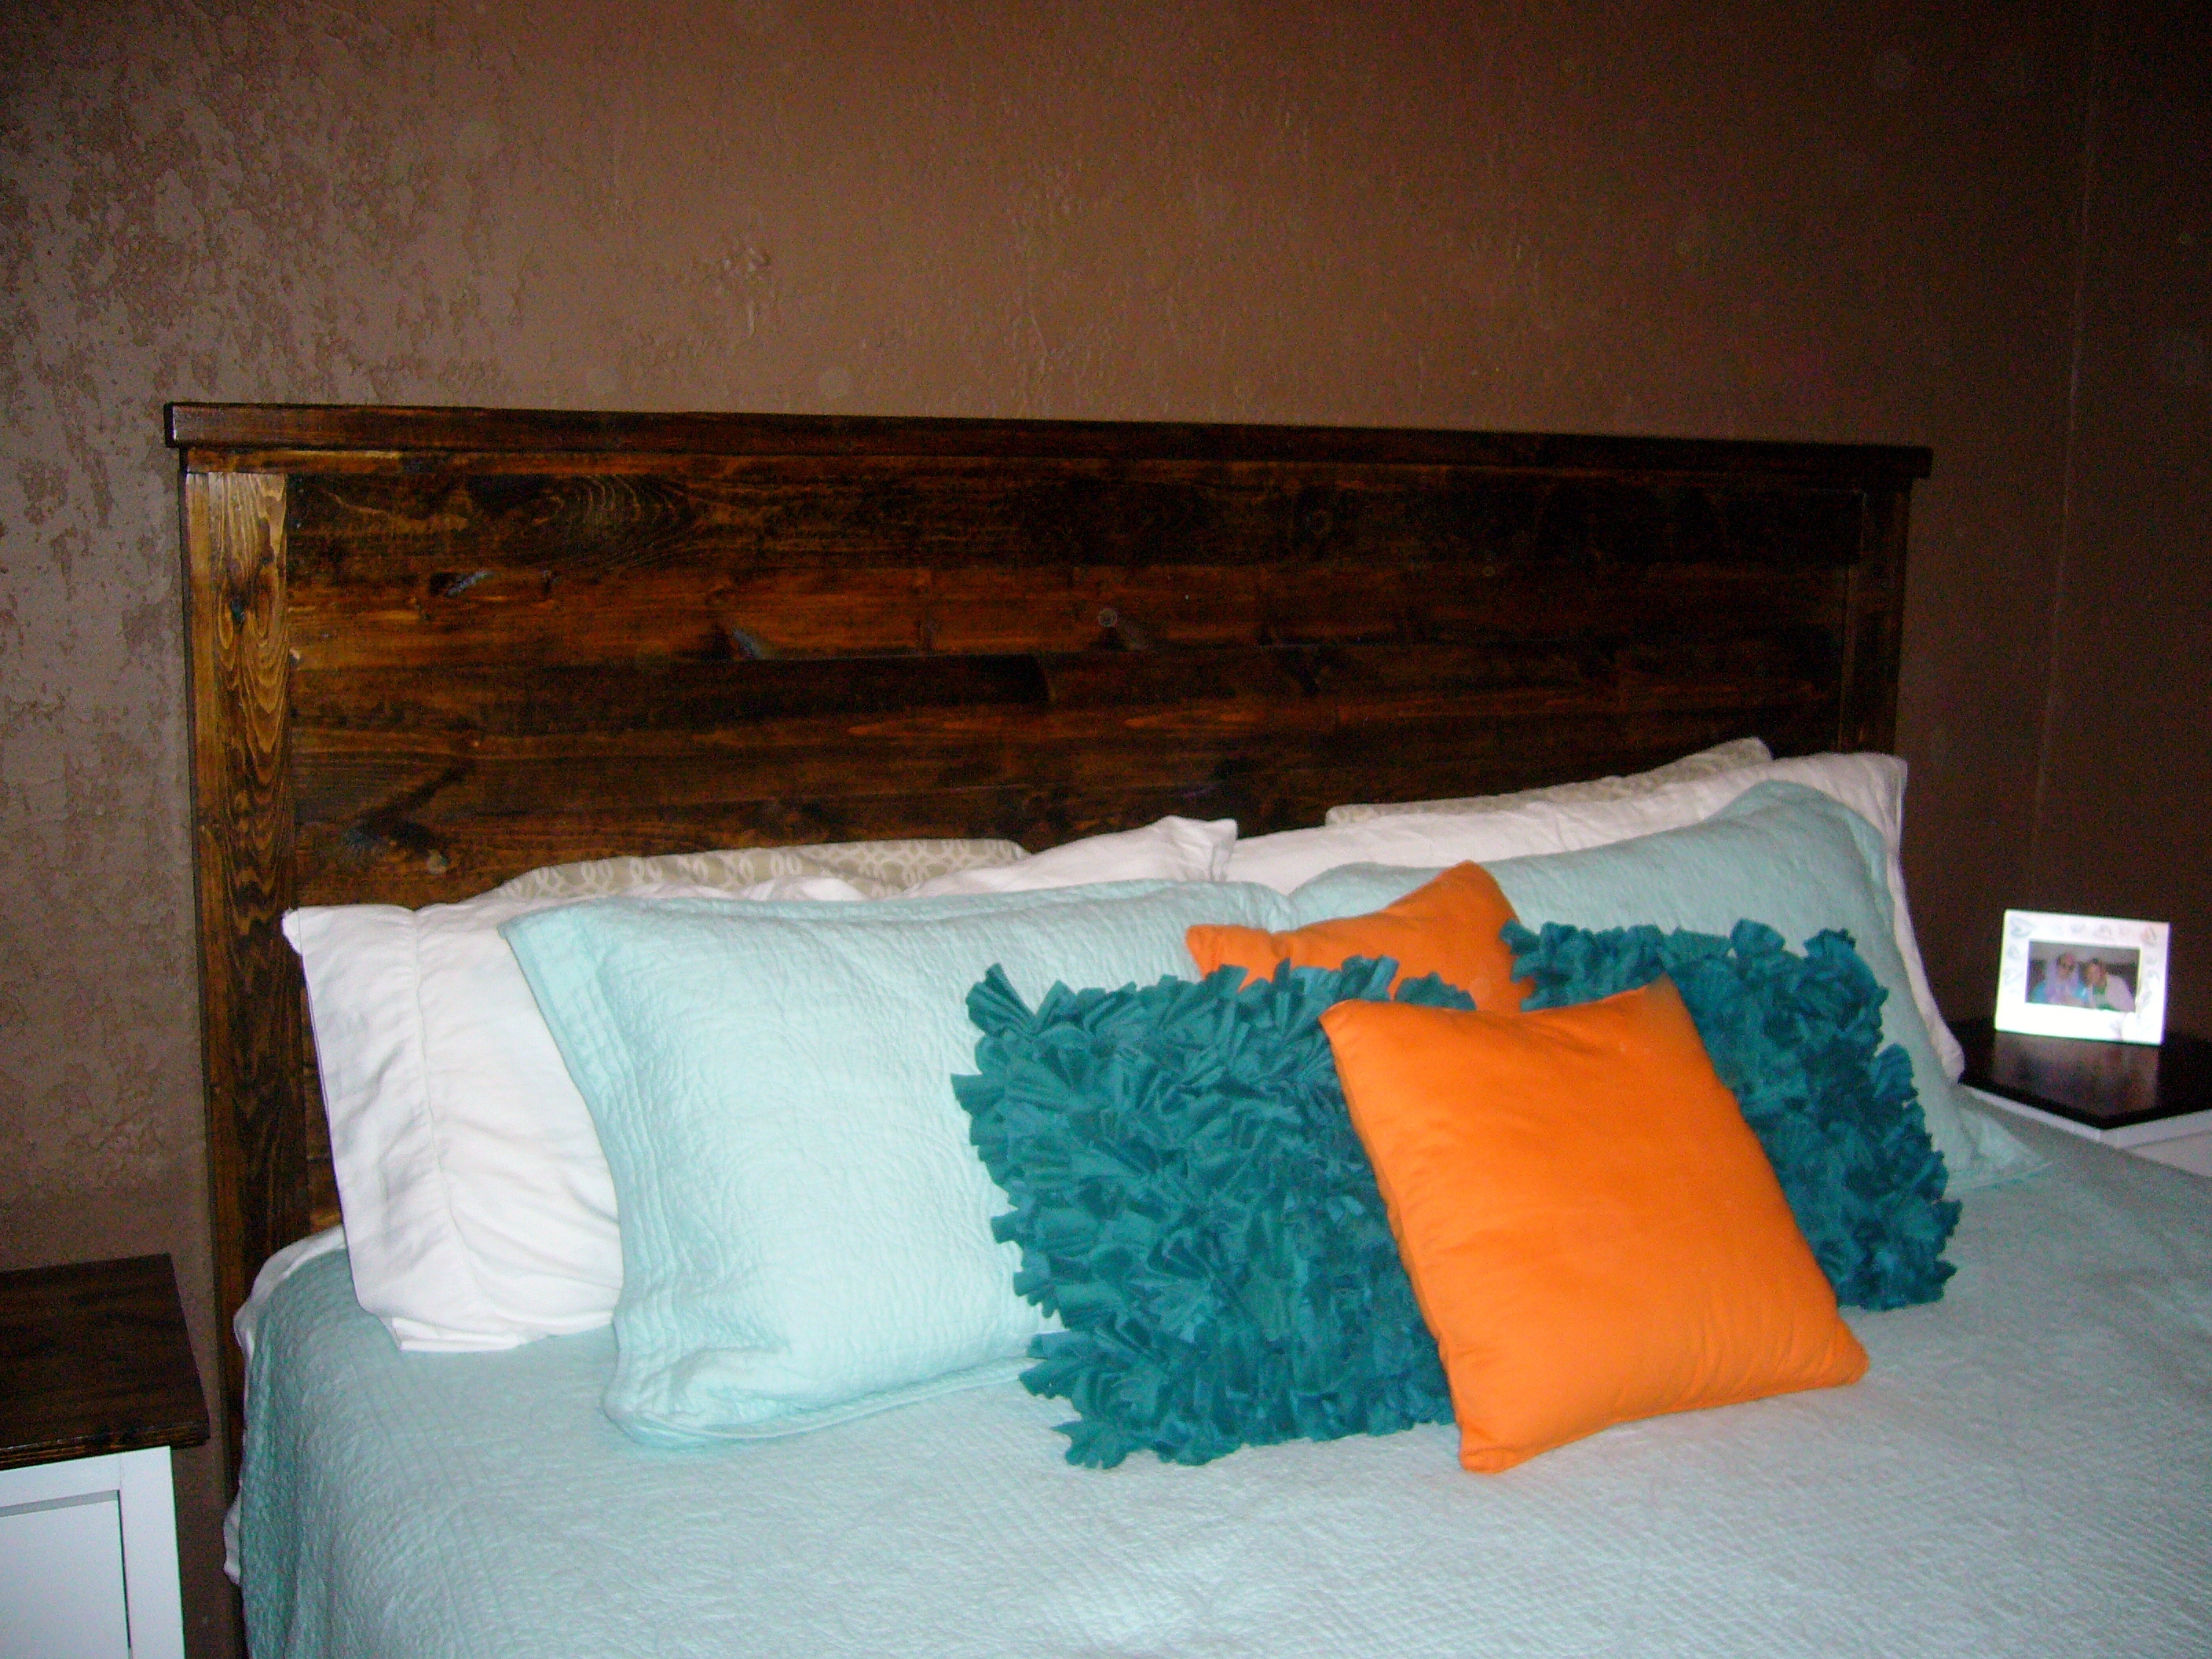
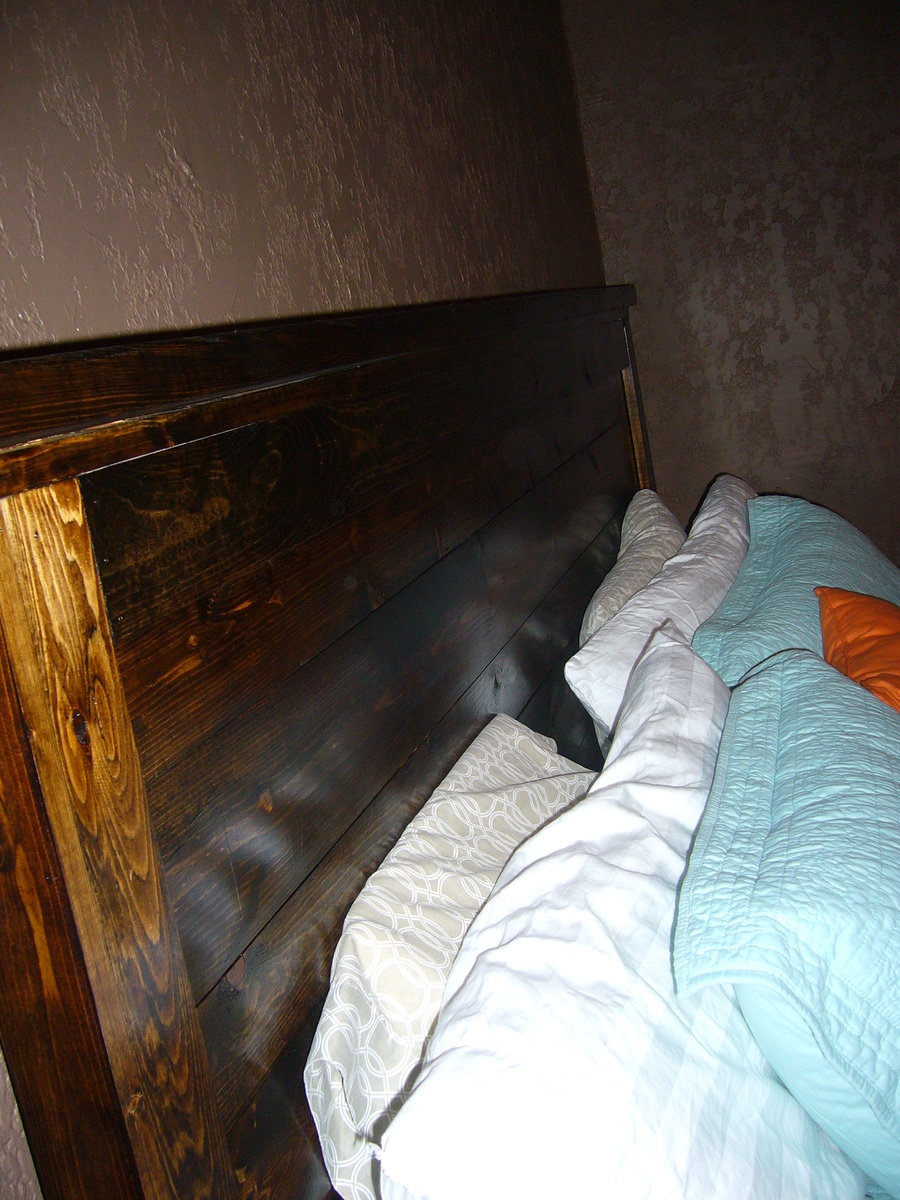
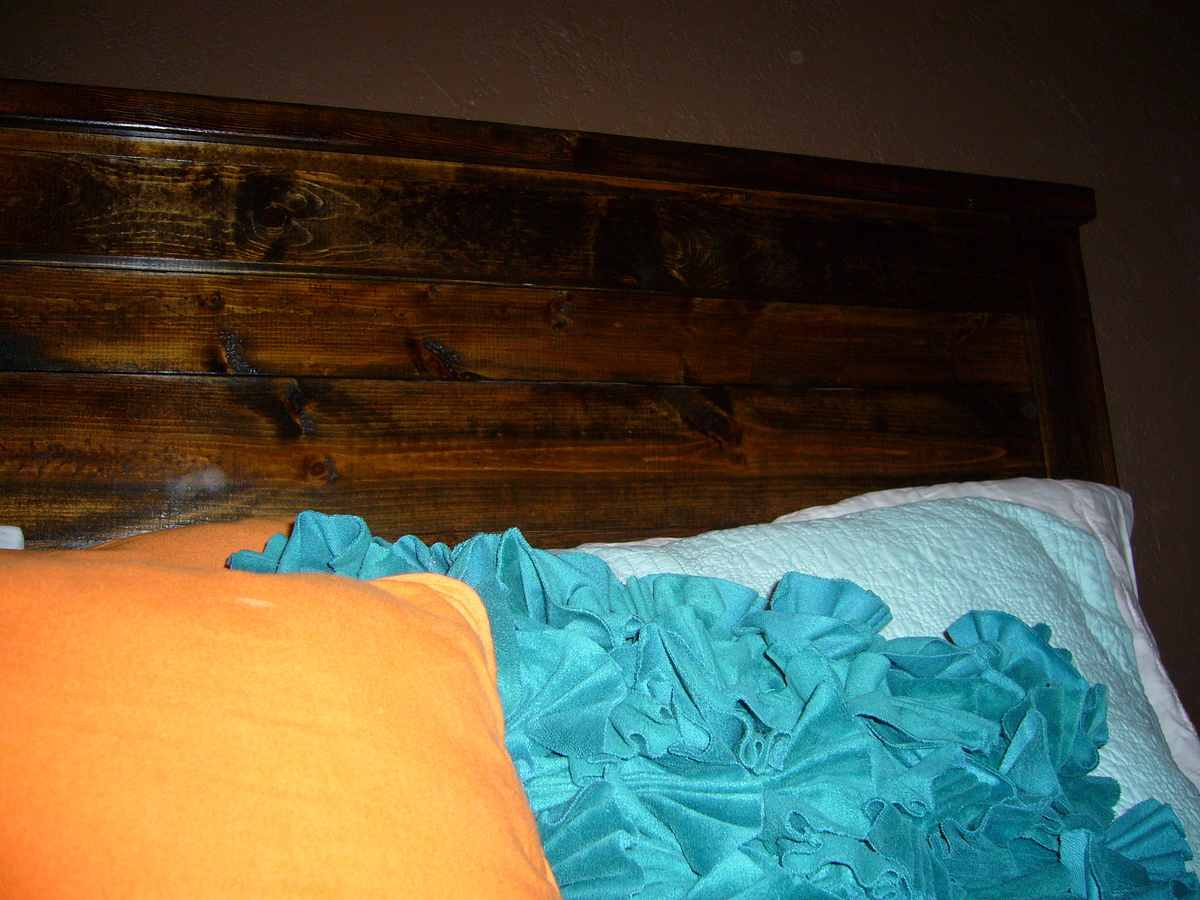
I combined the Reclaimed-Wood Headboard with the Hailey Platform Bed patterns, both found here on Ana's website to make my queen-sized bed. Alterations to the general instructions include: A 1x6 was sandwiched into the lower portion of the headboard to create the head of the bed platform (same as the panel pieces of the headboard). Another 1x6 was fastened from the back, the same as the other trim pieces. 4 holes for the light wires were chiseled out of the top trim, then a 2x6 was fastened across the top of the headboard to allow more room for the mounting of the lights. (these last 2 pieces flush to the back of the headboard instead of centered.) So the project was not too top-heavy I added a 2x6 center leg to the headboard. For even more stability I added a 4 x 4 leg to the center support of the bed portion. The lights are LED (Ikea) and the wires are fastened to the back of the headboard to keep them safe from pets, etc. The corners of the platform bed are held together with screwed-in knock-down hardware (Lee-Valley). Dis-assembly was important to me, so the bed could be moved from the garage to the house! I am not an experienced wood worker by any means, nor am I particularly fast. The plans I downloaded from this site were very detailed. The project was both fun and full-filling!

Wed, 07/09/2014 - 20:35
I'd have no idea where to get hemlock! Looks great, love the grain. You must be so proud!
Wed, 07/09/2014 - 20:44
The only wood cheaper than hemlock is pine! : ) I bought the wood at Windsor Plywood in Calgary, Alberta, Canada. It took the stain very well and I am very pleased with my choice. It is a softer wood than some, sands down very easily.
72L x 18W x 36H
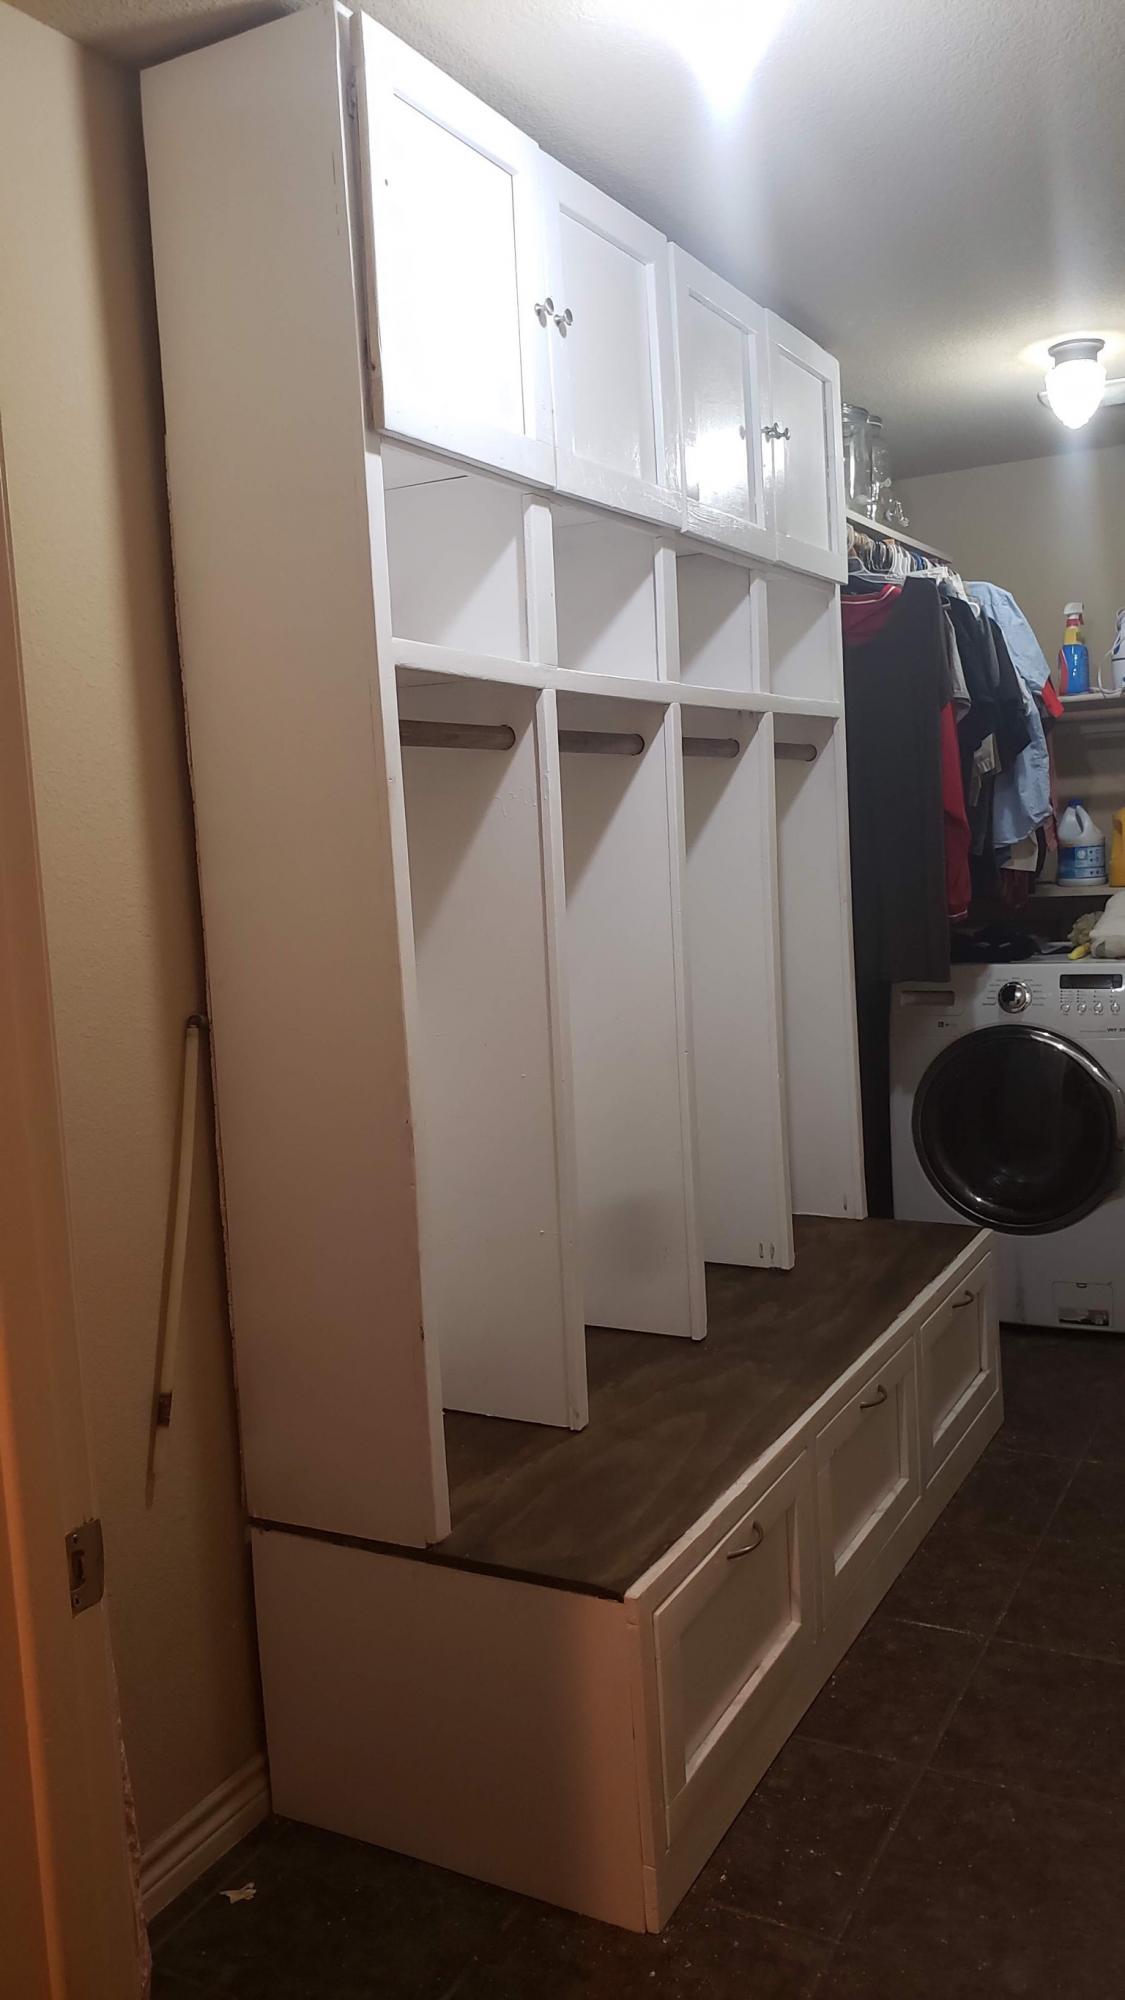
I really liked the mudroom bench, so we created our own version. Thank you!
This was our first project.. it was a good one to start off with because it was pretty easy. Our bed is king size. Our boards weren't perfectly flat so we had to screw a few braces in the back with some scrap wood we had left over.


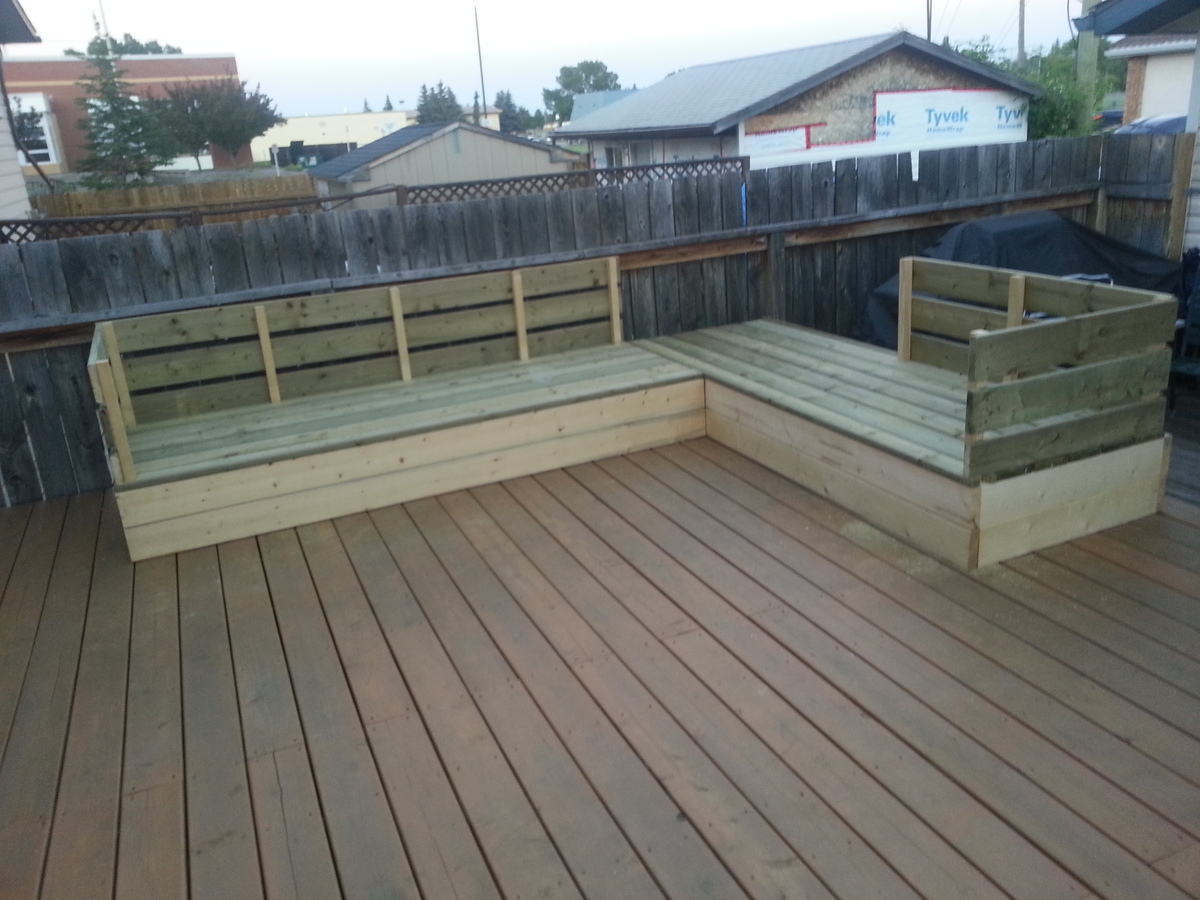
The only real change I made to Ana's plan was switching out the 2x6 board for 1x6. I still used 2x6 boards for my base, but went with the 1x6 for my decking boards, and top backing boards. My reasoning for this was to reduce weight. Other than that I increased the size of the base by adding another 2x6 on top (basically doubling up the base height). This made the sectional the perfect height, in my opinion. The plan Ana offered was pretty straight forward, and I love the size of the sectional itself. Very happy with how it turned out.
Cost Breakdown:
Lumber : $200
Screws: $20 (I used anti rust deck screws)
Stain: $35 (I used a semi-solid stain in a drift wood grey)
Cushions: approx $500 (when I started this project I had no idea cushions were so expensive)

Sun, 07/13/2014 - 09:35
Looks Great. Don't you love how Ana's plans are so customizable. I'd like to build something similar but I'm aware that cushions are pricey. Where did you find yours? What do you think of the quality?

