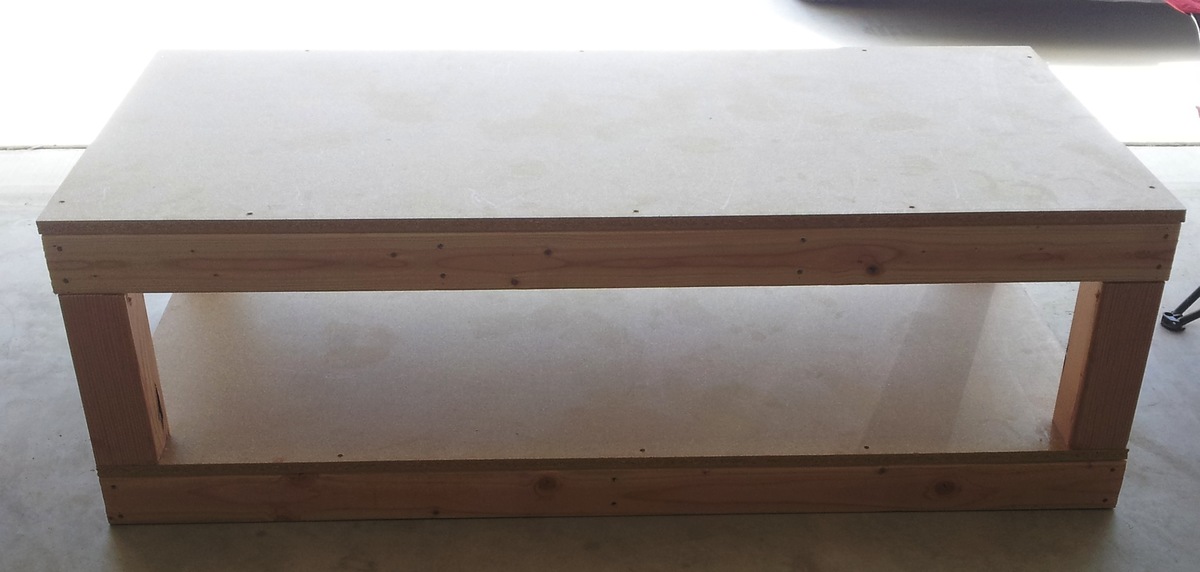
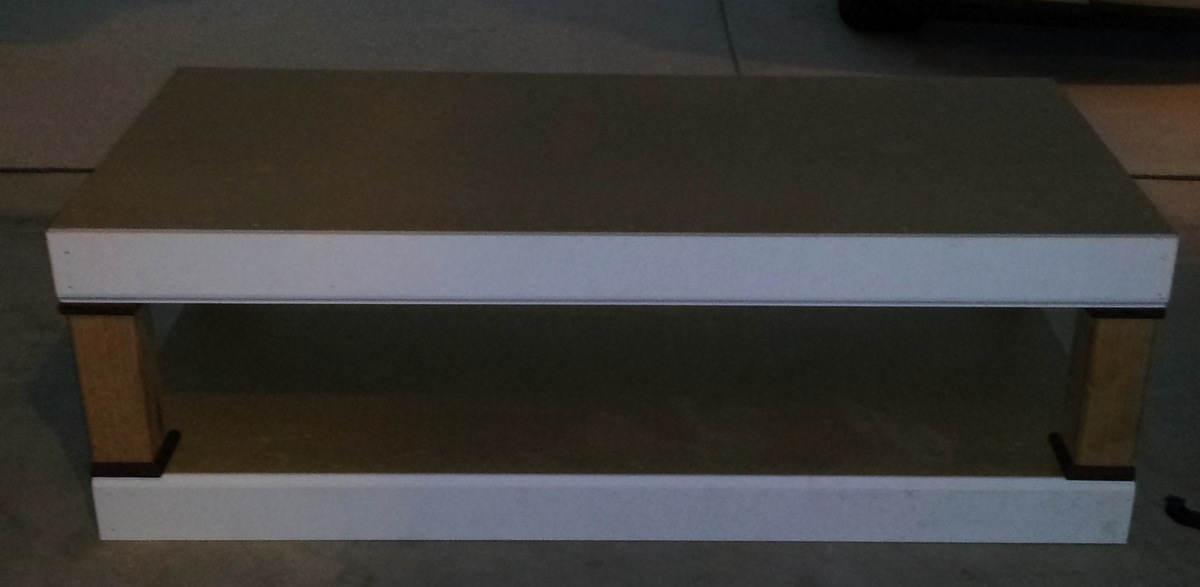
John Deere Toy Box
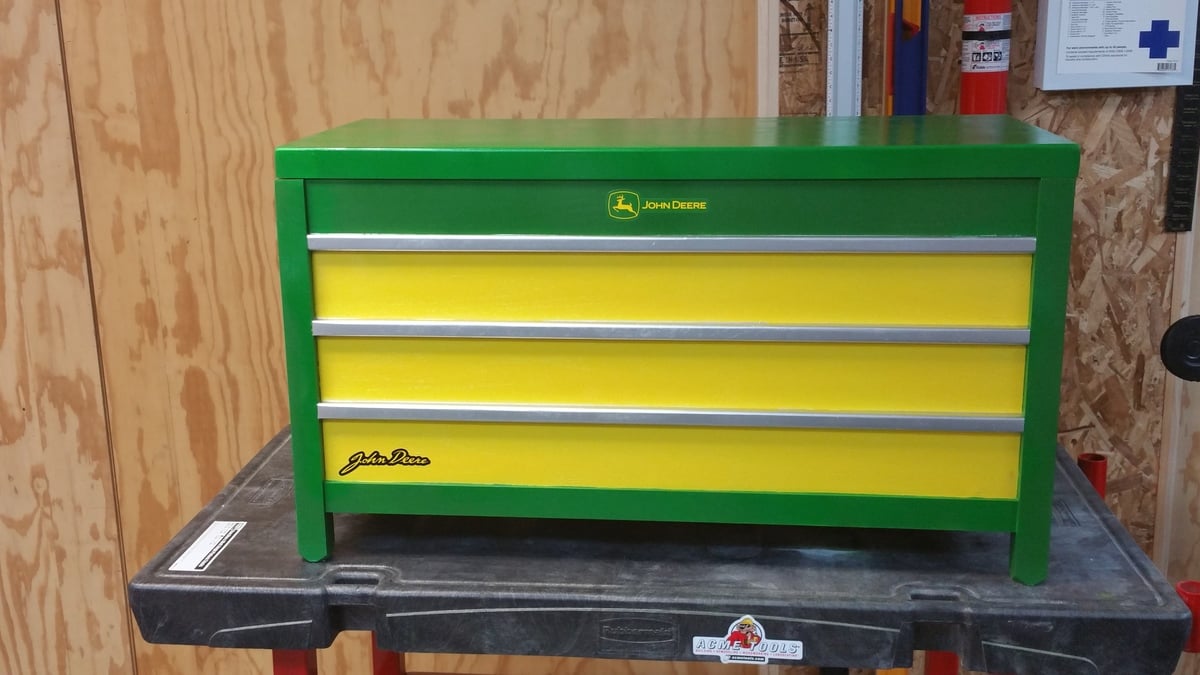
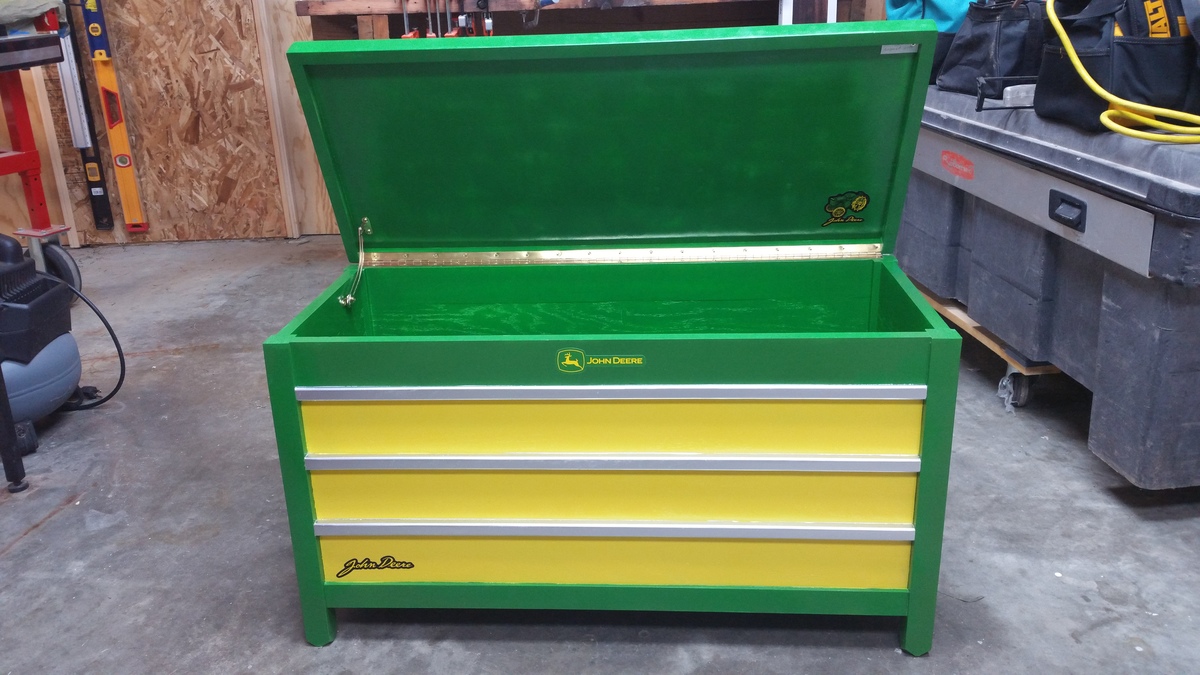
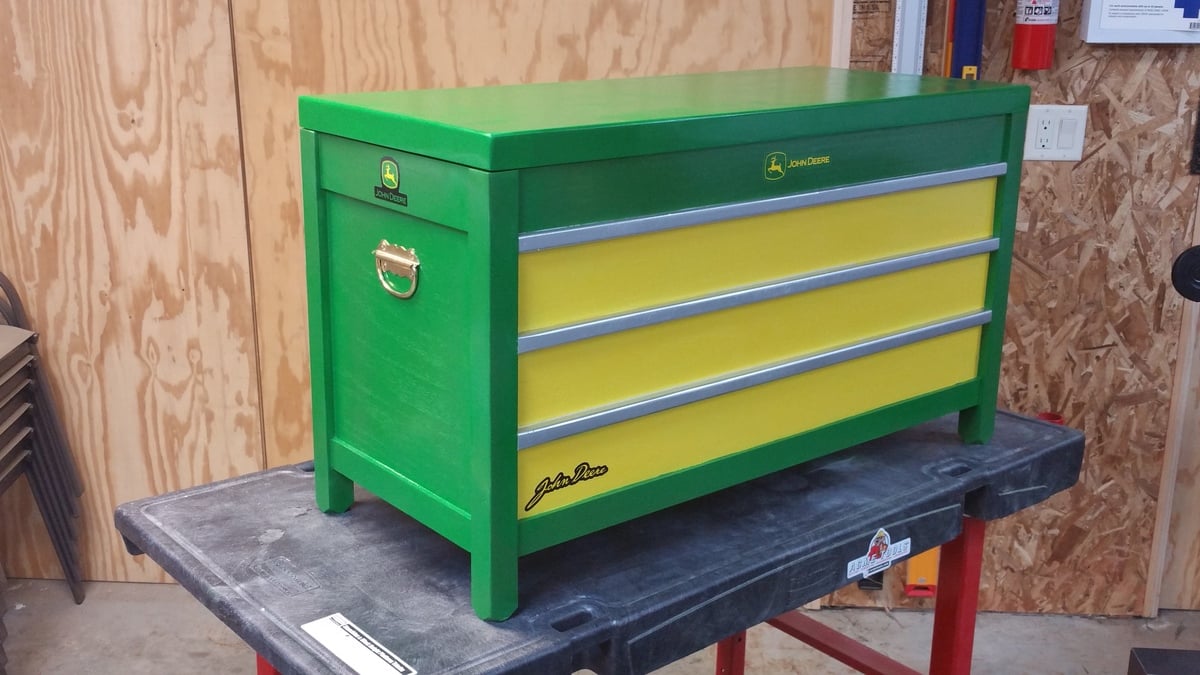
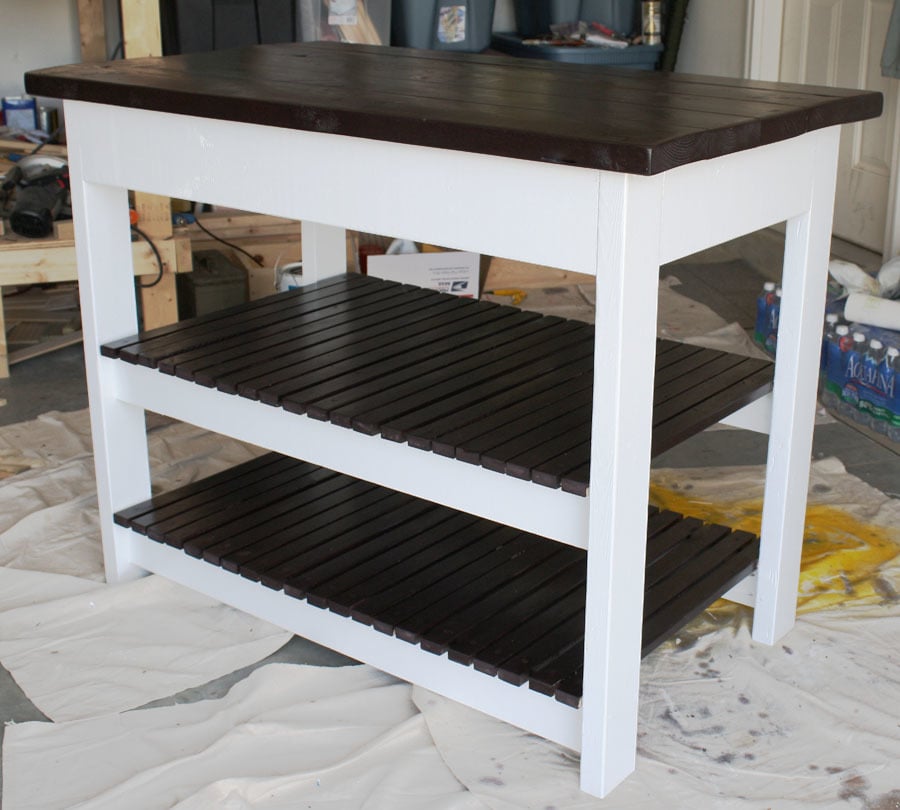
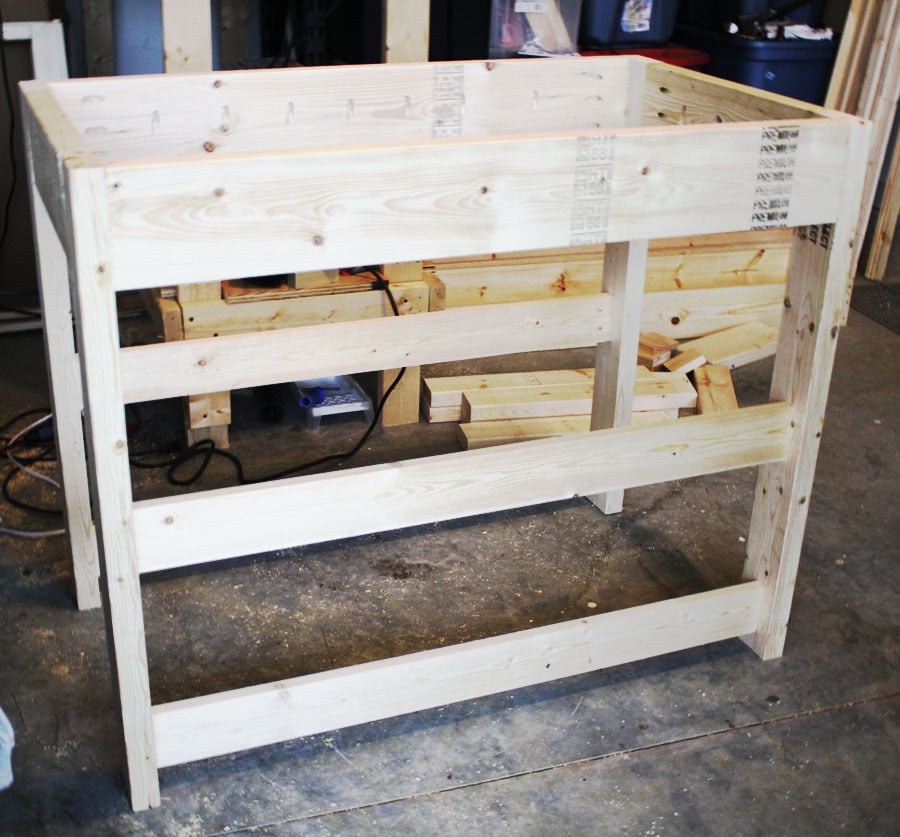
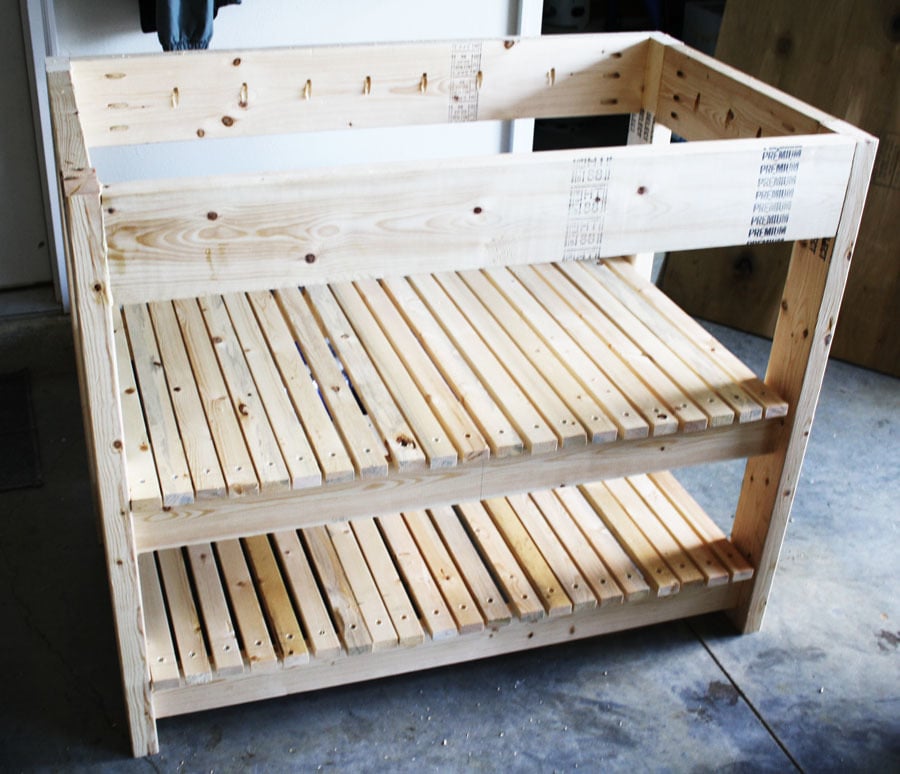
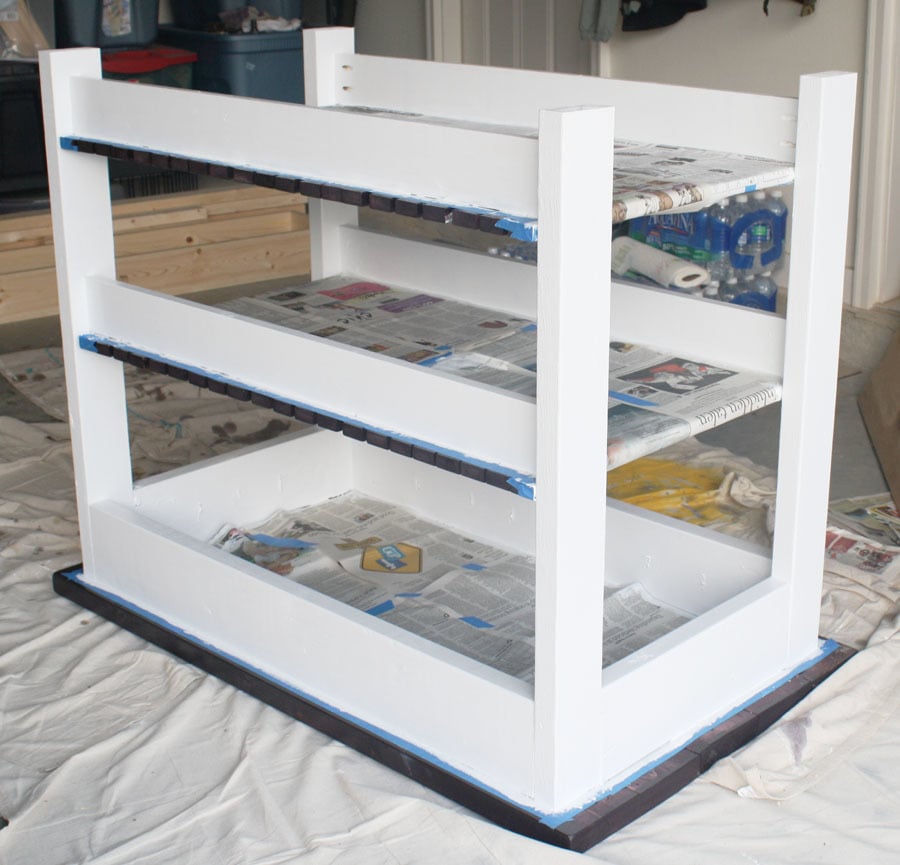
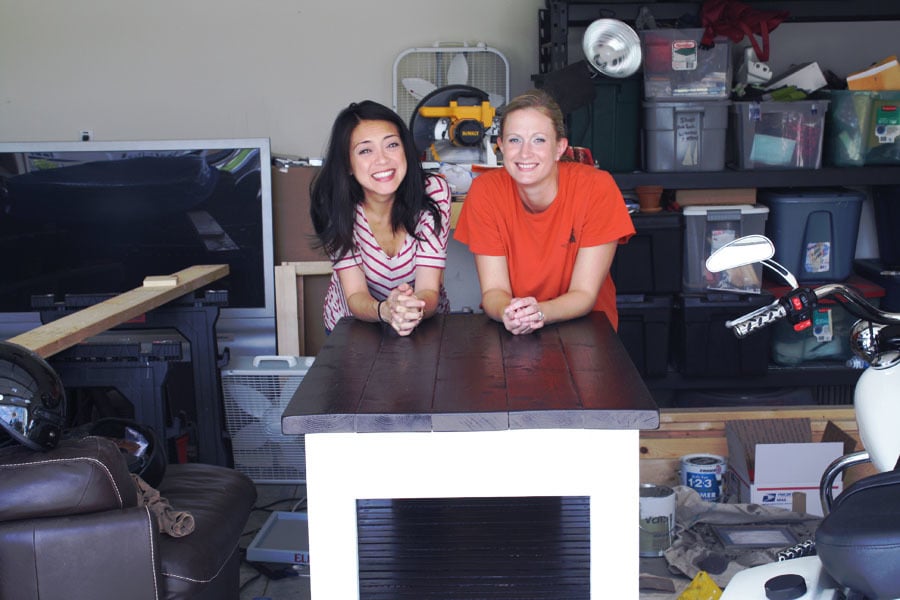
I built this toy box for my nephew, who is into Tractors, using the plan provided by Ana. I made some modifications to the lid mostly, other than that the differences are cosmetic. I thought the plan was super simple and easy to use!
Built from Plan(s)
Estimated Time Investment
Weekend Project (10-20 Hours)
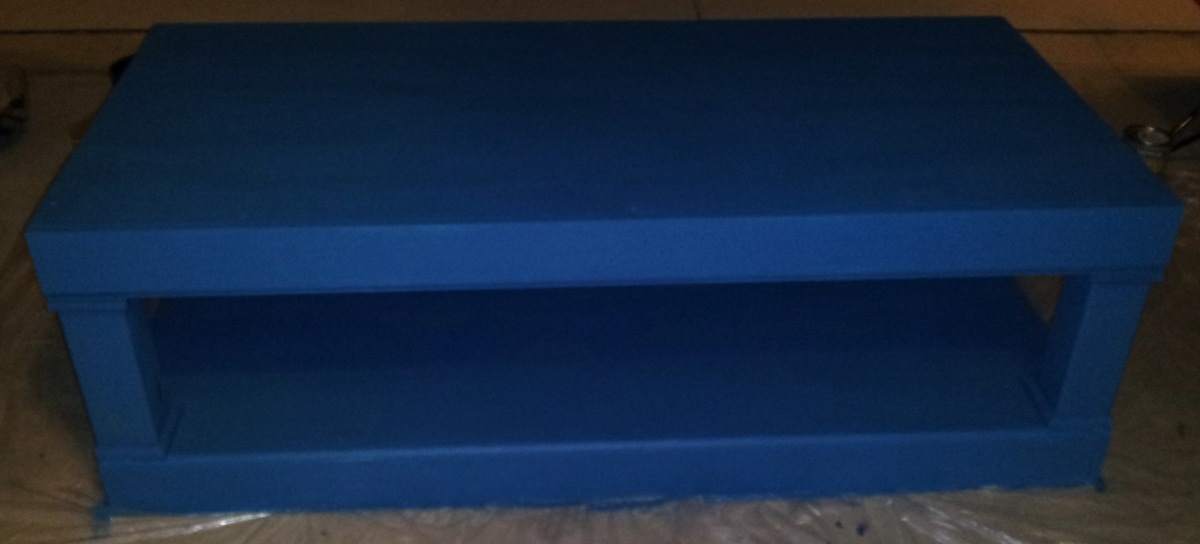
Finish Used
Machine Paint
Recommended Skill Level
Beginner


Comments
manna18
Sat, 01/04/2020 - 02:30
awesome
wow, this is very useful and looking awesome too .I will make one something like this