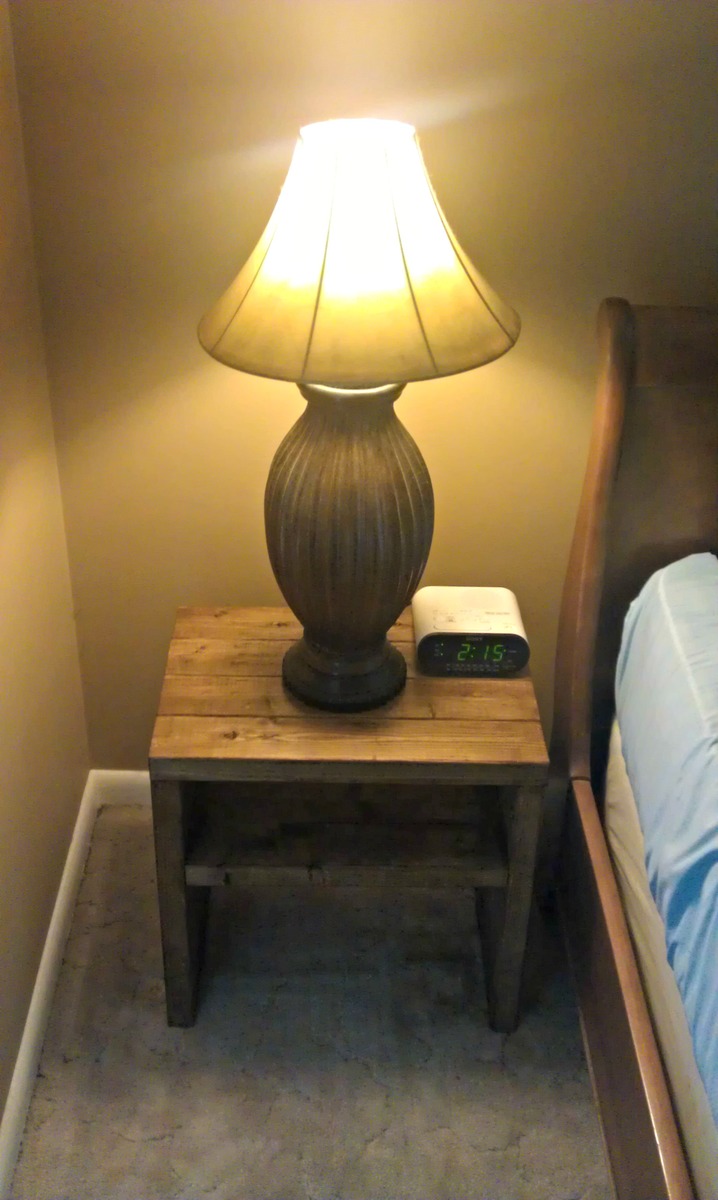
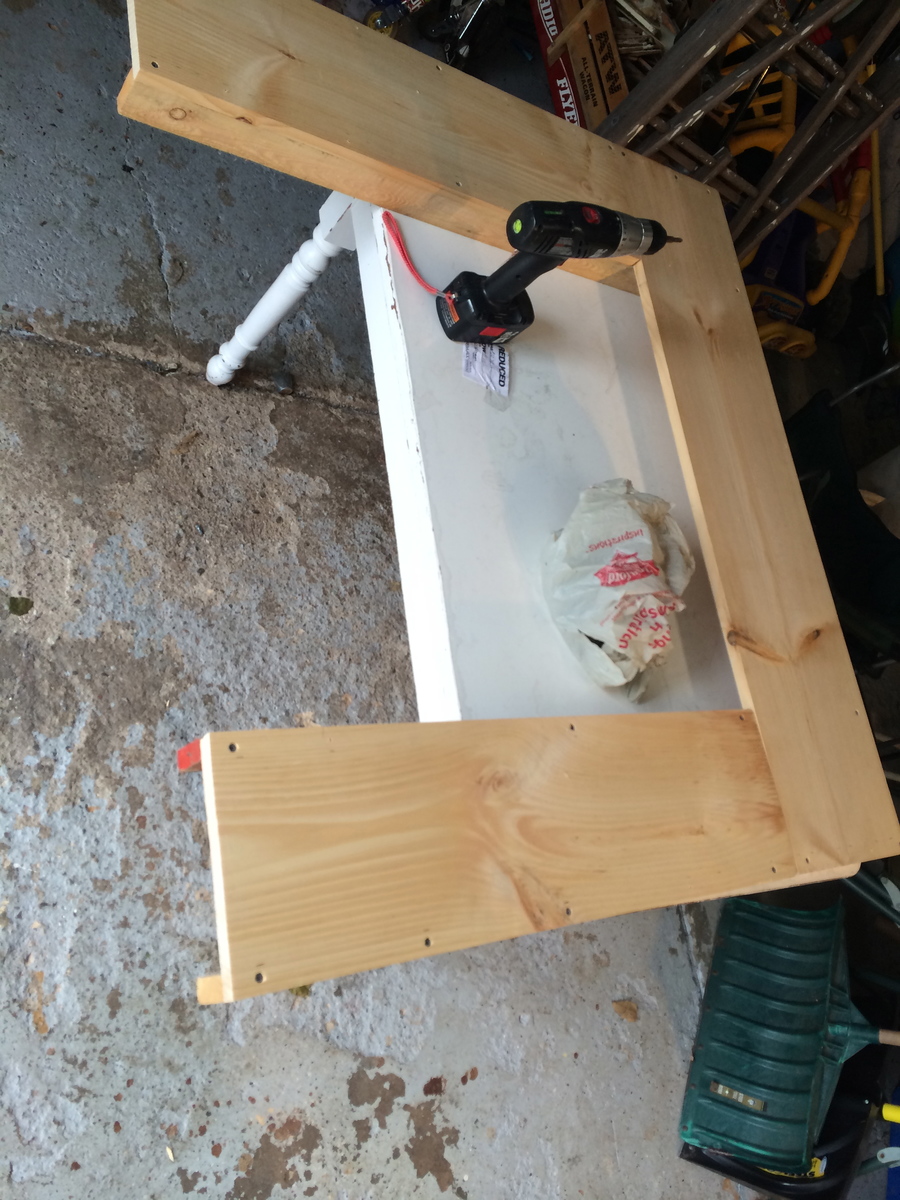
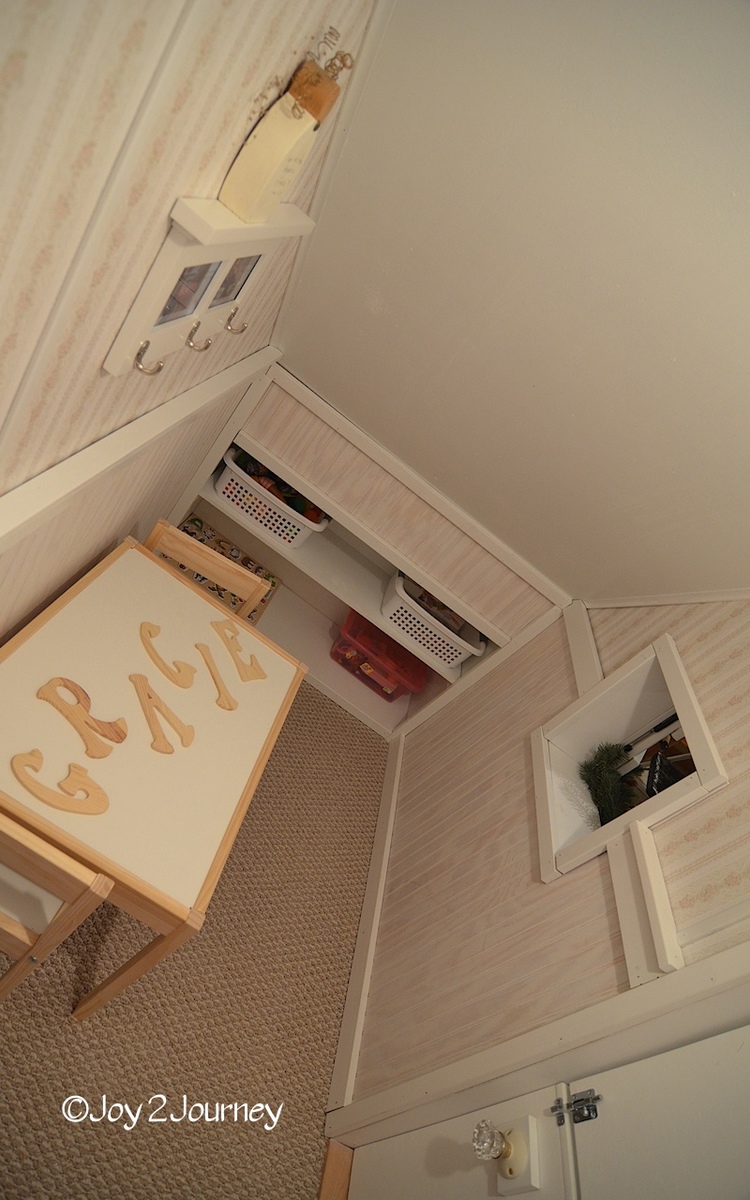
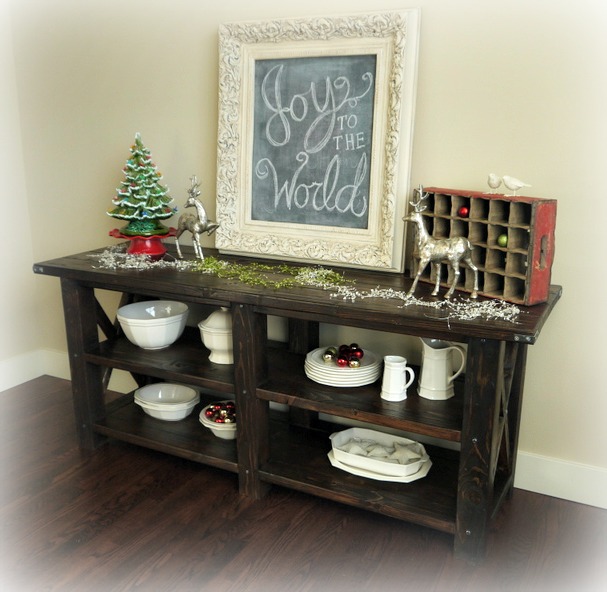
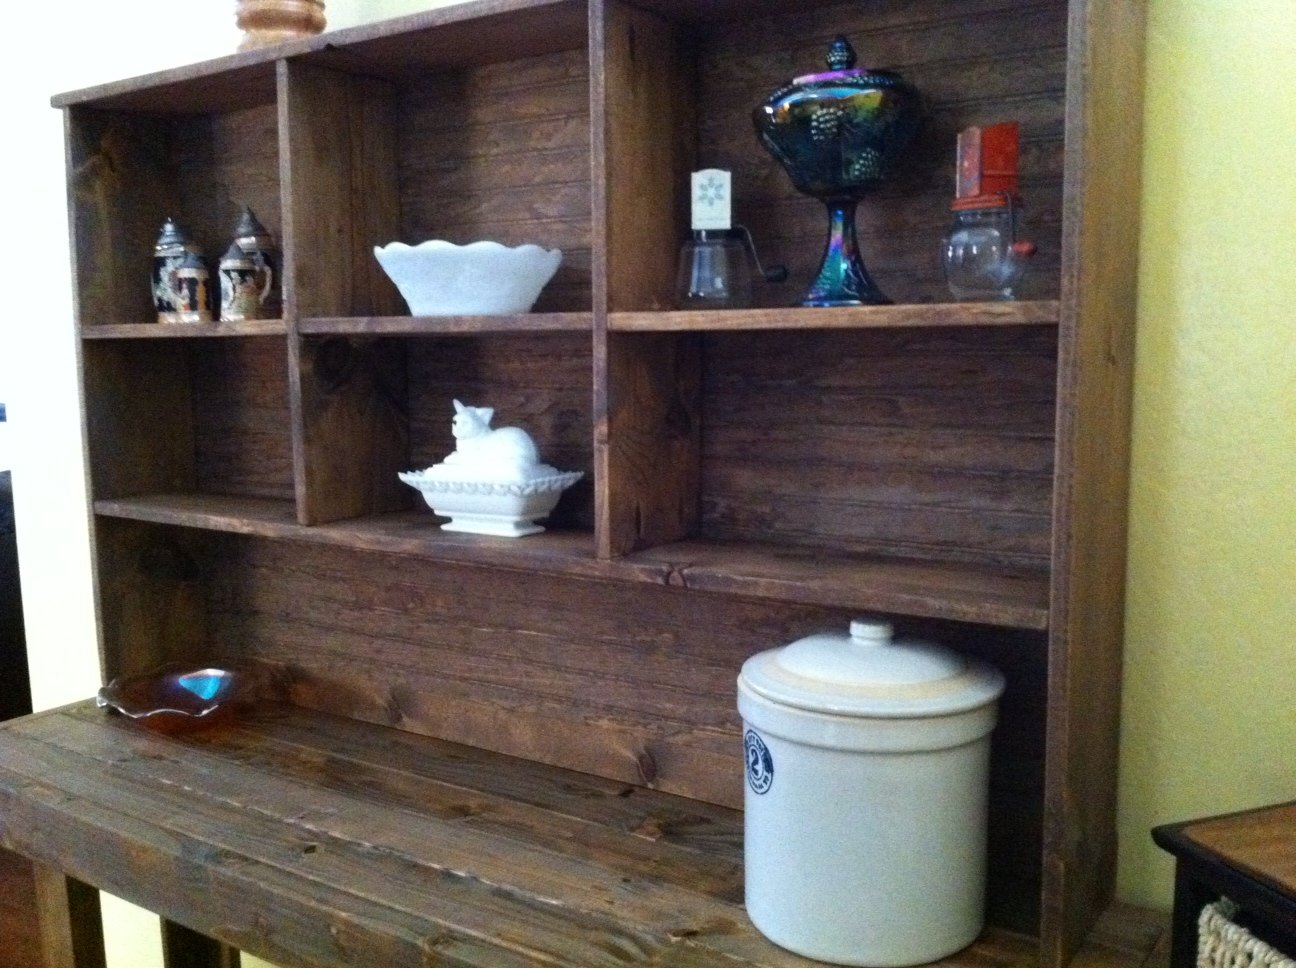
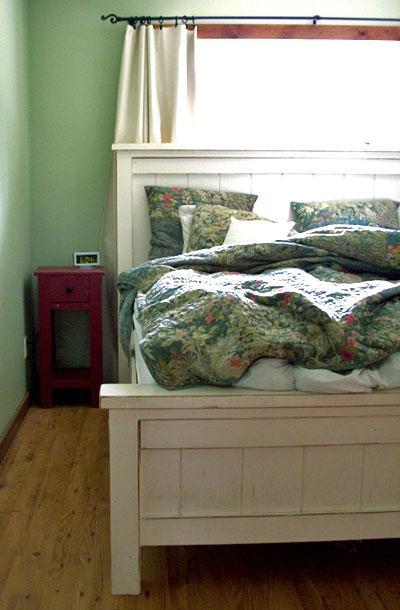
Community Brag Posts

Nightstand

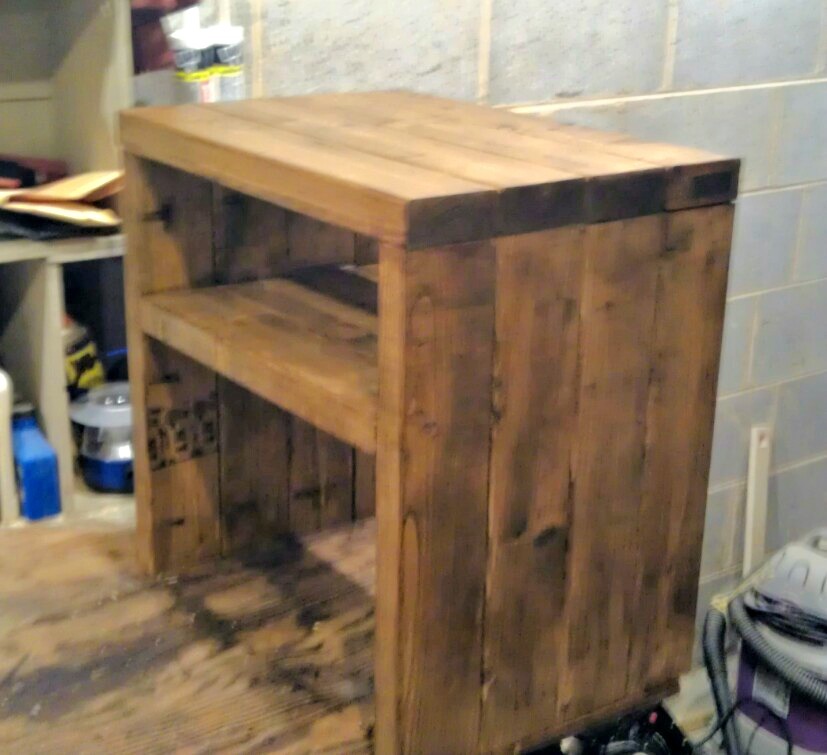
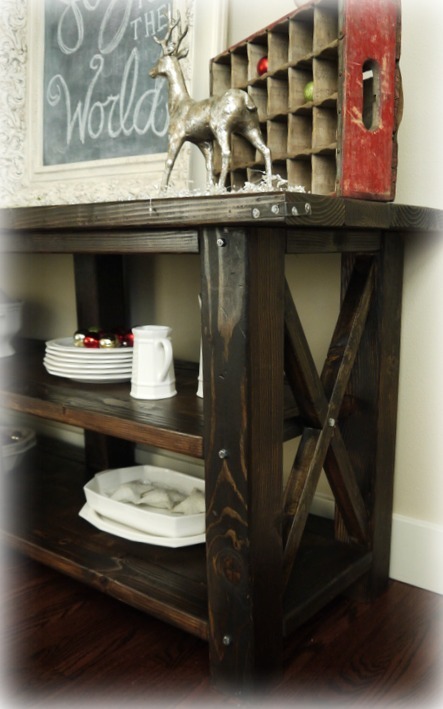
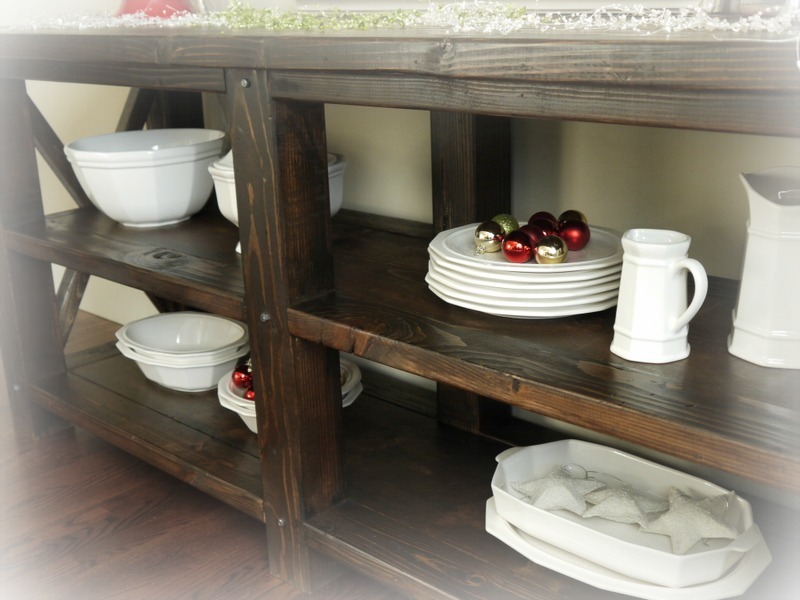
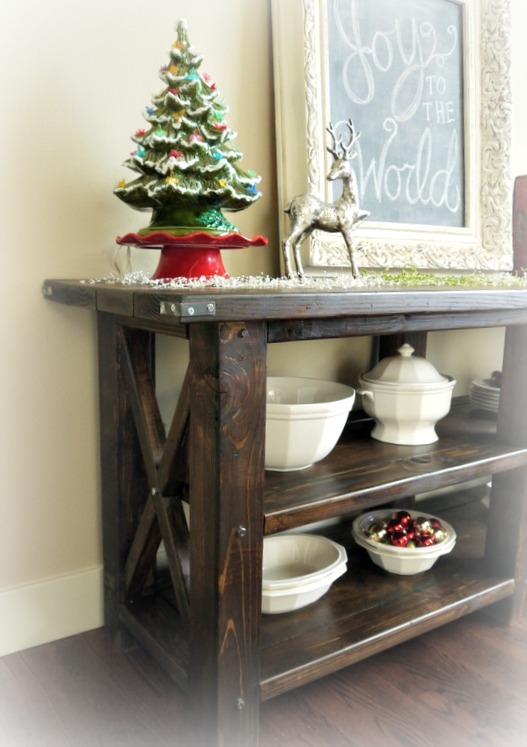
Nightstands are expensive. I don't have money. So, I thought I would build one. I kept this one rustic looking by not filling the holes but I did sand quite a bit. Just not enough to remove the printing on the boards, I think it looks good when it's got finish on it.

Built from Plan(s)
Estimated Cost
15.00
Estimated Time Investment
An Hour or Two (0-2 Hours)
Finish Used
Cabot Aged Leather stain ± sealer
Recommended Skill Level
Starter Project

Comments

Farmhouse bed with Kentwood night stand

Submitted by Anonymous (not verified) on Fri, 02/12/2016 - 10:03

I modified the queen size bed to a full and adjusted the dimensions of the bed accordingly. I used solid oak for the headboard posts and top boards. I used oak beadboard to match the Kentwood night stand I previosly made.

Estimated Cost
$400
Estimated Time Investment
Week Long Project (20 Hours or More)
Finish Used
Watco Danish Oil
Recommended Skill Level
Intermediate

Comments

Kid 4x4 Truss Farm Table

A friend asked for a kid sized farmhouse table and I knew immediately what plans I wanted to modify! The 4x4 truss table is my favorite go to table because it is extremely solid, easy to build and looks so nice! I know this table will hold up to the wear and tear of 4 kids for years! I also modified the 2x4 truss benches to match. They are the same style but not as chunky as the 4x4 truss bench plans. 


Dimensions for table are 24”h x 24”w x 48”L

benches 16”h x 13.5”w x 33”L

Estimated Cost
$82 for table and two benches
Estimated Time Investment
Day Project (6-9 Hours)
Finish Used
Ebony stain for the top and 2 coats of poly. Behr paint and primer for base and benches- just white off the shelf
Recommended Skill Level
Beginner

Double laudry table

I combined the features I liked from both of these. I was able to snag some wood table tops at auction ($5.00 ea) that I painted to look like stone.

Comments

Doll Crib

I did it! Using your plans I made the doll crib. I had to improvise on the drawer as the drawer in the plans was to tall to go under the bed and I had already put it together before checking. Oh well. I also made the mattress, reversible blanket and 2 pillows for the bed. As this was my first woodworking project I am so proud of how well it turned out. Thank you Ana for this site. It is amazing and I am HOOKED.

Estimated Cost
under $50
Estimated Time Investment
Day Project (6-9 Hours)
Finish Used
White paint, and "homemade" Pink. (Red and white mixed)
Recommended Skill Level
Beginner

Comments

Faux Fireplace

Submitted by tammterry on Sat, 11/30/2013 - 09:53

After looking online for something to make a fireplace to hang my kids stockings, I came across Anna's! WOW her instructions and plans seemed very simple to follow and so I did. I made minor adjustments based on what I had on hand but I followed her plans to the t. Thank you Anna, you inspired me!

Estimated Time Investment
Afternoon Project (3-6 Hours)
Finish Used
Some cream paint and glaze, then poly.
Recommended Skill Level
Beginner

Comments

Fire Pit Bench

Submitted by docfin02 on Mon, 02/15/2016 - 09:18

Modified the plans slightly to make a bigger bench, especially on one end. Added rope lights underneath for a cool effect.

Estimated Cost
$225, including rope lighting underneath and having to buy screws and glue
Estimated Time Investment
Weekend Project (10-20 Hours)
Recommended Skill Level
Intermediate

Comments

Easiest Industrial Laundry Cart

Submitted by robinles on Tue, 05/30/2023 - 08:37

After a laundry area refresh, I was looking for a slim utility cart to fit between the washer and dryer. I couldn't find anything that fit the space appropriately, so after finding the Easiest Industrial Cart plan, I decided to make one for my space. I built it using a 2x6x10 board and aluminum angle.

Built from Plan(s)

Comments

Kitchen helper

Submitted by Chef Sowa on Tue, 01/17/2012 - 17:51

My first project build from Ana-white.com. My wife had been looking at these towers online for a while until we saw they were upwards of $200 online... So I was like, "I'm sure I could make one.". So I found Ana's website, and here it is... My 19 month old daughter loves it, she climbs in and out of it with no problems, she calls it "uppy". This is my first of many projects to come from this very helpful site. The plans are all so helpful and very detailed. Thanks Ana!

Built from Plan(s)
Estimated Cost
$40
Estimated Time Investment
Afternoon Project (3-6 Hours)
Finish Used
Paint
Recommended Skill Level
Beginner

Comments

cfgenie

Wed, 04/04/2012 - 01:28

you did such a great job on this helper tower! I love the way you finished it with her name, the fun colors, the dots, the kitchen lingo... soo much fun!

Ninja Turtle Bed

This project was a blast to build!!!! I modified the fire truck loft bed by changing a few of the exterior accent pieces. I also built it to fit a full mattress in stead of the planned twin. I did this by adding additional slates for support. I just recently was able to finish it completely when i found someone who could make the decals. Hope you all enjoy and feel free to ask any questions. Also I used cabnet grade plywood so mine cost was a lot more expensive.

Built from Plan(s)
Estimated Cost
I think total it was around $ 600 -700.
I used all cabinet grade pine and that was the reason for the cost.
Estimated Time Investment
Week Long Project (20 Hours or More)
Finish Used
Bayer paint and primer
Recommended Skill Level
Intermediate

Cottage Playhouse loft bed

Submitted by bhoppy on Wed, 10/02/2019 - 05:50

I built this bed a while ago but I am finally getting around to submitting a brag post.

It is the largest thing I have ever built and it was a huge labor of love. I made it by myself in the evenings after work and weekends over the course of a few weeks.  I modified the plans only slightly.  I added an extra 1x6 board which makes the overall height 76 inches tall. 

I also changed how the windows were framed and added flower boxes. I got a bit OCD and filled all the pocket holes because I didn’t like the way they looked even though it was quite tedious, I am happy with the way it turned out.

At first, I put the play kitchen I built from Ana’s plans underneath, but that was later replaced with a little tv stand that I made to fit perfectly under the playhouse.  I didn’t use any plans for that but it was just a simple bookshelf.  I measured the space, cut the wood as I went and used beadboard on the back of the shelf with cutouts for cords.  I used leftover paint from the playhouse for the tv stand.    

Estimated Cost
$600
Estimated Time Investment
Week Long Project (20 Hours or More)
Finish Used
kilz primer sprayed on followed by valspar paint.
Recommended Skill Level
Advanced

Comments

Little Red Barn Coop

Submitted by Anonymous (not verified) on Sun, 06/04/2023 - 12:58

This was an Ana White plan. My first outside project. Late husband left me with lots of tools so decided I’d teach myself woodworking. Thanks Ana White for the super easy plans. I tweaked them a little especially the outside look. I put a single fold down door for the pullout tray. Put a hinged ladder for easy clean out attached to clean out tray.

Comments

Under the Stairs Playhouse

Submitted by bjhoove on Sat, 01/21/2012 - 20:01

A Playhouse Under the Stairs for the Grand babies! A really fun space :) A fun project for me to build ... It lets the creative thoughts take shape. I had the perfect space for a playhouse under the stairs in the basement and thought that since we live in a cold climate it might be good to have an indoor play space. Inside I put down carpet to keep that area warmer since it is on the cement floor. I also installed bead board, chair rail and plywood with wall paper on it. I didn't use any plans from this amazing site but did see other plans that inspired me! I will be using some plans on this site soon. Look for a Murphy Bed soon from me :)

Estimated Time Investment
Week Long Project (20 Hours or More)
Finish Used
Primer, Paint
Recommended Skill Level
Intermediate

Comments

Cindy from Indiana (not verified)

Sun, 01/22/2012 - 10:39

That is an amazing play space for your grand babies! Makes me wish I had stairs so I could build one for me! LOL

Guest (not verified)

Sun, 01/22/2012 - 14:16

That is an incredible play space. We have a one story house, but now I want to install some stairs!

niecey

Mon, 01/23/2012 - 16:42

This is magical. Must have been a lot of work! It looks incredible.

Grand Rustic X Buffet

This modification of the Rustic X Console uses 4x4's for legs. The top is one extra 2x6 wide, and the horizontal cross-pieces are 2x4's. The whole thing is 72" wide. More photos on my blog: http://redhenhome.blogspot.com/2013/12/grand-rustic-x-buffet.html

Built from Plan(s)
Estimated Time Investment
Day Project (6-9 Hours)
Finish Used
Minwax Special Walnut, hand-rubbed polyurethane
Recommended Skill Level
Beginner

Comments

Cost less than $5

Nothing was bought for this table. I allocated $5 as cost for the screws and sandpaper. 2 x 6 legs & 2 x 4 rails used wood recycled from material removed during alterations to our 1930's barn. Supports were extracted from the woodpile. Nails were removed where possible, or cut off and punched below the surface where they were not removable. Because the wood was very old and splintery an enormous amount of time was spent sanding.


The top is an Ikea counter thrown out from a kitchen remodel and rescued from the roadside, still in its cardboard box. Score!


I am very pleased with the design and plan to make another using better lumber. The table is very sturdy and will be used as a sewing/crafts table.

Built from Plan(s)
Estimated Cost
Less than $5
Estimated Time Investment
Afternoon Project (3-6 Hours)
Finish Used
The paint is Glidden Rusty Red latex leftover from a friend's barn and so old it had separated beyond remixing. What was left acted like a cross between a glaze and chalk paint. It had to be rubbed down with rags after each coat to remove specks of pigment and loose powdery color. Four coats each applied 24 hours apart and coverage was as good as it was ever going to get. Final coat was Minwax wax.

To duplicate it:
1. Randomly paint white or light paint. Let dry. Sand.
2. Dilute 1 cup of red paint with one cup of water and rub it in/wipe it off immediately. You shouldn't need more than one coat if you want the white to show through depending on how much "old paint' you want to show.
Recommended Skill Level
Beginner

Toy box

Submitted by Anonymous (not verified) on Fri, 06/09/2023 - 12:53

I made this toy box for a couple that I worked with. They like it so much, that they asked me to make them two more

Built from Plan(s)

Comments

Workbench Console and Hutch

Submitted by AlohaMama on Thu, 01/26/2012 - 12:11

We needed space, display space as well as gadget space. The Workbench Console and Rustic Hutch fit in well with the dinner table I modified from Ana's Farmhouse table. Instead of adding the 2x6 on the front and towel bar, I opted to leave the face clean with just a 2x4 and add some reclaimed antique drawer pulls on the side for decoration.

Instead of plywood or 1x4's for the back of the hutch I used the ever handy bead board. Same feel, but cut to size. We also raised the shelf up 12" from the bottom so that I could easily vacuum under it and it would be a great place for a basket or 2 just to hide linens.

Thank you Ana...my house is transforming one project at a time...

Estimated Time Investment
Day Project (6-9 Hours)
Finish Used
Danish Oil
Recommended Skill Level
Intermediate

Comments

Jarrah

Fri, 01/27/2012 - 11:25

I like this a lot! You did a fabulous job! I can see a ton of applications where I could use something like this around the house.

DIY Loft Bed

We adjusted the plans slightly to better fit our room. Rather than an angled set of stairs leading to the platform, we replaced it with a short vertical ladder. We also increased the height of the bed to allow for another bunk in the lower section for when Callaghan outgrows his crib. Plus, we added handles to the bed which made it easier for Luke to get up and down.

Estimated Cost
75
Estimated Time Investment
Afternoon Project (3-6 Hours)
Recommended Skill Level
Beginner

Comments

my daughters big girl bed

Submitted by Anonymous (not verified) on Mon, 02/22/2016 - 10:10

I was looking for a bed for my daughters room. She does not have much storage or room so this plan worked perfect. Took about two days so a great weekend project. Built with love unlike from a store.

Estimated Cost
Around $250 for all the material
Estimated Time Investment
Weekend Project (10-20 Hours)
Finish Used
Poly clear gloss
Recommended Skill Level
Intermediate

Breakfast nook table and banquette

Submitted by wtclarke1 on Thu, 10/03/2019 - 10:07

When we moved into our house, there was an empty breakfast nook.  I built in the banquette seating, and then built the table out of oak.  This was inspired by the Triple Pedestal Table (http://ana-white.com/woodworking-projects/triple-pedestal-farmhouse-tab…)

Estimated Time Investment
Week Long Project (20 Hours or More)
Recommended Skill Level
Intermediate