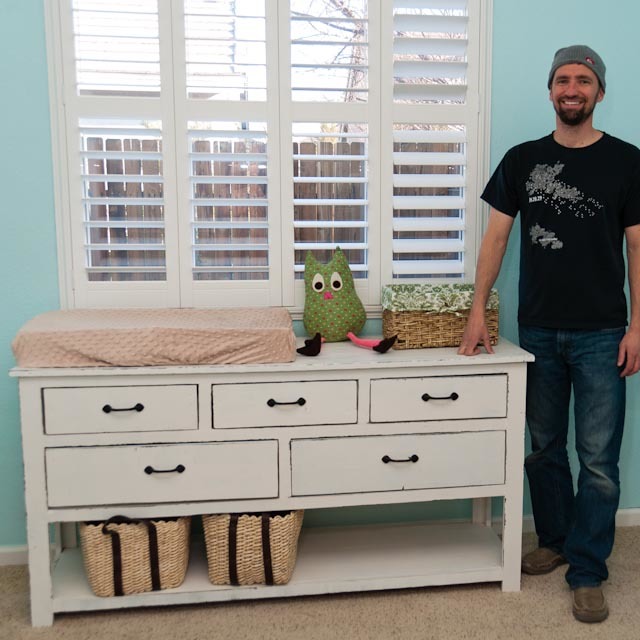
Nursery Changing Table Dresser
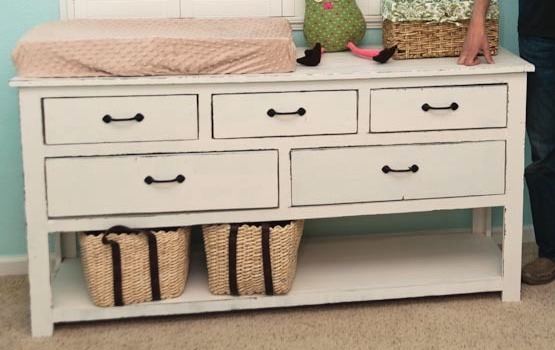
Had fun watching husband figure this out. Drawers were tough and trying to antique something for the first time was too. But I am so thankful for it!
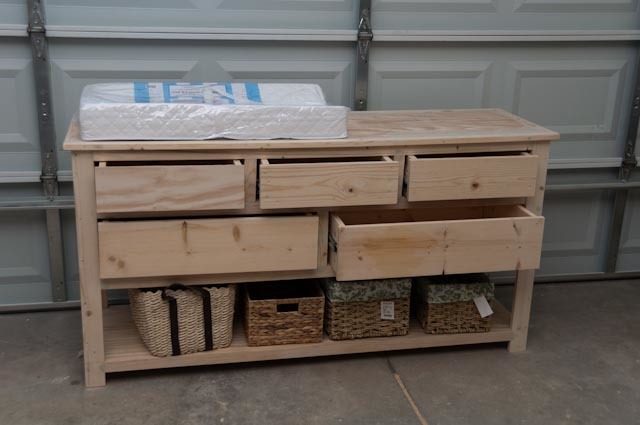
Built from Plan(s)
Had fun watching husband figure this out. Drawers were tough and trying to antique something for the first time was too. But I am so thankful for it!
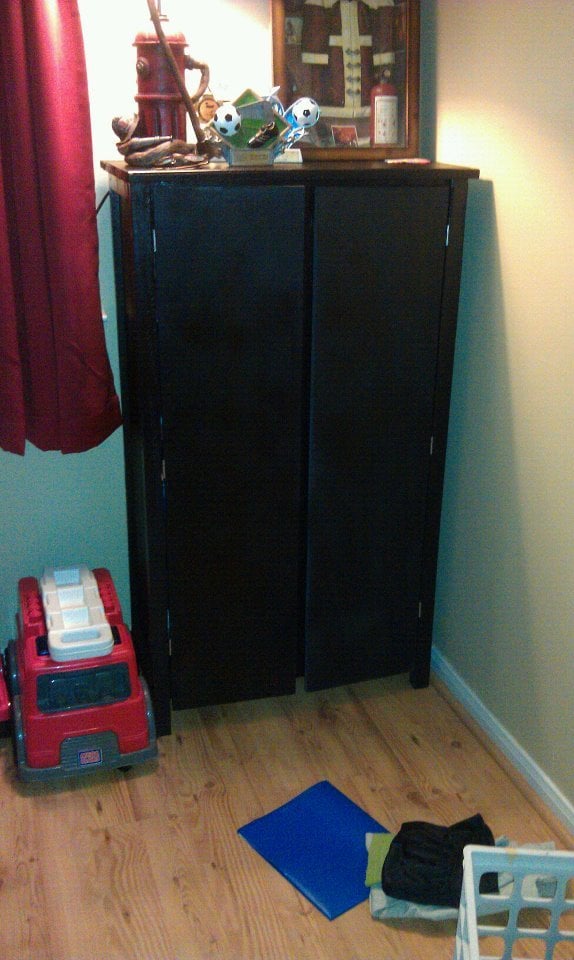
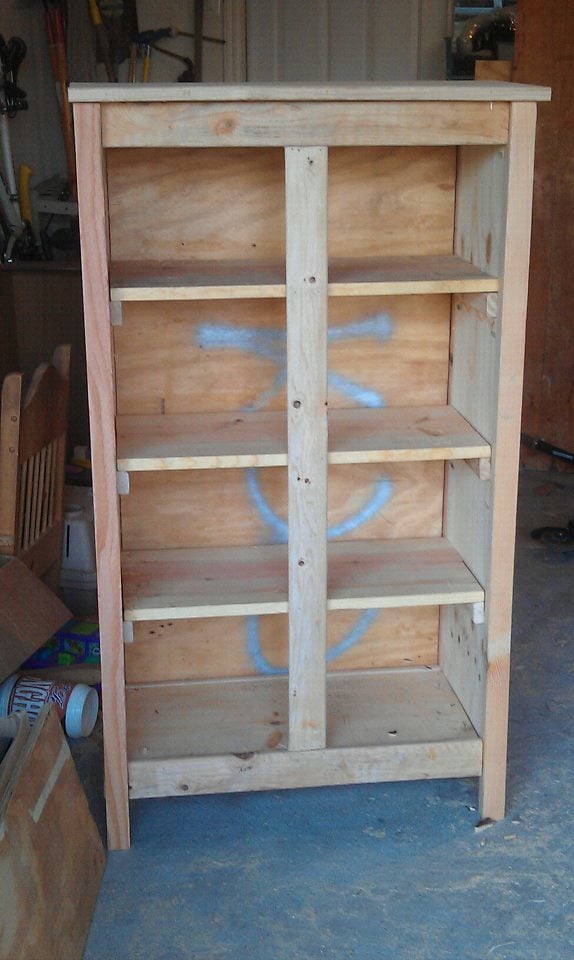
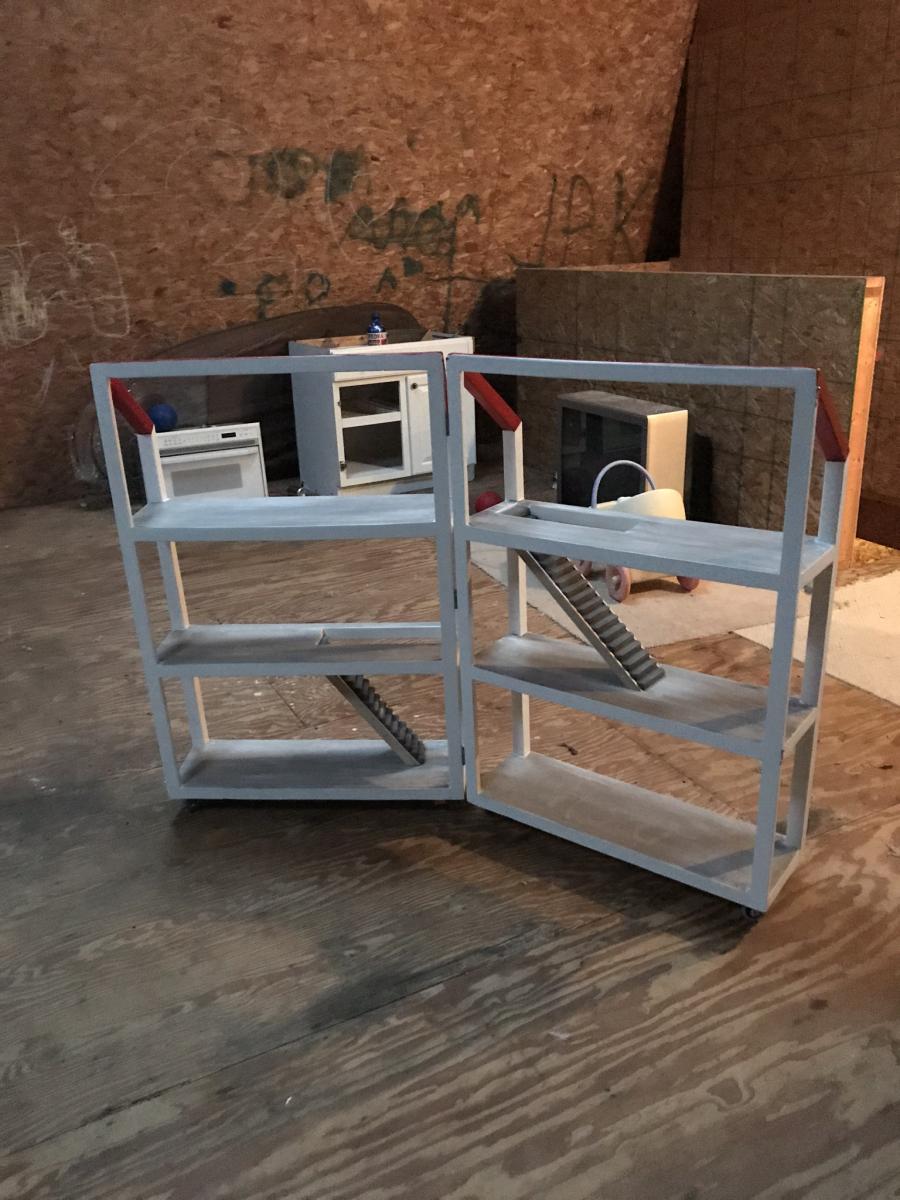
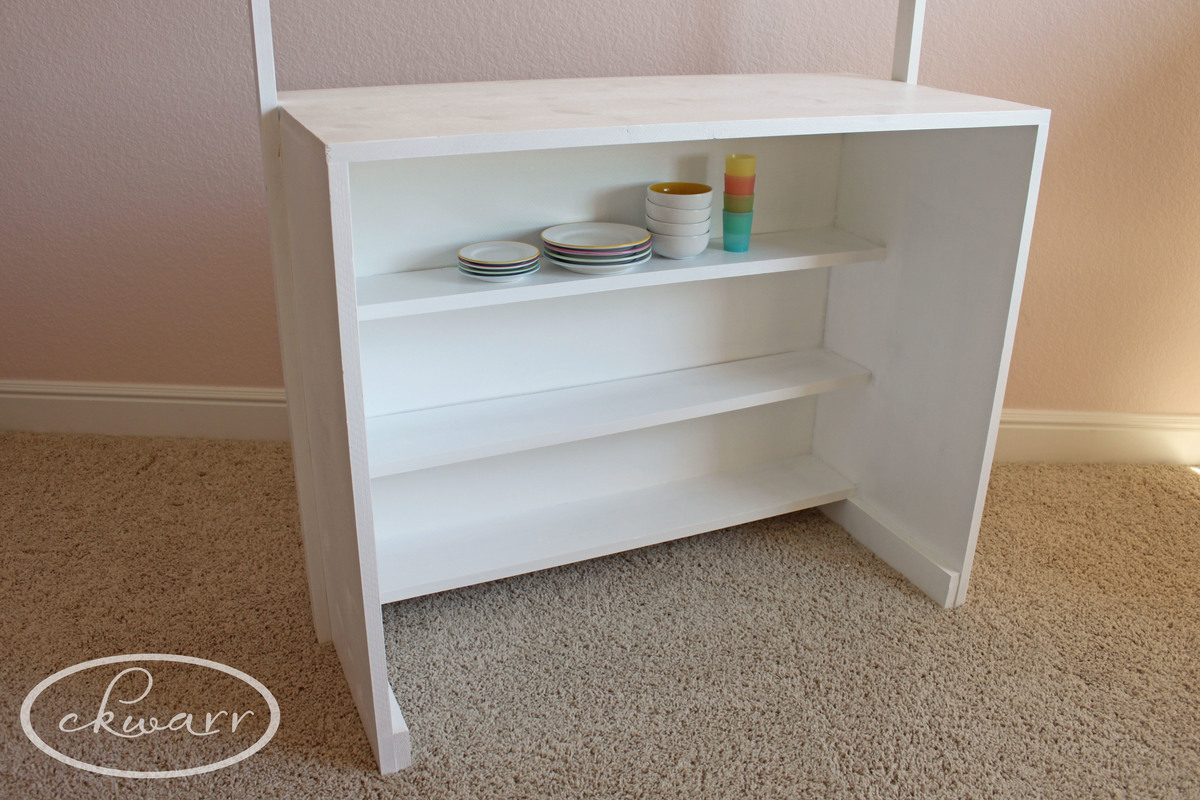
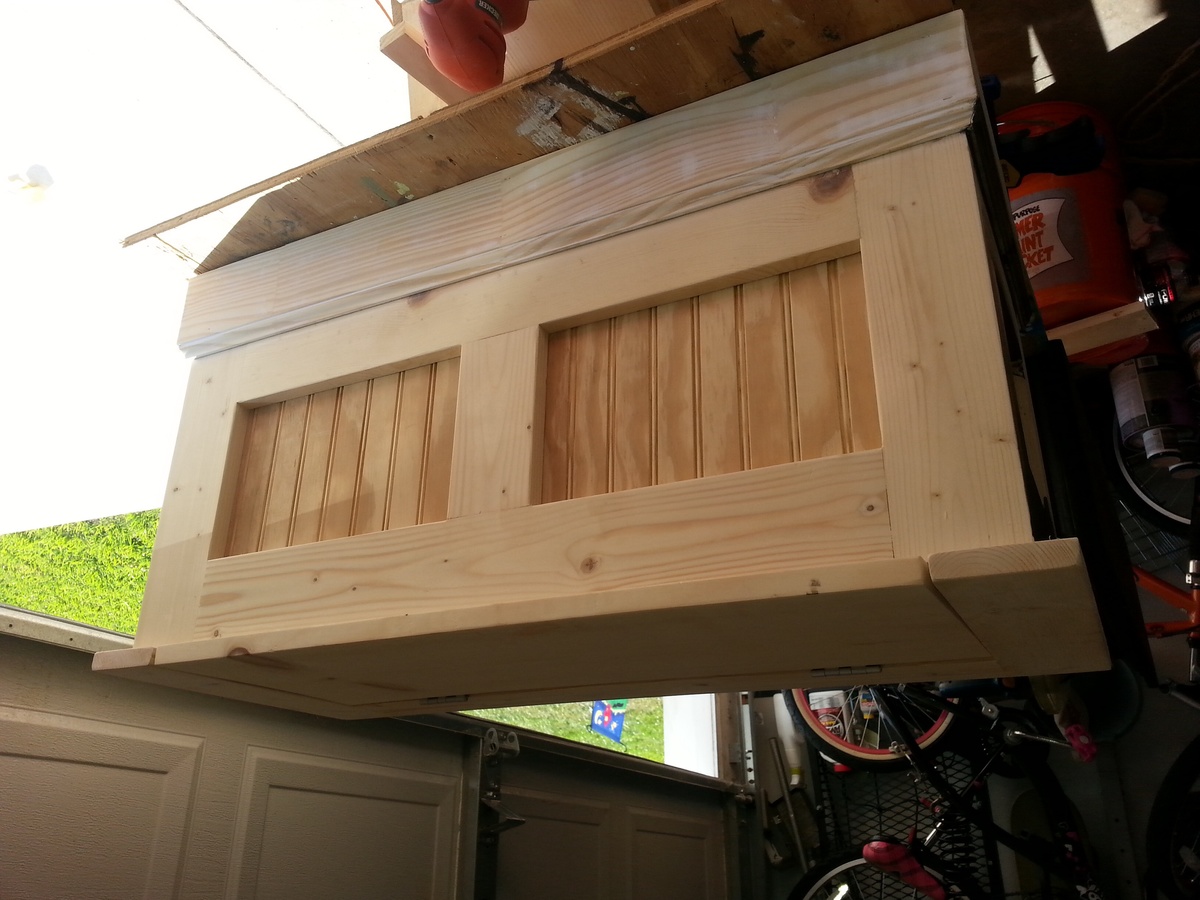
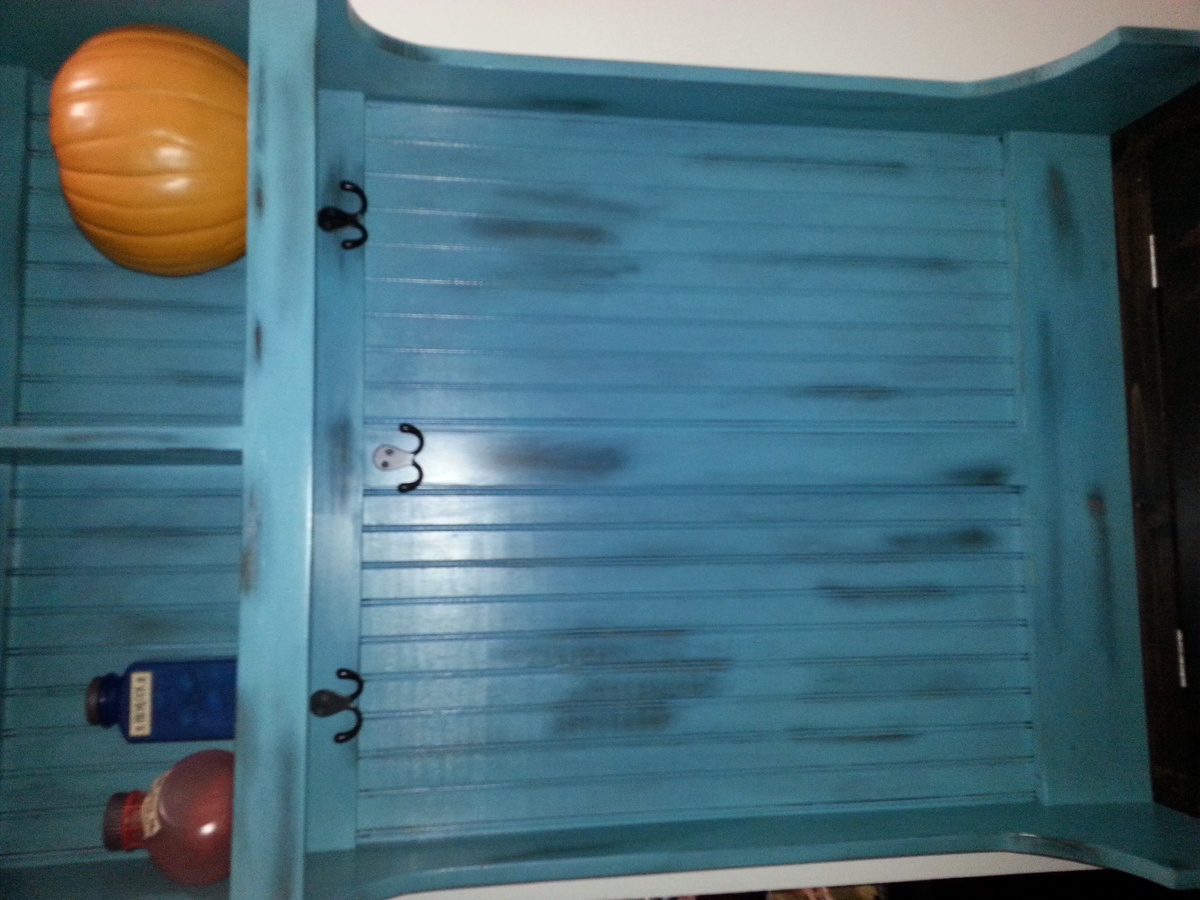
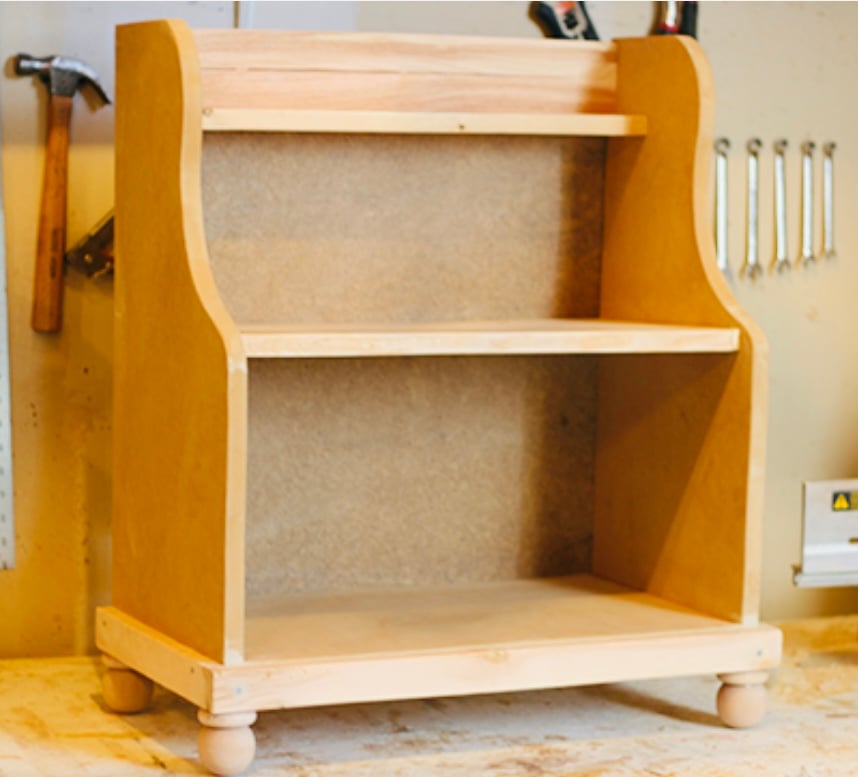
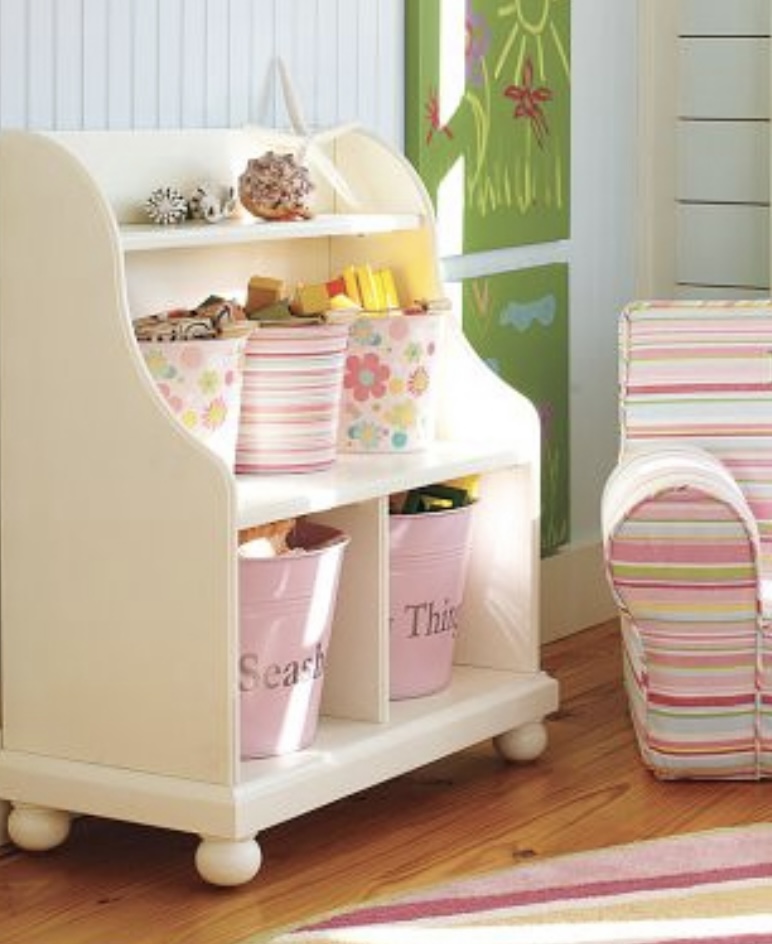
IKEA dresser drawers bit the dust....SURPRISE! So I needed a dresser and quick. Then after a trip to our fire fighter museum I decided to make lockers instead.
I used the basis from the beach cottage dresser, omitted drawers and used shelves and doors instead.
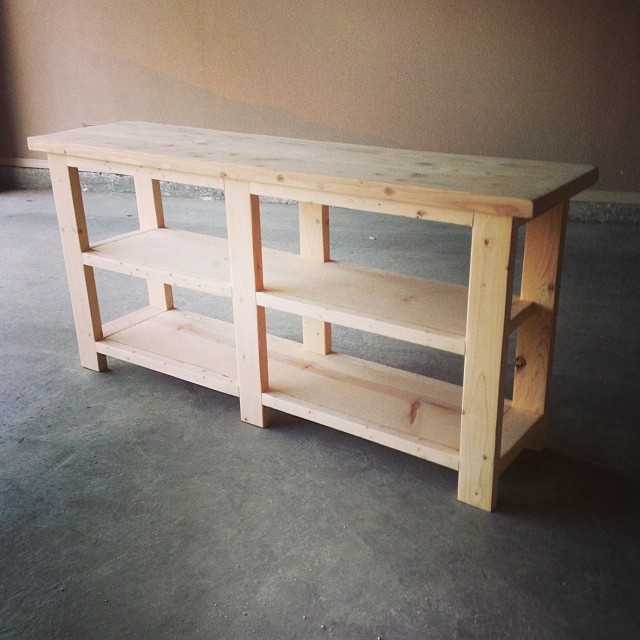
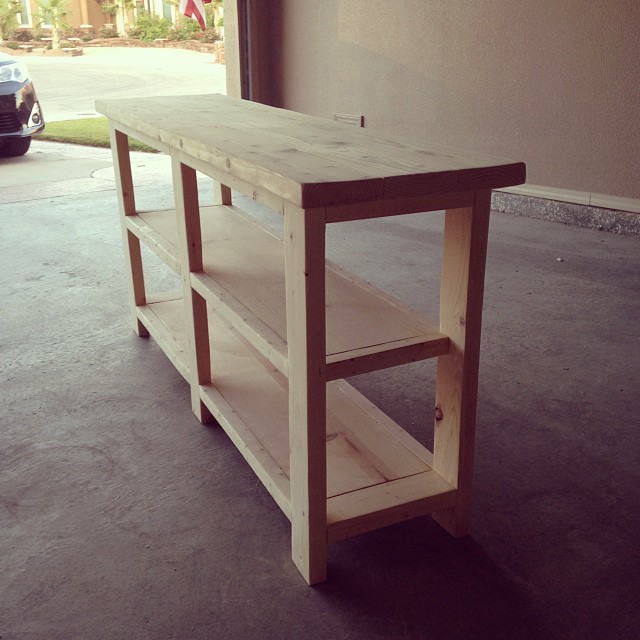
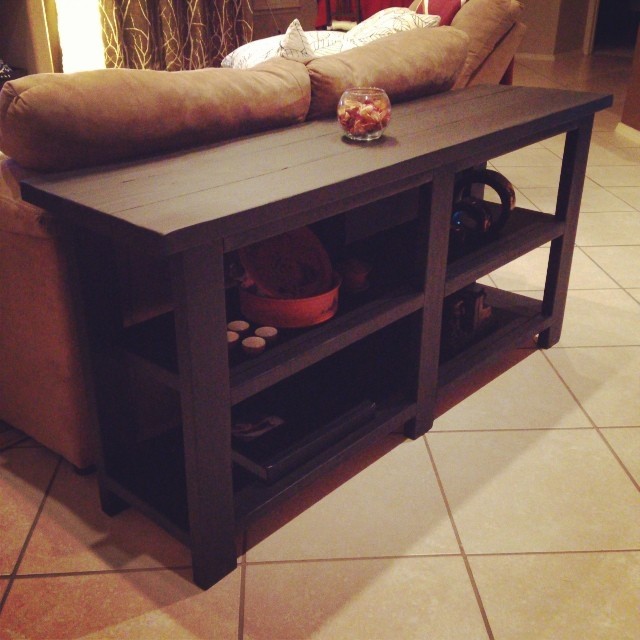
We built this console table after the rustic X coffee table and end table. We have learned from previous experience to cut the "X" last, marking them against the frame instead of measuring to cut. This time, my husband made a suggestion to leave the X's out and it was great! The console table still goes very well with the rustic X coffee table and end table, but without the X, it also fits well into other rooms we can use it for. In the end, we are very happy with the result!
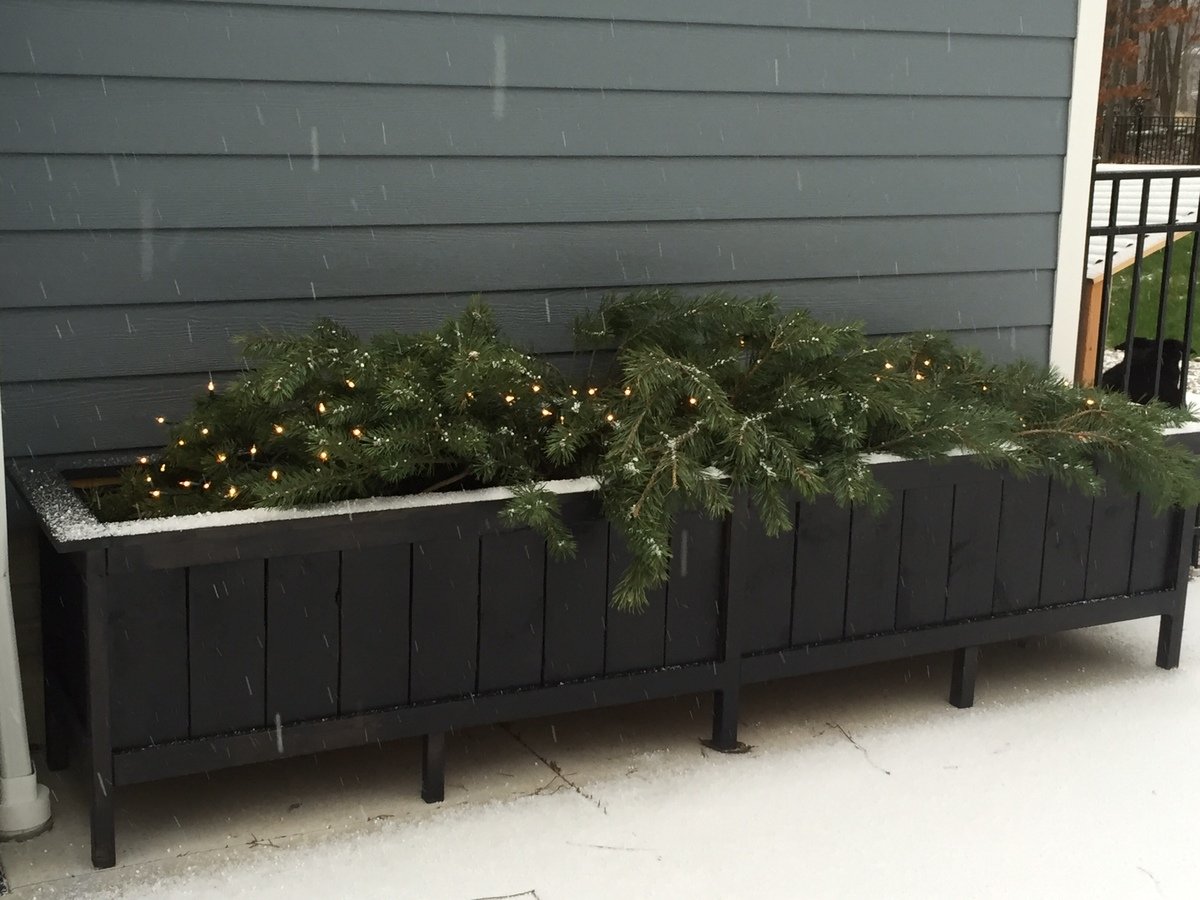
Tripled the dimensions, filled with mums for the fall. Now pine boughs and fairy lights! Love!
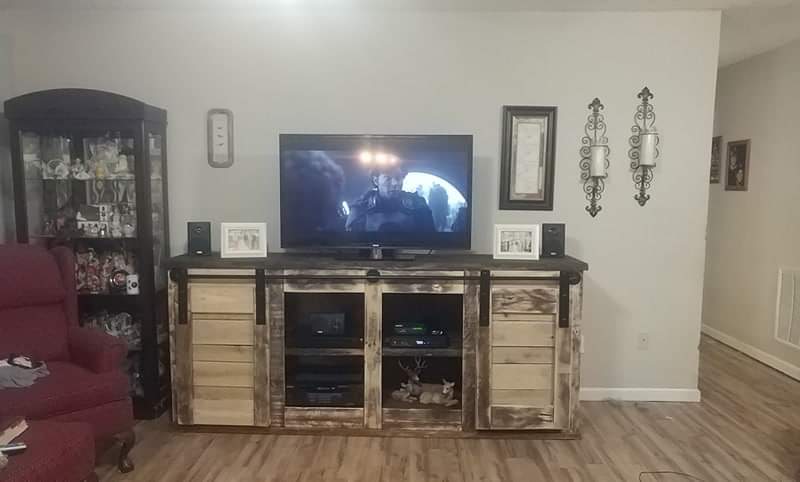
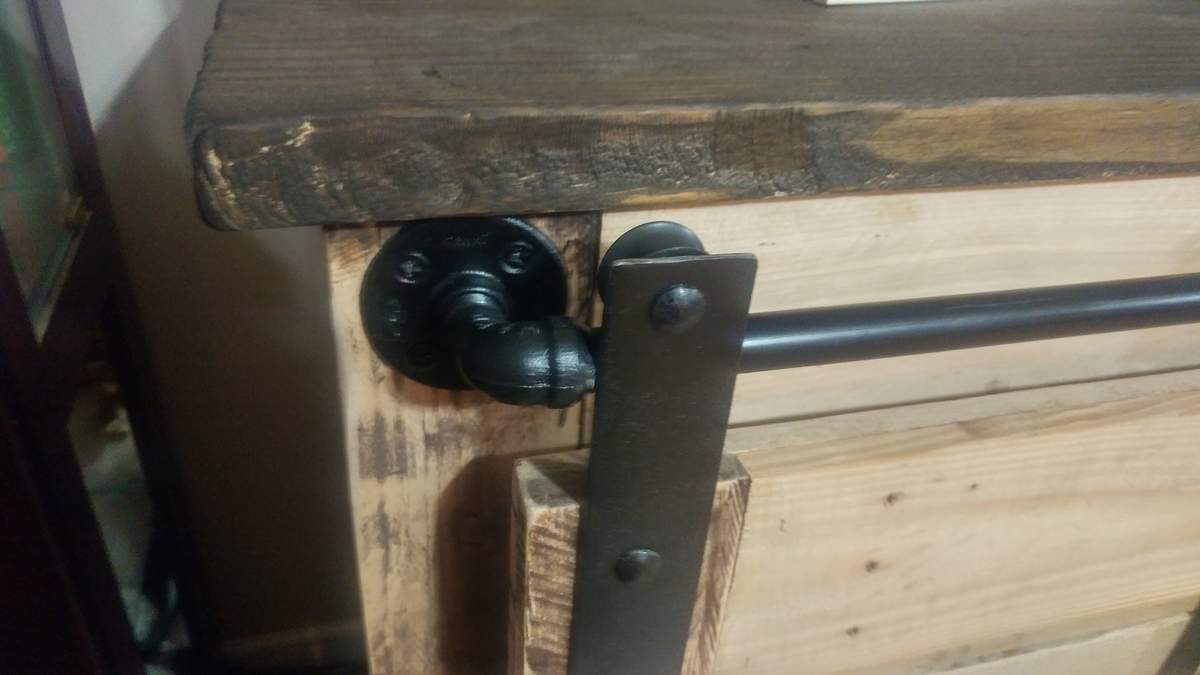
I had a different idea for the barn door hardware. I used 1/2" black pipe and fittings for the rail . I found rollers on eBay that were perfect for this application. It went together great and I love the industrial look .
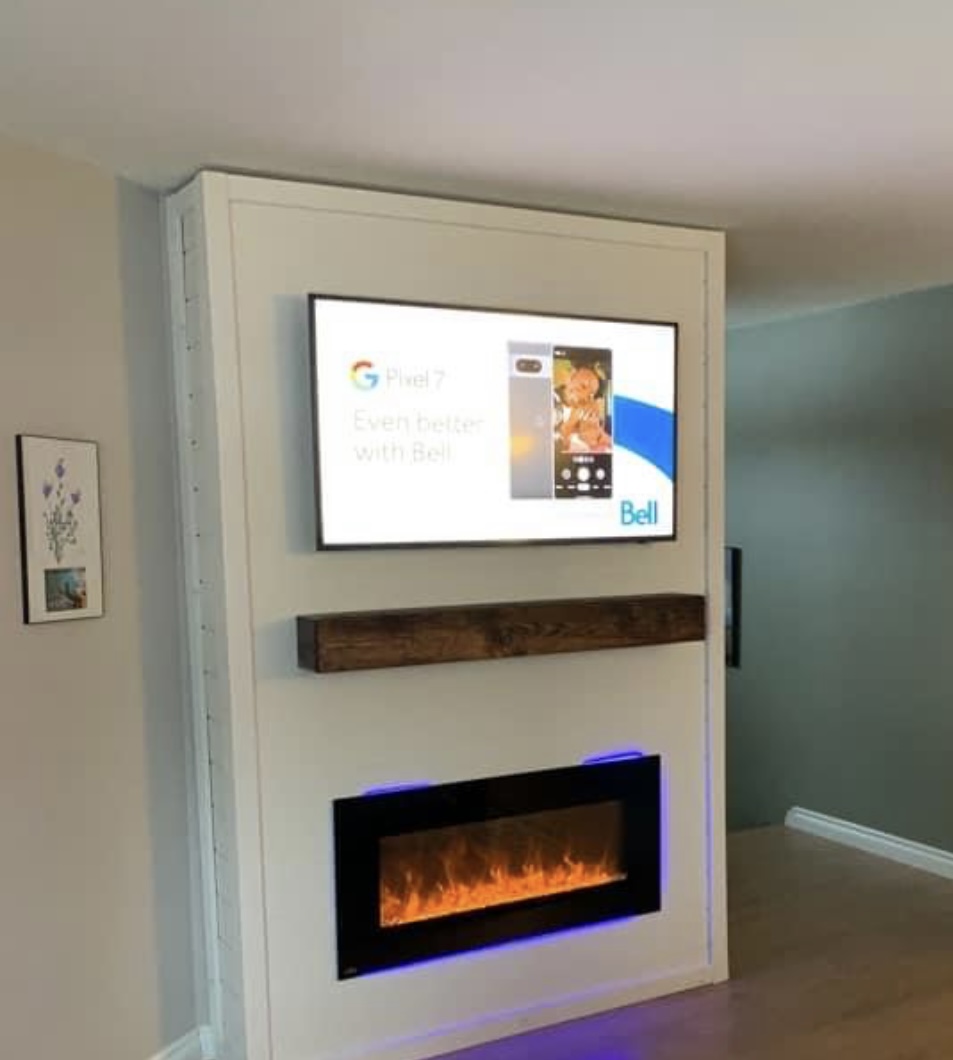
Beautiful Shiplap Fireplace By Adam Morrison

Used the plans and it came out great. Our daughter loves this chair. Super sturdy.
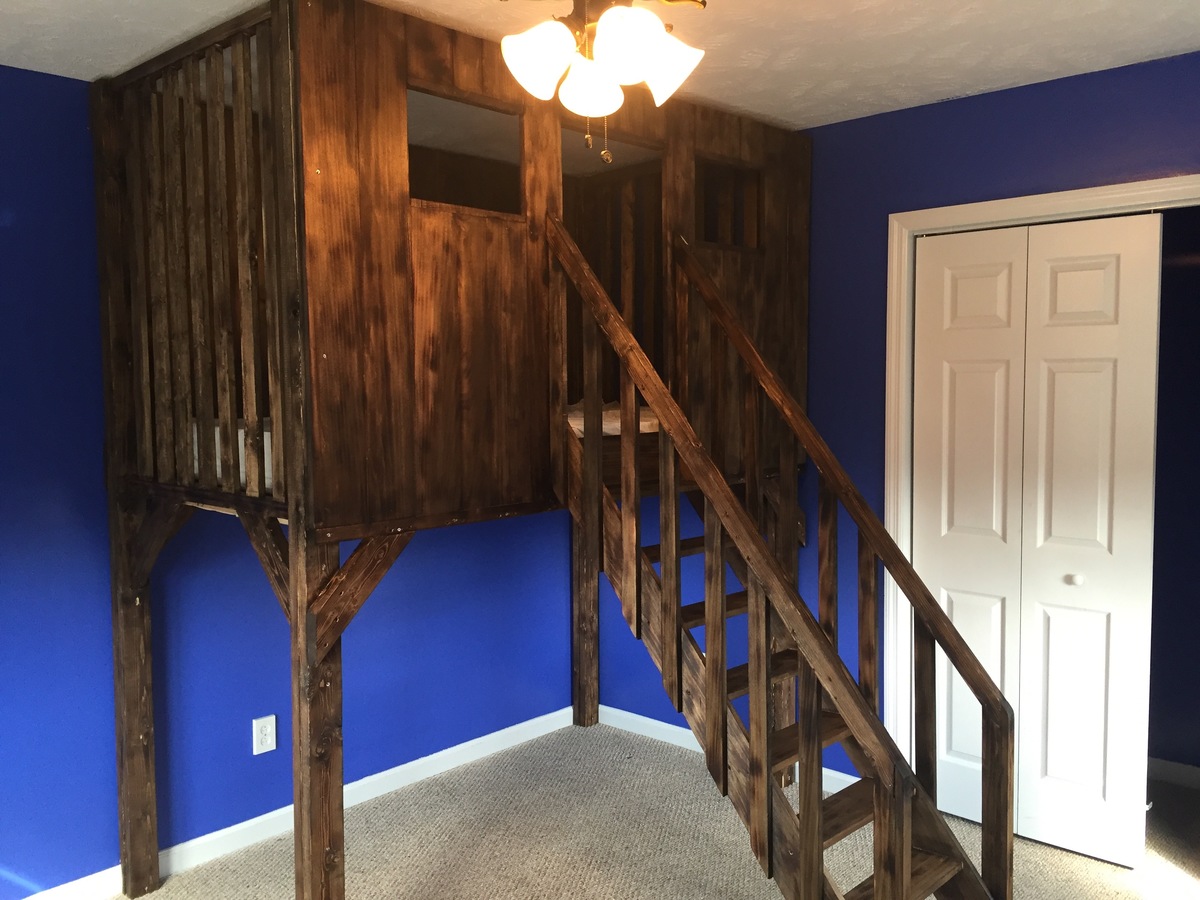
Finished project for Mikey's bed.
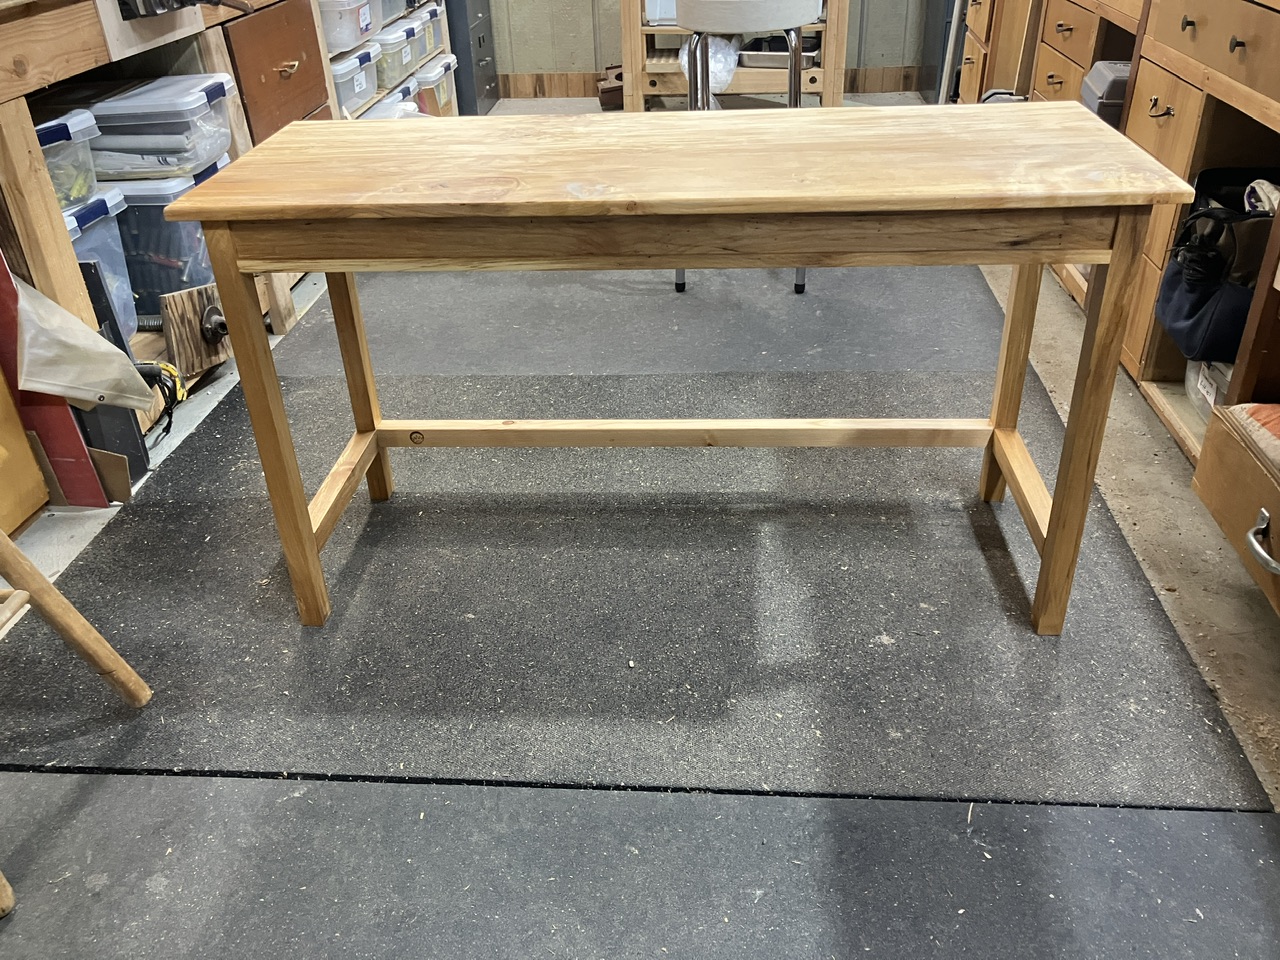
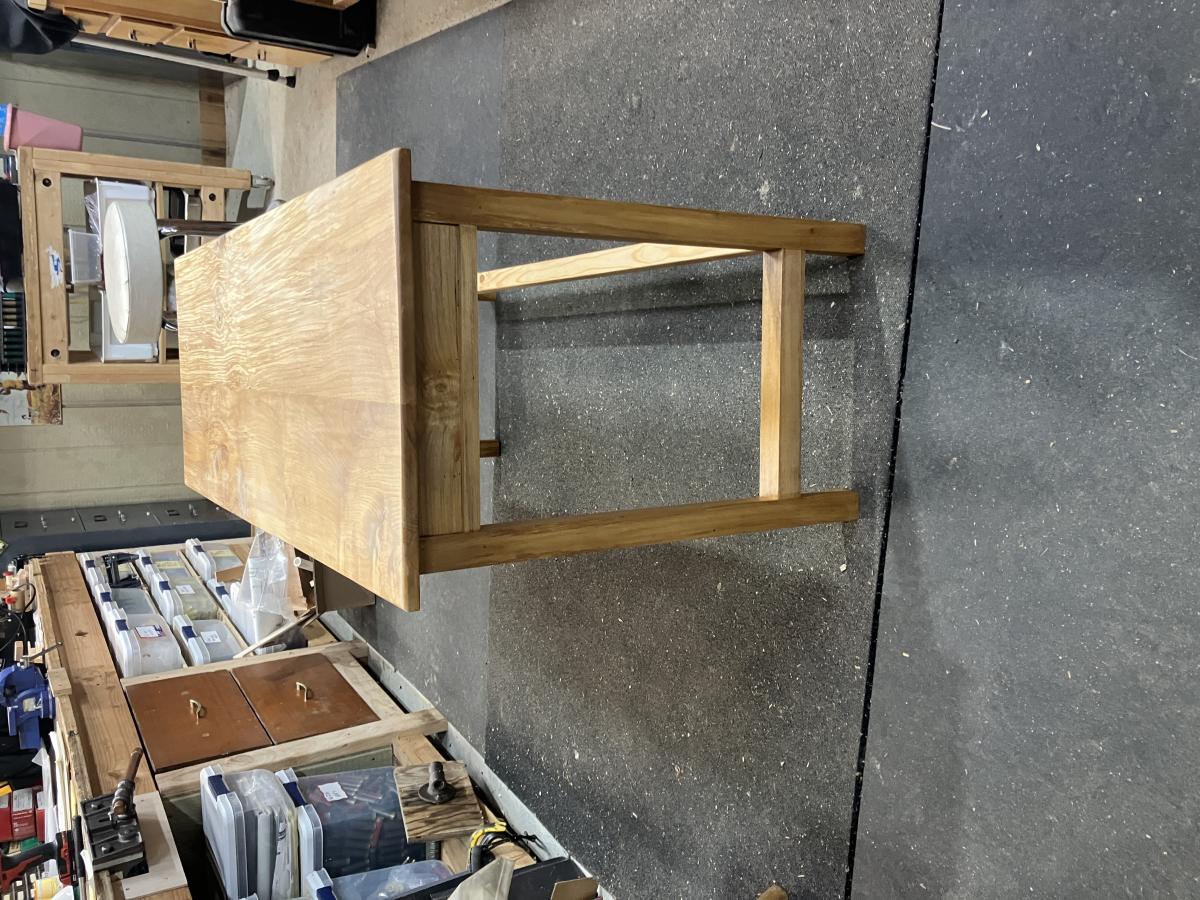
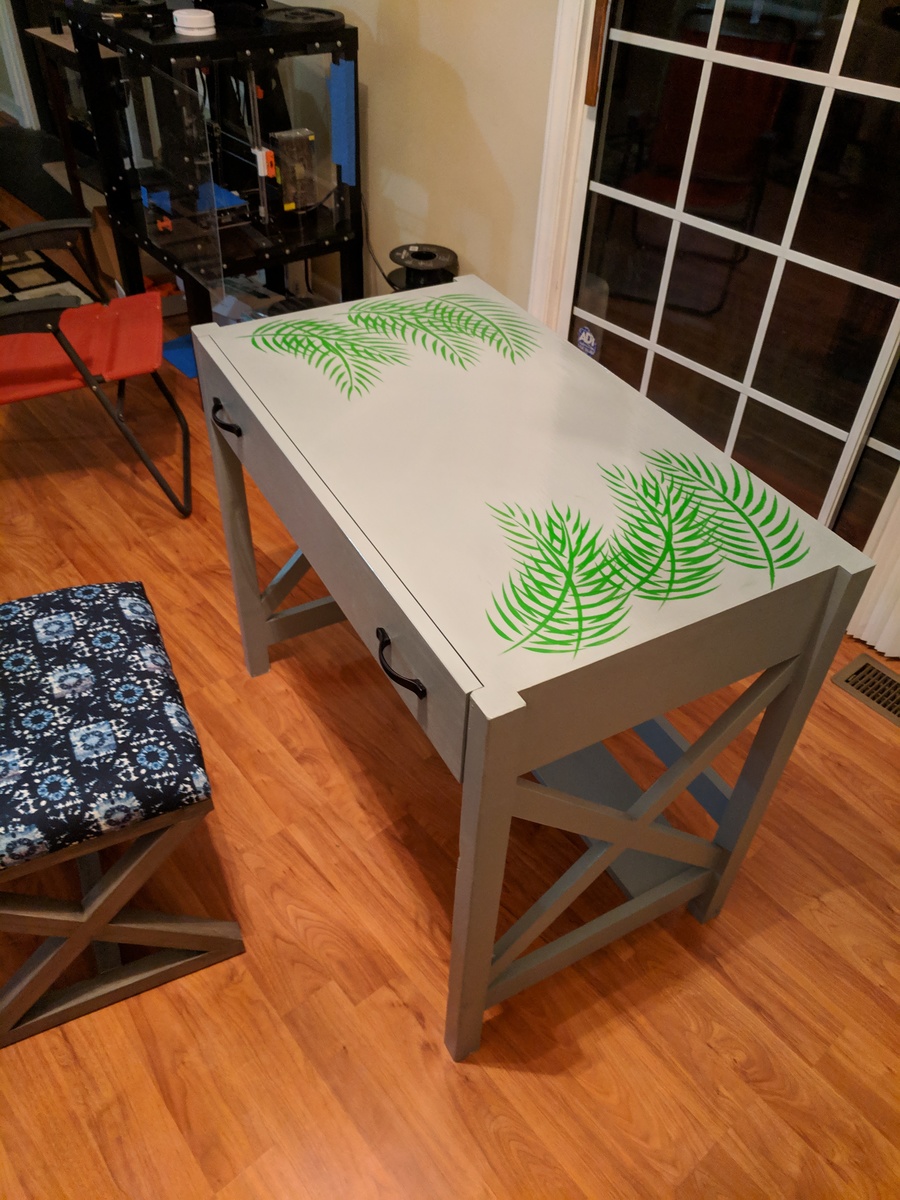
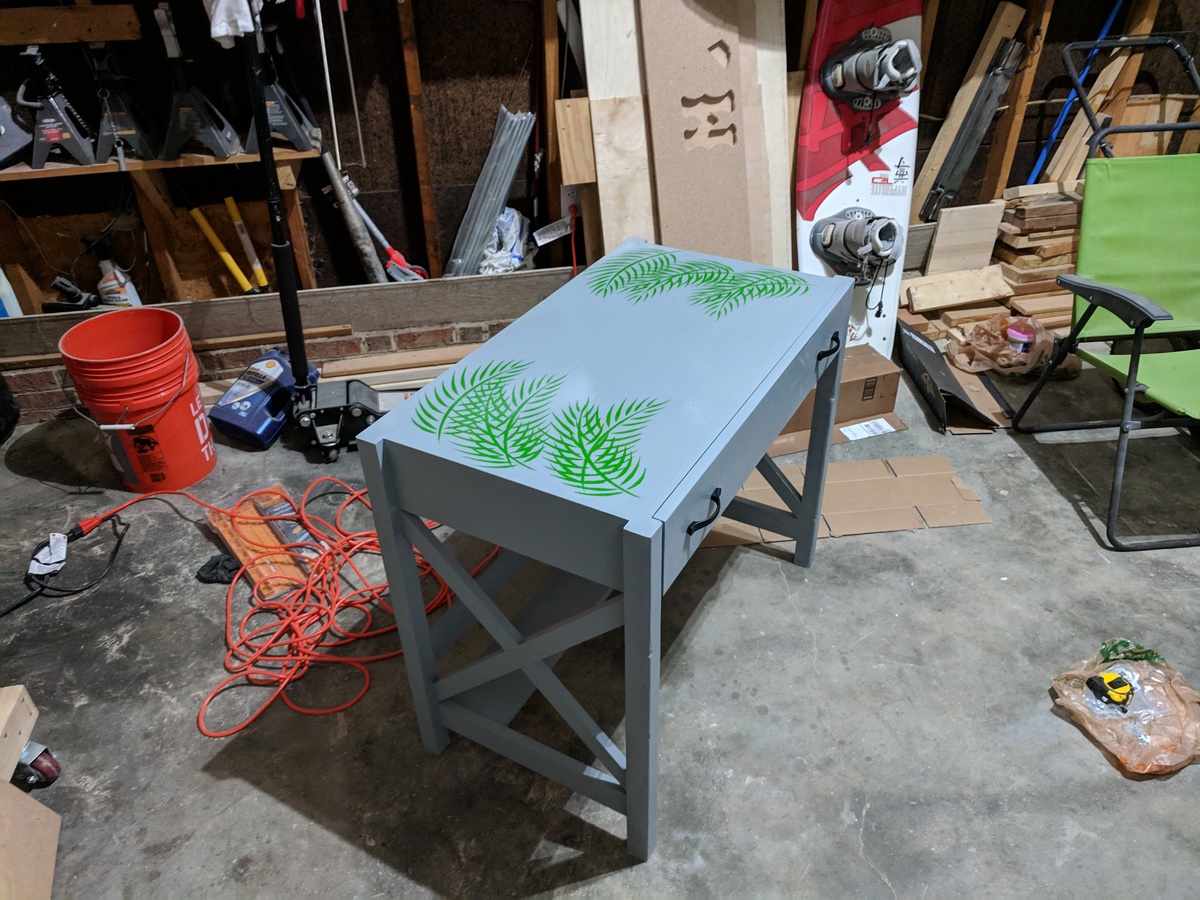
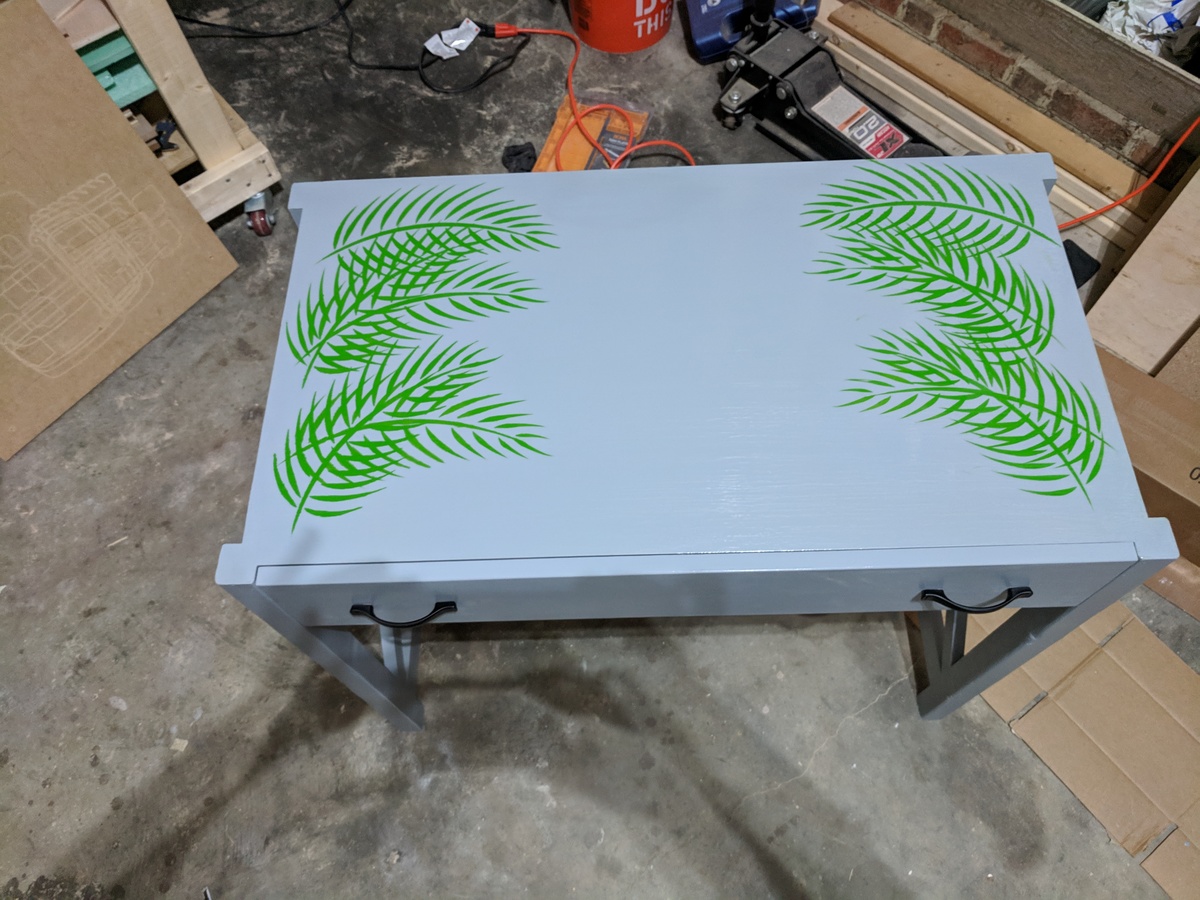
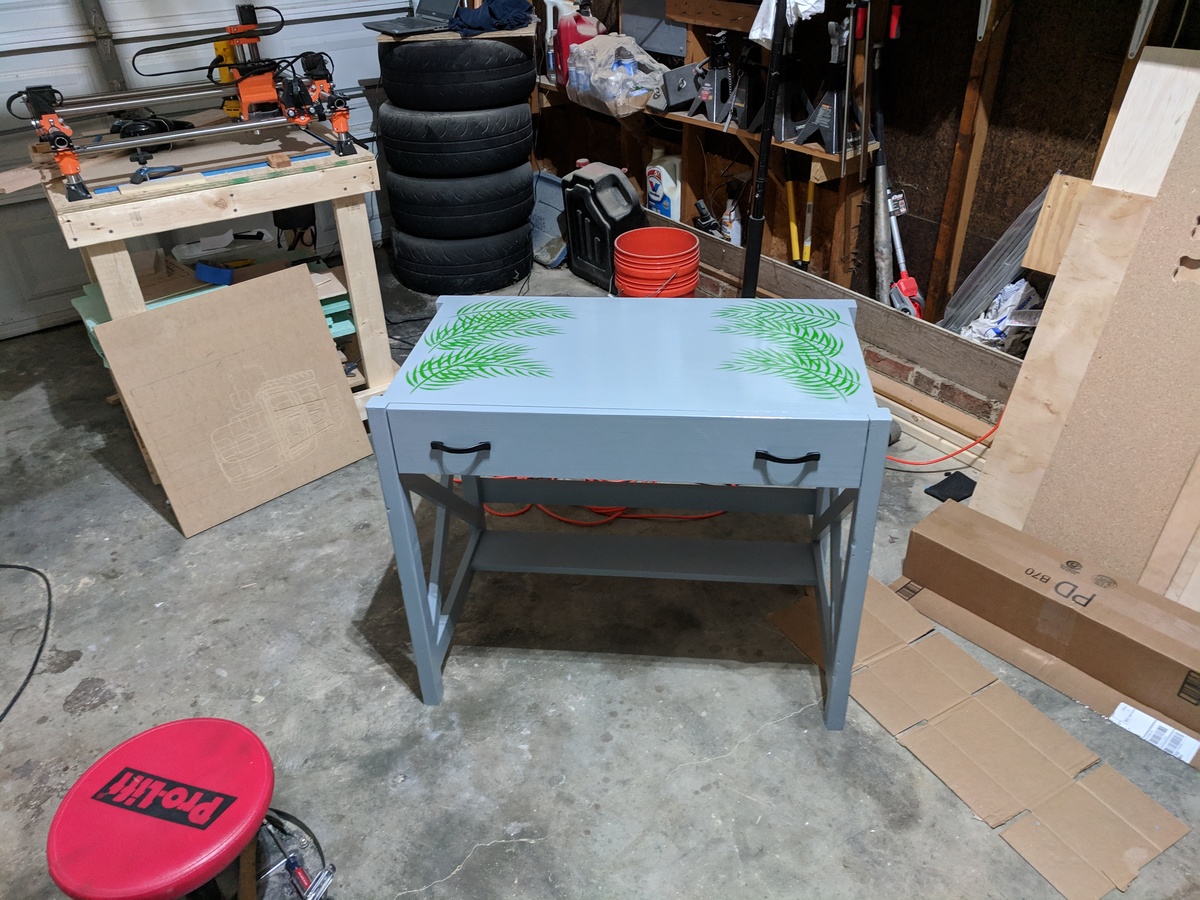
Made a 48x18x27h version of the Little House table to use in a small office . The Wood is Spalted Alder resourced from our WA State property finished with a clear satin urethane top coat. Fasten with pocket holes and glue for the frame.
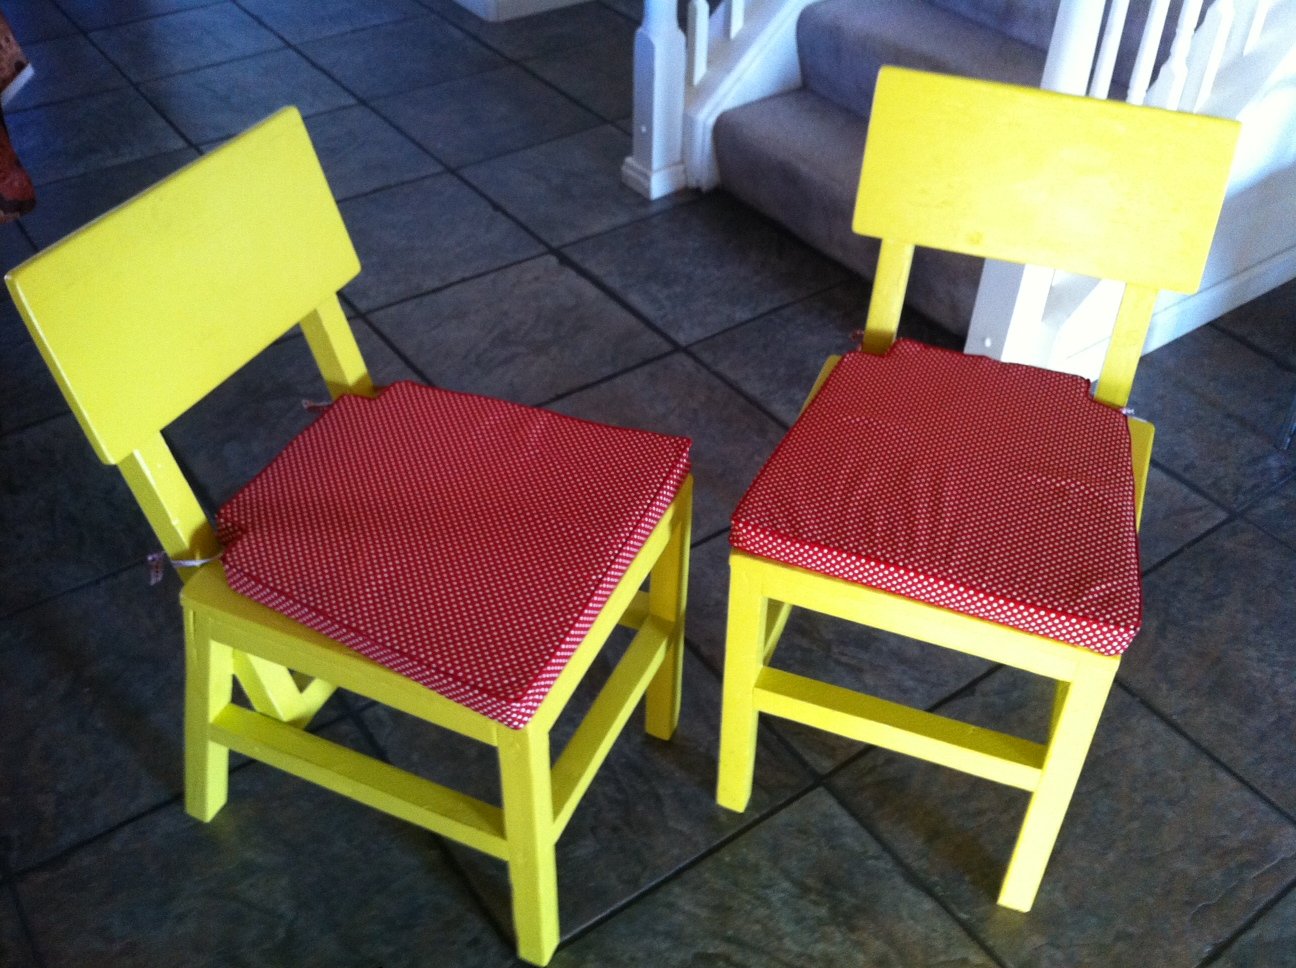
After our Wal-Mart dining room chairs started falling apart (after 8 years of use) I decided it was time to replace those ugly old things with something a bit more unique. The Harriet Chair really caught my eye, so I set out to build it! My wife, Judi, chose the mustard yellow color and we thought it would be cool to add contrast with some red and white polkadot seat pads from IKEA ($9.99 ea.).
These are the first two I've built, with a goal to eventually build a total of 6-8 to fit around a table I also plan on building.
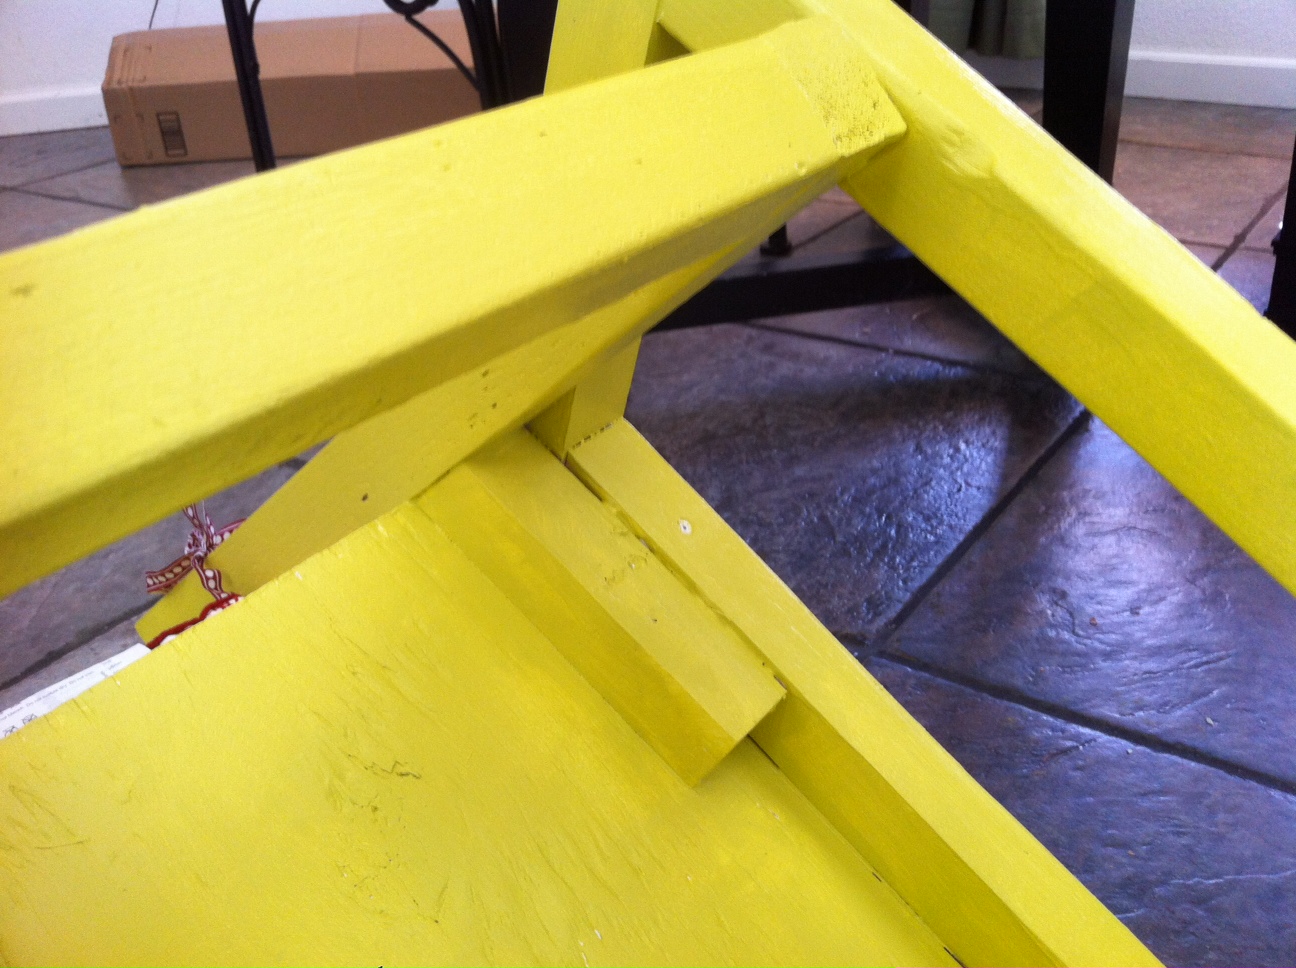
I made the addition of the front support as Judi likes to rest her feet on it. And, as you can see in the second photo, I added a small brace, cut at 15 deg., on the bottom side screwed to each backrest 2x2, and screwed to the underside of the seat (chair is upside down in photo). This gives additional rigidity and support for the backrest and also provides a nice guide to ensure the backrest has an exact 15 deg. angle on every chair. This was at no additional cost as I used scrap 2x2 pieces for it. And best of all this addition stays hidden and in no way changes the original aesthetic of the chair.
The chairs are extremely sturdy, comfortable and look great in our dining room! The only change I will make on the next set is using higher quality plywood as I had to putty this plywood a bit more than I had hoped. Otherwise, what an easy and inexpensive upgrade to our space!
Fri, 11/04/2011 - 14:59
Haven't been able to add the Kreg to my tool chest yet so I used glue and screws. Pre-drilled all the holes of course. Came out extremely sturdy. This was one of my first projects of this nature so I've learned a ton from each chair I make. These two were the first and the next ones have been a lot more precise and sharp looking.
Sat, 11/05/2011 - 00:59
Thanks for your answer! I'll try it that way too then...
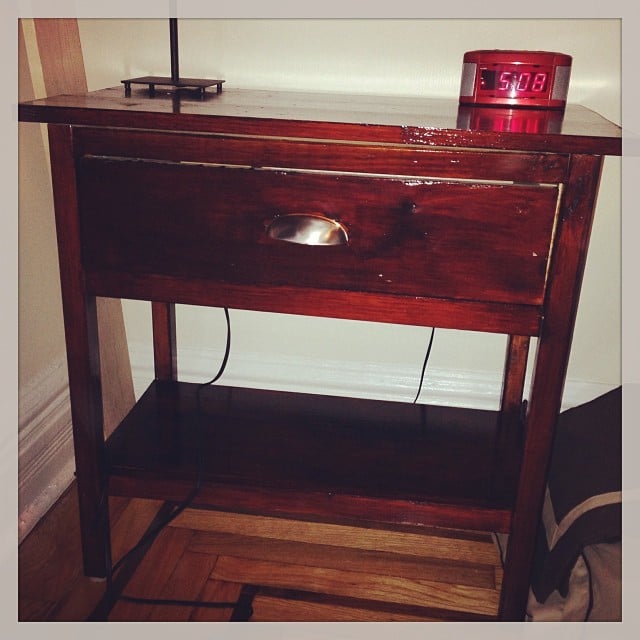
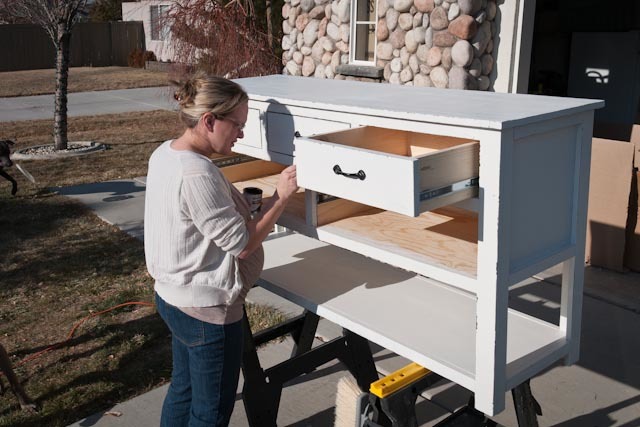
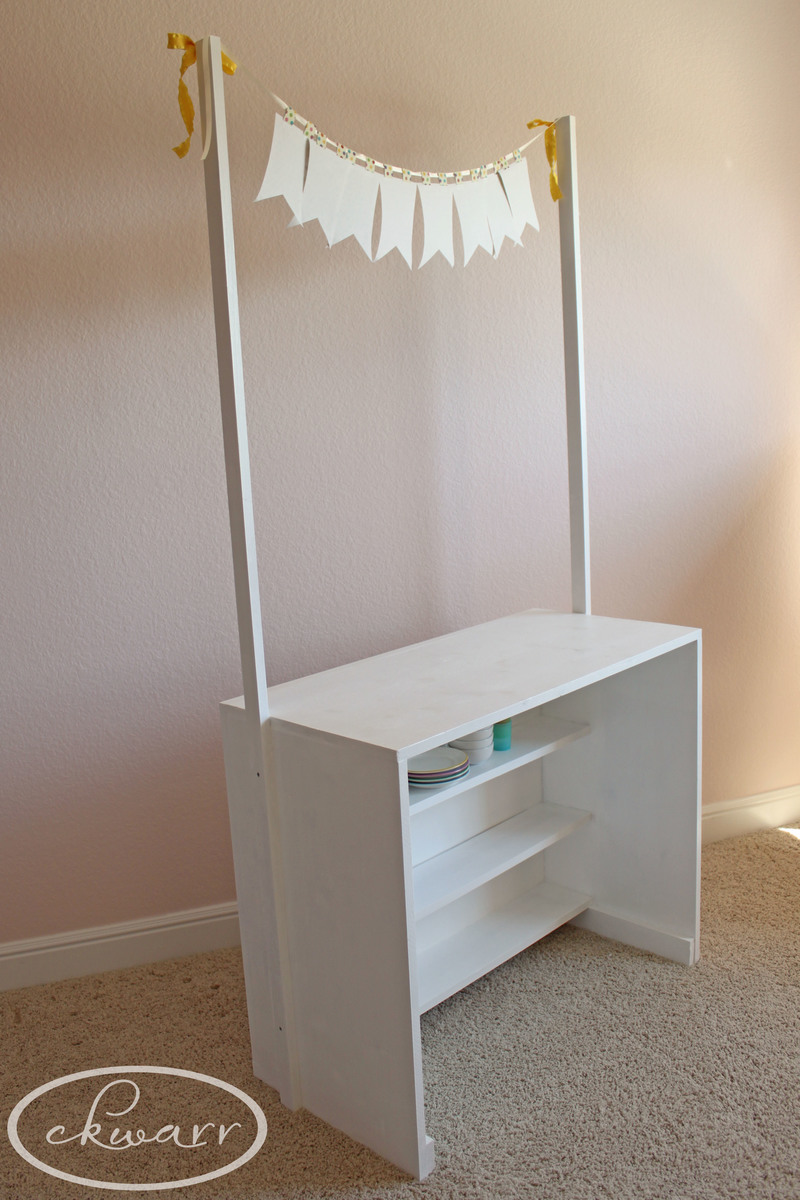
Had to adjust the size of the drawer to fit inside the gap. Chose to lay the shelf on the bottom and attached a 1x2 to the front of the shelf perpendicular to the ground to keep the shelf in place.
I chose not to add the plywood backing because it's not visible, but I may in the future.
Overall a great and simple project, and I'm very pleased with the results.
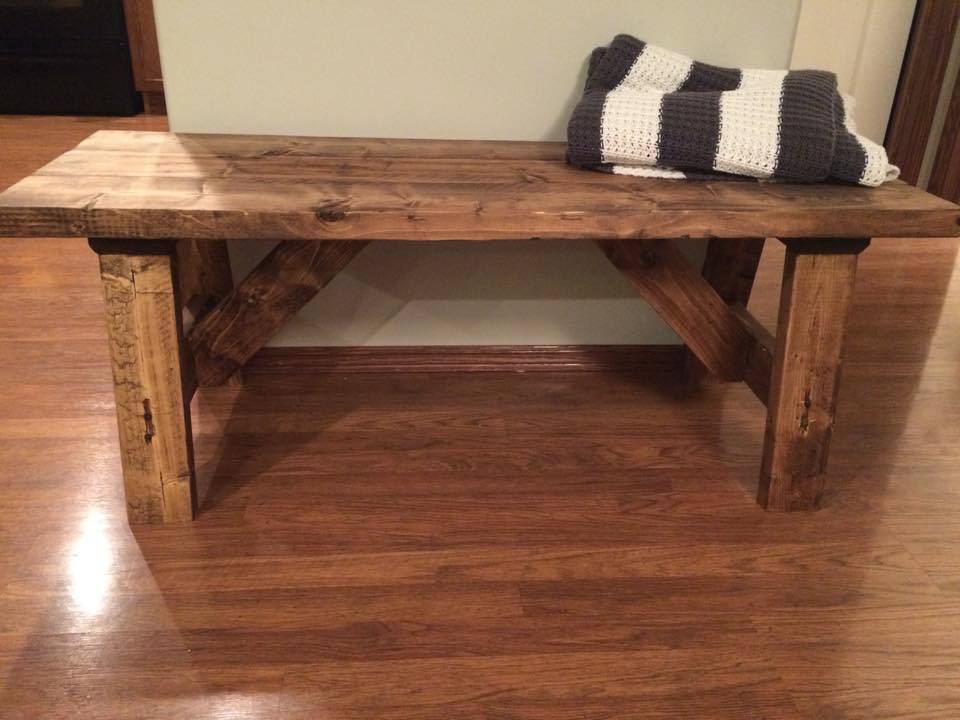
I LOVE this bench. It's simple and rustic, yet absolutely beautiful. I modified the plans slightly to exclude the long support board along the bottom of the bench and found that the bench is still very sturdy and stable. I love that this bench is a relatively easy and quick to complete project, with such a gorgeous end product!
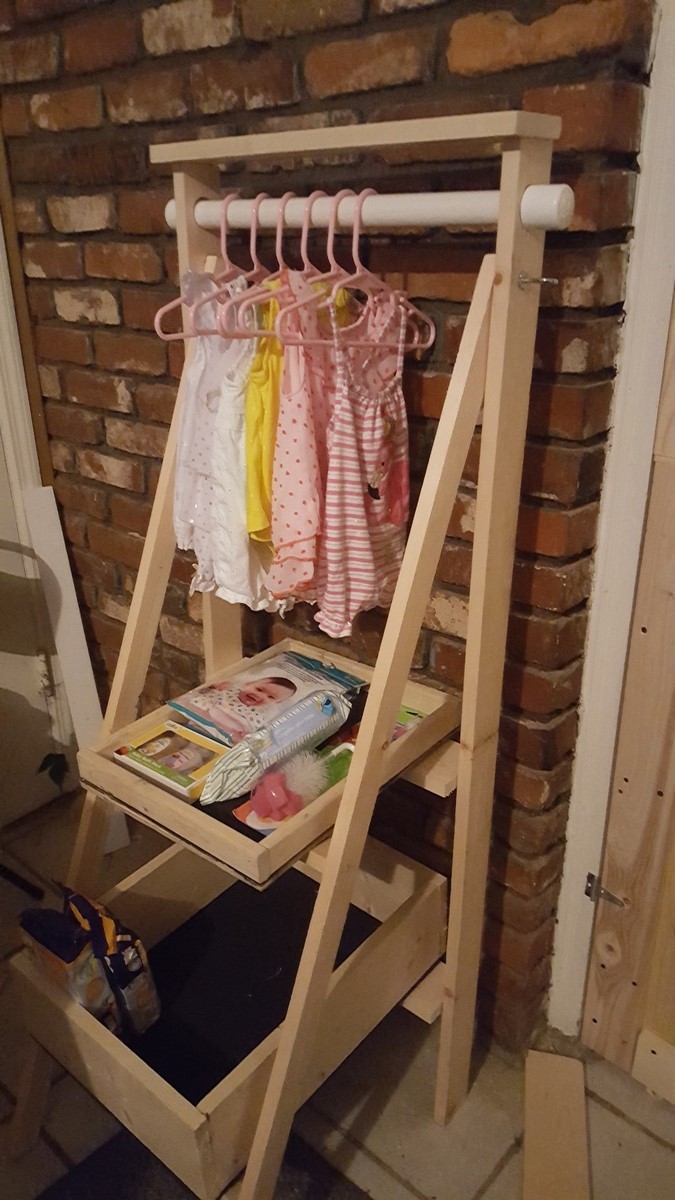
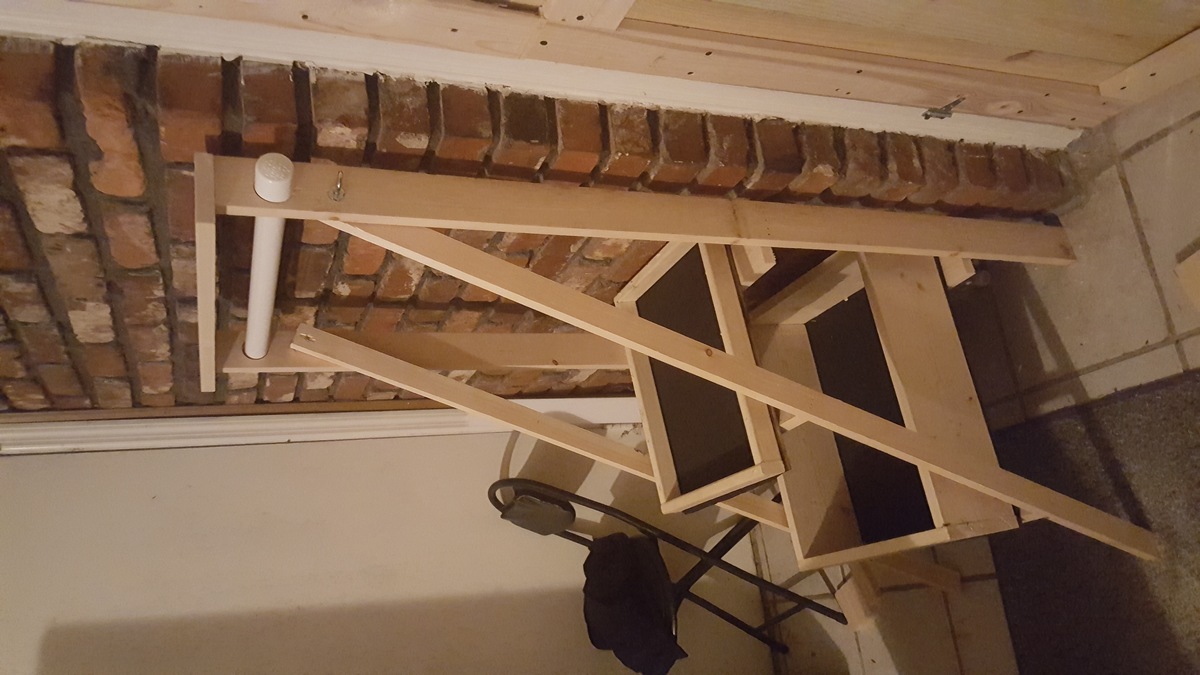
Made it for a friend who will be on the go with her new baby. I included screw hooks to either hang bags or separate. Tray & box are removable also. Bottoms are chalkboard paint. She wanted to paint it so i will stop here.
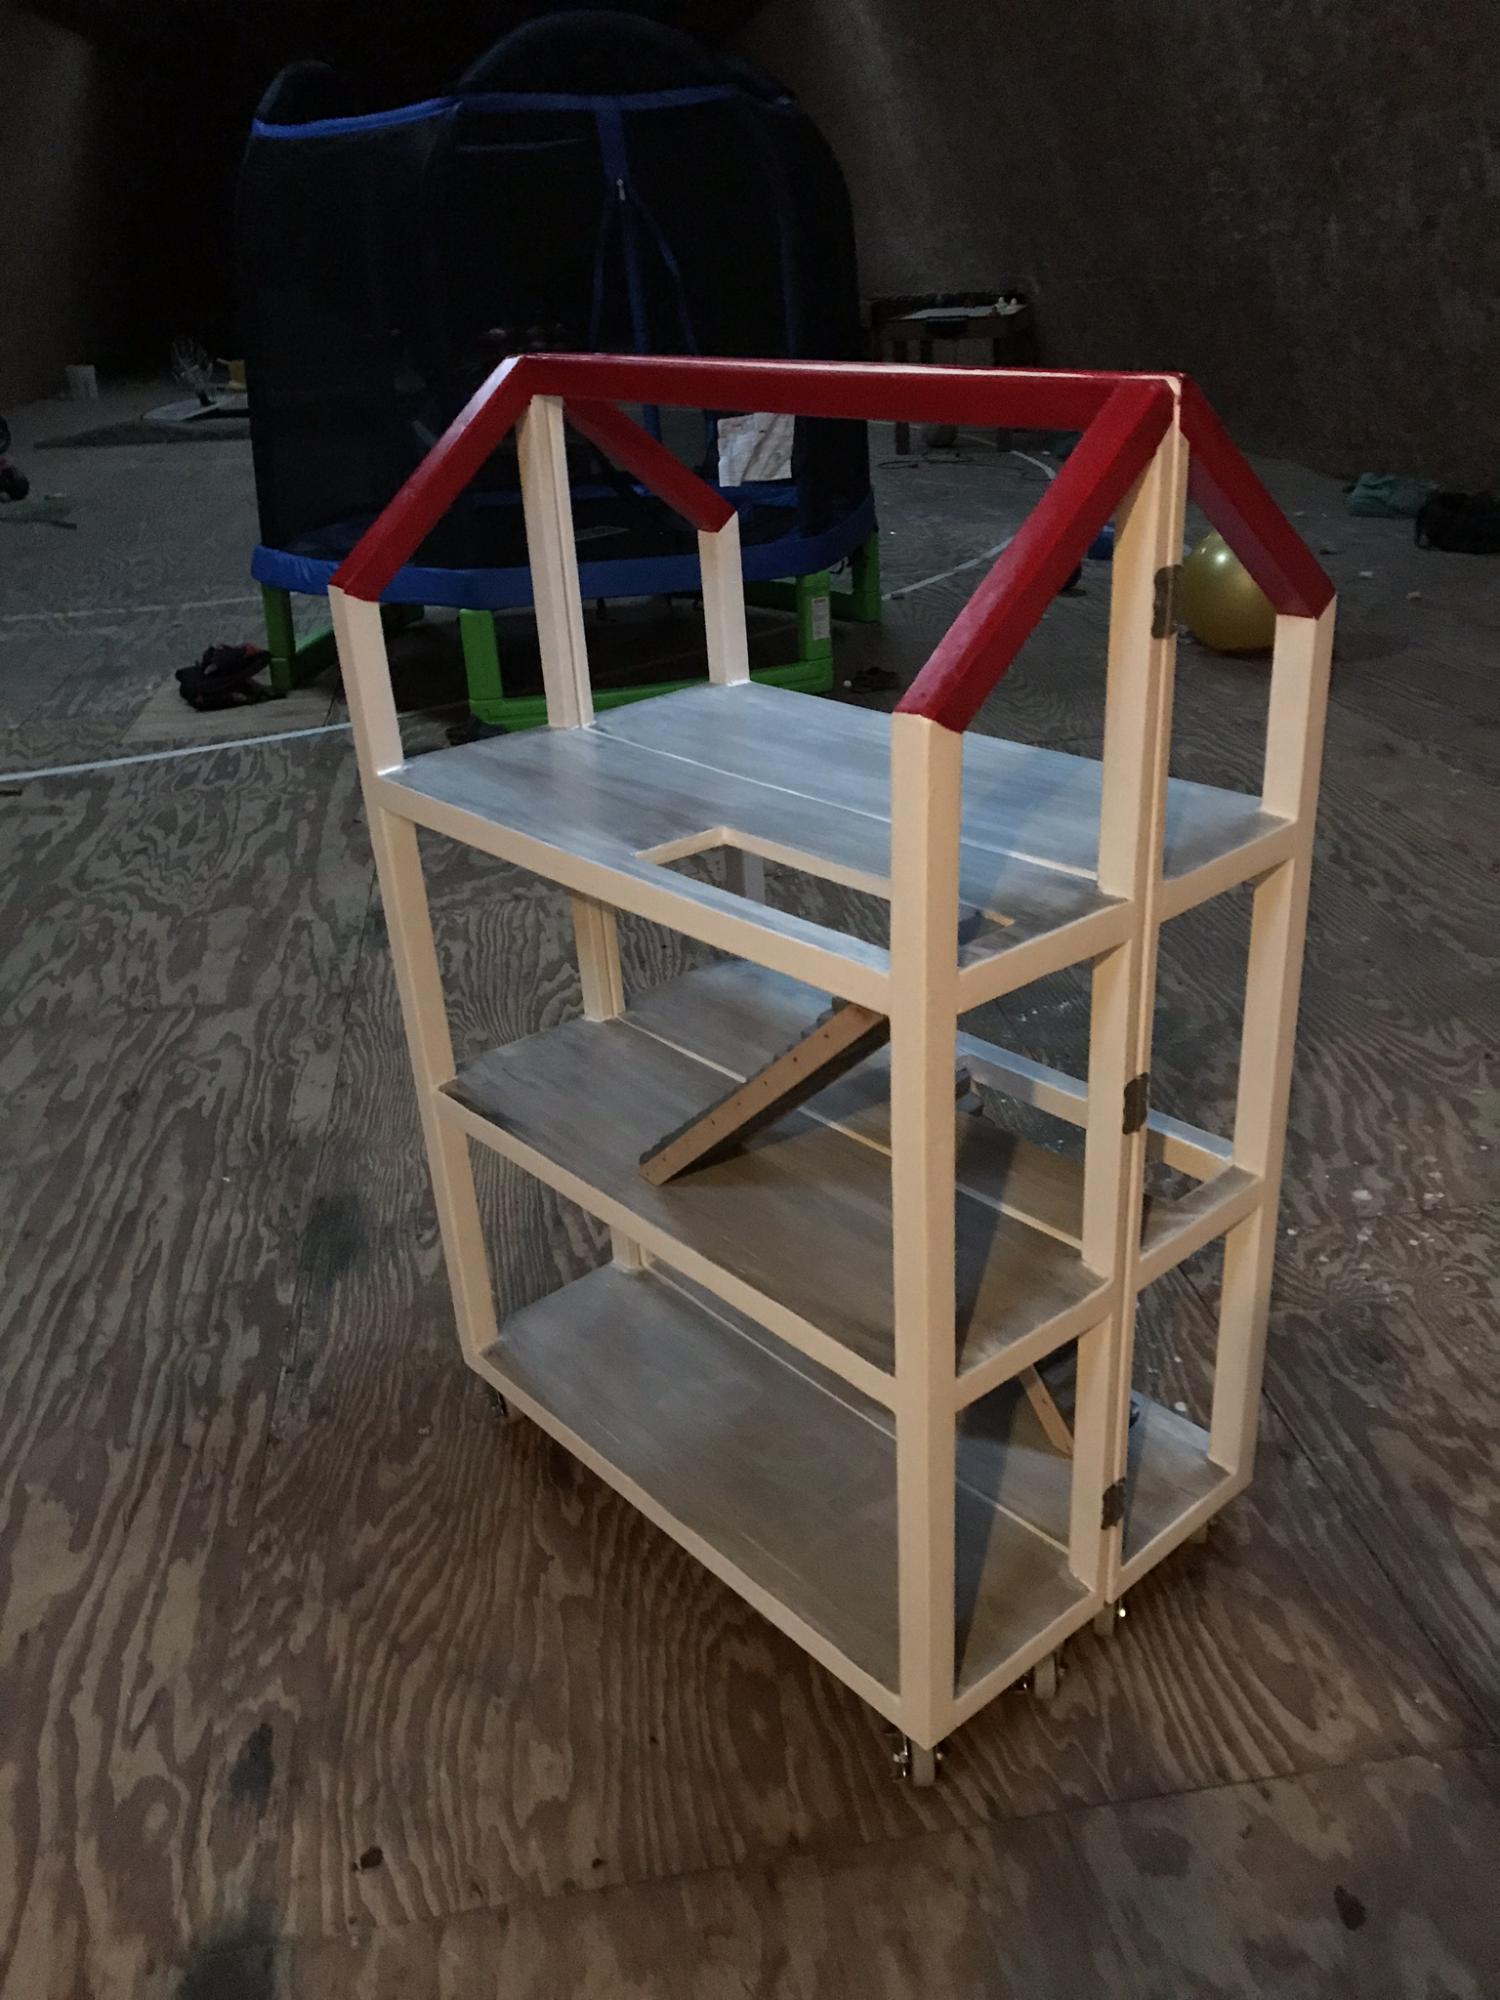
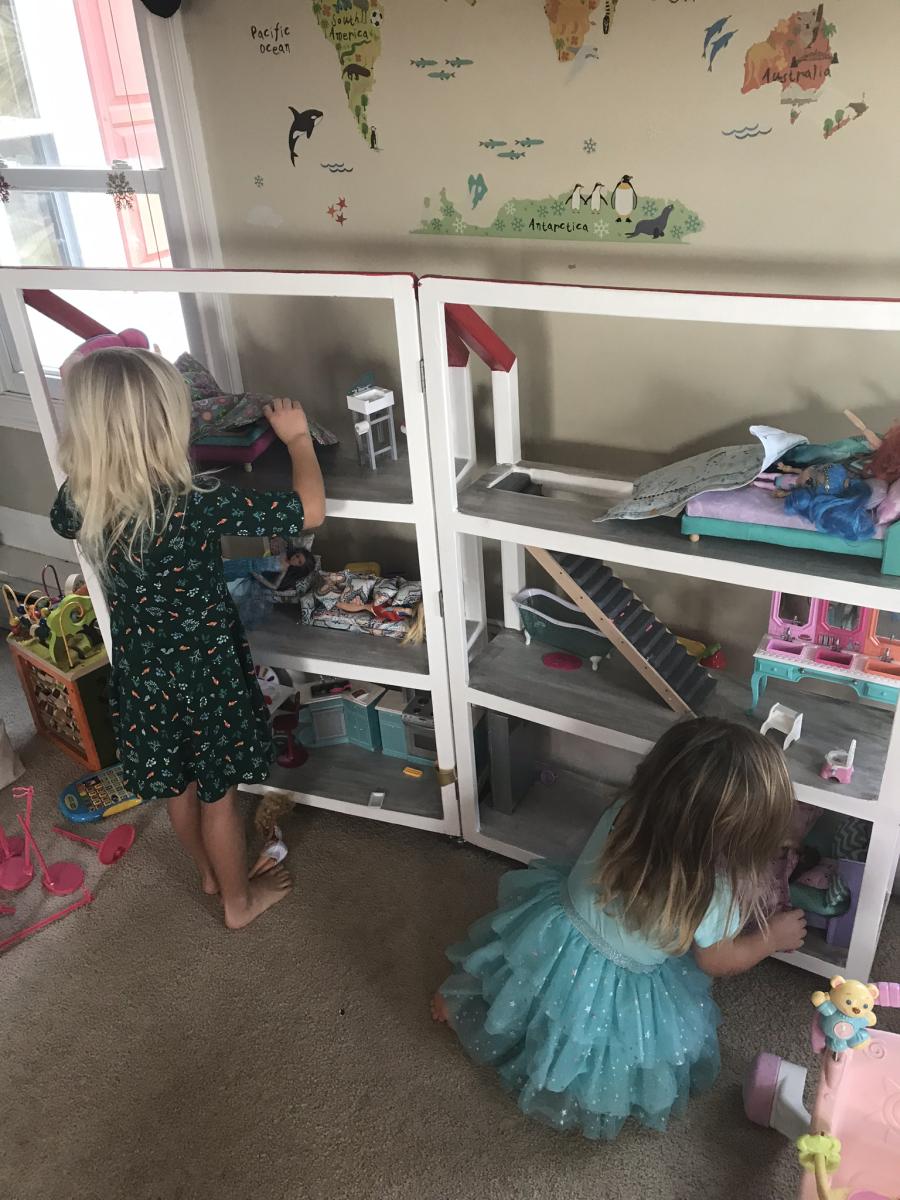
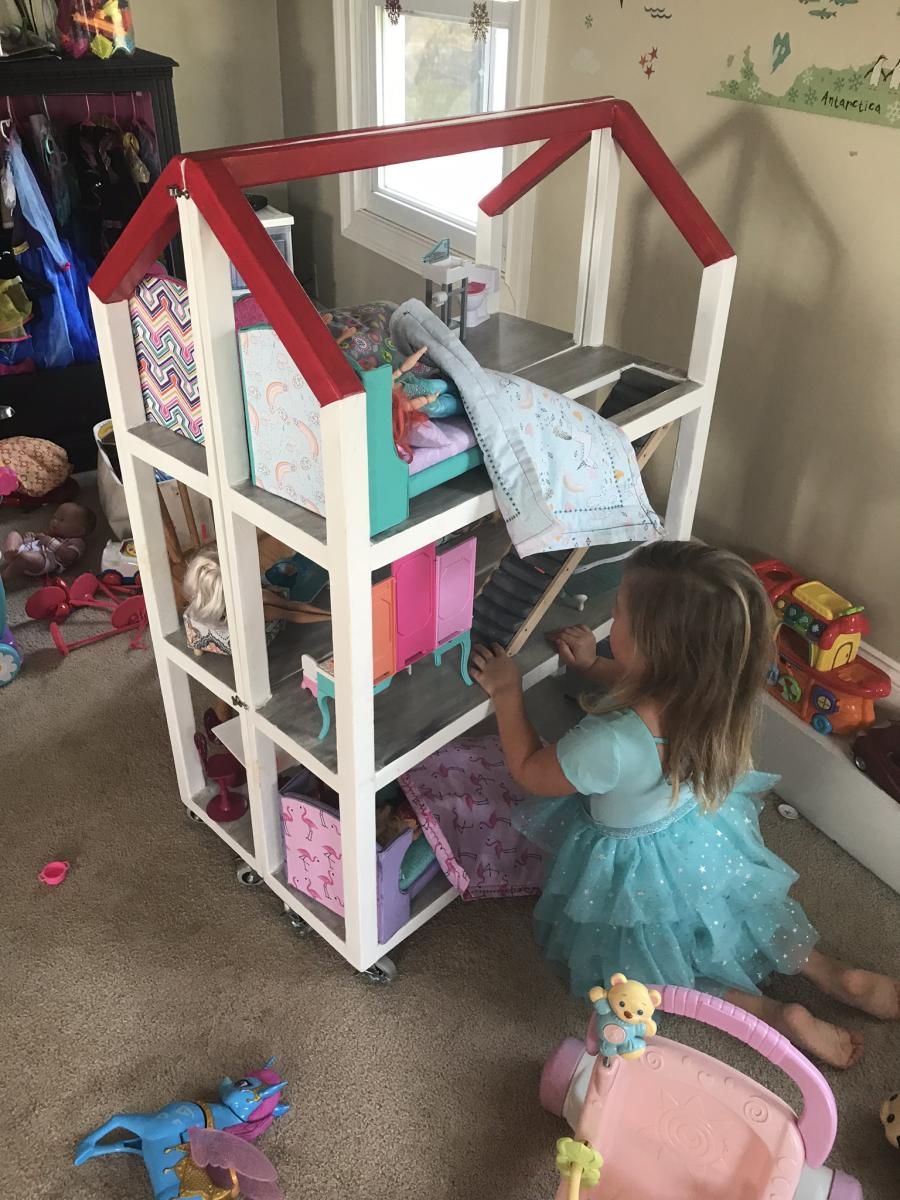
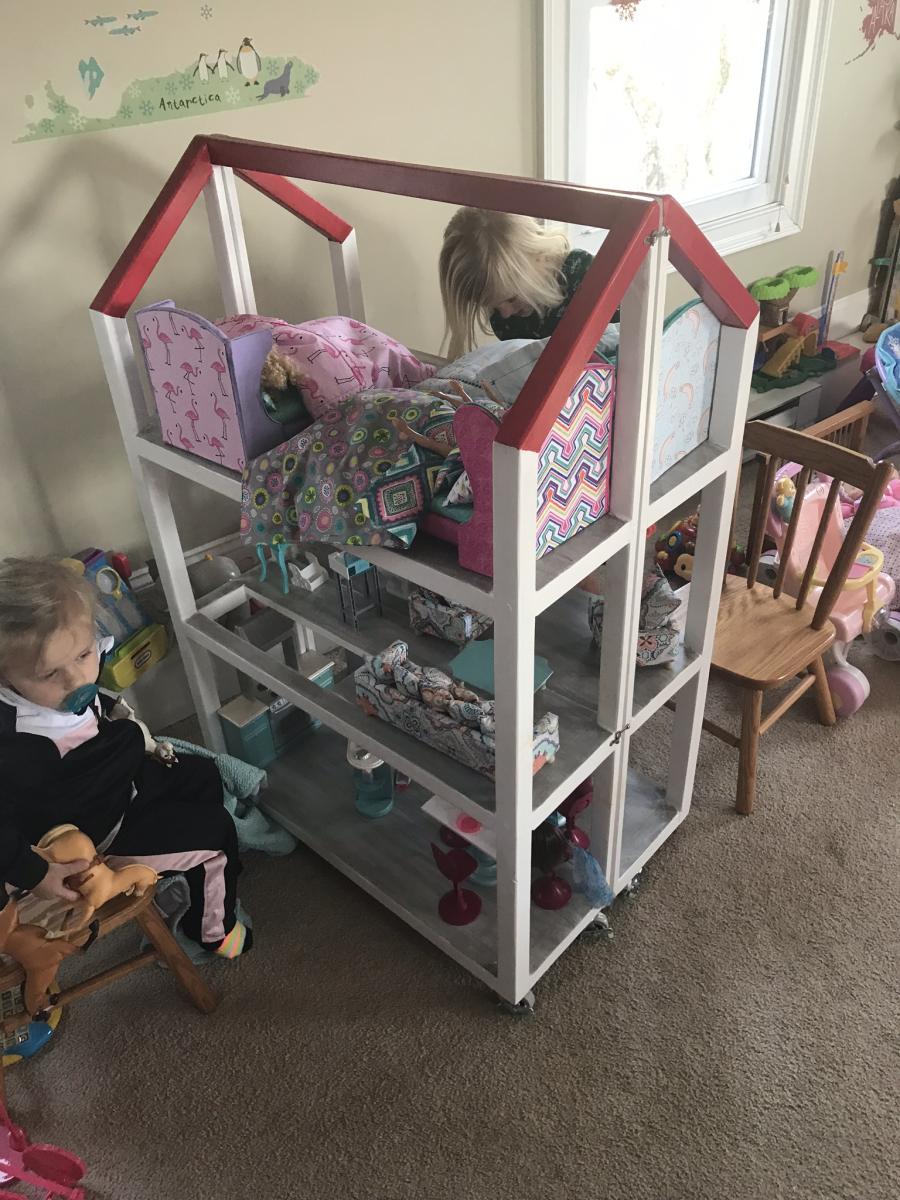
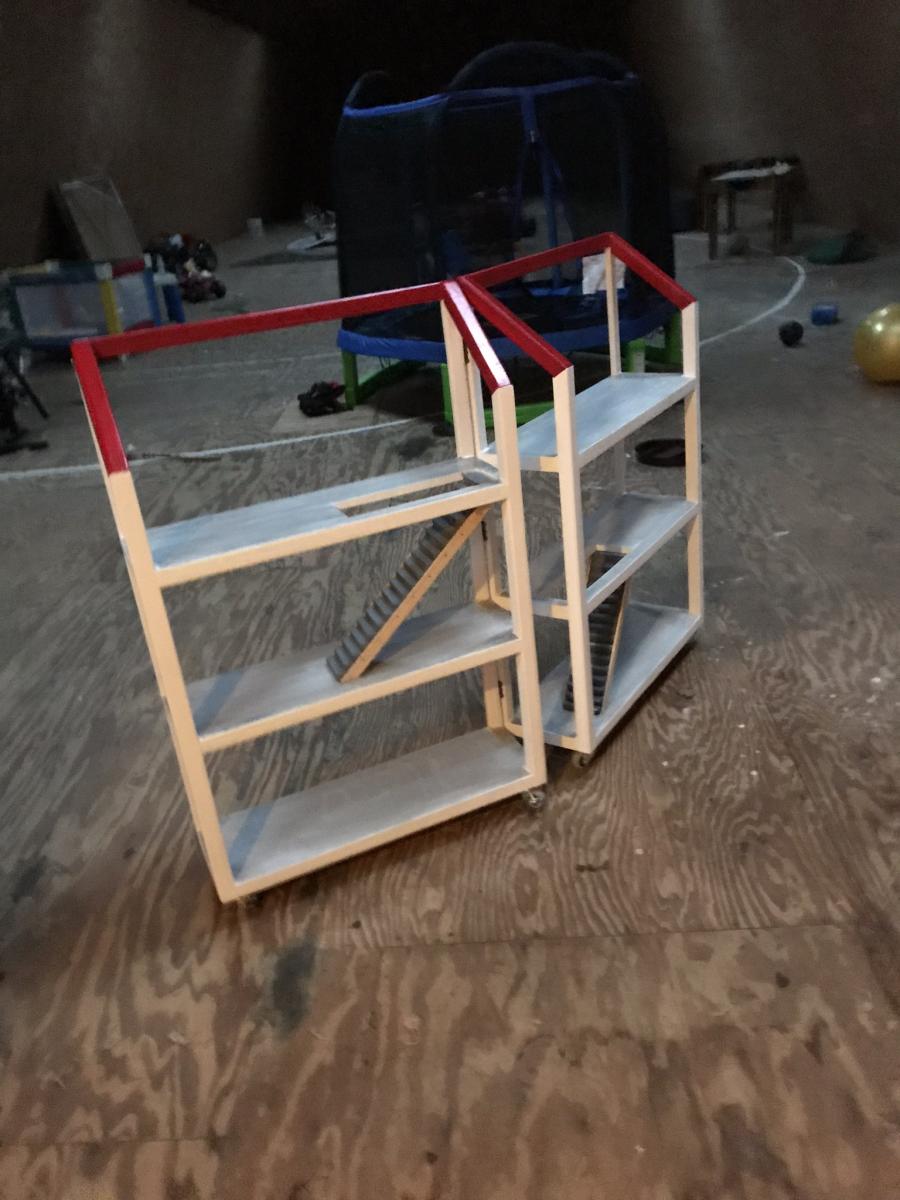
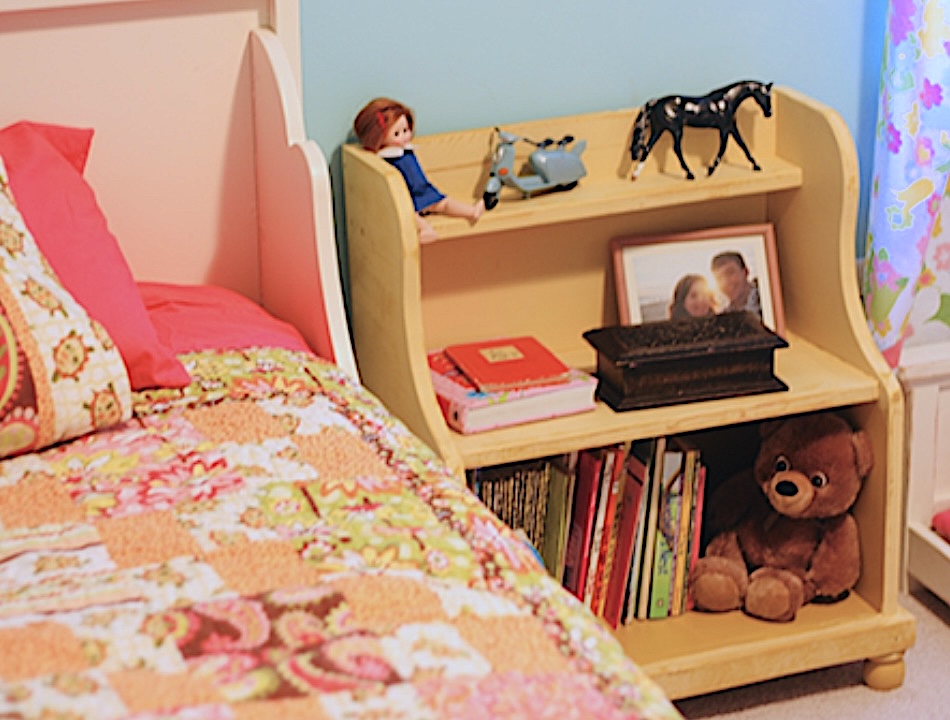
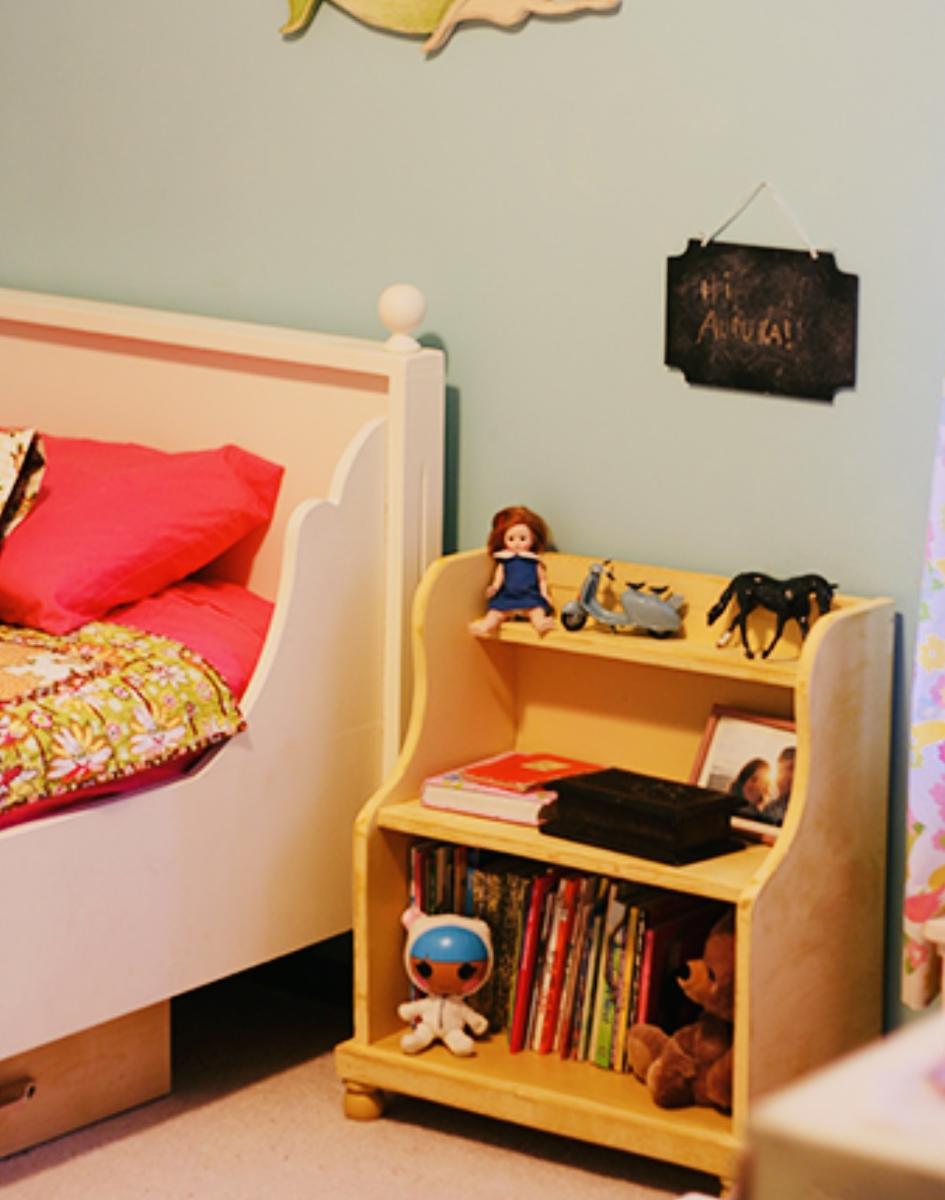
A few years ago for Christmas, I modified the dream dollhouse plans by splitting it in half, putting it on wheels, adding hinges and a hook and eye catch to lock it closed. My nieces were able to move it themselves, play side by side, or be on their own side of the house. And if they want, they can separate the two pieces and use them individually or as bookcases down the road. Also, I painted it to match their home. 5 years later the dollhouse has withstood the test of 3 rambunctious girls and they still love it.
Fri, 02/24/2023 - 08:59
So smart! Thank you so much for sharing this amazing dollhouse!

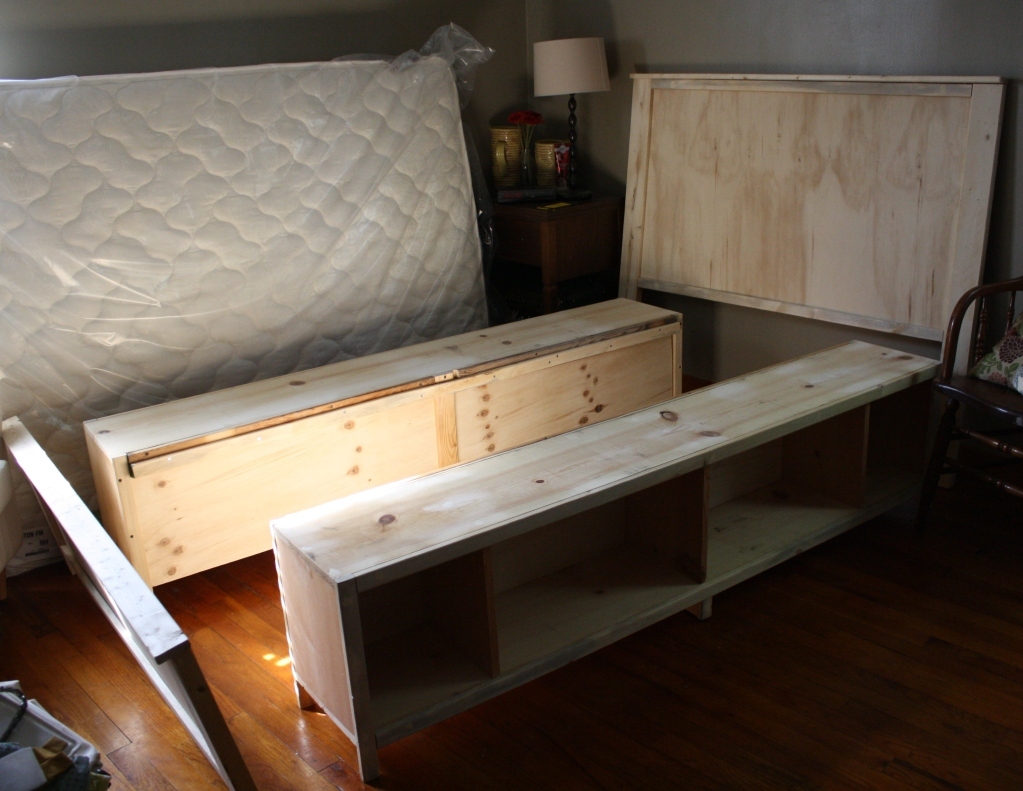
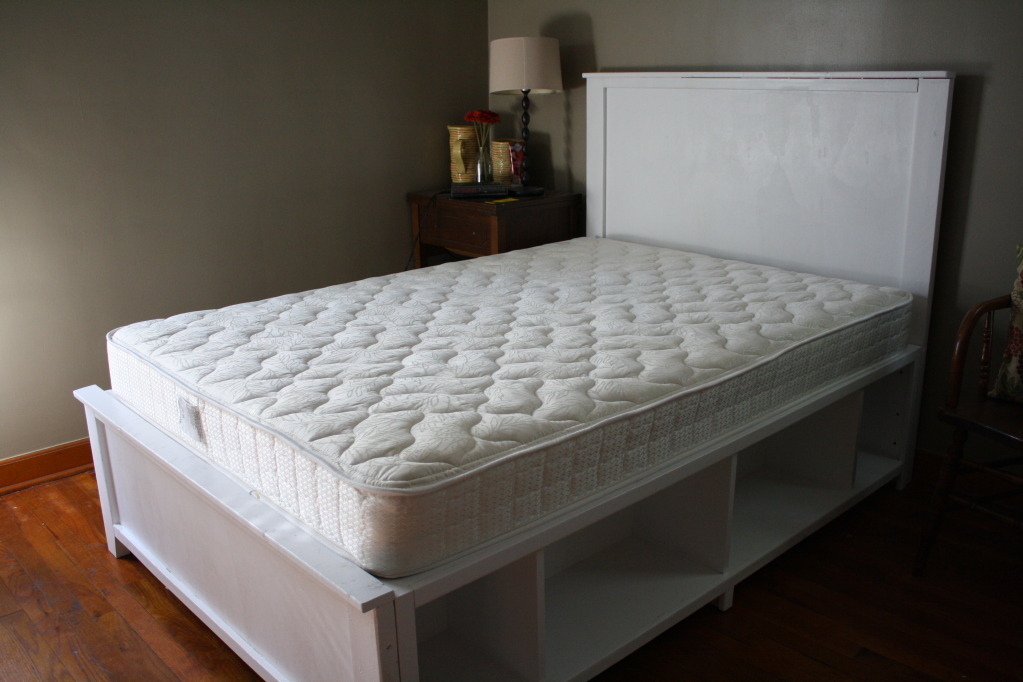
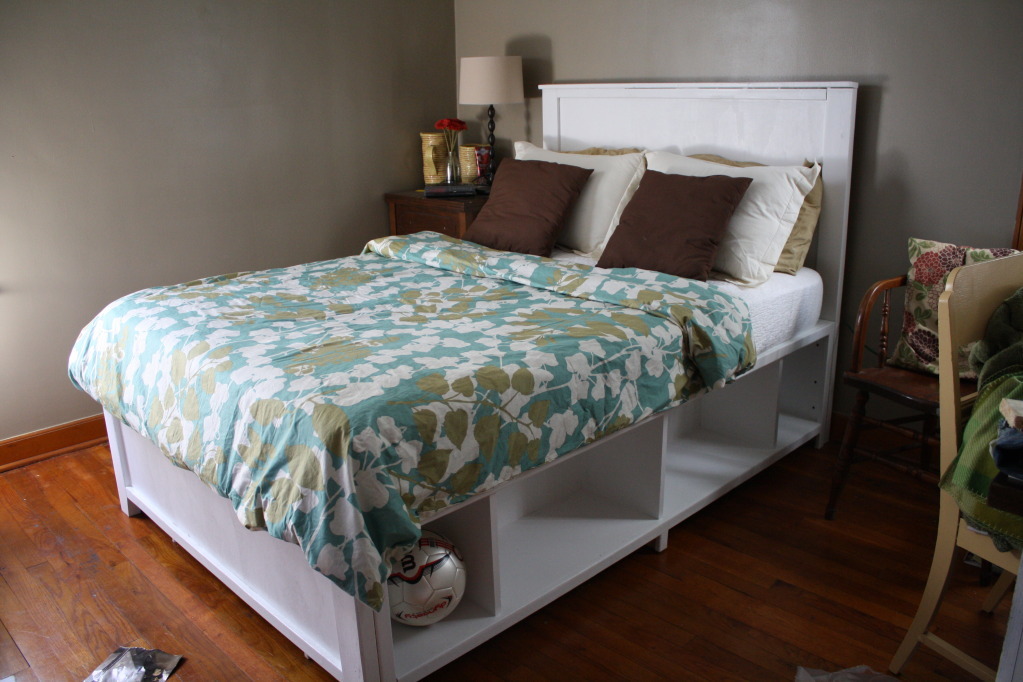
When I saw the plans for this bed I knew it was exactly what I wanted for our guest room/office. I loved that it had storage underneath for extra blankets and office supplies and I loved the simple, clean look. I think it turned out great! We made it full size so it could sleep 2 people and we added an extra set of legs in the middle of the benches to make them extra sturdy. We want to add doors to some of the cubbies later.
This is the first piece of furniture I've painted instead of staining, and I'm so glad I did! The white looks so sharp against the gray walls. I don't think any stain would have turned out as good for the room.
The project came together really easily. We just worked on it for a couple hours on two Saturday afternoons and it was done really fast. The assembly was easy as well, and I love the concept of this bed being built of units that can be moved around or re-purposed later.
Thanks Ana for the great plans!

Fri, 01/04/2013 - 12:57
I cannot find the plans to make this bed. There is only a description of the bed. Could I please get the plans for the Full Size Hailey Storage bed?
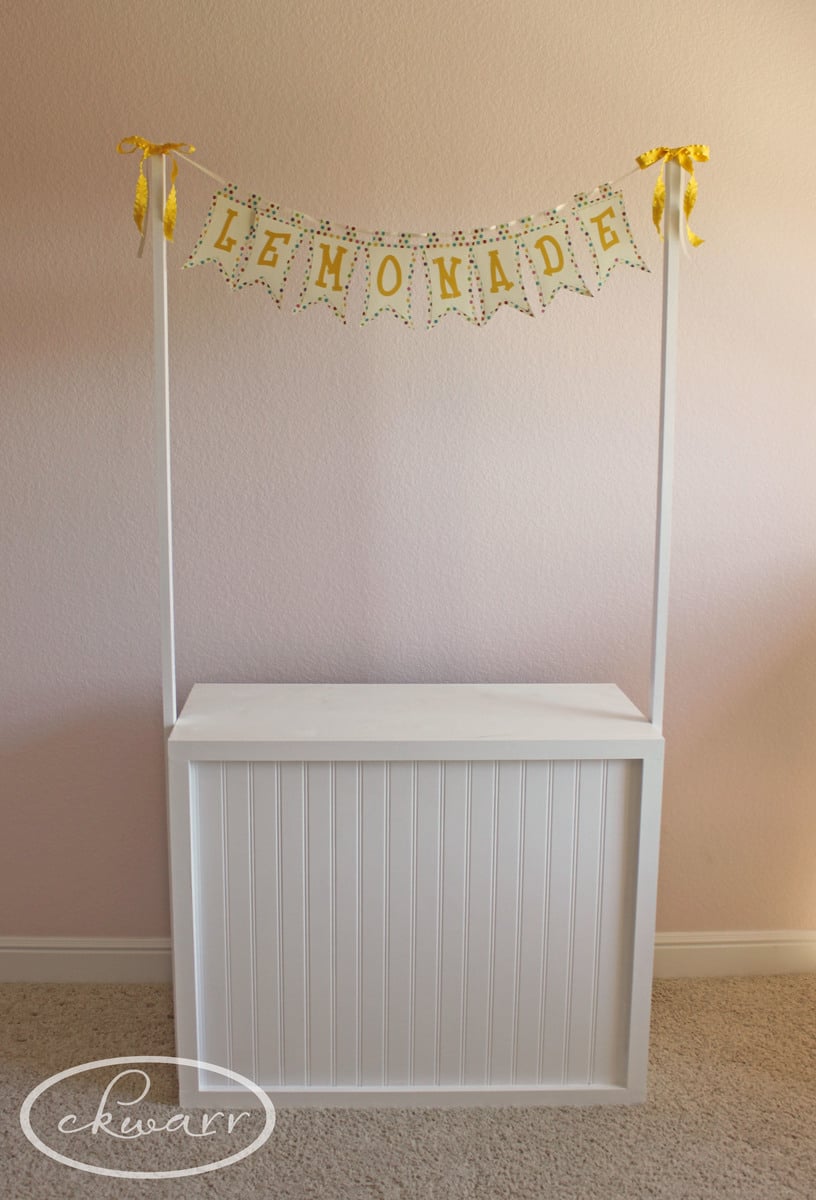
A 1x16 was used for the top and sides to give it a little more depth.
We cut the sides at 29" tall so that it is just under 30" high and can be used with a regular chair.
The shelves are 1x6's since we made it a little deeper.
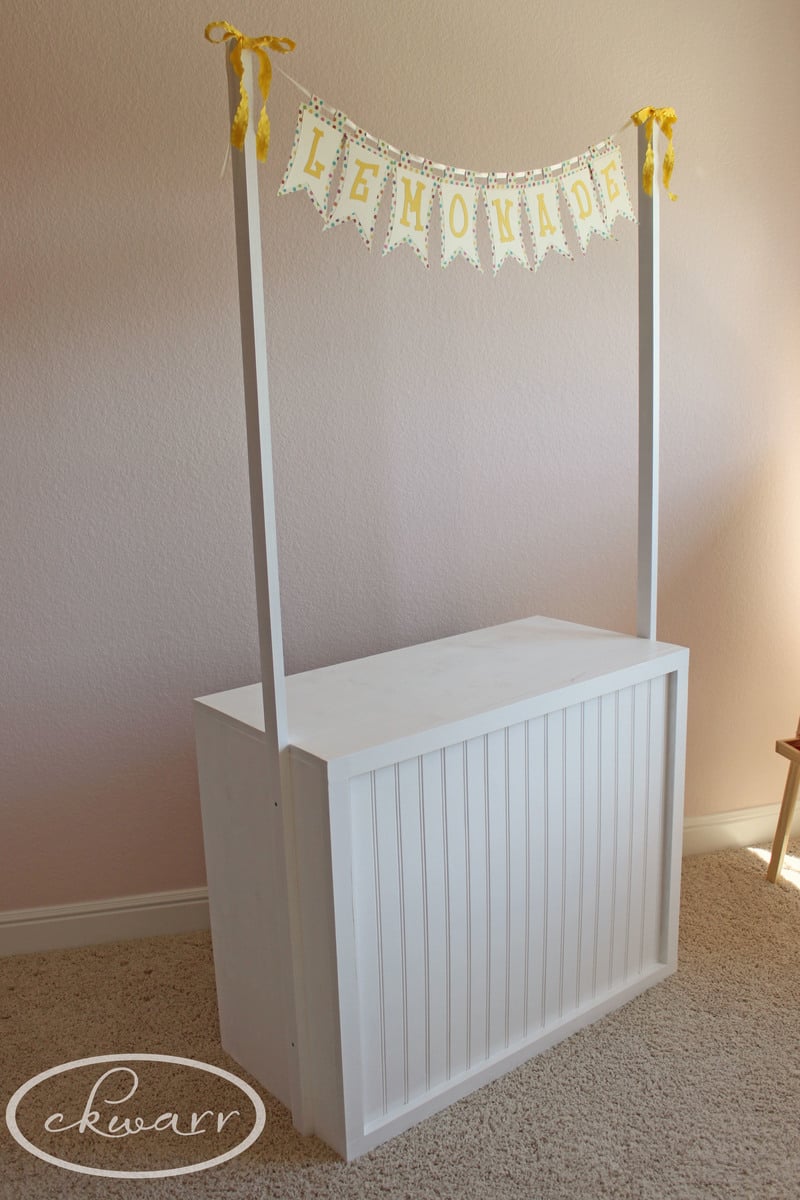
The banner posts are 1x2's that are 6' tall.
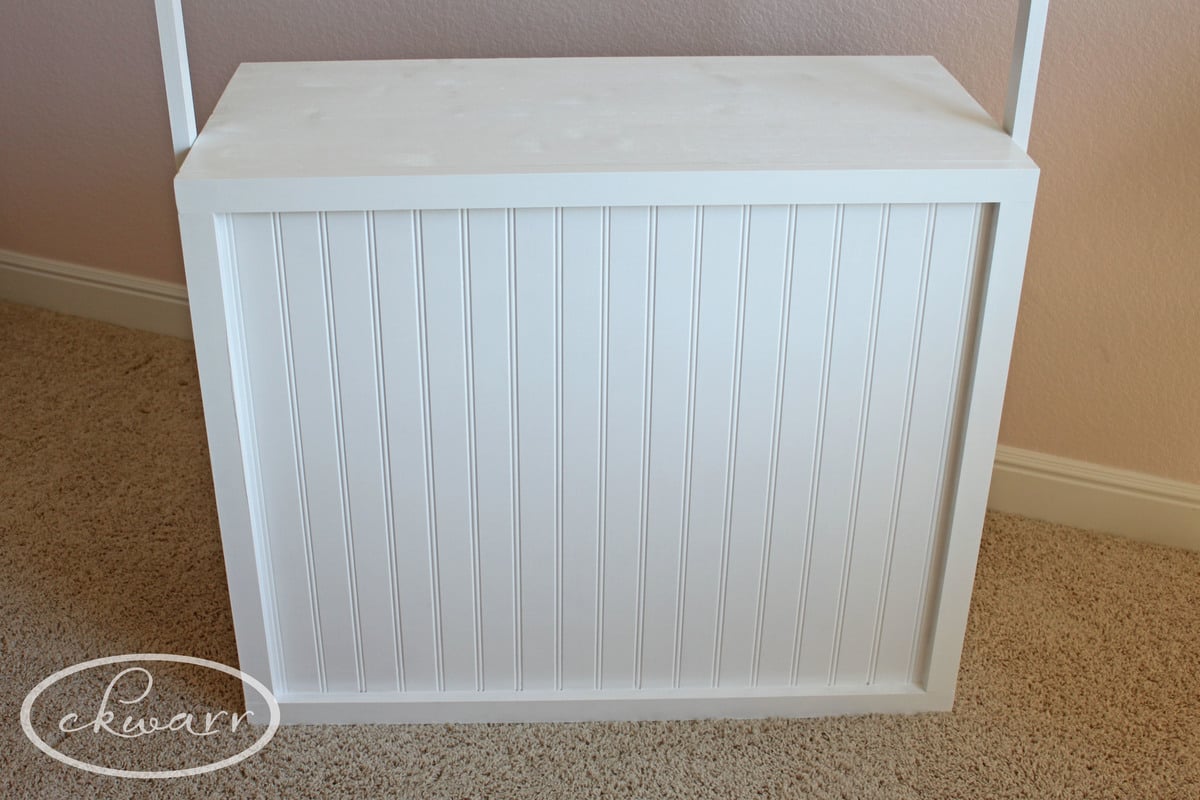
Beadboard and some extra trim were also used.
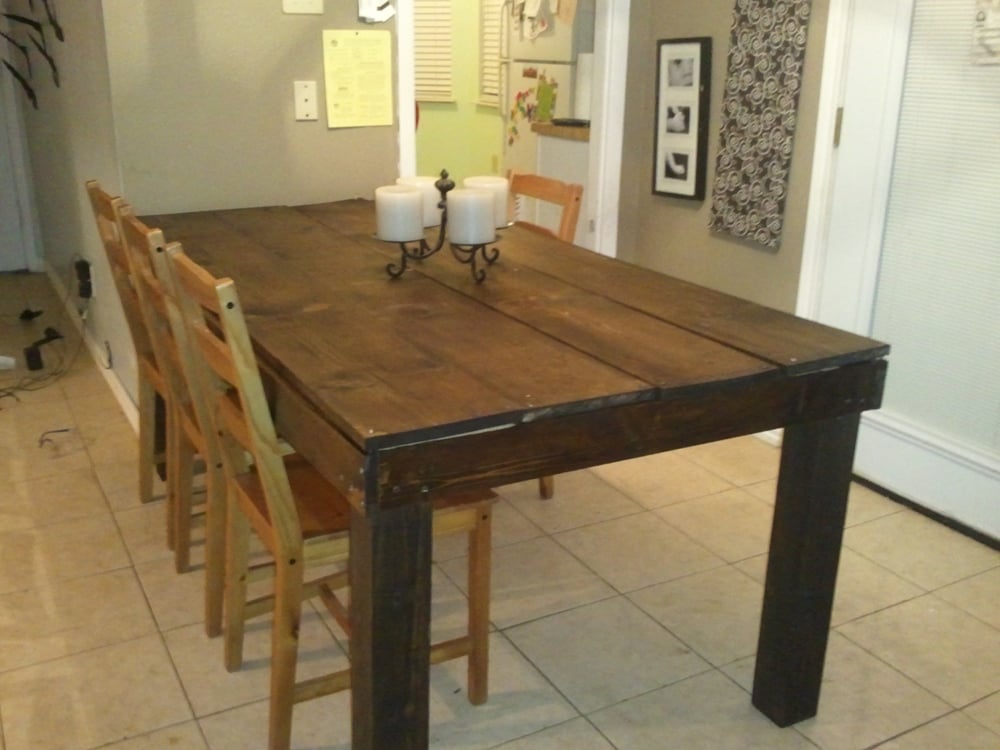
LOVED doing this! I am a total beginner so it is not truly perfect but that is what we love about it! My five year old helped me and learned how to work an electric screwdriver. We saw Pottery Barn was broadcasting a table like this and using that the screws showed as a marketing piece - so we have some screws showing and it is soooo warm and inviting. It looks 100 years old. Everyone loves it!! Thank you for the great inspiration. We made ours 6 feet long and 3 feet wide to fit our space and 4x4's for the legs.
Thu, 11/24/2011 - 20:26
Can I have the step by step plan too! Pretty please! I love this table :)
Thank you so much
-erin
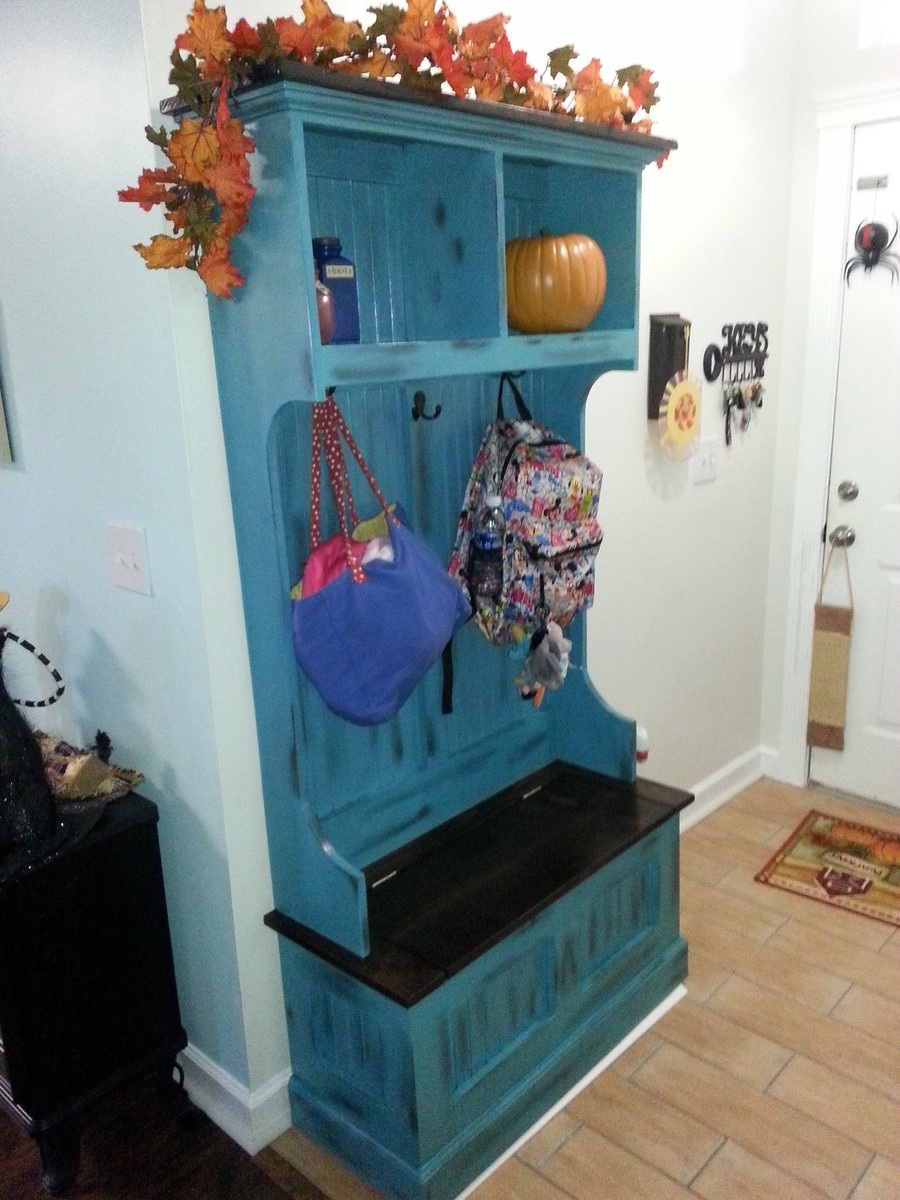
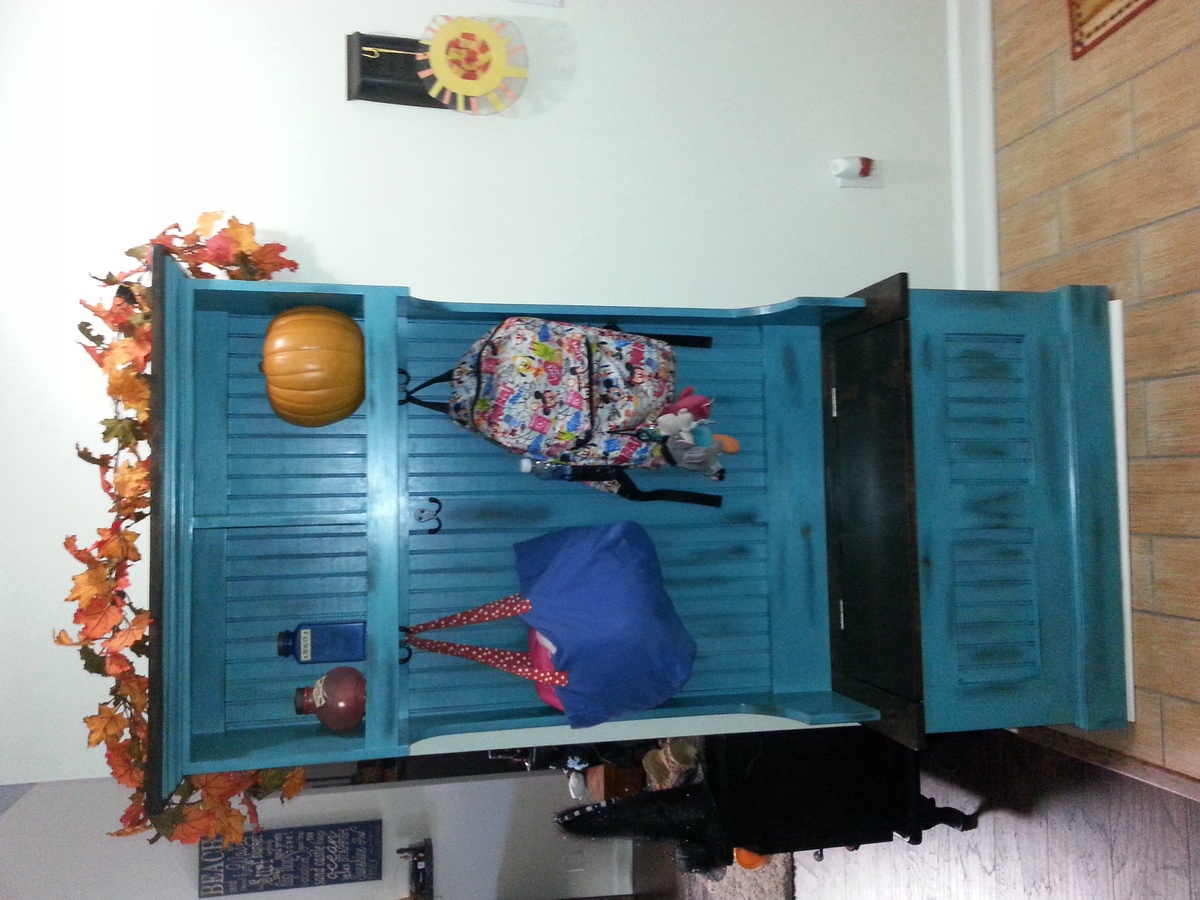
We had a table in the entryway that seemed to catch everything, bags, mail, etc. so when I found the Mimi hall tree I had to build it. This was my second build, so I was a little nervous. I wanted to paint it white , but my wife talked me out of it. I am so glad she did. Fun build, and now we have a place for all the stuff when we get home every evening.

We used repurposed wood from a previous home reno project along with new lumber to build a king-sized bed frame and wall-length headboard - based off of the "2x4 Simple Modern Bed" plans from More Like Home. We are VERY much beginners so this was an incredible learning experience, but the end result looks pretty good, in my opinion!


Comments
Ana White Admin
Tue, 02/07/2023 - 10:54
Great changing table dresser!
Looks like you got it figured out, beautiful job! Thank you for sharing:)