rolling rustic dresser
draft
draft
I made these two American Girl doll beds for my nieces. For one bed, I followed Ana's plans exactly. For the other, I used plywood and cove molding in place of the 1x3 slats.
You can find more details about the build and finish I used on my blog.
This was my first build so I learned a lot!!! I love this table but looking back I know more now than I did then and would have done things a little different. I would have plancked the top using my Kreg Jig Jr. and looked for straighter boards at Home Depot. I also altered the design for the look that I wanted, a rustic one. The table is 44" square and stand 43.5" tall. I also mitered the corners of the top outside boards wanting to give it a more finished looked. It took me about 3 days of nap times to build. We use it almost every night to eat dinner. I found the chairs at Habitat for Humanity and have plans to build a few more. My Husband thinks I should paint the table and distress to match the chairs, but that has not happened yet. All together I had a great time and learned a ton.
Fri, 10/10/2014 - 19:13
I love the smaller version of the table! Awesome!!!!
This was my first chair. I made the arms and base with 2x4's. I added a 2x4 apron in the front and back and 1x4 apron to the sides. My next chair I will try to use the Kreg for the arms, the base will be hidden with aprons, so it doesn't matter. The slates are 1x4 as the instructions provided recommended. I got the cushion from Lowes for $50
Farmhouse bed for my daughter, Thank you Ana for sharing planes .
I tried to make it exactly as your plane.
I made a mini version of the Haley Simple Shelves as my first project from this site. I had only practiced with the Kreg Jig before making this, and learned that you should not make any project too small, or your Kreg holes won't fit.. Hence I had to face screw the shelf onto the frame. Nevertheless this was fun to make, I love the color (Peacock by Behr) and best of all, it gets stuff off the bathroom counter!
Sun, 10/05/2014 - 17:53
Hi!
No.. I did use pocket holes and screws to attach the rear support (1x2) to the arched sides, but couldn't use pocket holes to attach the top to the back, hence face screwing the top on. Kreg screws are very strong without the pockets too.
This is the second thing i have ever built and I am SO excited with the result! This has inspired me to take on new ambitious woodworking projects. Love it, thanks for the free plans!
I tried to post photos of my progression of work, but couldn't get them to post. The instructions to build this were simple and easy to follow. I was able to construct this by myself in about 4 hours total. I am getting ready to make a 2nd for my craft shed. Thank you for sharing this!
I didn't really follow any of Ana's plans for this build, but it is a result of using her plans up to this point in my woodworking journey that enabled me to complete this one! I don't own a table saw, so this was constructed using a circular saw, miter saw, Kreg jig, and a nail gun. It was the first time I've had to cut and attach crown molding, and I also learned how to cope baseboard trim using a Dremel. Another first was using a router to rabbet out the back so the plywood back wasn't visible from the sides. I learn something new every build :)
I'm thrilled with the change in the room with this new project. We had two narrower bookcases side-by-side in there before, and they were about the height of the windows with a stain color that didn't match any of the other wood pieces in the rooms. This cabinet looks like it belongs in the room.
Thu, 12/27/2012 - 07:54
Very well done. It fits right in and looks absolutely beautiful. I am working and practicing to reach your skill level so I can do amazing things too!
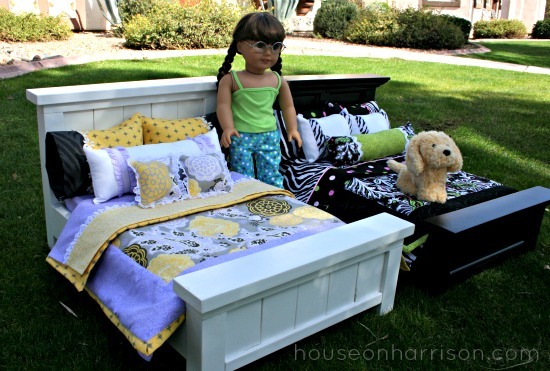
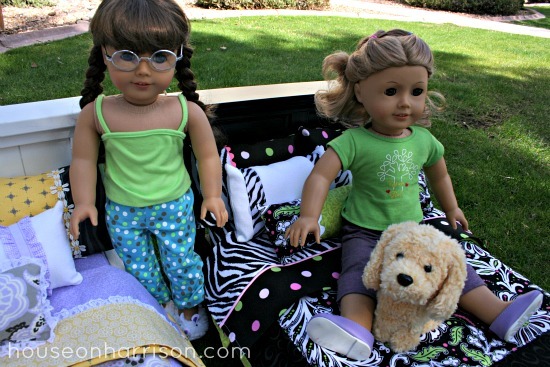
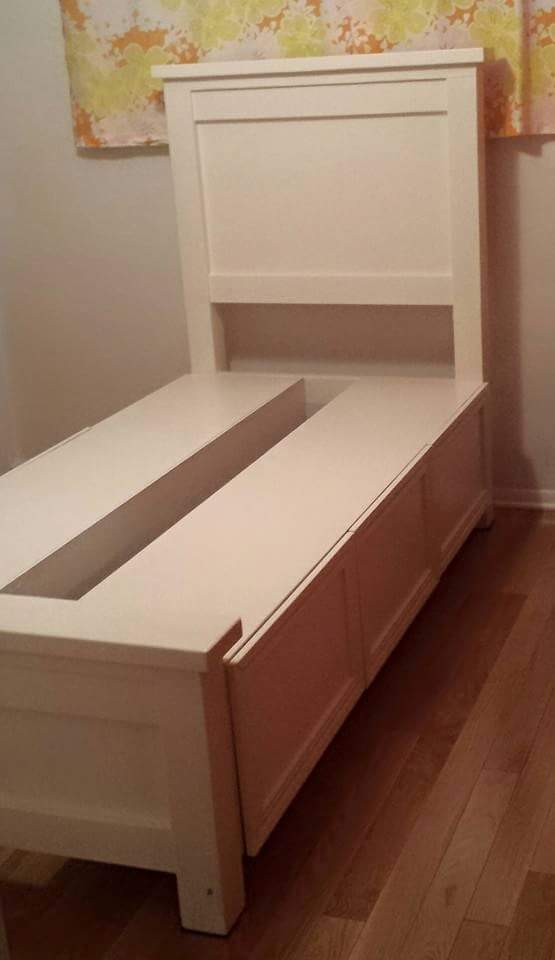
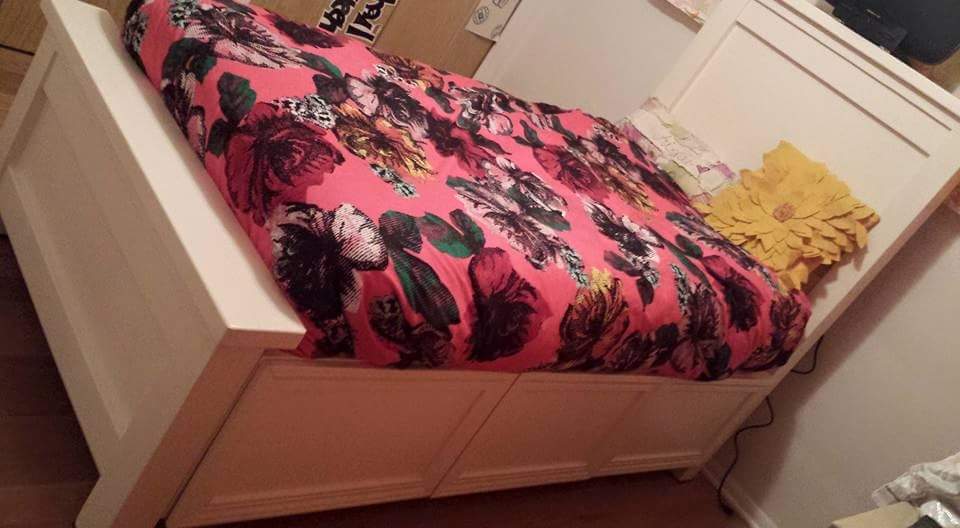
A few years back, I built a twin version of Ana's Farmhouse Storage Bed for my step-daughter. After she moved out, I converted it to a huge toychest for my three-year-old.
I would have left it as a bed, but with a quality mattress it was so high I was afraid he could get hurt if he fell out.
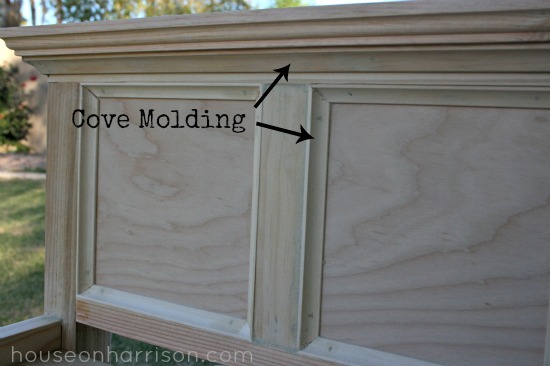
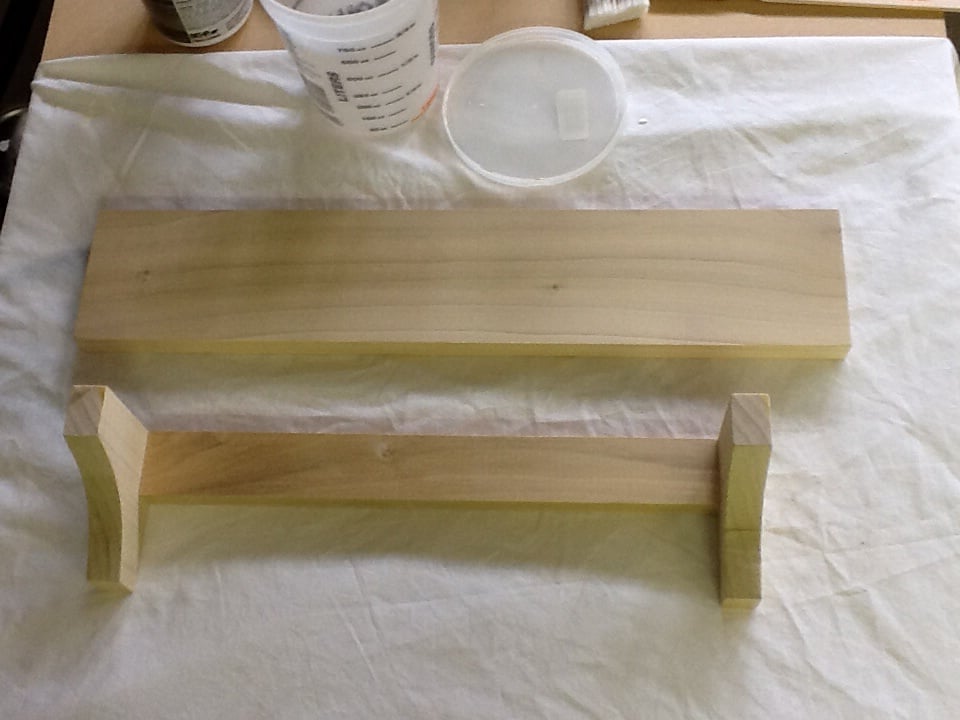
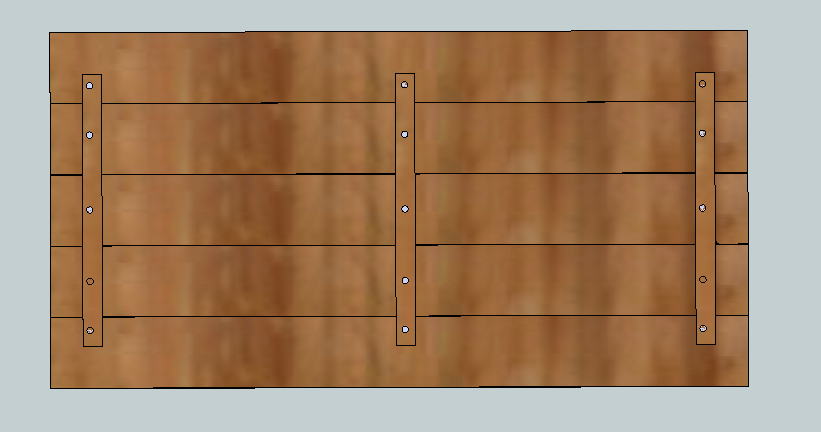
The conversion is simple. Remove 24 screws, reconfigure, add back the screws in different places. The support blocks become feet for the chest, and the slats become spacers under the top part.
He loves being able to get his toys out himself, and I love that he can put them away by himself. A big upgrade over plastic storage boxes on high clost shelves!
Once he's a bit older, I'll probably turn it into a bad again.
My first woodworking project ever. Used spruce dimensional lumber from the hardware store, some Minwax Red Oak Stain and Minwax Satin Polyurethane to finish.
Awesome learning experience, and looking forward to my next project.
This was my second project that I completed to go along with the Daybed With Three Trundle Drawers For Storage that I made for my son.
The original plans for this bed state that you need three 1 x 12 x 8's, but you actually need 4. The two middle 42 3/4" boards on the inside are missing from the cut list, but you can see them in the diagram.
I am so happy with the way this turned out! It was a little more challenging with the wider width boards--I had to force them on the line because they weren't perfectly straight. But overall, I am very happy with this.
When I drilled the holes for the shelf pins using the Kreg shelf pin jig, I used the 1" inset on the outside 2 columns, and the 2" inset on the center column. This way I avoided have holes that were drilled all the way through the board.
Between this and the storage daybed, I have really freed up so much space in my son's small bedroom! Happy building!
Tue, 01/01/2013 - 18:13
Your first two projects are very professionally done. KUDOS for such a great job. Keep it up and your kids will soon be in the shop with you and it will become a family affair.
I used three 2x12s for the top and 4x4s for the legs. Everything else pretty much the same. Final table size 36"x60". Longest/hardest part was sanding and staining
made from poplar and pine. Painted with a coat of black paint then painted with 3 coats of valspar furniture paint in white. I then sanded all the edges to bring the black thru. The hardware is made from a metal bar and wheels made with pulleys from home depot. I even weaved the baskets myself!
Just kidding about that last part.
Mon, 01/23/2017 - 20:47
You had me on the baskets lol! Great job, this is a beautiful piece!
I am new to woodworking and saw your plans for this Christmas tree shelf and I had to try it! I made a few with ash and maple wood, but then I came across some barn wood and loved how much it resembled natural tree bark. I decided that it would look even better with snow accents. I thought you would enjoy seeing a twist on the original plans.
Sun, 10/11/2020 - 17:51
I uploaded these pics and I have no idea why they are sideways?!
My husband and I built this counter height with specs of 351/2" high x 25" wide x 48" long. We are using it in our kitchen as a prep island.
Tue, 01/01/2013 - 05:09
I think you guys did a wonderful job on the kitchen island. I like the fat legs and the 1x4 aprons. Did you consider adding a drawer since you have deep aprons? Is the top a butcher block or did you construct the top yourself? If you did build the top is it suitable for use as a cutting board?
Followed the plans to build this.
I used the following pully from McMaster (if you don't have an account, you might know a friend or someone who does):
https://www.mcmaster.com/#3434t116/=162dxqq
I've attached prints for the barn door stuff I made and thought it would be nice to share.
Thanks!
I am Brazilian and I admire your work a lot. I used wood from the Amazon (certified) and was surprised by the result. Strong, resistant, comfortable and my grandchildren will have an inheritance. I had to adapt to the metric system and made the back a little higher (85cm). Thank you!
My first ever project. Gave it to my parents as Christmas gift. I had a lot of fun building it. Next time I will go easier on wood glue, because some areas that glue got squeezed out did not get stained.
Next project - corner cupboard.
A simple headboard with new pine, distressed to resemble worn barn wood or other reclaimed lumber. I used a wire brush drill bit to eat away at the soft wood of the outside frame, raising the grain and adding a tremendous amount of texture. The inside planks are full-width boards that I scored with a circular saw to create false joints. Each section was stained with a different hue to emulate individual reclaimed planks. I coated with a layer of semi-gloss polycrylic and then a coat of clear cream wax.