Jake's Beach Cabin Bed
I built this for my son's beach room. We stained the roof to match his dresser and built him a ladder as well.
Started with simple small trestle desk idea. Decided to edge glue the top. Finished with poly and paste wax. Didn’t turn out too bad for the first project.
Mon, 05/08/2023 - 09:47
The two tone finish looks awesome, can't wait to see what you build next! Way to go:)
I needed some furniture for the entryway and made this dresser. All it needs now is a few accessories! Thanks Ana.
Fri, 01/06/2012 - 12:00
I love this. I would love to build this, but modify it to be more narrow. I am afraid to do both. I don't have the confidence yet to modify or tackle drawers. Yikes. Going to have to bit the bullet one of these days!
My mom as always wanted a jelly cabinet and there's one for sale at a local antique barn so when I saw the plans I knew exactly what I could get her for Christmas. The plan measurement's were a little off so I ran it through Google sketch-up to get the exact cuts I'd need and to play around a little with the plans. I used chicken wire for the doors and they came out better than expected. For a finishing touch, my mom loves black bears and moose, so I decided to include them in the final design. I went with free drawing them on contact paper and cutting them out and using them as a stencil, I love how they look. Overall it was a fun project. I just need to distress it a little and seal it with poly and it should be better well done.
Sat, 11/23/2013 - 16:29
I couldn't get the link to work in the actual form, but it's Patrick's Jelly Cupboard ... http://ana-white.com/2011/12/plans/patrick039s-jelly-cupbard
Wife wanted me to throw out all the scrap wood I had lying around. Instead I made some killer barstools. Fun look.
This was my first project in about 10+ years, so it's not perfect. Thanks to my oldest son who bought me a compound miter saw for Mother's Day and a few of my hubby's tools. My son's and I completed this project over the weekend. Looking forward to our next team project.
I adapted the plan for the Shoe Rack Bench to give it multiple levels and allow it to serve as an entryway table in addition to a shoe rack. I used 2 x 10's for the project.
This was a much faster build than we anticipated, thanks to easy to work with MDF and pre-finished bead-board backing. Had all the wood pre-ordered on line from Lowe's made pick up super easy - and then they did all the cuts for us!
Sun, 01/08/2012 - 15:12
Looks great! I have a goofy question -- can you specify the cuts you want made when you order online, or do you get it at the store, take it back to the saw and have them cut it then?
In reply to Quick question -- by Margaret Kubiszyn (not verified)
Sun, 01/08/2012 - 17:07
No, you have to go back to the cutting area and do those. I wouldn't want to trust them to do them just right, though. I like to watch and help measure if need be. There's nothing worse than having your cuts off by a 1/4 inch or more!
Sun, 01/08/2012 - 17:08
I don't think that you can specify cuts in your online order, just the boards. But we picked it up with a sheet of paper specifying how each board should be cut.
Nightstands are expensive. I don't have money. So, I thought I would build one. I kept this one rustic looking by not filling the holes but I did sand quite a bit. Just not enough to remove the printing on the boards, I think it looks good when it's got finish on it.
I modified the queen size bed to a full and adjusted the dimensions of the bed accordingly. I used solid oak for the headboard posts and top boards. I used oak beadboard to match the Kentwood night stand I previosly made.
A friend asked for a kid sized farmhouse table and I knew immediately what plans I wanted to modify! The 4x4 truss table is my favorite go to table because it is extremely solid, easy to build and looks so nice! I know this table will hold up to the wear and tear of 4 kids for years! I also modified the 2x4 truss benches to match. They are the same style but not as chunky as the 4x4 truss bench plans.
Dimensions for table are 24”h x 24”w x 48”L
benches 16”h x 13.5”w x 33”L
I combined the features I liked from both of these. I was able to snag some wood table tops at auction ($5.00 ea) that I painted to look like stone.
Mon, 05/22/2023 - 15:33
Superb job, the top looks super cool! Thank you for sharing.
Mon, 05/22/2023 - 15:33
Superb job, the top looks super cool! Thank you for sharing.
I did it! Using your plans I made the doll crib. I had to improvise on the drawer as the drawer in the plans was to tall to go under the bed and I had already put it together before checking. Oh well. I also made the mattress, reversible blanket and 2 pillows for the bed. As this was my first woodworking project I am so proud of how well it turned out. Thank you Ana for this site. It is amazing and I am HOOKED.
Tue, 01/10/2012 - 21:52
The drawer isn't out of line, it is just my hearth is uneven. LOL
After looking online for something to make a fireplace to hang my kids stockings, I came across Anna's! WOW her instructions and plans seemed very simple to follow and so I did. I made minor adjustments based on what I had on hand but I followed her plans to the t. Thank you Anna, you inspired me!
Sat, 11/30/2013 - 10:22
You did a great job on this! The paint finish looks beautiful, and I love the scalloped decorations and rosettes!
Modified the plans slightly to make a bigger bench, especially on one end. Added rope lights underneath for a cool effect.
A friend of mine wanted a new queen bed in a rustic, weather grey look. I have built many projects from Ana's site and decided on the Farmhouse Bed. The plans were perfect and building the bed didn't take me long. The time consuming part was the finish. I really wanted an old, weather wood look so the entire bed and night tables were first stained with a dark Kona stain. Once this dried I applied two coats of a watered down (50:50) light grey paint. The thinner paint made it easier to sand. Once this was completely dry I used a medium grit sanding sponge and selectively sanded everything. This took a while. Once complete I carefully cleaned all pieces and then applied three coat of semi-gloss varathane. The bed is incredibly solid with the 2 x 4 slats and will last a few generations. As always great plans from Ana.
After a laundry area refresh, I was looking for a slim utility cart to fit between the washer and dryer. I couldn't find anything that fit the space appropriately, so after finding the Easiest Industrial Cart plan, I decided to make one for my space. I built it using a 2x6x10 board and aluminum angle.
Tue, 05/30/2023 - 16:16
This is so great, love the simplicity and look!
My first project build from Ana-white.com. My wife had been looking at these towers online for a while until we saw they were upwards of $200 online... So I was like, "I'm sure I could make one.". So I found Ana's website, and here it is... My 19 month old daughter loves it, she climbs in and out of it with no problems, she calls it "uppy". This is my first of many projects to come from this very helpful site. The plans are all so helpful and very detailed. Thanks Ana!
We ended up going with 4 2x12's for the table top and used 2x6's for the bread boards.
This project was a blast to build!!!! I modified the fire truck loft bed by changing a few of the exterior accent pieces. I also built it to fit a full mattress in stead of the planned twin. I did this by adding additional slates for support. I just recently was able to finish it completely when i found someone who could make the decals. Hope you all enjoy and feel free to ask any questions. Also I used cabnet grade plywood so mine cost was a lot more expensive.
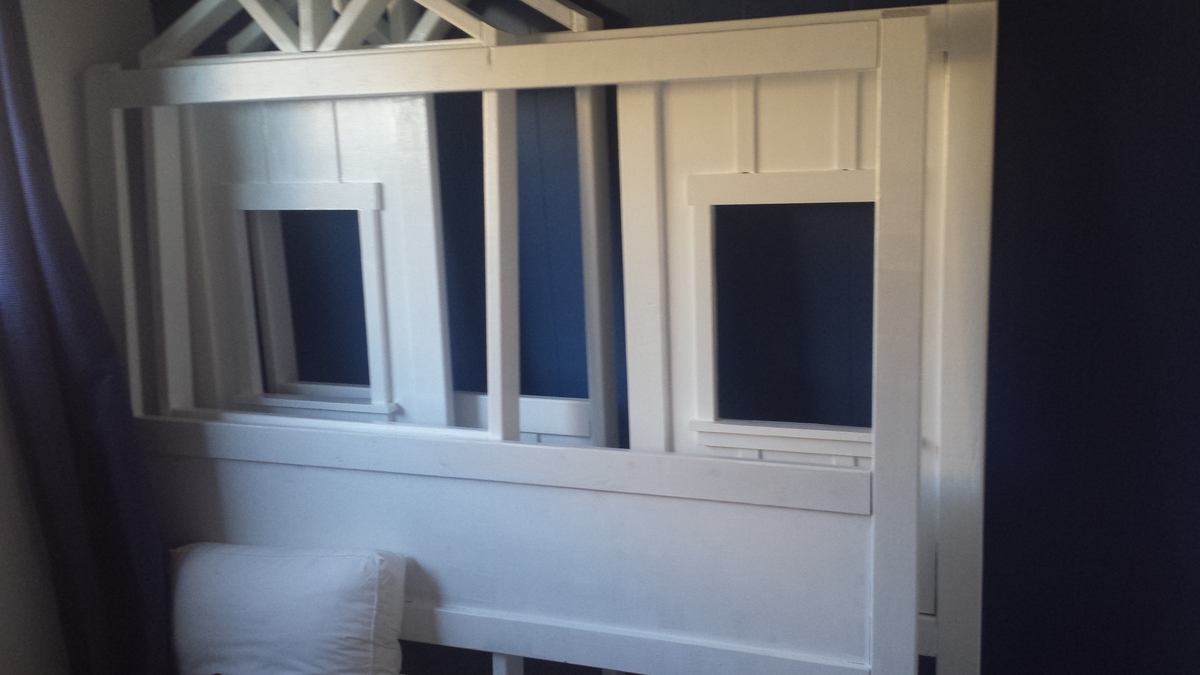
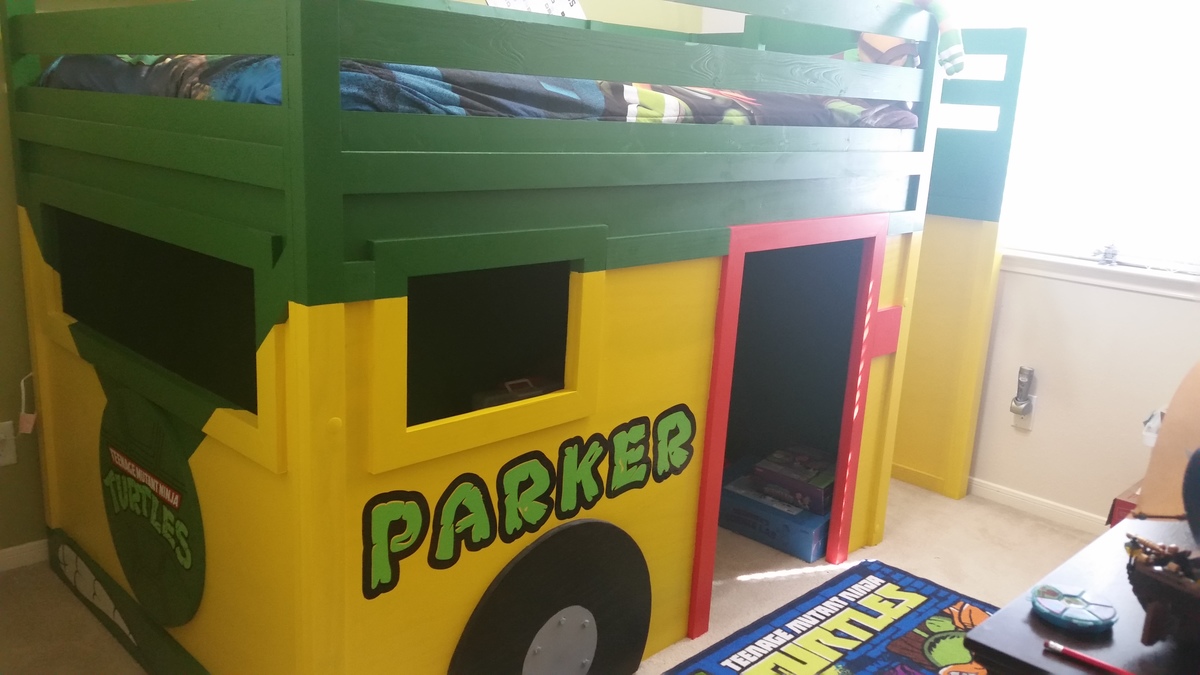
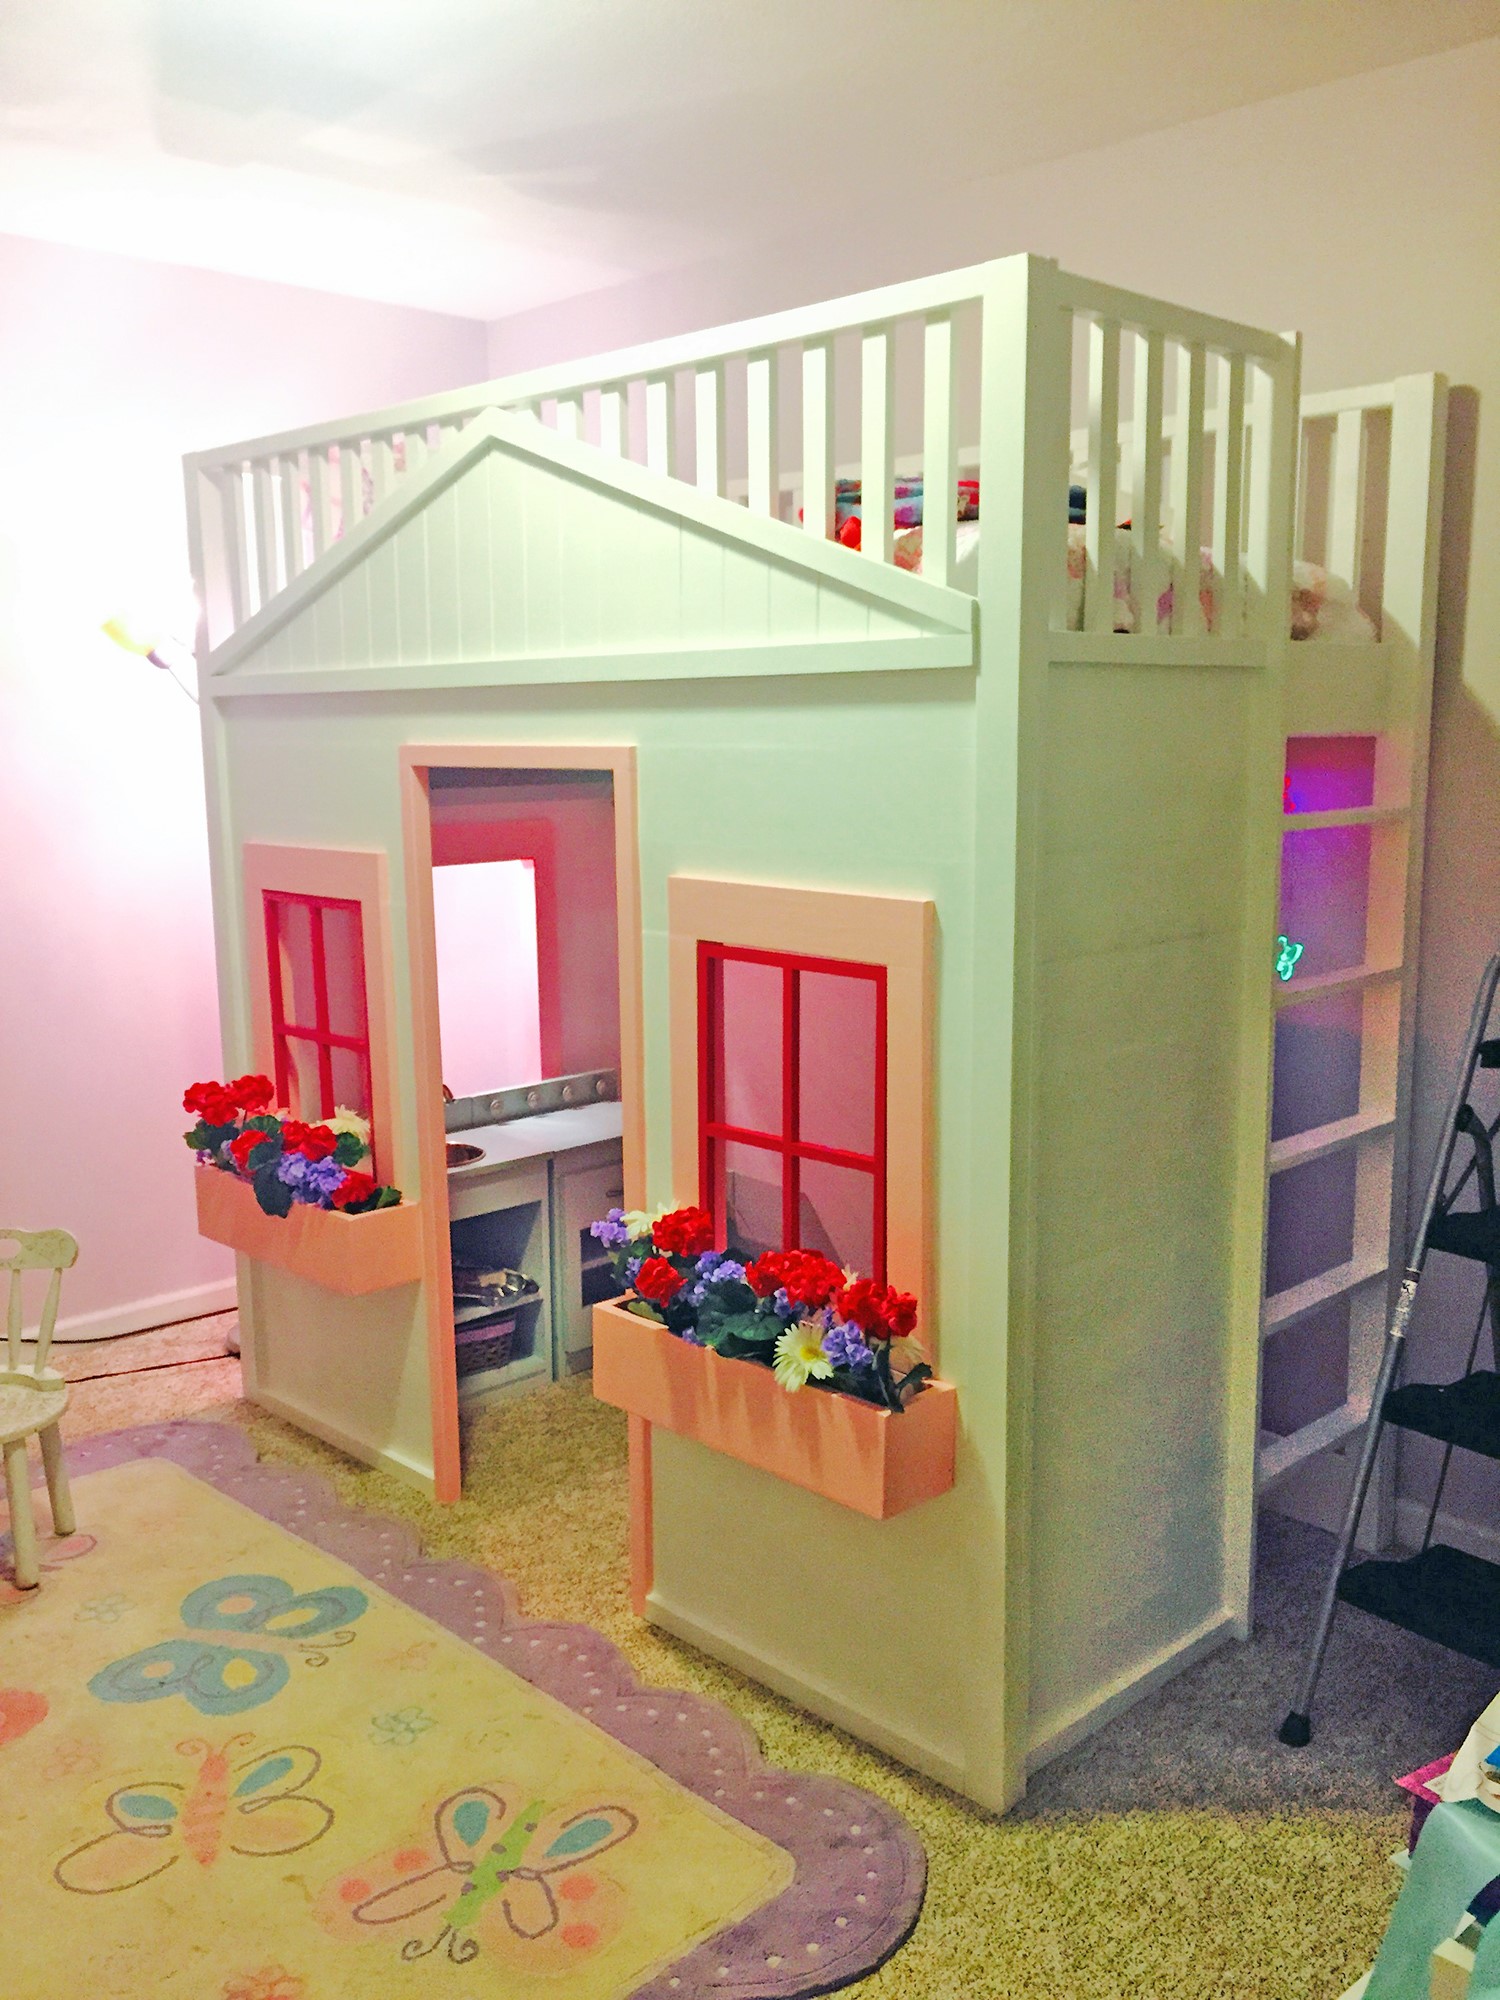
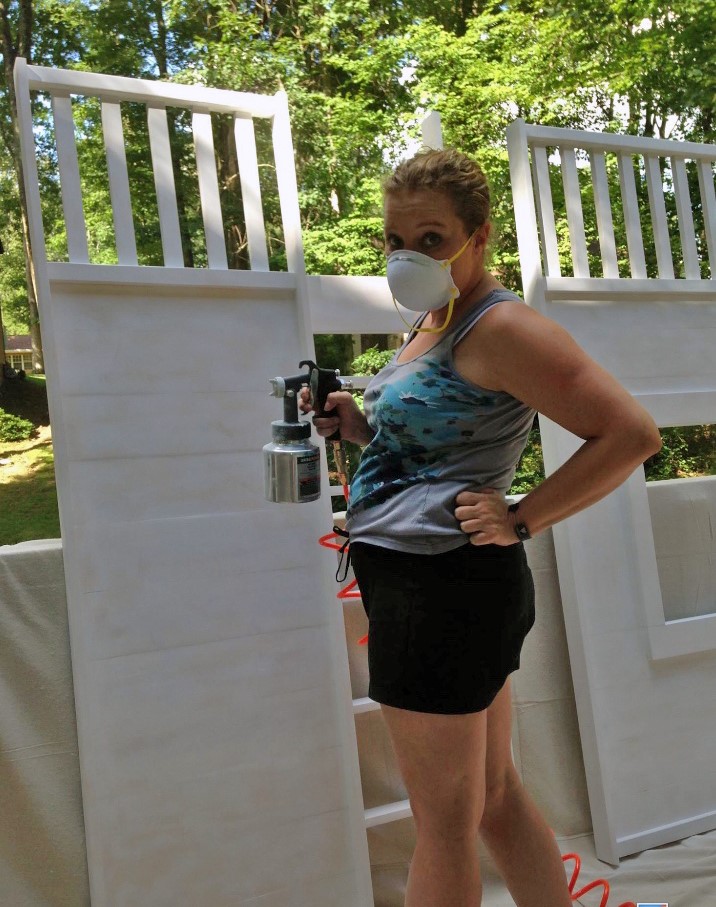
I built this bed a while ago but I am finally getting around to submitting a brag post.
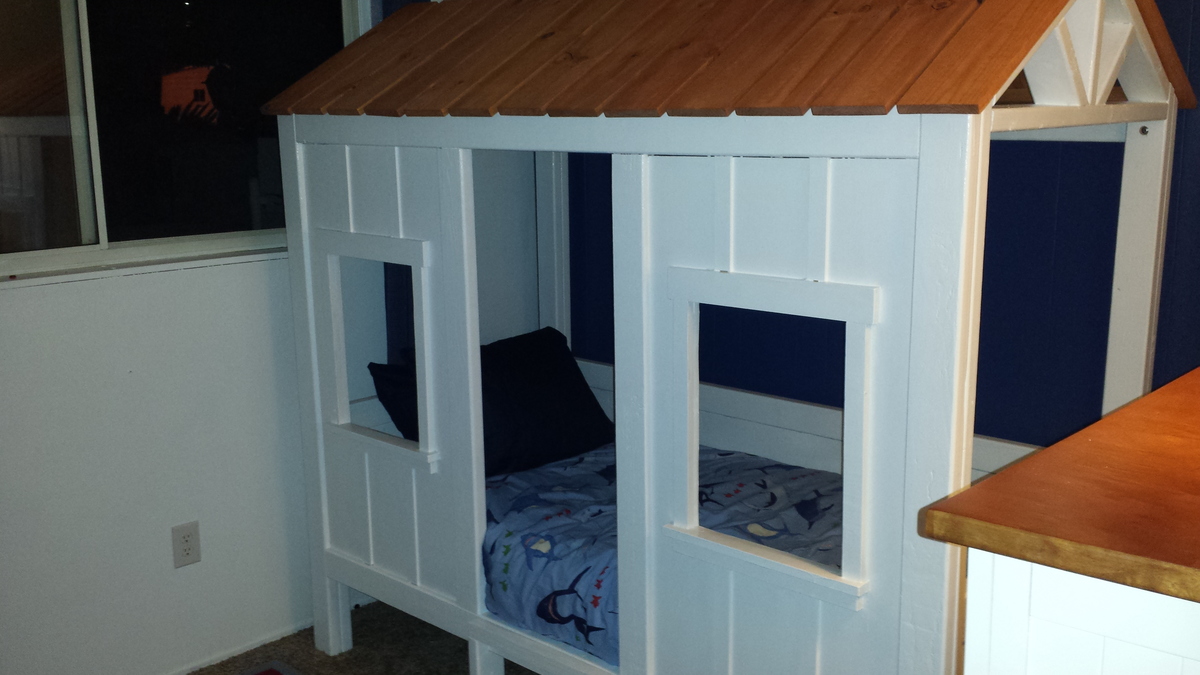
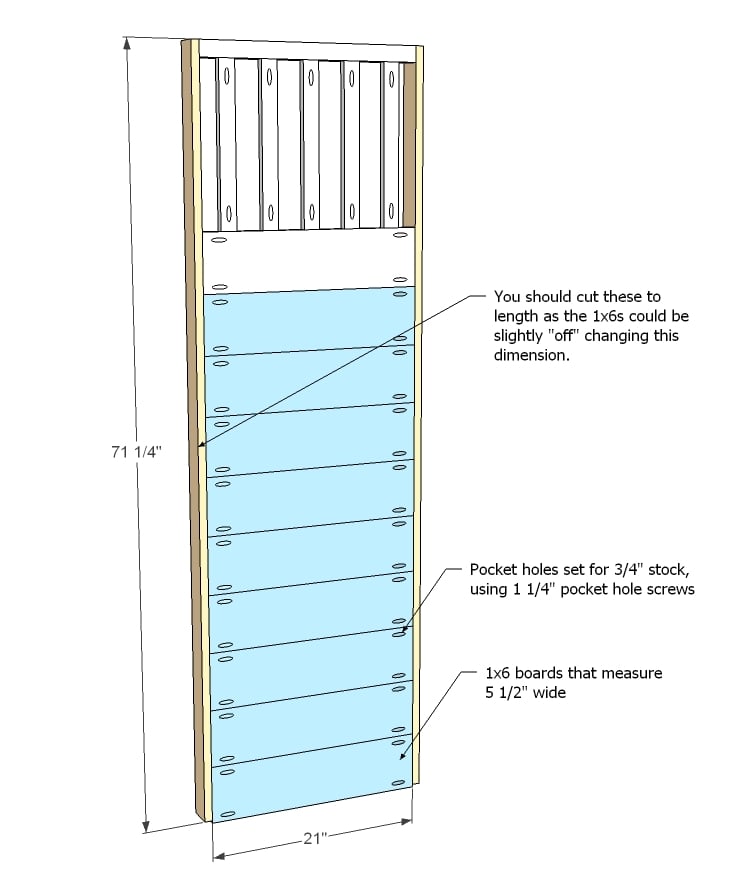
It is the largest thing I have ever built and it was a huge labor of love. I made it by myself in the evenings after work and weekends over the course of a few weeks. I modified the plans only slightly. I added an extra 1x6 board which makes the overall height 76 inches tall.
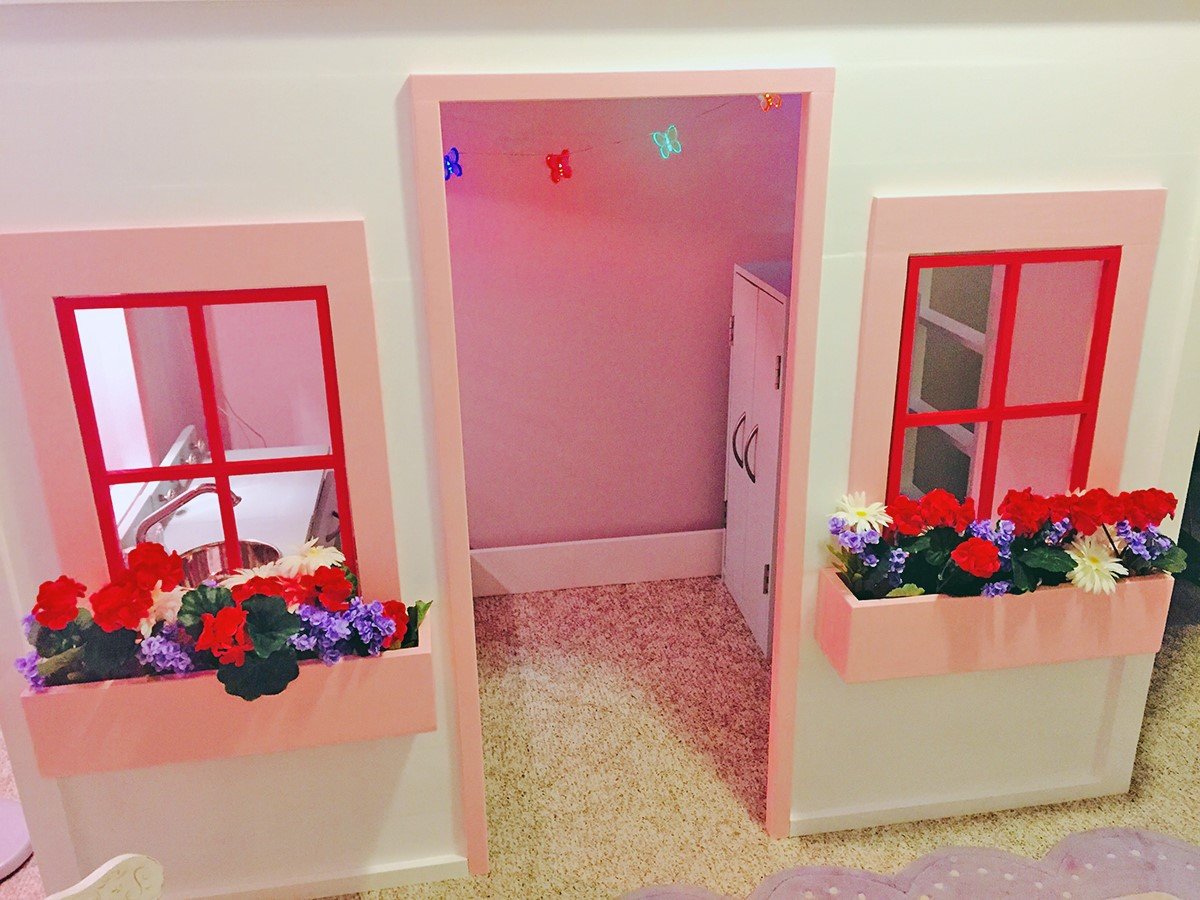
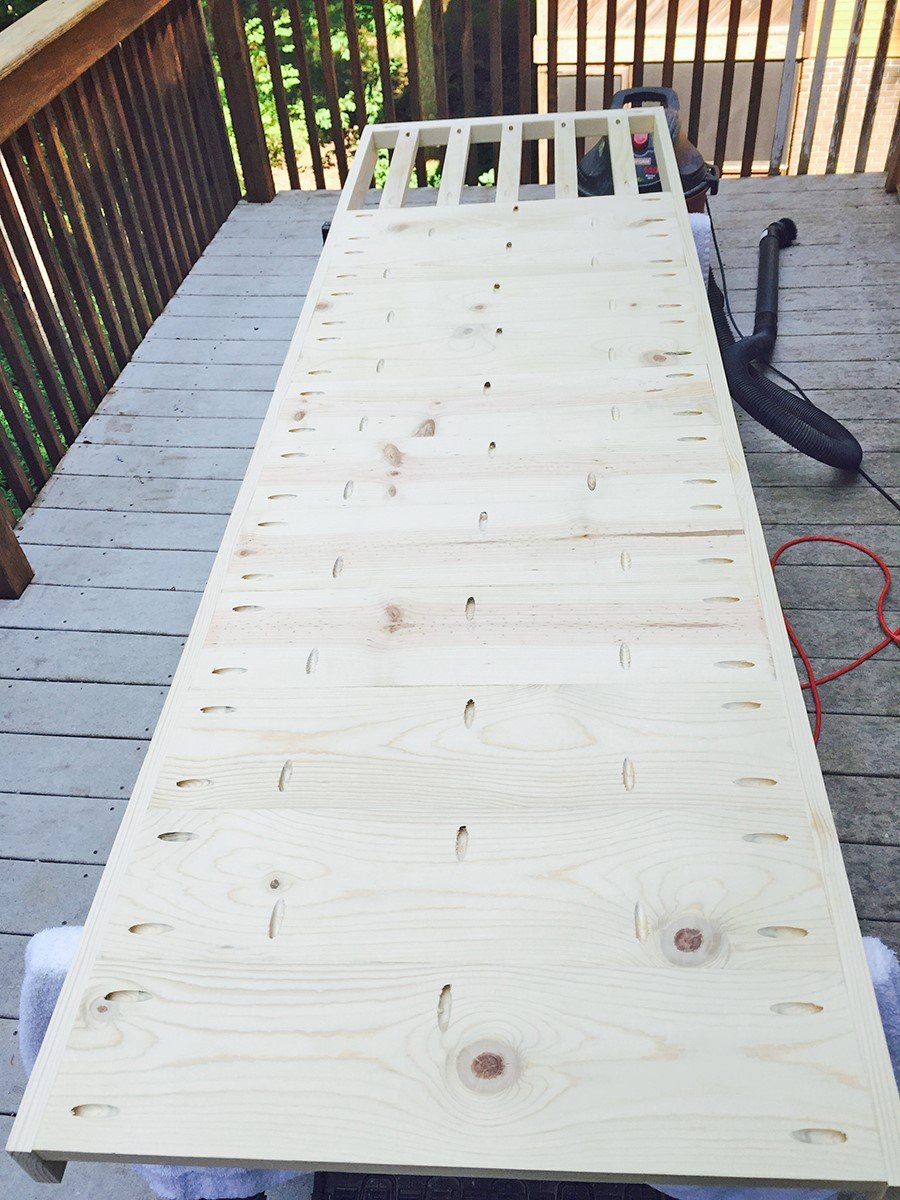
I also changed how the windows were framed and added flower boxes. I got a bit OCD and filled all the pocket holes because I didn’t like the way they looked even though it was quite tedious, I am happy with the way it turned out.
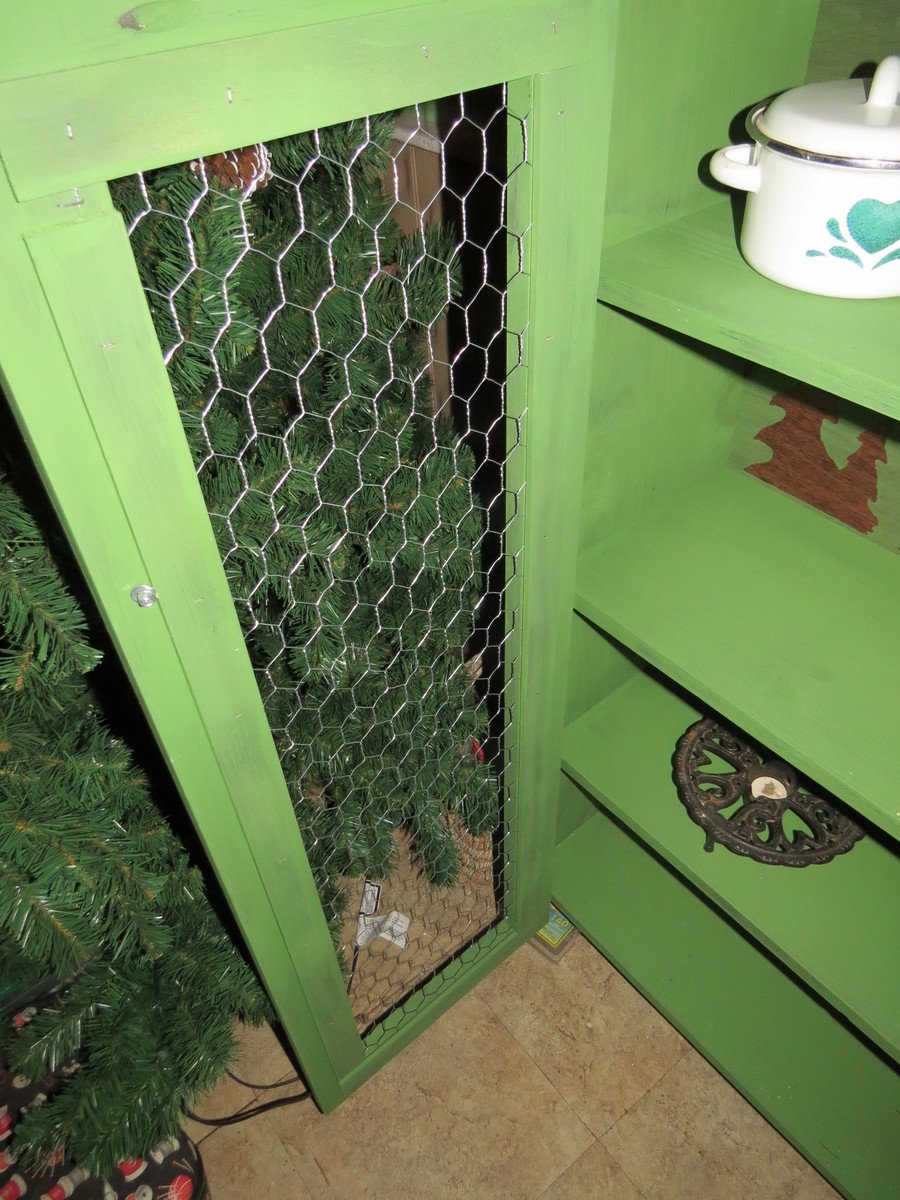
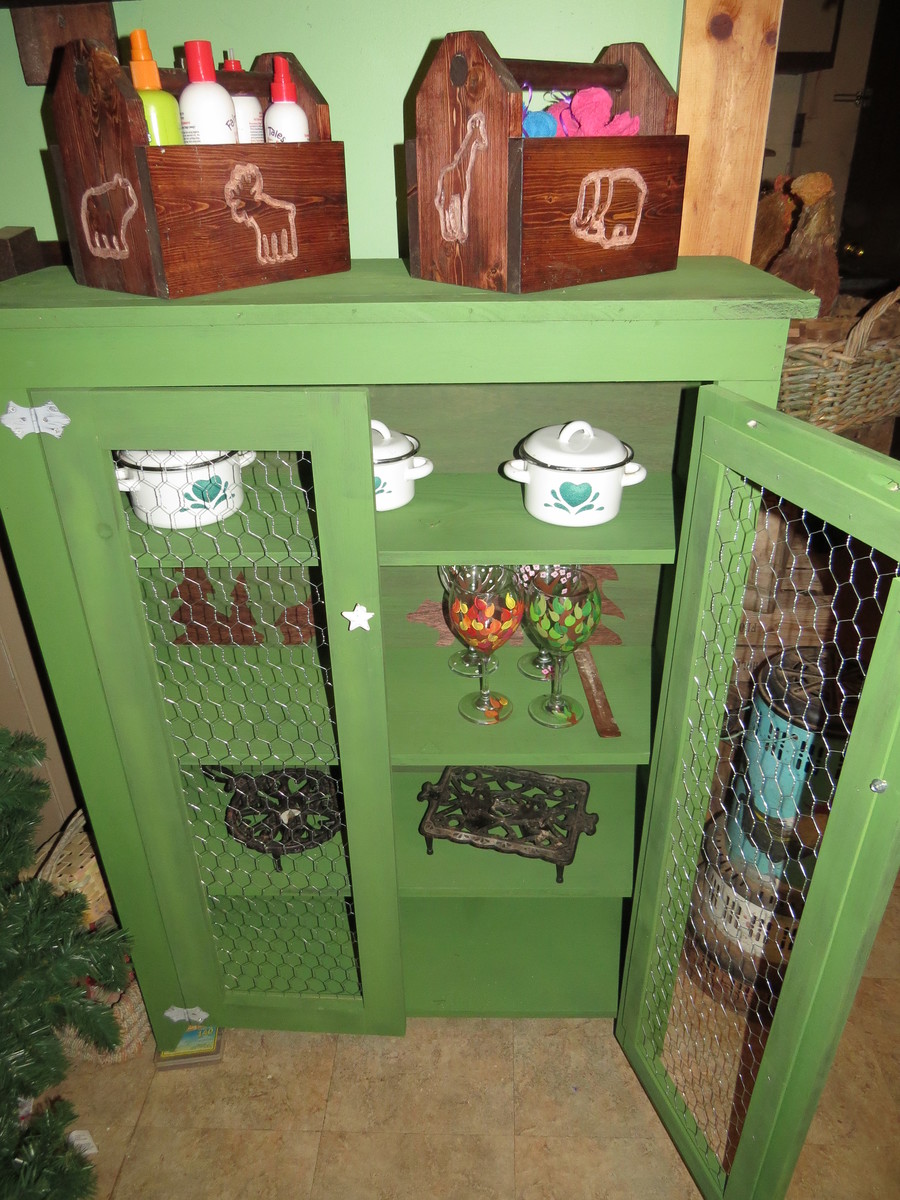
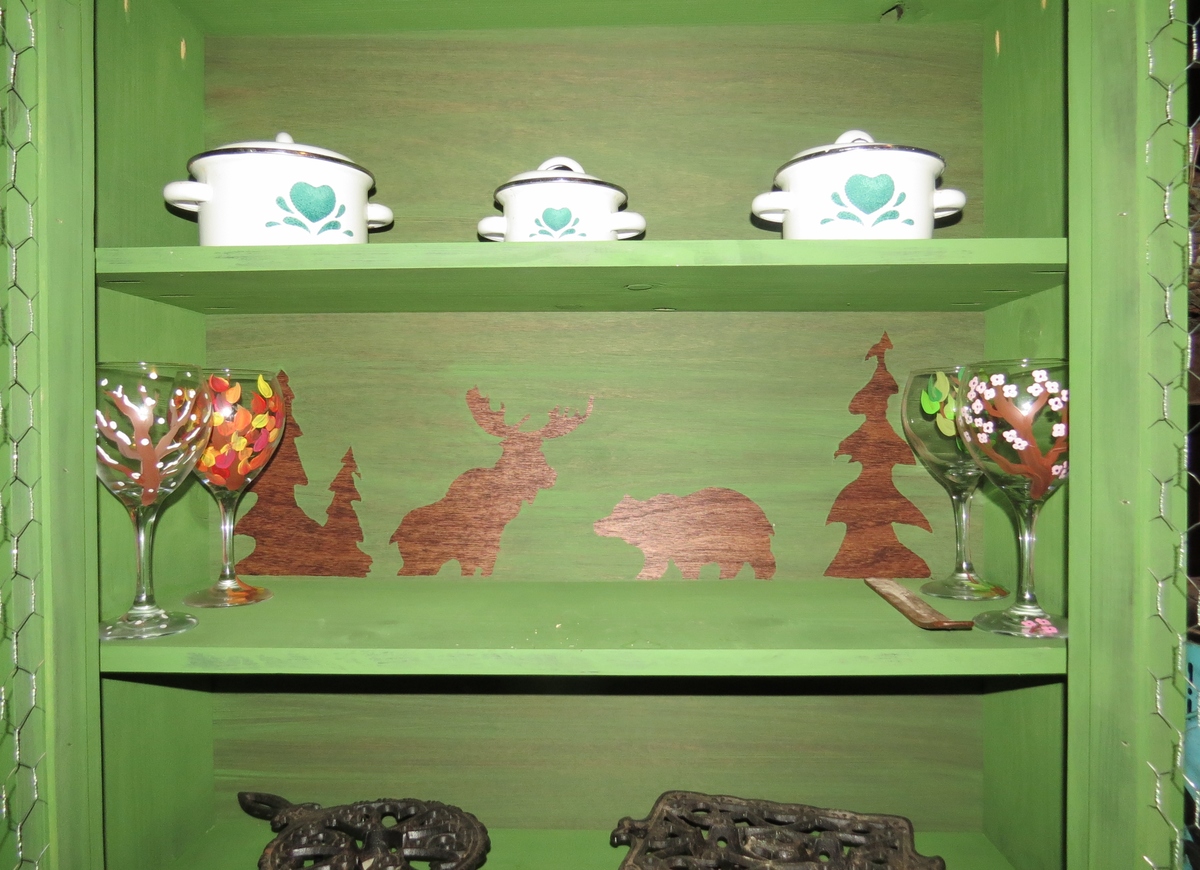
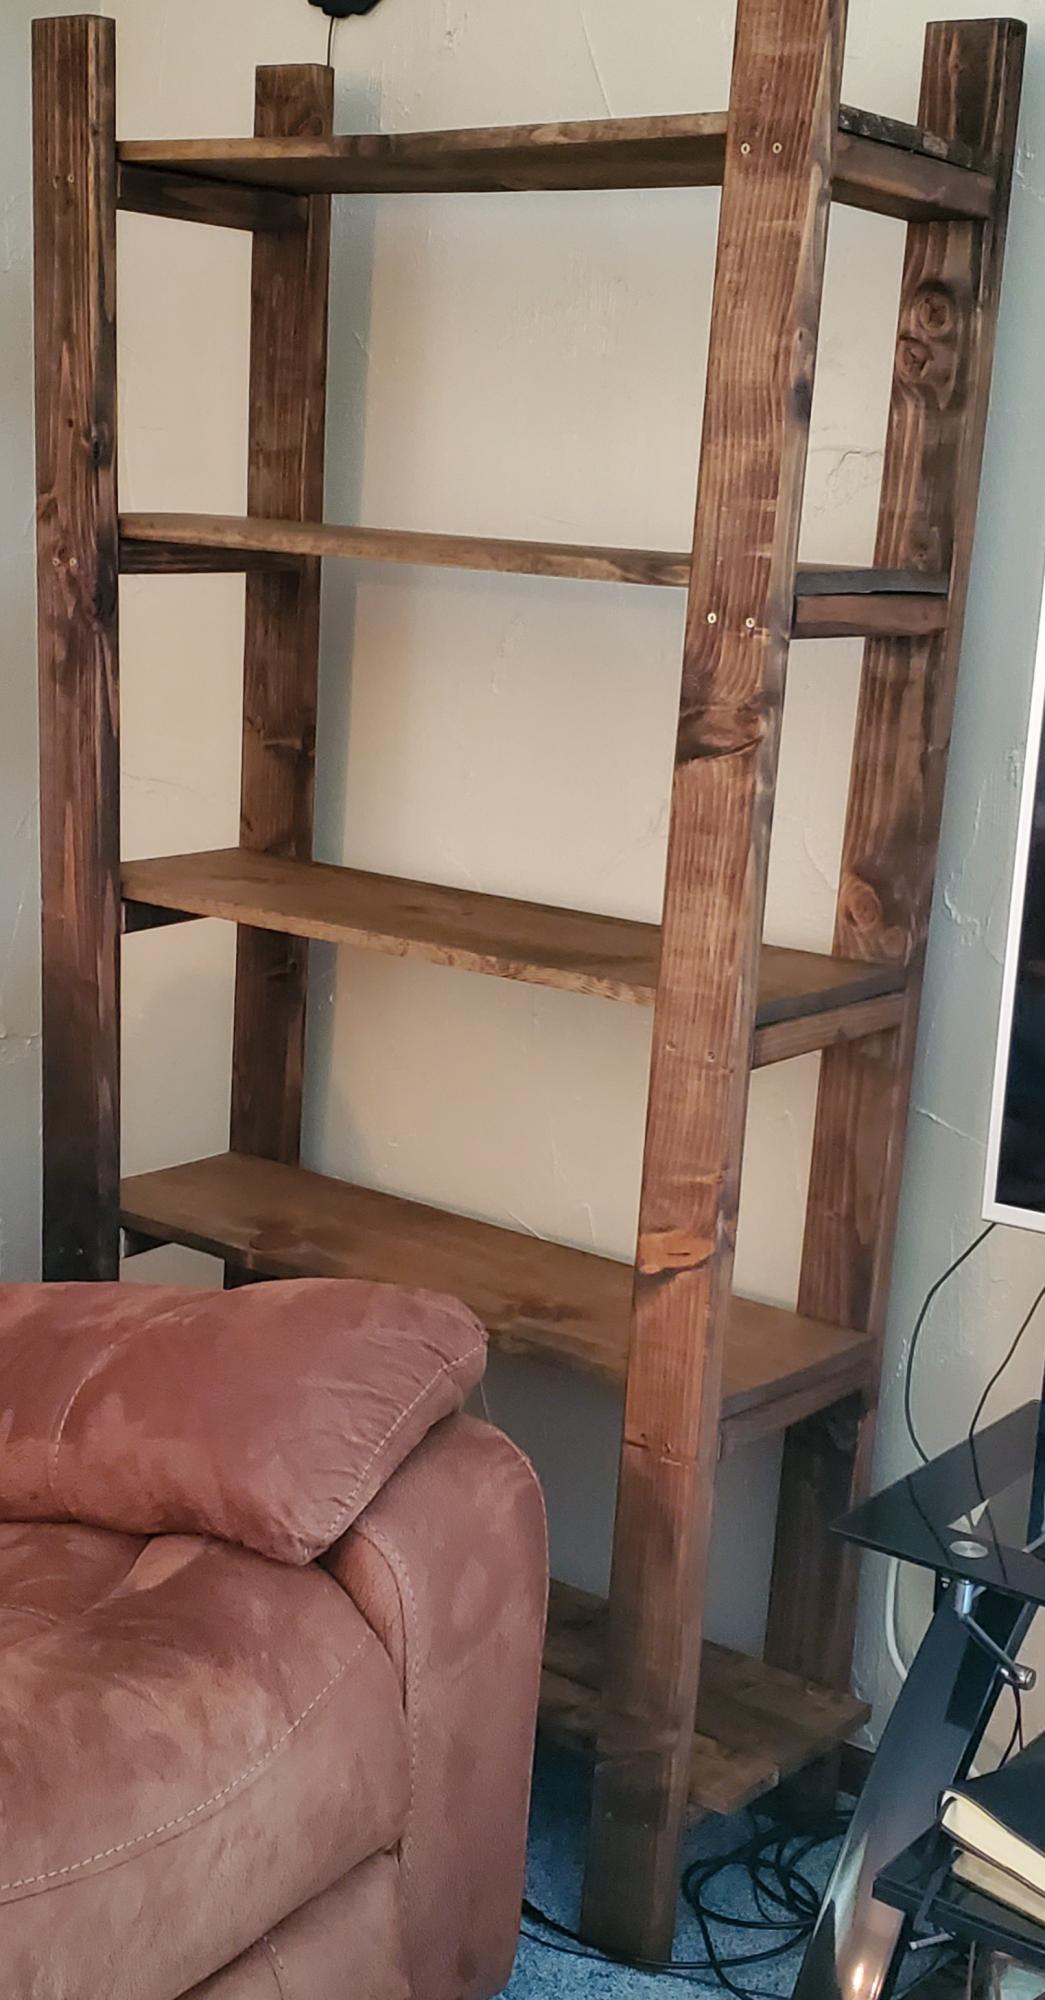
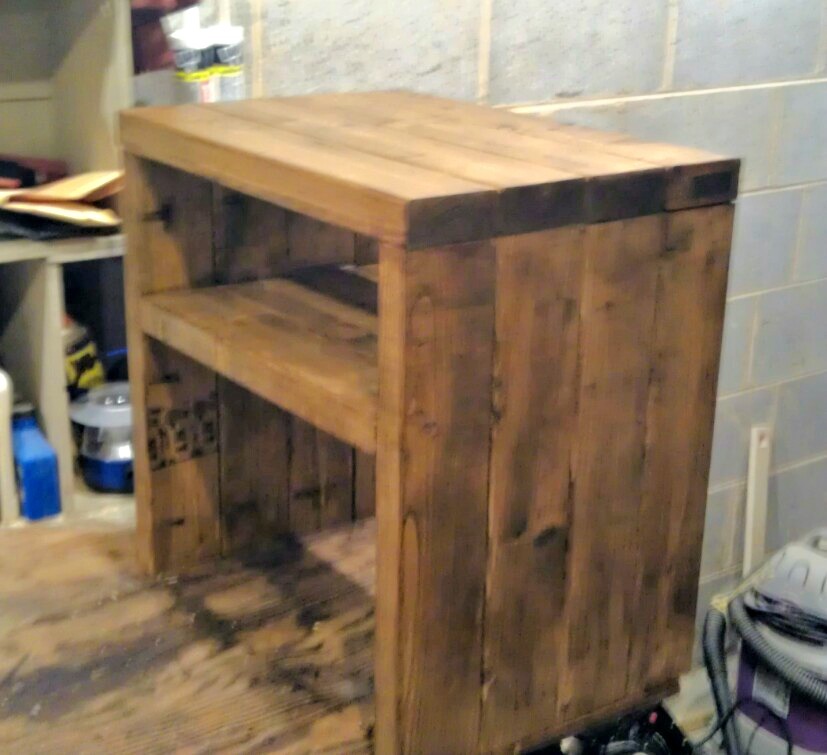
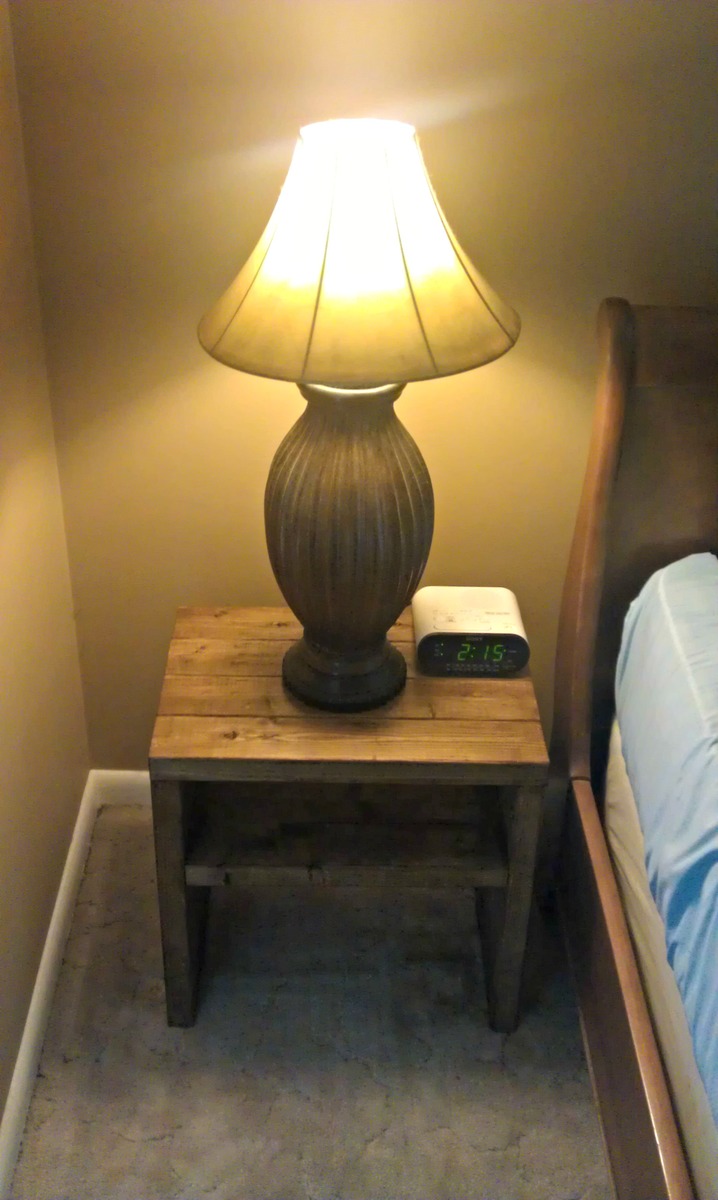
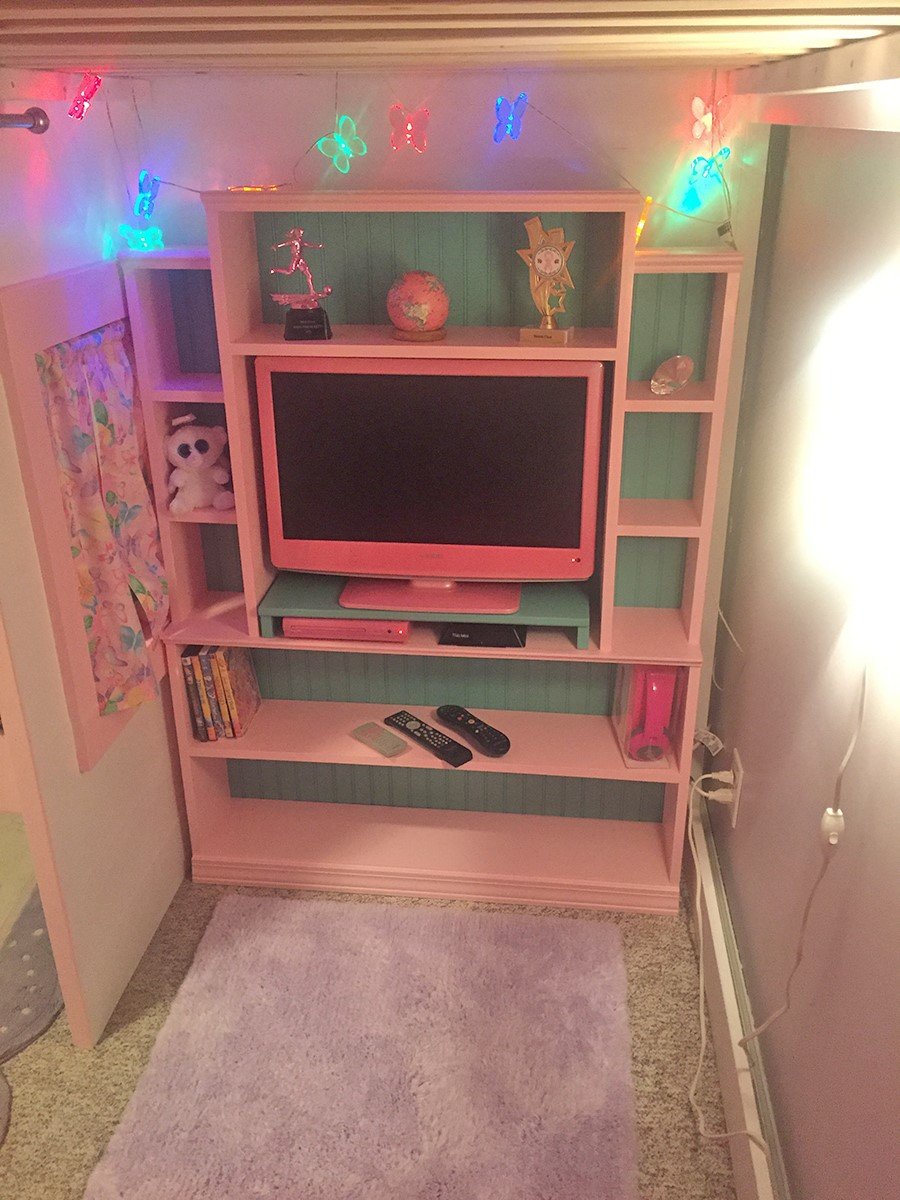
At first, I put the play kitchen I built from Ana’s plans underneath, but that was later replaced with a little tv stand that I made to fit perfectly under the playhouse. I didn’t use any plans for that but it was just a simple bookshelf. I measured the space, cut the wood as I went and used beadboard on the back of the shelf with cutouts for cords. I used leftover paint from the playhouse for the tv stand.
Wed, 10/02/2019 - 09:38
GORGEOUS!!! Thanks so much for sending in photos!!!
Mon, 11/04/2019 - 12:24
Congrats! Your post was randomly selected for a $100 gift card! Look out for that in your inbox shortly!