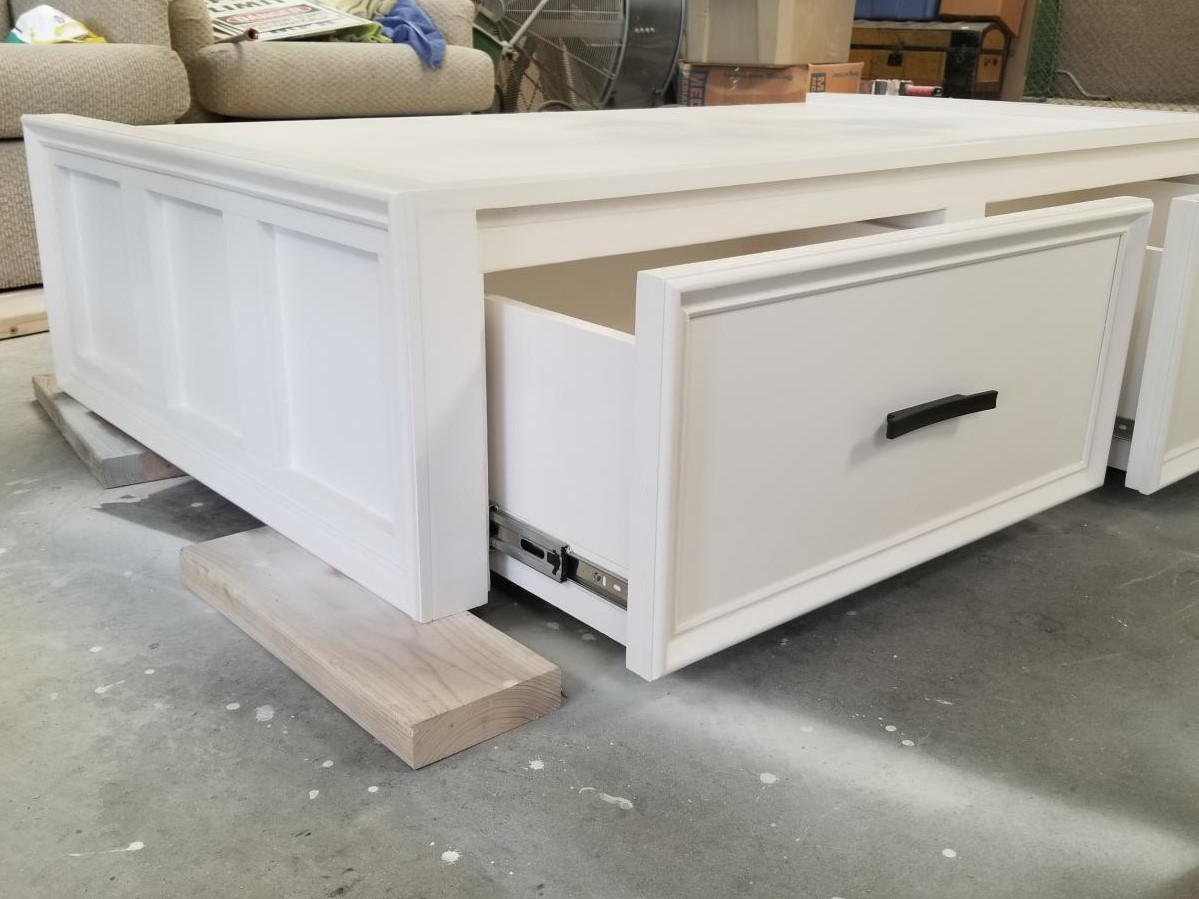
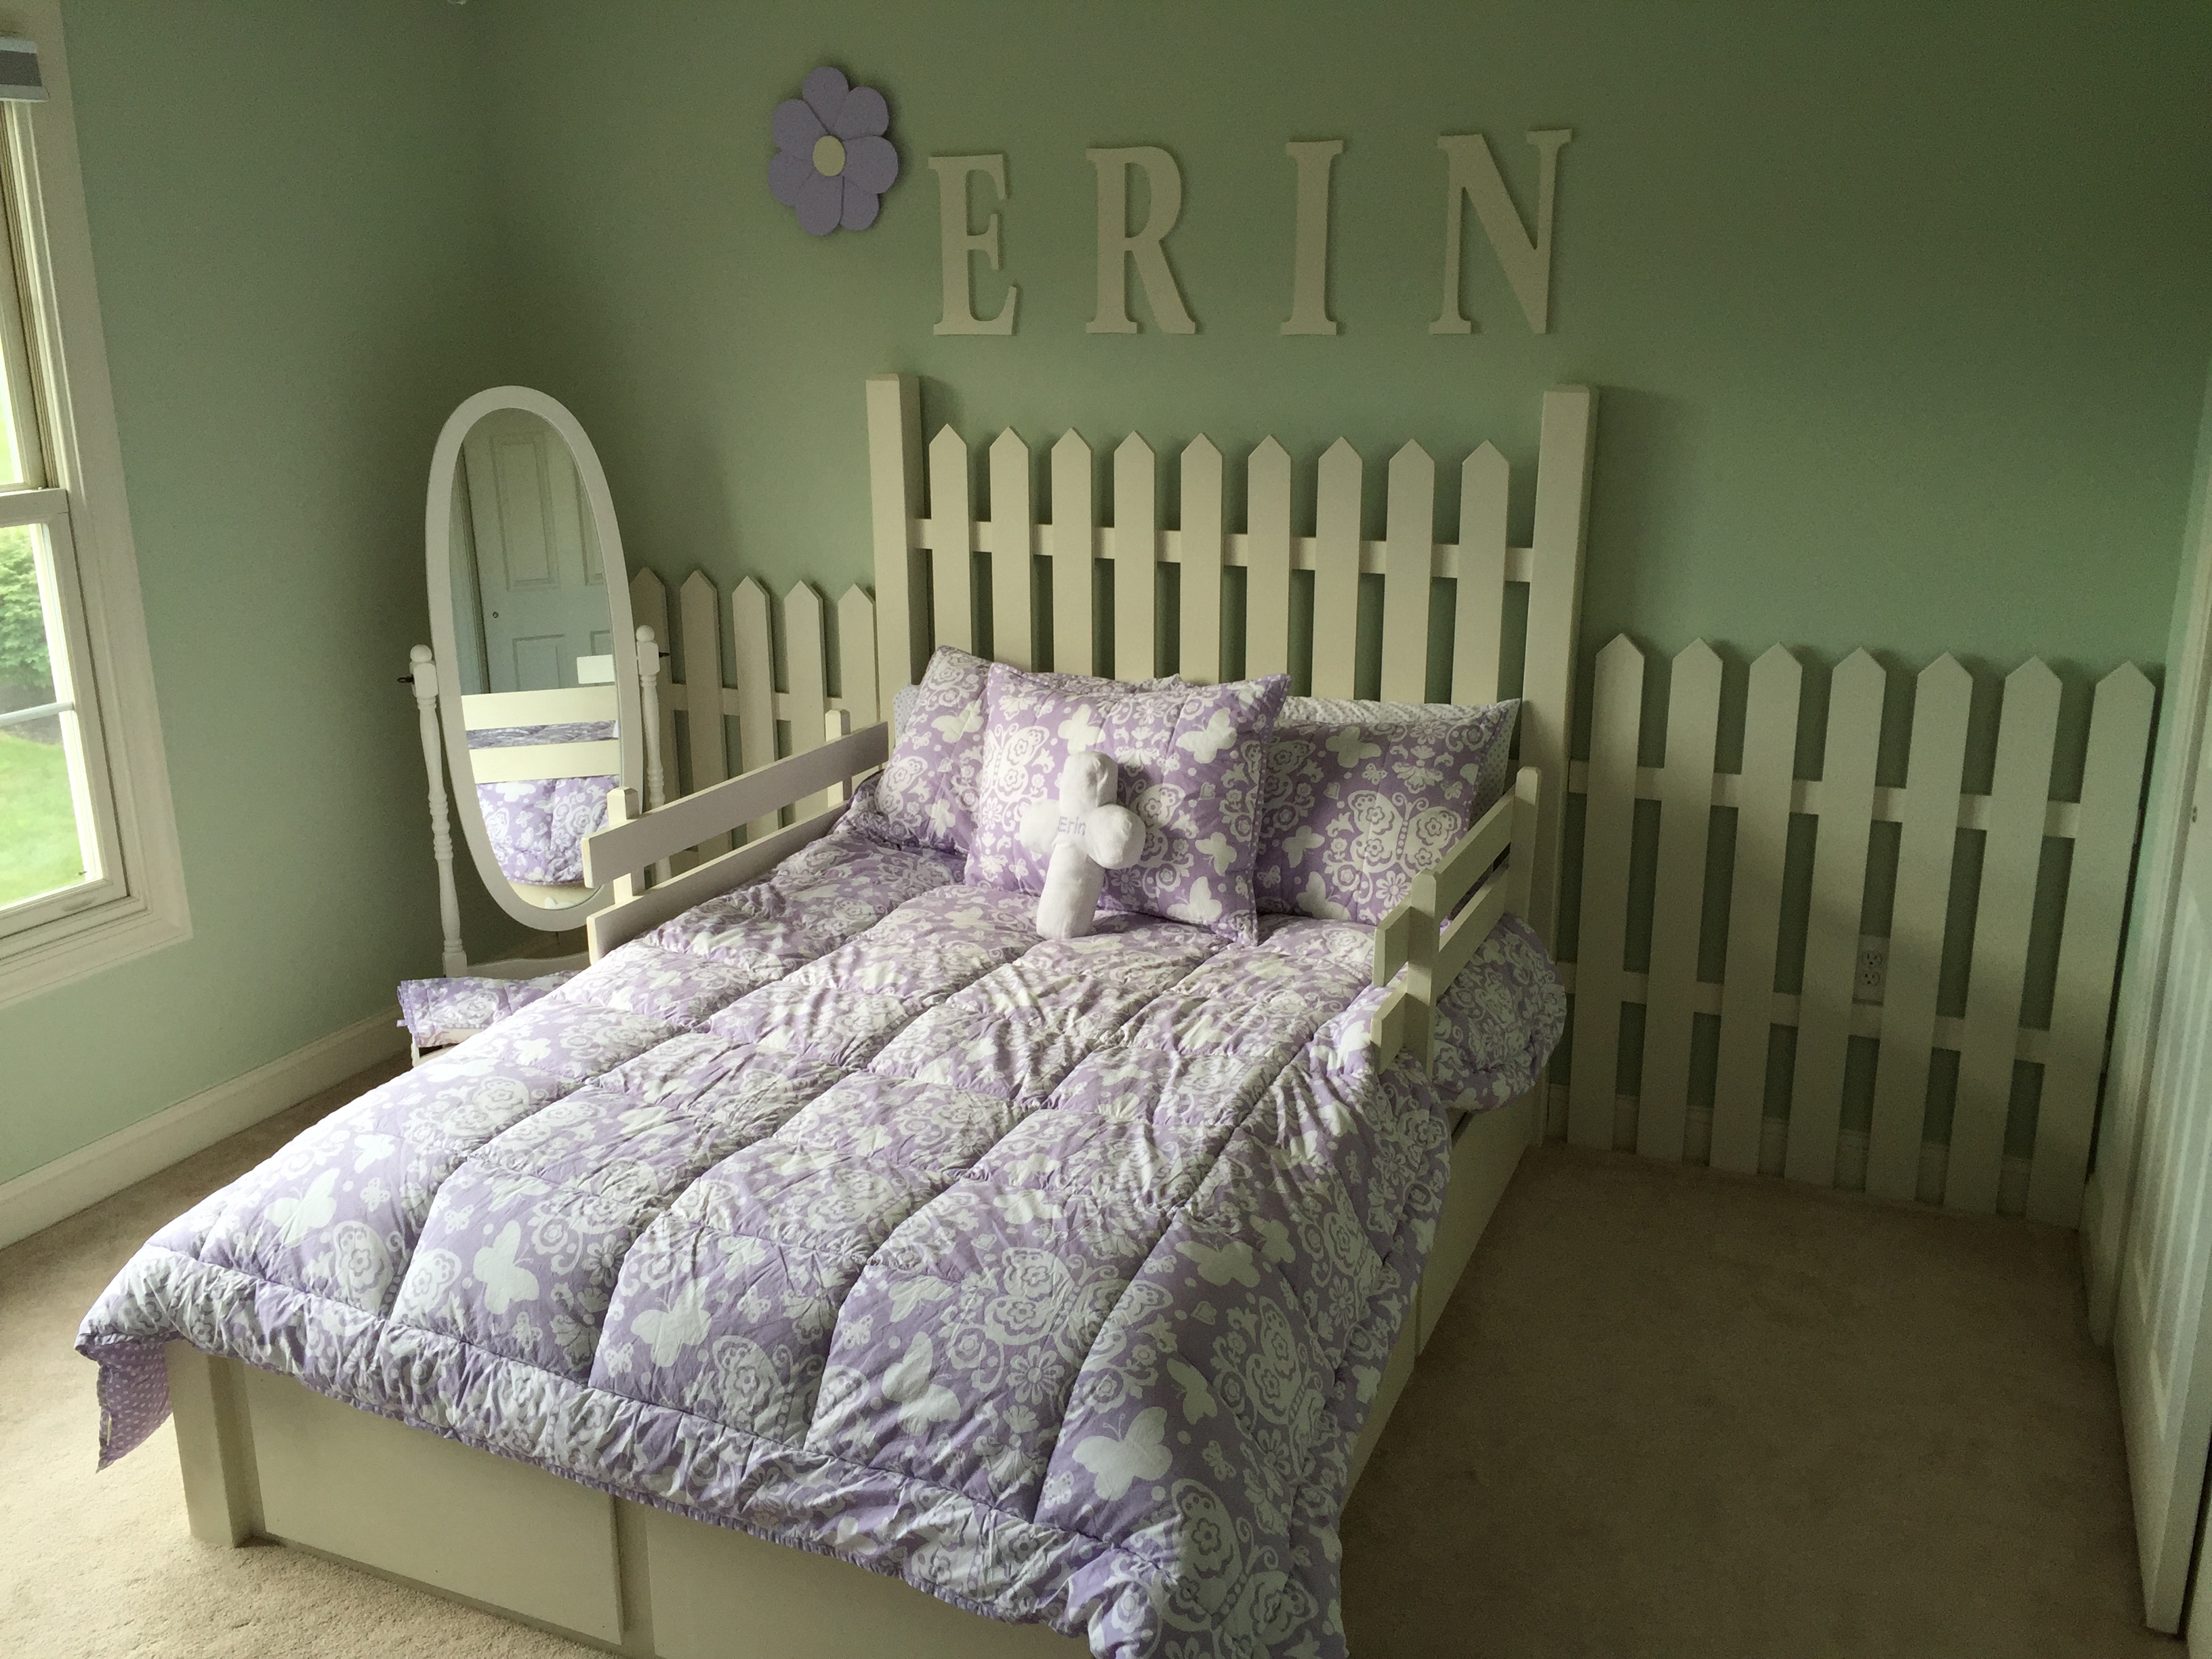
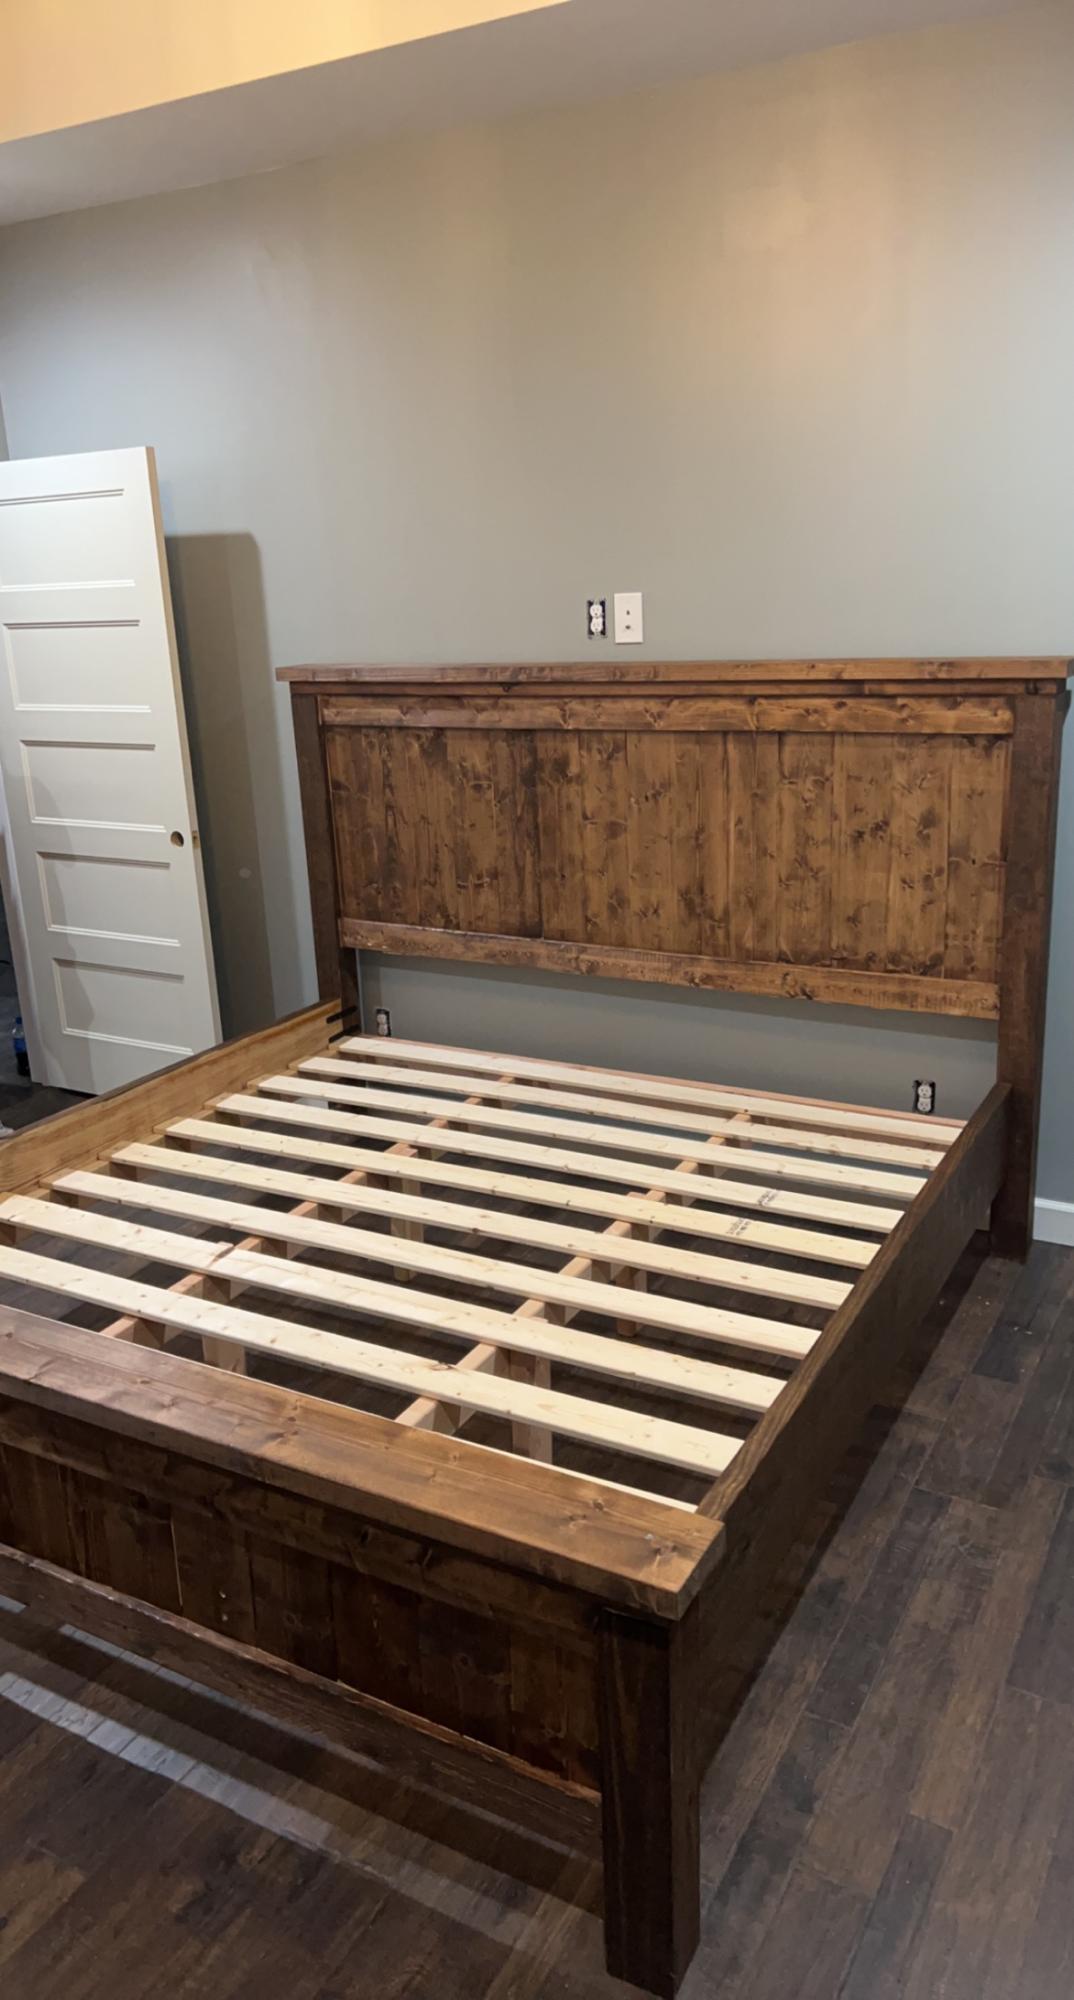
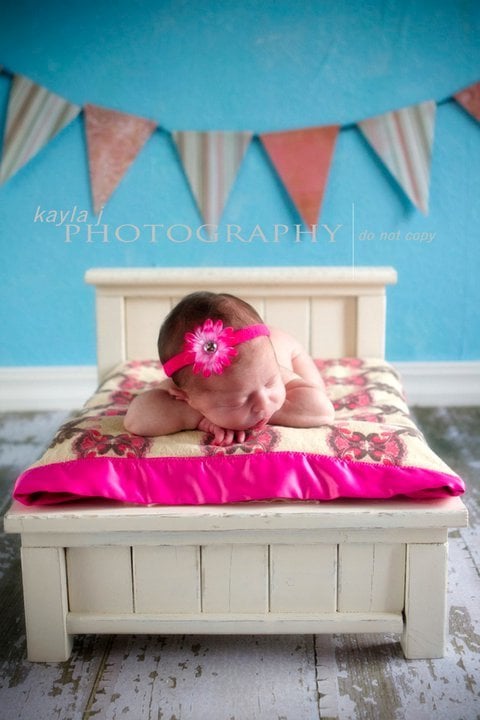
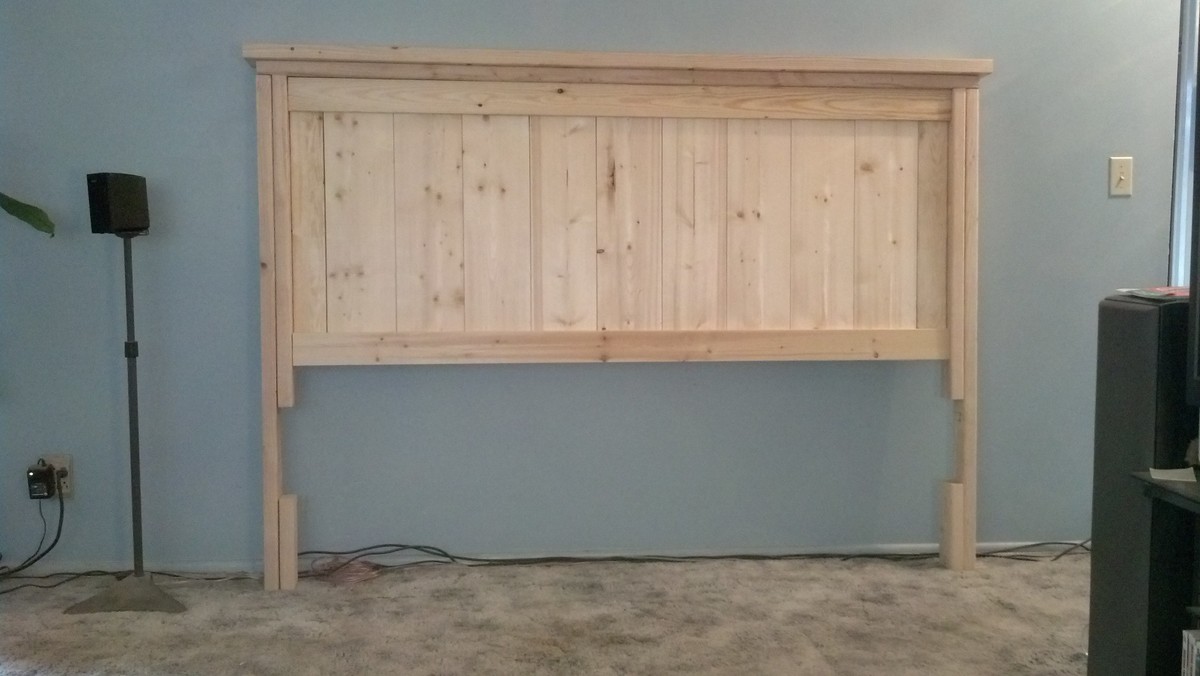
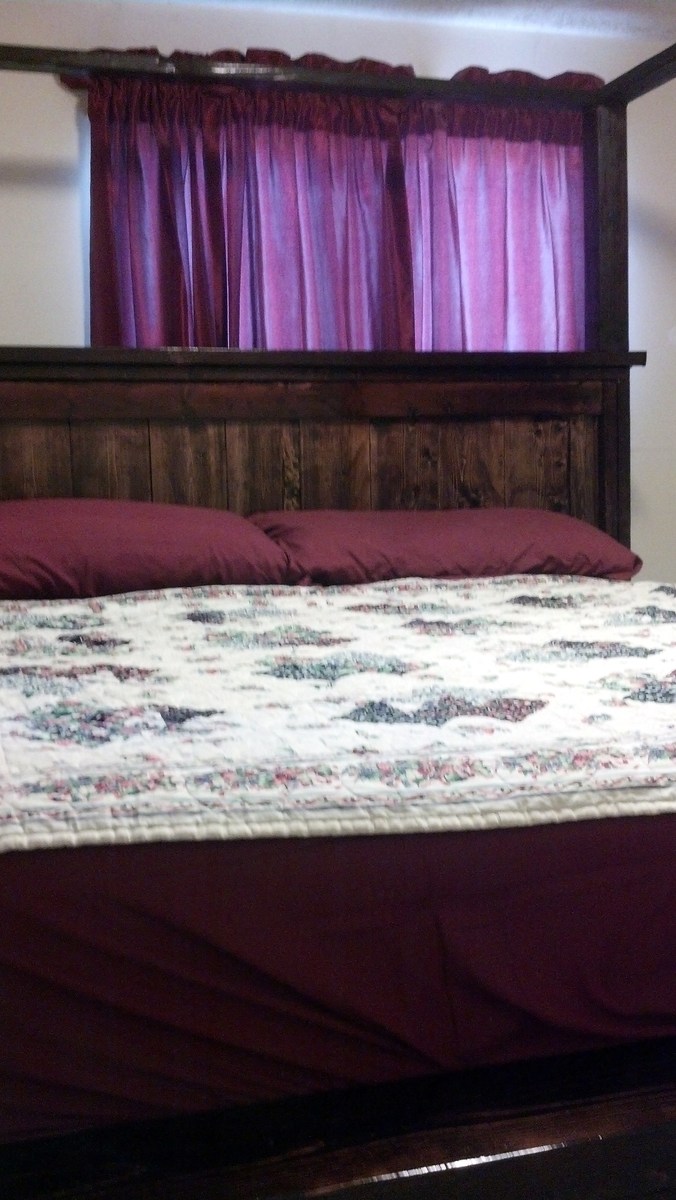
My California King Dream Bed
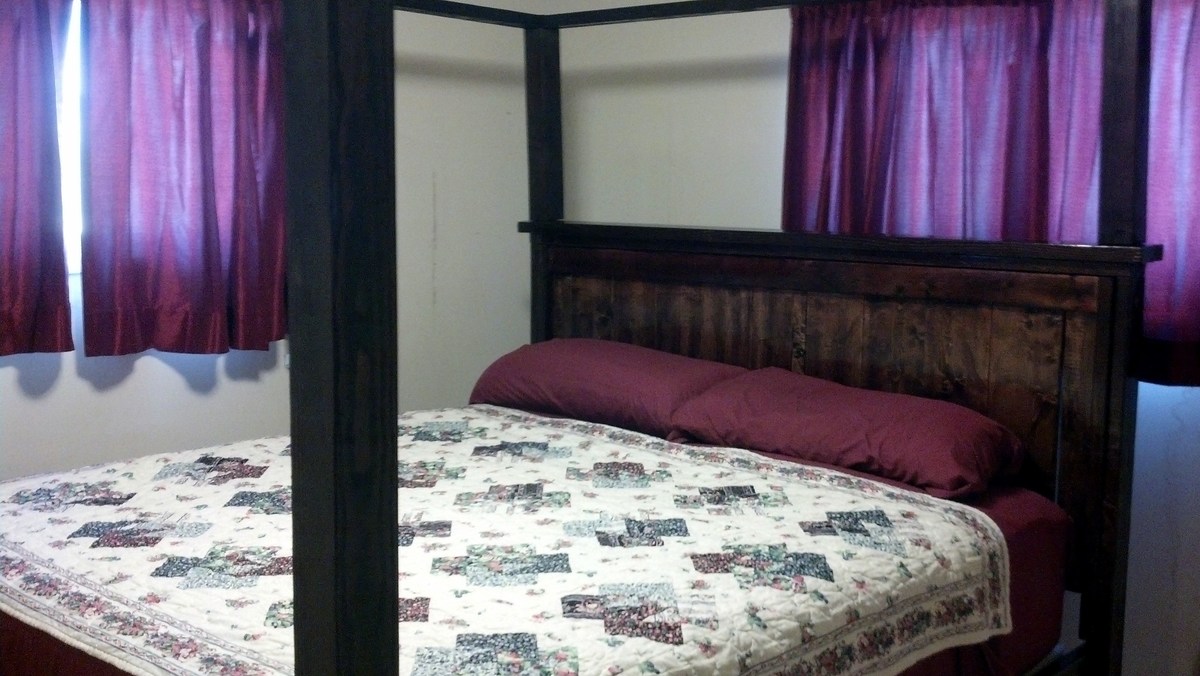
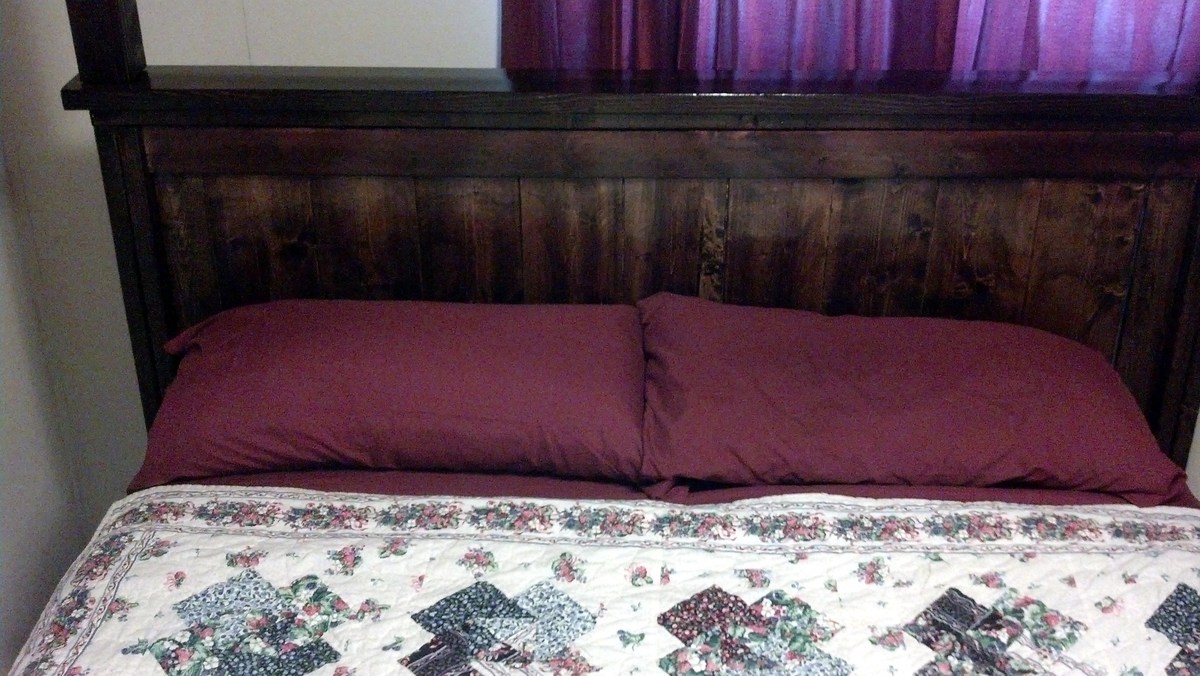
I've always wanted a Cali King bed, but balked at the one to six thousand dollar price tag for the showroom models. This one is an excellent, straight-forward build with little modification needed from the plans given. The lumber yard staff was great at selecting high quality stock once they knew to what end what the pieces were going to be used, so utilize their expertise. Tolerances are fairly tight on this bed, so measure carefully, and more than once. With the addition of the four posts and canopy frame (also provided on www.Ana-White.com ), and a Stearns and Foster luxury plush mattress from Costco, I've more than got my money's worth. Indeed, so will my children. it's heirloom quality.

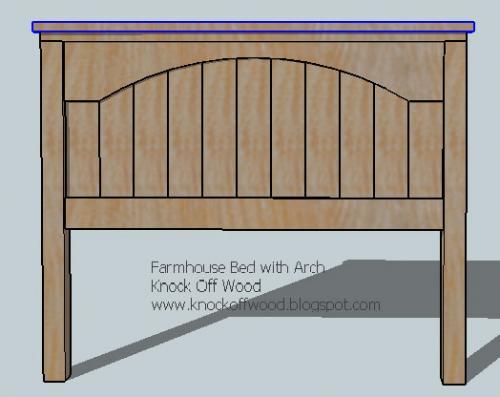
Built from Plan(s)
Estimated Cost
$250.00
Estimated Time Investment
Weekend Project (10-20 Hours)
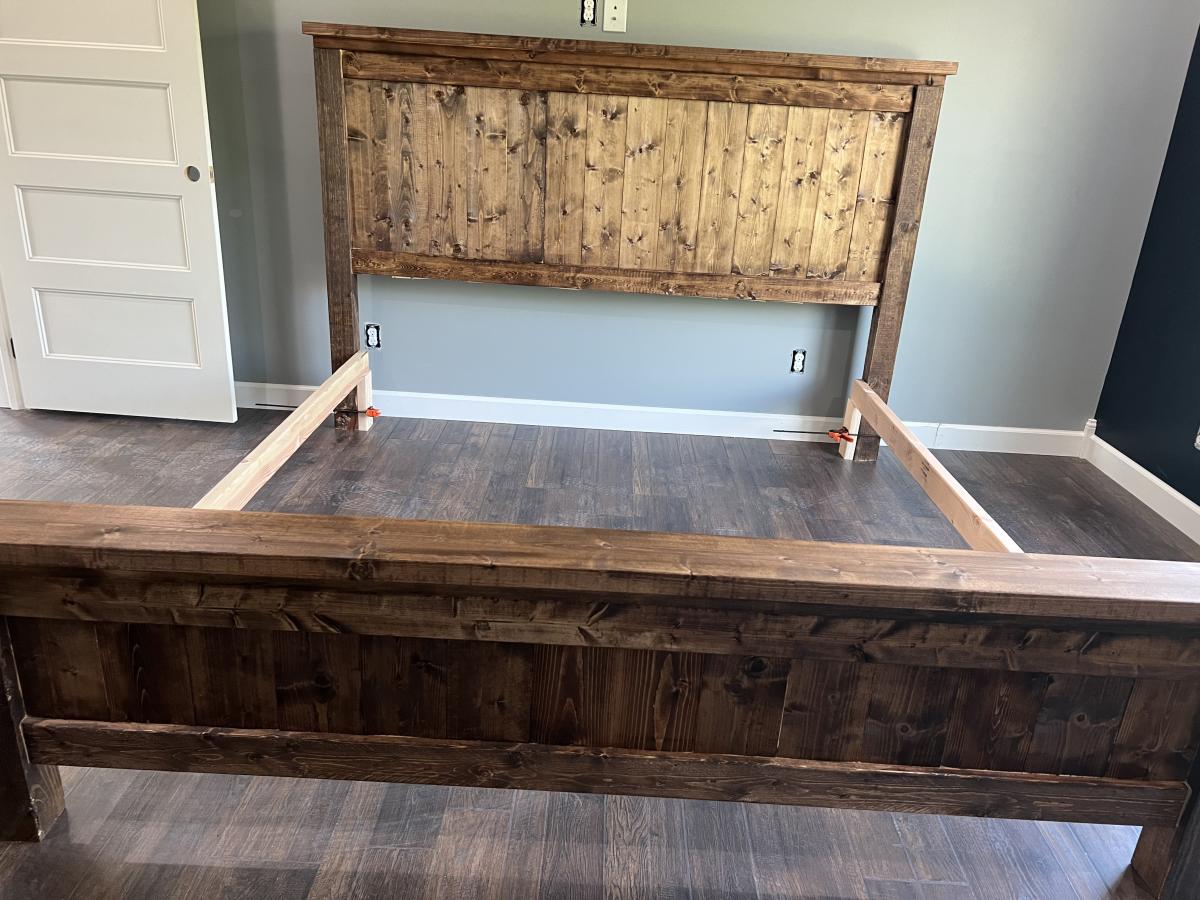
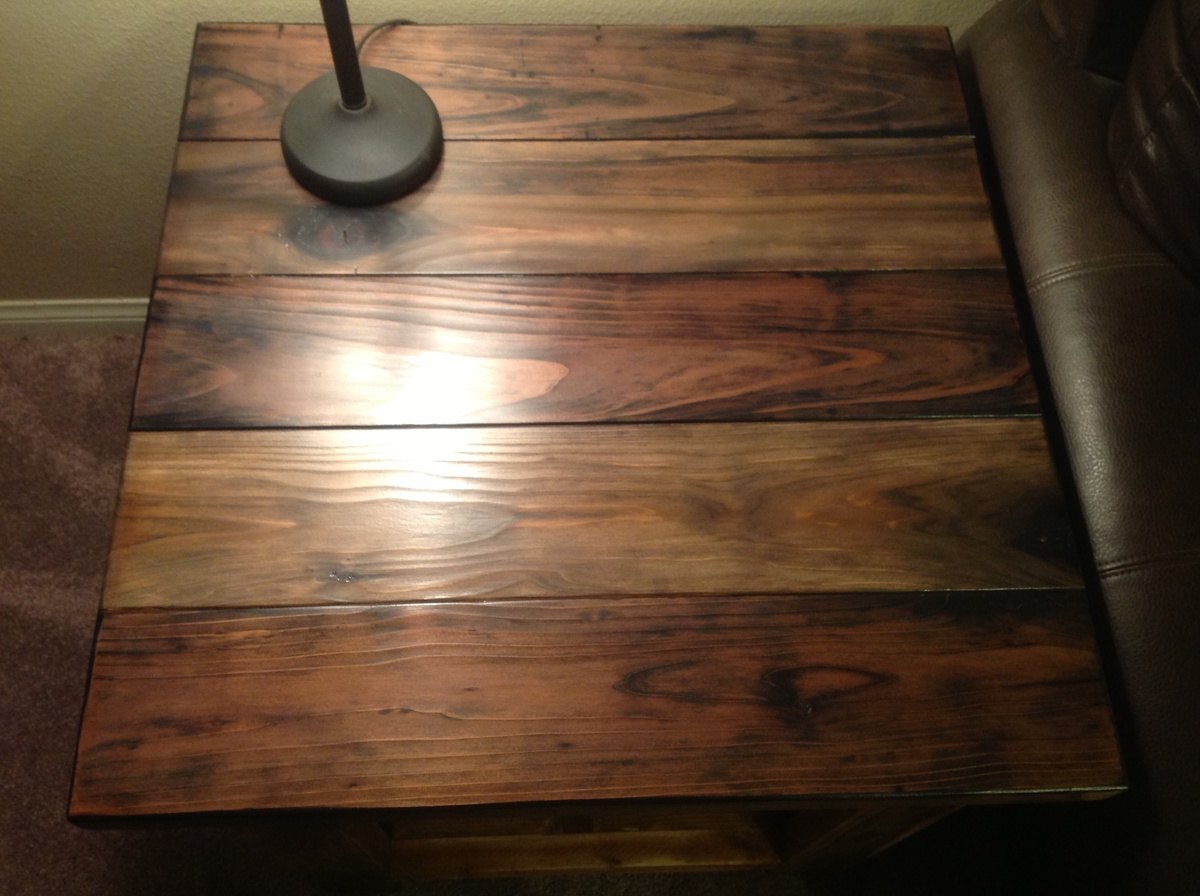
Finish Used
Minwax mahogany red was applied with a foam brush in consecutive coats, NOT wiped off (as doing so gave the wood the appearance of being a bit too distressed), and five coats of Polyurethane (two for the posts and canopy) were applied with a bristle brush.
Recommended Skill Level
Intermediate