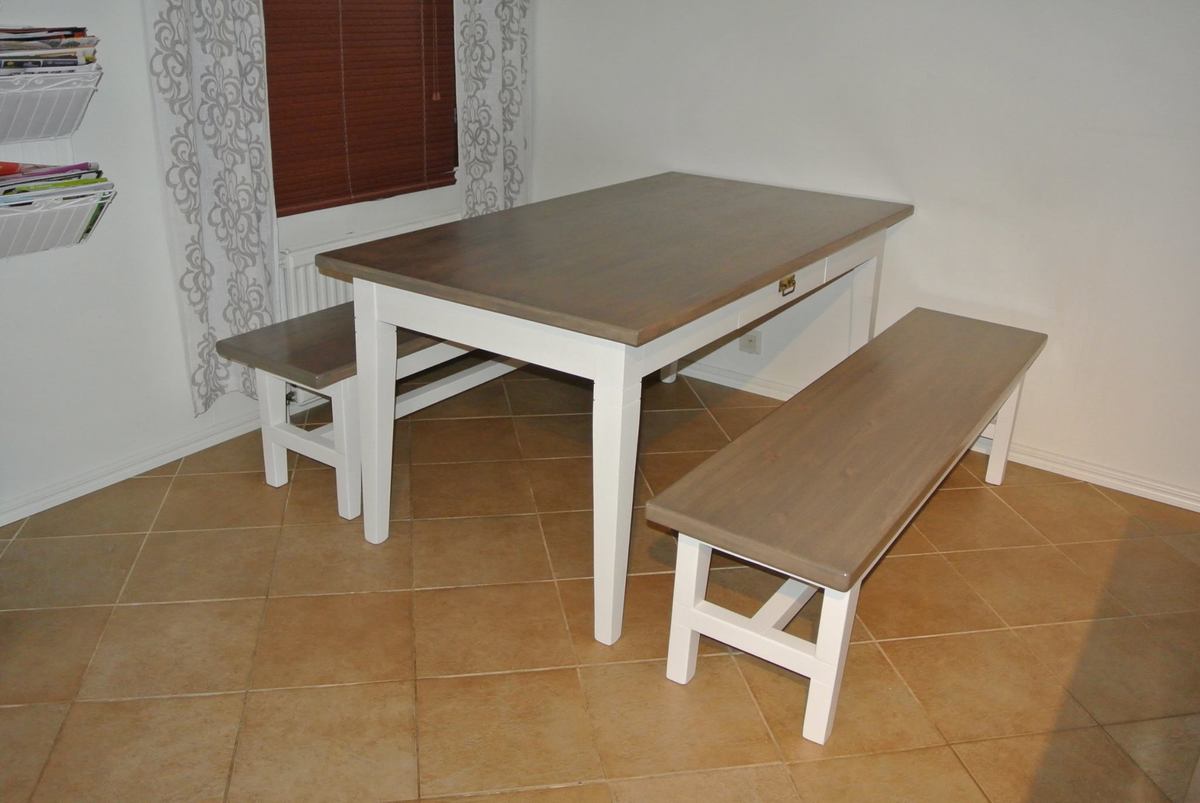
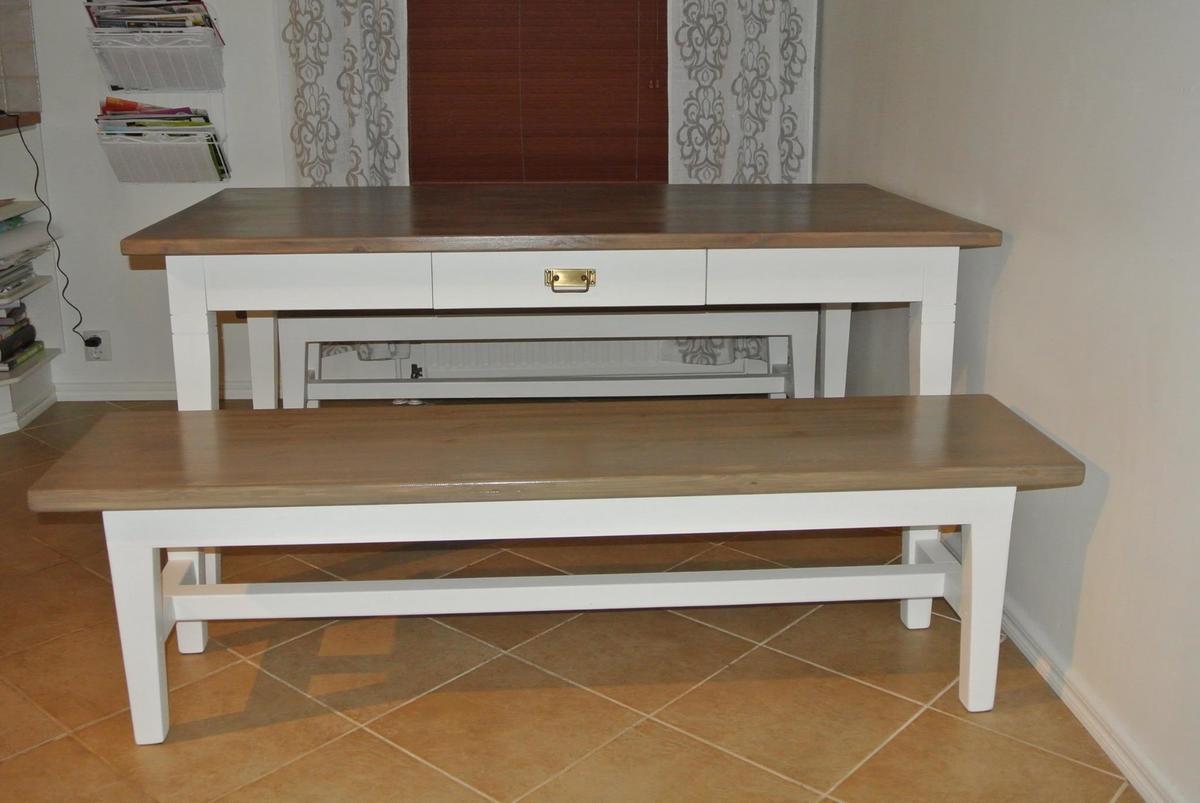
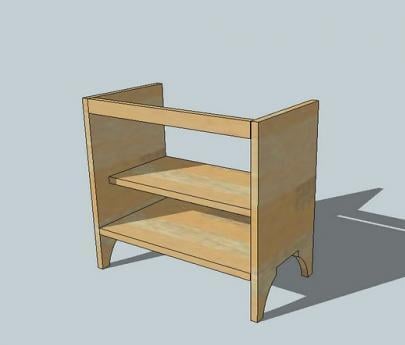
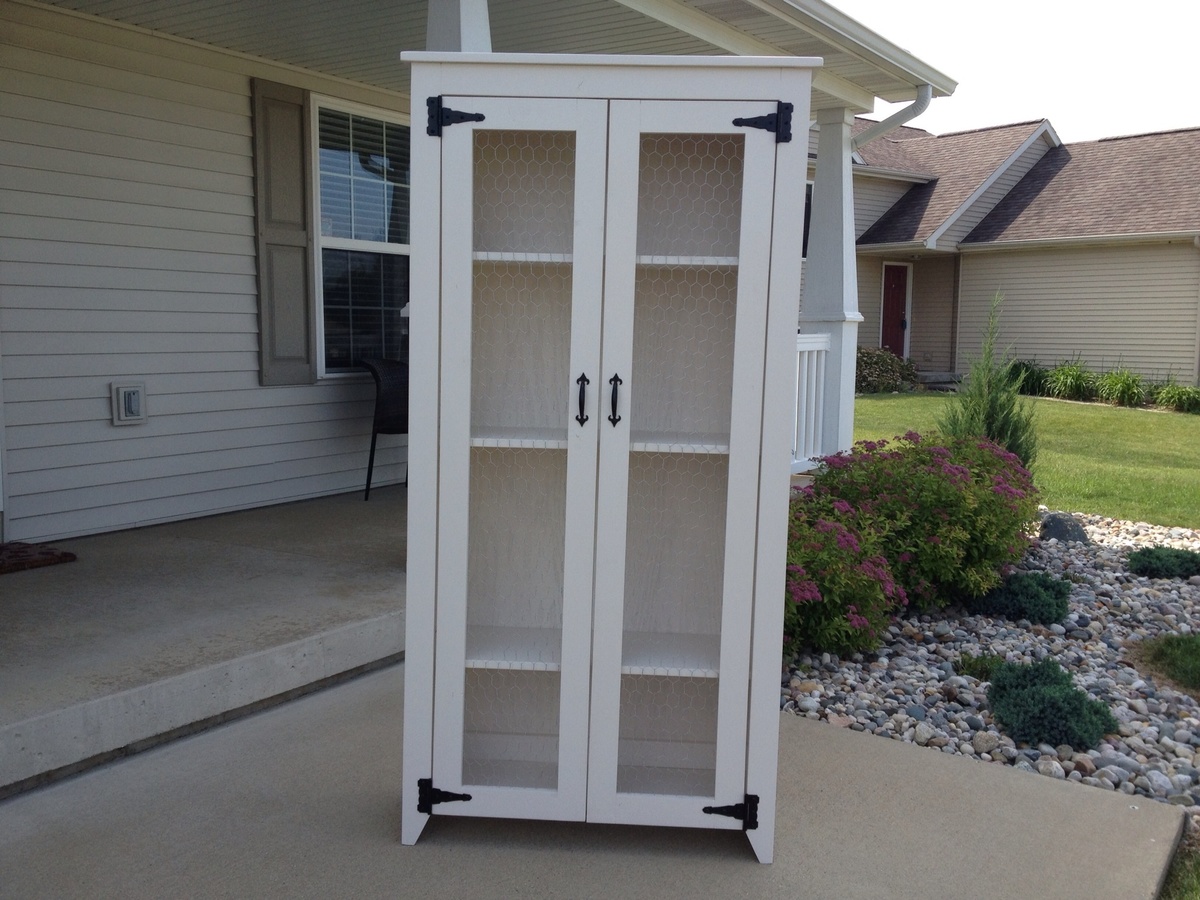
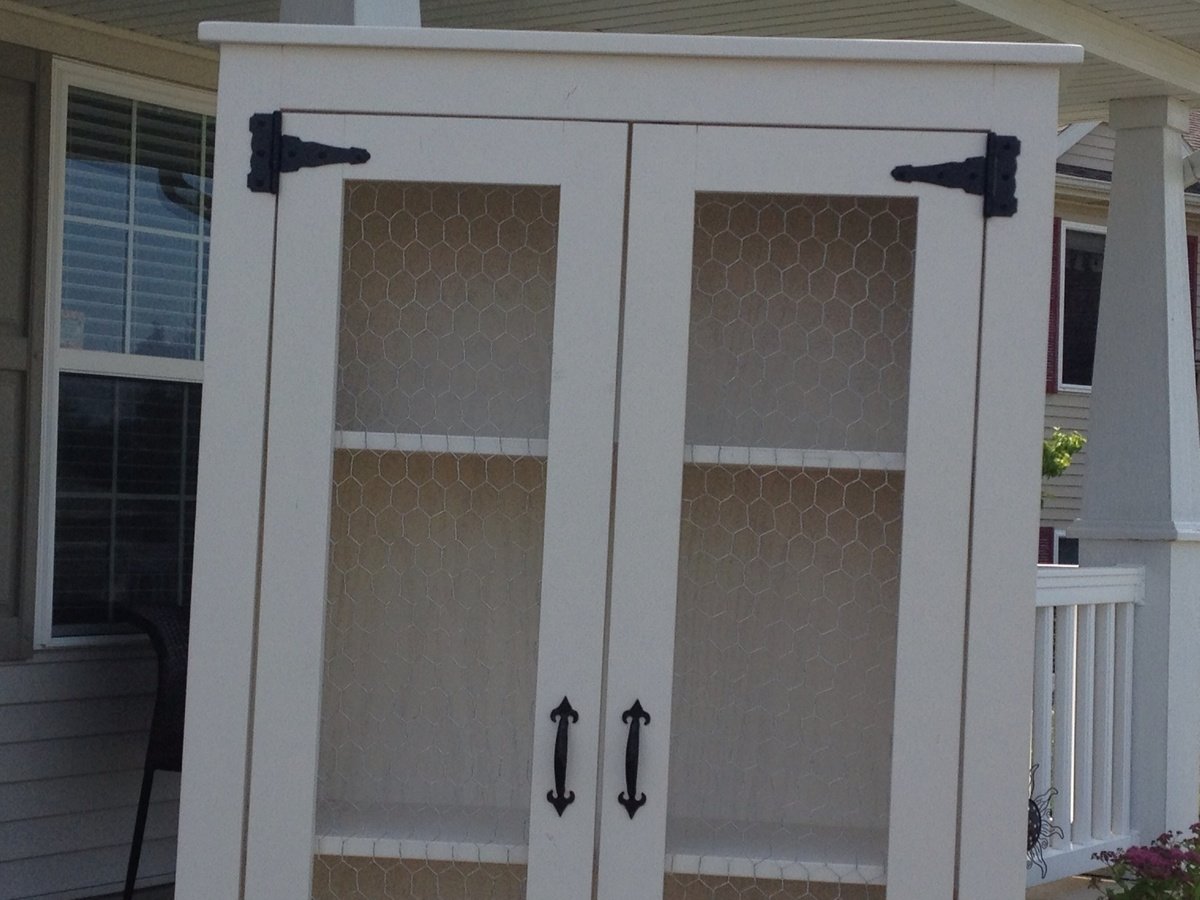
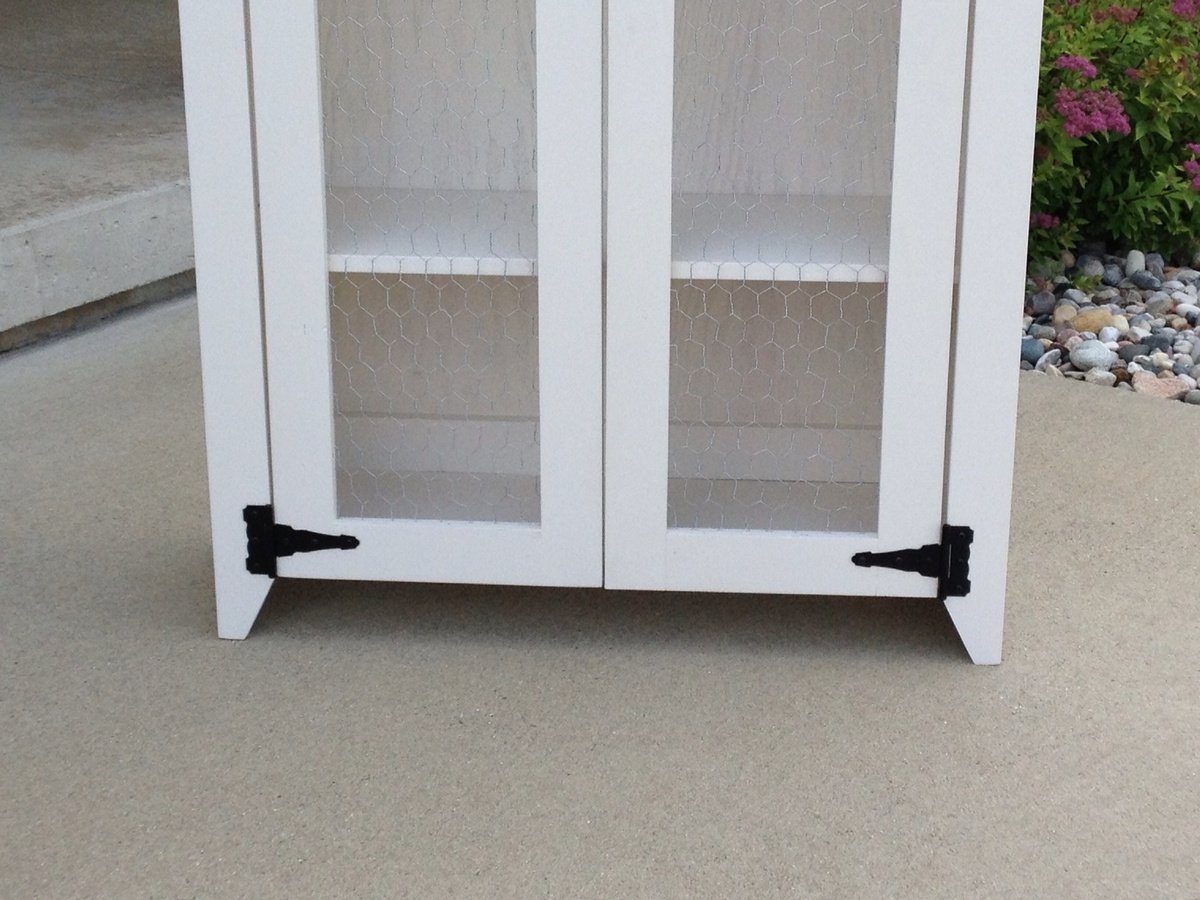
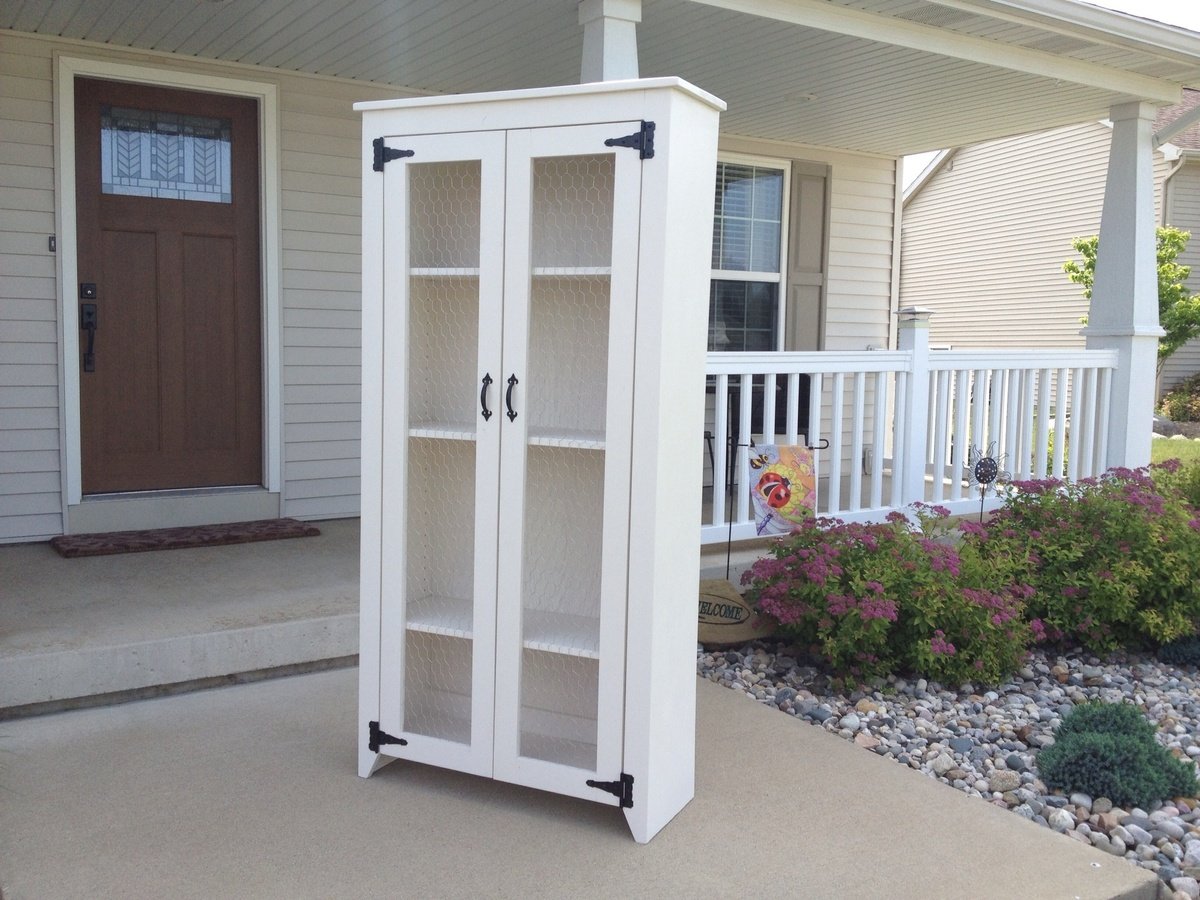
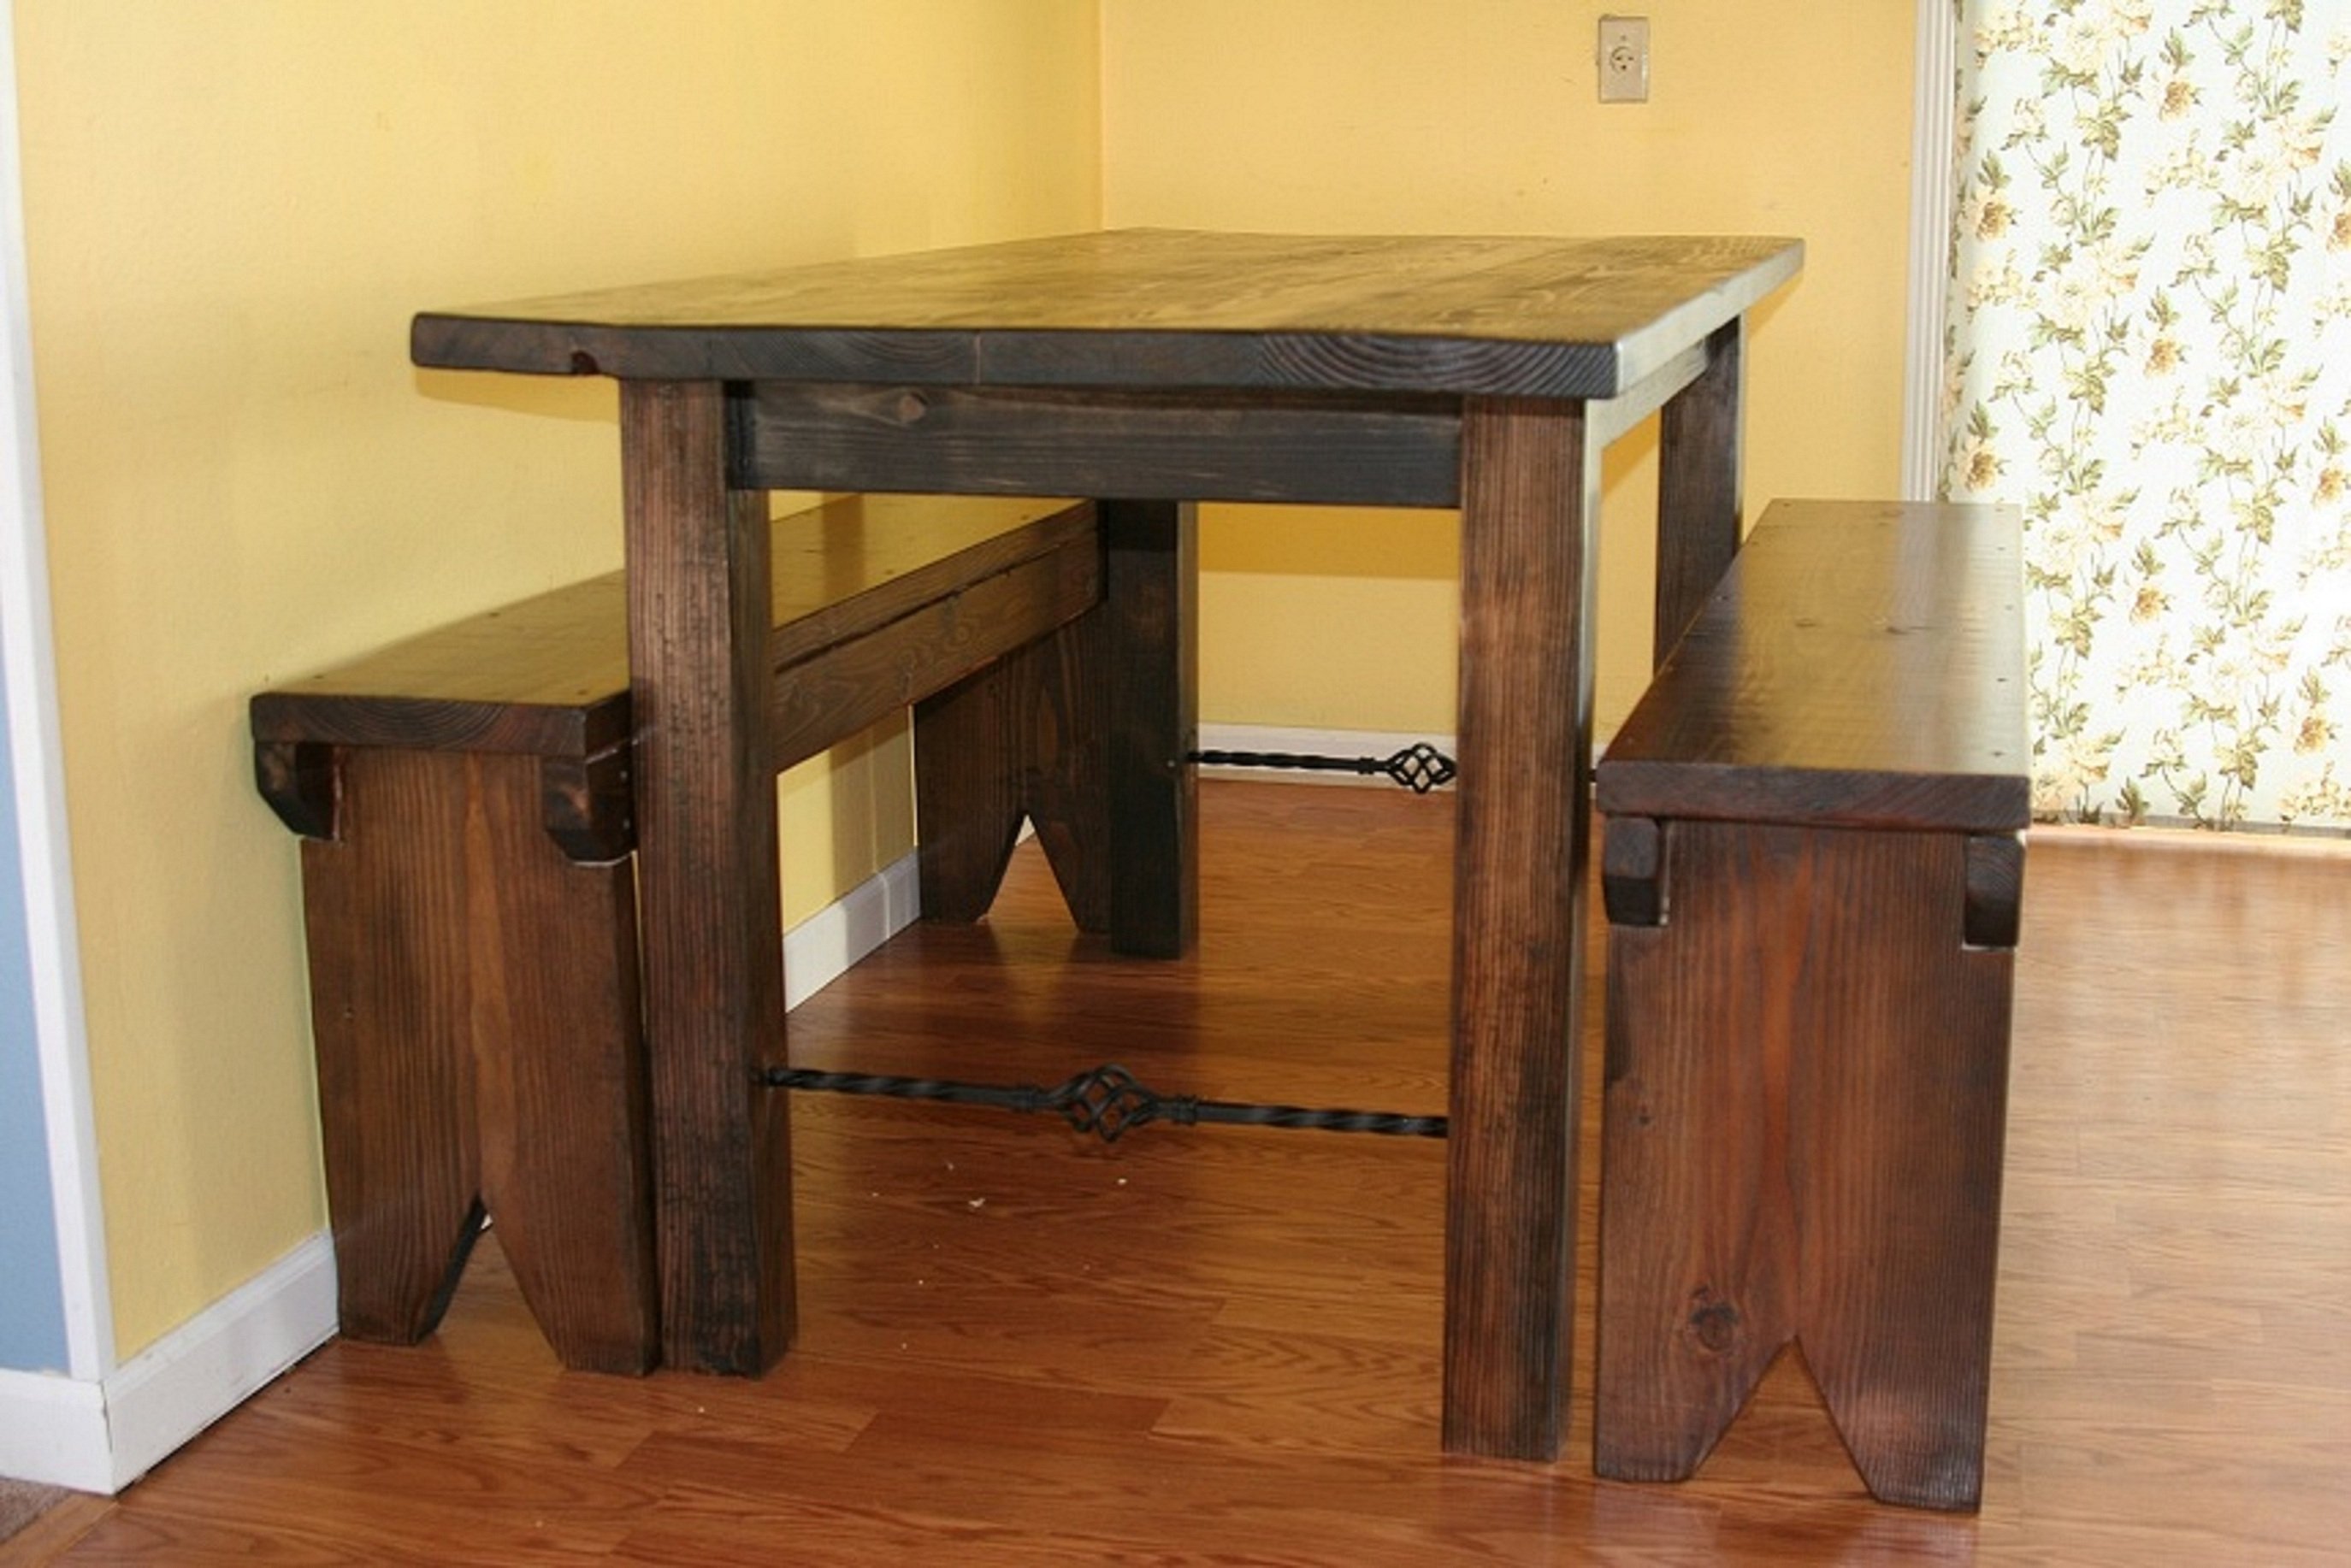
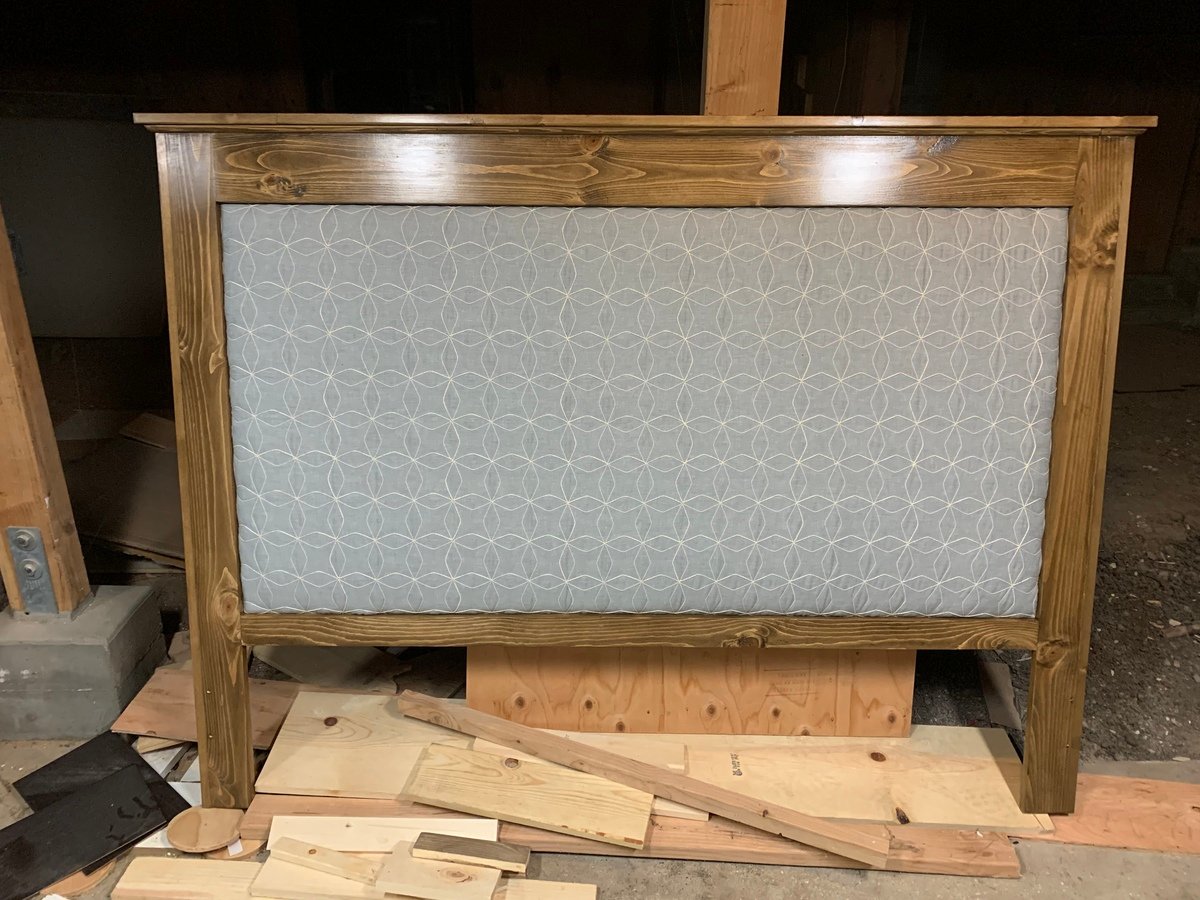
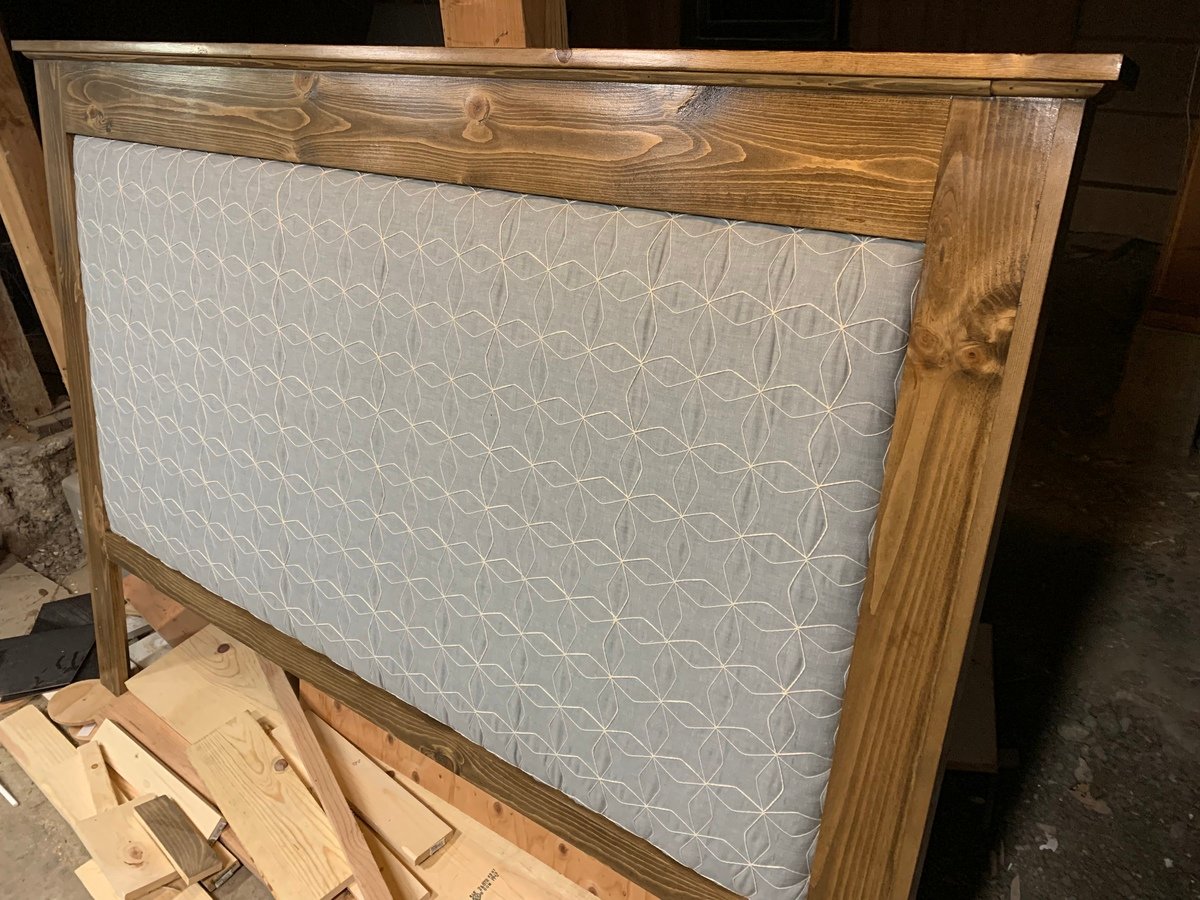
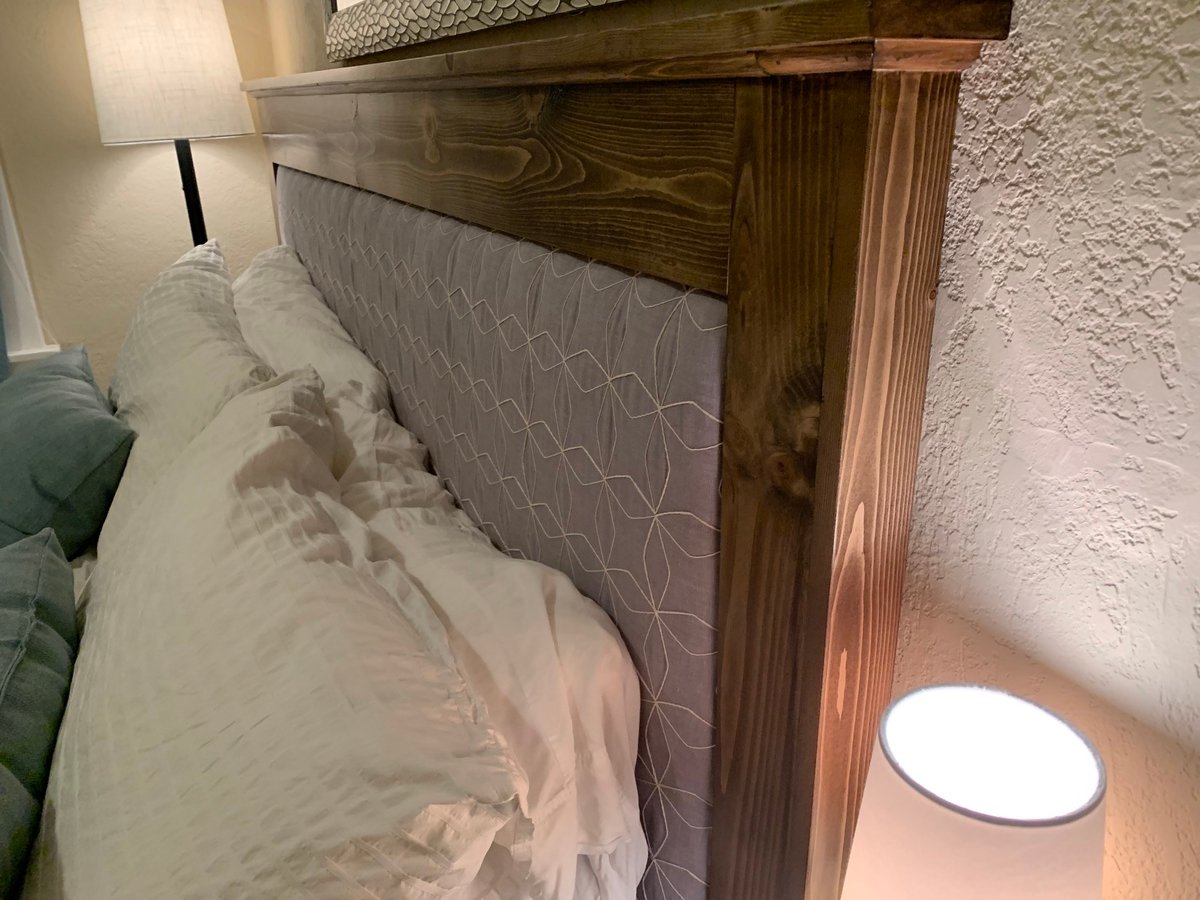
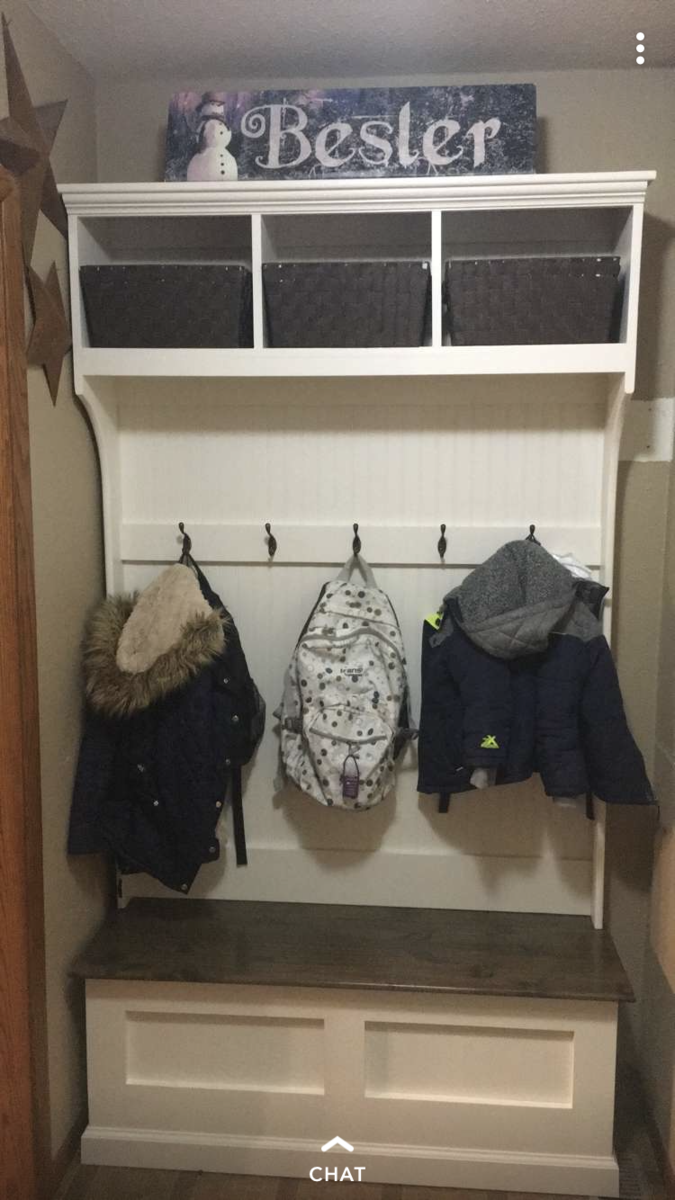
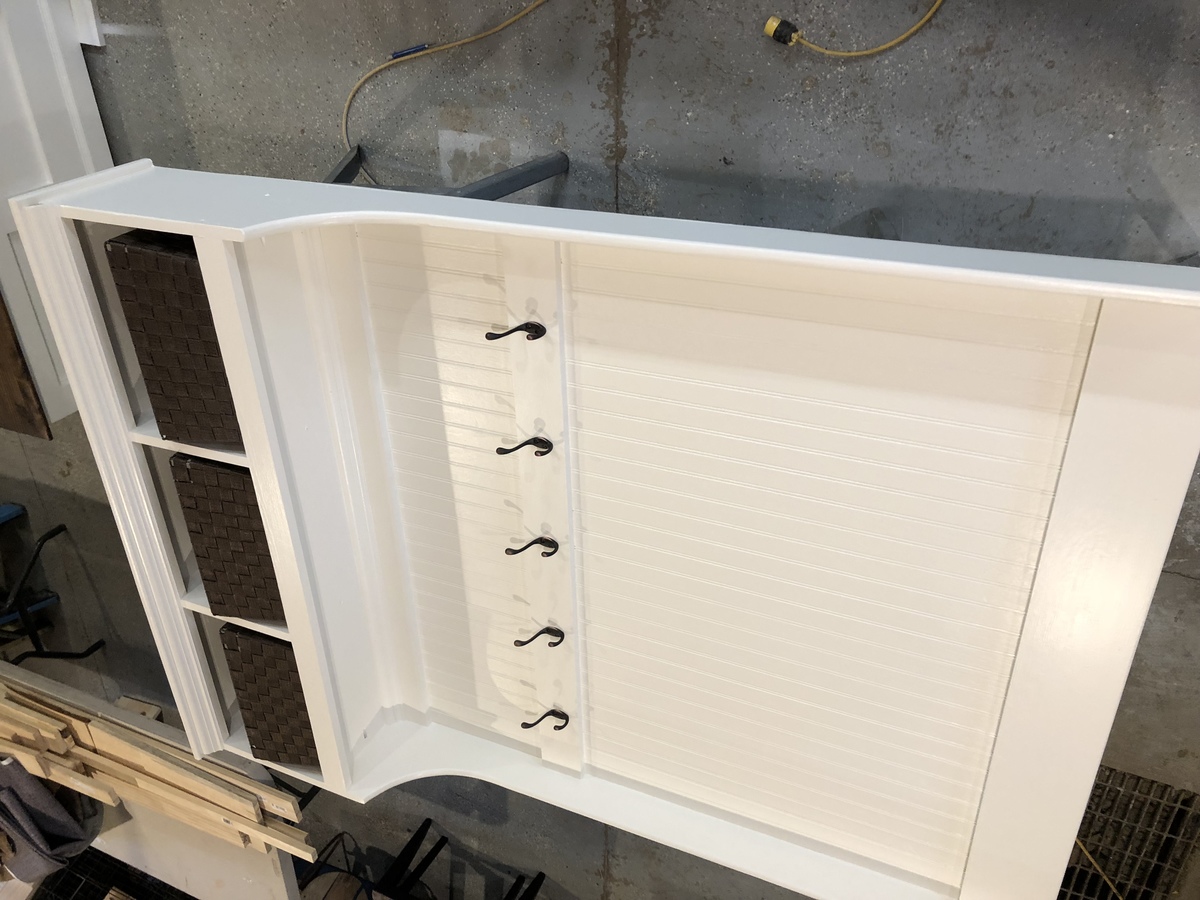
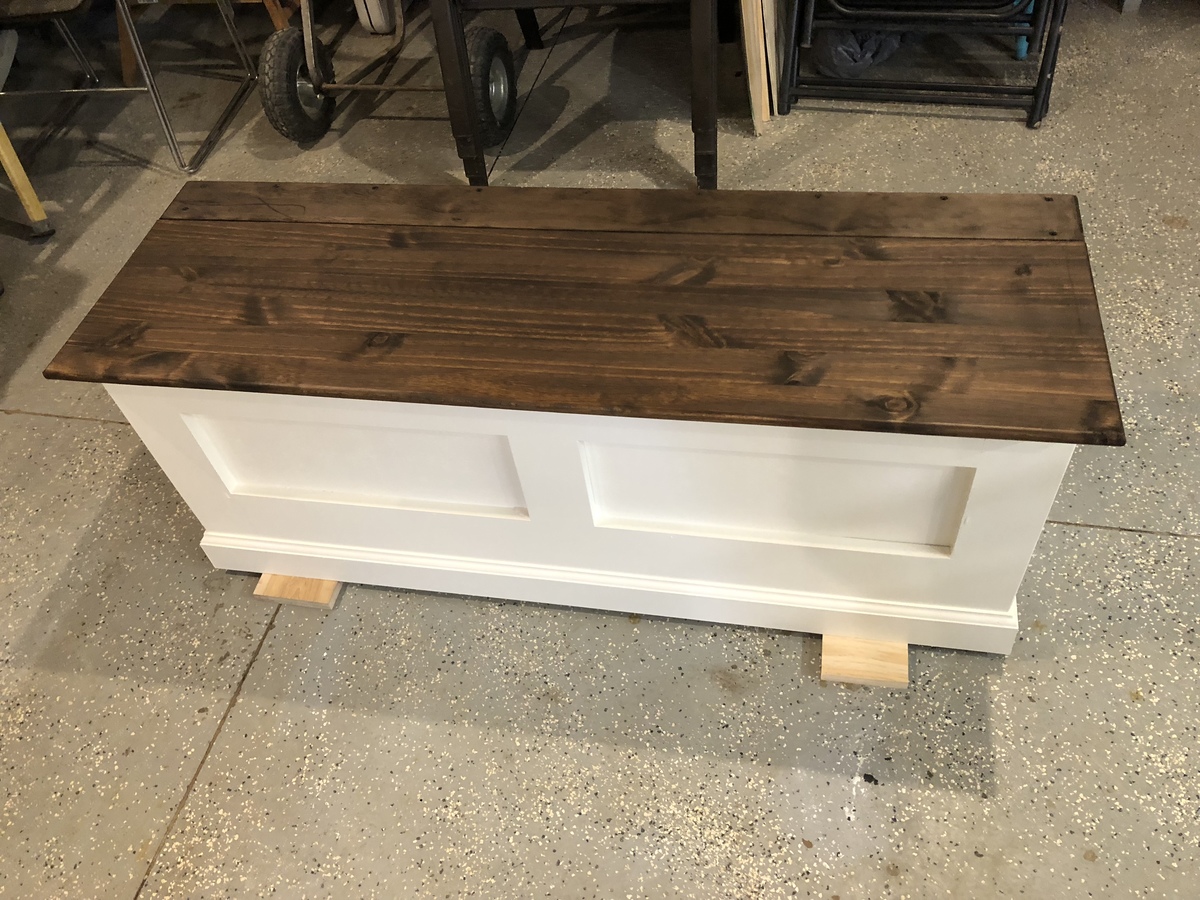
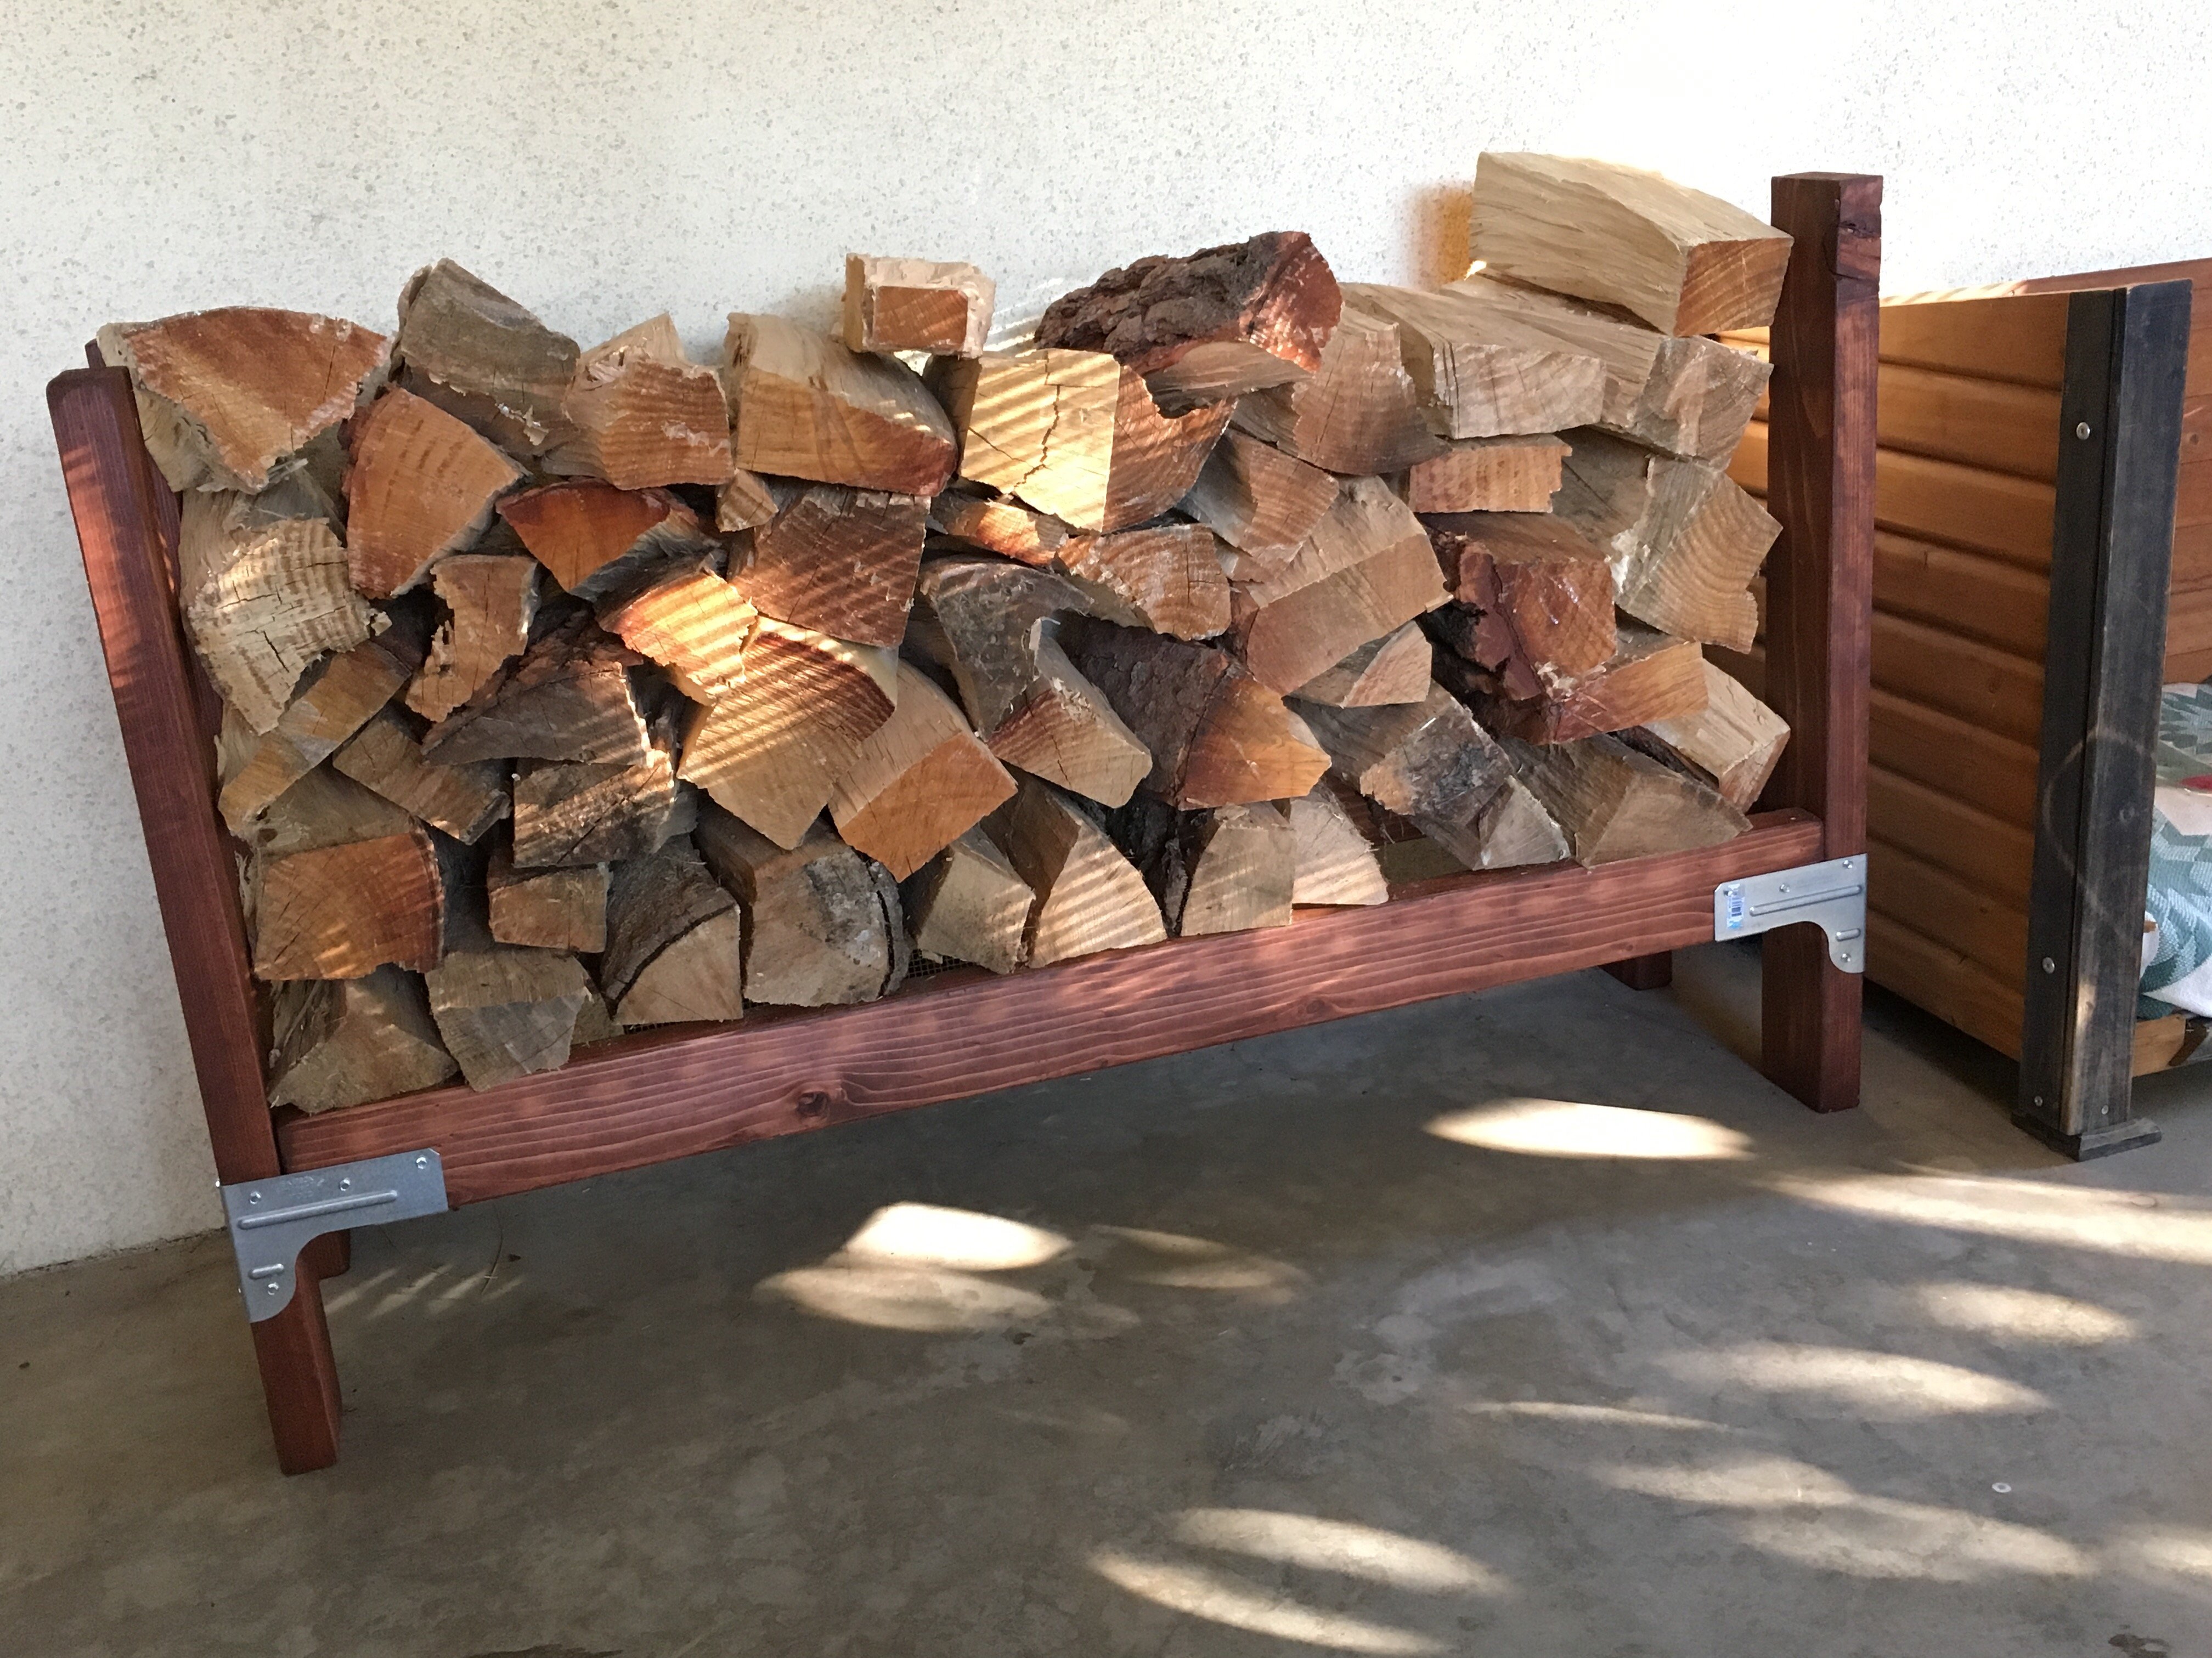
Spa Bench!
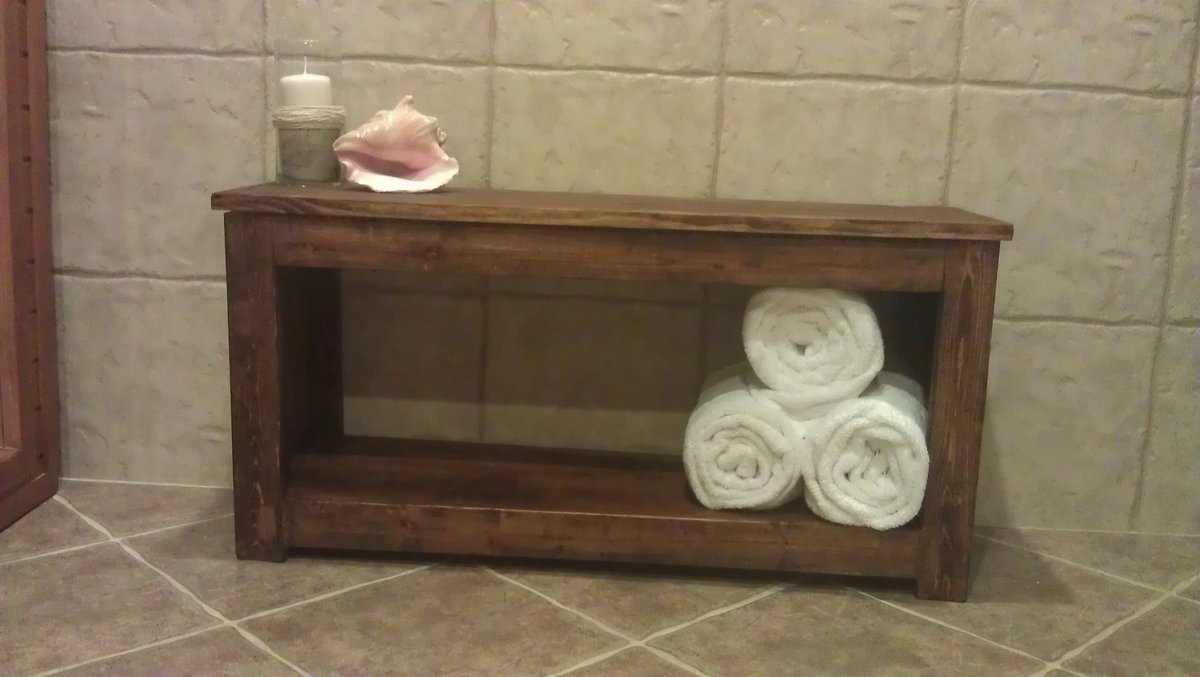
I took this project on not sure how it would come out and I am very happy with the results!!
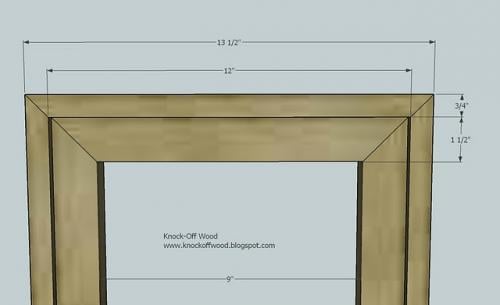
I wanted 3 shelves so I took apart the entire pallet (44 x 44) Sanded and spray painted two coats. Only advice is next time I will make sure the pallet is in better condition. Less time sanding. My 4 year old daughter loves her new reading area!
I've fixed up an old table and borrowed Ana's plans for farmhouse bench. I've modified them, and this is the outcome.
Love this table!
Sat, 01/05/2019 - 14:27
WOW! This is gorgeous! What a beautiful setting! Thank you for building and sharing!
We had an old heavy sleigh bed with headboard and footboard. It overwhelmed the room. We bought a basic metal bed frame. I made this headboard from Ana's plans, and my wife painted it. We really like this so much better.
11' Rustic Farm Table made out of 2" rough cut pine. Used a couple different plans from here and just kinda made it work to fit the space. Used a power sander to add some character and to smooth it out and wear it down in spots. Some of the wood wasn't as bluish gray, so I soaked steel wool in white vinegar and brushed it on, seemed to help a bit, especially on the fresh cuts.
Tue, 08/23/2011 - 05:21
Brings me back to my Grandparents house where our family filled the entire table! Great Job!
Mon, 10/31/2011 - 17:11
Absolutley stunning I am looking to make a farm house table to stay out side was going to use pressure treated lumber and pour a concrete top do u think this design will hold a 500 lb top?
Mon, 04/02/2012 - 06:26
we are in process of building our table and we want to keep the natural wood distressed look and we don't want the shiny lacquer look... how did you seal this table to protect from spills?
Wed, 06/13/2012 - 09:56
What did you use to secure the table-top boards to the base? I have some masonry nails that I have considered using but I'm worried that nails will not work as well in the long run since I plan on using my table outdoors. Do you remember what you used? How are they holding up?
Sat, 07/14/2012 - 06:05
I LOVE how you used the 2" rough cut pine! We need a 9 foot table for our huge banquet and this is perfect...the use of steel wool and vinegar is a great idea. You've inspired me, thanks!
Sun, 04/05/2015 - 19:45
Love this table!! Would love to have this big table for when all our family gets together.
This is my version of Patrick's jelly cupboard. I made some changes to he dimensions by making it taller and a bit wider.
Sun, 09/15/2013 - 17:57
Thank you very much I also forgot to add that the shelves are adjustable.
Wed, 06/11/2014 - 05:00
My husband and I built one of these last year and made it into a wine cabinet. My Mom wants us to build her one but she would like it to be a little bigger also. Do you mind me asking what you changed the measurements to? It looks like the perfect size for her. :)
Wed, 06/11/2014 - 12:23
I believe the measurements are 72" high by 35" wide by 12" deep. I built that last year and I sold it at a antique shop that I had a booth at. But to the best of my knowledge that was the measurements. Thanks for taking a look at it!!
Used scrap pine sitting around- a 1x10 and 1x3's. Most time consuming part was cutting out the hand holds. Wanted a rustic look, so I weathered the boards by first beating them with hammer, screwdriver and crowbar, then with tea and steel wool vinegar "stain" to age the boards. One coat of poly on top. Made the plugs with dowels, adds to the rustic look.
I enjoyed this build looking forward to making more.
For years I have wanted a dining room table with benches and after searching the net for plans for my husband to make it happen, I found Ana's site and knew that it was a possibility to build it and that it didn't have to be a project only for my husband. My husband built the table and my first build was the benches. My husband found a couple of wrought iron balusters that he used at supports on the table legs. We used 2 x instead of 1x which gave it a much bulkier look.
Tue, 09/20/2011 - 13:14
Nice job on the table. The stretchers are a great idea. The benches really get off the set.
Built according to plan, adding embellishment to cover decking seam. Painted with three coats of paint and a sprayed clear coat.
Customized for a California king.
This is our new dinning room table. We used the 4x4 truss beam table and refer to it as our farm to table table. It's made from red cedar that we harvested off of our land and milled into lumber. A natural stain with some clear coats and it turned out to be gorgeous. I wasn't a fan of the black base, at first, but think the finished table looks good. Pretty happy with my first table attempt.
Sun, 10/23/2022 - 10:40
You did an outstanding job, love the finish choice! Thanks for sharing.
Like so many others, I saw this and had to have one of my own. It was cute and quick - perfect! I had the same height issues that others had. The center supports are too tall for the 1x2 and 1x3 on the front. I wound up using all 1x3's, 2 on the front and 3 on the back. Because the cubbies came out a bit deeper, I thought I would try it as a utensil holder in the kitchen. Cute, huh.
Mon, 08/29/2011 - 11:01
What a great use for the cubbies! I never would have thought of that!
I needed a larger cage for our boa with easier access so that she would be handled more often.
All of this project came from scrapes and items I had laying around. 3 sets of handles, 4 sets of hinges and a torch. Too much fun.
4 recycled windows from a remodel project that I found on Craigslist ($10/each) and a half dozen 2x2's. All complete.
I really wish I was better at drawing, maybe I would make up a plan one of these days. Most of my projects are just improvised as I go along.
I was inspired by Anna Whites post, and went to work to alter the plan to fit the space in my daughters entryway. So final size is 48” wide and 80” high.
I built this super easy shelf for my earrings, necklaces and bracelets. I love that I can see what I have, before they were stored away in a drawer and not easily accessible for daily wear. I also enjoy that this was super inexpensive and easy to build! Planning to build another one for my daughters.
This was my first furniture project. I made this desk/vanity for my twin daughters' 9th birthday. I sized them to fit the space and added doors rather than drawers. I also made the stools using the plans for the upholstered bench - just resized. It was a fun project and I can't wait to start another! You can read more on my blog: http://karlakroese.blogspot.com/2011/08/new-hobby.html
Great project - fun to build and helpful for wheeling my new miter saw around the garage.
I made a few modifications from the original plan:
- I used a 1x4 instead of a 1x3 for the bottom supports to add a bit more of a lip to keep things from rolling off of the shelf. The shelf is big enough to hold my small pancake compressor and ciruclar saw.
- Like others, I added a drawer (1X4 front/sides, 1/4" plywood bottom, 2x2 drawer guides).
- Like others, I went with simple strap hinges and then used some wood to support the wings when open. When closed the supports tuck neatly under the wings.
- I added some 1/4" plywood to make a back. I left enough of a gap at the bottom to be able to sneak my extension cords out to a power strip I mounted on the back.
- I made a fence extension out of a 1x4. I attached this to the left wing using wing nuts and hanger bolts so it is easy to remove if I need to. I spent time measuring carefully to make sure it lined up exactly with the saw's fence. It is nice for supporting longer boards and keeping them straight.
Sun, 09/22/2013 - 05:27
I love the way this came out. I believe I have your exact saw and I intend to use Ana's plan as well. Do you know how long you made the sides to accommodate the saw fence, or what your measurement was on the saw fence?
Sun, 09/22/2013 - 06:54
I followed Ana's plan for the main carcass. My flip-up sides are a bit shorter than the plan, but only because I failed to follow the directions carefully and cut both of my sides from the same 24" strip of plywood (instead of a 36" and 30" per the directions) and was a bit short on 3/4" plywood. My sides are 24" long.
I made my fence extension from a 1x4. You can cut it to length so that it will fit any side.
Sun, 09/22/2013 - 17:49
What I meant to write was saw deck, not saw fence. Lol whoops.
Mon, 09/23/2013 - 06:12
The deck is 3 3/4" from the top of the sides. That makes it level with the extensions when they are flipped up.
I have a 12" hitachi saw (not sliding), so if your saw is not the same then the measurements might be different.
Found this on the website and had to build it. Turned out perfectly.