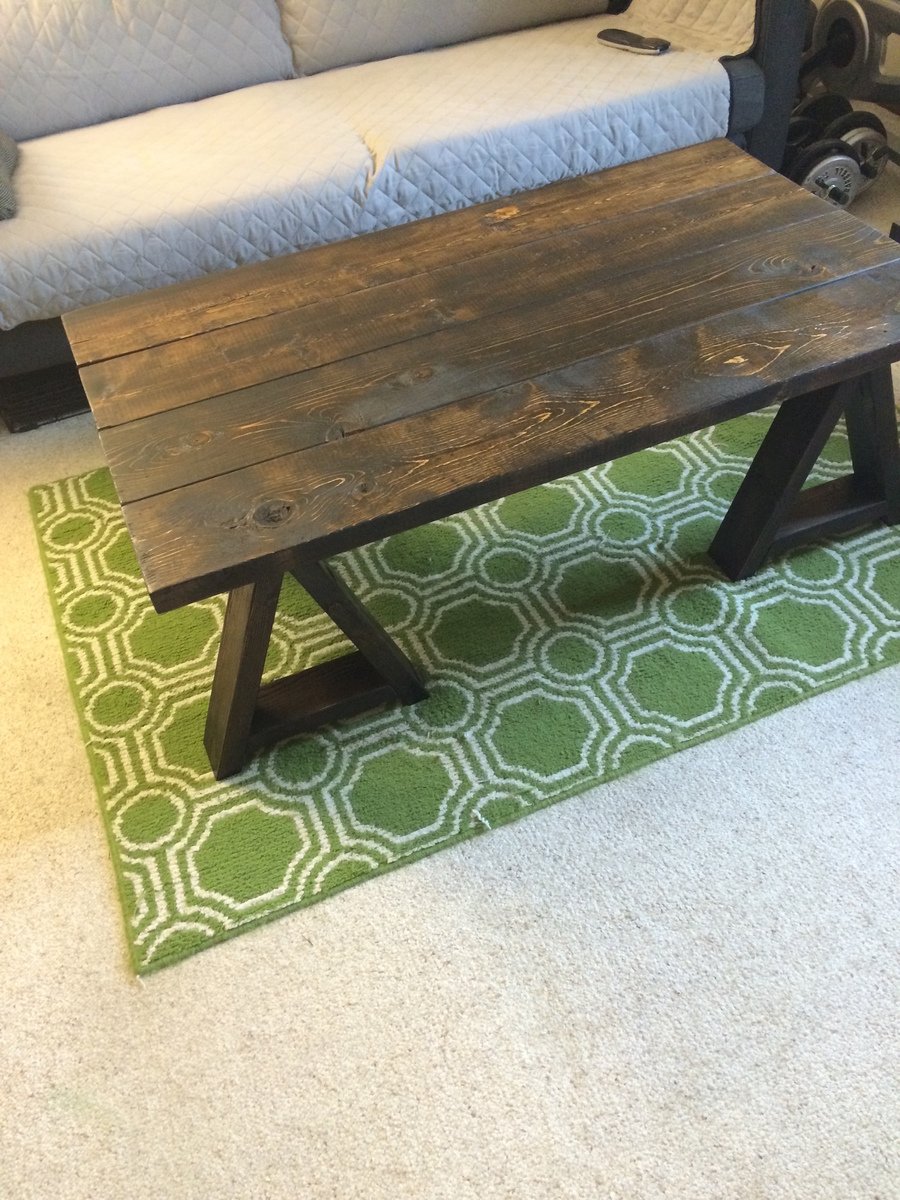
Farmhouse Coffee & Side Tables
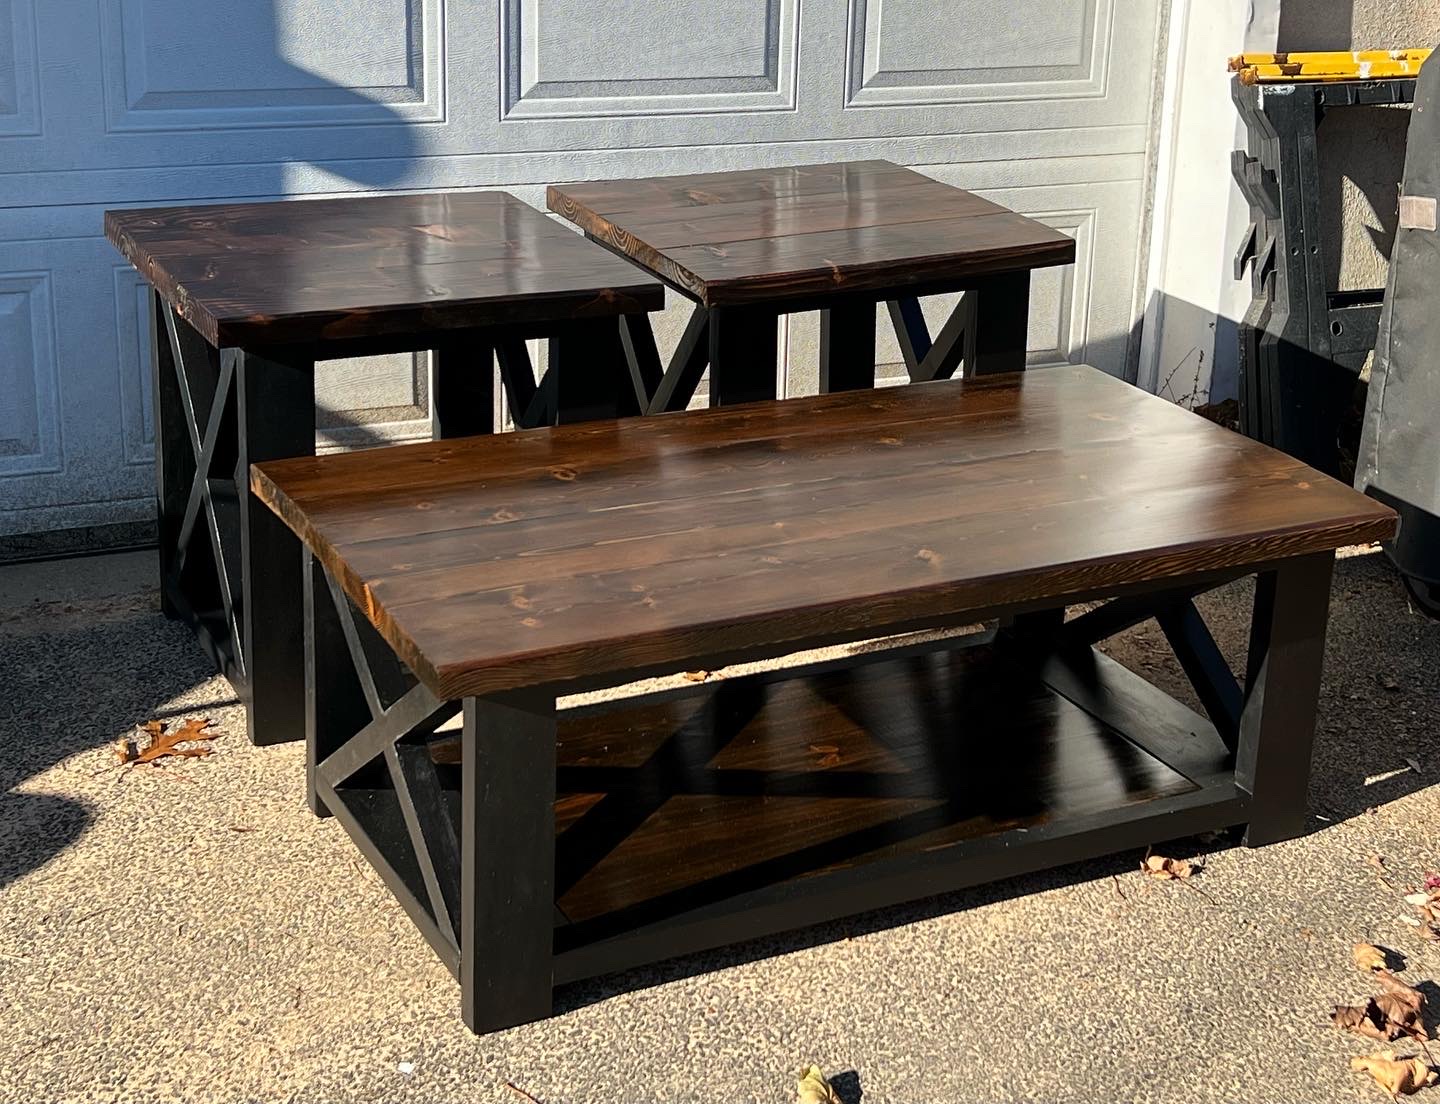
Milled all prices of wood from 2x8 Douglas Fir, Esresso Minwax stain, and Sherwin Williams Emerald Tricorn Black paint. Used mostly Kreg pocket hole screws and GRK #9 - 2 1/2” screws to secure the top to the base.
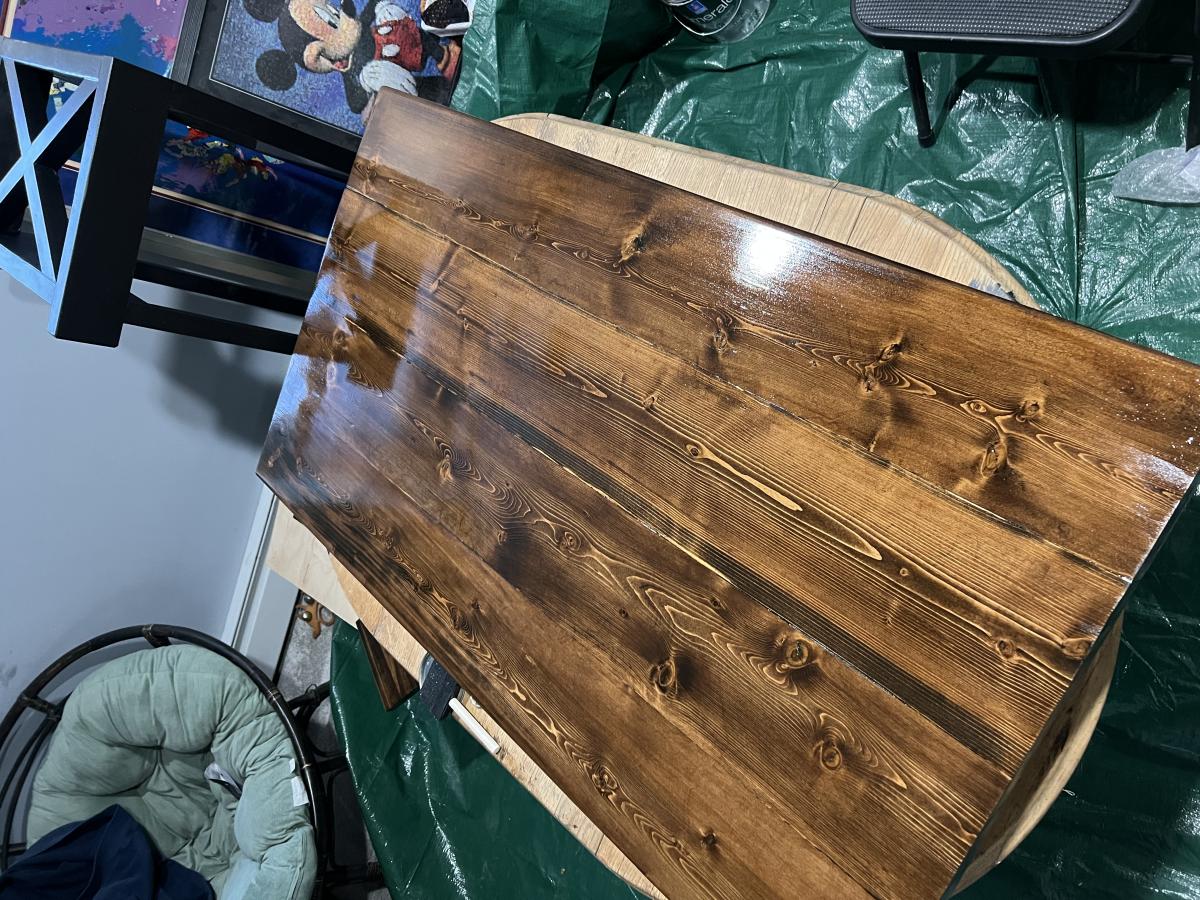

Milled all prices of wood from 2x8 Douglas Fir, Esresso Minwax stain, and Sherwin Williams Emerald Tricorn Black paint. Used mostly Kreg pocket hole screws and GRK #9 - 2 1/2” screws to secure the top to the base.

I used the Rustic Bench plans, but adjusted the length to make it smaller, since my plywood top was a bit wider and shorter than the top on the plan. It was the last remnant from our incredibly versatile plywood sheet. I also had to cut out the two cross supports, because 1) they’re too difficult for me to figure out (they’re not right in either of my benches) and 2) I didn’t feel like buying a board just for those. I had just the right amount of spare lumber lying around, and I was going to maximize it!
At first, I wanted to just build a bench for my sister for Christmas, and paint it like our island. But after visiting my parents over Thanksgiving and taking home some reclaimed tile from their old outdoor bar, I knew this bench had a better destiny than mere paint. When I laid down the tile scraps and they fit perfectly, I knew serendipity had spoken.
This was the first time I’d ever worked with tile. I did a little research (aka grilling my husband’s best friend, who is a tile guru), and discovered I didn’t really need any fancy materials to lay the tile down on. As it’s just a bench, and in no need for mold-prevention or cement board like bathroom walls, all I needed to do was rough up the plywood top with my grinder and a steel-wool like disk. With the bench already sanded and painted, I started the tiling process. I bought a bucket of tile adhesive and grout all-in-one, and went to town. I didn’t have a trowel, so I made do with my putty spatula. I just had to make the grooves in the adhesive one-by-one as opposed to one quick stroke. I spread the adhesive, laid the tiles, carefully washed off any overspread on the sides, and let it sit for 24 hours. Then I spread in the grout (it’s all the same stuff, just different application), washed the overspread off again, and let it sit for another 24 hours. Then I had a gorgeous top!
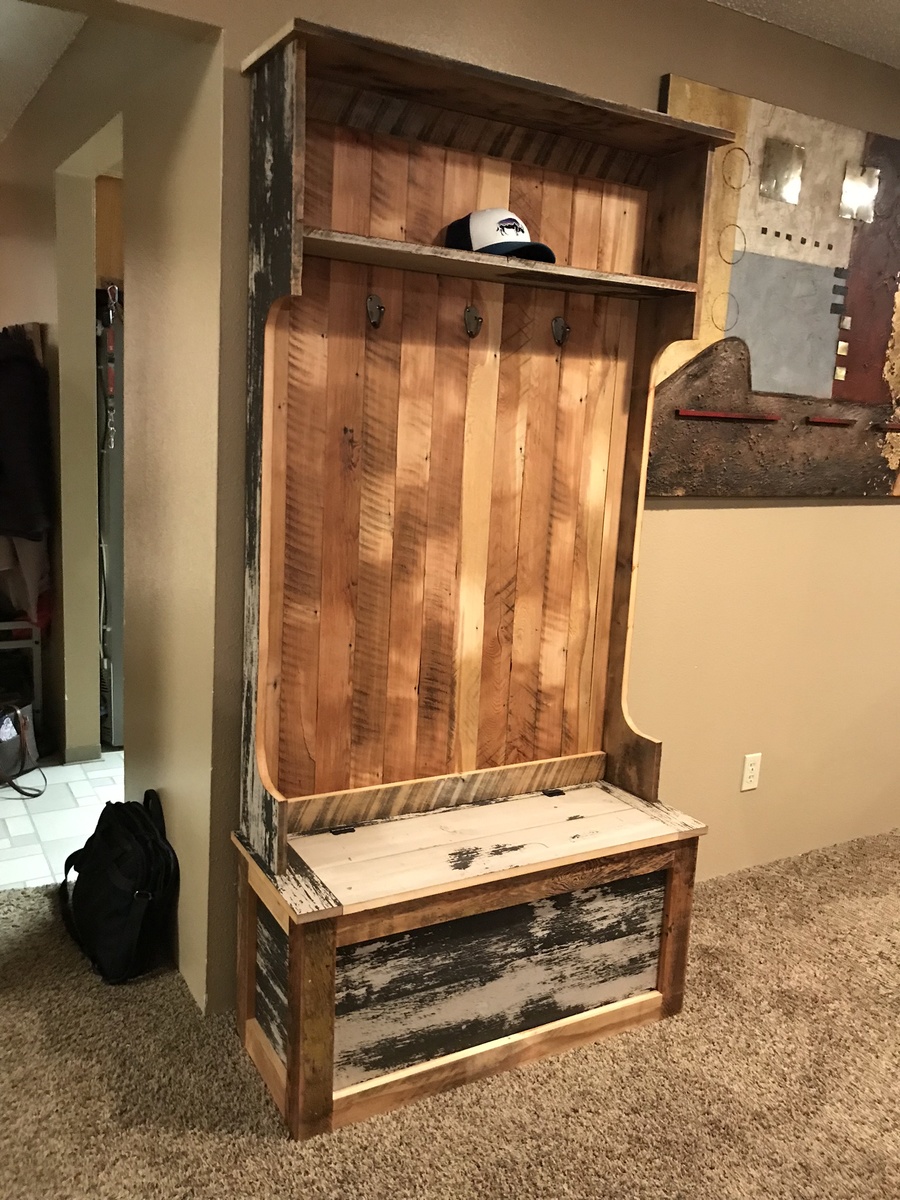
This piece was inspired by Ana’s plans and built as a collaborative project with my son. The stock was all salvaged from a century+ old railroad depot on the University of Idaho campus that was marked for demolition. The green and cream boards were the ceiling of the depot, and the unfinished stock came from the flooring, which was 1” tongue and groove red fir. The first agricultural crops, forest products, and settlers of the region (North Idaho, Eastern Washington) flowed through that terminal. This piece, therefore, is iconic of the regikn’s rough-hewn beginnings and stands as a reminder of its important past.


First woodworking project!
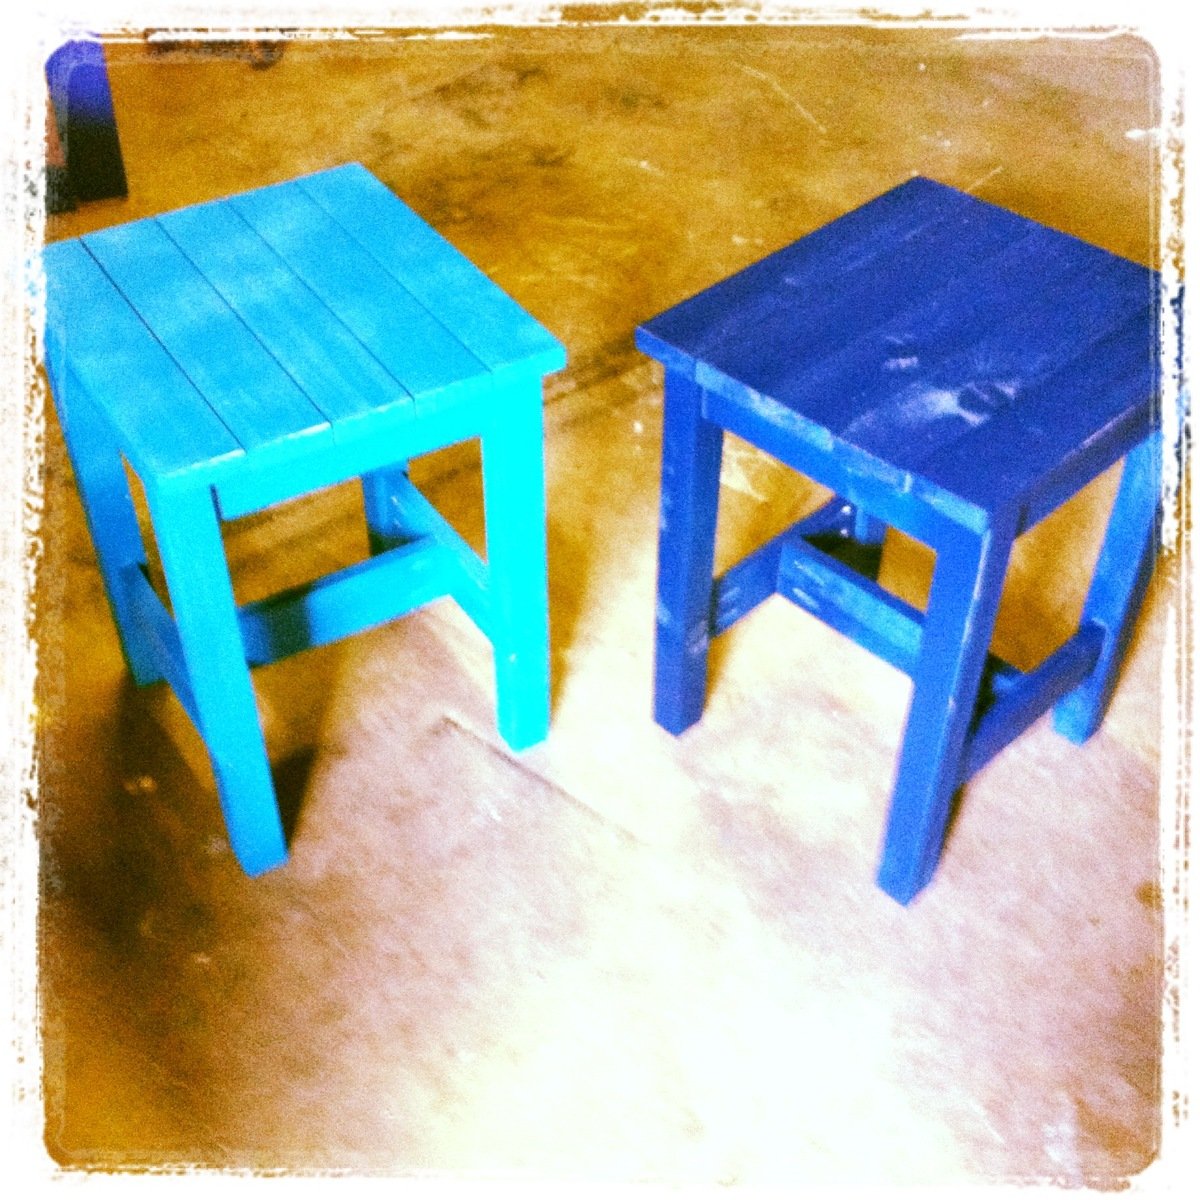
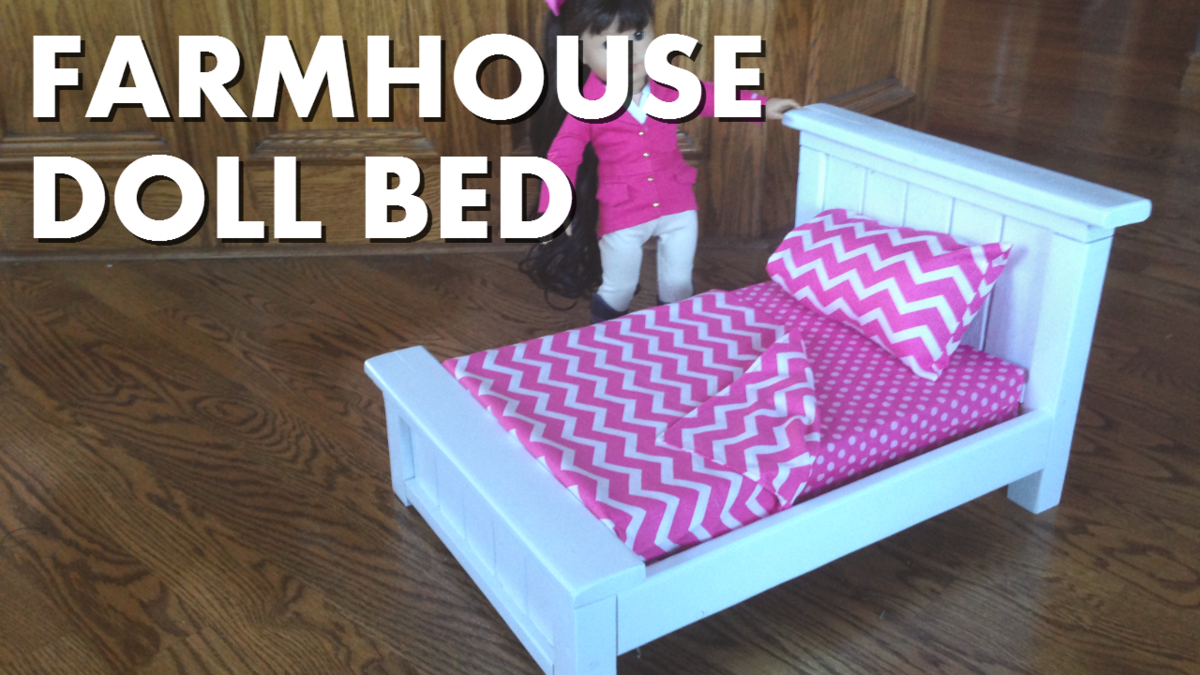
I also created a build video here: https://youtu.be/h_oEu908-iI
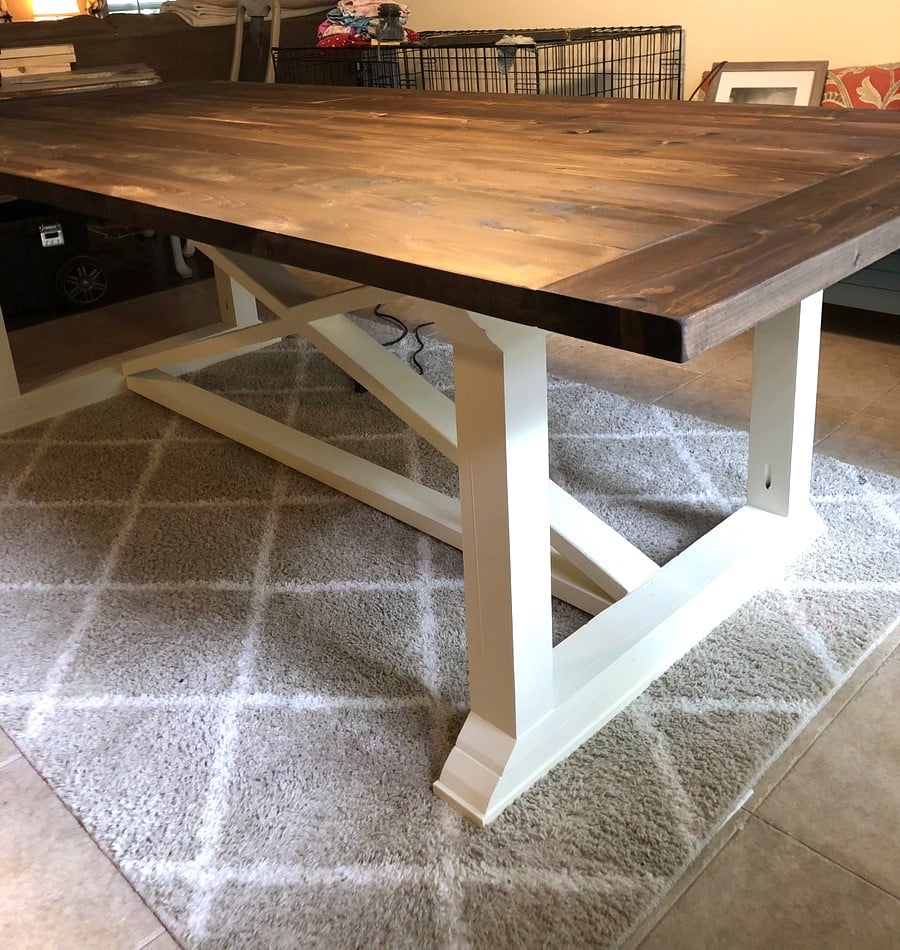
built from Ana White plans for my son and daughter in law
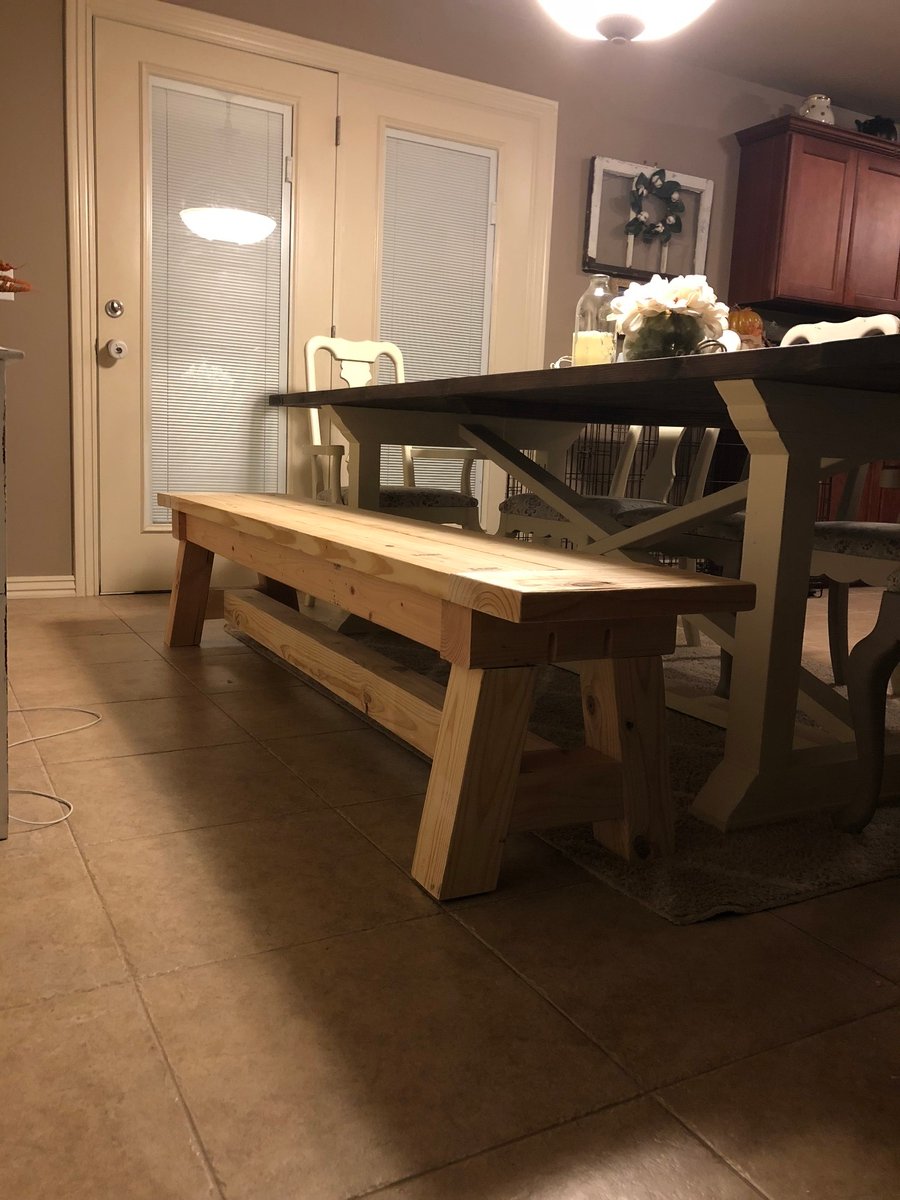
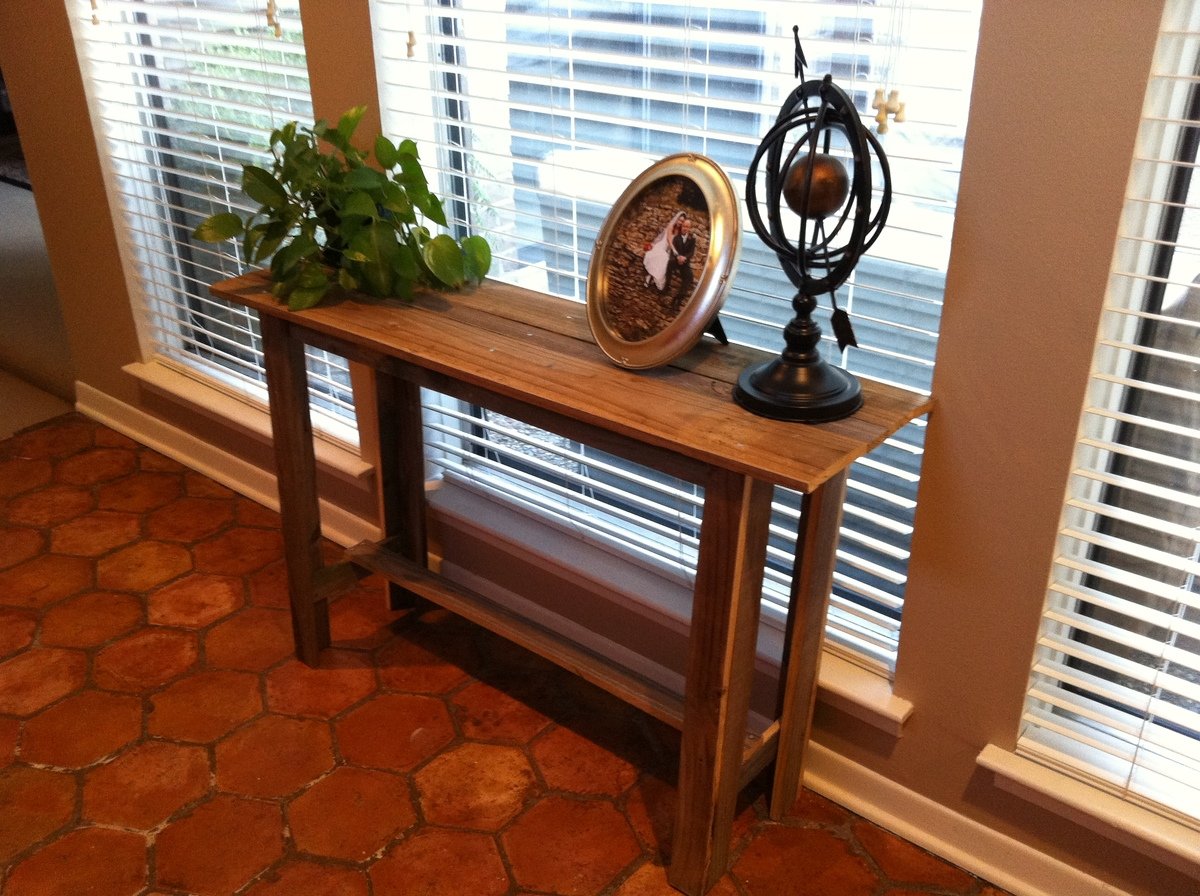
My husband and I wanted to try something relatively simple before attempting to make a dining room table.
We used some old fence boards that were very weathered, so we expected that the end result wouldn’t be perfect.
It is definitely rustic, but I think it is charming!
We modified the stretcher and the table top, but otherwise followed the plans.
It was easier than I expected... I think I am hooked!
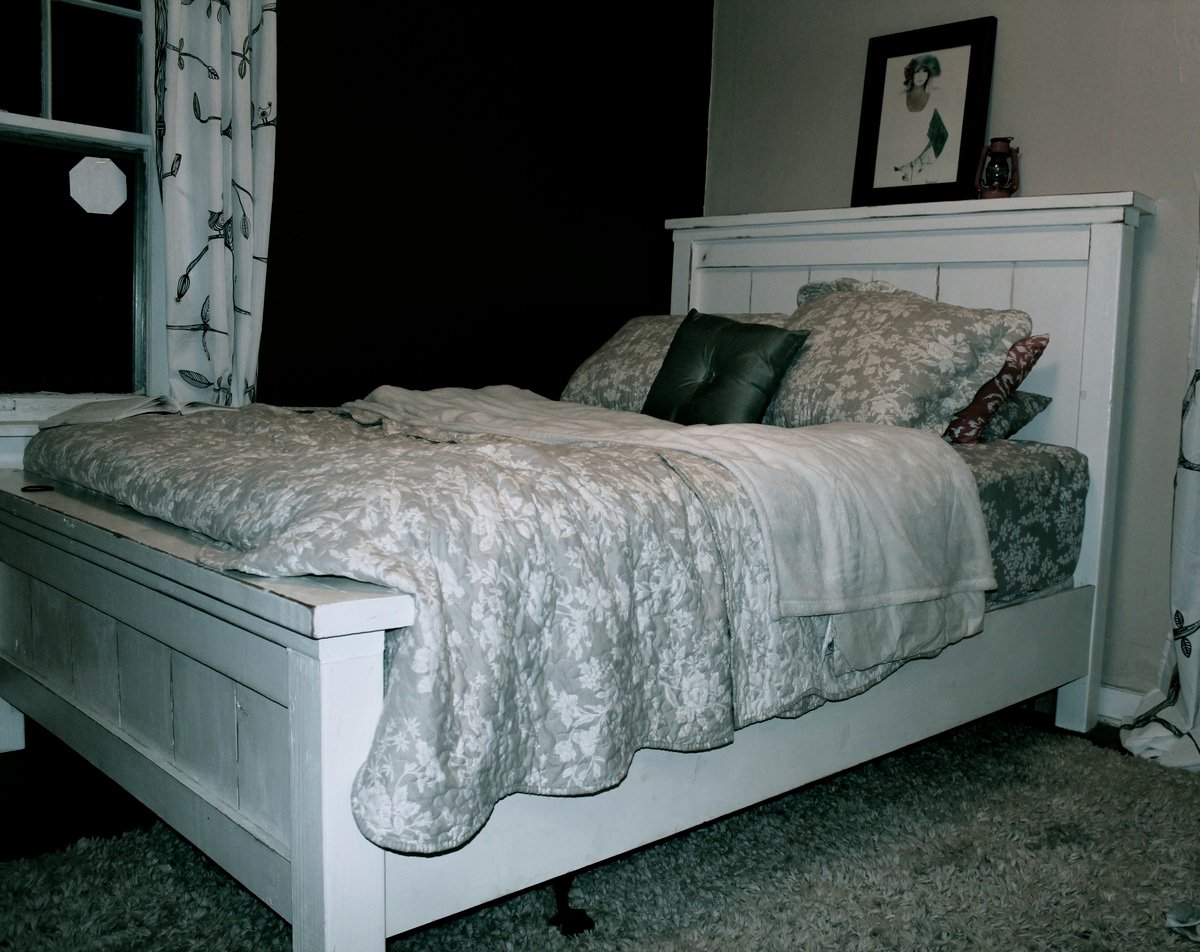
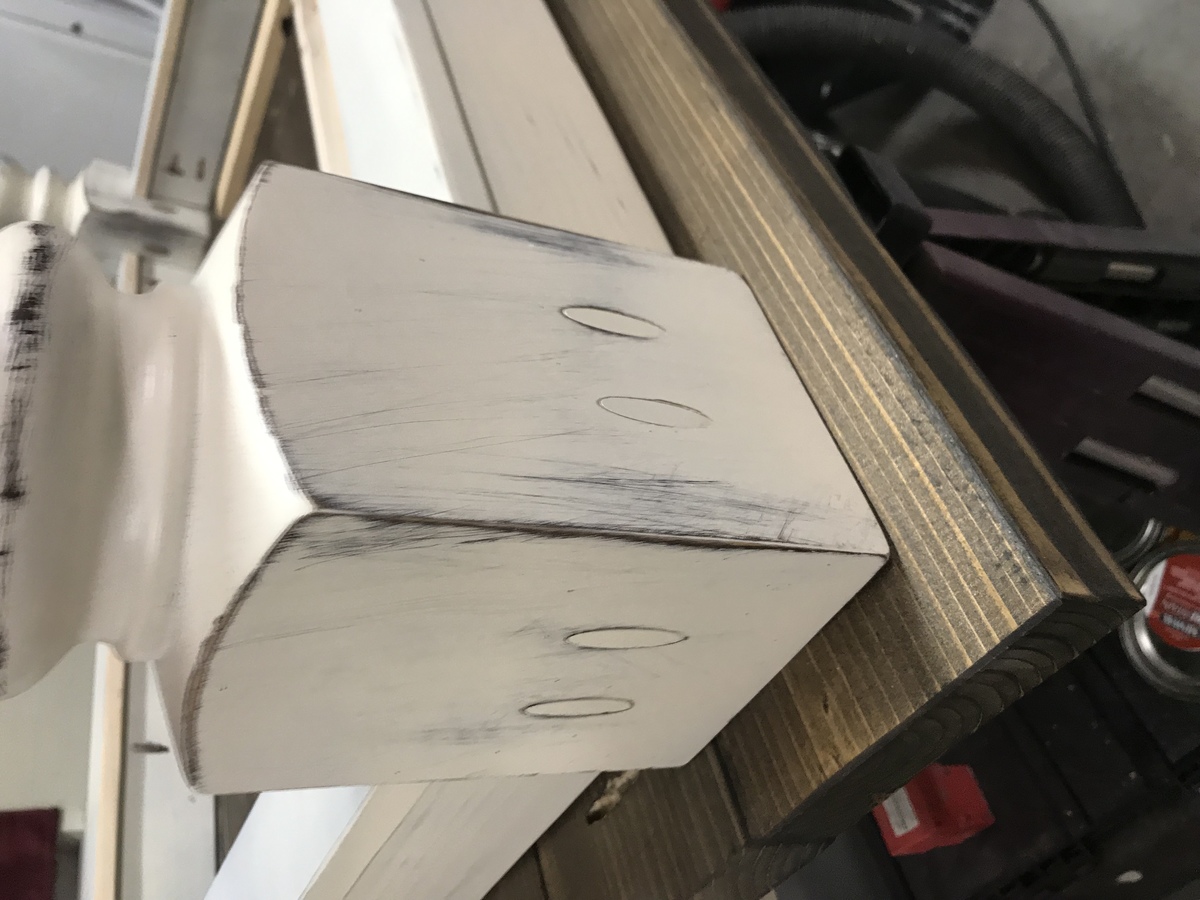
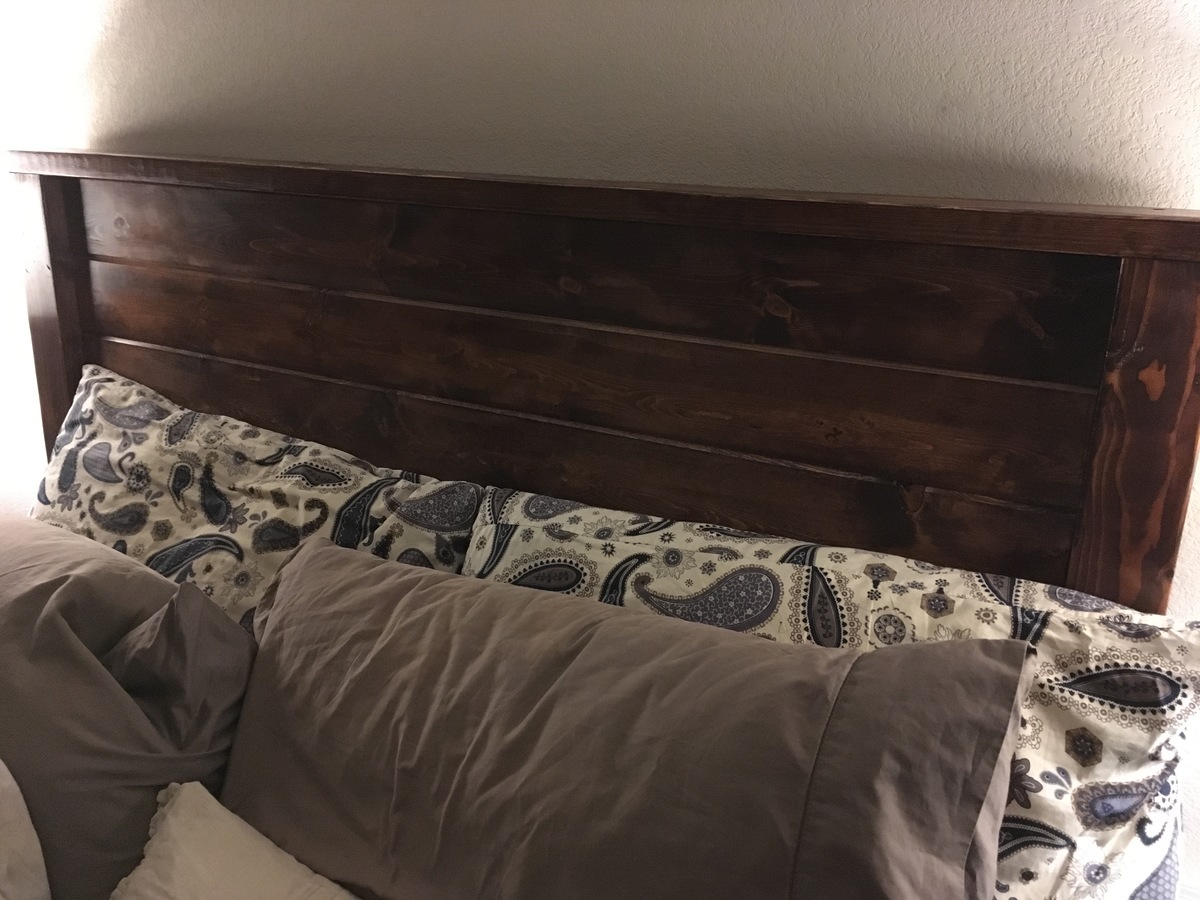
We built this bed way back in April for my birthday, but hadn't gotten the bedding quite right until now. We love this thing and it is sooo sturdy. I wish I would have taken more time on finish work to get the paint just right. I will probably repaint it in the future but for now it is a beautiful and necessary addition to our bedroom.
Thanks so much for the plans Ana, this was our first furniture project besides shelves and boxes. It definitely gave us the confidence to continue building and even to start creating our own plans and furniture designs.
** updated photos on 11/21
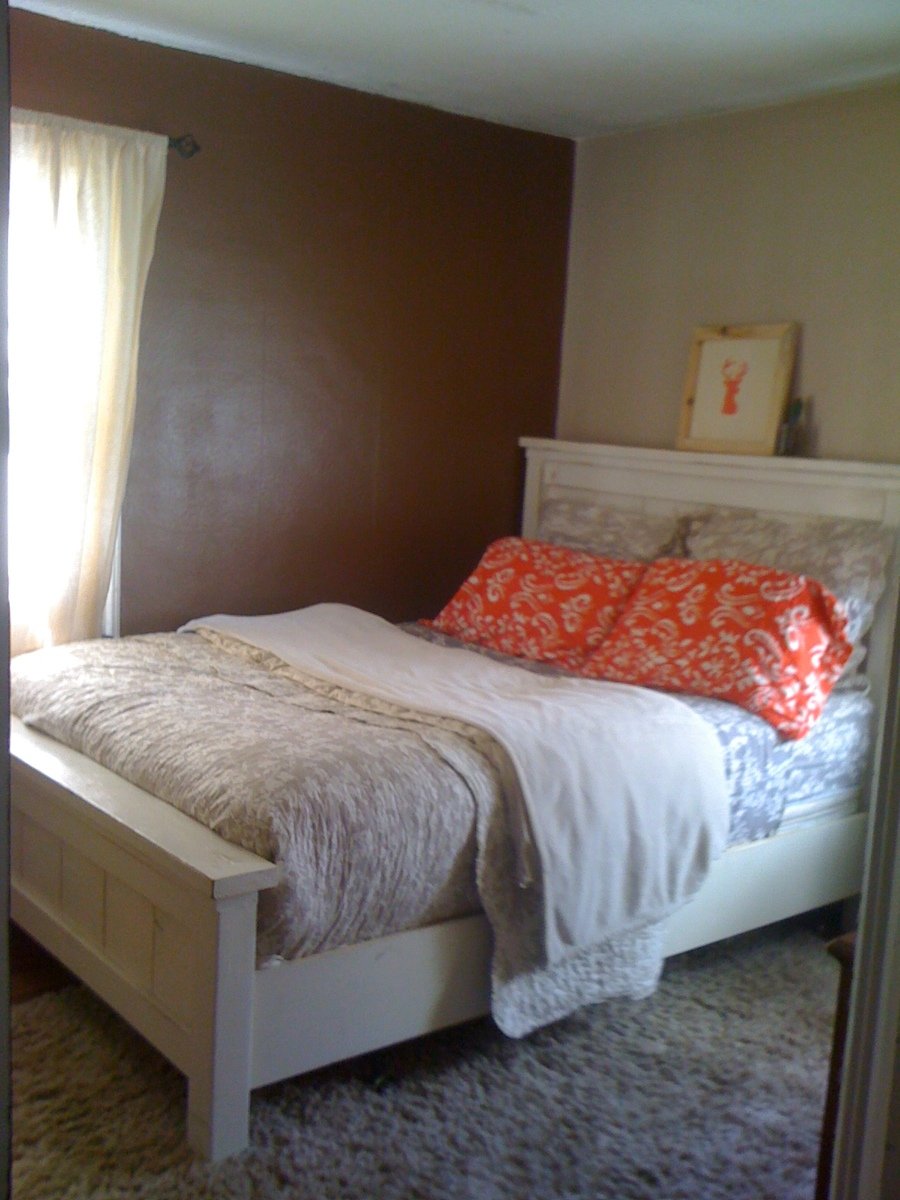
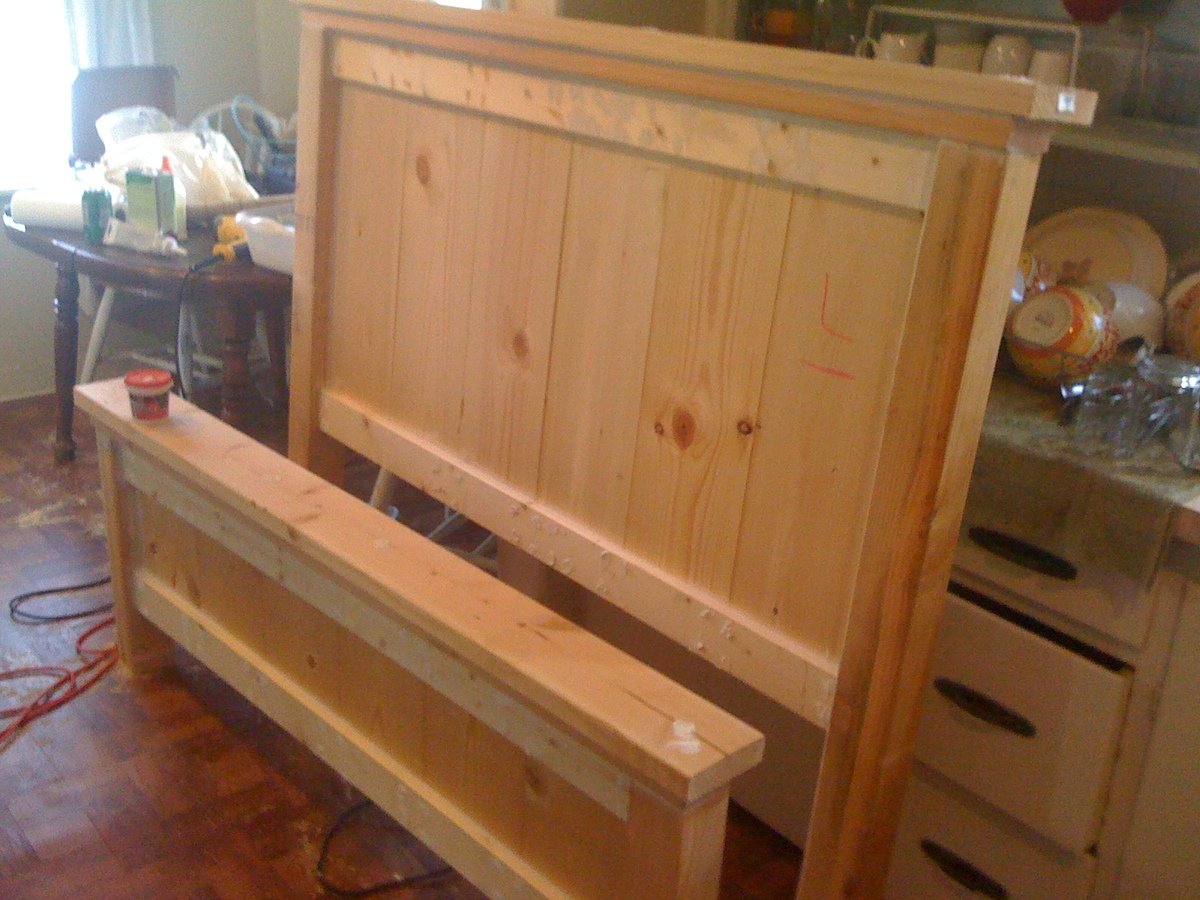
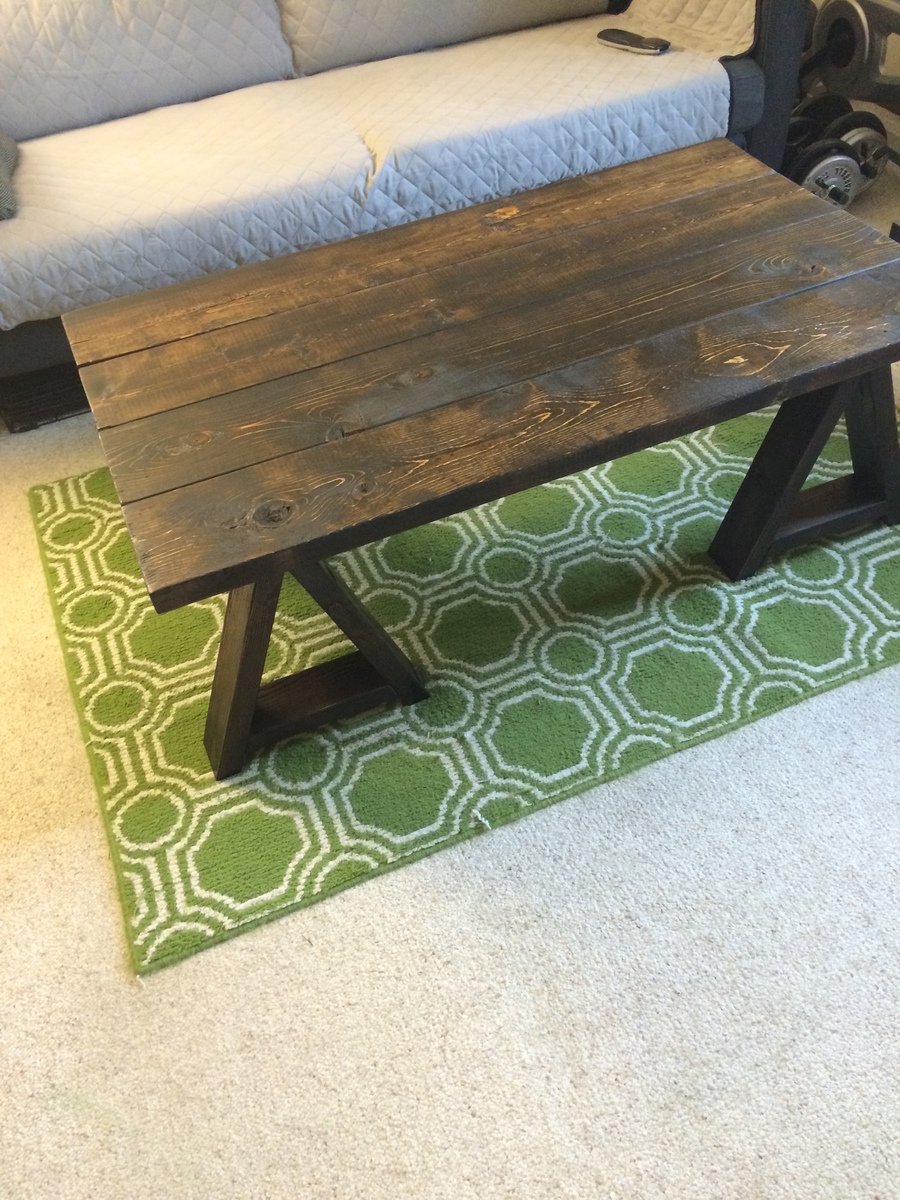
I essentially followed the Rogue Engineer plans exactly with the exception of making the table on 50 inches long to help it fit better in my living space. I also opted to not add the lower support struts that would be perpendicular to the table top. I felt like that were bulky and were necessary for support. I may choose to go back and add them though. A miter saw and Kreg Jig are essential to get this project done with ease. I gave it a rough sanding to help keep the rugged texture of the original woodand maintain the reclaimed look. Feel free to post any questions.


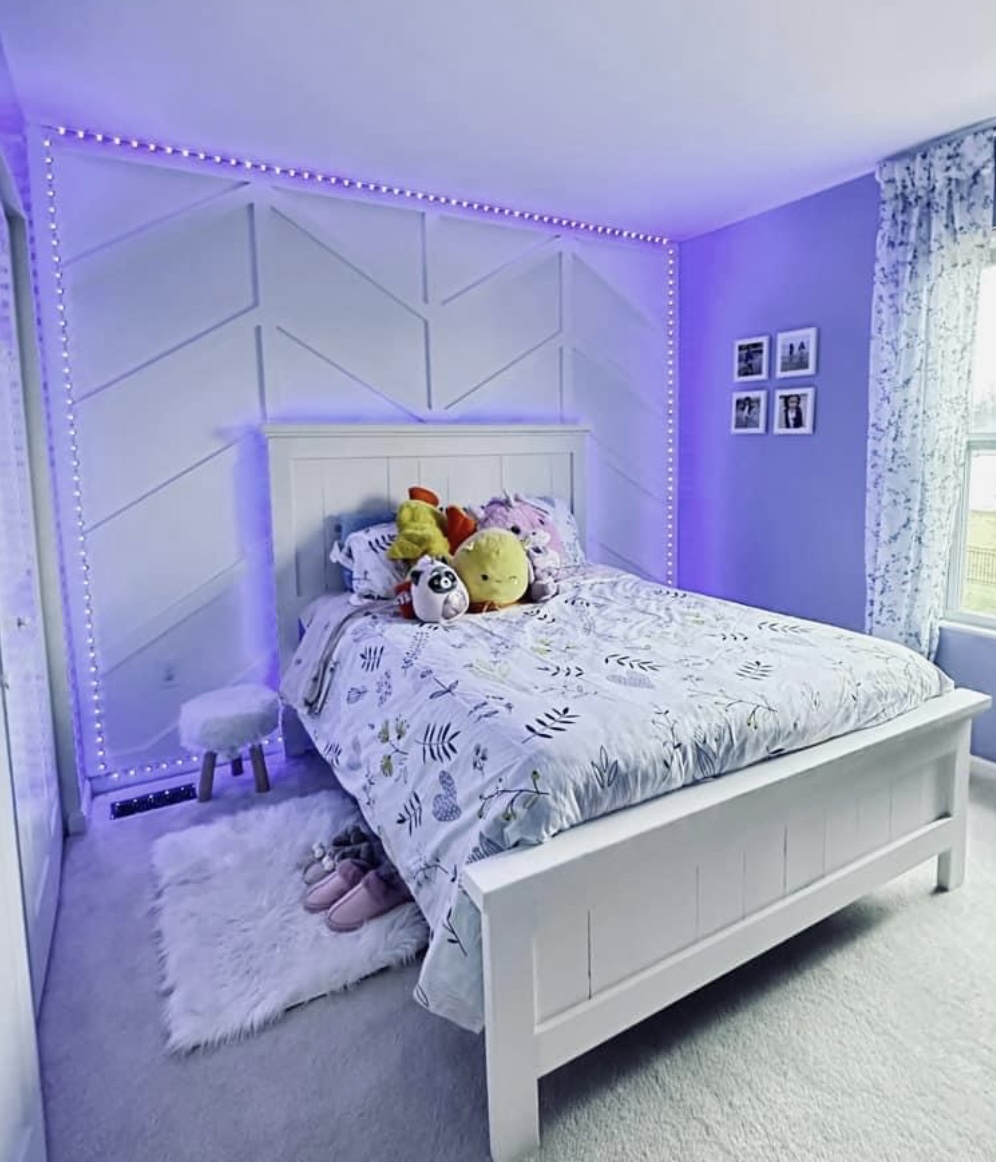
Beautiful farmhouse bed - Built and shared by Ires Snaemerc
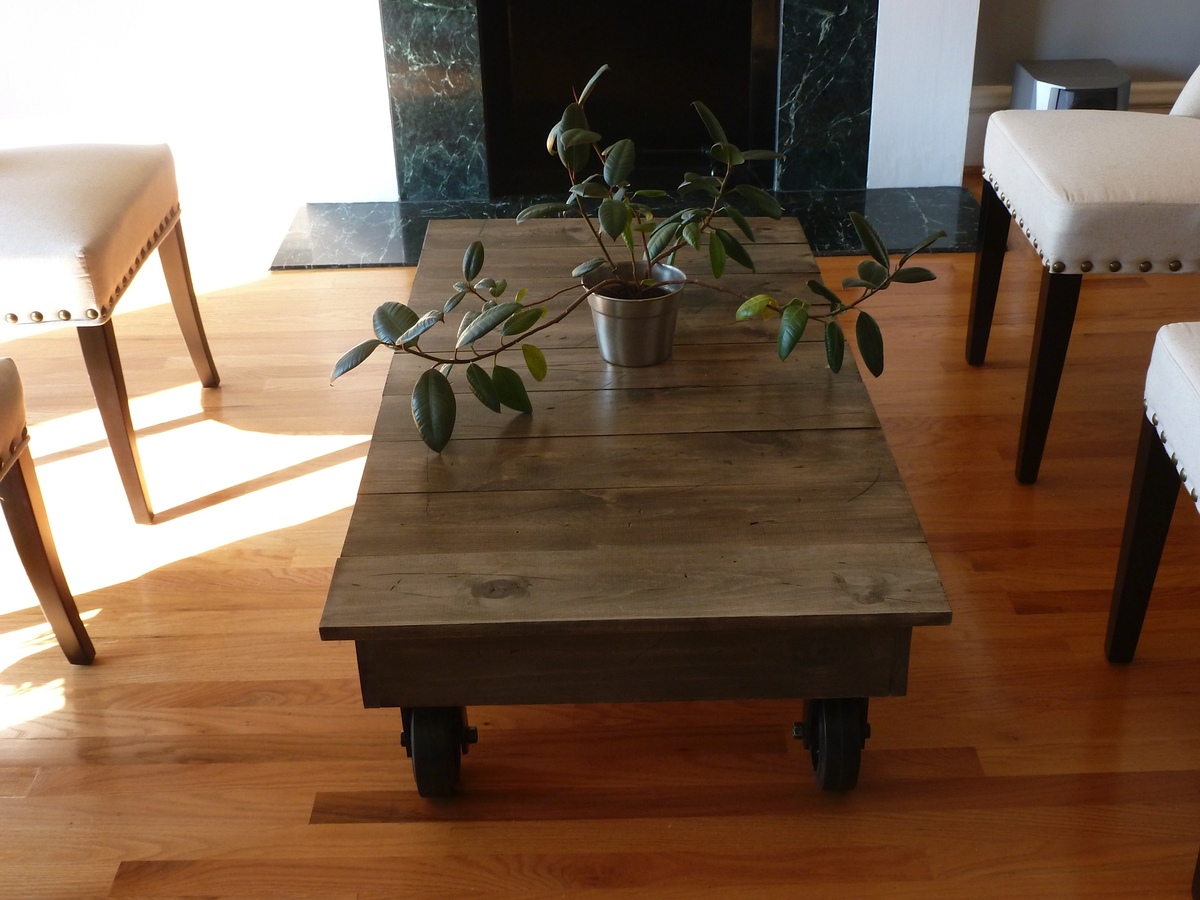
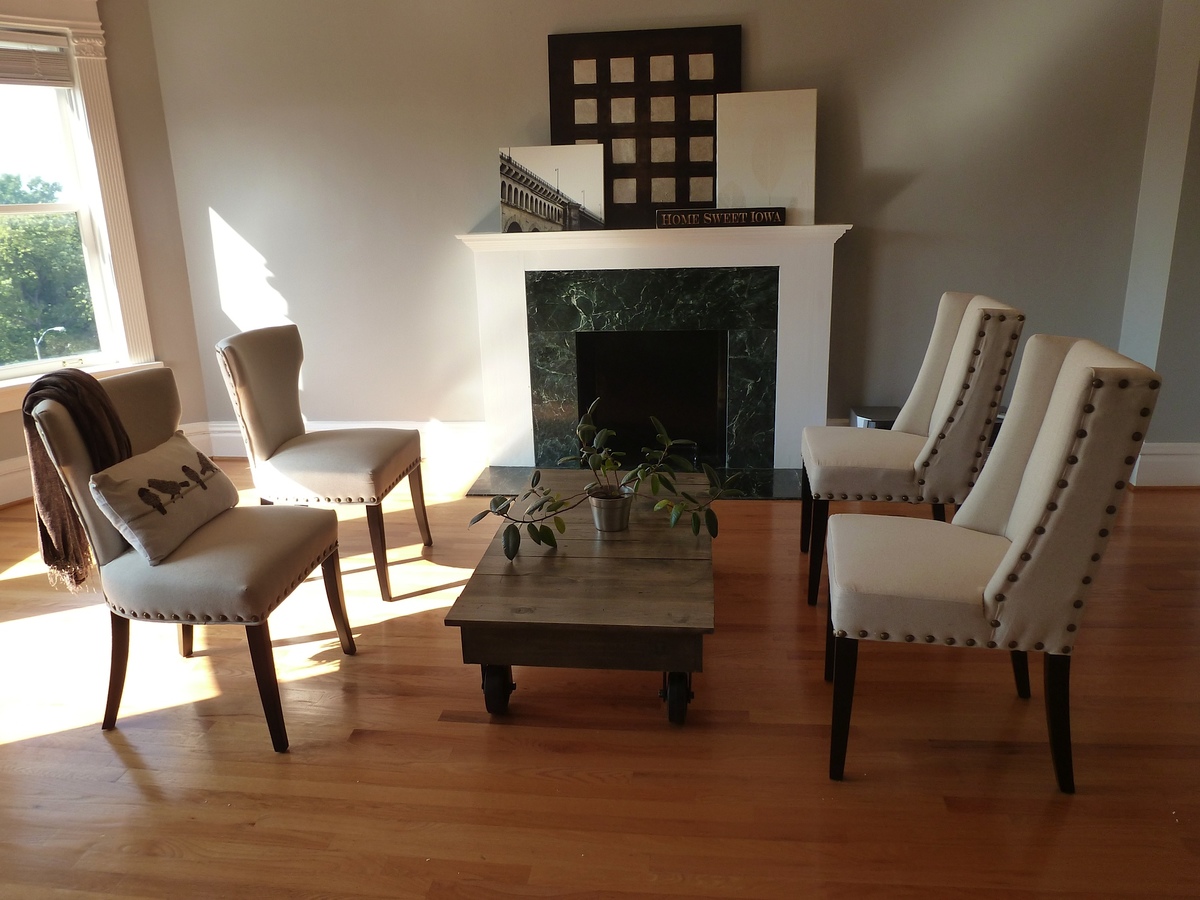
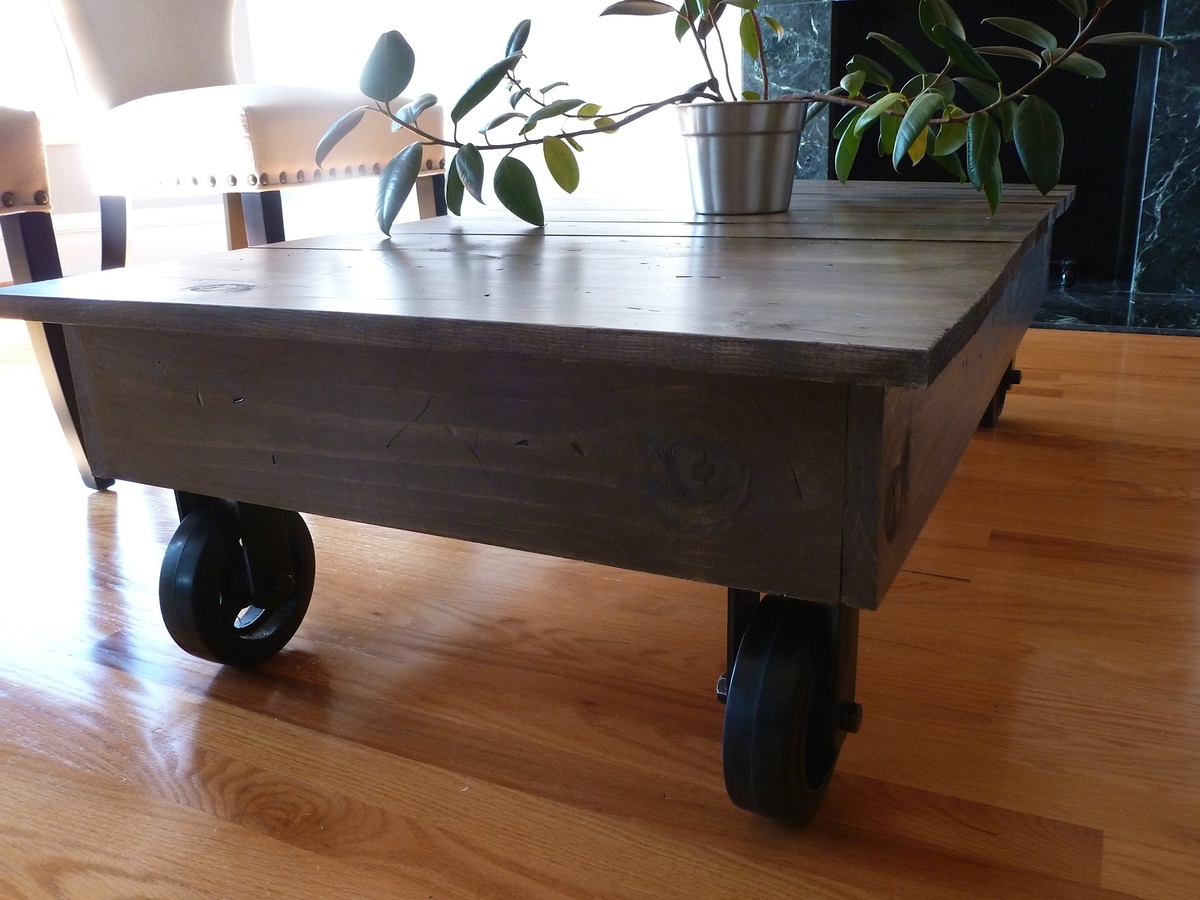
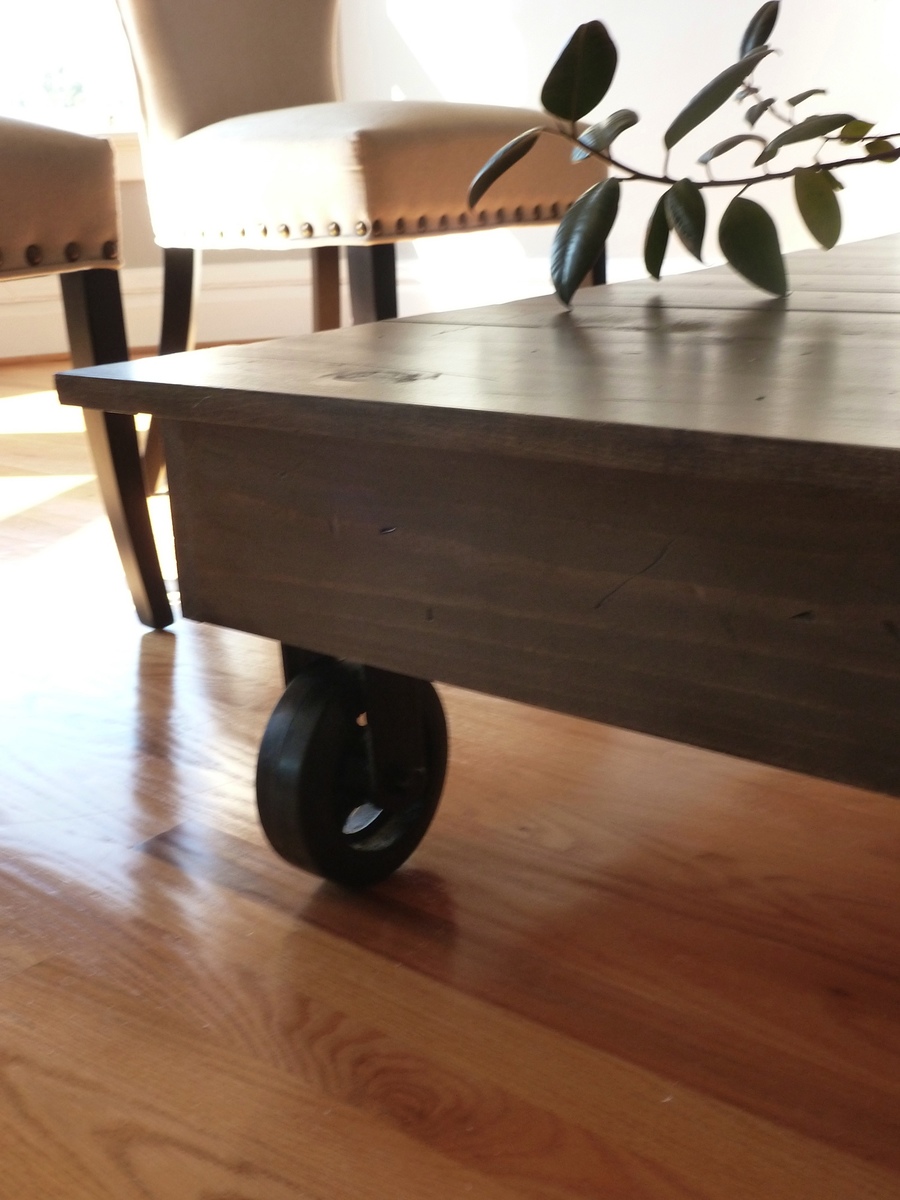
I was feeling like I needed a new project, so I called my sister. She was more than willing to give me ideas to build for her new condo and gave me a WHOLE wish list of furniture projects to choose from. After looking at her list, we decided on the factory cart coffee table. If you look elsewhere, this kind of table ranges from $600 - $1500 dollars! And our version costs right around $100!
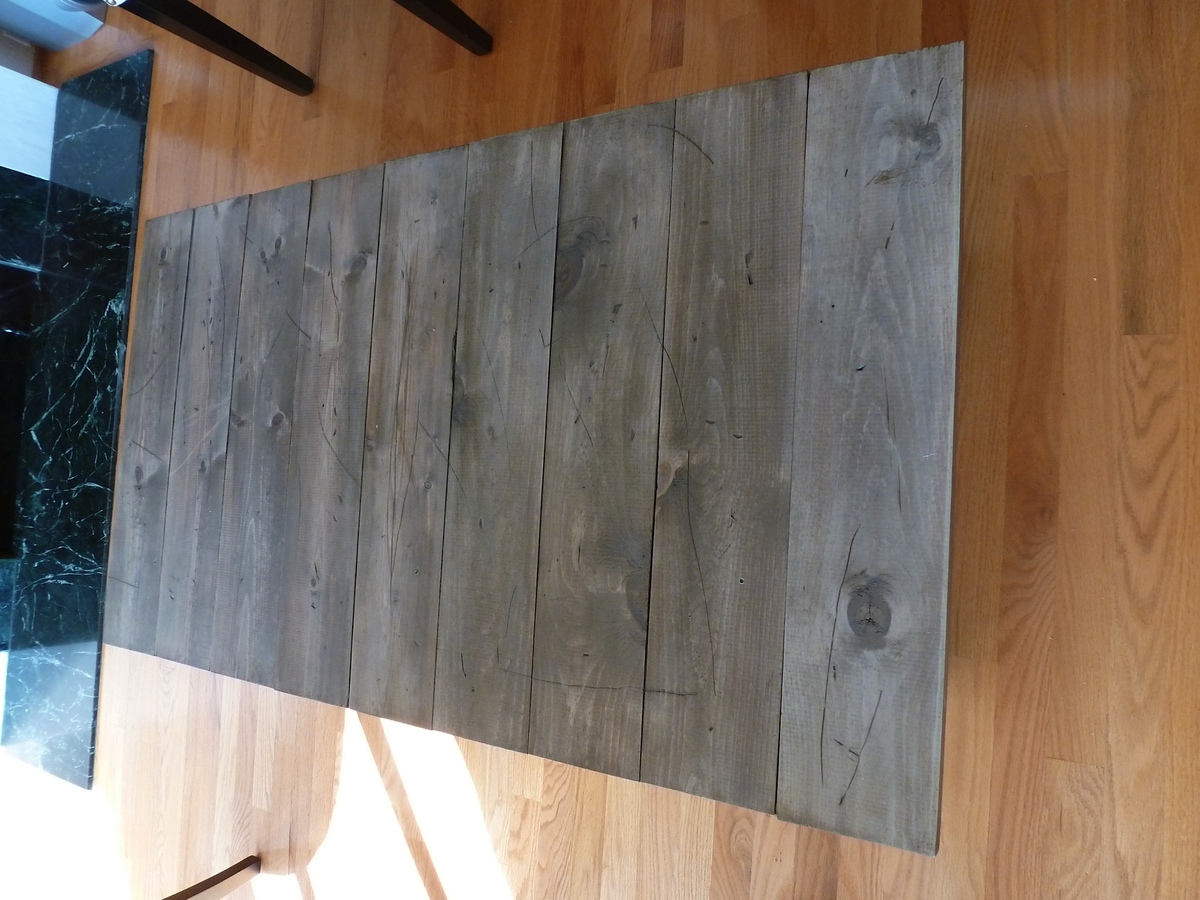
Ana's version set the basis for the build and the only modification was adding three 1x2's under the slats on the top (rather than directly attached the slats) so that the compartment underneath can serve as a secret storage area (plywood lined and screwed into the lower supports). We absolutely love the table and it looks AWESOME in her living room!
Tue, 09/20/2011 - 11:22
I just wanted to say that your finish is gorgeous! Your table is beautiful too, but my goodness does that finish bring it over the top! Good job :)
Thu, 10/11/2012 - 12:48
How many of each color did you use? I'm looking for this driftwood look for my kitchen shelves.
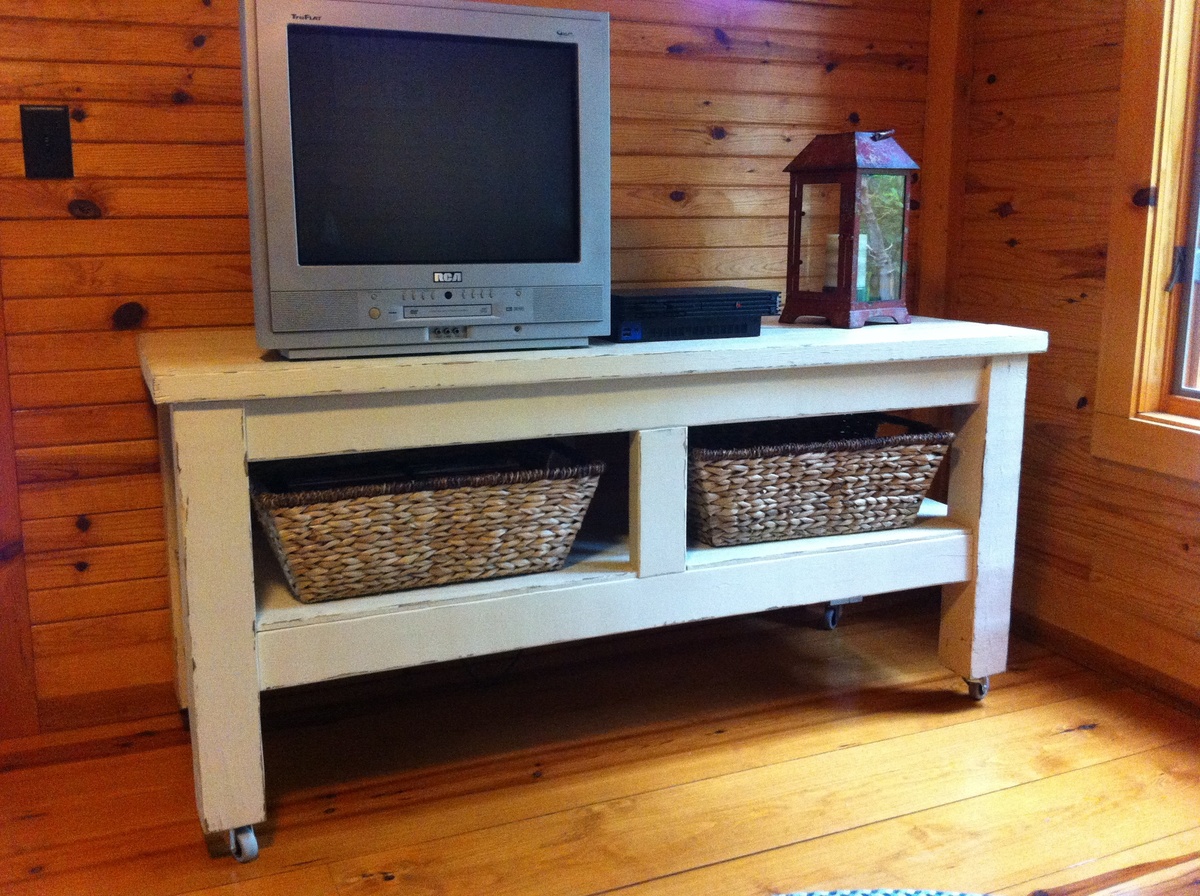
We needed TV and game system storage for our vacation cabin and didn't want to spend a lot. This is perfect!
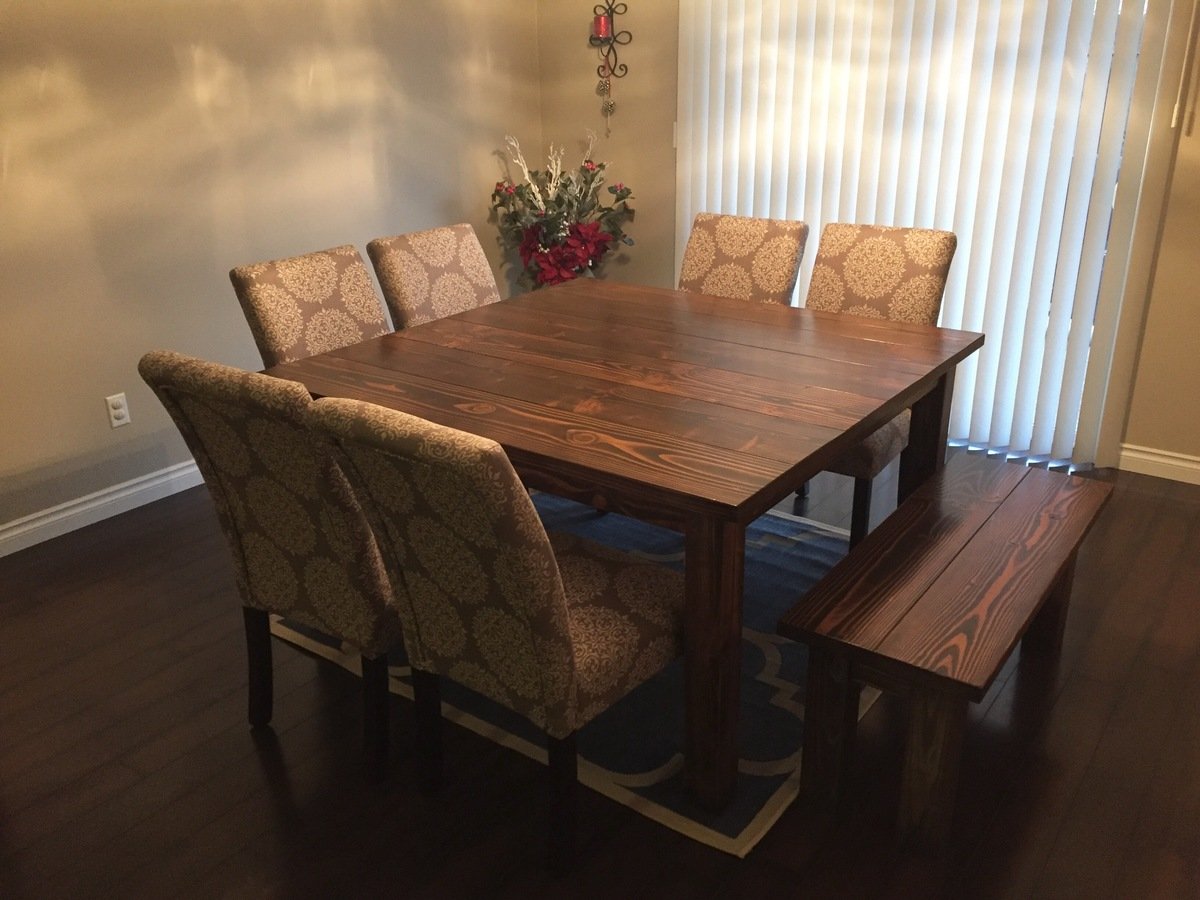
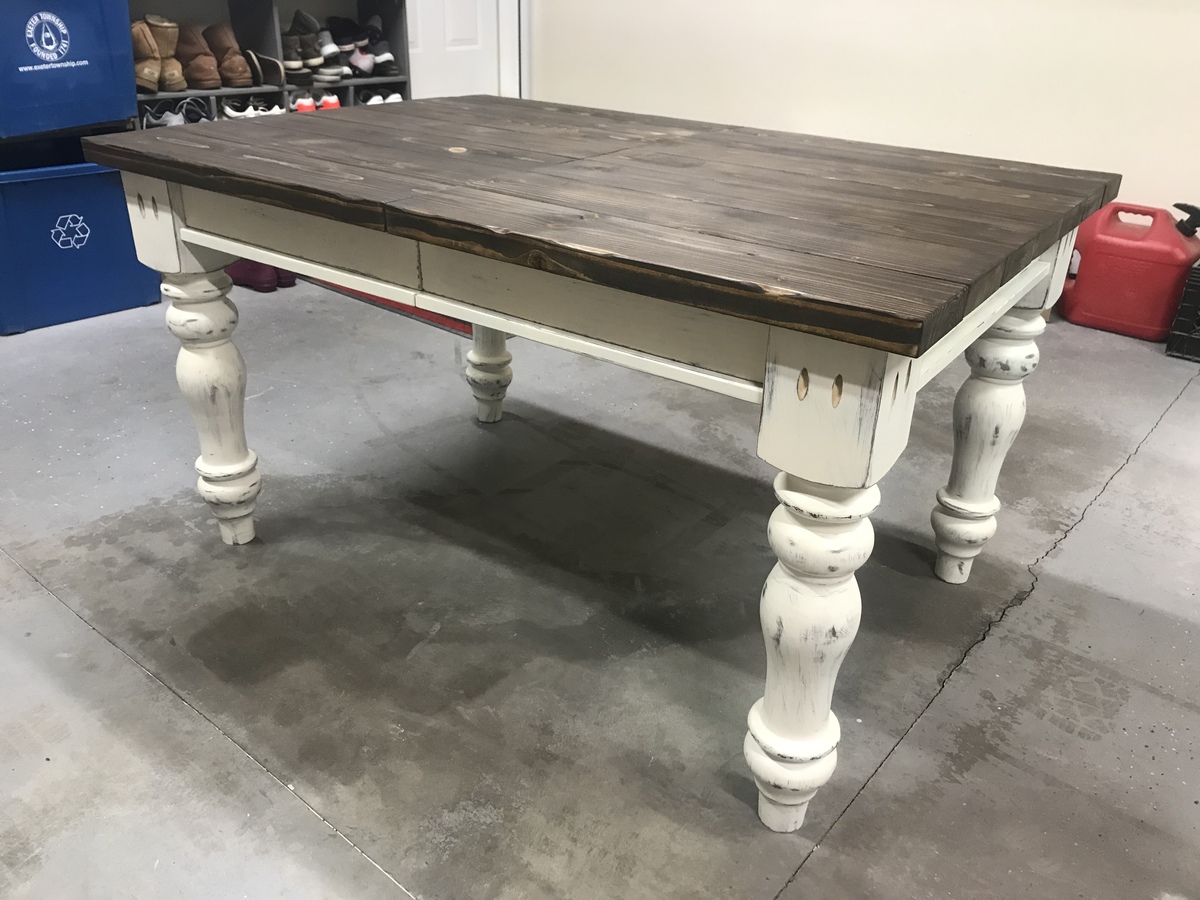
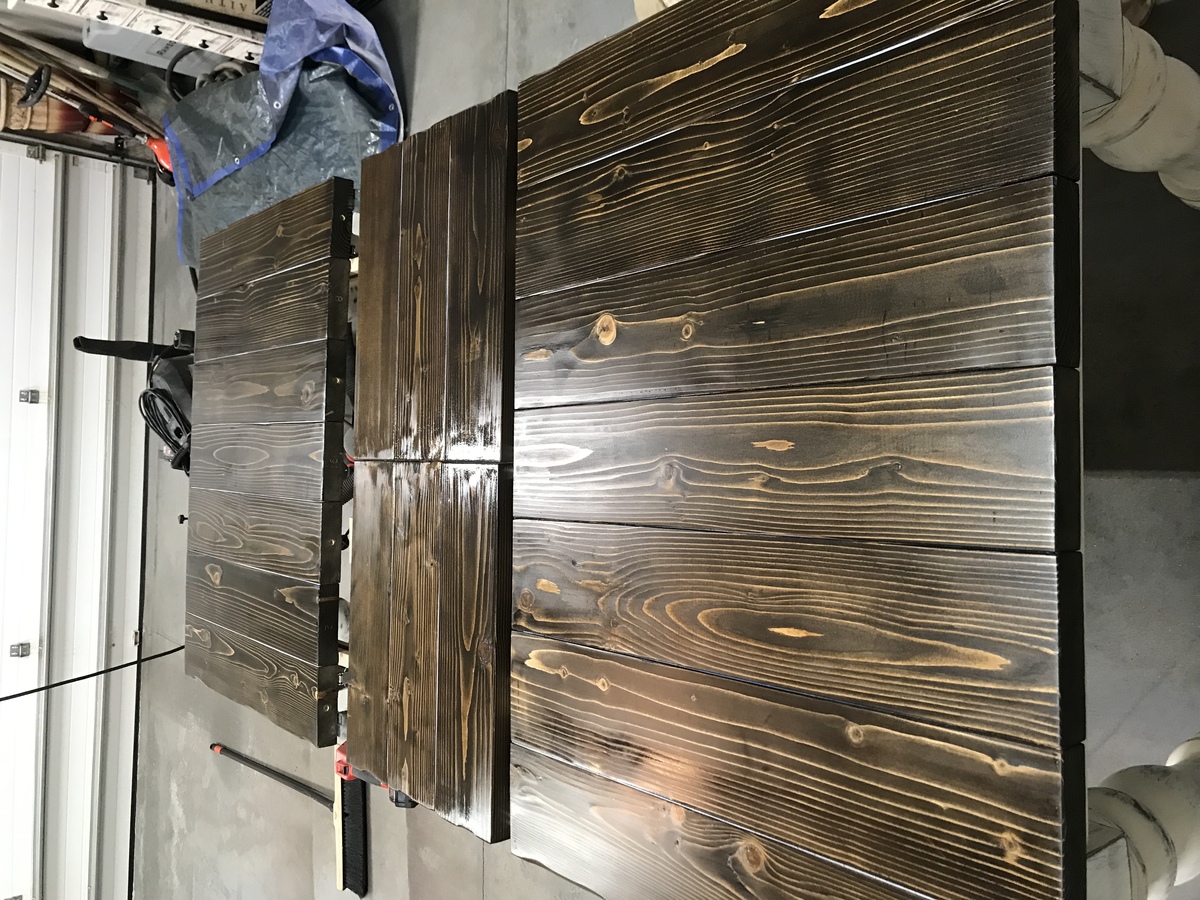
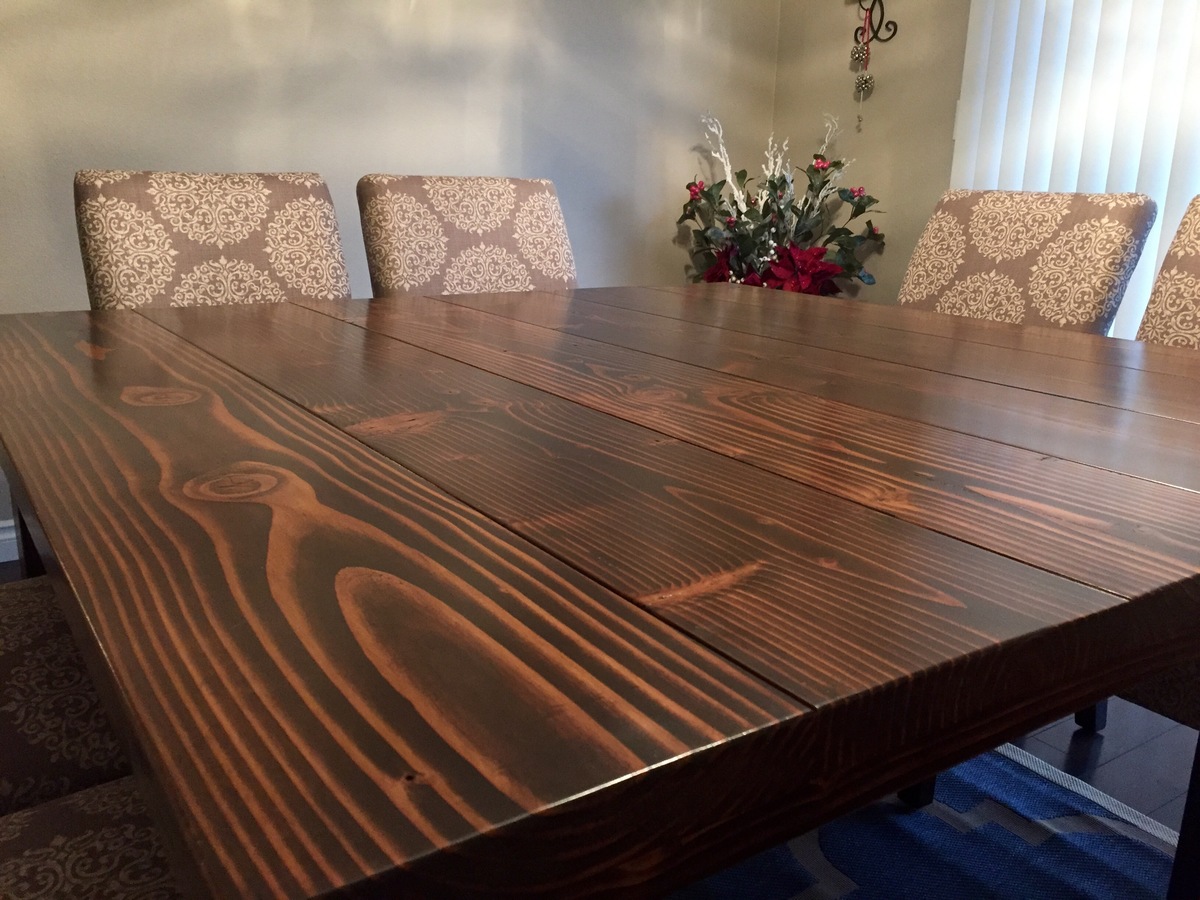
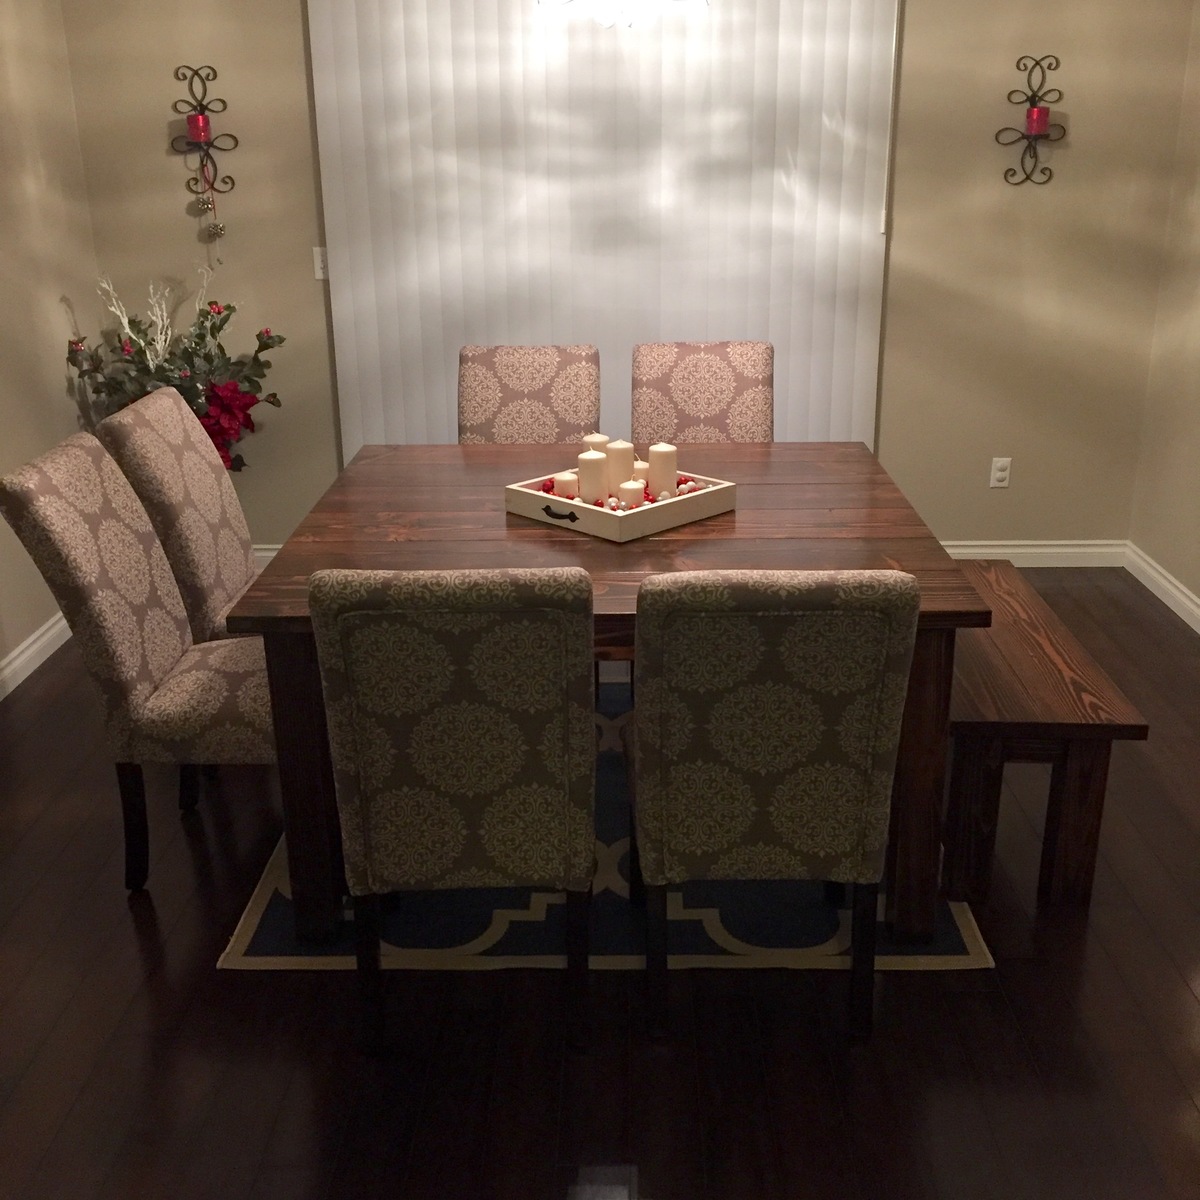
This is a square farmhouse table I built for my dining room. It is just under 5ftx5ft size. The top is 6 planks that I cut down from 2x12 down to 10inch sized planks. Then routered each plank with a 1/8 roundover router bit. I made the bench big and wide since I wanted it safe and stable so my toddlers don't fall off. Lots of sanding since this is all kiln dried construction lumber. I sprayed varathane poly, water based, and loved it. I put 4 coats on of semi gloss, came out perfect.
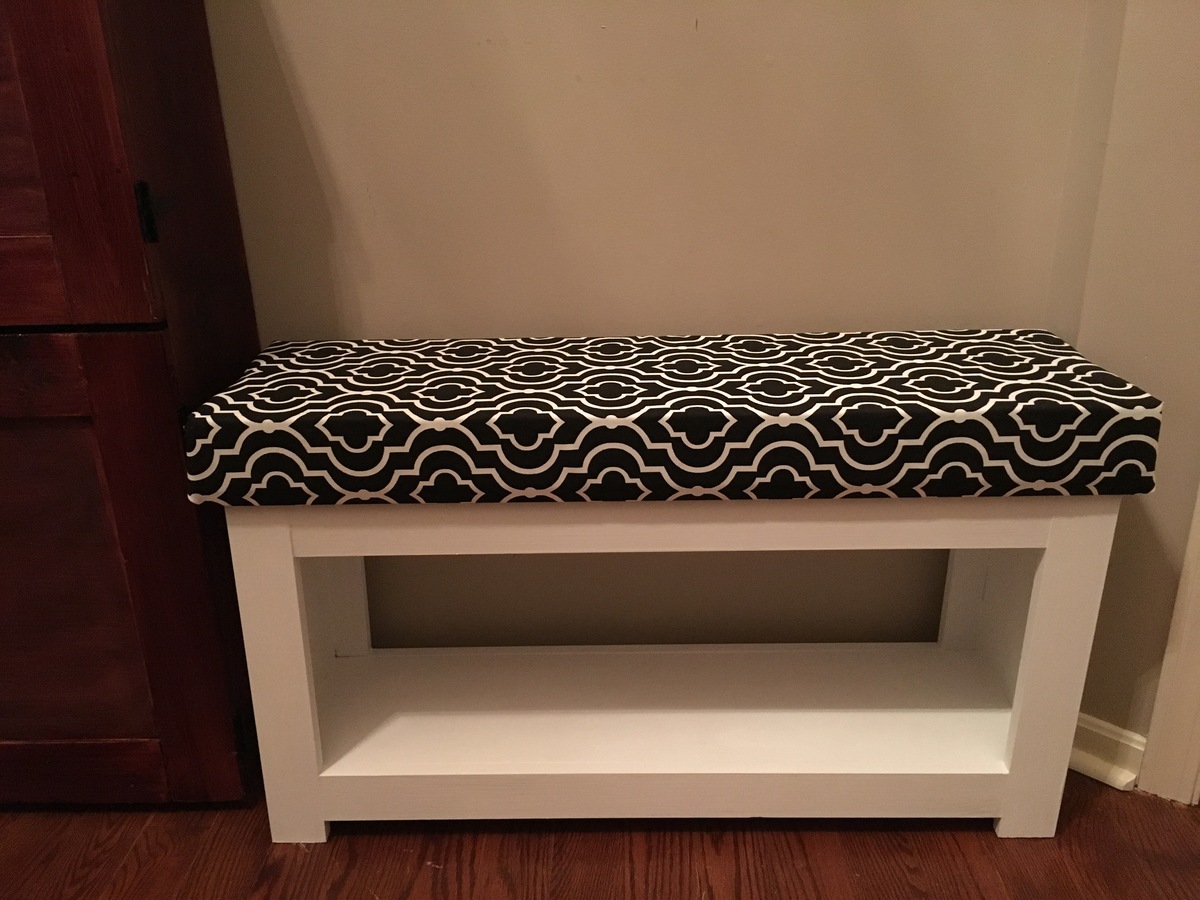
This was a fun little project. I made the bench to be placed in our foyer to sit down and put your shoes on and off. 3” foam and fabric makes for a comfy bench.
Just finished the American girl farmhouse bed for my sweet niece's birthday & she loved it! The best thing was that it was made totally from scraps and paint on hand - only had to spend $6 for the fabric!
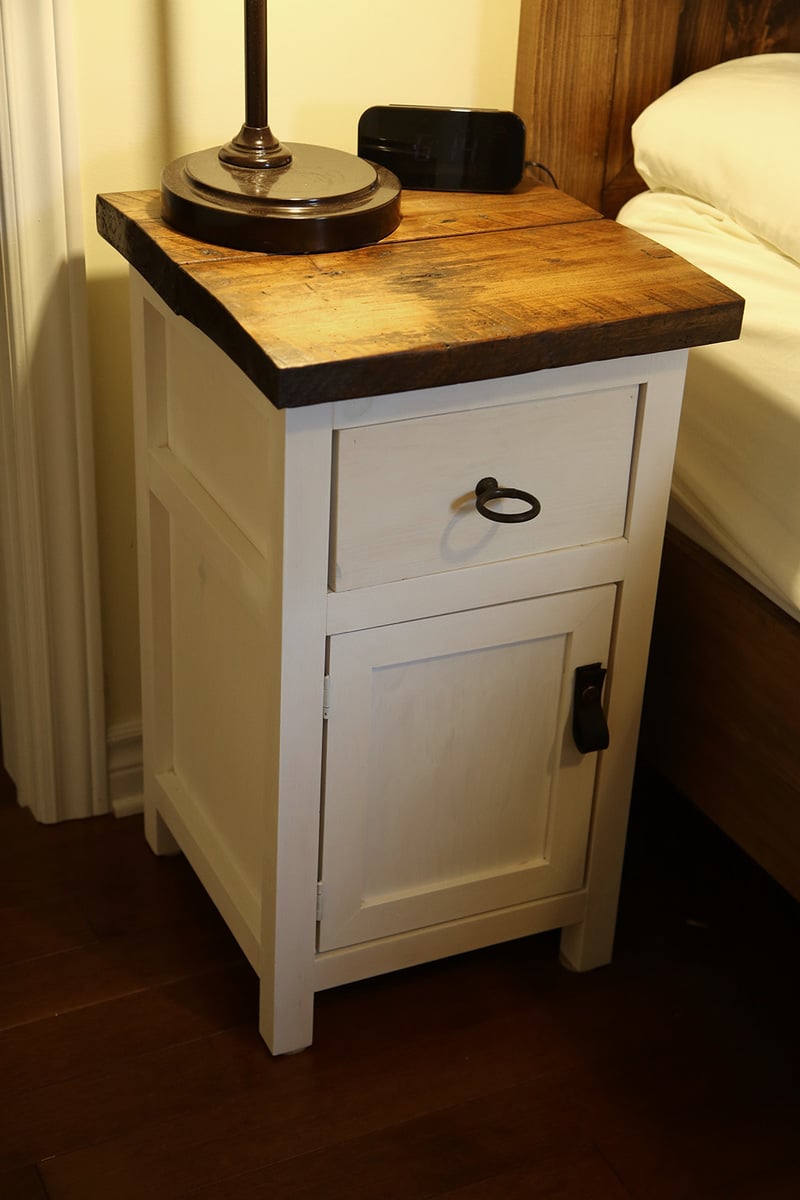
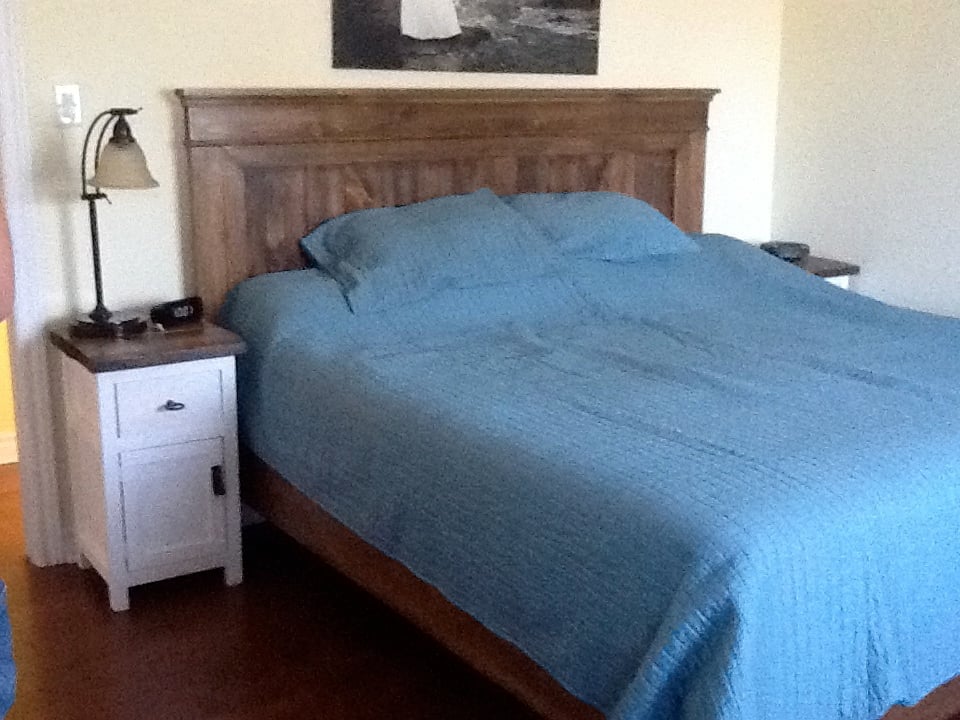
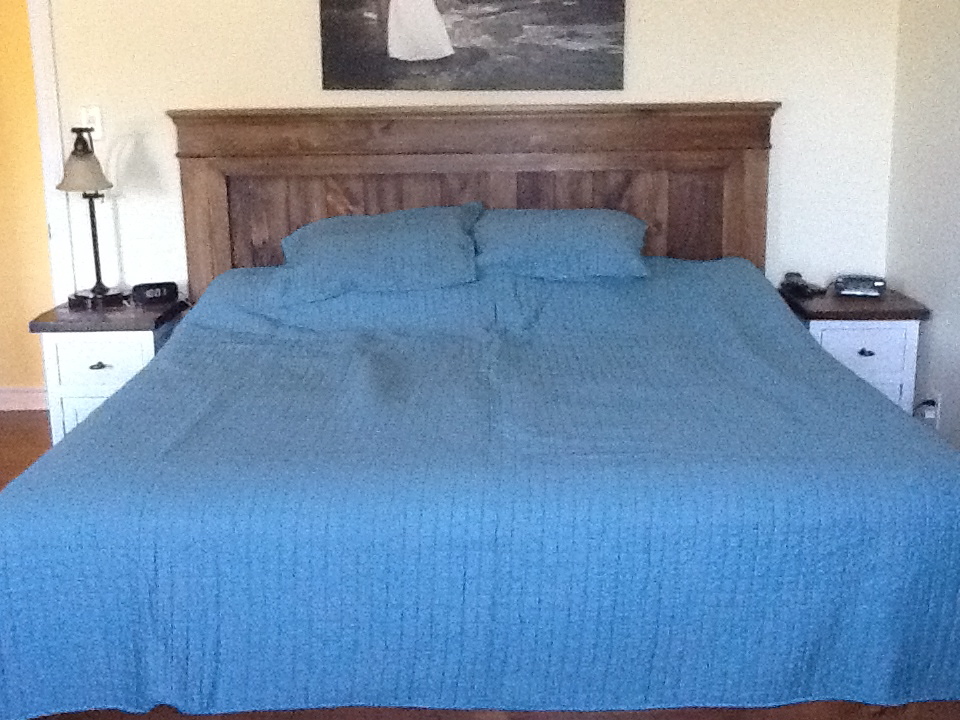
We love our farmhouse king bed, but that meant that our old side tables didn't fit anymore! (our old bed was a queen)
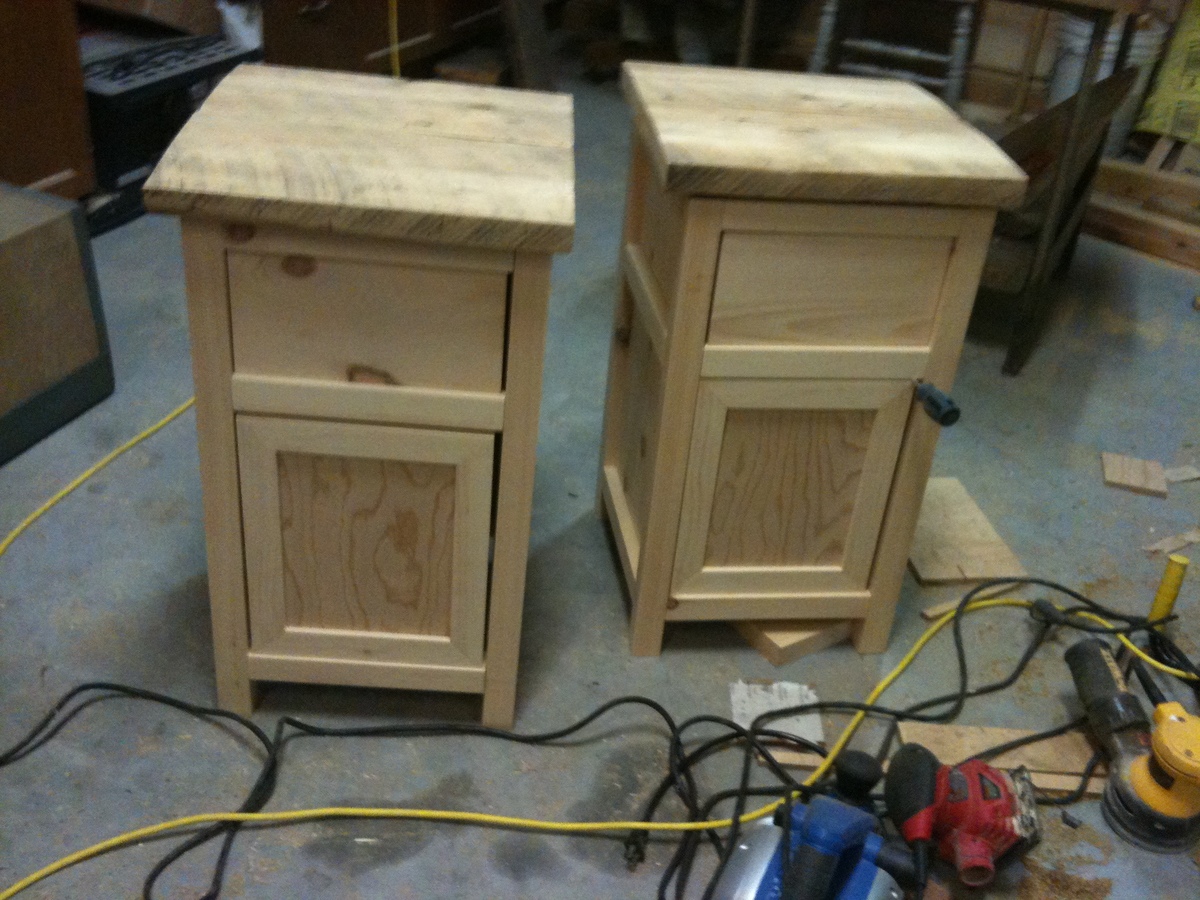
I really like the mini farmhouse bedside table, but the open storage would be problematic with the dog, so I added full length sides and a door.
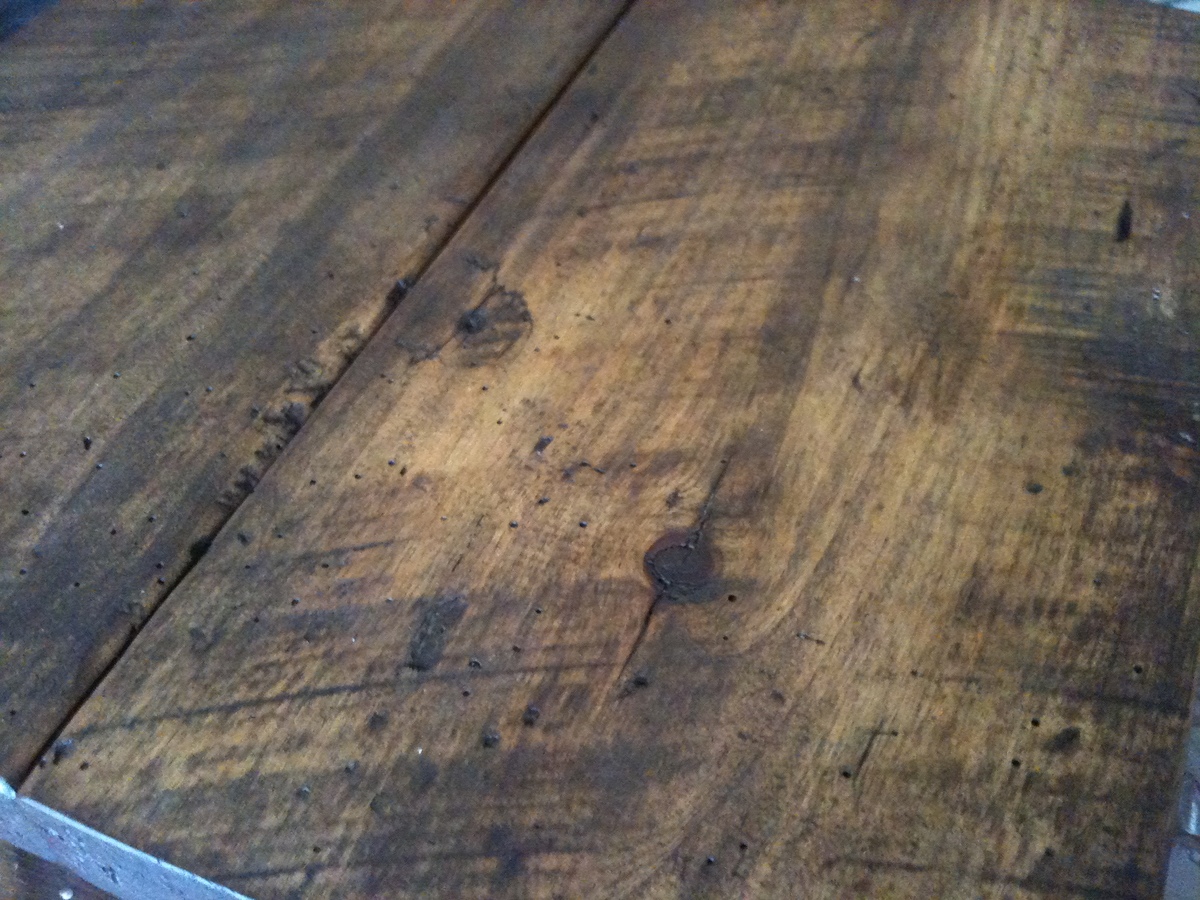
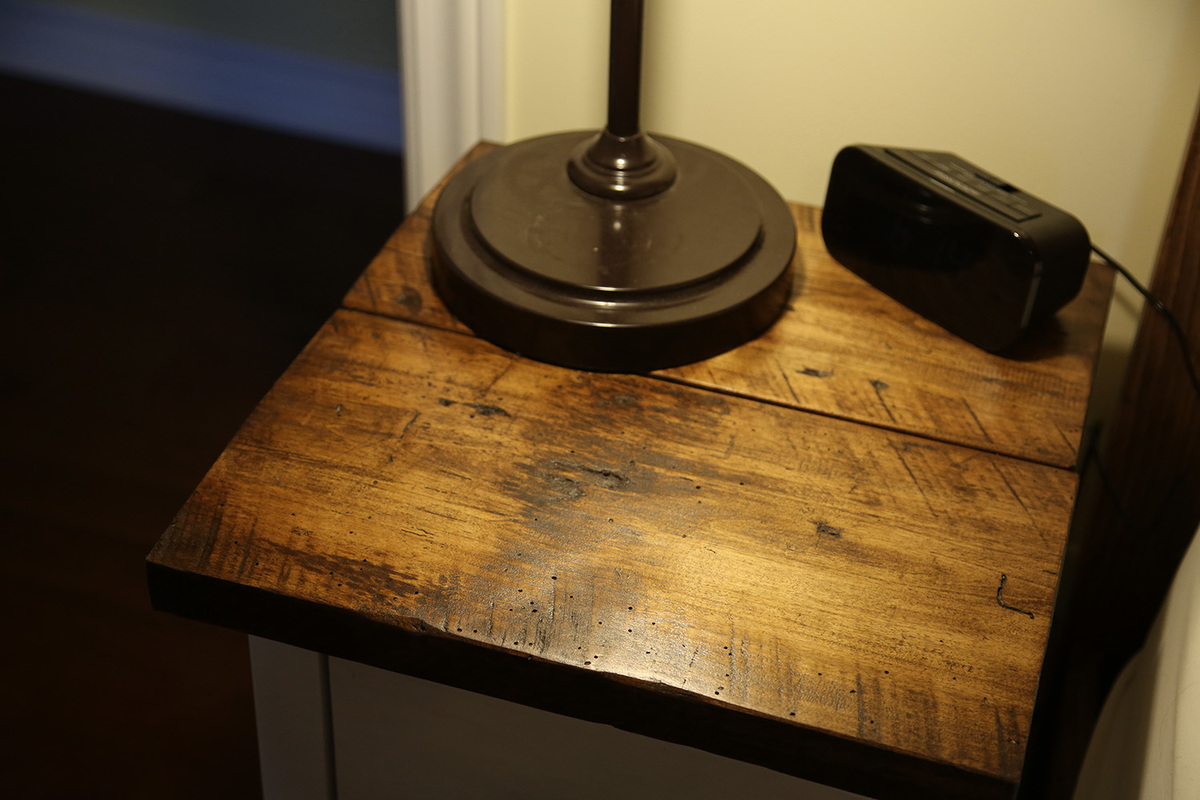
The top of the tables is a board we found at my husband's grandparents farm, and the pulls are from some old tack. The metal loops were on some old horse harness, and the leather was cleaned up from the same piece. I was able to drill a hole in the leather and then pre-dill the doors to accept post screws from home depot.
I love these tables!
Wed, 10/02/2013 - 19:11
Love these tables! The wood top is just gorgeous, and I love you you re-purposed other items to make the hardware. That is so creative! Great job!
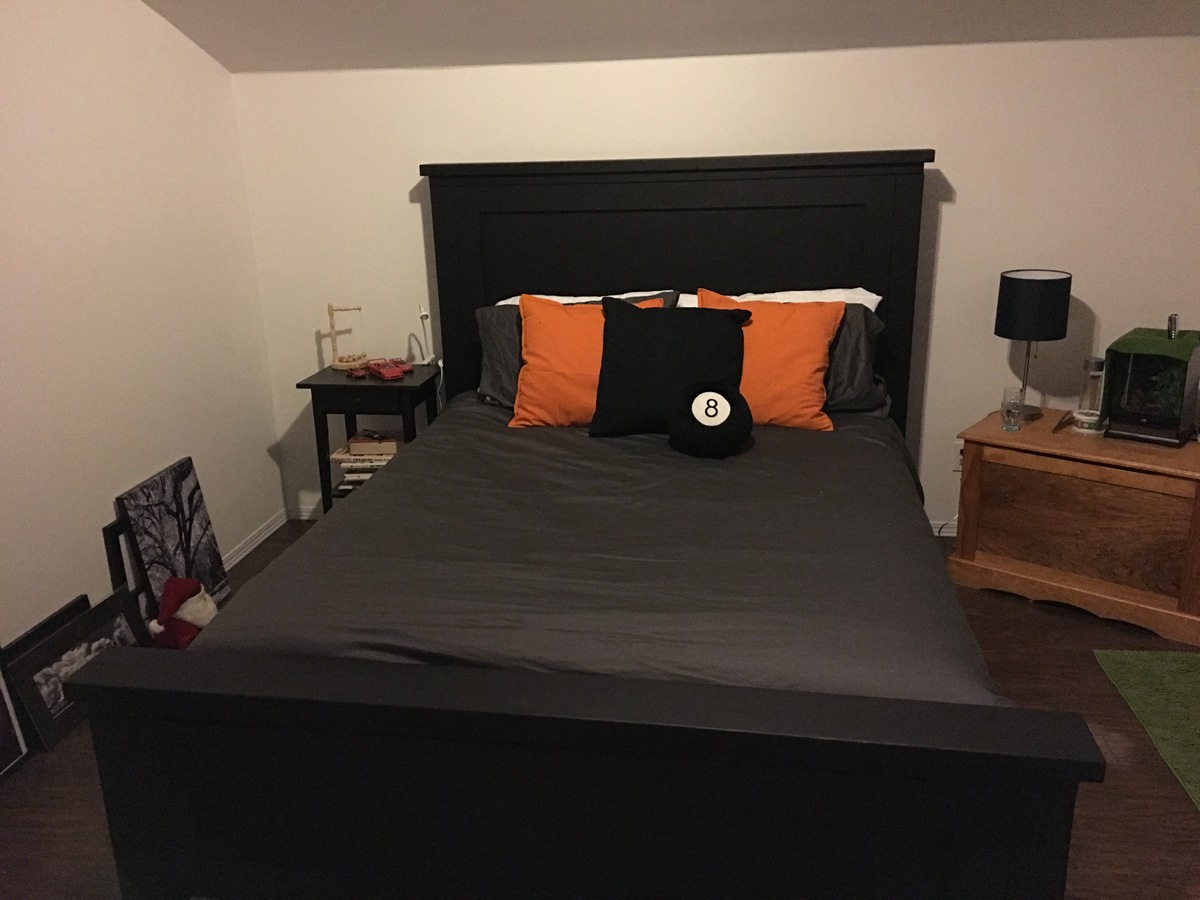
I used Anna's plans, but I wanted to reduce the weight of the bed so I replaced the 2 x 10's with 1 x 8's and I made the cross slats 1 x 4's face up. The 1 x 4's also create a platform to put your bed on so no need for ply wood or box springs. This is still very sturdy, but about half the weight as the original plan.
Thanks Anna for the great ideas and plans! Now I am on to the farm table, wish me luck!
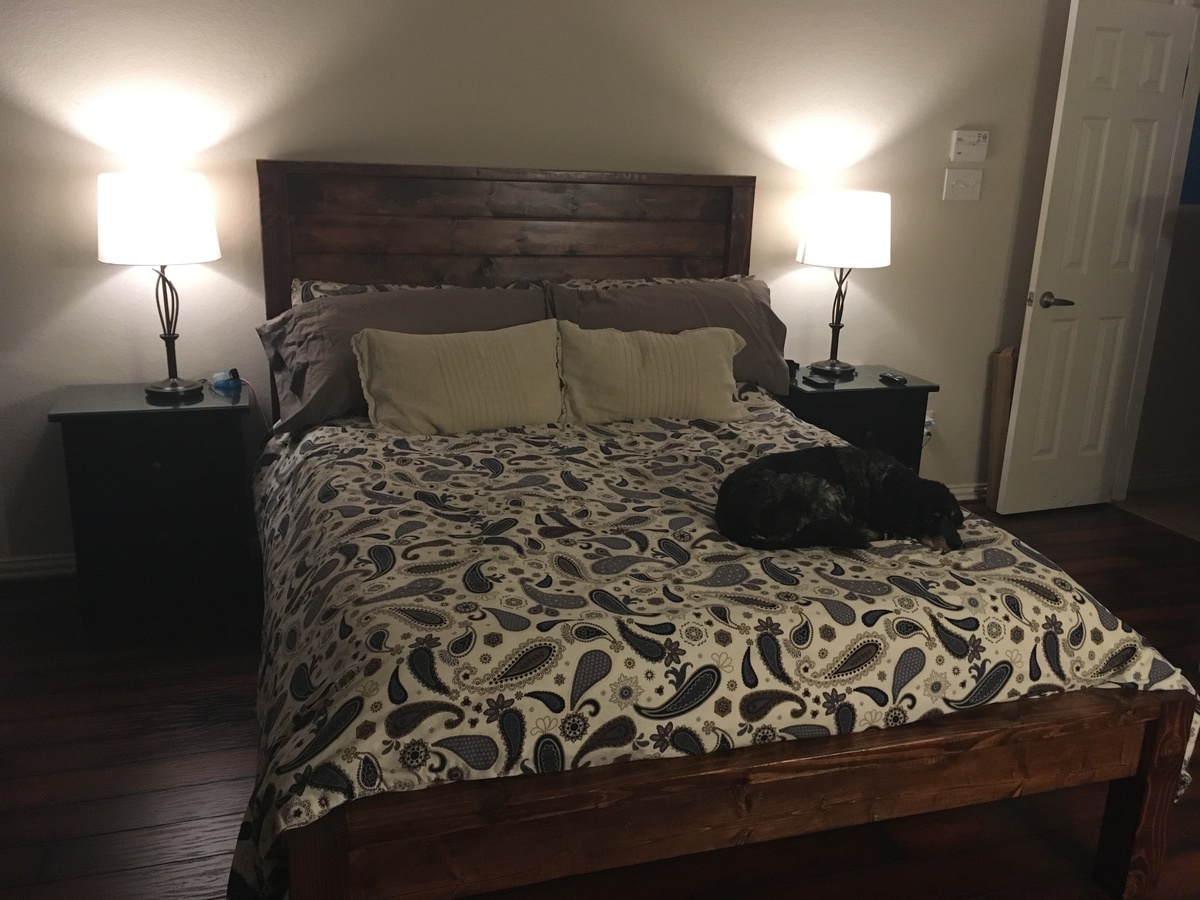
We followed the plans except added in bed rail brackets to make it easier to relocate and adjusted the bed as a whole to sit higher off the ground.
Comments
Ana White Admin
Sat, 11/26/2022 - 13:34
Stunning table set!
These look amazing, thank you for sharing!