Community Brag Posts

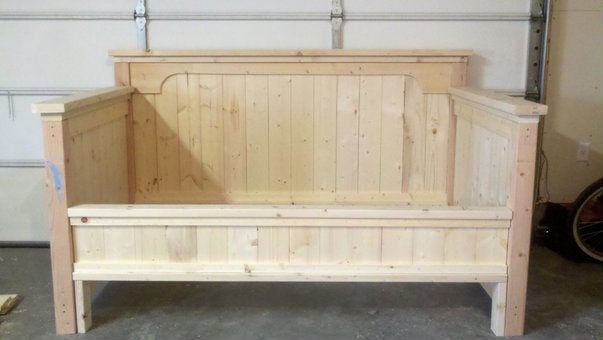
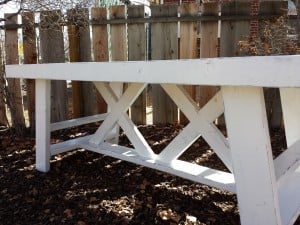
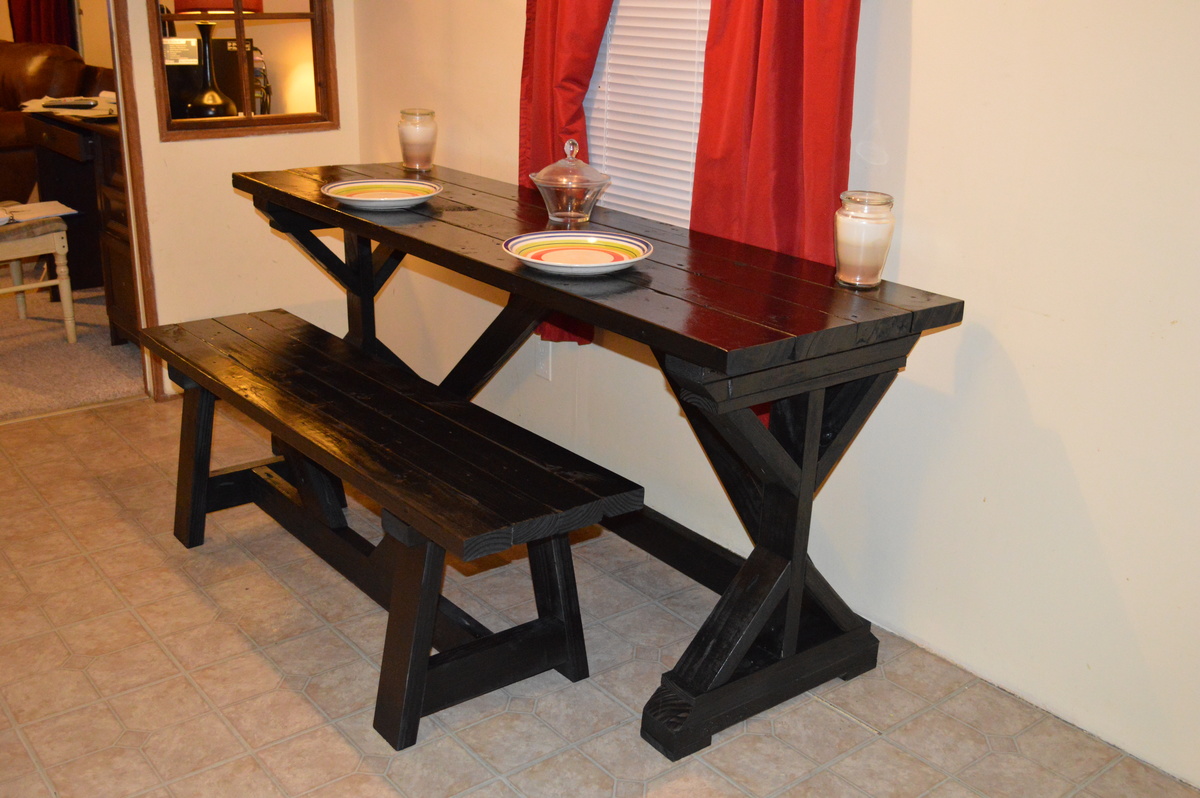
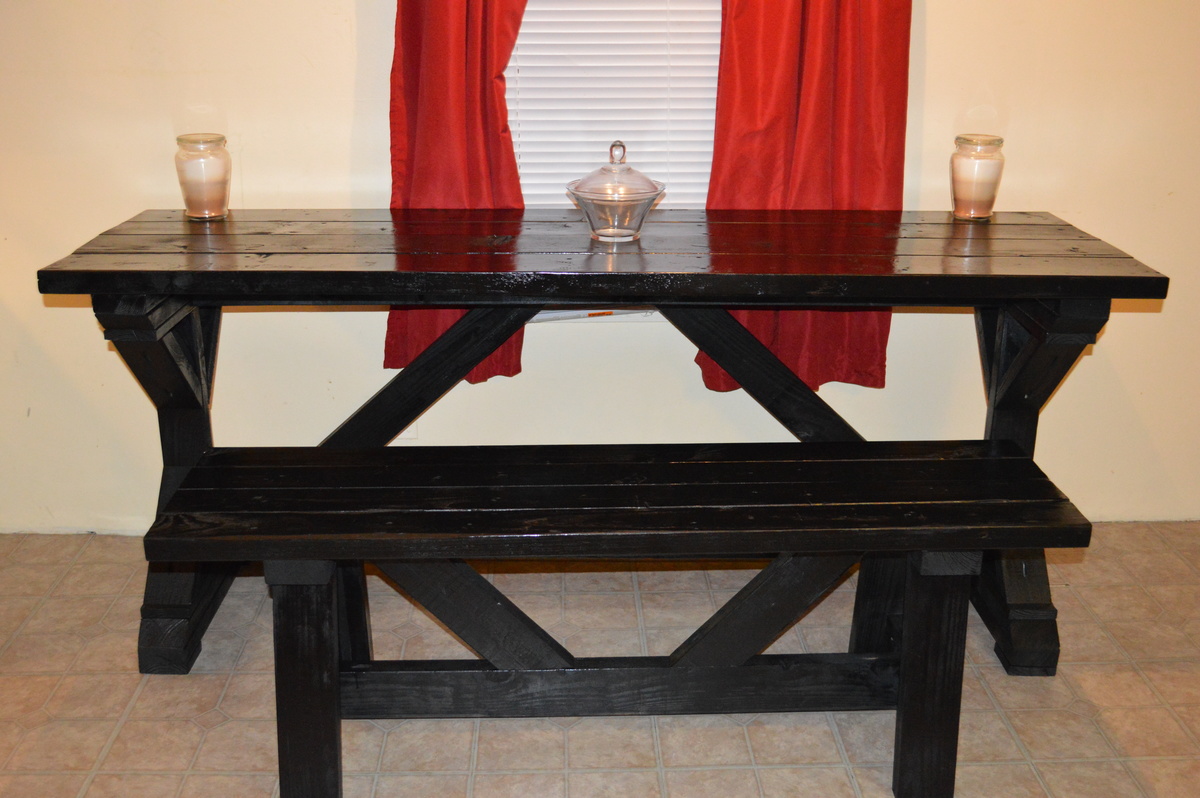
$55 fancy x desk turned kitchen table

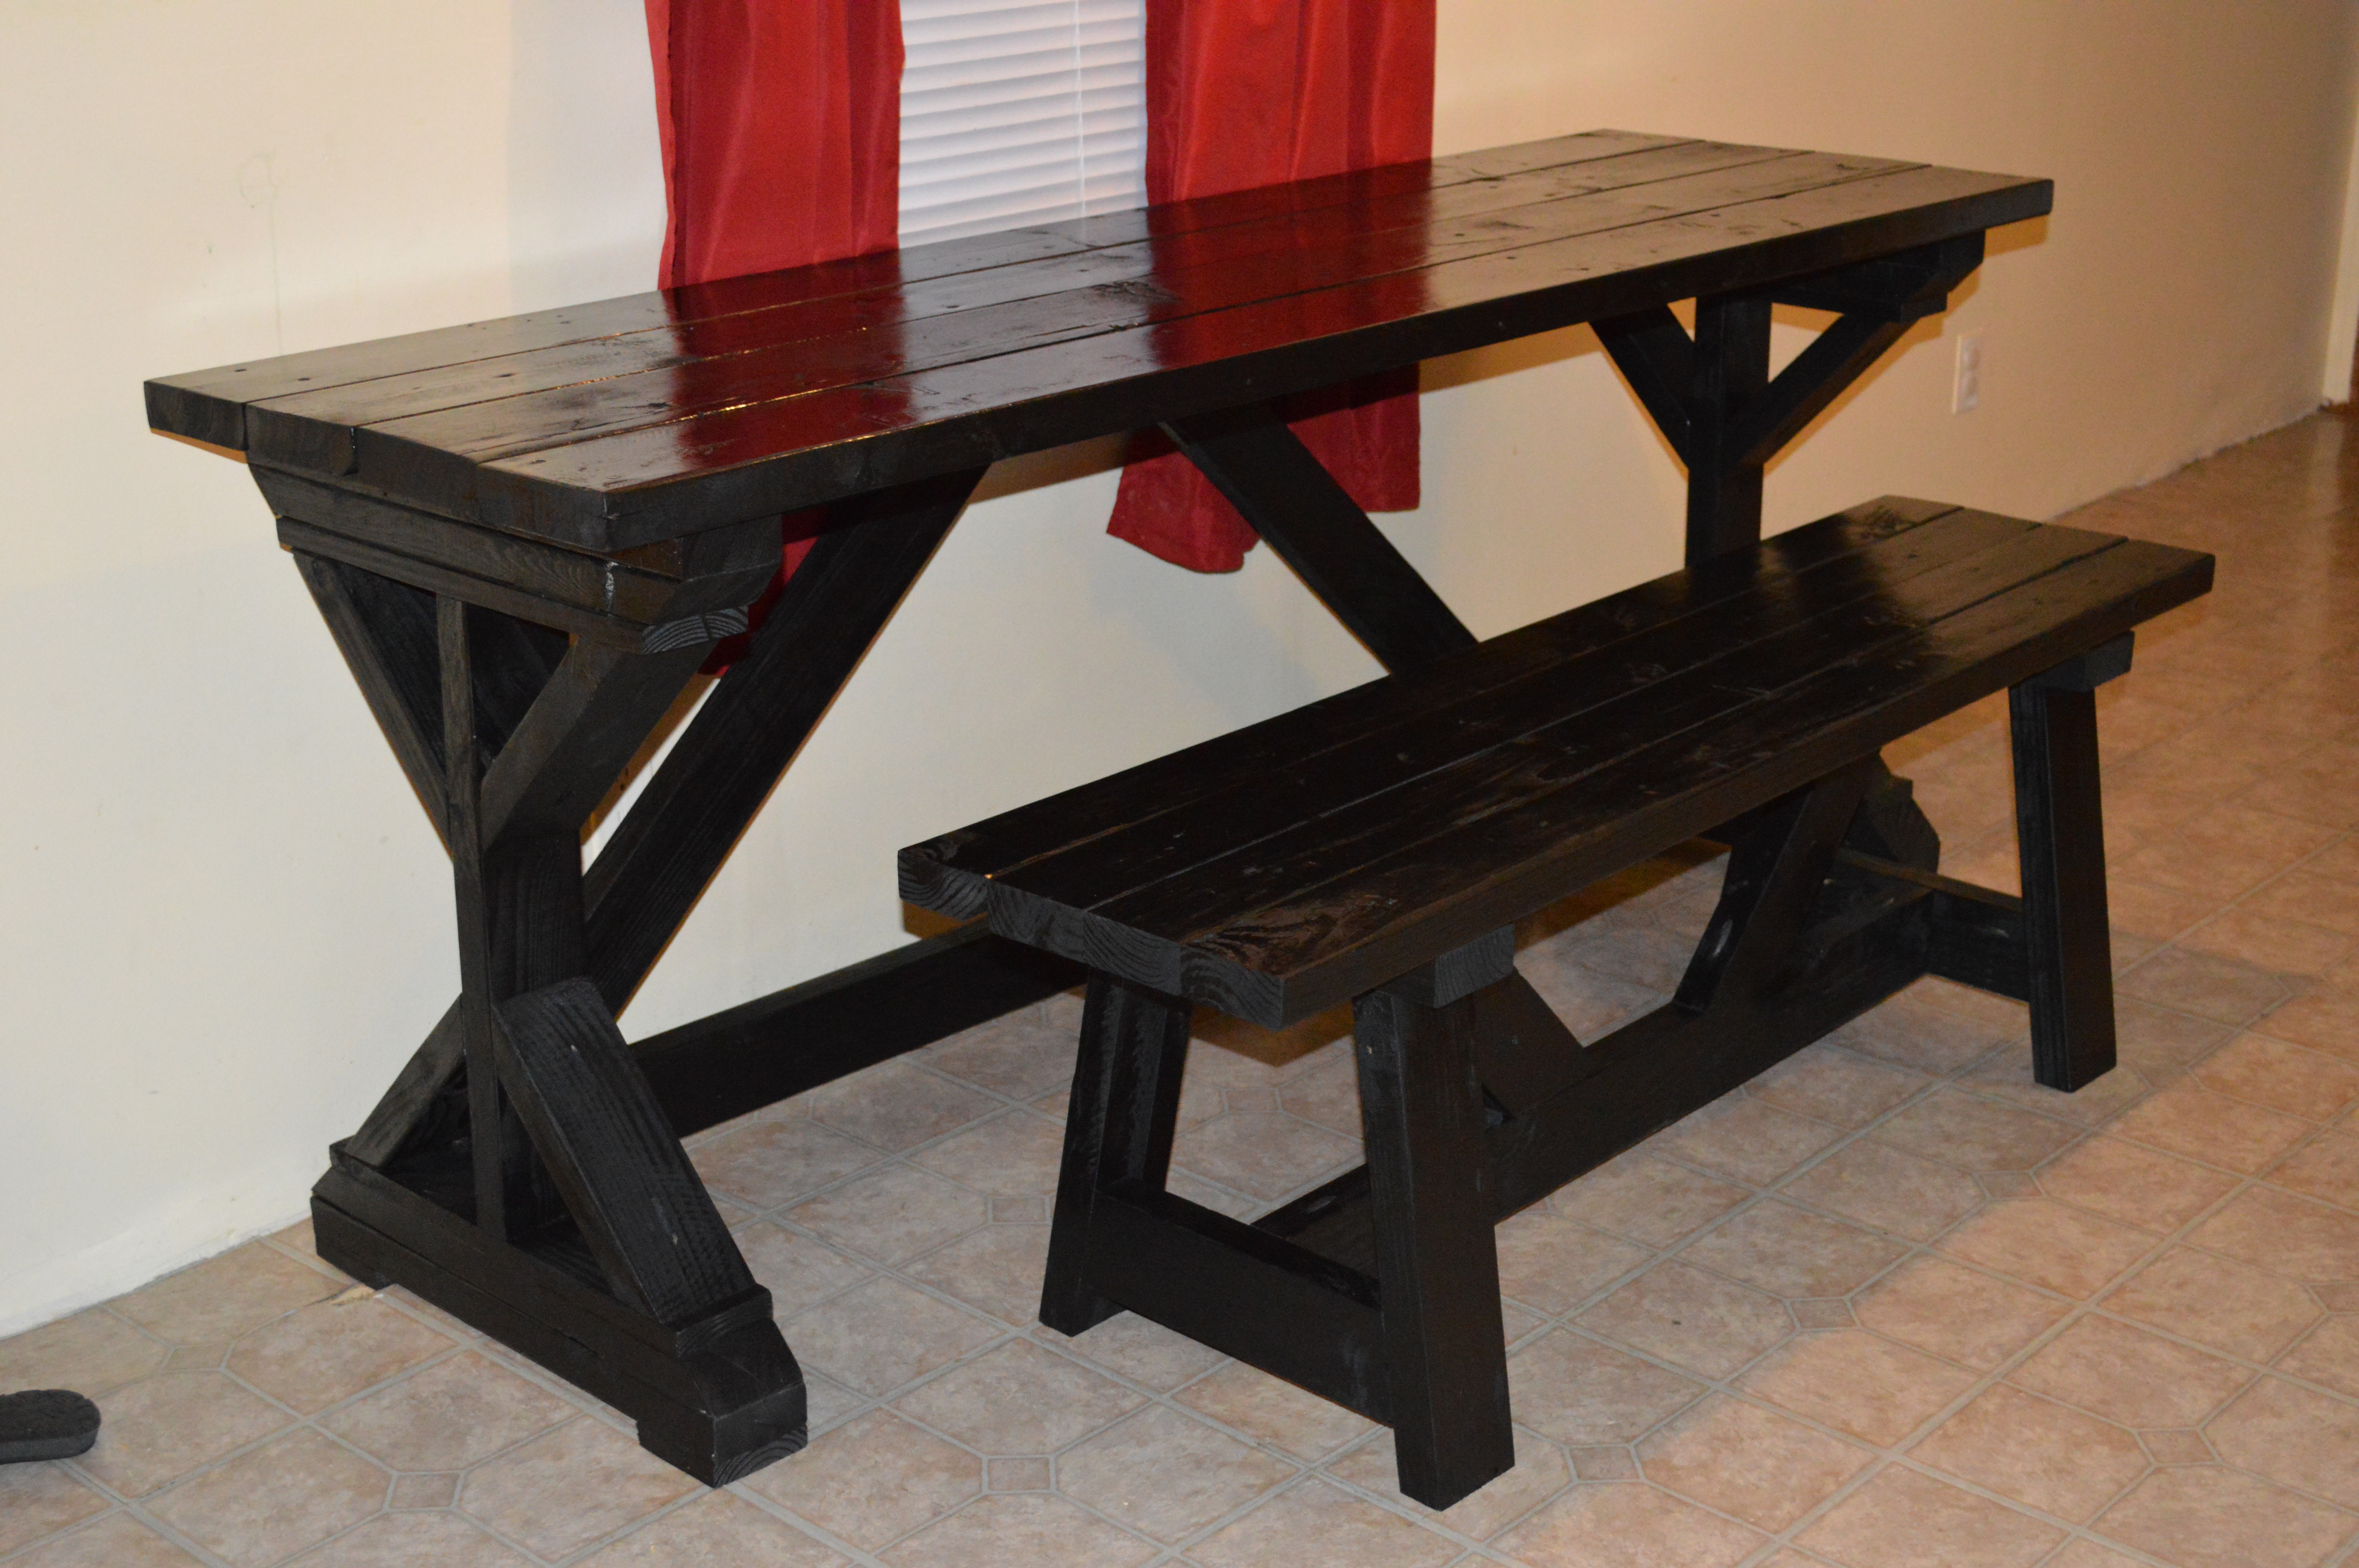
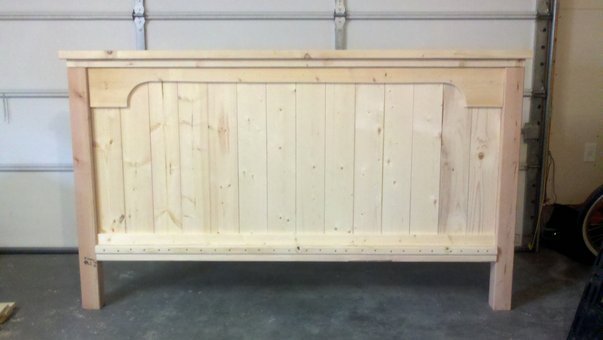
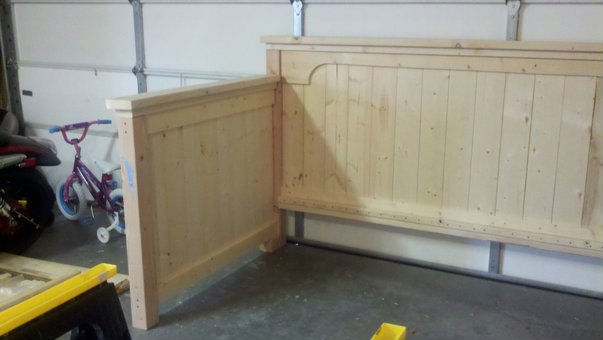
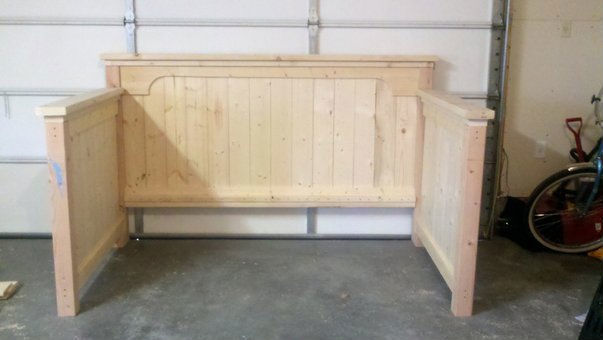
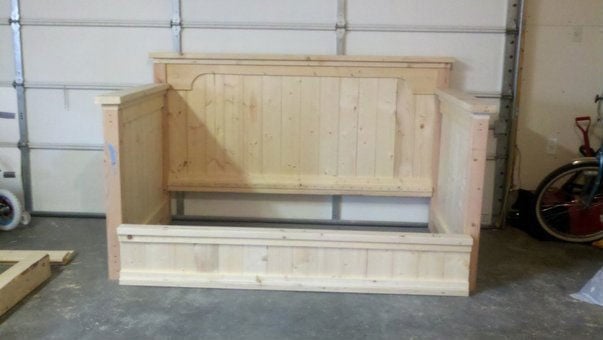
I was making the fancy x desk, and my wife suggested building a bench to go with it to make it a bar style kitchen table to take up less space in our kitchen. So I looked up plans for a bench on here (providence bench looked best with it), and built it. I painted it with rust-oleum American accents spray paint for wood, metal, and plastic in glossy black and surprisingly it looked amazing!

Estimated Time Investment
Afternoon Project (3-6 Hours)
Finish Used
rust-oleum American accents spray paint for wood, metal, and plastic in glossy black. used 2 coats and it gives it a nice look and smooth finish
Recommended Skill Level
Intermediate

Magazine rack

Submitted by kwhitt on Tue, 05/12/2015 - 08:05

This is my first project, just to see if I could actually build something. I used some wood and paint we had lying around the garage, since I didn't want to put money into something I might screw up! This turned out to be pretty easy, despite the wood being a little warped from sitting in the garage for years. It's not perfect, but now I have a place to store my husband's golf magazines that were cluttering up the bathroom -- and the courage to try something bigger!

Estimated Time Investment
An Hour or Two (0-2 Hours)
Recommended Skill Level
Starter Project

Comments

Mini Bedside Table

Submitted by RITWood on Sun, 10/22/2017 - 11:30

My take on the Mini Farmhouse Bedside Table using a combination of new and repurposed pine.  Using a 3/8” round over bit and router I softened the edges of the top and the shelf.  I substituted a ‘plank’ look on the sides instead of the solid flat which the plan calls for.  Finished with a scuffed paint and contrasting dark stain which makes the piece stand out.  

Estimated Cost
$20 each
Estimated Time Investment
Afternoon Project (3-6 Hours)
Recommended Skill Level
Intermediate

Modern farmhouse style bed

Submitted by rikkiesix on Sun, 10/31/2021 - 08:32

We are so happy with our new bed. Made the headboard a foot lower. Like it a bit better this way. Thanks Ana for the awesome plans Greetings from Belgium Marrah and Erik

Built from Plan(s)

Comments

Table turned cabinet

I had an old table that was in my basement.  I wanted to re-do my craft room.  I have been thinking and thinking about it.  So when I saw Ana’s link to her drawer organizer – and how to install drawer slides – I thought – ok – now it’s time to do it.


I spent about a week drafting plans, making measurements.  At first I was going to recycle the metal sliders I had left over from the kids dressers…but there wasn’t enough – and to do 12 drawers would be more money than I wanted to spend.


So – a trip to home depot – I was able to take this table that was just collecting junk – literally – to an organized and functional crafting cabinet – with huge deep drawers.  There are 12 drawers in total.  They are all 6 inch in height, 26 inches deep, and then there are 8 that are 16 inches wide, and 4 that are 12 inches wide.


Here are some before and after pictures – I have all the details on the build on my blog.  I wouldn’t have been able to do it without Ana.  Her plans and continual inspiration!

Estimated Cost
Around $80
Estimated Time Investment
Afternoon Project (3-6 Hours)
Finish Used
On the fronts of the drawers only. Sanded, primed and painted with high gloss white.
Recommended Skill Level
Intermediate

Rustic X End Table

Submitted by dzubakj on Mon, 06/10/2013 - 08:40

I altered the dimensions slightly so that it wouldn't be overbearing in my living room. It is much shorter than the plan suggests, and the length and width are also changed. I used framing 2x4 and 2x6 lumber, so I had to sand the heck out of it to make it nice and smooth. It looks great next to the console table. Good plan.

Estimated Cost
60
Estimated Time Investment
Weekend Project (10-20 Hours)
Finish Used
I went with the steel wool in vinegar finish with two coats of light brown Briwax over that (applied with steel wool). I really liked the steel wool and vinegar finish, but if you have never used it before be careful, it is a bit tricky to apply evenly. Also, it goes through several changes while it dries. I started panicking a little before it was fully fry because it was not turning out how I suspected at all. After a few more minutes it looked much better, and the wax brought out just enough brown to make it exactly what I wanted.
Recommended Skill Level
Starter Project

Castle Bed

Submitted by AndyH on Wed, 05/13/2015 - 08:00

Friends asked me to design a princess/castle bed for their daughter. It needed to fit a single/twin size mattress and fit a 61 inch space they had so I designed the overall width to be 60 inches.

It is all made from solid planks apart from the two big shelves in the headboard which are plywood.

They wanted the sides close to the headboard to be raised as well so their little girl didn't roll out the bed.

Not added the slats yet as it is off to the paint shop to be sprayed Pink!! I will post more photos once painted and will also post plans soon once finished them.

Hope the little girl likes it when she sees it.

Estimated Cost
$350
Estimated Time Investment
Week Long Project (20 Hours or More)
Finish Used
Will be spray painted pink. I will post more pictures once painted.
Recommended Skill Level
Intermediate

Comments

Vespa ride-on

I made the plans a little different. I had more support to the front, made the base wider, and added swivel wheels instead of rockers.

Built from Plan(s)
Estimated Cost
$20
Estimated Time Investment
Weekend Project (10-20 Hours)
Recommended Skill Level
Beginner

Cabin style bed

Submitted by Anonymous (not verified) on Fri, 11/05/2021 - 19:27

This was my version of the cabin bed plans on this site.
My son loves it and of course my wife does too..

Built from Plan(s)

Comments

Playhouse Loft Bed

This is my first KOW project...I built the playhouse loft bed for my daughter, Kayla.  She named it Lofty Cottage.  I used leftover pink paint from painting her table and chair set for the inside of the playhouse.  I made the letterbox from scraps and the half-door from the door cutout.  I added hardware that matches the hardware on her other furniture.  I made the banner by hand and hand painted the birdhouse and the sign.  She loves it!  Thanks for the great plans Ana!  Can't wait to start on something new now!

Recommended Skill Level
Intermediate

Porch bench

Submitted by DWolf on Tue, 06/11/2013 - 15:58

Using Ana's garden bench design, I modified the plans slightly to make the bench less deep in order to fit on my narrow porch.

Built from Plan(s)
Estimated Time Investment
Day Project (6-9 Hours)
Finish Used
White Valspar outdoor paint
Recommended Skill Level
Beginner

Barn Greenhouse on the Penninsula!

Submitted by klatz on Fri, 05/15/2015 - 09:08

Super easy to follow and build! We went with treated lumber from Home Depot and have around $1500 into the project. Will be looking at adding an automatic fan and thermostat next year. Benches on one side for starters and a raised bed on the other side.

Built from Plan(s)
Estimated Cost
$1500
Estimated Time Investment
Week Long Project (20 Hours or More)
Recommended Skill Level
Intermediate

Comments

MartiB8

Fri, 06/12/2020 - 11:00

What a fabulous job! I love the red door for a pop of color. And the thermometer is a brilliant idea. I'm modifying this plan to better fit my yard. Thanks for sharing!

Bluebird Birdhouse Made From Pallets

Submitted by mtairymd on Sat, 11/25/2017 - 15:20

Build Instructions: https://www.instructables.com/id/Bluebird-Birdhouse-Made-From-Pallets/

This is a very easy project to make for attracting bluebirds to your yard. I wanted to reuse some of the wood I have from with the pallets I broke apart last year. This project uses a combination of industrial strength pallets made from 2x6s and standard pallets which provide slats in the 3/8" to 1/2" thick range. As for the house, I tried to hit the basic bluebird birdhouse dimensions for this build:

  • Hole Entry Size: 1.5"
  • Hole Distance Above Floor: 6" to 7"
  • Floor Dimensions: 4"x 4" to 5" x 5"

Feel free to leave the birdhouse exterior to weather unfinished or stain/paint it. I finished the house with a combination of stain for the bottom and sides and green paint for the roof.

Estimated Cost
$2
Estimated Time Investment
Afternoon Project (3-6 Hours)
Finish Used
Dark Cherry & Paint
Recommended Skill Level
Beginner

Farmhouse Daybed

I modified the regular farmhouse bed to a daybed for my daughters bedroom. All that is left now is to fill holes, paint, distress, and glaze :) I made the height of the front and back tall enough to fit a trundle I plan on making later. It is up on blocks right now so I could see what it will look like when completed. Will post an update once it is painted and assembled.

Built from Plan(s)
Recommended Skill Level
Beginner

Comments

suziewelker

Fri, 10/23/2020 - 23:52

I love this! I would love to build a twin size farmhouse daybed with trundle for my stepsons’ room. They are only only with me every few months, so I want to have beds for them but this would save a ton of room! I have tried to modify the Haley storage daybed and the farmhouse plans, but am new to this, so I’m having great difficulty. Also, since they are teens, I have twin XL mattresses. 39x80, so again, more modifications. Any help you can provide would be greatly appreciated! Thank you!

Tryde Coffee Table

Submitted by bishop2001 on Fri, 06/14/2013 - 07:00

Tryde Coffee Table made of mahogany and stained used several layers of boiled linseed oil and a few top coat layers of wipe on satin polyurethane. It came out really nice. This is my first project.

Estimated Time Investment
Week Long Project (20 Hours or More)
Finish Used
boiled linseed oil
Recommended Skill Level
Beginner

Comments

Pottery Barn headboard with barn wood finish

Submitted by Abentley10 on Tue, 05/19/2015 - 02:31

Pottery Barn inspired headboard was created by using a modified version of the Reclaimed Wood headboard. I turned the planks vertical and cut them 32" long. I added a piece of rope ceiling trim. For the finish, I spray painted the whole piece black. After it was dry, I dry brushed cream paint on top. I finished it off with polyurethane.

Estimated Cost
Around $50. I used wood from the 70% off rack at Home Depot.
Estimated Time Investment
Afternoon Project (3-6 Hours)
Finish Used
Barn wood faux finish. Rustoleum black spray paint, cream latex paint, spray polyurethane.
Recommended Skill Level
Beginner

Comments

RenoRustic

Tue, 05/19/2015 - 09:04

I was thinking of running planks vertically for the Reclaimed Headboard too but ended up doing a different headboard all together at the last minute. I really like how yours turned out. Great job on the cost too. I don't think I've ever seen a 70% off rack at Home Depot. Now I want to run up there real quick to find it!

Abentley10

Fri, 05/22/2015 - 22:23

Thank you. Home Depot usually has a cart in the lumber aisles with stacks of wood with minor imperfections. We have scored big when they included the specialty wood.

Coffee Bar

My husband building this using Ana White plans.  I just love getting to put a bunch of different items almost as a display.  I love this coffee bar  and it is now almost the focal point in our dining room.  I just love the presence it has in this room.

Built from Plan(s)
Estimated Cost
$200.00
Estimated Time Investment
Weekend Project (10-20 Hours)
Recommended Skill Level
Intermediate

Comments

Queen Farmhouse Storage Bed

Submitted by foxy024 on Wed, 11/24/2021 - 01:40

First time building anything like this! The drawers were a challenge getting them square but they work!

Comments

Kids Adirondack chairs

Submitted by redhead_61 on Fri, 04/08/2011 - 13:39

This was admittedly a little harder than I thought.  The first one turned out short of perfection trying to get things looking great.  The second one was better using a level and being more careful.  However, the fact that my nail gun totally went out halfway through made the project a long one.  But my kids LOVE them and they look so cute and luxurious out in my grass.  I love it. 

Built from Plan(s)
Estimated Cost
$10
Estimated Time Investment
Afternoon Project (3-6 Hours)
Finish Used
off white paint and poly
Recommended Skill Level
Beginner

King storage bed

Submitted by Ken Kelly on Sat, 06/15/2013 - 22:43

This King size storage bed has 6 large pullout drawers. It's made by the plans we got from Ana's queen size and Twenty five to life's plans we found on this site(THANK YOU). Just like they say in their plans I'm not sure how much I actually spent because I made some mistakes and had to rebuild my bottom piece. But I loved putting this together, and it's worth every penny and beyond. The compliments from visitors and the swollen chest pride I get when I hear my wife say, "My husband built this for us." Can't put a price on that.

Estimated Cost
Around 200-250
Estimated Time Investment
Week Long Project (20 Hours or More)
Finish Used
Min-wax stain and polyurethane.
Recommended Skill Level
Intermediate

Turned leg table made in India

I loved working on this project and my sincerest thanks to Ana and Elisha for this design. The picture is missing one drawer handle, because, erm, I lost it. I didn't want to wait to find it before posing this brag :).

Built from Plan(s)
Recommended Skill Level
Intermediate

Comments