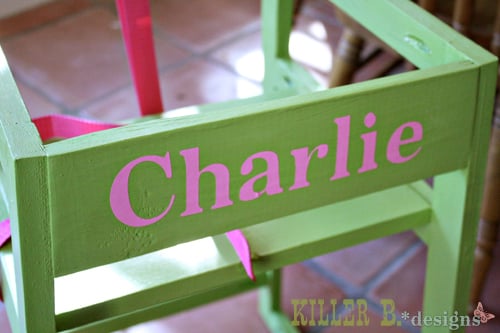
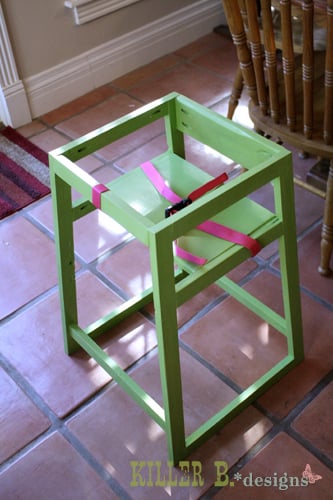
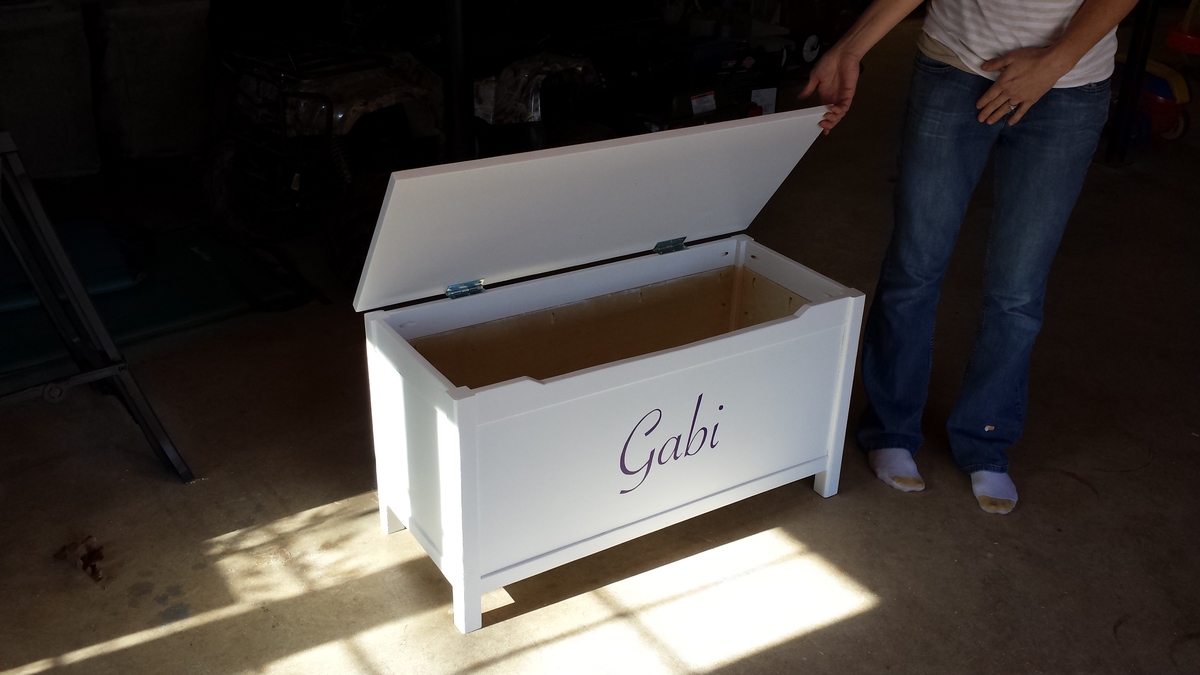
toy box
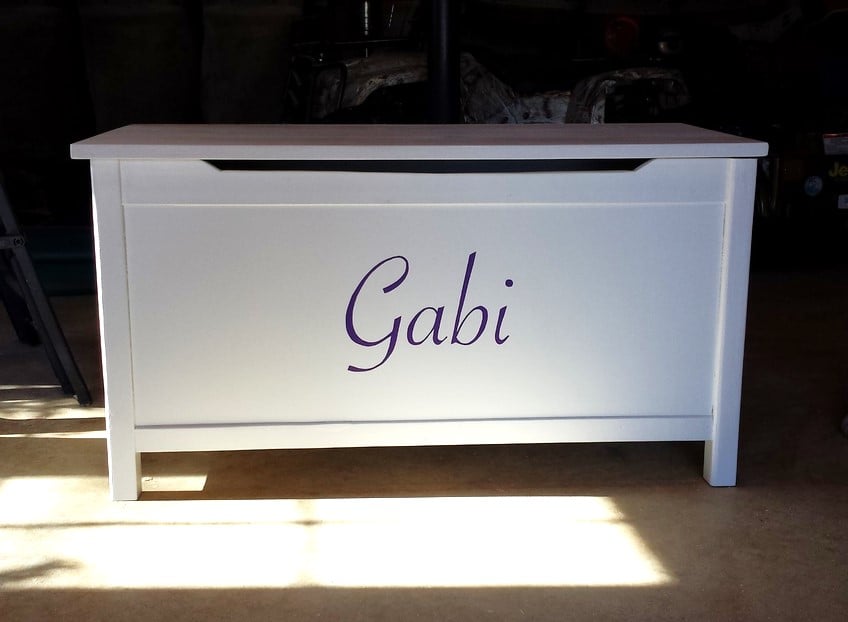
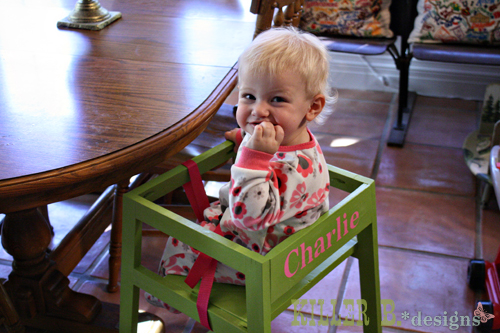
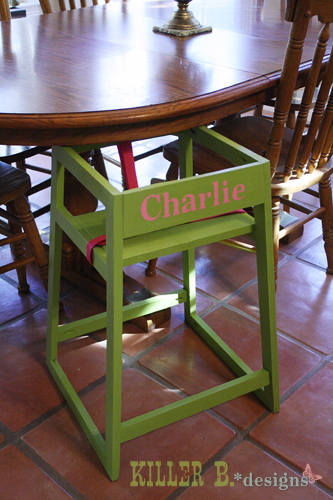
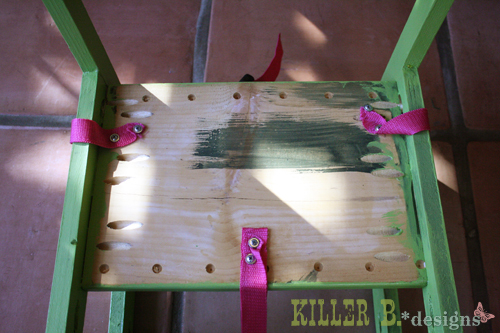
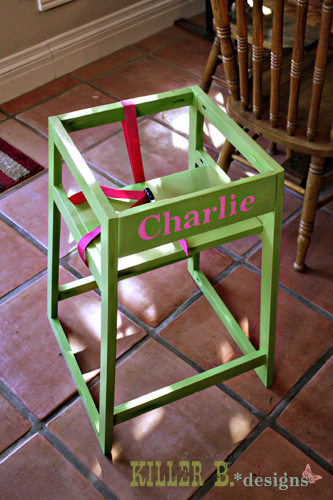
Simple cuts, kreg jig made all the difference when putting this together. Made for my niece's 2nd birthday and both she & my sister loved it.
Built from Plan(s)
Estimated Cost
With finishing products about $90
Estimated Time Investment
Weekend Project (10-20 Hours)
Finish Used
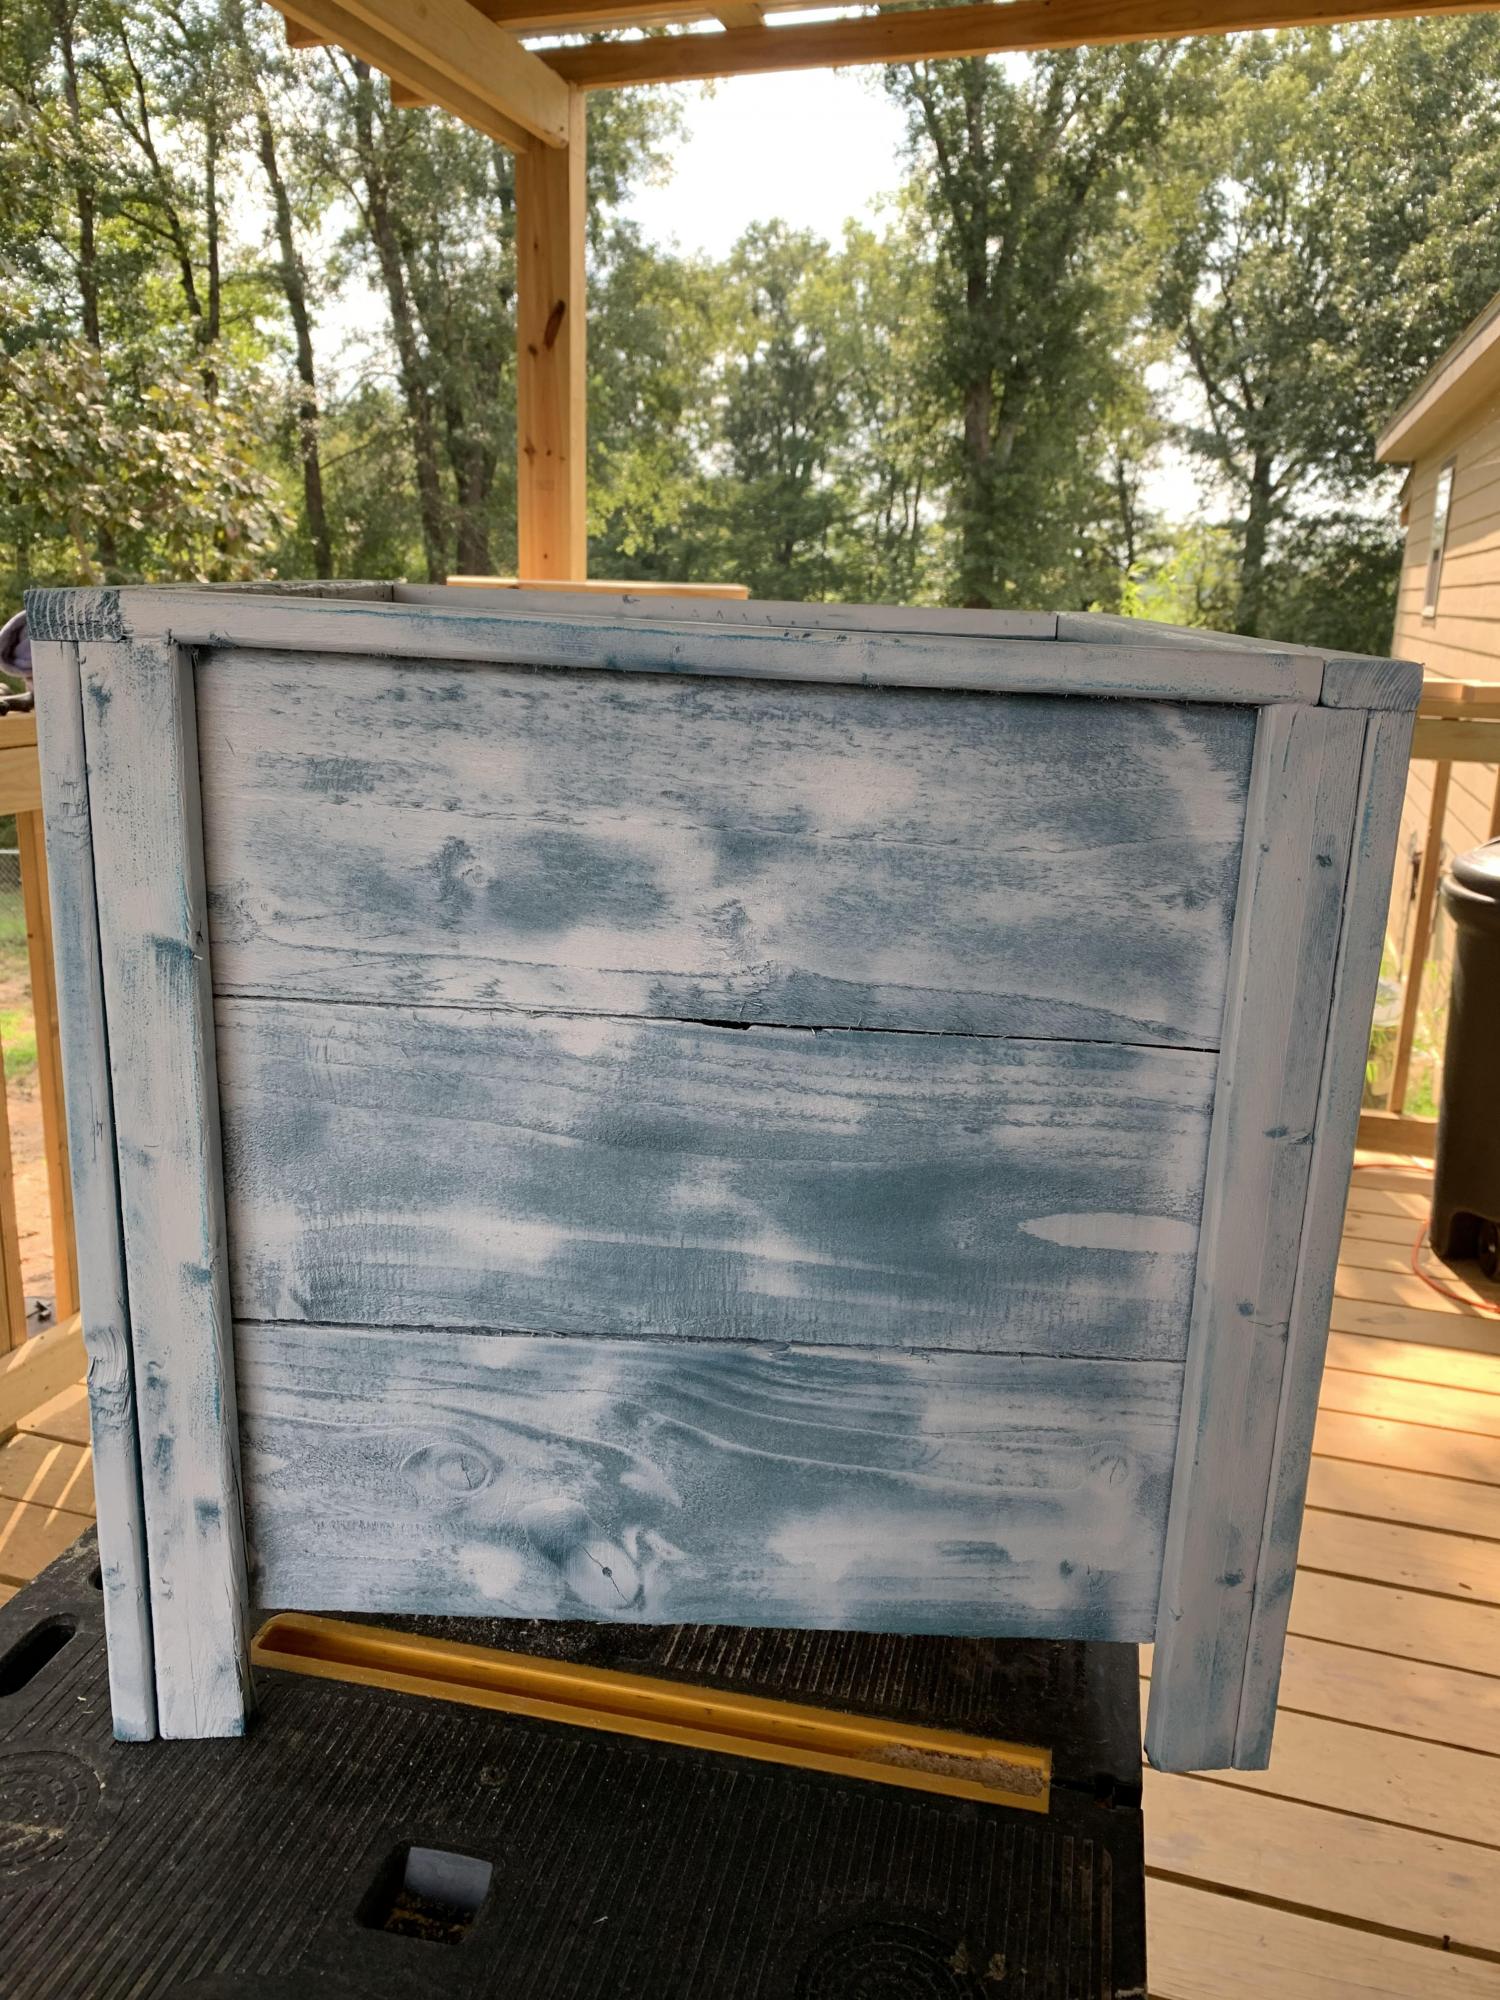
Paint and polyacrylic top coat. White primer after sanding, 2 coats of white paint, hand written name on front of box in purple paint, 2 coats of polyacrylic spray.
Recommended Skill Level
Beginner