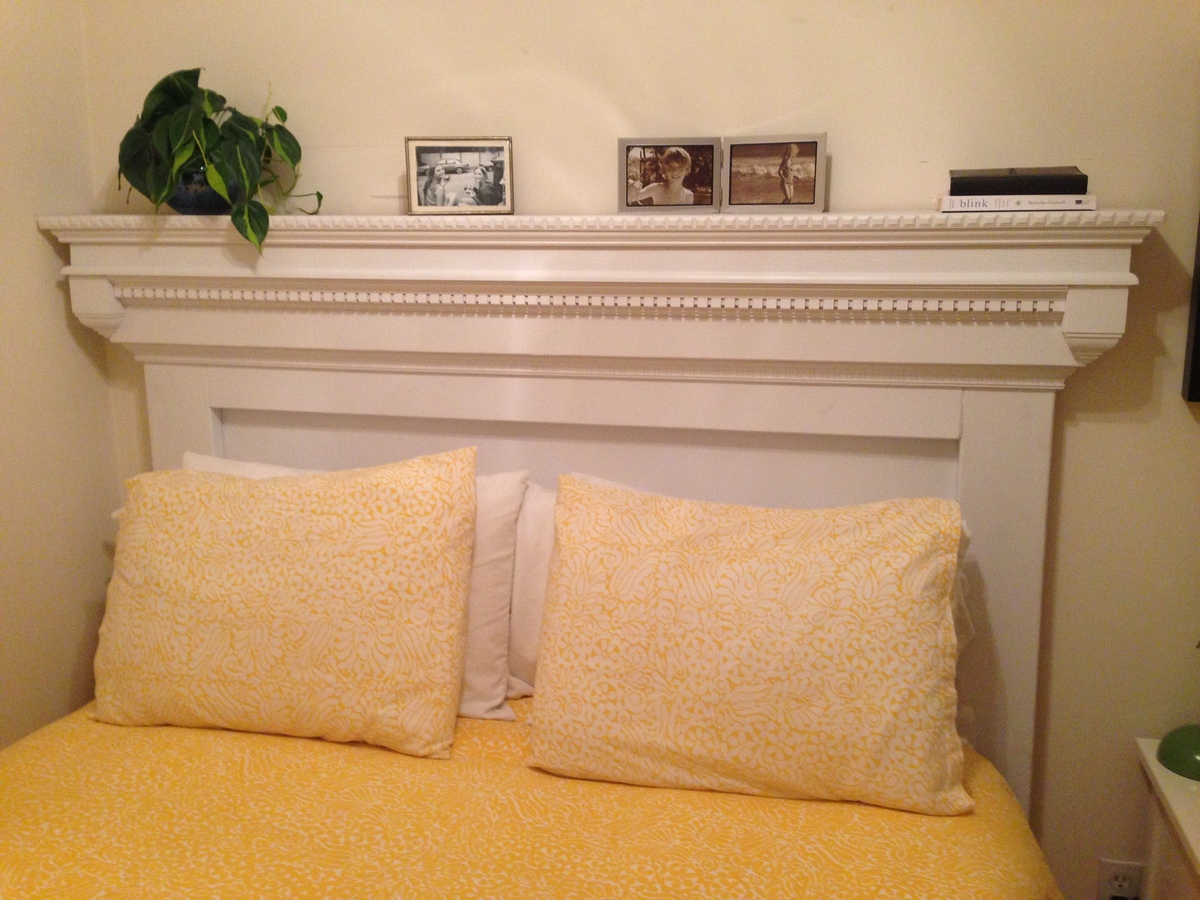
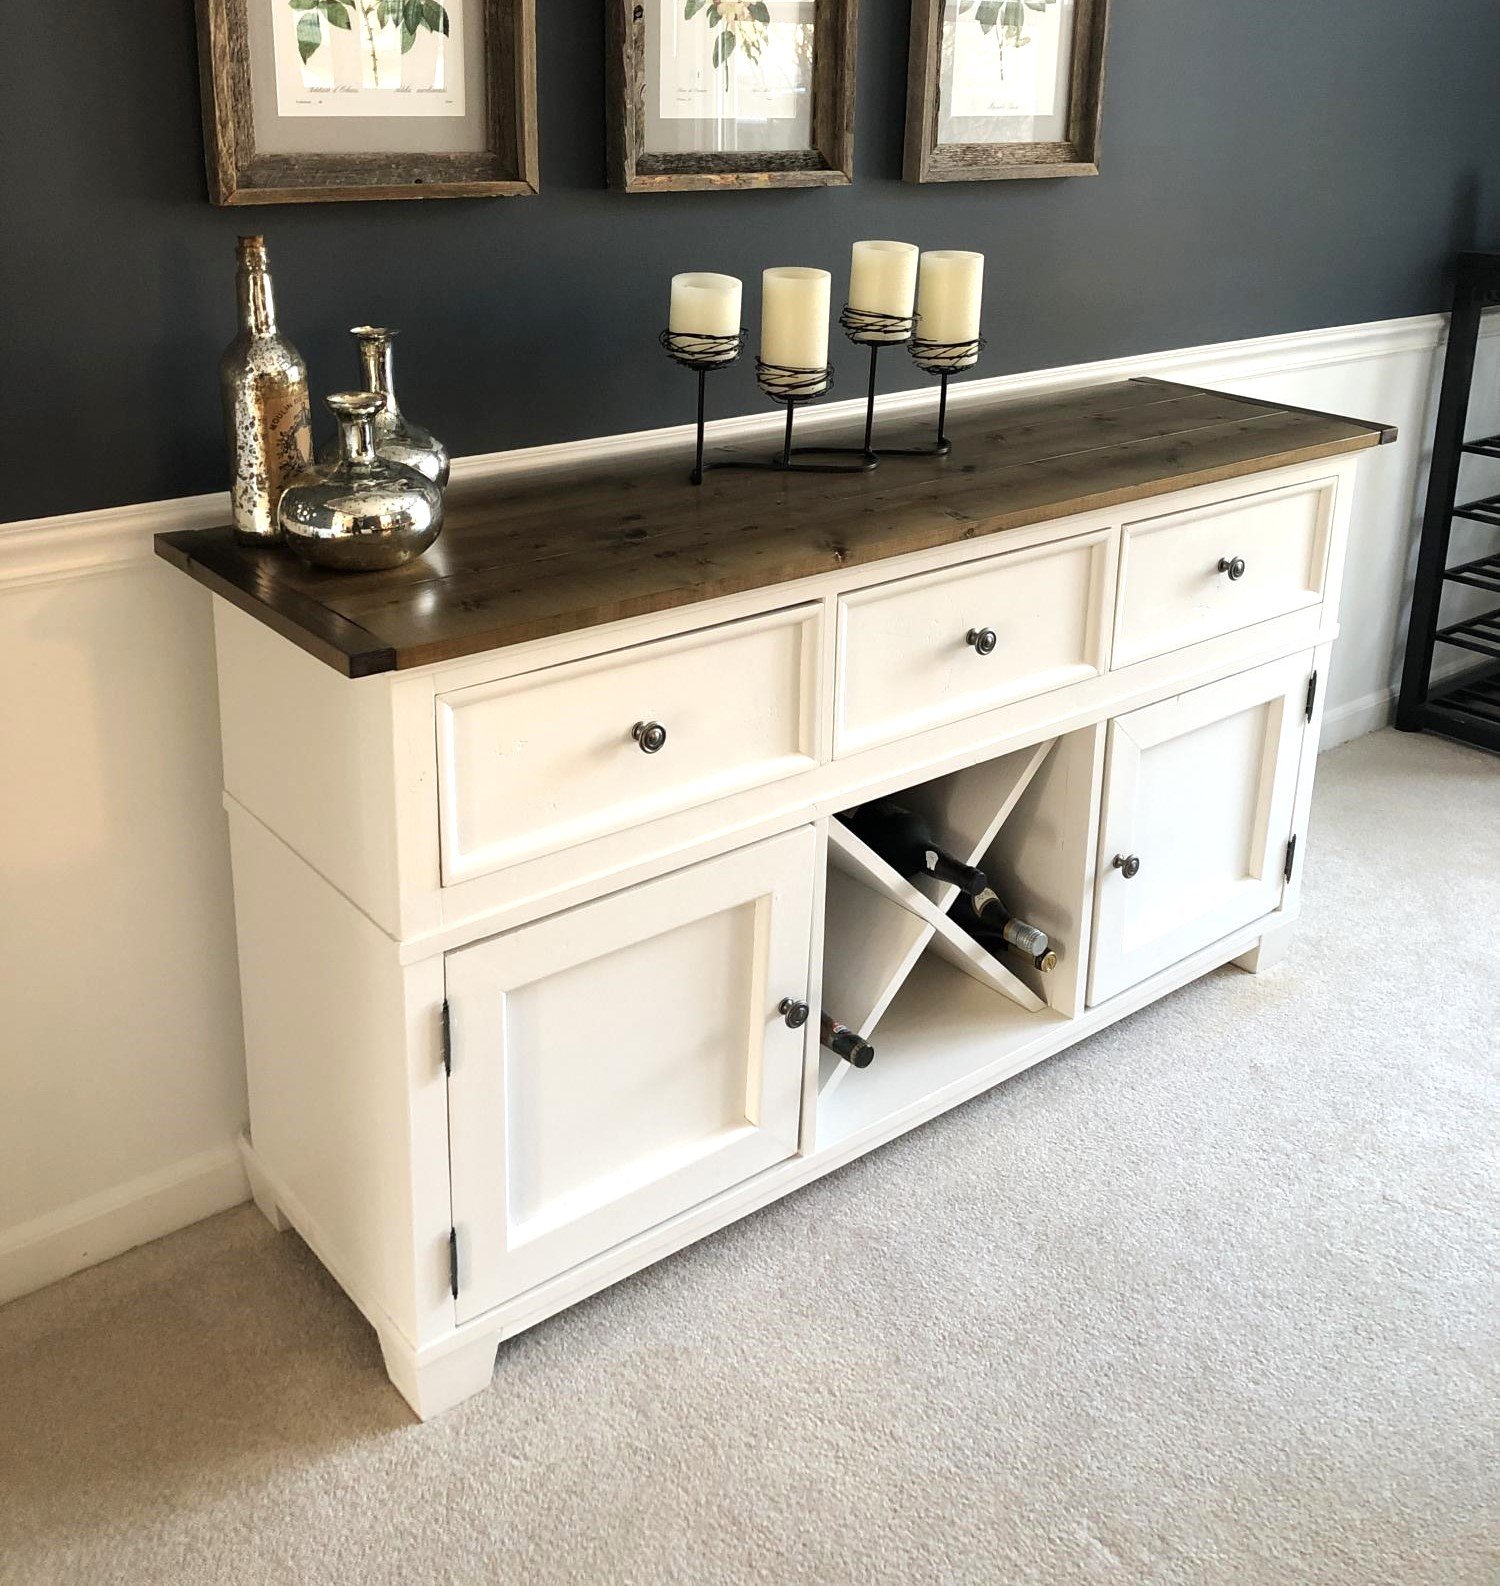
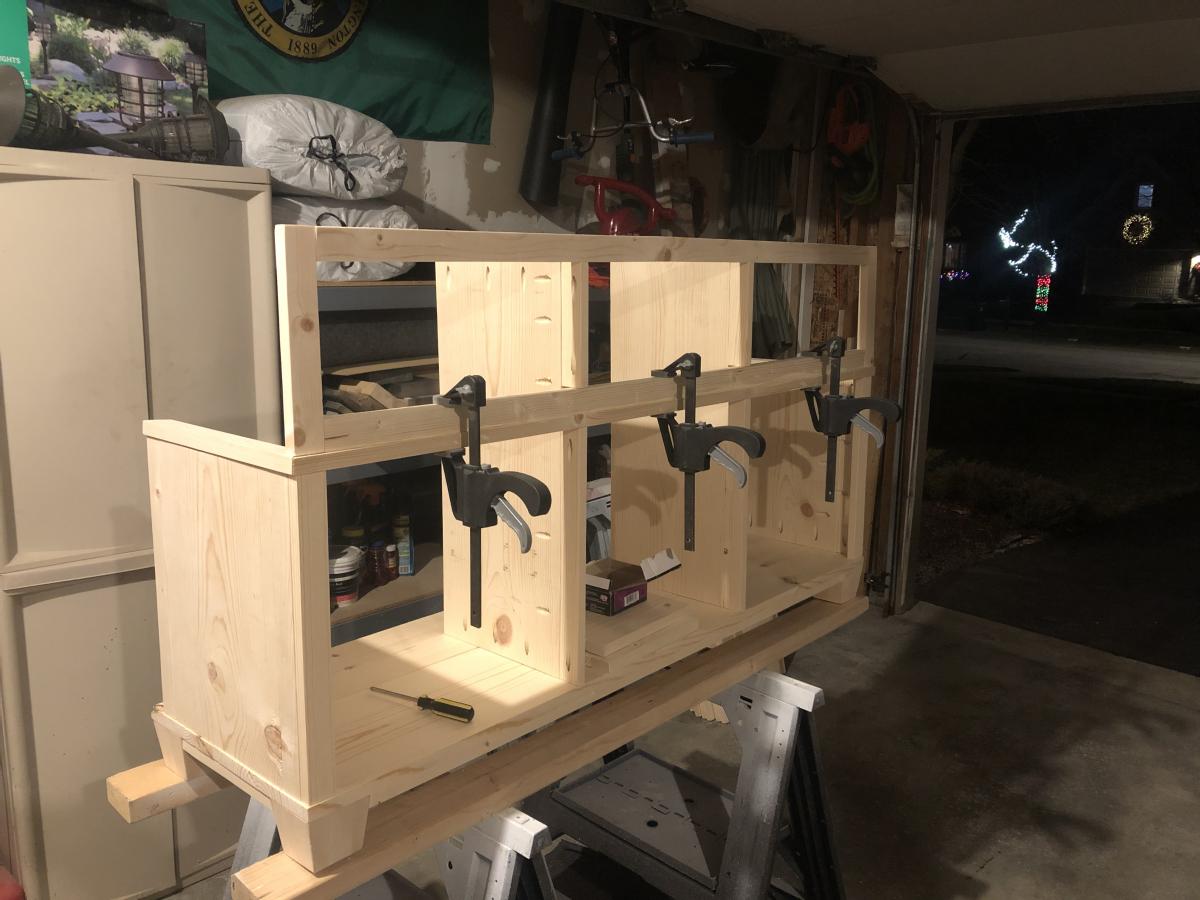
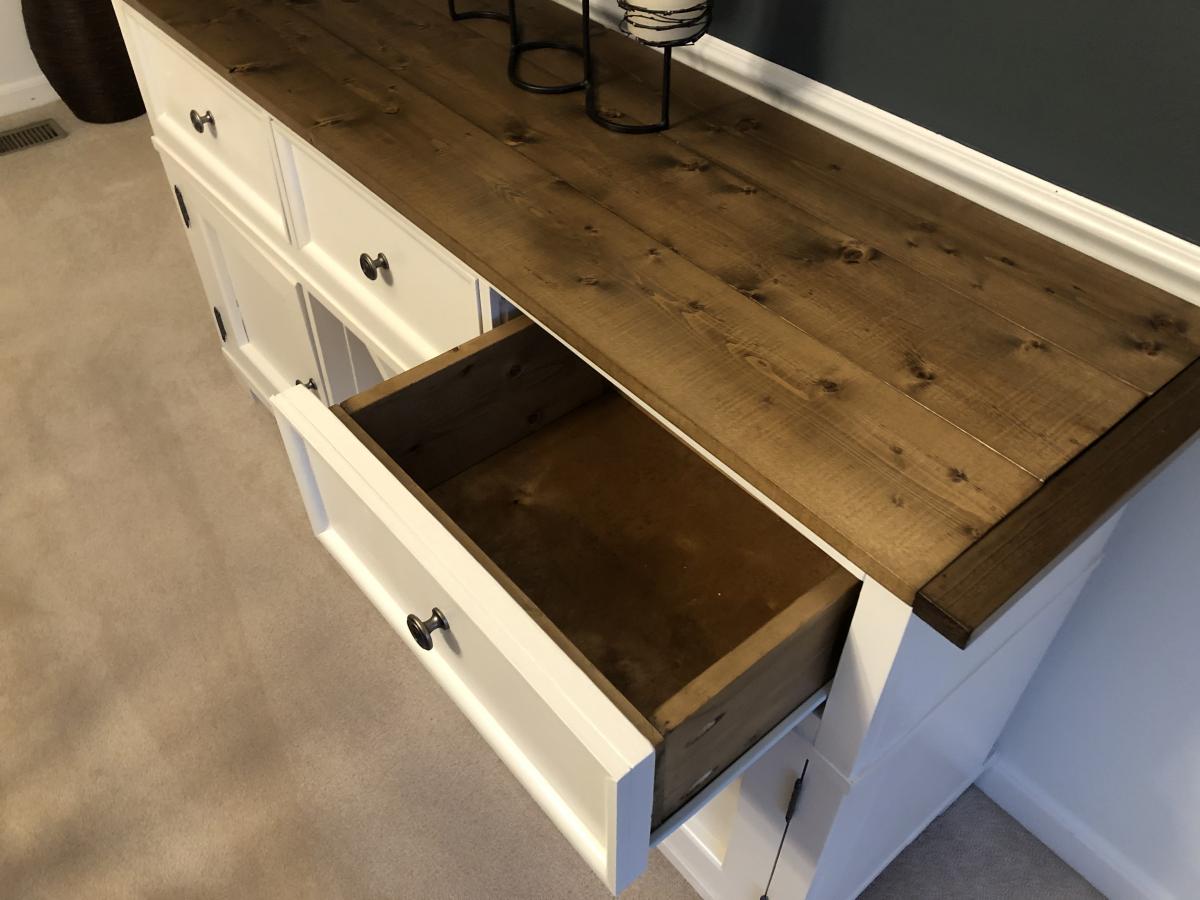
Community Brag Posts

Hailey platform bed

Submitted by RuthE on Fri, 11/28/2014 - 17:30

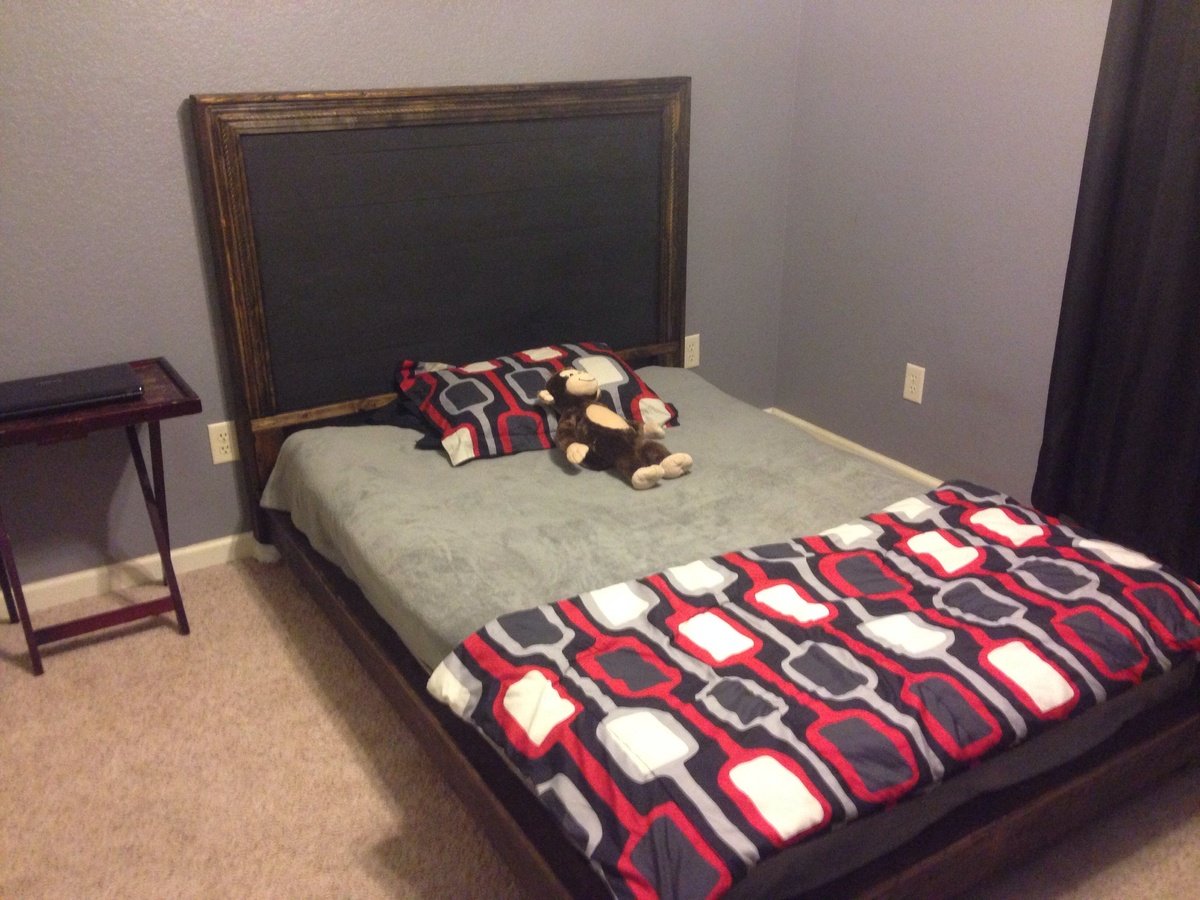
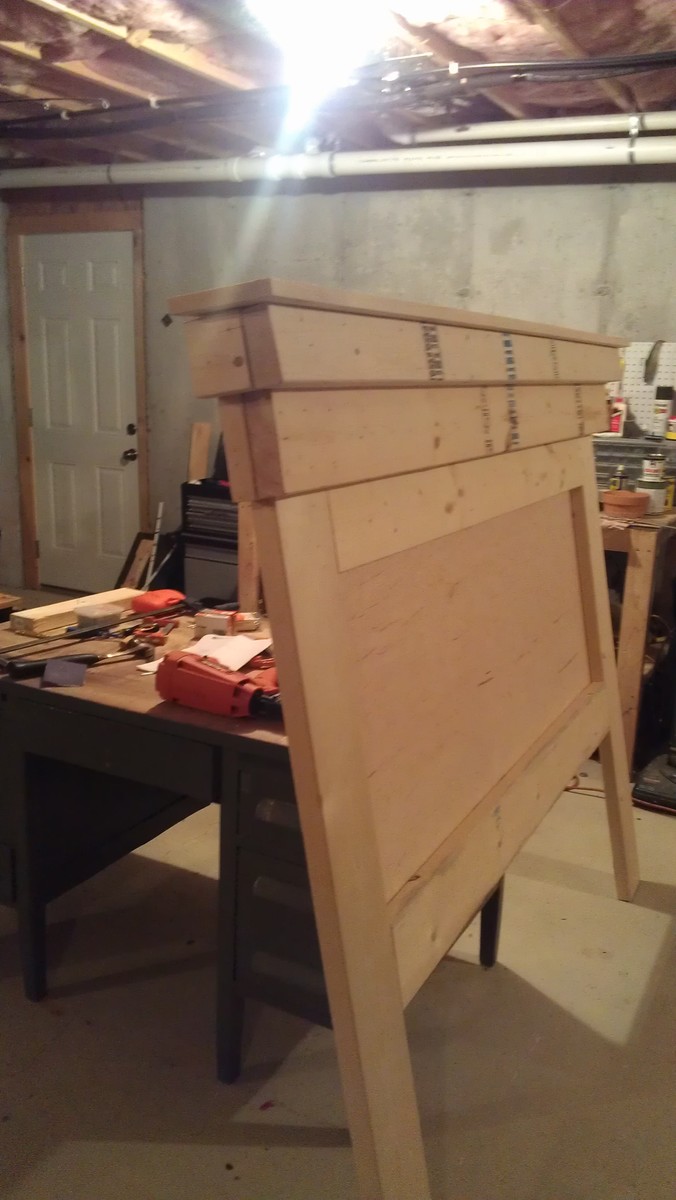
I completed this project almost entirely by myself. I had a malfunction with the saw & needed assistance from my husband in the beginning, but borrowed a saw from a friend & completed the rest by myself. I made the platform bed one weekend & made the headboard another weekend. Fun project! And it turned out beautiful!! Thank you, Ana White for your awesome plans on your website!!! 

Estimated Cost
Unsure, I had most of the wood already.
Estimated Time Investment
Weekend Project (10-20 Hours)
Finish Used
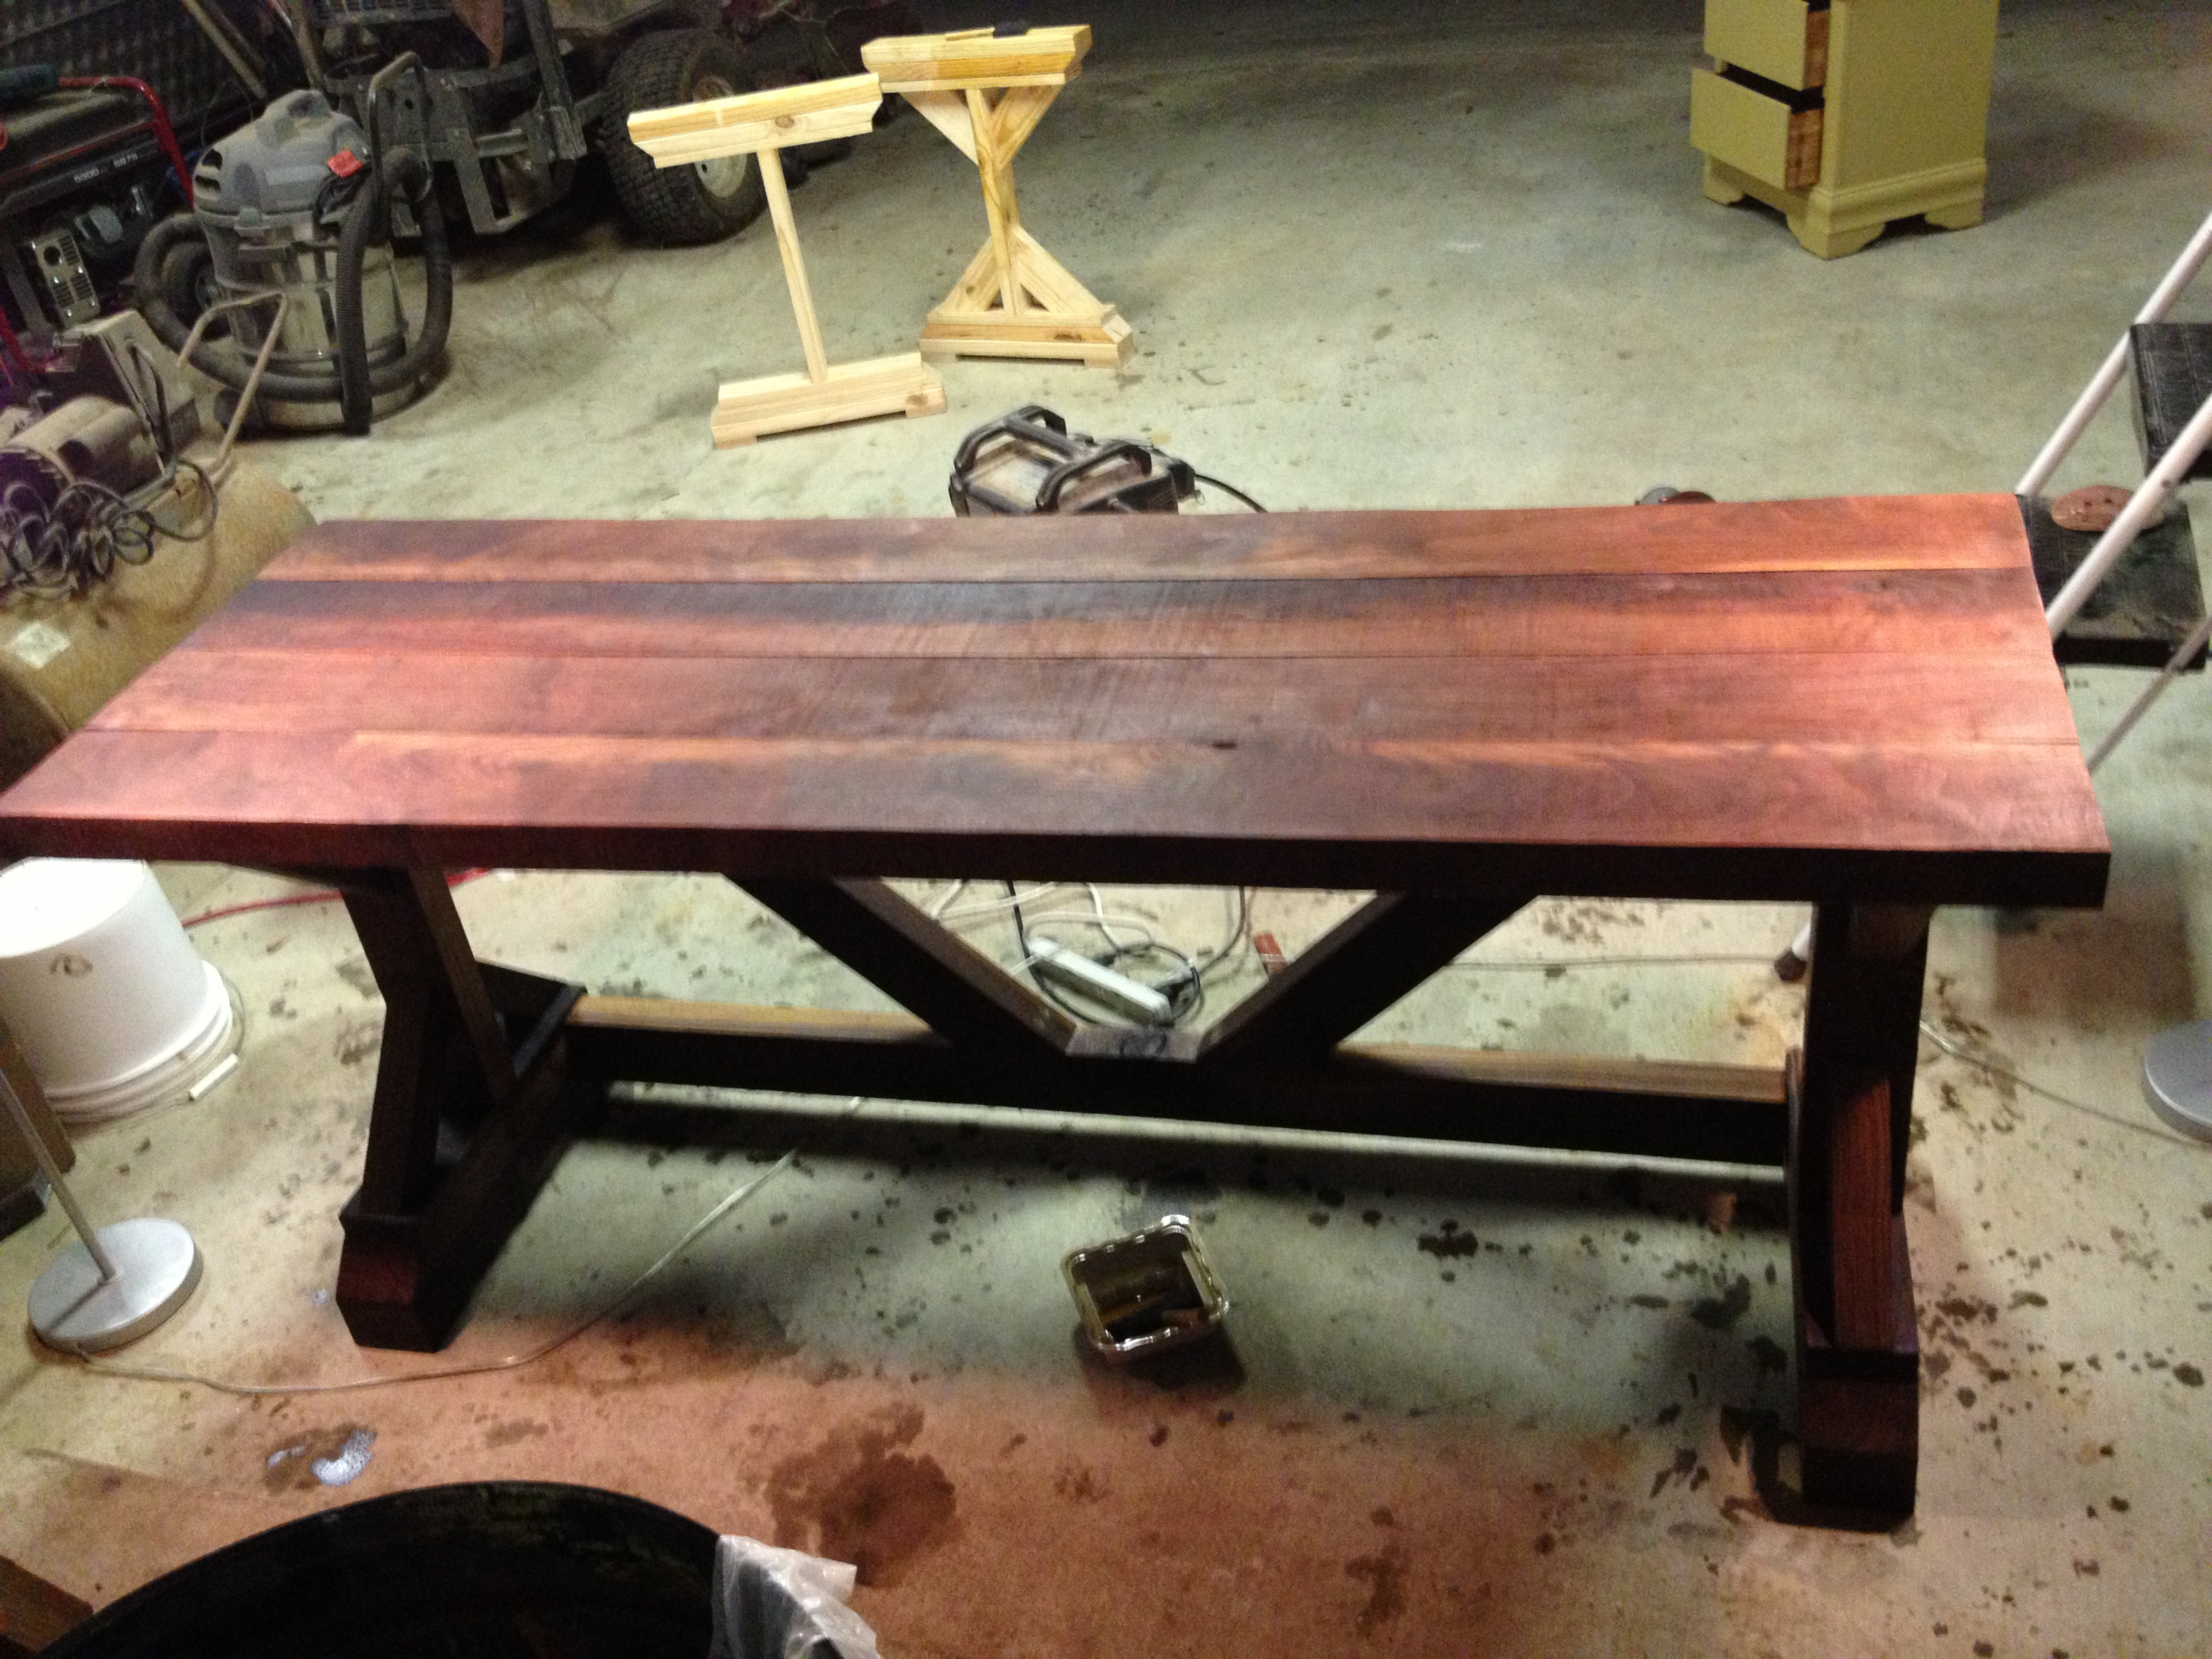
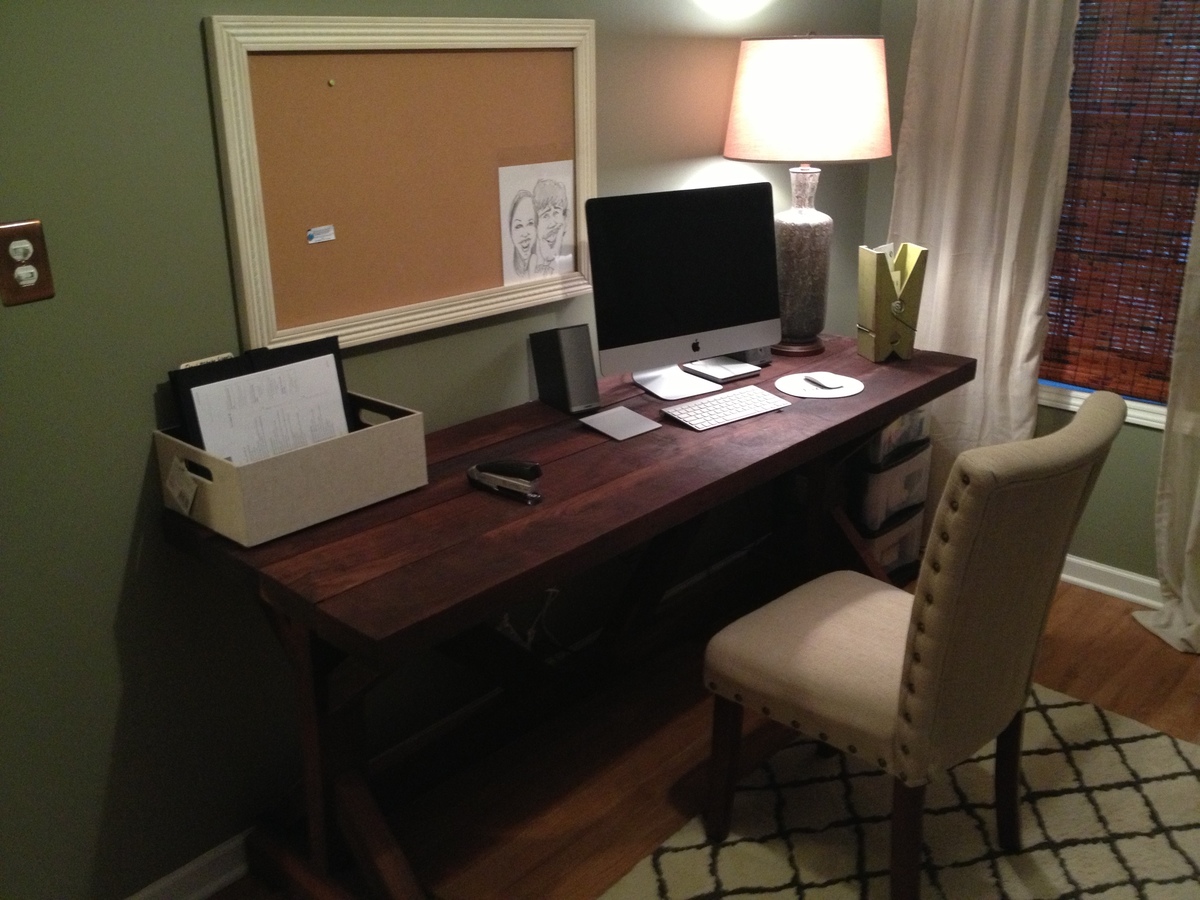
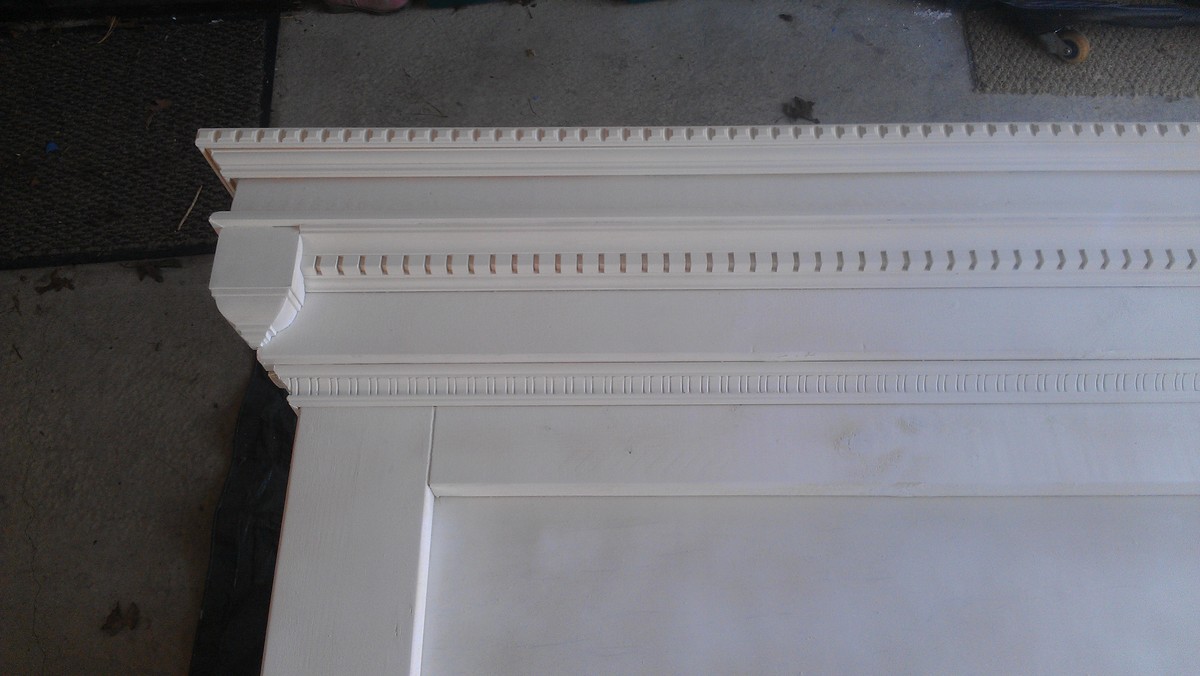
I preconditioned my wood with Minwax pre-stain conditioner & followed with Minwax Stain in Jacobean on the bed. For the headboard my son wanted a chalkboard in his room so I painted the center planks before I added the casing & trim with chalkboard paint. After I added the rest of the wood, I carefully preconditioned my wood with Minwax pre-stain conditioner & followed with Minwax Stain in Jacobean on the rest of the wood. Super easy!!
Recommended Skill Level
Beginner

Comments

Vertical Planter w/ Succulents + White Opaque Stain

Submitted by Anonymous (not verified) on Tue, 12/22/2020 - 23:20

Made this over a few afternoons during the interesting year that is/was 2020! First DIY project and really enjoyed it! I used an opaque white stain and it's filled with succulents from our local nursery (Lincoln Nursery in Pasadena, CA). Painting took the longest as one coat of the stain still let some of the knots in the wood show through. Thanks so much for the plan and inspiration!

Estimated Time Investment
Day Project (6-9 Hours)
Finish Used
Opaque white Behr outdoor stain
Recommended Skill Level
Beginner

fancy x desk

Submitted by jamesryan9 on Fri, 02/01/2013 - 01:31

I chose to make this great looking desk out of Walnut wood. So, obviously its not the $55 dollar fancy X desk that Ana White has posted, but it does share the same design. We were looking for a heavy, sturdy, and large desk for our office and I simply added linseed oil to bring out the natural beauty of the Walnut wood. Thank you so much Ana for giving me the tools I needed to complete this project. Feel free to email me or message me if you have any questions, comments, or suggestions. [email protected]. Thanks

Built from Plan(s)
Estimated Cost
$400
Estimated Time Investment
Weekend Project (10-20 Hours)
Finish Used
I applied Linseed Oil and followed the directions on the back. I let it soak into the wood for 5-10 min and wiped off the excess with a cloth. I sanded some areas very fine and reapplied the linseed oil in certain places until I found the look I was searching for.
Recommended Skill Level
Intermediate

First DIY Console

Submitted by Anonymous (not verified) on Tue, 03/07/2017 - 15:59

Absolutely love this Console!  Going for a coastal theme and could not find exactly what I was looking for so decided to make it!  Love to use my hands and now I will be off to my next project!  Used Cedar board for the top, pine for the remainder.  Love the thick, rustic top.  This console is two inches less in depth than the original plans due to the shape of my living room.  Thank you for the plans and everyone's DIY projects!  They were all a big influence on the final design.

Built from Plan(s)
Estimated Cost
300.00 due to the thick cedar planks I used. approximately 250.00 before that.
Estimated Time Investment
Weekend Project (10-20 Hours)
Finish Used
White Wood Paint and American Walnut stain
Recommended Skill Level
Intermediate

Farmhouse Doll Bed and Doll Mattress

Submitted by Pa on Sat, 12/26/2020 - 22:58

Well ... we found this farmhouse bed pattern as two play kitchen set were being constructed. Irresistible design; we decided that we HAD to also make the doll bed! And the bed came together very quickly. Two changes: per other comments, removed one vertical slat from the headboard/footboard (wanted the narrower width), and put an extra brace in the middle of the bed (just in case it gets stepped on or sat on).

Also used the pattern for the 18” Doll Mattress Tutorial. Skipped the buttons for tufting and simply sewed in 8 little Xs with embroidery floss.

This bed is for a granddaughter with a birthday in a few days .... and I’ve already started cutting out a second set for a granddaughter with a birthday in a couple of months. Happy to say that all of the bedding/linens are handmade; the pillows include lace and ribbons from two family weddings. You just can’t help but smile when you look at one of these finished farmhouse beds!

Estimated Time Investment
Weekend Project (10-20 Hours)
Finish Used
Polyurethane
Recommended Skill Level
Beginner

Shoe Crates

I saw someone's brag where she used this plan for shoe storage. I thought it was a great idea. It sure lets me clean the floor better, just roll it out of the way, clean, roll back. It is so much better than the shoe rack that occupied the space before with such piles of shoes that it was arduous to clean the floor at all. Next month I will take care of the second shoe rack for my own shoes.

It was so simple, I loved making them. Grandpa and I had fun. The best part, you can make them quick because the don't have to be perfect. And Grandpa's nail gun made quick work of all the attached boards. All boards were also glued and sanded.

Ana your site gave me the confidence to solve my own furniture problems with custom solutions. Thanks, I can't wait for my next project.

Estimated Cost
$100 for 2.5 carts
Estimated Time Investment
Afternoon Project (3-6 Hours)
Finish Used
Polyurethane, 2 coats
Recommended Skill Level
Starter Project

Bathroom Vanity

Submitted by brittanyj on Thu, 03/09/2017 - 11:45

Built this vanity to fit our space in our tiny bathroom.  I love the storage increase from having a pedestal sink.  All hardware and sink was from Habitat Restore, and the faucet was off amazon for $25, making total cost for this project around $75. 

Built from Plan(s)
Estimated Cost
$75
Estimated Time Investment
Weekend Project (10-20 Hours)
Finish Used
grey paint, poly finish
Recommended Skill Level
Intermediate

Chunky leg farmhouse table

This is a chunky leg farmhouse table I just finished. We wanted to do something a little different with the color scheme, so we did something a little more colonial with a custom stain and paint blended grey top, and painted the legs a deep navy blue.

Estimated Cost
$400
Estimated Time Investment
Weekend Project (10-20 Hours)
Finish Used
Custom stain paint combo on the top.
Sherwin Williams deep navy blue paint on the legs and skirt
Recommended Skill Level
Intermediate

Triple Pedestal Farmhouse Table

Putting this table together was a lot of fun! We knocked off about two feet from the plan so that it fit in our modest dining area. Many of my saw blades were replaced at some point during this project in favor of sharper and cleaner-cutting replacements, so we spent quite a lot making sure we didn't end up with a giant splinter of a table. You can see from one of the photos how poorly I chose some of the wood (the 2x2 is like a cork screw), so I had to replace a few pieces. Still, I think I could have replaced all of those tools altogether and still spent less than this table would have cost at the store.

Something I learned during finishing: I knew beforehand that wood glue didn't stain, but I didn't realize that even the residue of wiped-up glue will keep the wood from taking stain. When the matching bench is made later on I'll be sure to sand all of the places where glue might be hiding, invisible. The stain color generally wasn't quite what we imagined and the legs seem to have taken it differently than the top, but when the word "Farmhouse" appears in the table style, you can chalk all of those imperfections up to its "rustic" style. For that I am grateful.

The poly dried a bit rough, but a fine sanding sponge smoothed it out and also gave it a little bit of that greywashed RH look. Win-win. We wound up putting "Flor" tiles underneath the table to give it some contrast since it ended up resembling our floor color a bit too closely. Now we actually have a dining area, instead of just a table.

It took about a week and a day (I started Saturday morning and we finished it the following Saturday night). Fortunately our ten-month-old can sleep through just about anything. I'm glad it's done now and we can enjoy it!

Built from Plan(s)
Estimated Time Investment
Week Long Project (20 Hours or More)
Finish Used
Rust-Oleum Early American, Minwax Clear Matte Polyurethane
Recommended Skill Level
Intermediate

Round The Corner Shelf

Submitted by JKEich02 on Mon, 12/08/2014 - 12:55

This is my first project using a Kreg Jig and I'm hooked. Easy build and great storage! Looking forward to doing more projects! 

Estimated Time Investment
Afternoon Project (3-6 Hours)
Finish Used
Minwax pre-conditioner and Minwax stain in Black Cherry.
Recommended Skill Level
Beginner

Box Frame Coffee Table with Lift Top

Submitted by badfishjr on Sat, 01/02/2021 - 07:03

Really fun coffee table - my first foray into furniture! I think I will be adding the bottom shelf for added weight and storage to keep the table top tidy.

Estimated Cost
$80
Estimated Time Investment
Weekend Project (10-20 Hours)
Finish Used
black matte paint and cherry stain
Recommended Skill Level
Intermediate

Comments

Chunky Truss Table

Submitted by DangerDad on Thu, 12/11/2014 - 13:38

This is my first full sized table project.  I wanted to make an inexpensive dining table with nice looks and this one fit the criteria.  I deviated from the plans by making the legs frames and the middle truss using rabbit and dado joinery.  As a result the middle truss and leg frames did not have to be fastened together with any screws.  This design modification made it easier to build in the garage and be able to move easily into the house for final assembly.  Top is made of SPF lumber stained to match the natural colour of the cedar legs and truss frame.  Thanks Ana for the inspiration to build this beutiful piece.

Built from Plan(s)
Estimated Cost
$150-$200
Estimated Time Investment
Week Long Project (20 Hours or More)
Finish Used
Minwax Stain (early american) and Minwax Helmsman finish.
Recommended Skill Level
Intermediate

Comments

earthbybike

Thu, 12/11/2014 - 17:11

Love how you rounded the edges of the 4x4s and taylored the cross beam underneath. Just simply fabulous

ctufano

Mon, 07/24/2017 - 05:24

Hey Dangerdad! Wife and I bought cedar for the base and have all sanded, but are torn on how to stain. I liked your table, and was reading your description of your finish. Did you stain your cedar? You say you stained the top to match the natural cedar, so am thinking maybe you just sealed it without any stain?

Could you clarify? Thanks so much!

ctufano

Mon, 07/24/2017 - 05:25

Hey Dangerdad! Wife and I bought cedar for our table base and were discussing how to finish it. Did you stain your cedar? Your write up seems like you may have just finished it and not stained at all, and only stained the top? Just curious


Thanks so much!


Slatted Bench / Steps

Submitted by Ali Bongo on Thu, 01/07/2021 - 11:50

I saw Anna's slatted bench (and other members brags) and thought I could adjust the design for some hot tub steps.

The design is simple but effective, (but very heavy).

It is slightly more complex and the cuts need to be pretty accurate, (which mine weren't), but you can sand away most mistakes.

I ended up putting adjustable height feet on each leg. This assists with height but also keeps standing water off the wood.

Anyway, I put see through grip tape on the steps to avoid accidents and overall it does the job.

Estimated Time Investment
Weekend Project (10-20 Hours)
Finish Used
I used a preservative fence paint and then re-covered with 3 coats of external yacht varnish.
Recommended Skill Level
Starter Project

Comments

Mantel Moulding Headboard - Pottery Barn

Thank you for the plans! I love the way my headboard came out! I couldn't figure out how to cut the on piece of moulding to get the angles to work, but I think I resolved the issue nicely with the blocks for it to die into.

Built from Plan(s)
Estimated Cost
$250 - $300
Estimated Time Investment
Weekend Project (10-20 Hours)
Recommended Skill Level
Beginner

Fiona's Doll Adirondack Chair

Submitted by Anonymous (not verified) on Thu, 03/16/2017 - 07:05

 As the dolls I have were very small I scaled the plan to half size, and finished  with some leftover garden paint. 

Built from Plan(s)
Estimated Cost
Built from scrap, so zero cost.
Estimated Time Investment
An Hour or Two (0-2 Hours)
Recommended Skill Level
Starter Project

Salsa Console/Buffet Table

Submitted by greg325i on Tue, 01/12/2021 - 11:19

This is by far the most complex piece that I've built off of Ana's site, and the first time I've done drawers or doors on anything. Thanks so much for the awesome plans! Be sure to check the supplies list carefully - I ended up bringing a lot of lumber back to Home Depot. But this is by far my biggest "win" in furniture making so far!


Built from Plan(s)
Estimated Cost
200
Estimated Time Investment
Week Long Project (20 Hours or More)
Finish Used
Behr white deck stain (Smokey White) (base)
Varathane Aged Wood Accelerator (top, drawer interiors)
Varathane Water-based Poly (Oil-based will add a yellow tint when applied onto white stain/paint)
Recommended Skill Level
Intermediate

Comments

take on star doll closet for american girs

Submitted by radardad52 on Tue, 12/16/2014 - 12:28

built for grand daughter for christmas

Estimated Time Investment
Week Long Project (20 Hours or More)
Finish Used
stain urathane finish
Recommended Skill Level
Intermediate

Comments

Rekourt Dining Room Table and benches

Submitted by Anonymous (not verified) on Sat, 03/18/2017 - 18:08

This was my first big build and I love how it came out!  Thank you Ana White for amazing and straightforward plans to follow for both the farmhouse table and benches.  

Estimated Cost
$150
Estimated Time Investment
Weekend Project (10-20 Hours)
Finish Used
Top MinWax Dark Walnut plus Rusteoleum Weathered Grey. Bottom is painted with ivory chalk paint.
Recommended Skill Level
Intermediate