Community Brag Posts

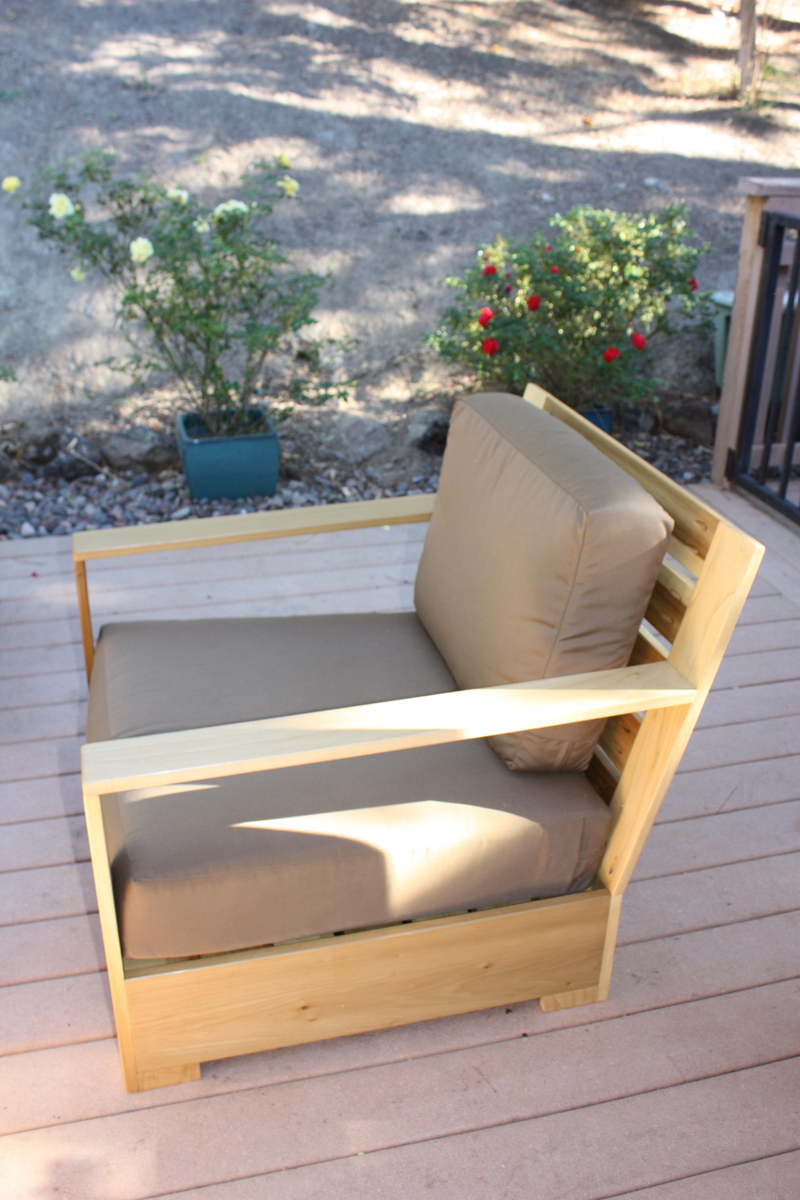
Outdoor Sofa

Submitted by dionneds on Sun, 04/10/2022 - 07:16

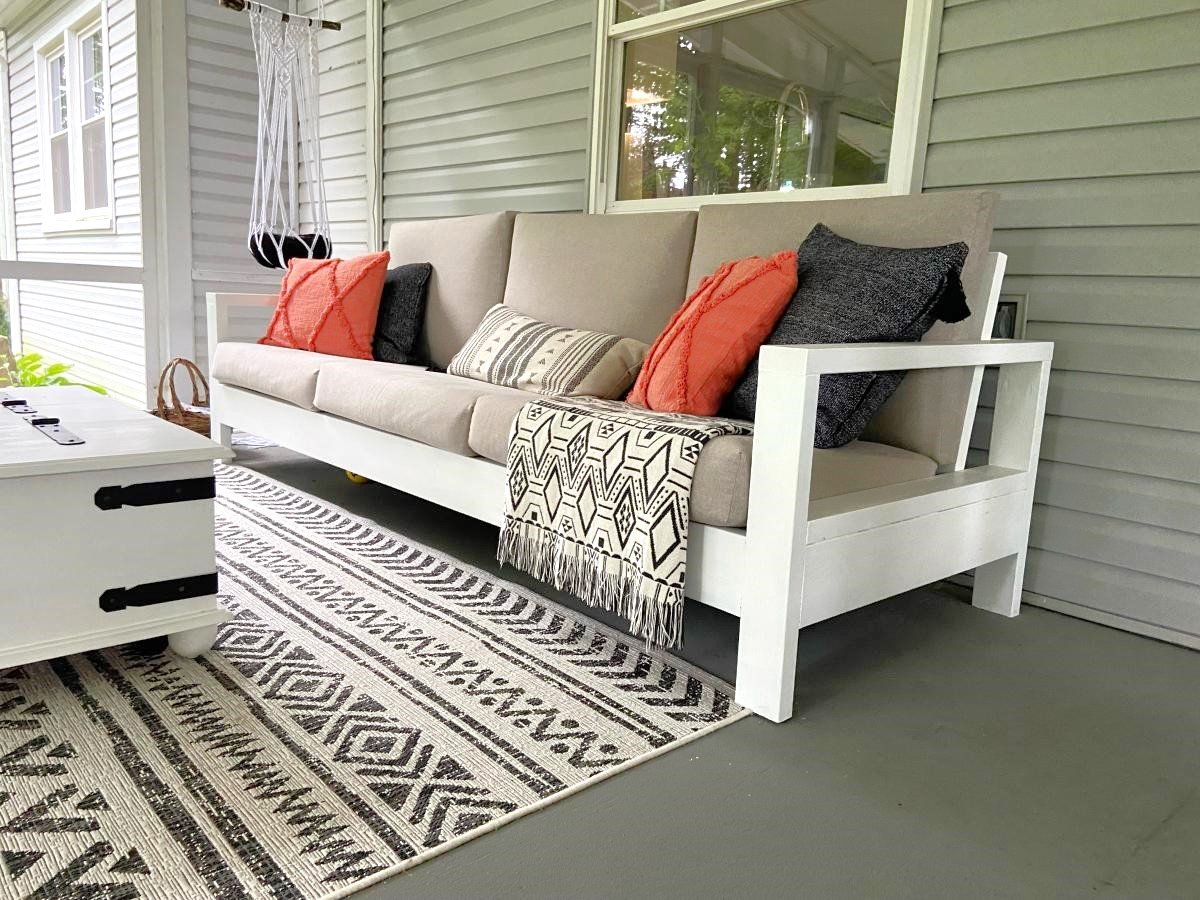
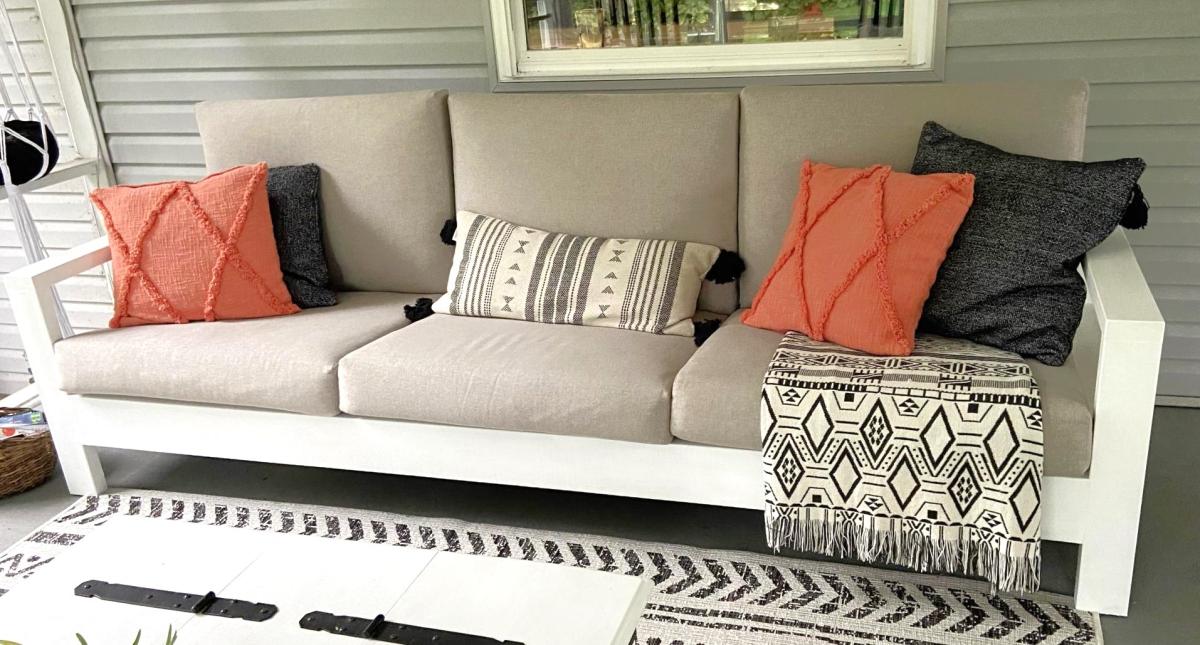
This was our first big project with our Kreg Jig. We adapted the plans to make the sofa 8' long. On Friday night, my husband did all the cuts and I pre-painted everything. With the help of our son, we had the whole sofa built in a few hours on Saturday morning. I puttied the visible holes, did a second coat of paint, and made custom cushions. The plans were very easy to follow. I followed the others' advice about pre-painting and assembling the back on a perfectly level surface. It came out better than I expected and it's super comfortable!

Built from Plan(s)

Comments

kdykes08

Mon, 04/11/2022 - 07:44

I want the plans for this one! I like this style a lot better. I really like how the bottom cushions are at a slant. I suck at modifying plans.

Seasonal And Holiday

Shed Chicken Coop and Run

Submitted by mikesofka on Tue, 05/12/2020 - 09:27

I had such a fun time on this shed coop/run build! My wife and I have 5 children and it was fun involving them in building everything about this coop and run. They have a wonderful sense of accomplishment in looking at what they helped build.

A few notes, while this what a fairly straightforward build, there are a lot of little intricacies to be aware of. Such as:

• Make sure your chicken coop is about a foot off the ground. It's best to do that so critters such as rats and snakes don't make their home under the shed and potentially eat their way through the floor.

• It is highly advisable to dig a trench about a foot to a foot and a half deep around the coop and the run and attach chicken cage fencing from the bottom of the coop/run into the trench, and then taper the cage fencing outward. This will prohibit critters such as raccoons from trying to dig under the coop.

• When you attach the poultry netting to the outside of the chicken run, staple one side really well, then move to the other side and pull the netting fairly hard to make the netting as tight as possible. (Also, be careful when putting the netting across the top of the run to not fall off the ladder as I did and dangle there until one of your kids comes to help you! Ha! :D )

Thank you, Ana, for posting these plans! We are so excited to get our little chickies out into their new home as soon as their feathers come in!
Estimated Cost
$800
Estimated Time Investment
Week Long Project (20 Hours or More)
Recommended Skill Level
Intermediate

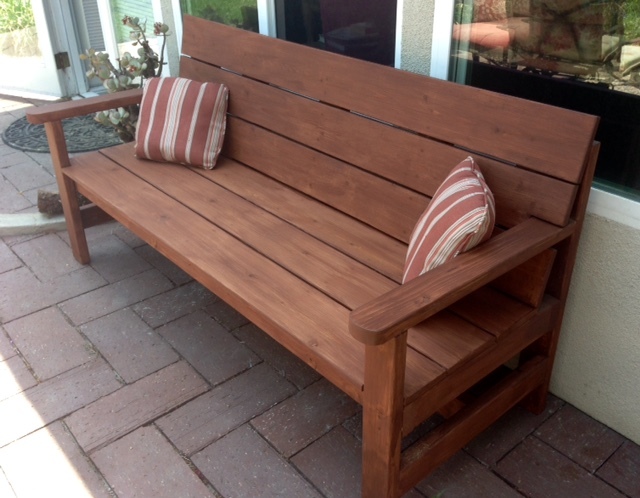
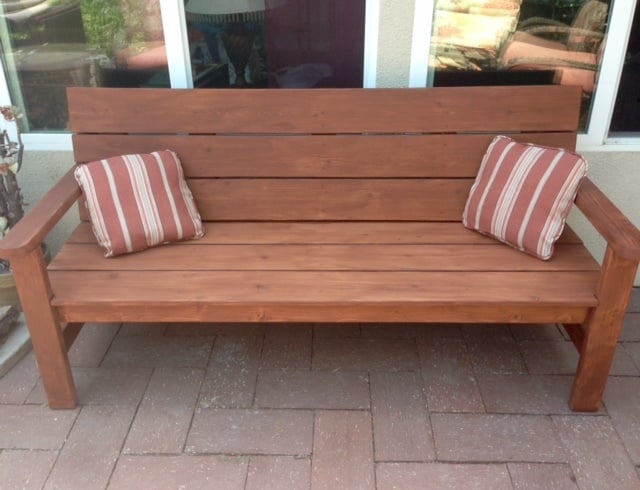
Modern Outdoor Bench

Submitted by Anonymous (not verified) on Tue, 08/09/2016 - 16:29

Great plans!  I modified the bench by adding a slanted back (which enabled me to put the slats closer together), extending and curving the front of the arms and extended the seat to the outside of the legs.


Recommended Skill Level
Intermediate

Comments

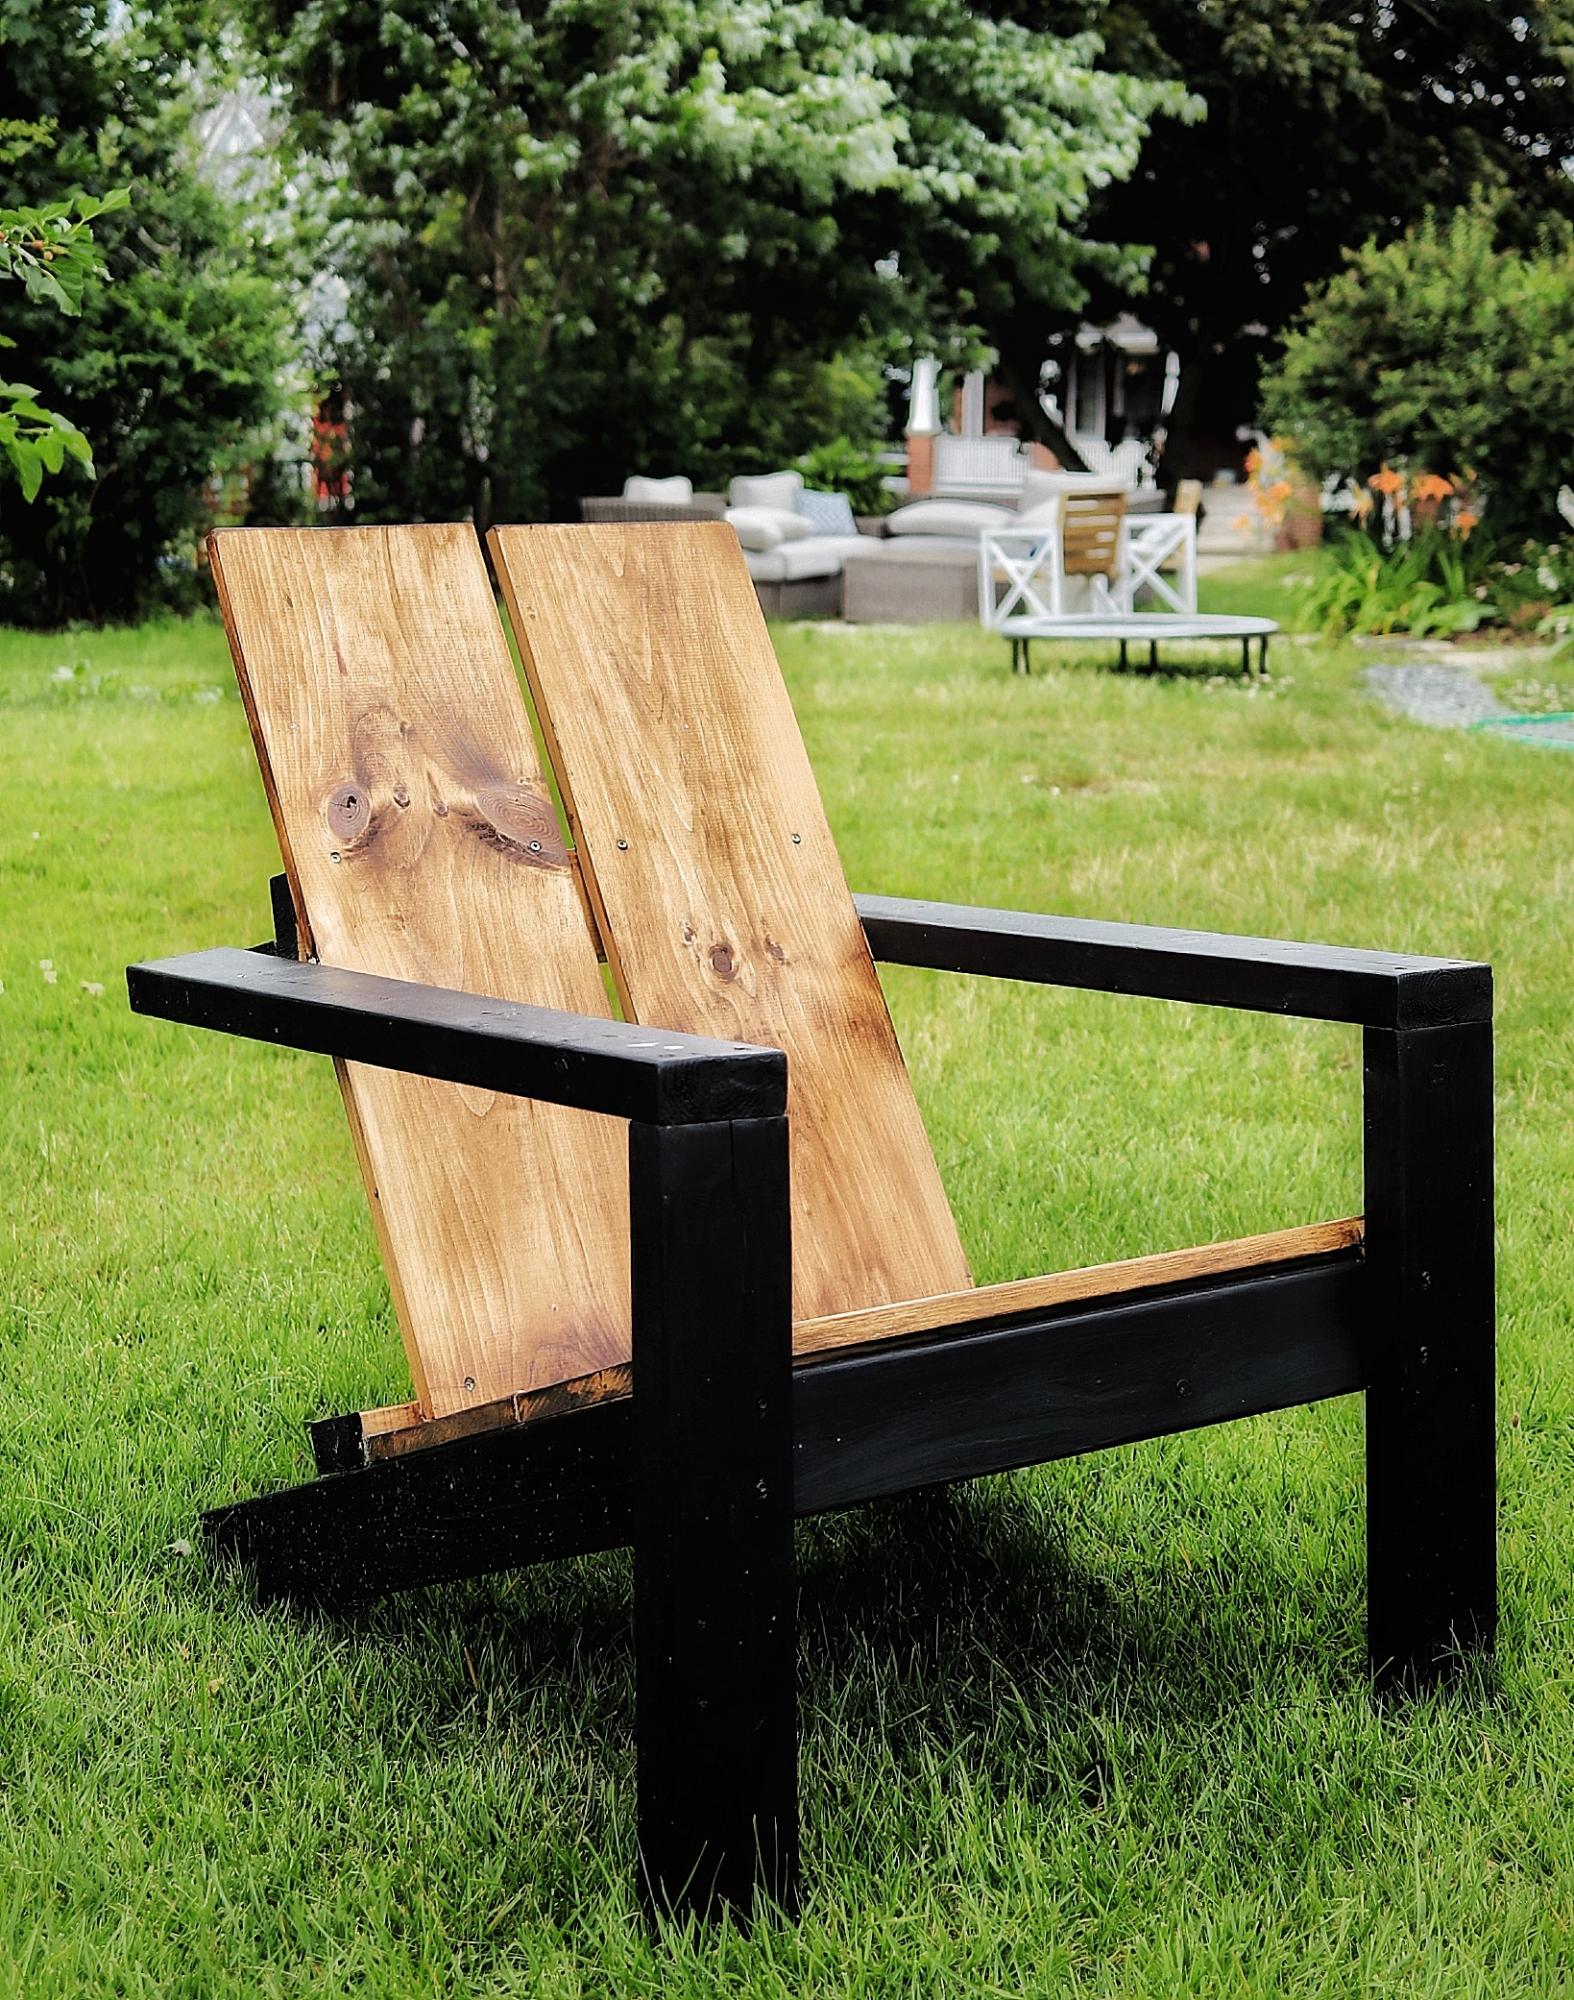
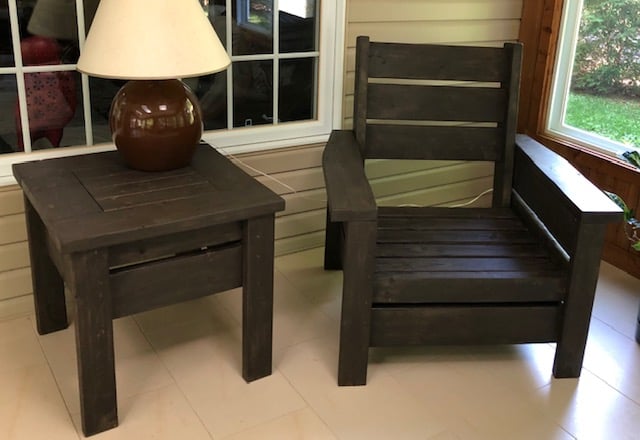
2x4 modern Adirondack Chair (modified)

Submitted by Anonymous (not verified) on Thu, 07/02/2020 - 17:45

I was so excited to find the plans for these awesome chairs, I’ve built 7 this season already—the modification happened as an accident, but I loved the result !

Estimated Cost
$30
Estimated Time Investment
An Hour or Two (0-2 Hours)
Finish Used
MinWax Aged Oak and Black paint
Recommended Skill Level
Intermediate

Comments

Seasonal And Holiday

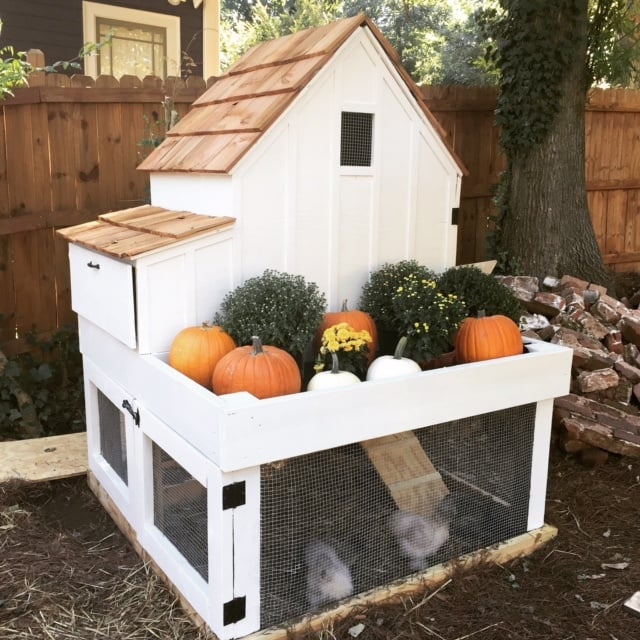
My city farm

My friend and I bought all of the materials for about $350. We started Friday afternoon and he worked most of Saturday on it. The plans were super helpful! My four little silkies are enjoying their new home. 

Estimated Time Investment
Weekend Project (10-20 Hours)
Finish Used
Sherwin Williams exterior paint in Alabaster. Lots of pumpkins and mums from Lowe's.
Recommended Skill Level
Intermediate

Comments

Seasonal And Holiday

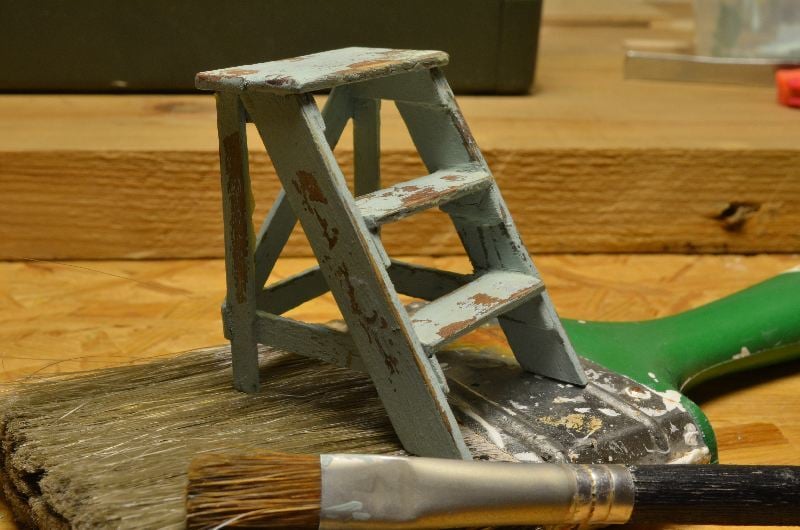
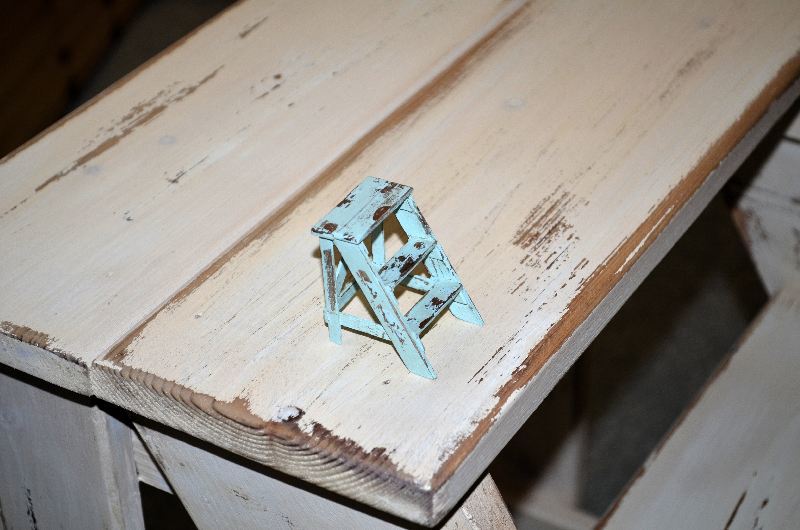
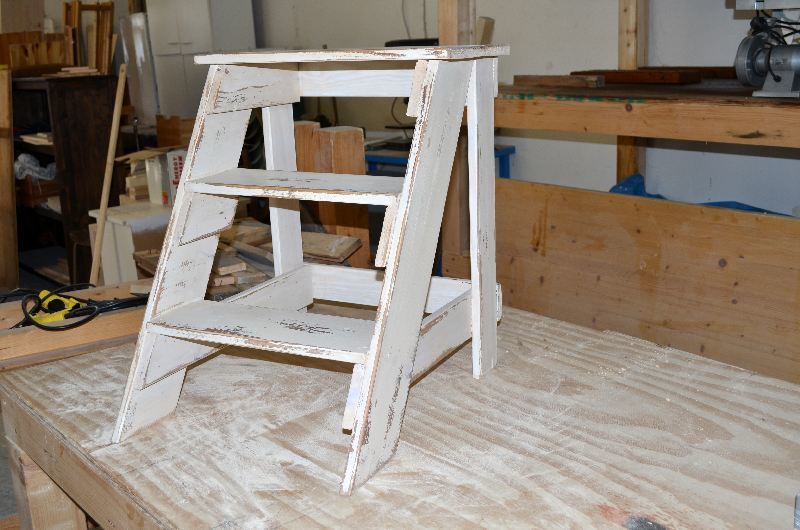
Vintage step stool end table, in 1:1 and 1:12

Submitted by uli on Sun, 06/09/2013 - 09:17

I built this step stool for friend, and a tiny version for my own dolls house. I had expected difficulties with the angled parts, but it went together very easily. I stained both of them with a vinegar/steel wool mix, painted with homemade chalkpaint. At last I sanded them for a distressed look and coated them with brown finishing wax.

Estimated Time Investment
Afternoon Project (3-6 Hours)
Finish Used
vinegar/steel wool mix, homemade chalkpaint, dark finishing wax
Recommended Skill Level
Beginner

My new and amazing outdoor bench

Submitted by ישראל on Sat, 11/16/2013 - 21:57

Thank you for the easy and fun bench plan.
It was really easy to install.
Even my 2 little daughters had fun (-:

Estimated Time Investment
Afternoon Project (3-6 Hours)
Finish Used
Bondex walnut
Recommended Skill Level
Starter Project

Comments

Chachamation

Thu, 10/02/2014 - 07:21

This is absolutely amazing!

This "ישראל" person is super talented comes to the final touches!!  From now on, I will start following your work...

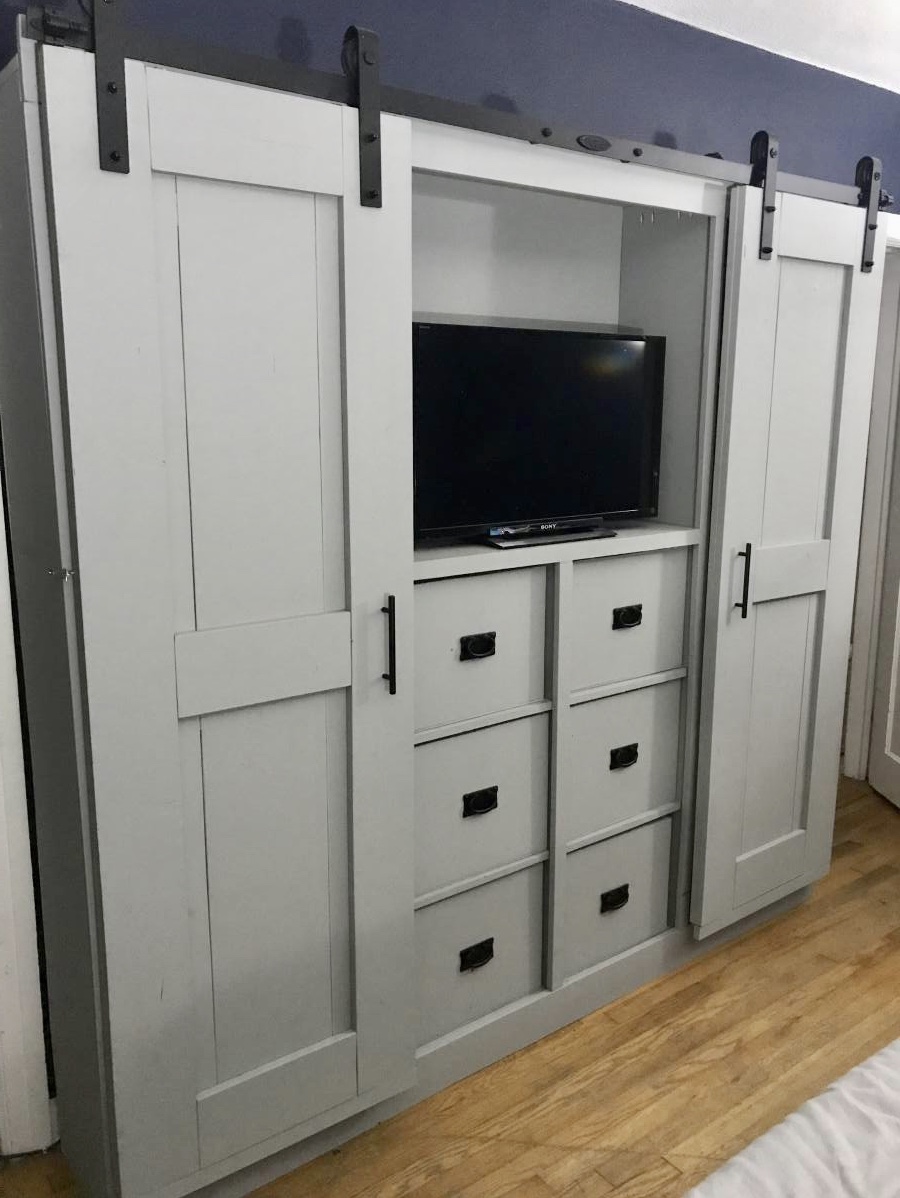
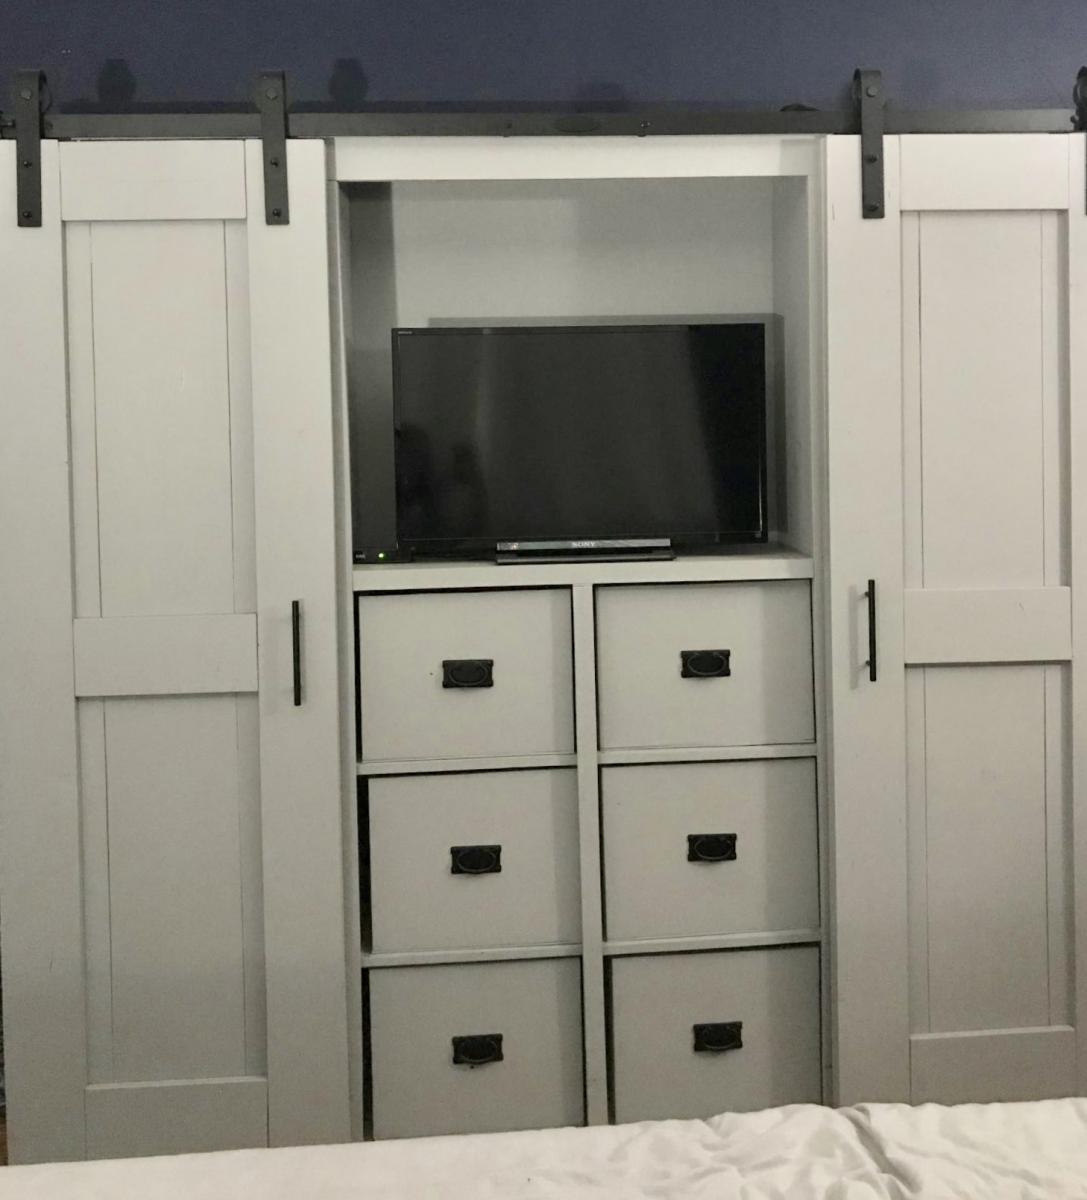
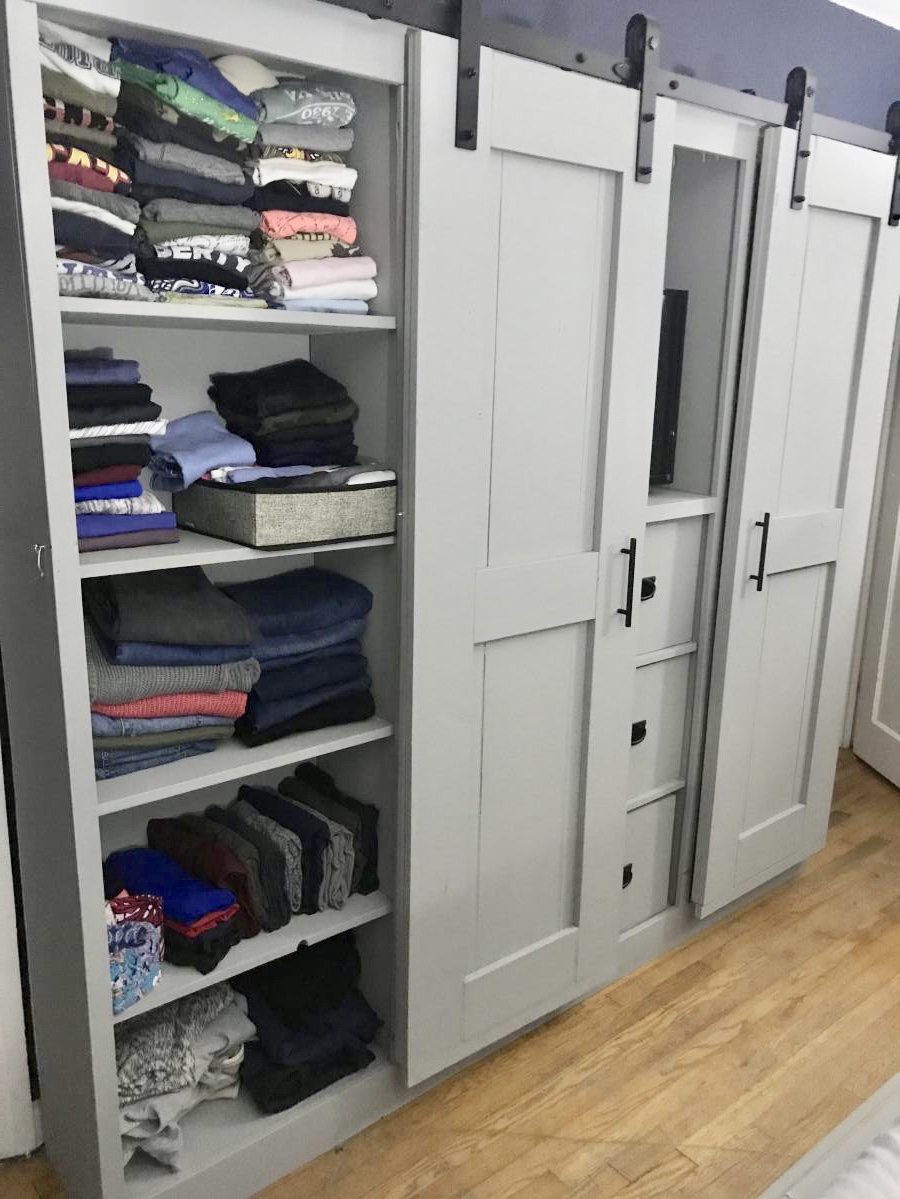
Ana White Barn Door Entertainment Center / Closet

Submitted by Anonymous (not verified) on Wed, 10/02/2019 - 17:07

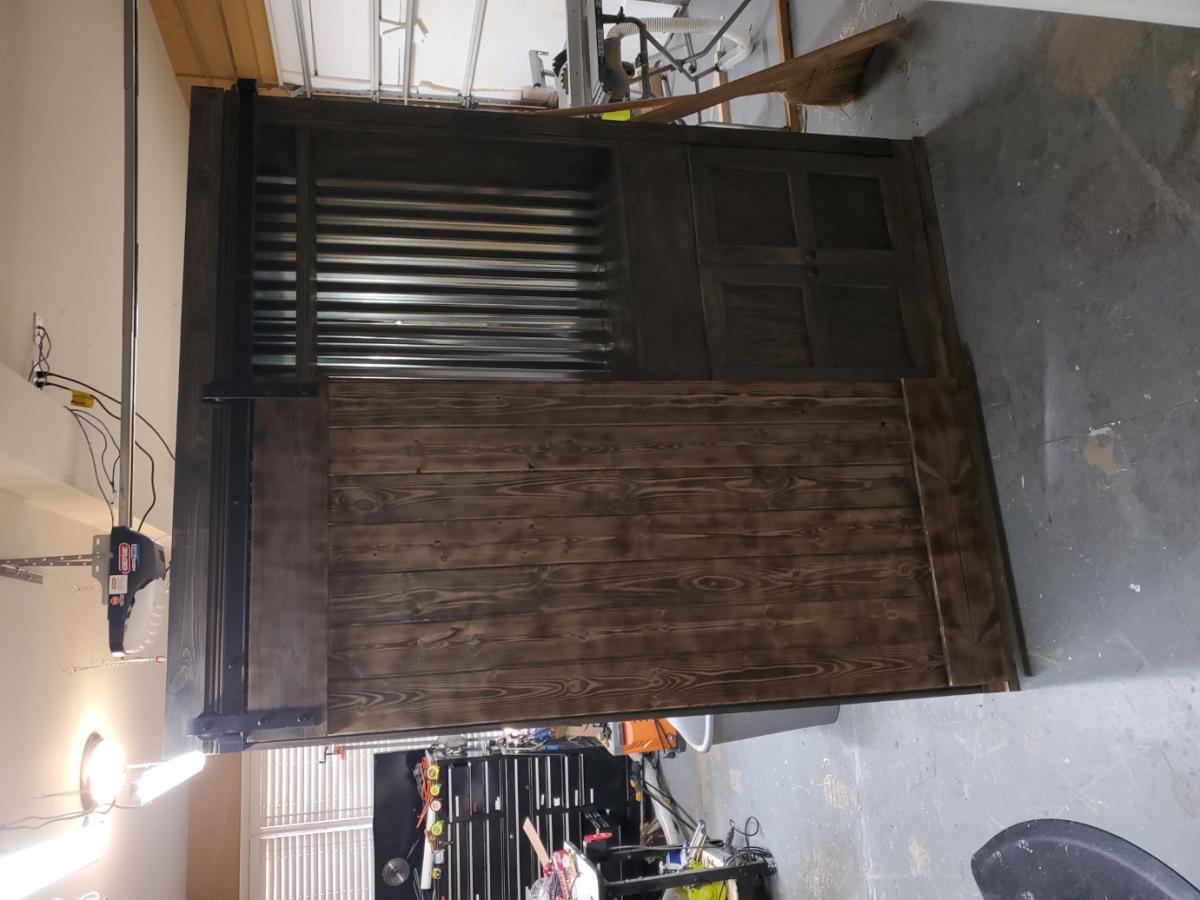
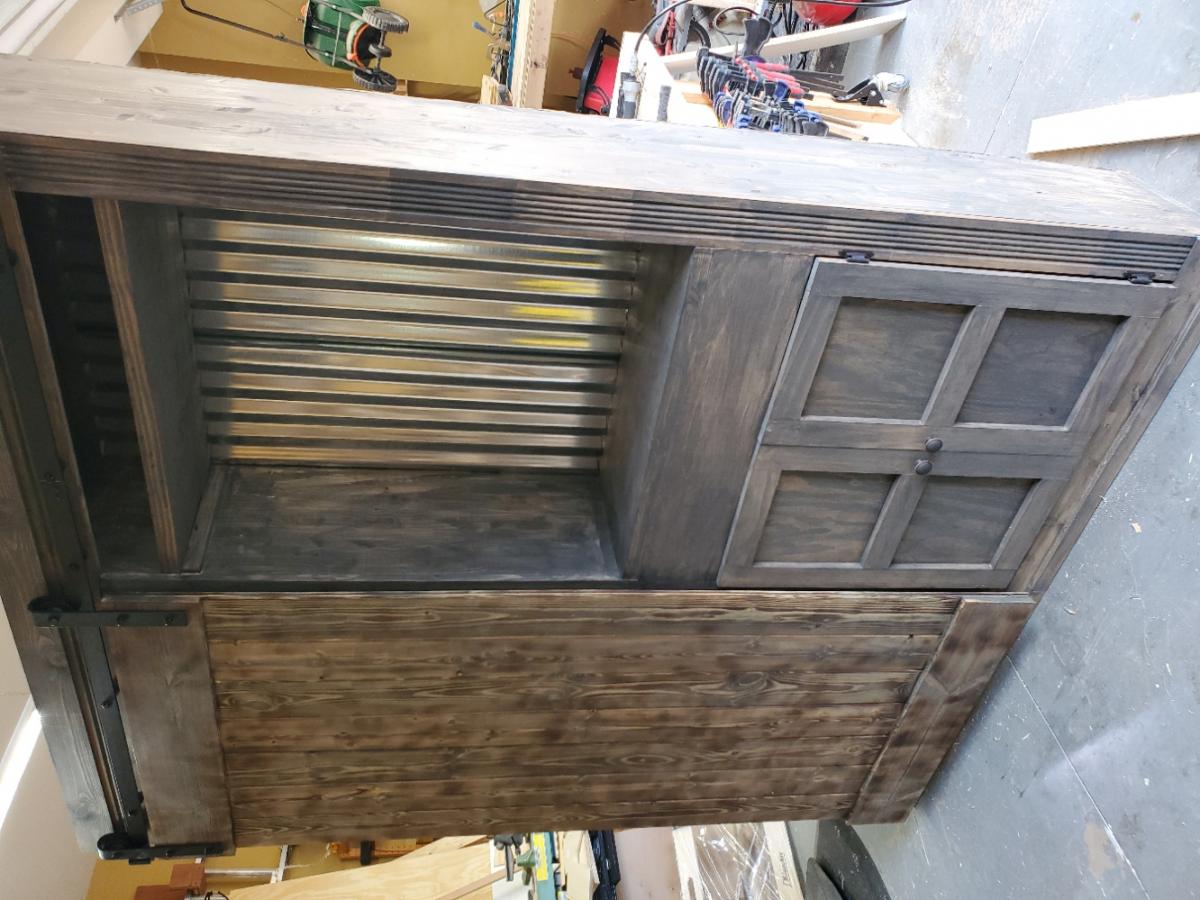
After many months of trying to find the perfect piece of furniture for our bedroom, I stumbled upon Ana White’s barn door entertainment center. I loved it so much that instead, we turned it into an armoire for our bedroom. Behind the barn doors are shelves that holds our clothes, and in the center we added simple pull out drawers. The center space was perfect for our tv. We had to rework the size of the piece and it is 7 feet instead of the 8 feet that the plan called for. This is my favorite build (we have done a lot of them)!

Built from Plan(s)
Estimated Cost
$600-$650
Estimated Time Investment
Week Long Project (20 Hours or More)
Finish Used
Behr Graphite grey
Recommended Skill Level
Intermediate

Comments

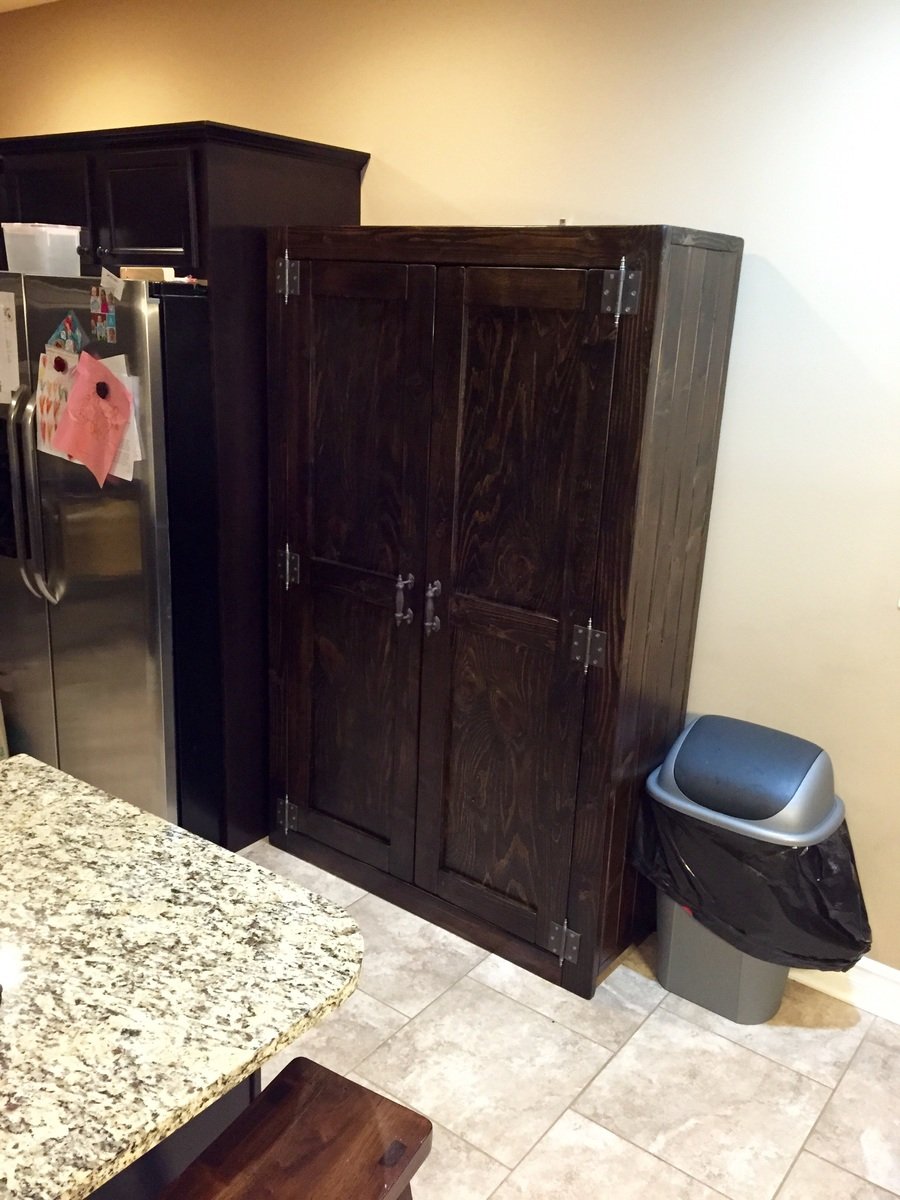
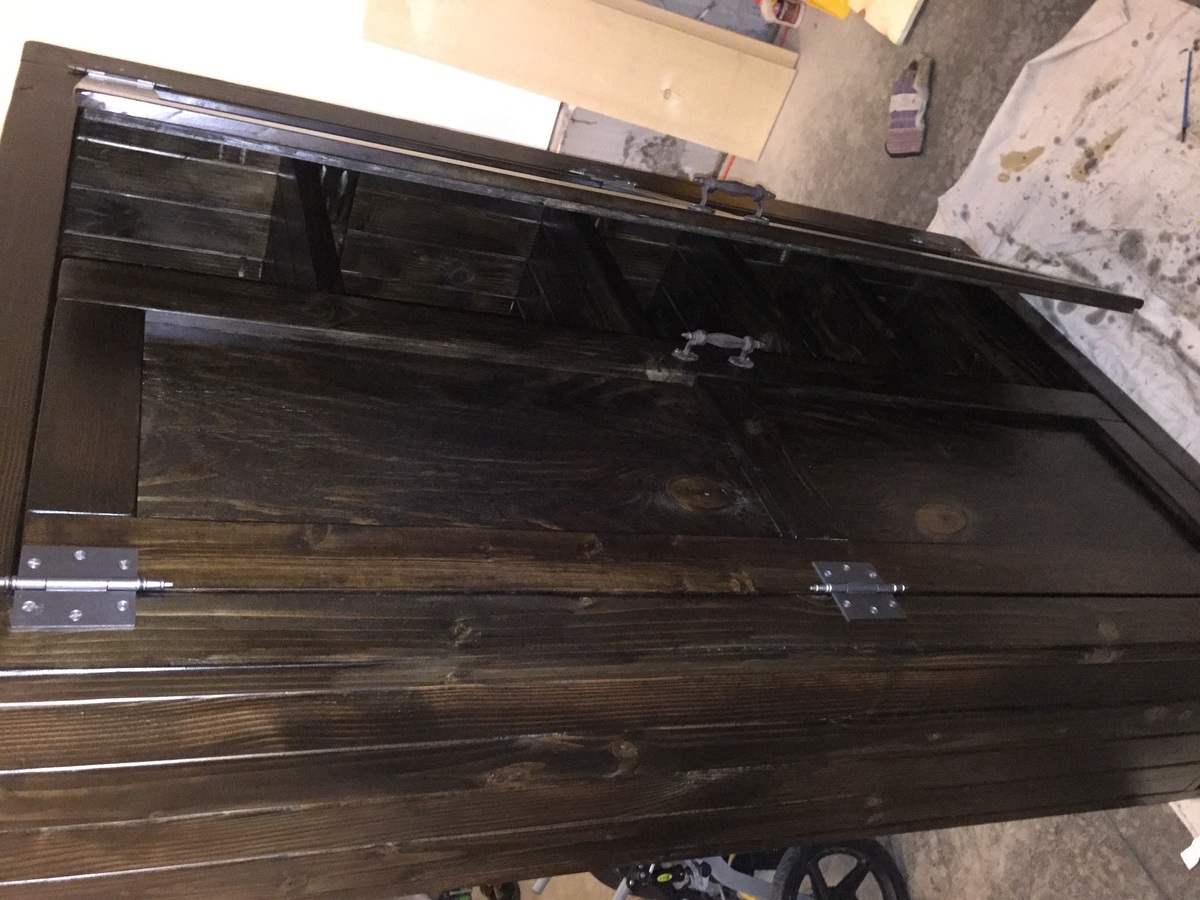
Pantry

Submitted by Anonymous (not verified) on Fri, 03/04/2016 - 19:17

I copied my design from another brag. 48" wide, 14" deep, and 76" tall.

Estimated Cost
$200
Finish Used
Jacobean stain
Satin polyurethane
Recommended Skill Level
Intermediate

Levi's play kitchen

Submitted by Ash Matson on Thu, 12/26/2019 - 11:17

We modified the plans a little we made the 2 pieces together instead of separate. We used a 2” hole saw to cut out the oven knobs, then drilled holes a tad bigger than the screw so they would still turn once attached. We also made the back splash taller to accommodate our faucet that had to attach on the back splash instead of the counter top. We used all pocket holes to attach everything it makes it look so much nicer but doesn’t need to be done that way. We bought vinyl circles for the burners on the stove. A dog bowl for the sink and a laundry room faucet for the faucet.

Links to products we used

Faucet - https://www.amazon.com/gp/product/B01KRCTHEA/ref=ppx_yo_dt_b_asin_title_o07_s00?ie=UTF8&psc=1

Oven hinges - https://www.amazon.com/gp/product/B004K7V8UU/ref=ppx_yo_dt_b_asin_title_o08_s00?ie=UTF8&psc=1

6 – 4 inch circles matte black Stove vinyl - https://www.etsy.com/listing/713062039/circle-circles-pack-set-vinyl-decal-car?ref=yr_purchases

Sink 56oz dog food bowl - https://www.amazon.com/gp/product/B00H6OXRN0/ref=ppx_yo_dt_b_asin_title_o01_s00?ie=UTF8&psc=1

Oven handle - https://www.lowes.com/pd/Sumner-Street-Home-Hardware-Vail-10-in-Center-to-Center-Matte-Black-Pull/1001368422

Estimated Cost
100.00
Estimated Time Investment
Weekend Project (10-20 Hours)
Recommended Skill Level
Beginner

Comments

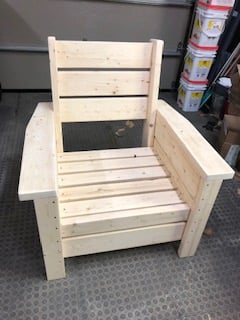
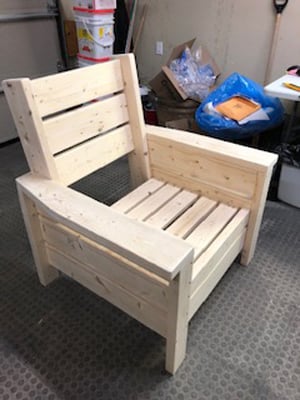
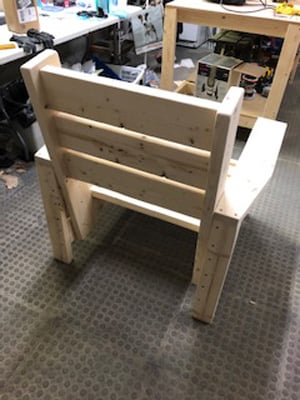
Modern Outdoor Chair - High Back Adirondack

Modified with a high back and modern adirondack arms.

The base of the chair is built exactly to the plan except that the arms are done in a modern adirondack style.

The back was made independently to fit inside the base and then attached to the plan base.

Very comfortable but very heavy chair even without the modified back.

Not stained yet obviously.

Cushions are hard to find I think I would make it slightly smaller next time and maybe even find the cushions first and alter the plan to fit.

Estimated Cost
$45 Can
Estimated Time Investment
Afternoon Project (3-6 Hours)
Finish Used
None yet
Recommended Skill Level
Beginner

Comments

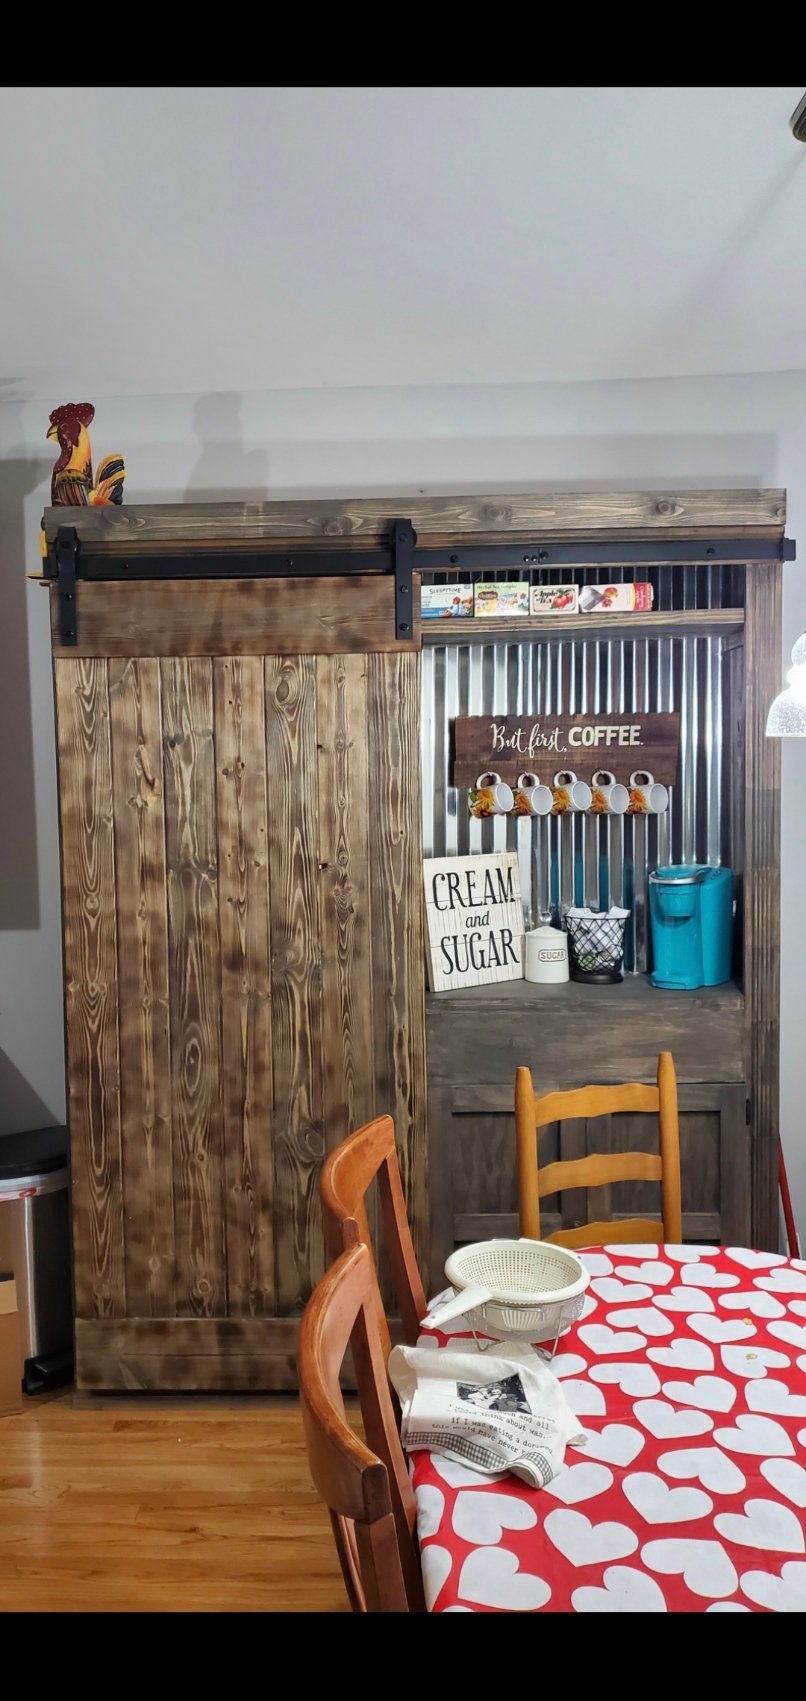
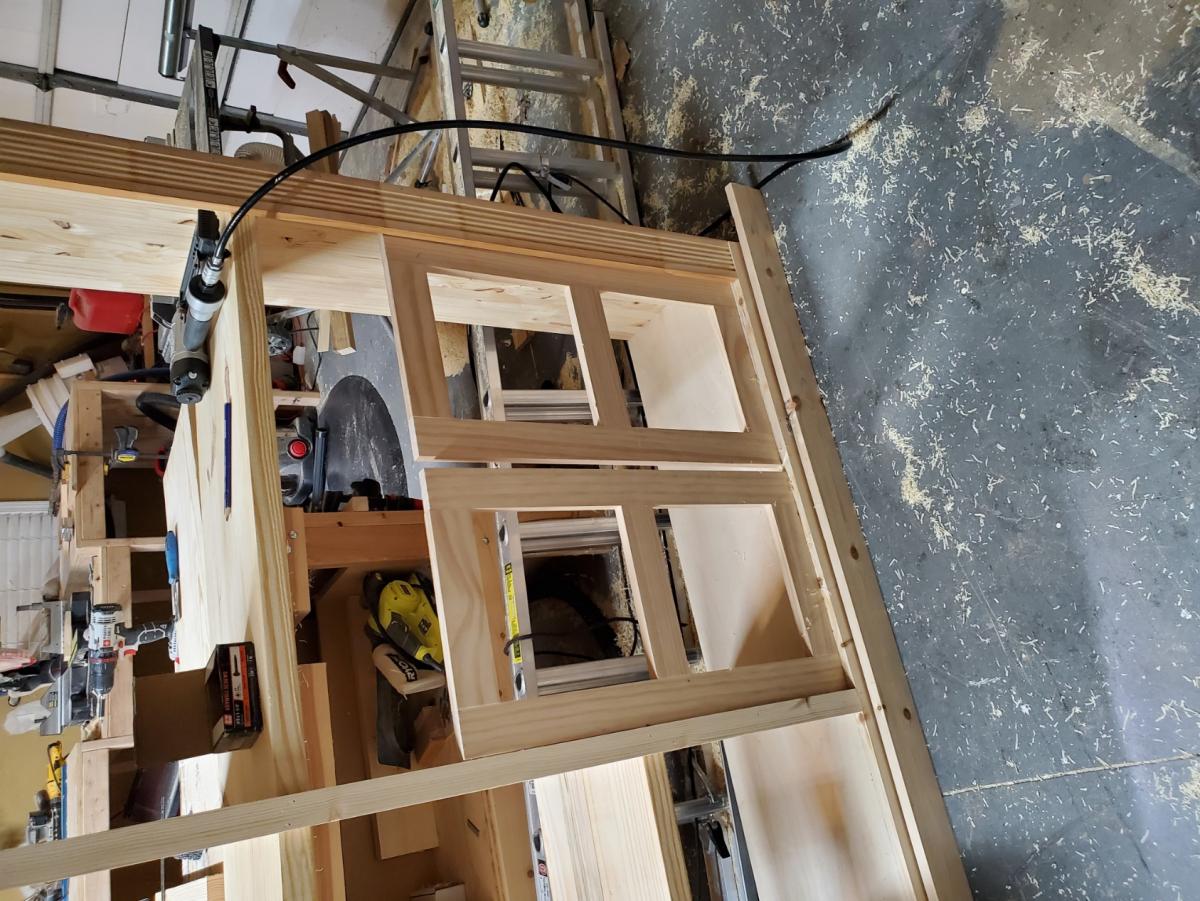
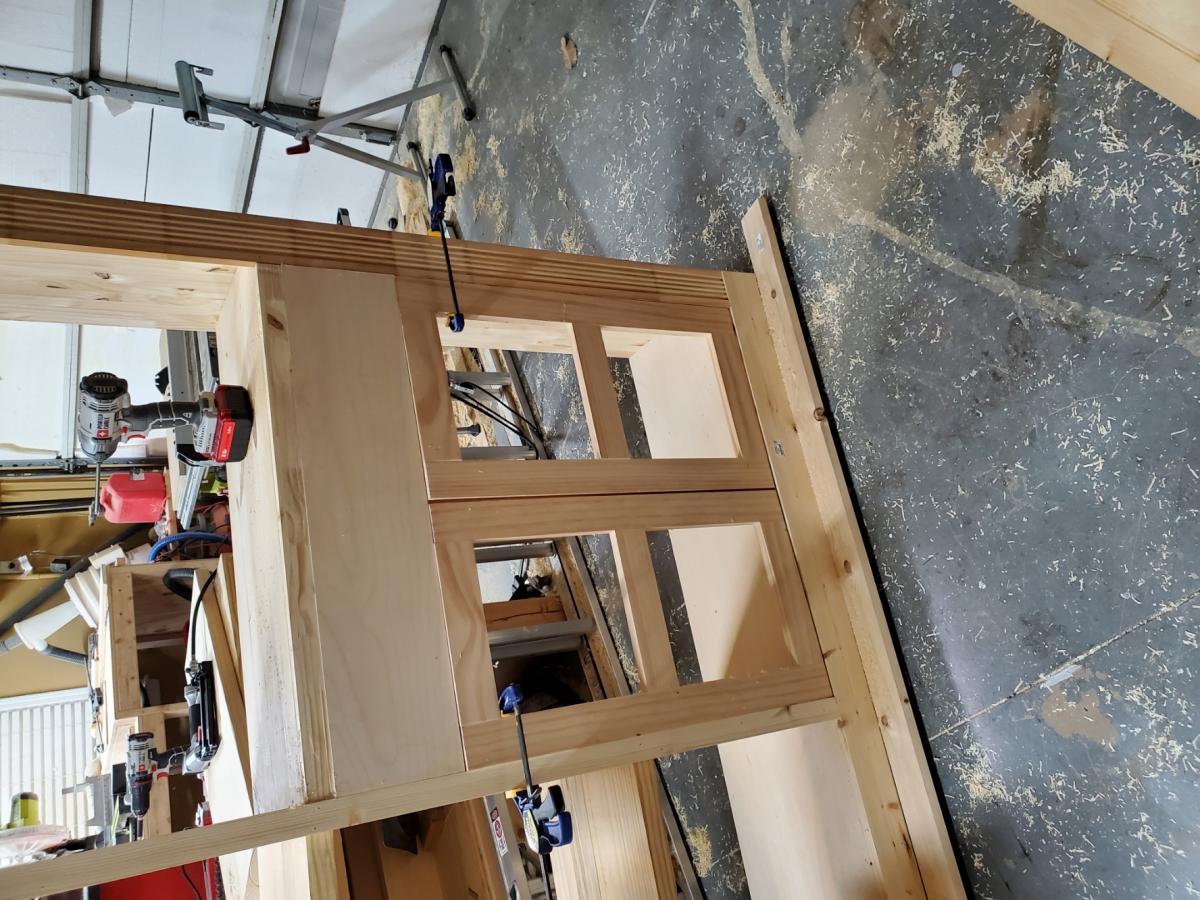
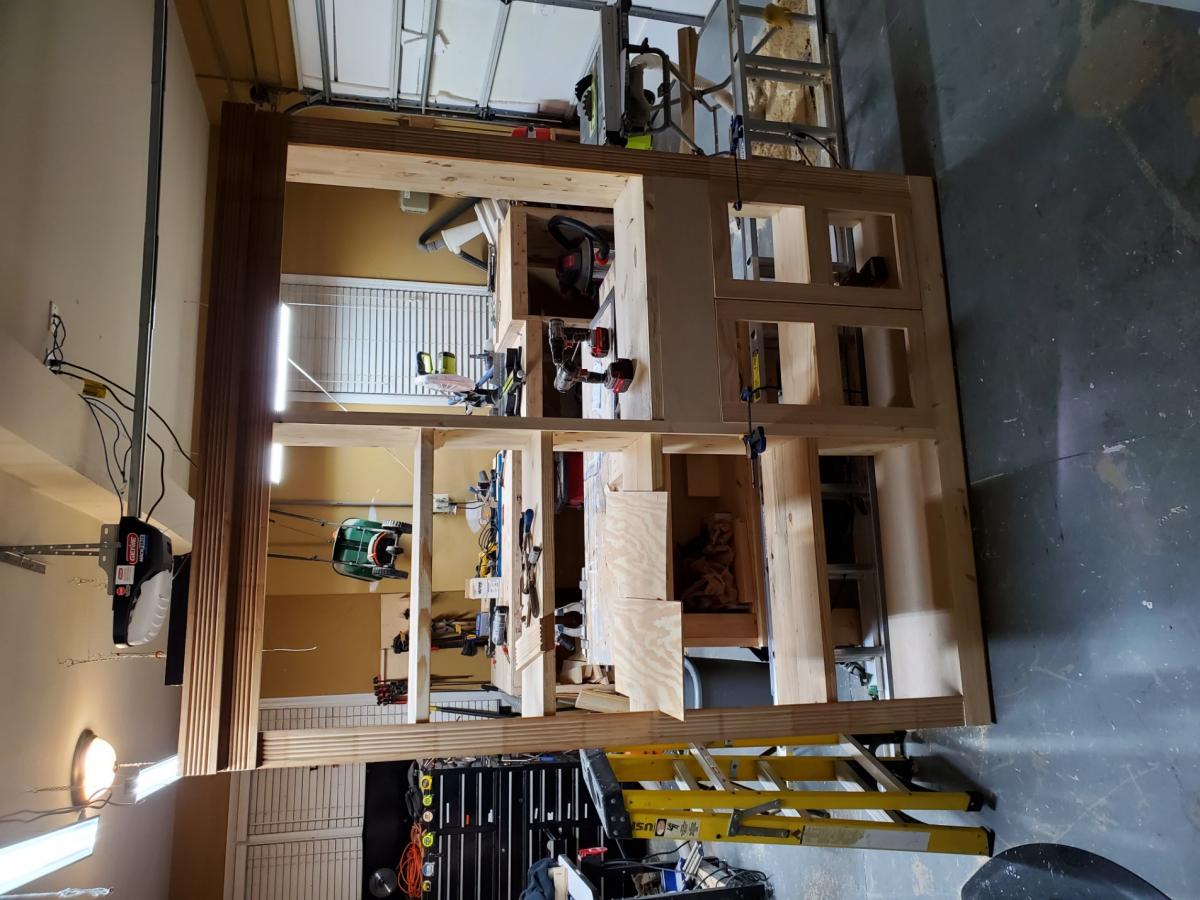
Free standing pantry with coffe bar

Submitted by Keldani5 on Wed, 02/10/2021 - 06:14

I loved doing this project, I did a burn treatment on the door and I made the shelves adjustable. It took me a weekend to build and 2 days to stain and do a matte poly finish.

Estimated Cost
300.00
Estimated Time Investment
Week Long Project (20 Hours or More)
Finish Used
smoke grey stain with a matte poly finish
Recommended Skill Level
Intermediate

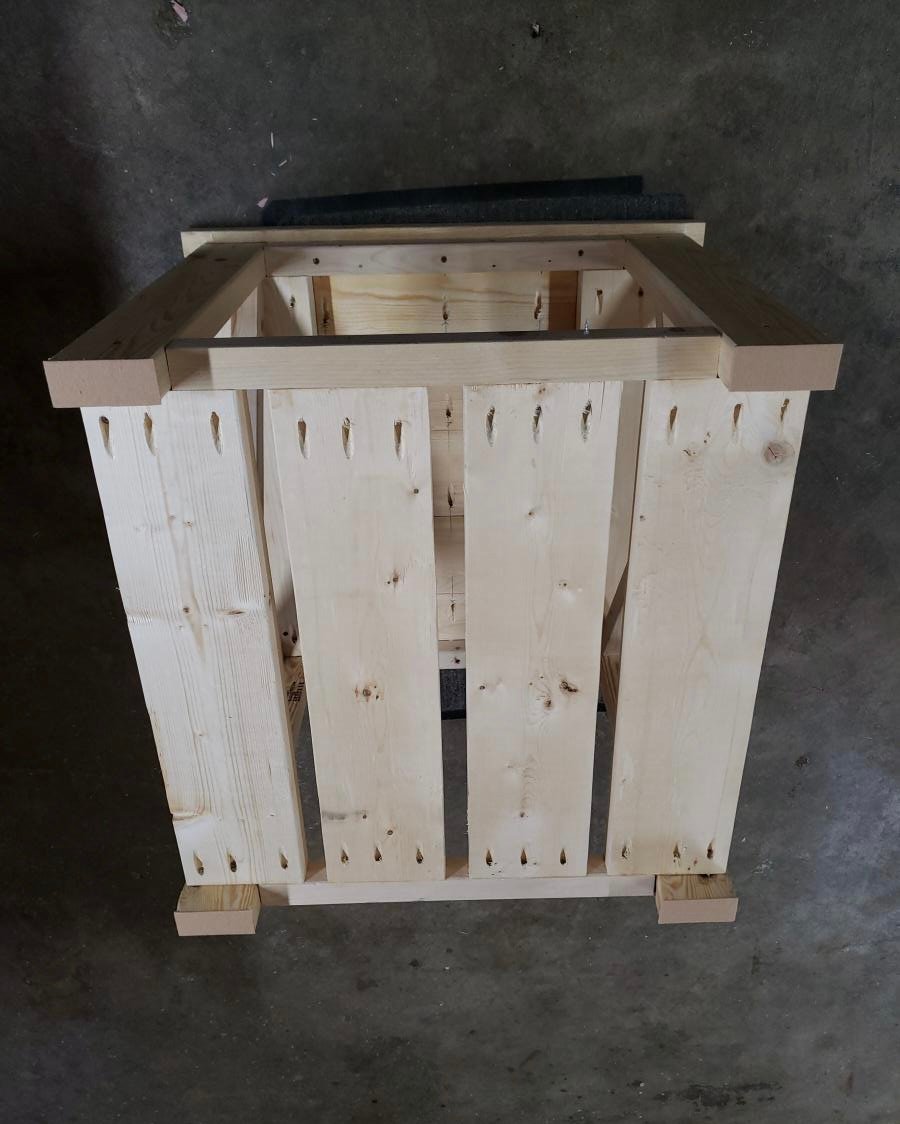
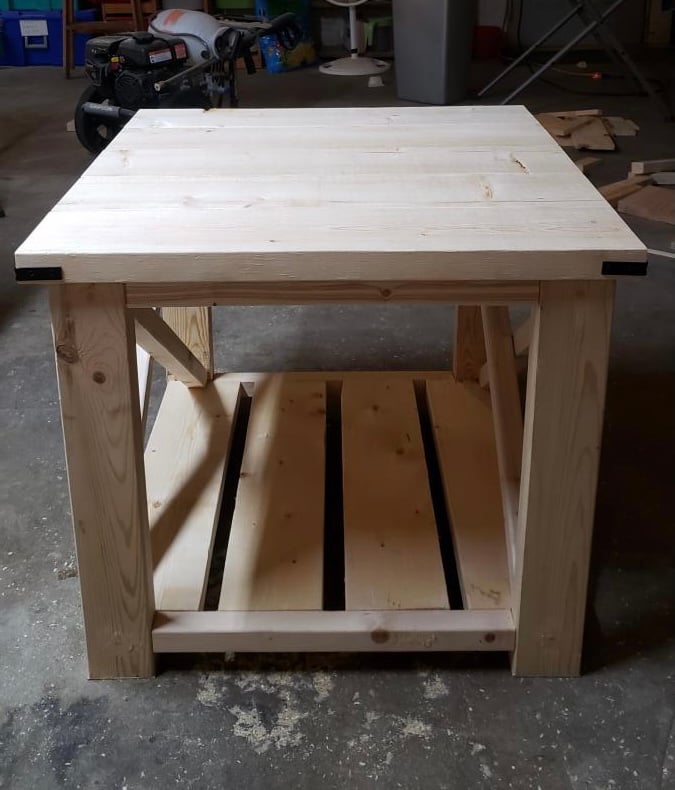
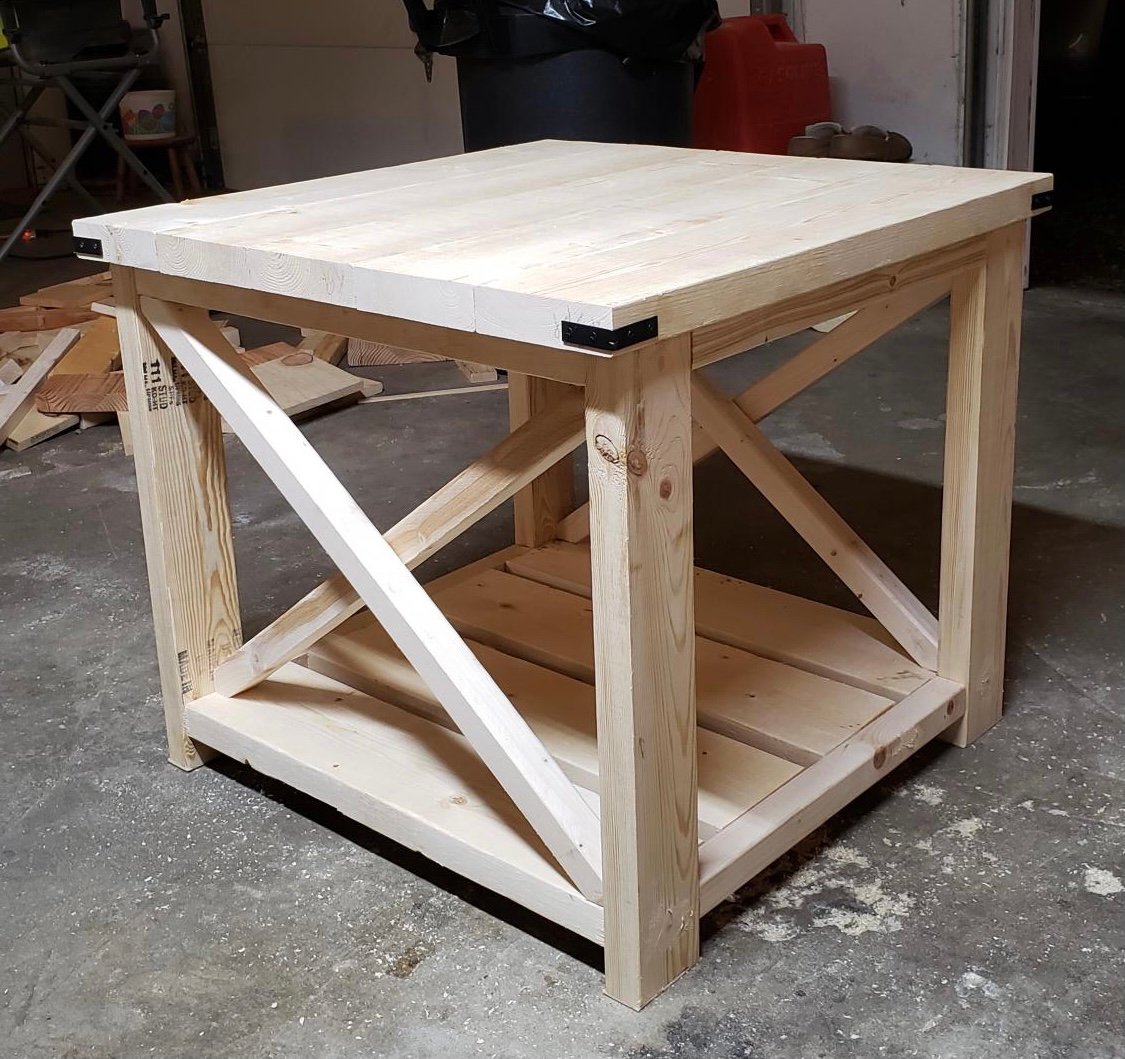
I Built The Farmhouse side table (Large)

Submitted by nekeroom58 on Sat, 04/17/2021 - 20:10

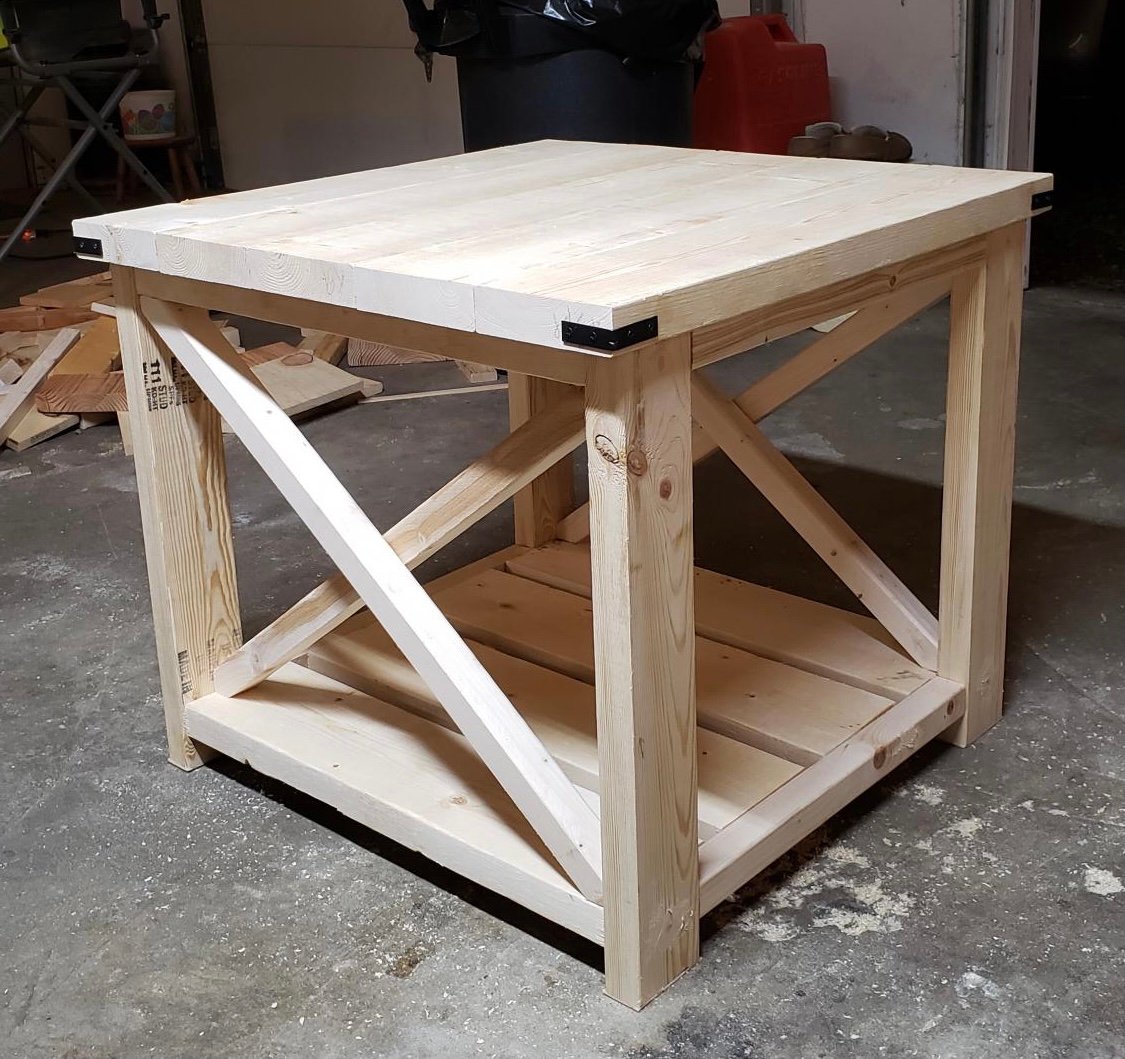
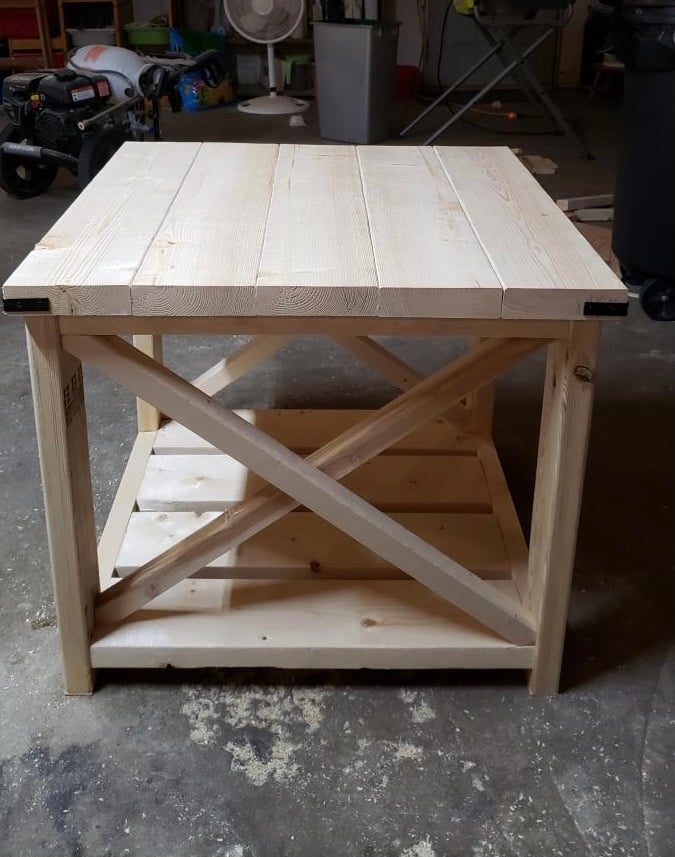
I had fun building this side table it took me one day to build it. I didn't sand it or stain that's how my daughter wanted it. I used pocket holes on the bottom shelves and the tabletop.

Built from Plan(s)
Finish Used
none

Comments

We love the skylights in our version of your greenhouse!

Submitted by Anonymous (not verified) on Tue, 08/31/2021 - 08:23

This was the perfect post-retirement project for me. It was a lot of work, but very rewarding.
I documented most of it on my blog.

We sure love this greenhouse!

Built from Plan(s)

Comments

rick1956

Wed, 09/01/2021 - 05:37

Thank you! They definitely added a LOT more work, but we've already used them a lot. The plants are sure glad for them. I'll post pictures of the finished greenhouse when it's finally there.

Modified rustic table and benches

Submitted by dkarinen on Sun, 06/16/2013 - 21:09

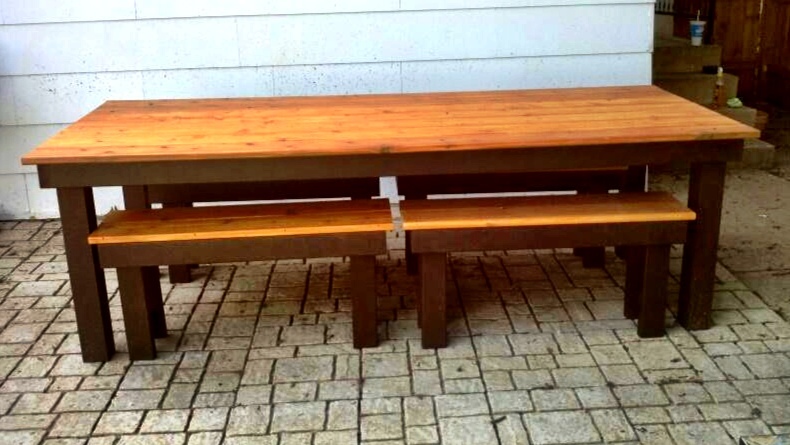
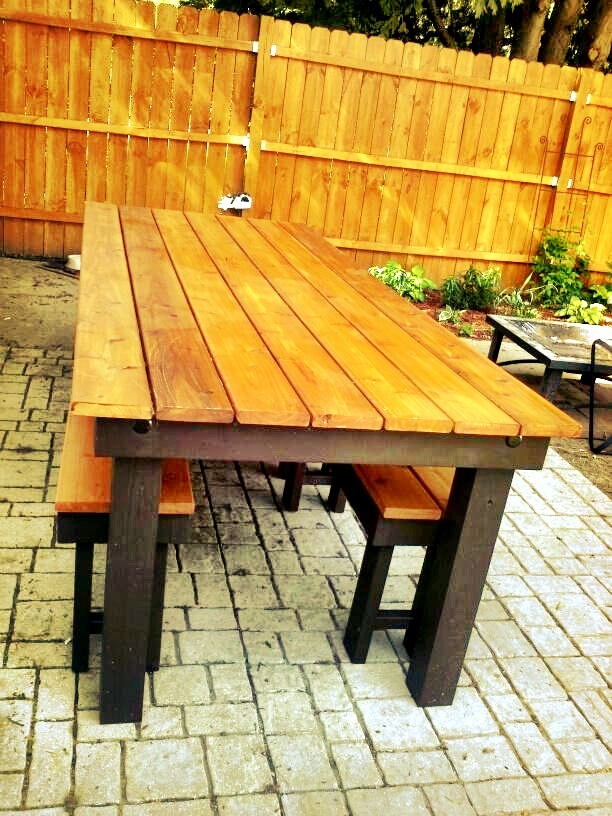
We built this table for my brother and new wife's wedding present. We modified it to use as an outdoor dining set. Instead of using the 1x10 for the tabletop we used 2x6's and for the legs we used 4x4's. We attached the top boards with a Camo fastening system we used last year on our deck (works great to conceal the screws). I stained the frame in Behr Cordovan Brown and the top boards in Behr Cedar Naturaltone. It was our first attempt at building a table and I think it turned out great, only problem was giving it away!

Built from Plan(s)
Estimated Cost
$300
Estimated Time Investment
Week Long Project (20 Hours or More)
Finish Used
Behr cordovan brown stain and Behr natural cedartone
Recommended Skill Level
Beginner

Comments

storchinsky

Mon, 06/17/2013 - 10:57

Very nice! I'd been considering this plan for my outdoor table, but my husband liked the modern farm table better. Same idea--I am leaving gaps to allow the water to drain. Love the two-tone finish! It's amazing what you can do with plain old 2 x 6s!

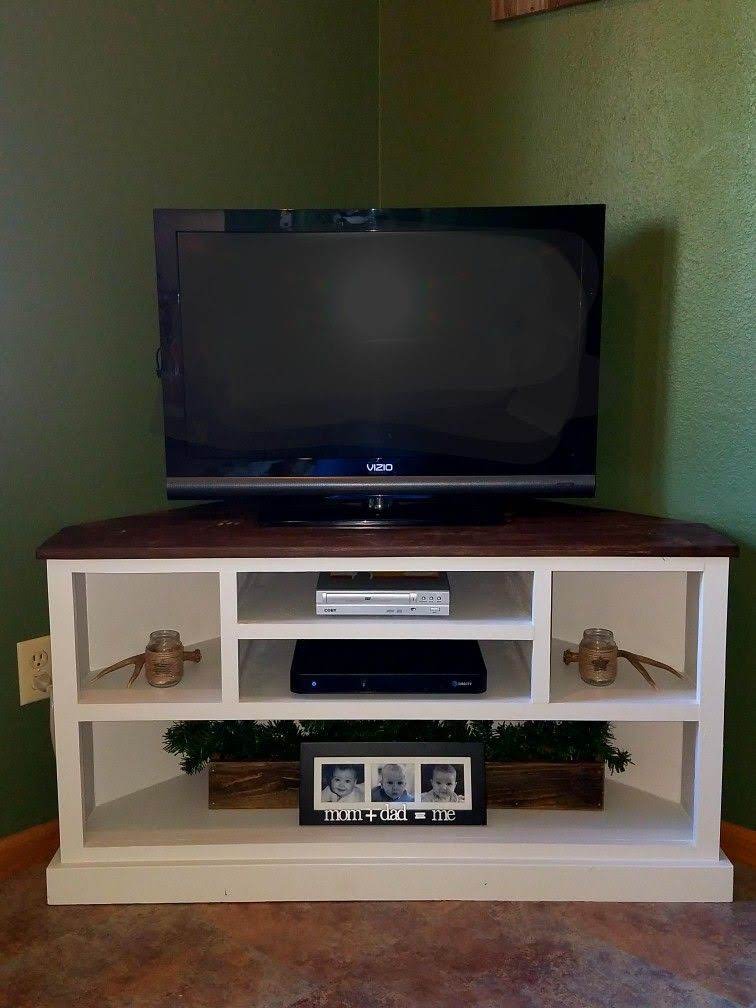
Corner Media Console

Submitted by craw4dz on Thu, 02/27/2020 - 10:39

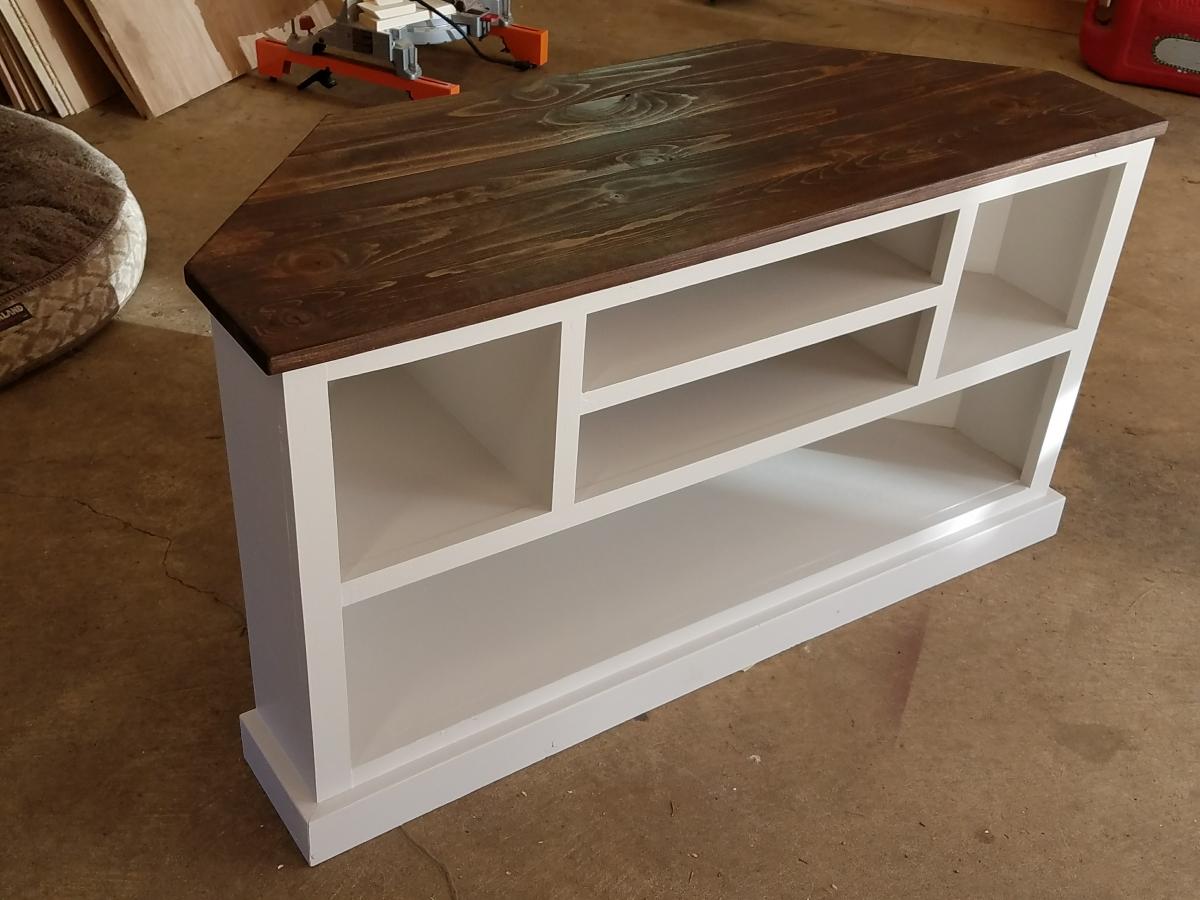
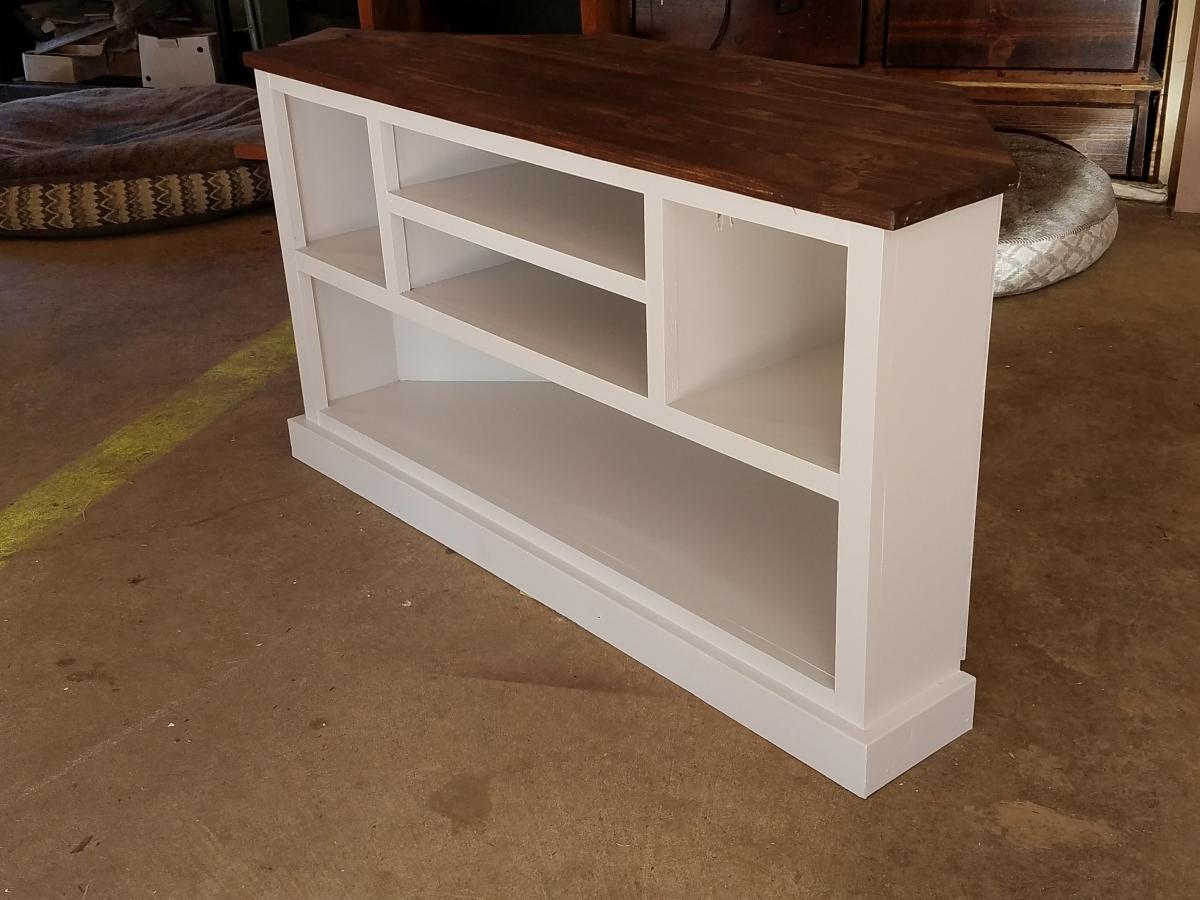
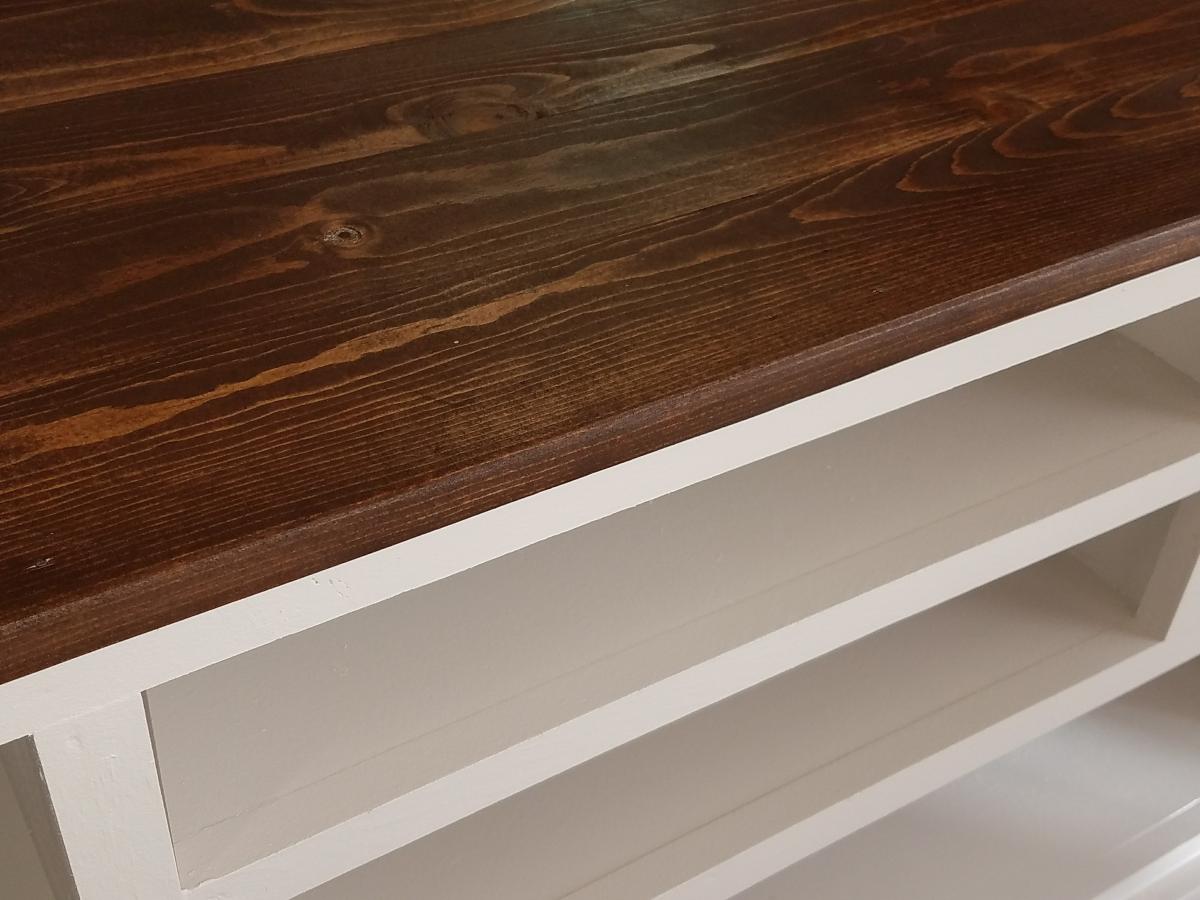
We had just moved into our new house and were using an end table for our TV stand I just didn't like it.  I found this and modified it so it's shorter and fits in our room better.  I also opted to not put doors on it and use it to display items instead.  This was a relatively easy build and I'm learning new things with every build I make.  It took about 2 days to complete not including filling holes/paint/stain.  I love it, it looks so great in our room and I am planning on building end tables to match as well as replacing our buffet with movies in it to match also.  Thanks for the easy-to-follow plans!

Built from Plan(s)
Estimated Cost
$45
Estimated Time Investment
Weekend Project (10-20 Hours)
Finish Used
Whatever white paint I had on hand (haha) and Varathane Kona with a satin poly for the top.
Recommended Skill Level
Beginner

Outdoor Patio Set

Submitted by @m@nd@ on Wed, 10/17/2012 - 15:10

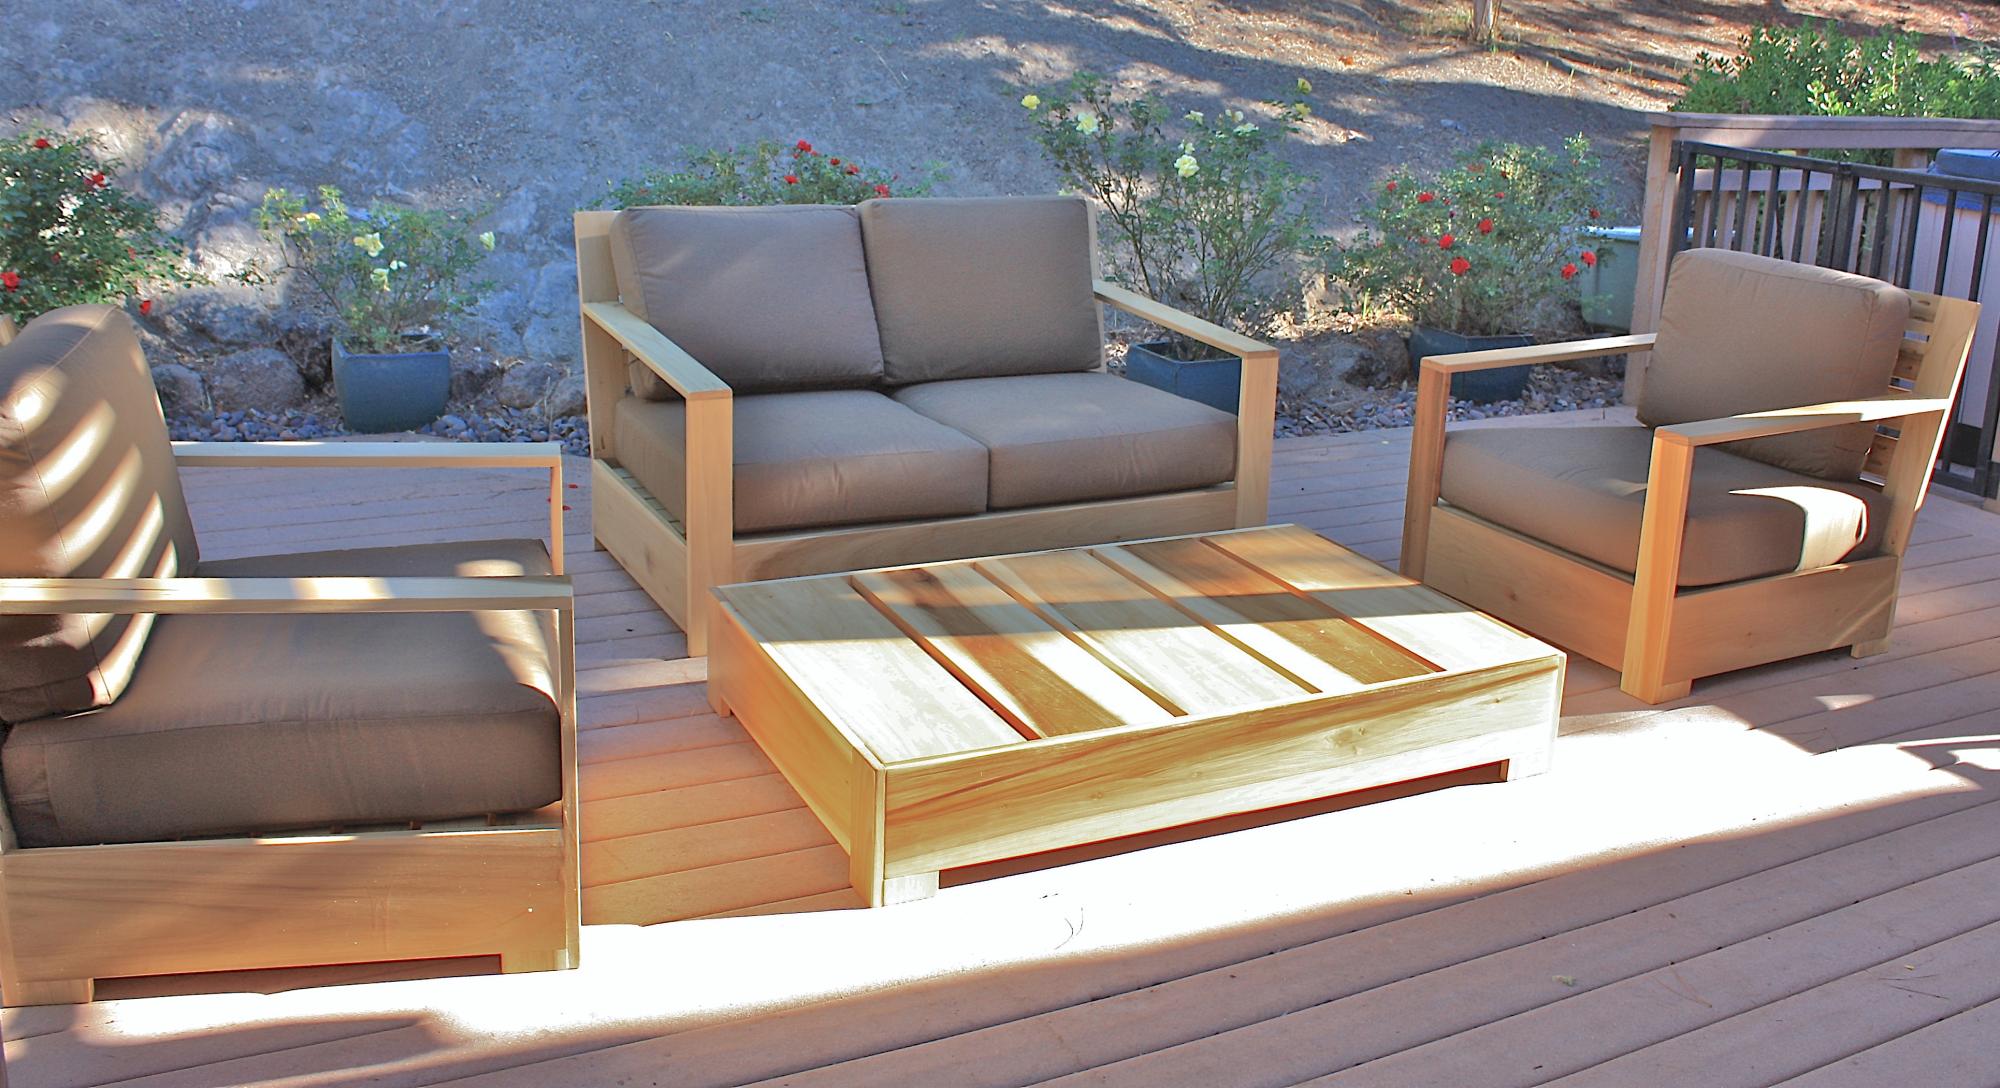
I started this project with just one of the Bristol Outdoor Lounge Chairs. I ended up liking it so much I decided to complete the collection with anther chair, a love seat, and a table. I got the designs for the other pieces from OldPaintDesign.com Poplar was my wood of choice because it is a hard wood that will last but won't break the bank. I also had a really hard time deciding how to finish it. Initially, I was going to paint the wood but liked the natural wood grain of the poplar so much I just simply put a few coats of polyurethane on it to preserve it. I ordered the cushions from Restoration Hardware this fall when they were on sale and even then they were expensive, but I love them. (Brown was the only color on sale.) Finishing the pieces was much more time consuming than I thought it would be.The first chair took much longer and required much more sanding since some of my joints weren't flush. The rest of the pieces combined took me about as long as the original chair. I wised up after completing the 1st chair and did the majority of the sanding before I assembled the boards together. Next, I am going to build an outdoor dining table to match.

Estimated Cost
$1600
Estimated Time Investment
Week Long Project (20 Hours or More)
Finish Used
Minwax Helmsman Satin Spar Urethane - 3 coats.
I used 220 grit sand paper before application and thoroughly cleaned with tack cloth before and in between each coat. I also lightly sanded out any rough spots in between coats.
Recommended Skill Level
Beginner

Comments

spiceylg

Thu, 10/18/2012 - 08:14

What a beautiful job you did. I've loved this set since I first saw it on RH website and requested plans for it. However, I realized with the cost of those cushions and such, my hubby probably wouldn't agree to the cost, at least now. So we built the outdoor sectional and got a great deal on the cushions from Costco. I haven't given up on this set maybe some day in the future when we built our pergola because it's just so beautiful. Again, great job!!!

MrsMcKay

Sat, 05/25/2013 - 14:56

My husband made the chair and it has turned out great, it just needs to be stained. My question is about the cushions... getting them on RH is expensive so If I want to make them myself how do I do that? What is the foam I need? Where can I get it?

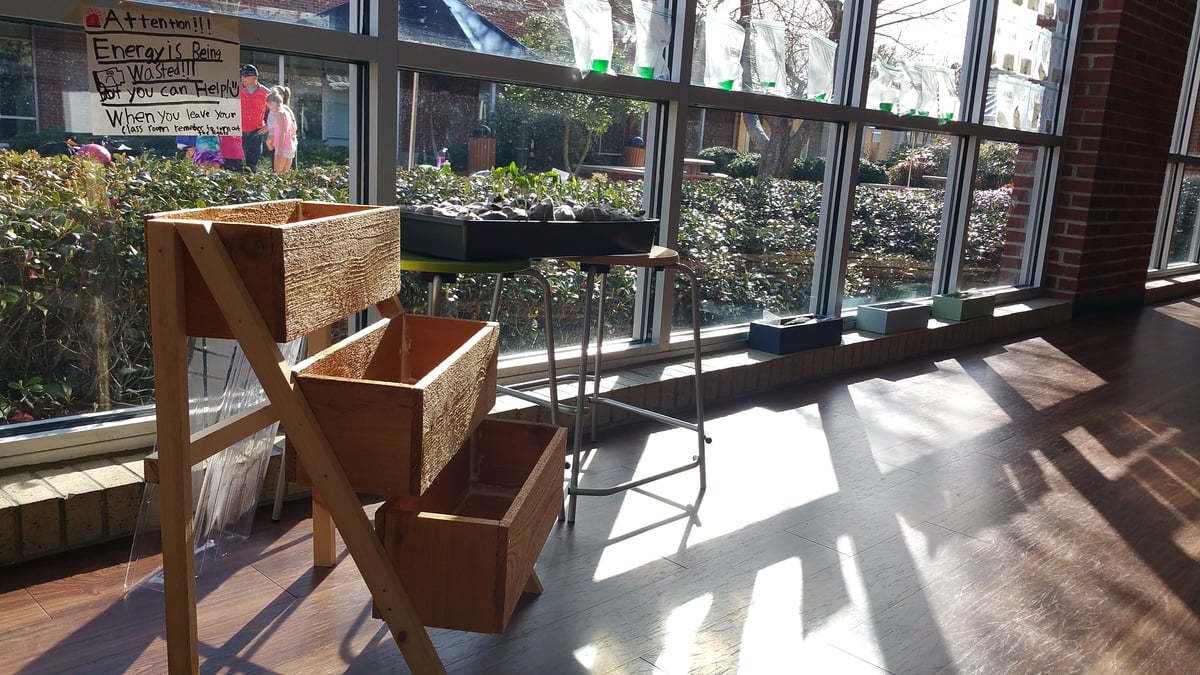
Indoor Garden Boxes for Science Class

Submitted by Anonymous (not verified) on Thu, 02/16/2017 - 19:12

After doing some string art with the Kindergarteners in my class, the were anxious to pound some nails in "all the way." I remembered seeing this plan before on Ana's website, and earlier in the week our science teacher had been talking to the Kindergarteners about how the seeds they had planted were starting to get too big for their containers. The students themselves suggested a bigger box to put them in, and just like that... our next project was born!
 

The students did every part of this build, except for the cutting of the boards. They loved it, and couldn't believe how quickly they put it together. Here are a couple of tweets to show these little #elemakers at work!
https://twitter.com/JimTiffinJr/status/830163344057327617

https://twitter.com/JimTiffinJr/status/830164086847655936

https://twitter.com/JimTiffinJr/status/830164527304077313


Thanks for sharing some very simple projects and plans that even the littlest of builders can do!

Estimated Time Investment
An Hour or Two (0-2 Hours)
Finish Used
none
Recommended Skill Level
Starter Project

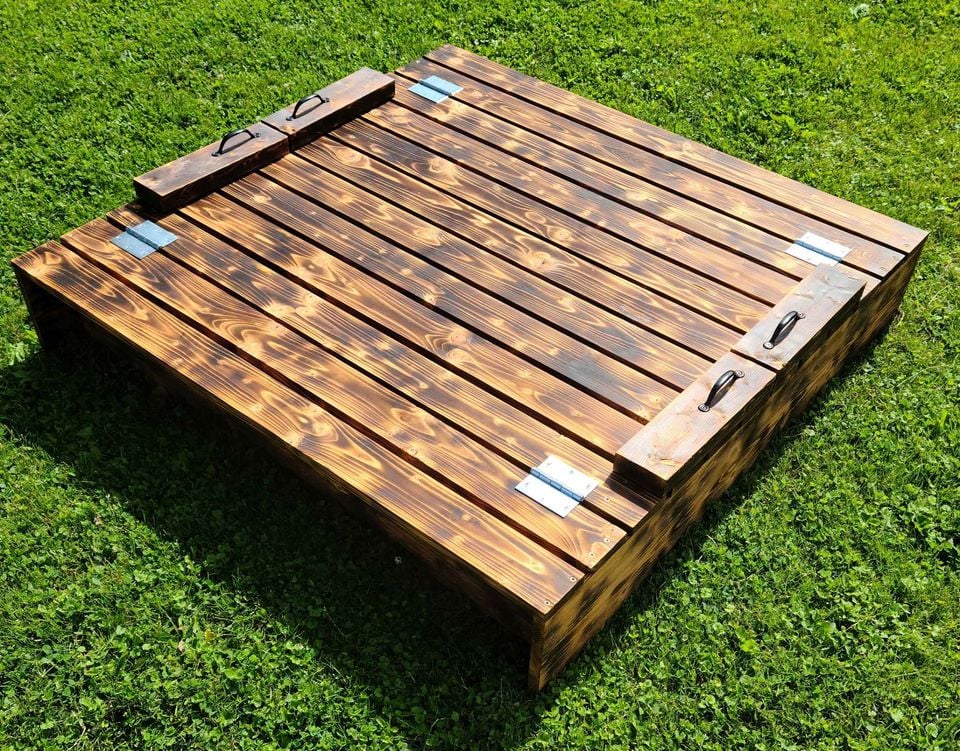
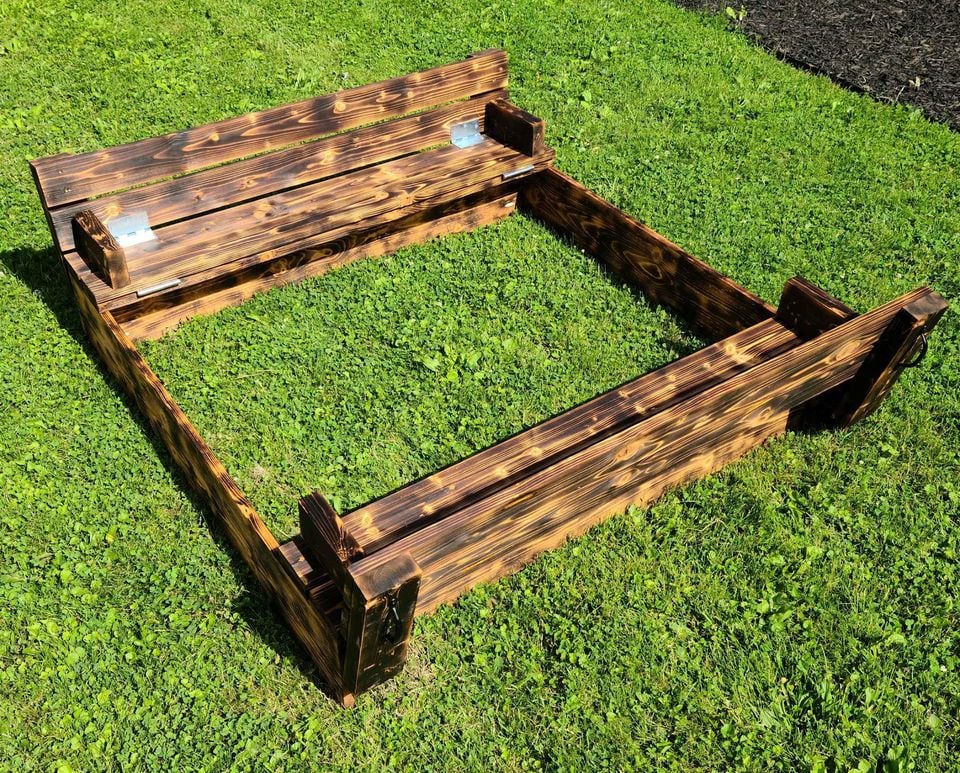
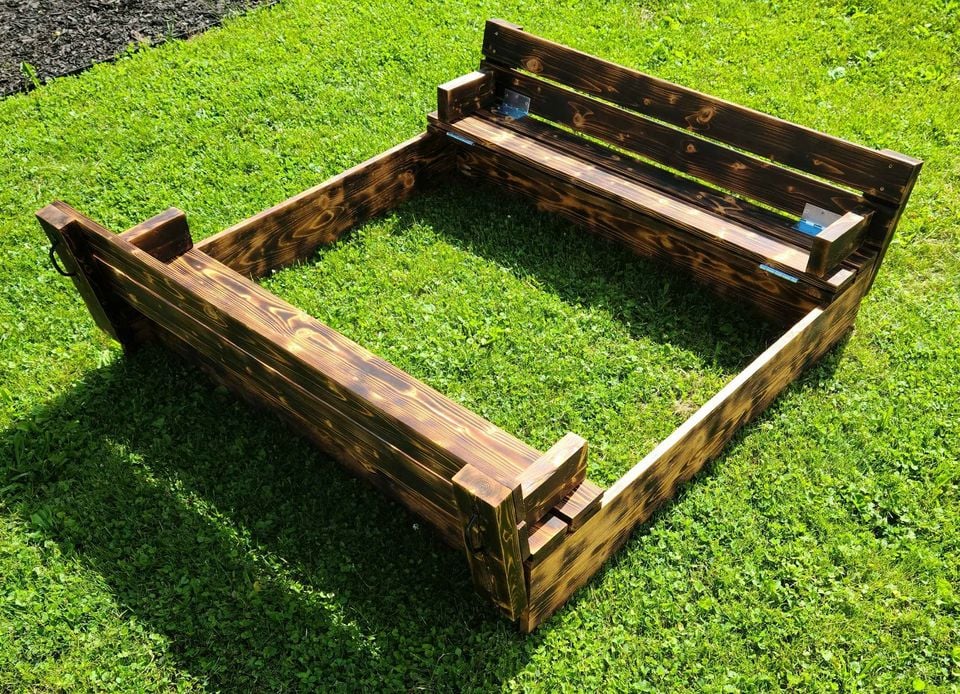
Sandbox with Benches

Burnt and stained with a semi transparent mahogany water sealer

Built from Plan(s)
Estimated Cost
$120
Estimated Time Investment
Afternoon Project (3-6 Hours)
Recommended Skill Level
Beginner

Comments

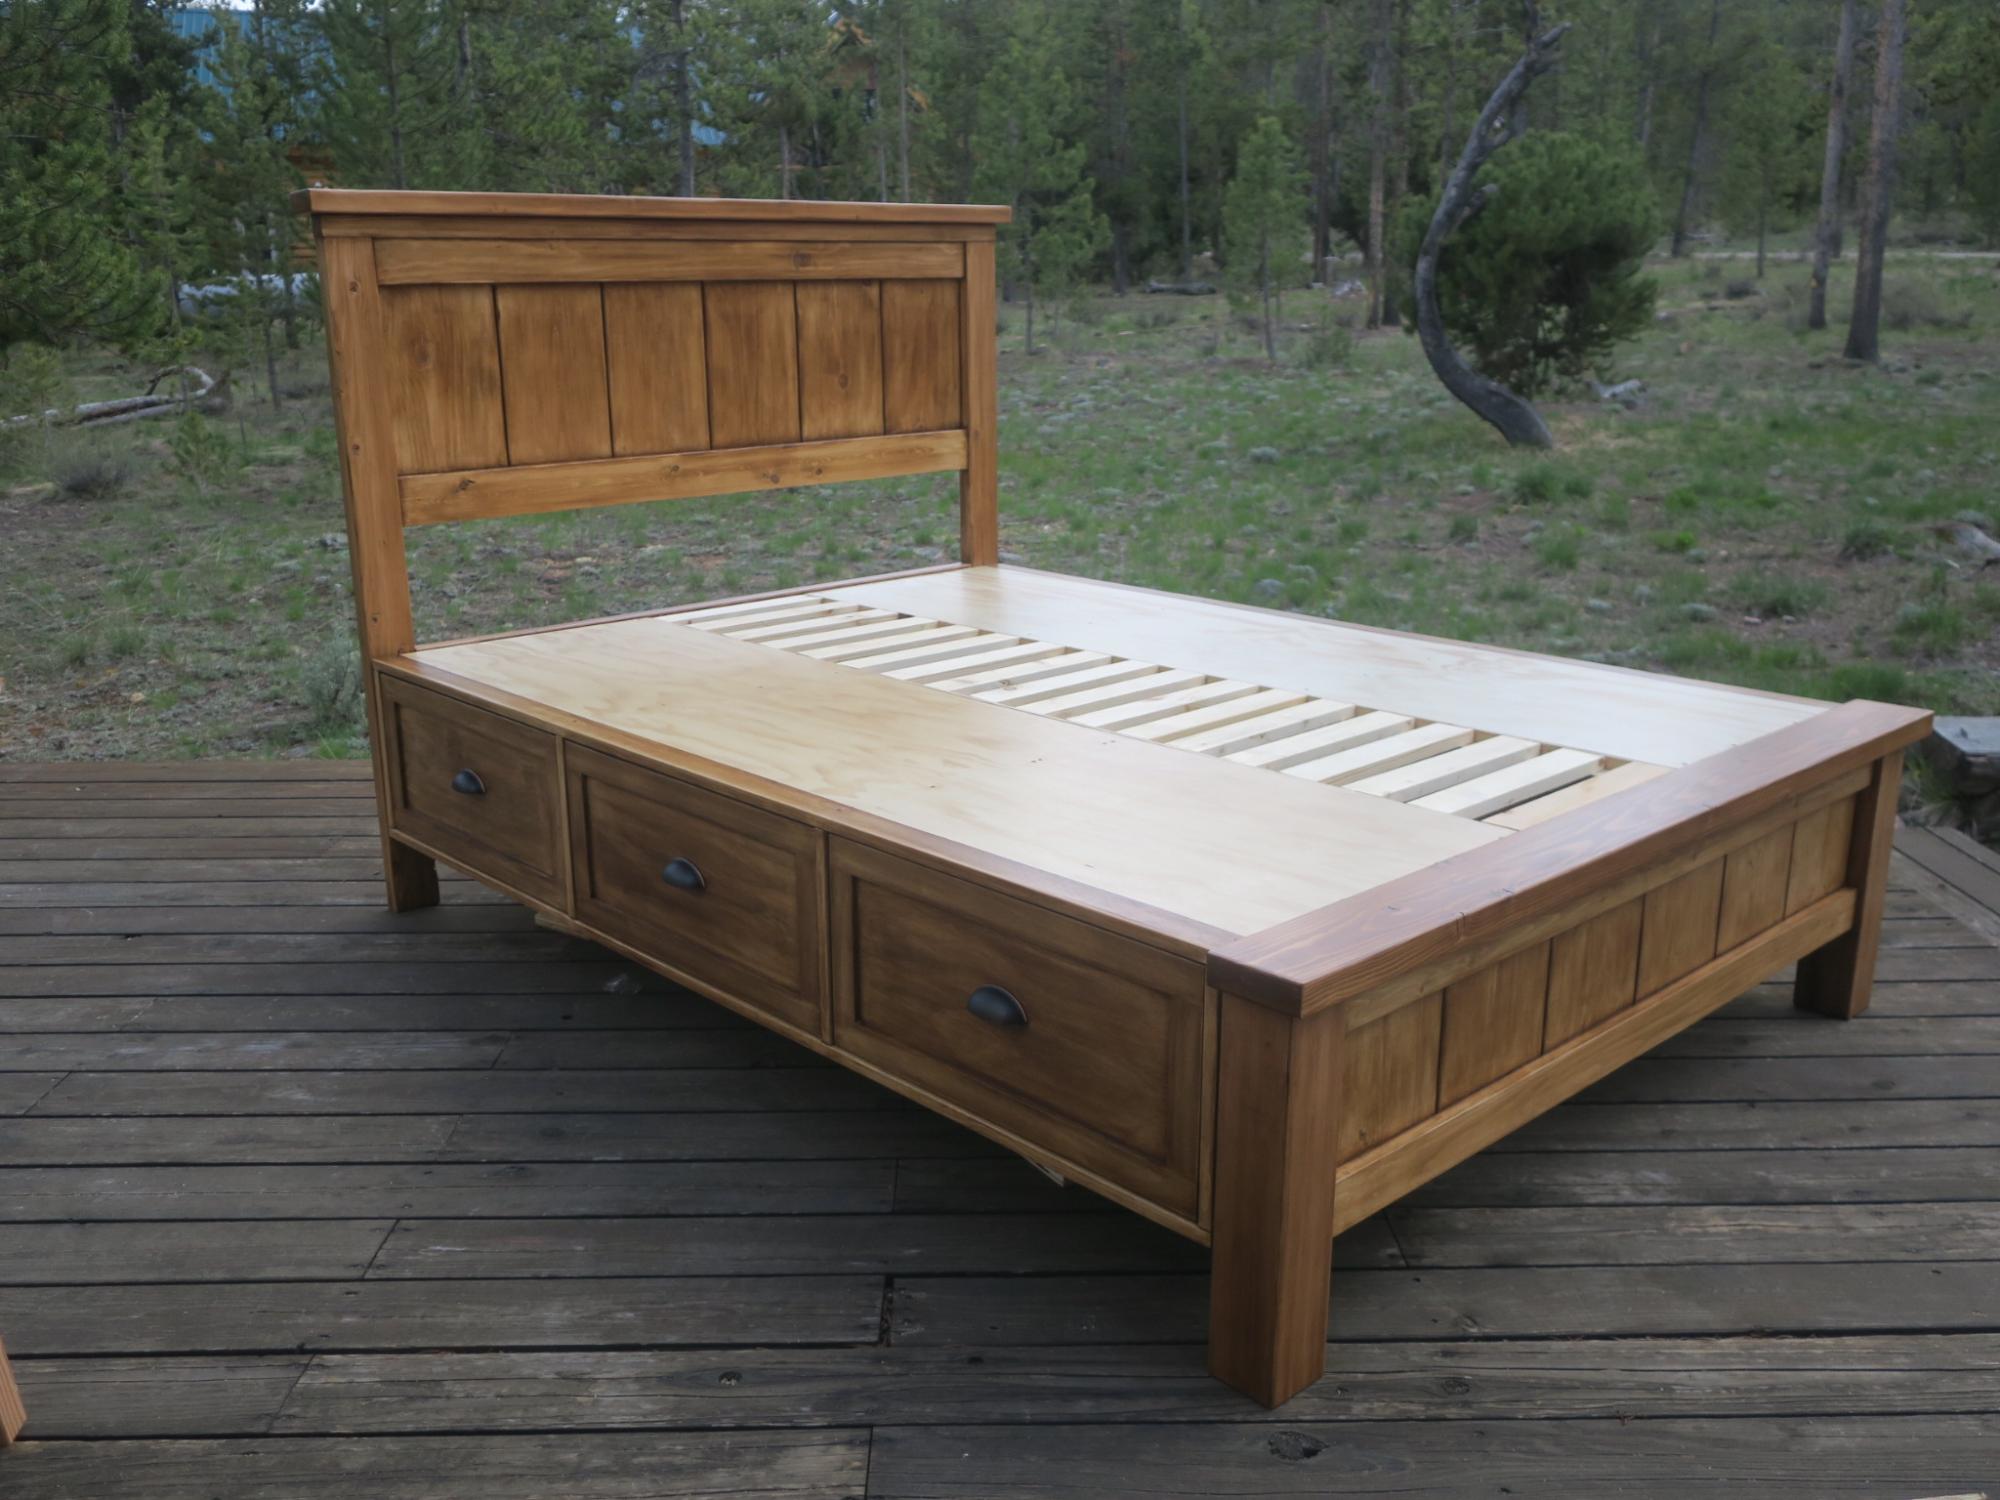
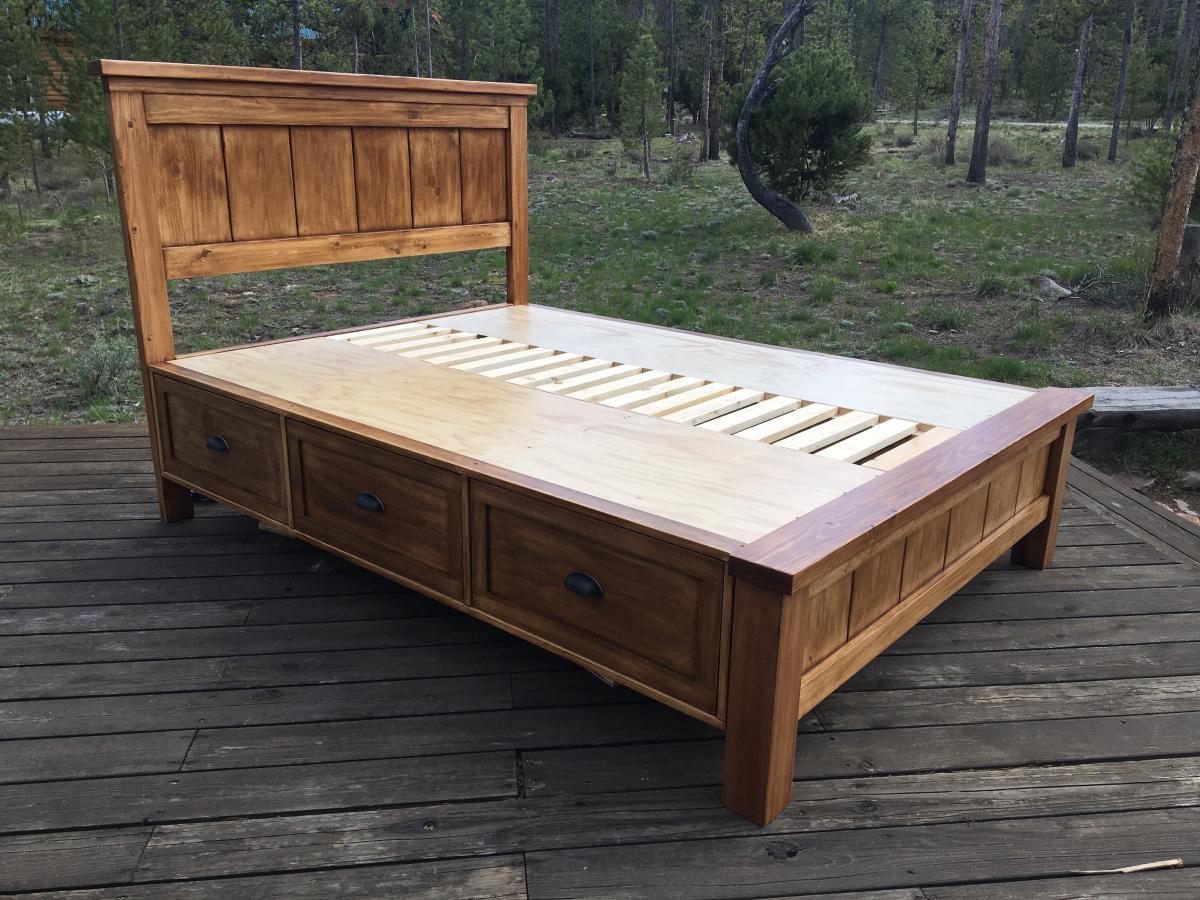
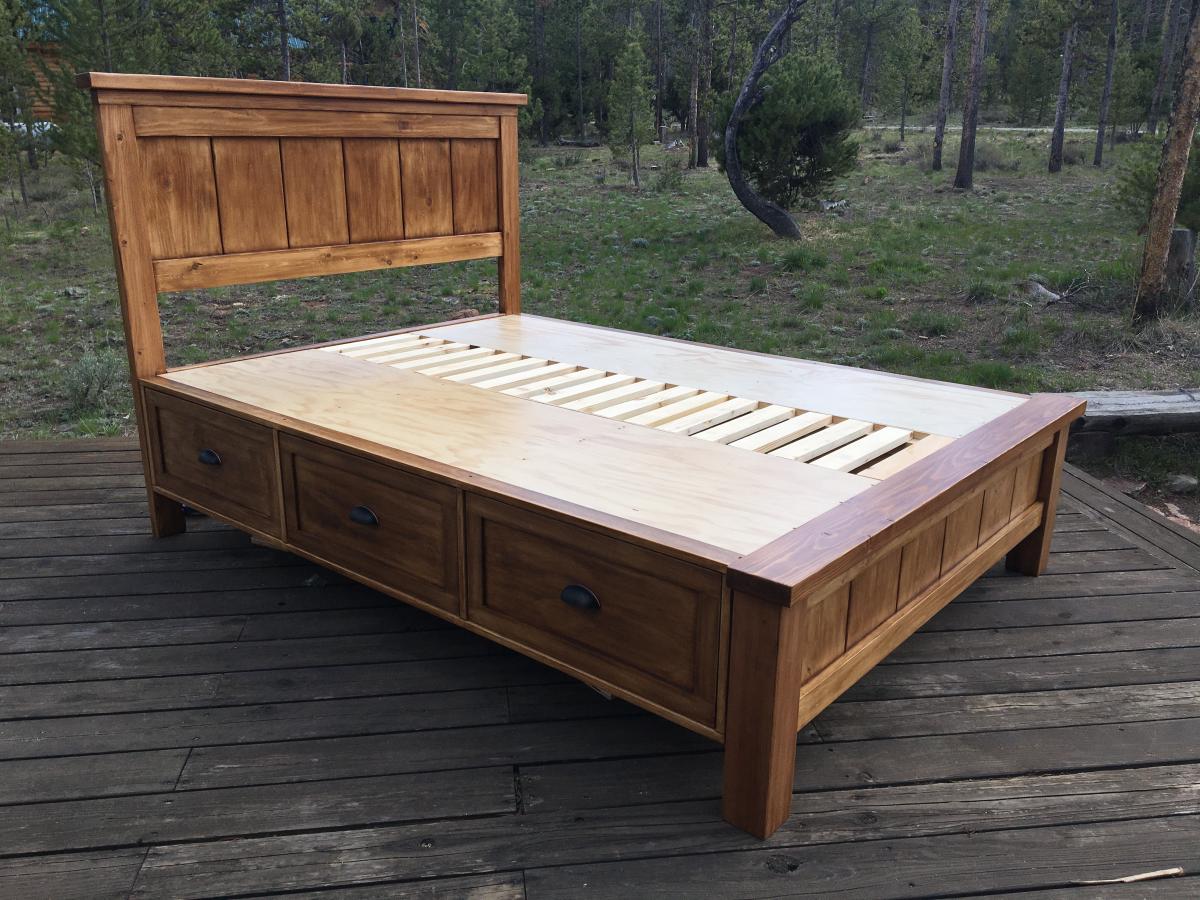
Farmhouse Storage bed with platform modification

Submitted by Anonymous (not verified) on Mon, 10/04/2021 - 13:06

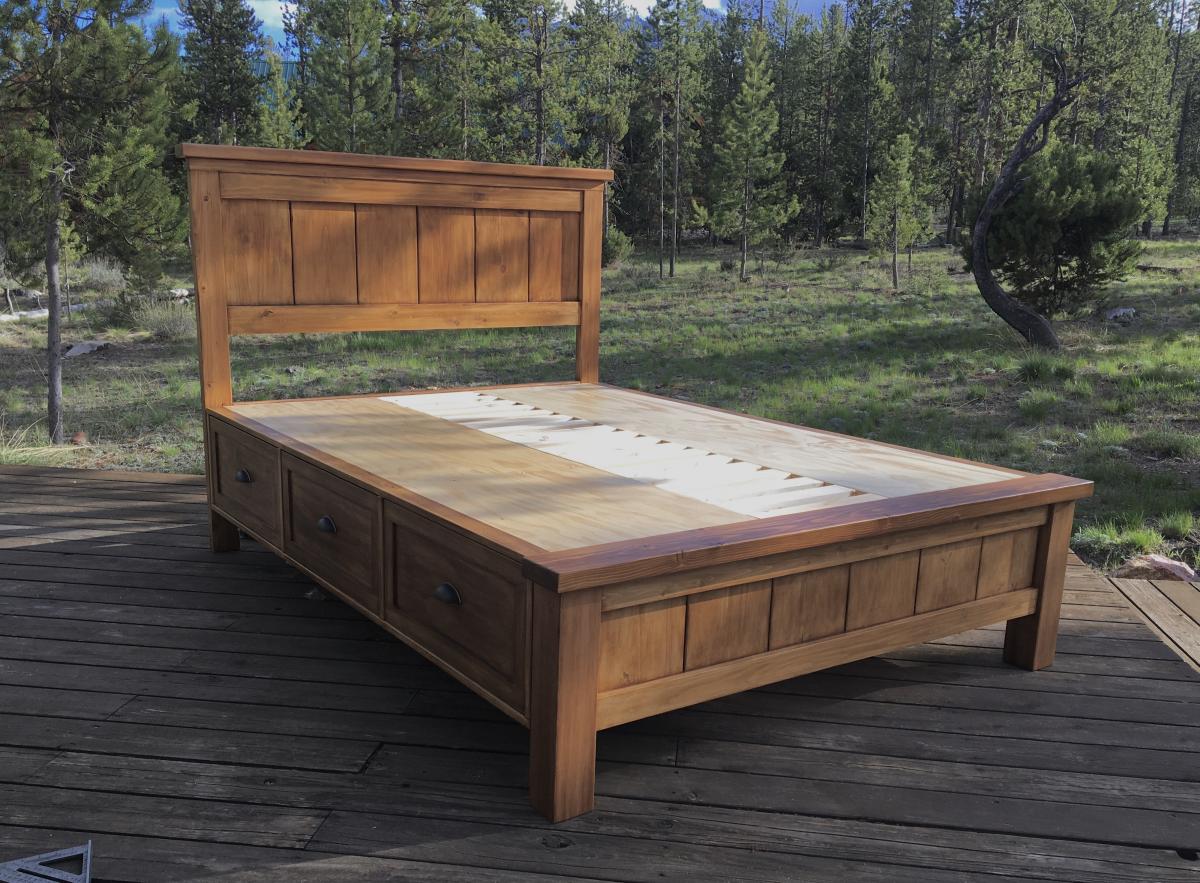
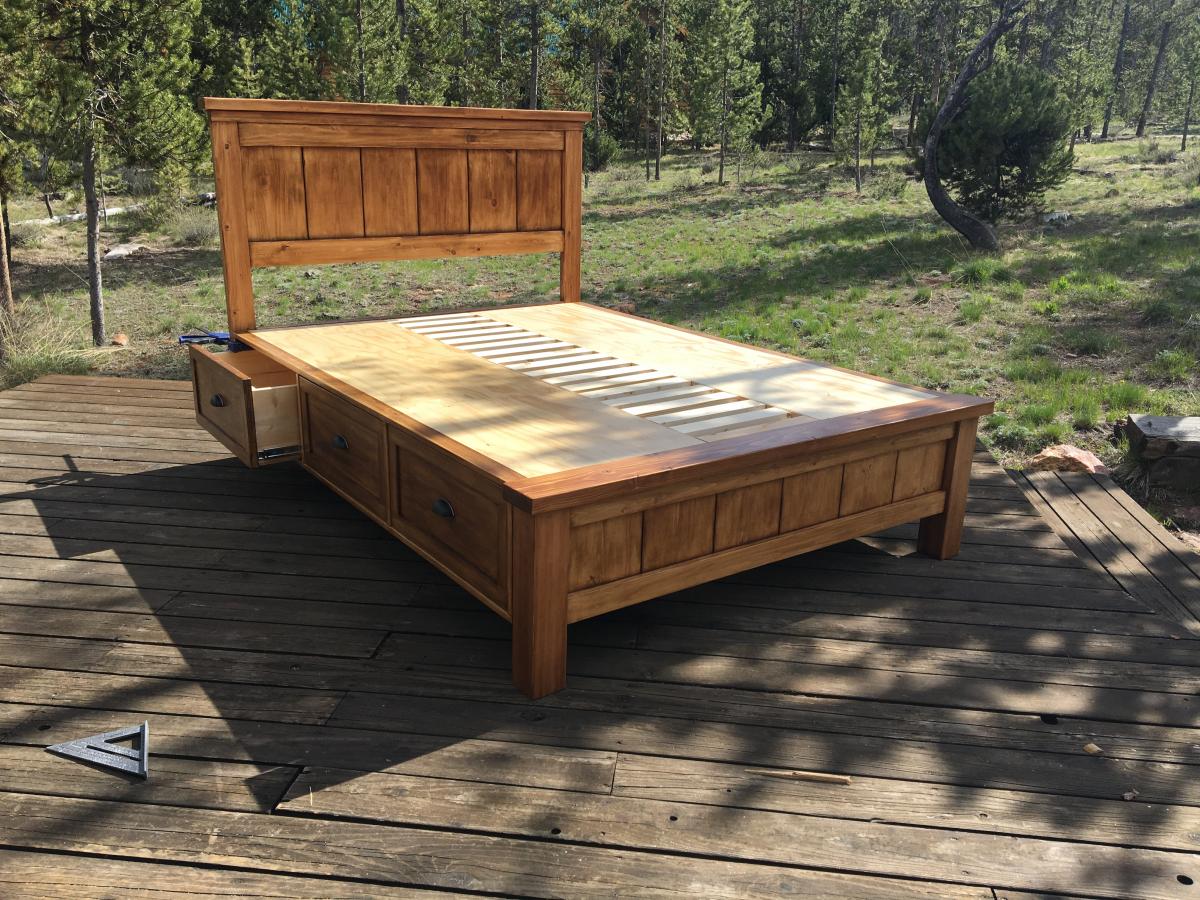
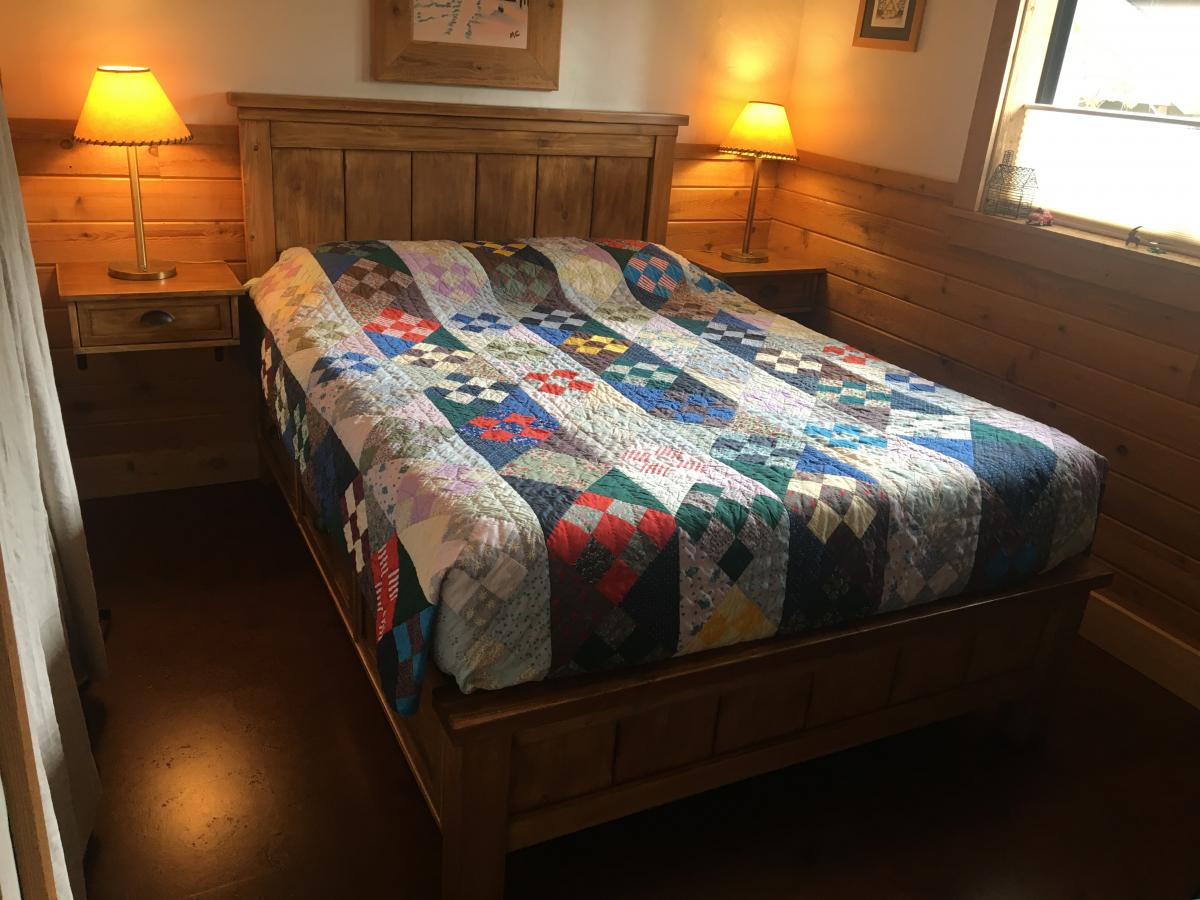
Hi, I’m Joe and love working on my cabin in Stanley Idaho. I needed a queen size bed on the ground floor but the room is small so I incorporated the footboard into into the platform to gain 6 inches of space in the room. It took a couple months working off and on but all fun. I also made the drawers deeper front to back to maximize storage. I did this at the peak of lumber prices and spent like $900 on lumber. It came out great, my Airbnb guests love it!

Comments