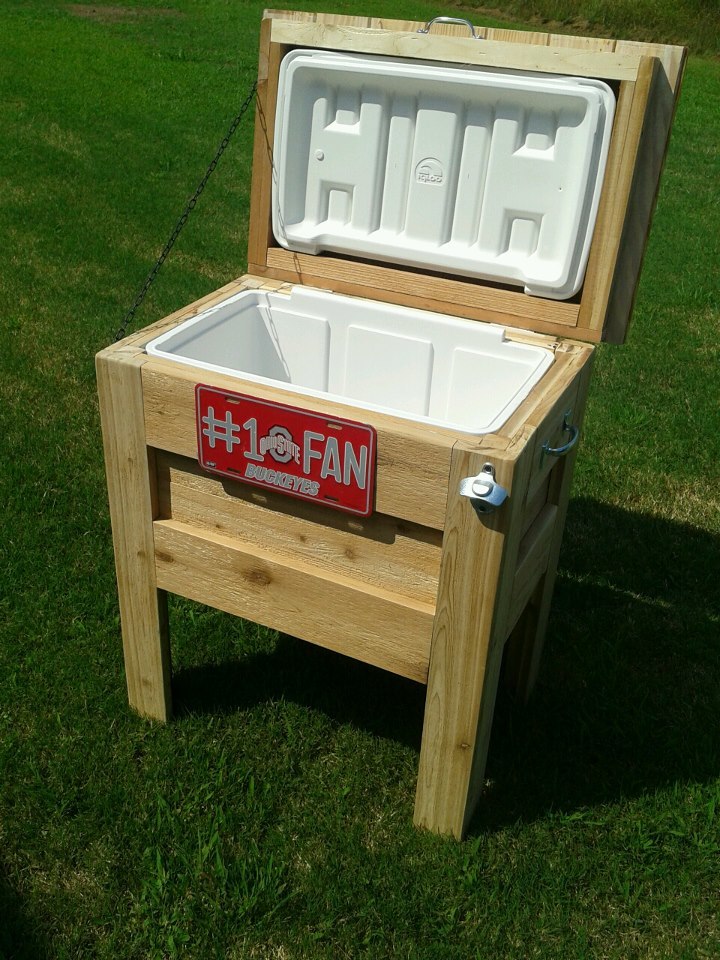
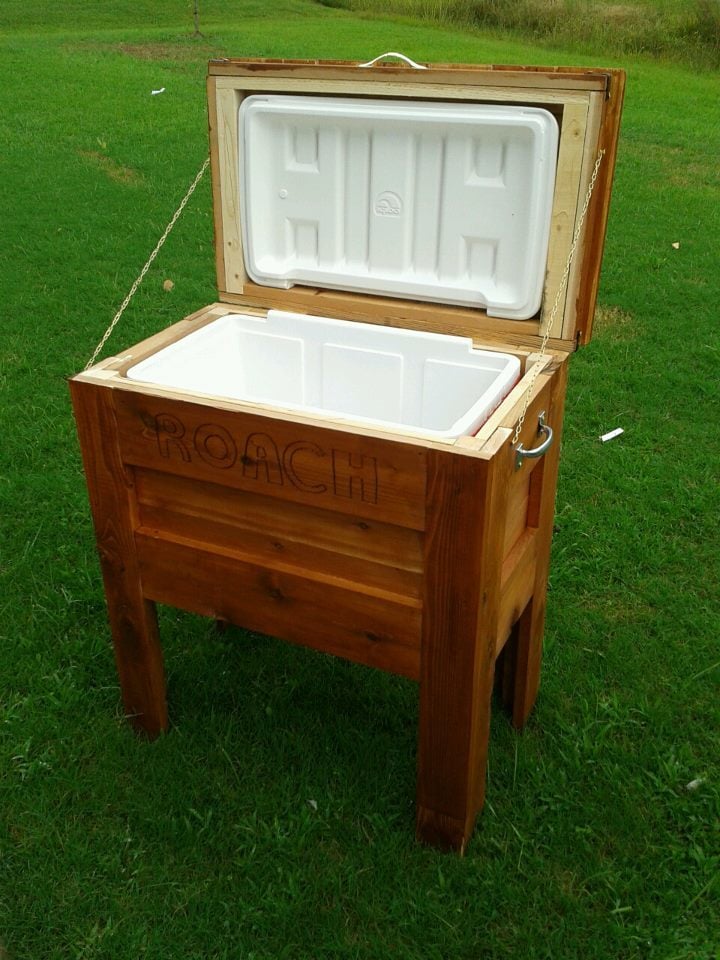
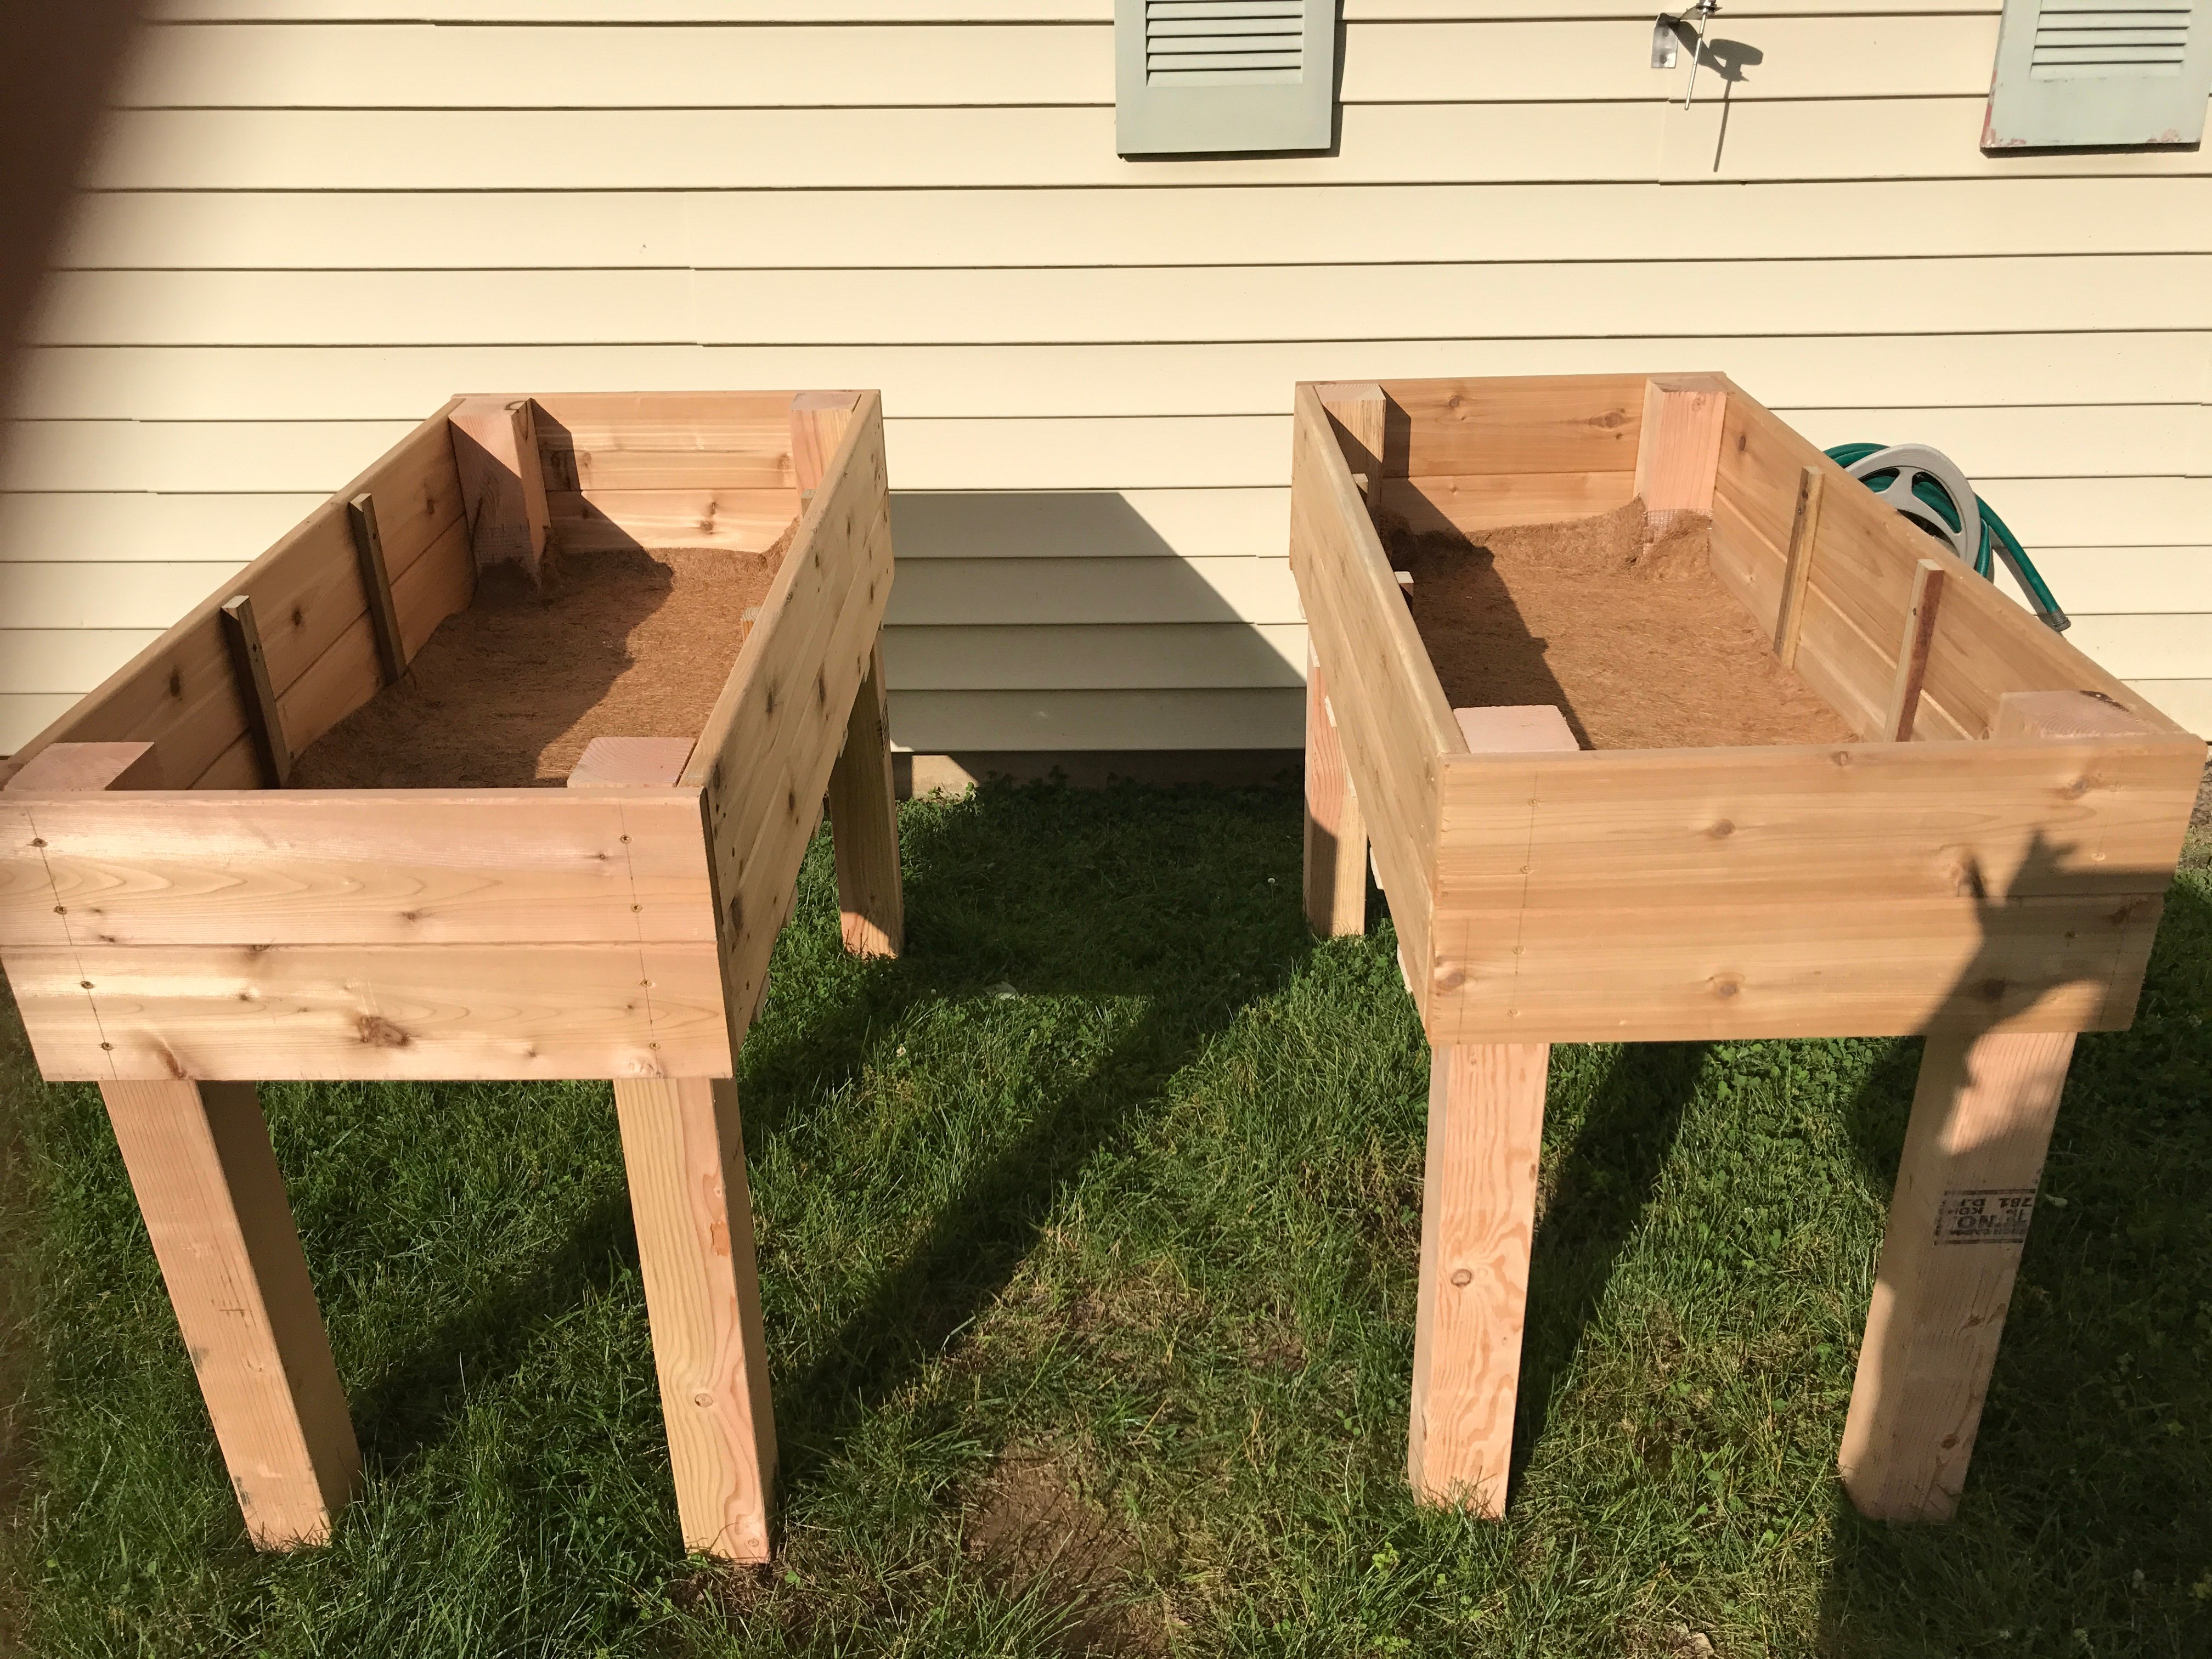
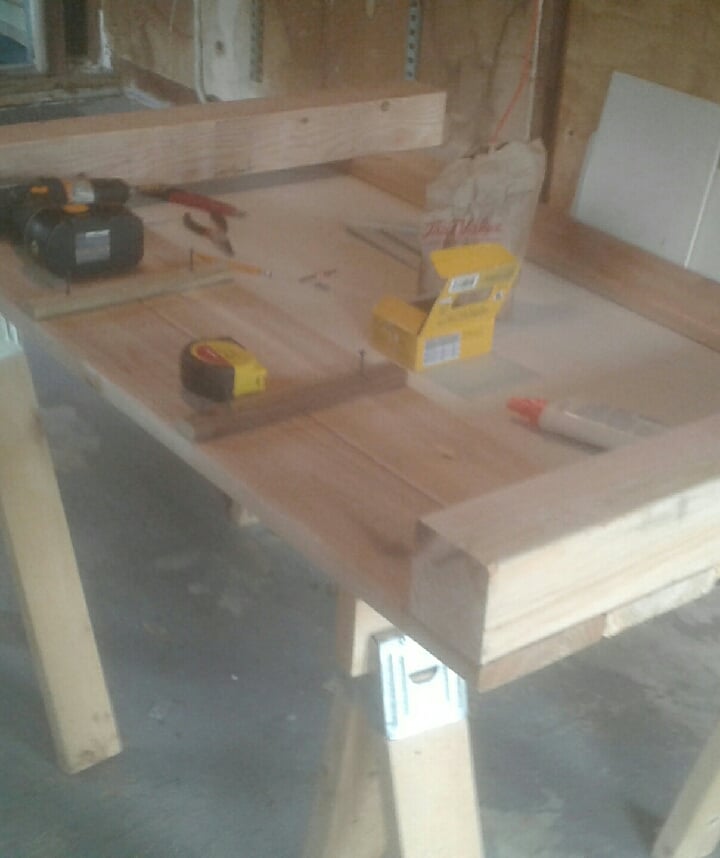
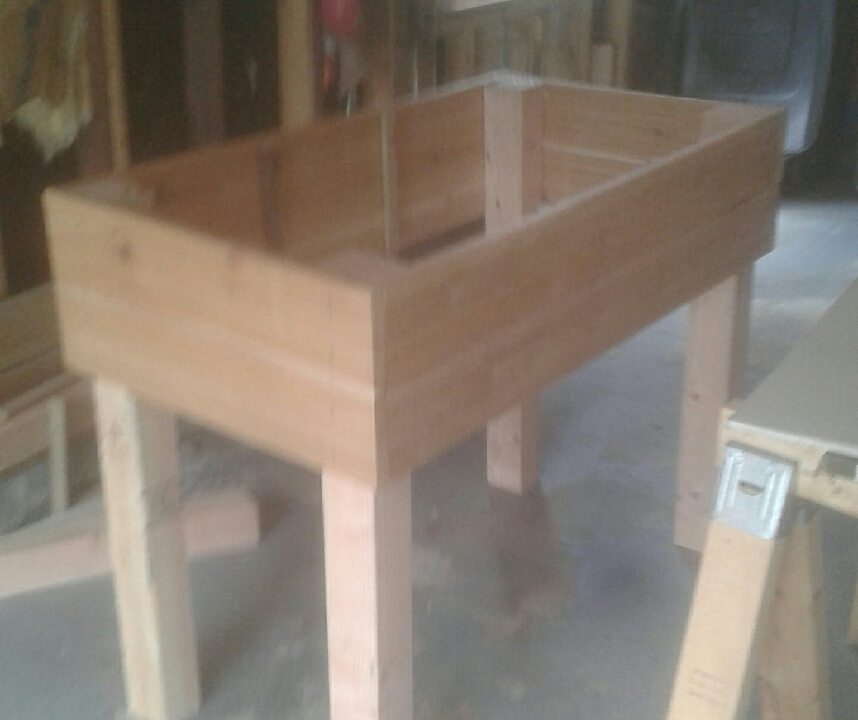
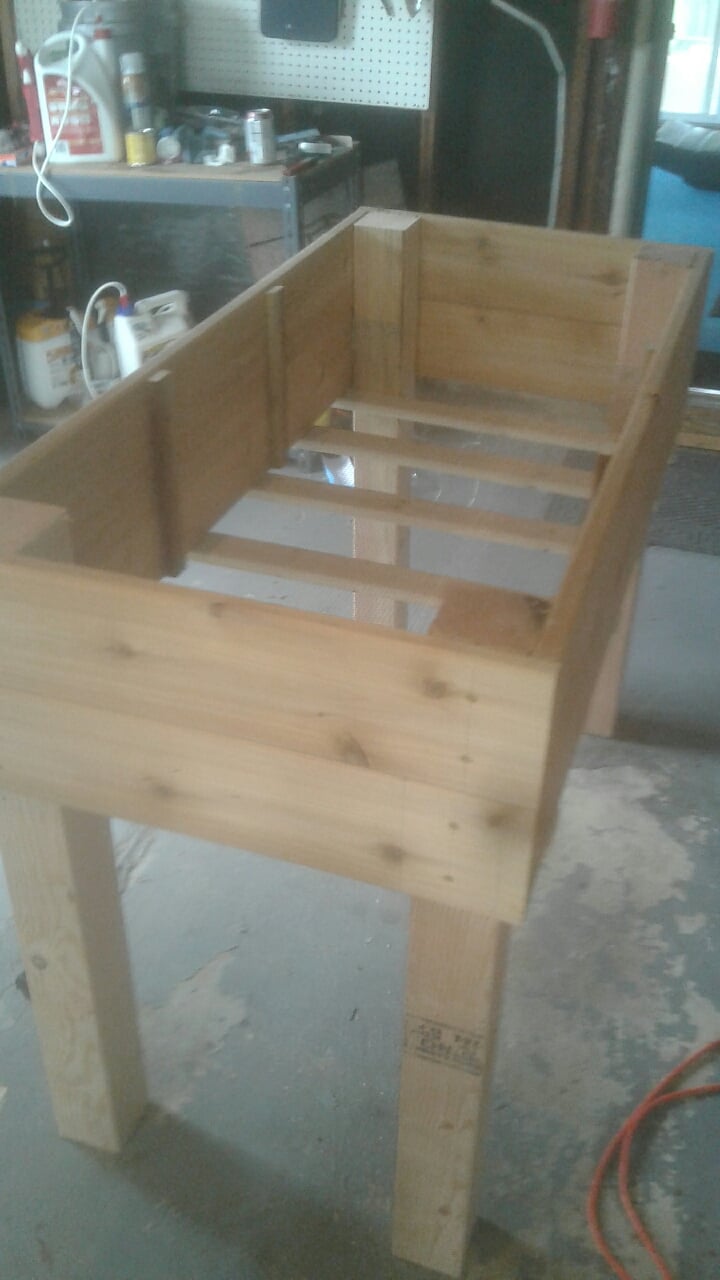
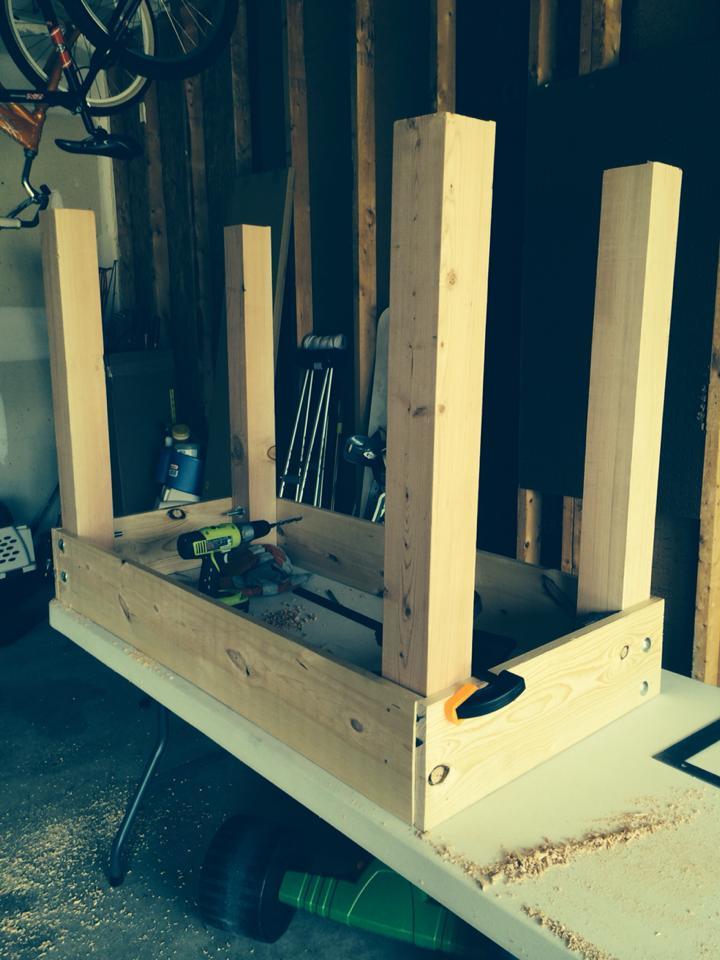
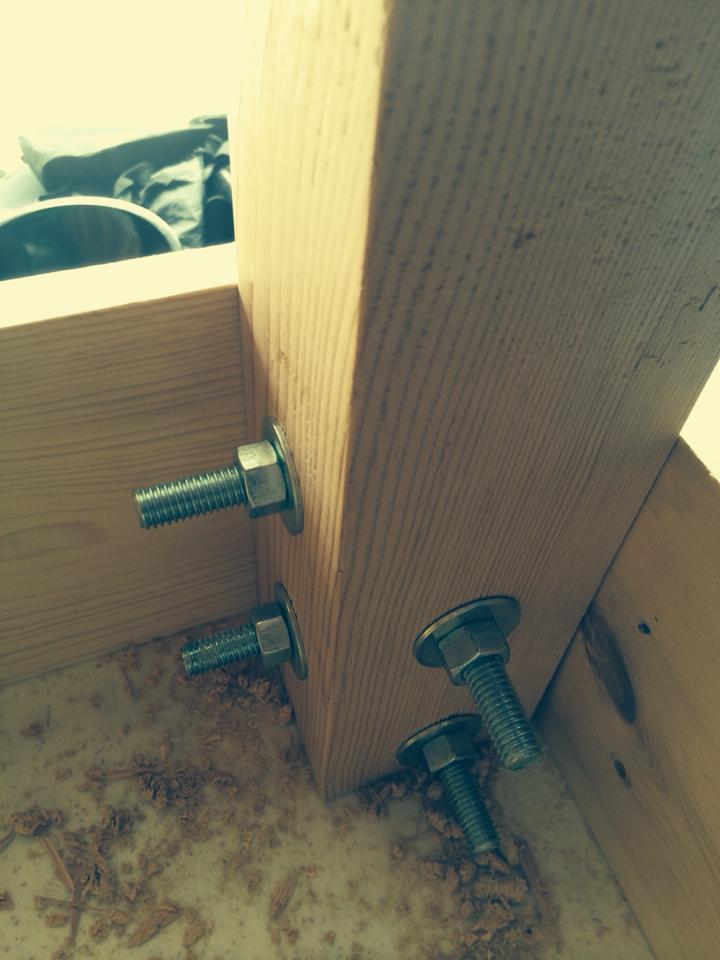
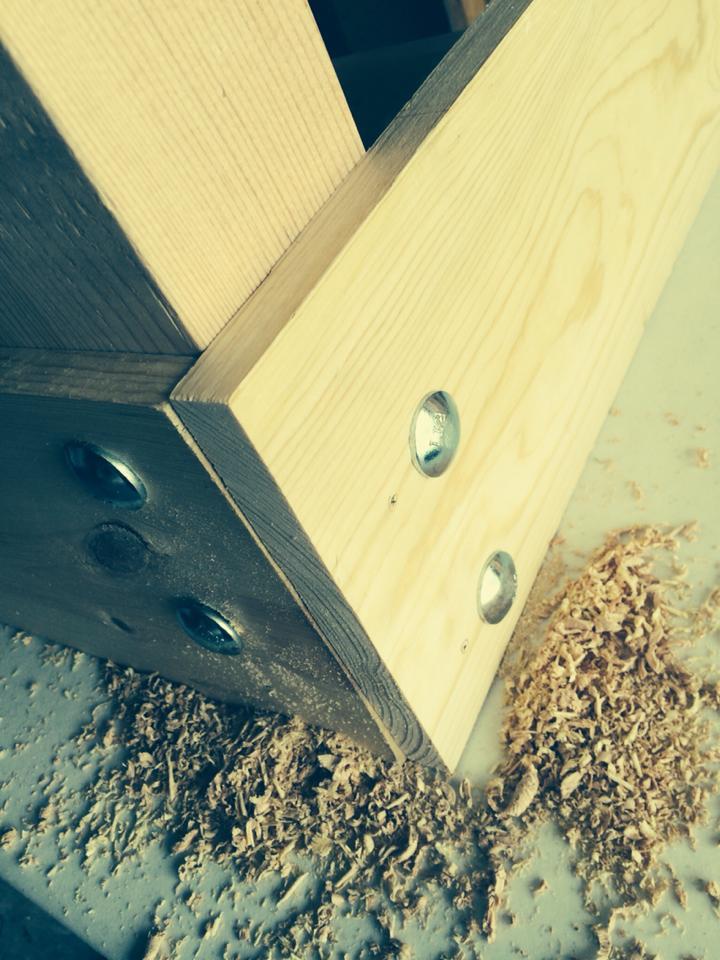
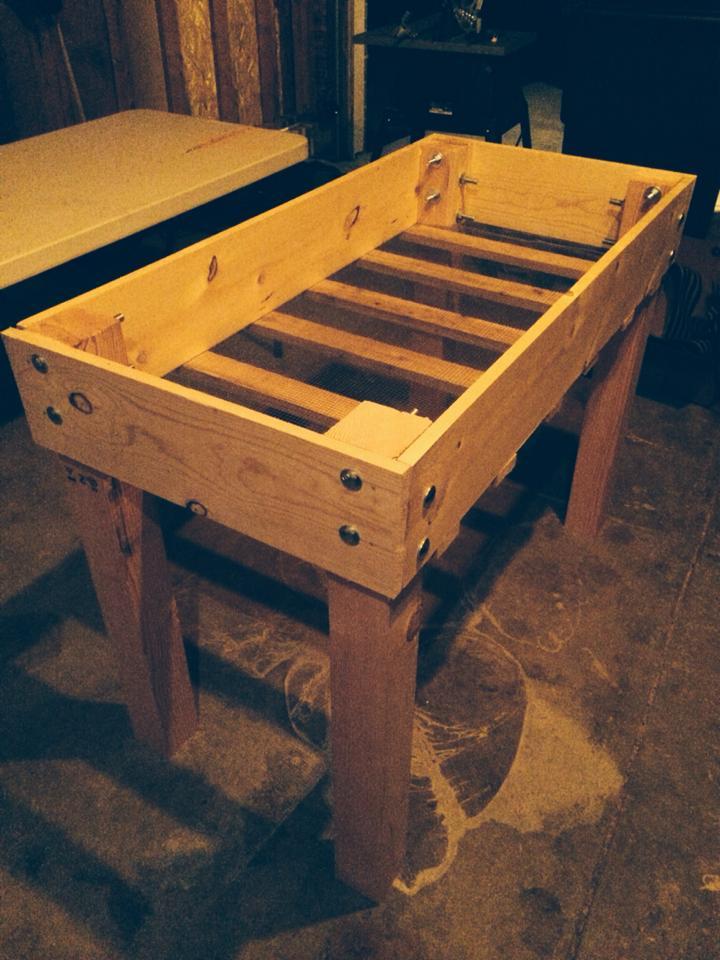
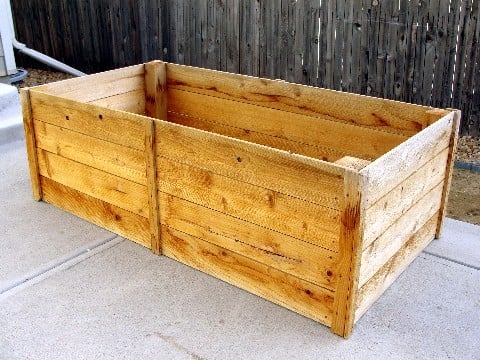
Outdoor Wooden Cooler

An Outdoor Wooden Cooler is the perfect way to accent any deck, patio, or garage. Can be made from Cedar, Pressure Treated, Cyprus, etc. Sizes can vary from small 28 qt coolers to Large 120 qt coolers capable of holding hundreds of drinks. These coolers can be themed for your favorite sports team, favorite hobby, or anything of your choice. Engraving or wood burning is available.
Built from Plan(s)
Estimated Time Investment
Weekend Project (10-20 Hours)
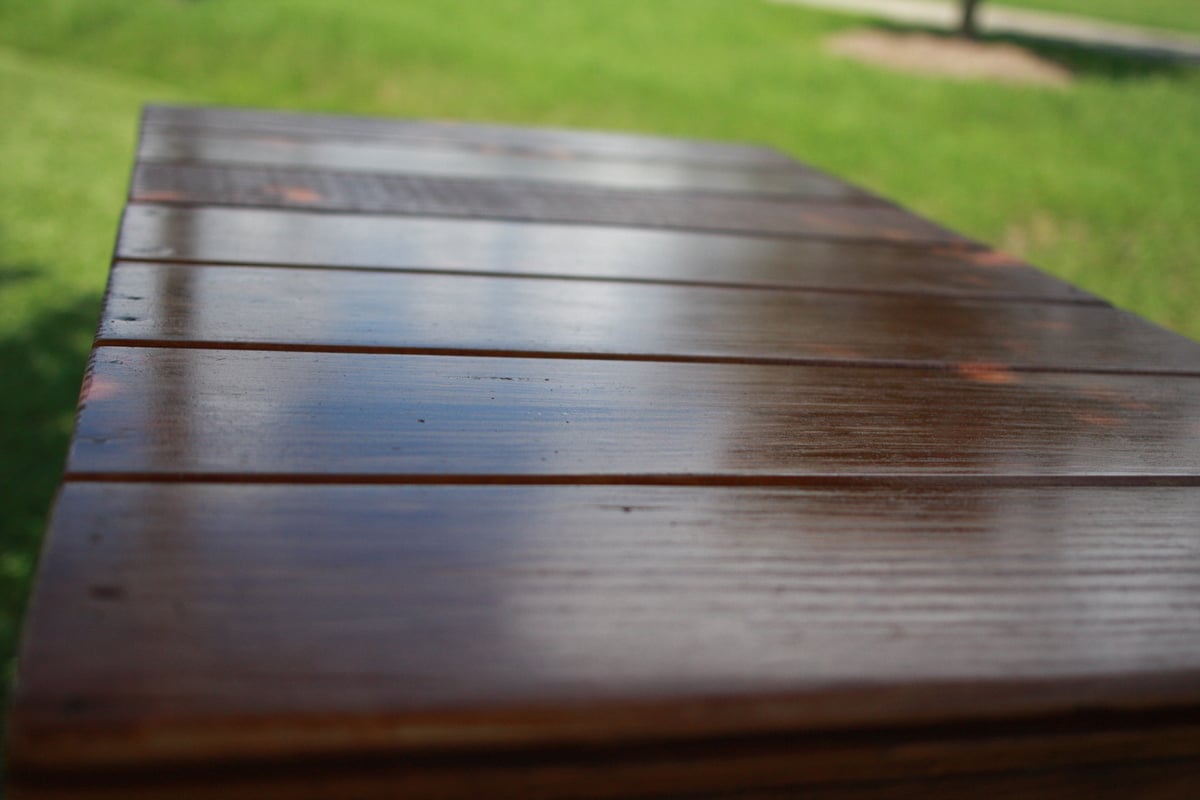
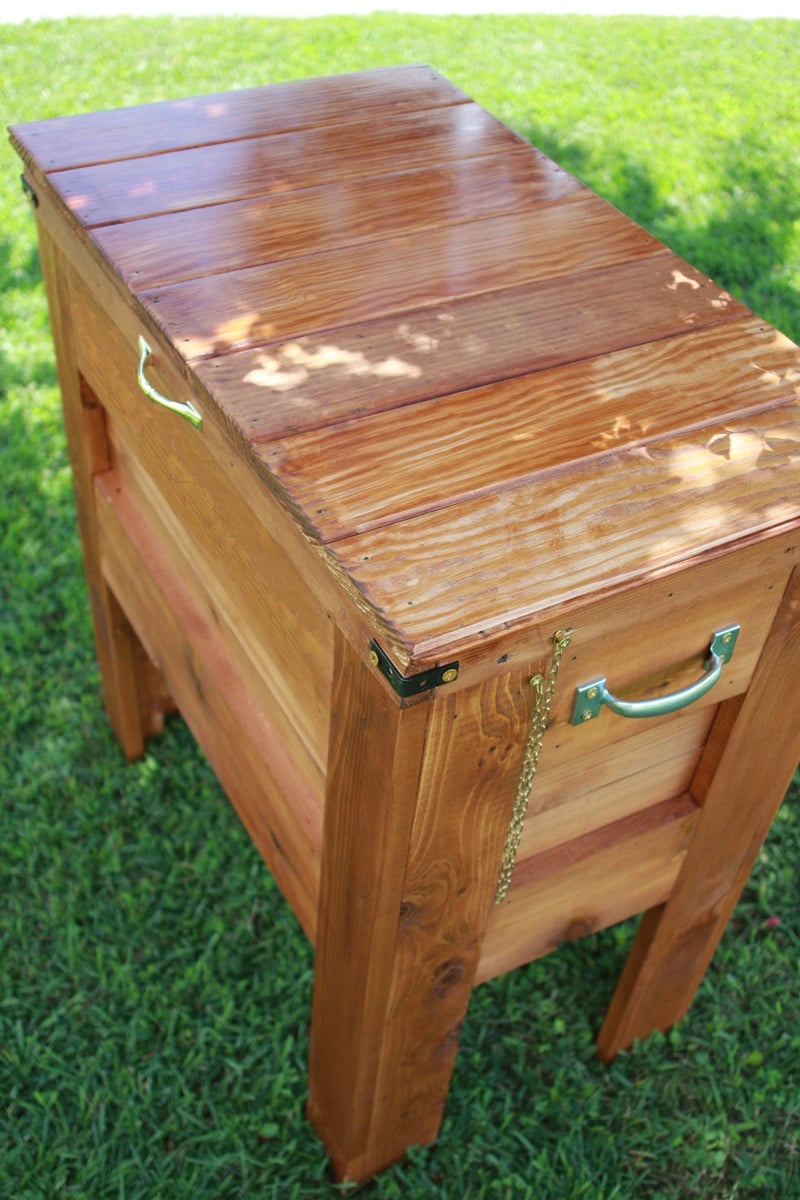
Finish Used
Stain, painted, distressed, etc.
Recommended Skill Level
Intermediate


Comments
sgilly
Fri, 08/31/2012 - 09:52
I want to make one of these
Well, actually, two. My beer loving son-in-laws would love this, and Christmas is coming! Do you happen to have any "step-by-step" directions you'd be willing to share? I can figure out the dimensions but it would be really helpful to read - or see - the components and how you put it all together.
Thanks for sharing!
In reply to I want to make one of these by sgilly
Adam_Scheetz
Fri, 09/28/2012 - 11:43
Wooden Cooler response
I had to make a new page because of some password issues. Thanks for comments. I have no plans yet, I've built so many it's sort of muscle memory now. Shoot me an email at [email protected] and perhaps I can help.
birdsandsoap
Sat, 09/01/2012 - 10:59
I want to make one too. Is
I want to make one too. Is the lid tricky at all?
Adam_Scheetz
Fri, 09/28/2012 - 11:41
Outdoor wooden cooler response
I had to make a new page because of some password issues. Thanks for comments. I have no plans yet, I've built so many it's sort of muscle memory now. Shoot me an email at [email protected] and perhaps I can help.
And no, the lid style I like is nothing more than some tongue~n~groove boards cut to length, attached with pocket holes and nailed to the lid frame. Tongue~N~groove is optional of course, you could just use regular boards.
sgilly
Fri, 09/28/2012 - 11:58
Thanks!
I really appreciate your response. And, I did indeed send you an email!
I have a bunch of cedar milled and planed by one of my son-in-laws. He'll be thrilled to see that I've made something he can use for his favorite beverage!
brookifer86
Thu, 03/14/2013 - 21:08
Cooler Plans
I don't mean to hijack Adam's great build, but I have some step-by-step plans available for a cooler I built with a similar style. It has a 2x2 frame with old fencing facing. For those of you looking for plans/tutorial http://www.killerbdesigns.com/rustic-cooler-a-how-to/
kassy@purposef…
Thu, 05/07/2015 - 07:20
DIY Wood Double Cooler... used a similar design and worked great
My husband used a similar design to Adam's but made it a double. :) He also added wheels and a bottle opener/cap catcher. Great work Adam!
http://purposefulproductions.blogspot.com/2015/04/diy-wood-drink-cooler…