Community Brag Posts

Grandy Sliding Door Console (Modified)

Submitted by NicJT86 on Wed, 01/17/2018 - 00:22

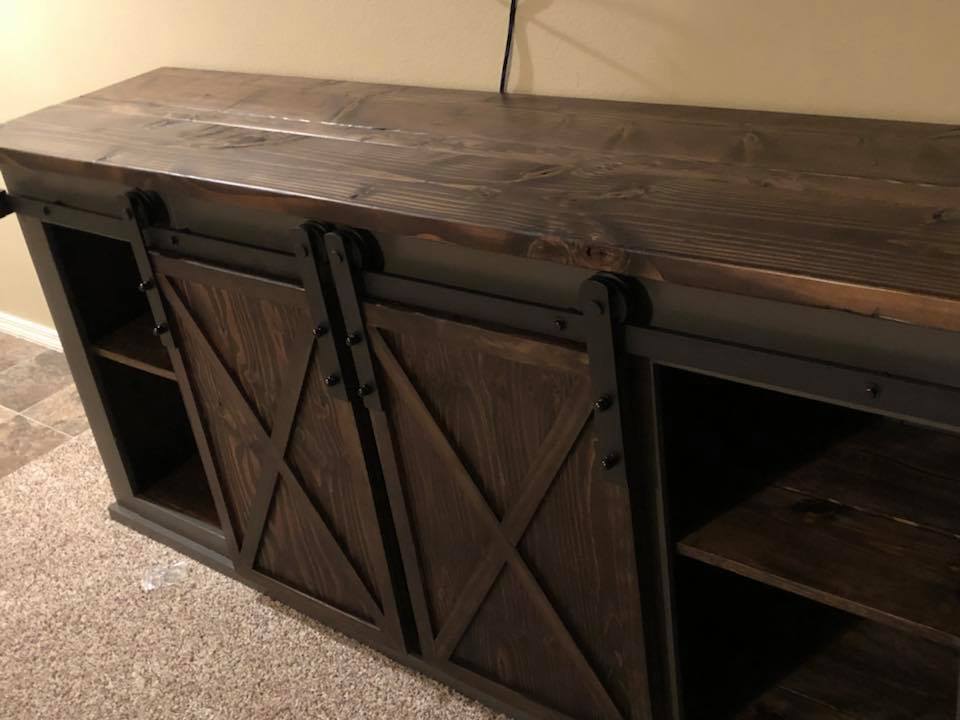
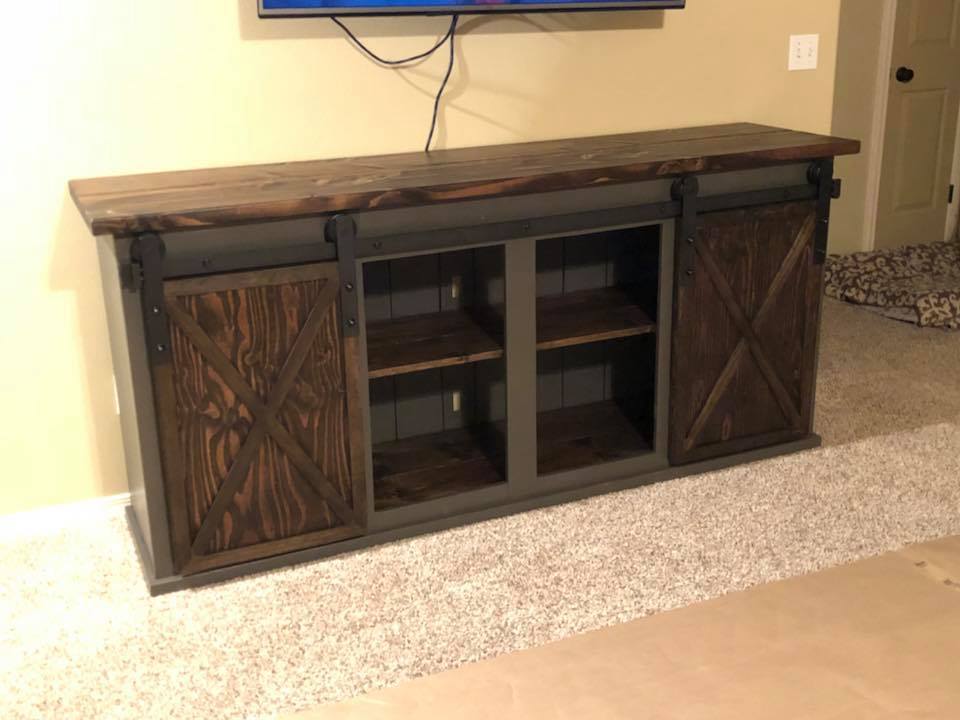
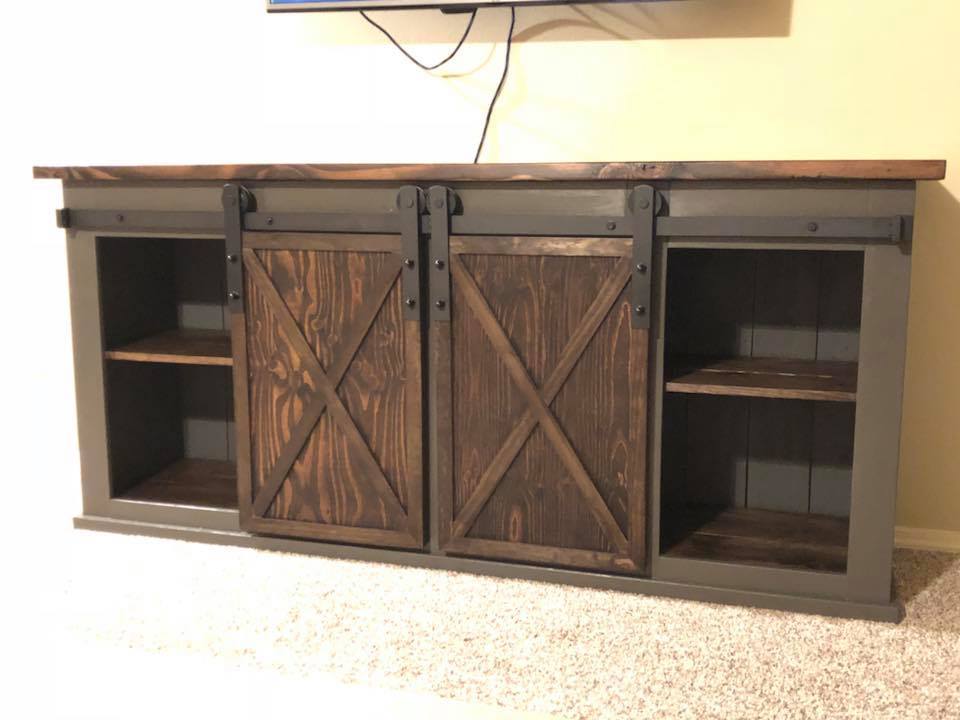
My version of the Grandy Sliding Door Console. My modifications: 

- Length 6.5 feet long (instead of 90inch). Same height and depth.

- Bought hardware from amazon, purchased hardware is larger than the plans call for. Changed face frame top from 1x4 to 1x6 to create clearance for the wheels and top overhang. 

- Wanted a deeper top so I added a 2x3 between the two top boards. I did this also for looks! It stained so nice!

- Modified the mounting spacers for the rail to allow the door to hang closer to the cabinet. 

Advice: Pay attention to the size of the hardware. 

If buying door hardware make your door close to the same thinkness as a standard interior door. This will help them hang correctly and close the space between the frame and the door. 

Lastly, use pocket holes! 

Built from Plan(s)
Estimated Cost
Door Hardware= $70
Wood= $250
Stain + paint= $30
Estimated Time Investment
Week Long Project (20 Hours or More)
Finish Used
Dark walnut stain and Black Fox paint from Sherman Williams
Recommended Skill Level
Intermediate

Spices!

We had these spices in a cabinet, which were impossible to see stuff in the back. This was a perfect solution.

Now, we also had more spices then we know what to do with, so we added a second rack at the bottom of the door as well. I just adapted the plans to be 30 inches tall to accommodate the size of the lower portion of the door. This was accomplished by removing the 1st and 3rd measurements for shelves, and using the remaining for an extra tall shelf.

I also only used a finish nailer (and wood glue),to assemble, in combination with a brad nailer to hold the back plywood on.

I also chose not to include the dowel buttons on the end, and did not cut the dowels to length; they were inserted all the way through and trimmed off with a Japanese pull saw (get one, you will LOVE it), then fastened through the front with the finish nailer, then sanded flush.

I also elected not to paint to finish the piece and leave the natural wood.

Built from Plan(s)
Estimated Cost
$33, including the extra shelves.
Estimated Time Investment
An Hour or Two (0-2 Hours)
Recommended Skill Level
Starter Project

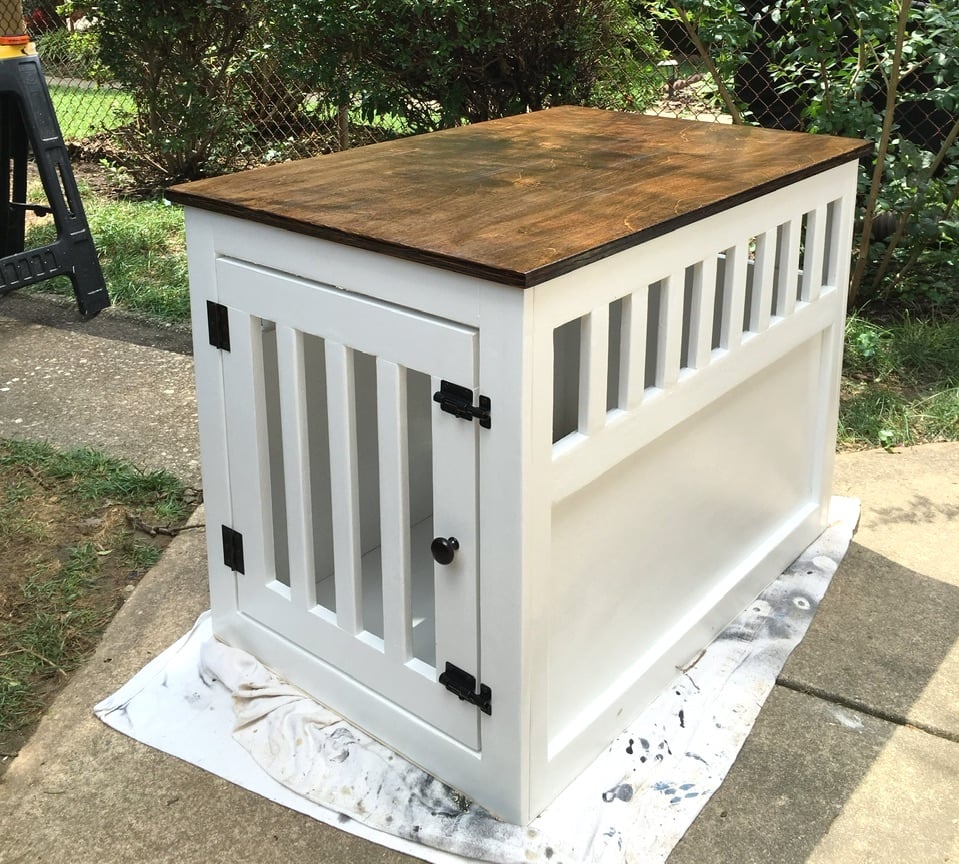
Large Wood Pet Kennel End Table

Thanks for the plans!

Built from Plan(s)

Comments

Outdoor Sectional

Submitted by ghozt21 on Mon, 05/27/2019 - 16:54

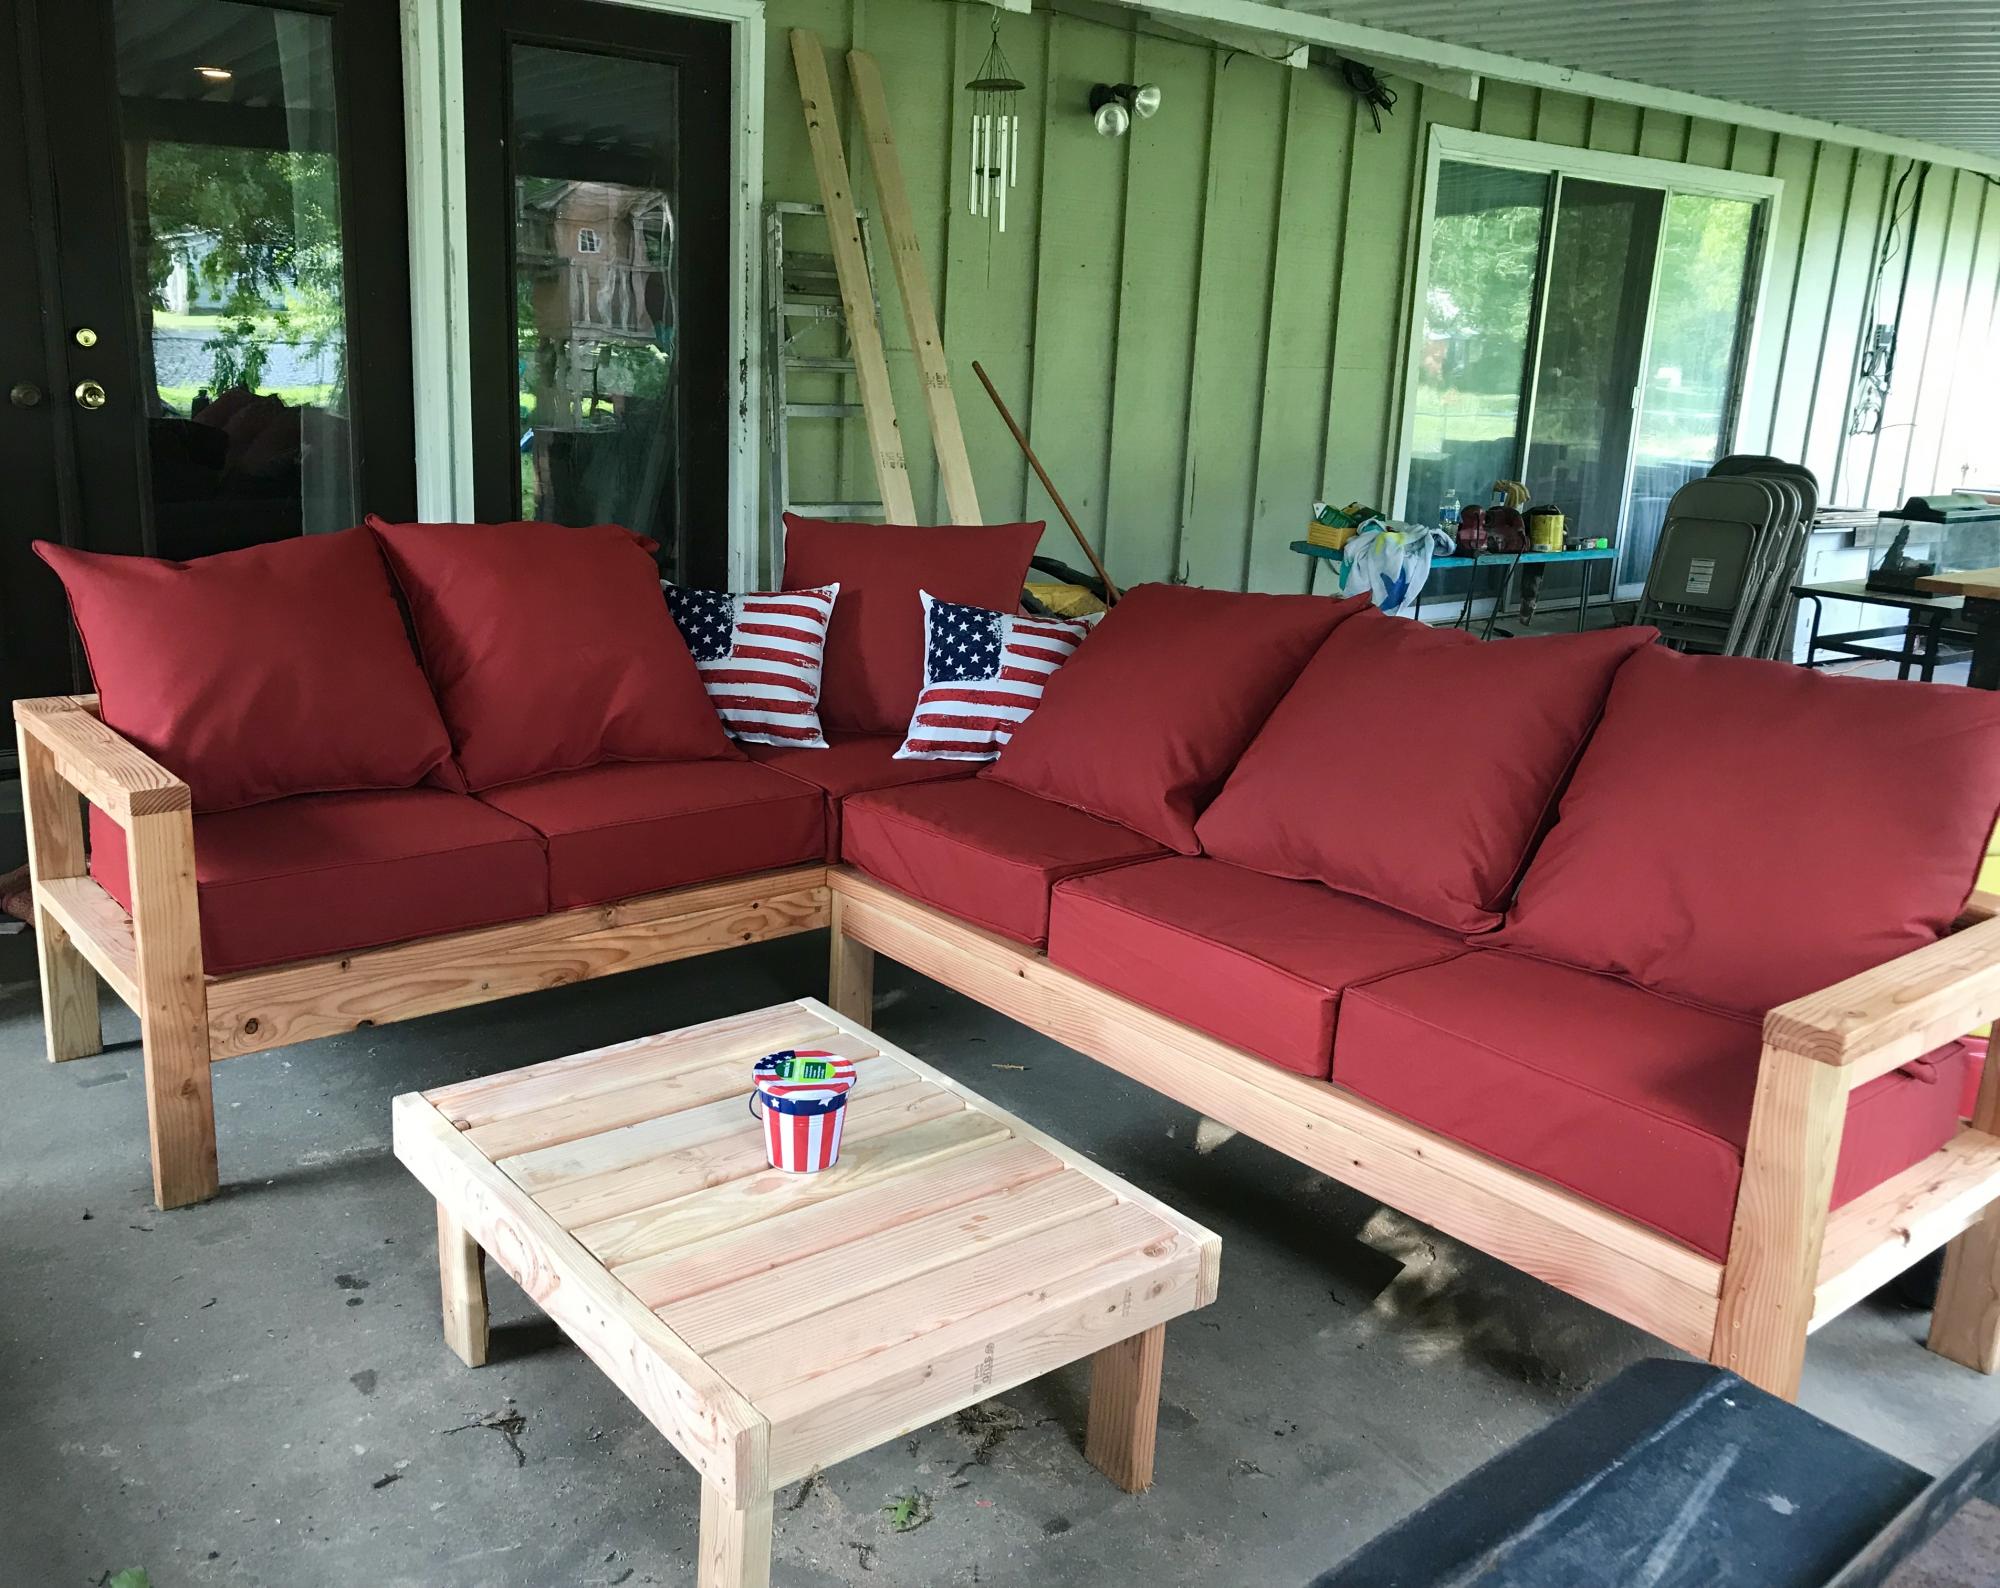
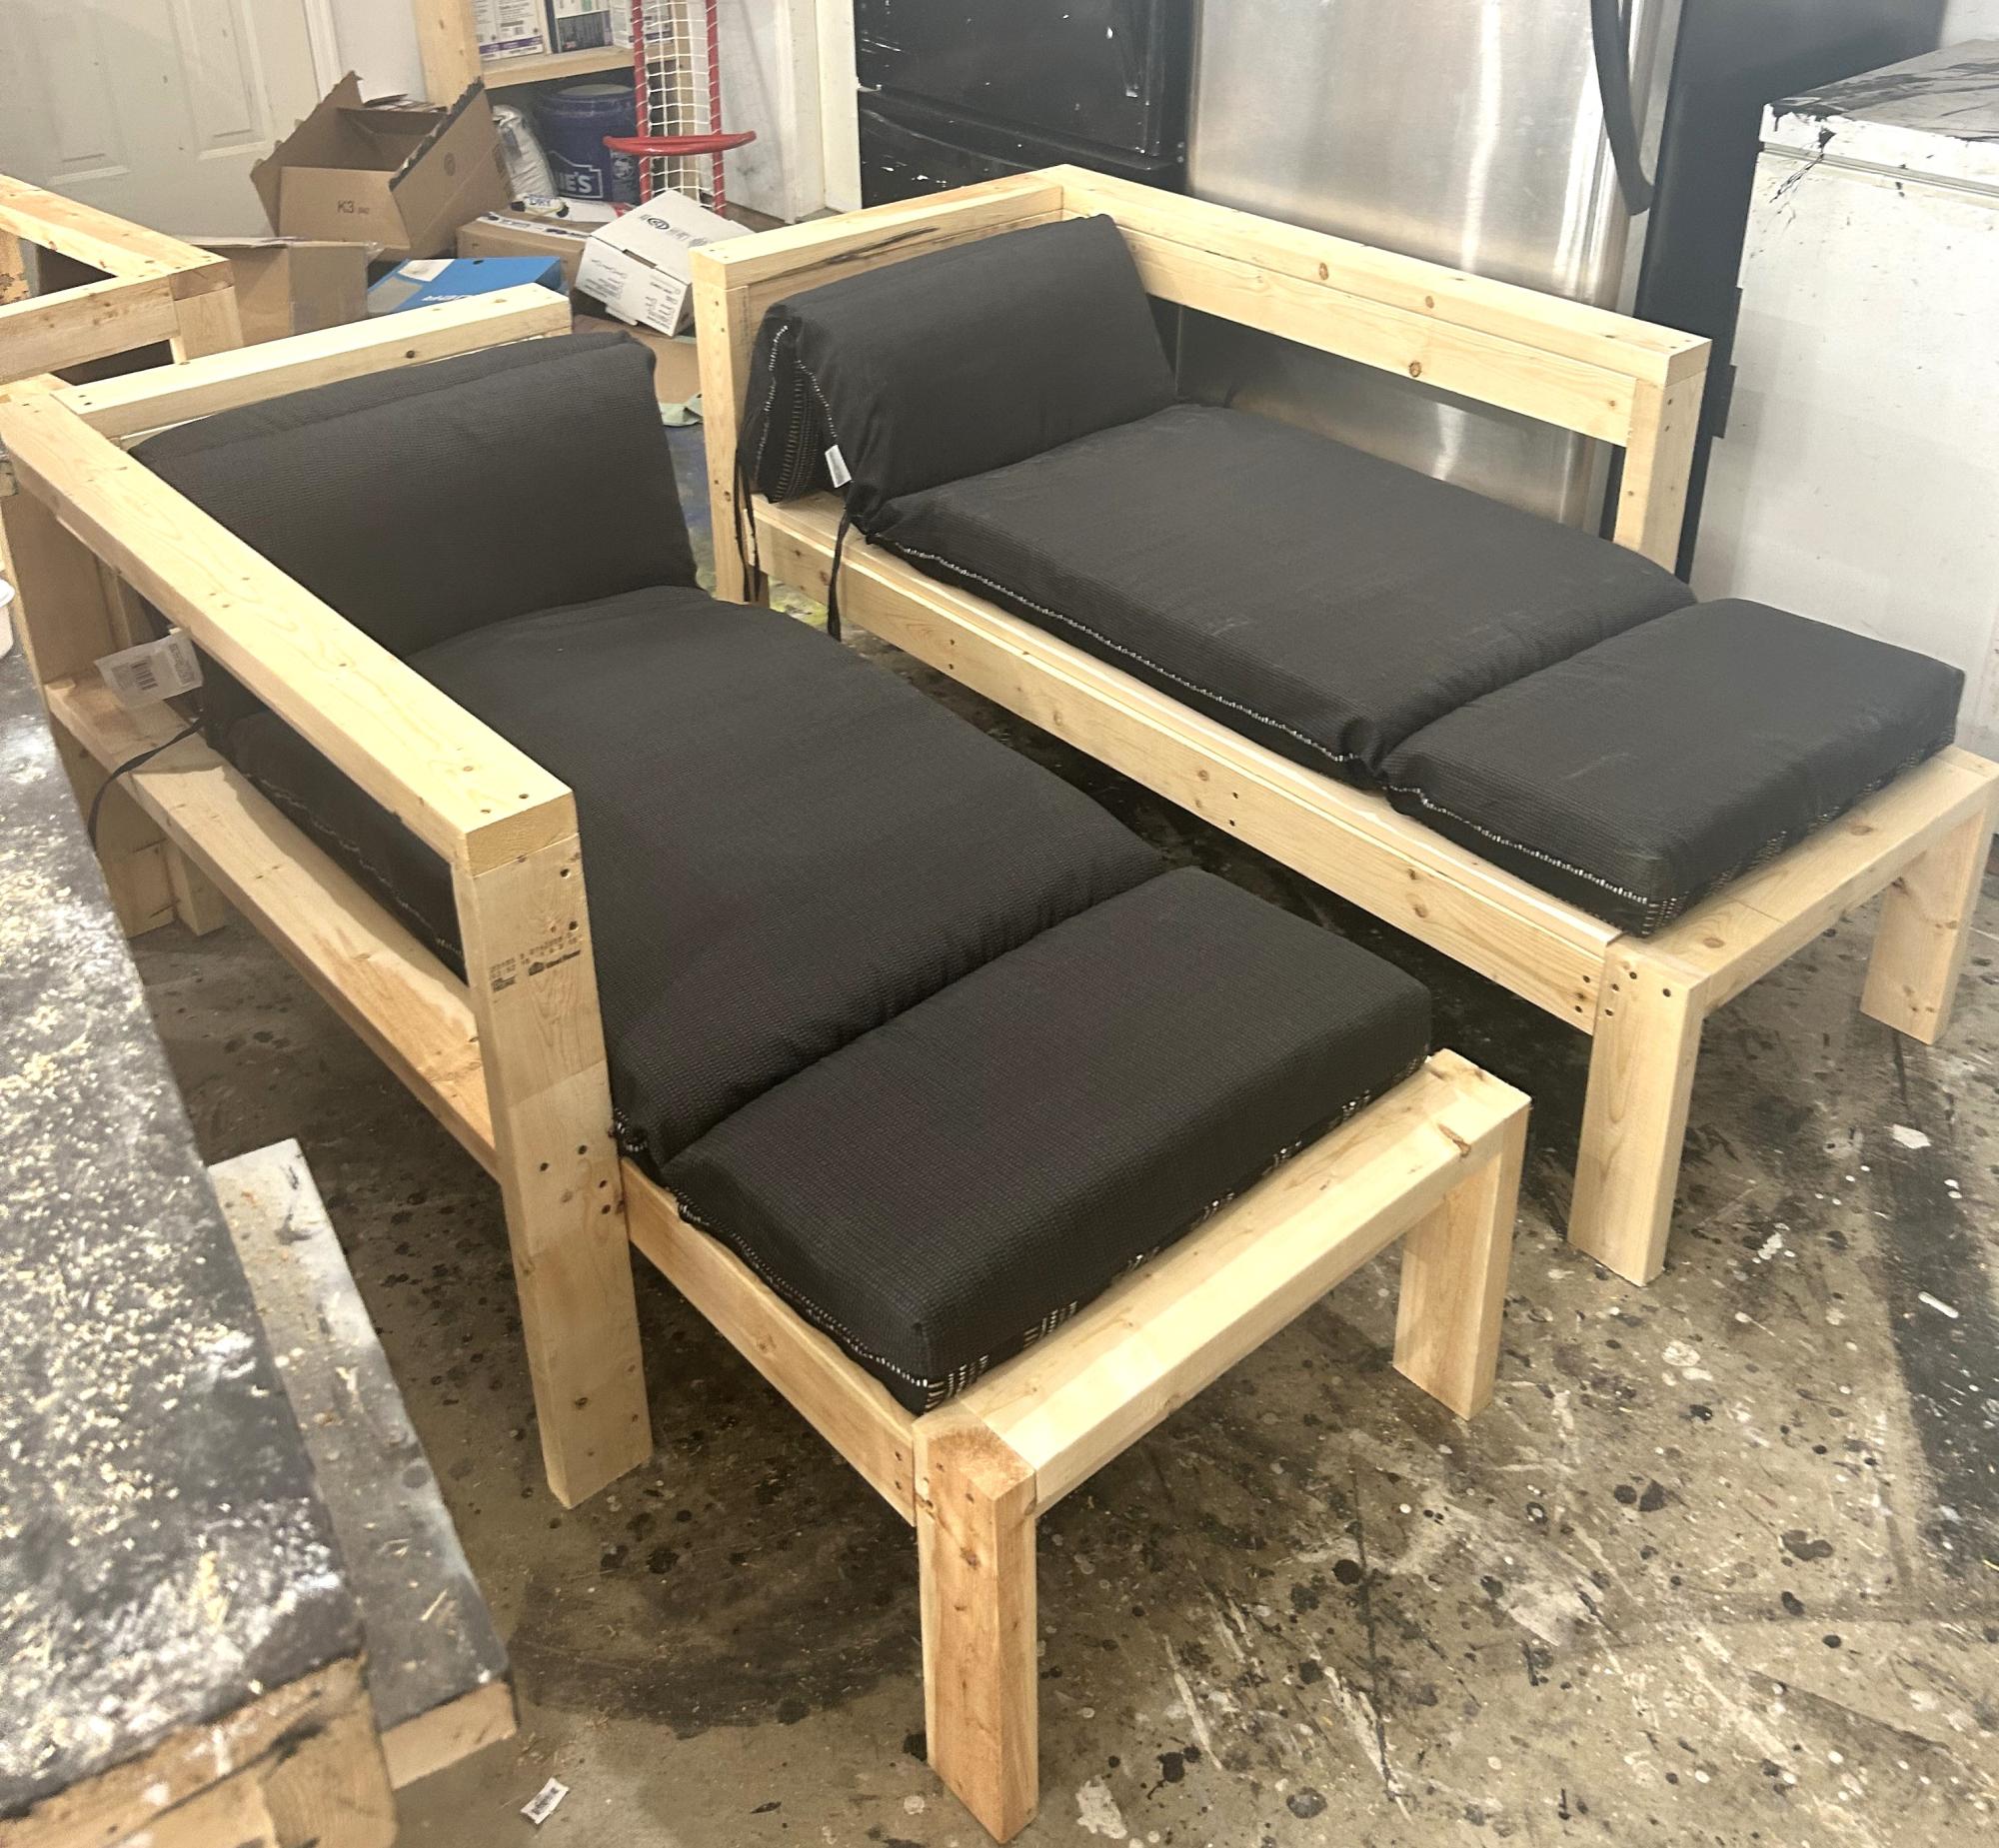
I followed the plans as written,  It took me about 6 hours and that includes sanding and staining. Very simple yet offers a very wow finish.  I think in total we spent about $300 for all supplies including cushions which was the most expensive part. I just finished it off with Teak Oil and an Americana theme for our covered patio.  We love it.  

Estimated Cost
$300
Estimated Time Investment
Day Project (6-9 Hours)
Finish Used
Teak oil
Recommended Skill Level
Beginner

Nathan's Montreal Canadians bed

Submitted by Corinne67 on Fri, 01/06/2012 - 16:04

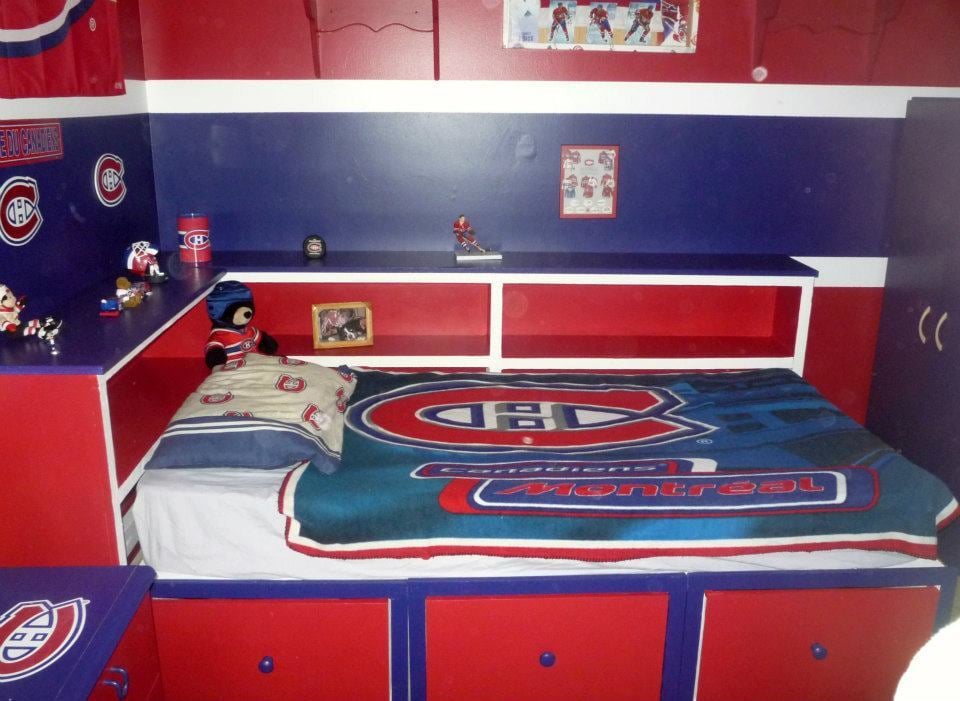
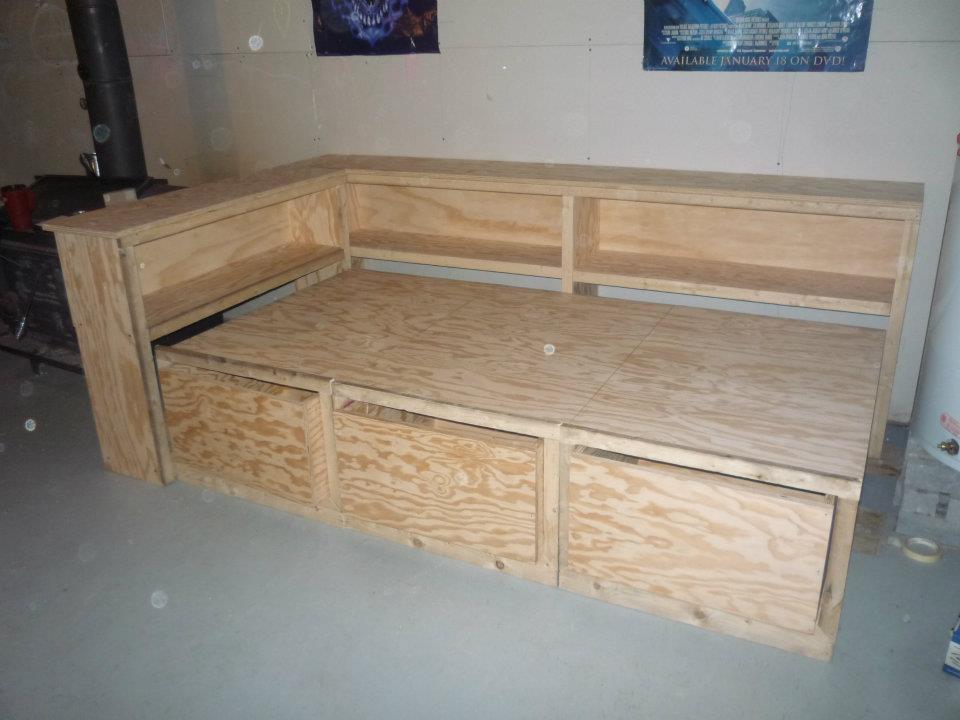
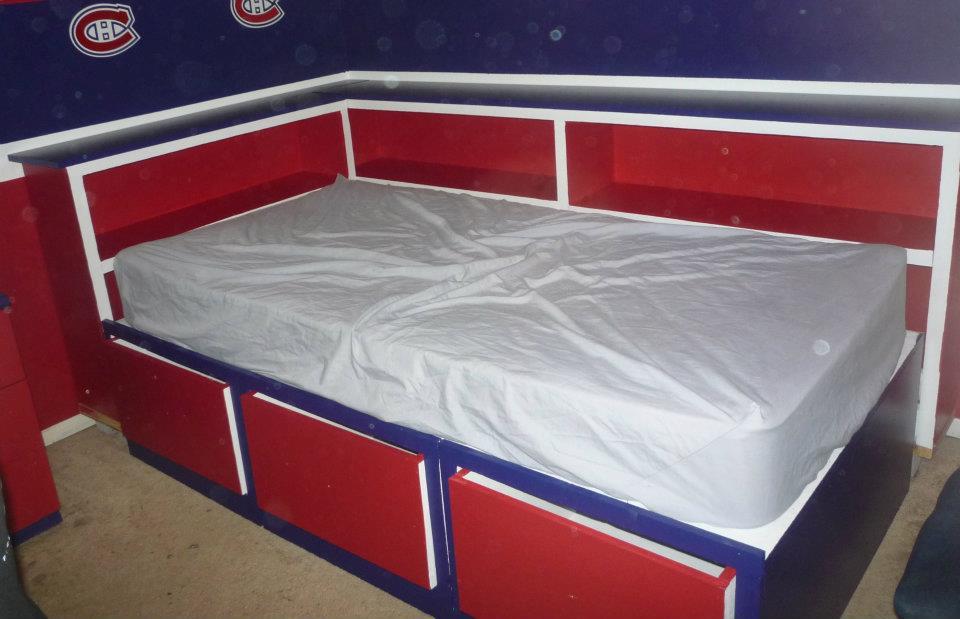
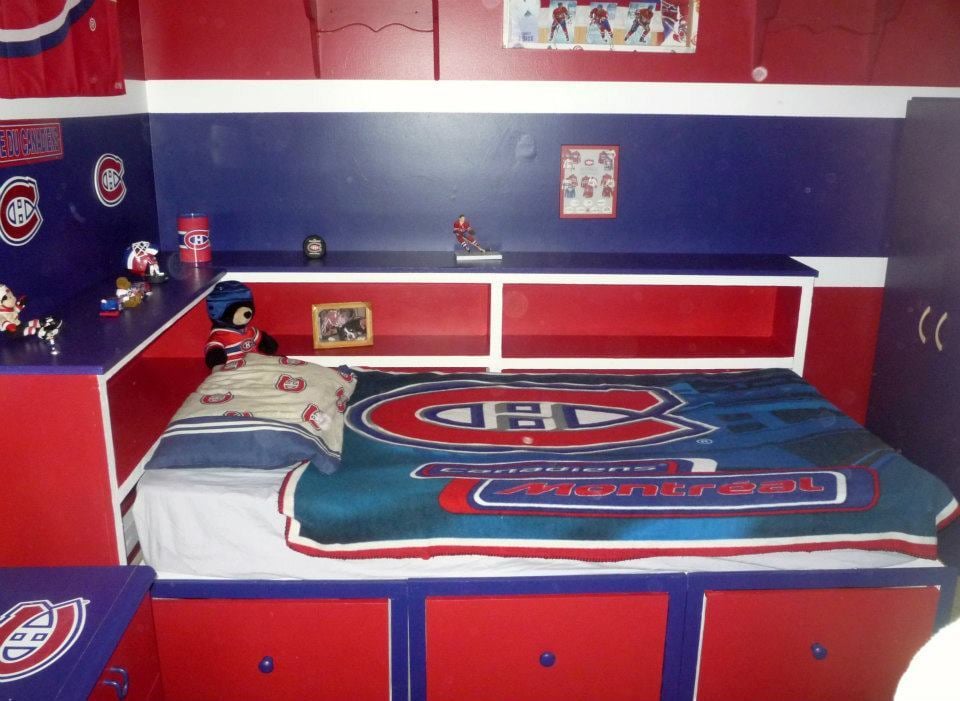
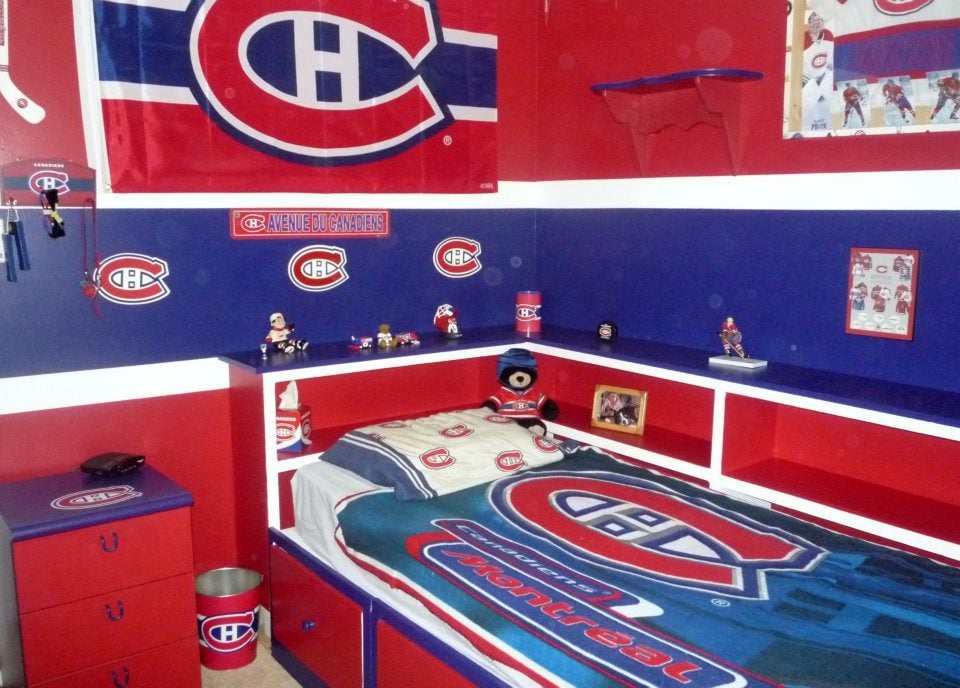
Our nephew Nathan really wanted a captain's bed like his friend. We built him one even better for Christmas this year. I couldn't find one plan with everything we wanted to I used the plans for the Storage Daybed for the base, and used the plans for the Cozy Corner twin bed collection wide bookcase unit. We combined both the headboard and sideboard into one unit (by extending the top to the short end) giving him an L shaped headboard for all his hockey stuff :) The only thing we messed up on was the height of the bookcase. He wanted it higher so it's on blocks for now to raise it. My sister did all the final painting to match his room and it looks AWESOME!!!

Steve had everything cut at work and we put it together in one 12 hour day! Nathan LOVES his new bed. Thank you Ana!

Estimated Cost
about $125
Estimated Time Investment
Weekend Project (10-20 Hours)
Finish Used
Nathan is a HUGE Montreal Canadian's fan. He applied 2 coats of wood primer, then his mom, my sister did the finishing paint with the official Montreal Canadians colours to match his room. A couple of little touch ups to be done but it looks great.
Recommended Skill Level
Beginner

Comments

Lou-Anne (not verified)

Fri, 01/06/2012 - 21:24

The colors are the official Montreal Canadiens hockey team's colors, My son is a HUGE fan! Nathan LOVES his bed. and it is very solid.

Guest (not verified)

Fri, 01/06/2012 - 20:29

Ummm... The bookcases were too short because you didn't take the mattress height into account. Looks really good though.

King Bed Frame for adjustable base

Submitted by Anonymous (not verified) on Tue, 10/08/2019 - 05:50

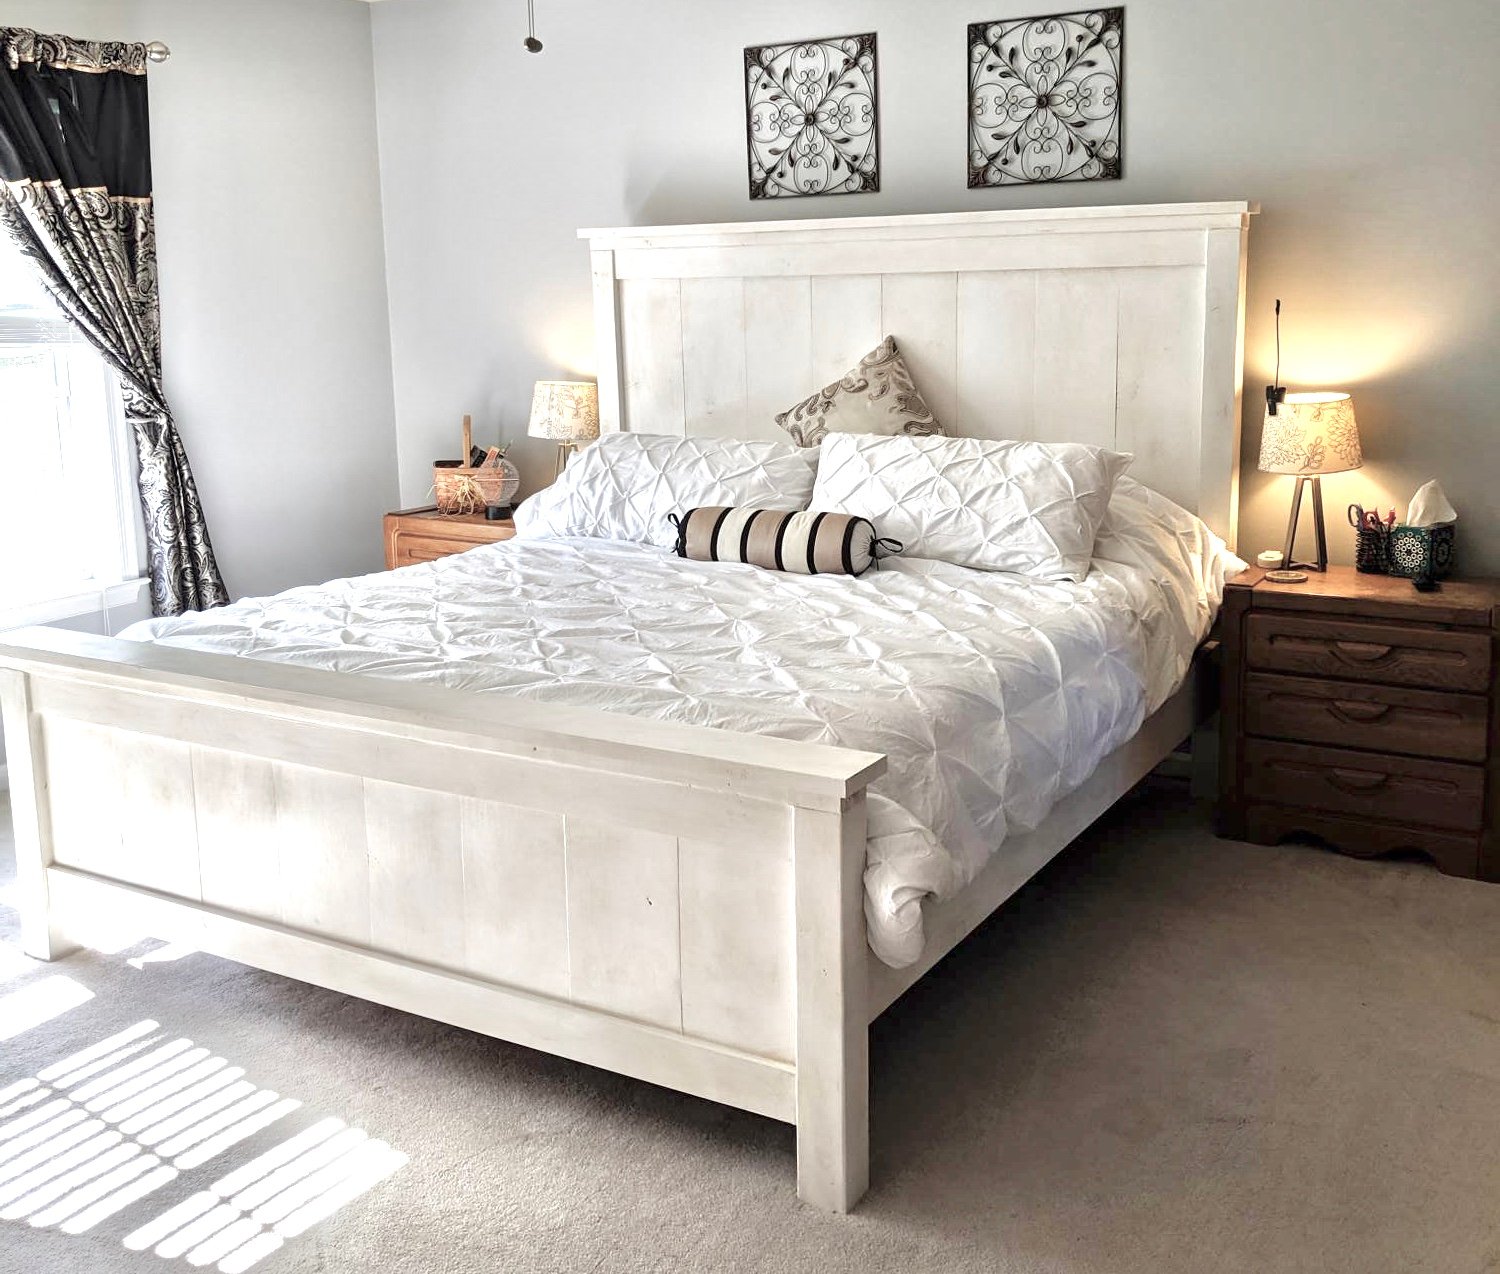
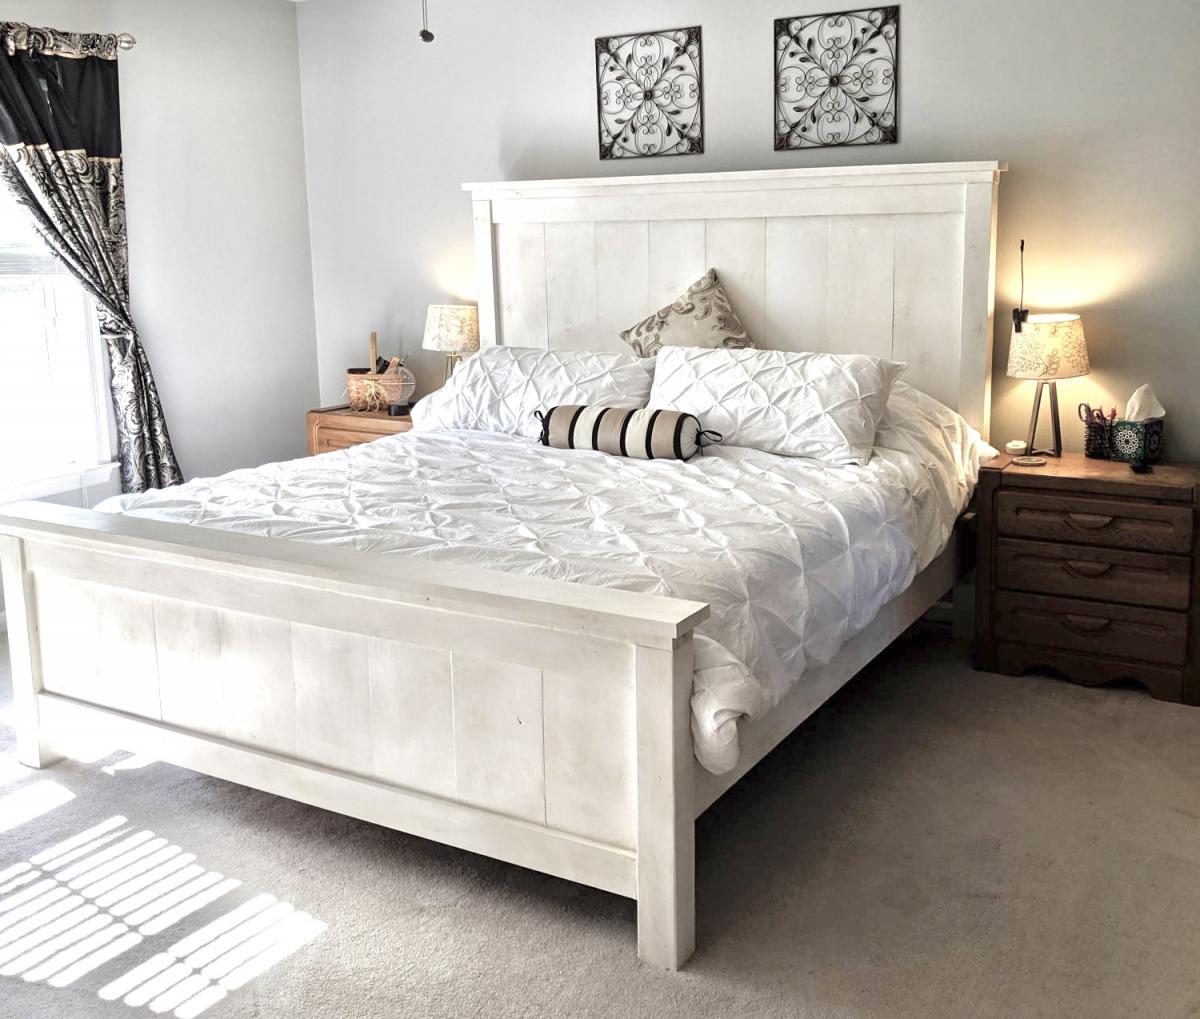
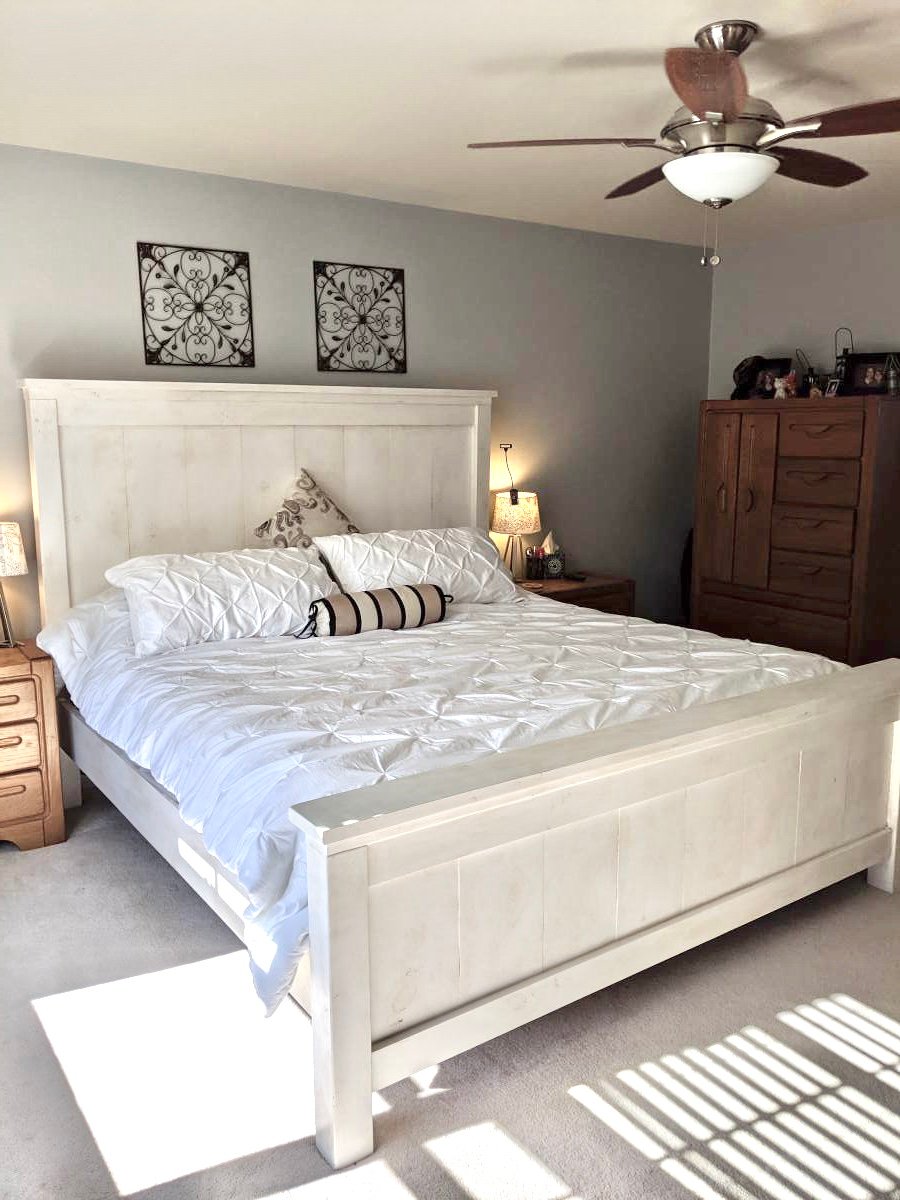
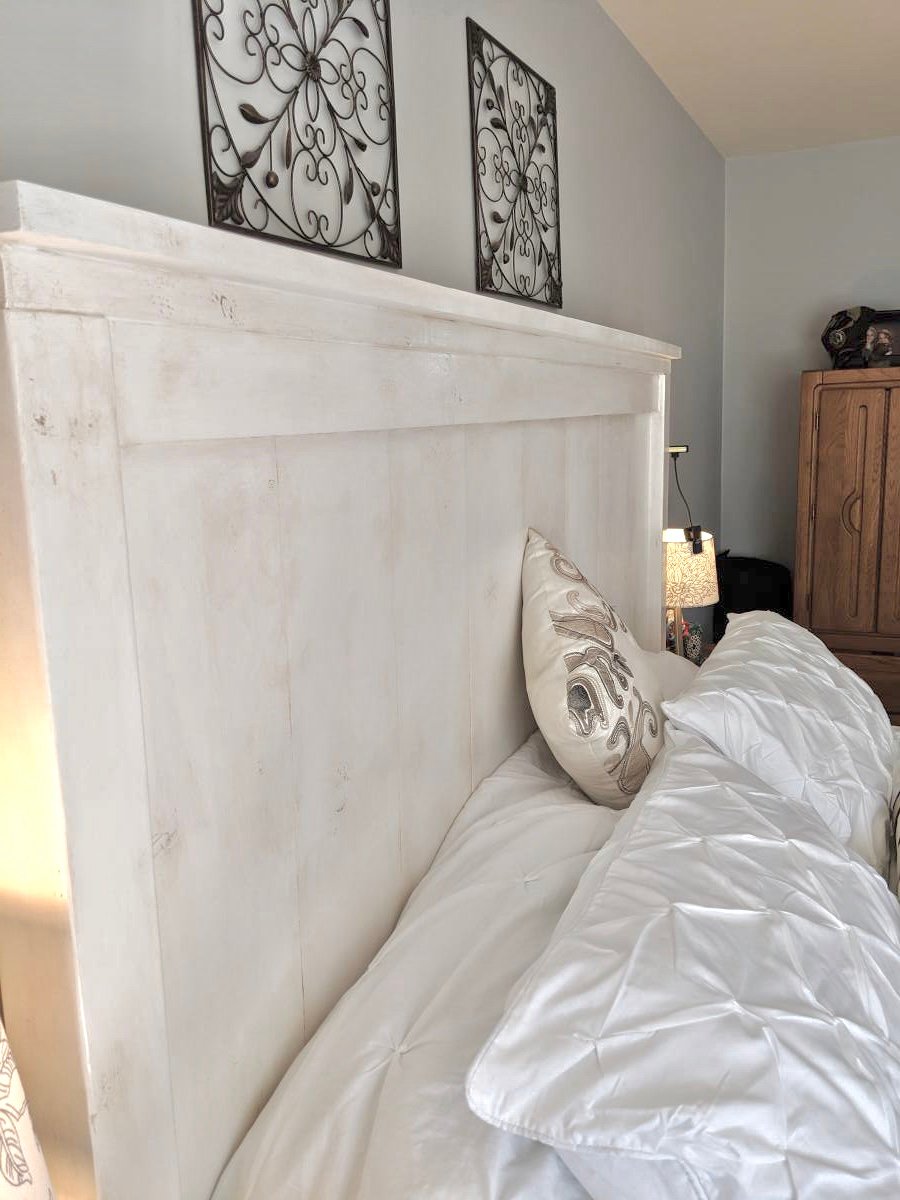
I could not find a frame which would accommodate my new adjustable king base. Modified Anna's plans by increasing the height of the headboard and footboard. Finished with chalk paint and antique finish for a rustic look. Side rails attached with mortises to allow for moving bed in 4 pieces if needed. Love my new bed

Estimated Cost
$300
Estimated Time Investment
Weekend Project (10-20 Hours)
Finish Used
Chalk paint (purchased from Habitat for Humanity re-store) using recycled paint. Finished with three coats of Annie Sloan wax
Recommended Skill Level
Intermediate

Comments

khowe791

Sat, 11/30/2019 - 03:31

Hi! We are making this headboard this weekend. We want to increase the headboard height and footboard as well. Do you happen to know the cut measurements or how you adjusted the height of the 1x6 (or 1x8 as others used) to make it work? Yours looks perfect! Thank you in advance for any feedback! 

Exotic Wood Farmhouse Style Bed

Submitted by Anonymous (not verified) on Fri, 06/30/2023 - 11:09

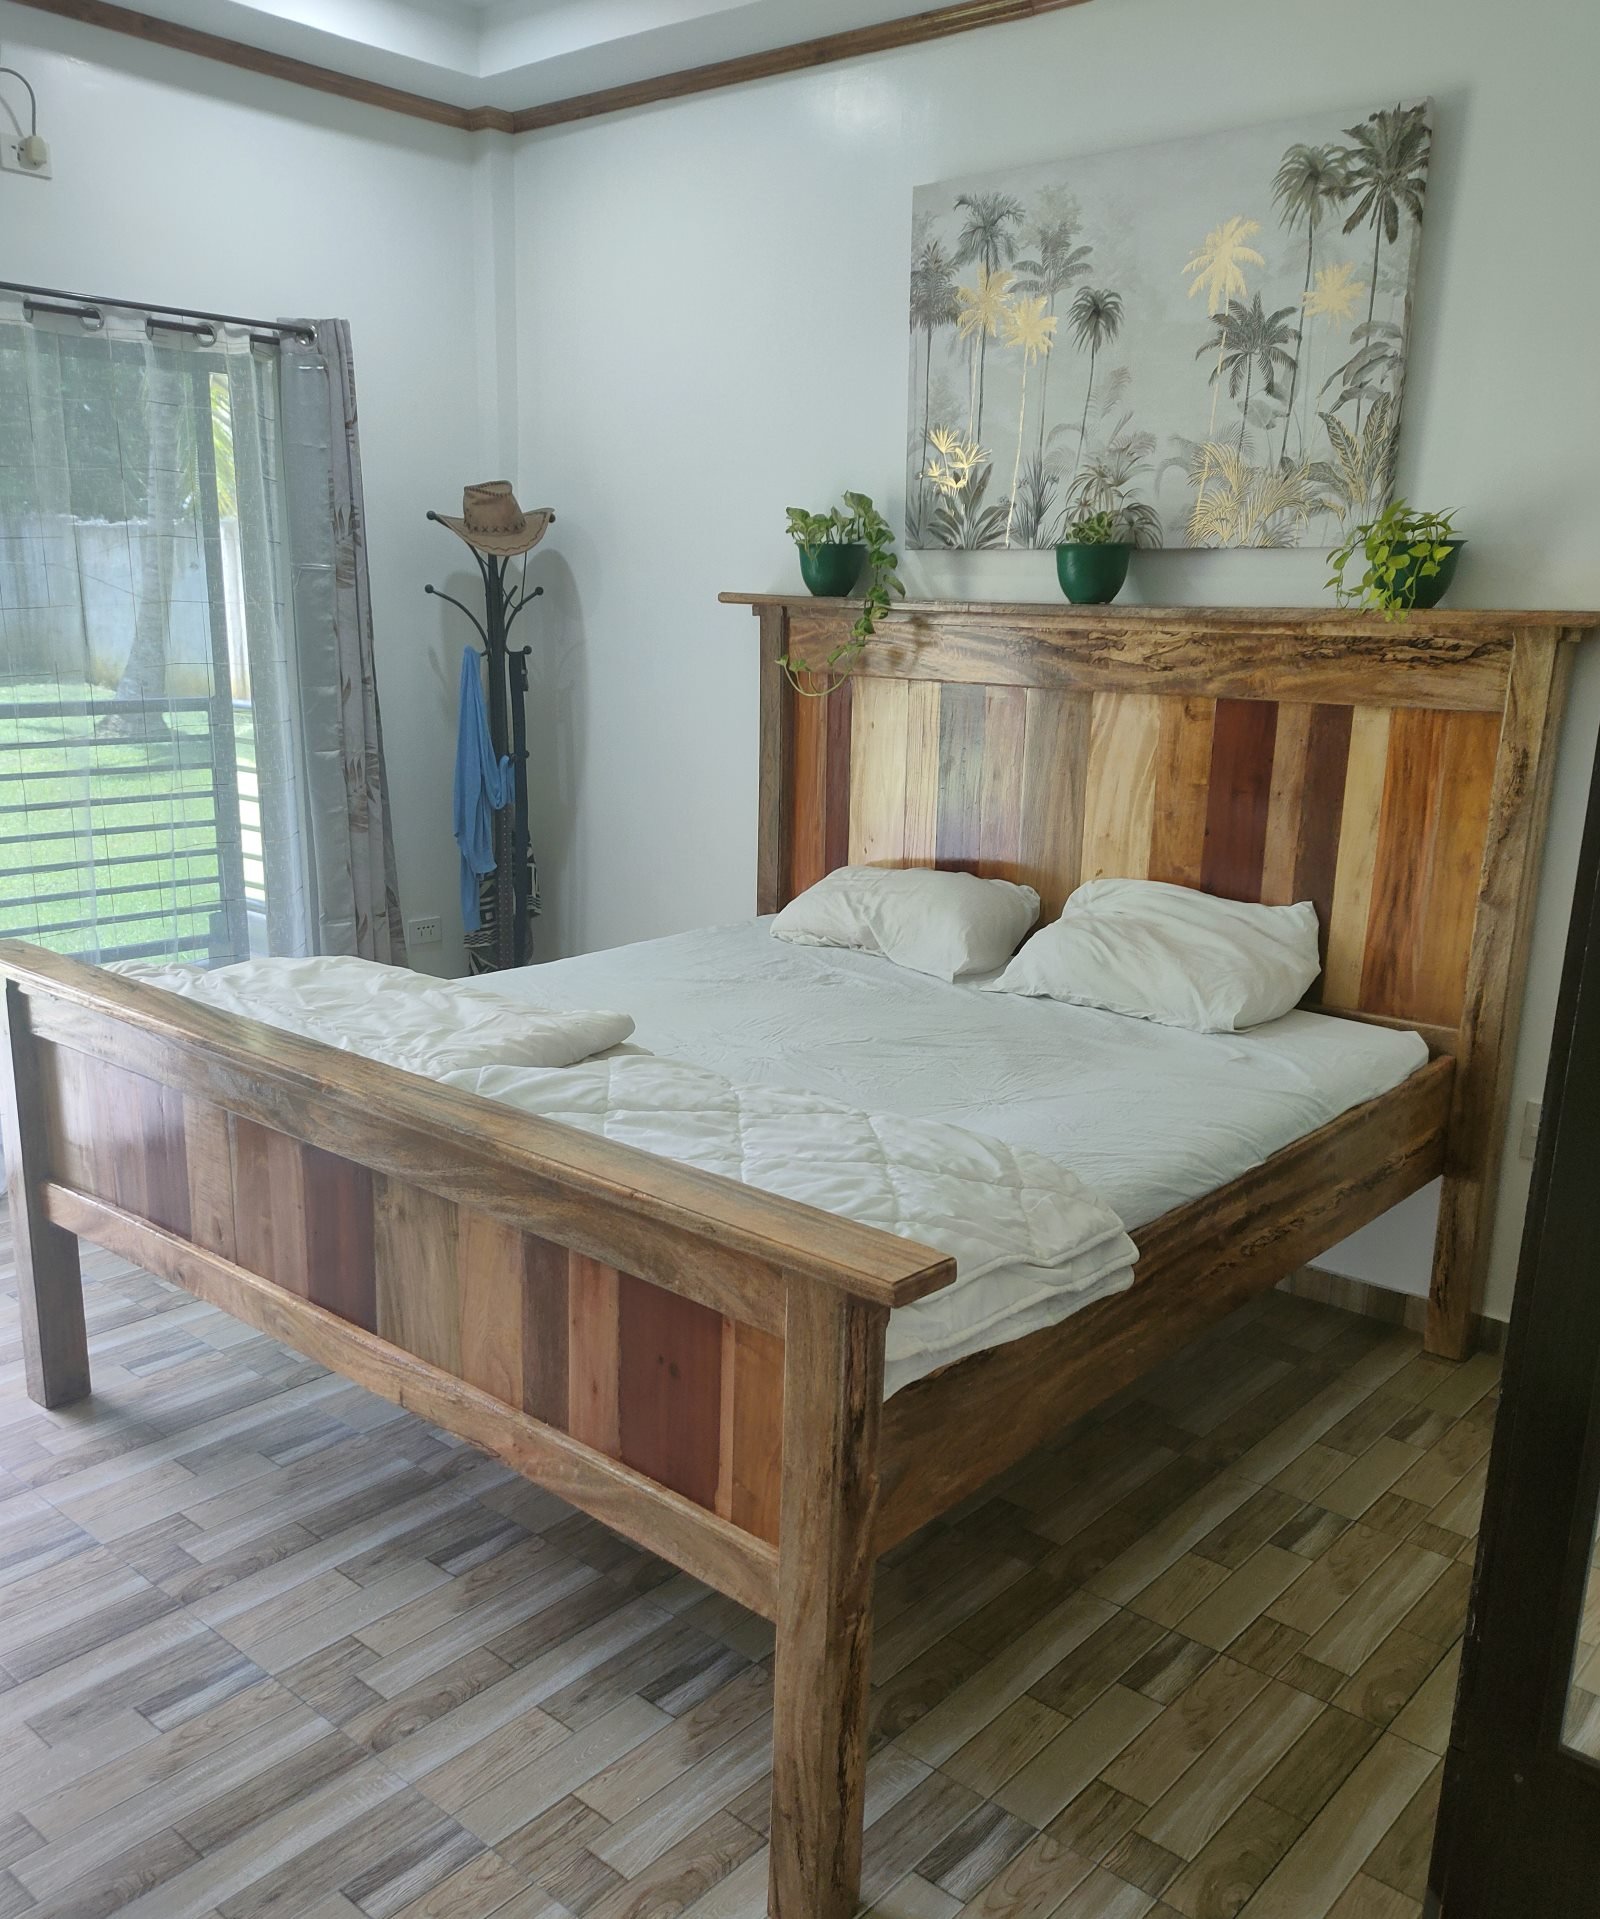
I loved your farmhouse bed , so decided to make my own , but with wood wat is available here(Philippines) the post and the frame is made of Mango wood , the tree fell down during the typhoon, so I made boards and beams out of it , for the headboard and also the footboard used Moldave/Mahogany/Ipalipal/and a few kinds I don't know the name

Built from Plan(s)

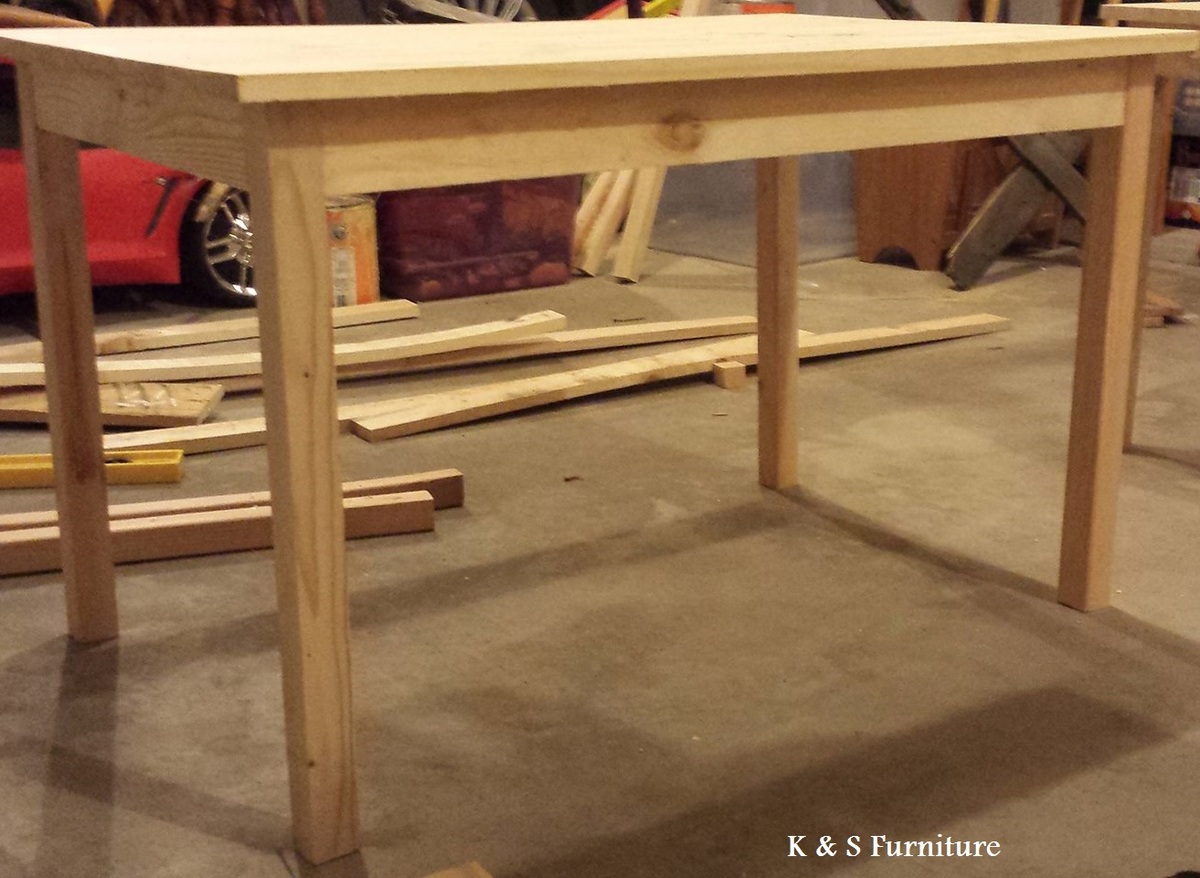
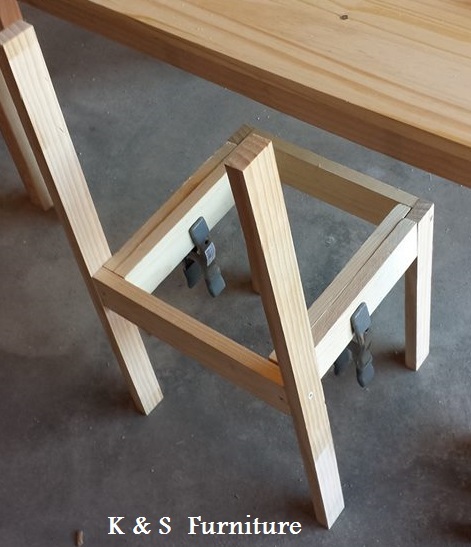
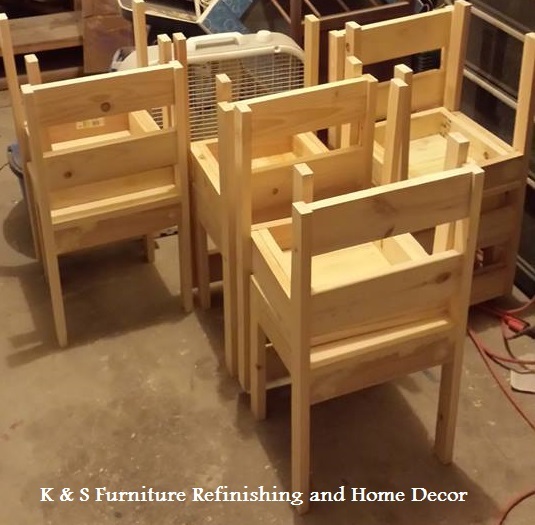
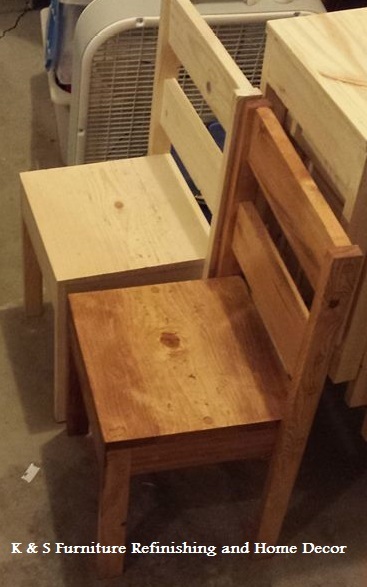
Childrens table and chairs

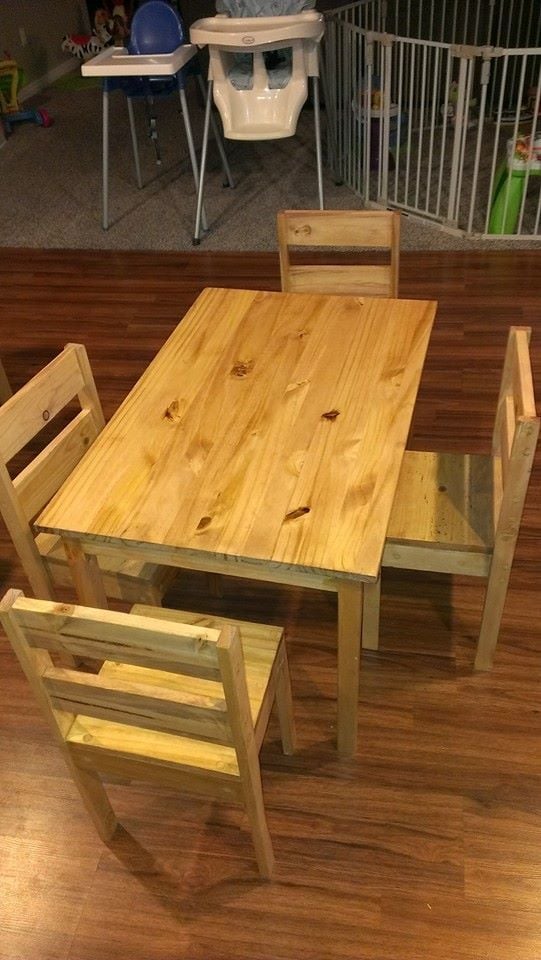
We built Two children's table and 8 stackable chairs for one of our daycare's. It took a lot of work but once we figured out the first chair it was a breeze for the other 7.

Estimated Cost
$30
Estimated Time Investment
Week Long Project (20 Hours or More)
Finish Used
We stained the wood in a Cherry Stain and finished with multiple coats of Poly.
Recommended Skill Level
Beginner

Comments

timh

Sat, 02/08/2014 - 15:54

Awesome! I built one for our homeschool and it works great. Yours look very nice.

A's Full Size Loft Bed

Submitted by Hulsberg on Sun, 08/12/2012 - 14:58

My son needed more room in his bedroom...and to be rid of the very girly furniture he inherited when he moved into his "big boy-ish" bedroom. At 10 yrs old, it was high time he got a bed that wasn't pink-tinged, white washed pine with 4 posters and enough curlicues to choke a forest. He also needed a desk which I couldn't really fit in his room with the armoire and chest of drawers that came with the Queen sized bed.

So off to Ikea we went and I saw a black loft bed for $300, but it was really, really high which meant I would have to cut it down and it was not sturdy at all. I looked at PB and saw the $1800 bed. Um, no - that wasn't happening. So, off to Ana-White I went and I'm so happy I did!

I built the full sized version of these plans and, to keep costs down, used wood I had on hand. This meant I had to work a bit at the cuts, but it all worked out.

Mods:
1) I modified the railings to have the ladder at the end of the bed to keep away from the ceiling fan.

2) Because I put the ladder at the end of the bed, I got very nervous about having a soon-to-be teen climbing on to a ladder secured to a 1x10 that was only connected to the side railings with glue and screws. So I sandwiched extra 1x3s over the bottom rails and attached them to the top railing.

3) I was very nervous about making sure that the bed was adequately supported so I put a 2x4 down the center instead of the 1x2.

4) I went a wee-bit overboard screwing things together to the point where it's a bit embarrassing and now I have to paint over the screw heads.

5) I made the ladder treads with 2x4's, modifying the inside spacer board cut lengths.

Because I had quite a bit of lumber on hand, the bed only ended up costing me about $90.

For the bookcase, I did end up buying the 1x12s and the adjustable shelf railings. I made the book shelf the entire width of of the bed and split the two sections based on width of the 1x24 board I bought for the desk. I only put the backer board up half way so that the daylight could get underneath the bed and make it not so cave-like.

The book case cost me about $70.

The desk was the easiest...but most costly item. A 1x6x24, 4 table legs and the table leg mounts ran me about $80. The plexiglass top that I had cut for the top cost me about $80.

Time wise, this would have taken me a lot less time than the 4 months it took - but I worked on it as I could and when I could, by myself. I got some friends to help me bring it upstairs and put it back together, but it was mostly done when I could fit in some time.

My son LOVES this and it really does give him so much room!!! Thanks Ana - I really appreciate it!
Built from Plan(s)
Estimated Cost
with paint, screws and bookcase hardware, about $450
Estimated Time Investment
Week Long Project (20 Hours or More)
Finish Used
gloss spray paint / primer in one.
Recommended Skill Level
Beginner

Comments

Jennifer P (not verified)

Fri, 01/18/2013 - 07:38

Hi!

To modify this to be full sized, I just added 15" to the width of the bed. Ana said this in the plans:

Cutting Instructions:

Converting to Full Size This bed can easily be converted to full size. You will simply need to add 15″ to all boards that run parallel to the ends. This includes the planks, end top pieces and the slats. Shopping list will need to be adjusted as well.

So I modified the cuts to the head and foot board parts and the full size mattress fits perfectly.

For the shelving underneath, I just looked at some of Ana's other plans for shelves and winged it.

Rustic Cabin Bunk Bed

Submitted by Sticks1983 on Sun, 03/17/2013 - 13:19

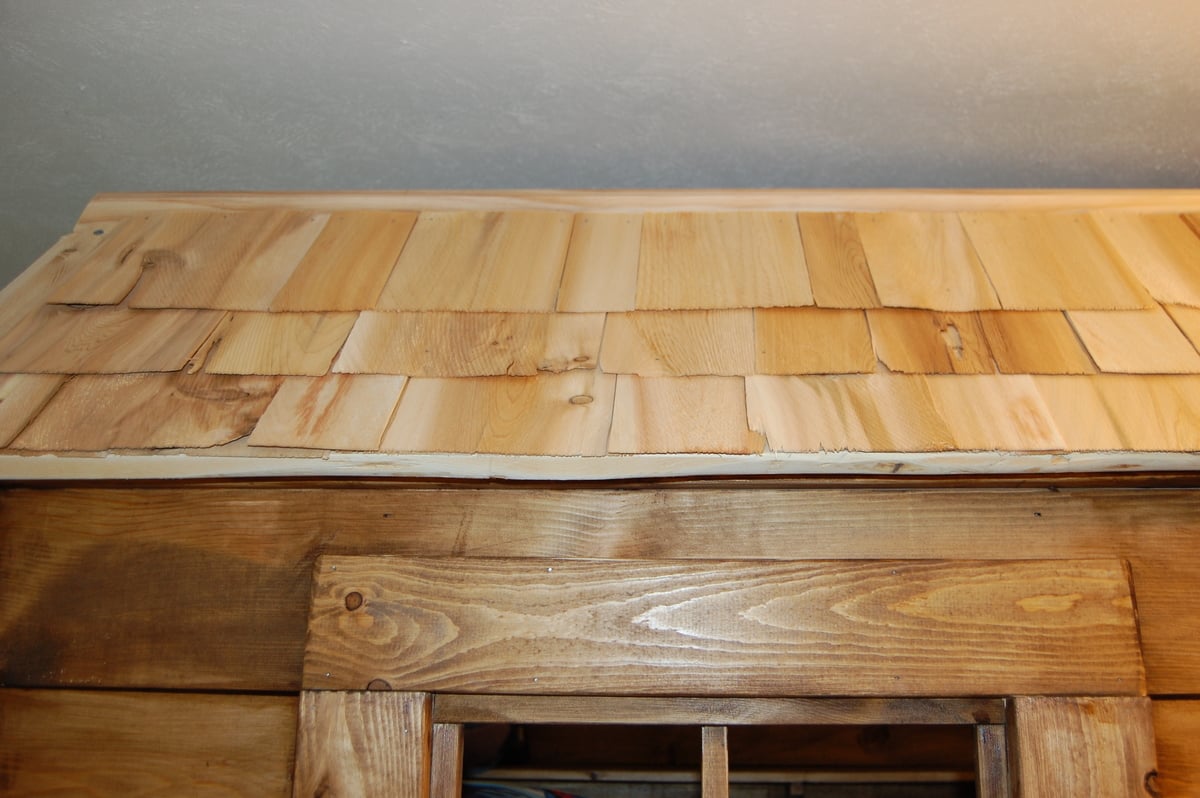
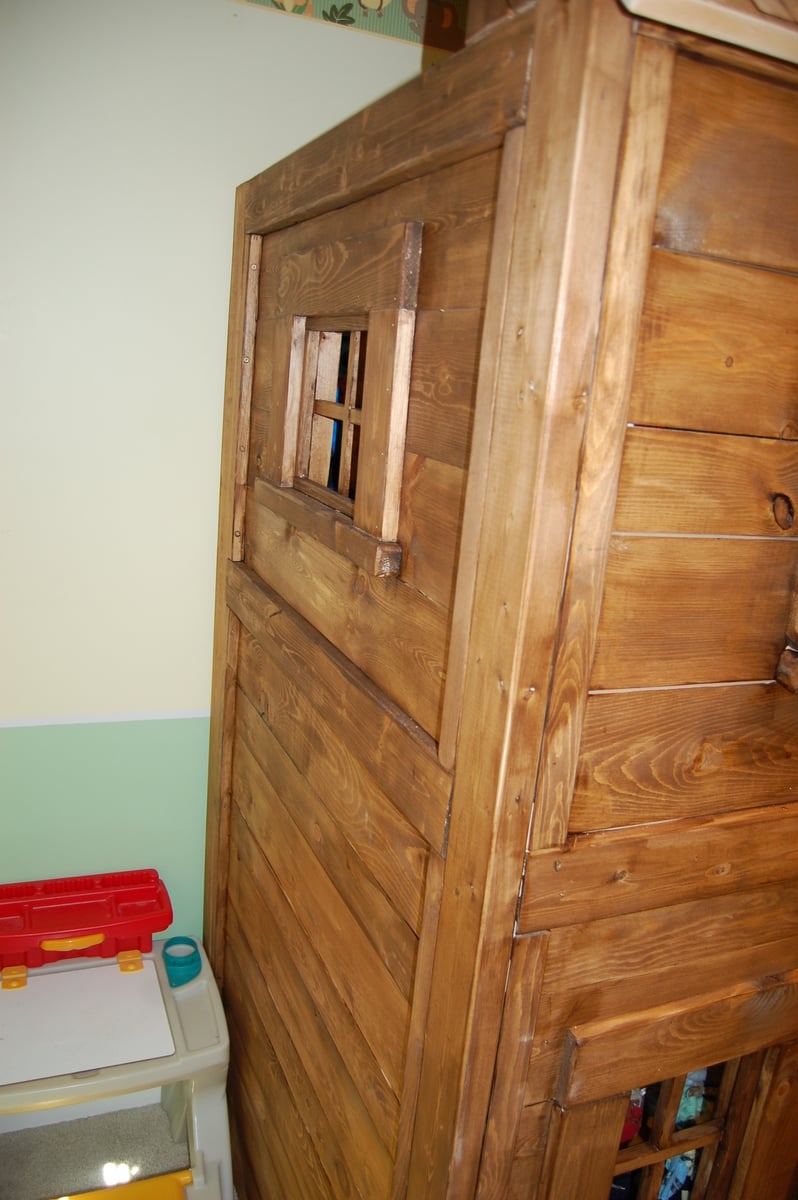
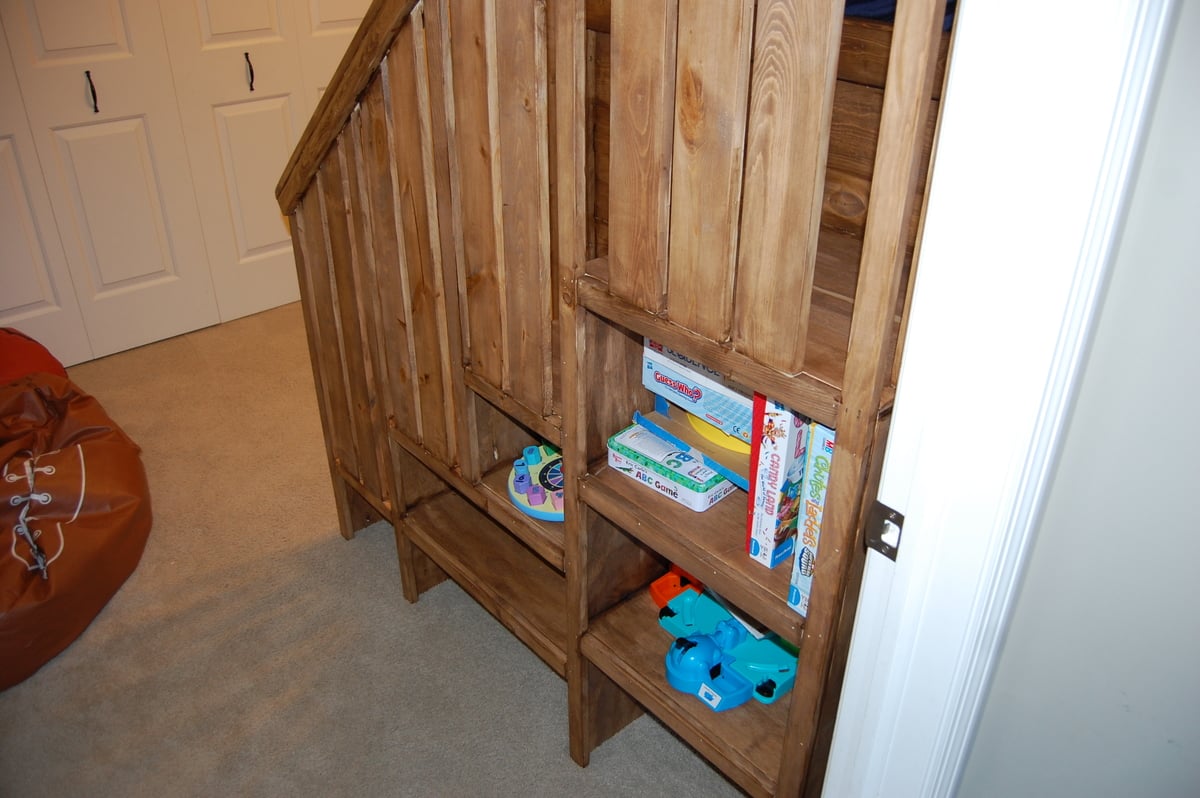
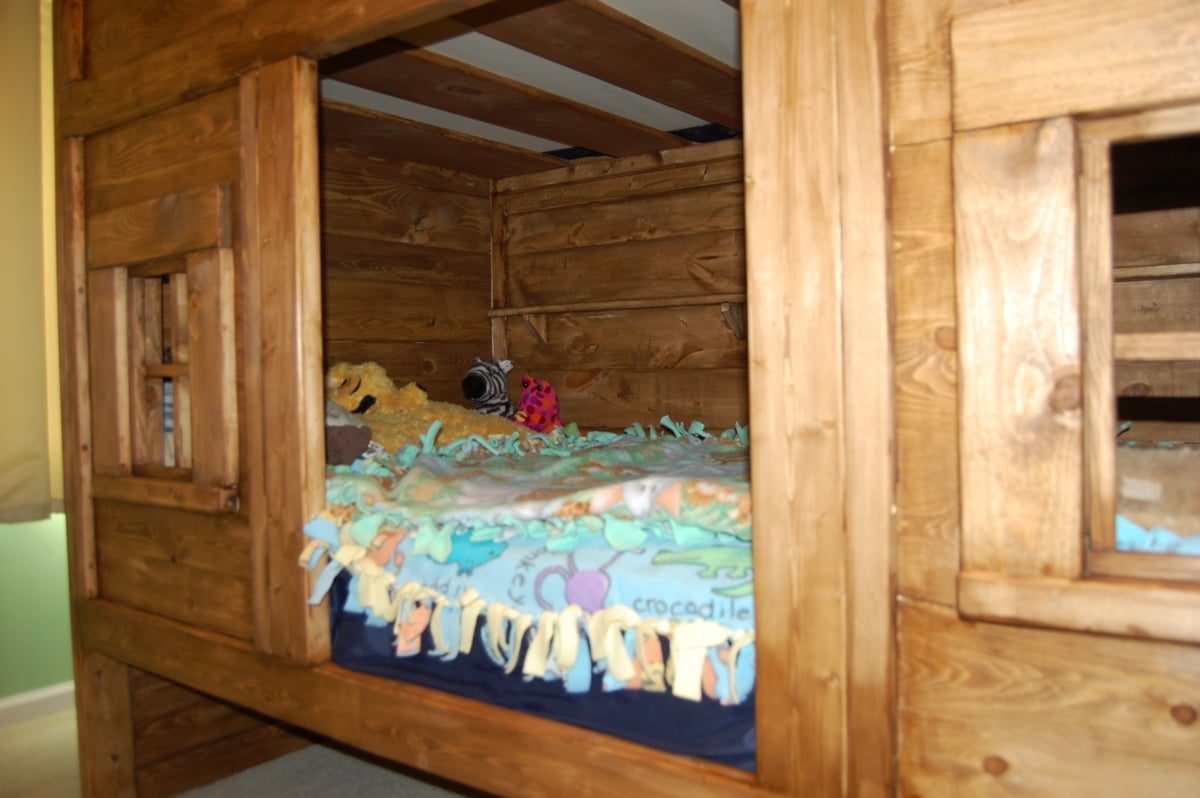
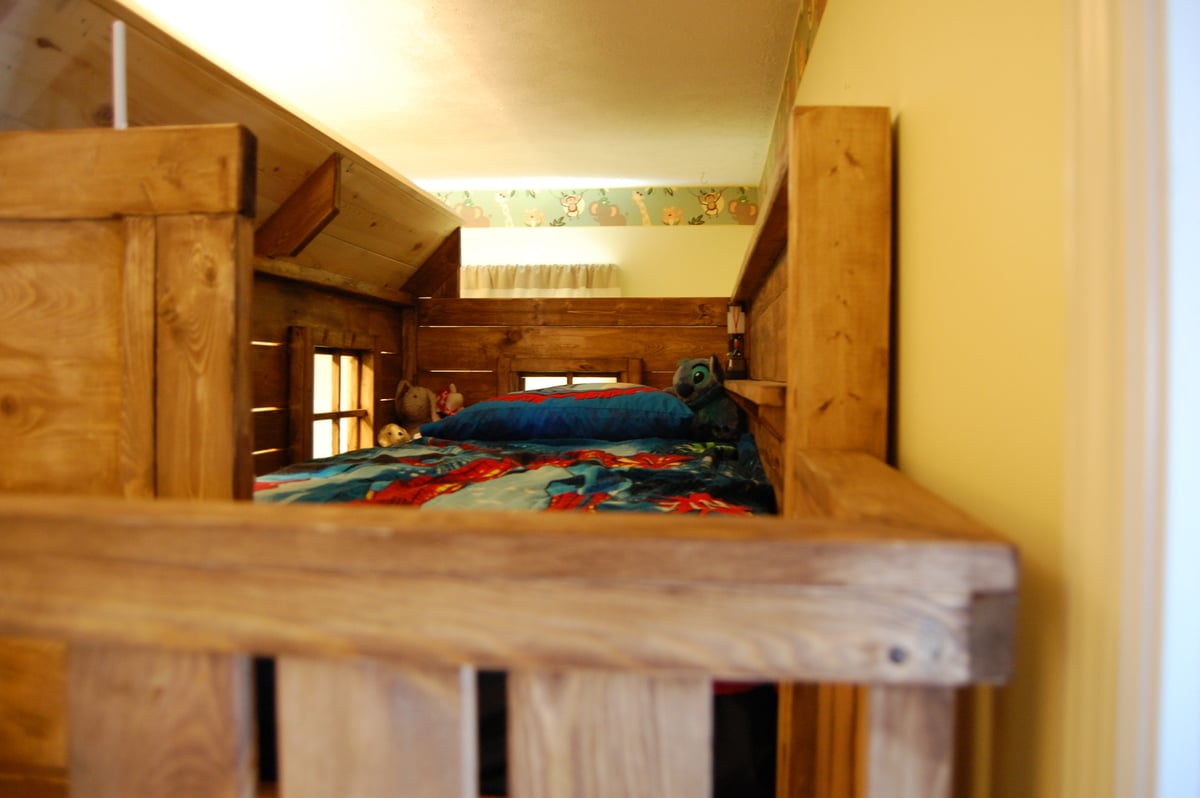
This took me and my father a few weekends to complete simply because that is all the time I had to work on it (was the weekends). We put a lot of effort into it and made sure everything was neat and safe. We modified the original plan a bit to give some more boy feel to this bed, and we added window bars to keep my children from climbing out of them. You know boys! We also added a window on the far side of the top bunk. We should have added one to the bottom too since it is so dark, but he likes it anyway! If you want to see some step by step photos, you can go to http://www.facebook.com/media/set/?set=a.10151477424866465.1073741825.5…

P.S. The estimated cost was for the bed only, not the mattresses or stain

Built from Plan(s)
Estimated Cost
$365
Estimated Time Investment
Week Long Project (20 Hours or More)
Finish Used
Varthane (stain and polyurethane mix) Water-Based "Early American"
Recommended Skill Level
Intermediate

Comments

Bella's Backyard

Submitted by ebuffy99 on Tue, 04/02/2013 - 14:48

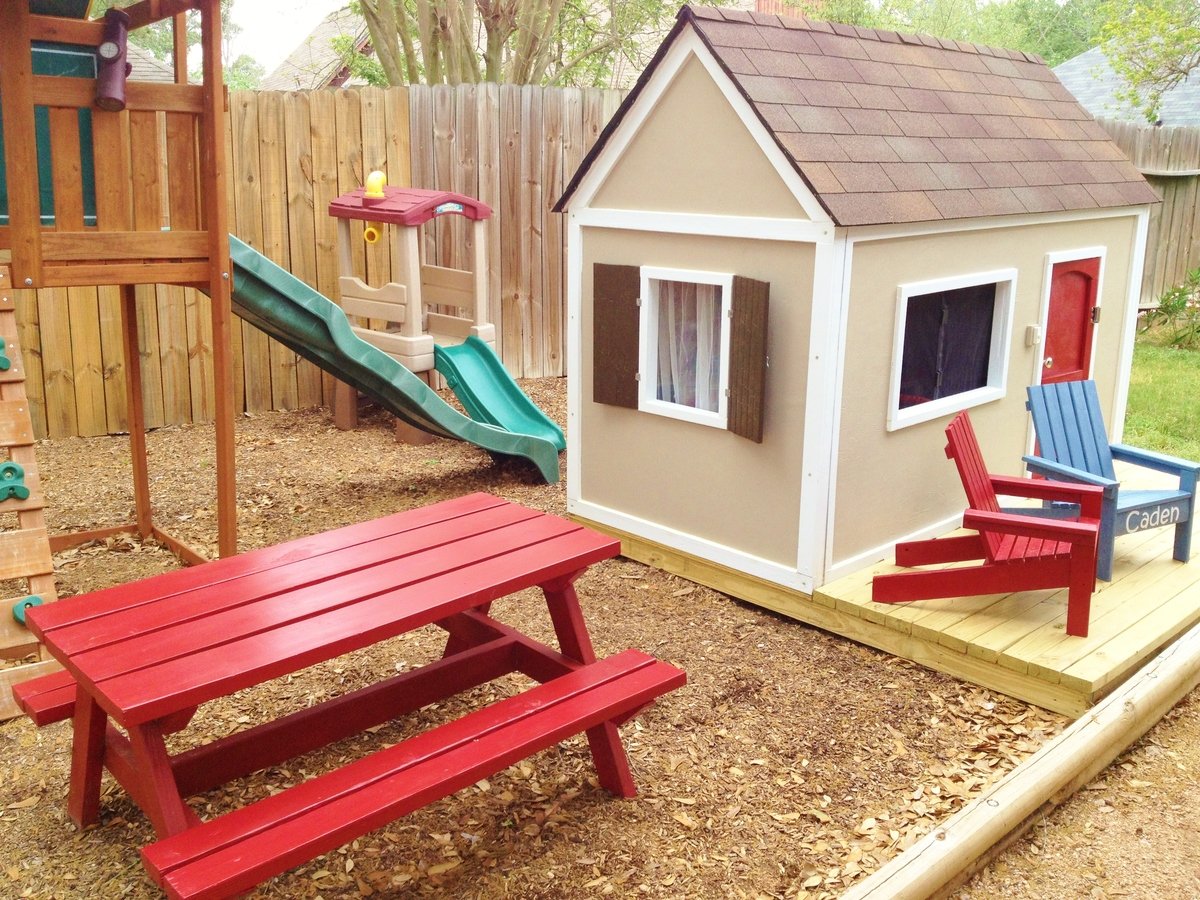
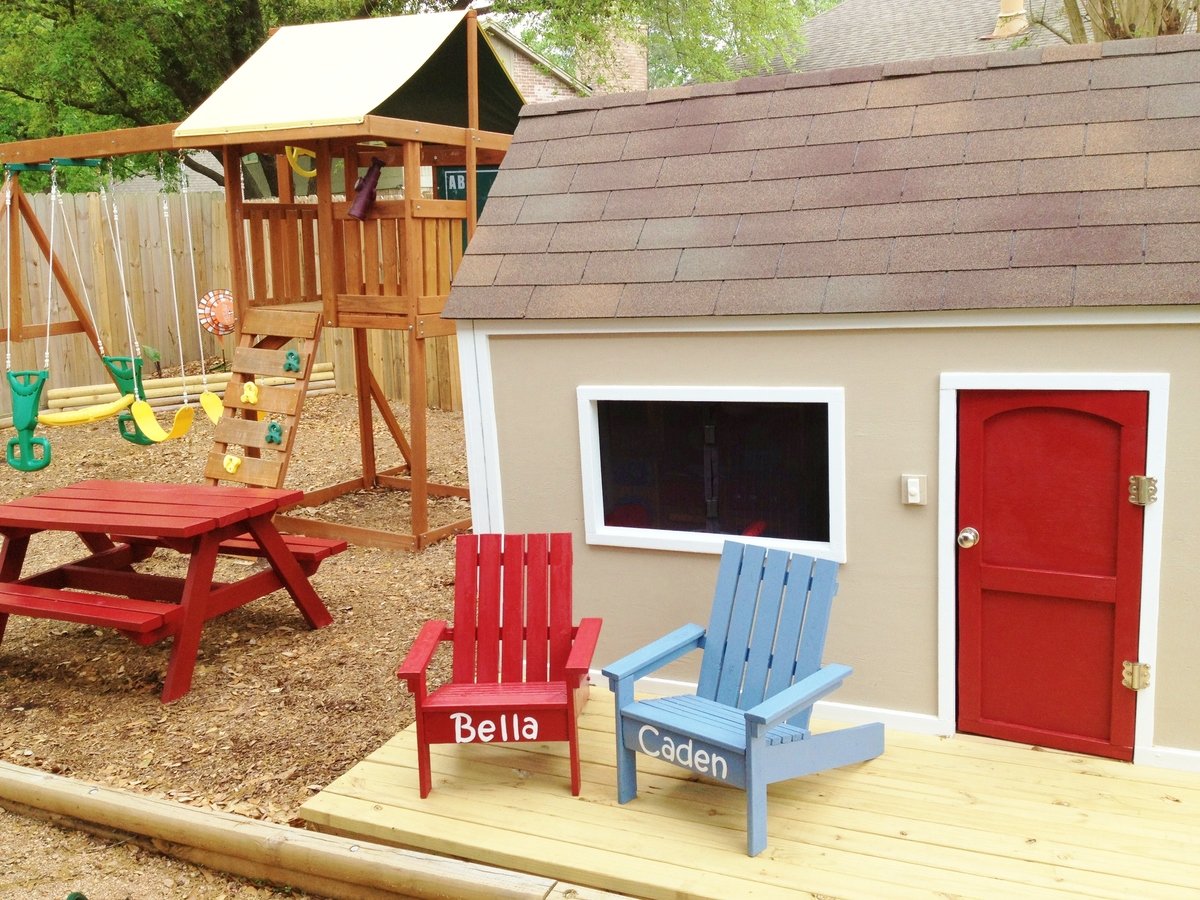
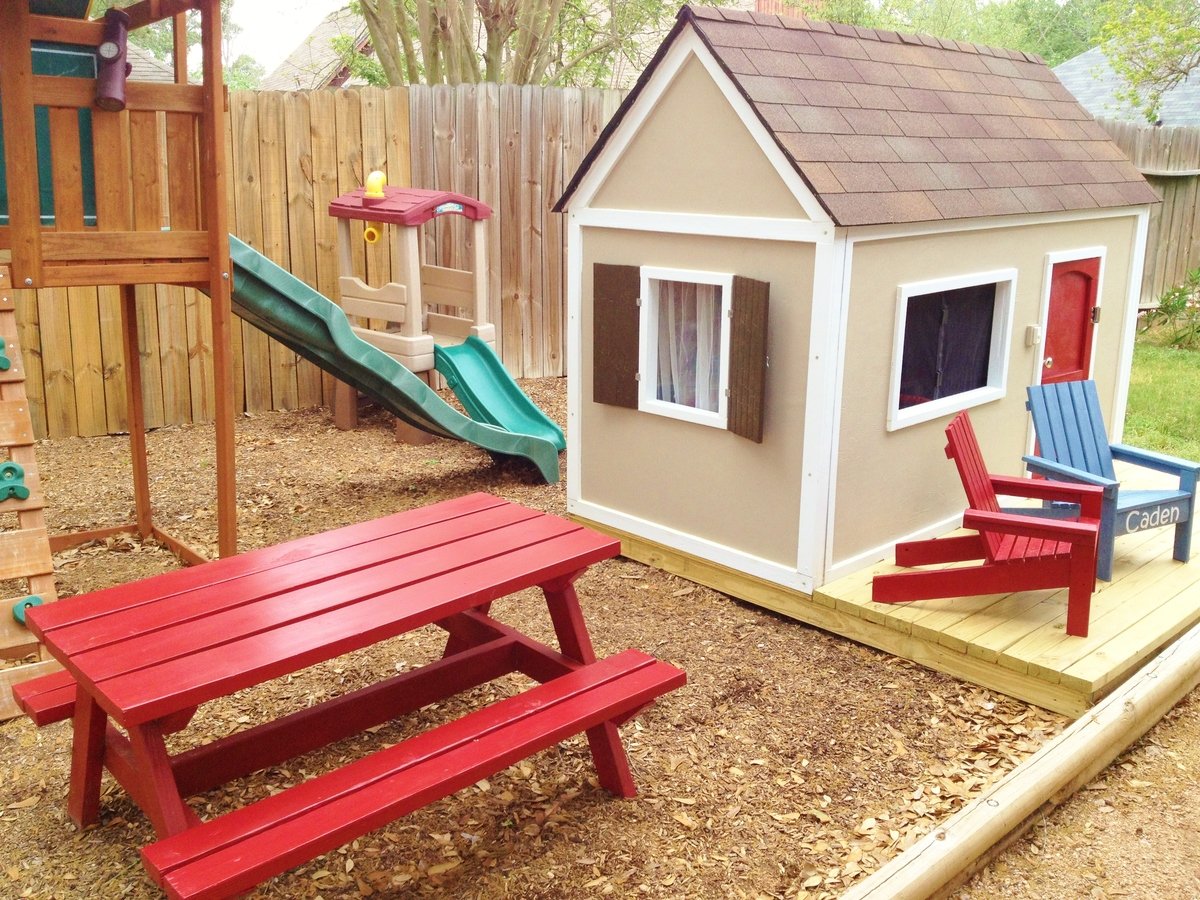
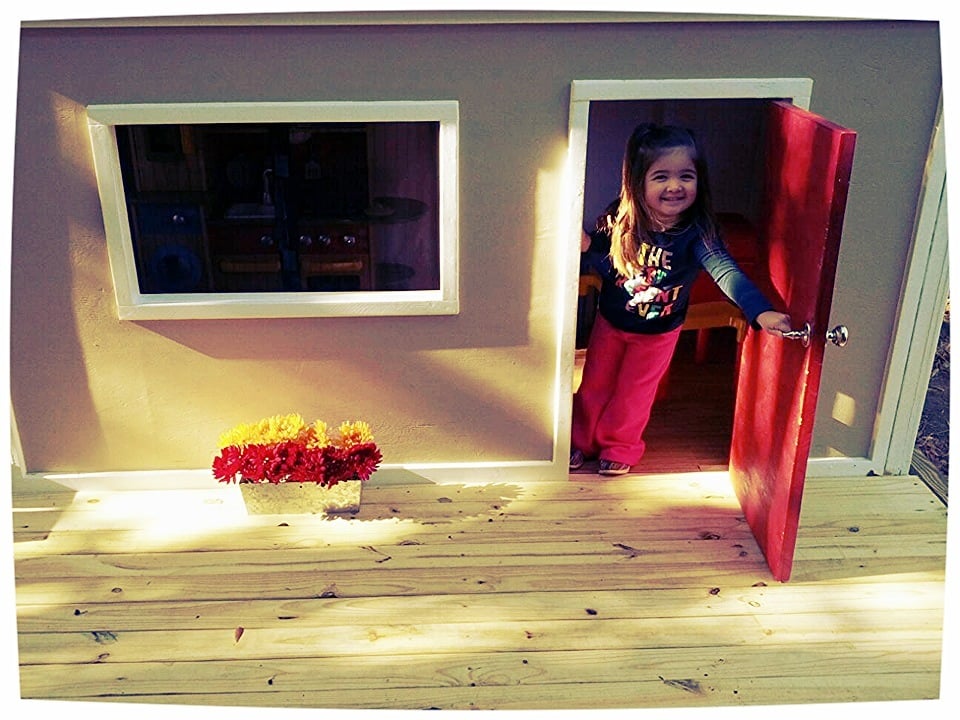
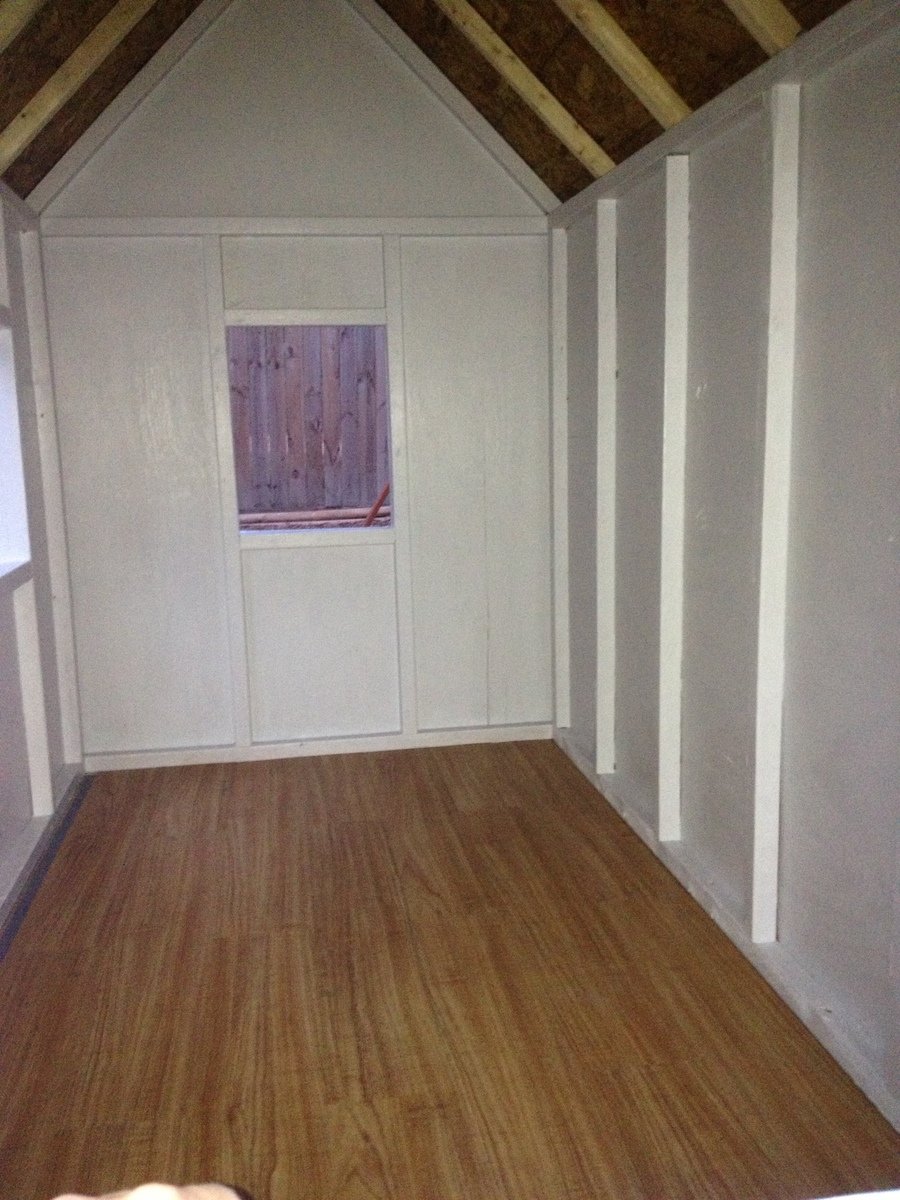
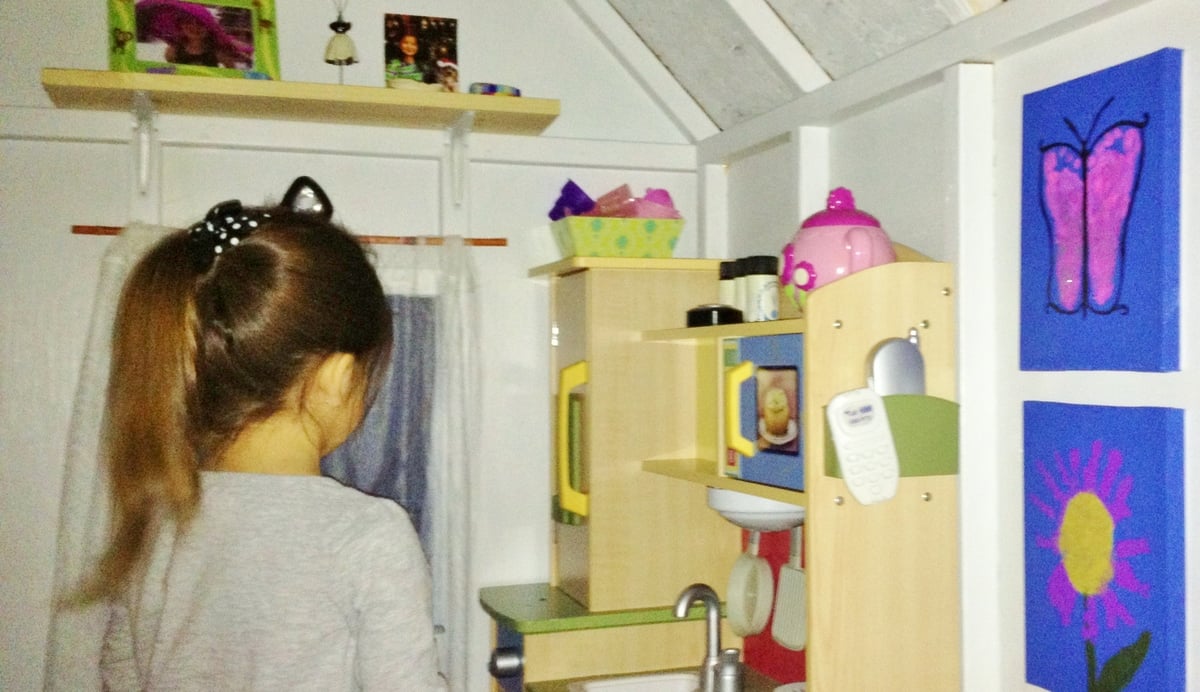
My first project ever was the red picnic table about a year ago and have built many more as housewarming/kid's bday gifts. This Christmas, instead of buying my daughter more toys, I decided to build her a playhouse. Not only was it a very special gift for her but also freed up space in my house being able to put her play kitchen, table, and other toys in it. The small changes we made were the size of the deck to better fit our available space and the shutters (made out of scrap 1x2s and hinged to close with a hook and eye). We put down 3/4" treated plywood as the base and then used 1 box of vinyl plank flooring that looks like wood to hold up to the Texas humidity. I eventually want to make accordion-like shutters for the front window but have up a bug curtain (used for regular size doorways and closes together with magnets) that I cut in half to fit. We have bad mosquitoes here in Texas! I also added a wireless doorbell.

Estimated Cost
$500
Estimated Time Investment
Week Long Project (20 Hours or More)
Recommended Skill Level
Advanced

Comments

spiceylg

Wed, 04/03/2013 - 04:58

You did an amazing job! Lucky little girl. Looks so cozy inside and out!
Seasonal And Holiday

Chaise lounge chairs

Submitted by Anonymous (not verified) on Sat, 05/29/2021 - 19:44

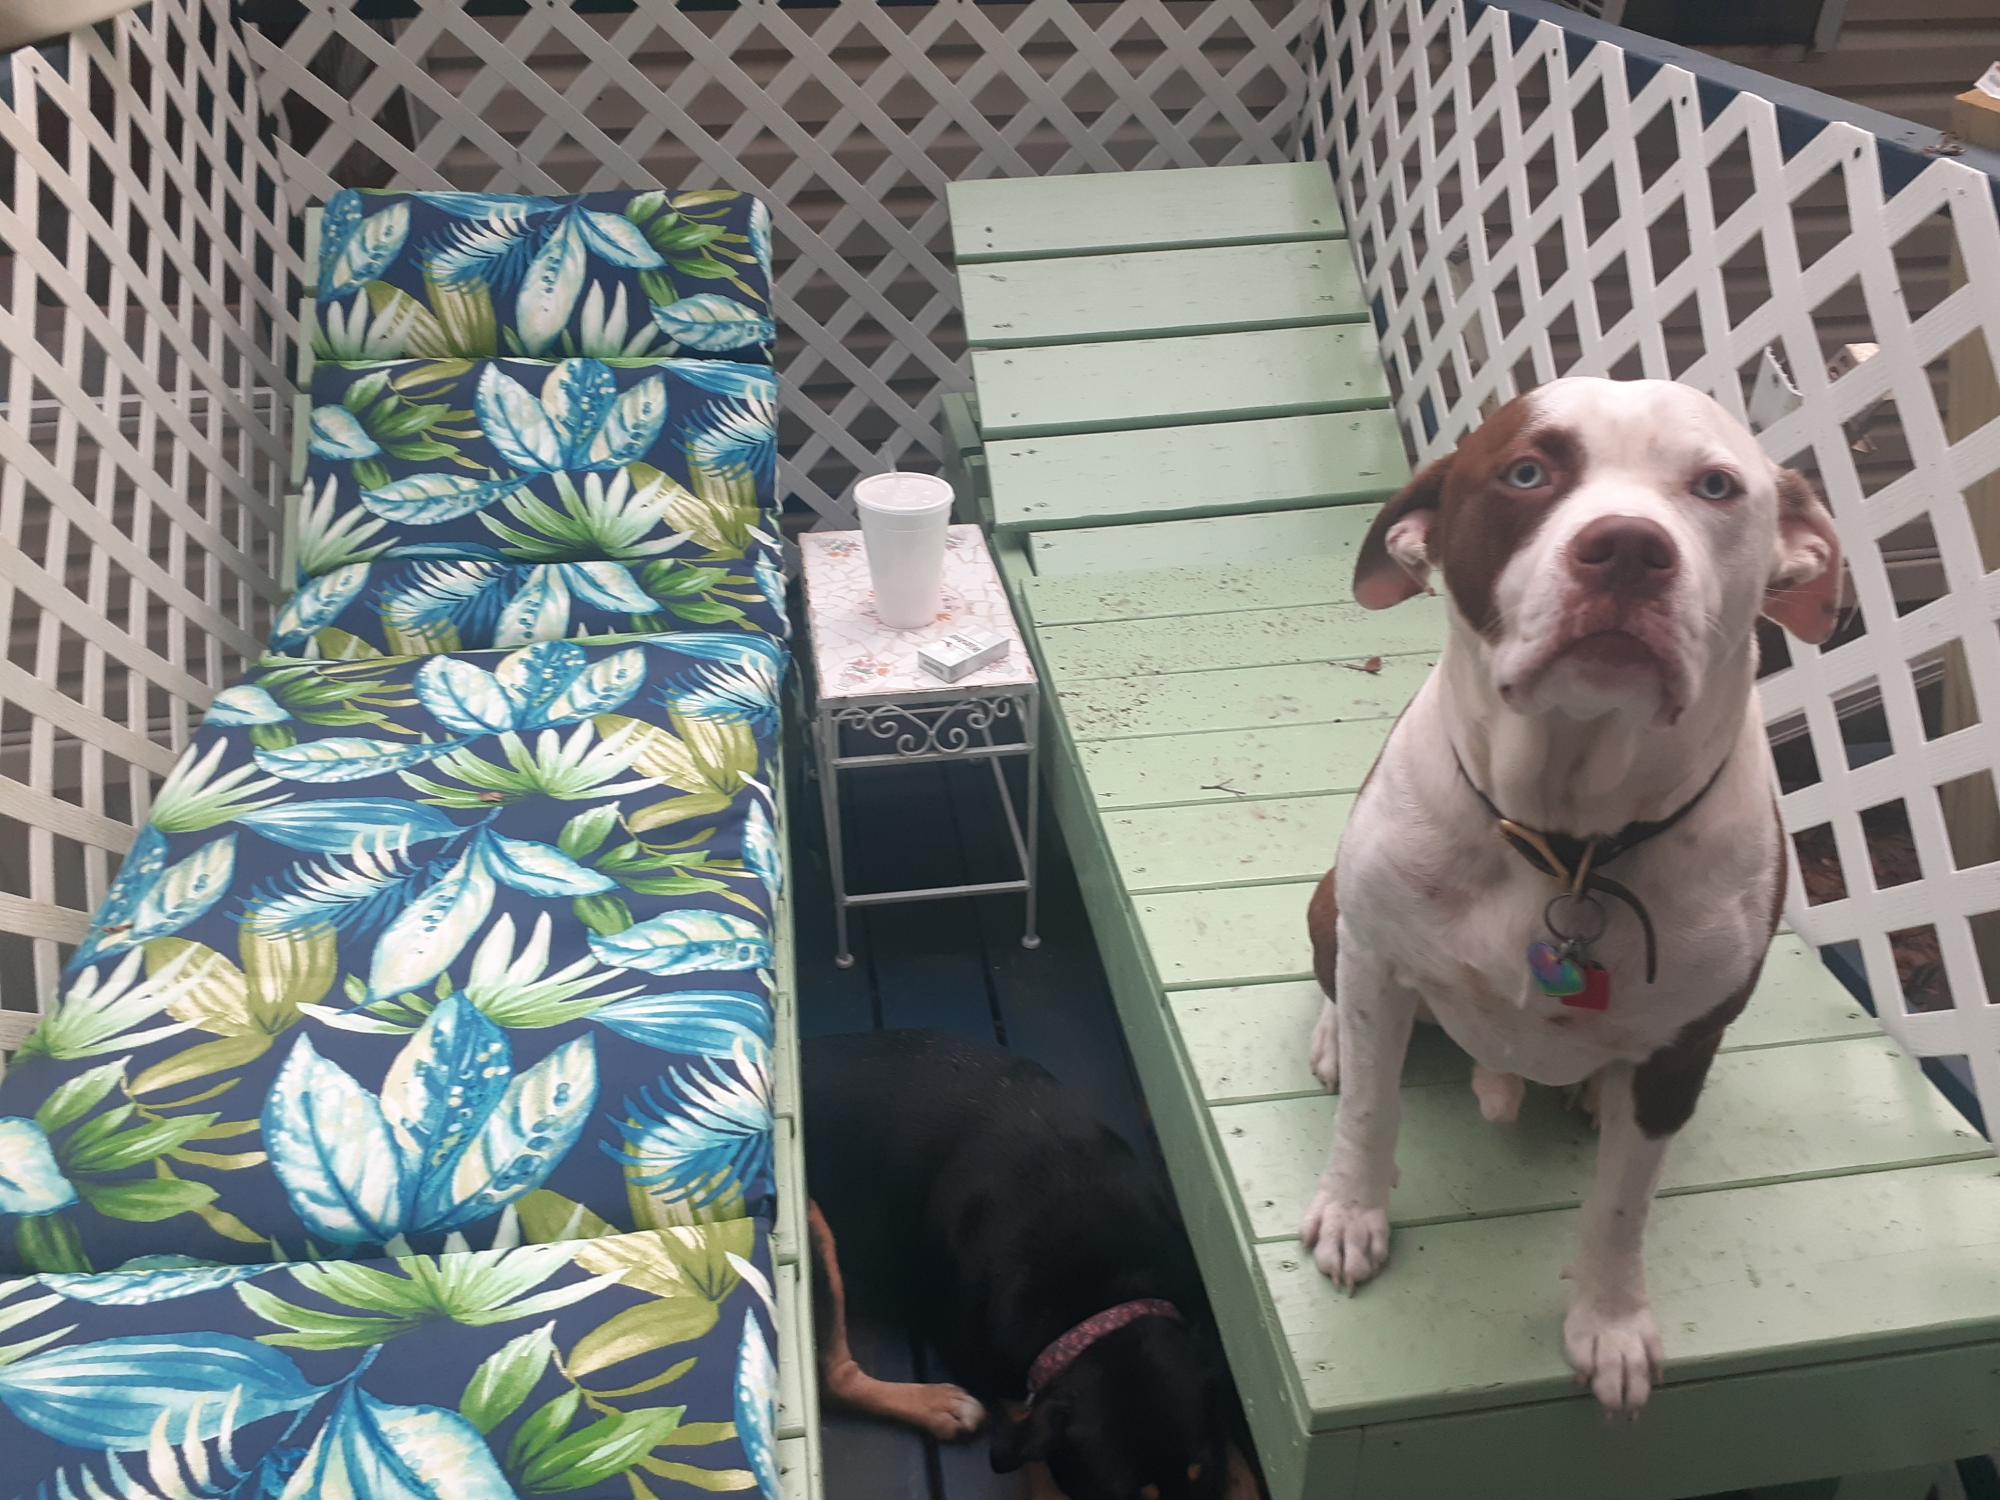
This is from your plans for your favorite chaise lounge chairs only I beat them up 2 x 6 Bass four by four legs and 5 quarter tops also change the tops so they're all the same directions this made it a lot sturdier for heavier folks of course my dog Dozer thanks I made them just for him thanks for the great plans

Estimated Cost
150
Estimated Time Investment
Day Project (6-9 Hours)
Finish Used
I bought oops paint from the hardware store just happened to go perfectly it's a light mint green
Recommended Skill Level
Beginner

Bookshelf Hidden Doors Over Closet

Submitted by Anonymous (not verified) on Mon, 10/23/2017 - 10:13

Hidden door bookshelves hide a furnace closet.  Built by Kraig Faulkner

Built from Plan(s)
Recommended Skill Level
Advanced

Comments

charkue

Thu, 09/17/2020 - 08:01

I'm currently working on a basement renovation project. I'm probably going to incorporate a feature like this for my mechanicals, too.

One important safety note for anyone who wants to do this: It's recommended that your furnace be a minimum of 30" away from any combustible materials. That includes walls and partitions. The image of this project displayed is right next to the furnace, which is not a good idea.

Farmhouse Toy Box

Submitted by frmoody on Thu, 08/18/2022 - 15:01

My second build from Ana's toy box plan. I had my son use his CNC machine to carve boy's name into the front. Depth of the letters is about 0.25". Looks really good.

Built from Plan(s)

Comments

My Simple Outdoor Sink

Submitted by kmatt55 on Sun, 08/14/2011 - 16:46

I finally completed the last piece to my customized simple two-toned outdoor collection...an outdoor kitchen sink!!! It still needs a couple of touch ups... but more on that later. This is by far my favorite and easiest project to date. We plan on using this as a grill caddie/garden station. This will eventually go onto a 24x12 deck up against our kitchen window (The indoor and outdoor sink will be against each others backs). I decided to go with the Sturdy Workbench plans for the base mainly because of the weight. We wanted something that's going to be difficult to move since it will be hooked up to outdoor plumbing. I used treated 2x4's for the base, cedar 1x4's for the top. I bought the bar sink for about $70. I also used a Kreg Jig to screw in the cedar slats from underneath so the screws won't be visible from the top. FYI - Wait a couple of weeks before you paint soaking wet treated wood. The green chemical from the 2x4 is starting to leak through my white paint. I'll have to go and prime/paint it again when it finally dries. Other than that, it came out 10 times better than I could ever imagine.
Built from Plan(s)
Estimated Cost
$120 ($70 for sink and hardware)
Estimated Time Investment
Weekend Project (10-20 Hours)
Finish Used
Thompson's Water Sealer, semi-gloss exterior white paint.
Recommended Skill Level
Beginner

Comments

Vegasboiz

Sun, 09/29/2013 - 08:16

I love the sink table a lot. I have been looking for one for a long time. Can you tell me what is the length, width, and height for this table. Thank you very much. Jimmy

Chicken Coop with run

Submitted by Anonymous (not verified) on Sun, 01/31/2016 - 19:36

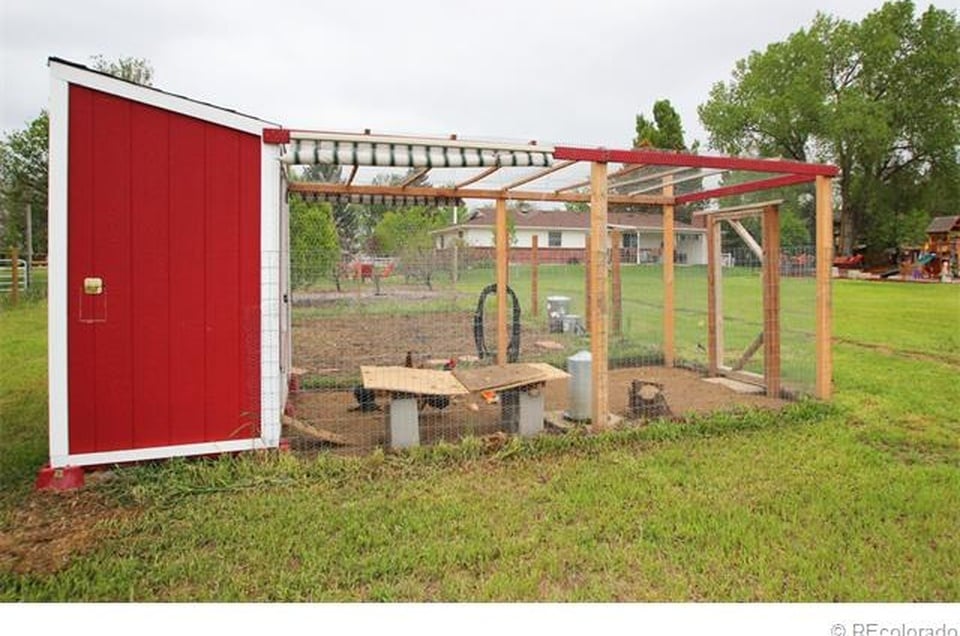
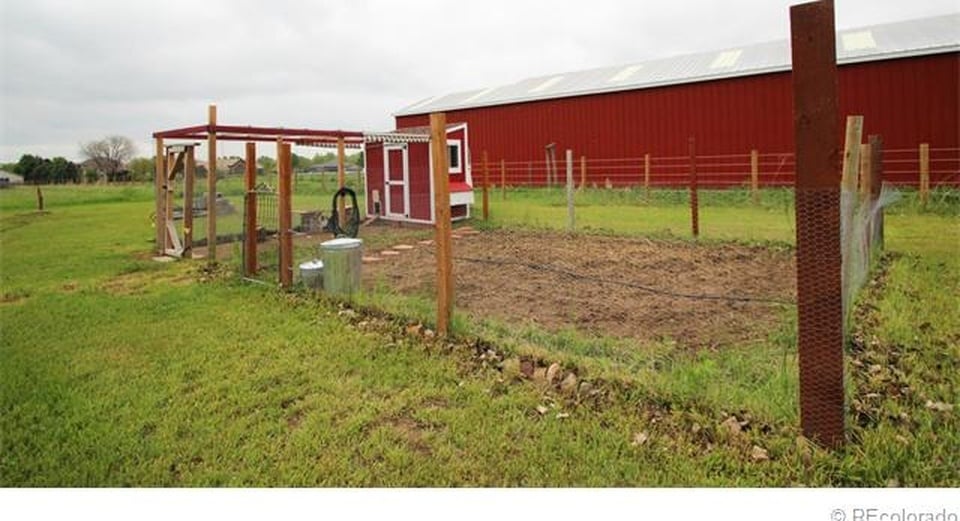
It took a while to come together and made several modifications but it is a great coop and was a major selling point of the house when we were relocated.  I had added a main tray under the roosts and a door to srape the poop out.  This made keeping the coop clean very easy.  

Built from Plan(s)
Estimated Cost
$800
Estimated Time Investment
Week Long Project (20 Hours or More)
Finish Used
Chicken Coop
Recommended Skill Level
Intermediate

Sturdy Workbench Sink

Submitted by Anonymous (not verified) on Mon, 05/01/2023 - 09:57

Used sturdy workbench plans with 2x6 cedar top for outdoor sink. Turned out much better than I expected!!

Built from Plan(s)

Comments

The Two Towers, Master closet Makeover

Submitted by dmcarwin on Sat, 02/15/2014 - 10:22

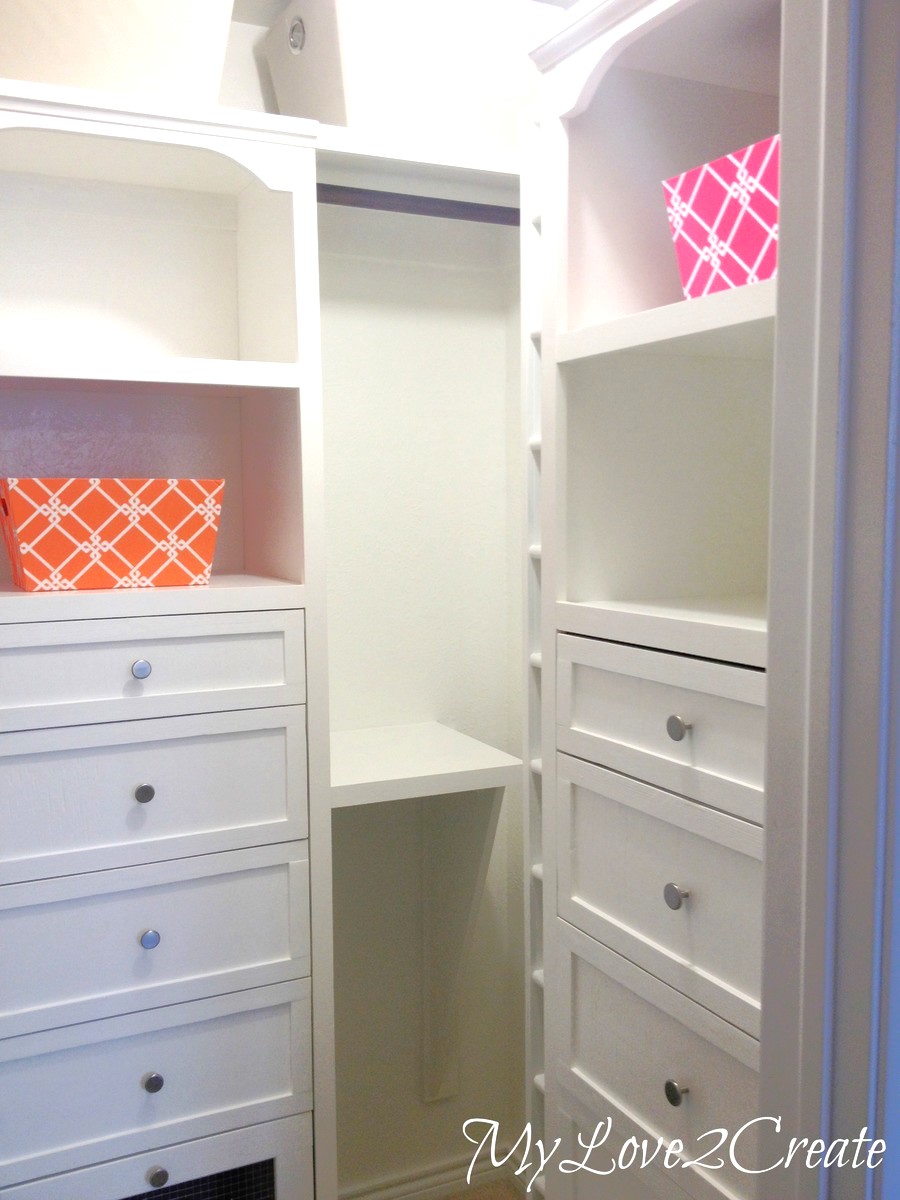
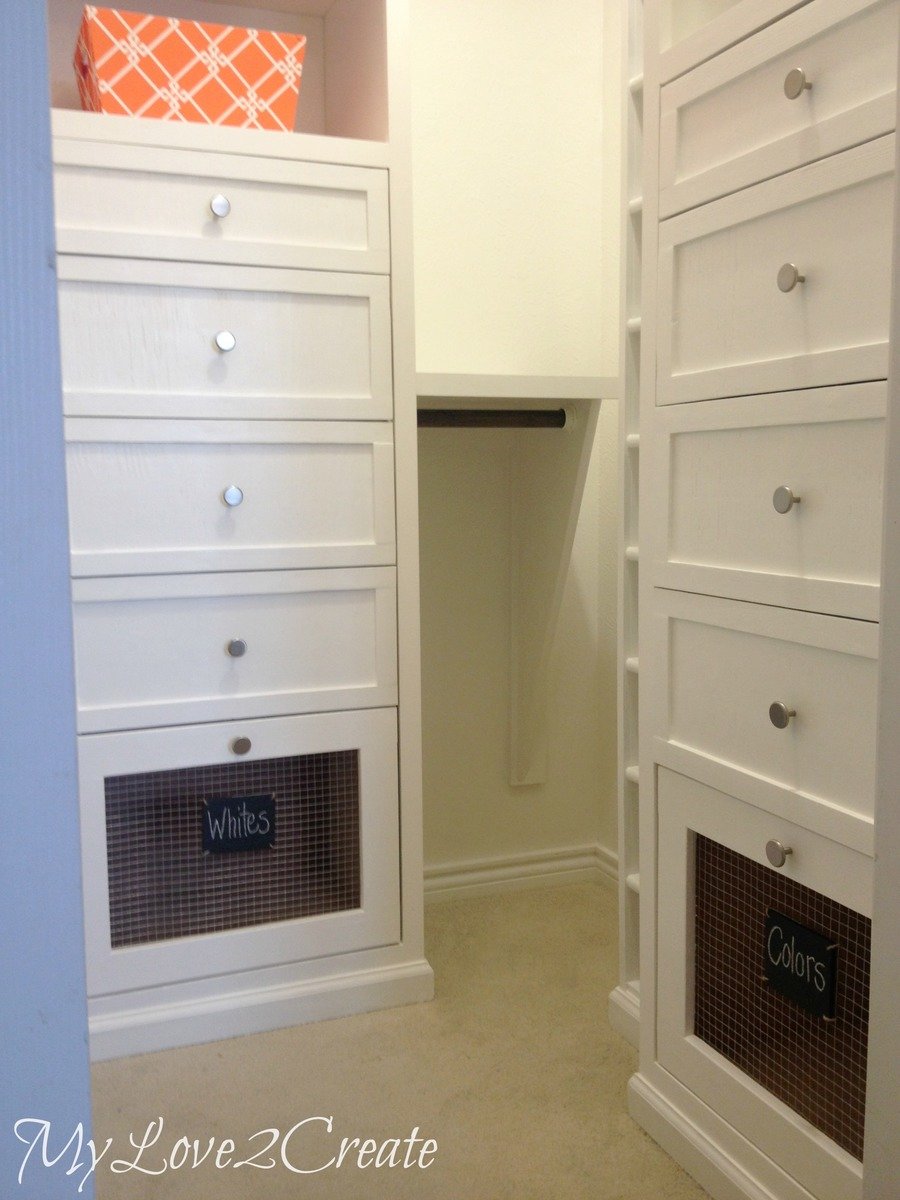
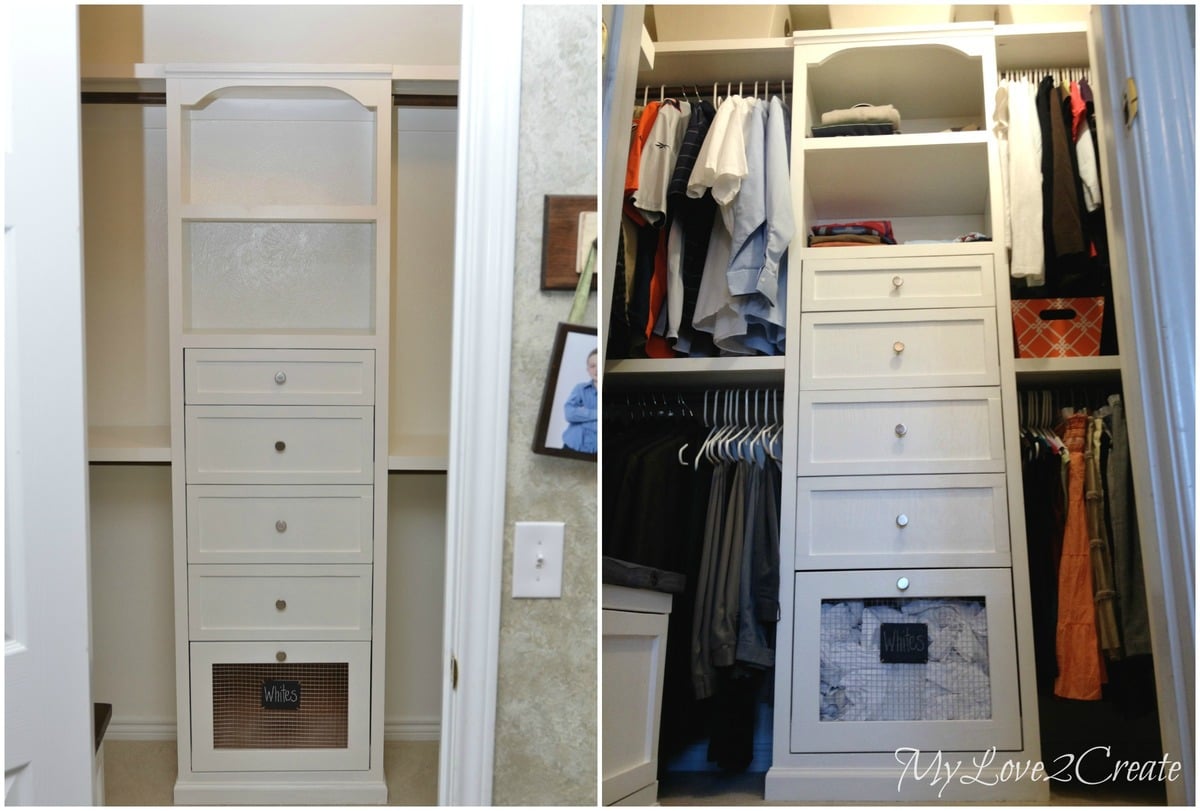
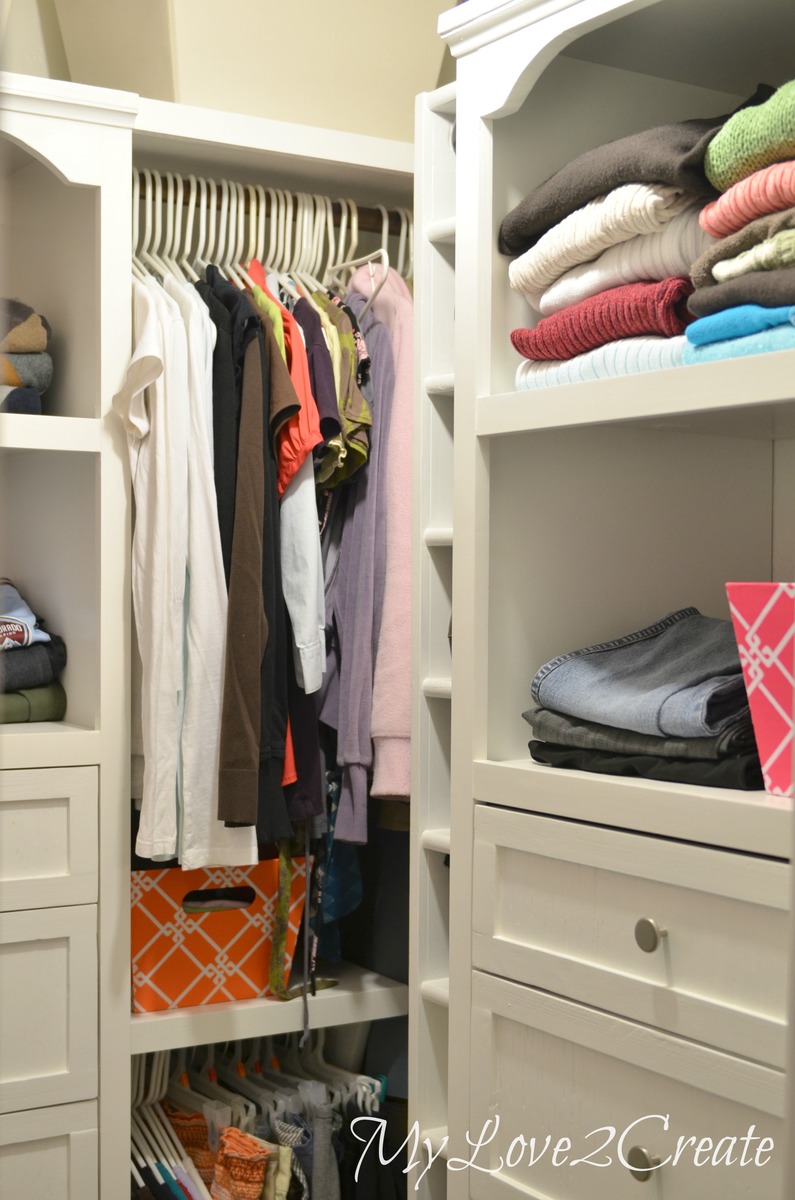
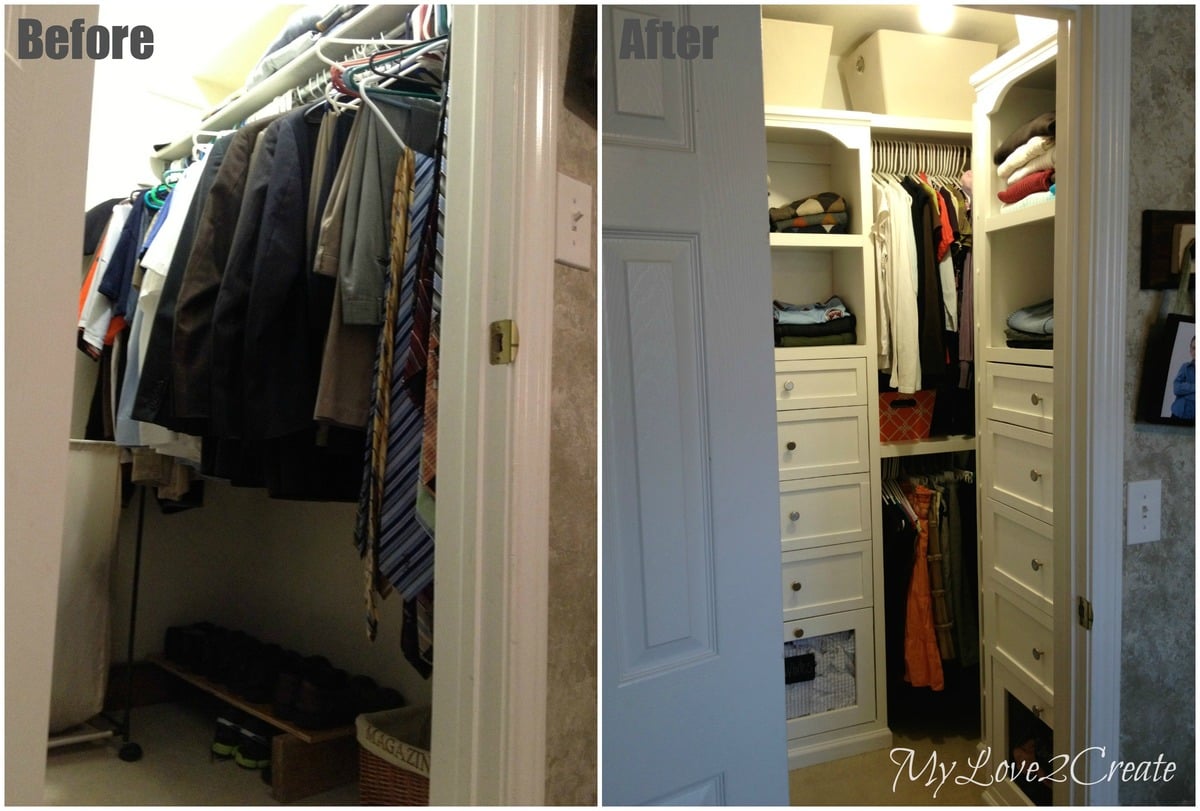
I have been wanting to makeover my master closet for a long time! I finally decided to just give it a try, I looked at several options and finally decided to base my closet around Ana's master closet tower she made for the momplex. I loved the plan and knowing I would need two towers I set to work designing with two towers in mind. I LOVE how it turned out and the tower plans were awesome! I also used the drawer plans for the tower and added the amount I needed, that is the best part about DIY! Thanks so much Ana for all your amazing plans they gave me the jump start I needed to get this project done! For details on the rest of my closet makeover please check out my blog post. If you go to my reveal post on my blog, near the bottom it has all the links to my building posts.

Estimated Cost
Around $150 for the two towers, not including the drawers which I used scrap wood for
Estimated Time Investment
Week Long Project (20 Hours or More)
Finish Used
I used a white Bher paint that was from the oops section.
Recommended Skill Level
Intermediate

Comments

freefromburdens

Sat, 02/15/2014 - 11:42

I love this. I love the price also. I redid my closet and chose not to use the towers, but after seeing yours I plan on doing my other closets using this one. While doing research on closet organizers, the price was nothing like yours. This is really good quality for $150. Great job...

dmcarwin

Sat, 02/15/2014 - 12:48

It really was a great price, please note that without using a lot of my scraps I could not have done it, for so cheap. All of my drawers were made with scrap/reclaimed wood I had collected, and reusing wood from my old closet. The price of $150 was just for the two towers (drawers not included) and not all the other builds in my closet. I just don't want you to think that you could do it for that price if you had to buy all the wood. If you click on my blog post link I do a break down of all my costs (again not including what I had on hand) and for everything in the whole closet including the bins it was just over $300, that I personally spent. I was lucky to have so much scrap/reclaimed wood, it saved me a ton of money! Thanks again!

Back