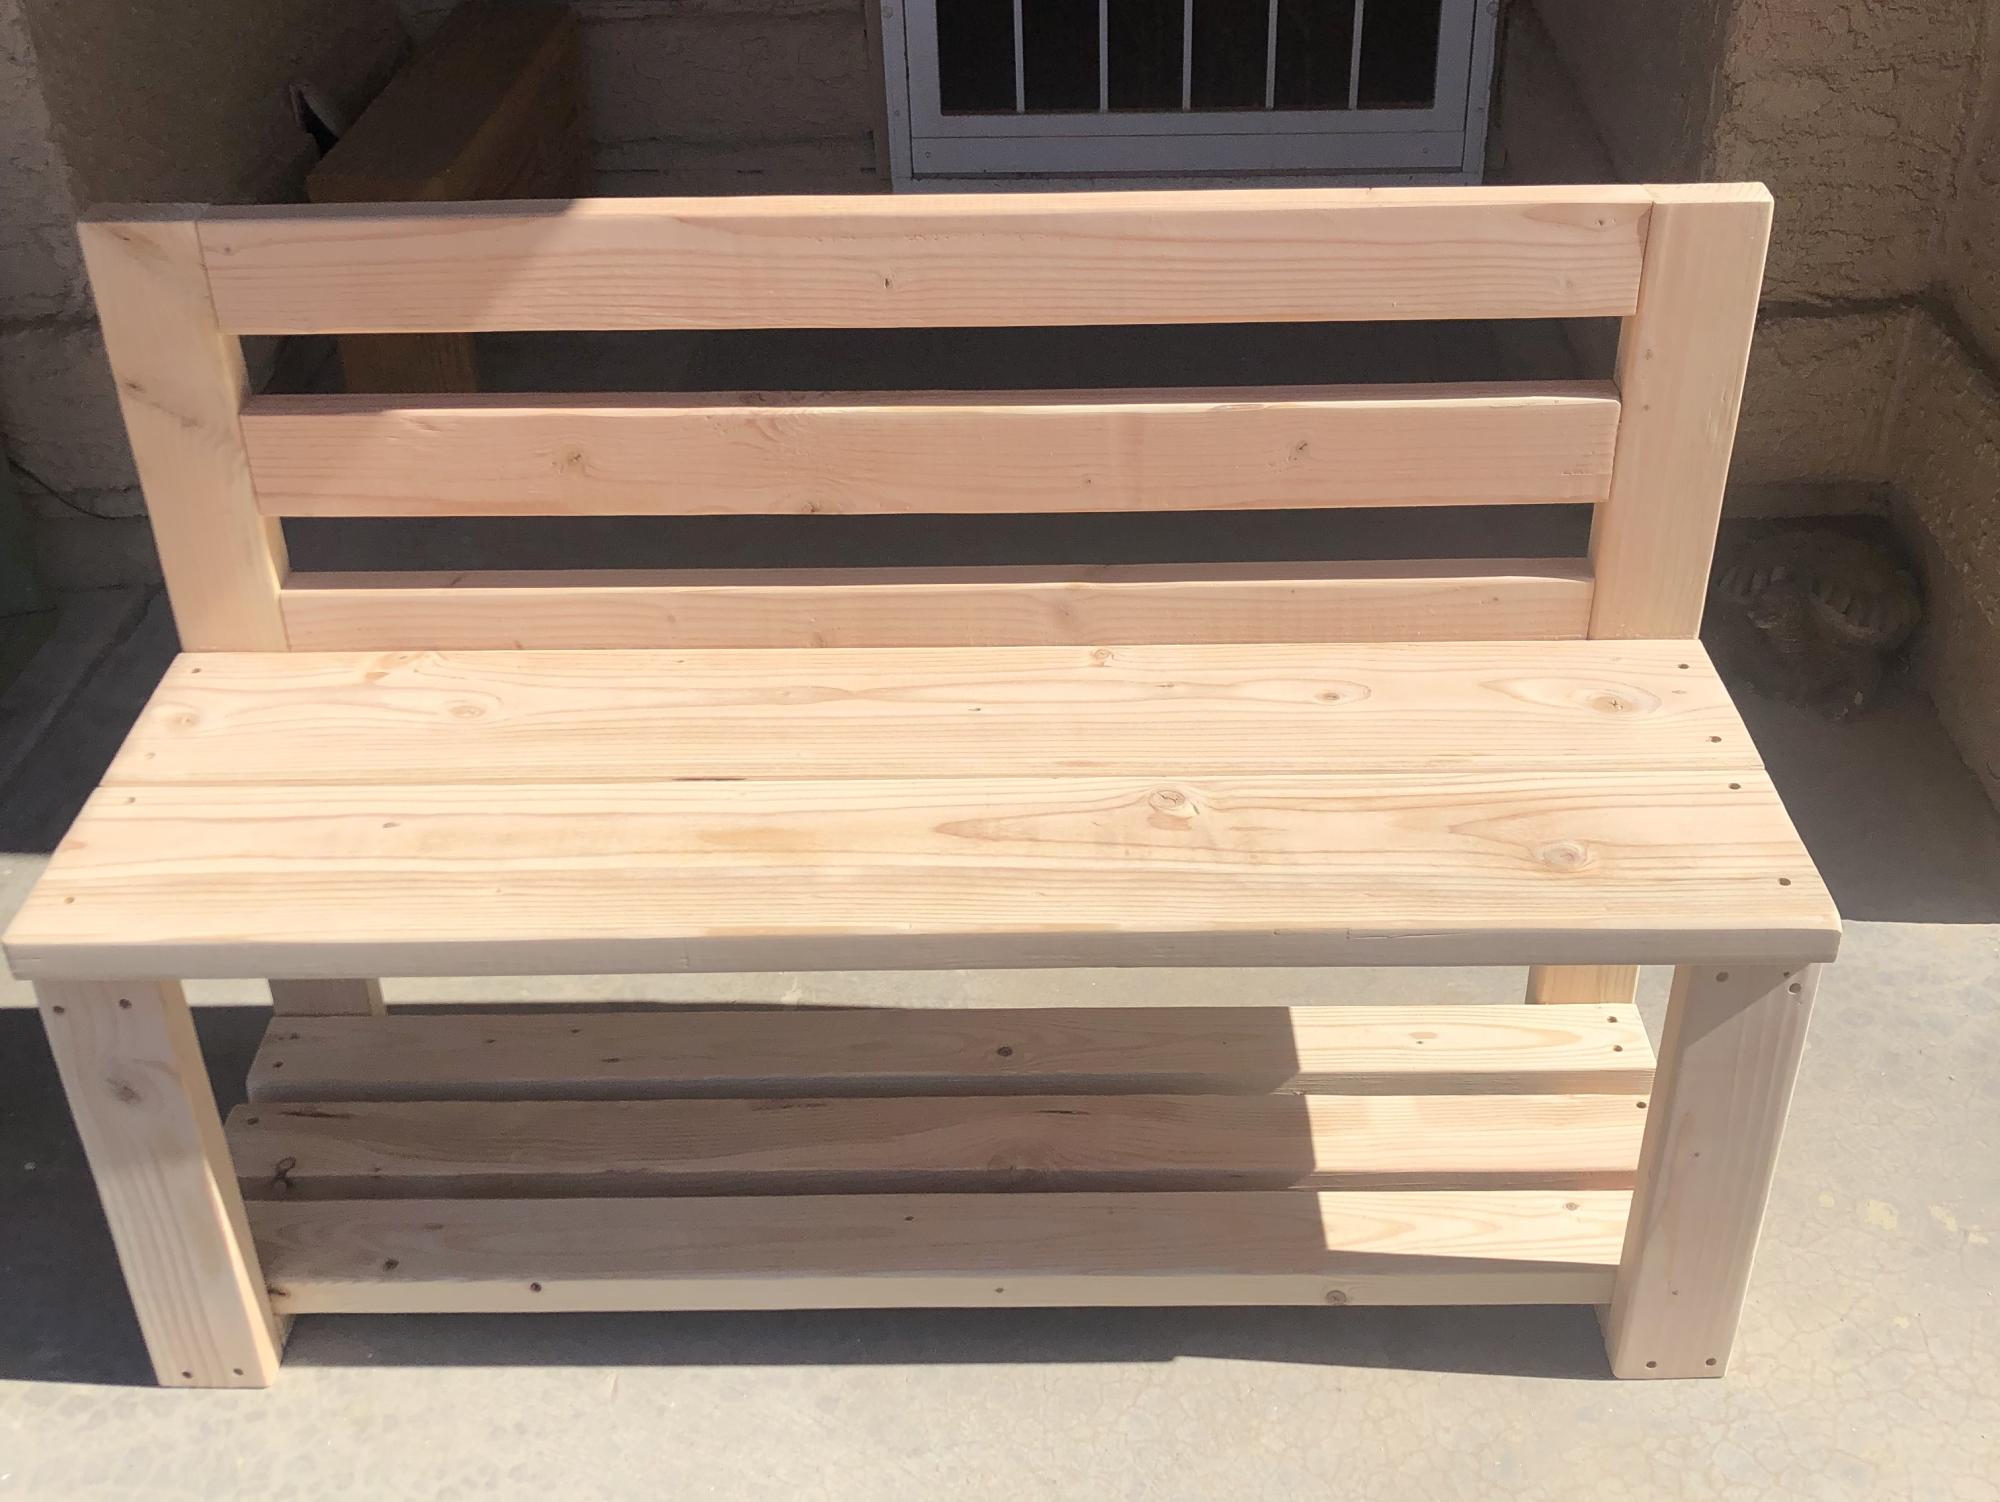
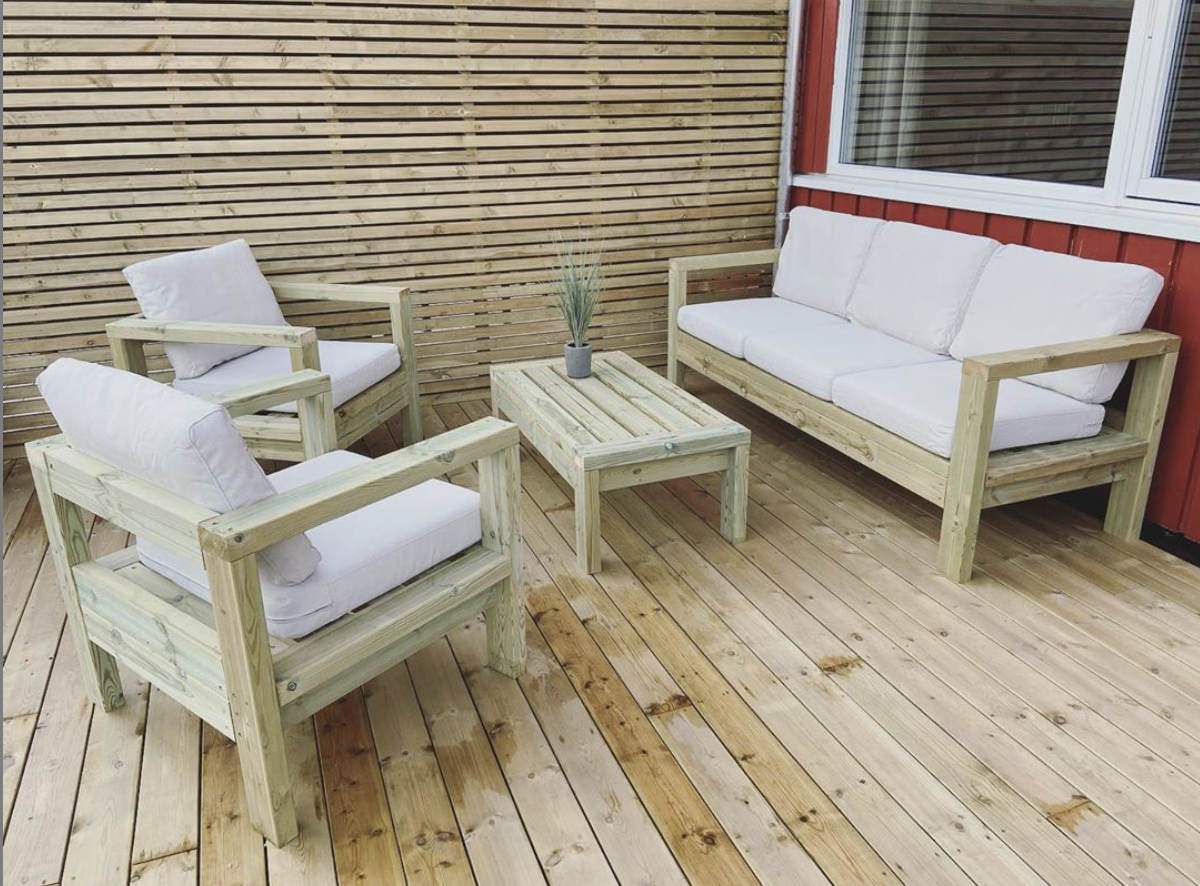
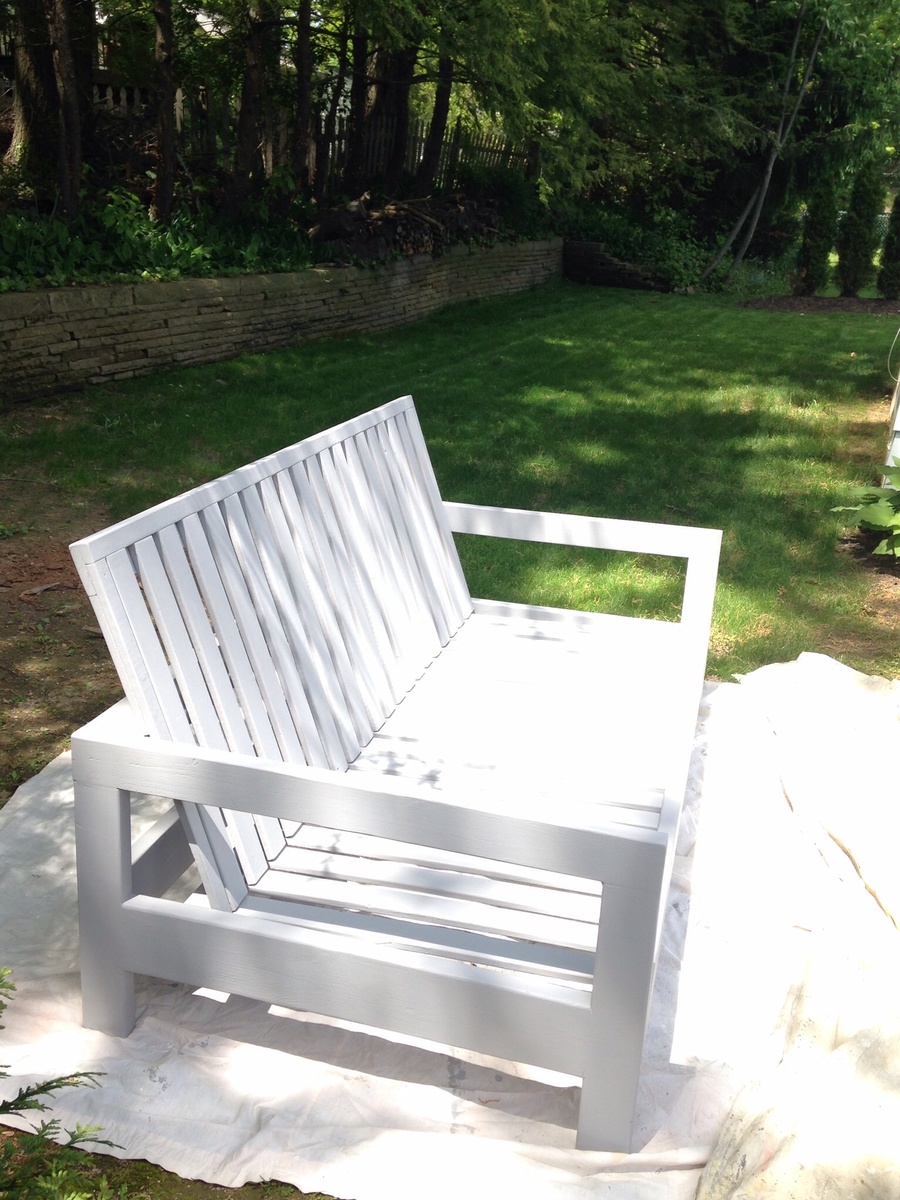
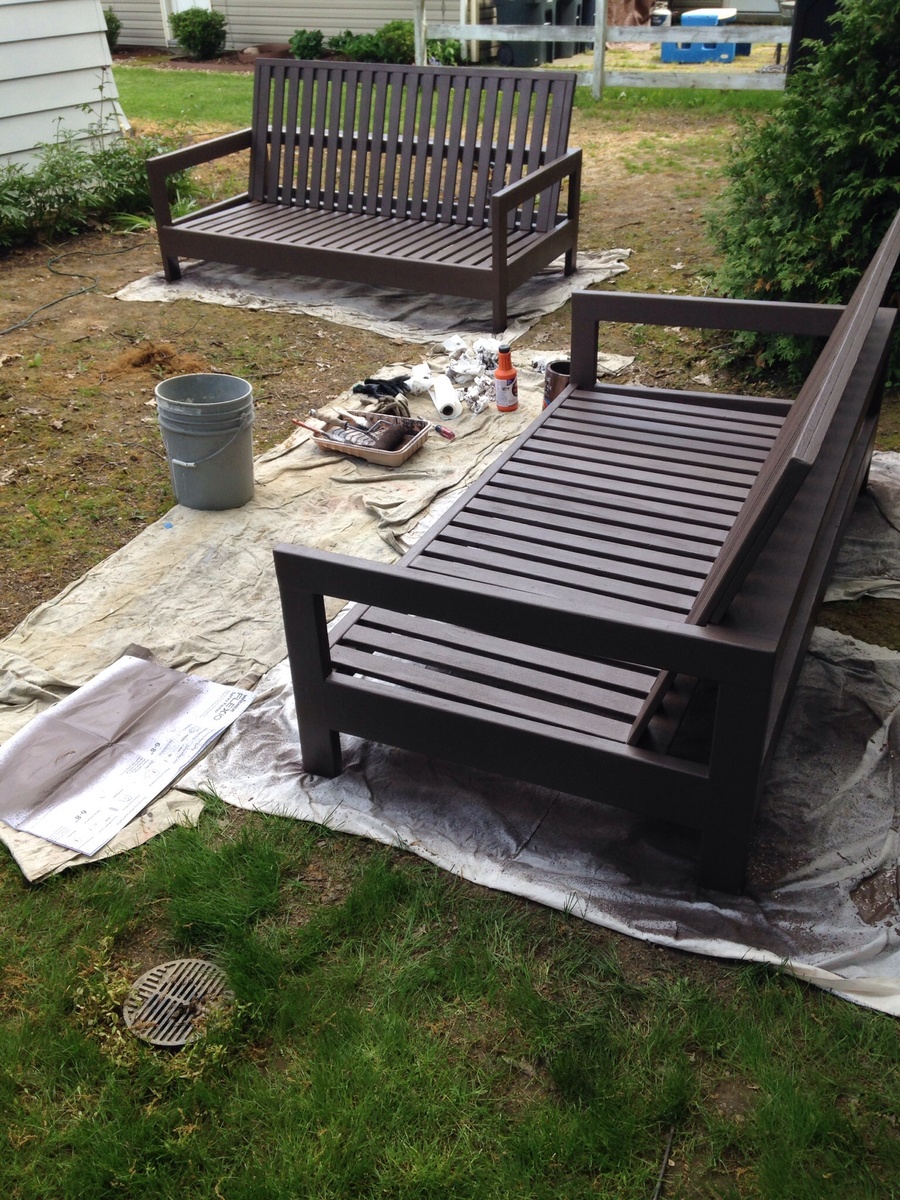
Outdoor patio couches
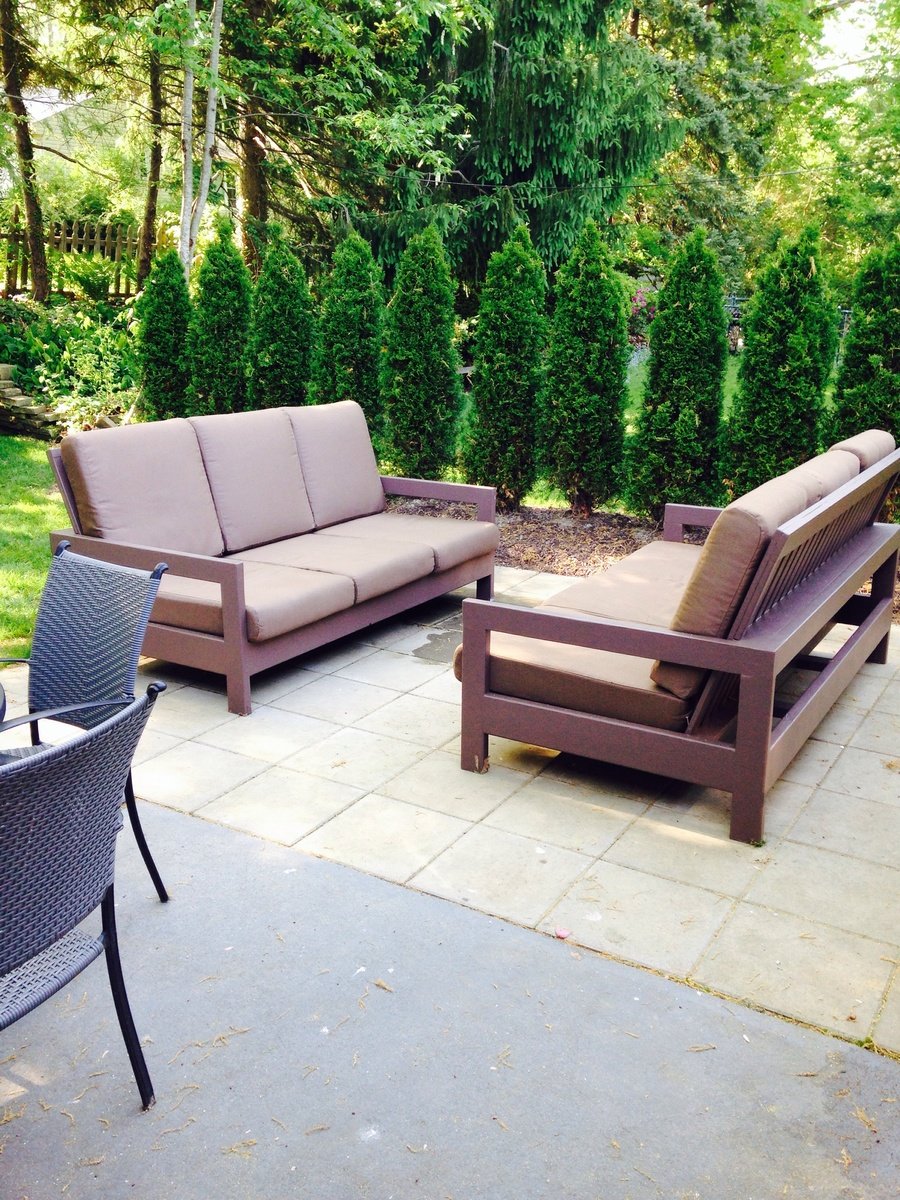
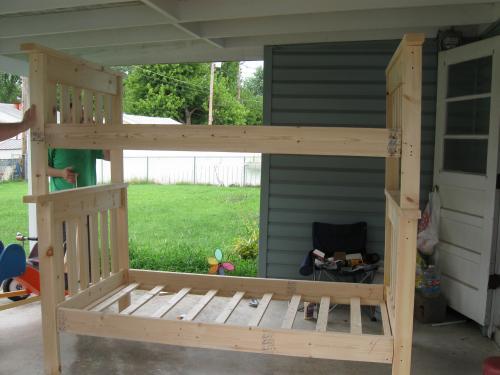
Love this design! We had to adjust the plans to fit a different cushion from Restoration Hardware. The couches turned out great and we had a party the day after the paint dried! Thx Ana-white!
Built from Plan(s)
Estimated Cost
Material $200, cushions $700
Estimated Time Investment
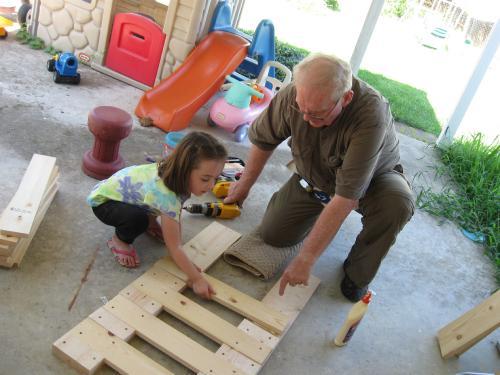
Week Long Project (20 Hours or More)
Finish Used
Valspar outdoor paint "frontier road"
Recommended Skill Level
Intermediate