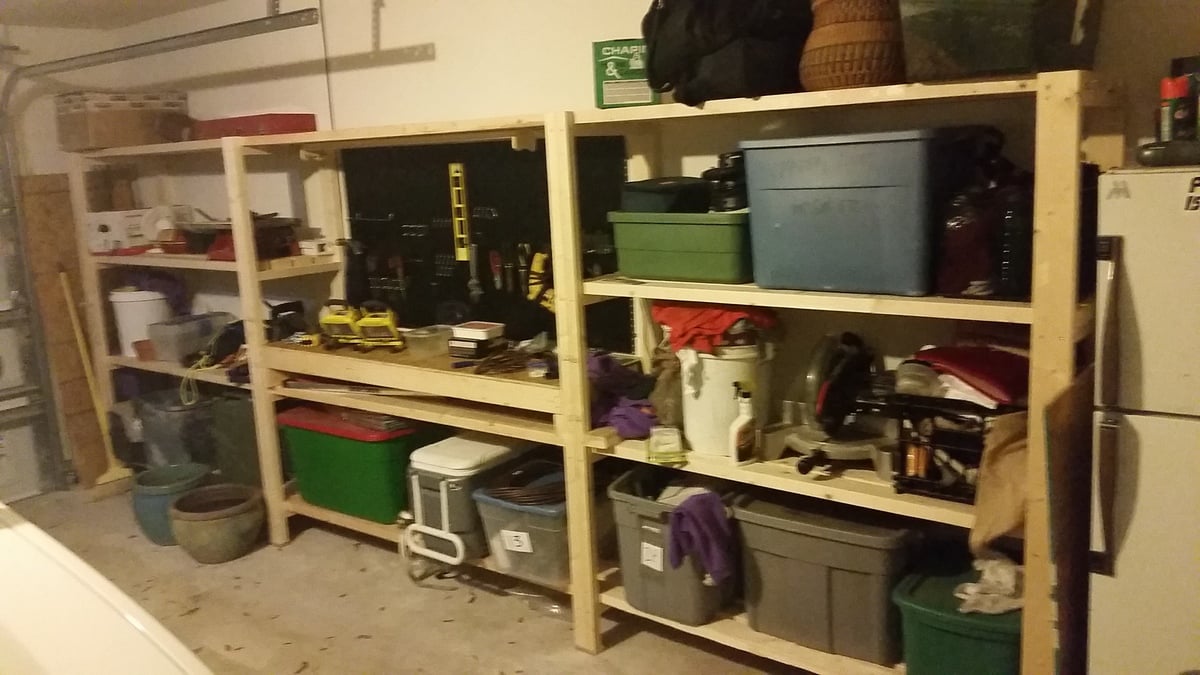
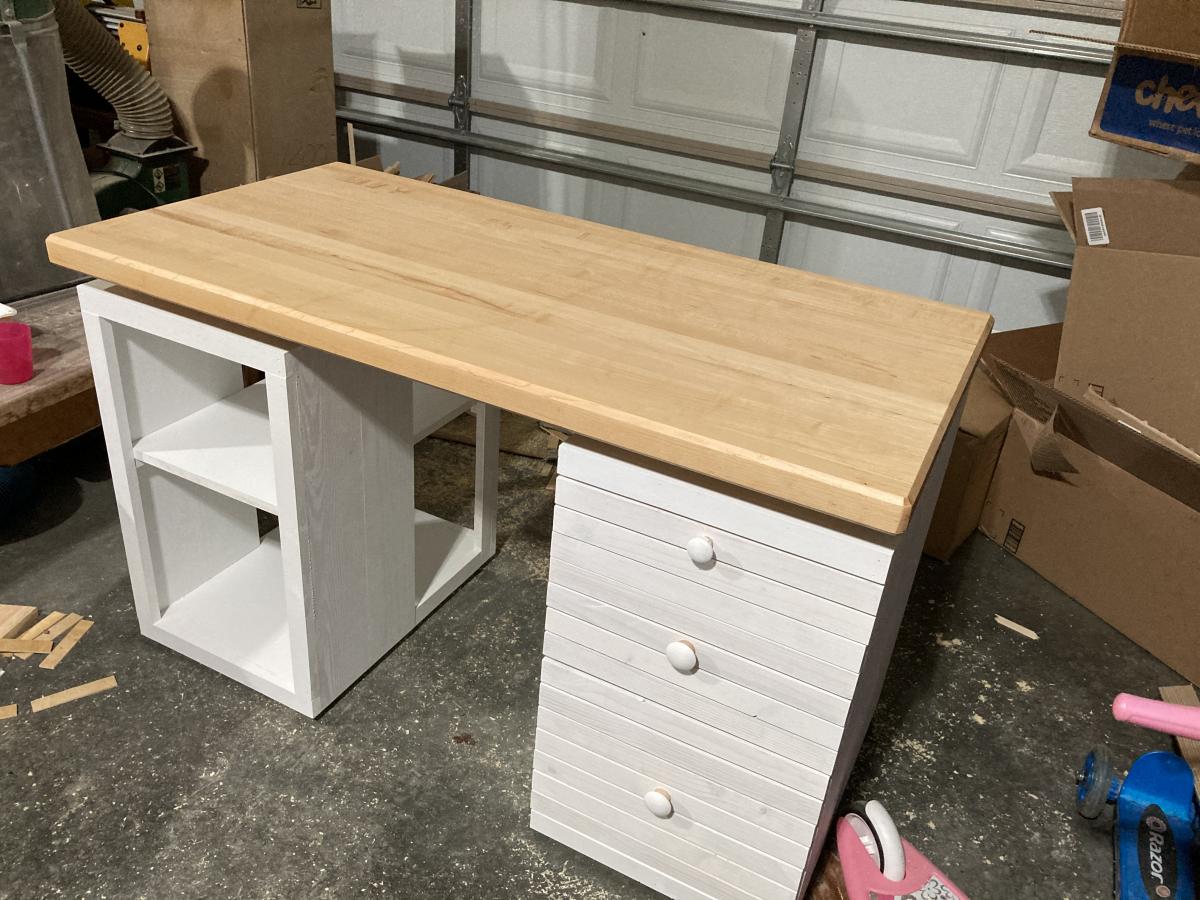
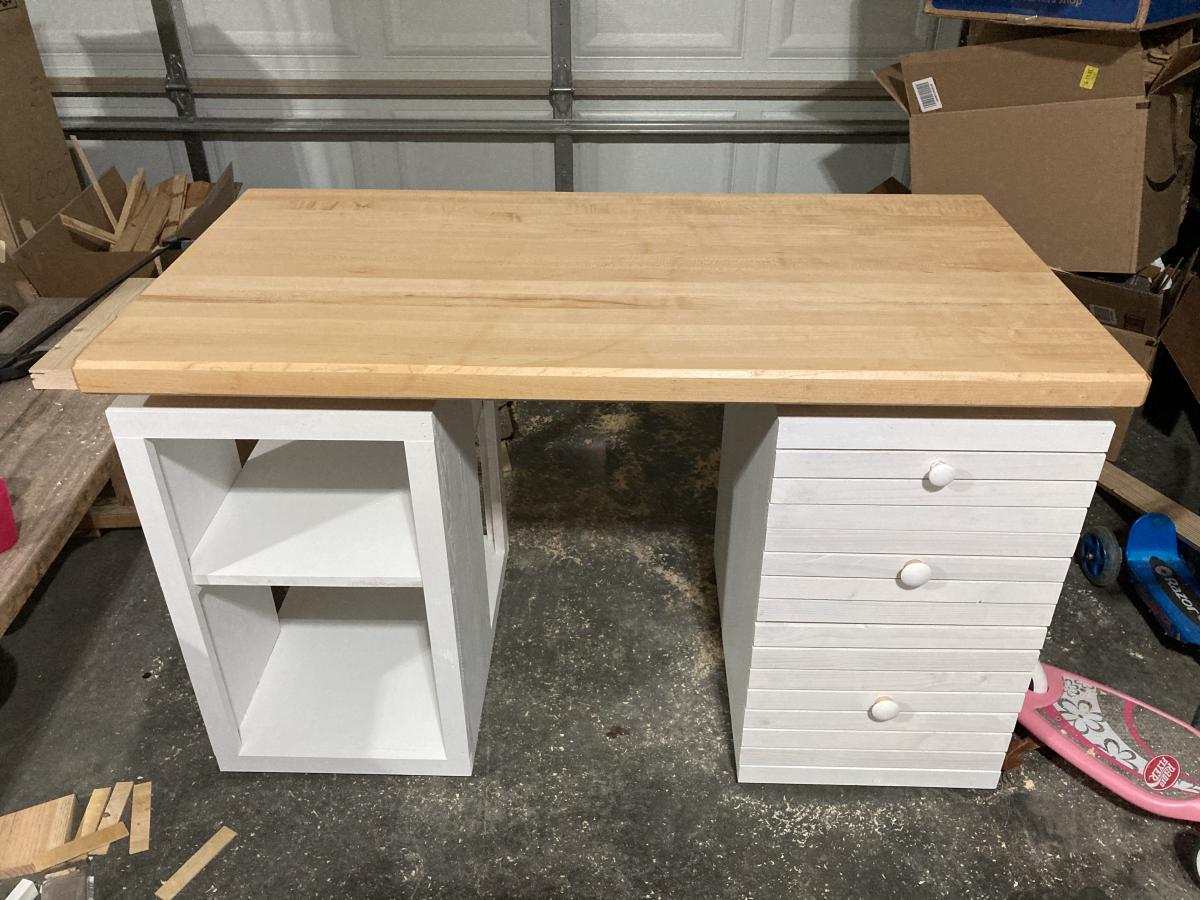
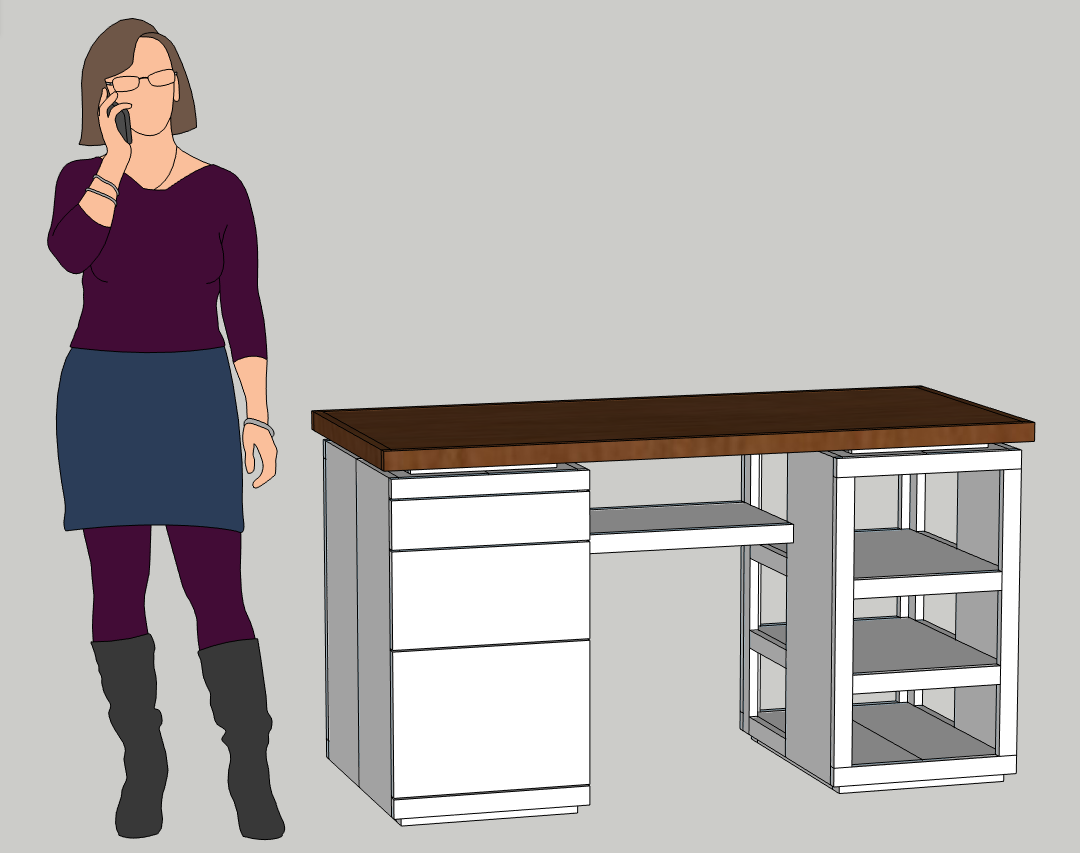
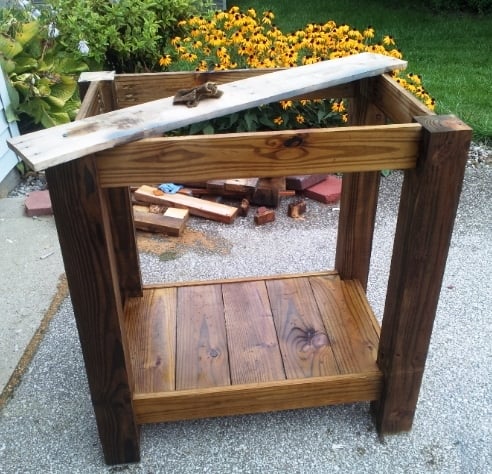
Modified Garage Shelf (w/ Workbench)
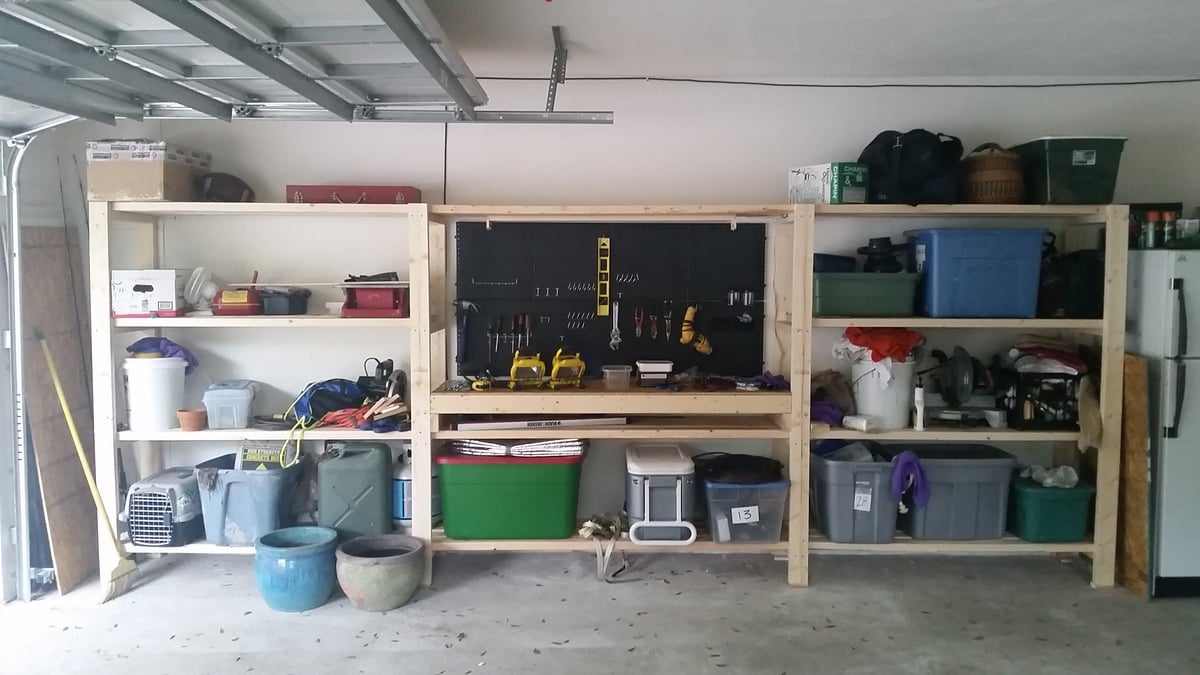
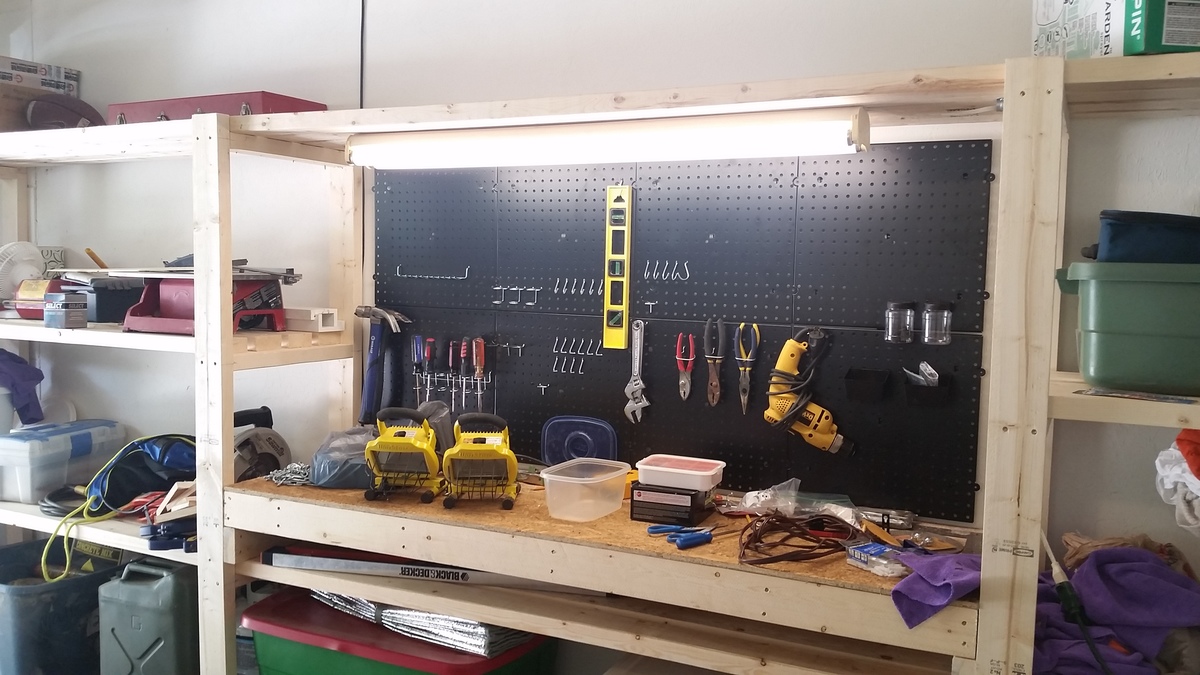
Great plans allow for versatility and easy customization. Put the whole thing together in a day w/ one other person. My set up is 16' long - 5' on the side shelves and 6' for the workbench. Added a pegboard and fluorescent light under the top middle shelves. I'm also designing a slim drawer to go under the workbencheck area. Thanks a bunch!
Built from Plan(s)
Estimated Cost
~$150 including pegboard.
Estimated Time Investment
Afternoon Project (3-6 Hours)
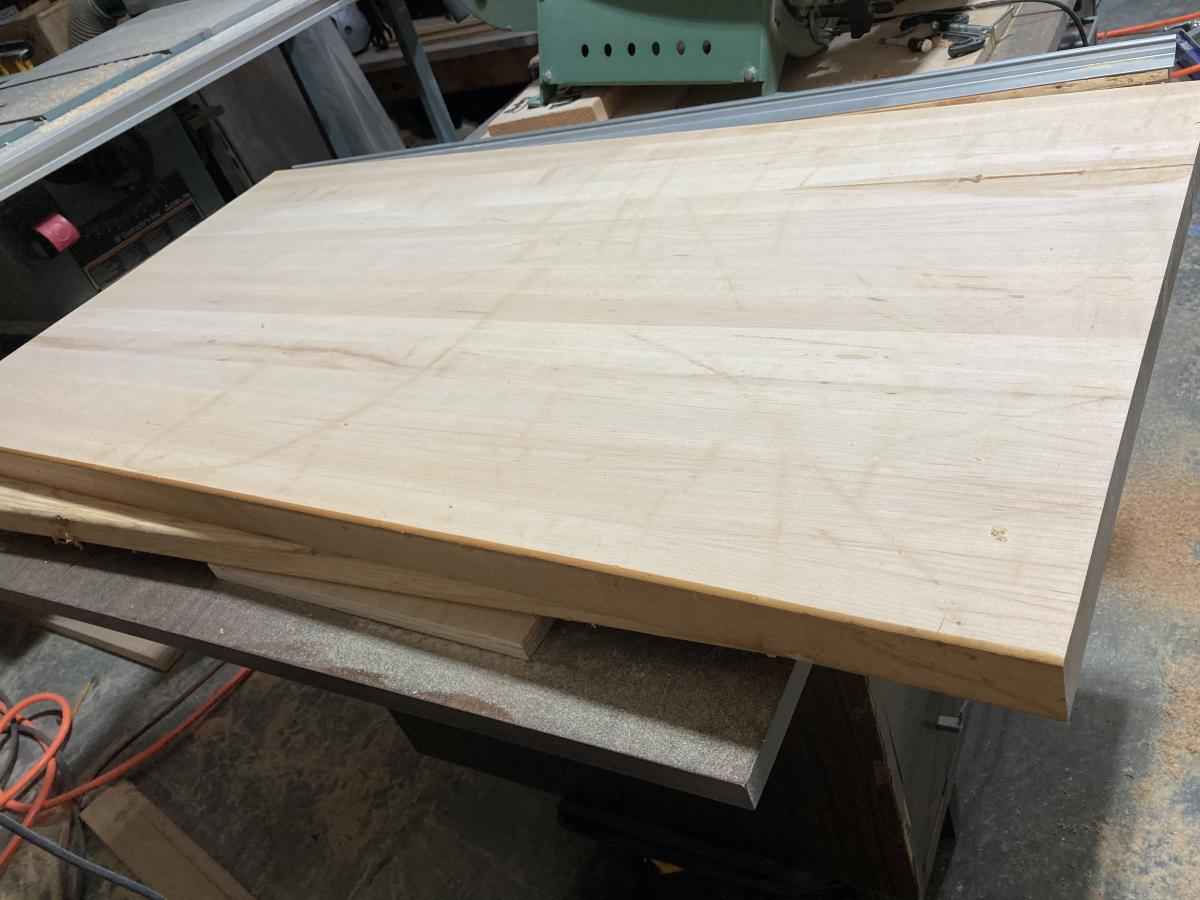
Finish Used
Will stain dark in the future
Recommended Skill Level
Starter Project


Comments
Ana White
Sat, 09/07/2019 - 15:11
Awesome garage storage!
Awesome garage storage!