Community Brag Posts

Vinyl Record Storage Cabinet

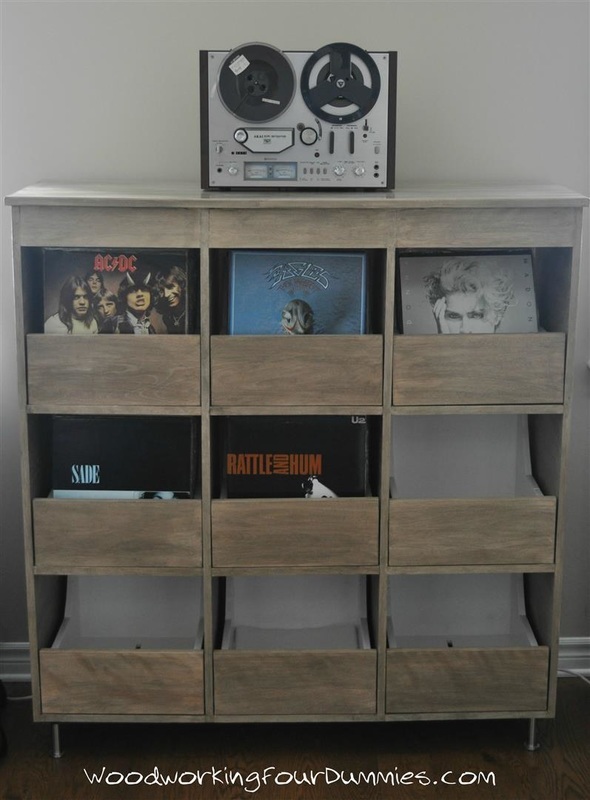
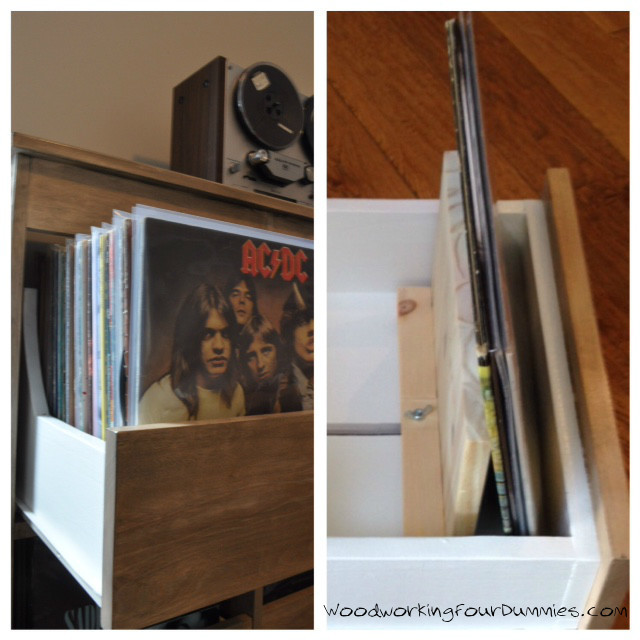
My record obsession was growing rapidly so I needed a solution to store my collection and I wanted some room for growth. I wanted a setup where you could flip through the records like at the record shops. It's often difficult to read the artists and album names when you can only see the spines of the album covers. I decided to make a cabinet with 9 drawers which holds approximately 540 records (60 records per drawer). More details and photos on my blog: http://www.woodworkingfourdummies.com/blog/vinyl-record-storage Cheers, Ian

Estimated Cost
Aprox $400 Canadian
Estimated Time Investment
Week Long Project (20 Hours or More)
Finish Used
Cabot Grey Stain, Polyurethane
Recommended Skill Level
Intermediate

Upper Cabinet Awesomeness

Submitted by romanweel on Fri, 04/04/2014 - 15:01

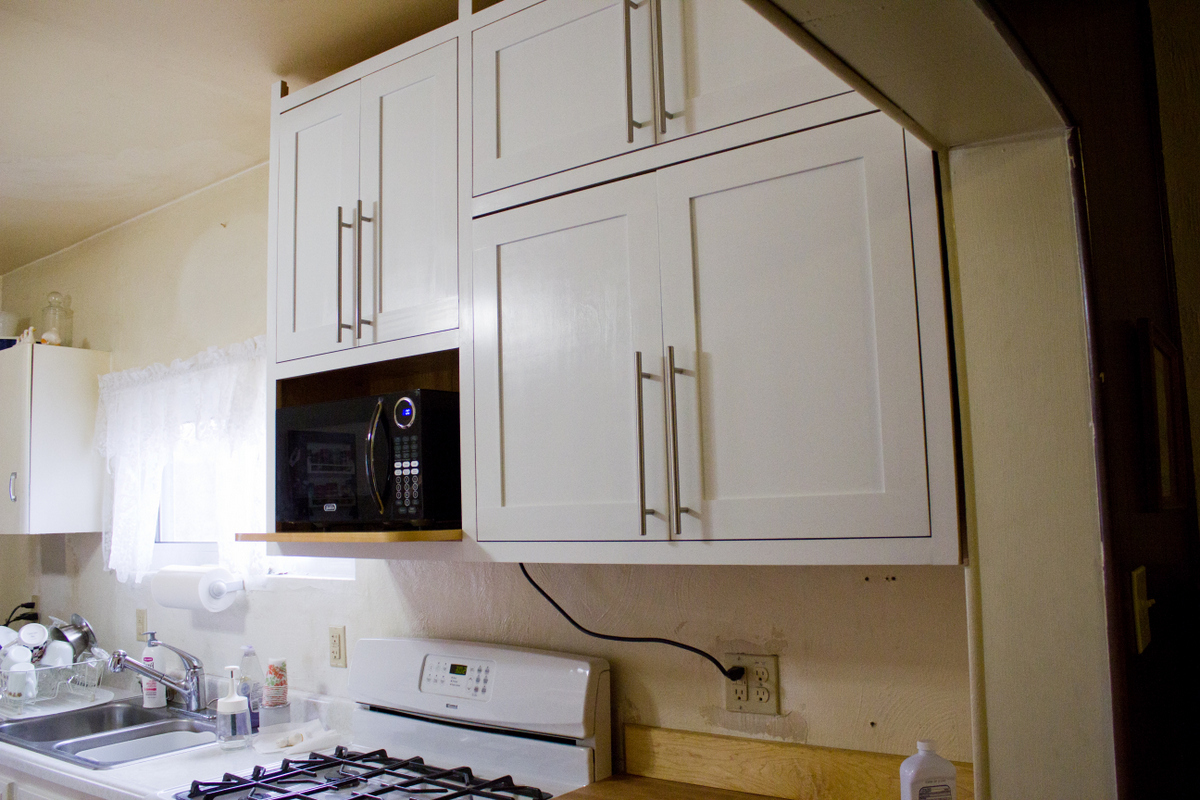
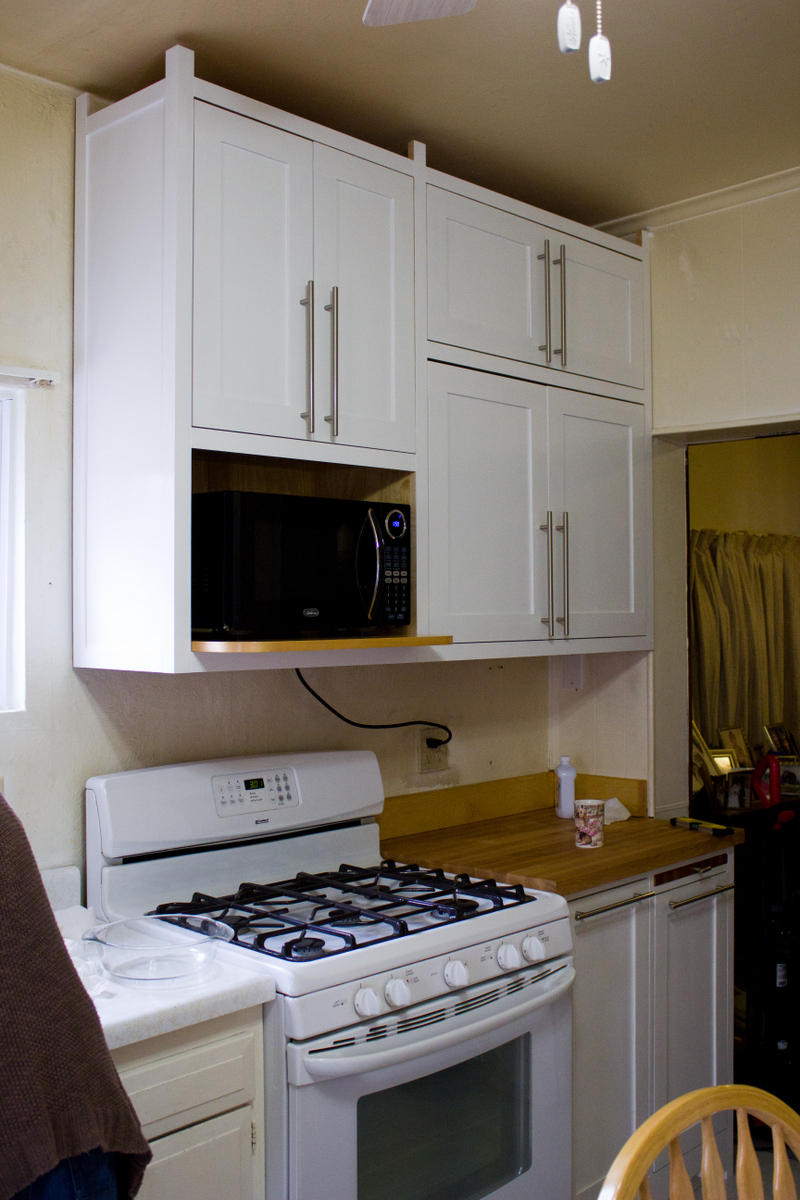
This is the sequel to my first kitchen cabinet build, the awesome base unit to the right of the stove. It's another custom design to fit the space (and replace some horribly inefficient metal cabinets that, while cute, really looked like they belonged in a different kitchen). And my first time working with maple and edge banding! Thank you, thank you, no applause please. I'm calling this project "intermediate" skill only because I chose to router the doors and install cup hinges. Otherwise, they're just big boxes on the wall, for real.

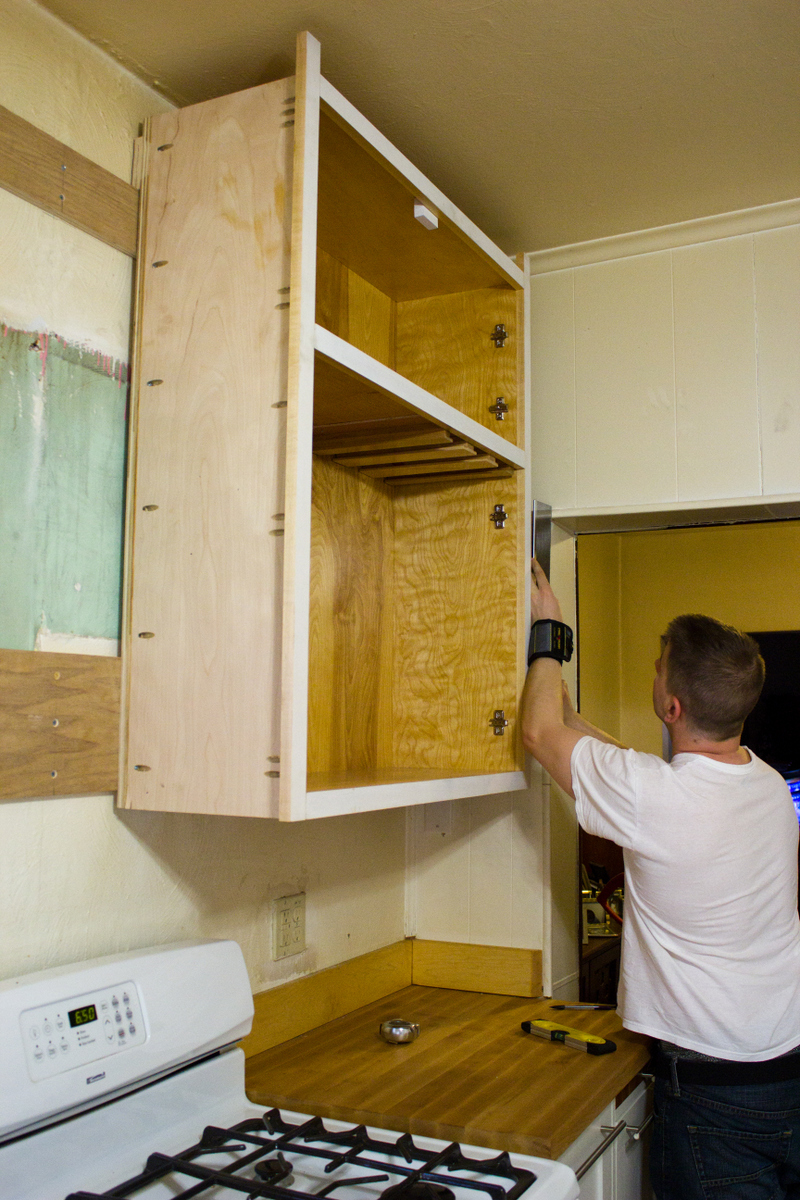
The carcasses, shelves, and door panels are all Purebond plywood. The face and door frames are 1x2 and 1x3 maple. The french cleat used to hang the two pieces is also plywood (more on my blog about that). Unfortunately, I don't know enough about wiring to add/move that outlet so that the microwave cord could be hidden...but at least the microwave itself is off the counter! It doesn't have to be perfect to be beautiful.

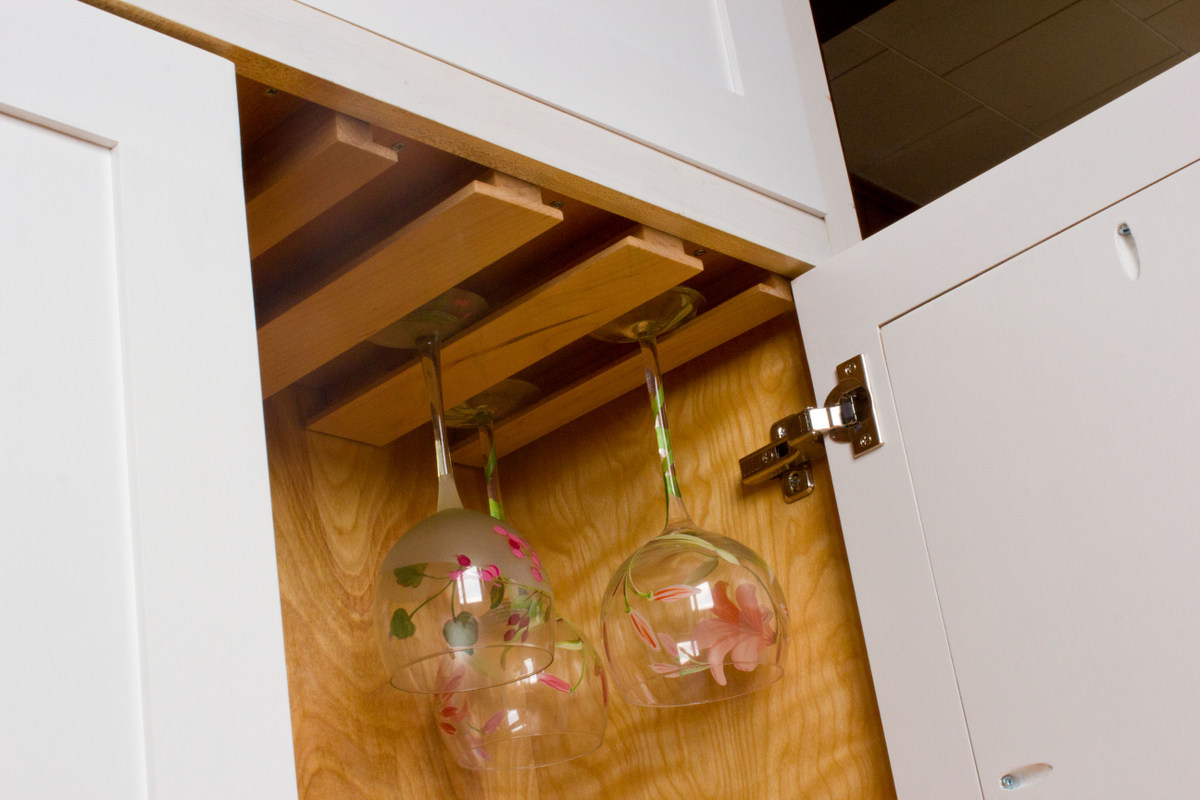
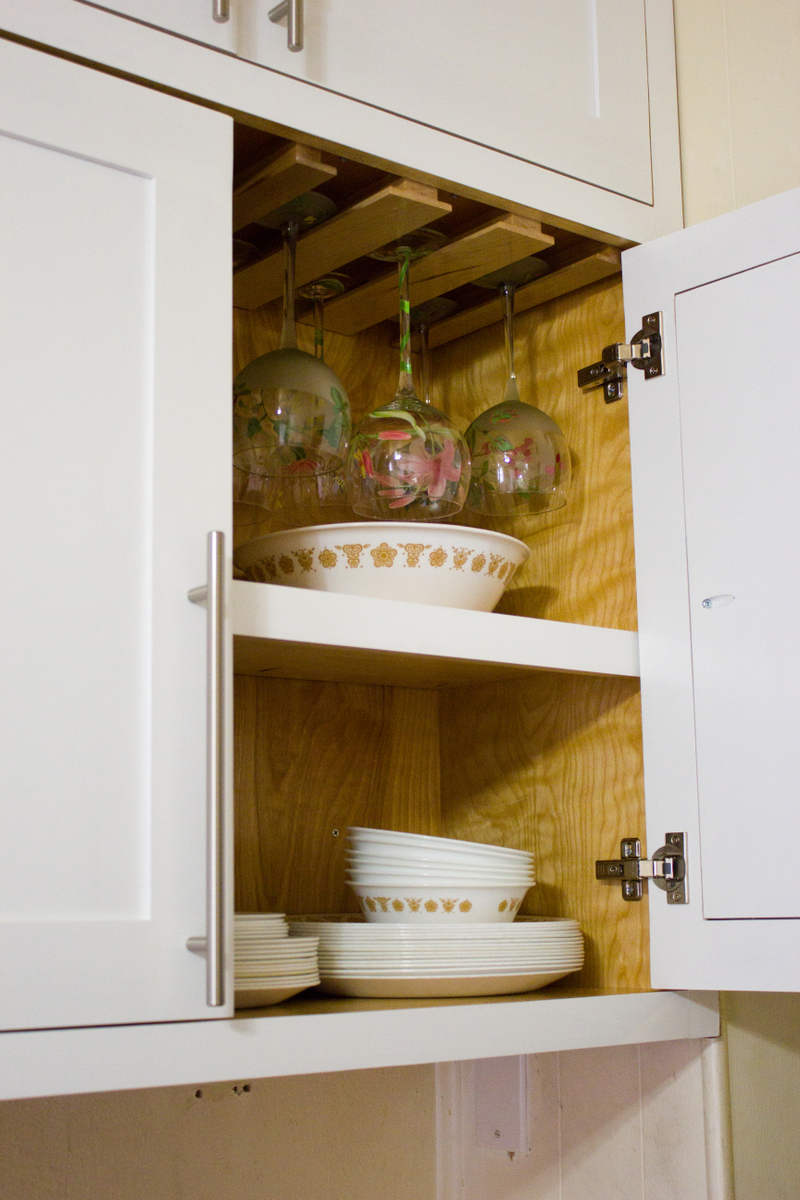
The wineglass storage is a sort-of take-off on a few other plans on here and some pieces I saw down in Amish country. It's a little rough-looking outside of the cabinet into which it is installed because I didn't design that element very elegantly. Plus I kept changing things on myself mid-stream.

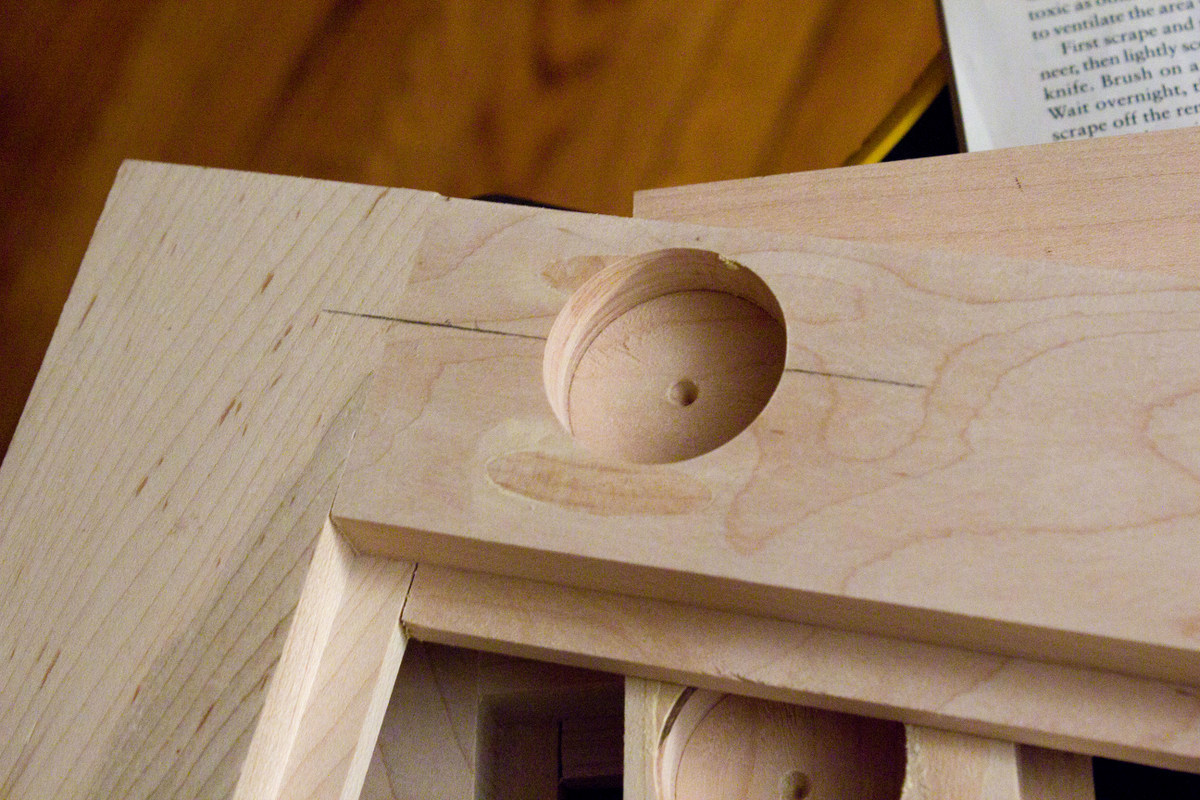
The concealed cup hinges...were totally intimidating. And at first I bought into all the hype about "you HAVE to use a drill press or you'll RUIN your doors", but in the end I just eyeballed it with a plain old forstner bit, and all 6 doors turned out fine! Plus, I got to use Blumotion hinges...you physically cannot slam these doors!!

I'm super proud of this project, and my mother-in-law (in whose kitchen they reside) is thrilled. Btw, the crown moulding is not yet installed, which is why the trim pieces up top look so funny.
Estimated Time Investment
Week Long Project (20 Hours or More)
Finish Used
Sherwin Williams ProClassic Interior Acrylic Latex Enamel, plain old white
Polyurethane on the shelves (which in retrospect should have used polycrylic...they turned out a little yellow, which is unfortunate)
Recommended Skill Level
Intermediate

Comments

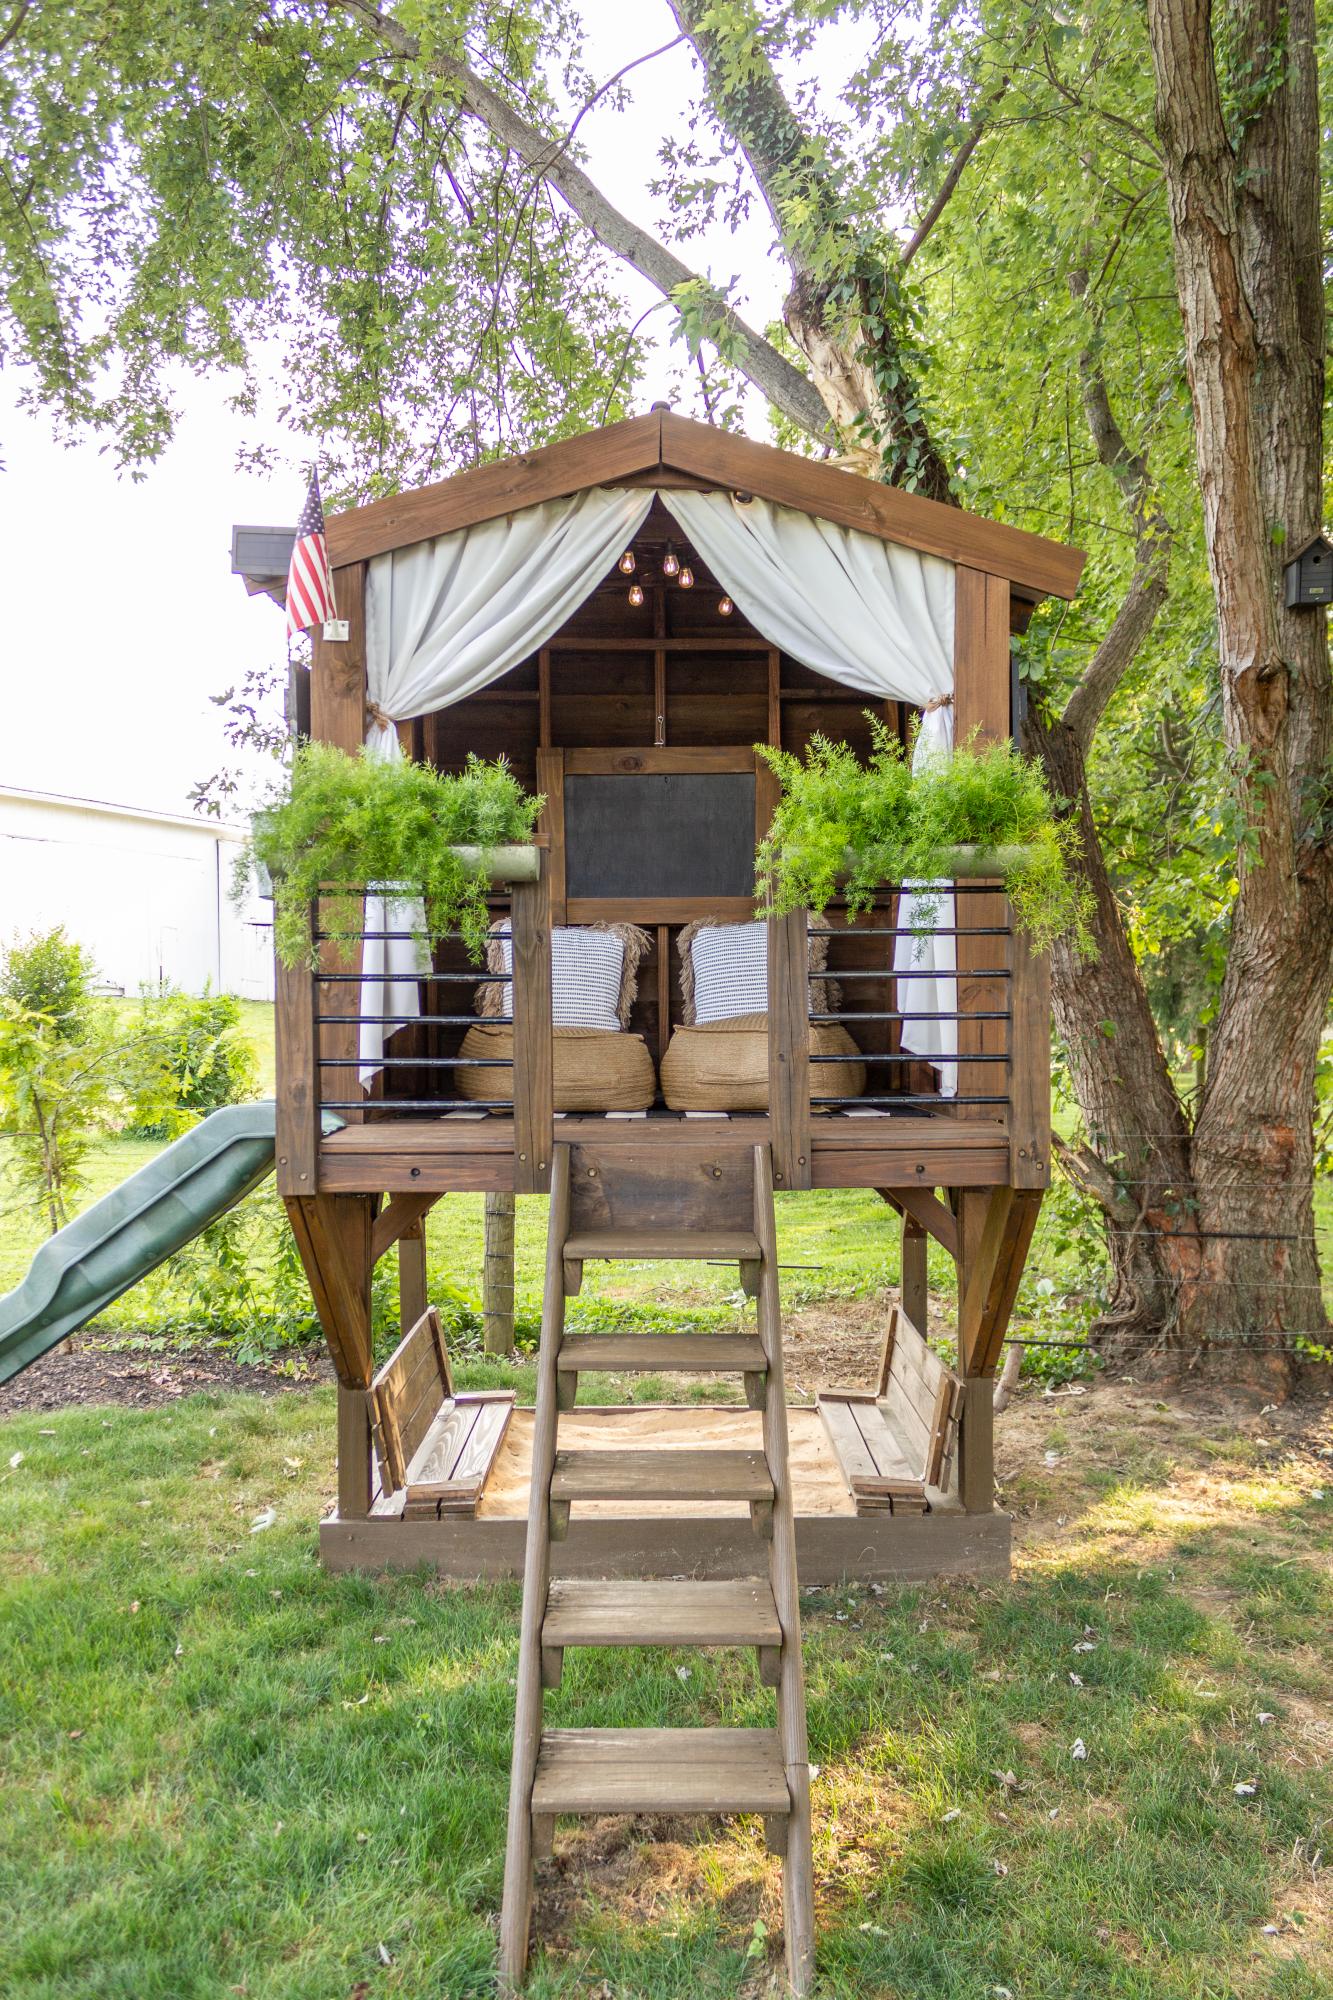
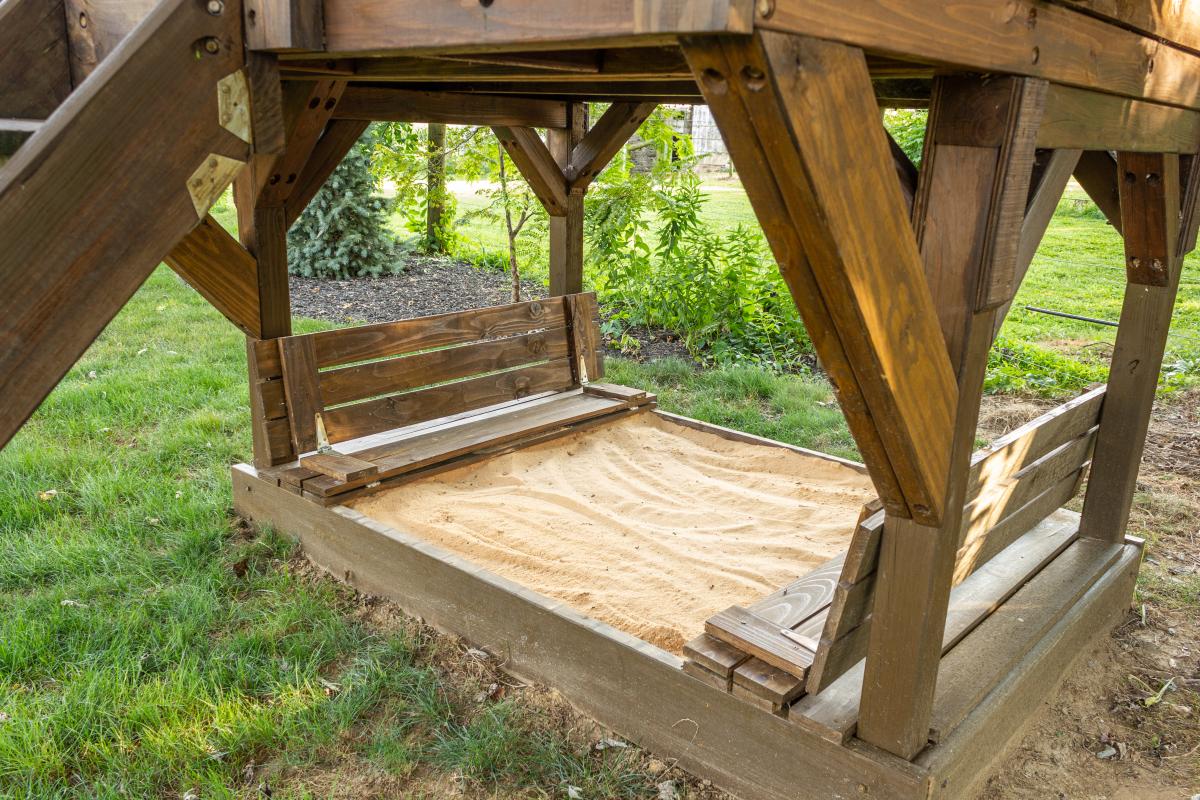
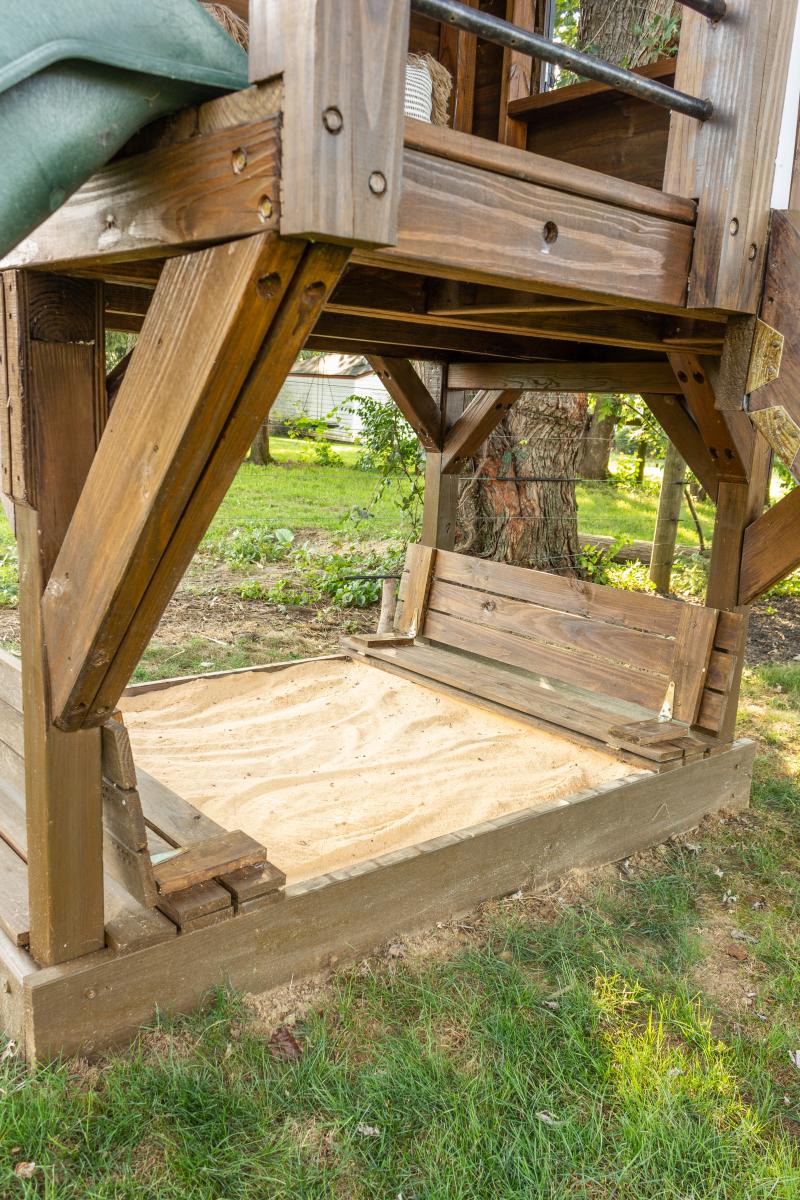
Sandbox with built-in seats in our playhouse

Submitted by Anonymous (not verified) on Thu, 09/10/2020 - 10:55

The base of our playhouse felt like the perfect spot to use the sandbox plan with built-in seats. The bench seats actually fold flat to create a lid for the sandbox when it’s not in use. I followed Ana’s plans exactly and used the list of materials she provided. The only modification I made was eliminating the back supports. It was not necessary for me to add the back supports since we have the playhouse posts to support the back of the bench.

Built from Plan(s)
Estimated Cost
$60
Estimated Time Investment
Afternoon Project (3-6 Hours)
Finish Used
Stain
Recommended Skill Level
Beginner
Seasonal And Holiday

Brook Laundry Basket Dresser

Submitted by krochelle on Thu, 01/01/2015 - 15:42

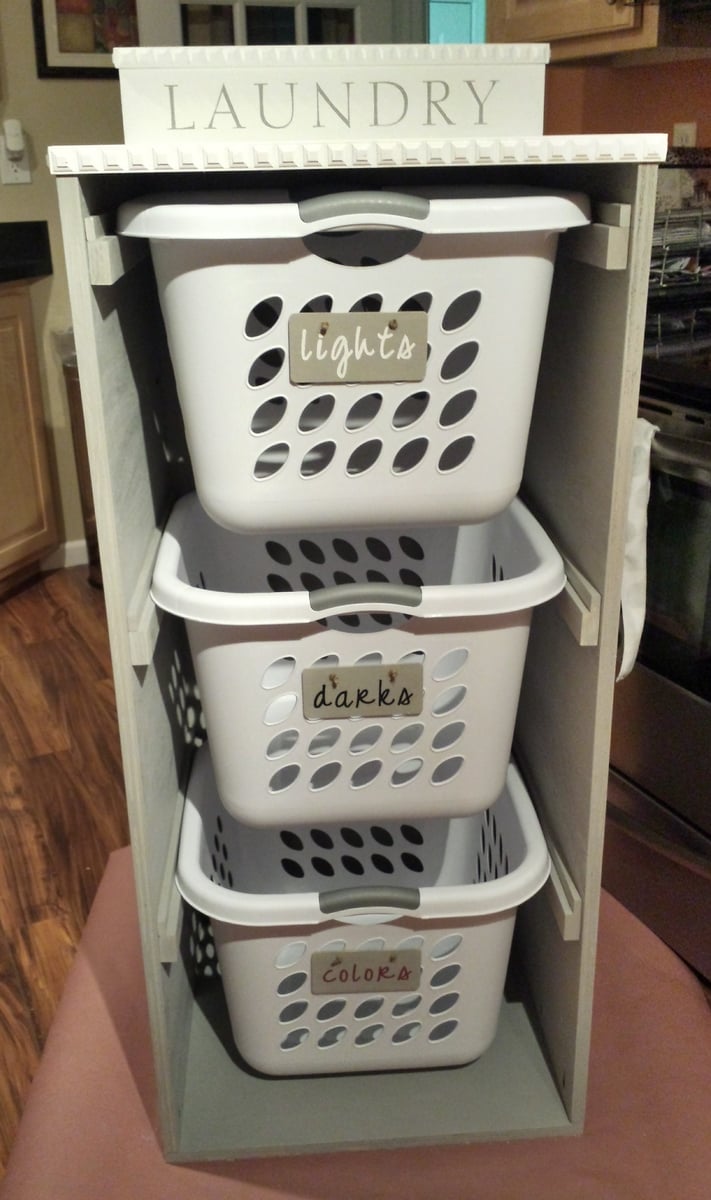
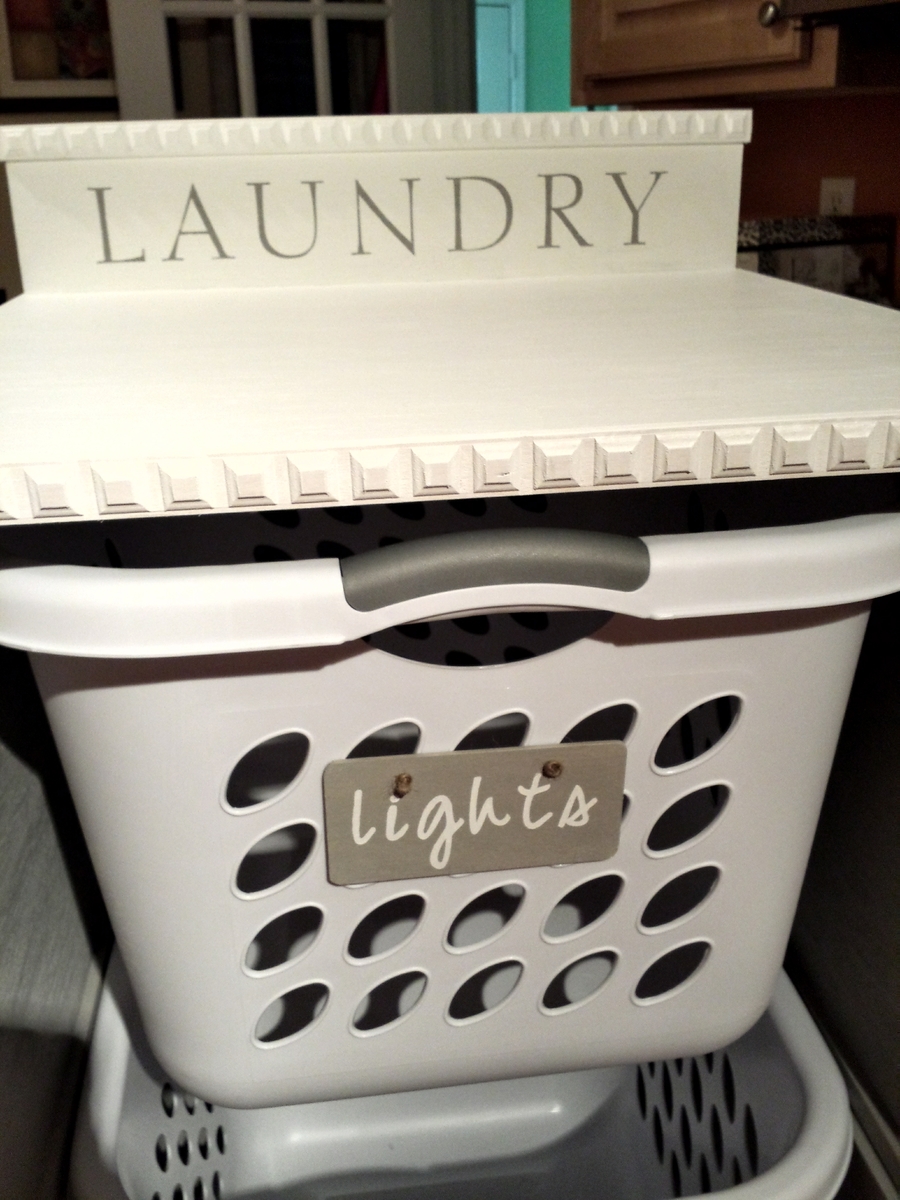
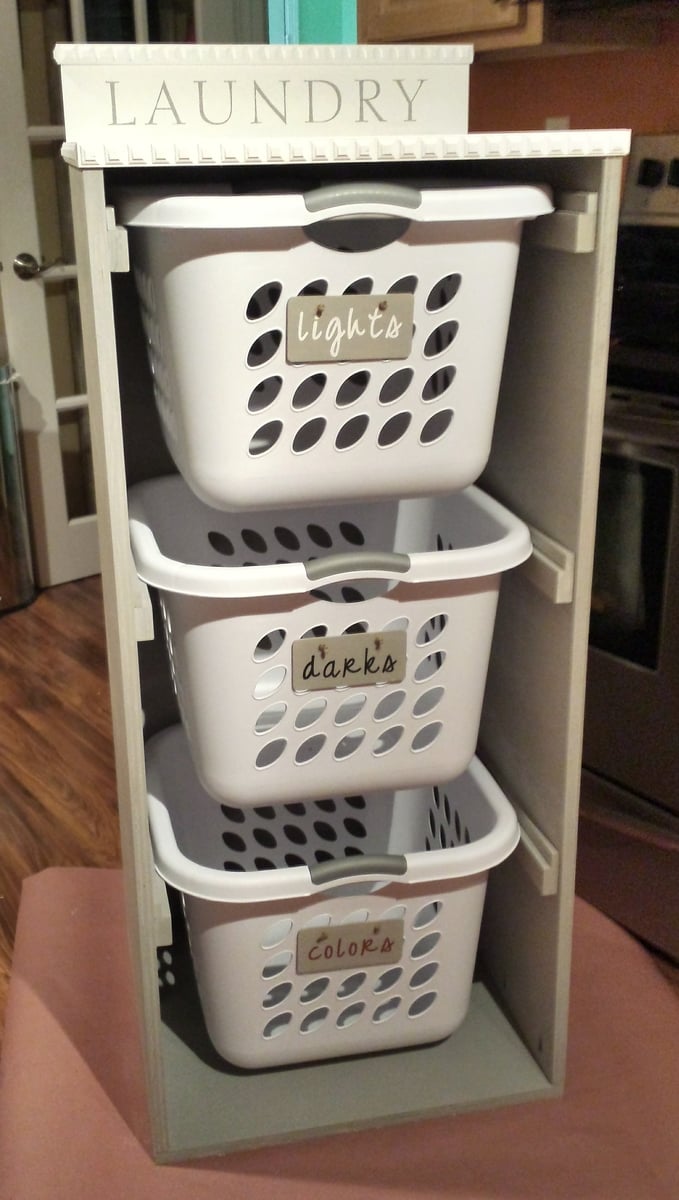
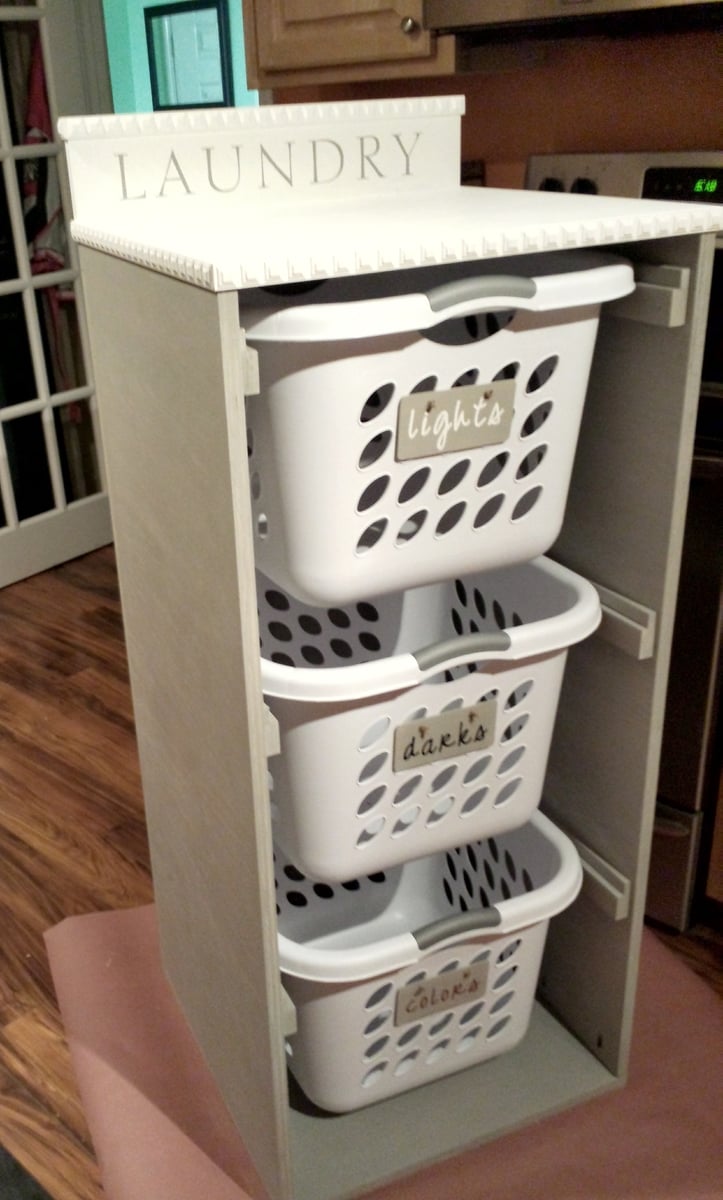
Used square laundry baskets instead of regular rectangular baskets. The square ones aren't as deep but are a bit taller so I had to modify the plans. I added a backsplash and some wooden tags to the baskets to designate them for certain colors. I also added some decorative trim and finished the bottom in a gray stain and used white chalk paint for the top.

Estimated Cost
$70
Estimated Time Investment
Day Project (6-9 Hours)
Finish Used
Weathered gray stain
White chalk paint
Recommended Skill Level
Beginner

2x4 Outdoor Chairs and Side Table

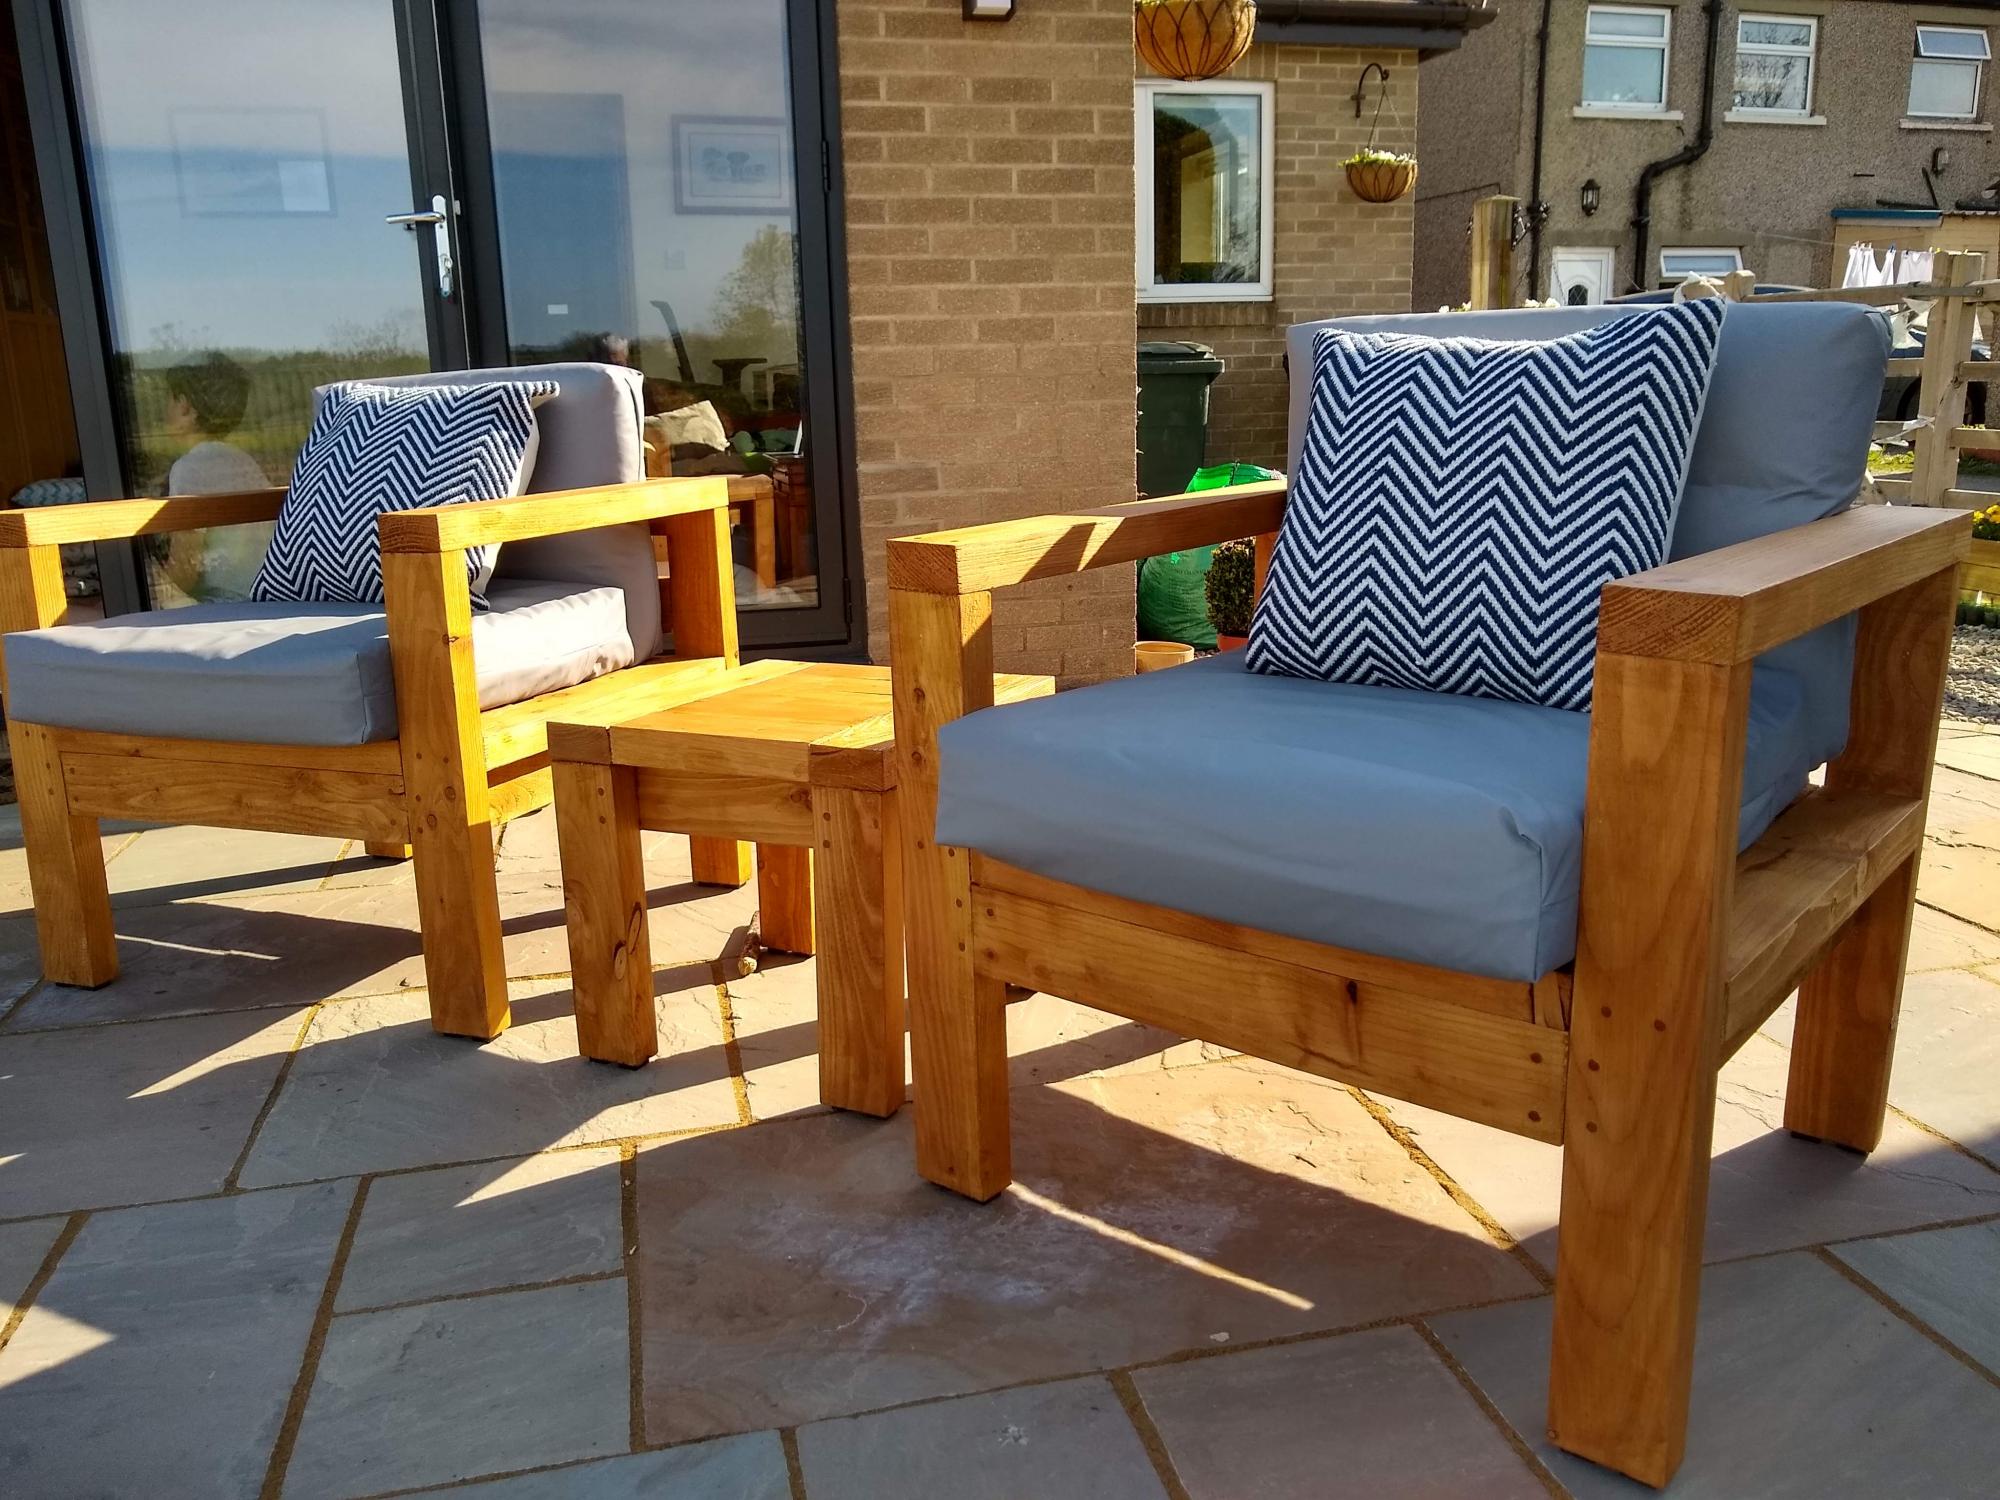
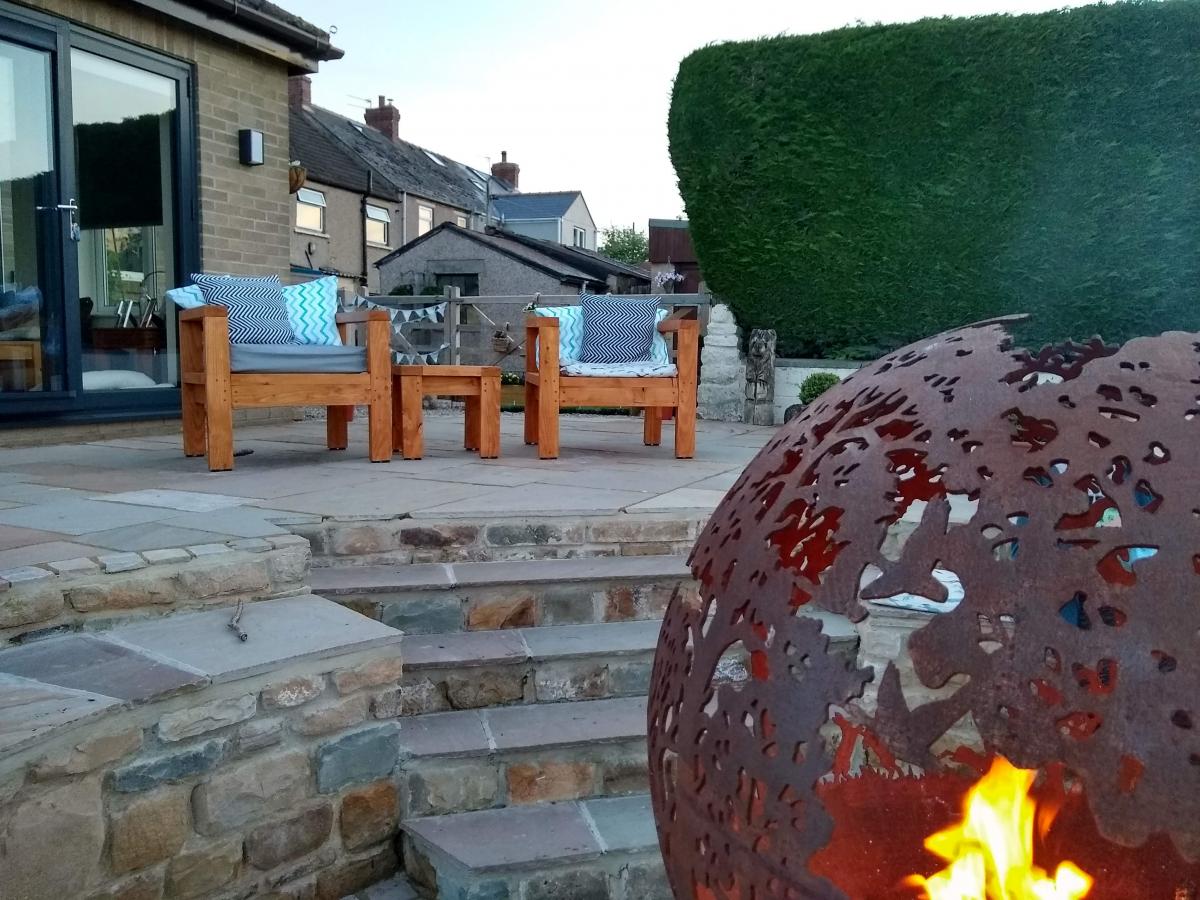
I built the 2 chairs and side table using Ana's plans. Wood in the UK is perhaps not as cheap and ubiquitous, so I managed to get hold of some rough siberian larch to build them. After what seemed like a lot of sanding I started cutting. I've used stainless steel screws and have used a plug cutter on a mahogany board I had to plug the screw holes. I really liked the contrast and neatness that this has given the project. I also used some rubber feet to raise it off the ground and try and reduce any water damage. The side table is reduced in size from the 2 foot version in the plans, this was easy enough once I'd worked out the impact on all of the other measurements. My wife has commented that I should have used less wood in my next project as they are very heavy, they certainly aren't going anywhere! My wife did produce the lovely grey cushions that you see in the pictures.

Estimated Cost
120
Estimated Time Investment
Weekend Project (10-20 Hours)
Finish Used
Used a wood preserver followed by a coat of stain to obtain the light finish seen
Recommended Skill Level
Intermediate

Comments

2x4 DIY Pantry

Submitted by Michael K on Thu, 08/15/2019 - 11:50

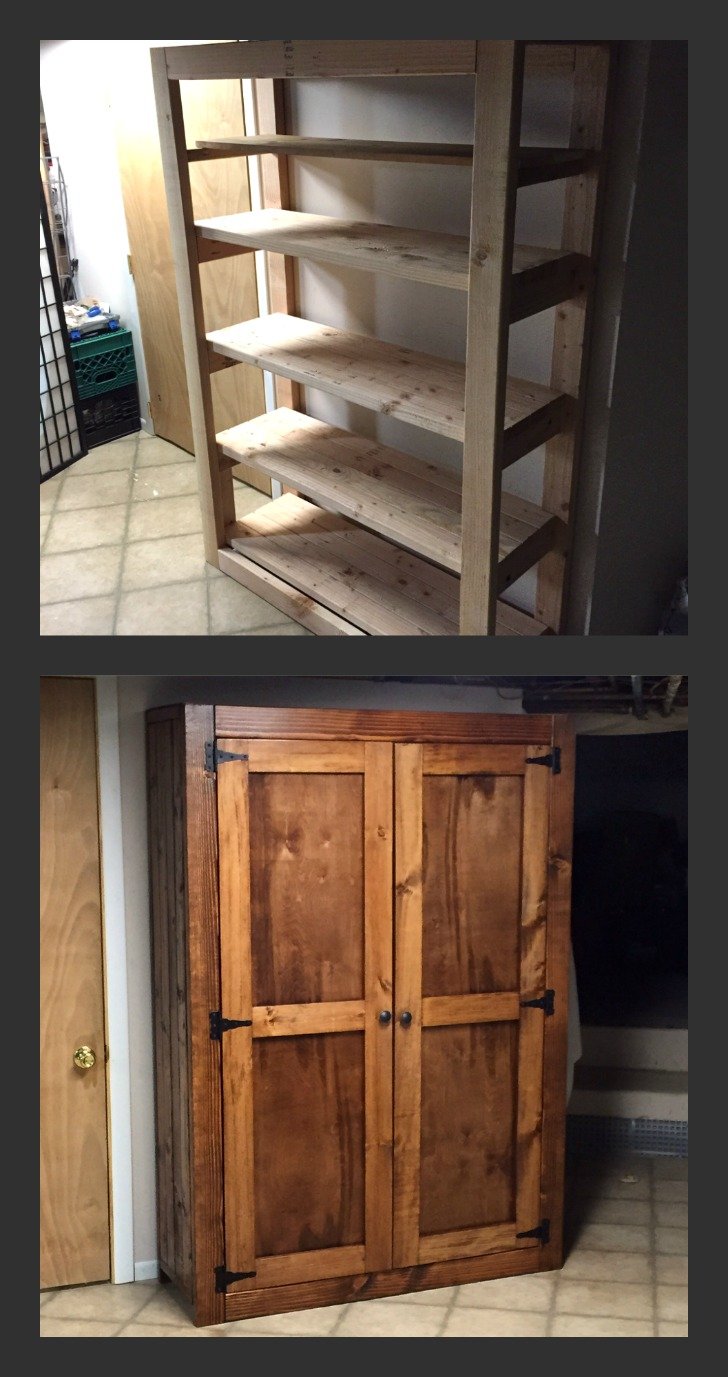
Anything is possible when you put your mind to it. This is my 4th DIY furniture project. First time working on cabinet/doors. Installing them straight was the biggest challenge. The side of the pantry is actually four 2x4's. I measured the frame so tightly that I had to use a hammer to bang in the fourth 2x4 on each wall, also adding a distressed look in the process. The pantry is very large, 48in wide and about 17 inches deep. Our kitchen lacks storage space and we could use a little more space for food and also pots, pans etc. The staircase to our basement is off our kitchen, so I placed the pantry right at the bottom of the staircase for easy access. I am thrilled with how this came out considering the time and effort it took. Very gratifying. Build on!

diy pantry made from 2x4s

Estimated Cost
$180-$200
Estimated Time Investment
Week Long Project (20 Hours or More)
Finish Used
Miniwax English Chestnut
Miniwax Semi Gloss Poly
Recommended Skill Level
Intermediate

Comments

Michael K

Thu, 03/05/2015 - 07:51

Thanks, to the both of you! Possibly the most fun part of this project was buying a Ryobi Airstrike Brad Nailer. That thing is fun to use! Used it for the back of the doors, back of the pantry and also for the door stops.

denverdave66

Sat, 07/23/2016 - 18:21

I am thinking about building one but I am not sure if my skill level is up to this yet. I am going to attempt to build the Kentwood Bookshelf and see how that goes. I am remodeling my office and want real wood shelves instead of that pressed wood junk. Great job on your build.  I love this website!

langgin26

Sat, 01/13/2018 - 18:09

Hey Michael I really love the pantry and would love to make this exact one but there is not enough info on the sizes and what all you used for all the wood. If you have  time I would greatly appreciate it if you could give us some more info thank you 

Steve Phil

Fri, 12/25/2020 - 10:42

Haha. Nice. But ya did not pound it in ... You persuaded it in as old timber framers would say using an old mallet called a Commander. 😉

Becca Trunk

Submitted by DMax2010 on Sat, 04/25/2015 - 17:44

Love this trunk! It was my first attempt at moulding and I probably should have practiced on scrap wood first (recommend)! But it turned out great and one of my favorite pieces (because it's filled with toys).

Built from Plan(s)
Estimated Cost
Not sure, I purchased the purebond plywood and the moulding but pretty much had the rest already
Estimated Time Investment
Day Project (6-9 Hours)
Finish Used
Body of trunk:
Minwax Express Color in Walnut (base)
Behr Premium Plus Flat in Juniper Ash
Rustoleum Soft Touch Matte Poly

Top:
Minwax Express Color in Walnut
Rustoleum Soft Touch Matte Poly
Recommended Skill Level
Intermediate

Kid's Playhouse and Slide

Submitted by docfin02 on Mon, 03/28/2011 - 18:56

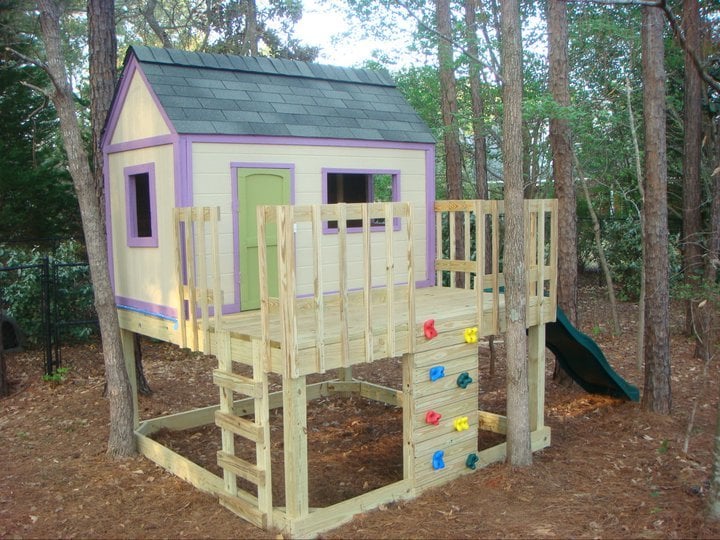
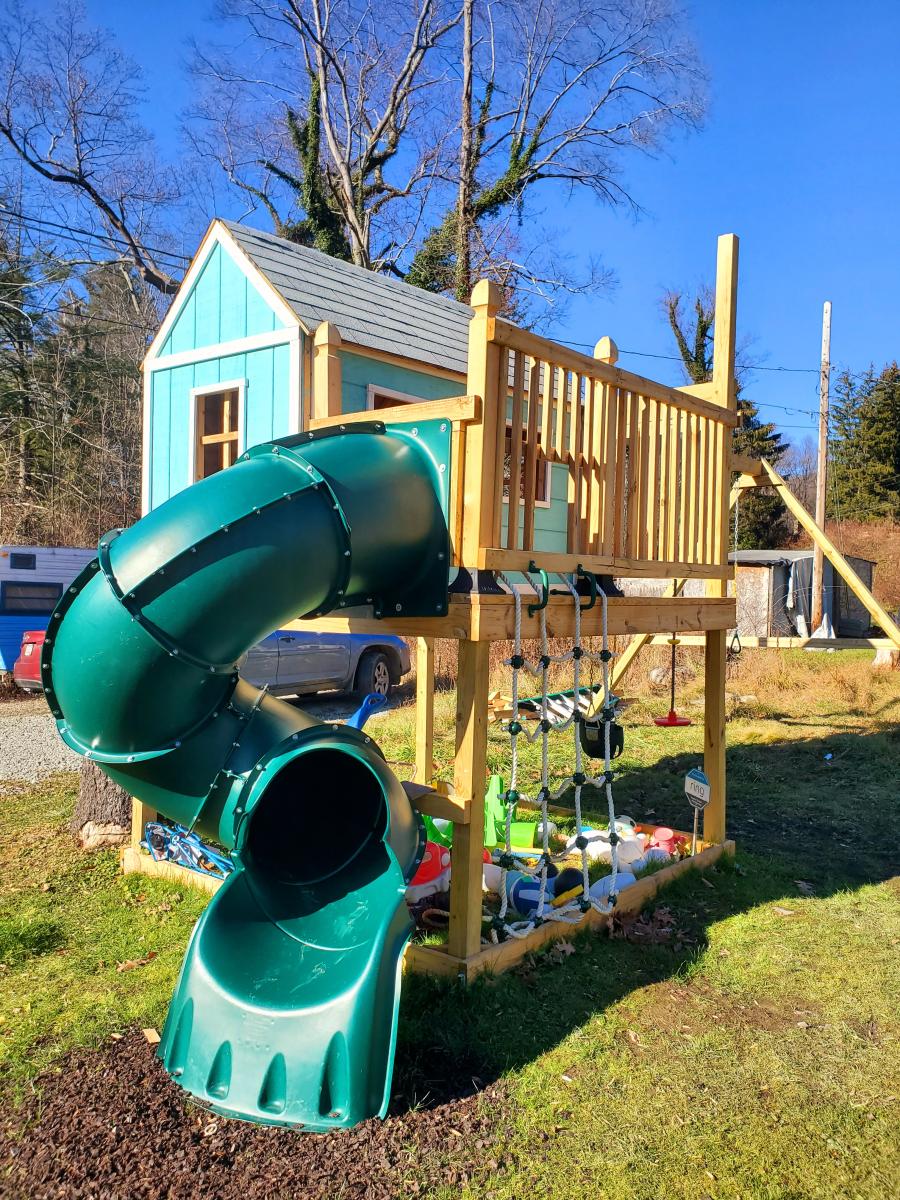
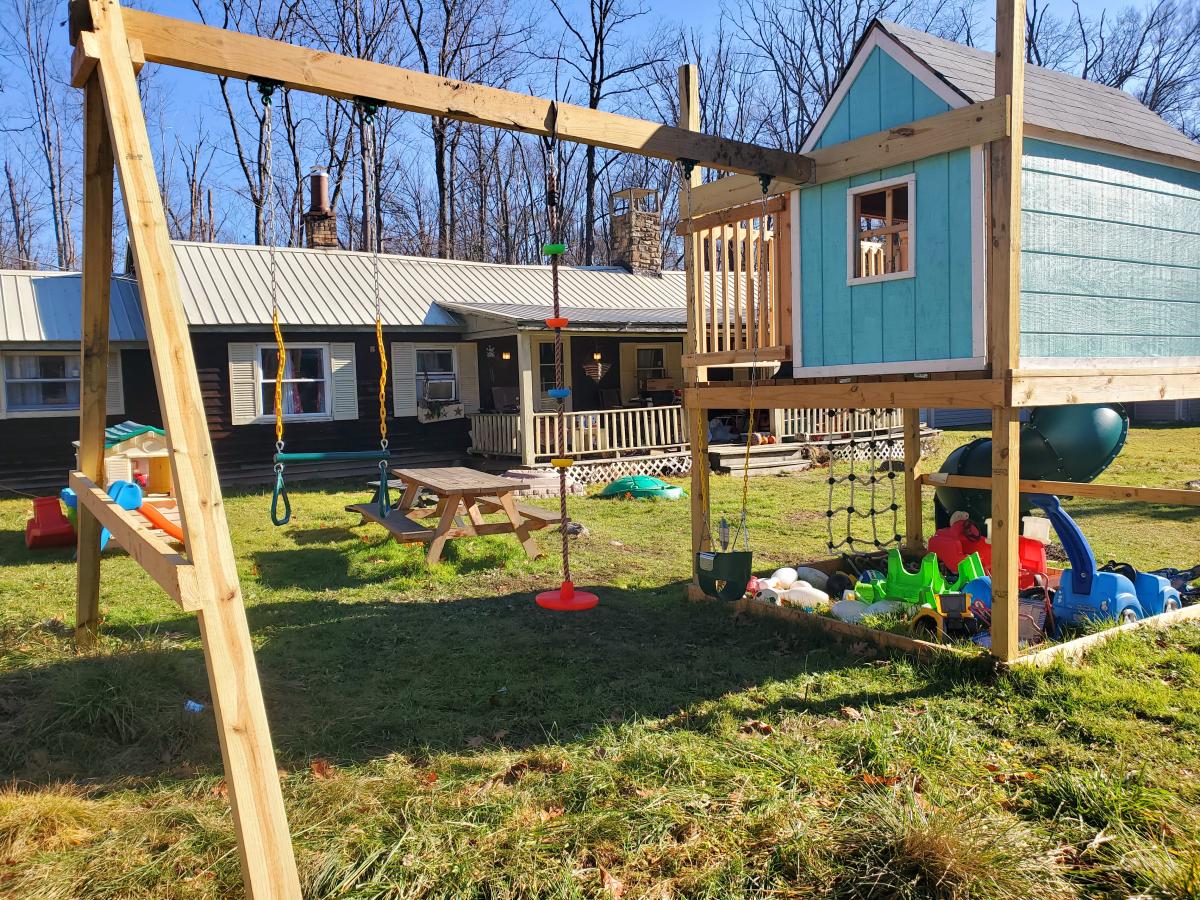
I LOVE these plans. This was my first project, and although it was a big one to start with, the plans were easy to follow. If I can do it, anyone can. I added the rock wall. My kids and I love it. Total cost for me (including all lumber, nails, paint, slide, etc.) is about $850.

Estimated Cost
$850
Estimated Time Investment
Week Long Project (20 Hours or More)
Finish Used
1 coat primer, 2 coats paint
Recommended Skill Level
Intermediate
Seasonal And Holiday

2x4 Rustic Outdoor Bench

Submitted by Anonymous (not verified) on Thu, 11/09/2017 - 09:46

Submitted by Carla Santiago on Facebook - 


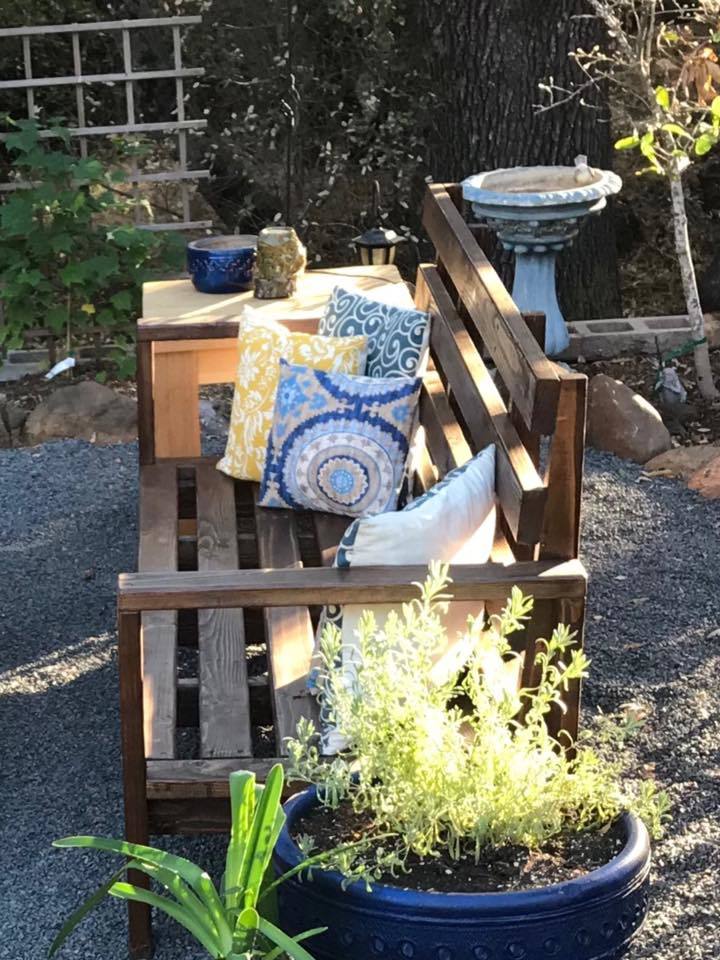
We did a bench, I got your plans off Pinterest. We just put a slight slant to the back and we love it. Thanks for the great plans.

Built from Plan(s)
Recommended Skill Level
Beginner

Wooden Egg holder

Submitted by Lukilla on Fri, 09/30/2022 - 15:31

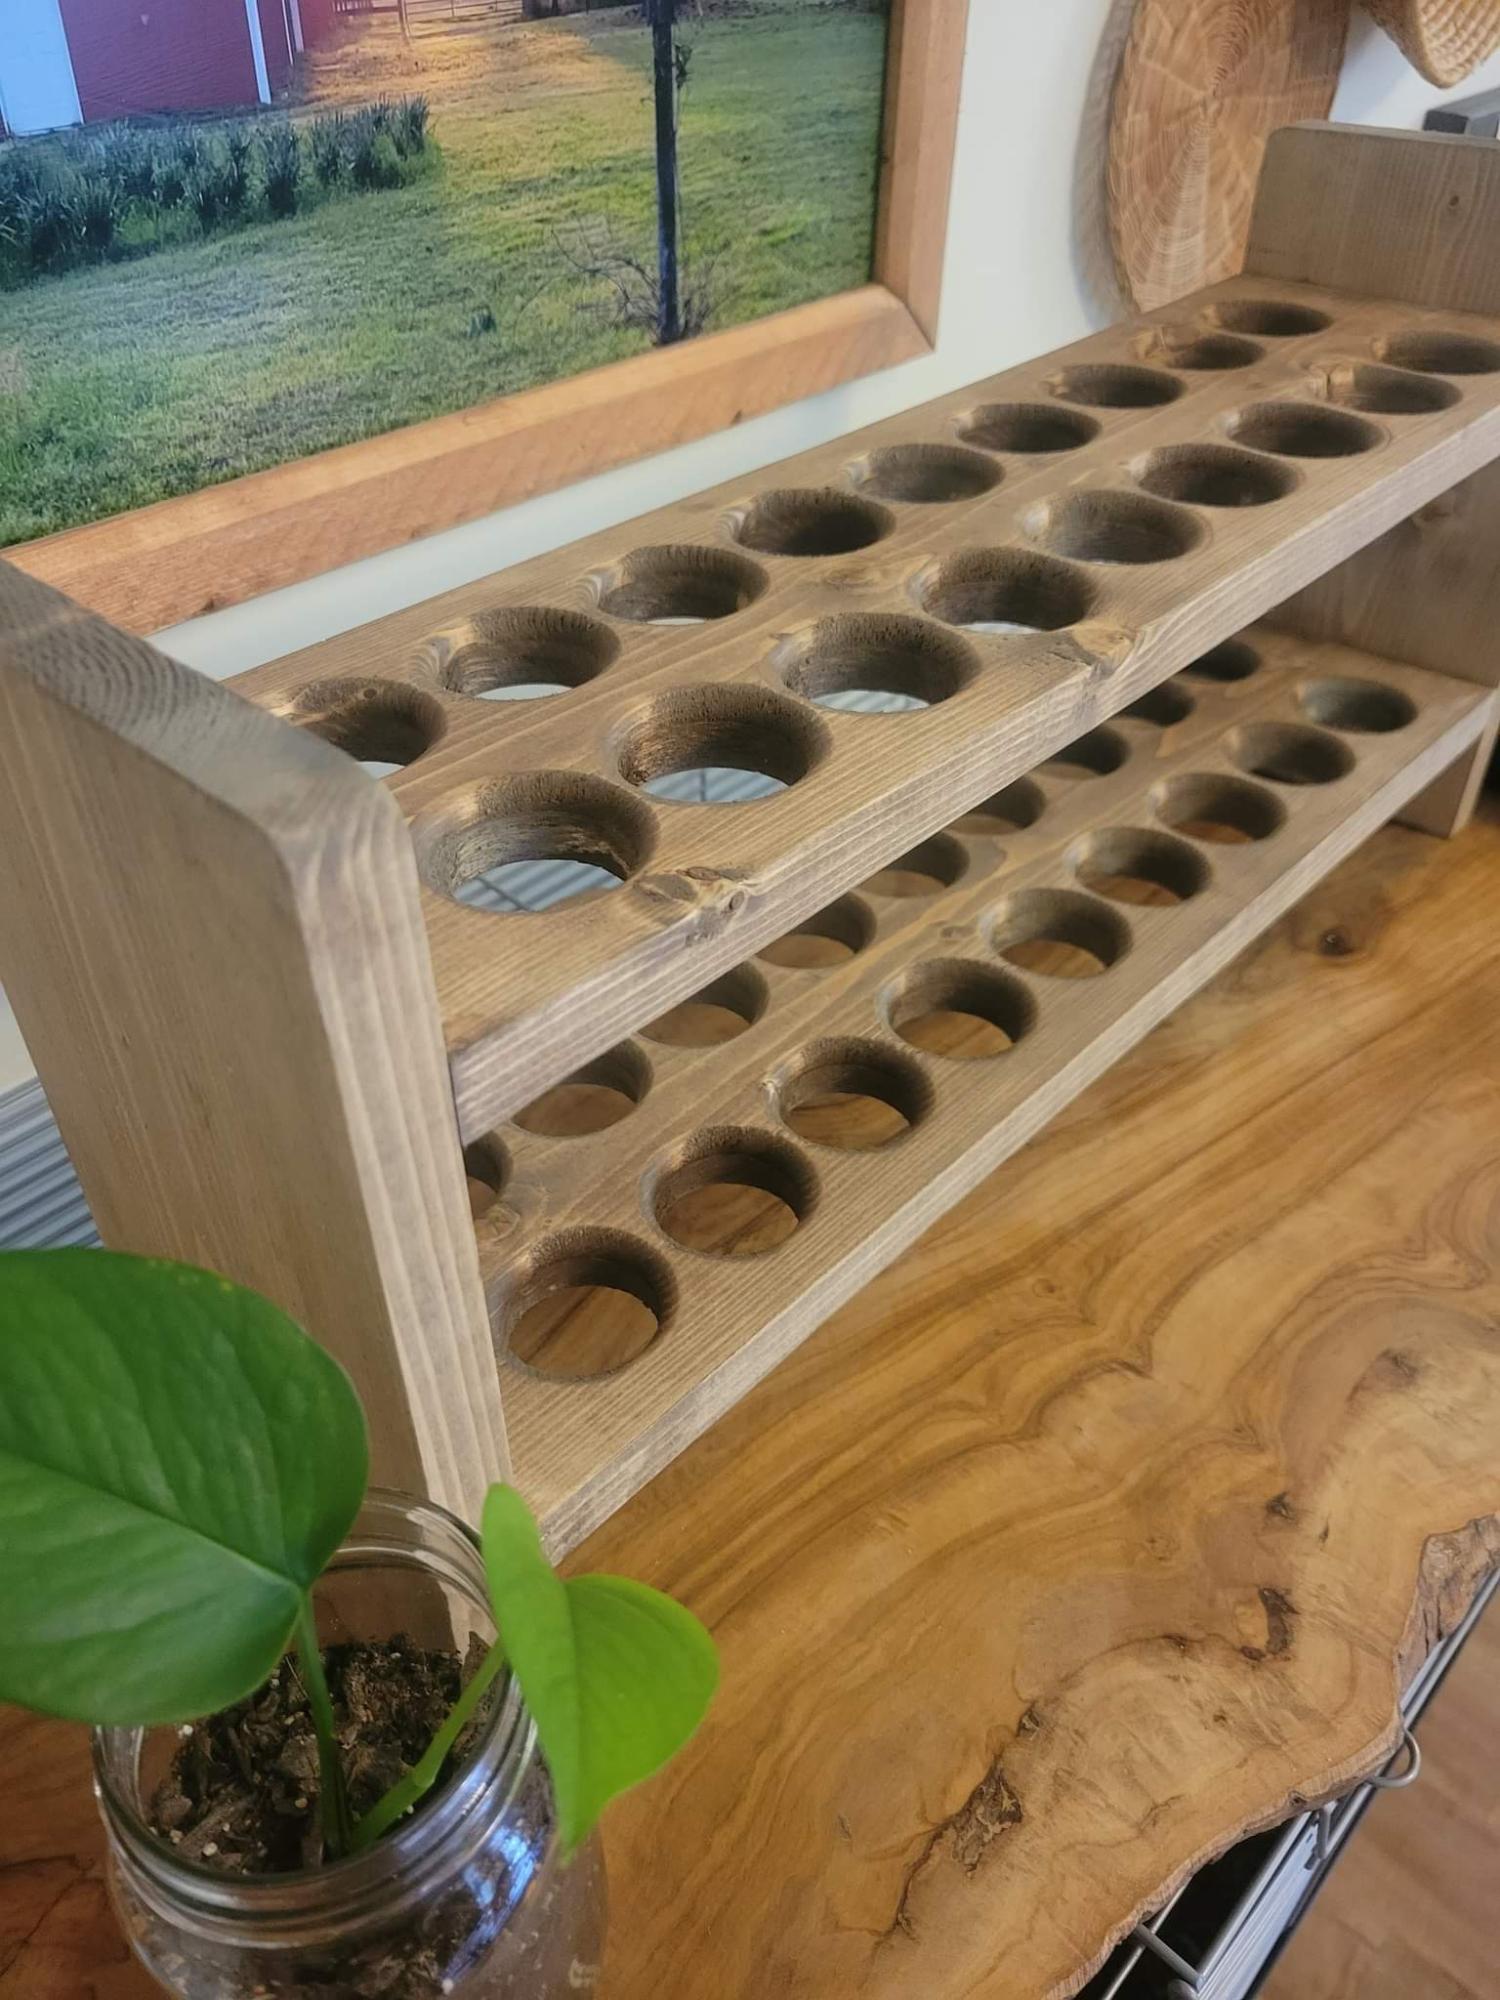
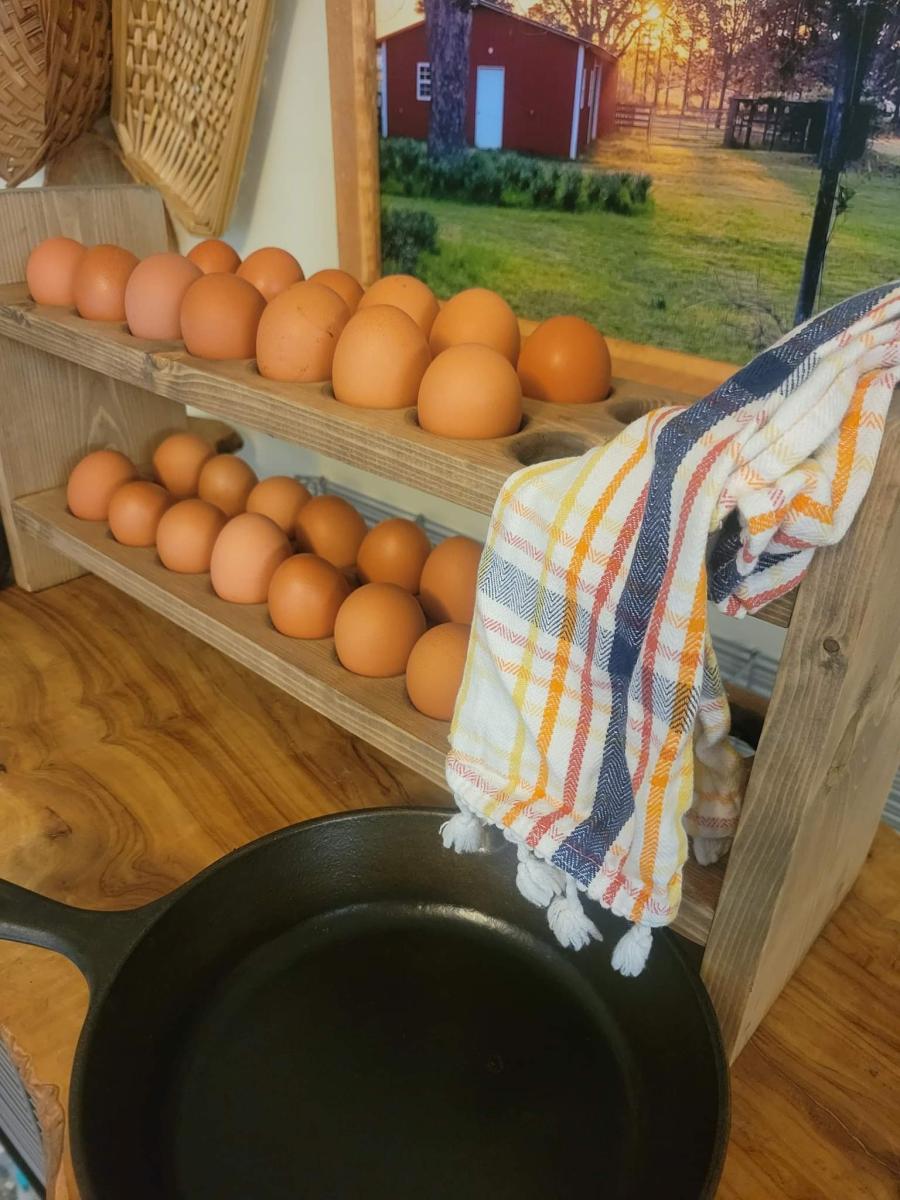
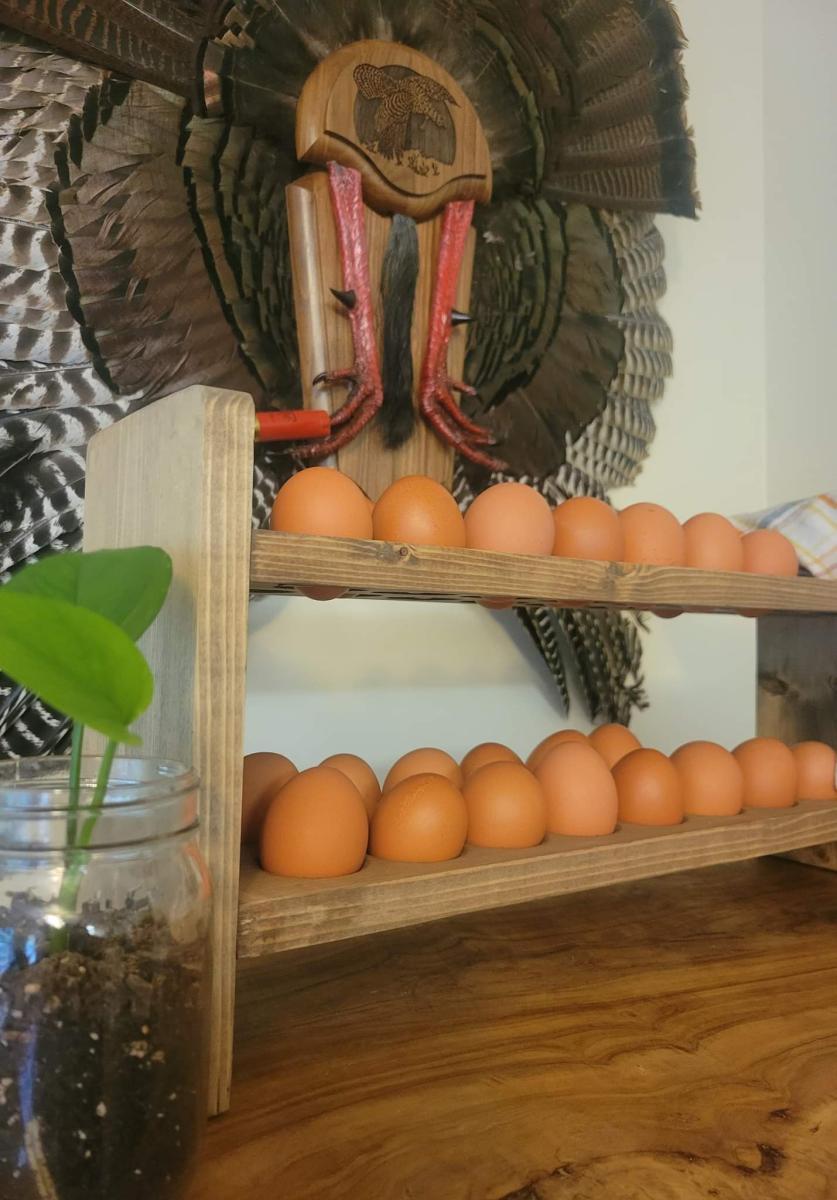
We've got a friend that basically supplies us with unlimited farm fresh eggs. The instant my wife saw this on ana-white she started asking me for one. Rounded over the holes with the router and rounded the corners of the sides. Took us about an hour total.

Combo of varathane special walnut and weathered oak stain on the finish.

Built from Plan(s)

Comments

Diy Upholstered Settee

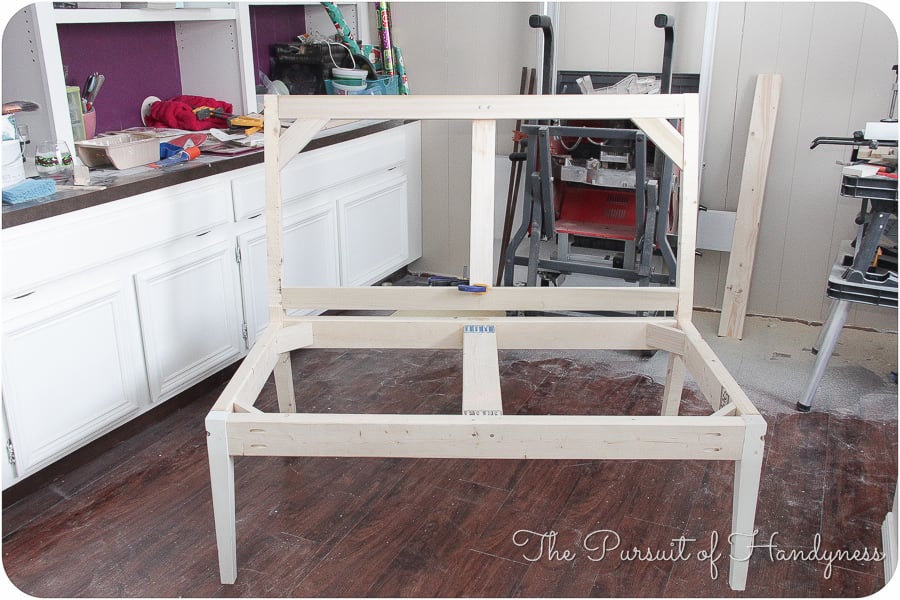
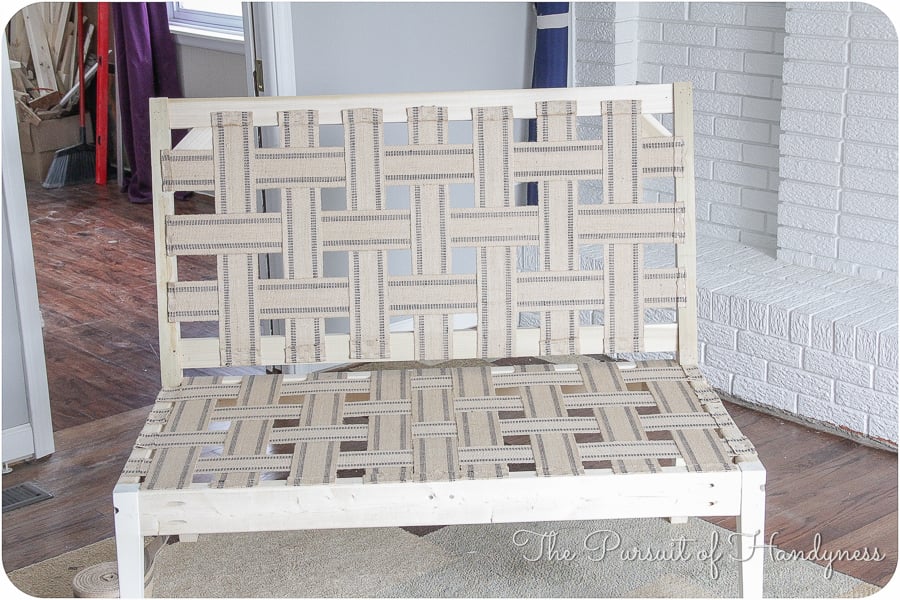
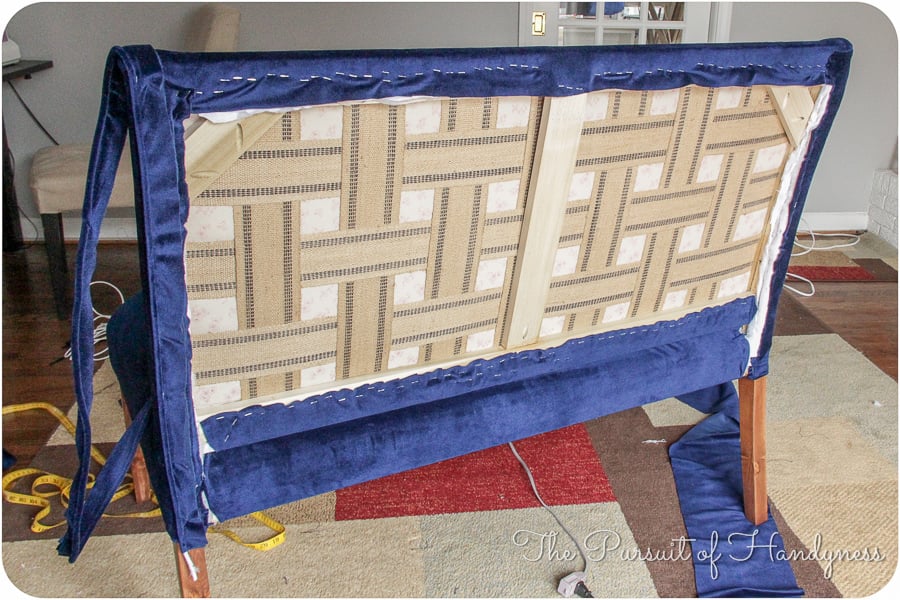
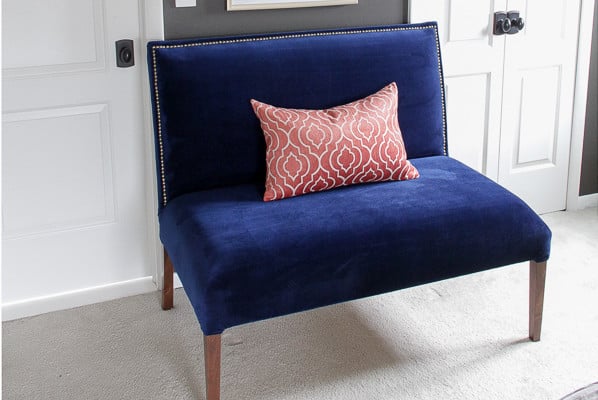
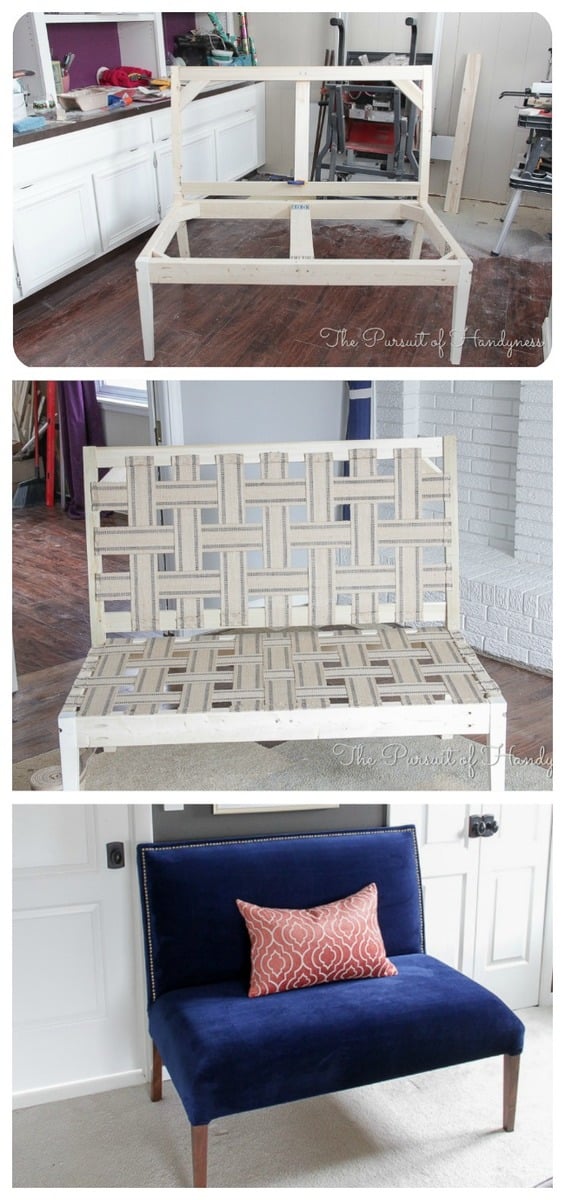
I started off with Ana's plans and kinda went rogue from there. The idea of creating those curved back legs scared me so I thought I'd sacrifice an Ikea dining chair and use it as the legs. When I ruined one of the legs I decided that I'd come too far to back out and that I must continue. I adapted many conventional methods to make the settee but I'm super pleased with the outcome. For the full step by step on how I completed the settee, please check it out here Part 1 Part 2 Part 3


Built from Plan(s)
Estimated Cost
150
Estimated Time Investment
Weekend Project (10-20 Hours)
Finish Used
Rustoleum Ultimate in American Walnut, Rustoleum Ultimate Polyurethane in Satin.
Navy Blue Upholstery Velvet, French Natural Nailhead Trim.
Recommended Skill Level
Intermediate

Comments

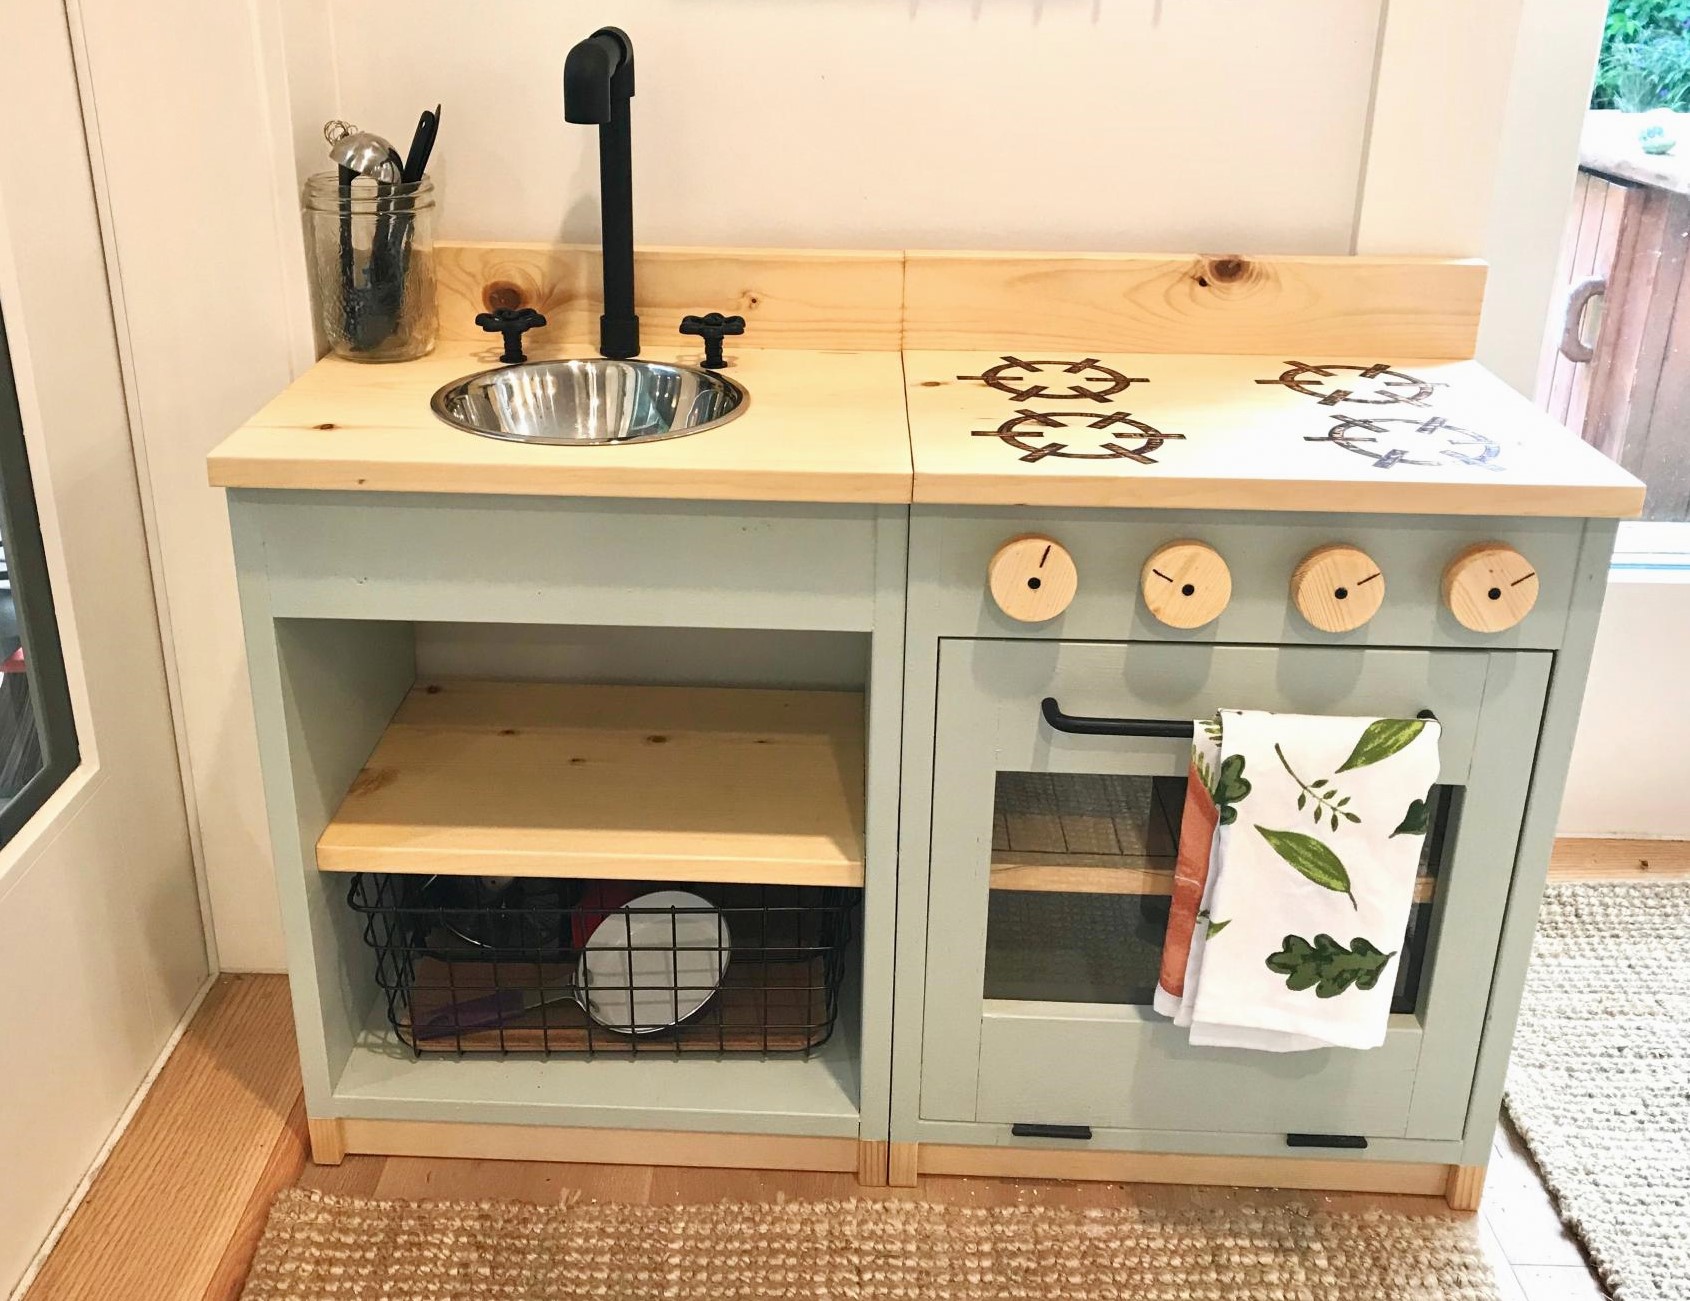
AP - Play Kitchen

Submitted by Anonymous (not verified) on Sun, 05/31/2020 - 19:20

Loved the plans from the site Ana! I got inspired seeing all the lovely play kitchens that everyone had created! Thought I'd share the one I've made for my little one as well, she loves it!

Potting Bench

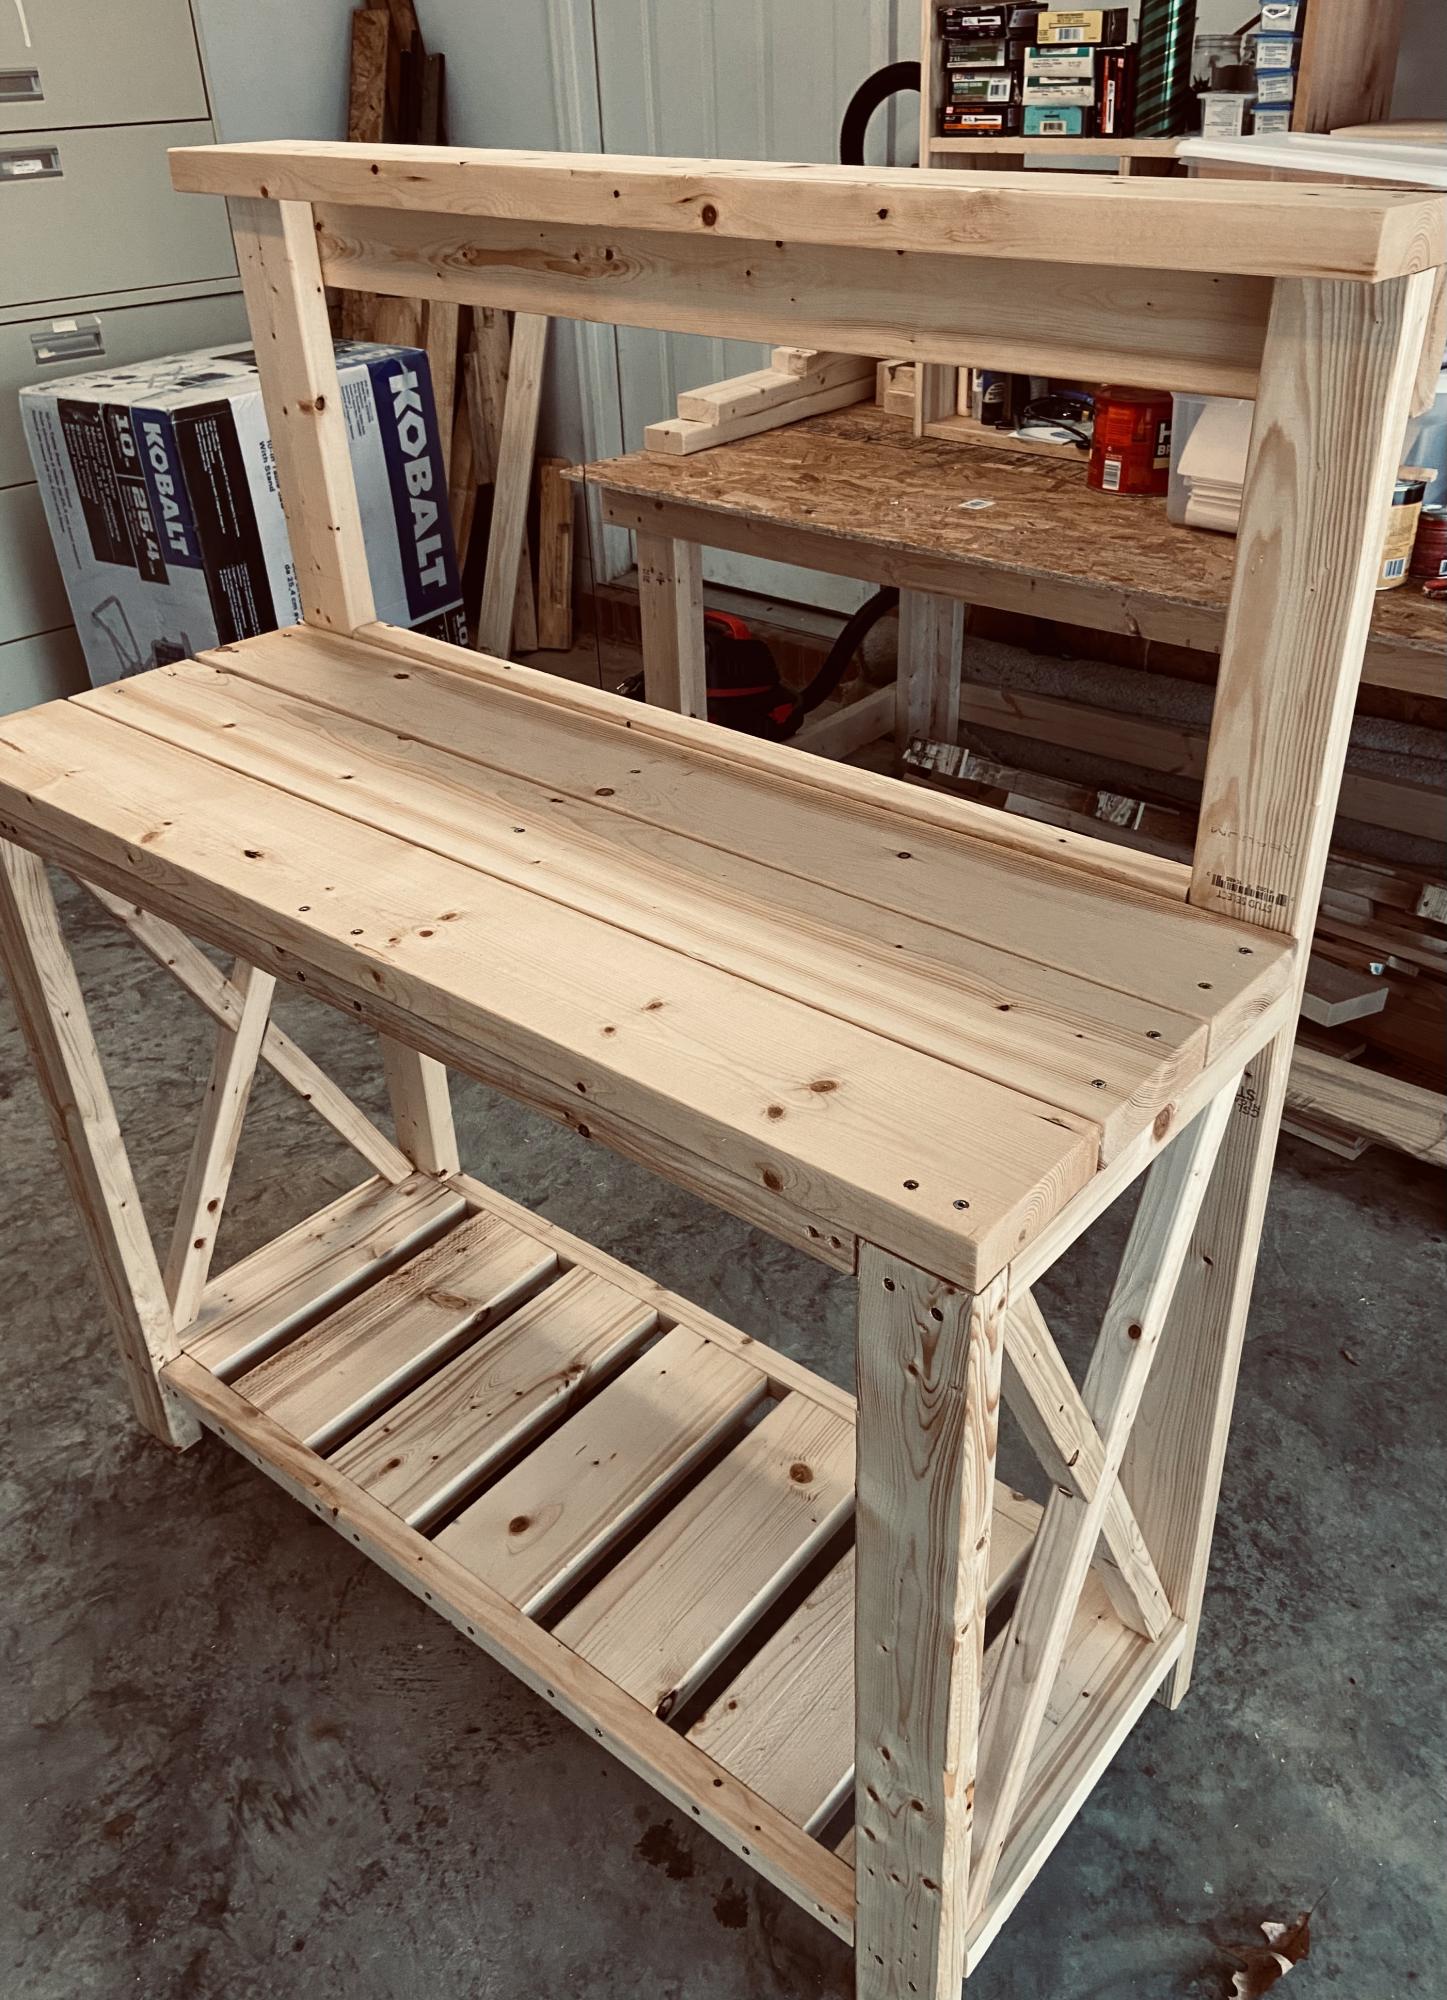
I am a complete newbie to anything woodworking. I just turned 60 and used a drill for the first time about 9 months ago. Thanks to Anna and her plans and videos, I have developed some some self confidence in this art and absolutely loving it.

Farmhouse coffee table and king size bed is next.

Thank YOU Anna!!! You totally rock!!!!!!!!

Estimated Time Investment
Day Project (6-9 Hours)
Recommended Skill Level
Beginner

Comments

Step Dresser

Submitted by calcowoods on Fri, 02/26/2021 - 12:14

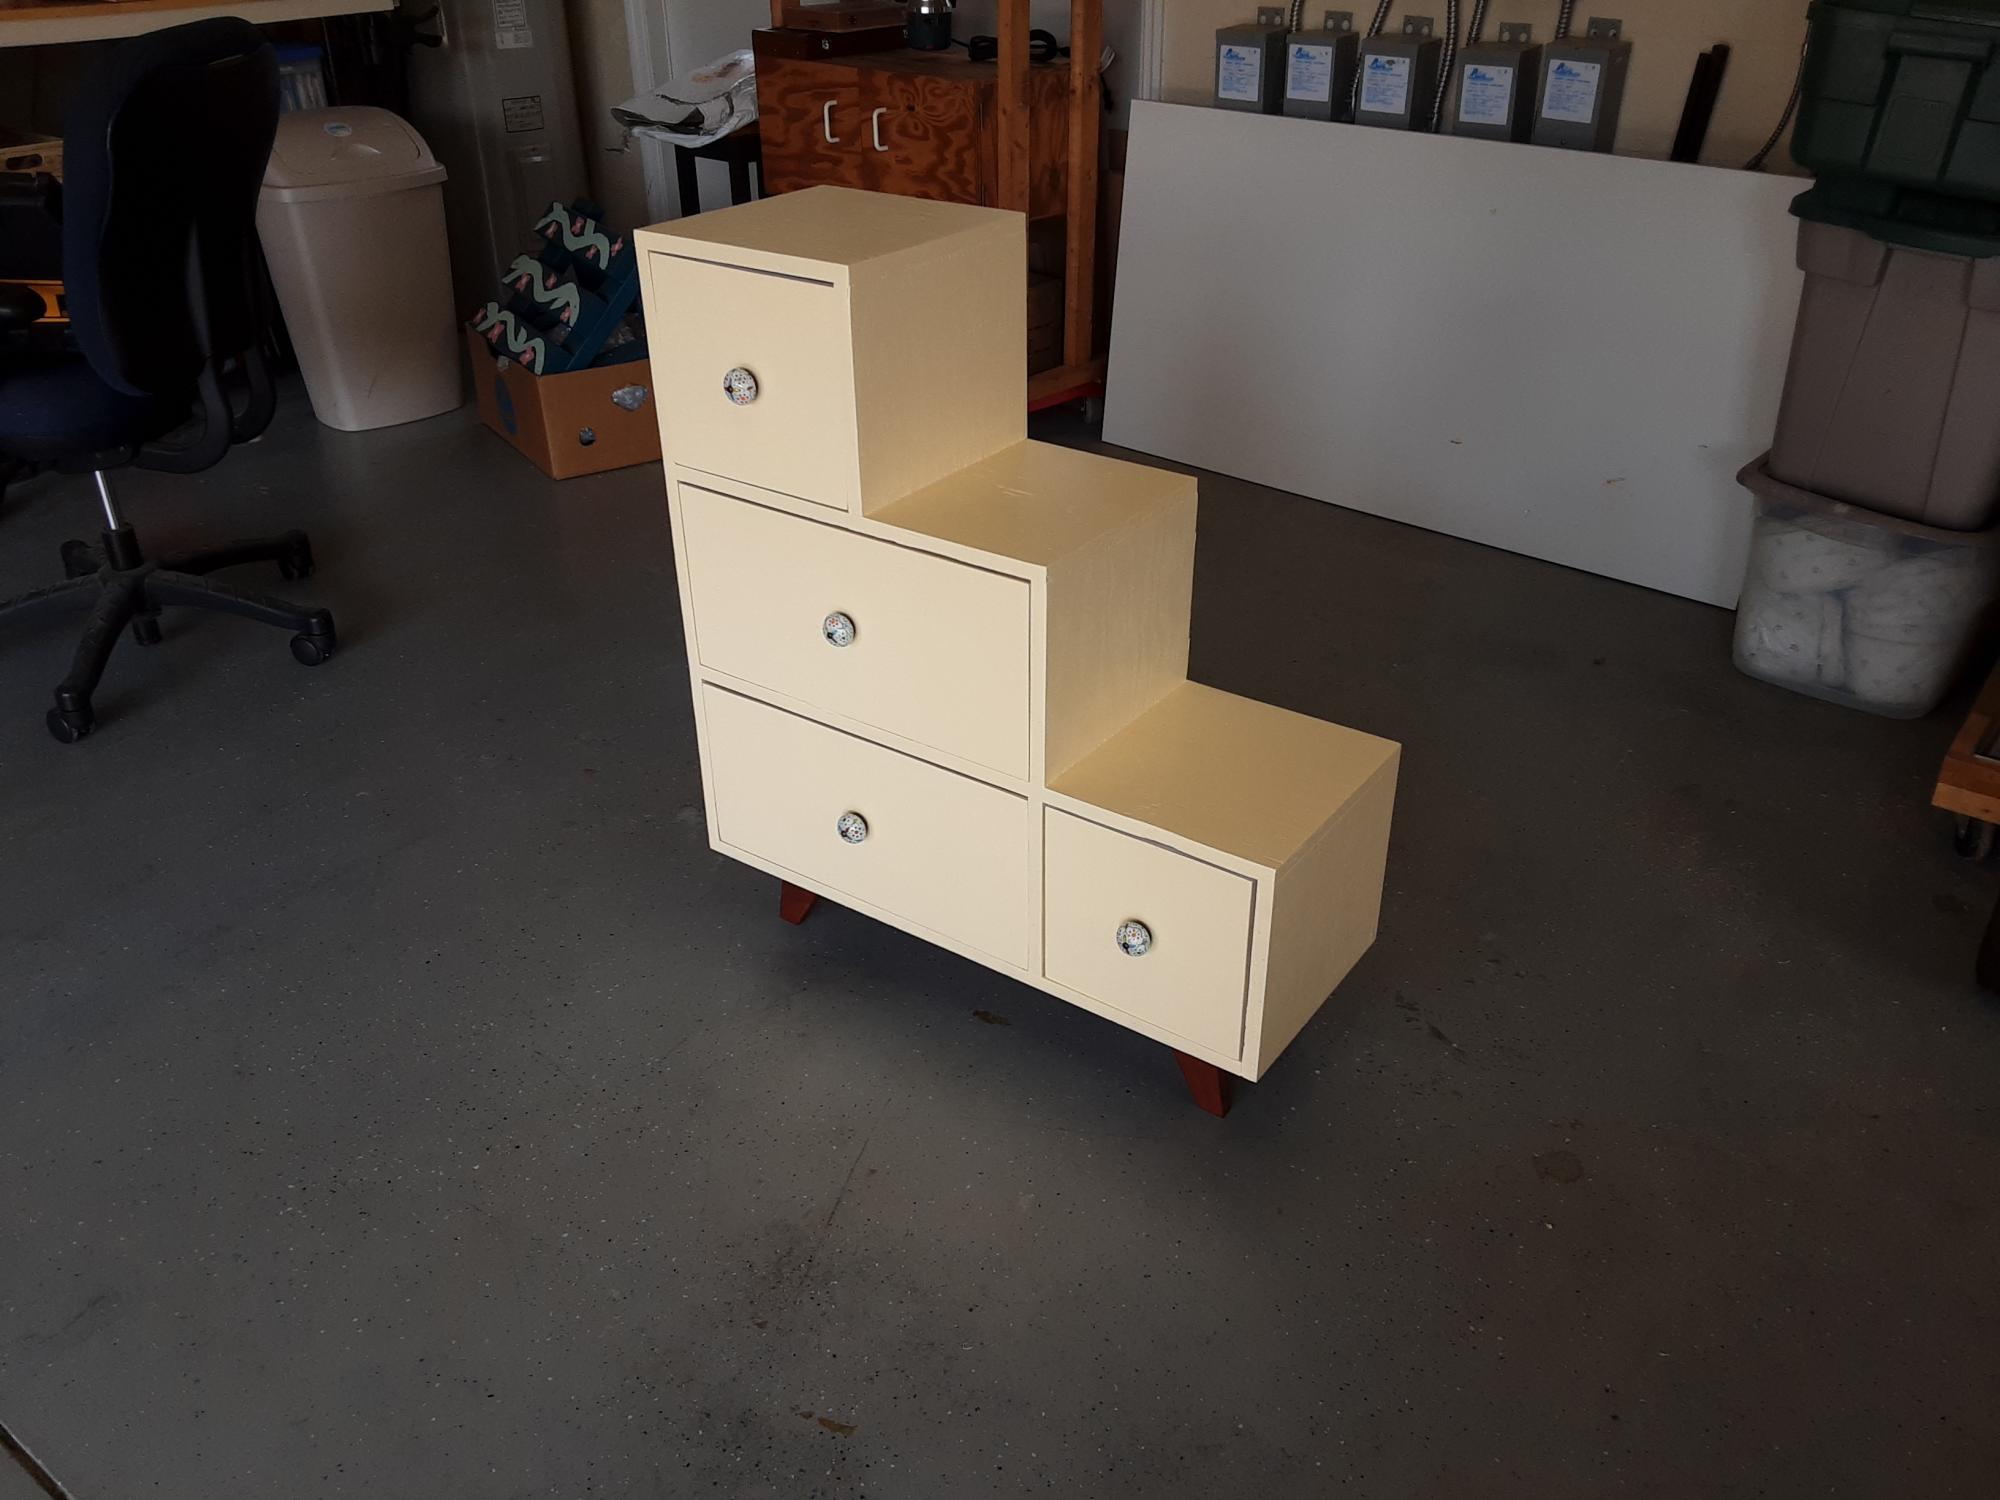
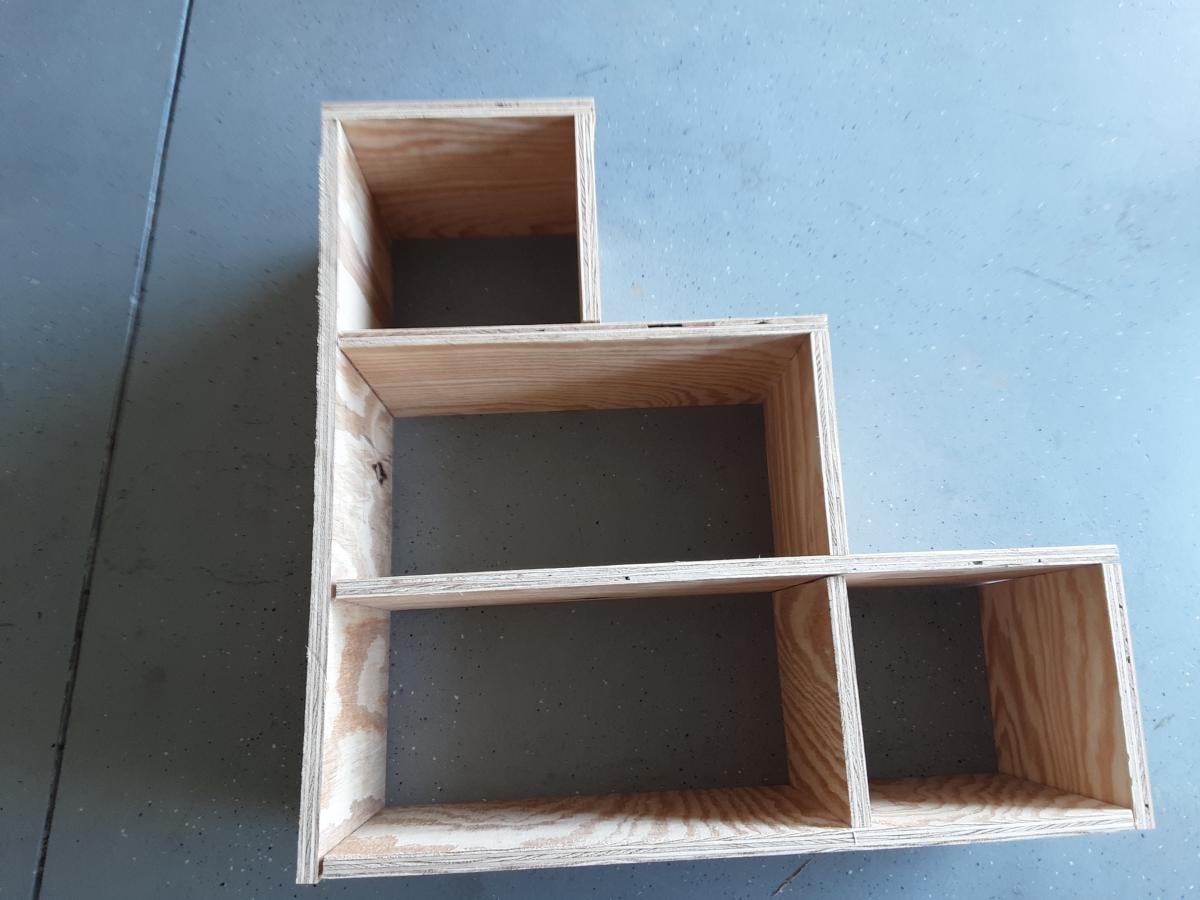
Step dresser inspired by a similar design from a boutique furniture store. We actually made three dressers using various dimensions from large, median and even small versions.

Comments

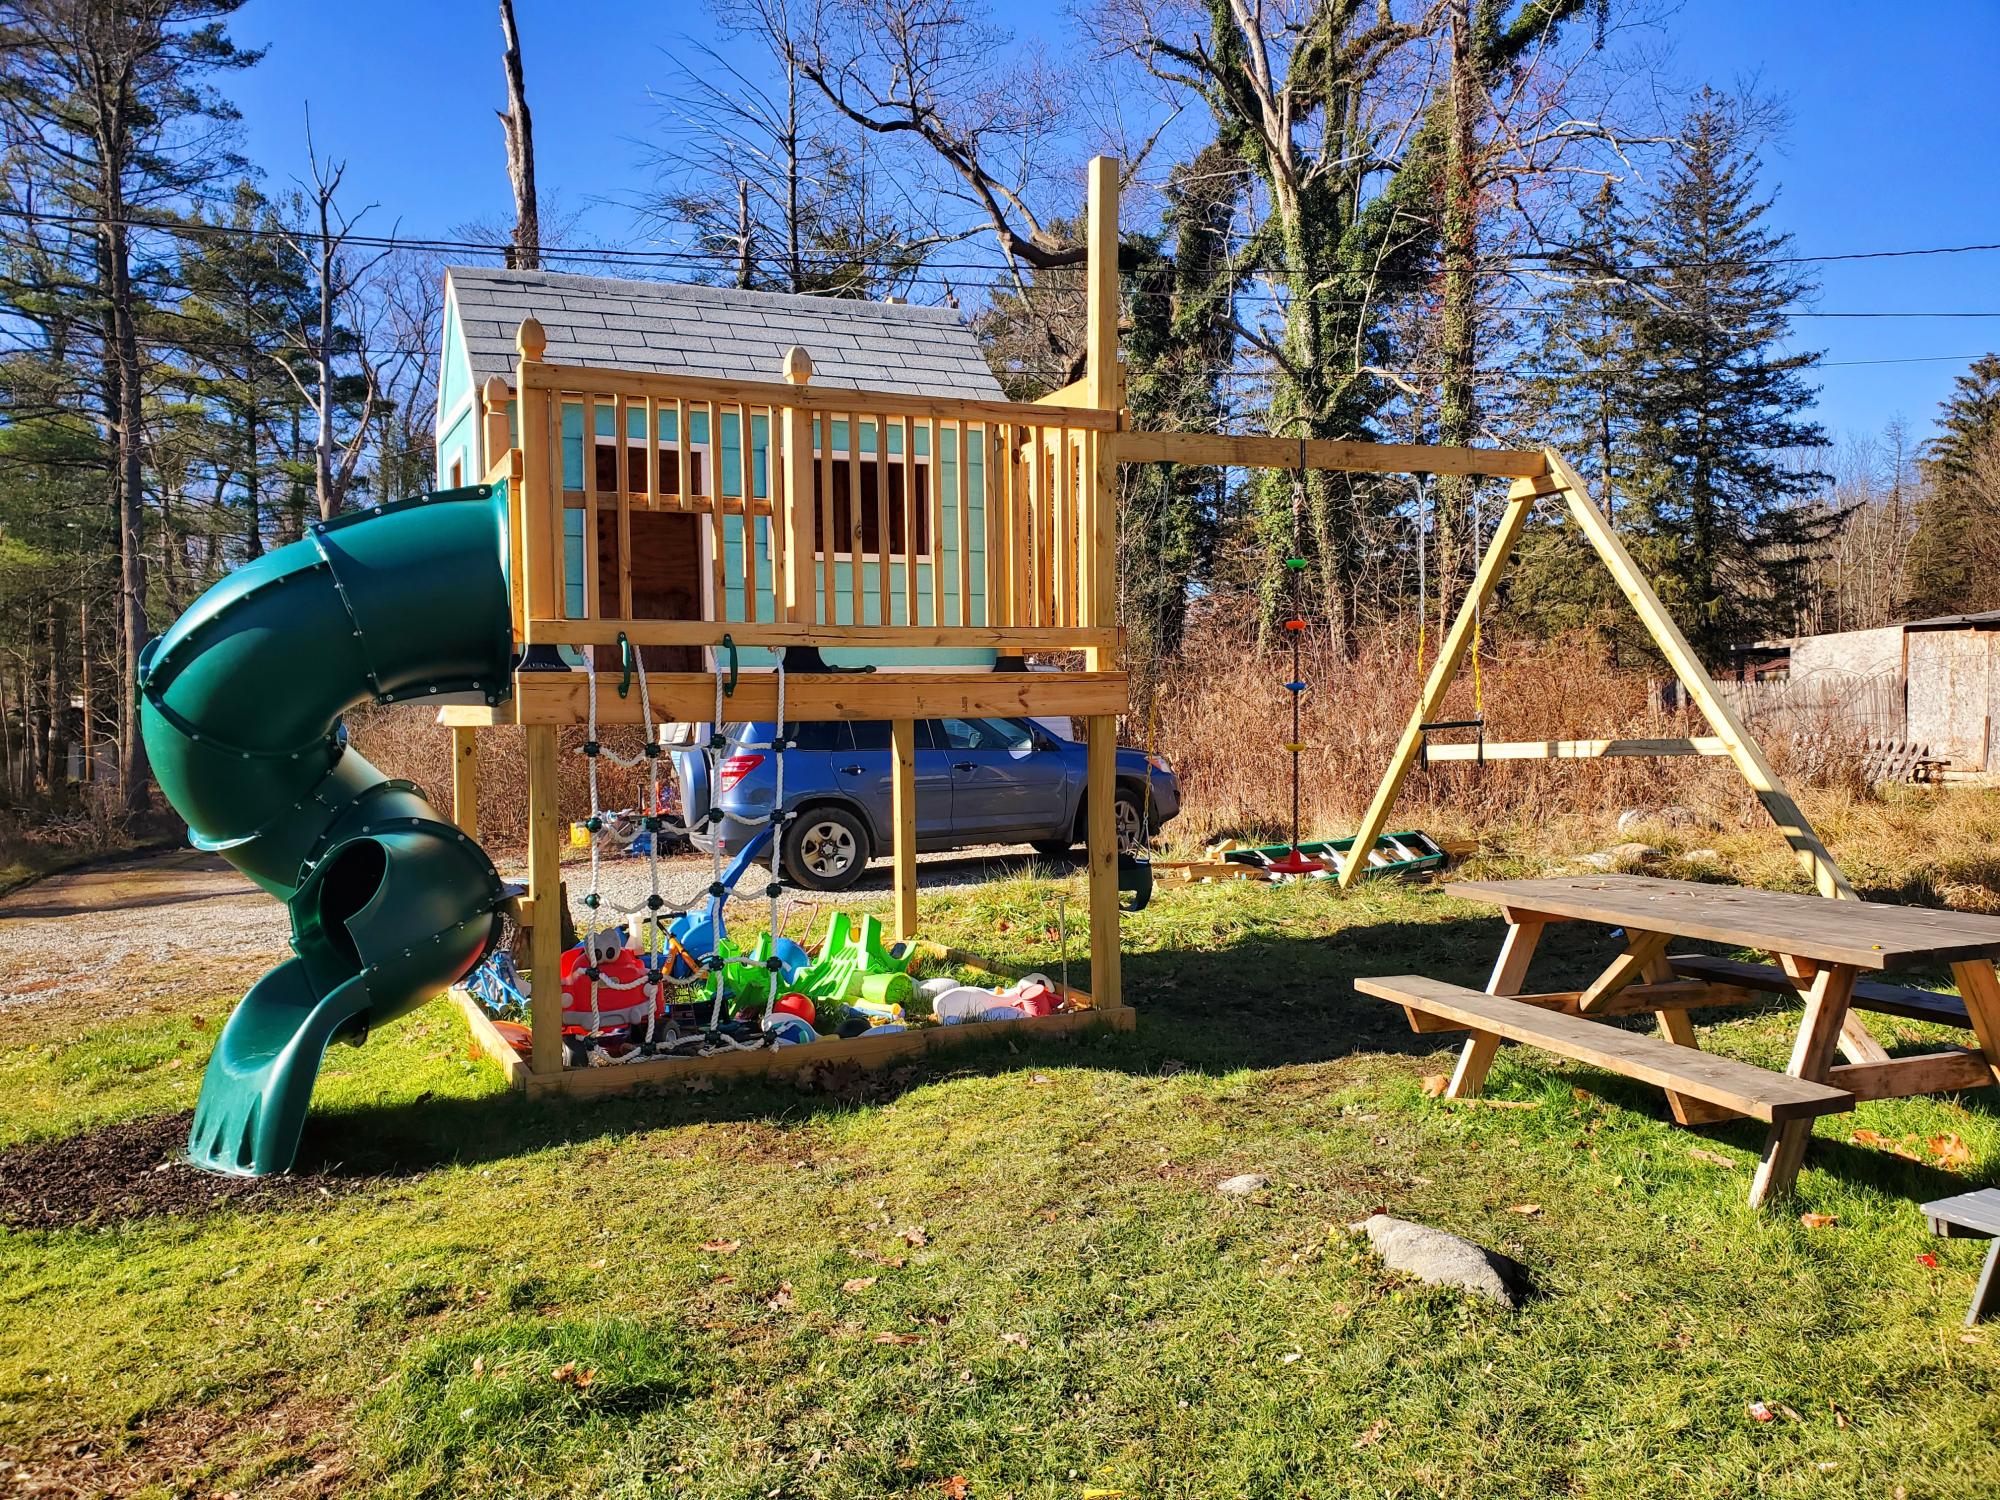
My Boys Playhouse!

Submitted by Anonymous (not verified) on Fri, 01/28/2022 - 03:18

We made a few changes to fit our needs but love the design. Way better than any kit you can buy!

Comments

Frosted Plexiglass Entry Door

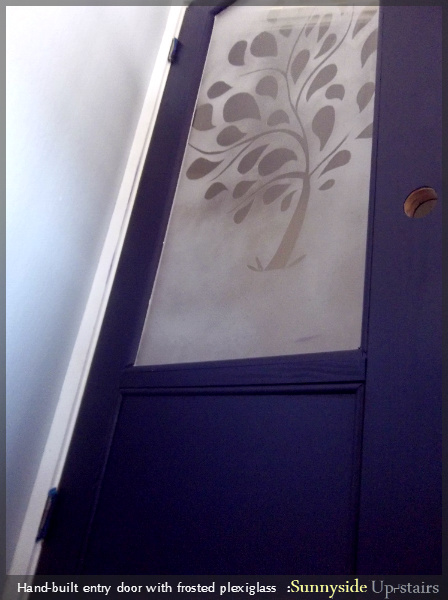
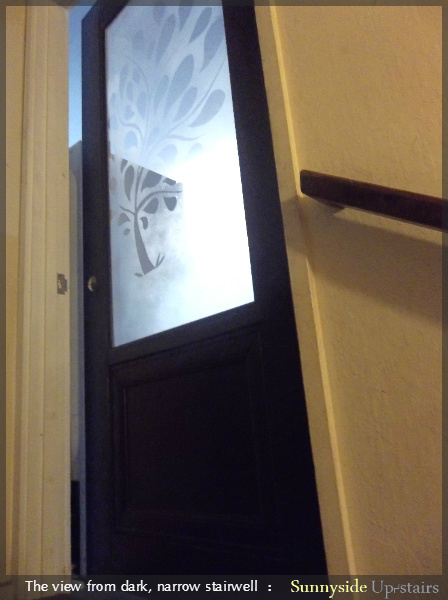
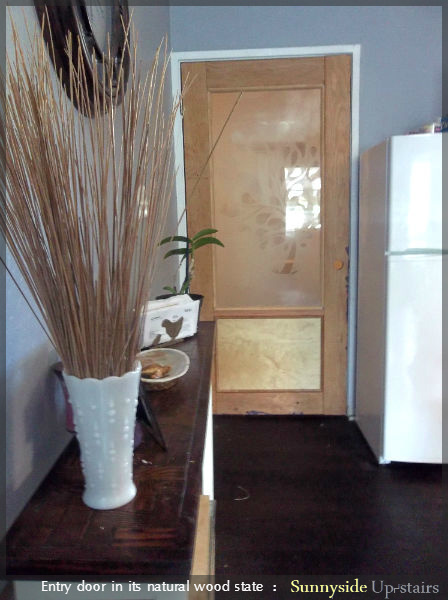
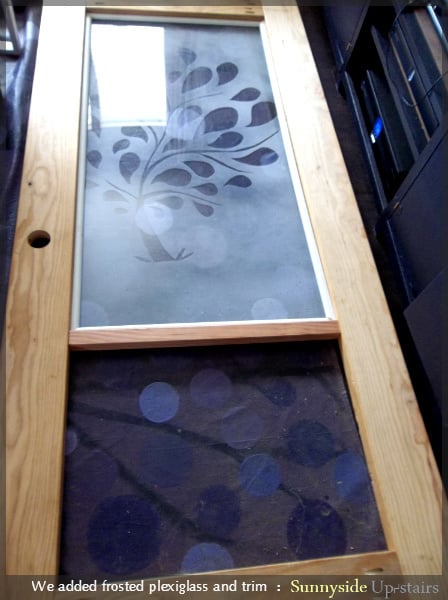
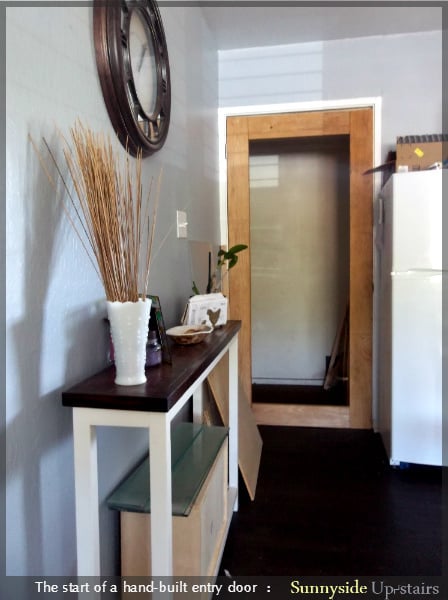
We gutted our above garage apartment a year ago and have been DIYing as much as is reasonable inside. We installed Allure Ultra vinyl flooring throughout, which is thicker than the old, chipping peel and stick vinyl there was previously. Instead of planing the previous termite eaten hollow-core door with heavy, less-than-secure glass jalousies, we decided to build our own entry door.
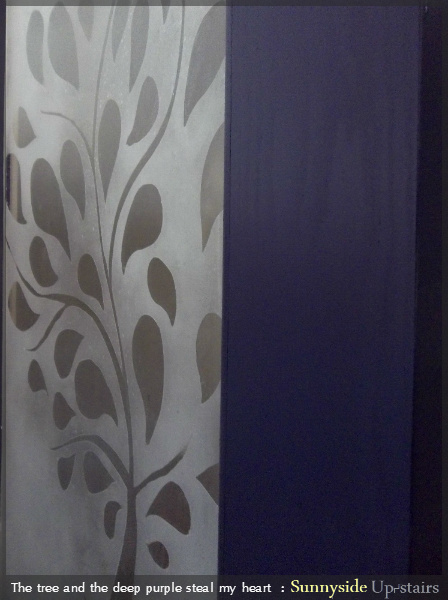
We were able to use orphaned 2x6s in my mom's garage and old trim we saved from gutting our apartment. The choices we made amounted to a total of about $150 for this door, including basic door hardware and $70 plexiglass. The hardest part was spraying the plexiglass, as I'm a rather unsuccessful spray painter.

We appreciate having our custom door, and we hope someone else in need of an entry door is inspired to save money and try one out too!

Estimated Cost
$150, based on our choices and what wood was already owned
Estimated Time Investment
Week Long Project (20 Hours or More)
Finish Used
Olympic semi-gloss latex paint in a deep purple shade.
Recommended Skill Level
Intermediate

Comments

JoanneS

Thu, 07/25/2013 - 16:04

This is gorgeous! You did such a great job on this, love the custom design features you added to this door. It looks classy and expensive. :)