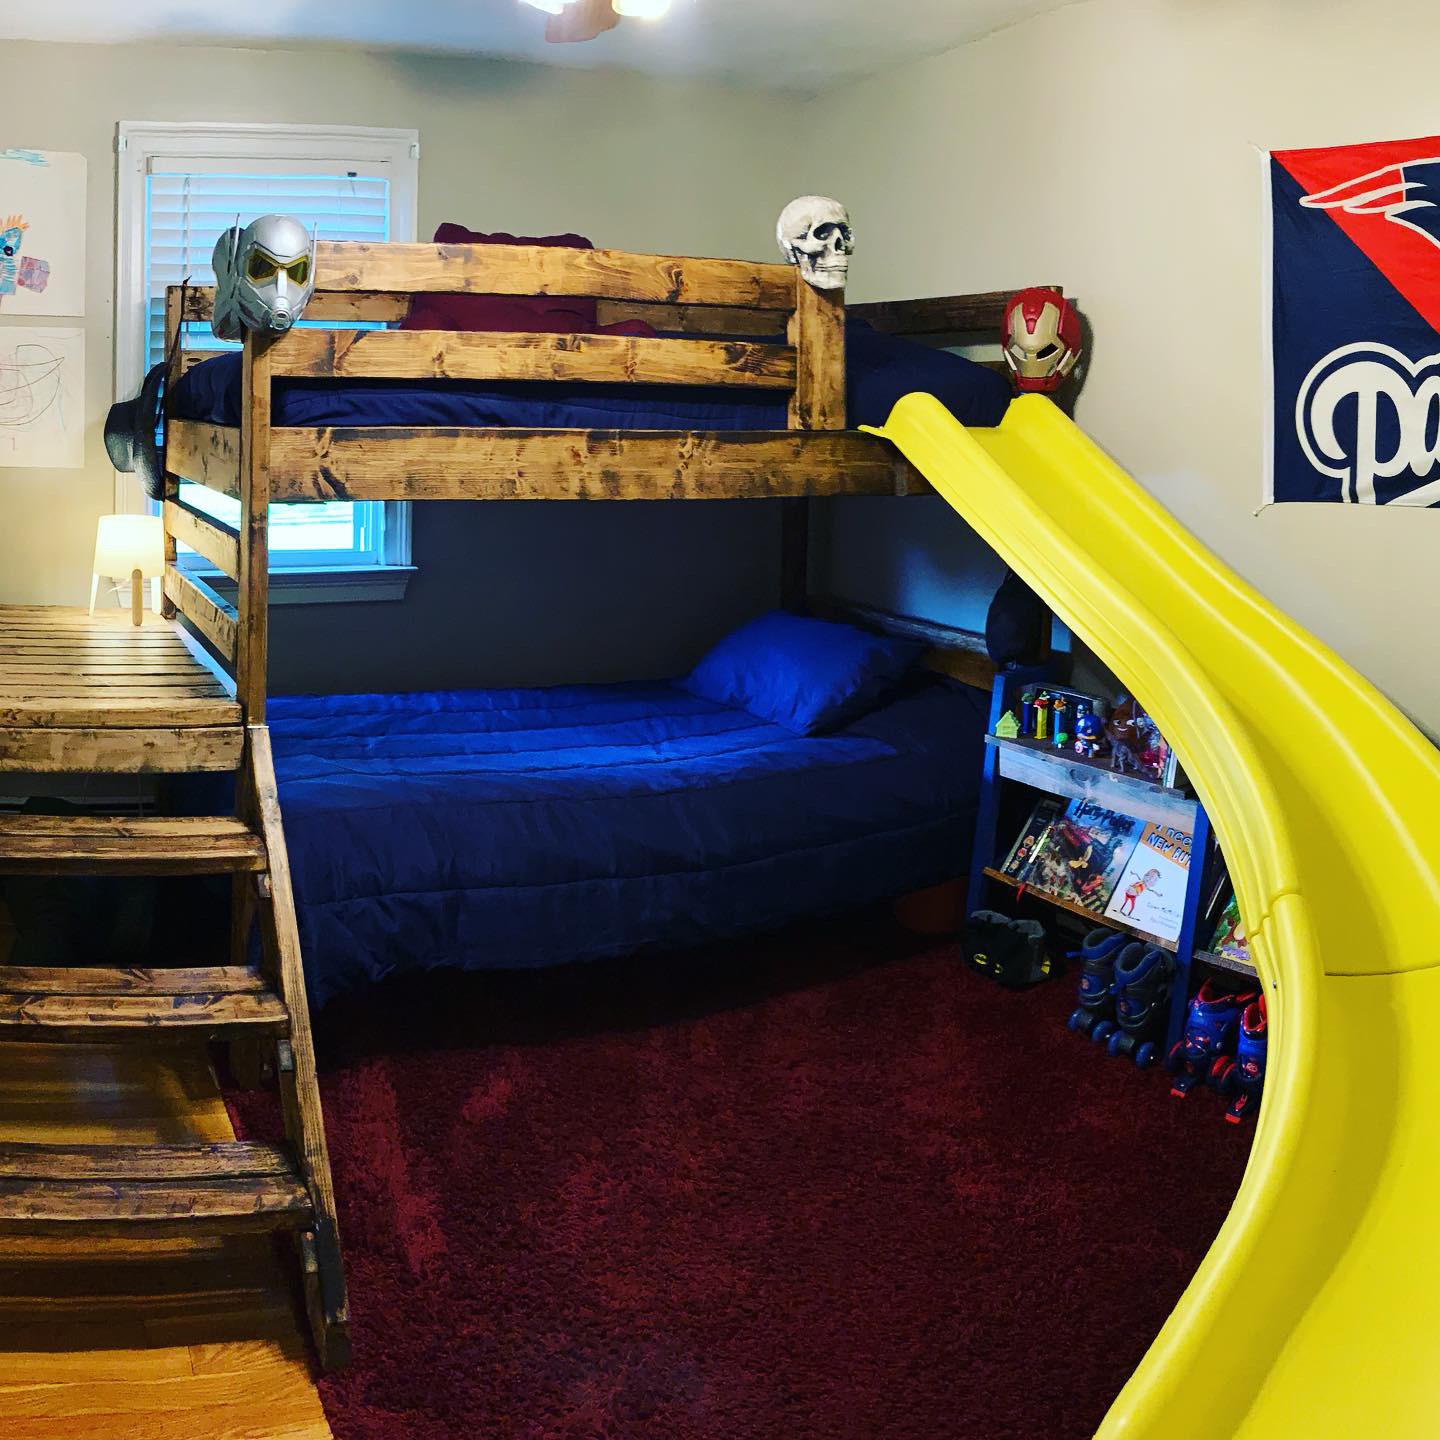
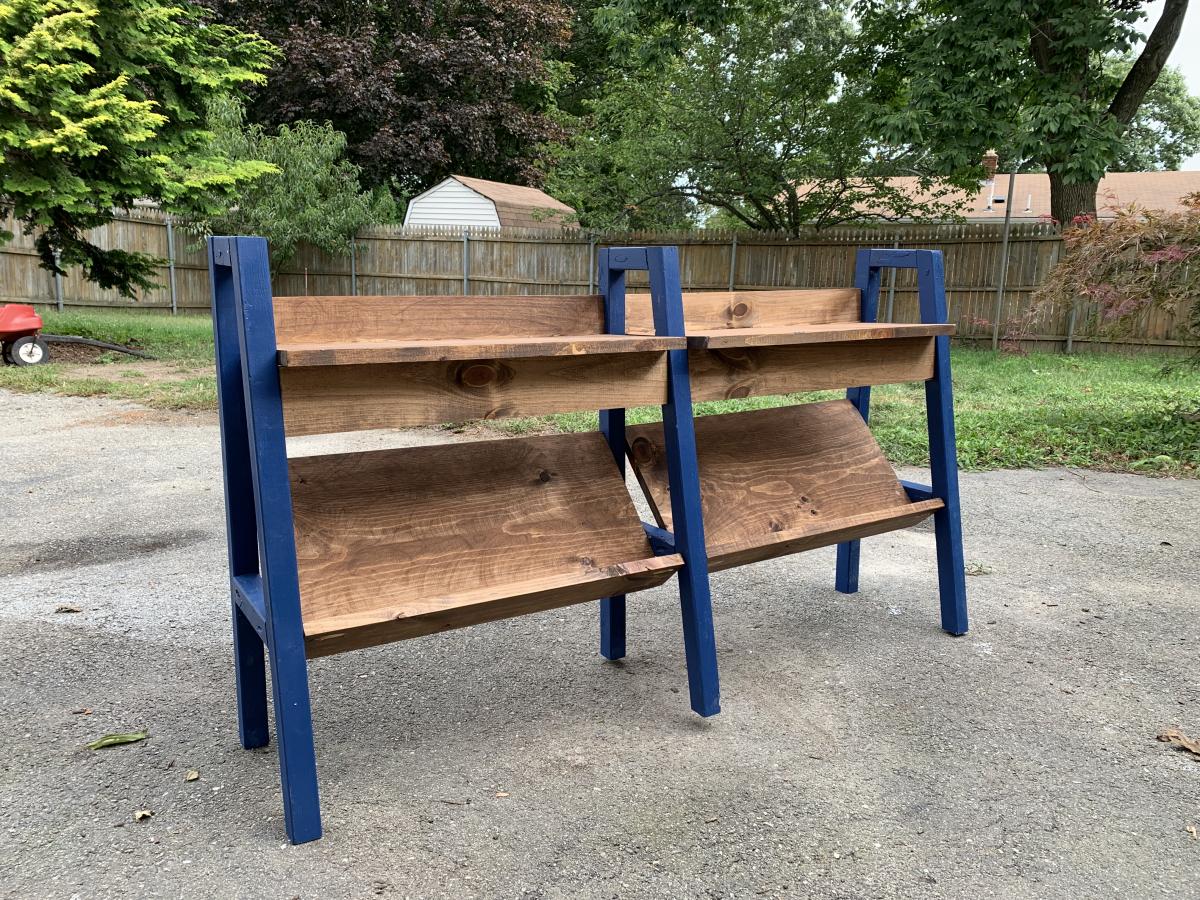
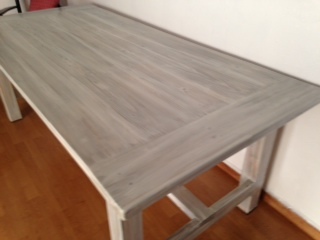
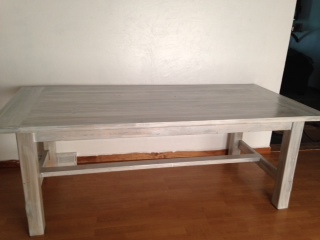
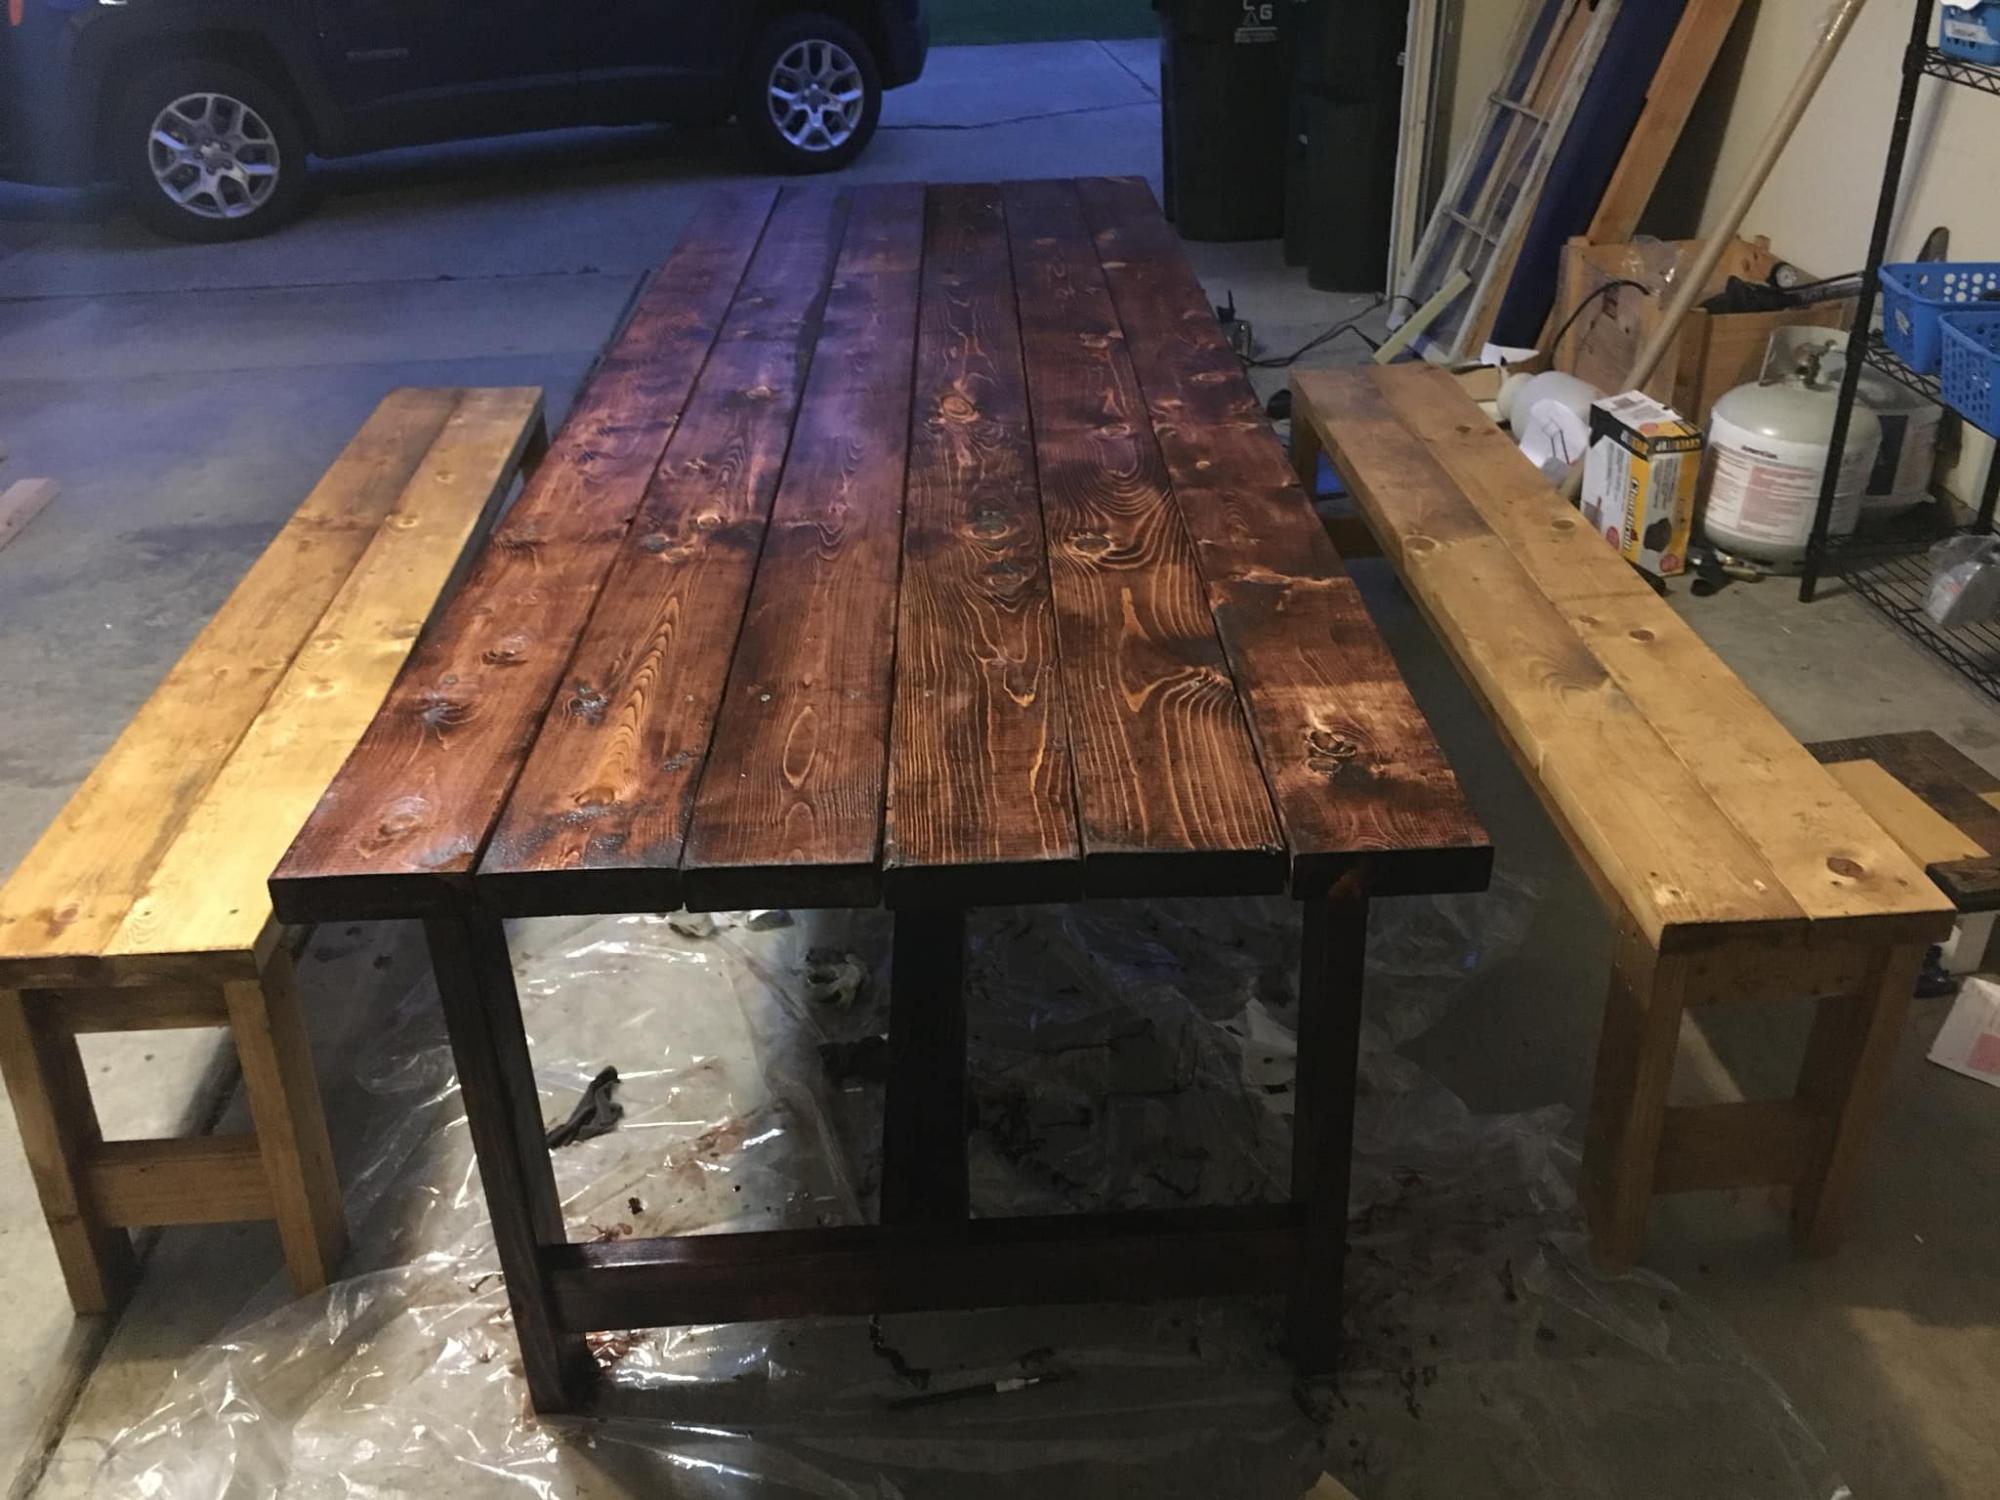
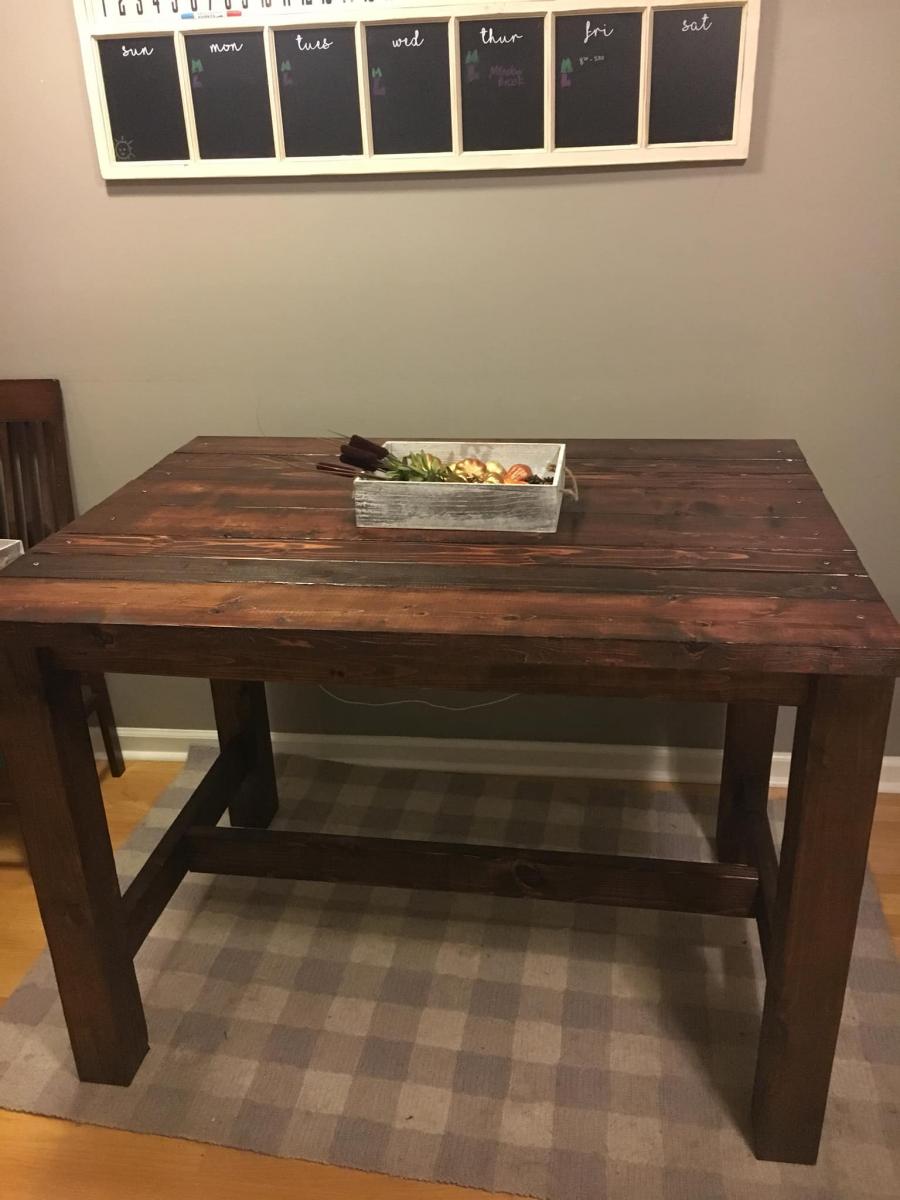
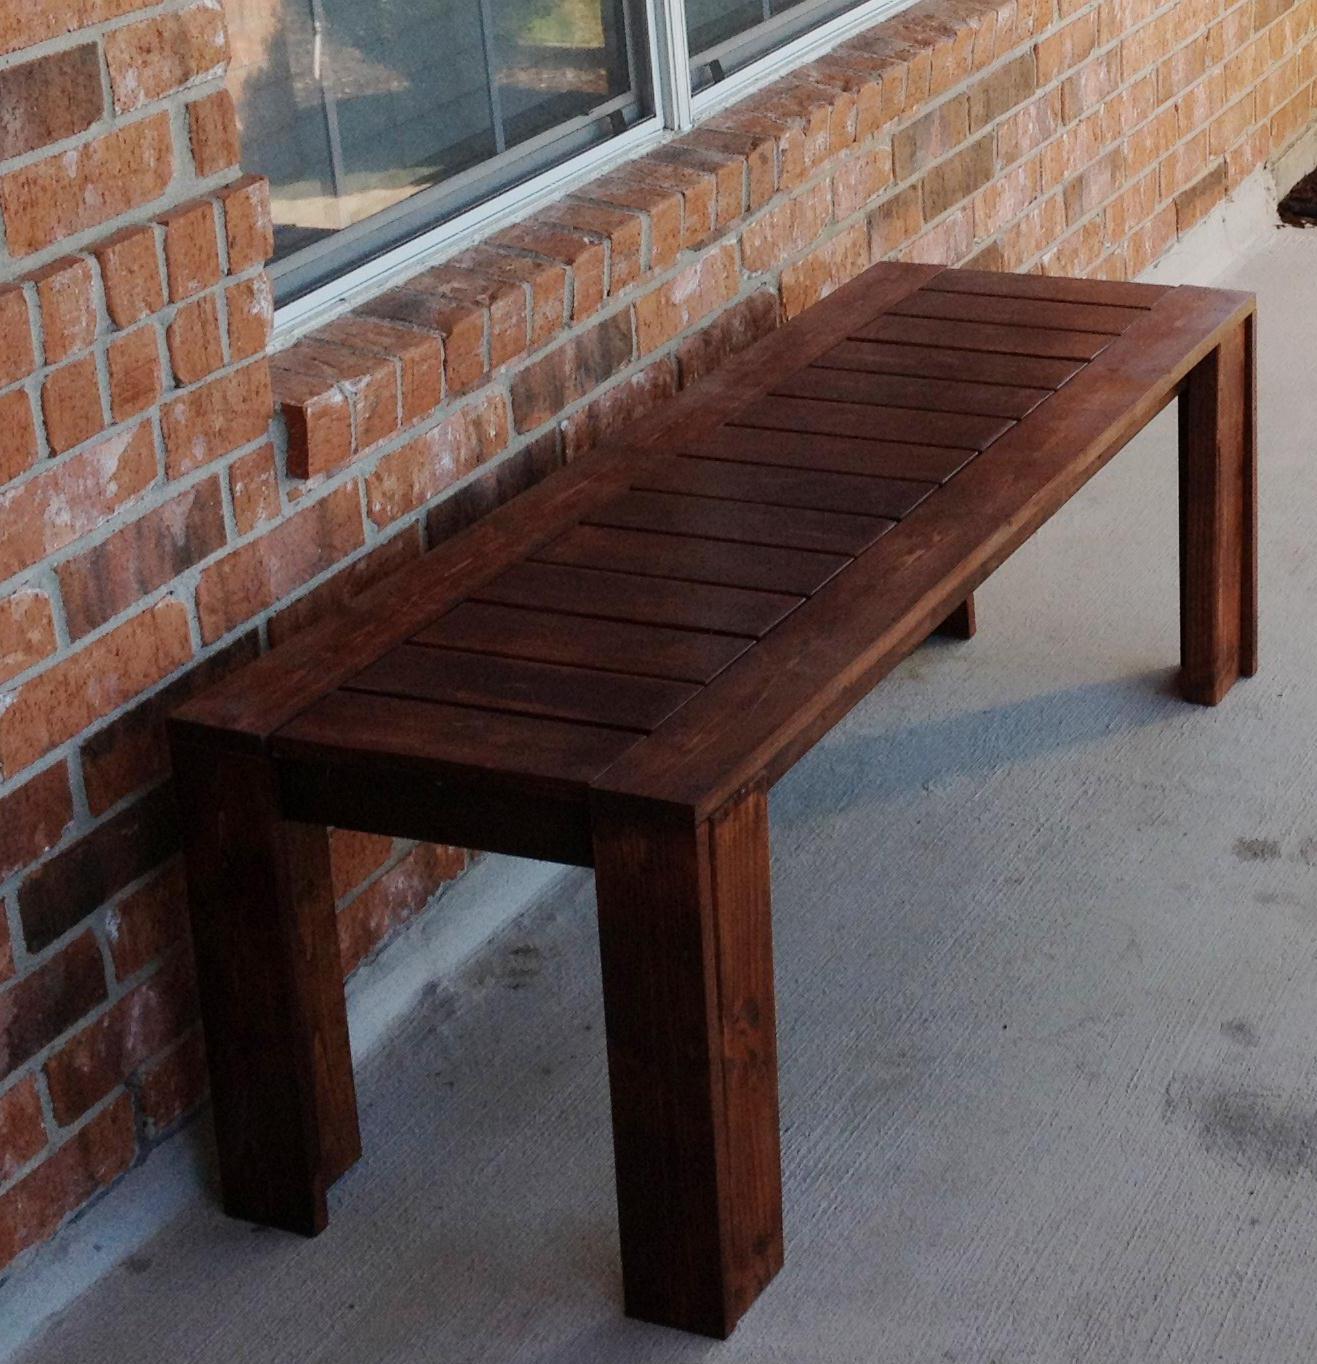
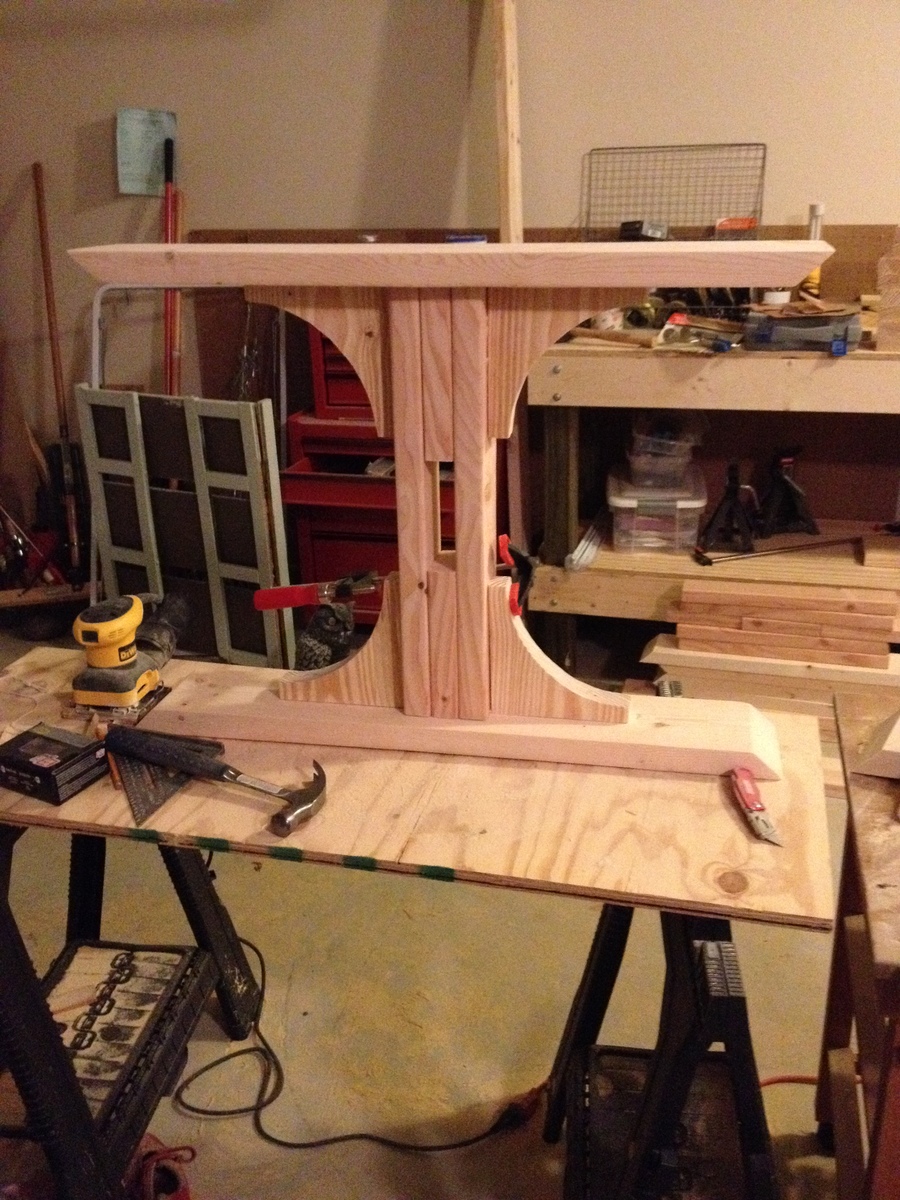
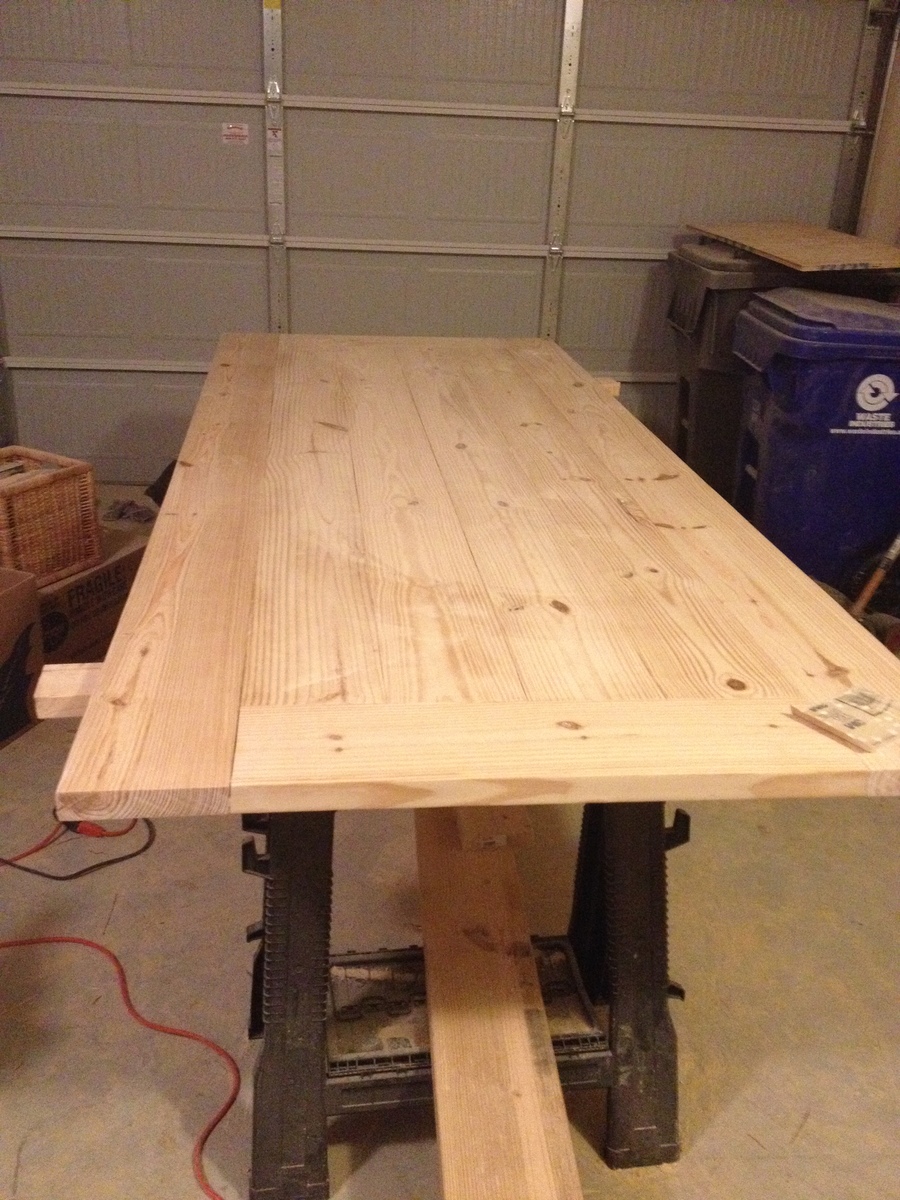
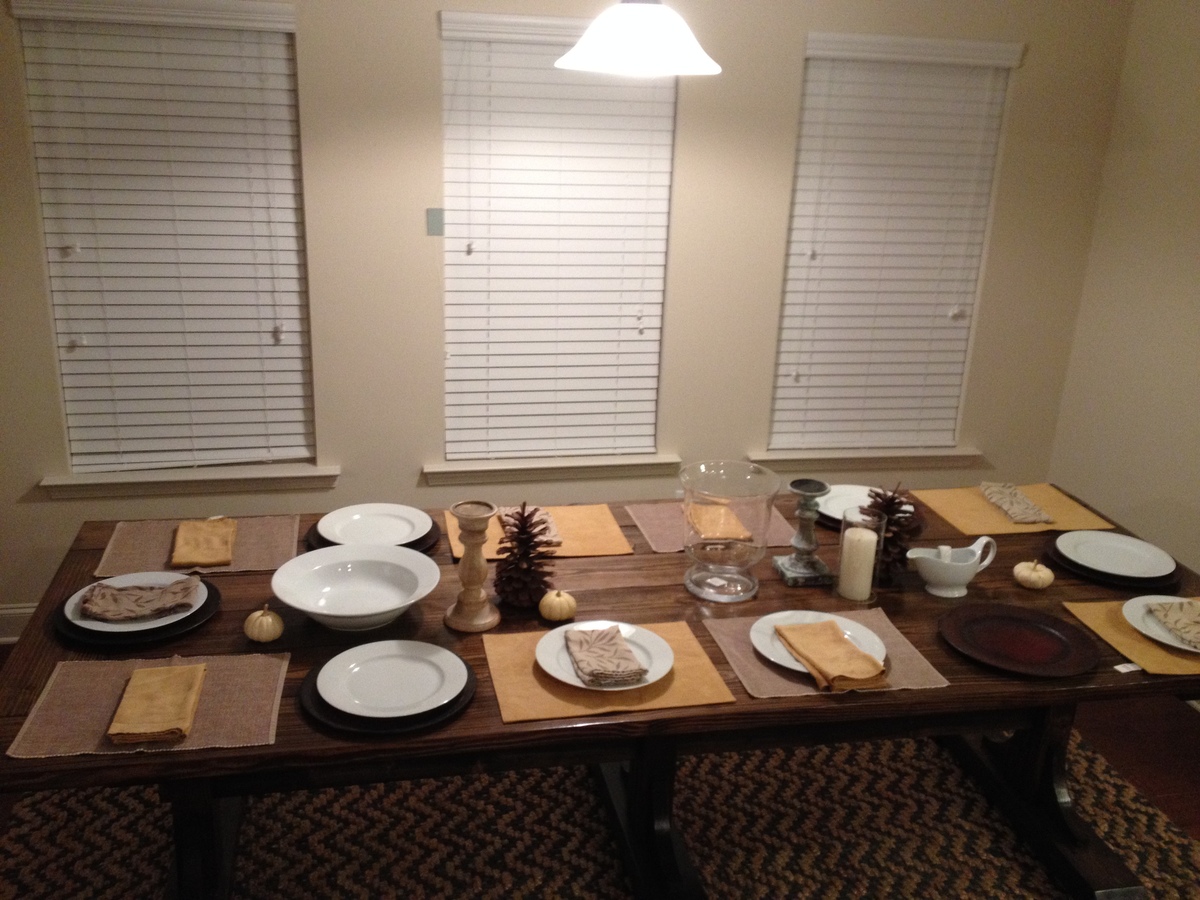
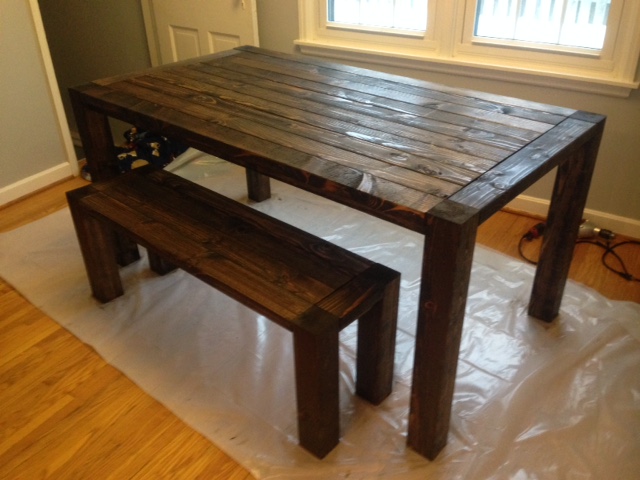
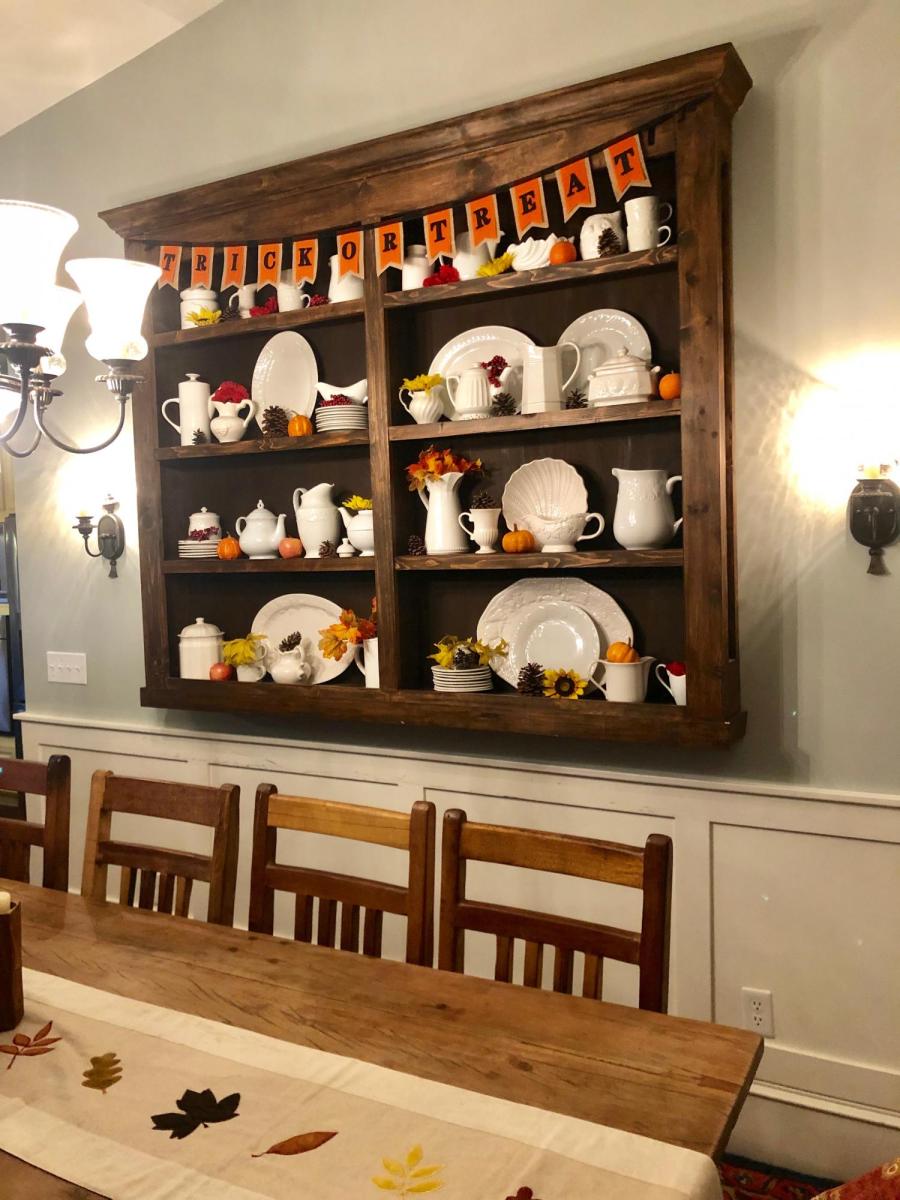
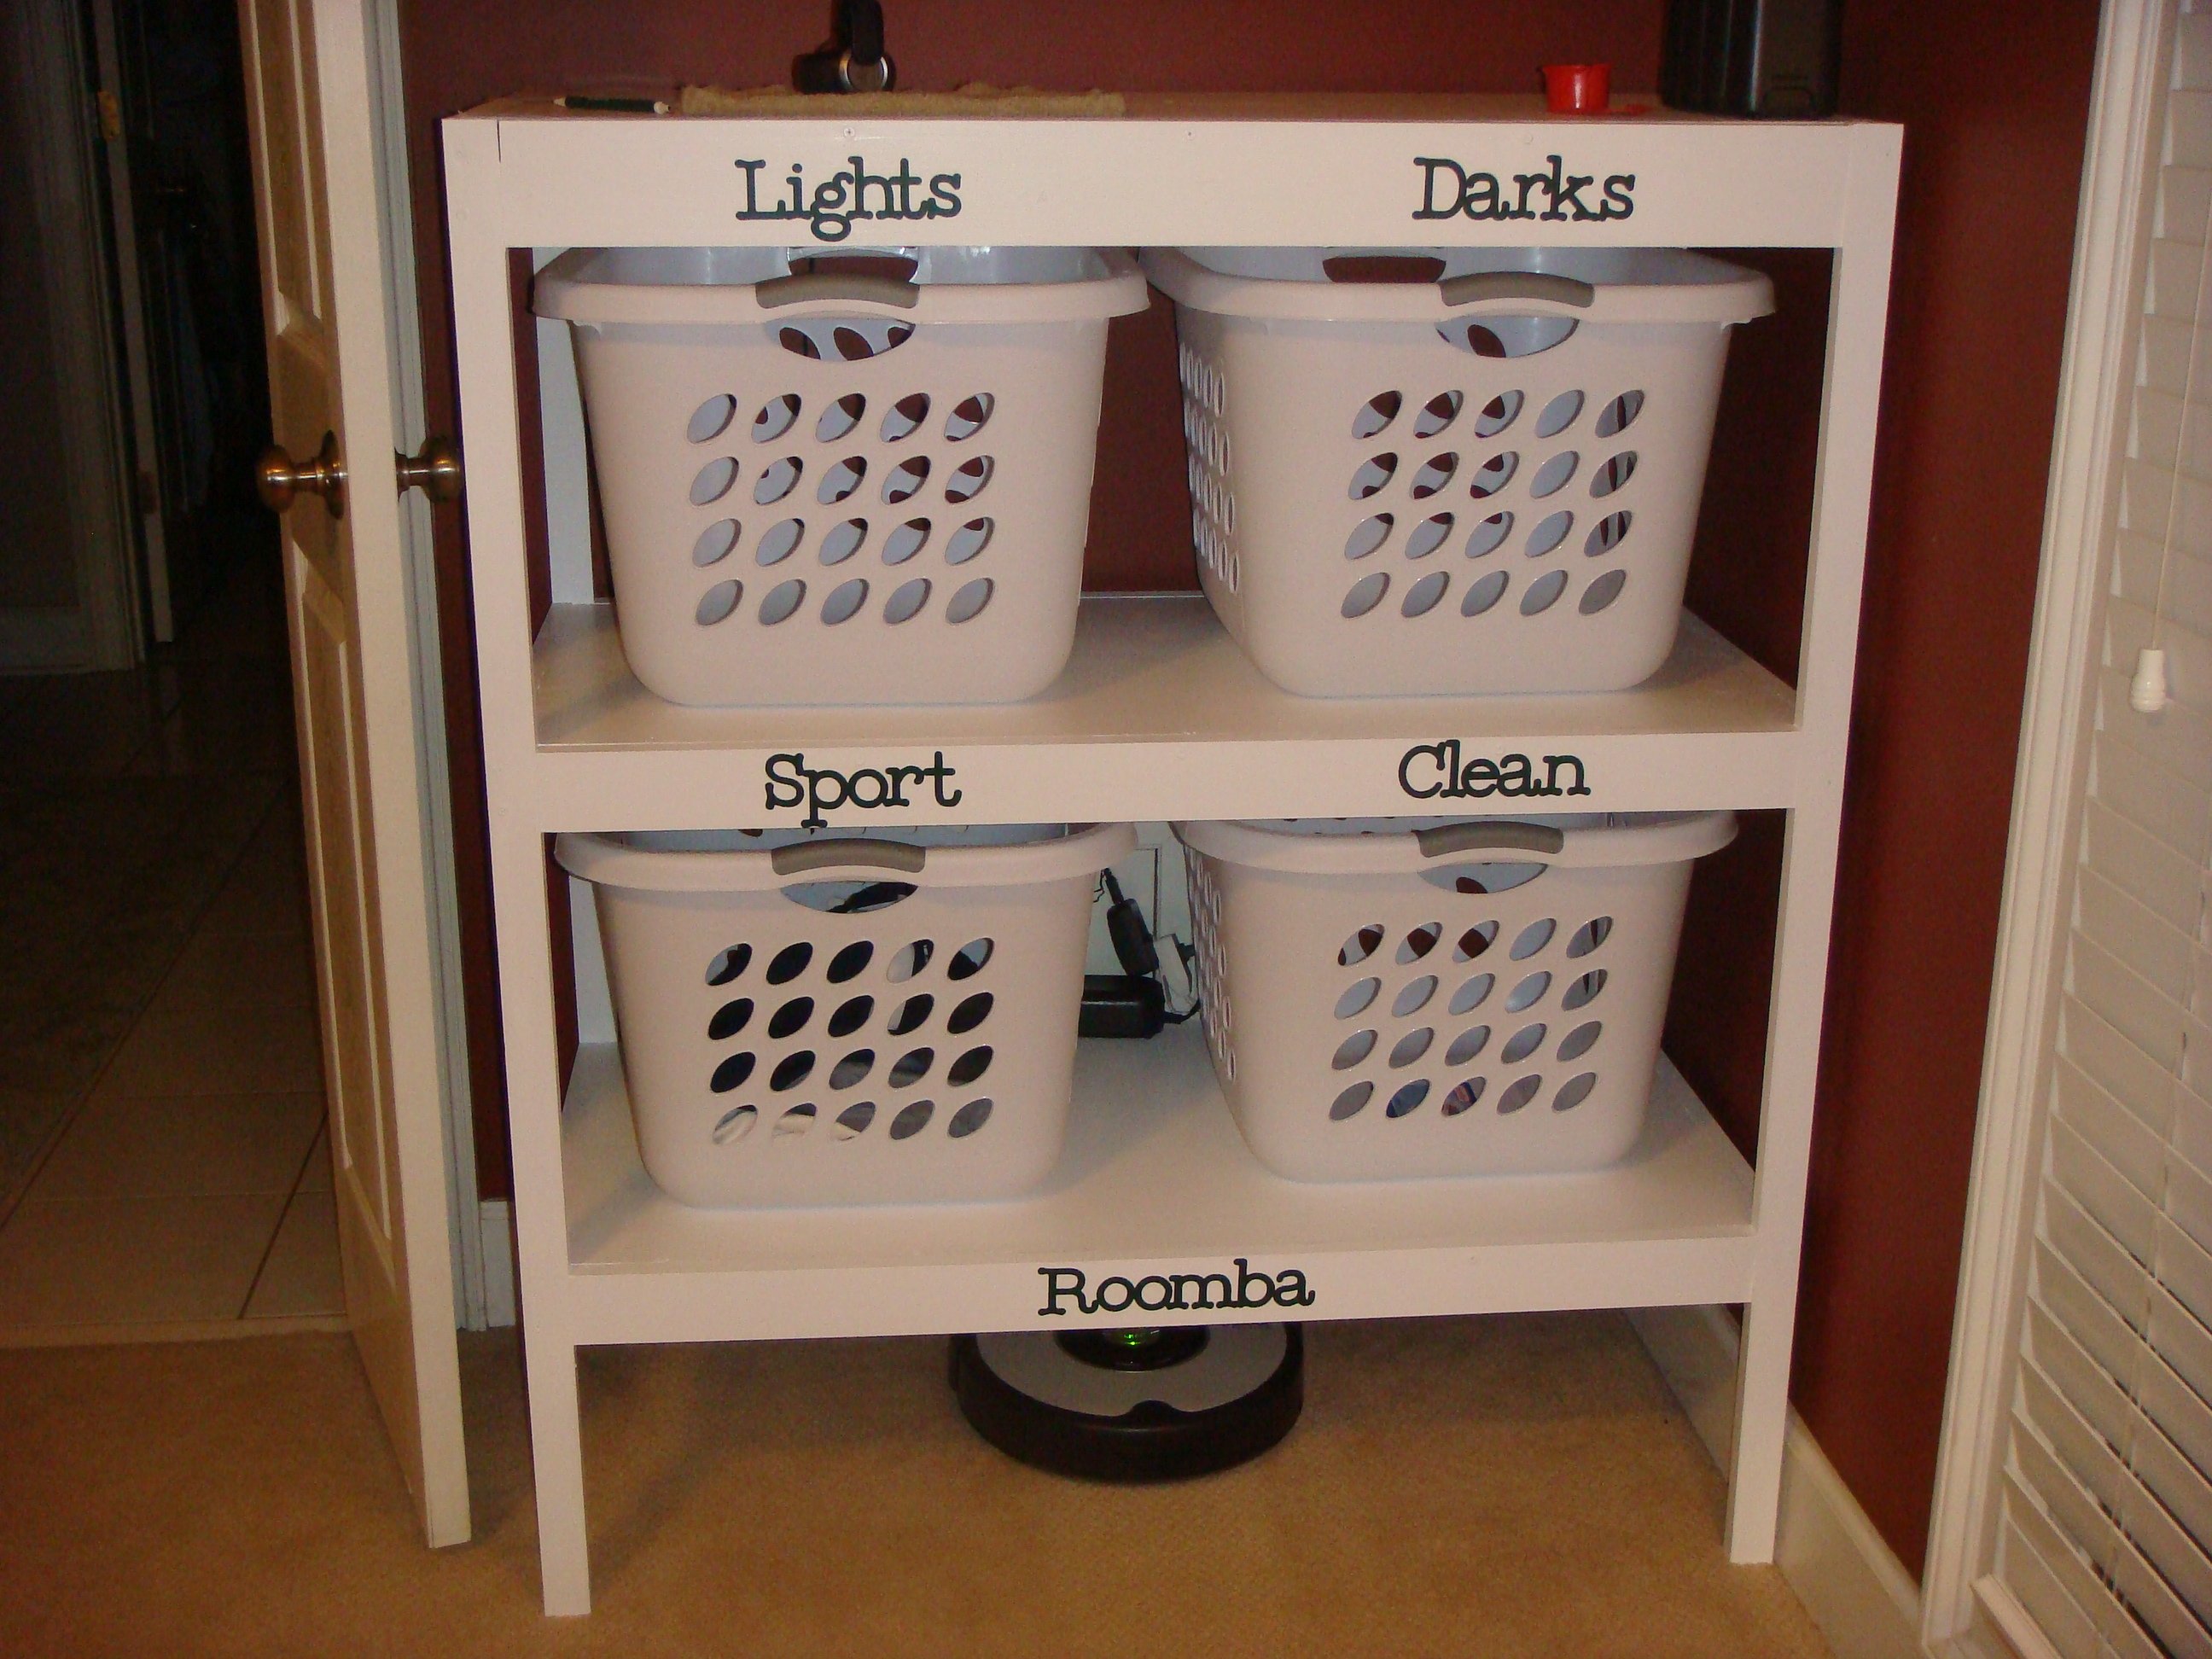
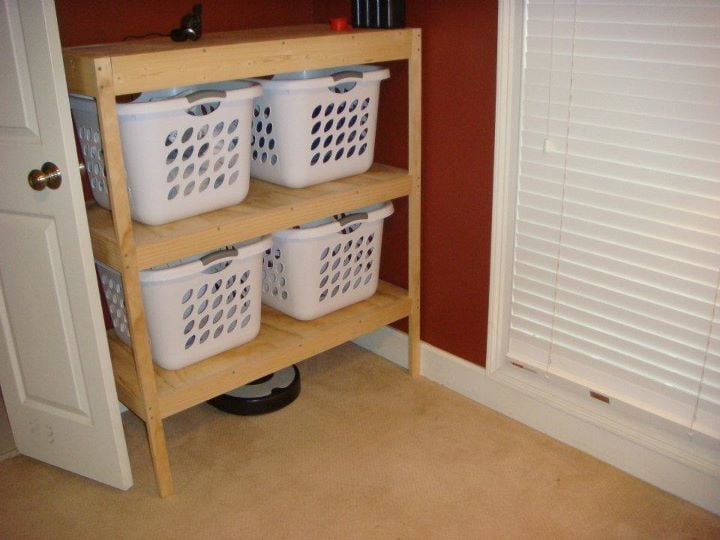
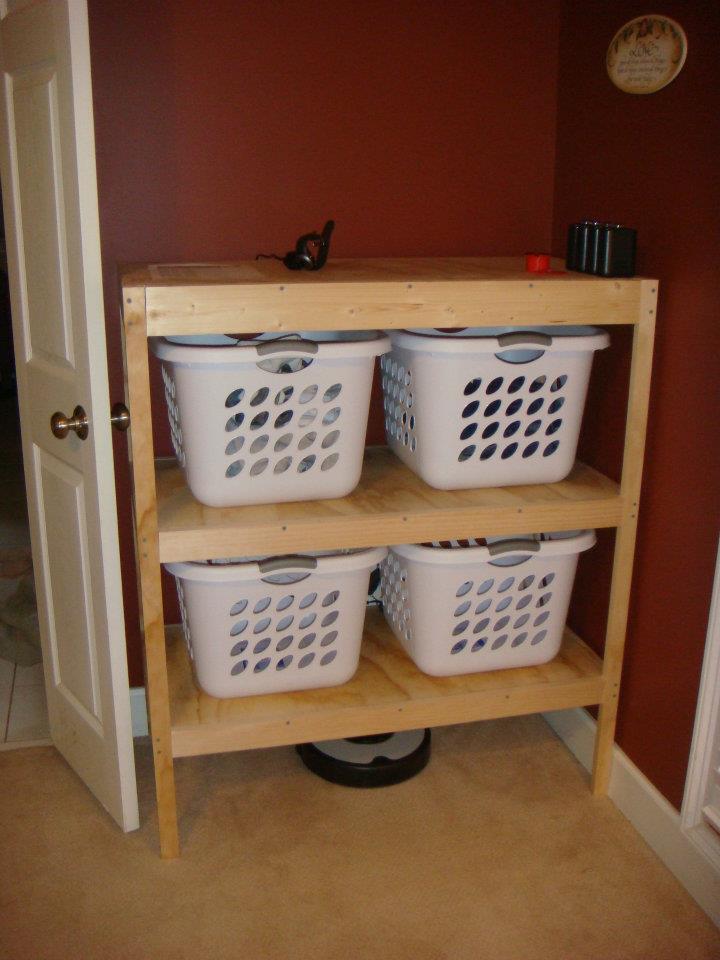
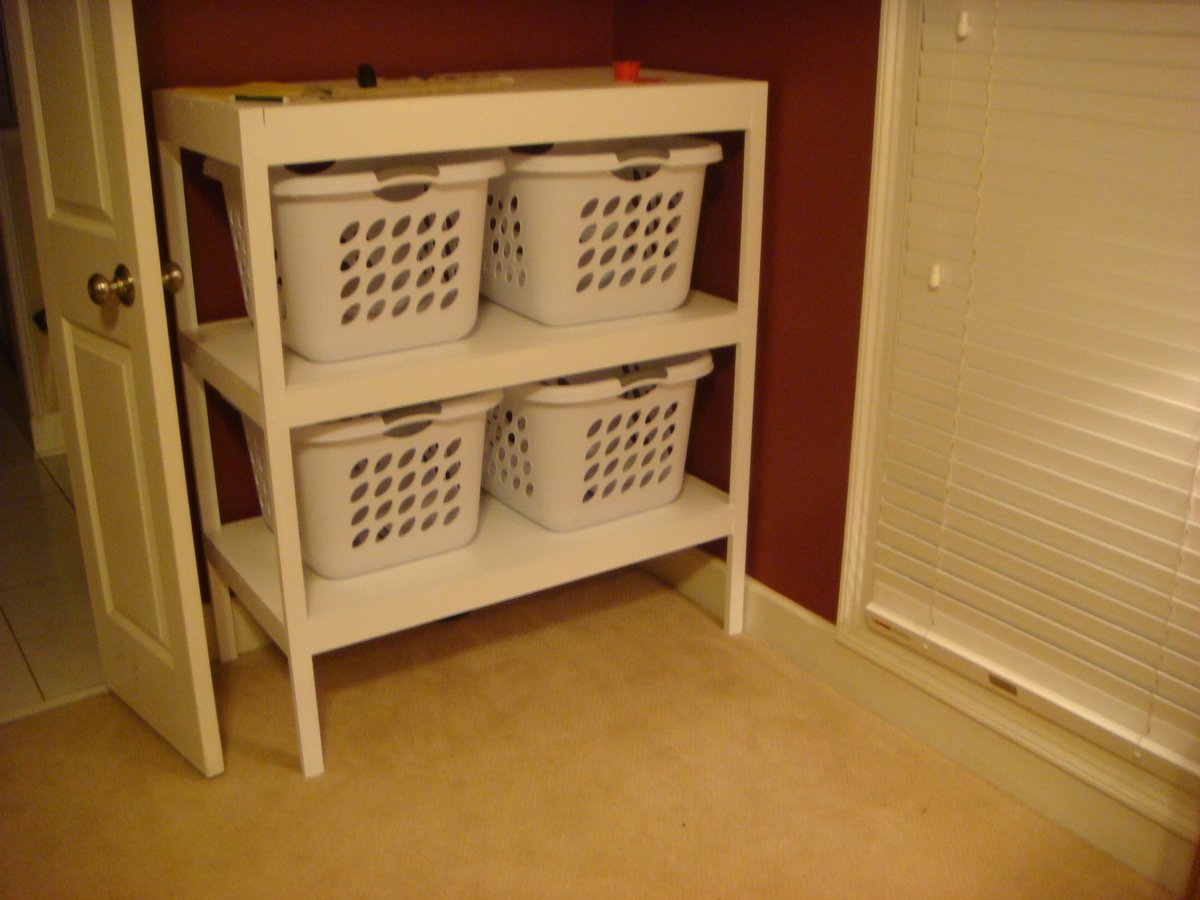
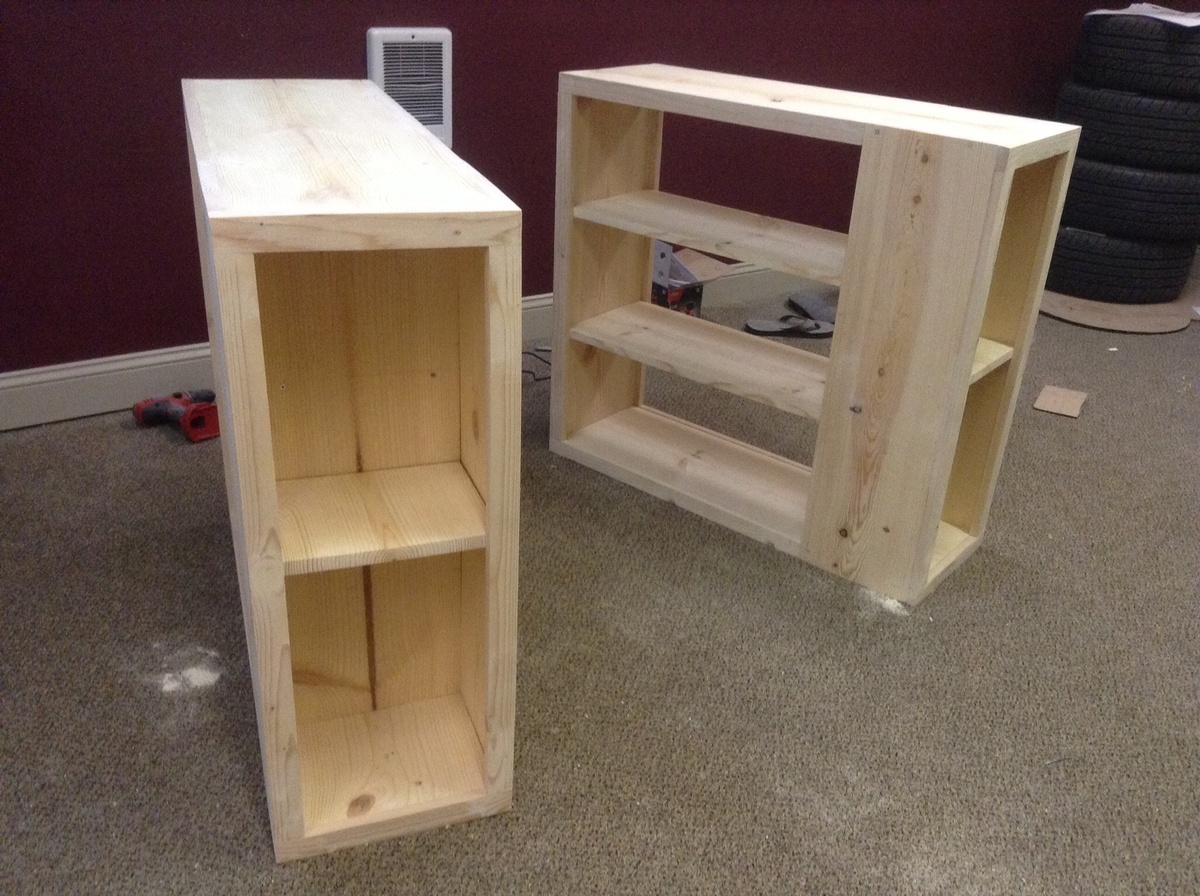
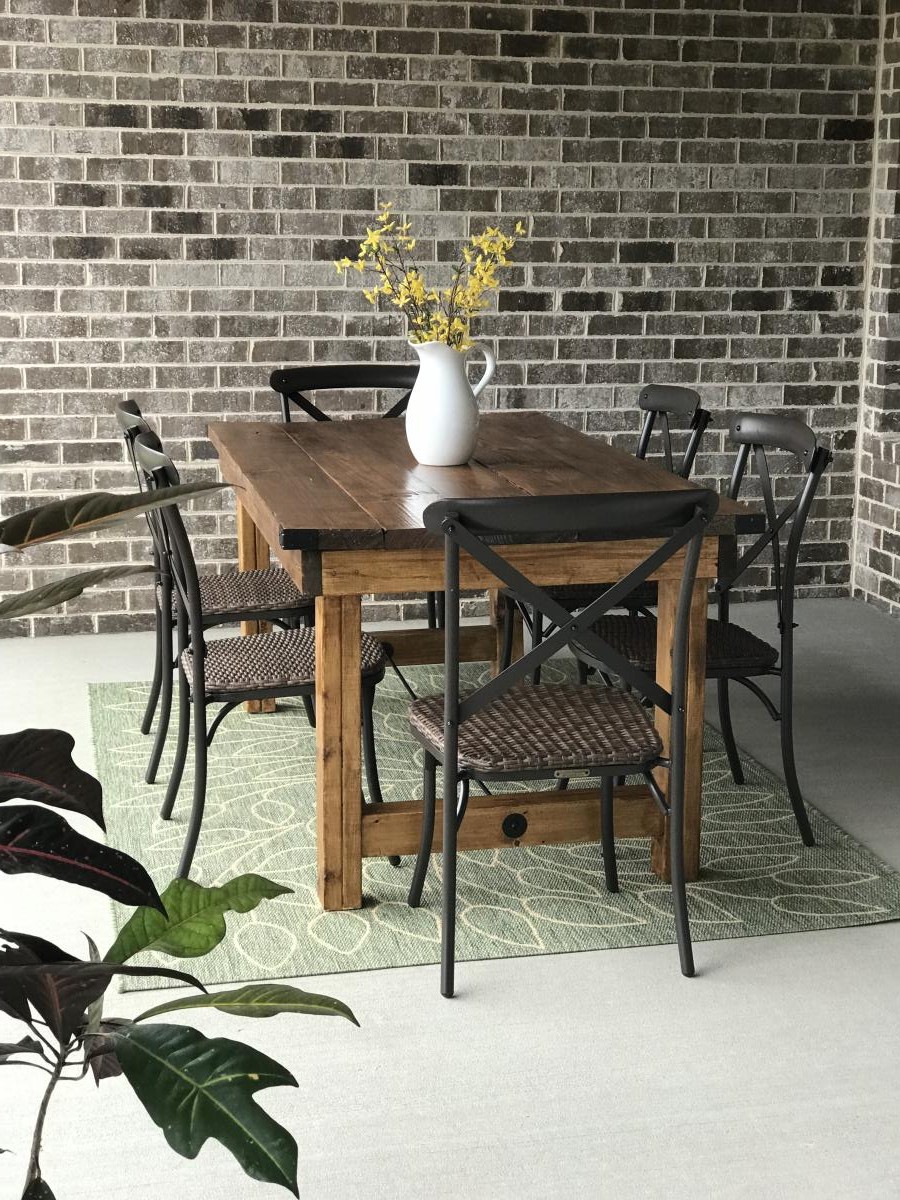
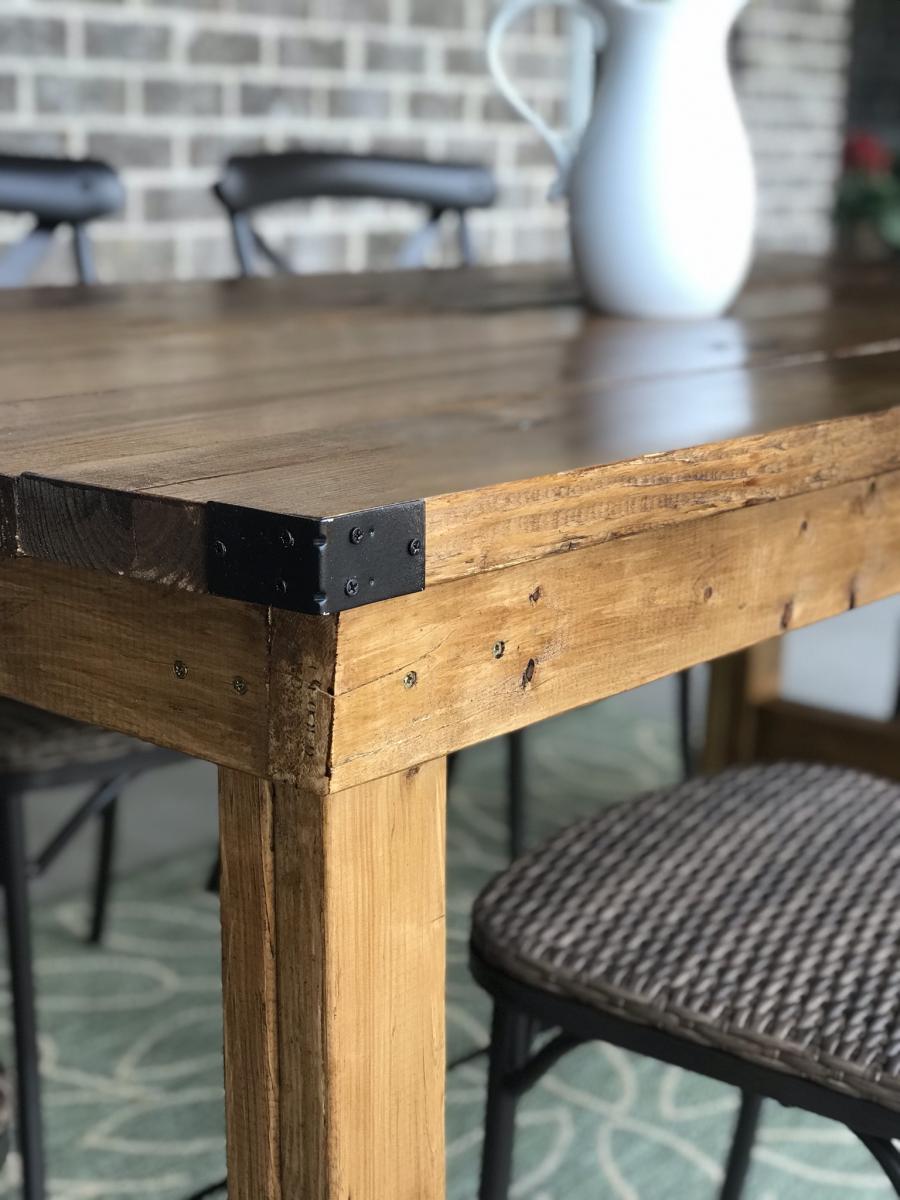
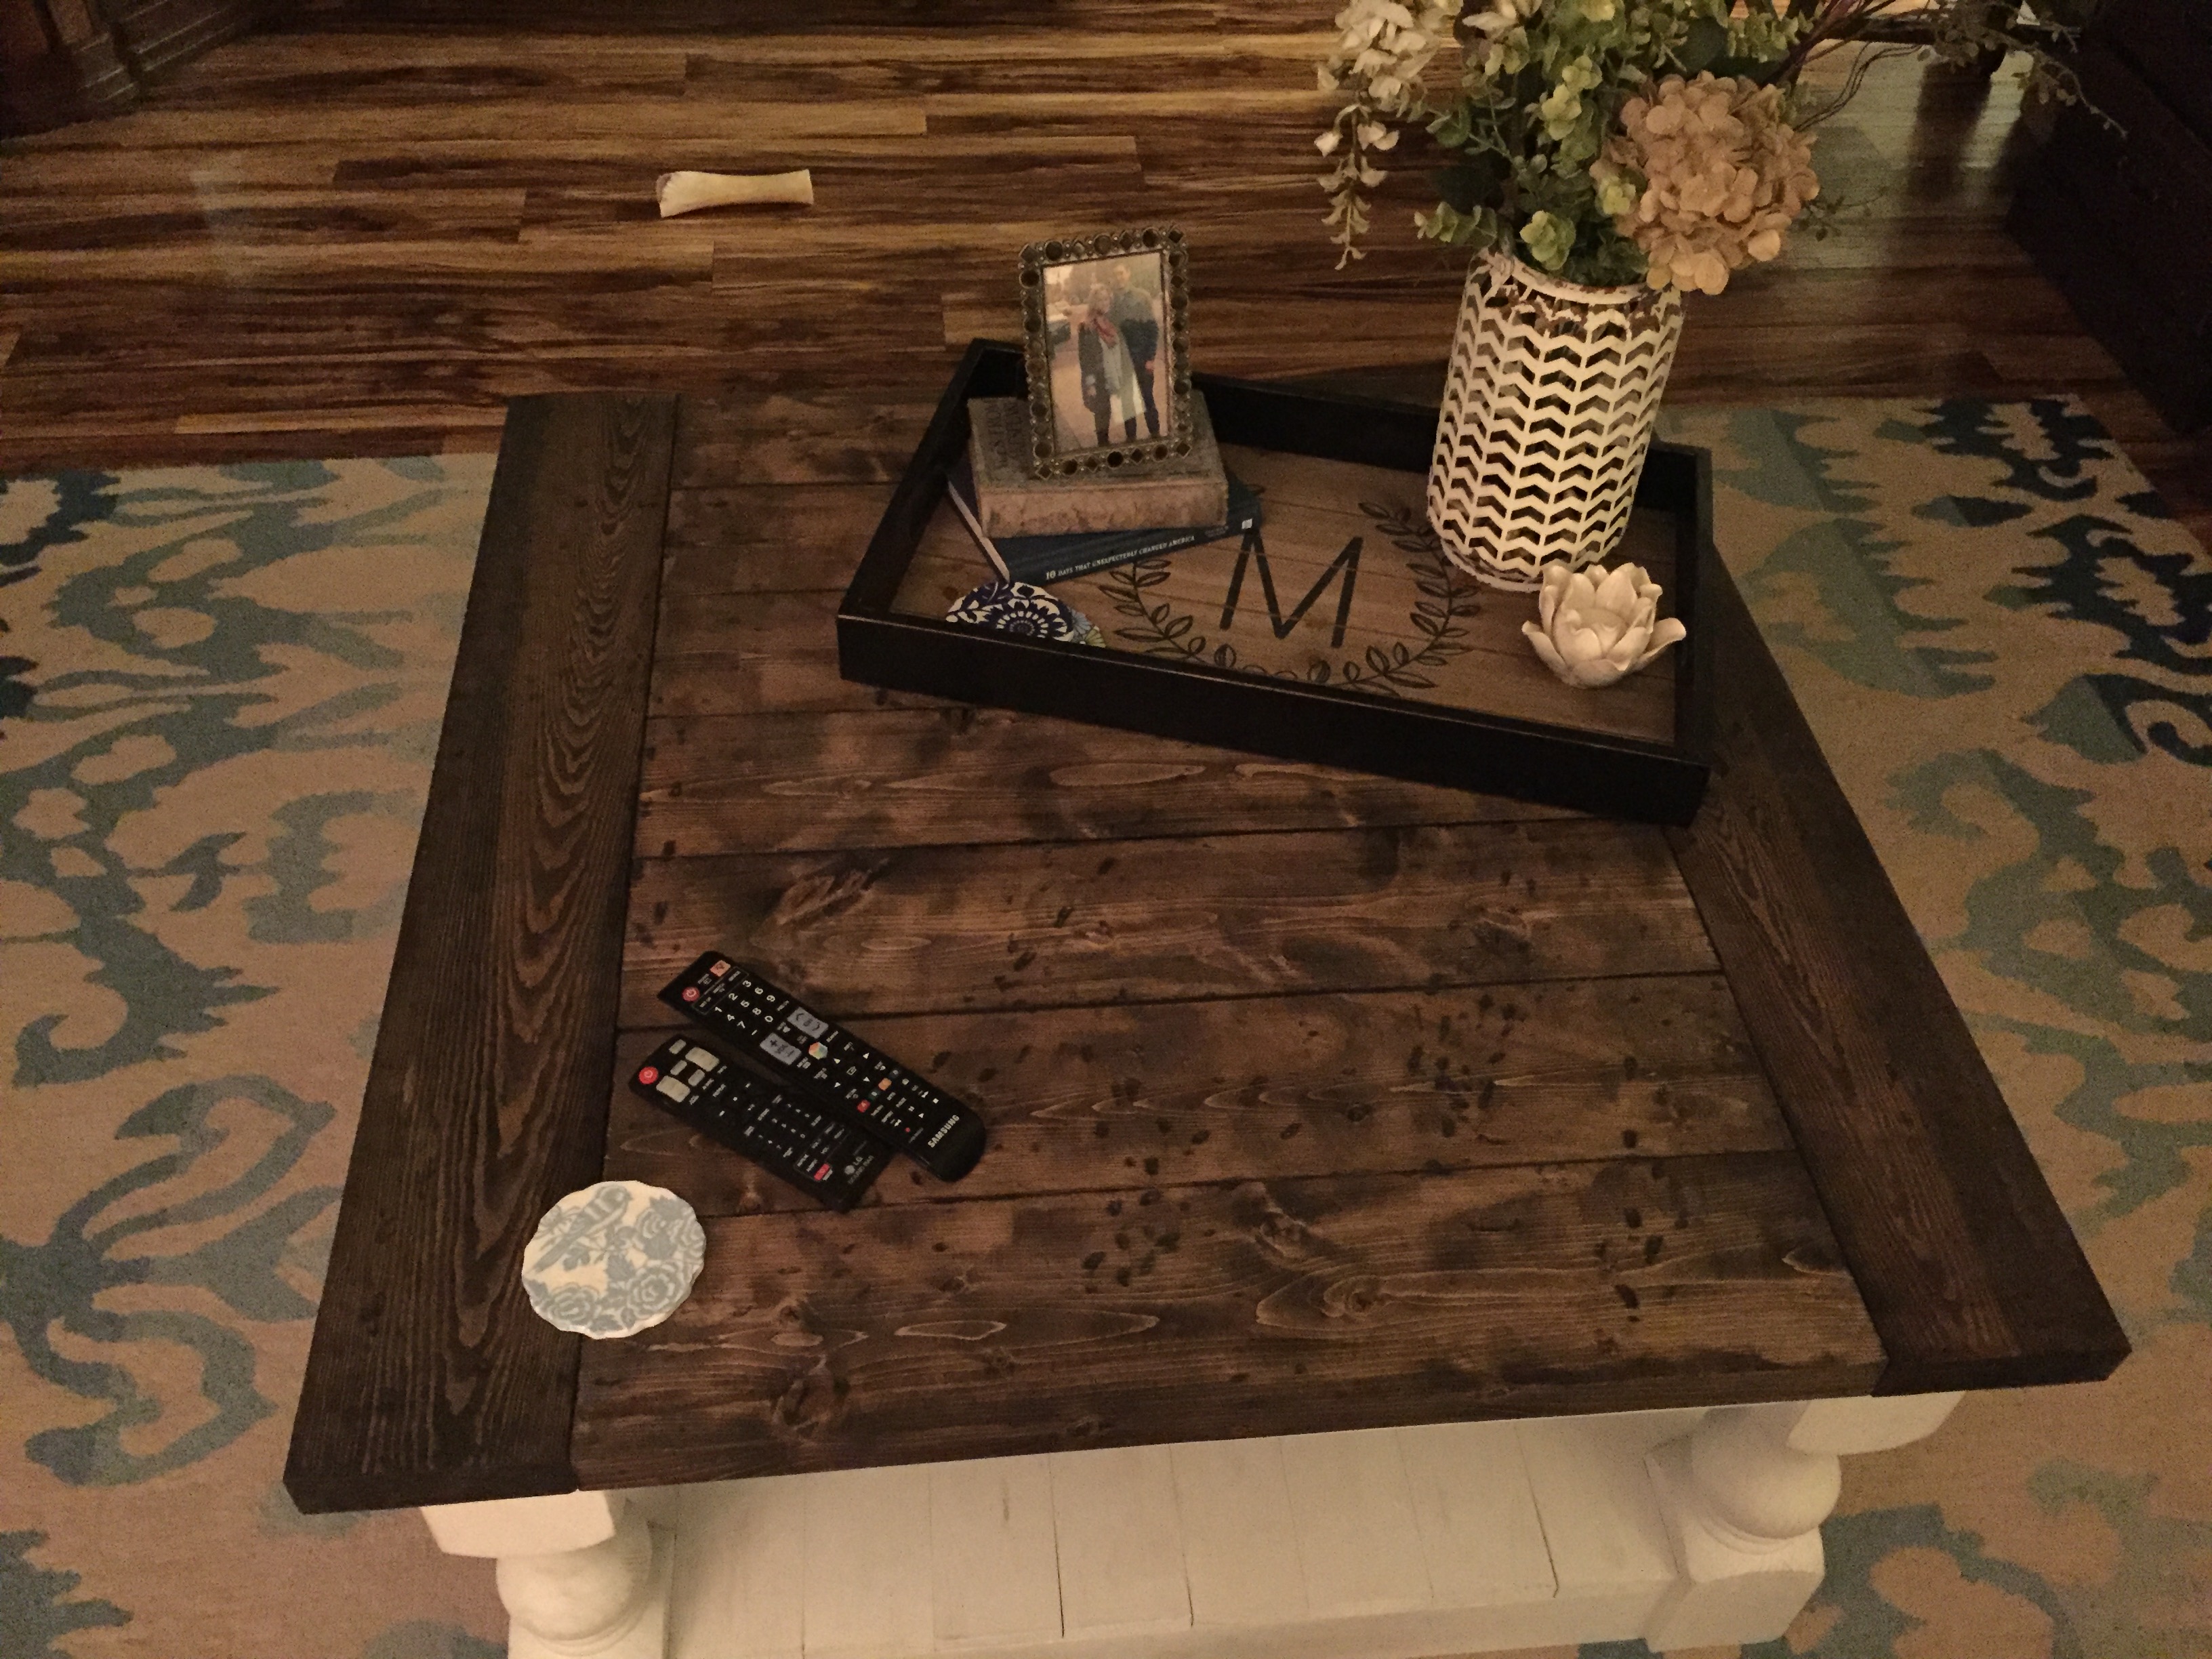
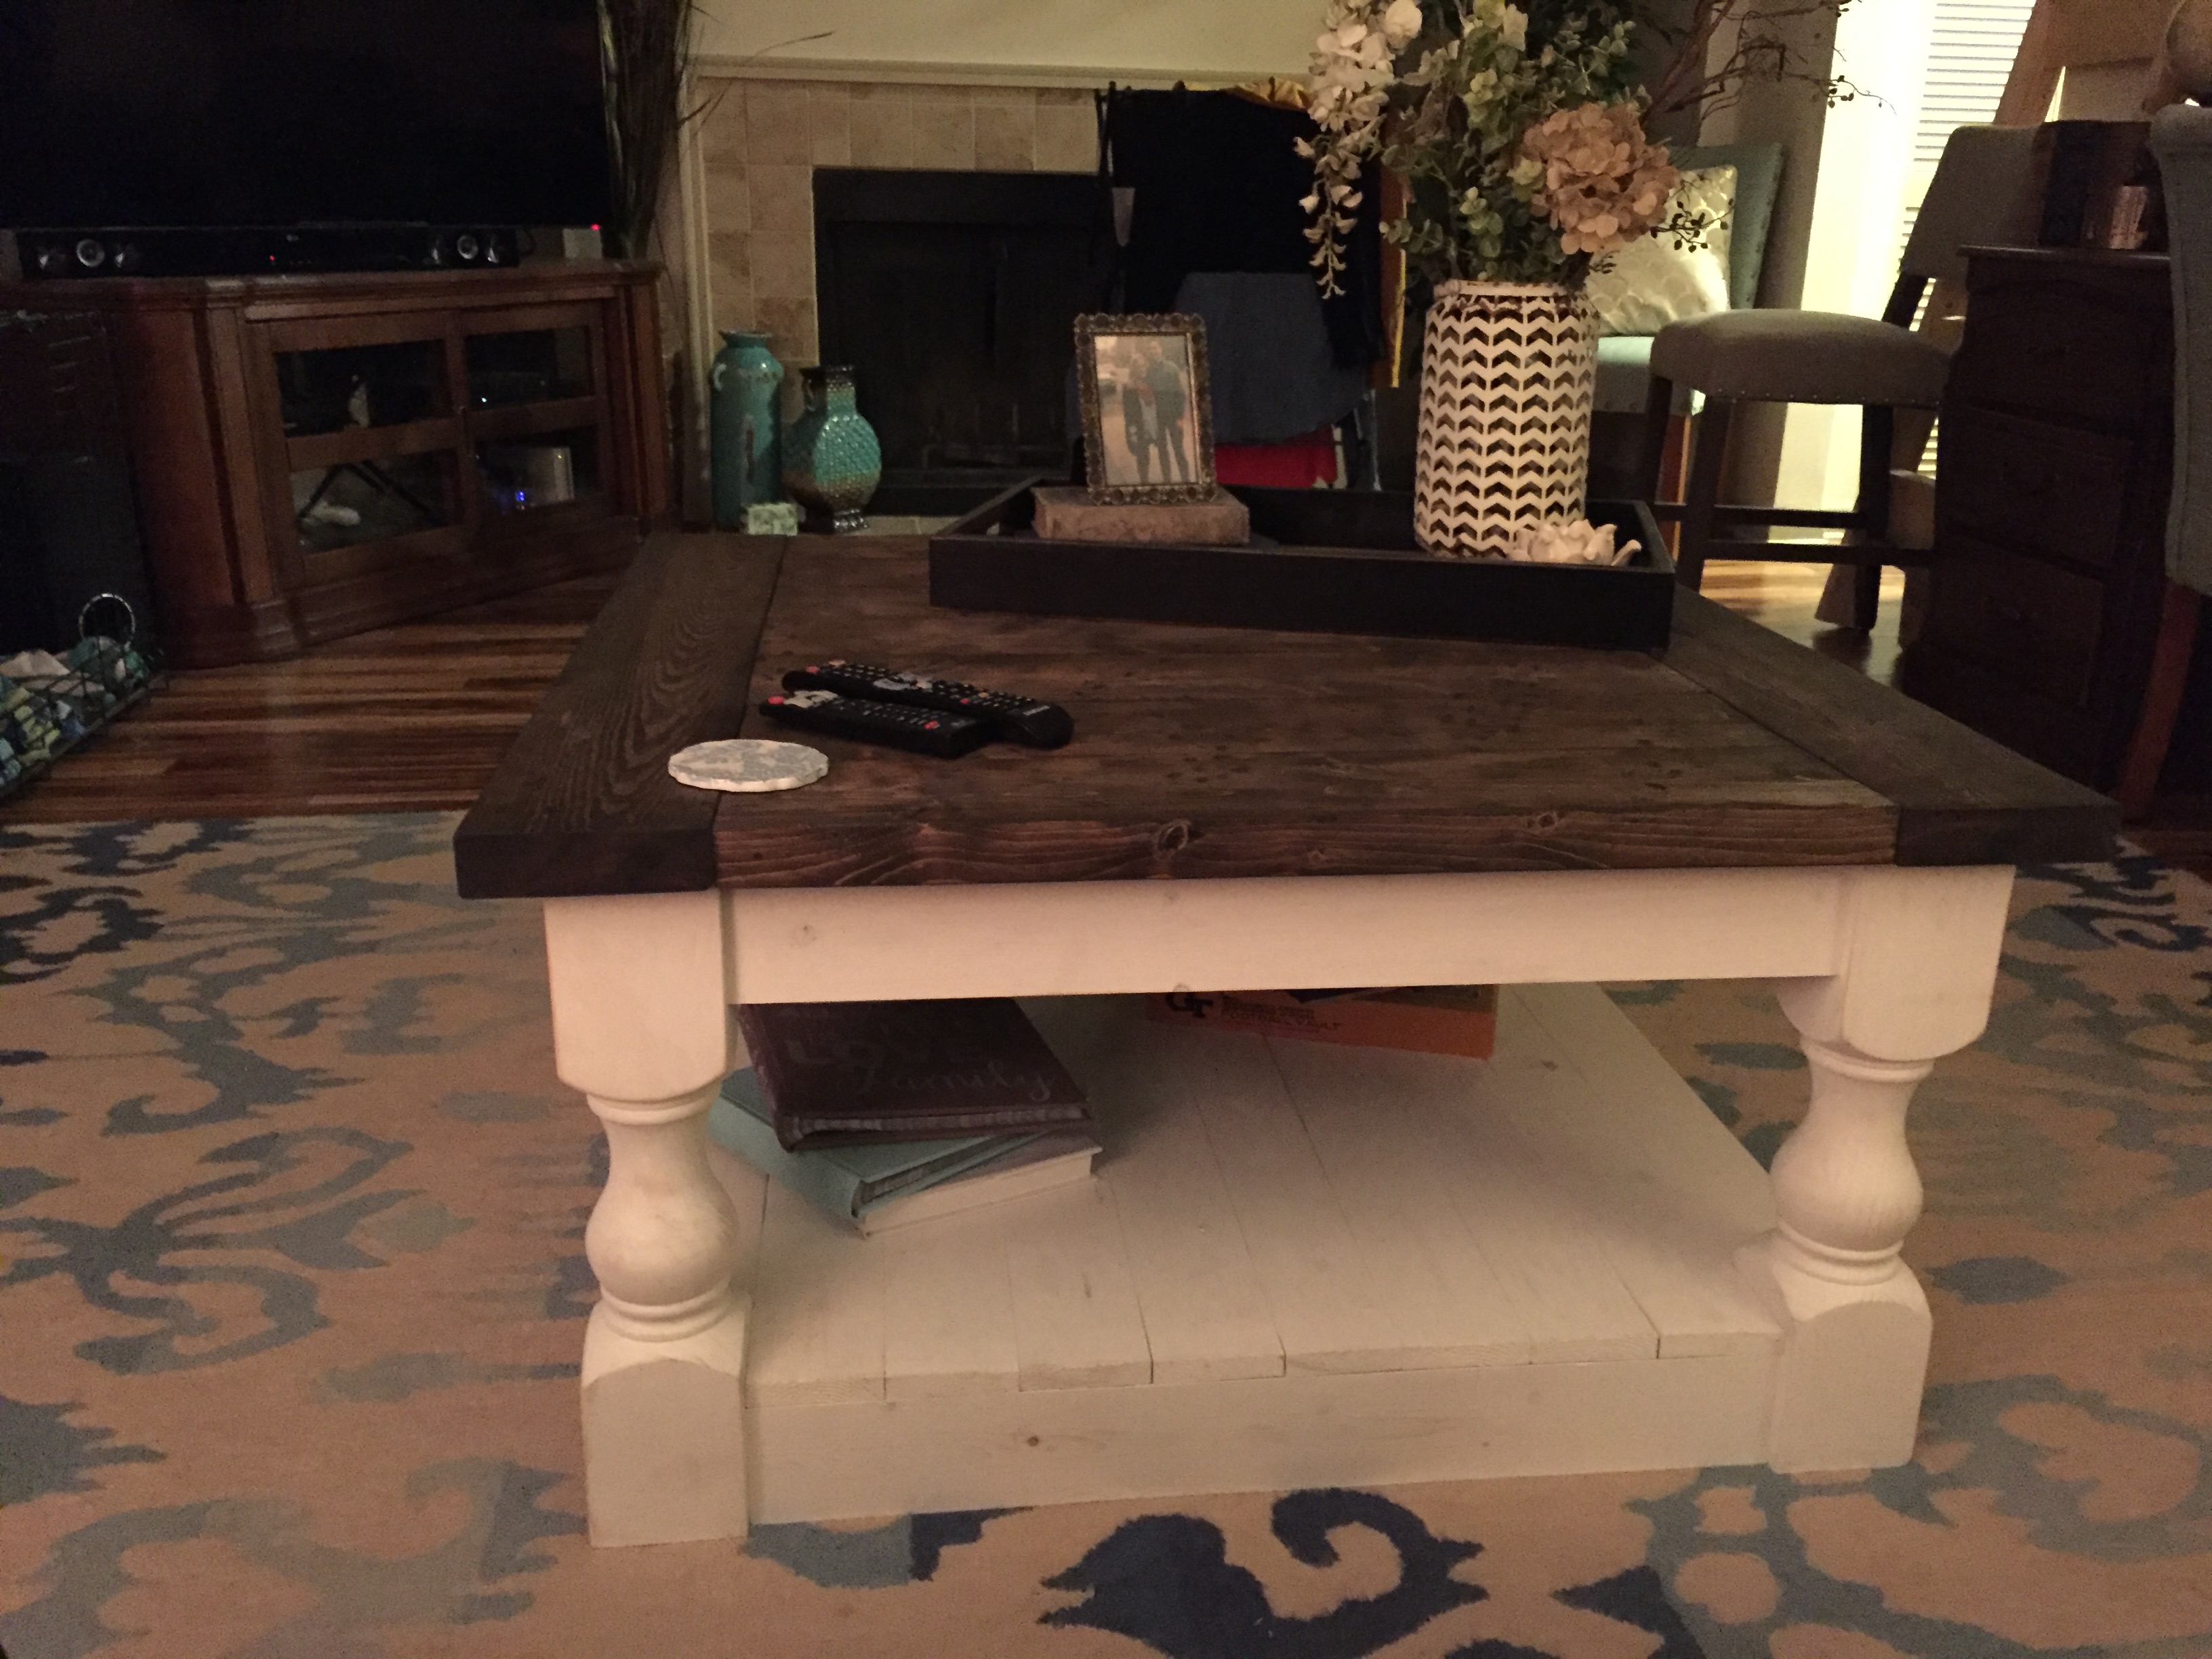
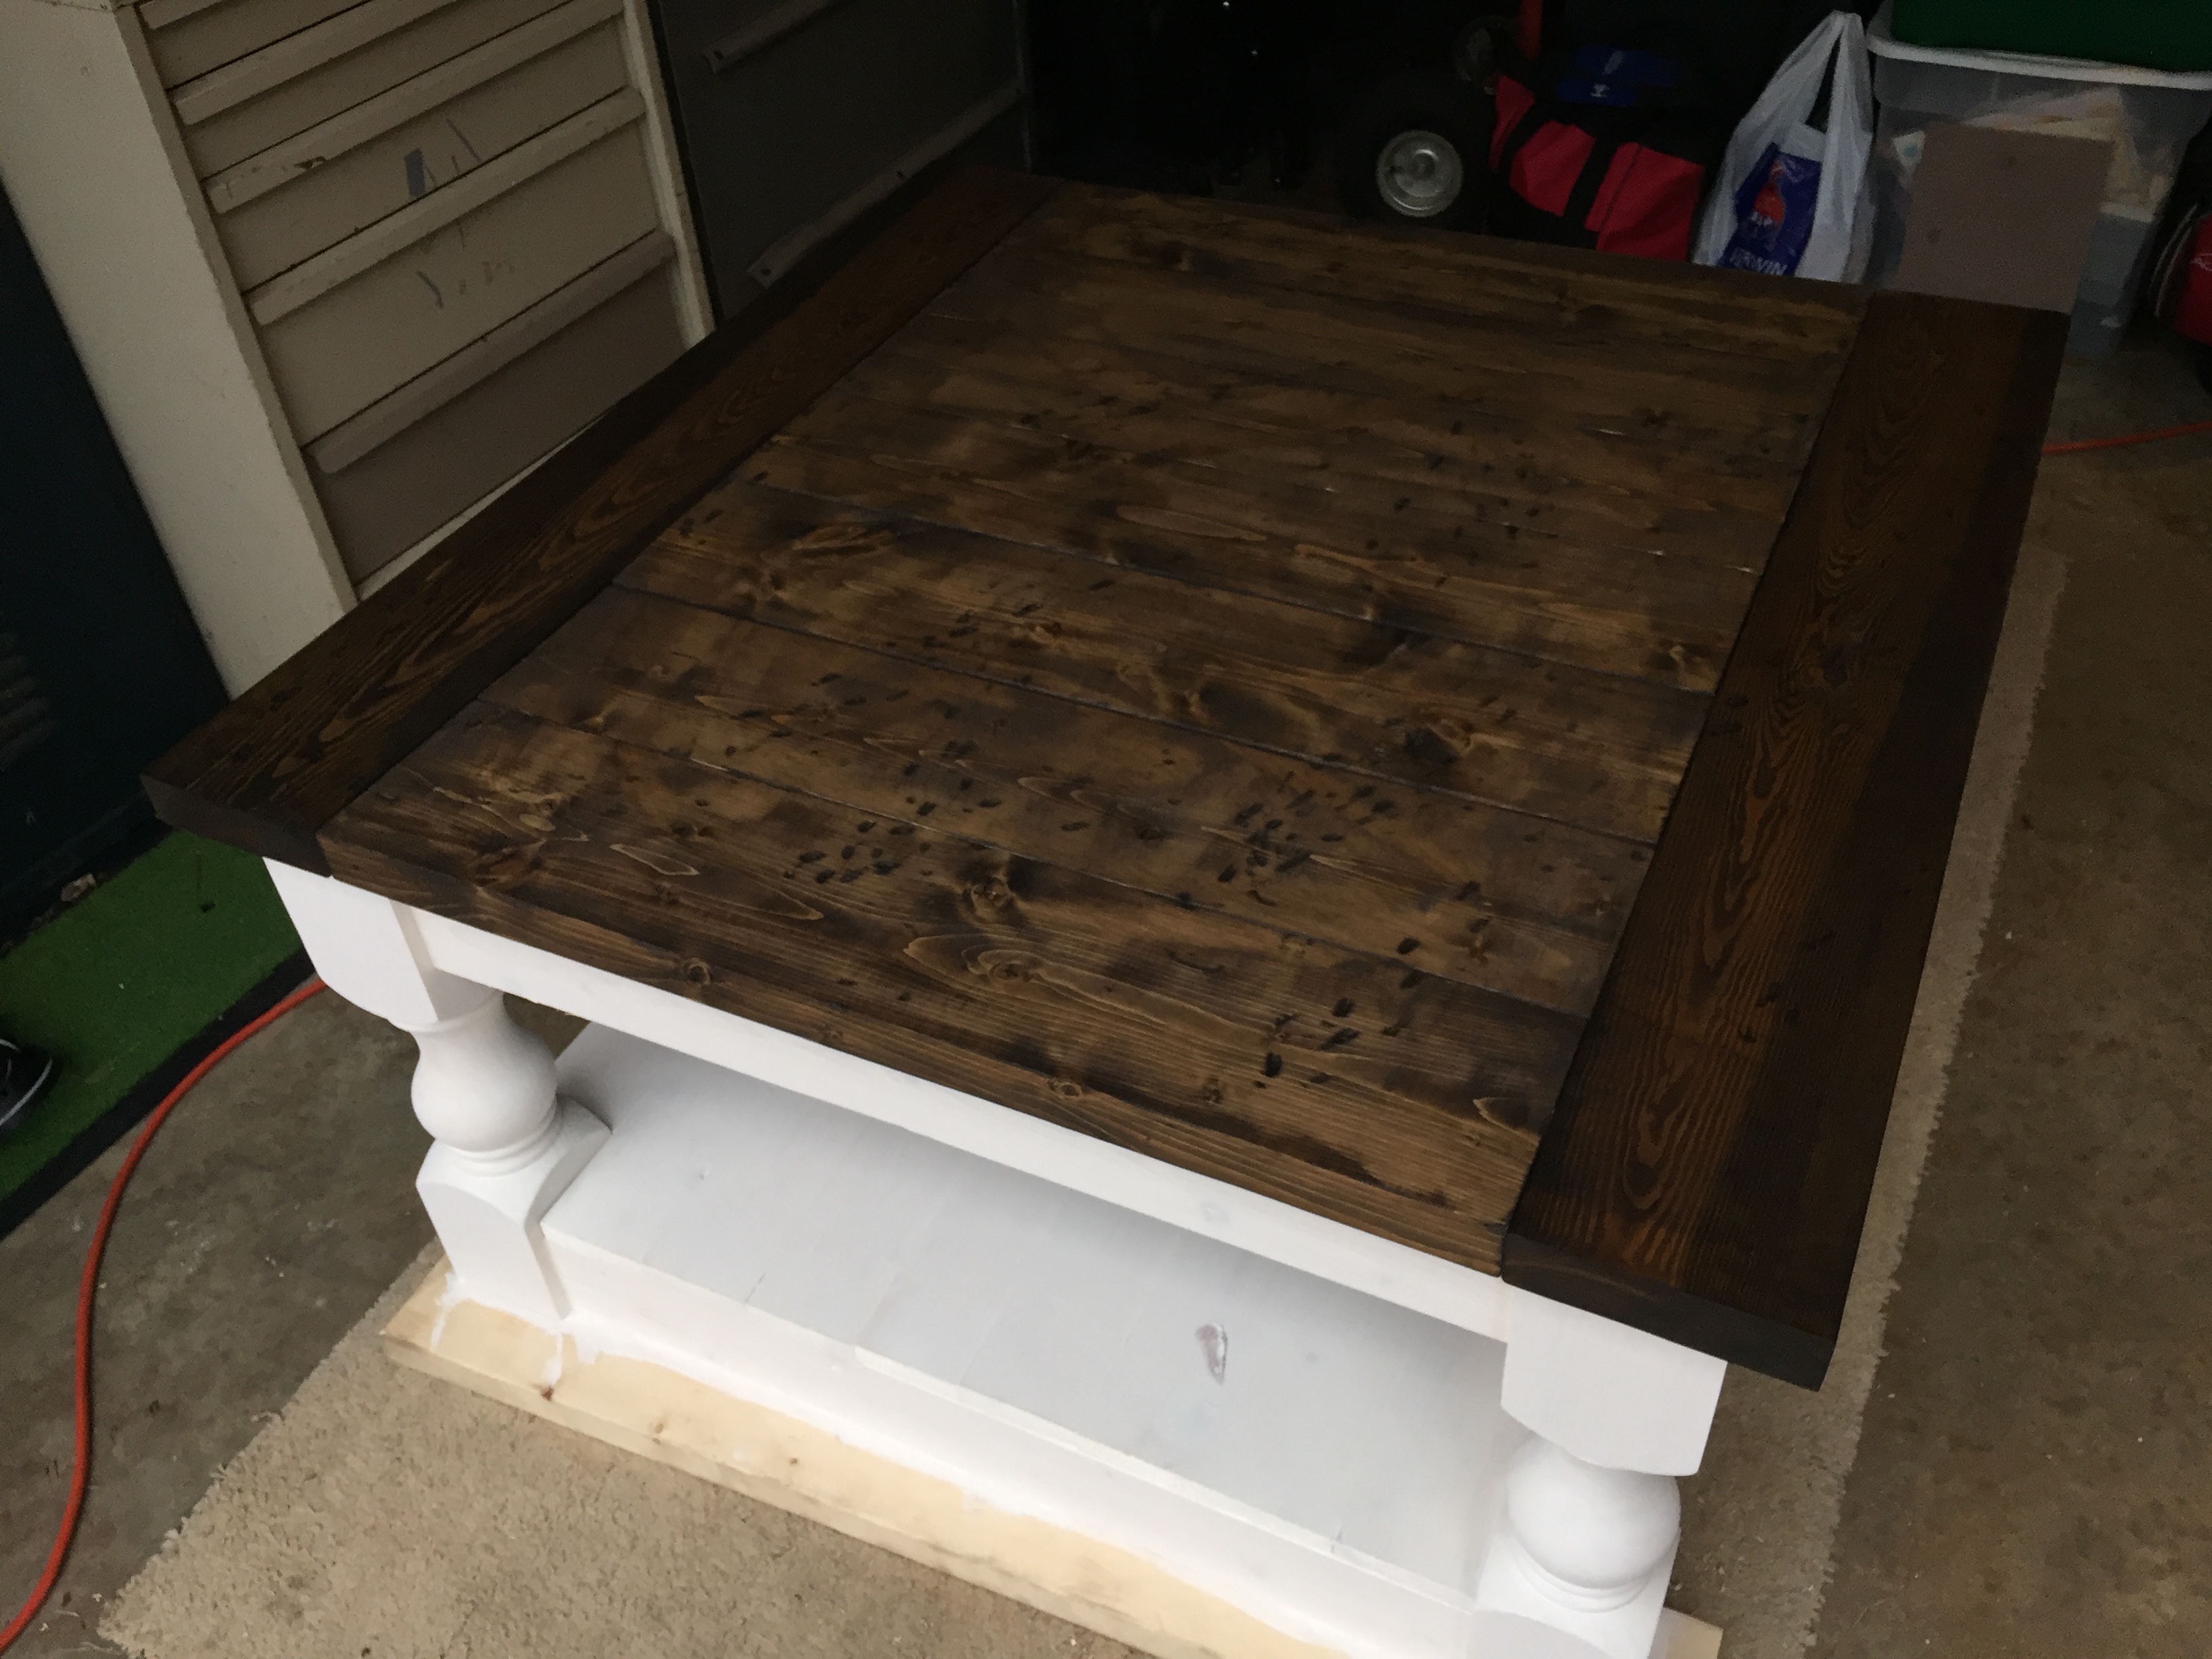
Rustic Coffee Table
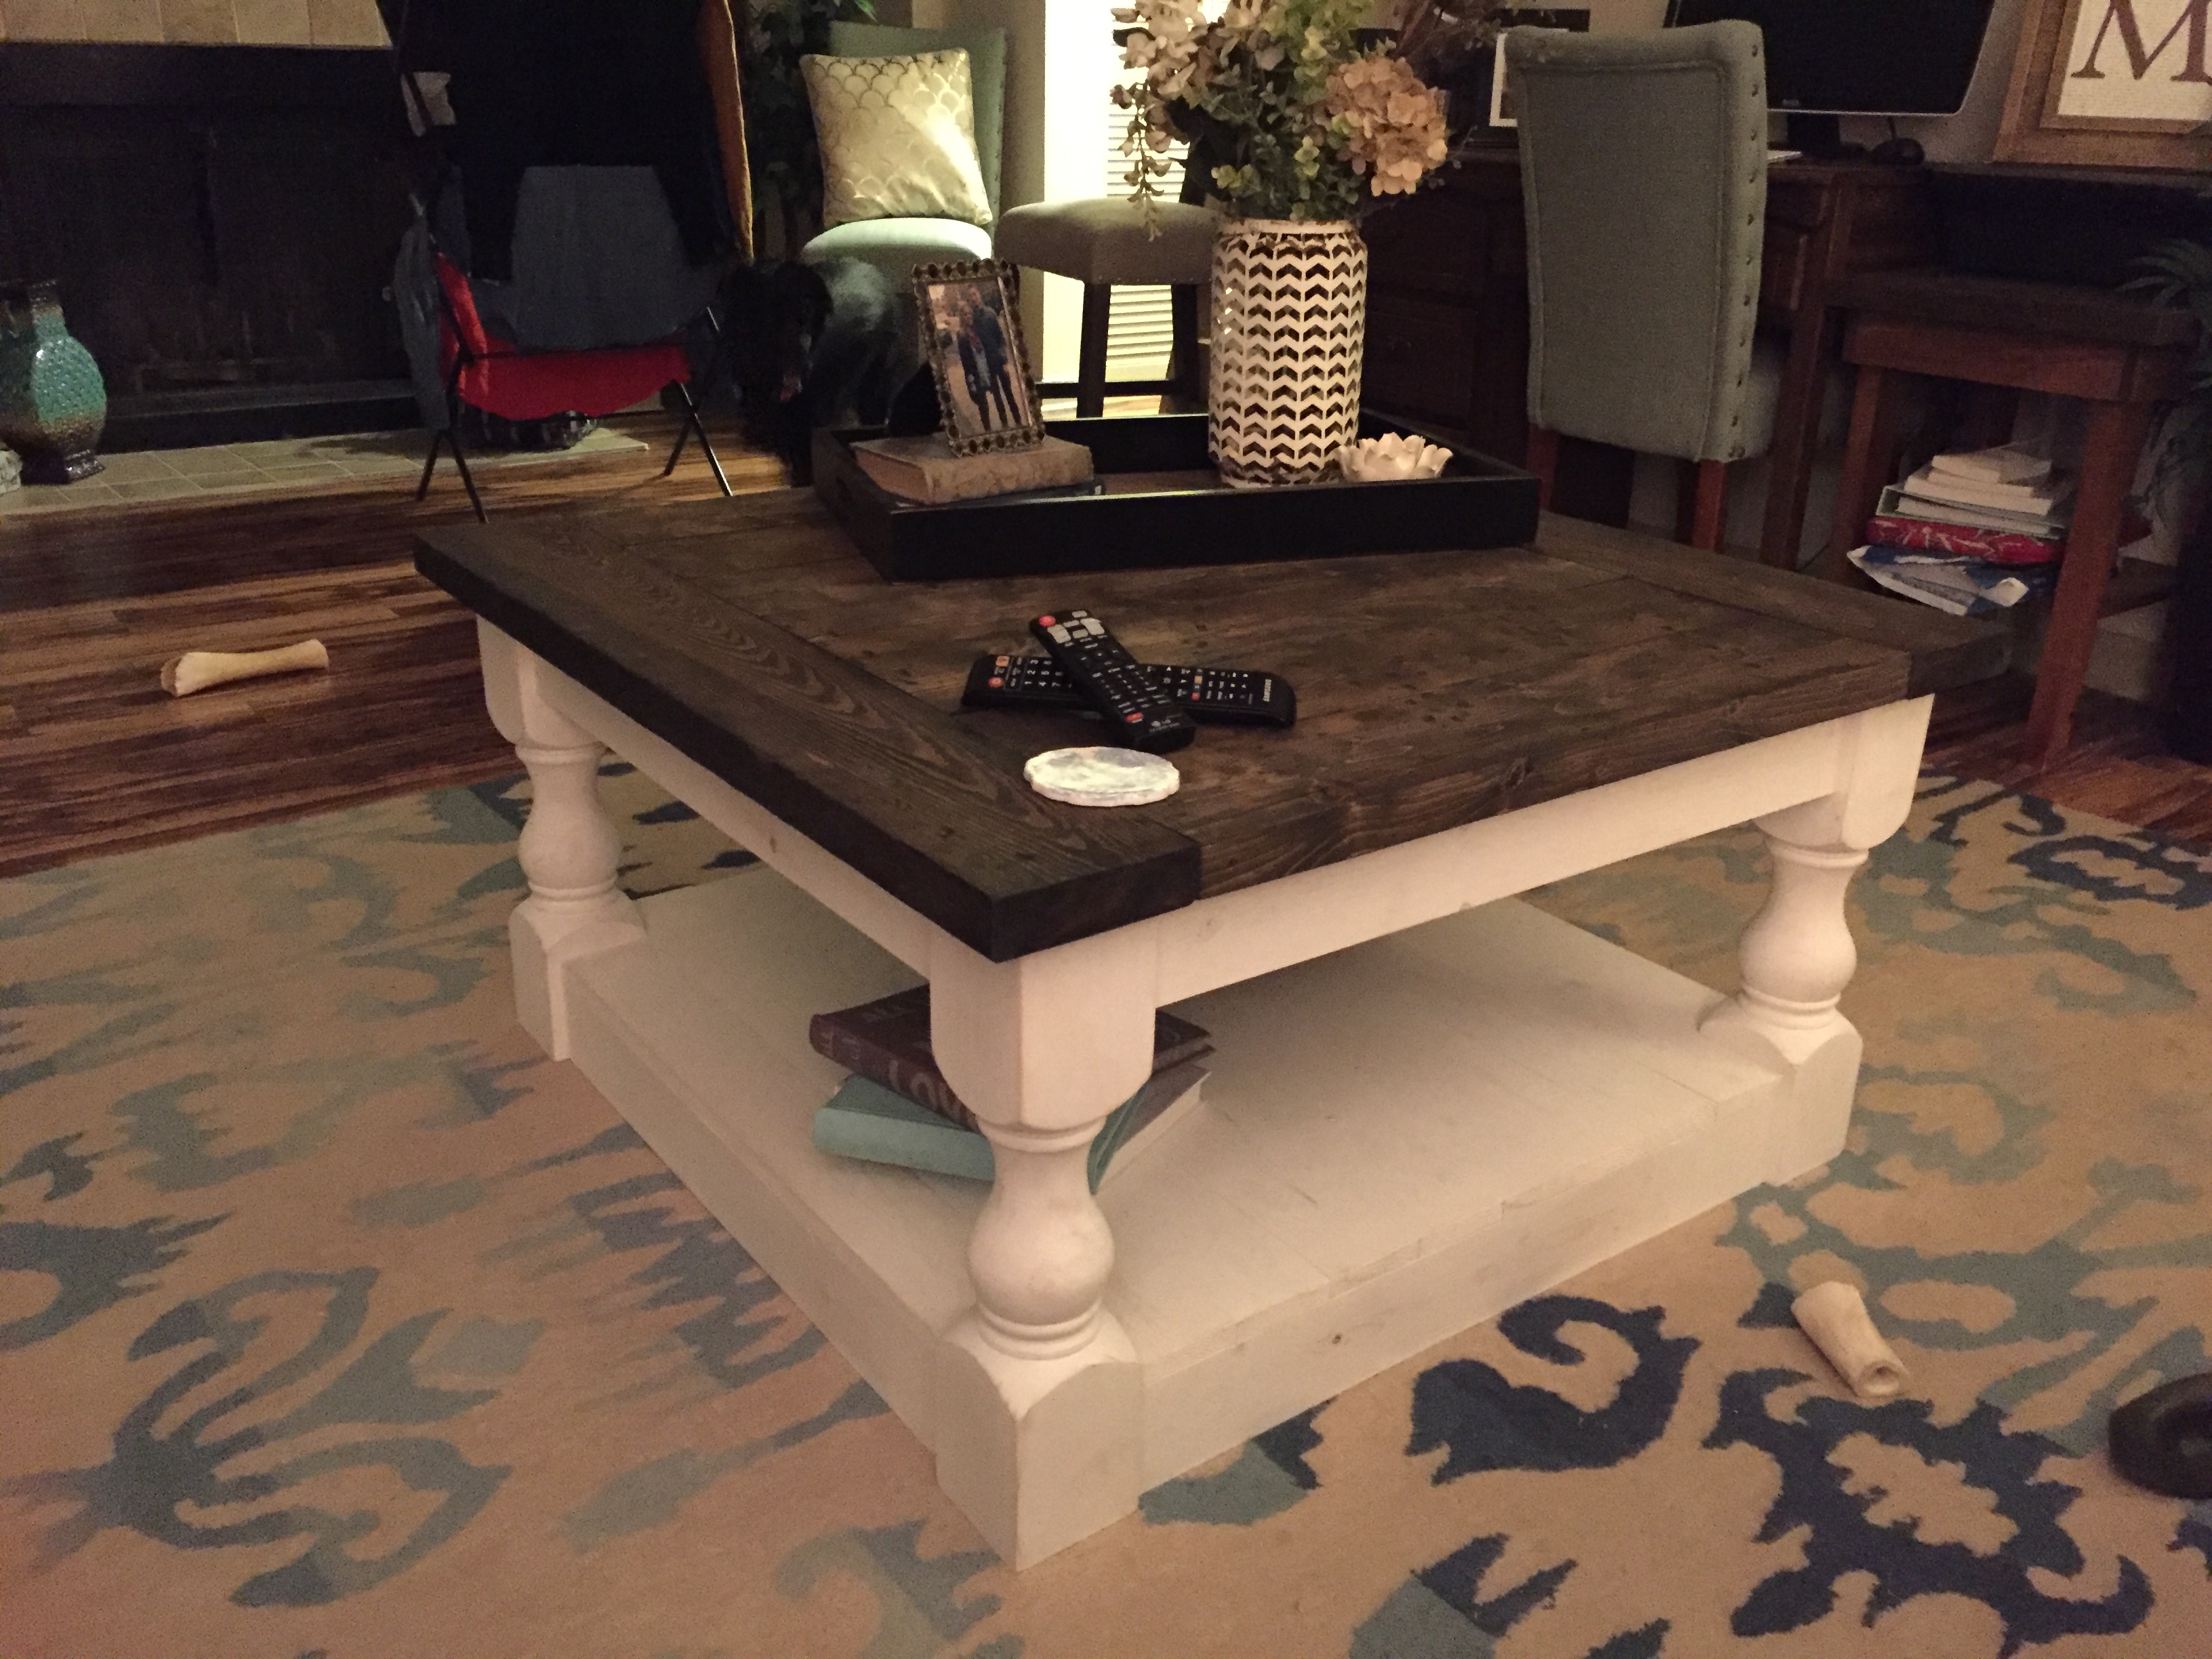
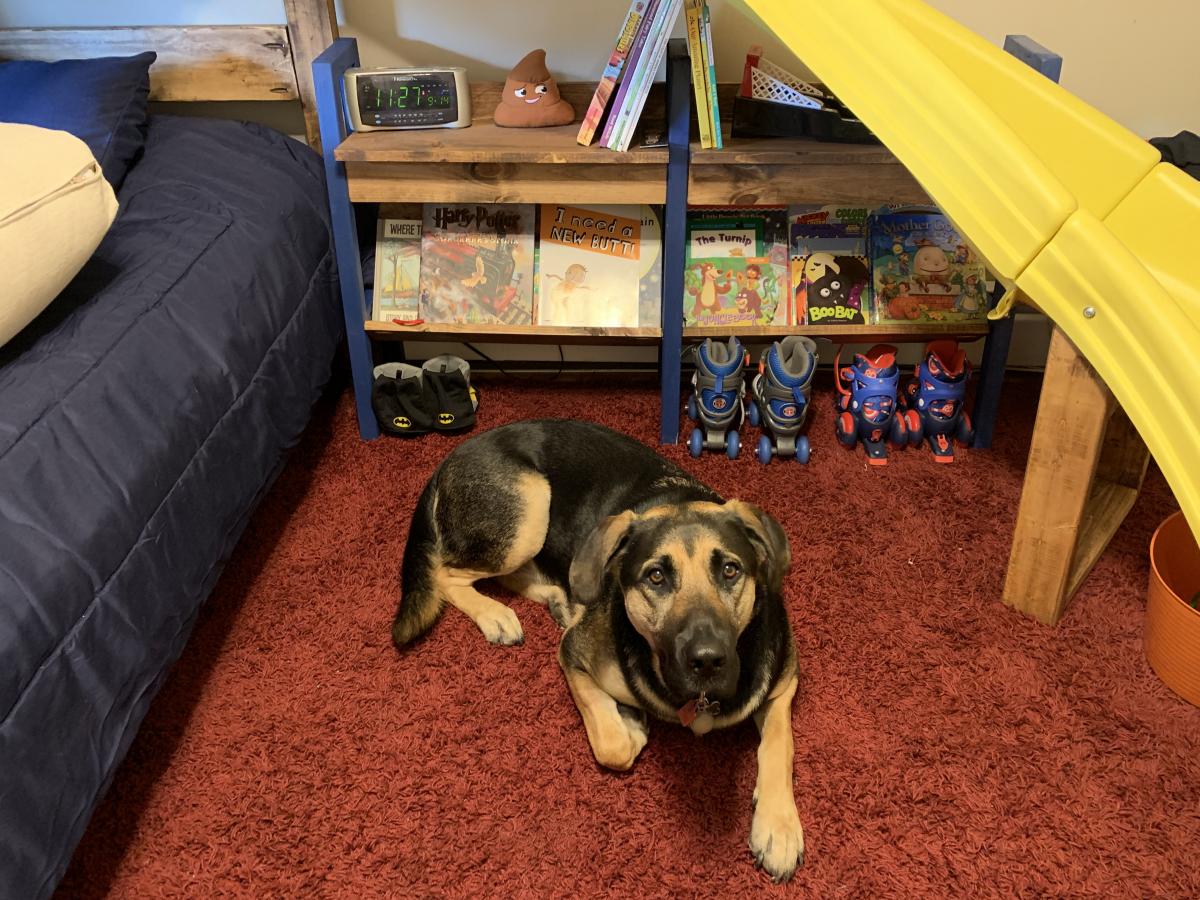
Handmade coffee table base on Corona plans. Bottom shelf was chagned to wooden slats instead of solid plywood.
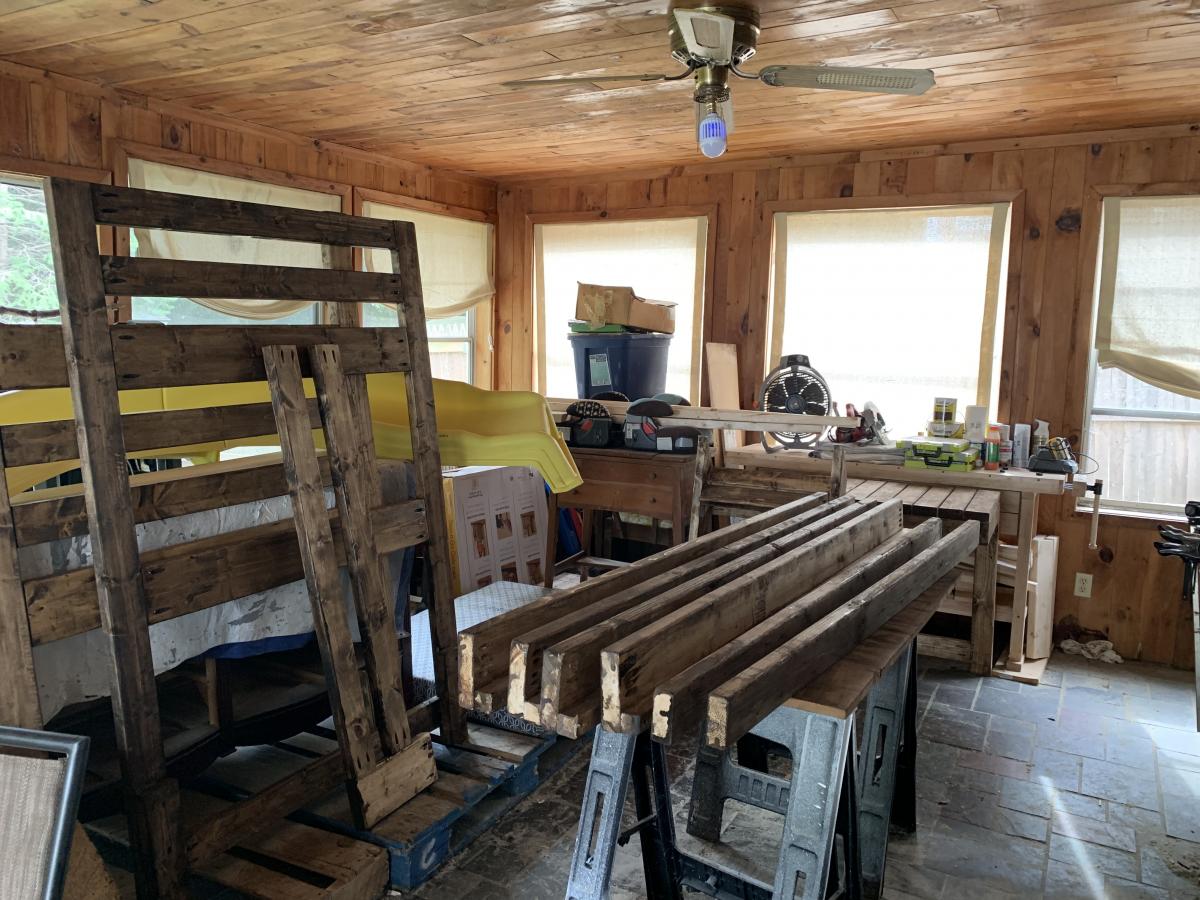
Built from Plan(s)
Estimated Cost
$200
Estimated Time Investment
Weekend Project (10-20 Hours)
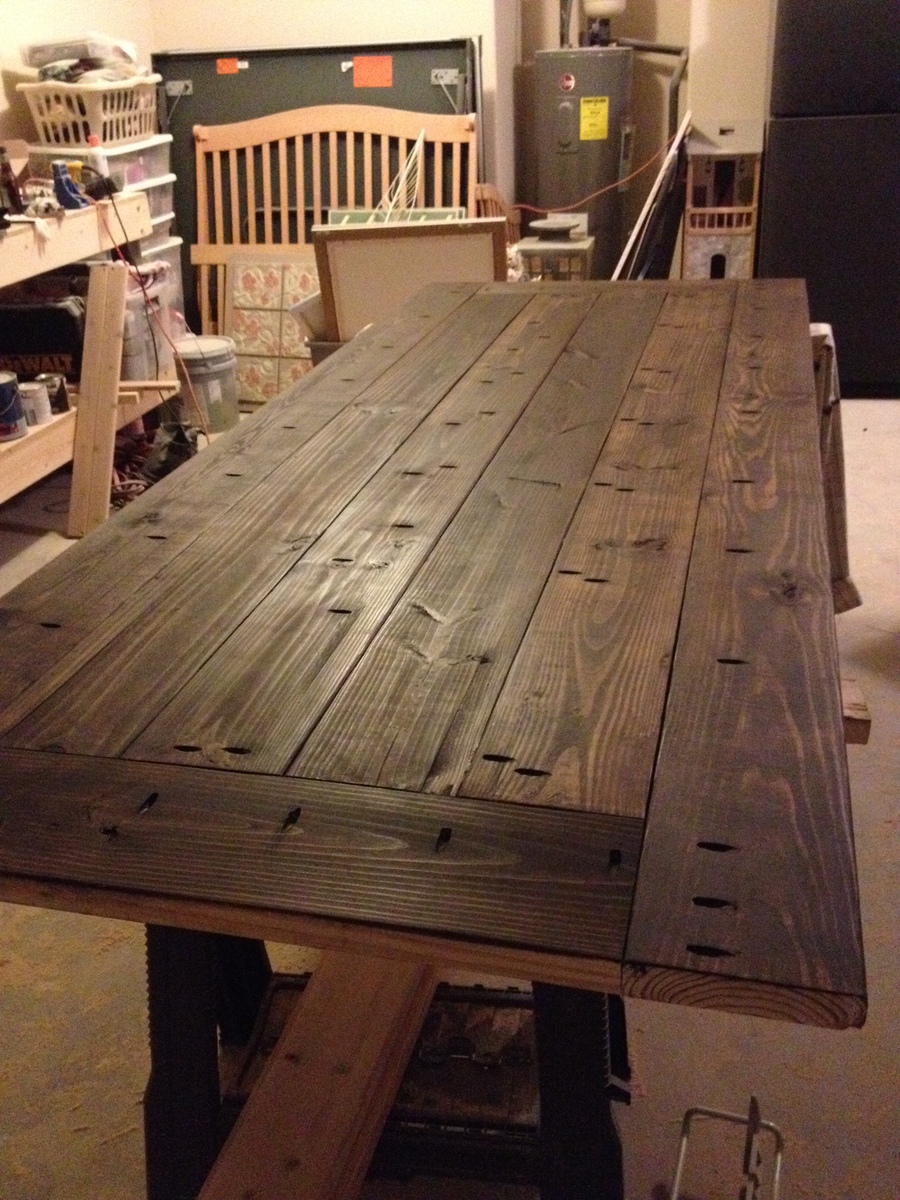
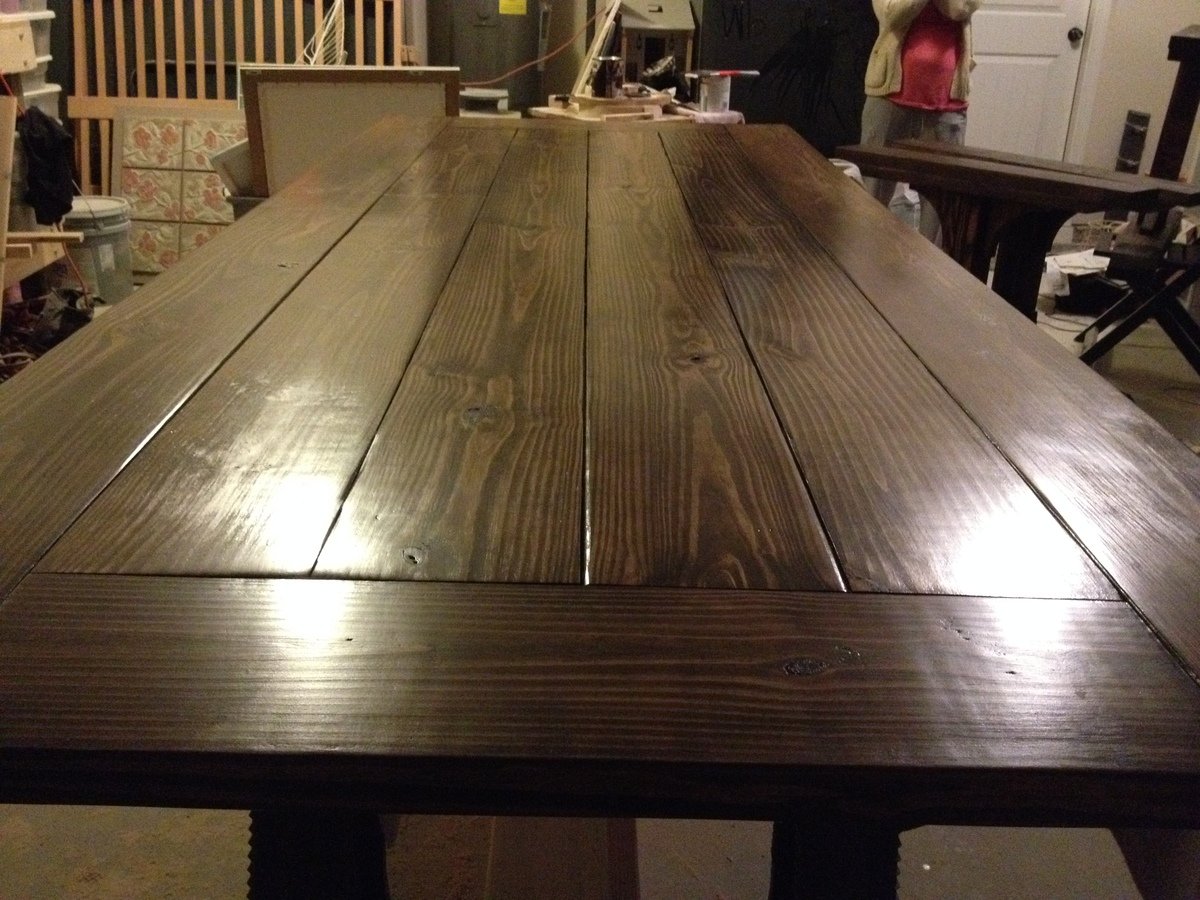
Finish Used
Minwax Jacobsen Stain
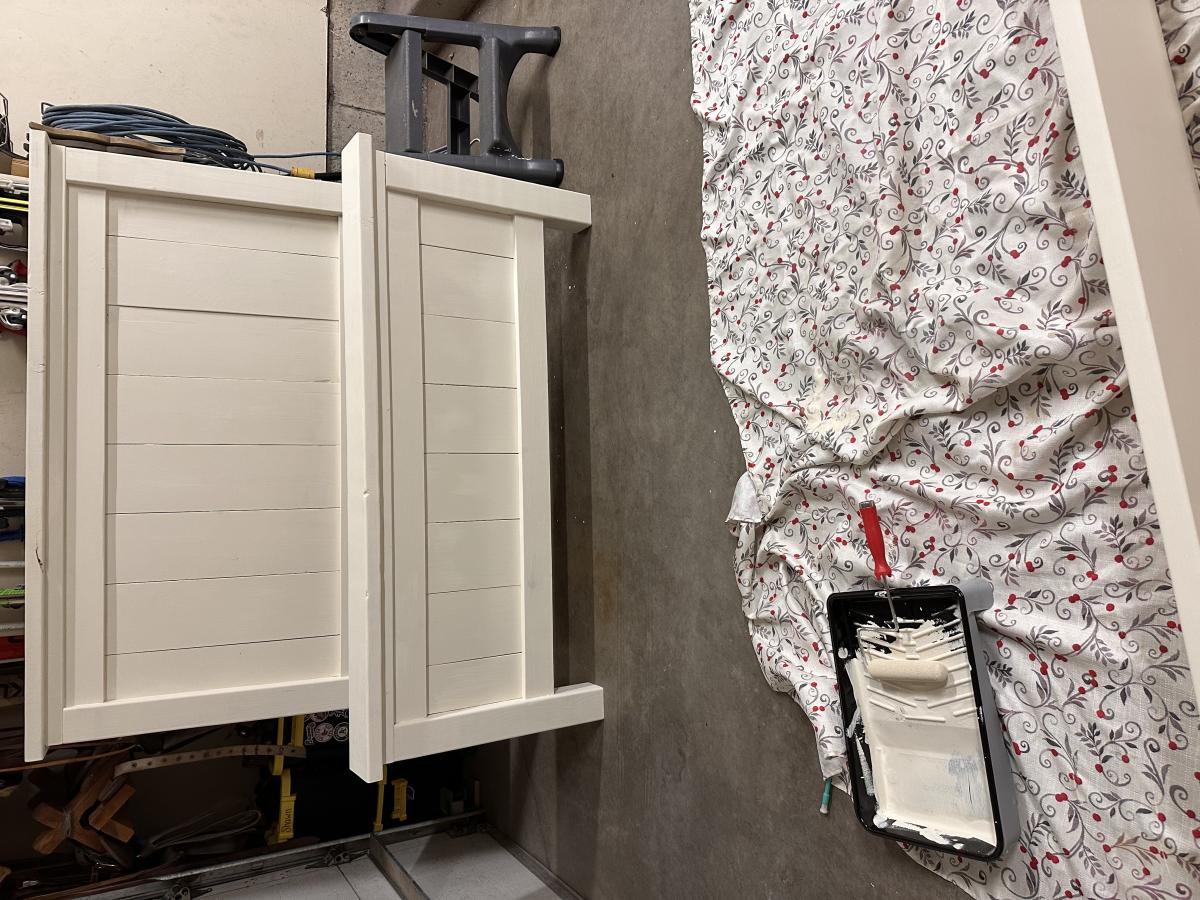
Behr White Paint thinned with water
Behr White Paint thinned with water
Recommended Skill Level
Intermediate