Red Oak Truss Table
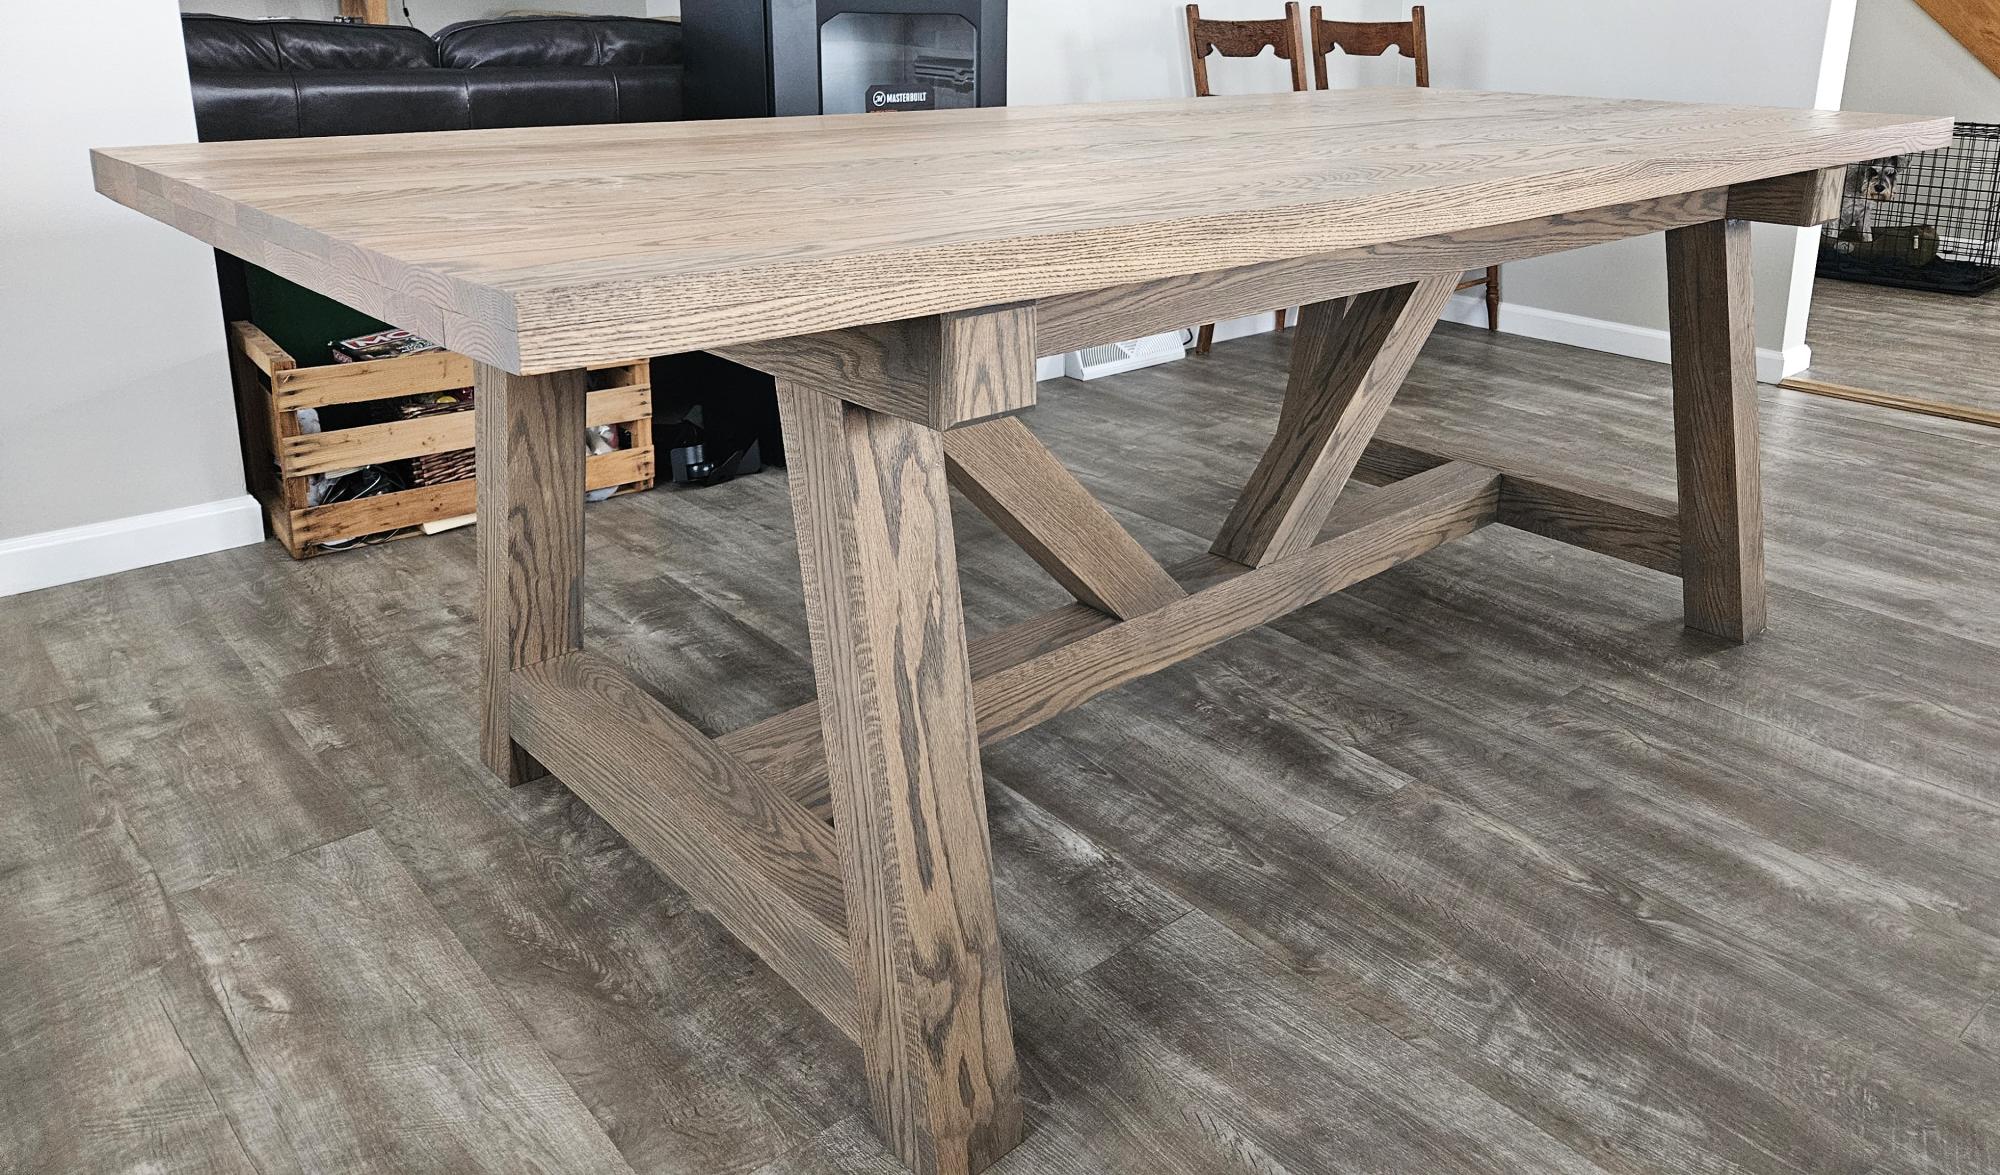
Used red oak lumber with ash grey rubio monocoat. The tabletop is 90"x40" and I made the base 64" long in order to place a chair at each end of the table.
Ashely Shook
Built from Plan(s)
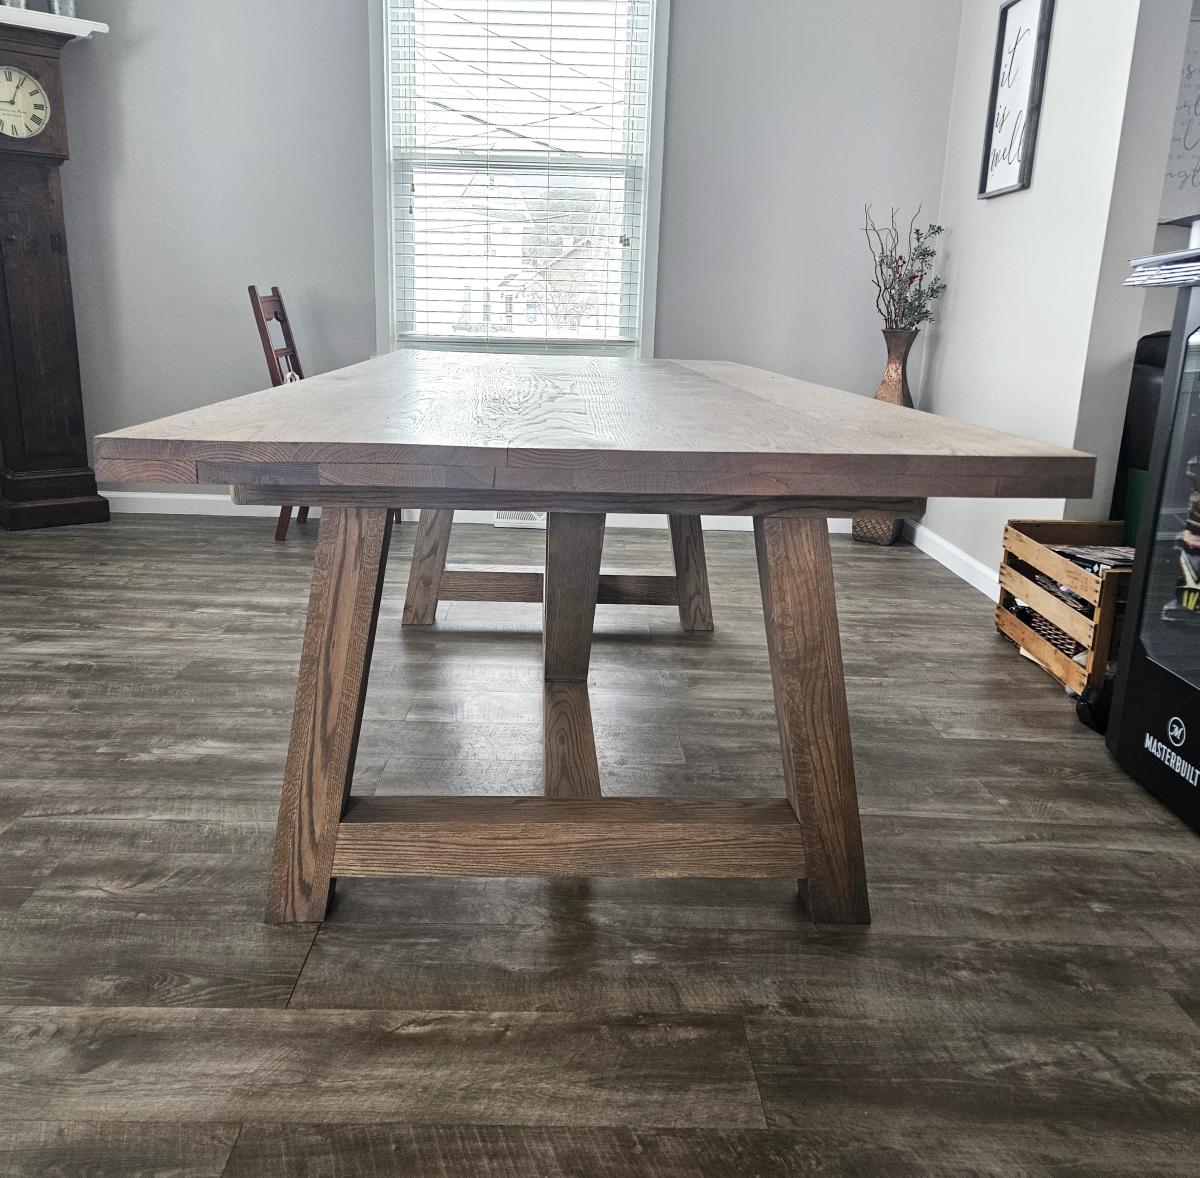
Used red oak lumber with ash grey rubio monocoat. The tabletop is 90"x40" and I made the base 64" long in order to place a chair at each end of the table.
Ashely Shook
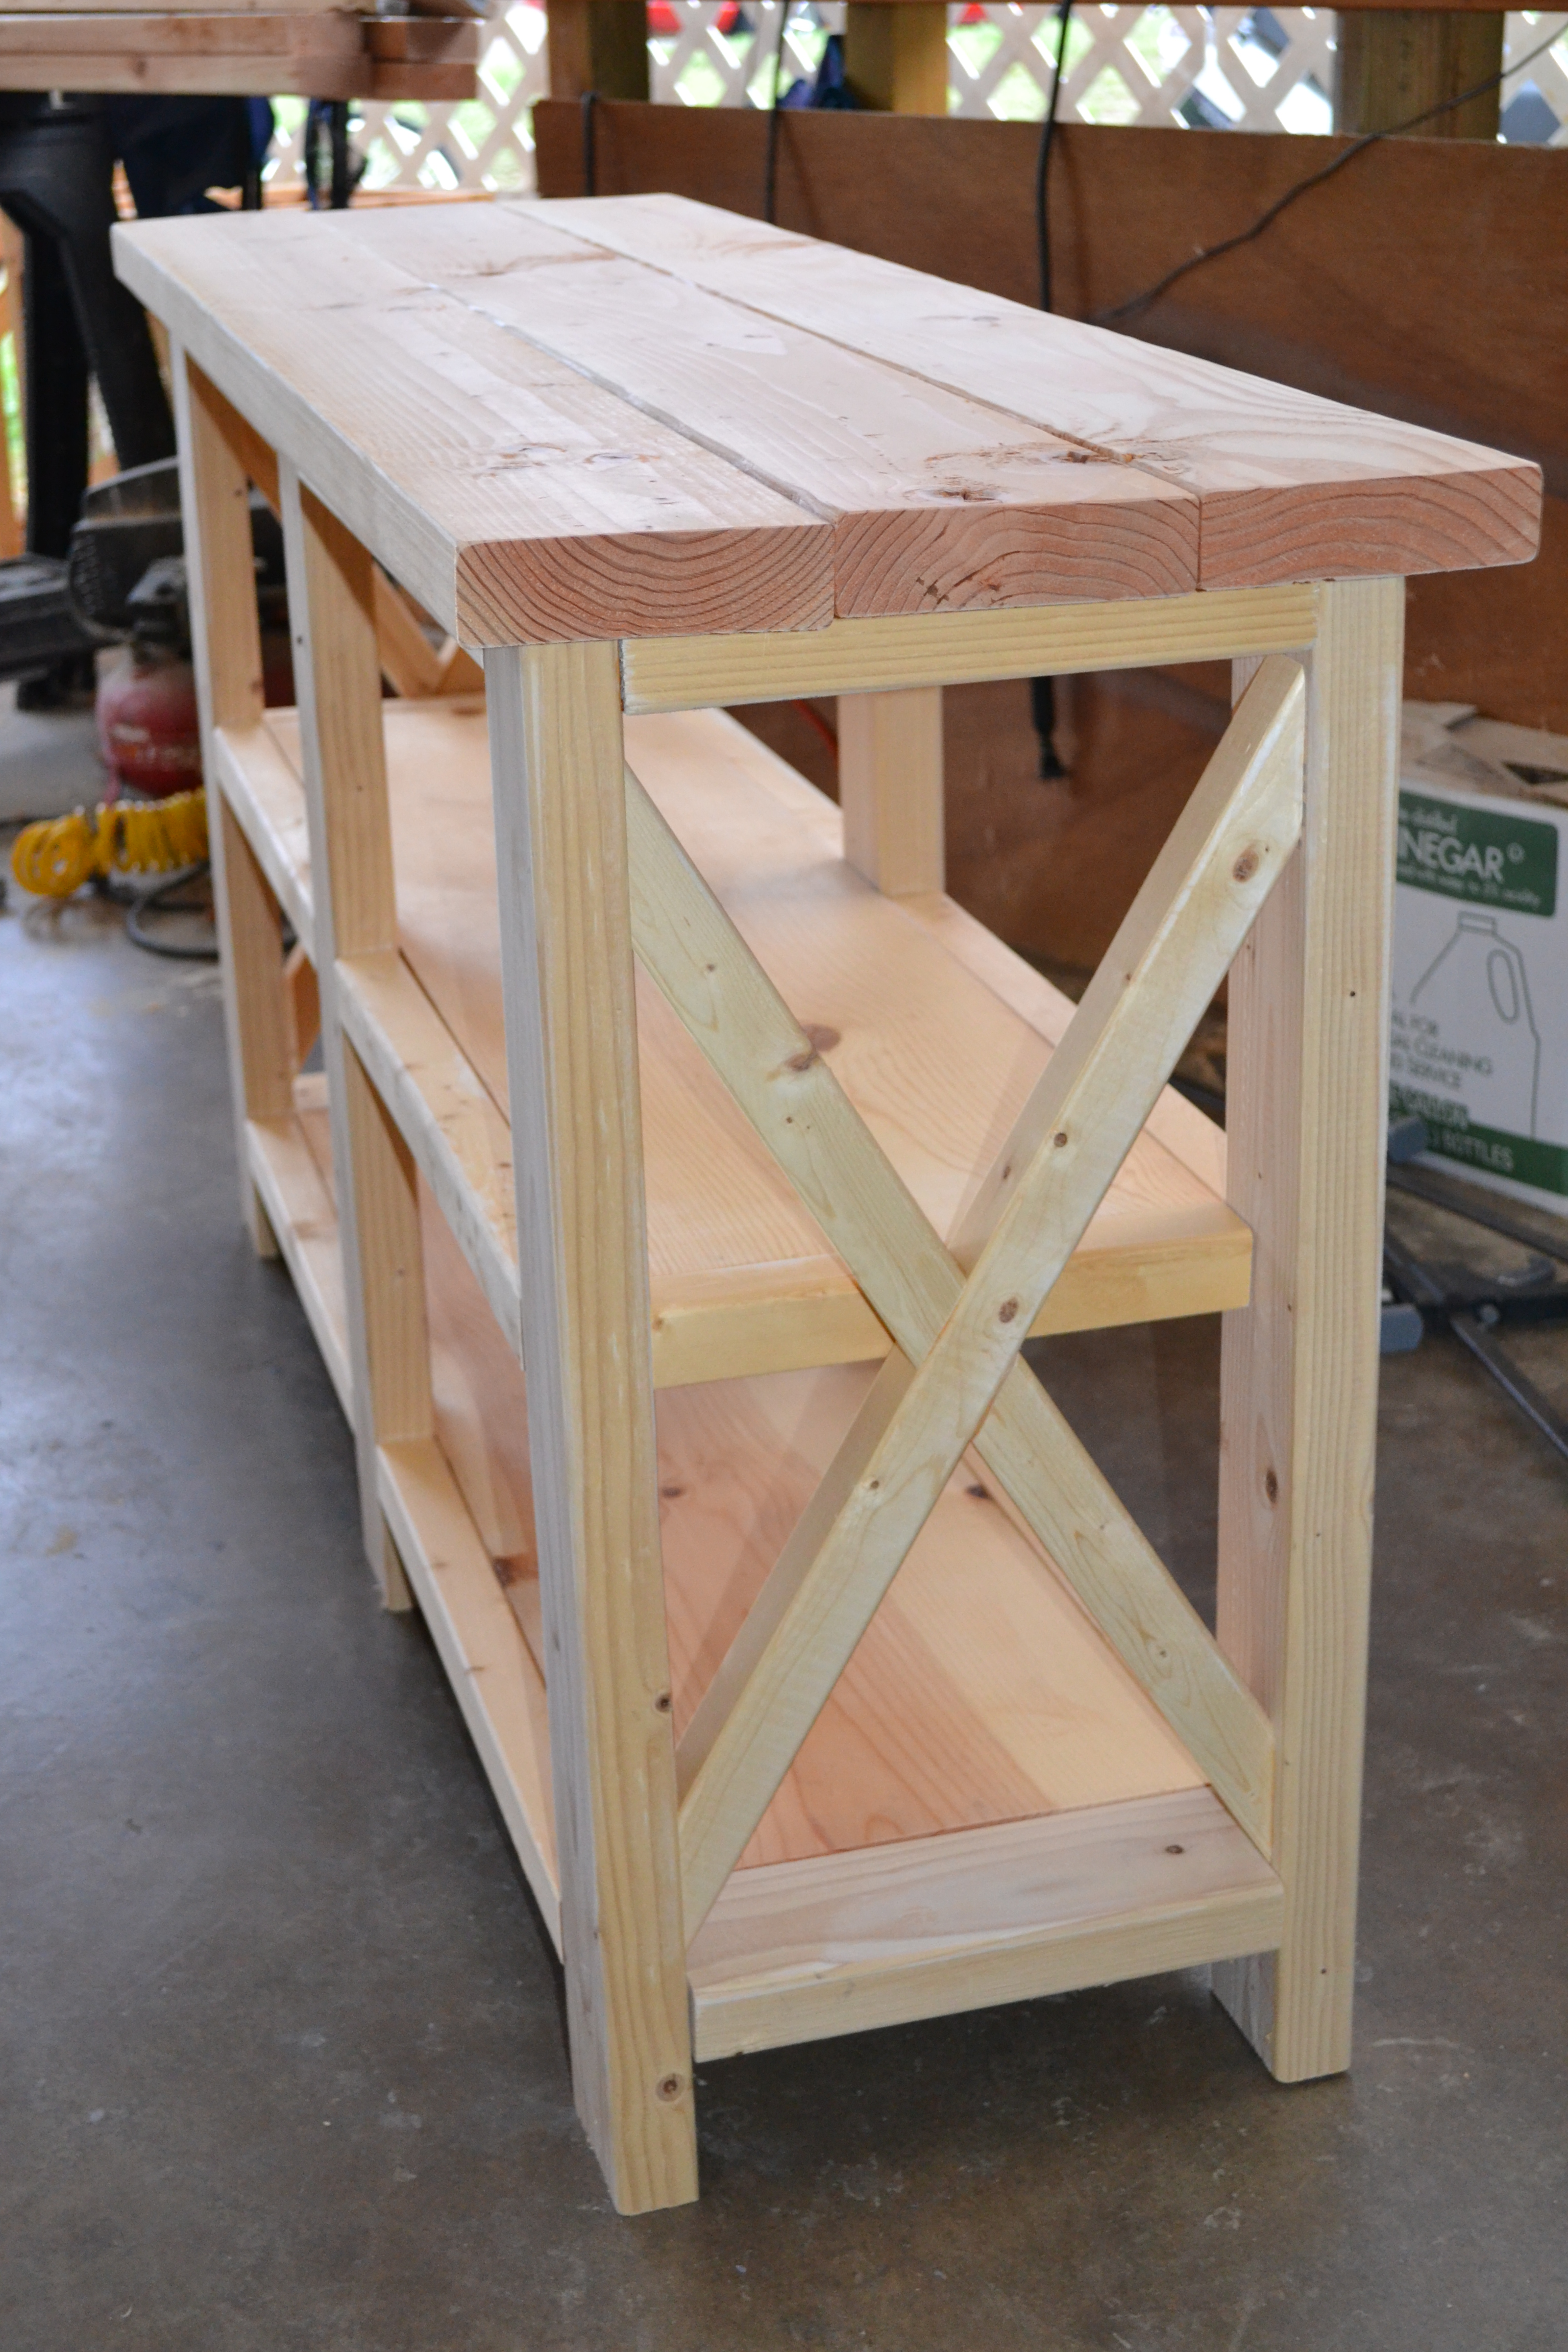
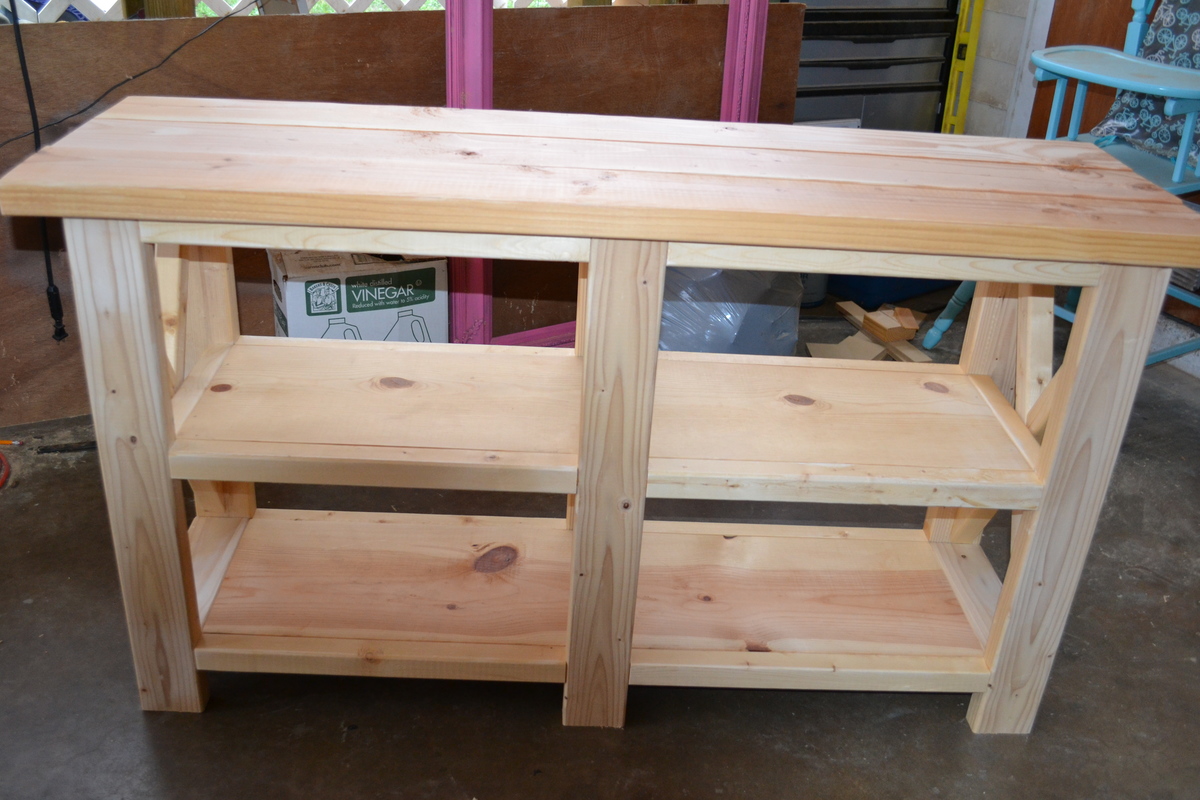
I built this a couple feet shorter than in the plans because it is for my neighbor's fish tank! It was fun to build and I'm in love with the finished product. She's going to paint or stain it herself. The pics were taken in my messy, projects-everywhere carport right before the neighbor hauled it off! Her son-in-law wants one now, and I will be building one for MYSELF right away as well! Thank you Ana!!!
Tue, 09/08/2020 - 16:56
looks great I'm hoping to build one myself this week =)
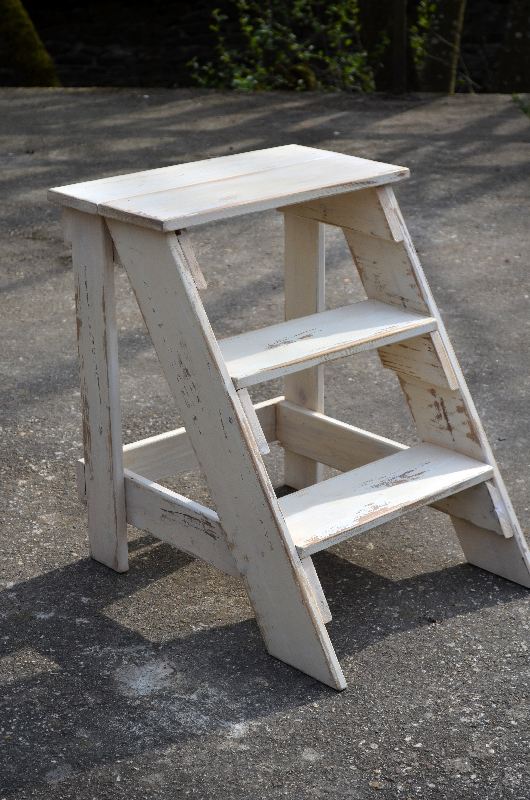
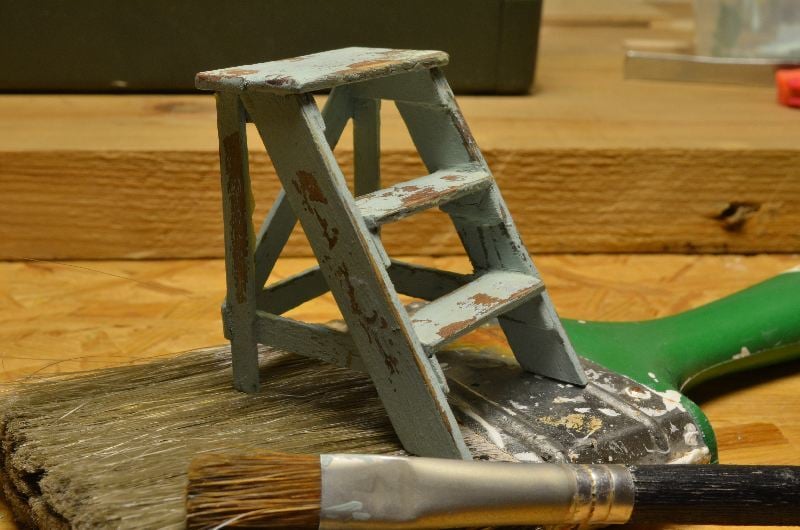
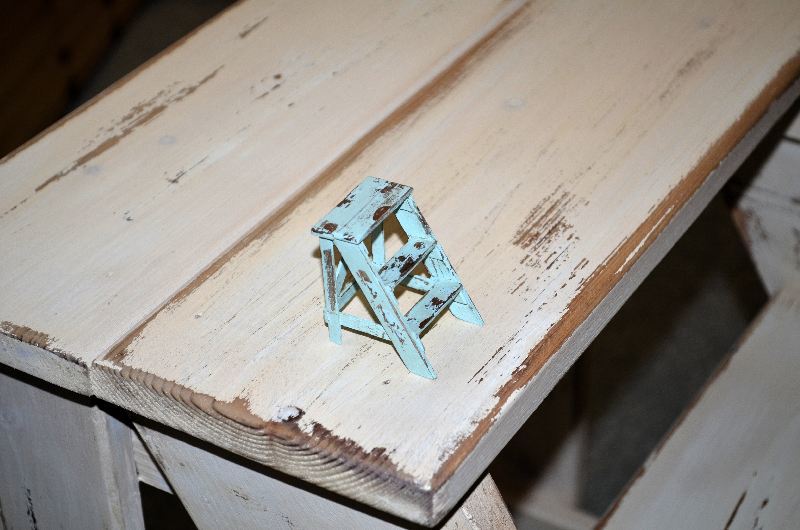
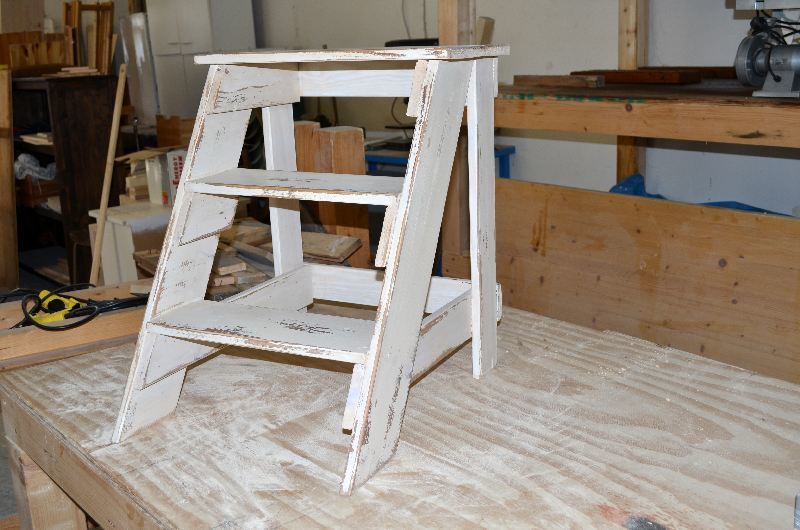
I built this step stool for friend, and a tiny version for my own dolls house. I had expected difficulties with the angled parts, but it went together very easily. I stained both of them with a vinegar/steel wool mix, painted with homemade chalkpaint. At last I sanded them for a distressed look and coated them with brown finishing wax.
My version of the Simple Outdoor Dining Table
- All Cedar
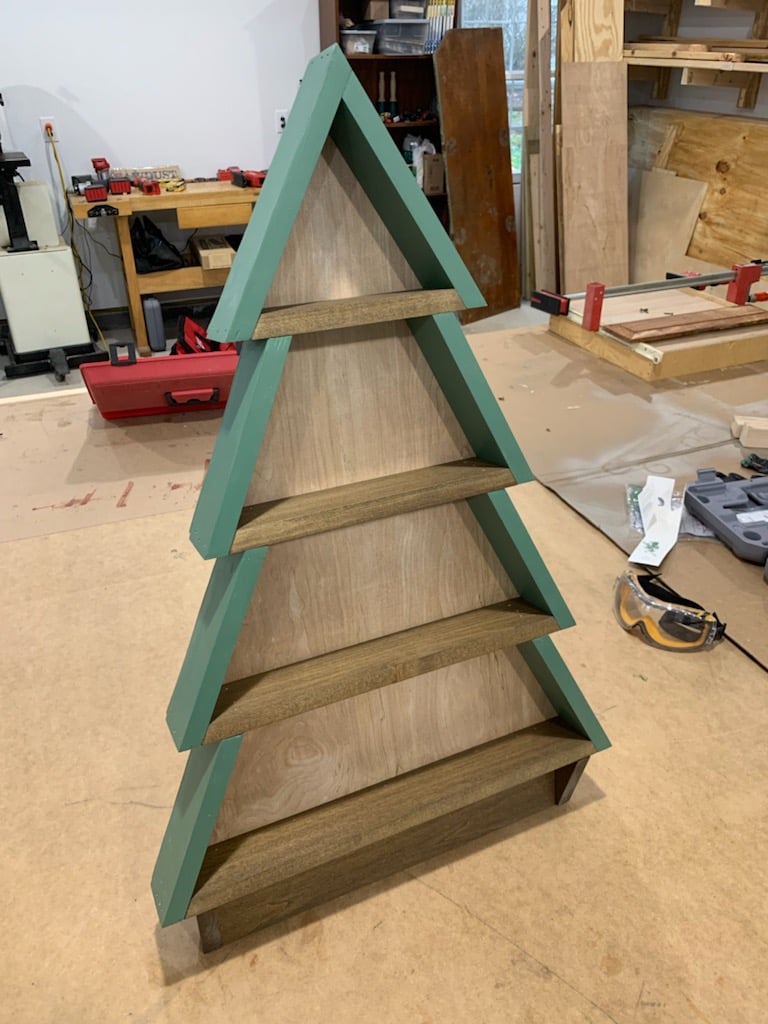
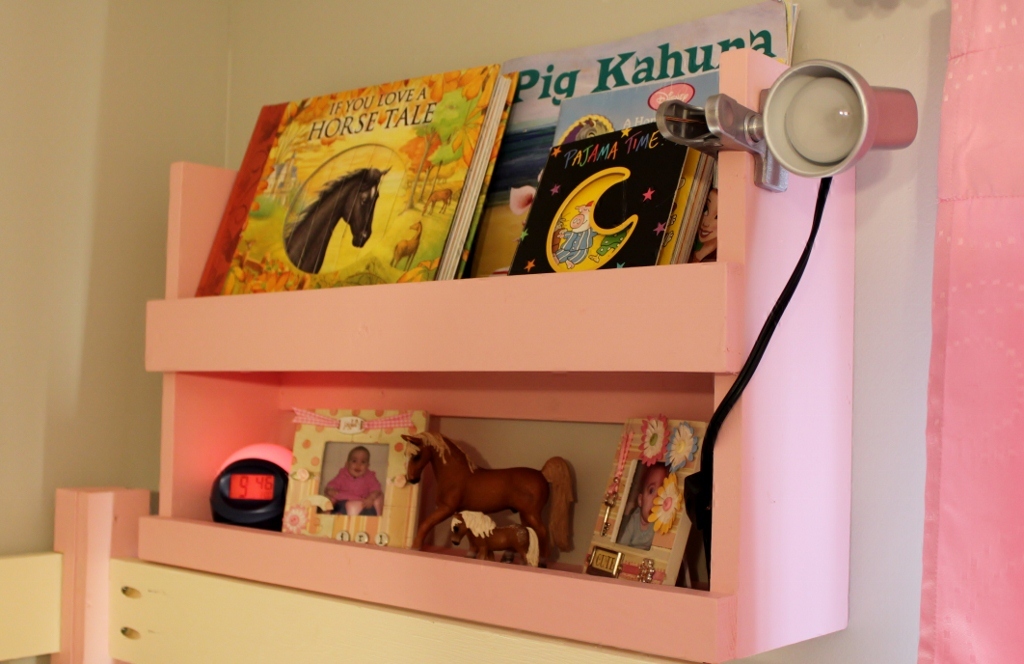
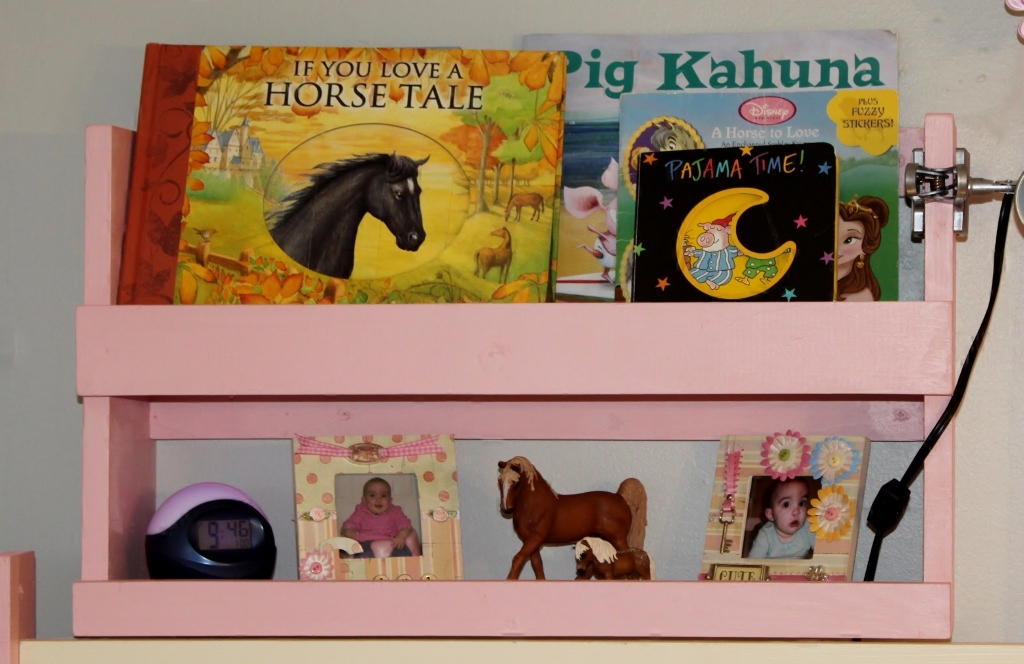
I painted the outside with Benjamin Moore Balsam color paint (as another poster on here did) and stained the interior pine with walnut stain. I tried making it resemble a pine tree. I wanted to make it as sturdy as possible, so I used 1/4 inch plywood backing for the entire back, and secured it with 1 inch brad nails. I painted the edges of the plywood green and left the middle unfinished because I liked the look.

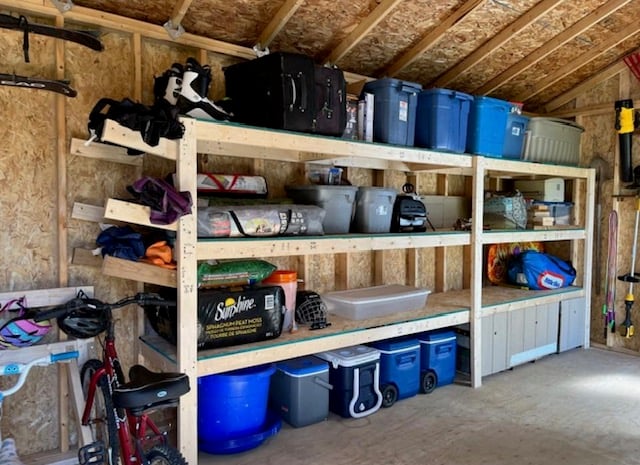
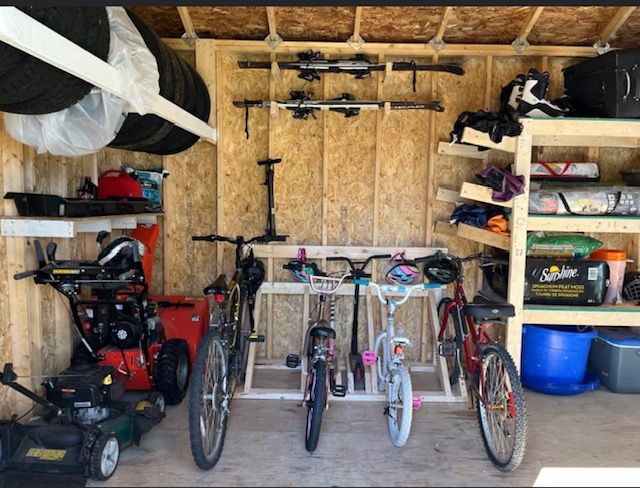
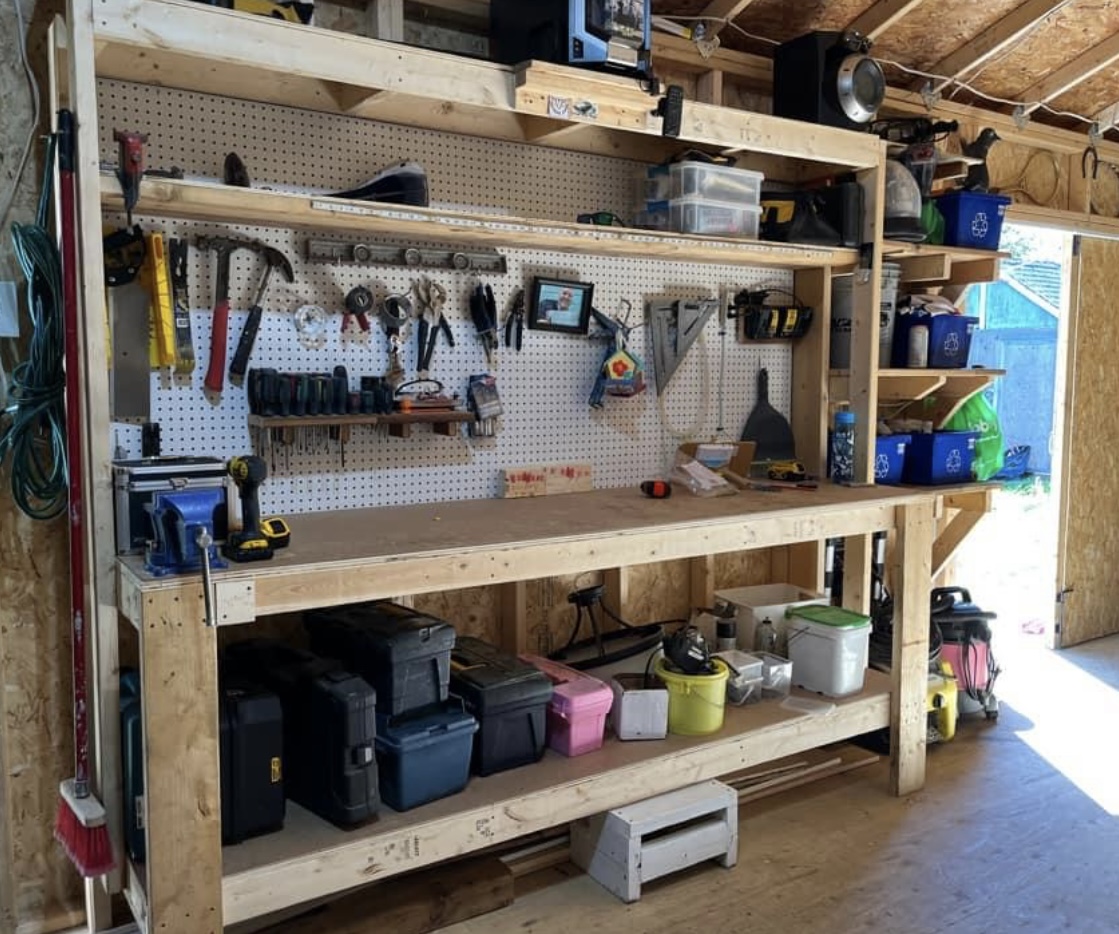
Awesome shed storage and organization shared by Kelly Campbell

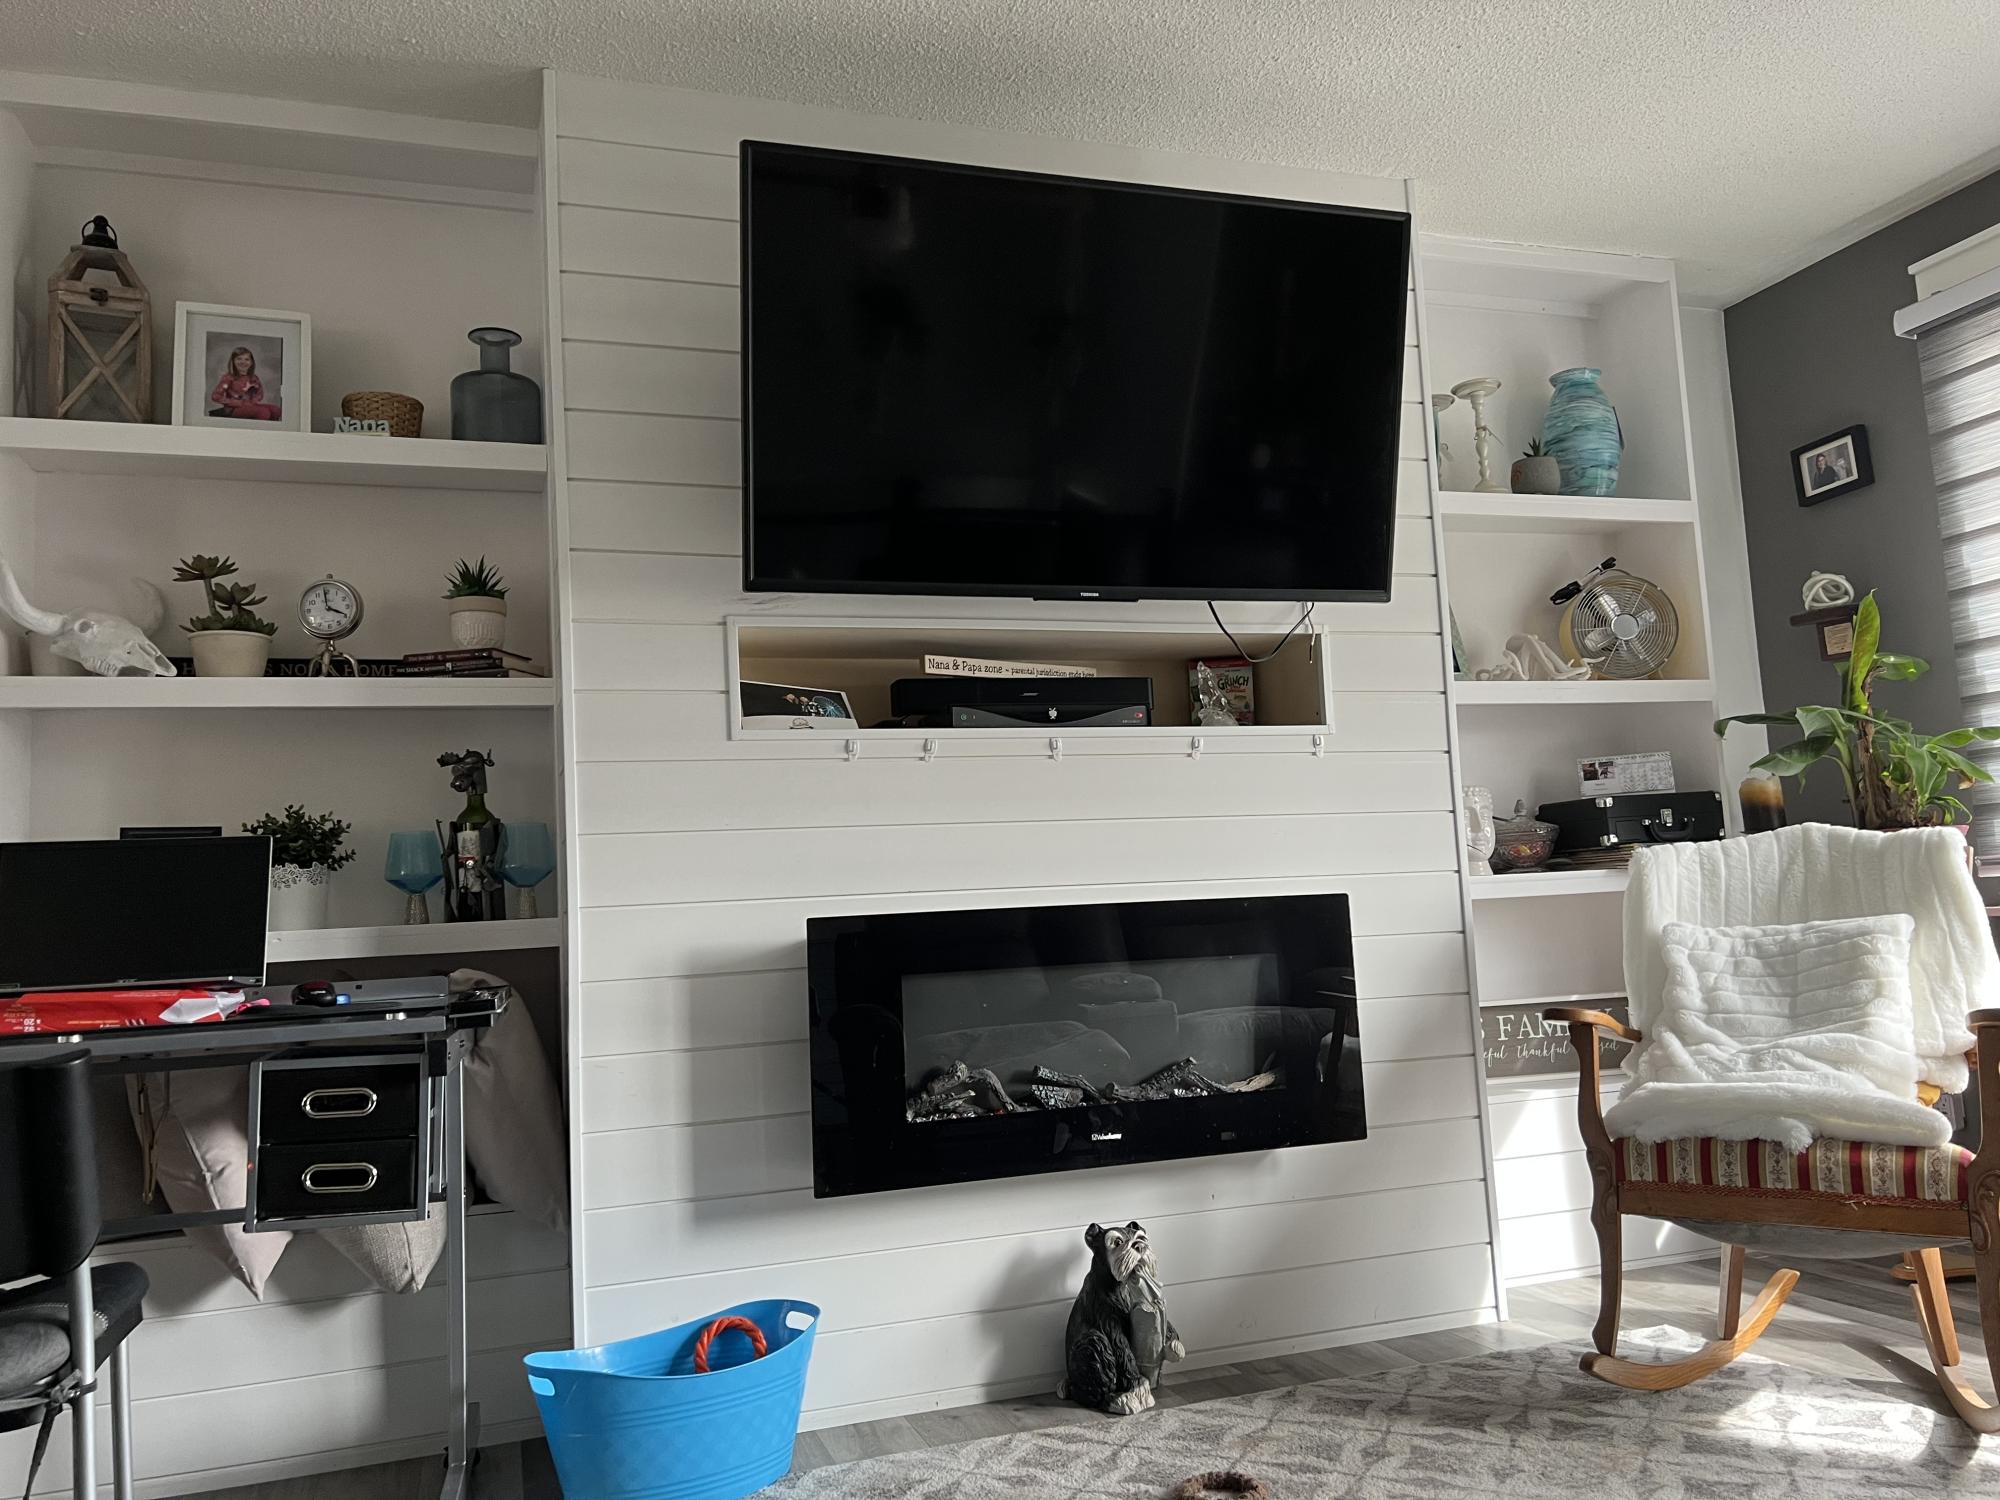
My wife wanted a fireplace in our main living room, then we added the shelving on each side
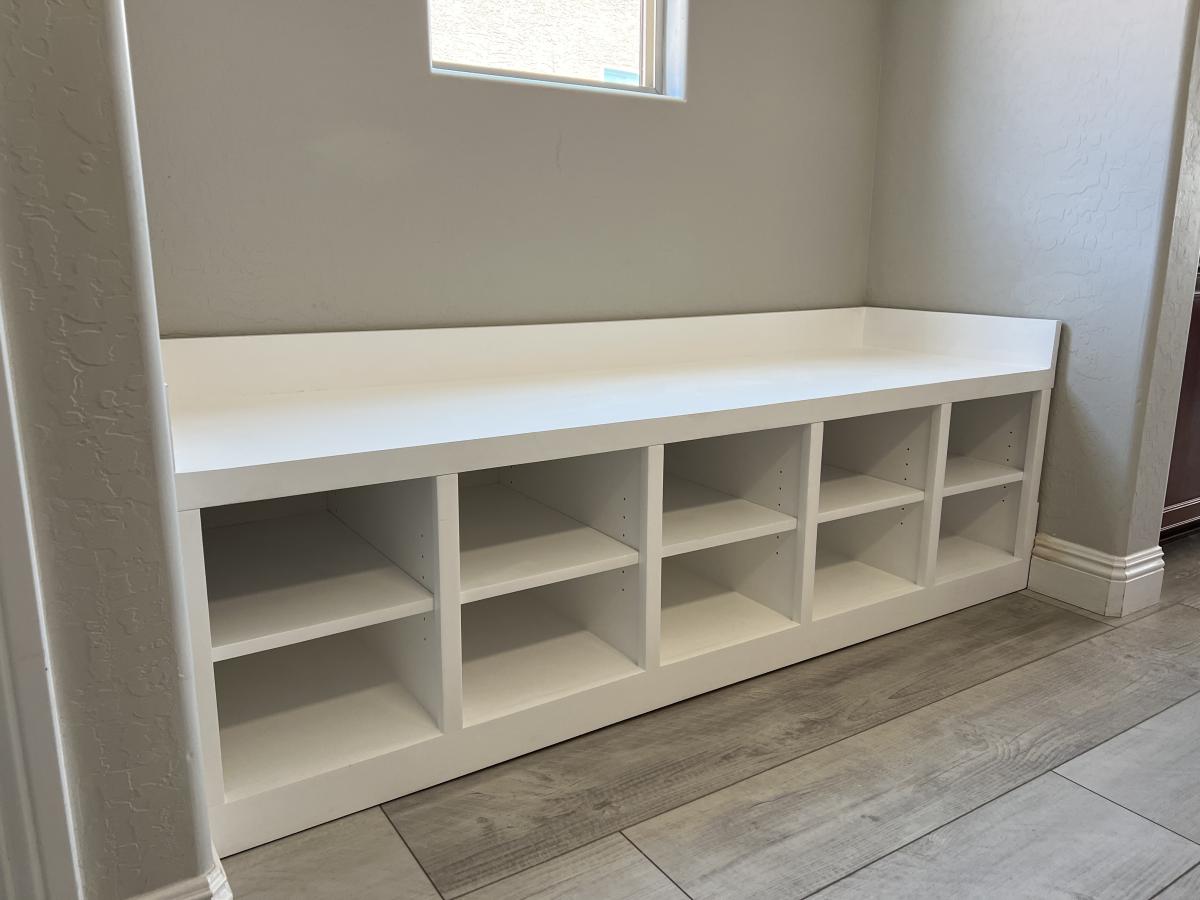
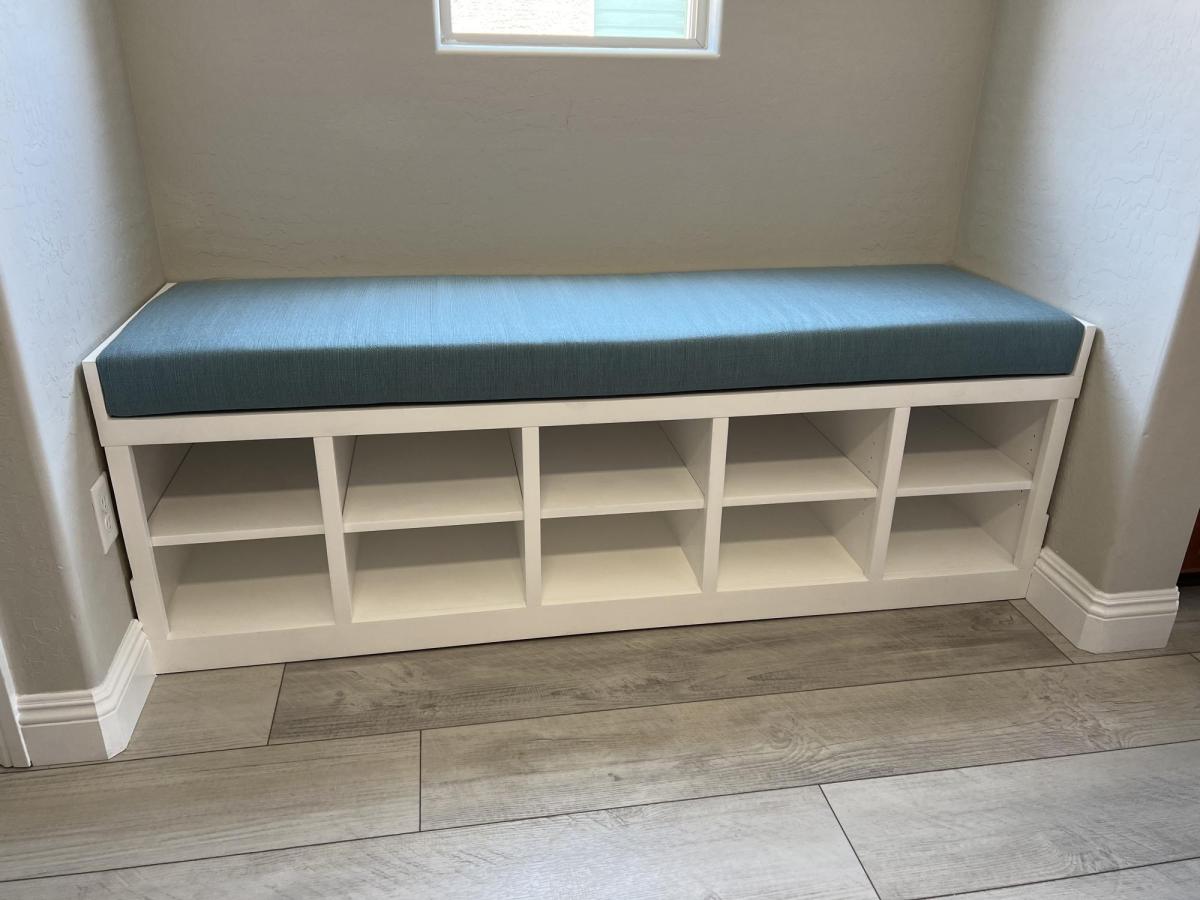
Worked with a client to create a boot bench with adjustable shelves. The Essential Entryway Bench was a perfect starting point! I extended the top trim to home the 4” cushion. I love Ana’s plans! Thank you!!!

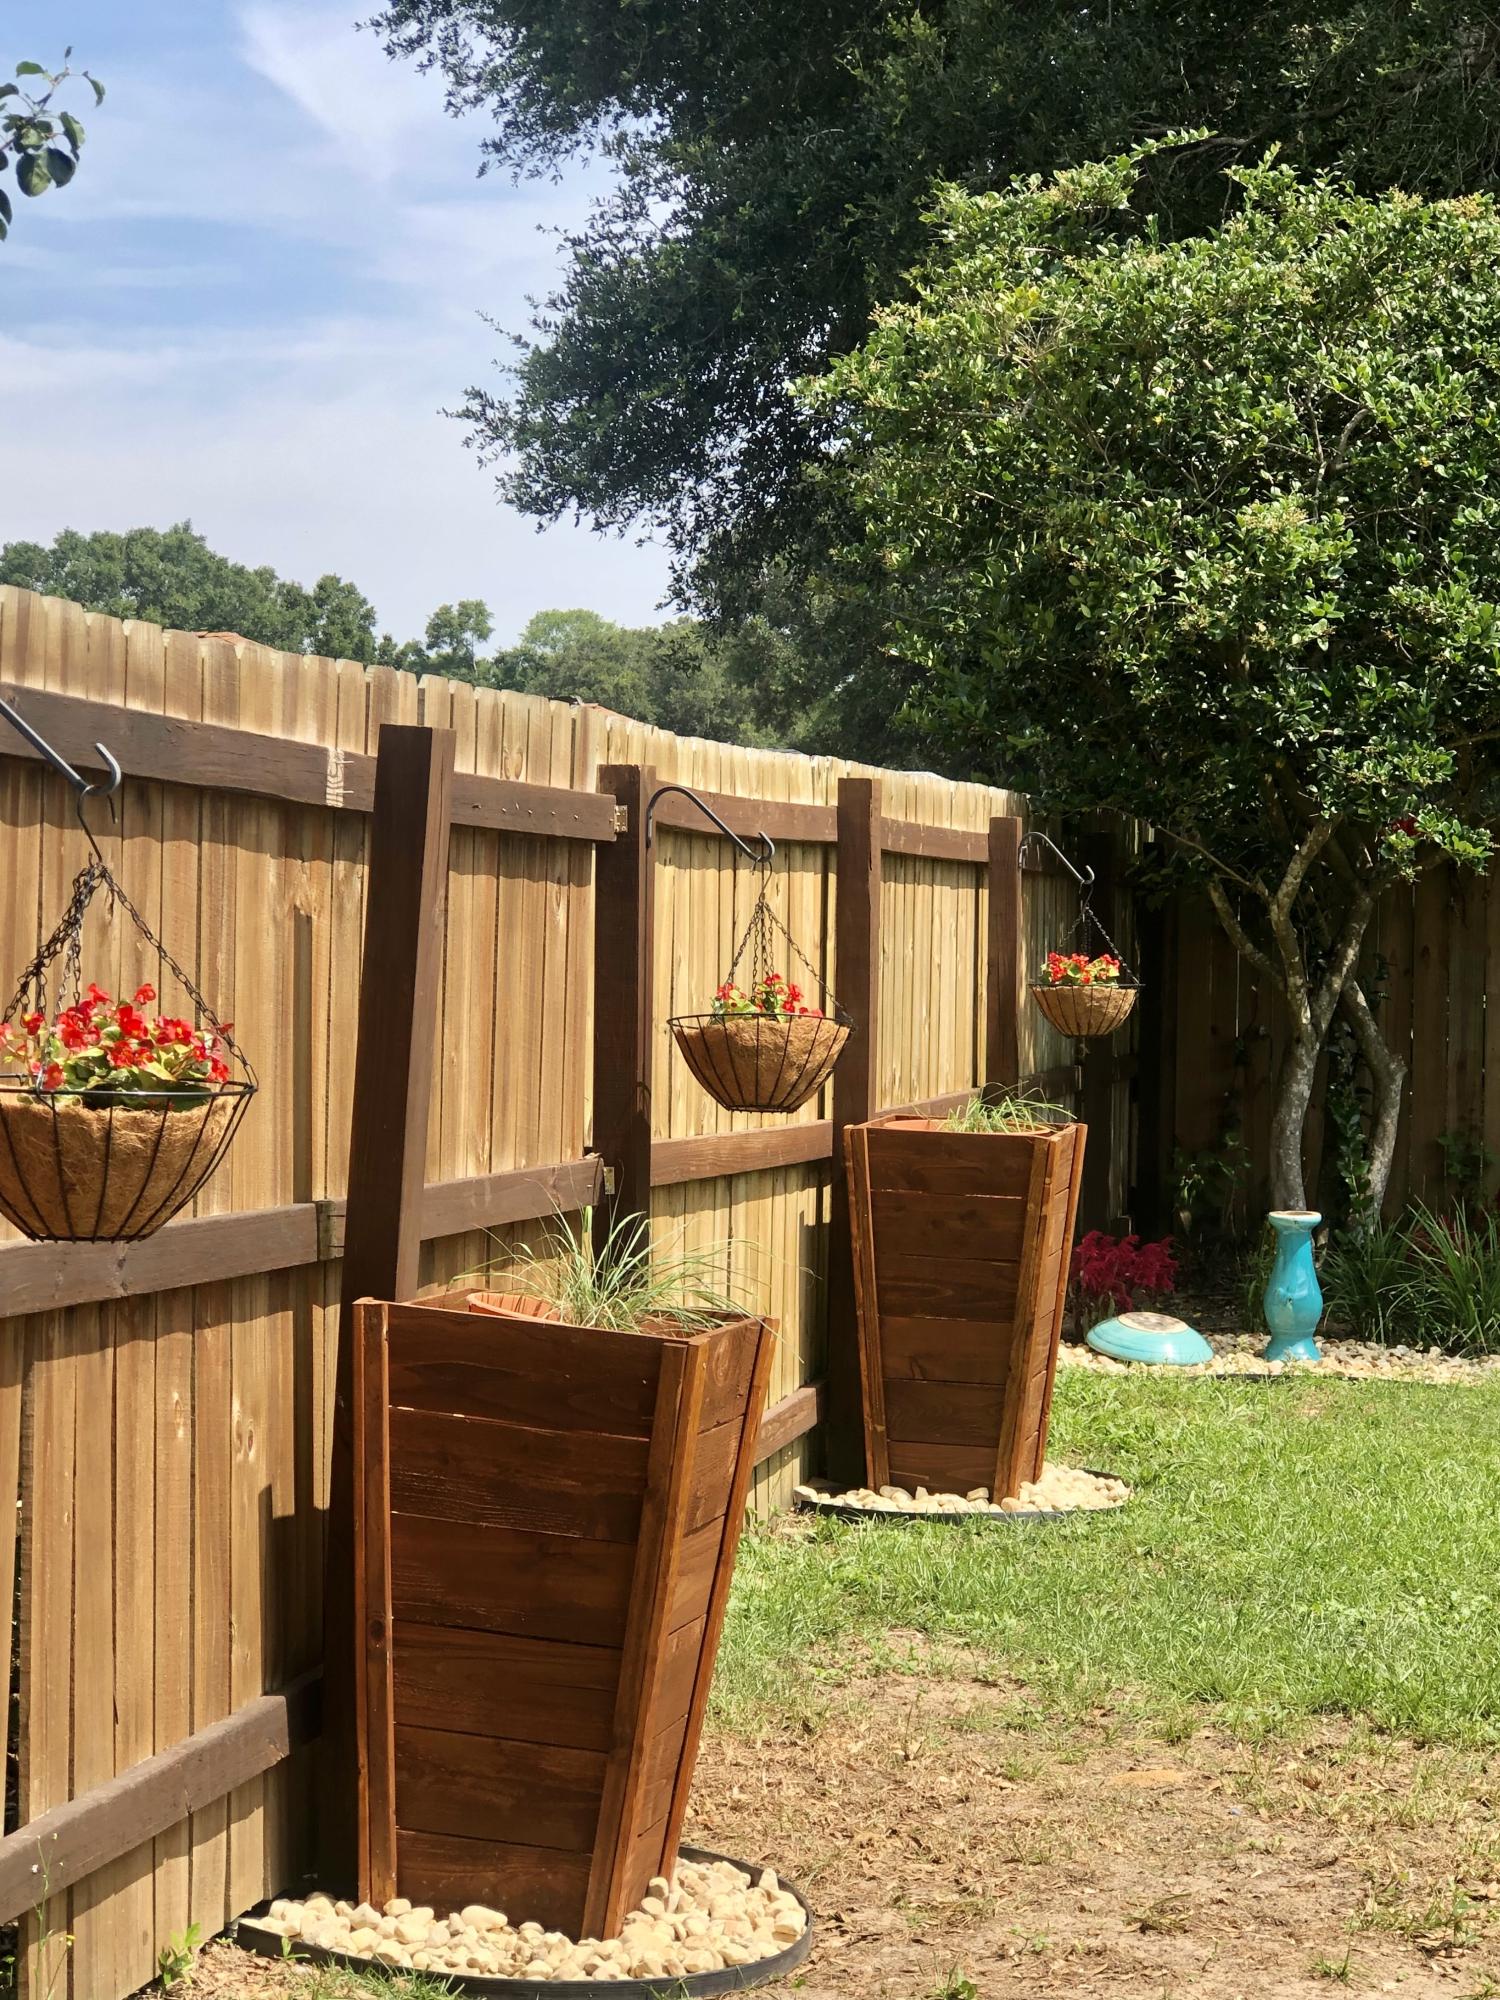
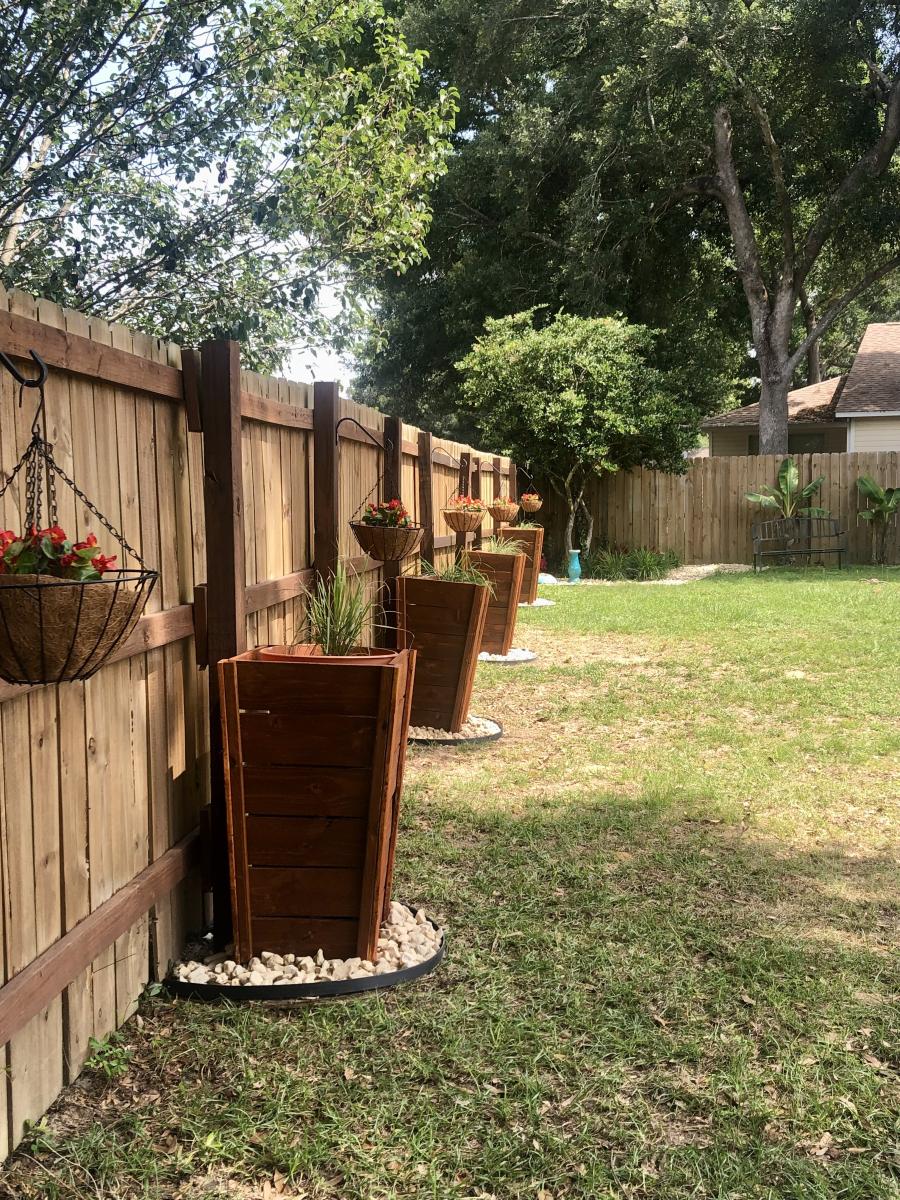
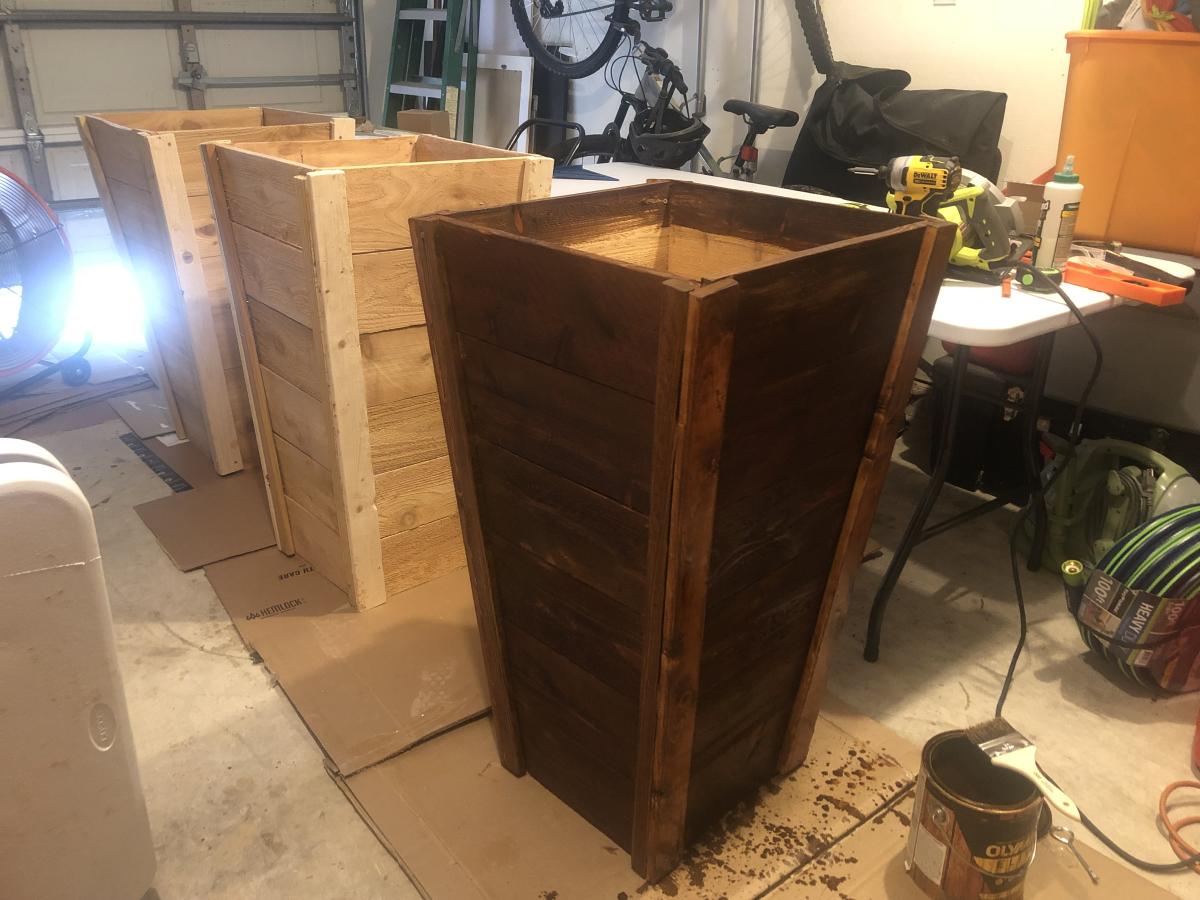
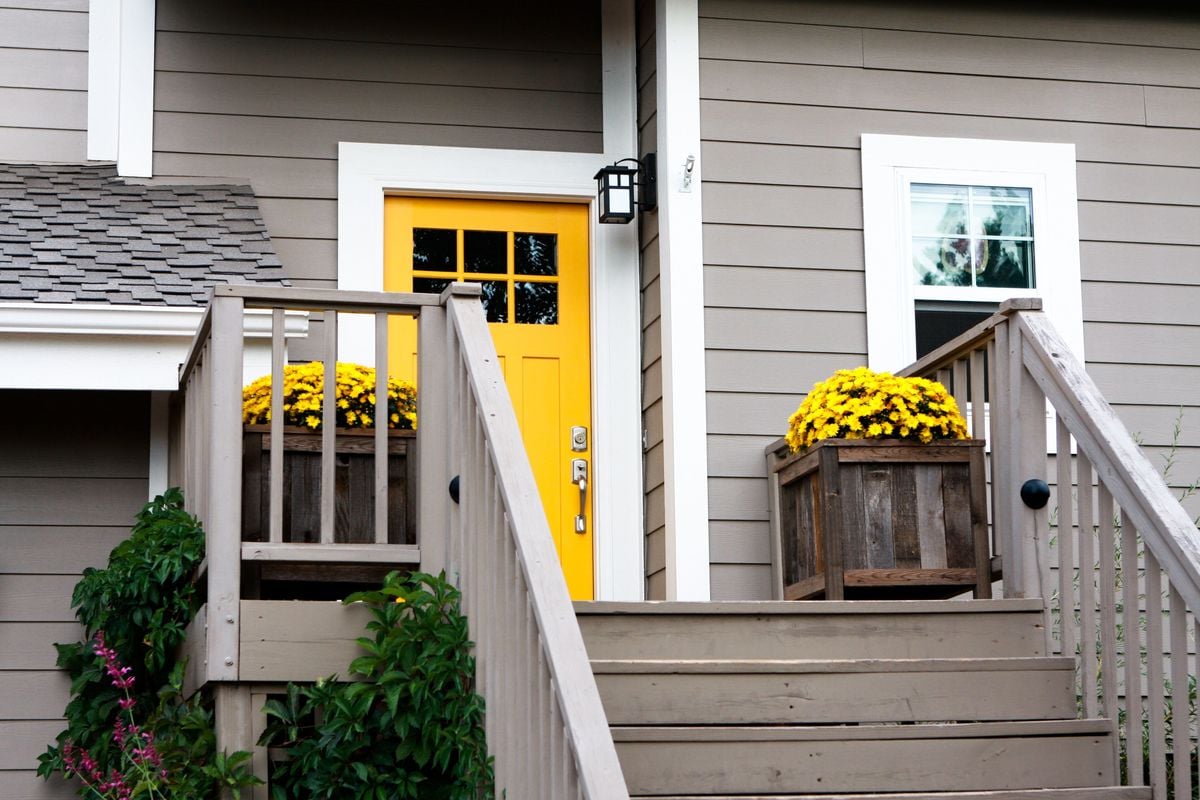
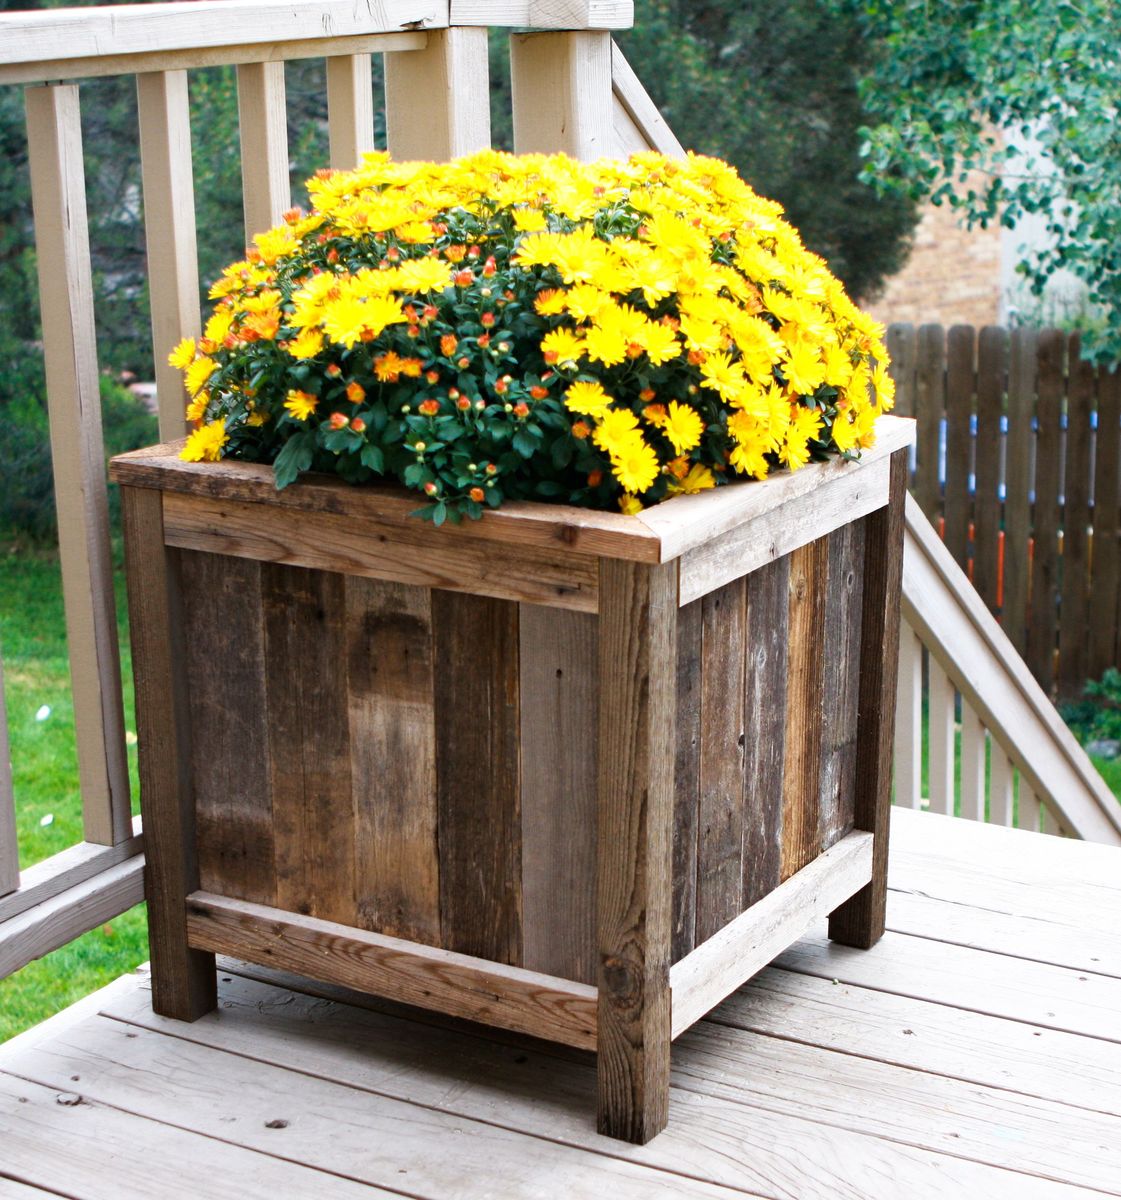
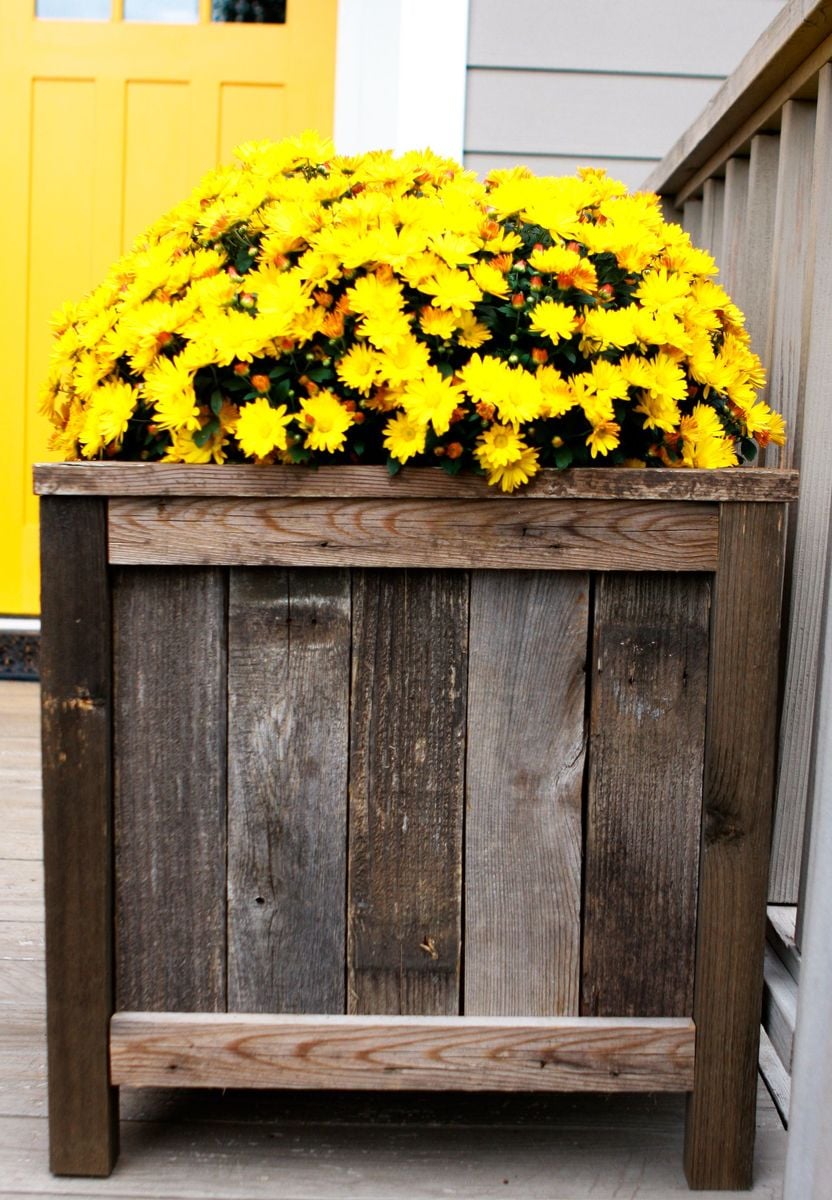
32” wood planters with false bottom
Jenna
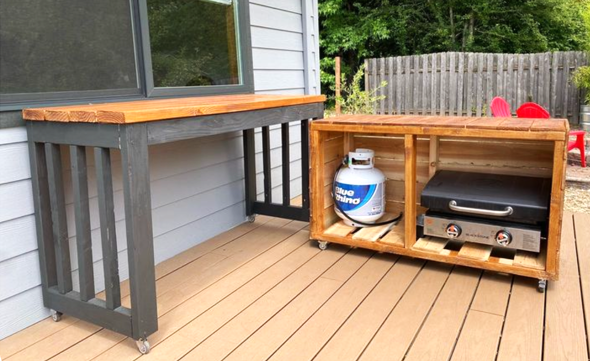
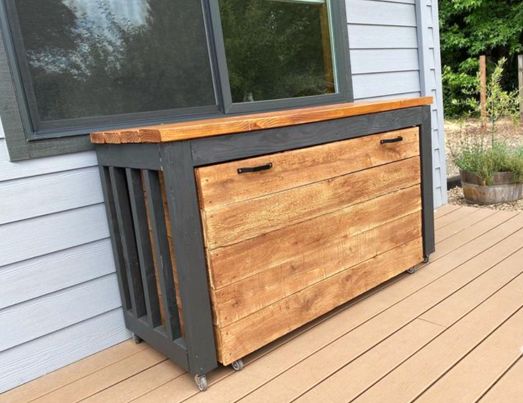
Nesting Grill Station
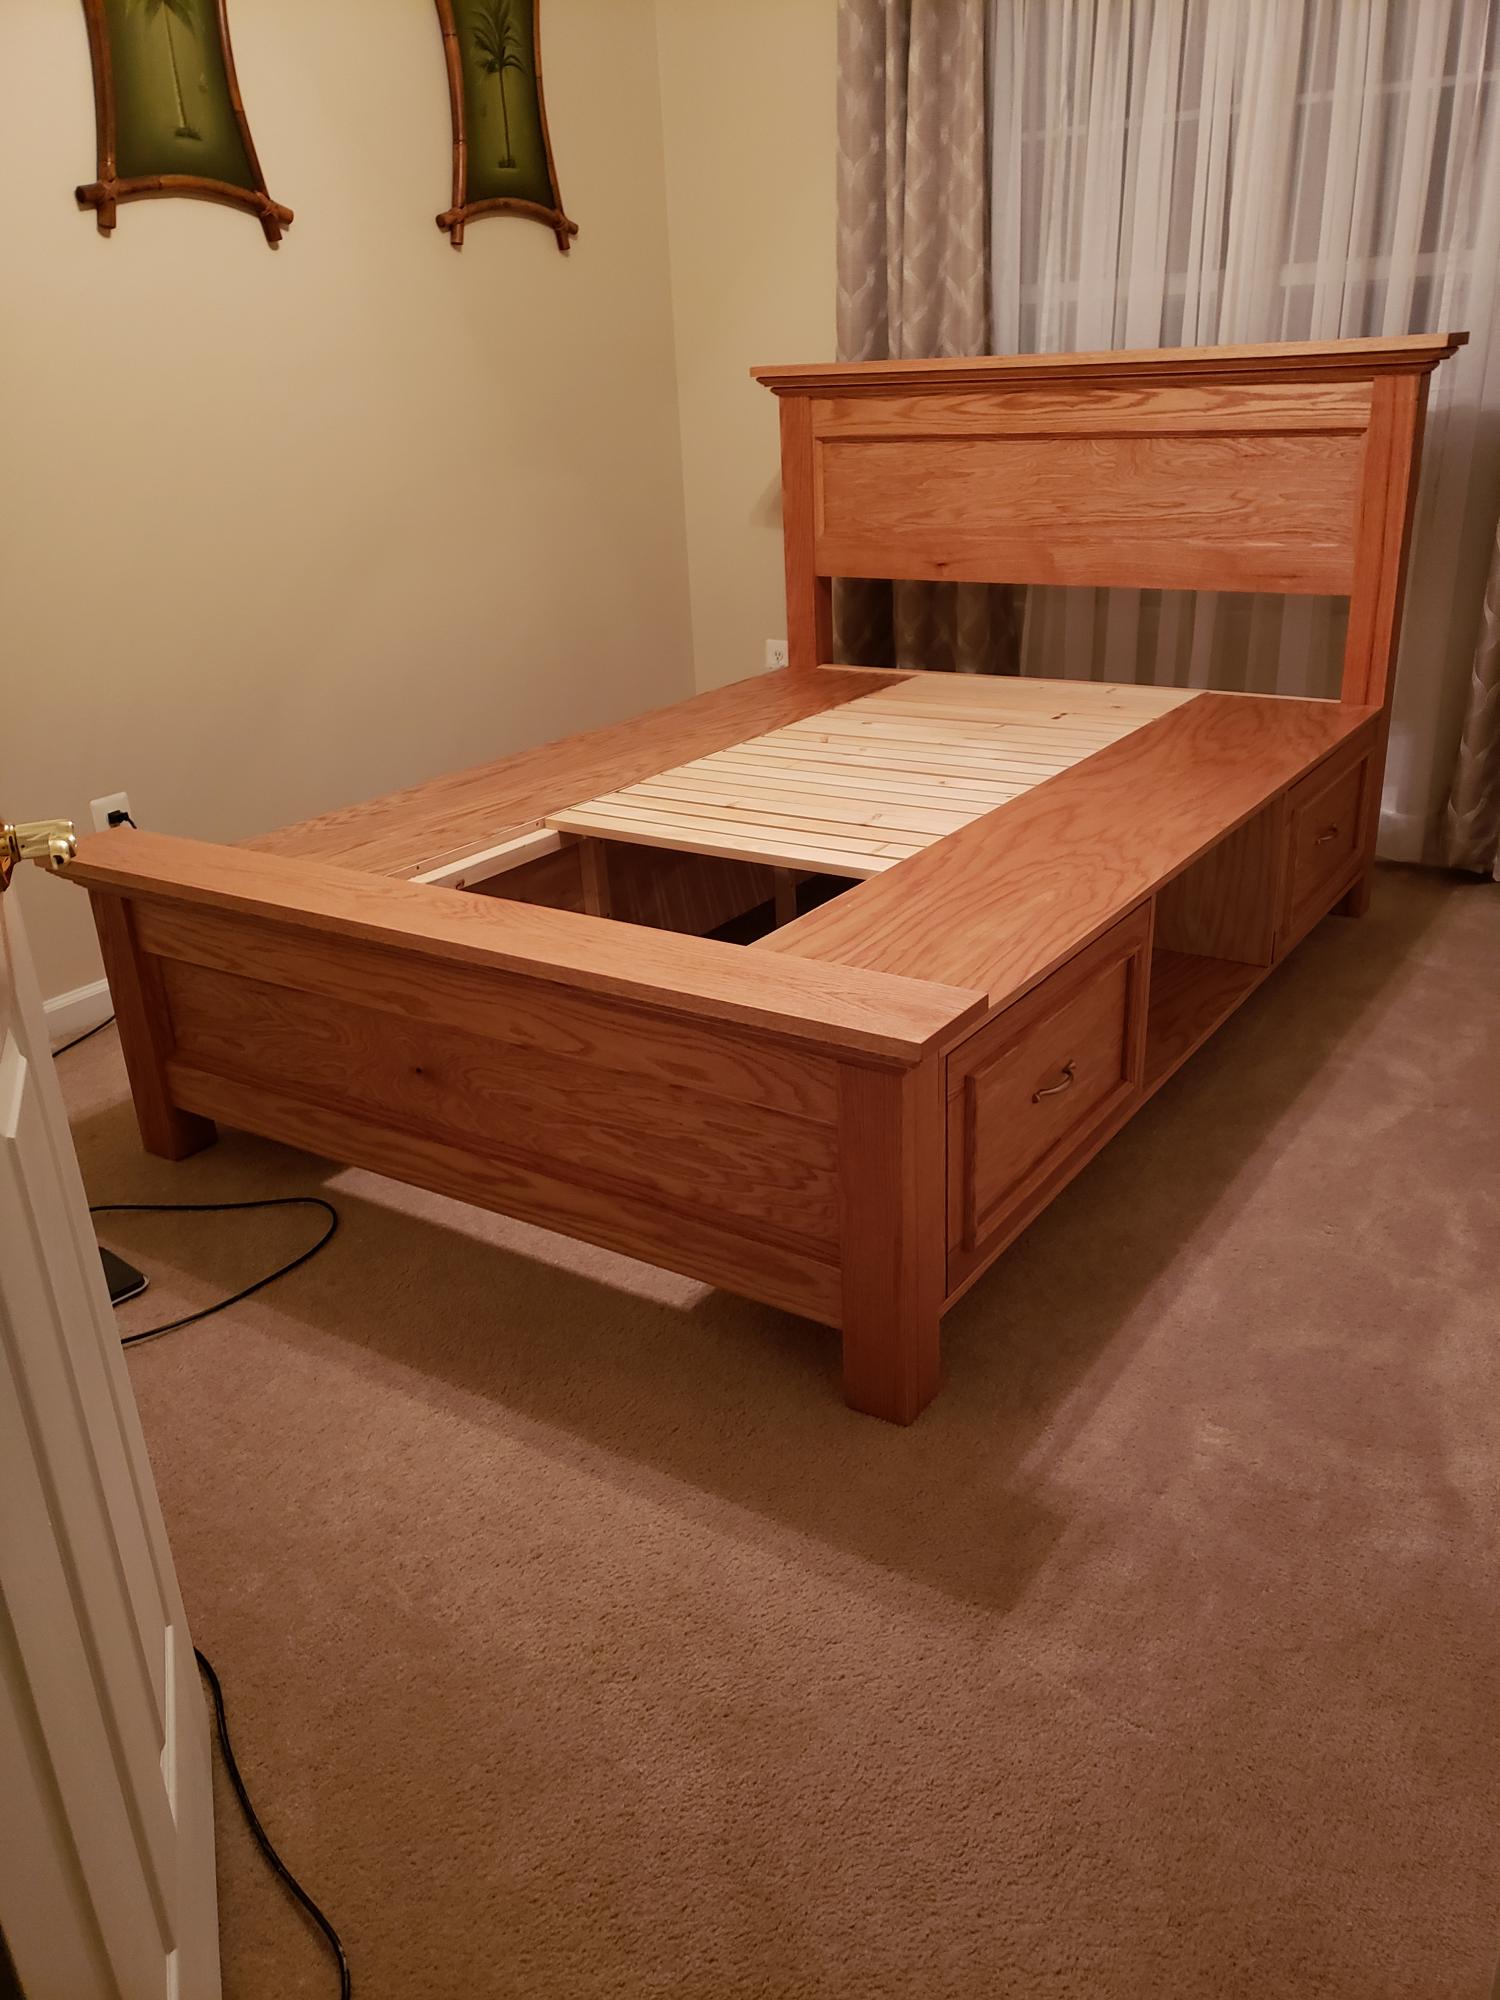
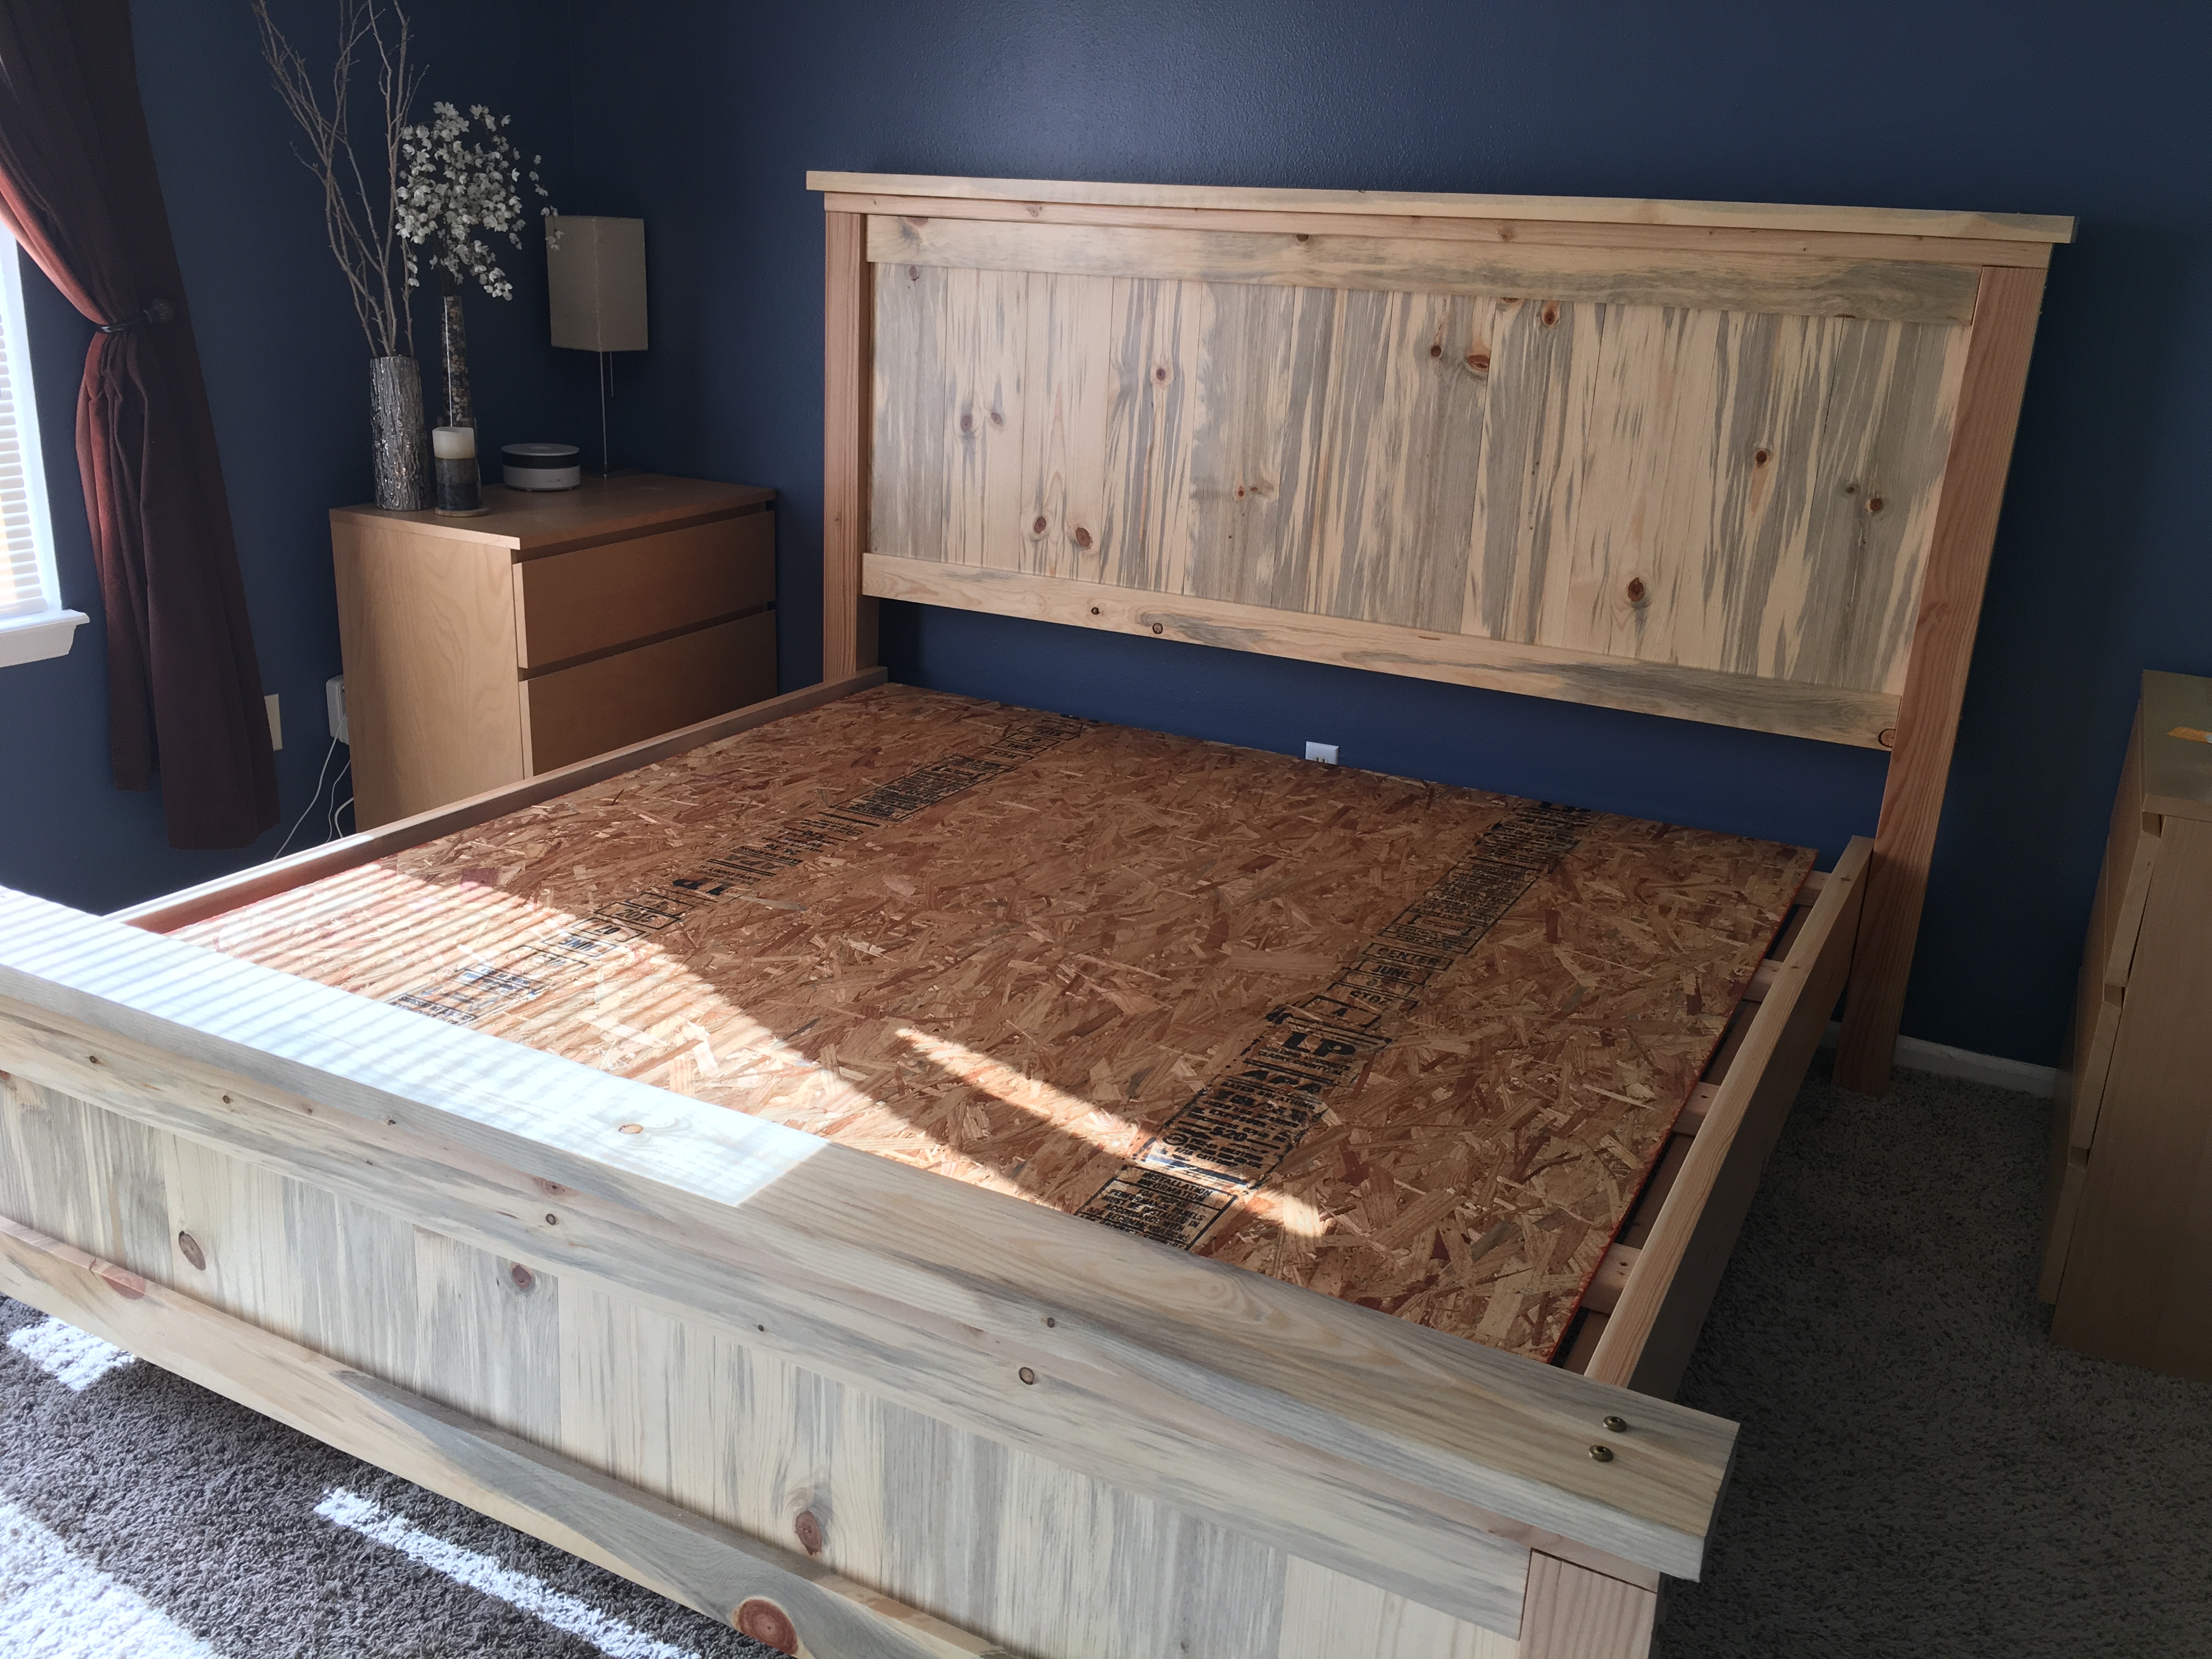
I used the plans for the queen farmhouse storage bed. I left the middle sections open on each side for guest towels

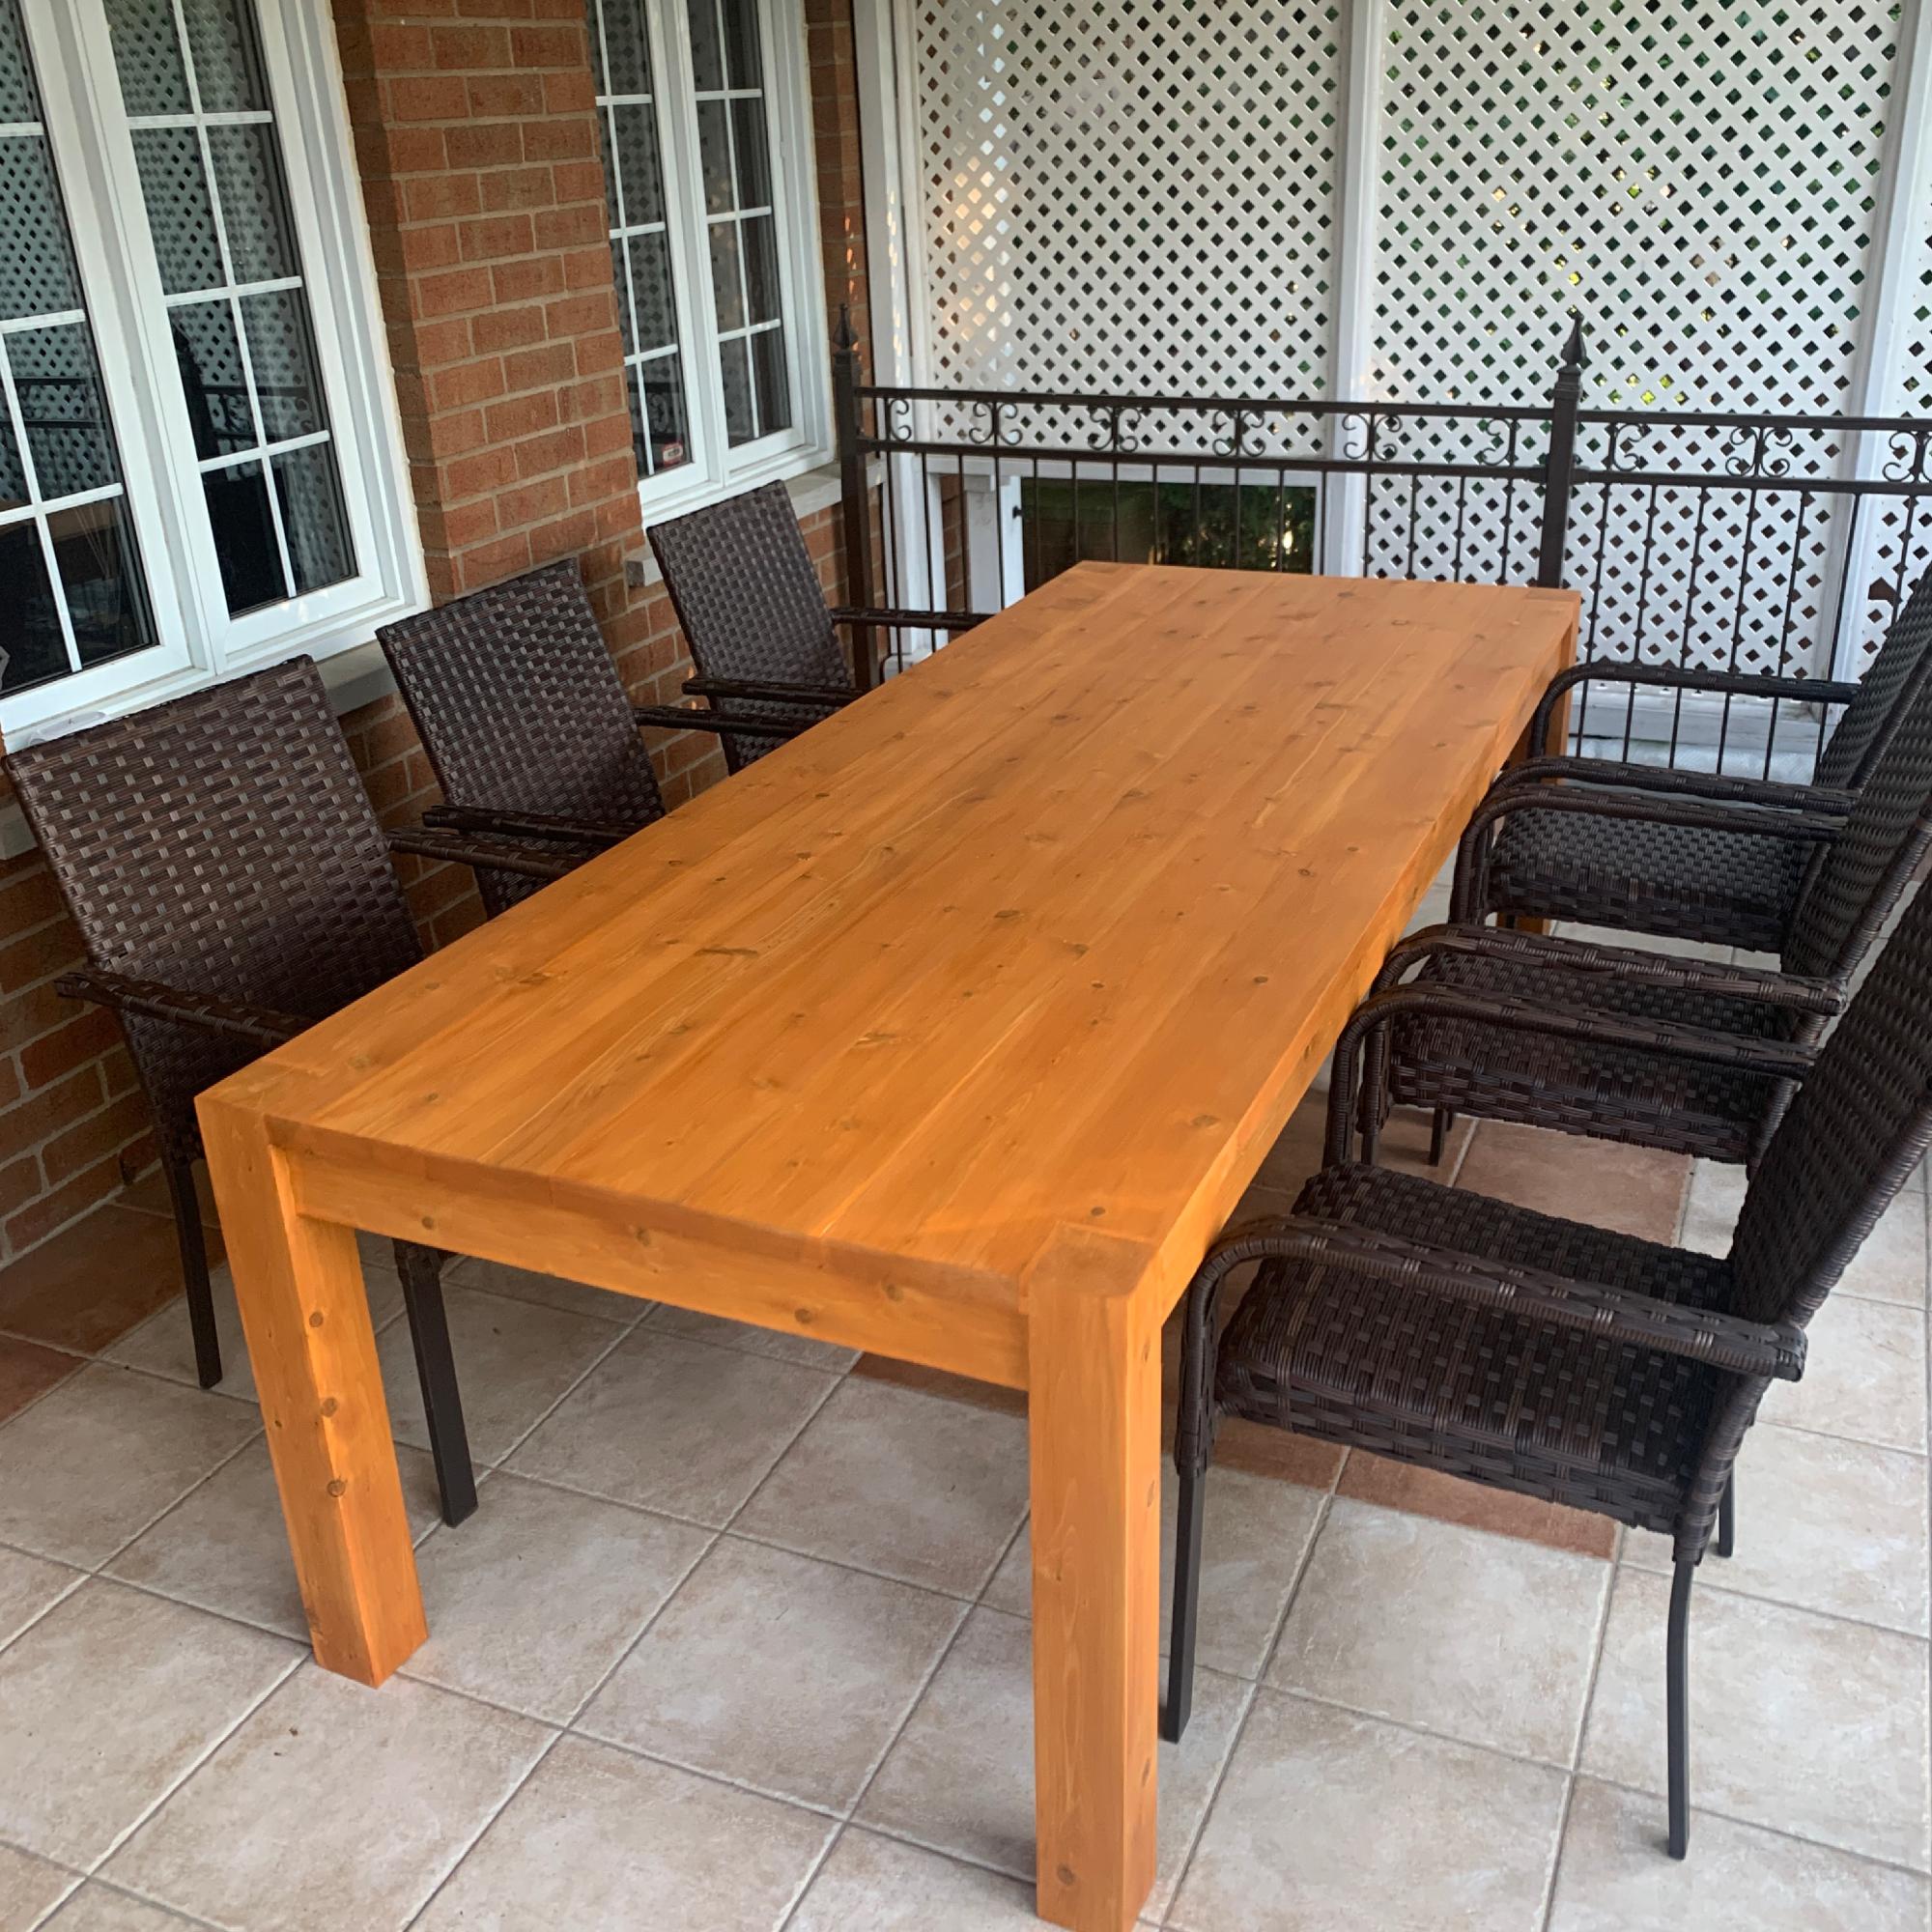
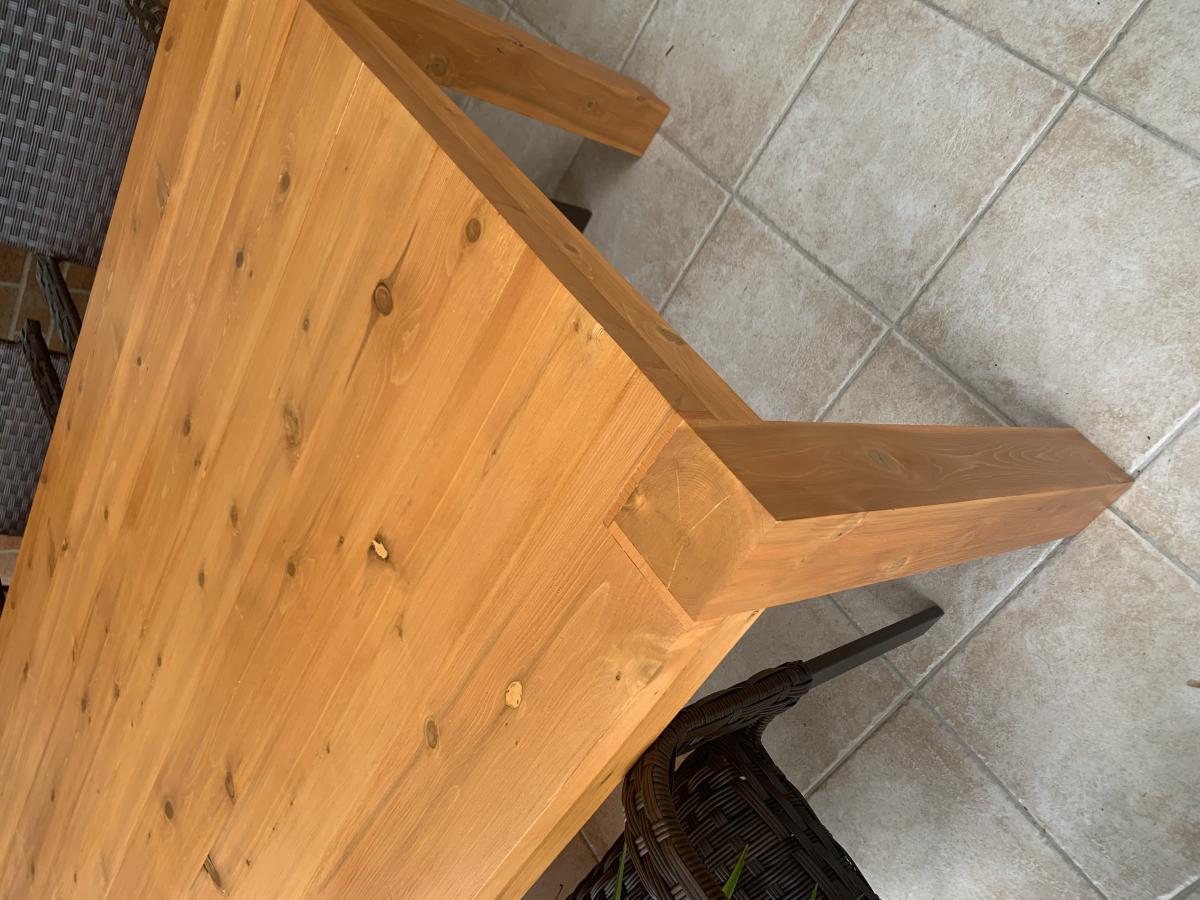
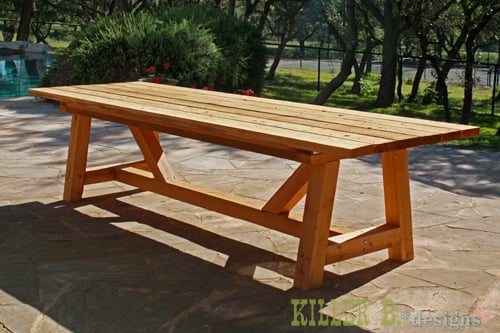
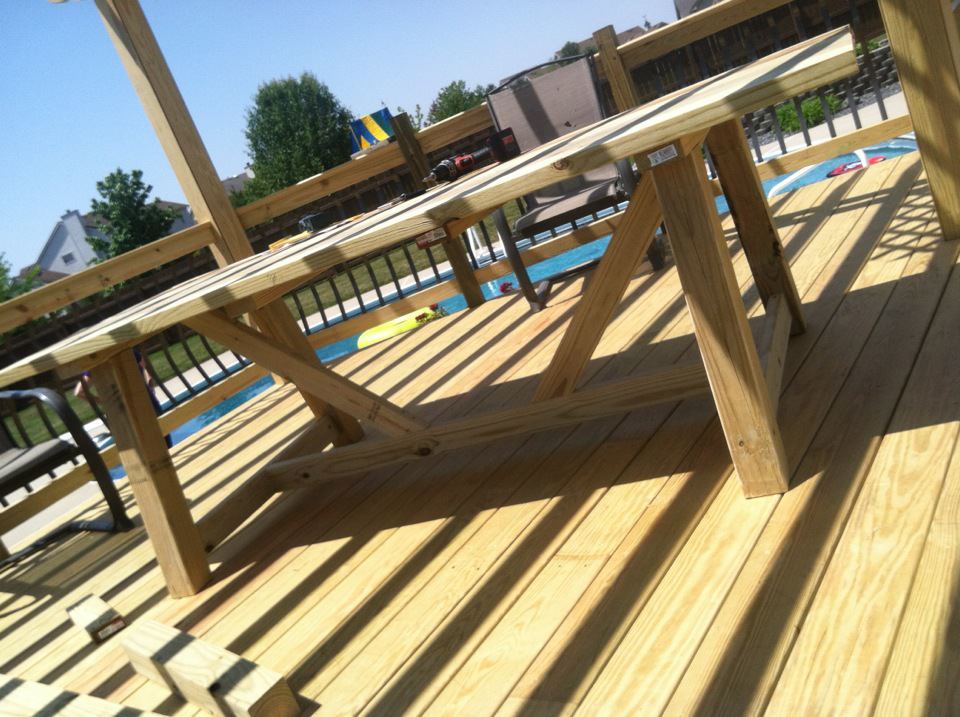
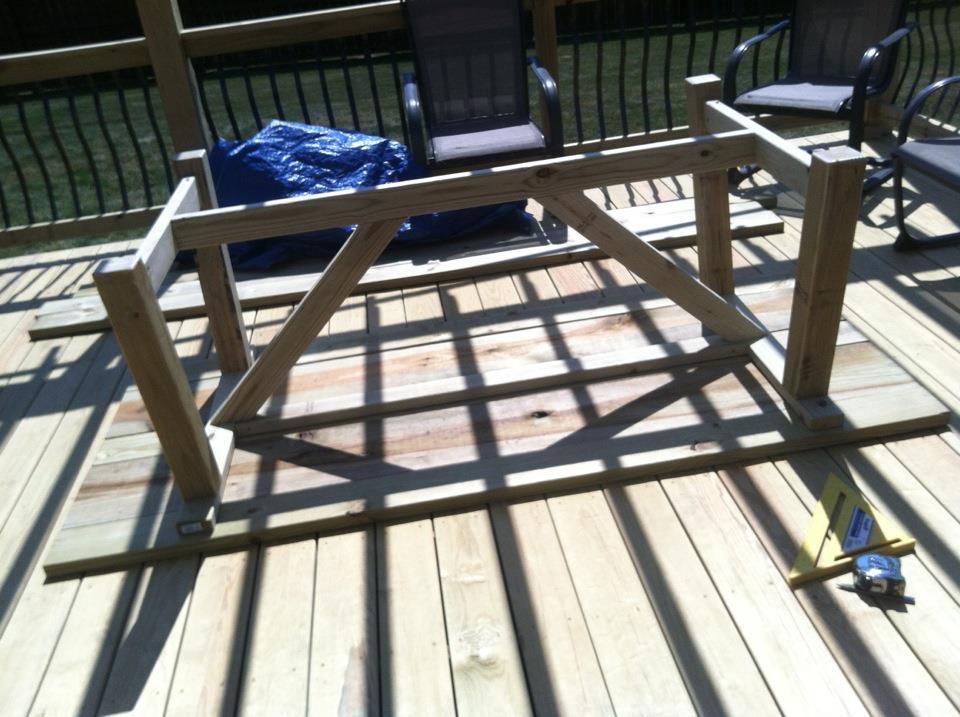
My mom was looking for a new outdoor table, and asked me to come up with something. I found the link for these plans (http://www.thedesignconfidential.com/2011/04/free-diy-furniture-plans-t…) to knock off Restoration Hardware's $4000 Provence Beam outdoor table. Overall I liked the plan, with the chunkier look of the 4x4's. But there were a lot of errors in the diagrams, and the finished height is 34" which is ridiculously tall for a table. So we took it apart and cut the legs back down to change the finished height to 30". We chose rough-cut cedar for it's look and outdoor properties, not wanting to use treated lumber for a dining table. We couldn't find 2x10's like the plan, so we substituted seven 2x6's just like Ana's plan, but left a 1/2" gap in between so water can drain and not pool on top and rot the wood. Also, since we were working with 4x4's for the legs, we chose heavy duty lag bolts instead of screws to join them together. I love the finished look they give. Overall it's a sturdy, yet lightweight table that my mom loves and has already used for entertaining!

Wed, 04/25/2012 - 10:02
Thanks Brook! It was so much fun to build. I put my dad and husband to work while I was the "project manager" ;)
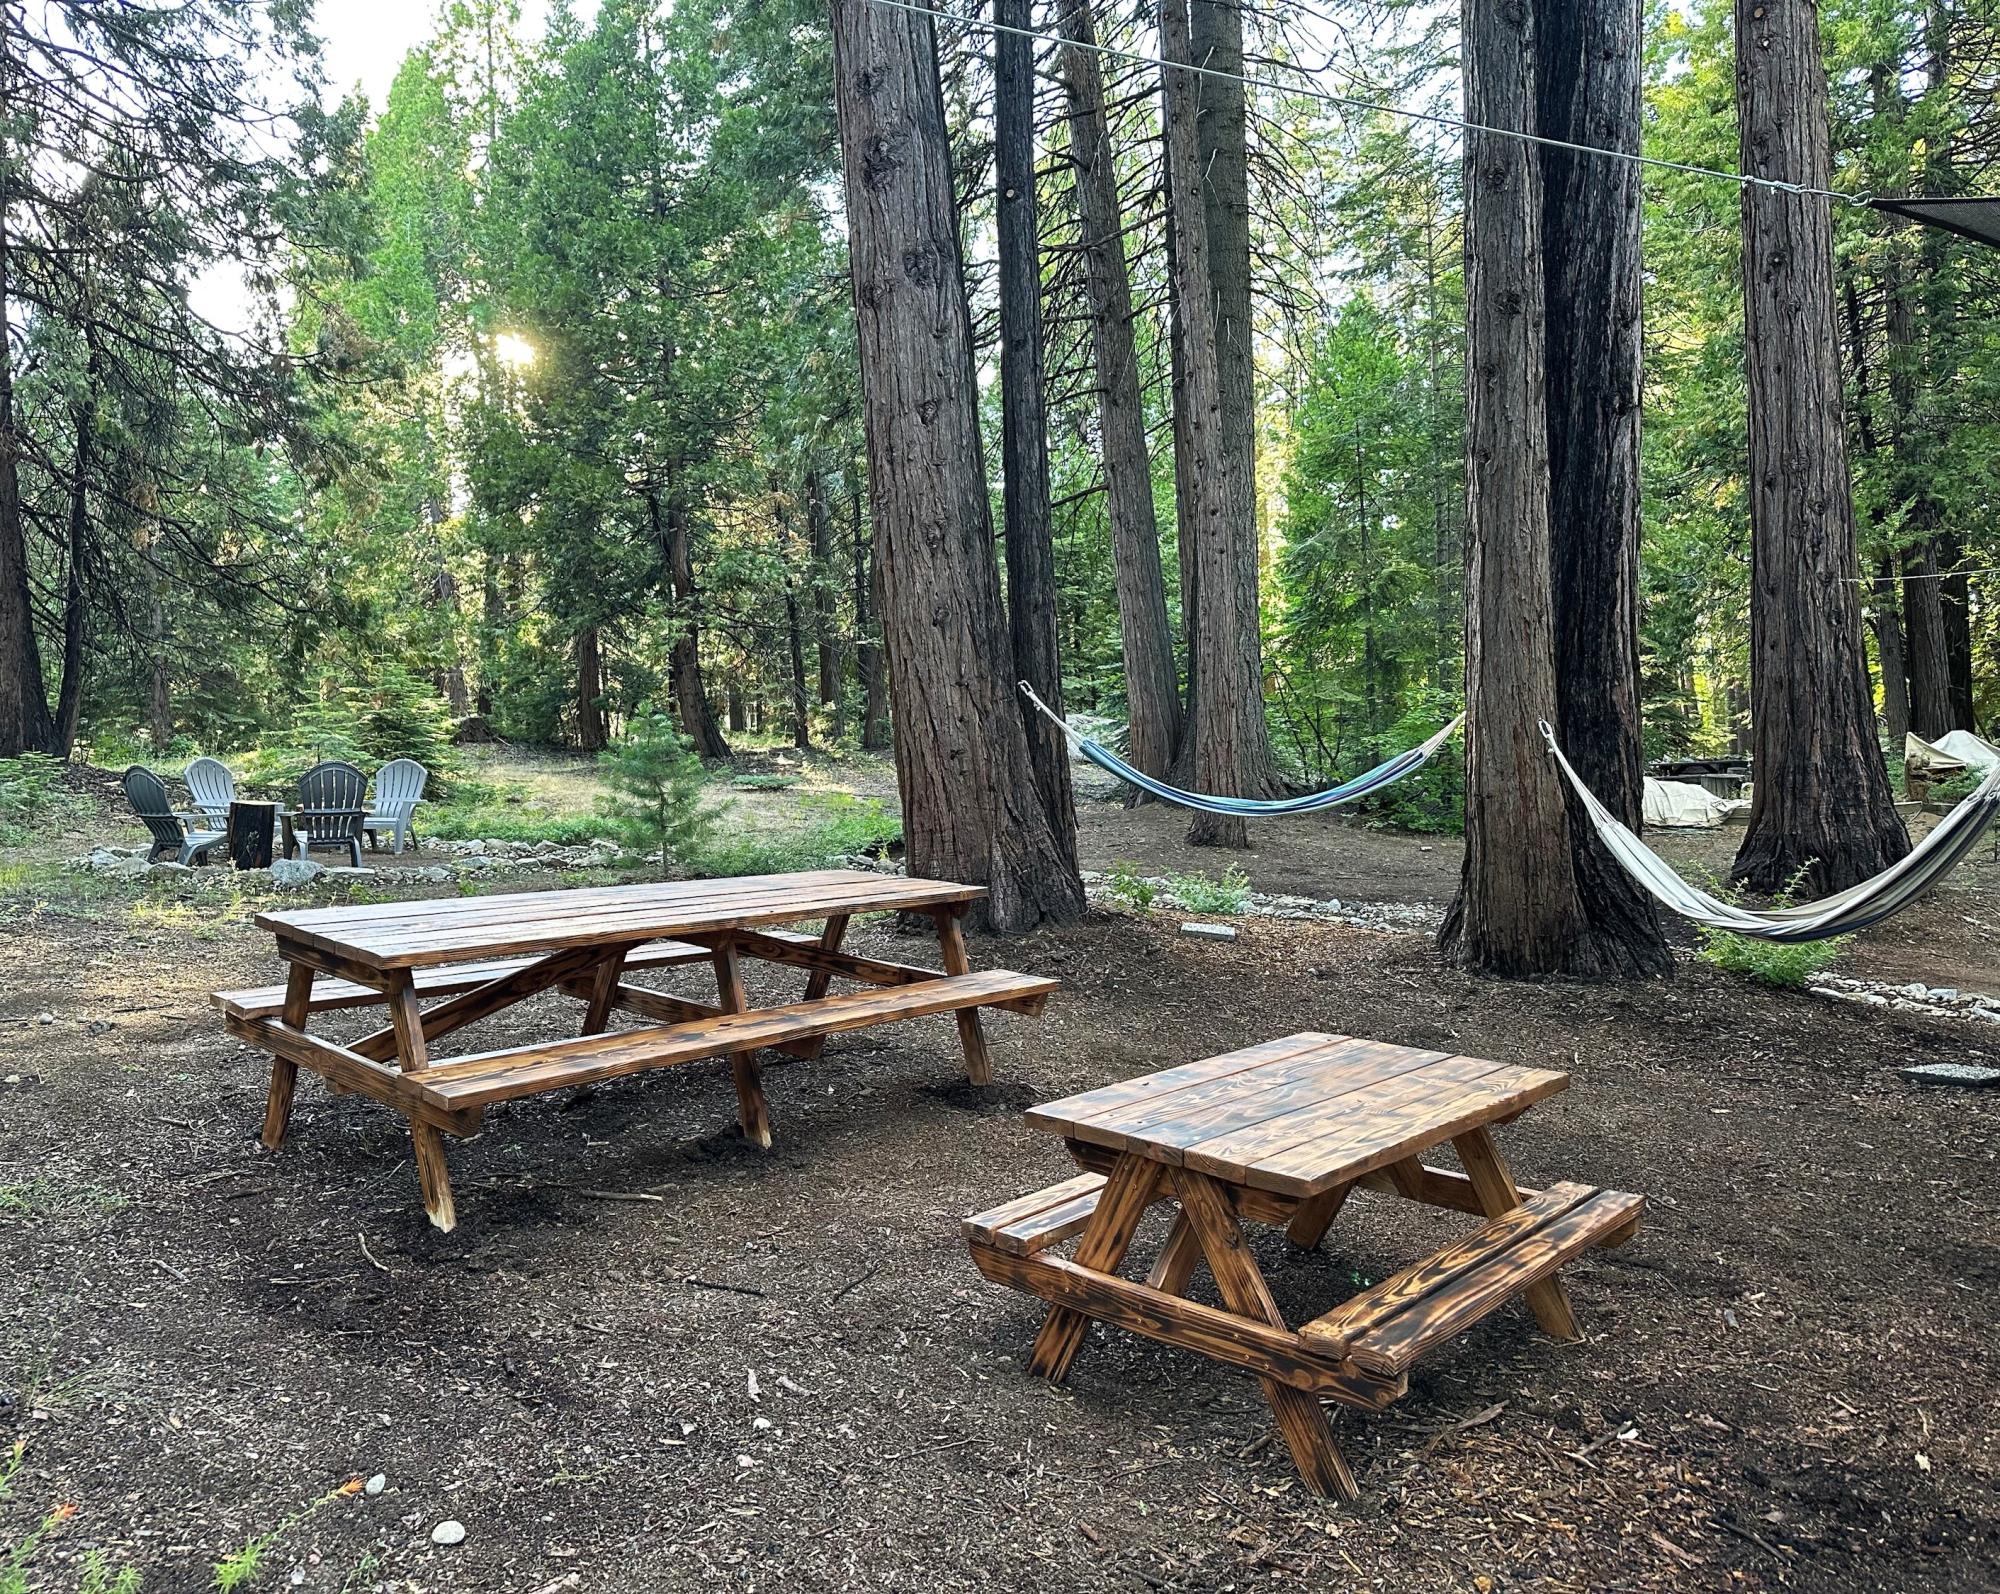
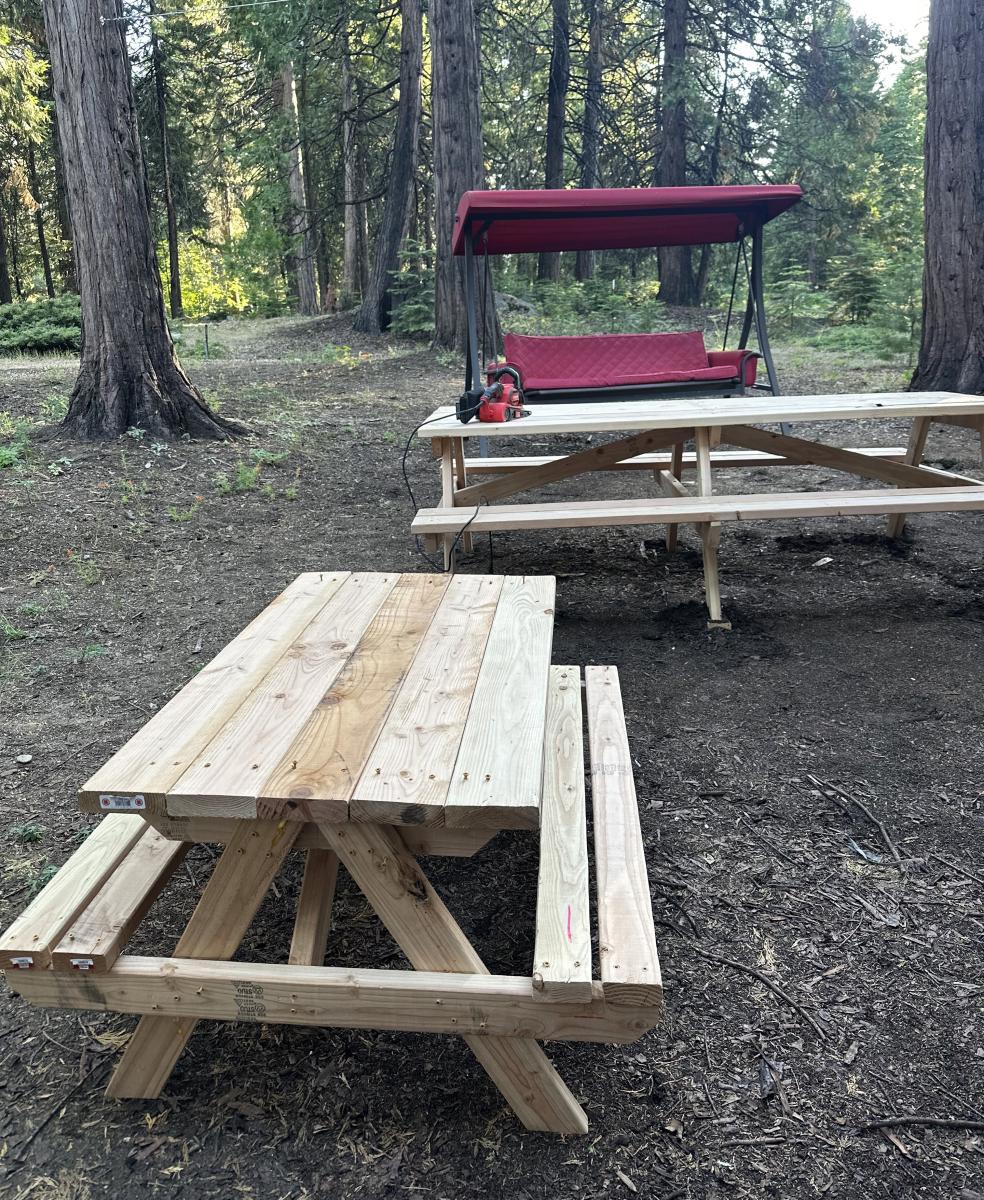
We have an Airbnb at a nearby lake. We built the large and kids picnic tables so our guests can enjoy the outdoors!!
Elaine Freitas
Here is my Providence Table made from scrap wood we had left from building our deck. I am not thrilled that it is made out of pressure treated wood but it is what it is. I used 2x6 mixed in with 2x10's for the top, 4x4's for the legs and used a 1/4 router bit for all the edges.
Fri, 05/25/2012 - 18:44
Thank you! I have been asked to build this for nearly everyone who comes over! Great great plan that saved us a TON of $! Thanks!
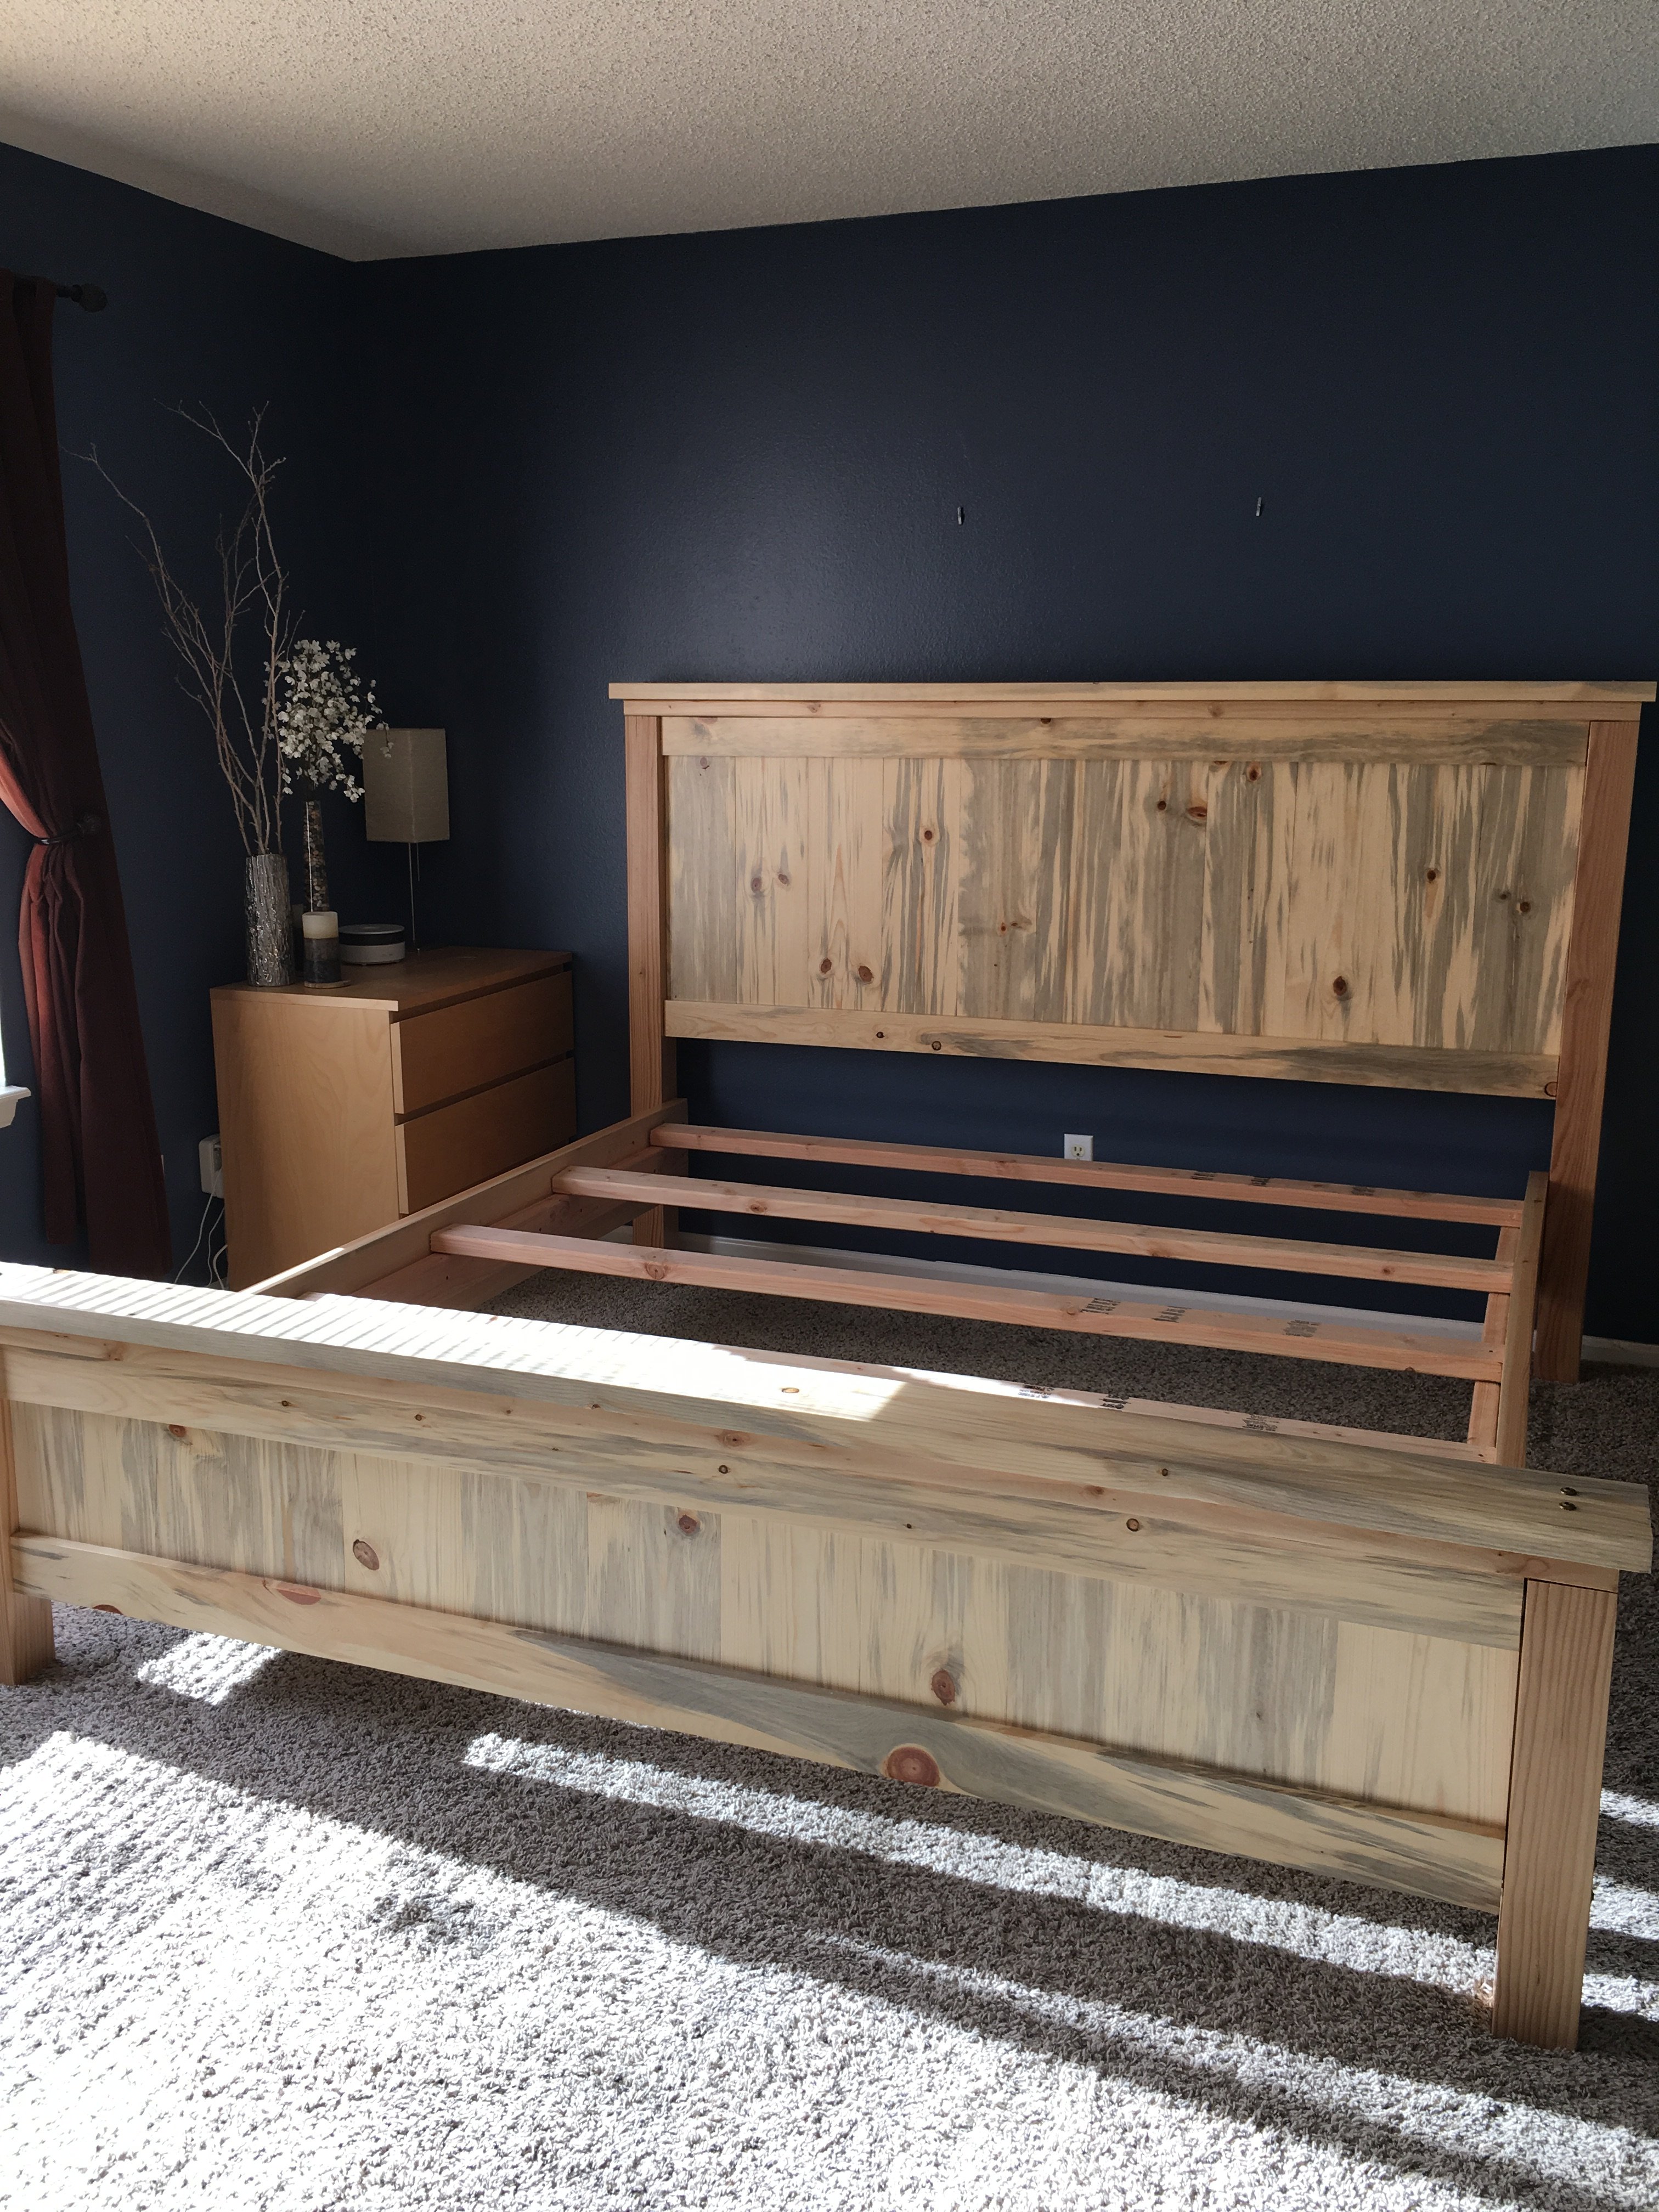
I had just finished my daughter's playhouse loft bed when I saw this plan. It was super easy to build and I used all left over wood from the playhouse. I used 6-inch boards for the sides and shelves since that was what I had left over. Other than that, I followed this plan exactly. Thanks for posting!
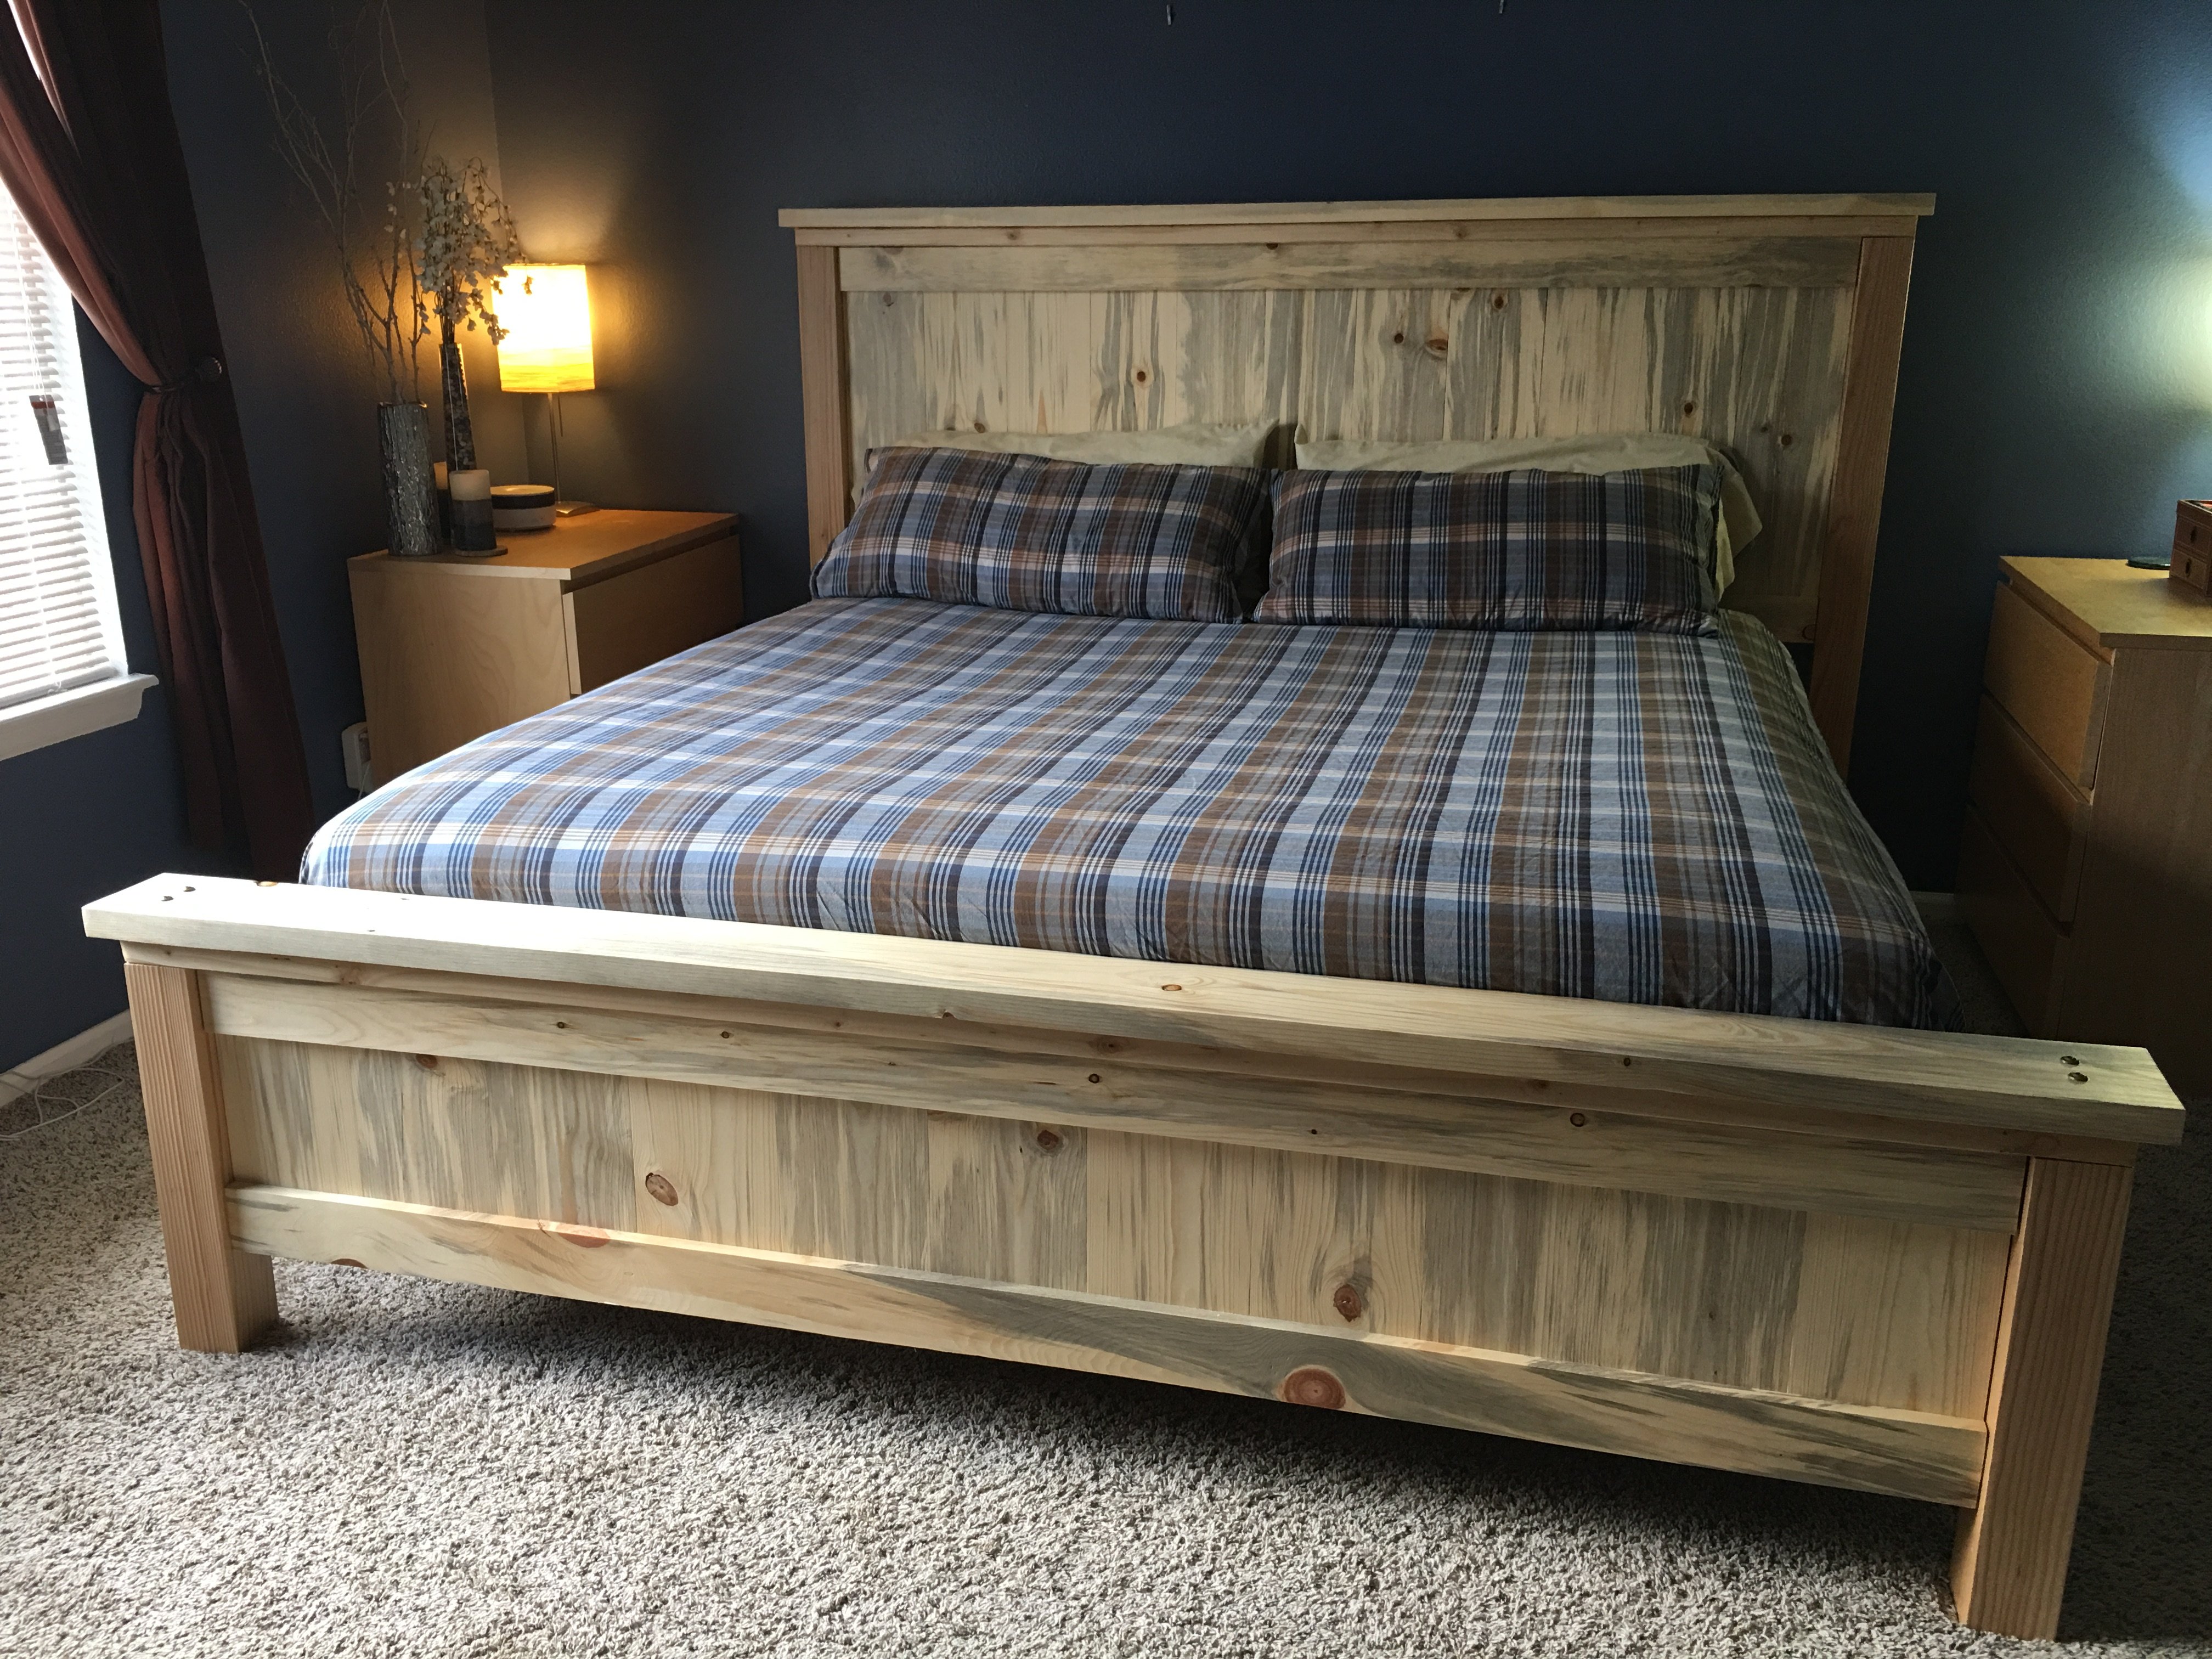
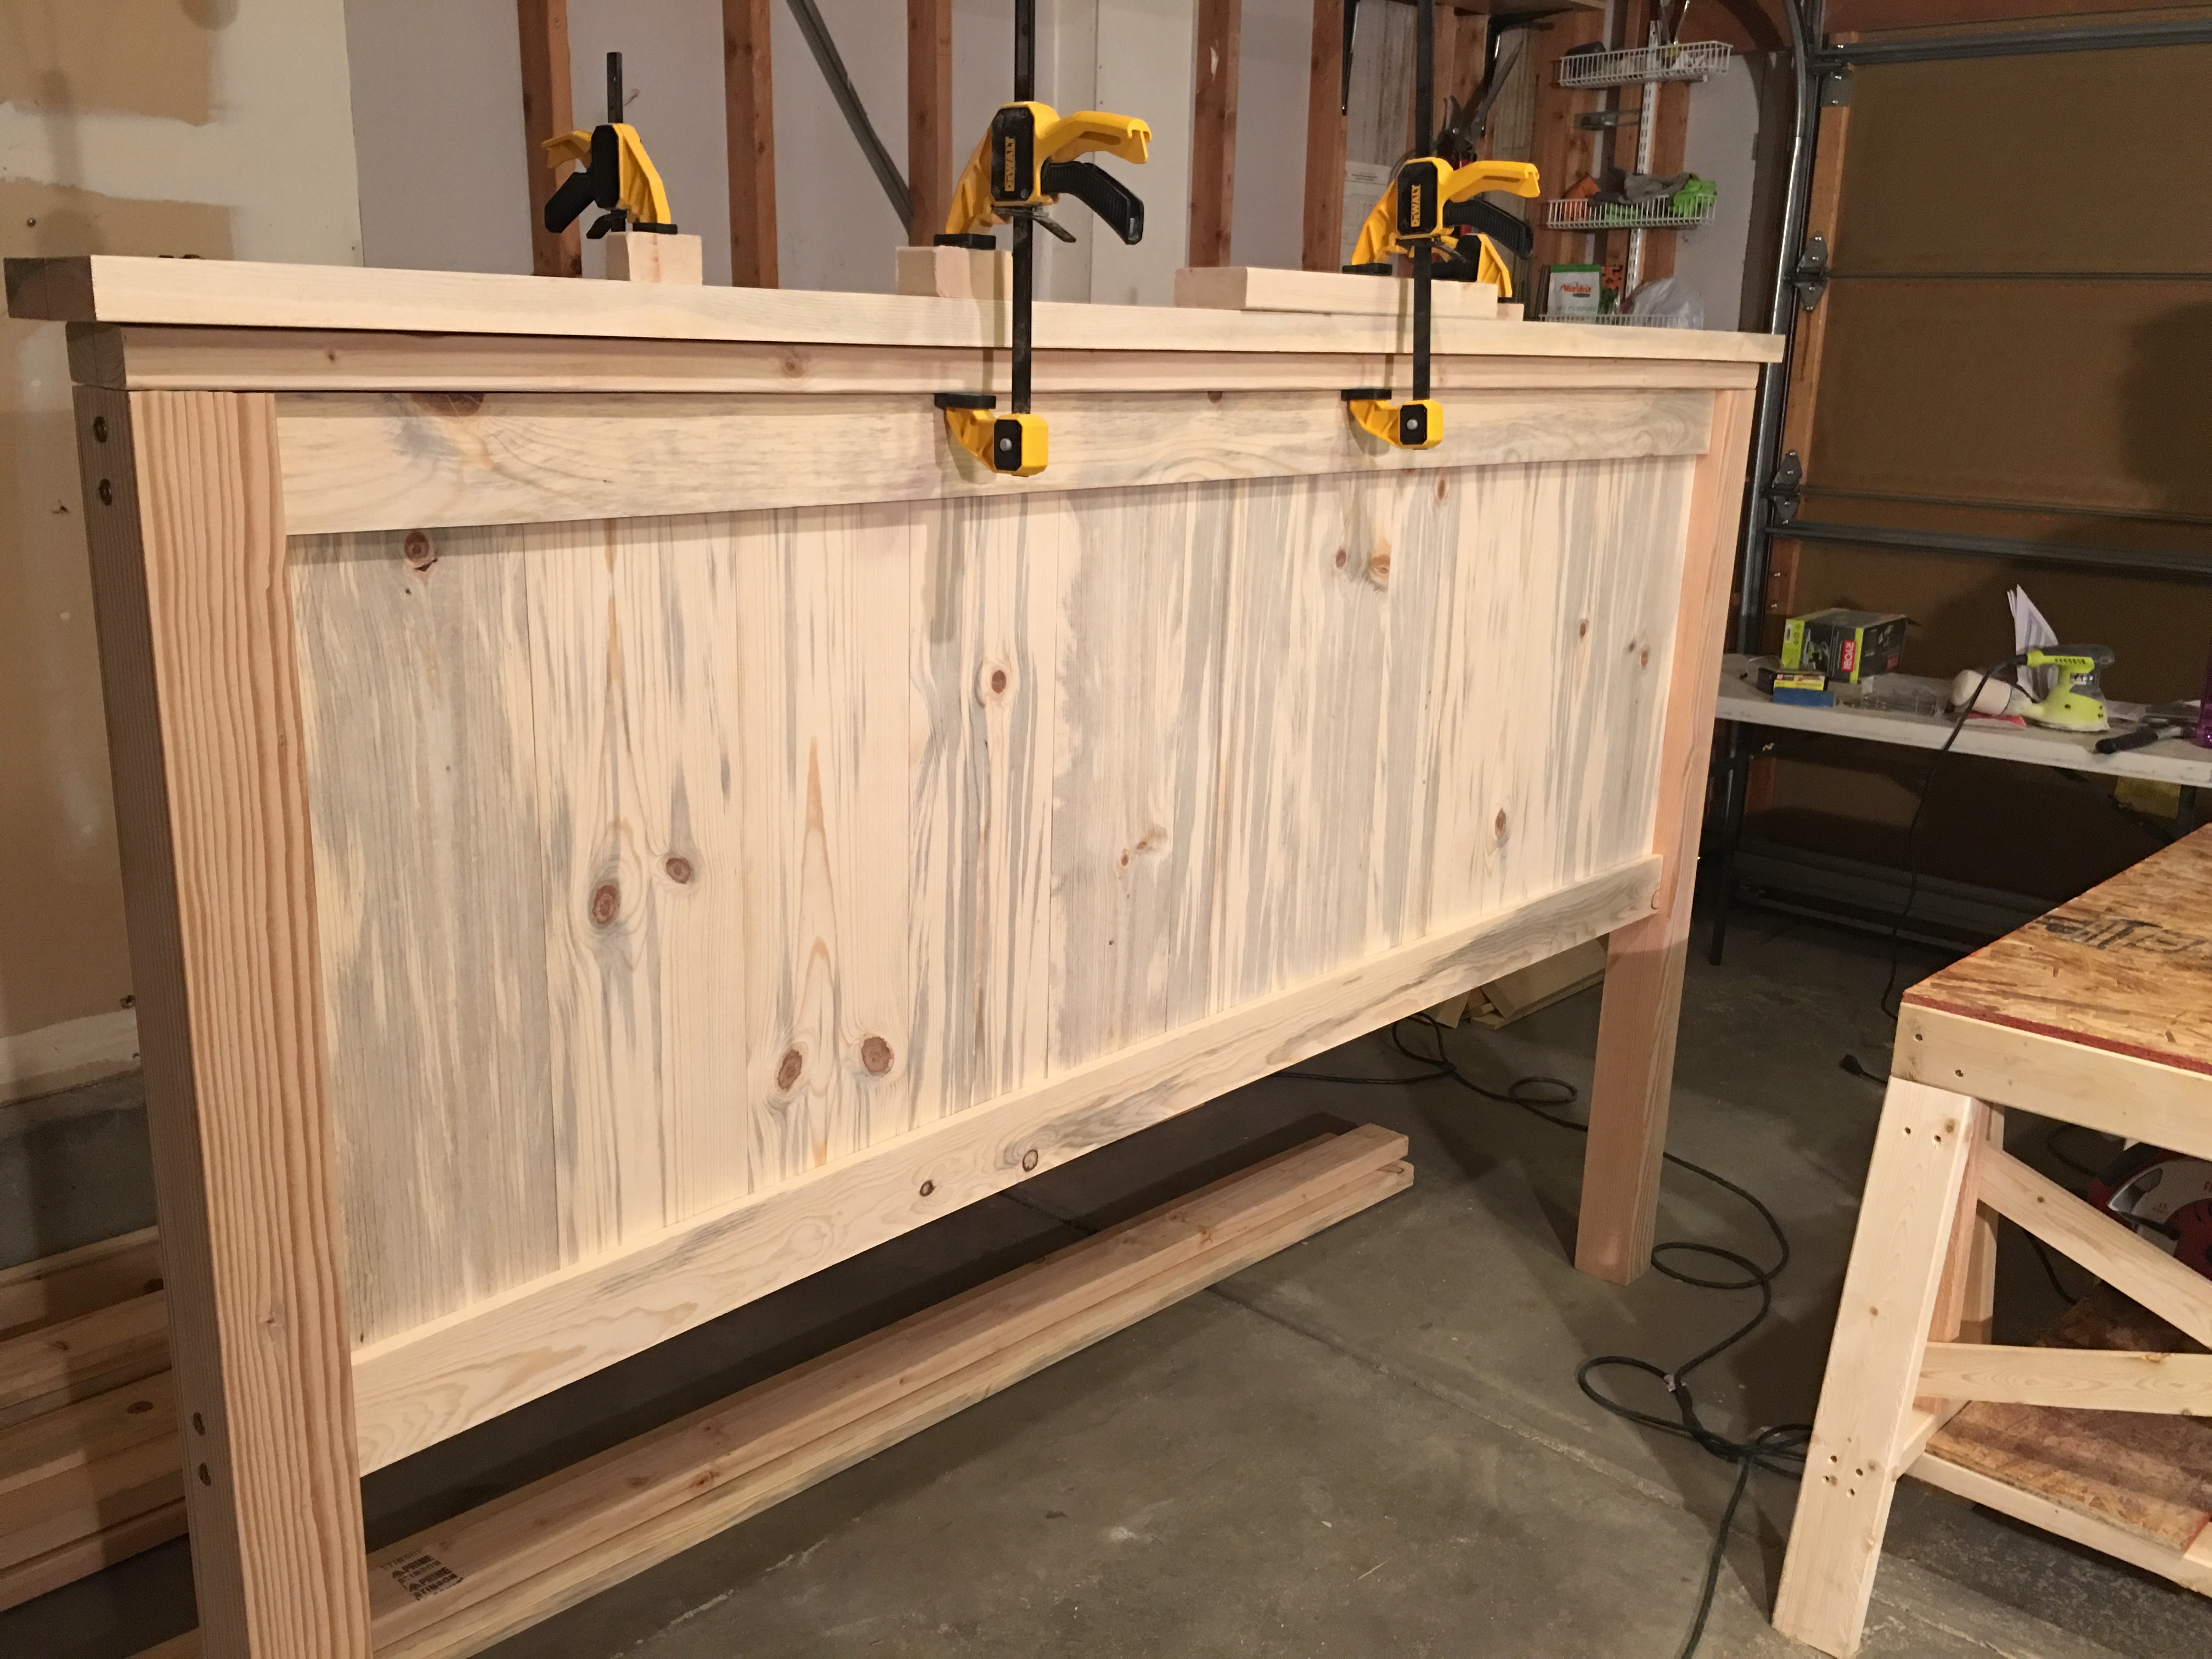
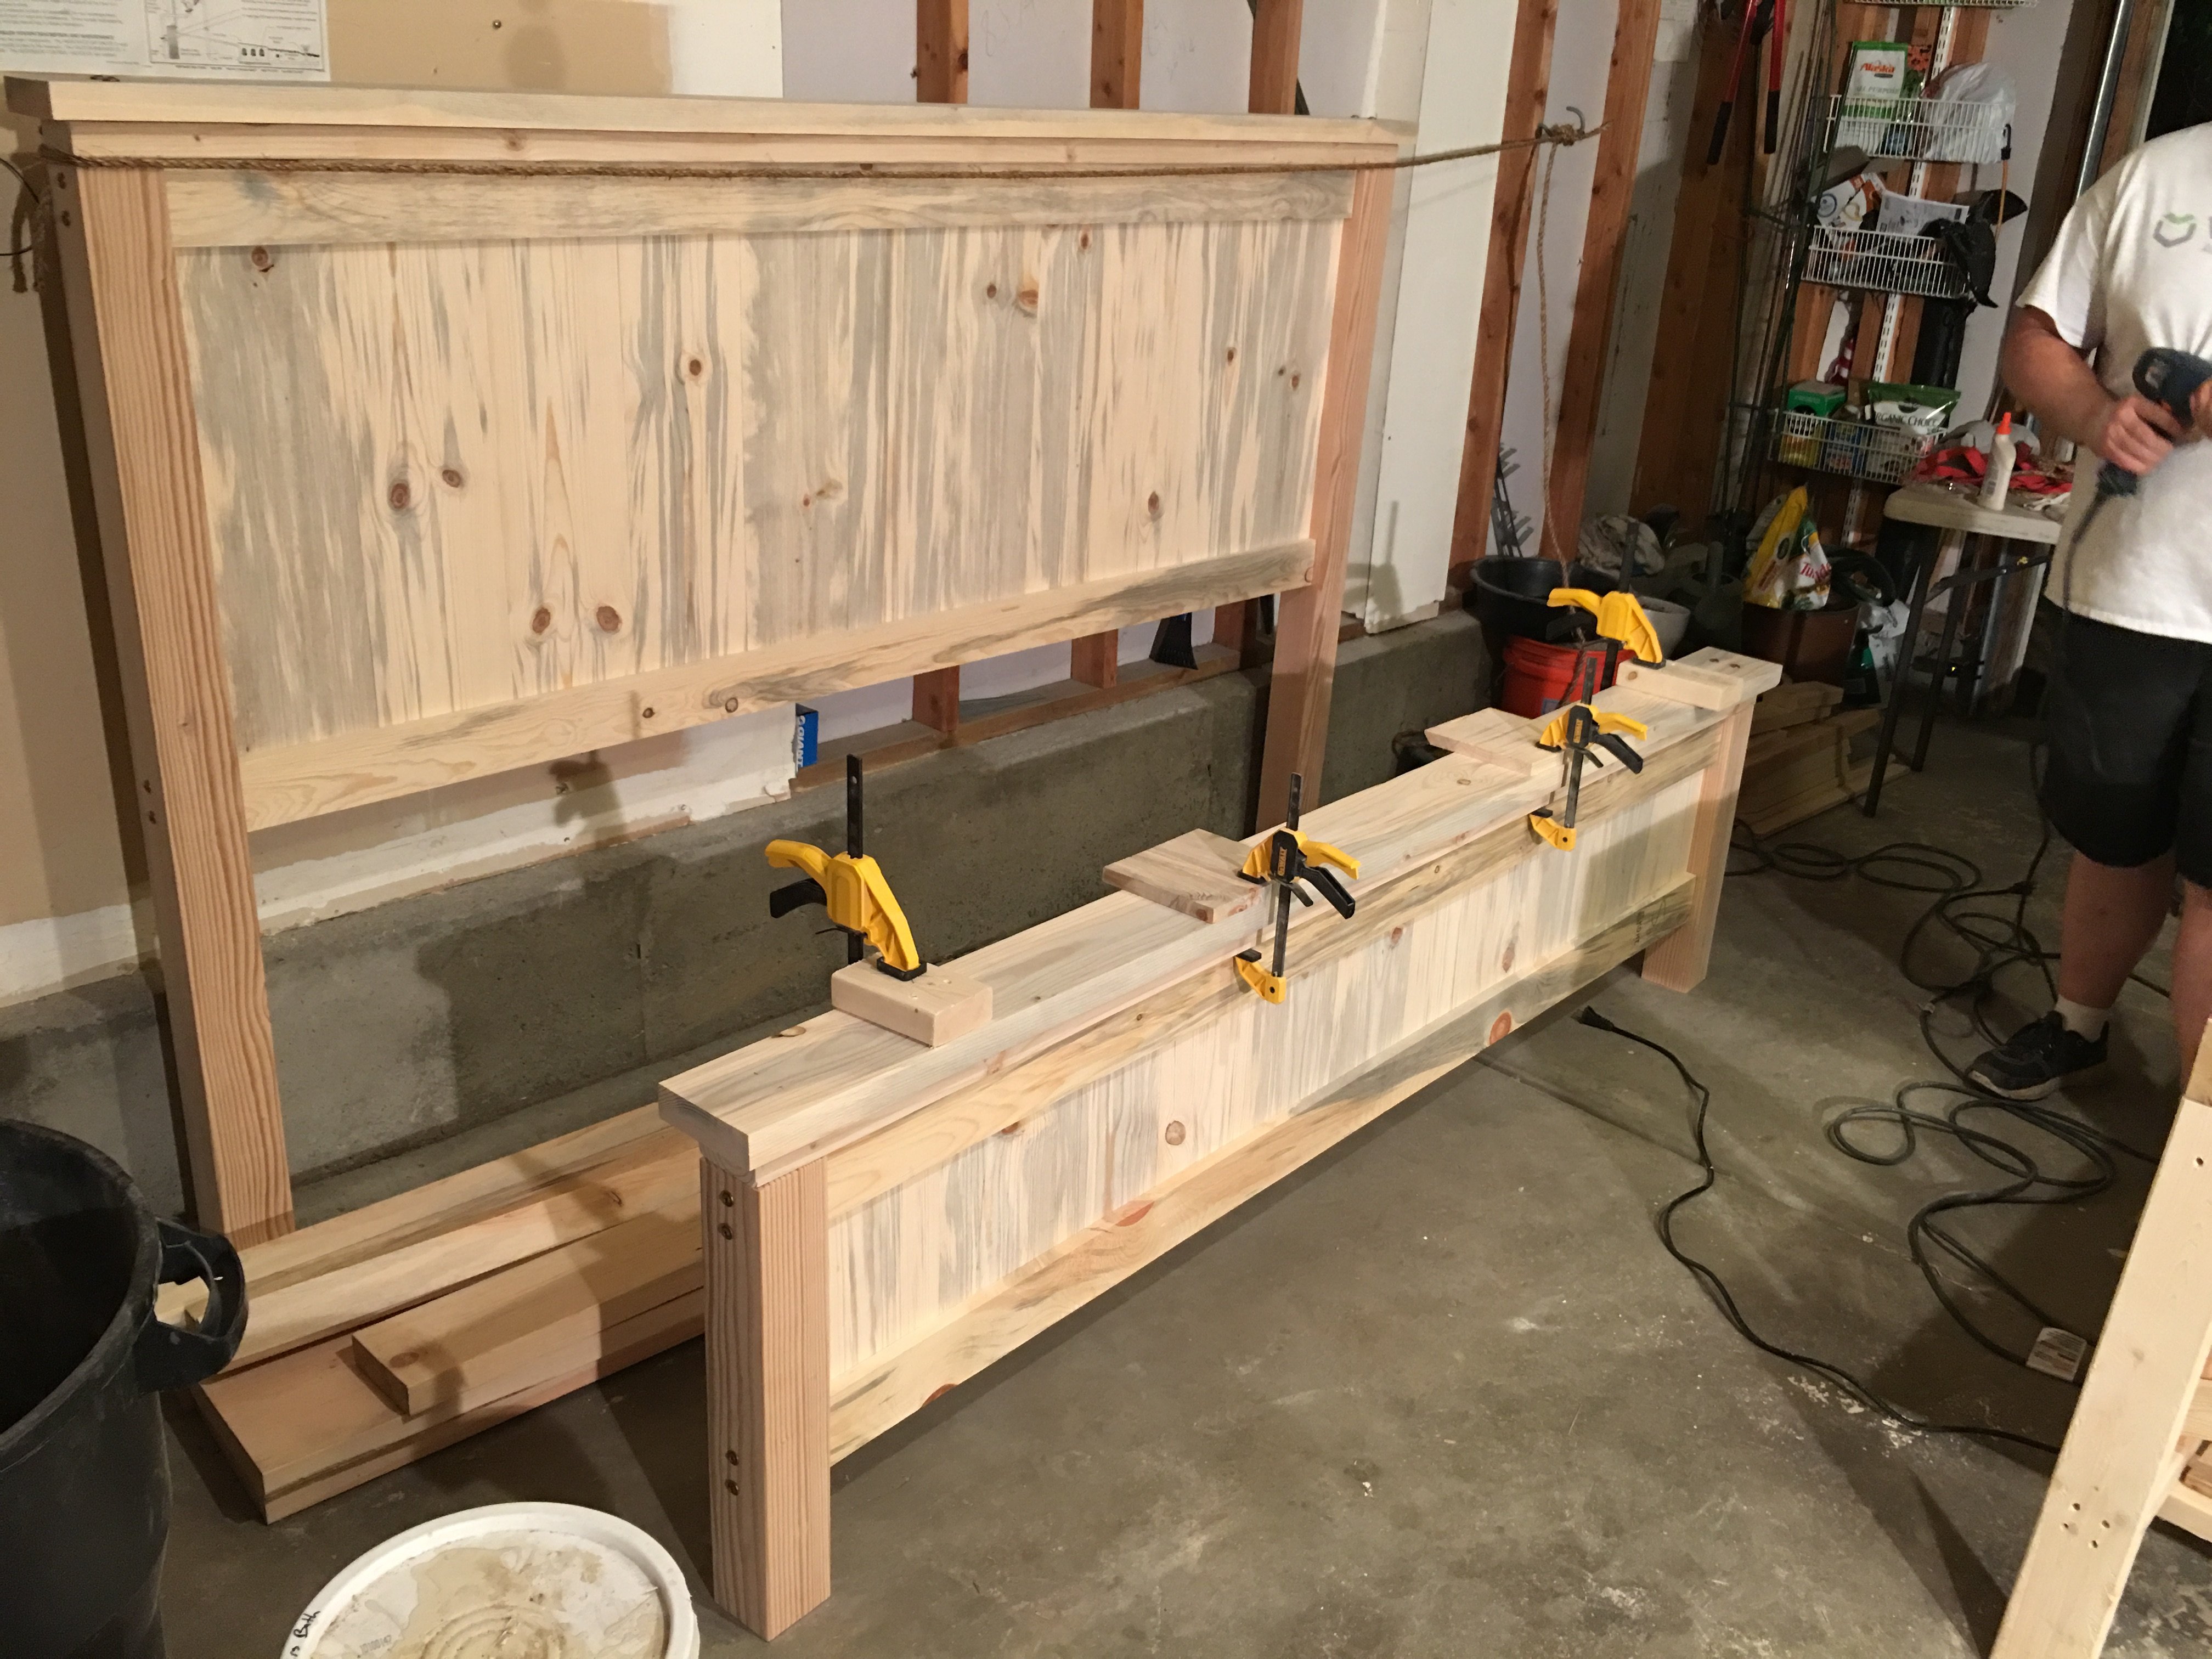
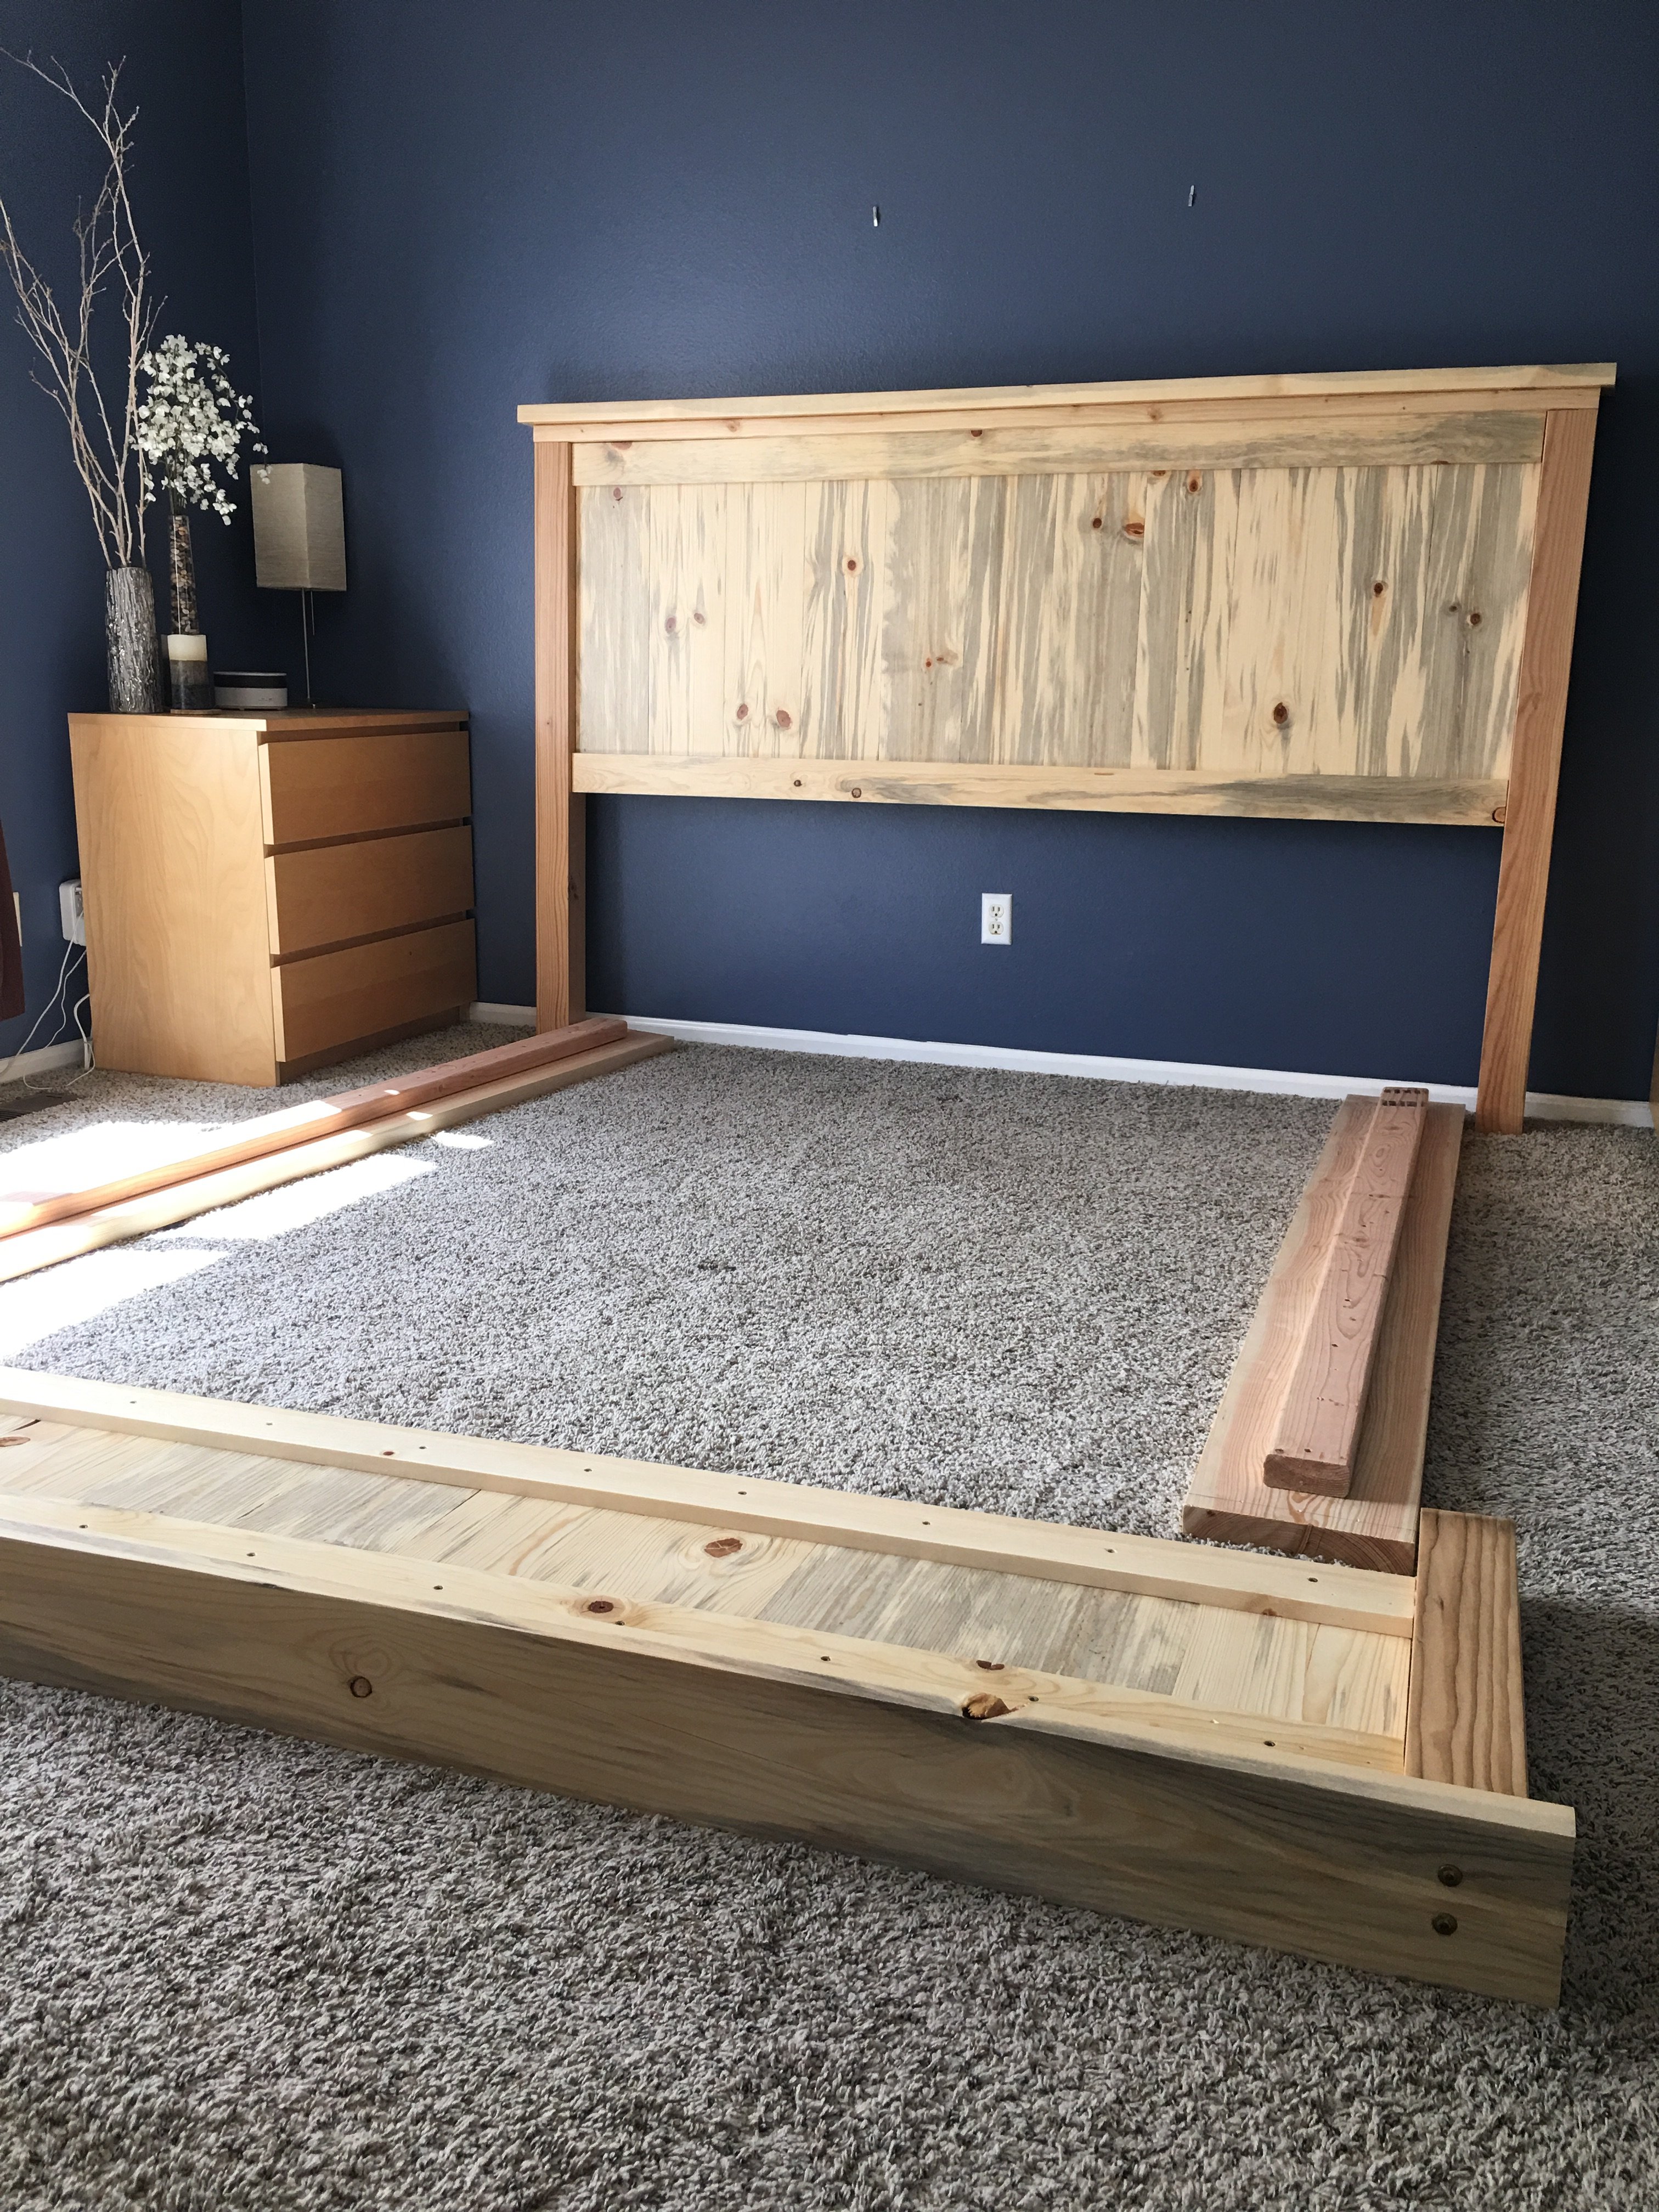
This was our first build and it was quite a big project to take on to start with. We had so much fun and learned so much along the way.
Our biggest lessons were to hand pick our wood and make sure we get the straightest pieces possible. We had to wrestle some wood to make this bed work! Clamp everything especially when using large bolts as the pieces would pull apart from each other. We even used a ratchet strap at one point becuase our small clamps weren't cutting it. I'm sure there's a better way and we'd love to hear about it but we made what we had work. We also had to figure out how to attach the side rails and at what height. We ended up using 3 4-inch screws on each end to screw them into the posts.
We love this bed not only because it was a labor of love but because its such a solid beautiful piece.

Sun, 03/01/2020 - 11:29
Very nice! I love the lighter wood too, but my wife likes the darker stain, so we compromised in the middle for the finish. Why arethe post always so red? I can appreciate the natural tendency of nature to add color, but the 4*4's are always red-er in color. Do they always use a different pine or certain part of the tree for those?
Mon, 01/18/2021 - 11:27
I believe the posts are actually Douglas fir and not pine judging by the look and color of the grains.

I reduced the size of the 2x4 coffee table to make 2 end tables. They can be used as additional seating when needed.


I built a big kids see saw using 2x6's all around with a 2x8 seat. The center post is 30"h.


My husband, Daughter and I built this loft bunkbed for our seven-year-old granddaughter‘s birthday. It turned out wonderful and she squealed when she saw it! Thanks so much for your online plans.
Jan Ott
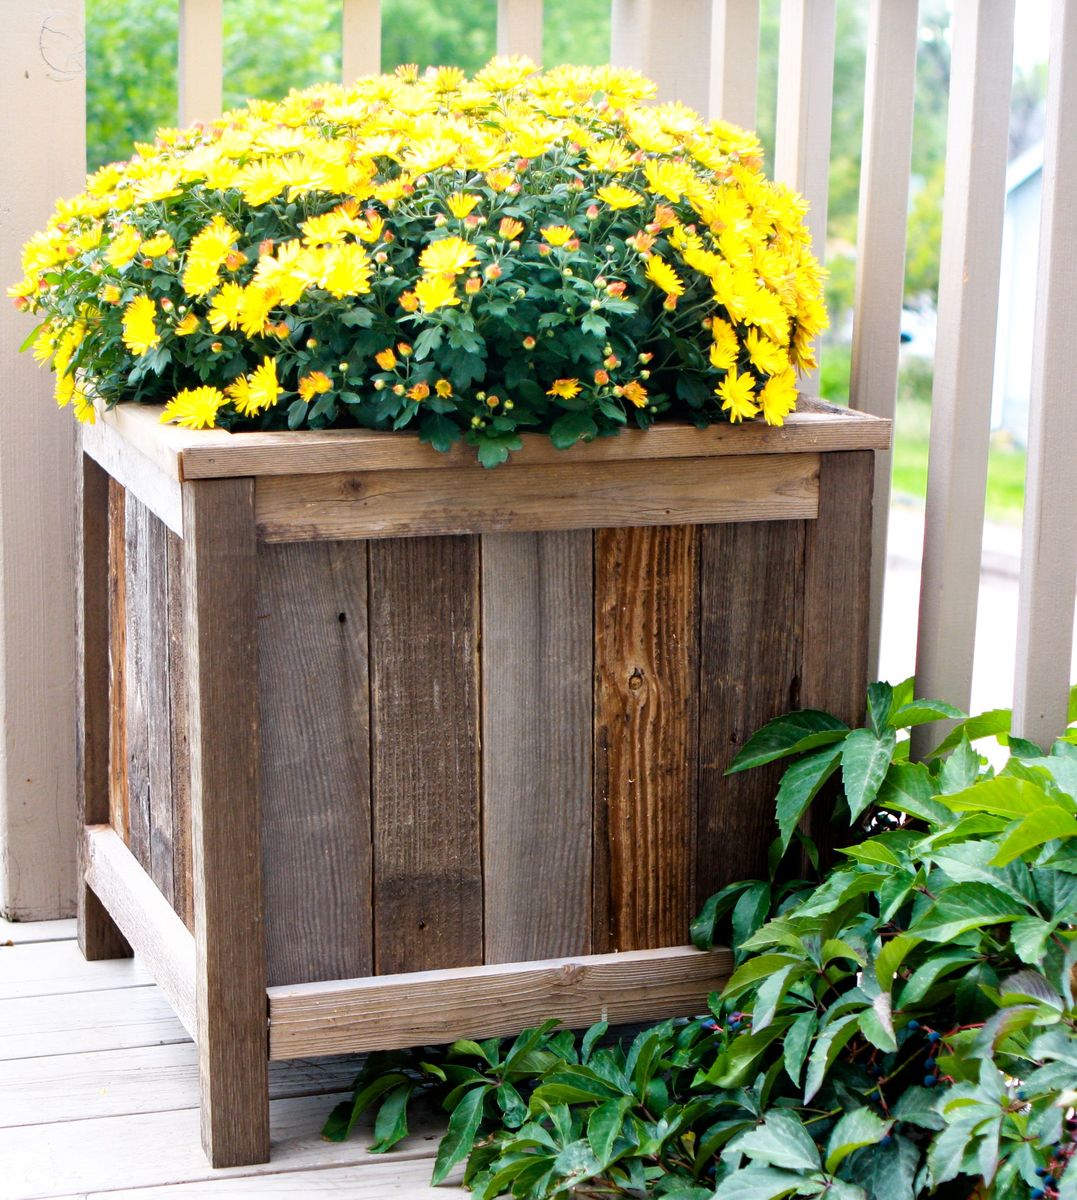
I built Ana's under $20 cedar planters for free. Or, almost free! I had to buy some more wood glue, but I had some of the wood on hand and took some from a friend's pile of old fence wood. It took me about five hours to build both planters from start to finish. See the blog link below for more info.

Tue, 09/08/2020 - 16:12
This is great. I just tore down my old fence and have tons of old cedar pickets. I want to make some planters for my new patio.

We needed a bench to fill the space in our front entry and provide some storage for seasonal gear. We couldn't find anything to buy that would work for us, so when my wife found these plans, I had to try it! Couldn't be happier with the results. We widened the bench by a foot to 84" to fill the space. Basically, it just made each drawer 4" wider. Everything else was built to plan. The most expensive thing was the soft-close 24" drawer slides (~$100). As soon as you go above that 24" depth, they get pricier! It was also tricky to get the drawers to catch properly on the soft-close mechanisms, but I made sure to take the time to get it right before closing it all in. Now I just open and close the drawers for the pure satisfaction of it! I used premium pine plywood for the top and I find it still doesn't give that smooth finish I like, even after sanding. I think I'll create a new top out of joined knotty pine planks later and just attach it to the top.