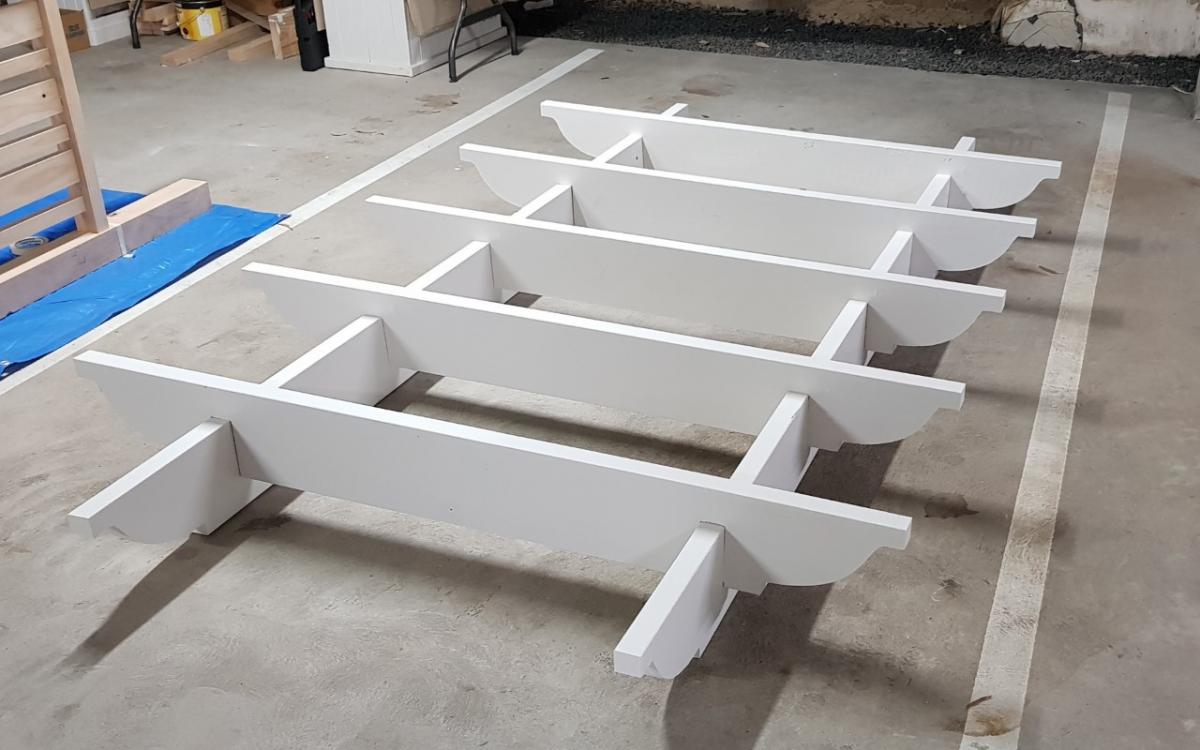
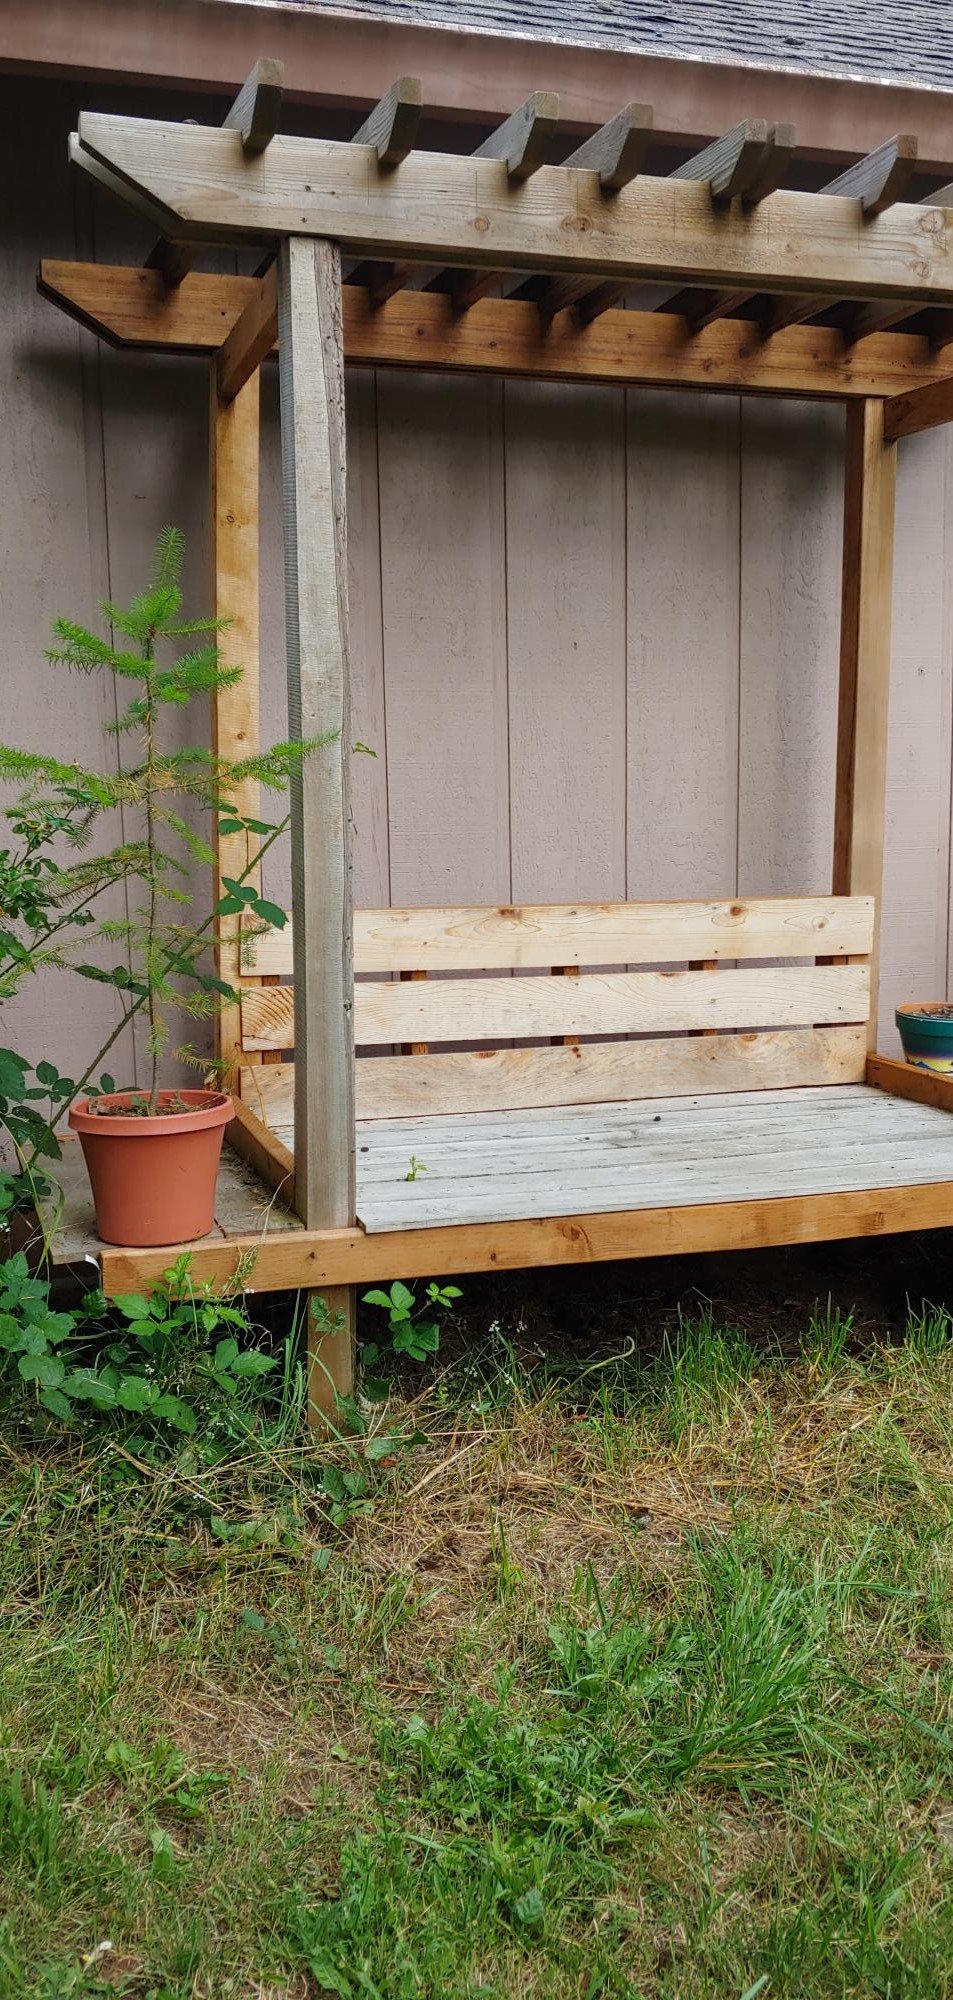
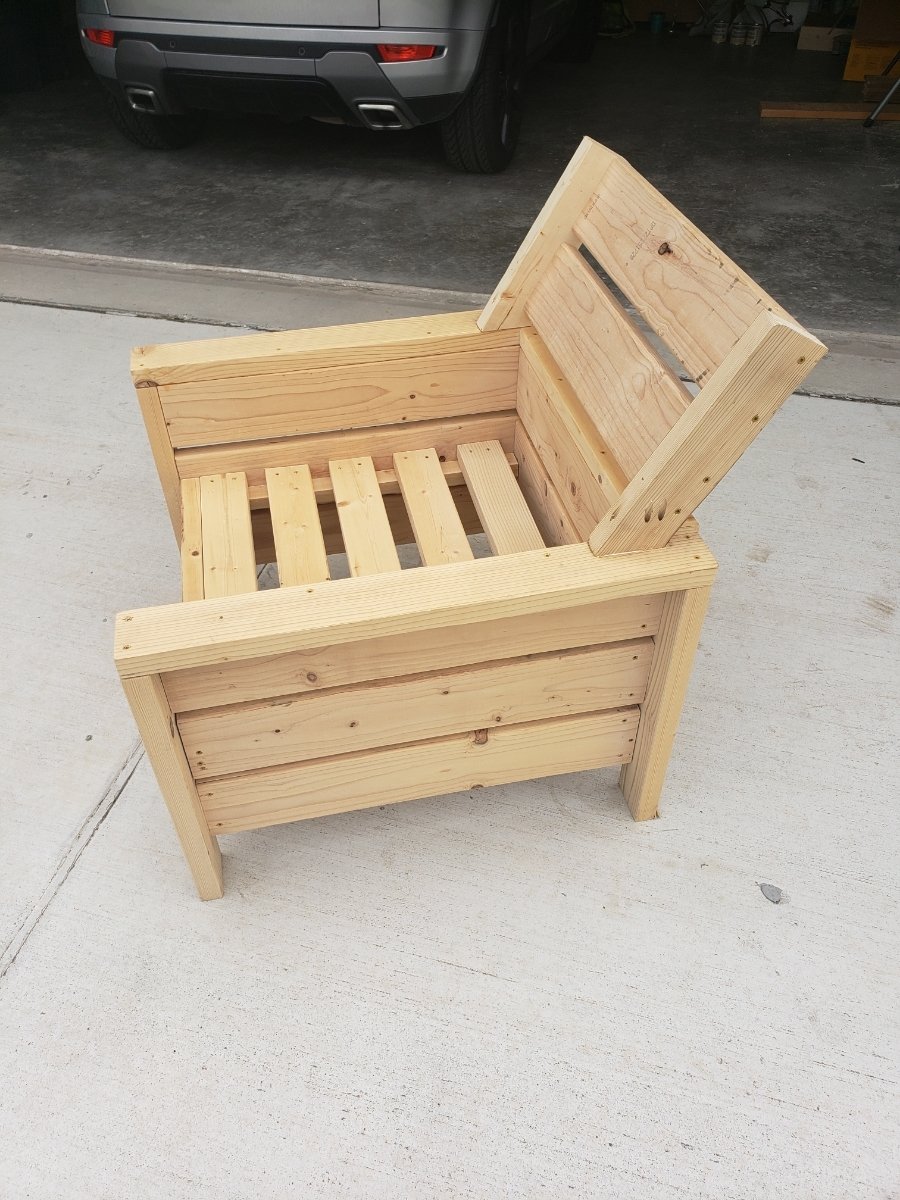
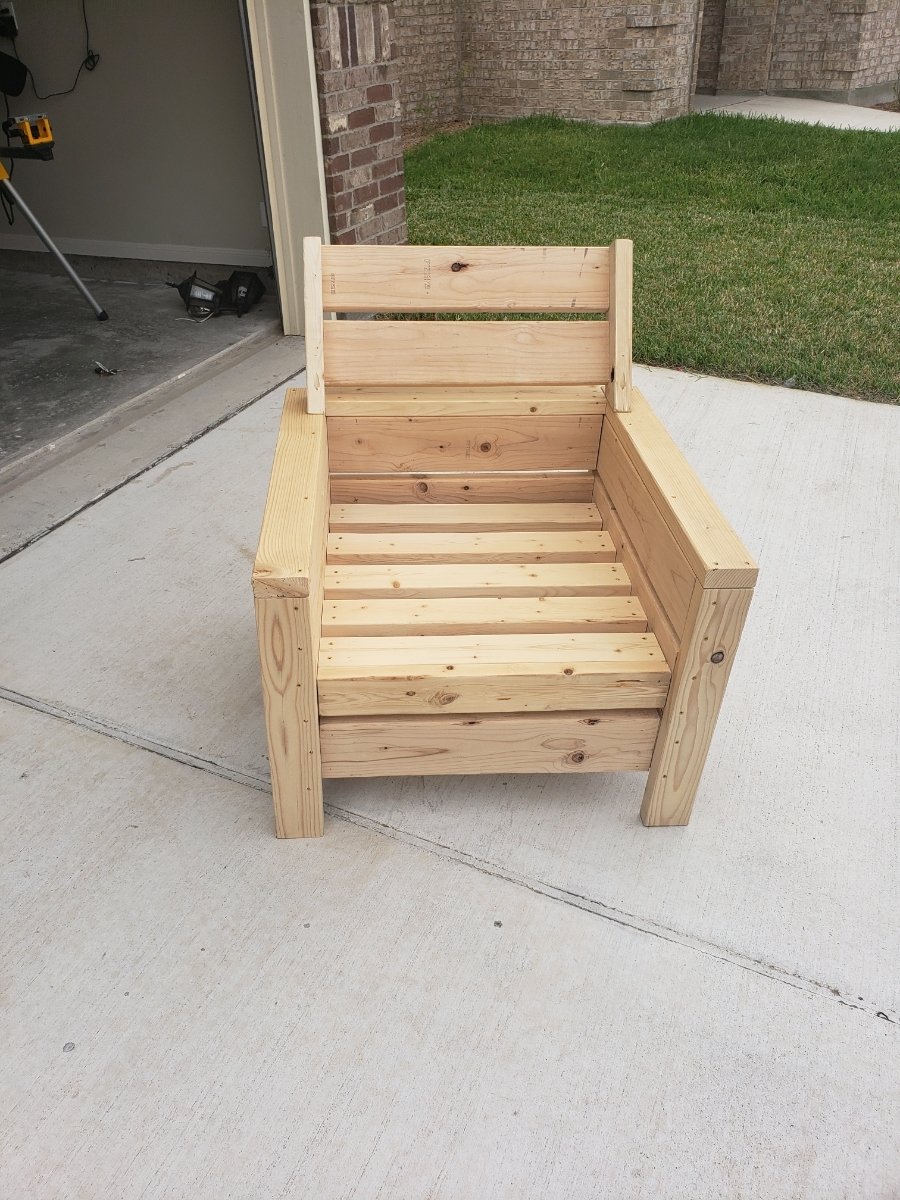
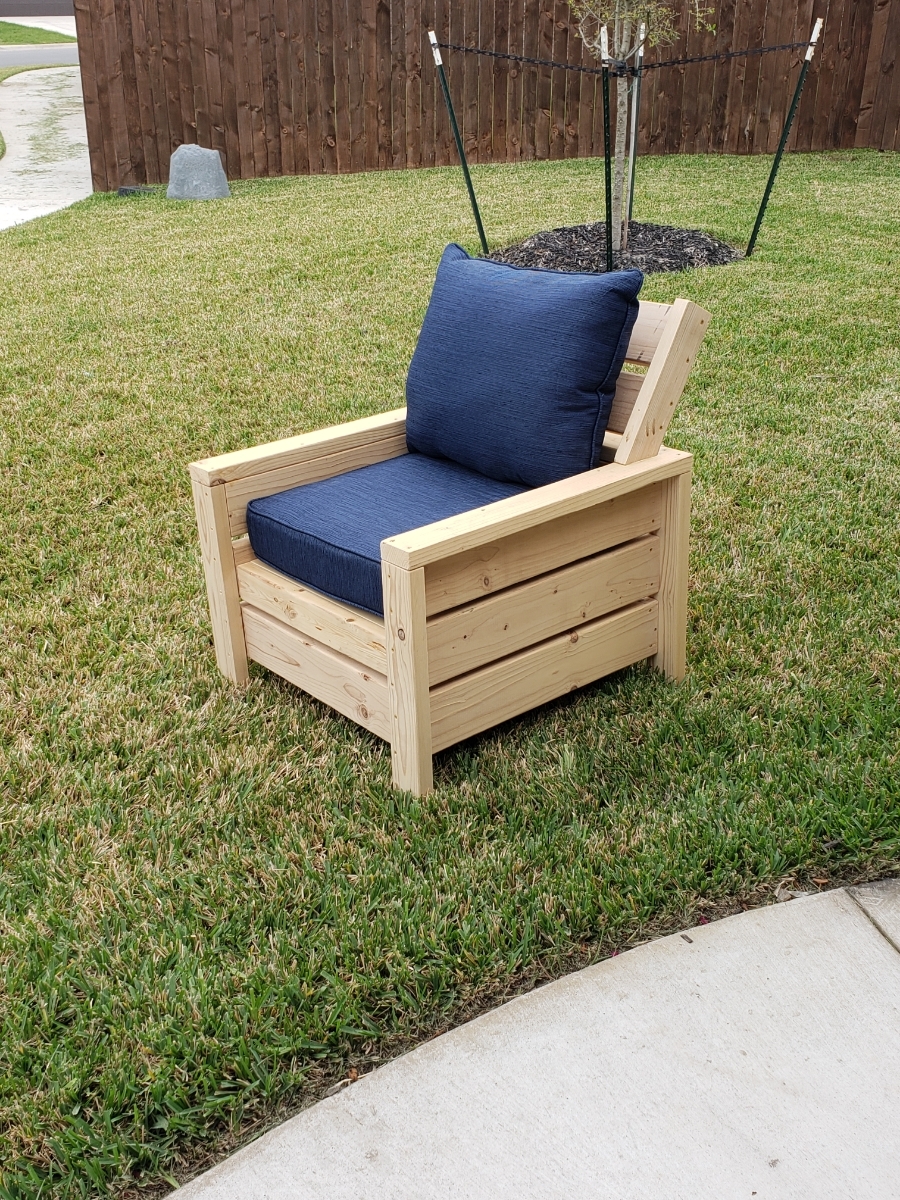
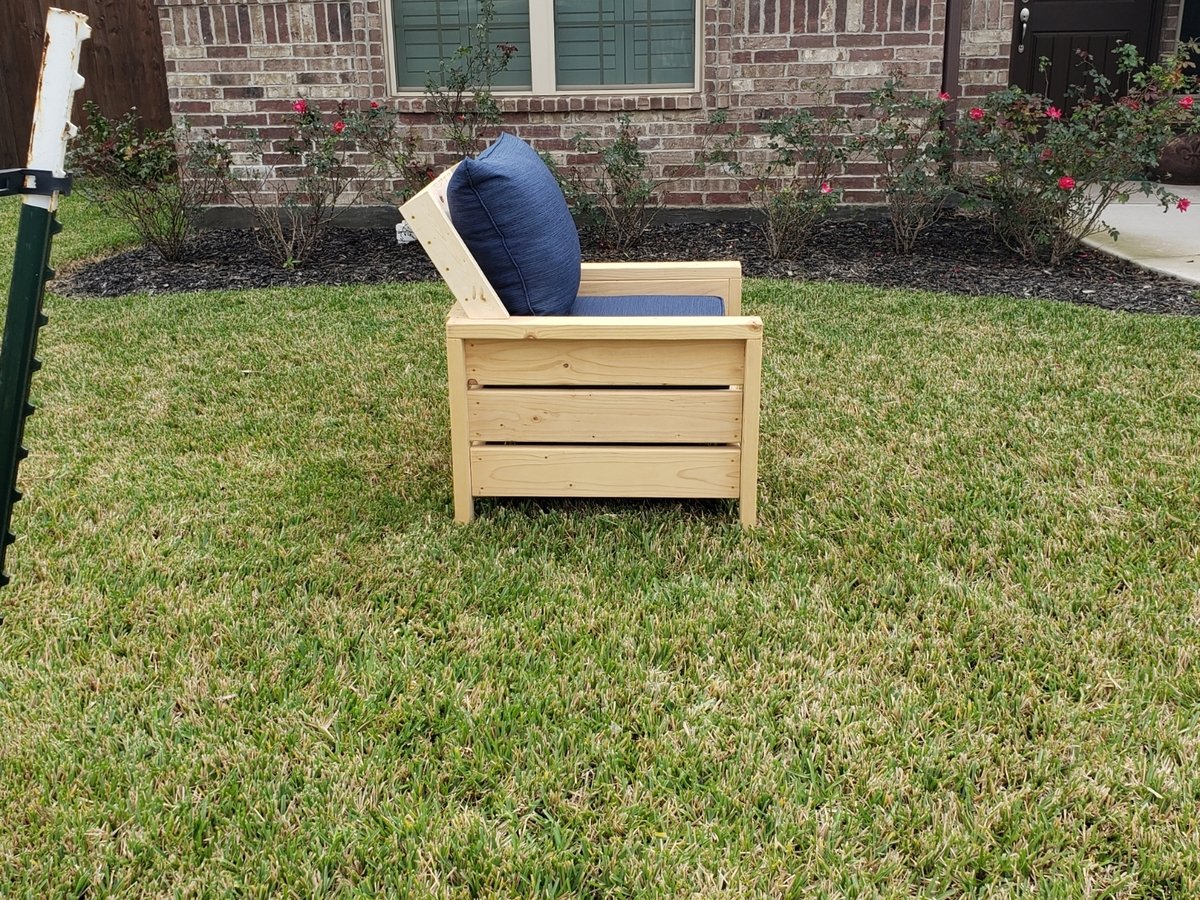
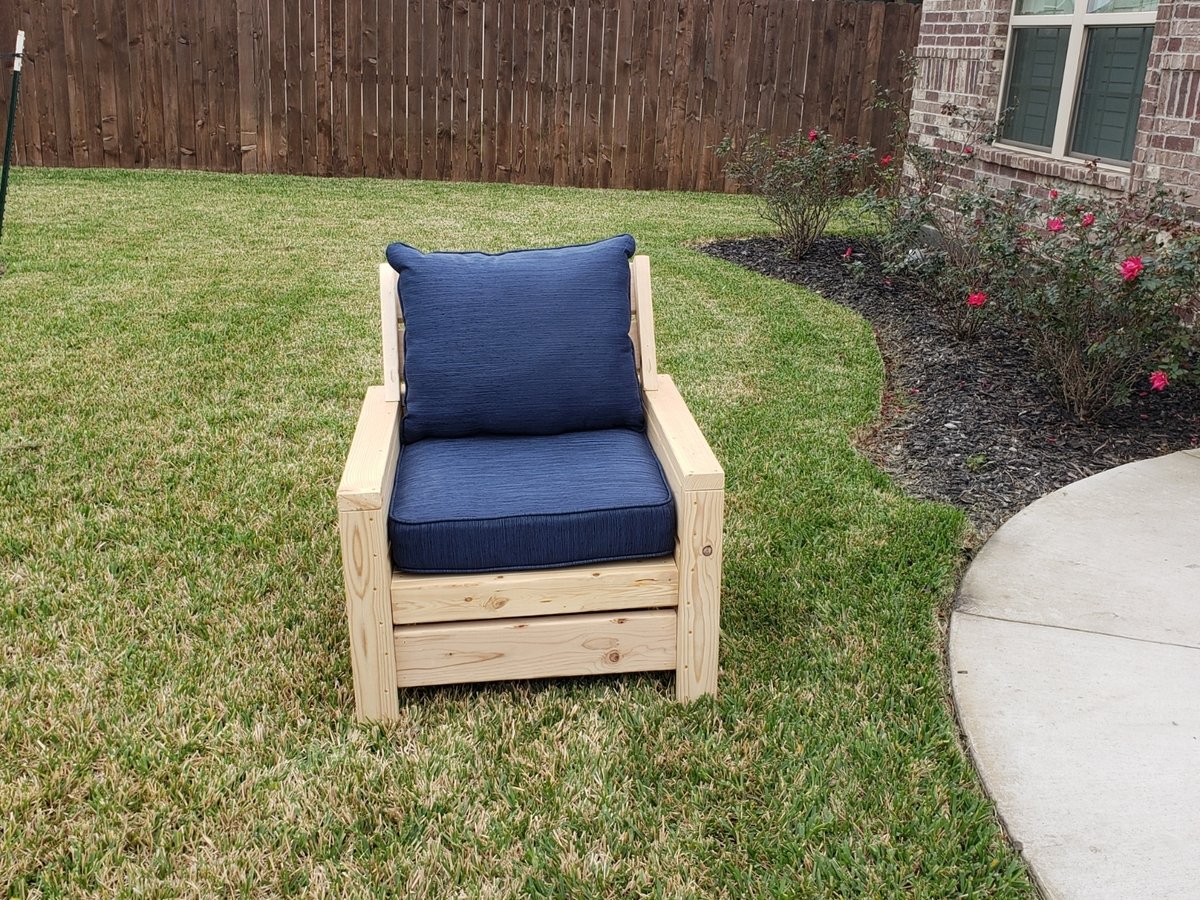
Outdoor Pool Cabana
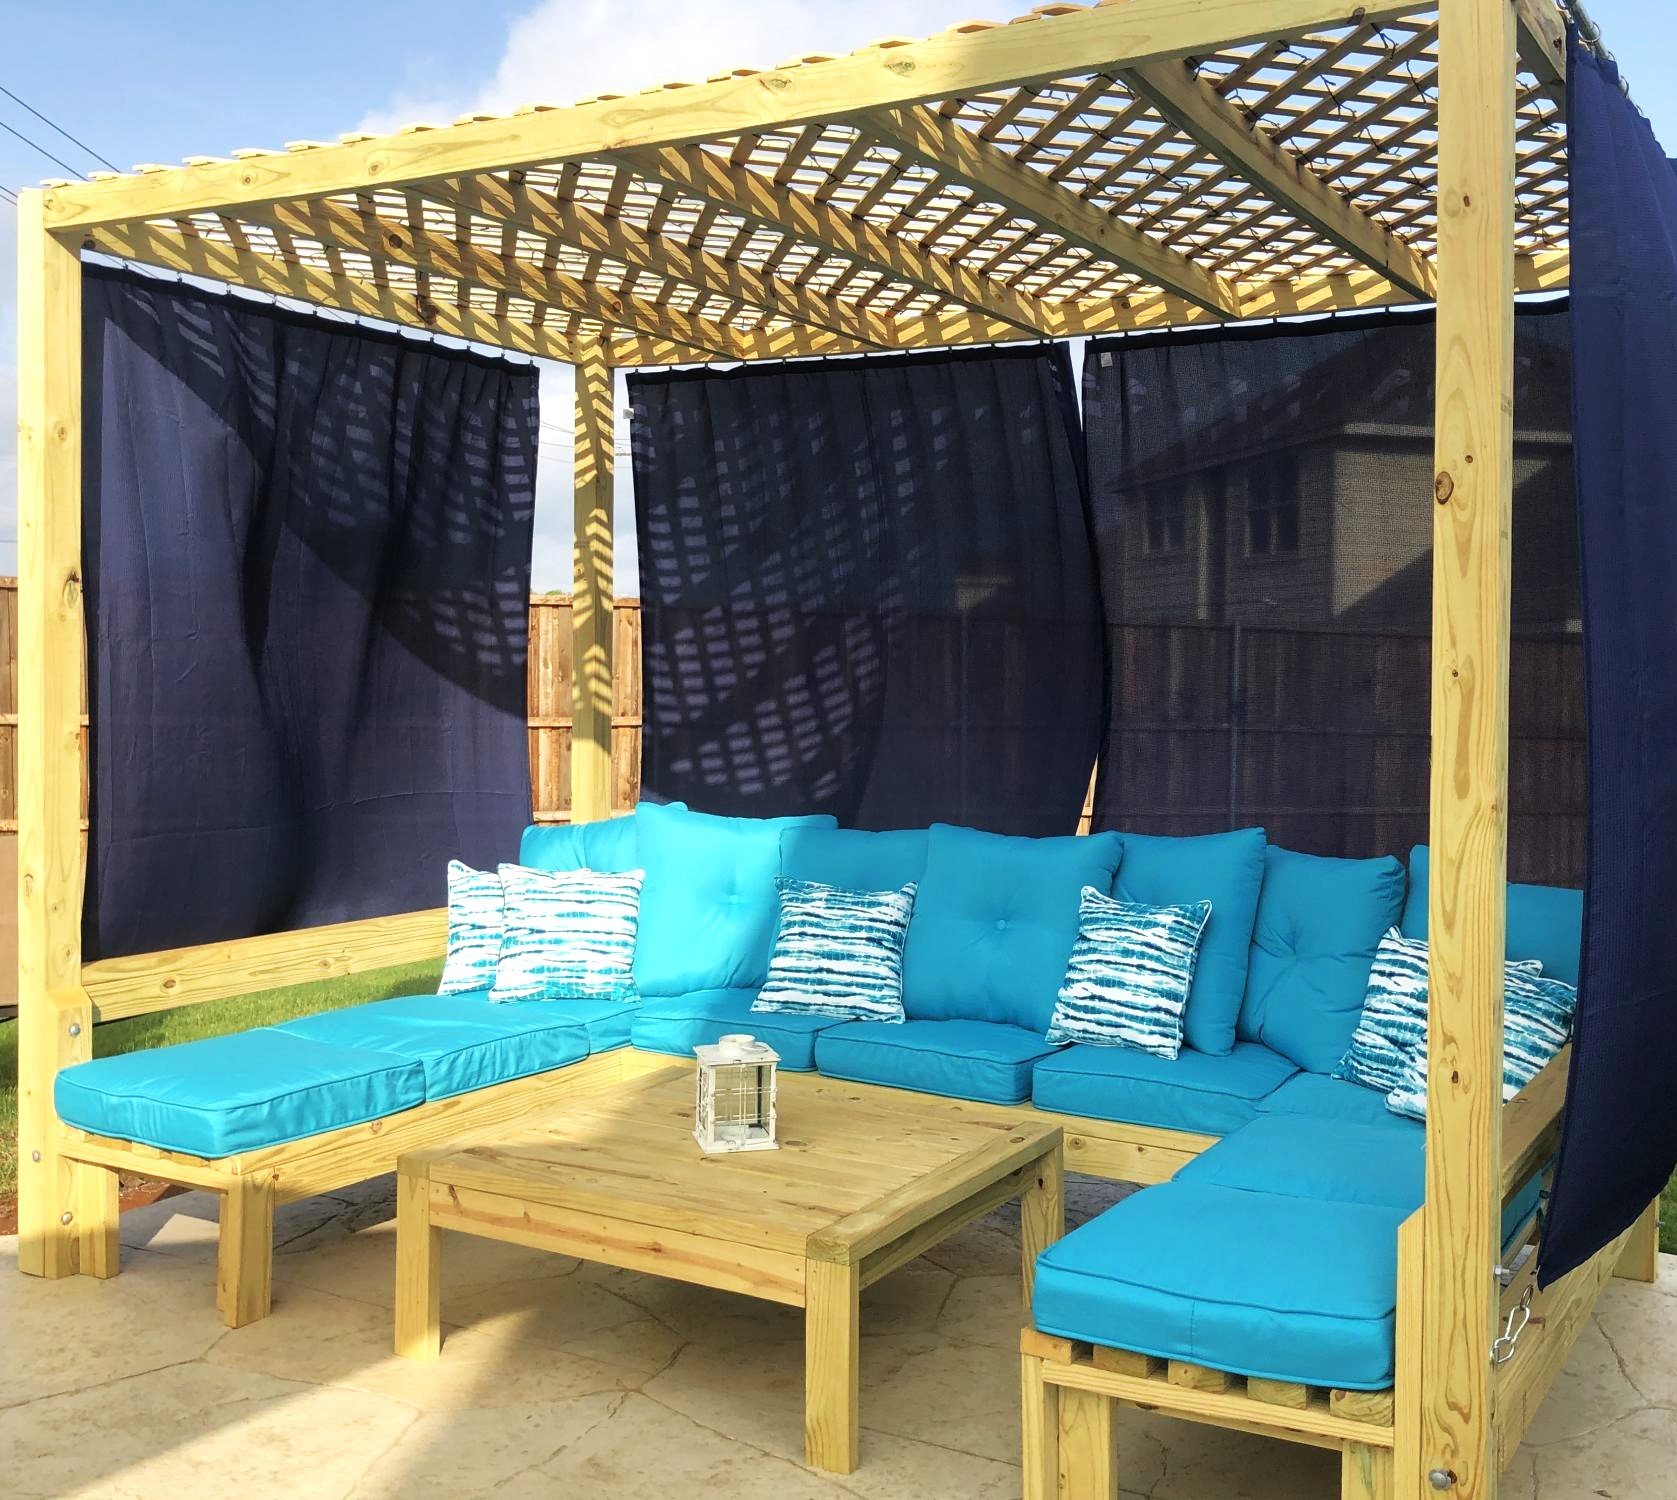
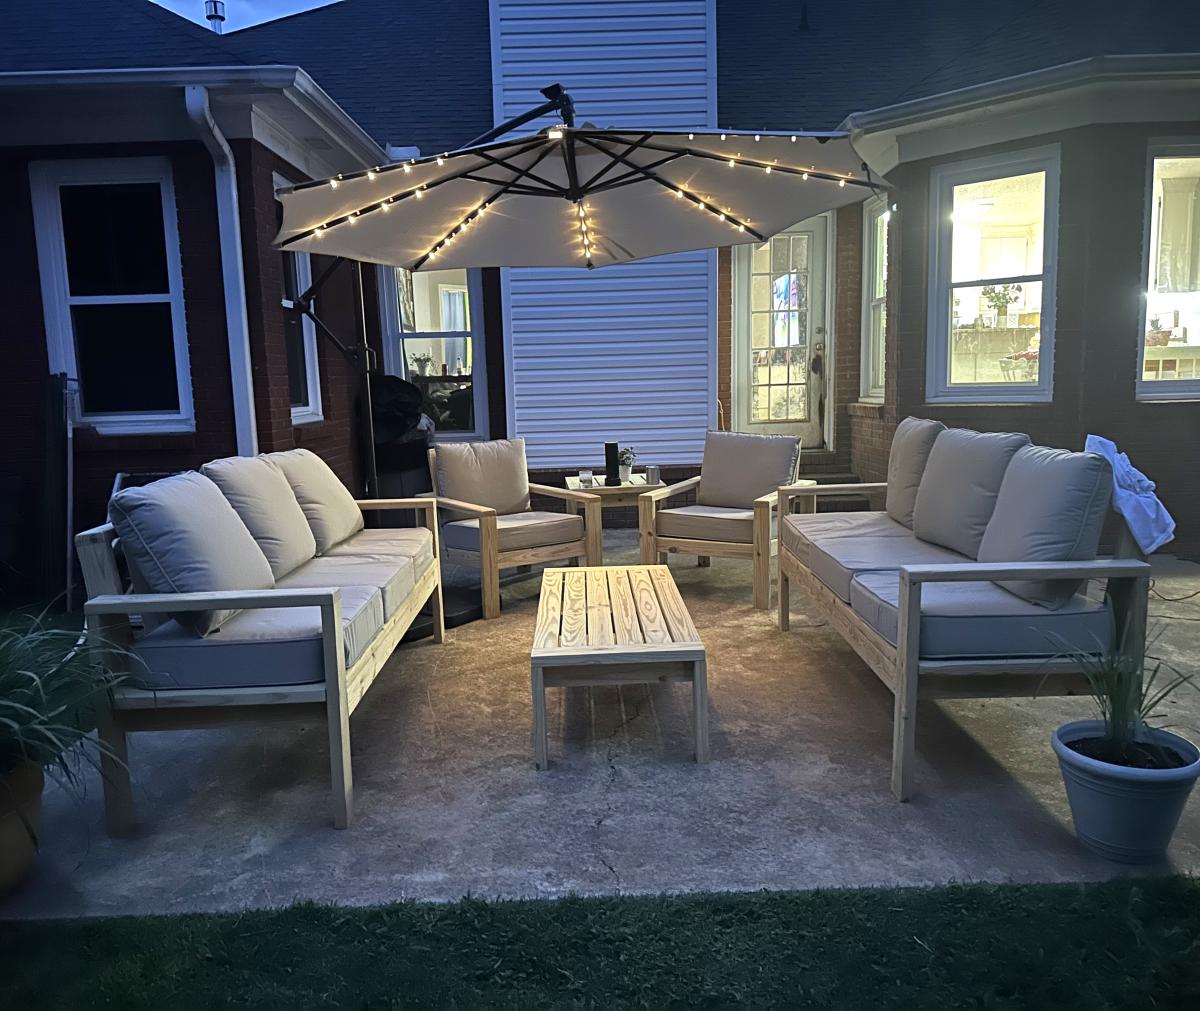
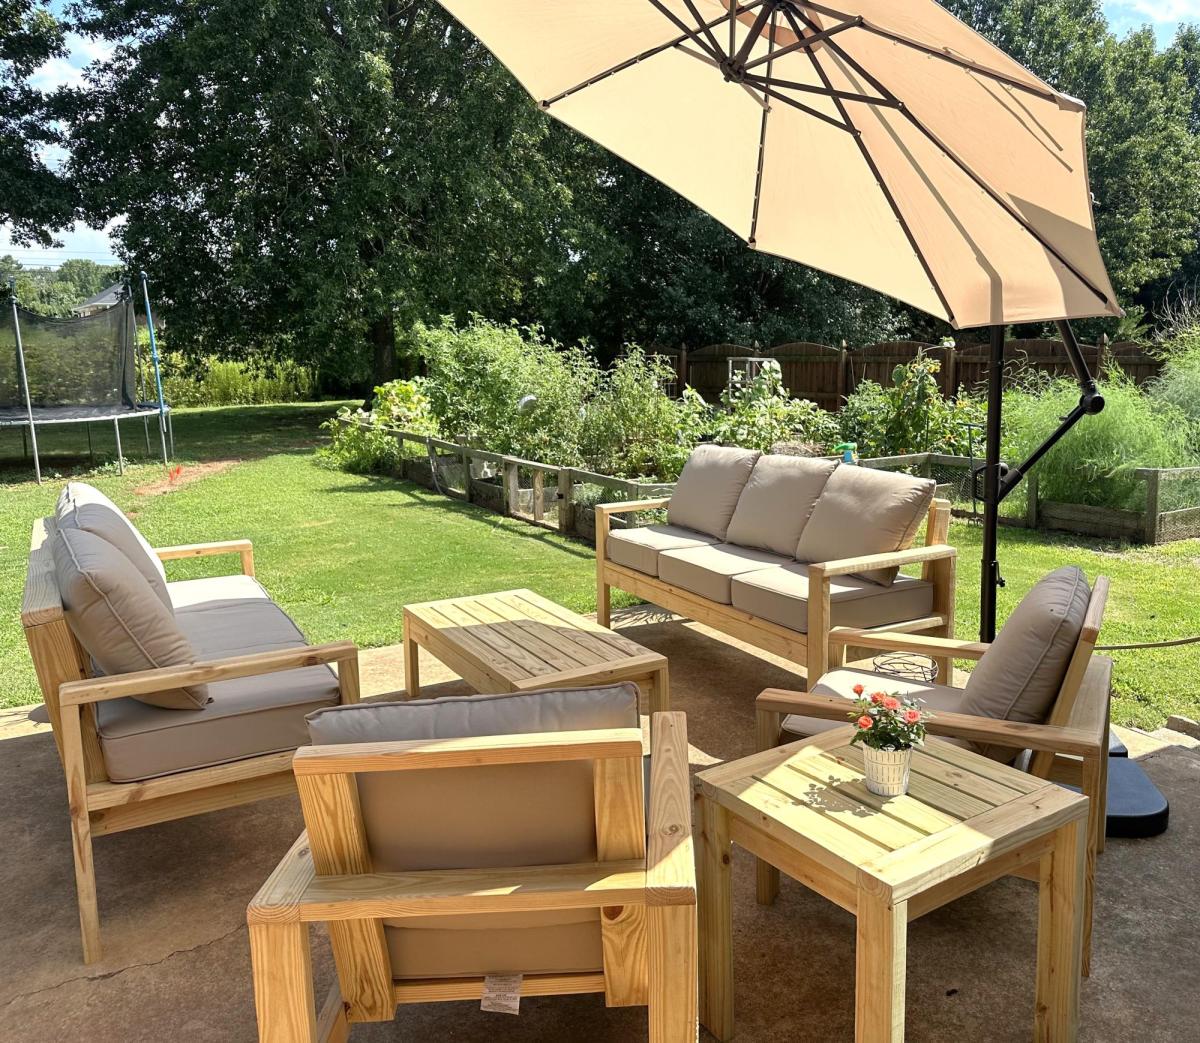
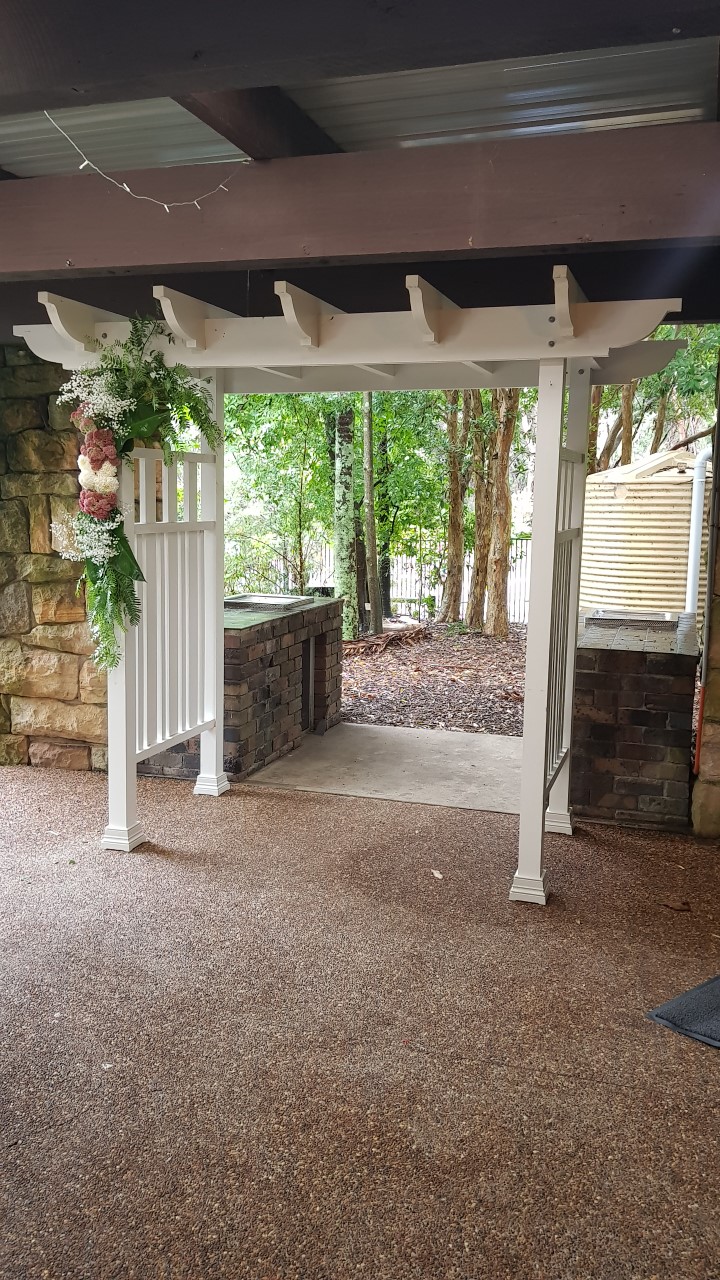
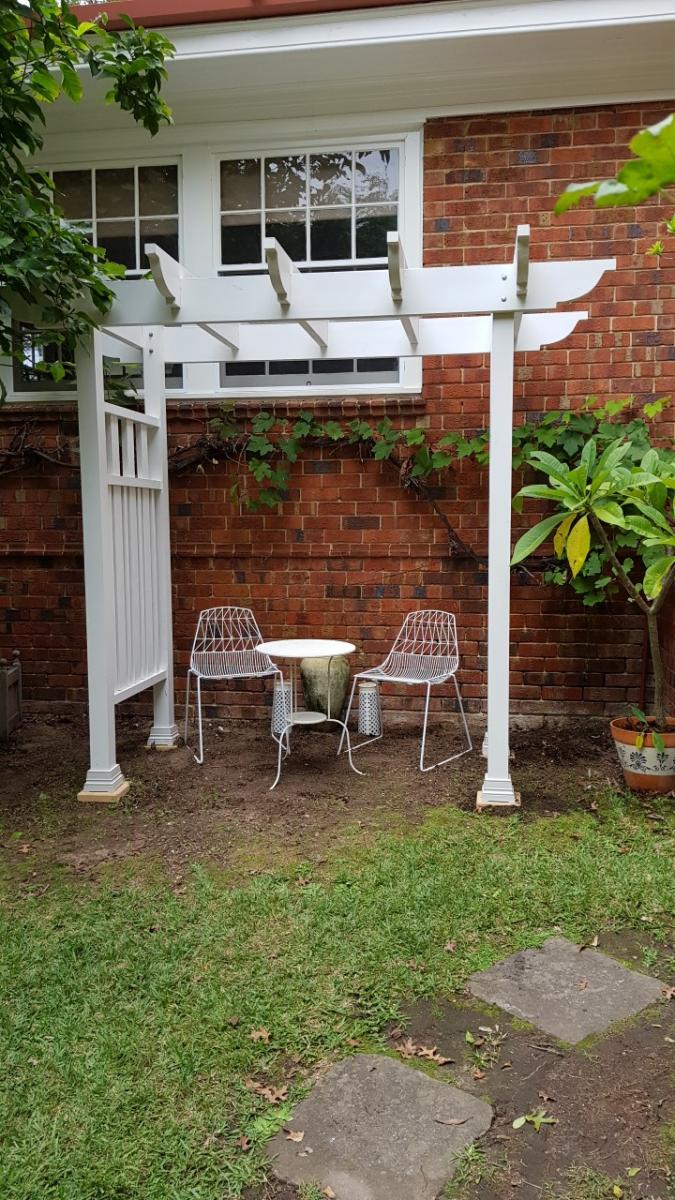
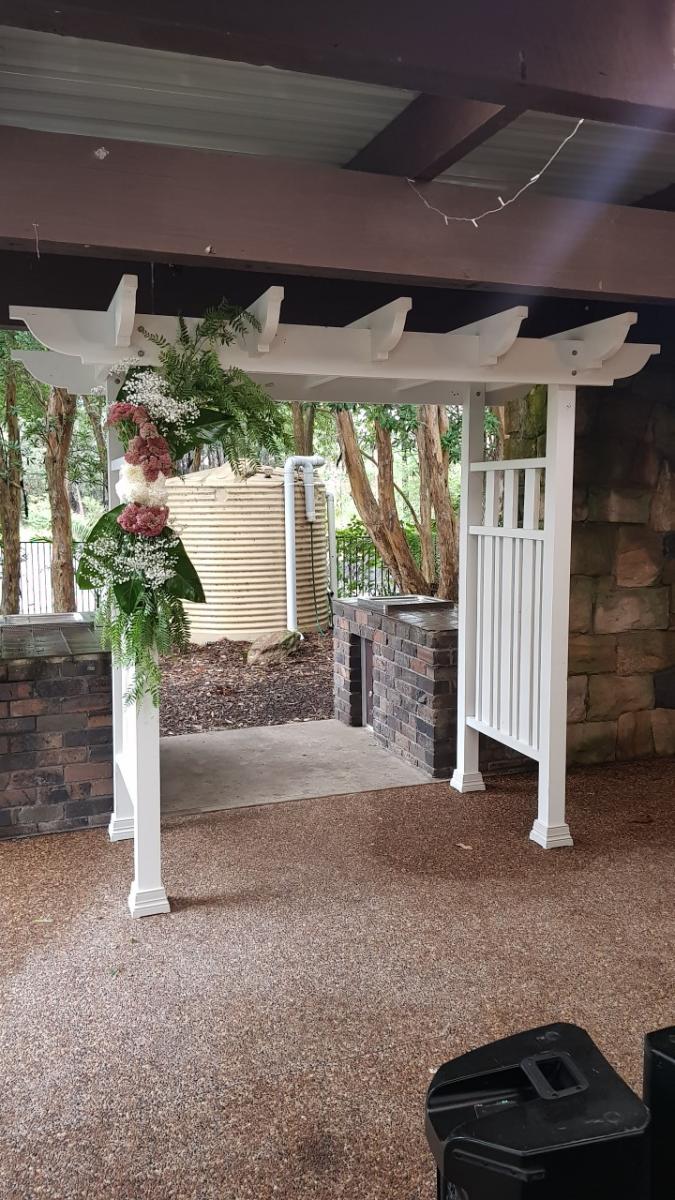
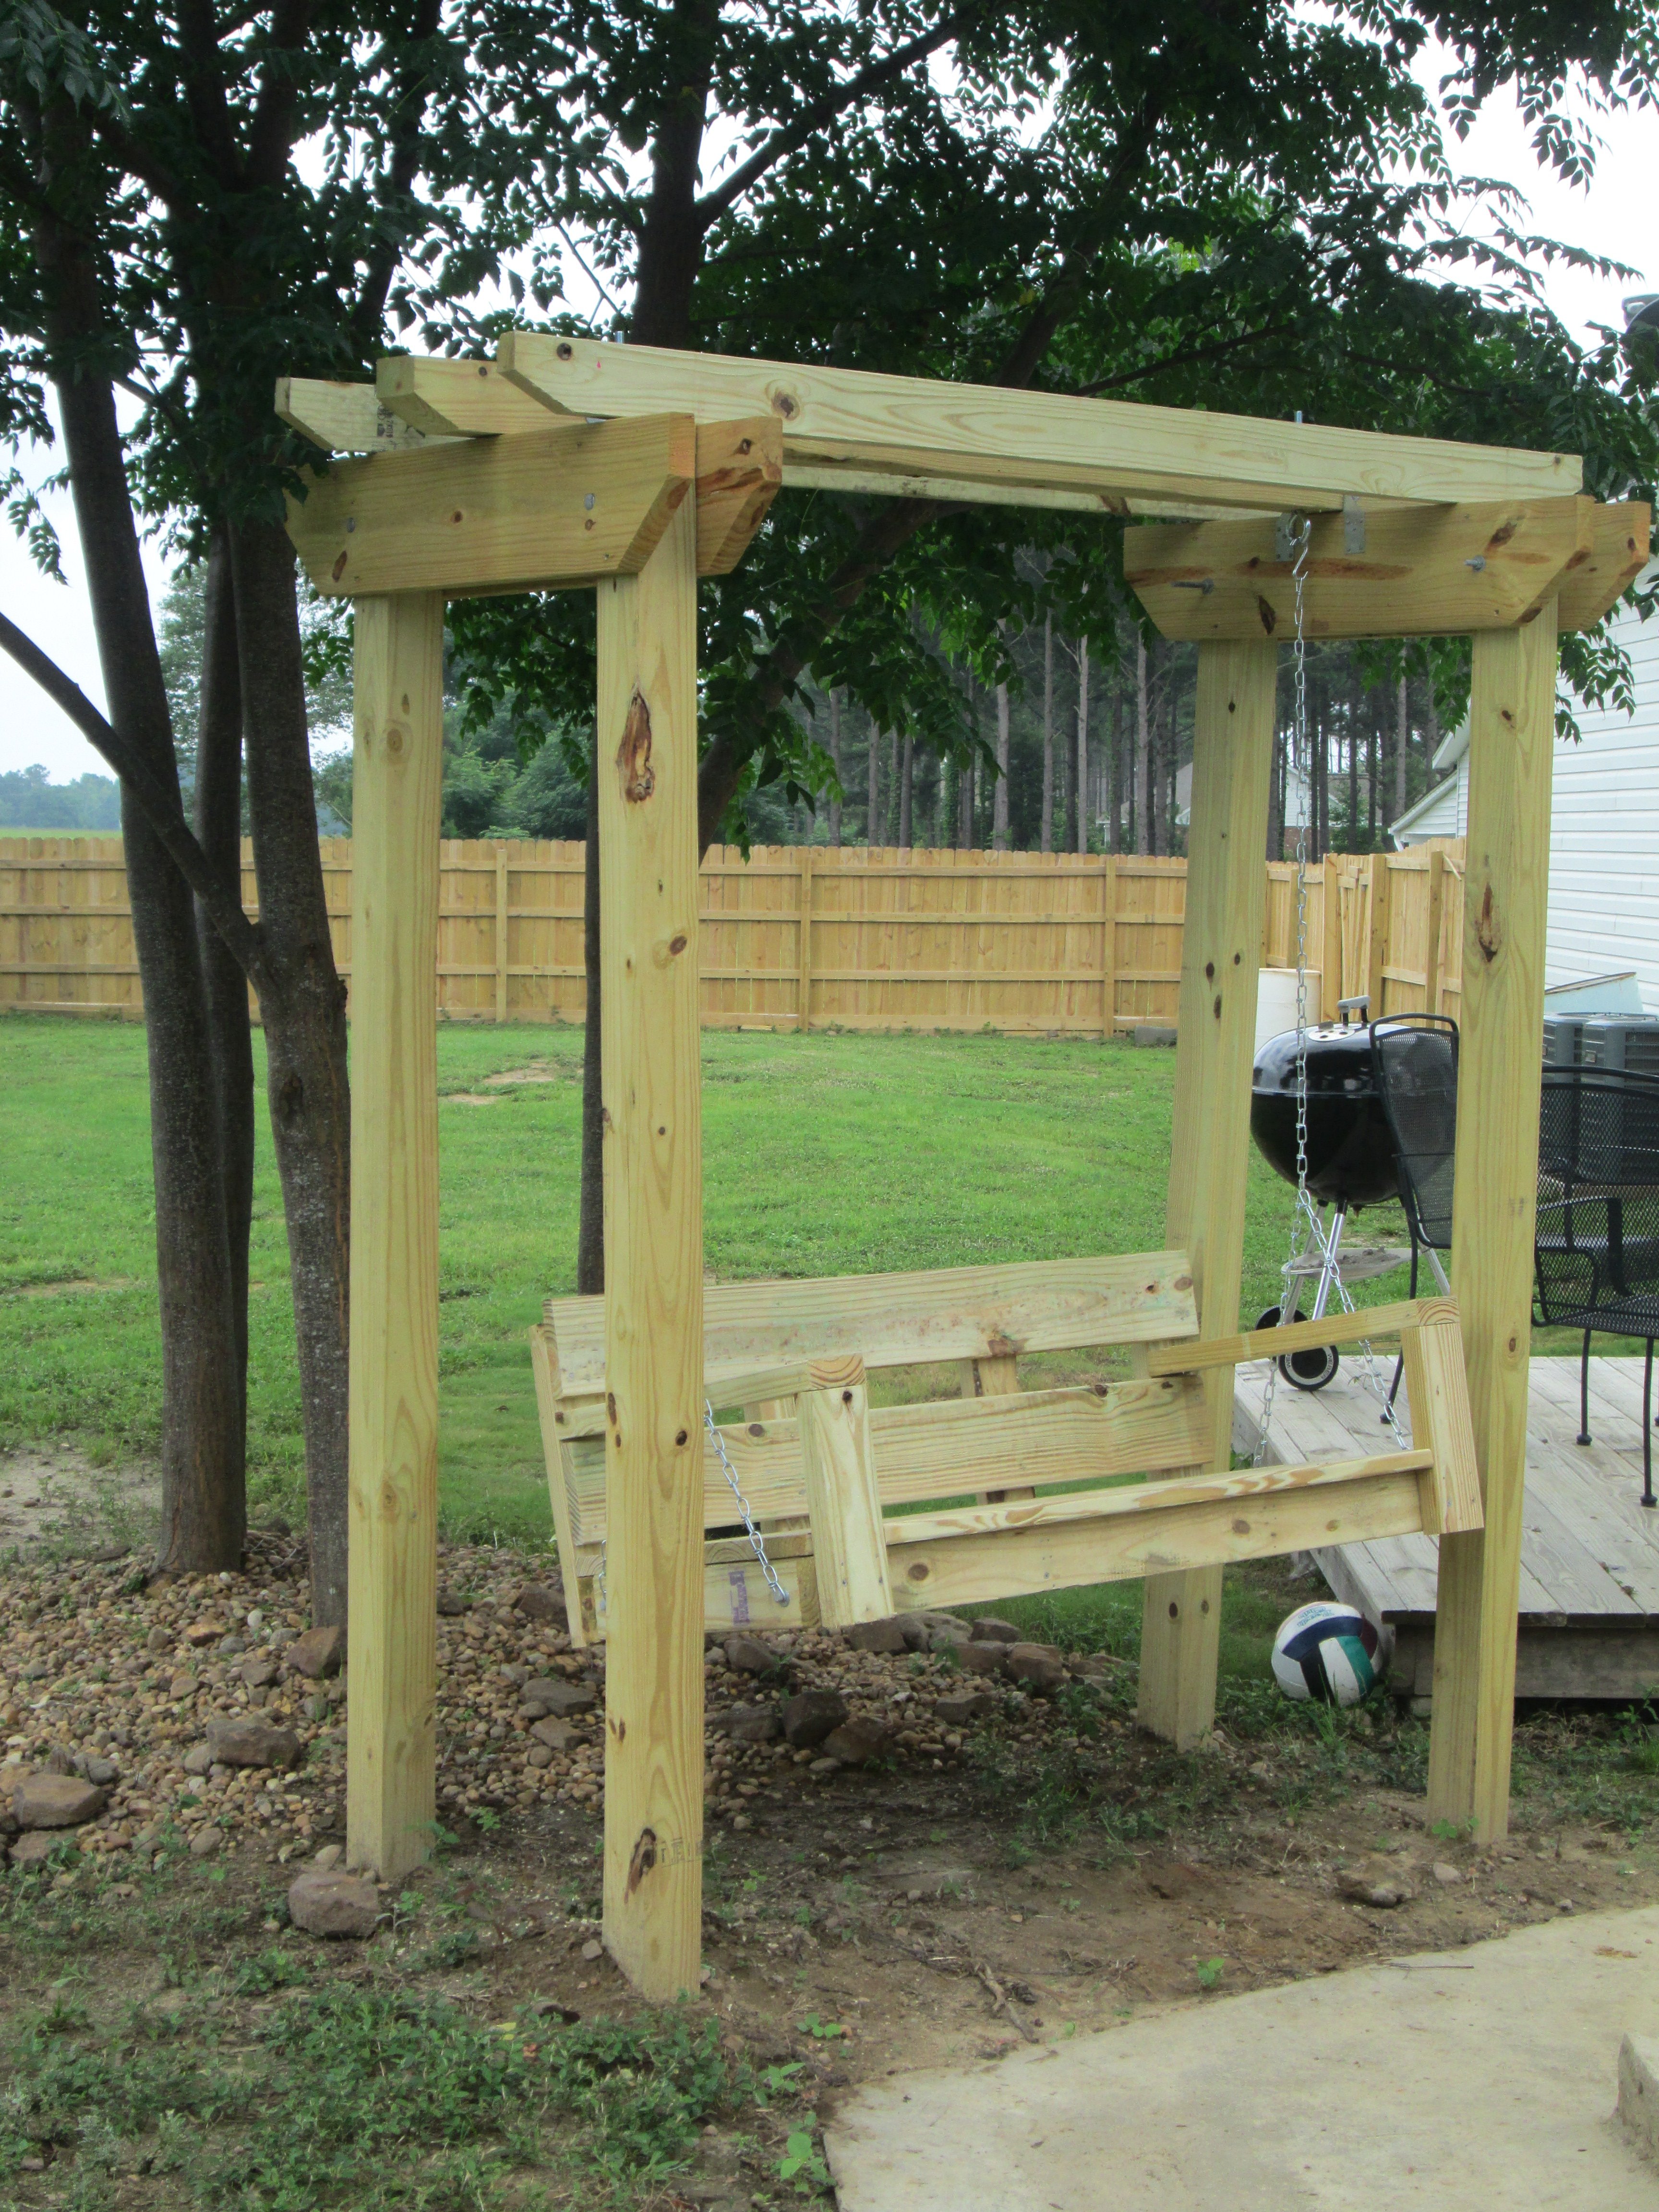
I wanted a huge cabana for my outdoor pool area to have a place guests could kick back and relax if they weren’t swimming. I took the plans from the one arm and armless outdoor sofas and modified the plan to include posts and a lattice top for shade. This inspired plan was finished off with cushions from at home and features seating comfortably for 9. Everyone loves this area in the backyard to kick back! At night we have solar lights twinkle at the top and they complete the project perfectly with a soft twinkle.
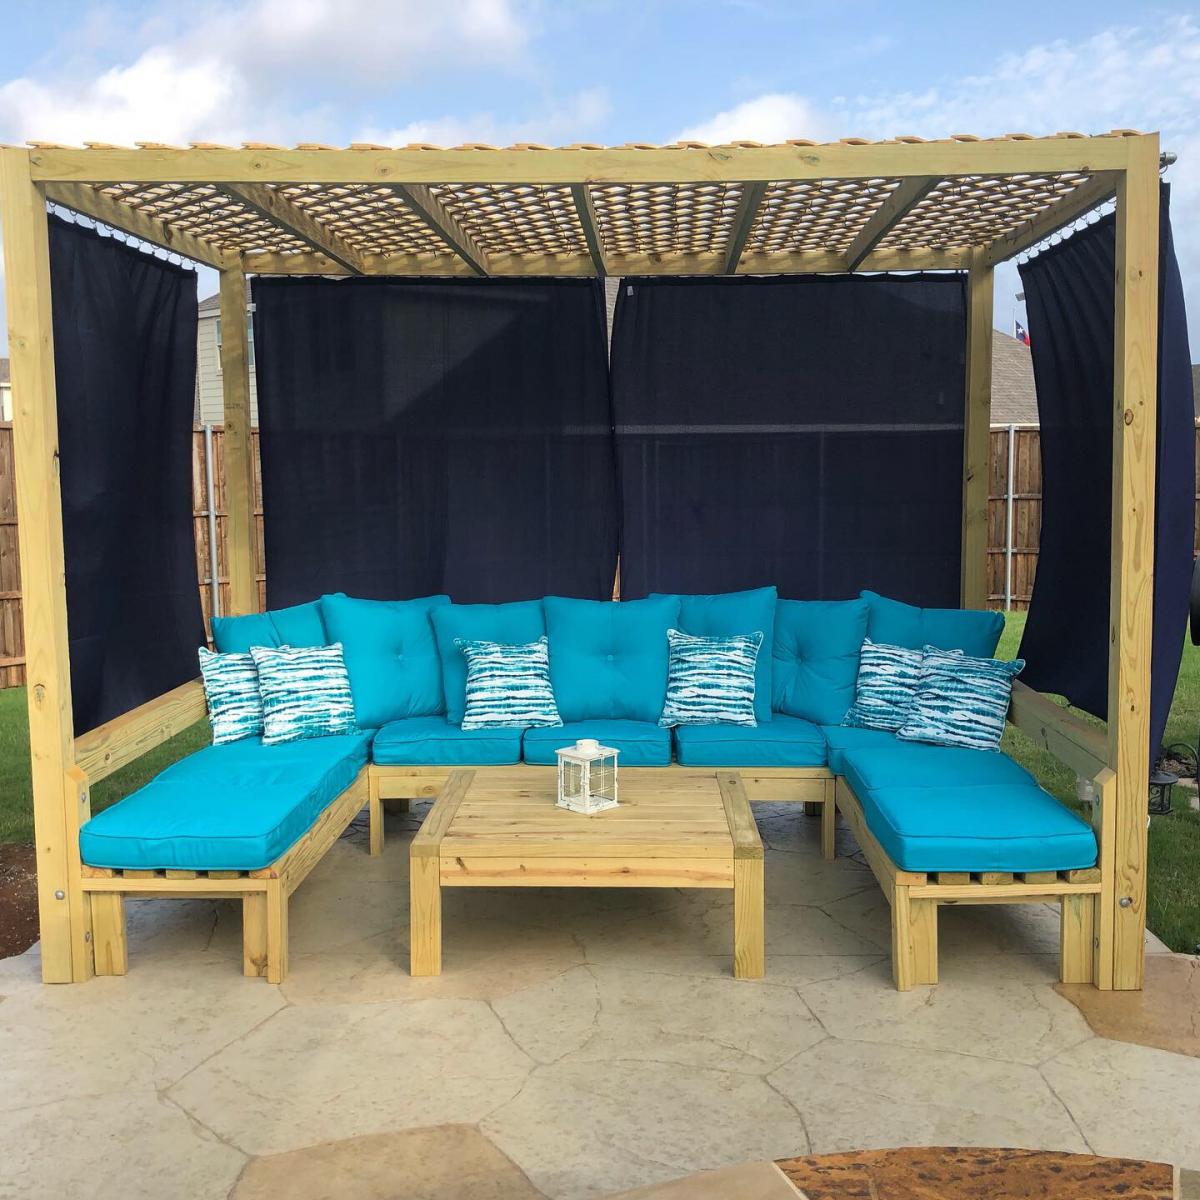
Built from Plan(s)
Estimated Cost
$250 before cushions
Estimated Time Investment
Weekend Project (10-20 Hours)
Finish Used
Nothing yet. Needed to wait for the pretreated wood to finish drying out.
Recommended Skill Level
Intermediate


Comments
Ana White
Fri, 06/02/2023 - 11:21
This is amazing! Great work…
This is amazing! Great work on this project, thank you so much for sharing photos!