Garage Shelves Plan with Added Doors - Built and shared by Jeremy Doyle
Garage Shelves Plan with Added Doors - Built and shared by Jeremy Doyle

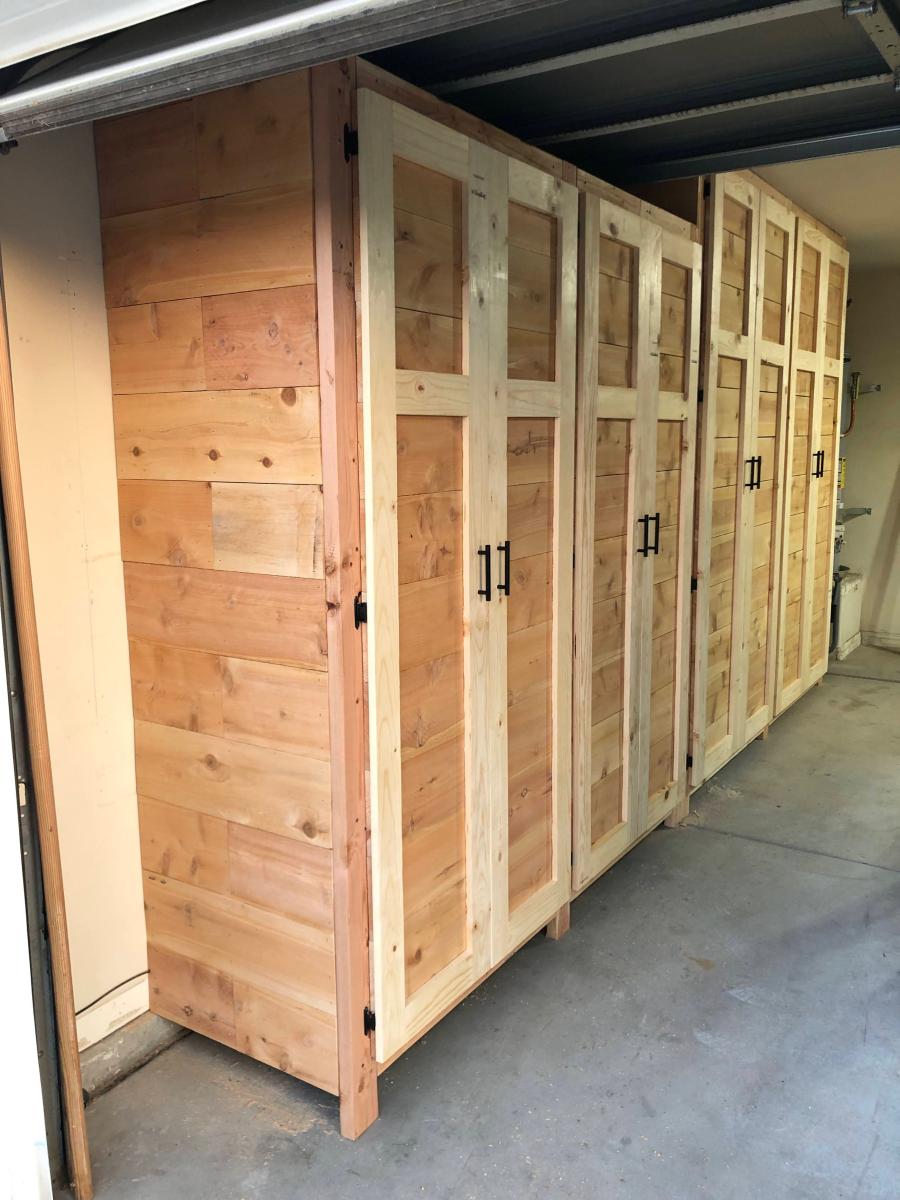
Built from Plan(s)
Garage Shelves Plan with Added Doors - Built and shared by Jeremy Doyle
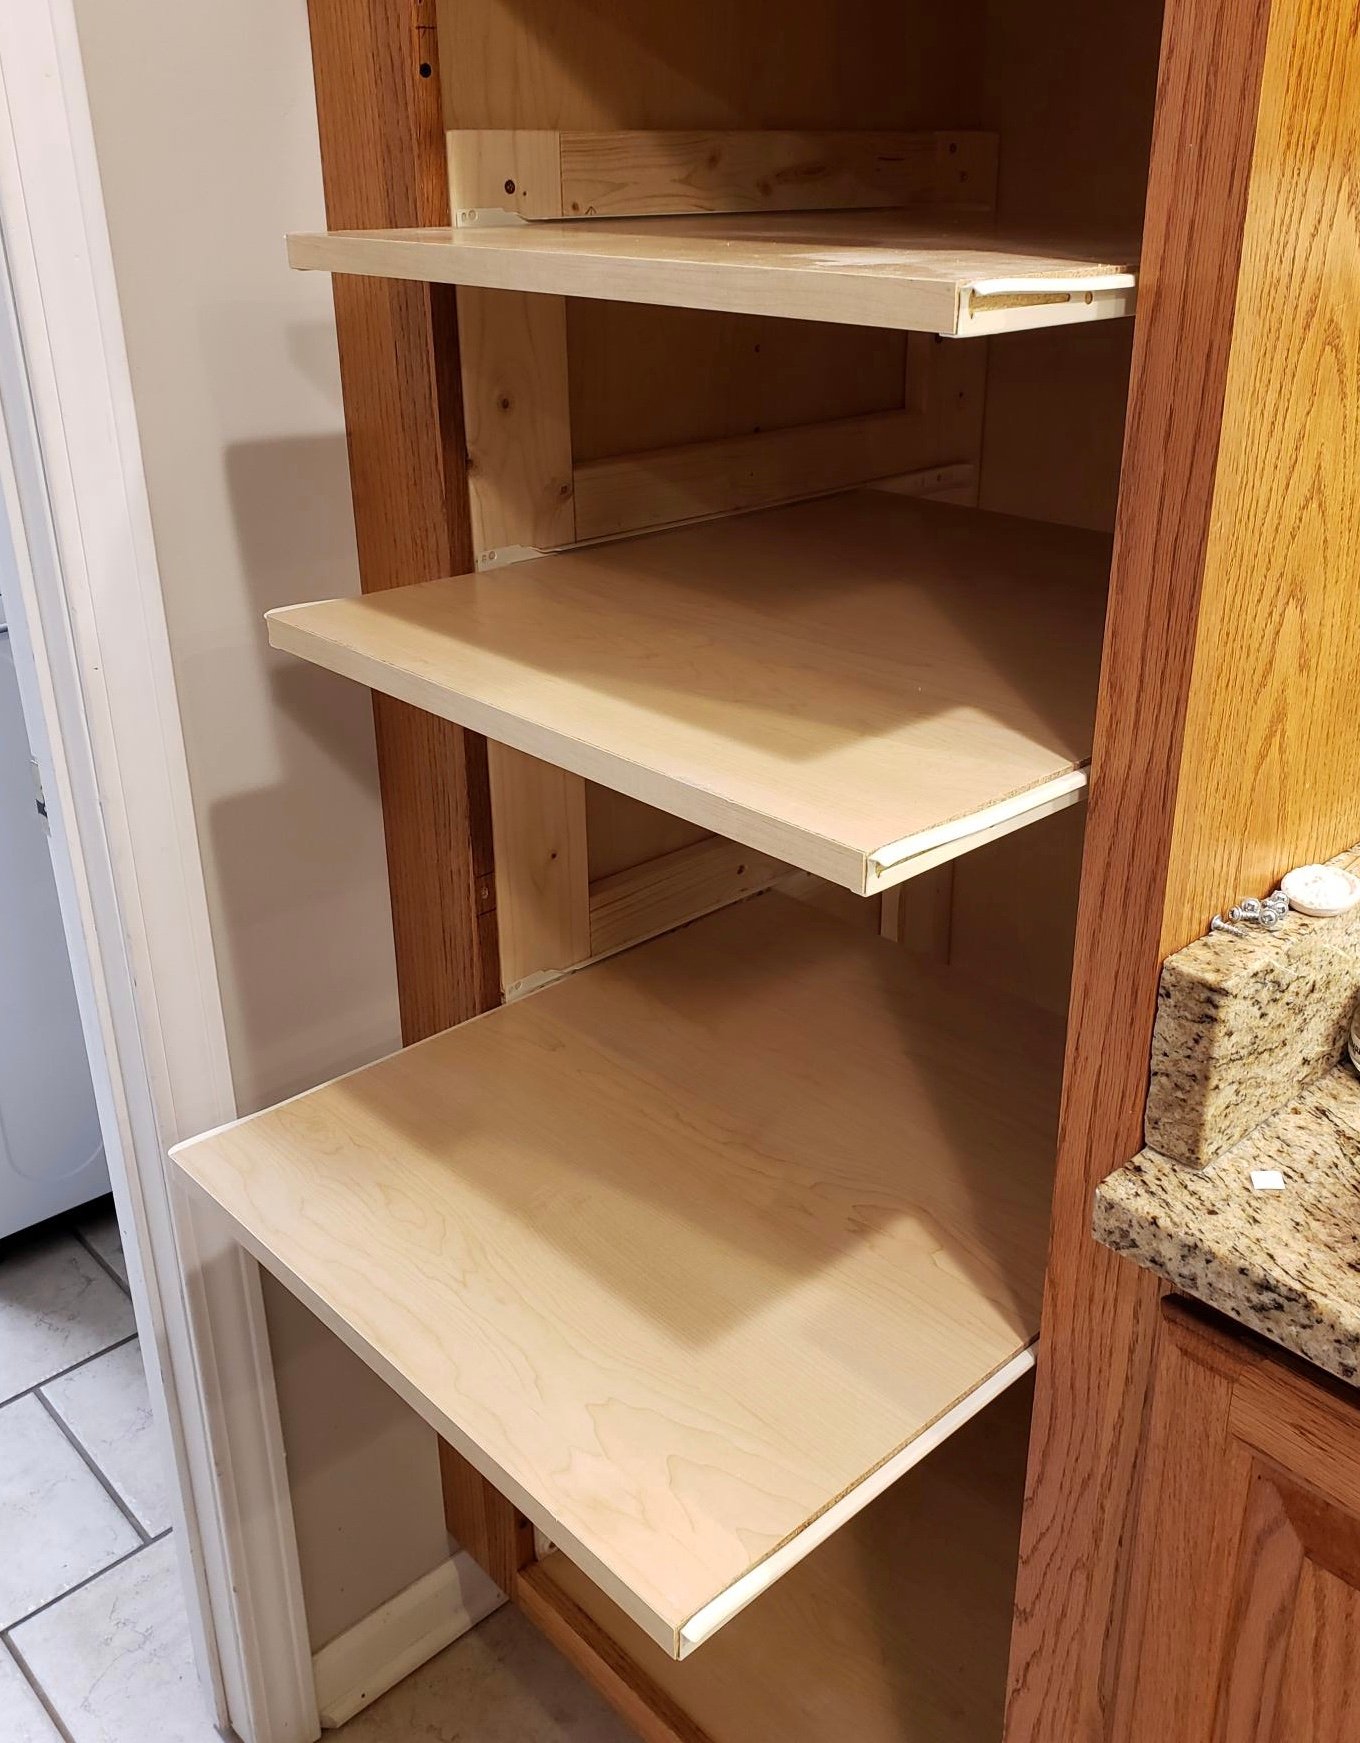
Stationary shelves are such a hassle, especially in a deep pantry cabinet! Now I can actually SEE the contents of my pantry cabinet. Thanks for the inspiration and tutorial to get it done!

I built this outdoor daybed to add a cozy and inviting space to my backyard. It was a fairly easy build, which I managed to tackle by myself. Head over to the blog for more details.


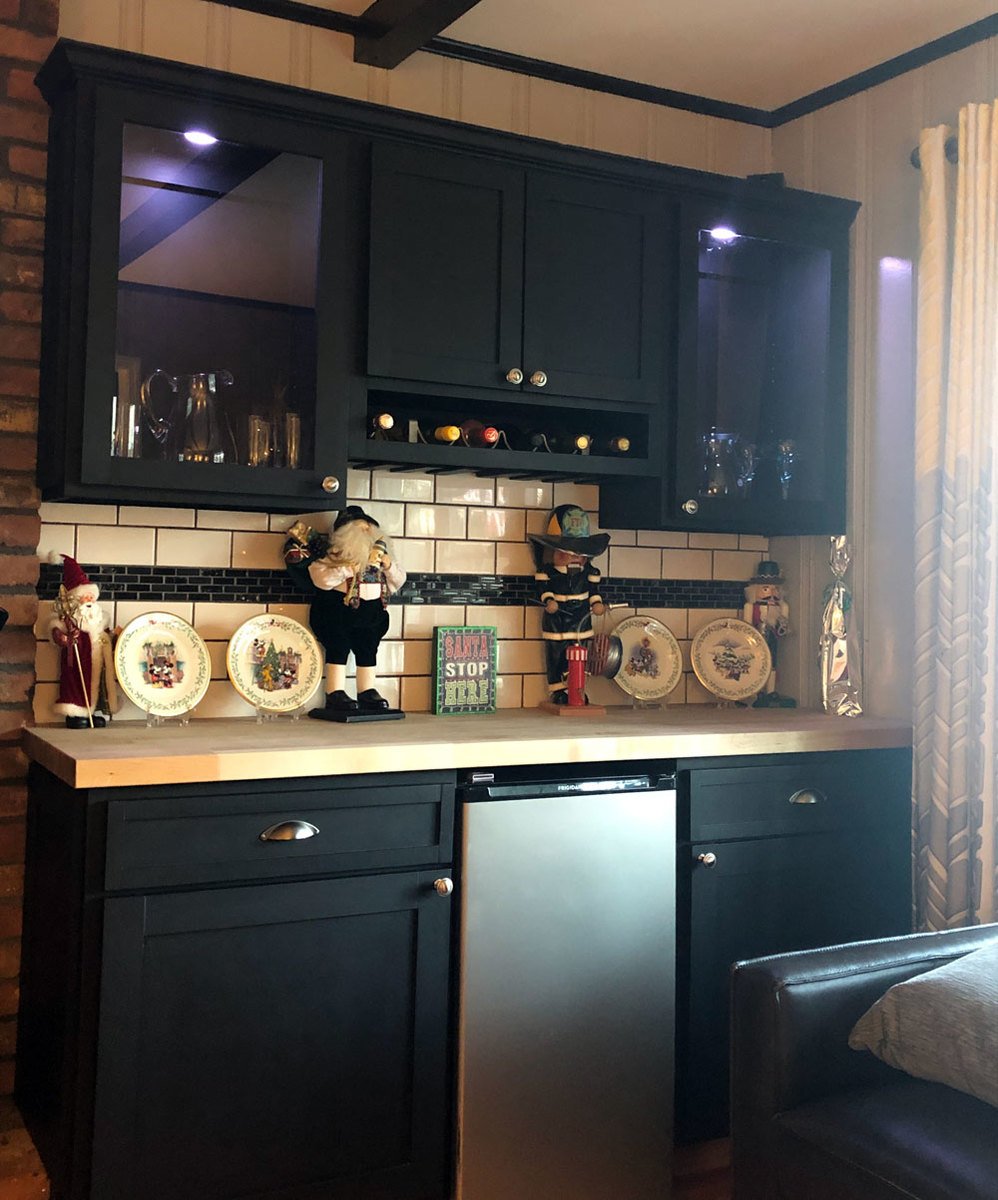
My husband and I worked on this for a few months, no rush. This is the outcome and all we need to do now is get one glass shelf for each cabinet. This is a great place to store all liquors and glassware. The drawers are a nice addition. The paint it black chalk paint with wax finish. All materials were purchased at Lowes or Home Depot.
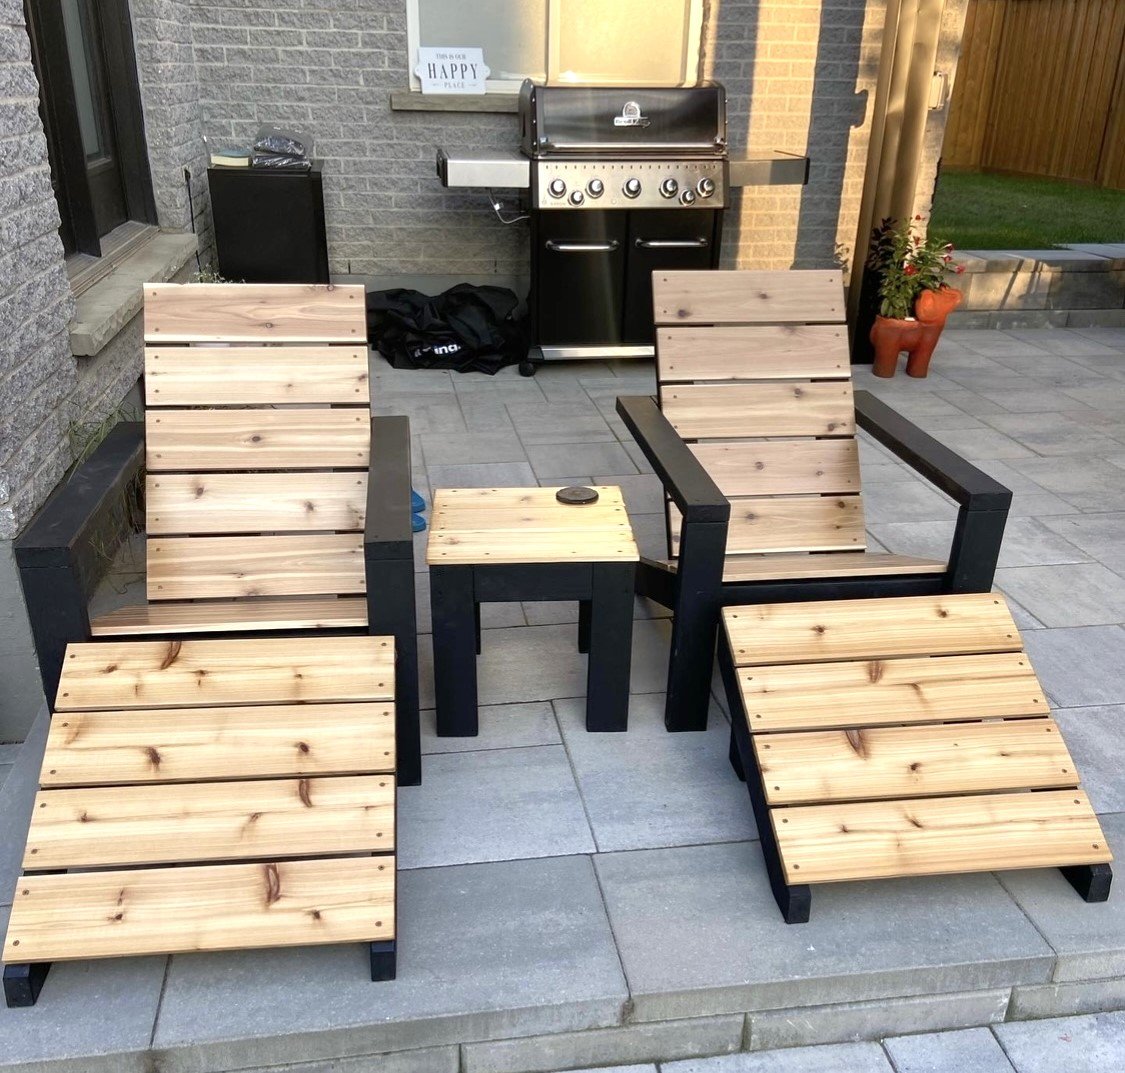
Great set of outdoor chairs with foot rest!
RG Design & Build

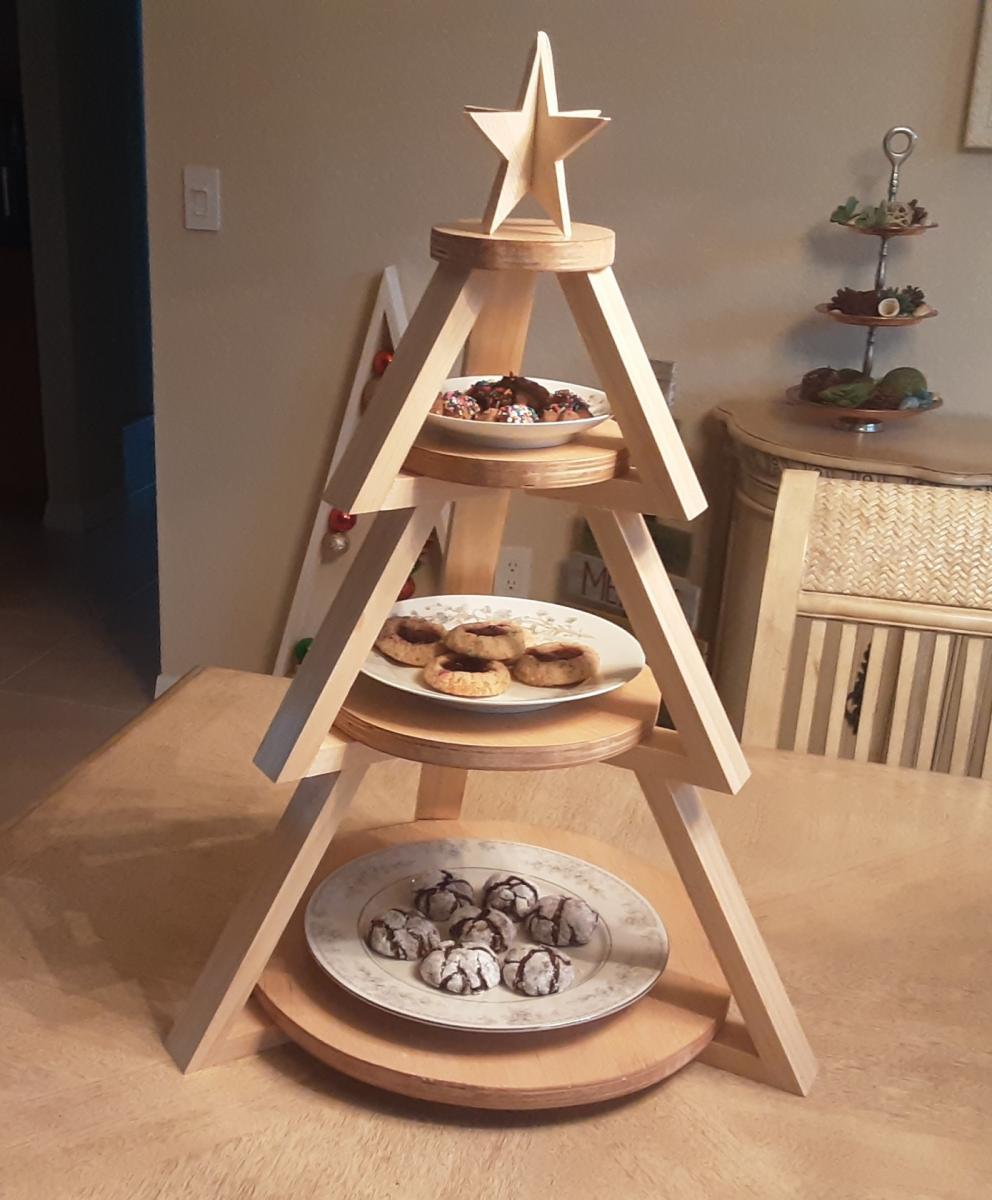
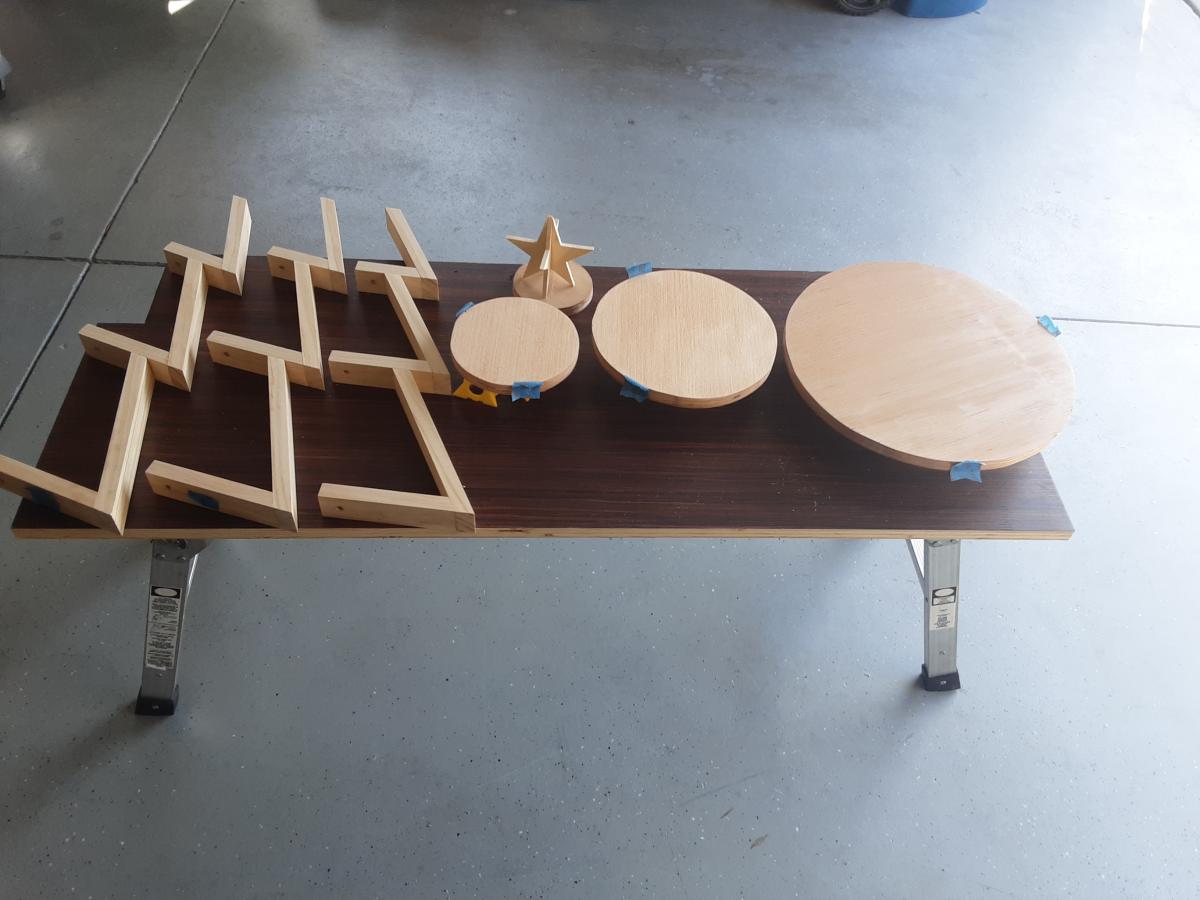
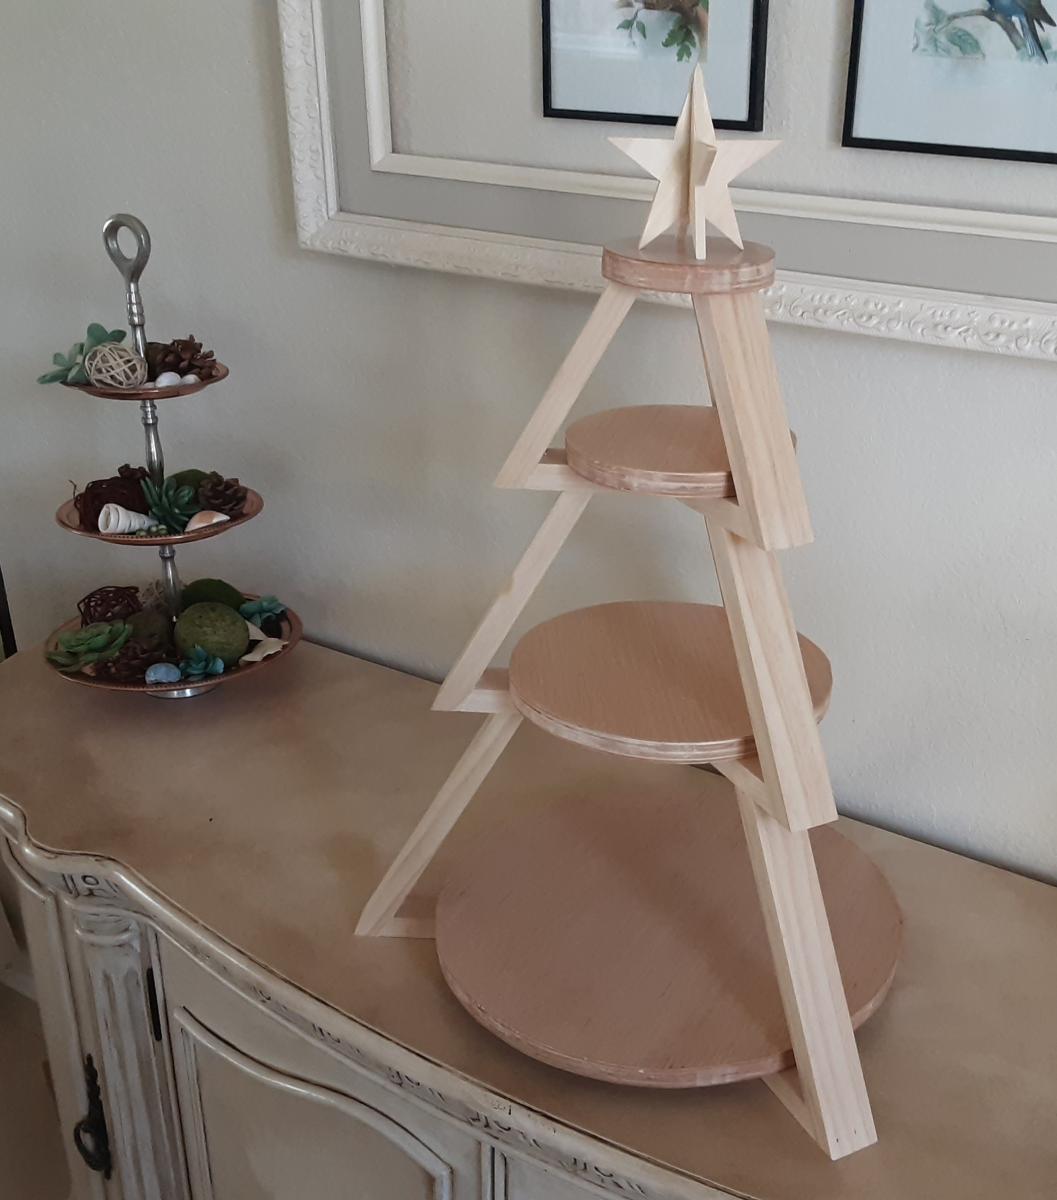
Inspired by Shara of Woodshop Diaries, created this 3 tier tray for displaying cookies for Santa. Added a 3 dimensional star as the topper and simply followed the excellent photos and schematics on Shara's website.

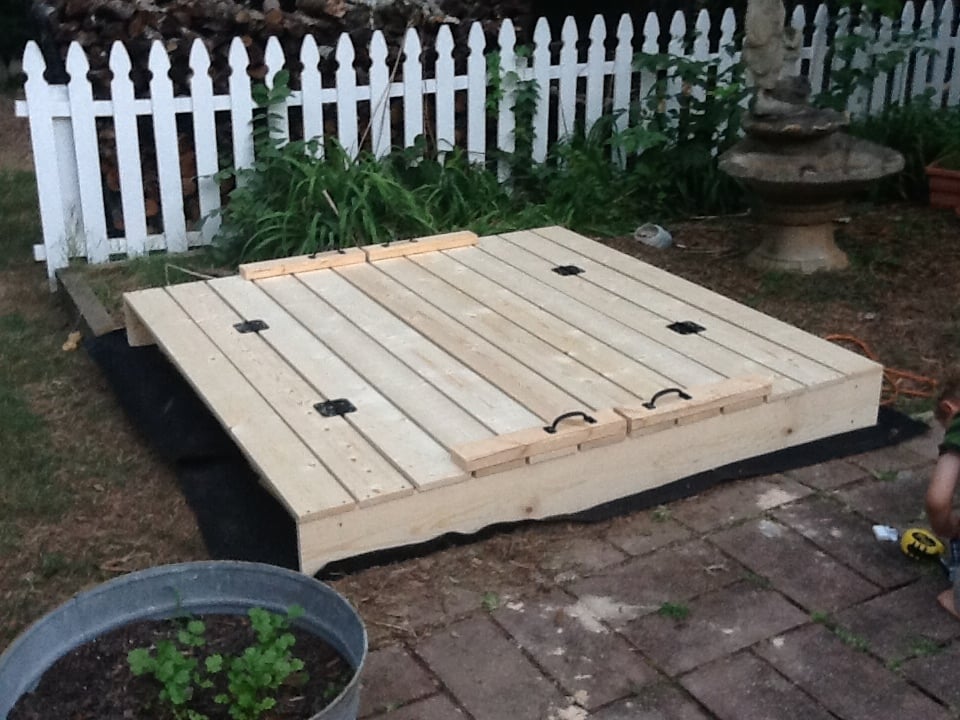
I've been wanting to buy or make a sandbox for my son for a couple of years now. Since seeing this on Ana White I knew I had to make it. My son is 4 yo and I didn't think the 4' square sandbox would be big enough for him, so I made it bigger. Ours is 6' square.
Materials:
4@1x8x6'
12@1x6x6'
2x4 - used leftovers from another project
8 hinges
4 handles
decking screws
Cut lengths:
2@1x8 cut to 71.5 (long sides of the box)
2@1x8 cut to 70.5 (short sides of the box)
did not cut the 1x6 boards (top planks) - actually designed the other boards to fit their length to prevent cutting (saving time) (note that original plan uses 1x4 planks - I used 1x6s so I could use the same number of planks but cover a larger area)
4@2x4 cut to 11.5 (arm rests)
4@2x4 cut to 18.5 (back supports)
followed instructions for assembly otherwise. At my husbands suggestion we put the handles on the sides and can easily open from either side - prevents having to lean over to the middle to open (back saver)
I finished the project in 4 hours including clean up and a couple of small breaks. This is my first Ana White project. It was a lot of fun to build and I hope my son will enjoy it for years to come!
Sat, 09/01/2012 - 20:59
Wow, this is just what I need! I've been wanting to make a sandbox for under the playhouse but the other plan was too small. This would be great for the little guys. Thanks!
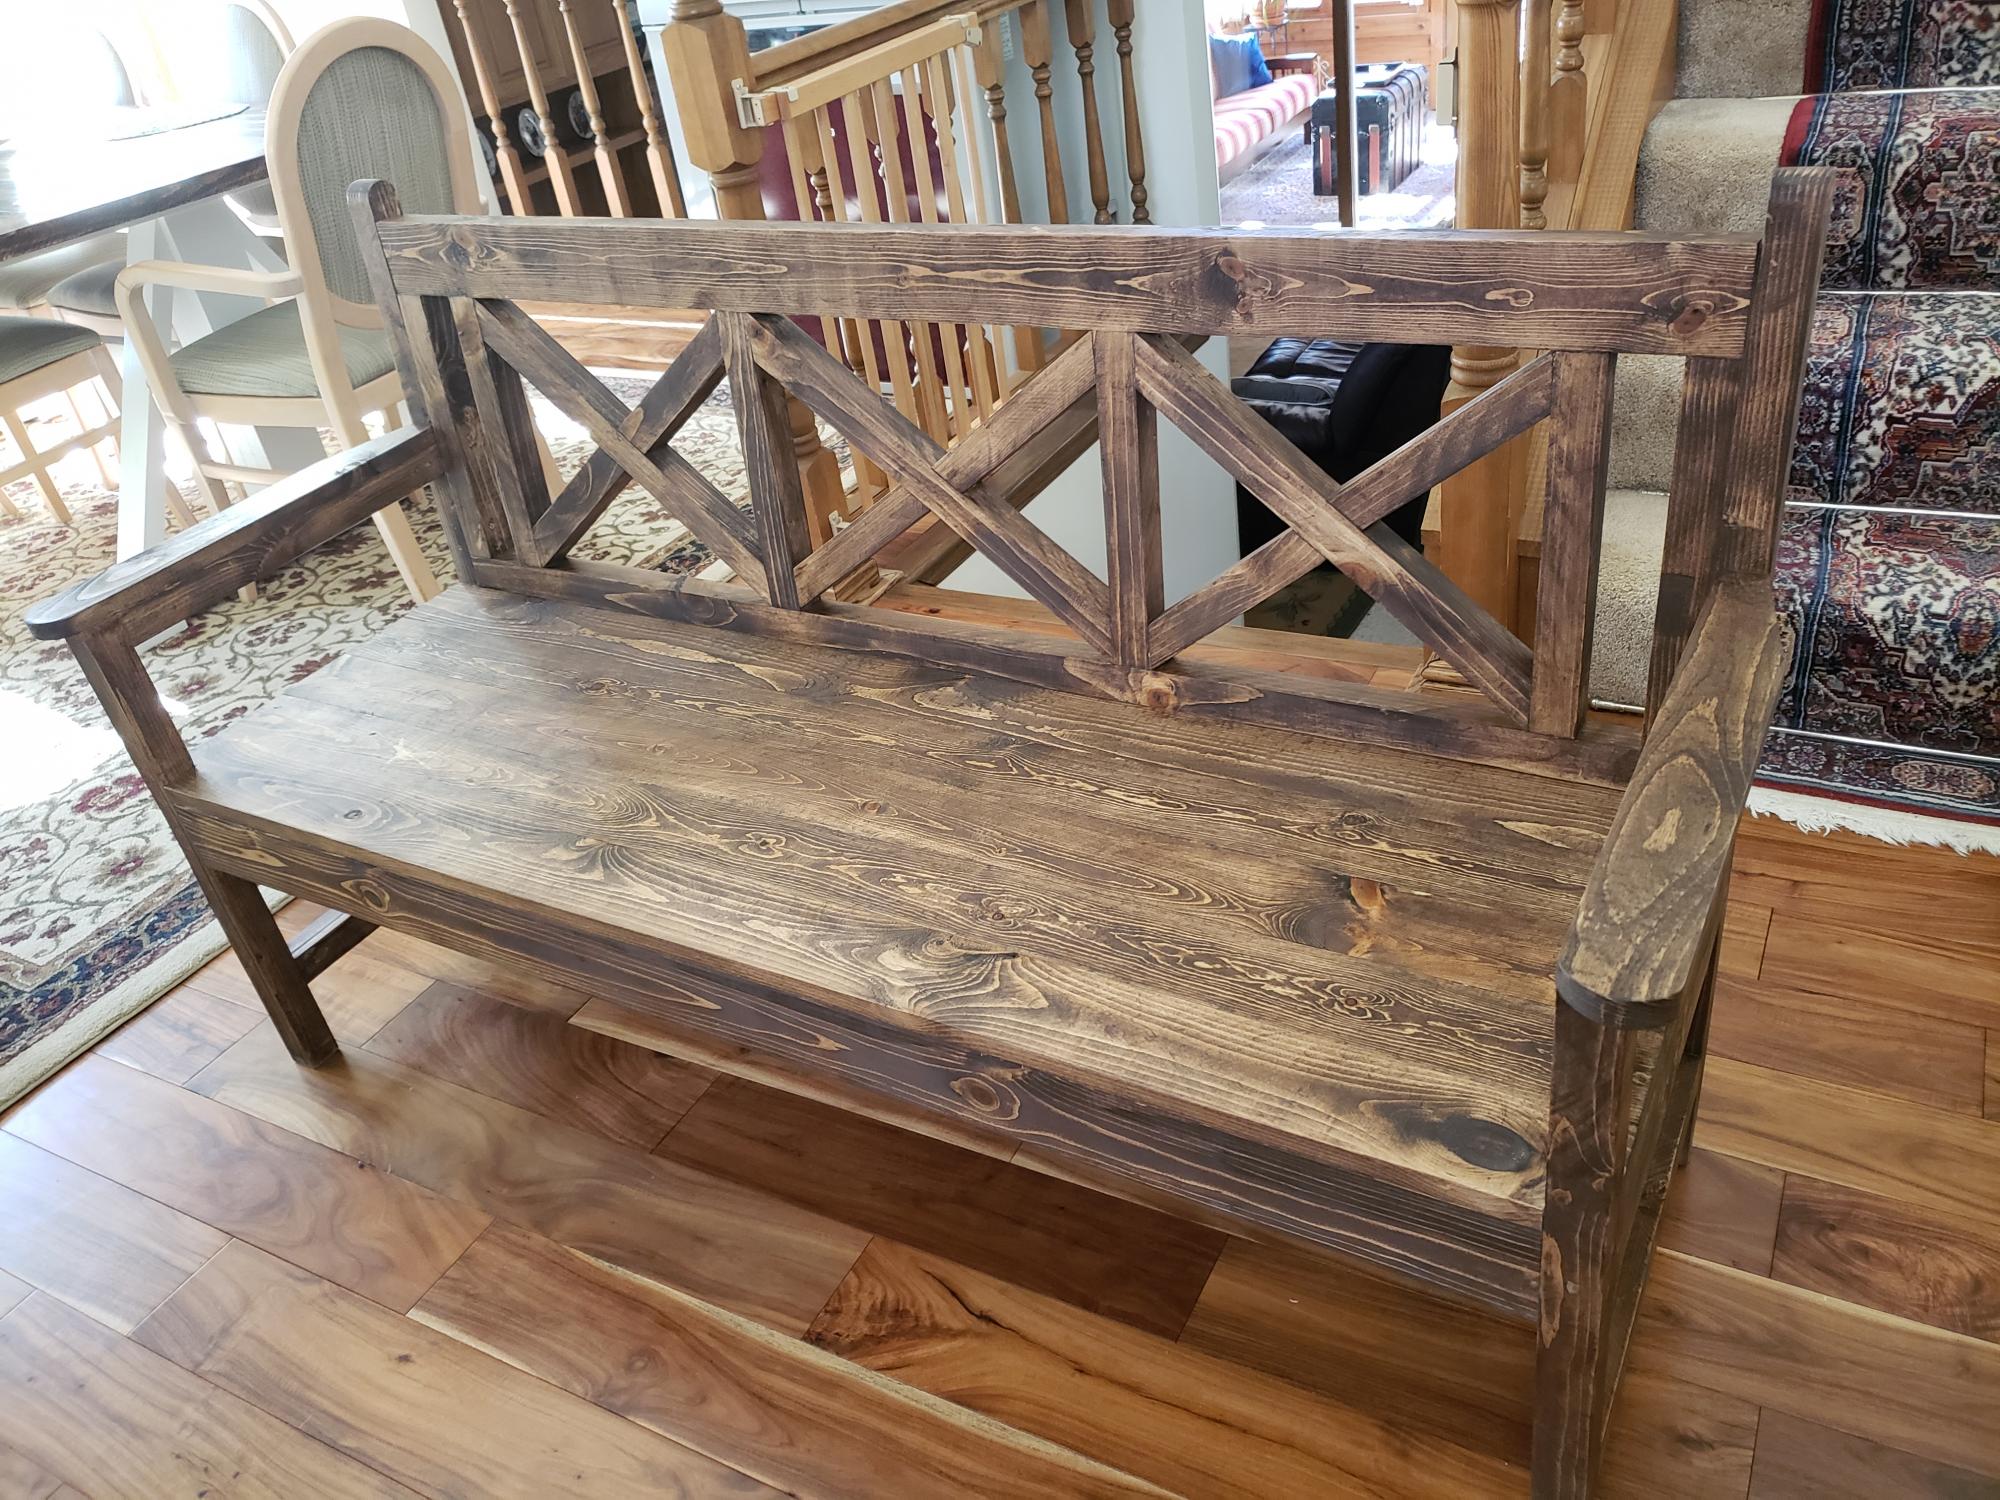
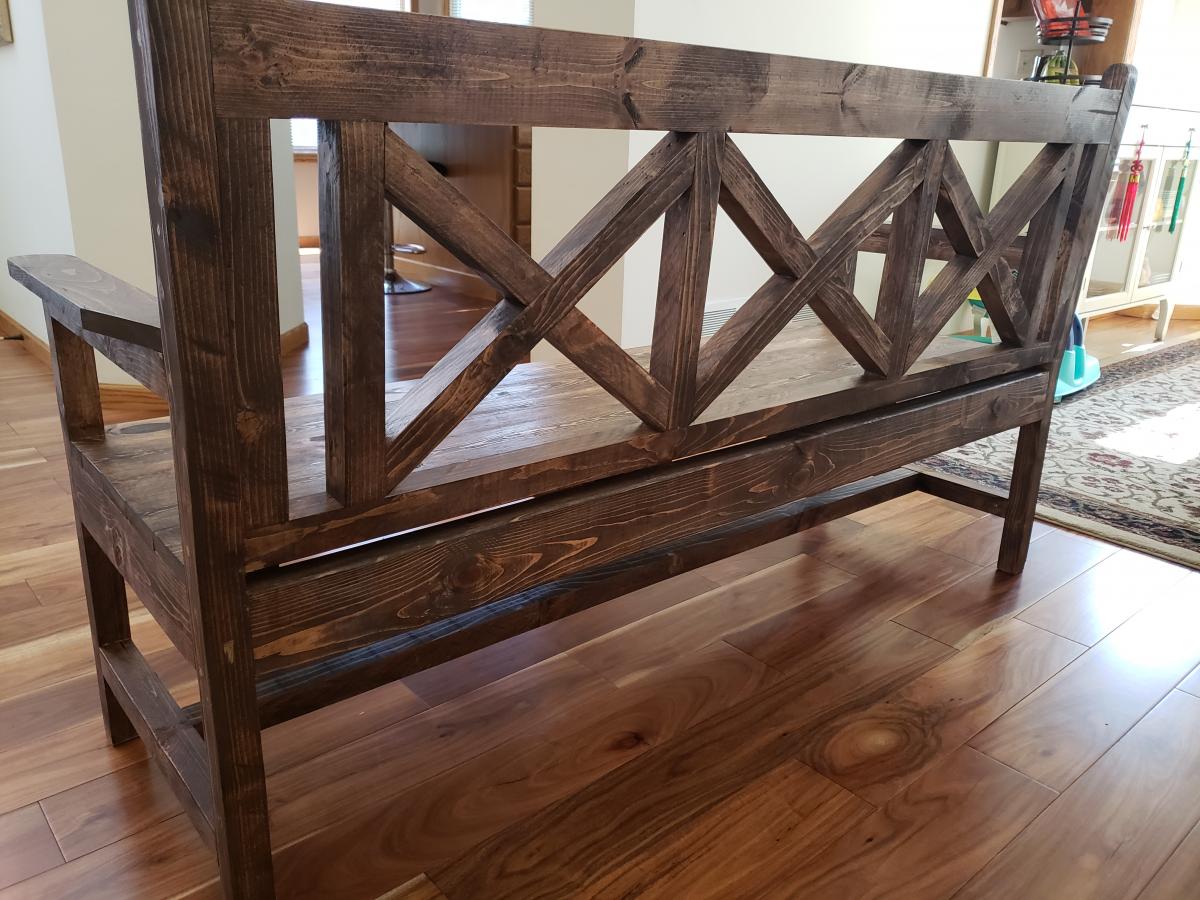
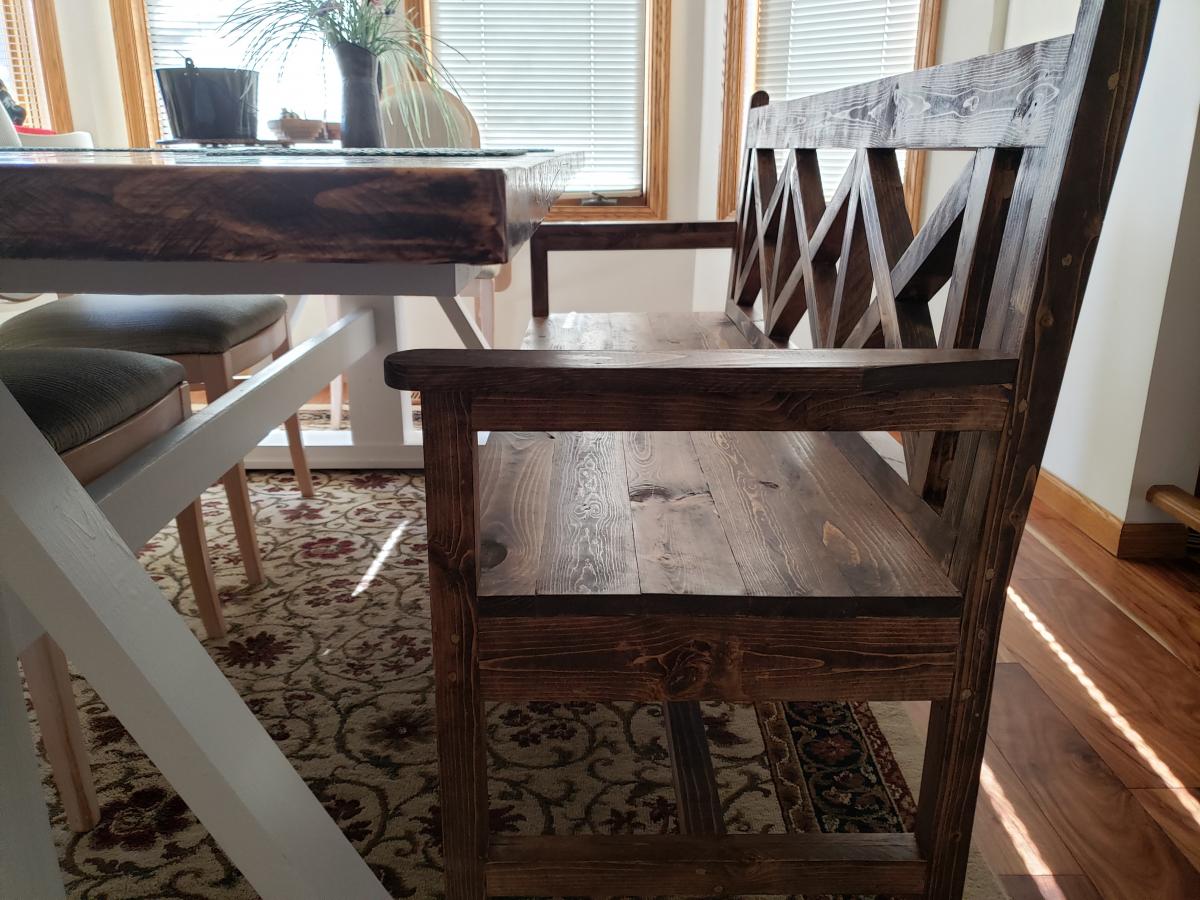
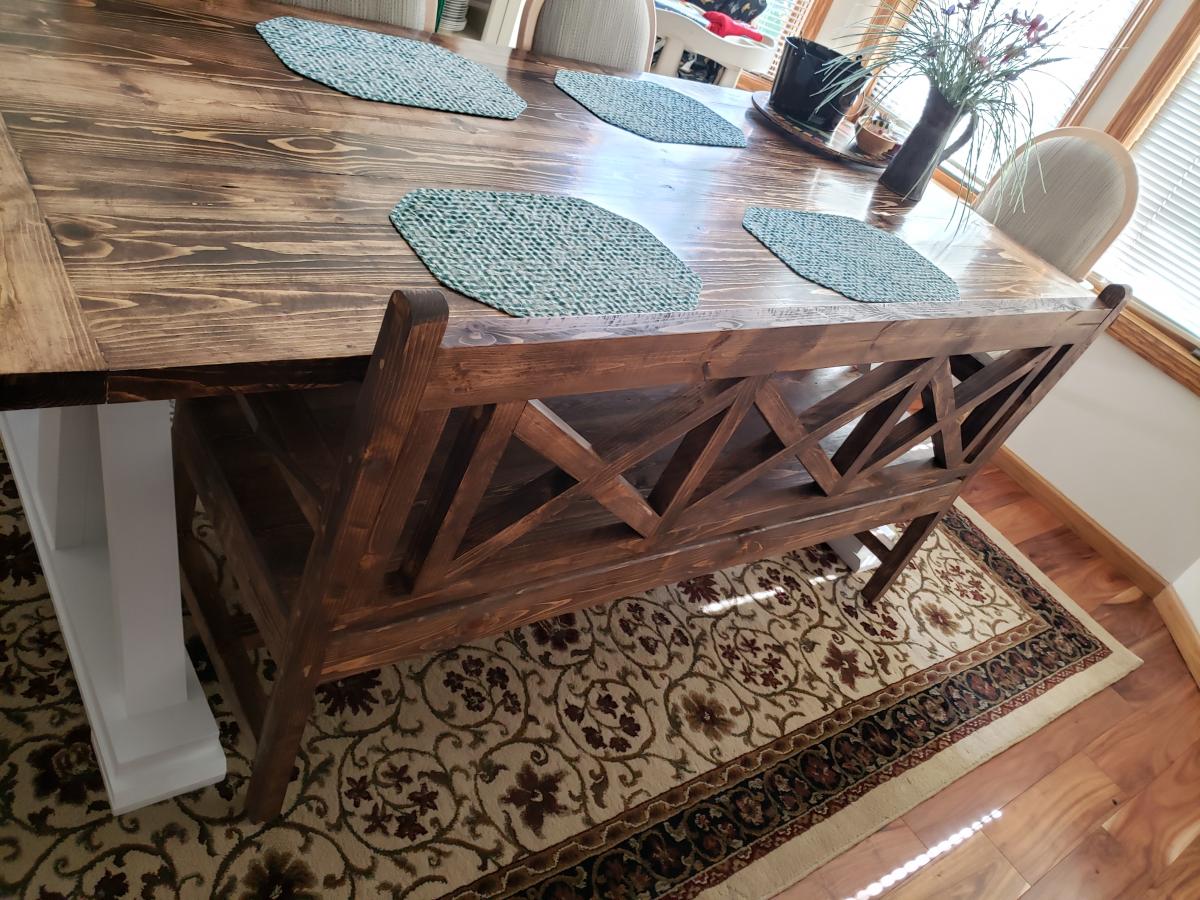
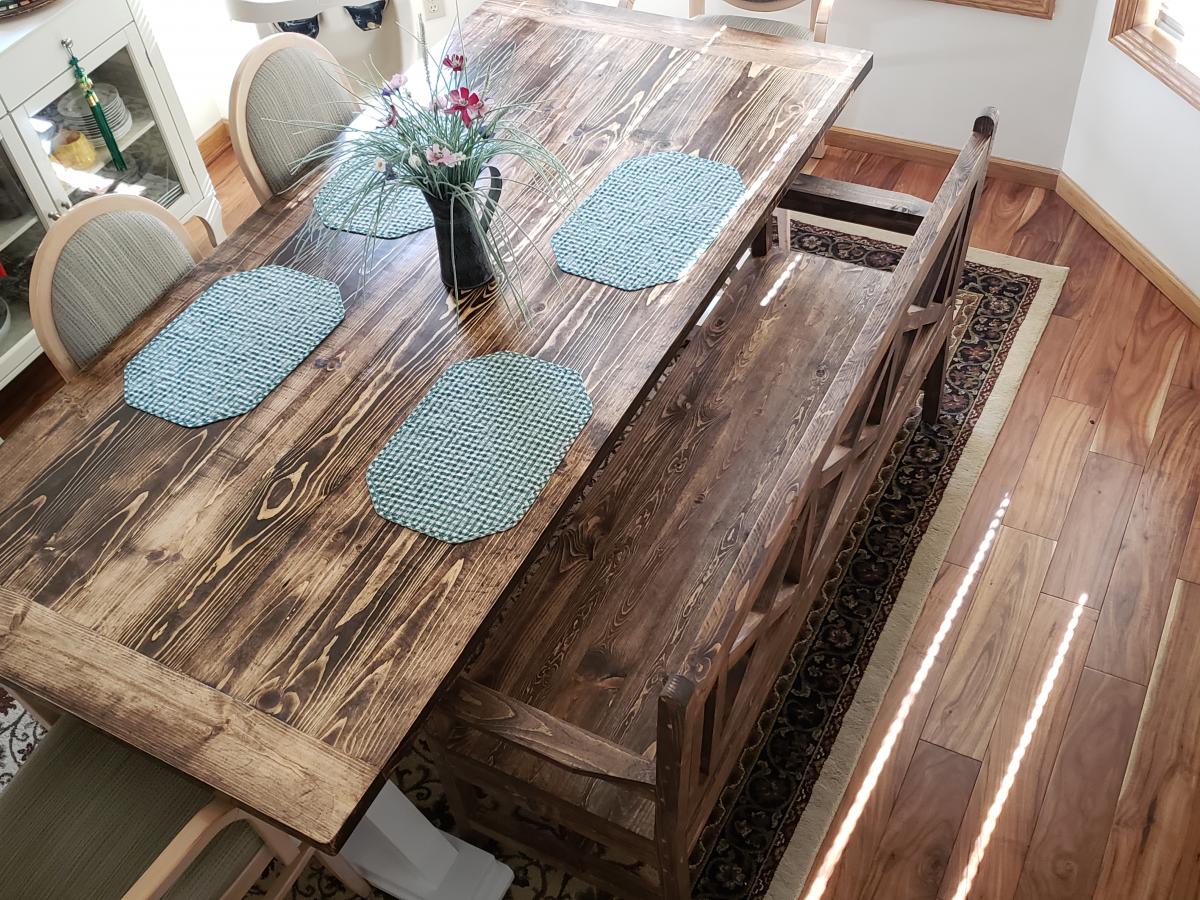
I made this bench for my Farmhouse dining table, modified for 3 seats.

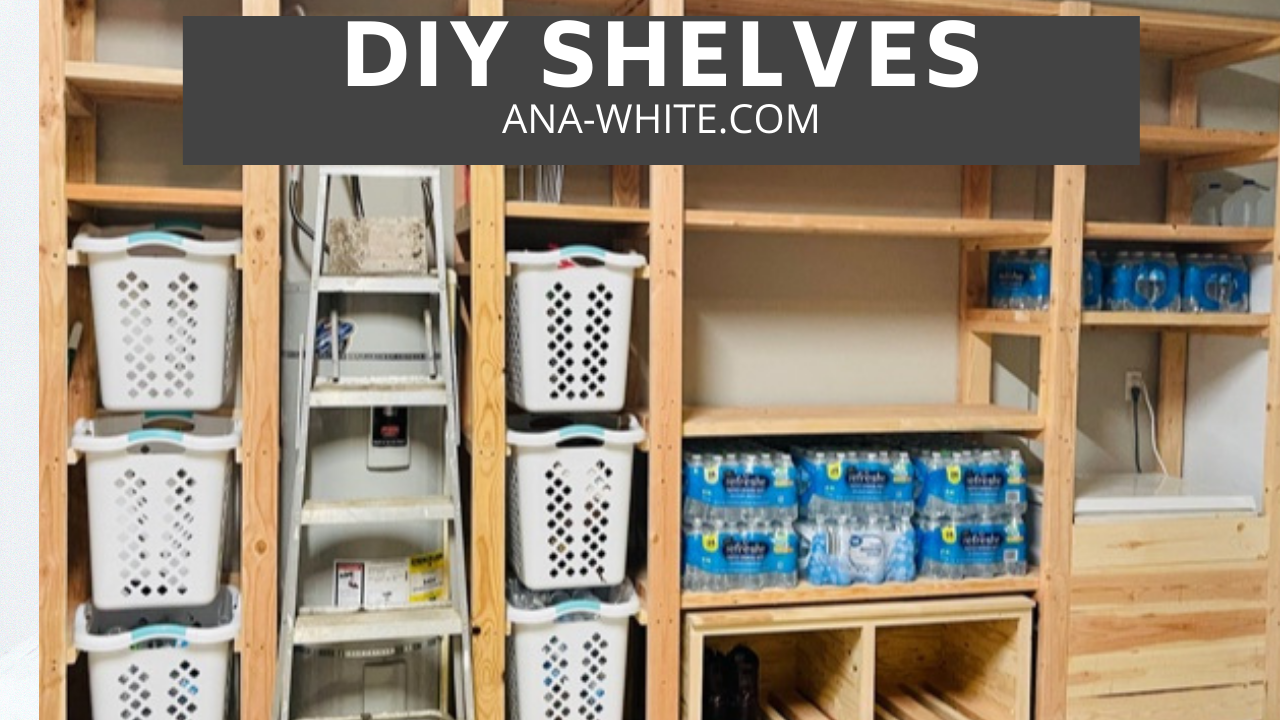
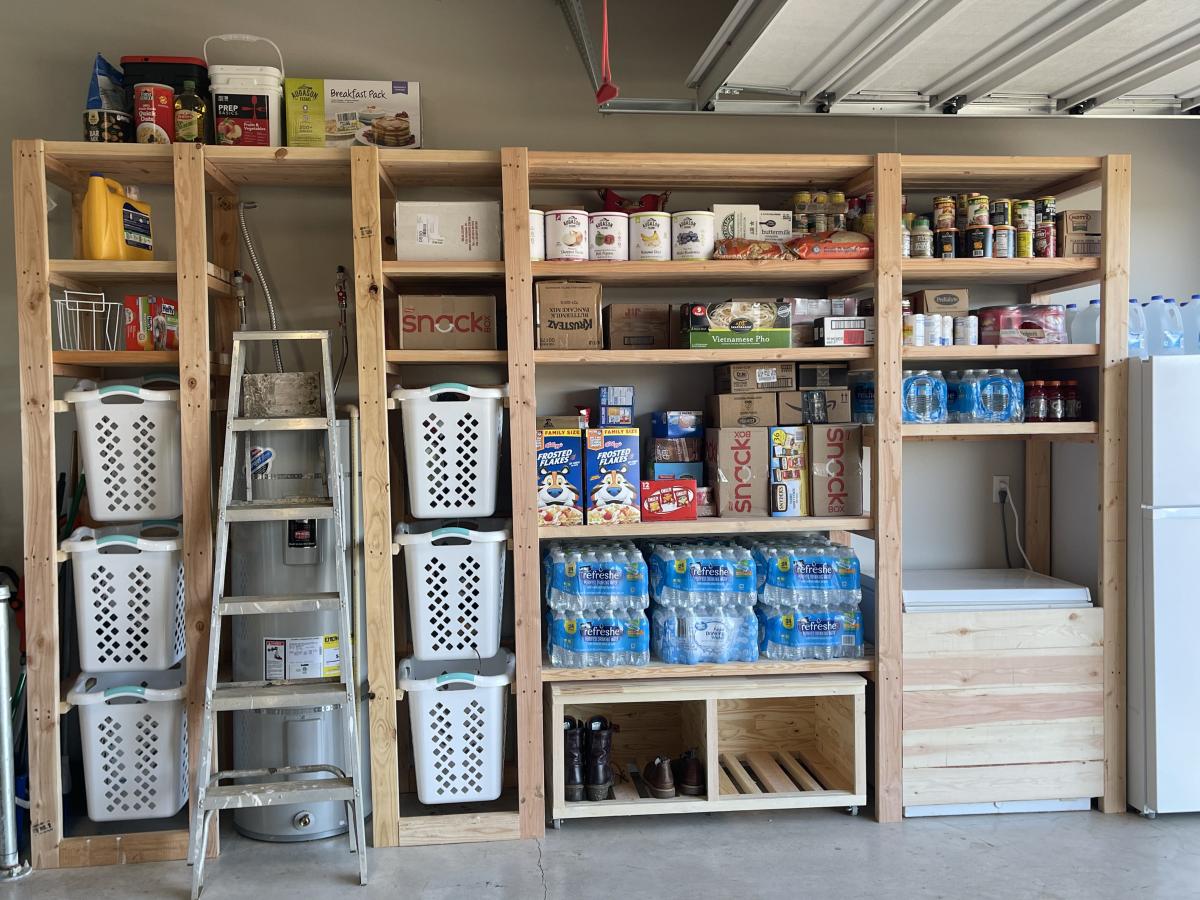
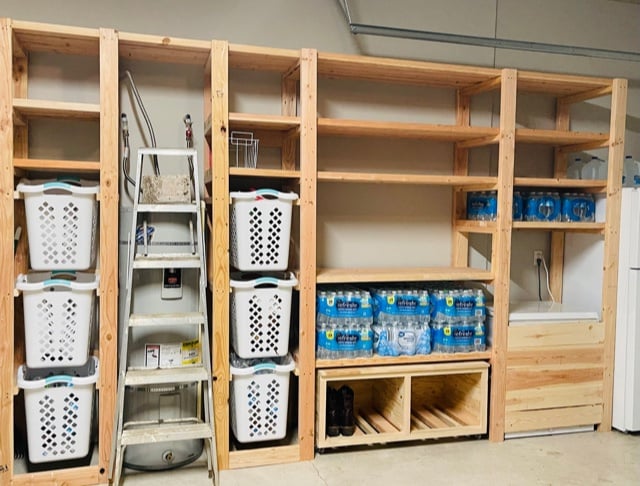
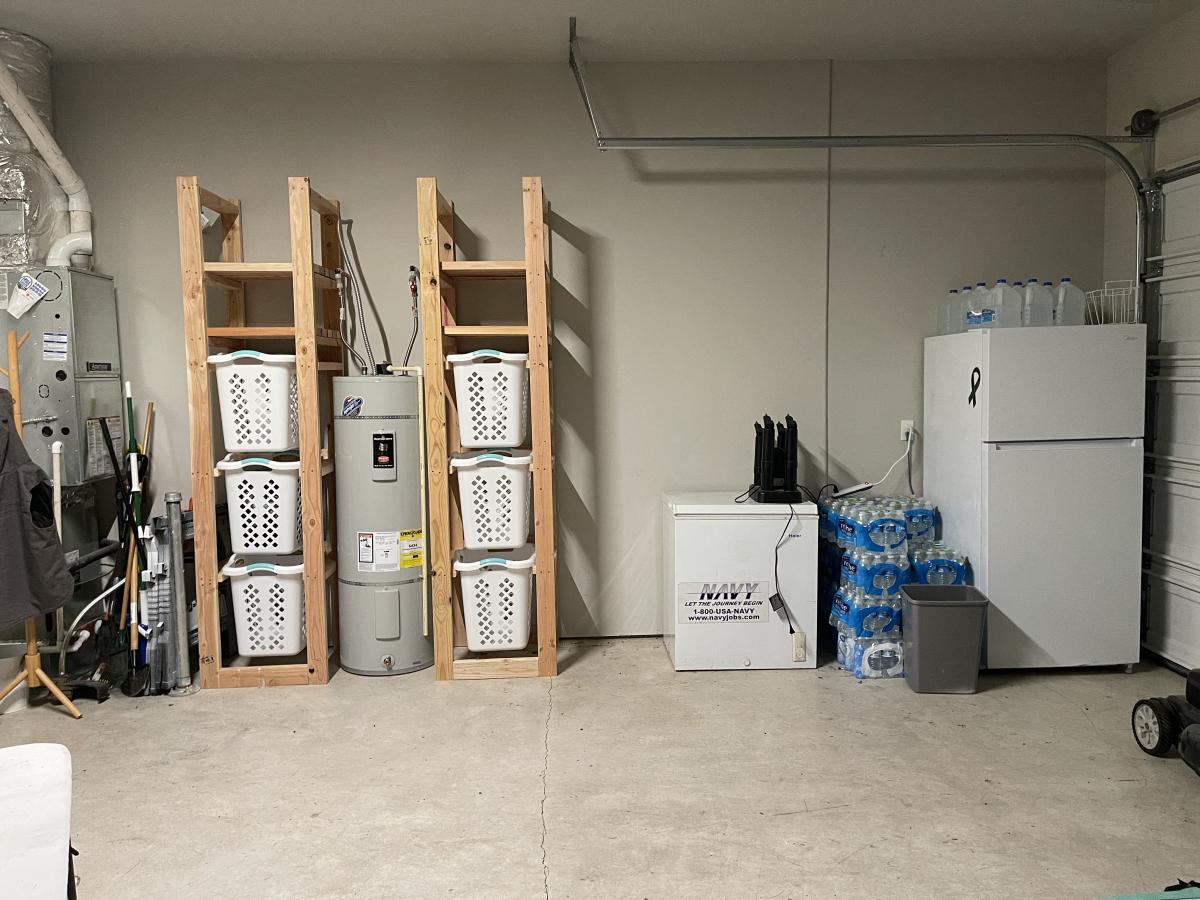
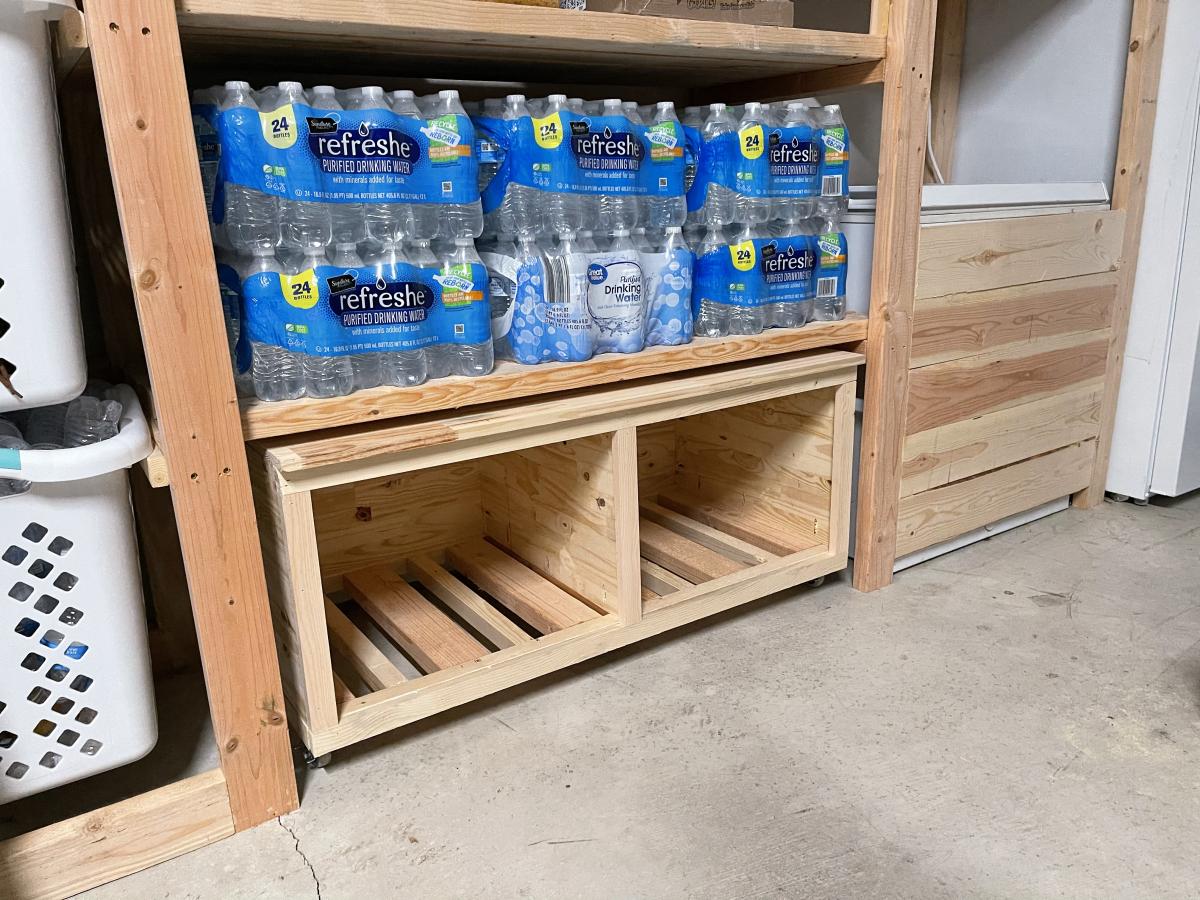
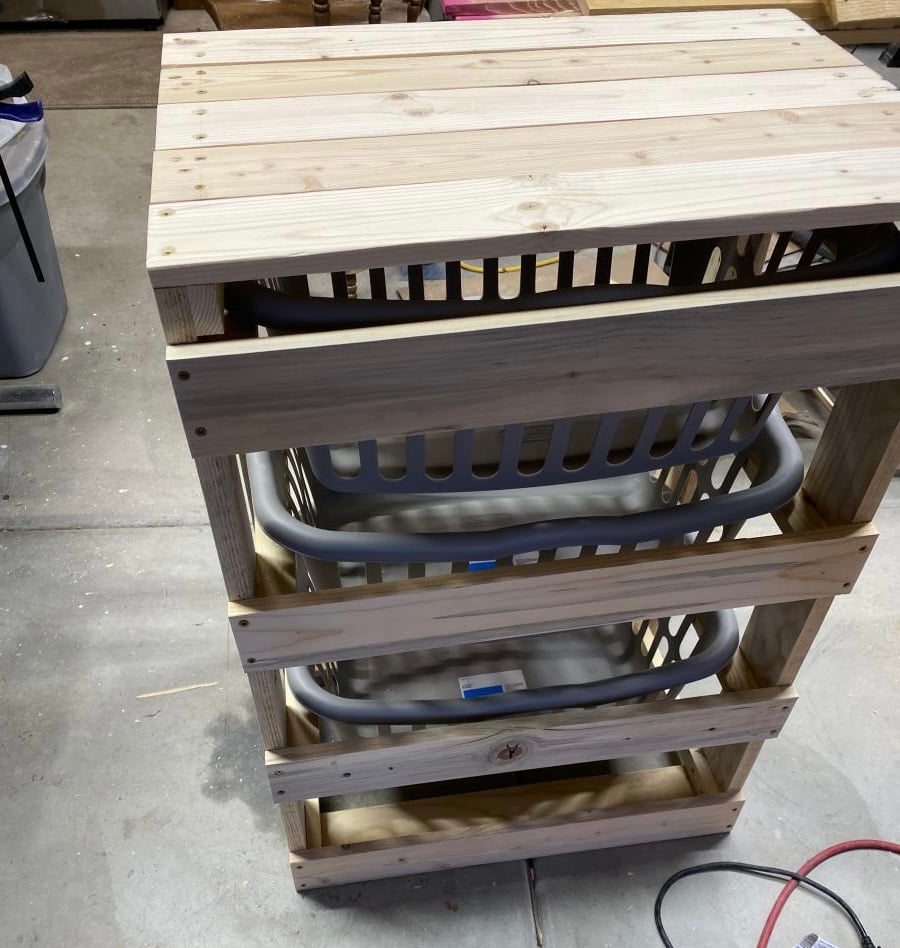
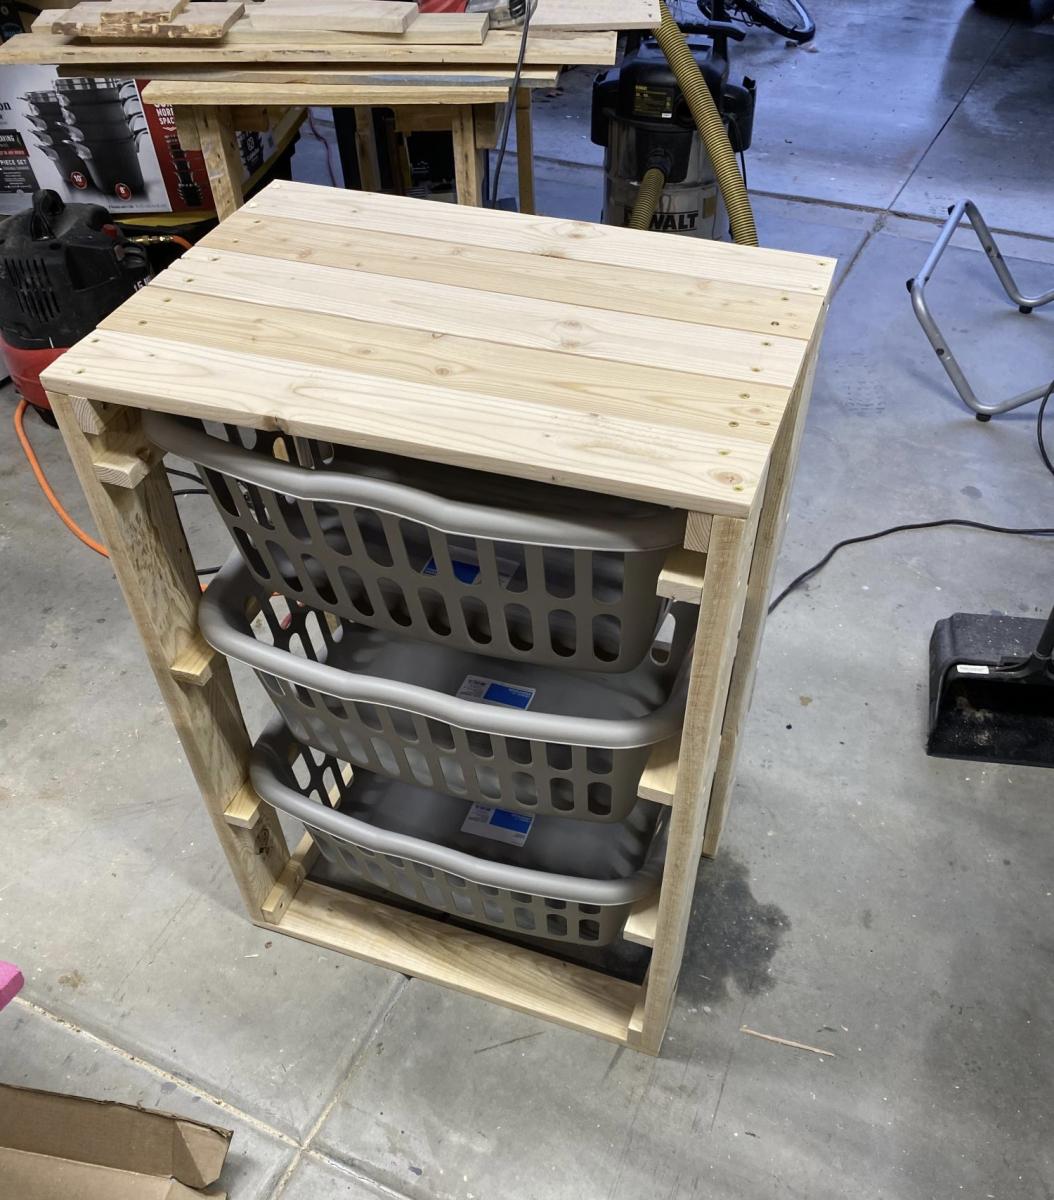
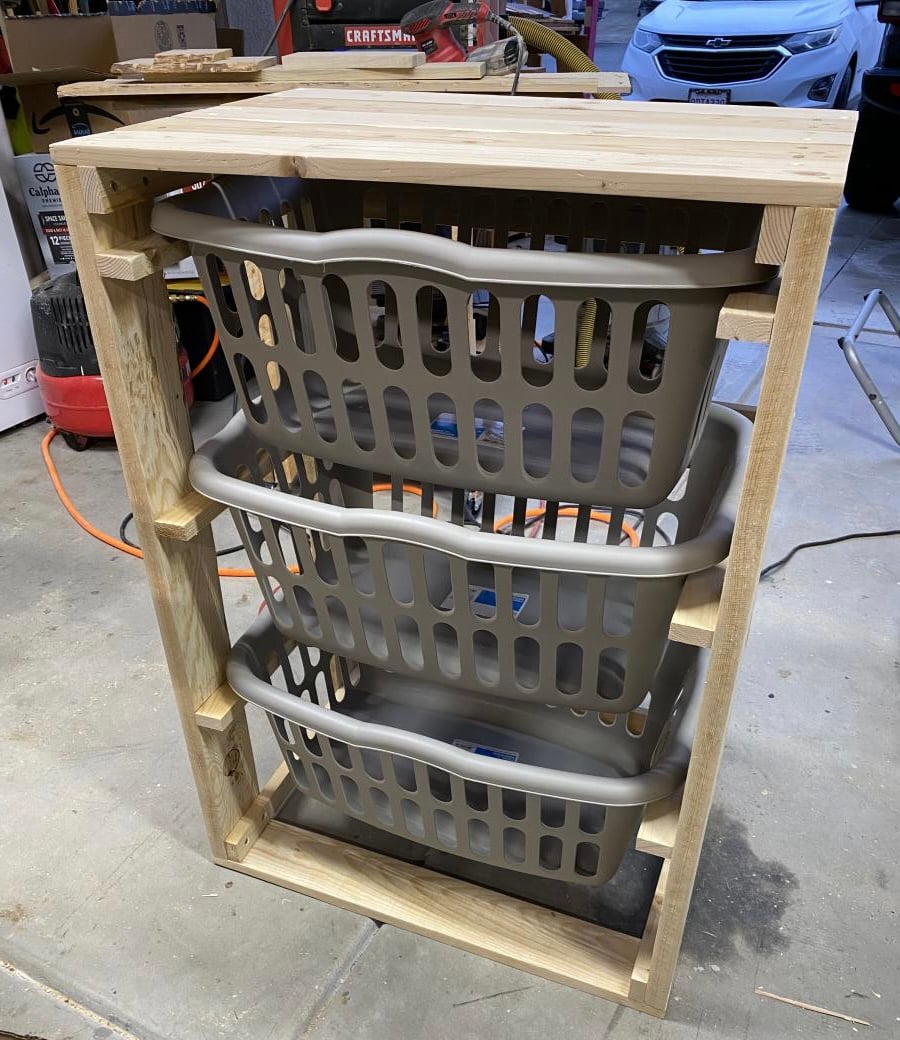
I used Ana's Freestanding Shelf plan and customized it to fit my needs. I incorporated laundry and recycle storage, a rolling bench and built in for our chest freezer. If you want to see it being built with some added tips, that video is available here https://www.youtube.com/watch?v=N8w7XGiVMbs&t=258s

We loved this greenhouse plan from AnaWhite and wanted to be able to grow in 3 seasons so we modified the design to include humidity & temperature control & 18" deep elevated cedar beds inside with 4x4 posts for support and trellis option. We added electricity in order to have a lighted workspace and the ability to put in a circulating fan to control mold and fungus. We added 2 work tables (2x2') on the inside of the door left and right side door in order to do seed trays & store supplies. This was a wonderful project for my husband and my plants inside are doing incredibly well compared to my outside garden beds here in zone 5. Products used:
Foundation
We had a landscape company come and scape/dig a platform and then fill/compact with crushed rock
My husband then used rebar driven into a 4x4 frame in order to secure the frame to the ground and create a base upon which to build the greenhouse
Active ventilation
AC Infinity Cloudline T8 Inline duct fan
Air king range hood wall cap 8" on the bottom outside of the greenhouse wall for air intake + flex 8" duct to the fan itself
Shelter logic autovent automatic shelter vent kits (1 on each side of the front wall) in order to allow air intake from the bottom back of the greenhouse under the elevated beds to flow to the front of the greenhouse and out
Circulating fan- Hurricane wall mount fan 16" - this fan has 3 speeds with tilt function and small mounting bracket
Soil - sourced 3 yards of 50/50 loam/compost from local landscaping supply
60% loam
30% organic compost
10% organic topsoil + perlite
Soil beds
-cedar frame 2 feet wide along sides, 3 feet wide on the back wall
-galvanized metal roofing with holes drilled into it for drainage
-landscape cloth lined


Wed, 09/09/2020 - 13:09
Thanks for that update! I was wondering how to vent this project, as Green houses need the ventilation. Good to know dollar amount also. Great photos.
Wed, 09/09/2020 - 13:09
Thanks for that update! I was wondering how to vent this project, as Green houses need the ventilation. Good to know dollar amount also. Great photos.
Wed, 09/09/2020 - 13:09
Thanks for that update! I was wondering how to vent this project, as Green houses need the ventilation. Good to know dollar amount also. Great photos.

This was an easy project to complete in an afternoon that does not require any advance woodworking skills

Wed, 11/26/2014 - 12:19
This project looks even better than mine! I love look with paint! Well done!
Wed, 12/10/2014 - 09:41
This is my second completed project with plans and ideas from your website. Thanks for your good work!
I love Ana Whites's site. I go to it all the time when I have project ideas. The Video tutorials, combined with plans, is just amazing. Plus, the brag pages of people that have done projects from what they found here. Thank you Ana.
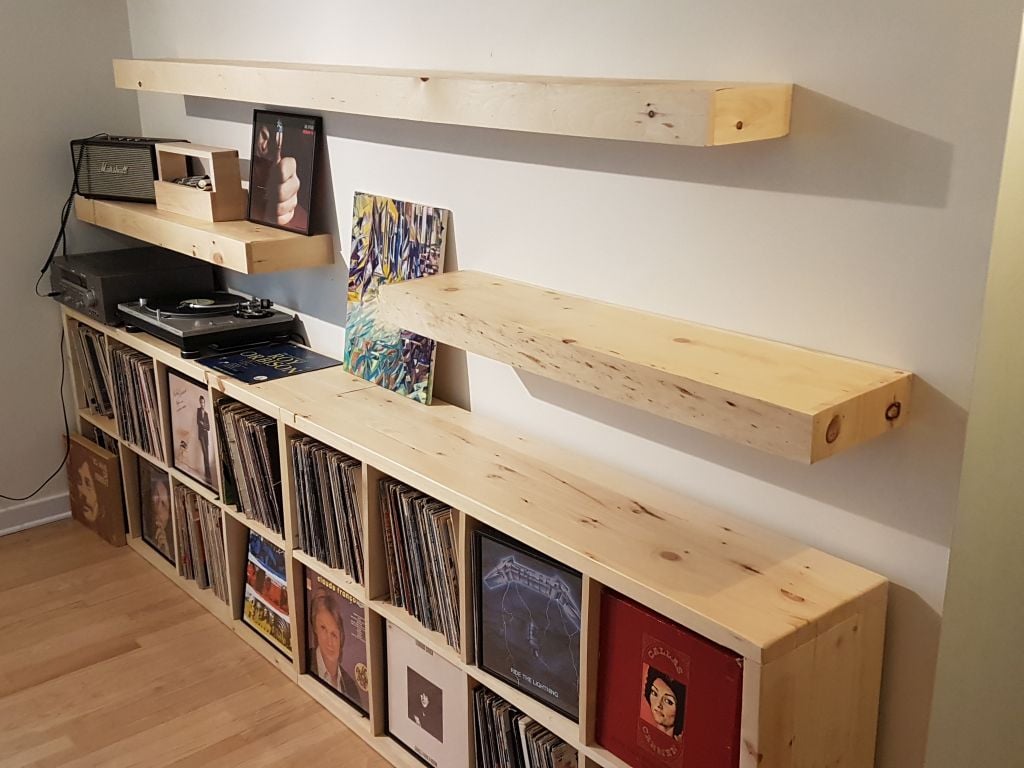
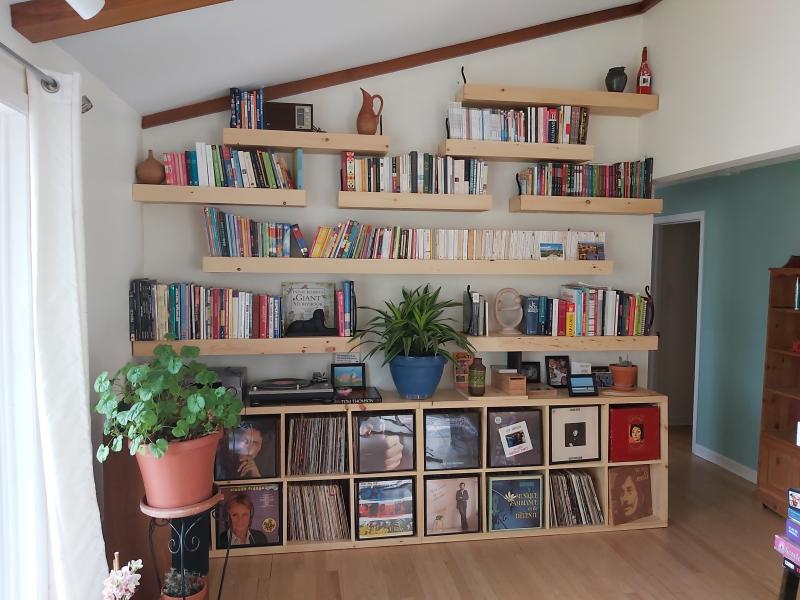
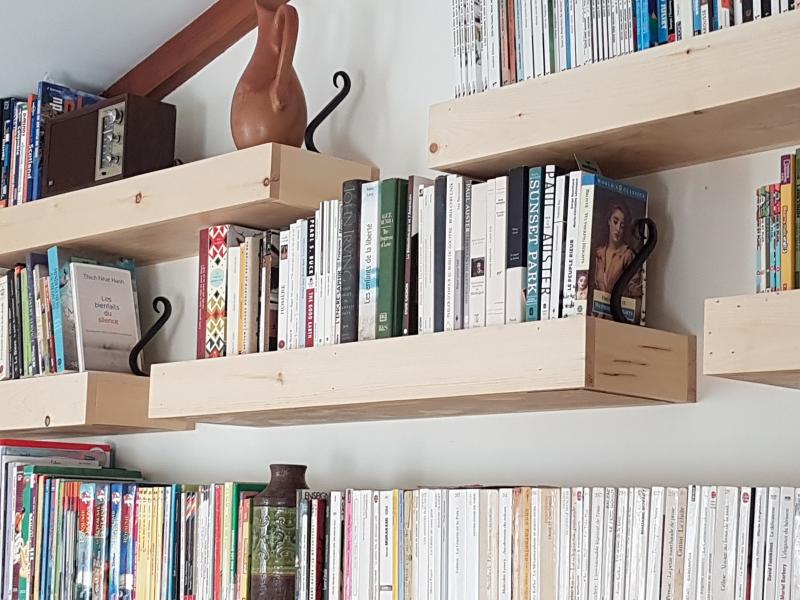
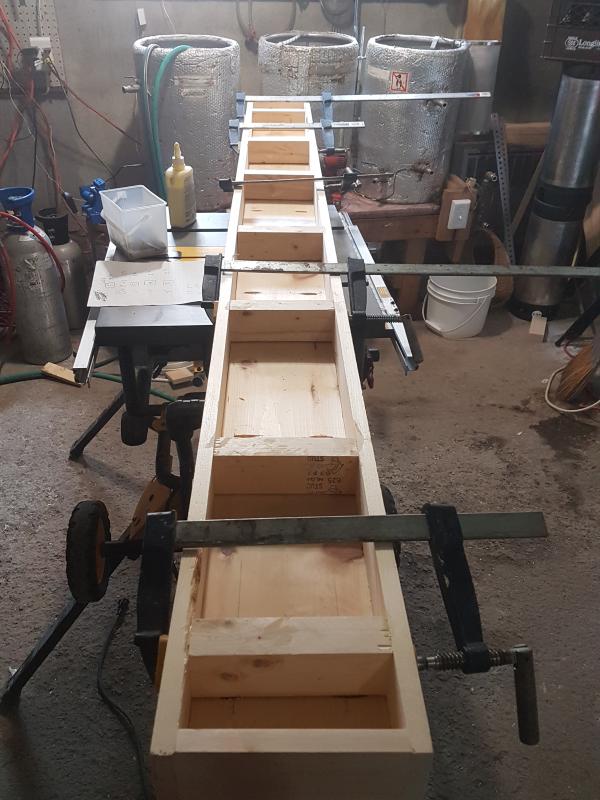
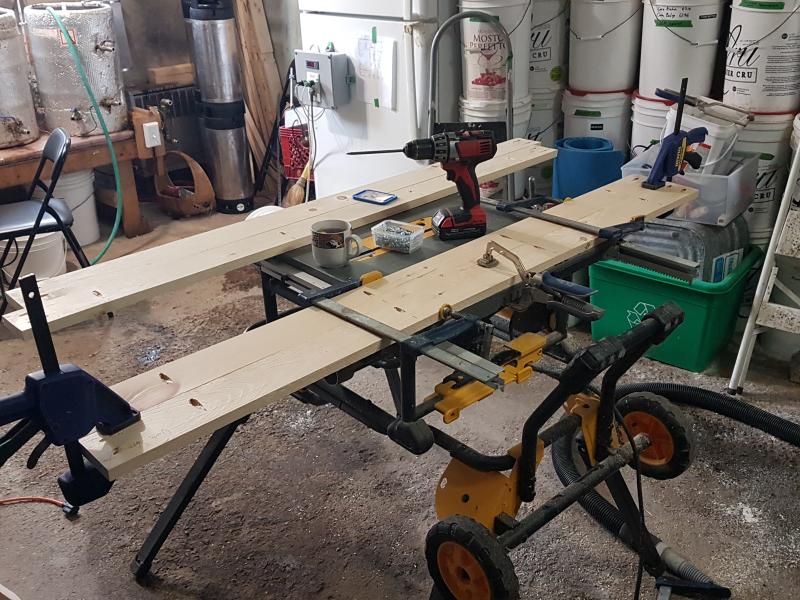
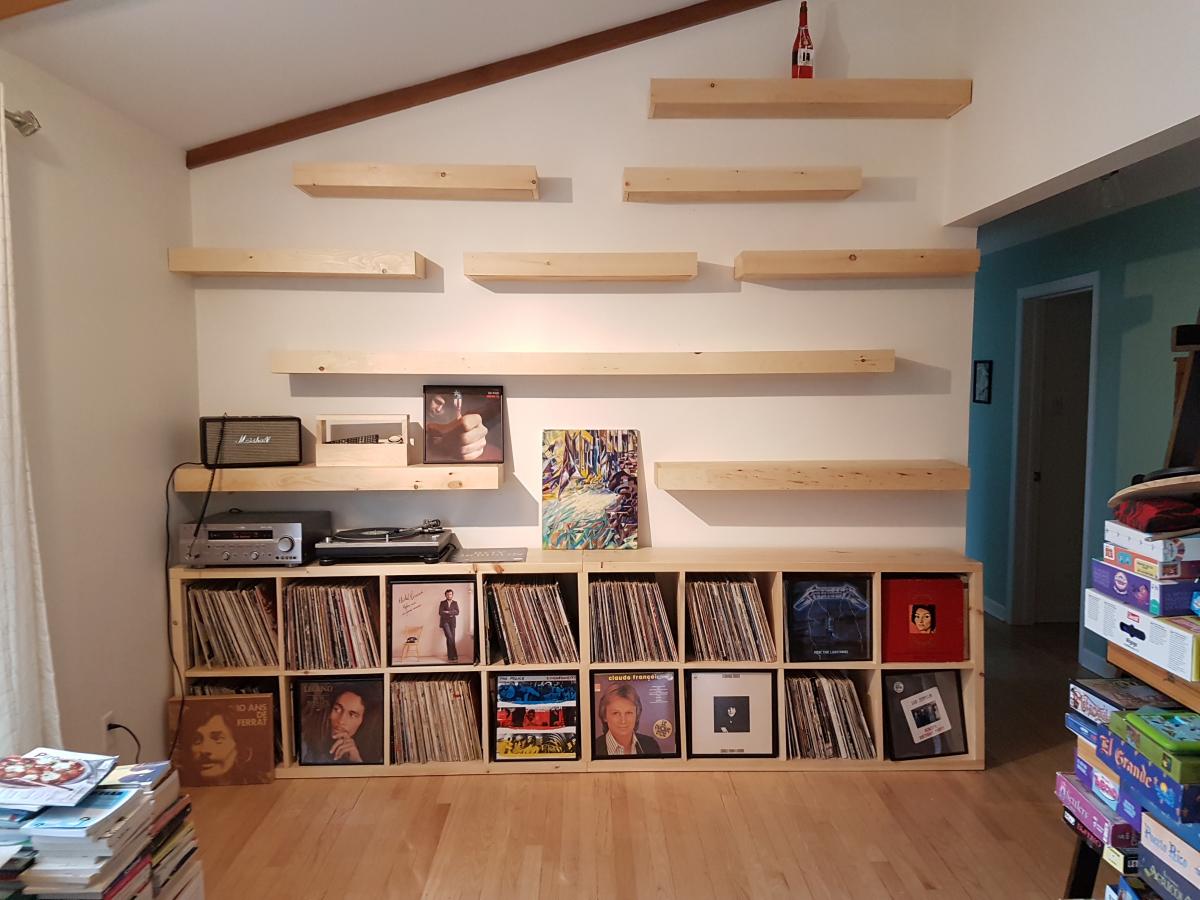
The floating shelves part was from Ana's site. The other part was done using my own plans (I used SketchUp to draw them)
My wife added the books, plants, and decorations, and I finally opened the dusty boxes that contained my insane LP collection. The experience has nothing to do with steaming music, it is far more complete.
I used plant-lantern brackets to prevent books from falling from the sides of the shelves. All done, this is great.
I would like to change the main picture, but I get strange messages from the site when I do this.
Mon, 05/20/2024 - 08:23
Wow, this is such an inspiring project! I can relate to loving Ana White's site for DIY ideas and tutorials. It's amazing how you've combined her plans with your designs using SketchUp. Adding plant-lantern brackets to prevent books from falling is a brilliant touch. I remember how I wrote a story about how I did something similar. I used https://essays.edubirdie.com/personal-statement-writing because I wanted to write a motivating story. And there I was able to get help from professionals. I understand the frustration with wood costs right now; it’s great that you still went ahead with the project despite the expense. The effort and time you invested, especially with the multiple coats of stain, really show your dedication. Thanks for sharing this – it's motivating me to start my DIY project soon!

We needed a bench to fill the space in our front entry and provide some storage for seasonal gear. We couldn't find anything to buy that would work for us, so when my wife found these plans, I had to try it! Couldn't be happier with the results. We widened the bench by a foot to 84" to fill the space. Basically, it just made each drawer 4" wider. Everything else was built to plan. The most expensive thing was the soft-close 24" drawer slides (~$100). As soon as you go above that 24" depth, they get pricier! It was also tricky to get the drawers to catch properly on the soft-close mechanisms, but I made sure to take the time to get it right before closing it all in. Now I just open and close the drawers for the pure satisfaction of it! I used premium pine plywood for the top and I find it still doesn't give that smooth finish I like, even after sanding. I think I'll create a new top out of joined knotty pine planks later and just attach it to the top.


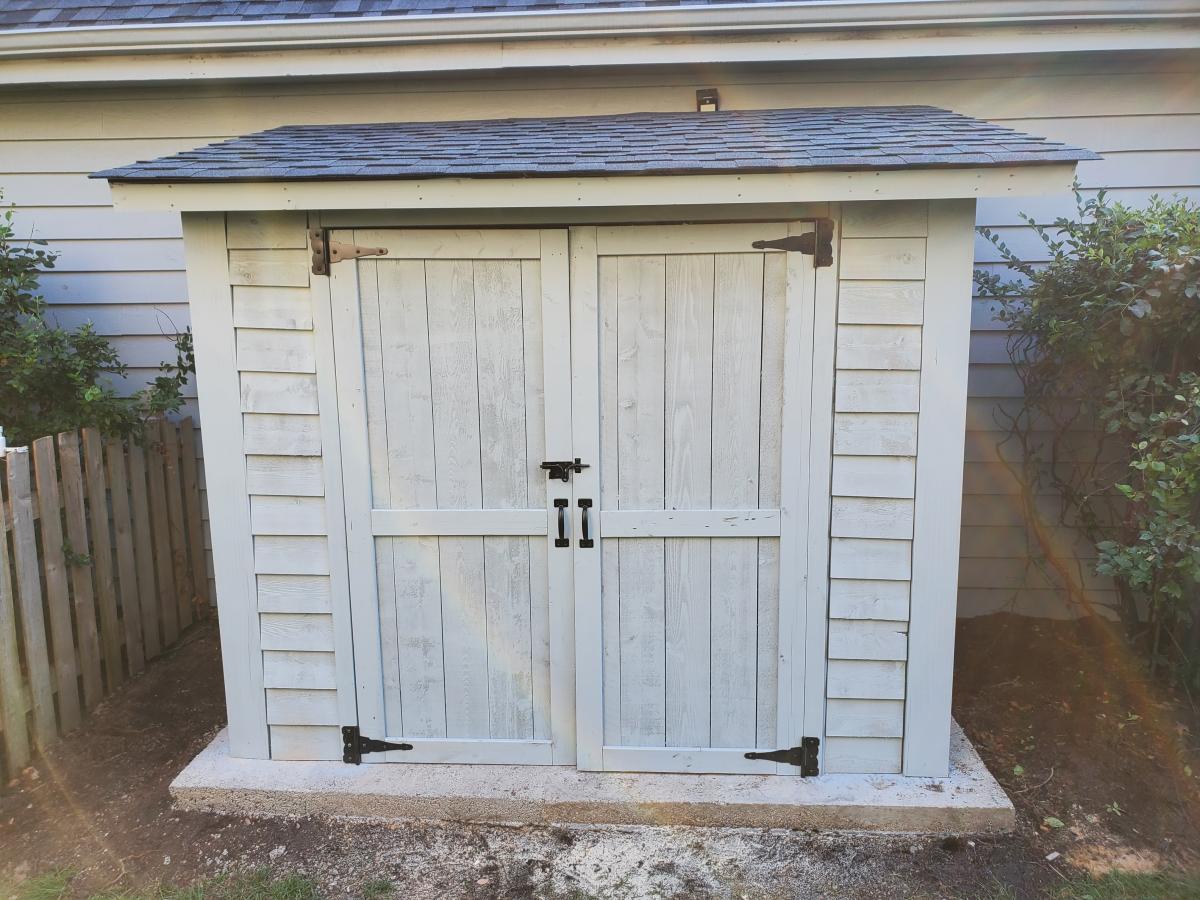
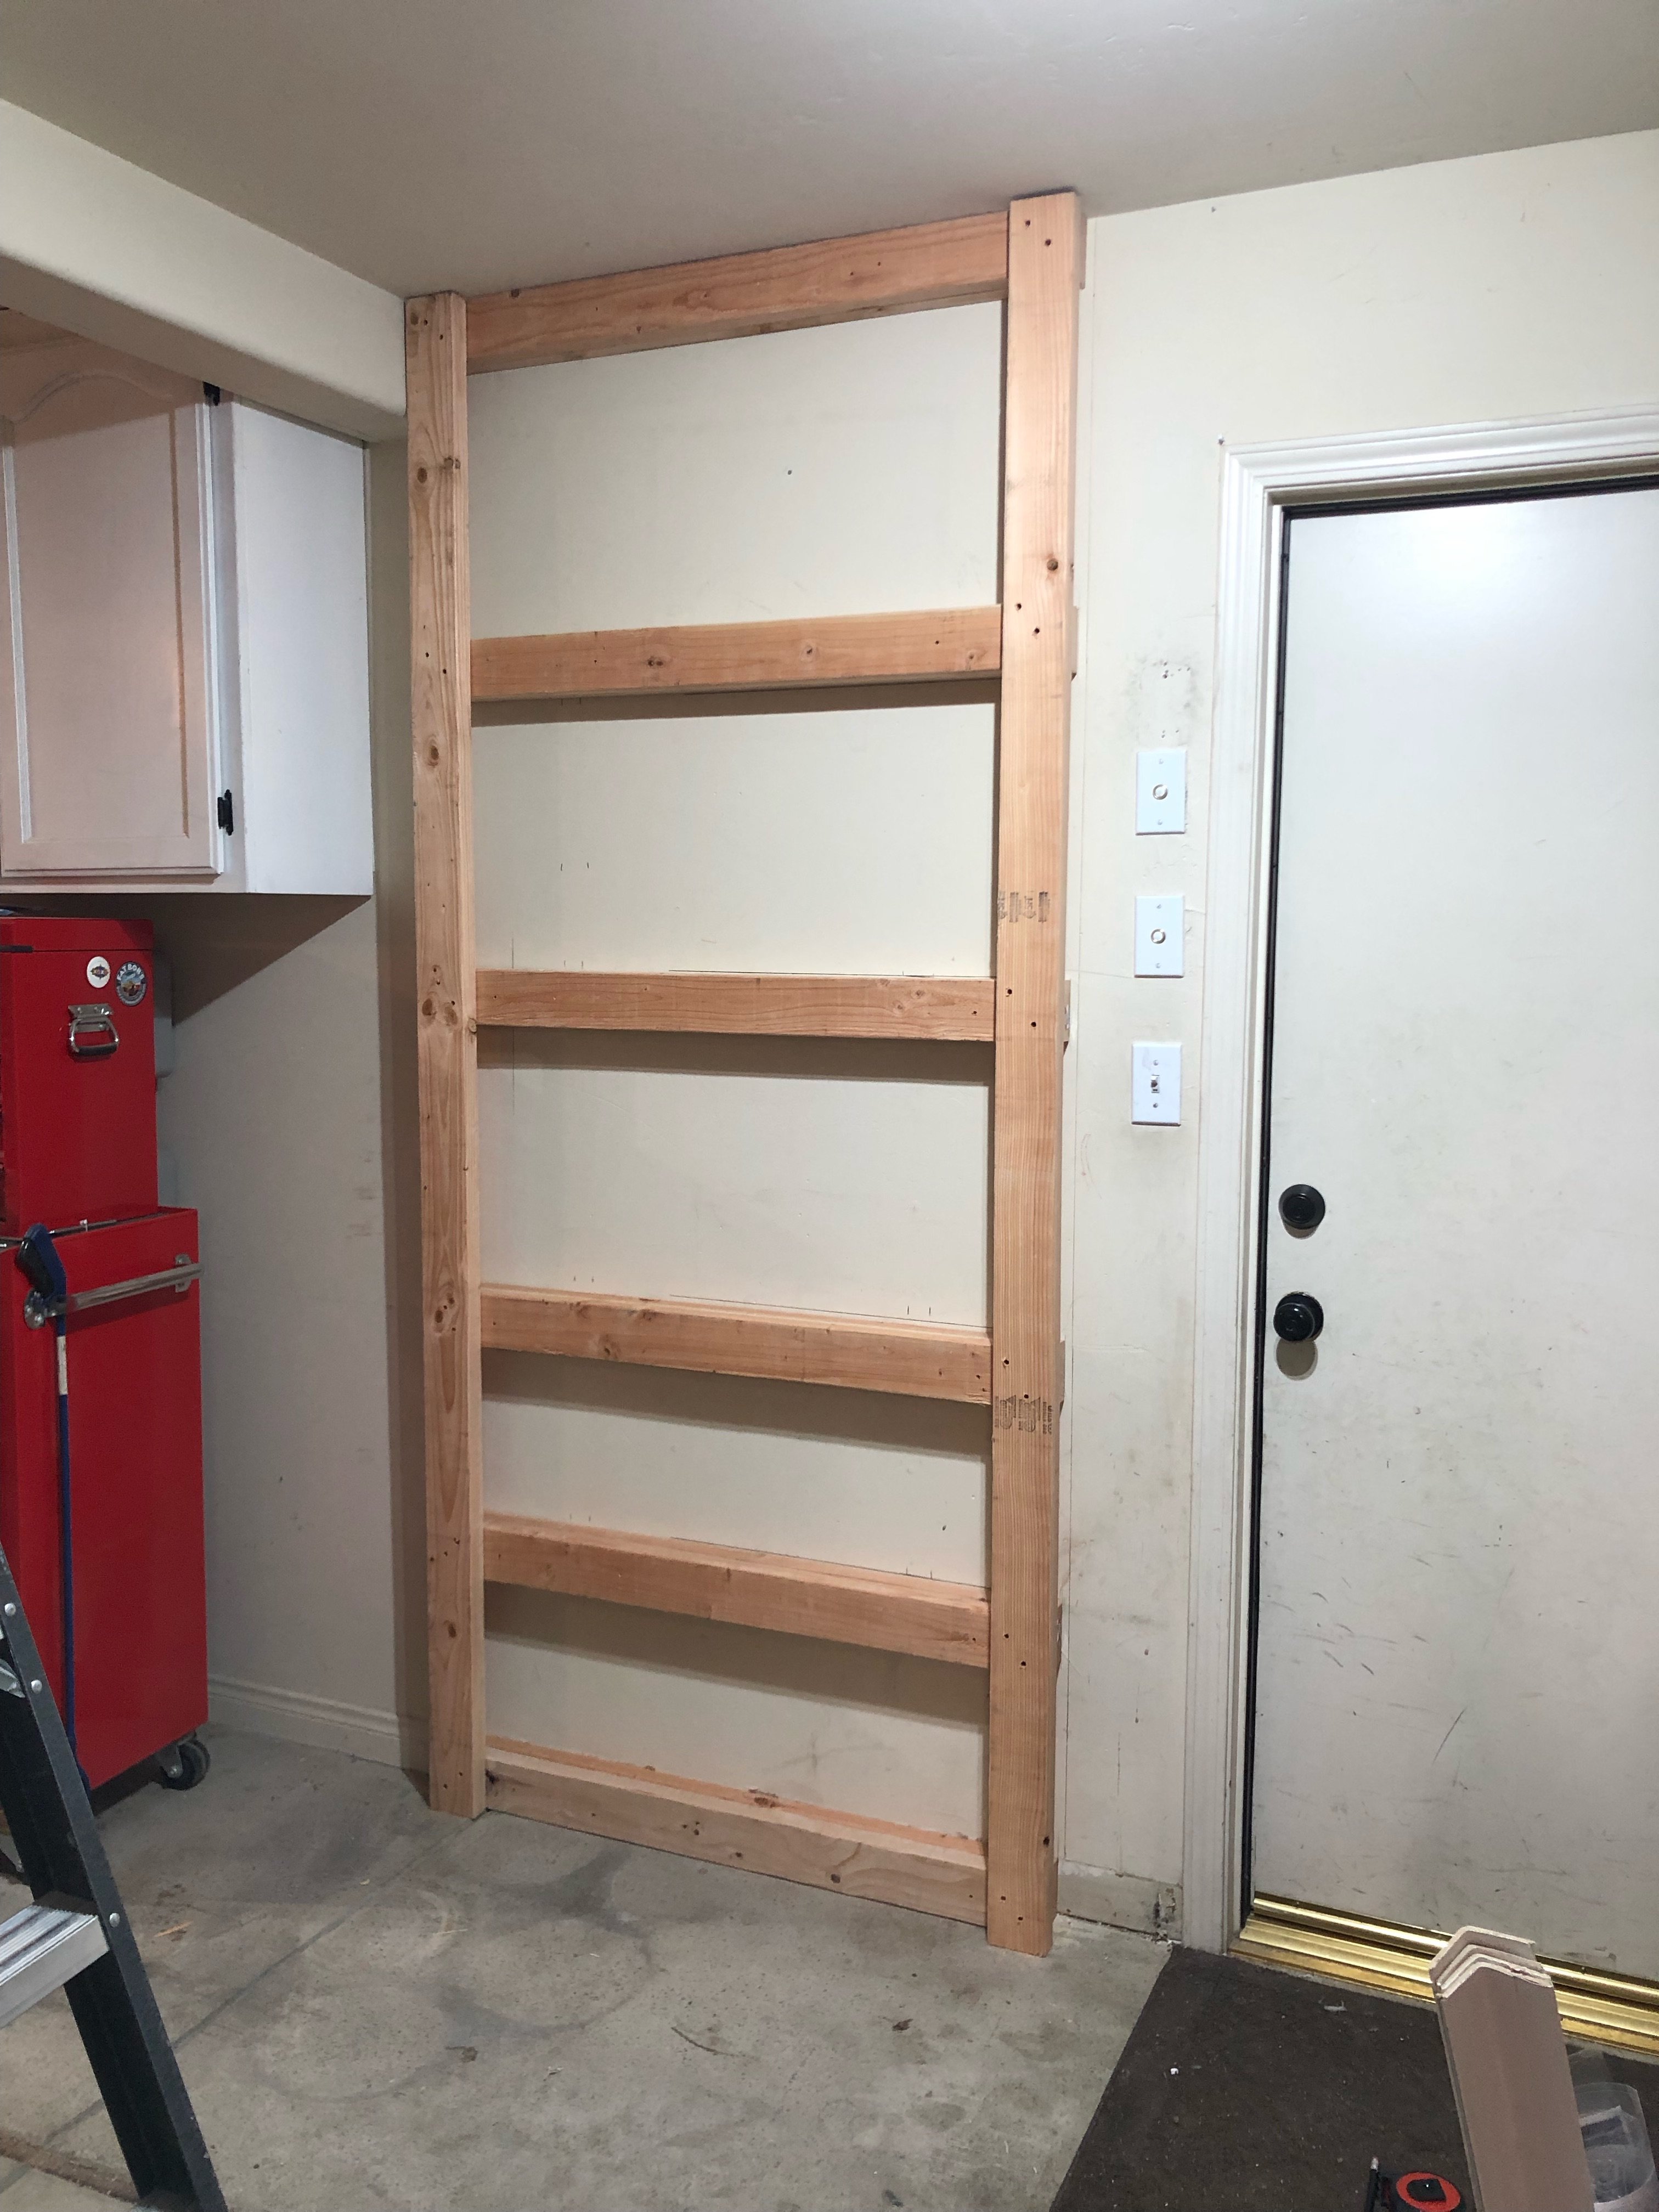
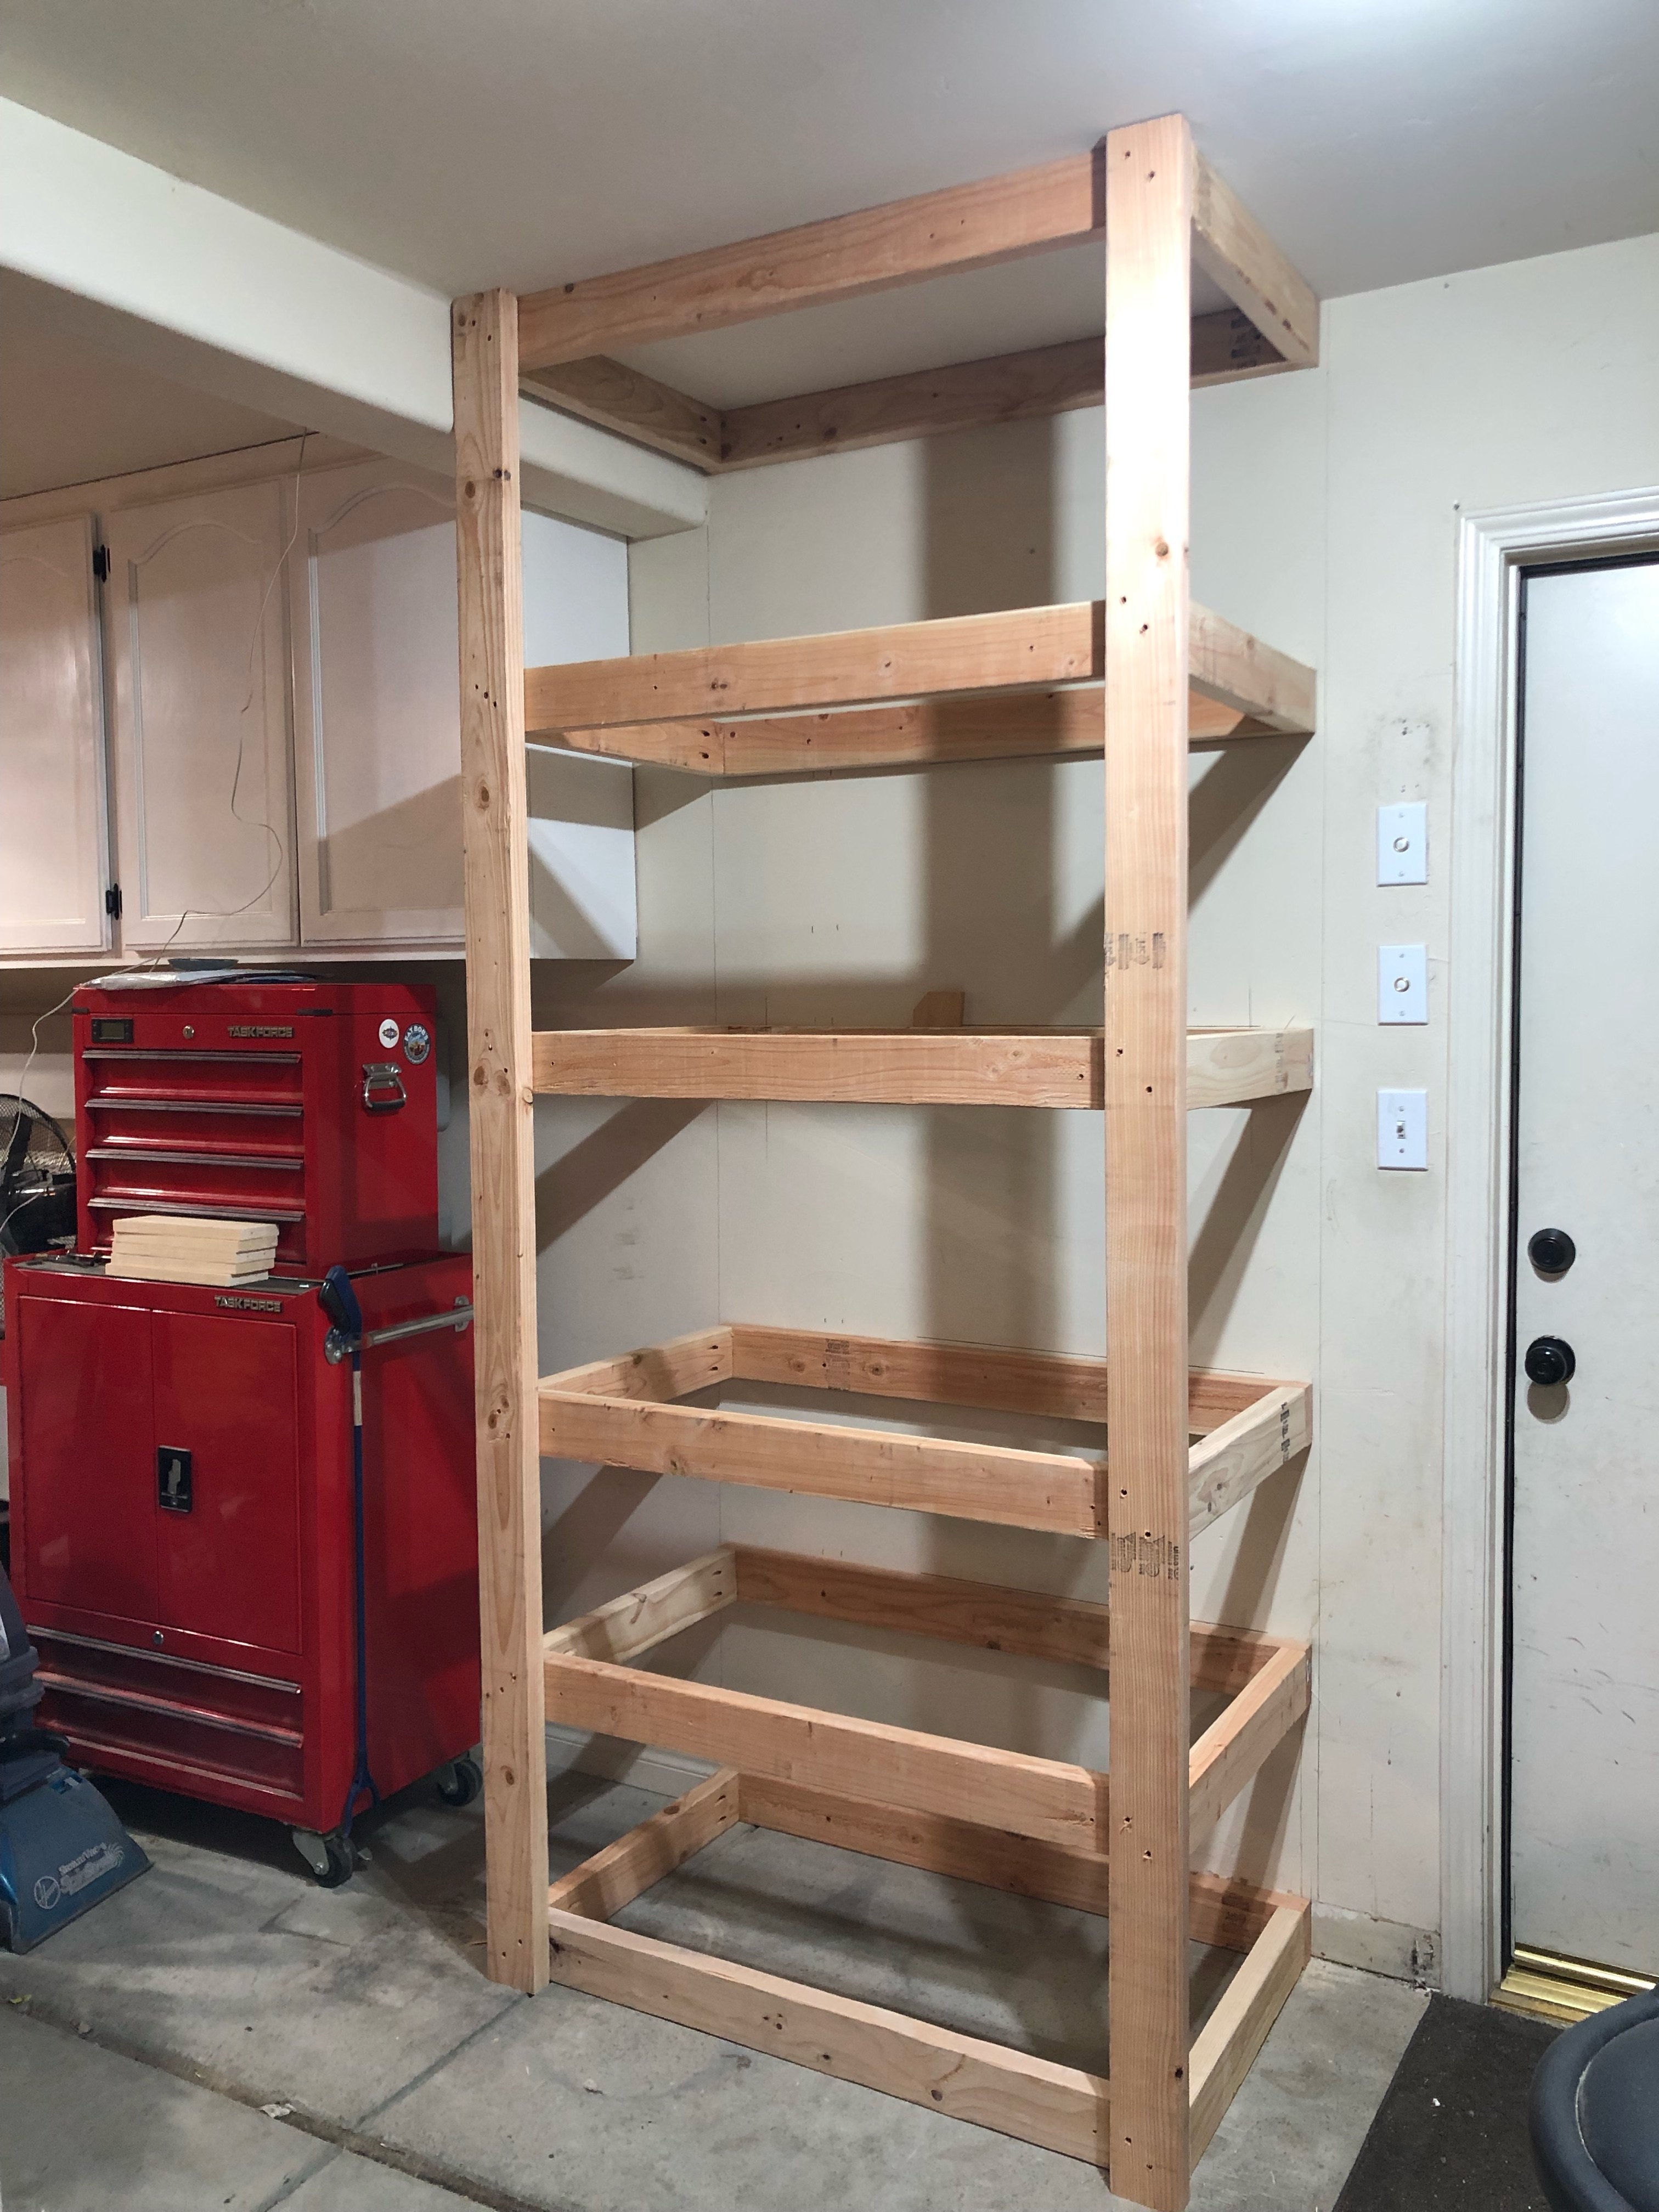
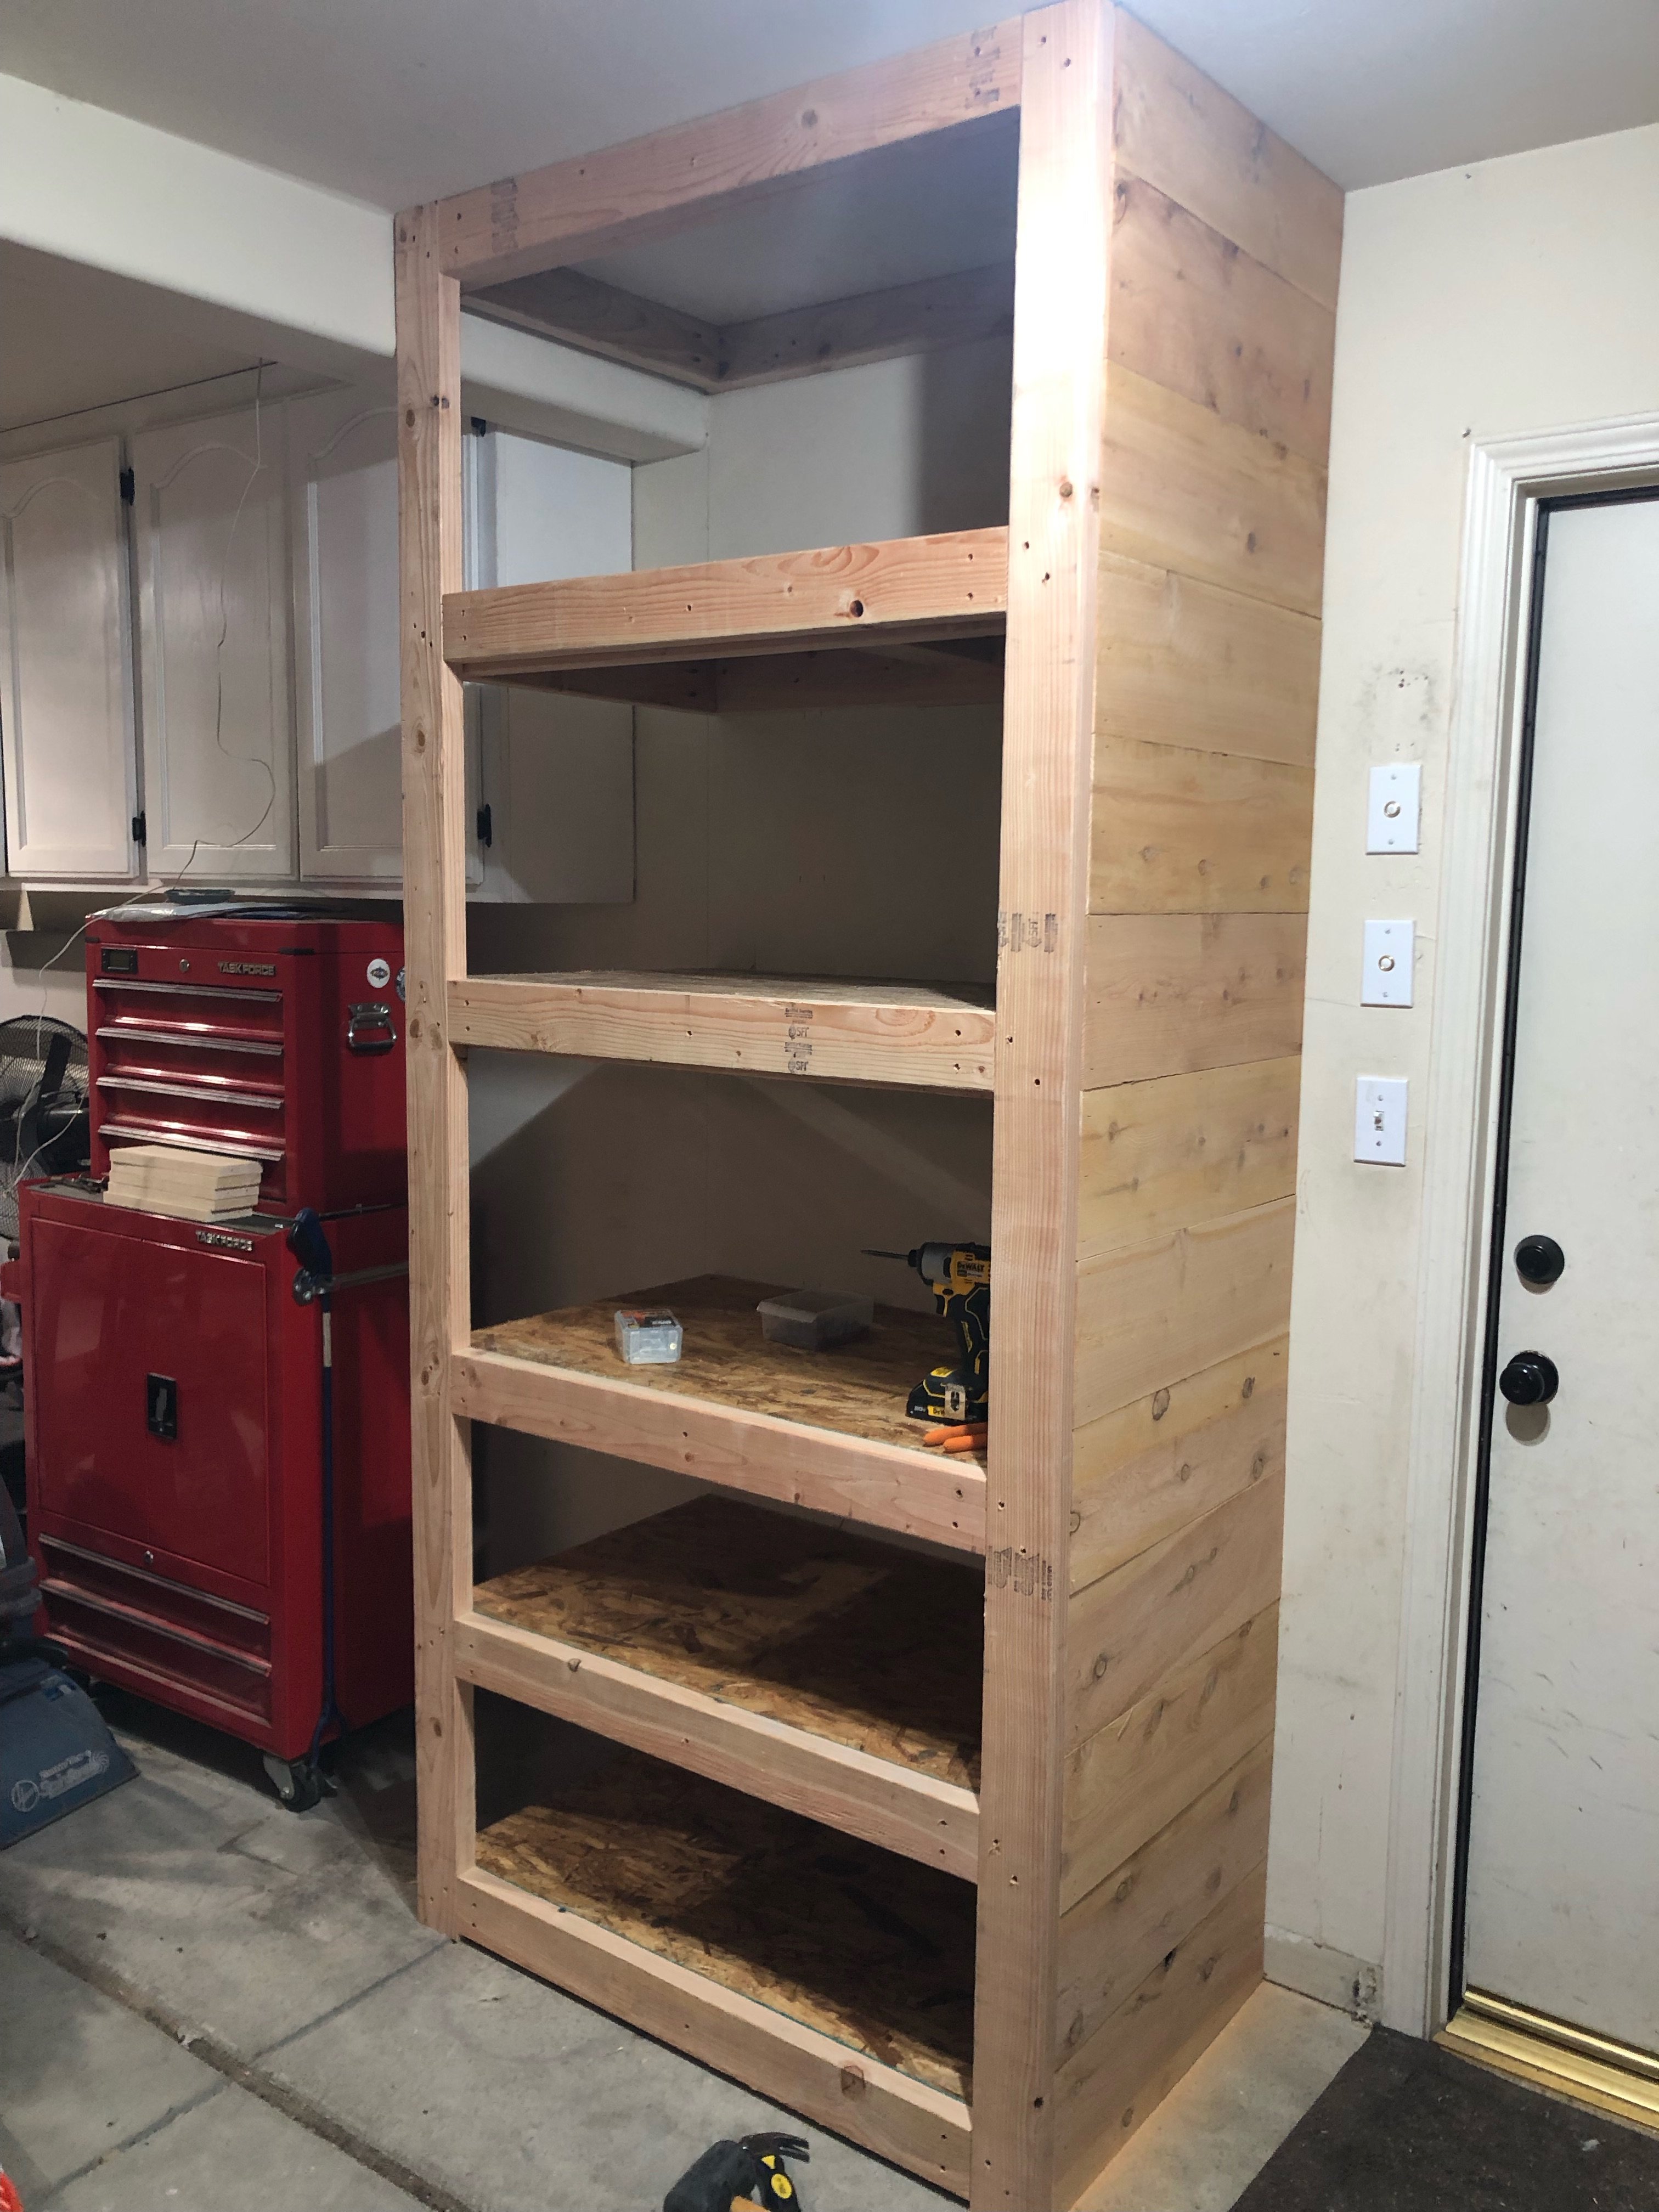
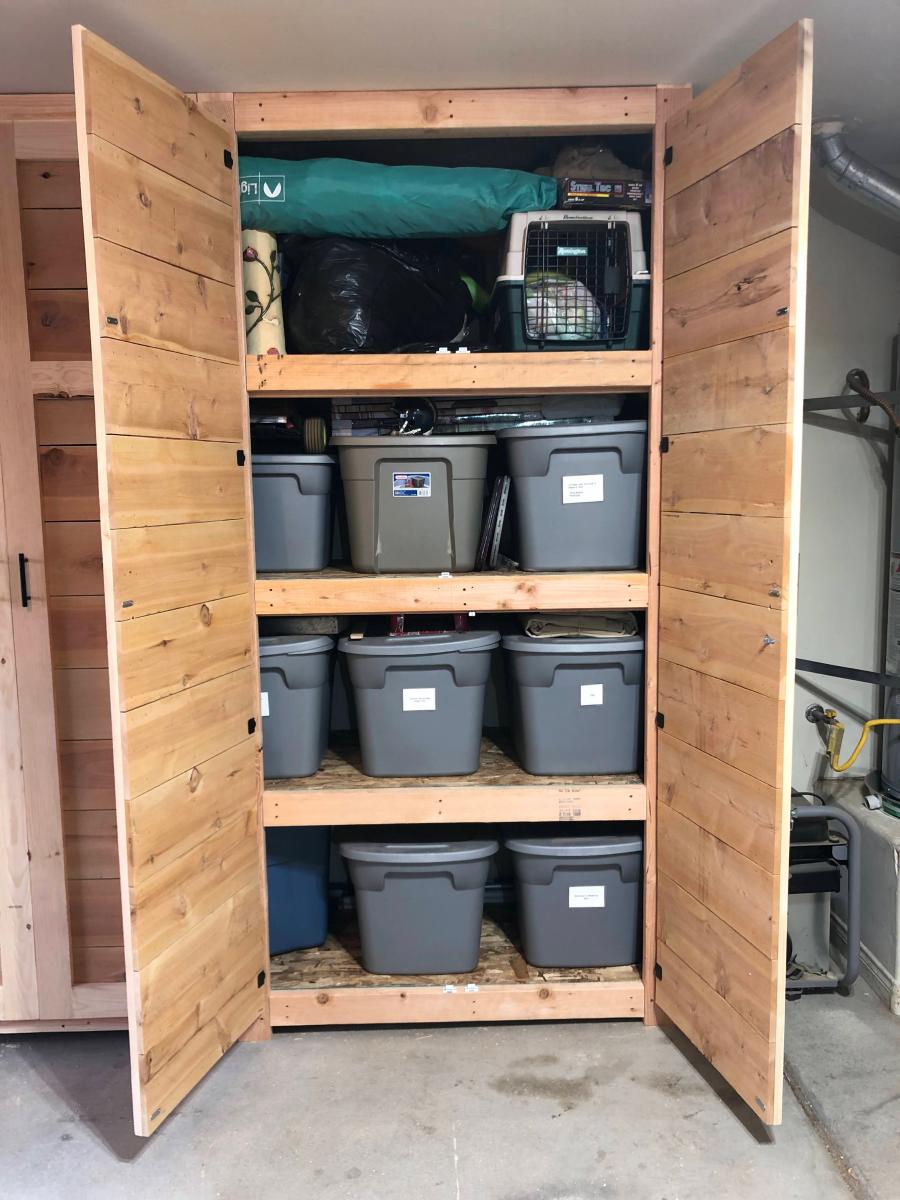
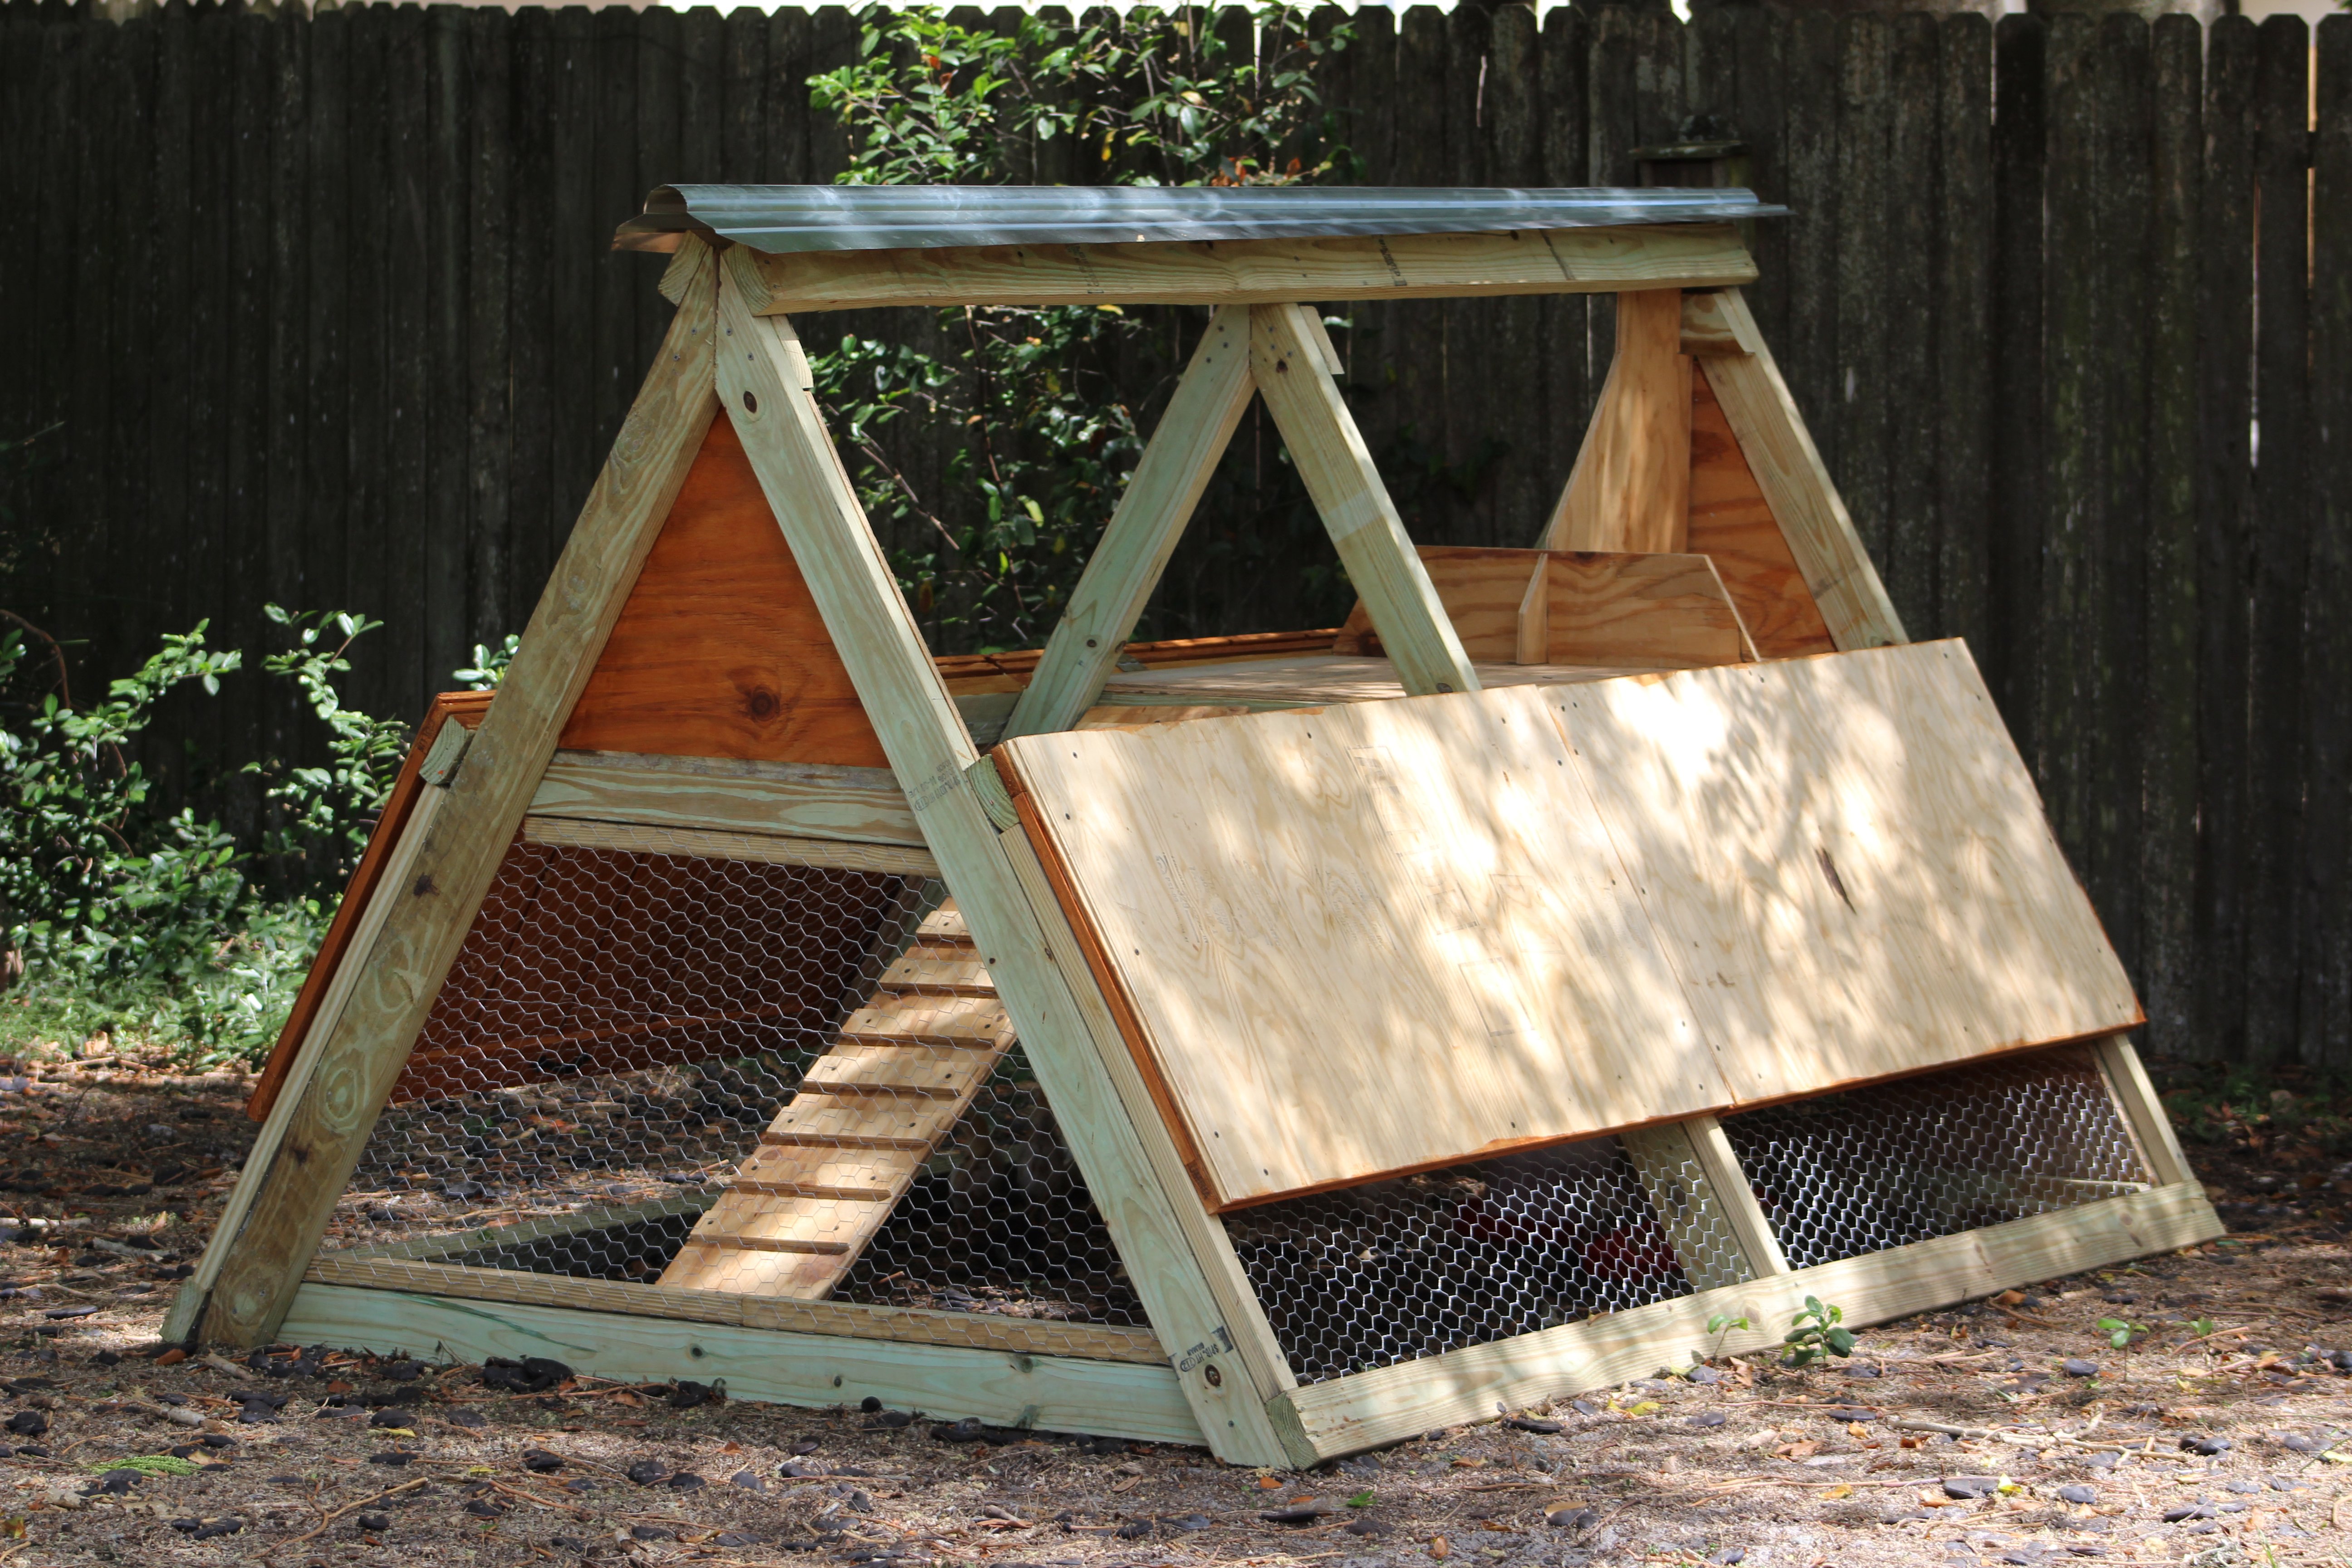
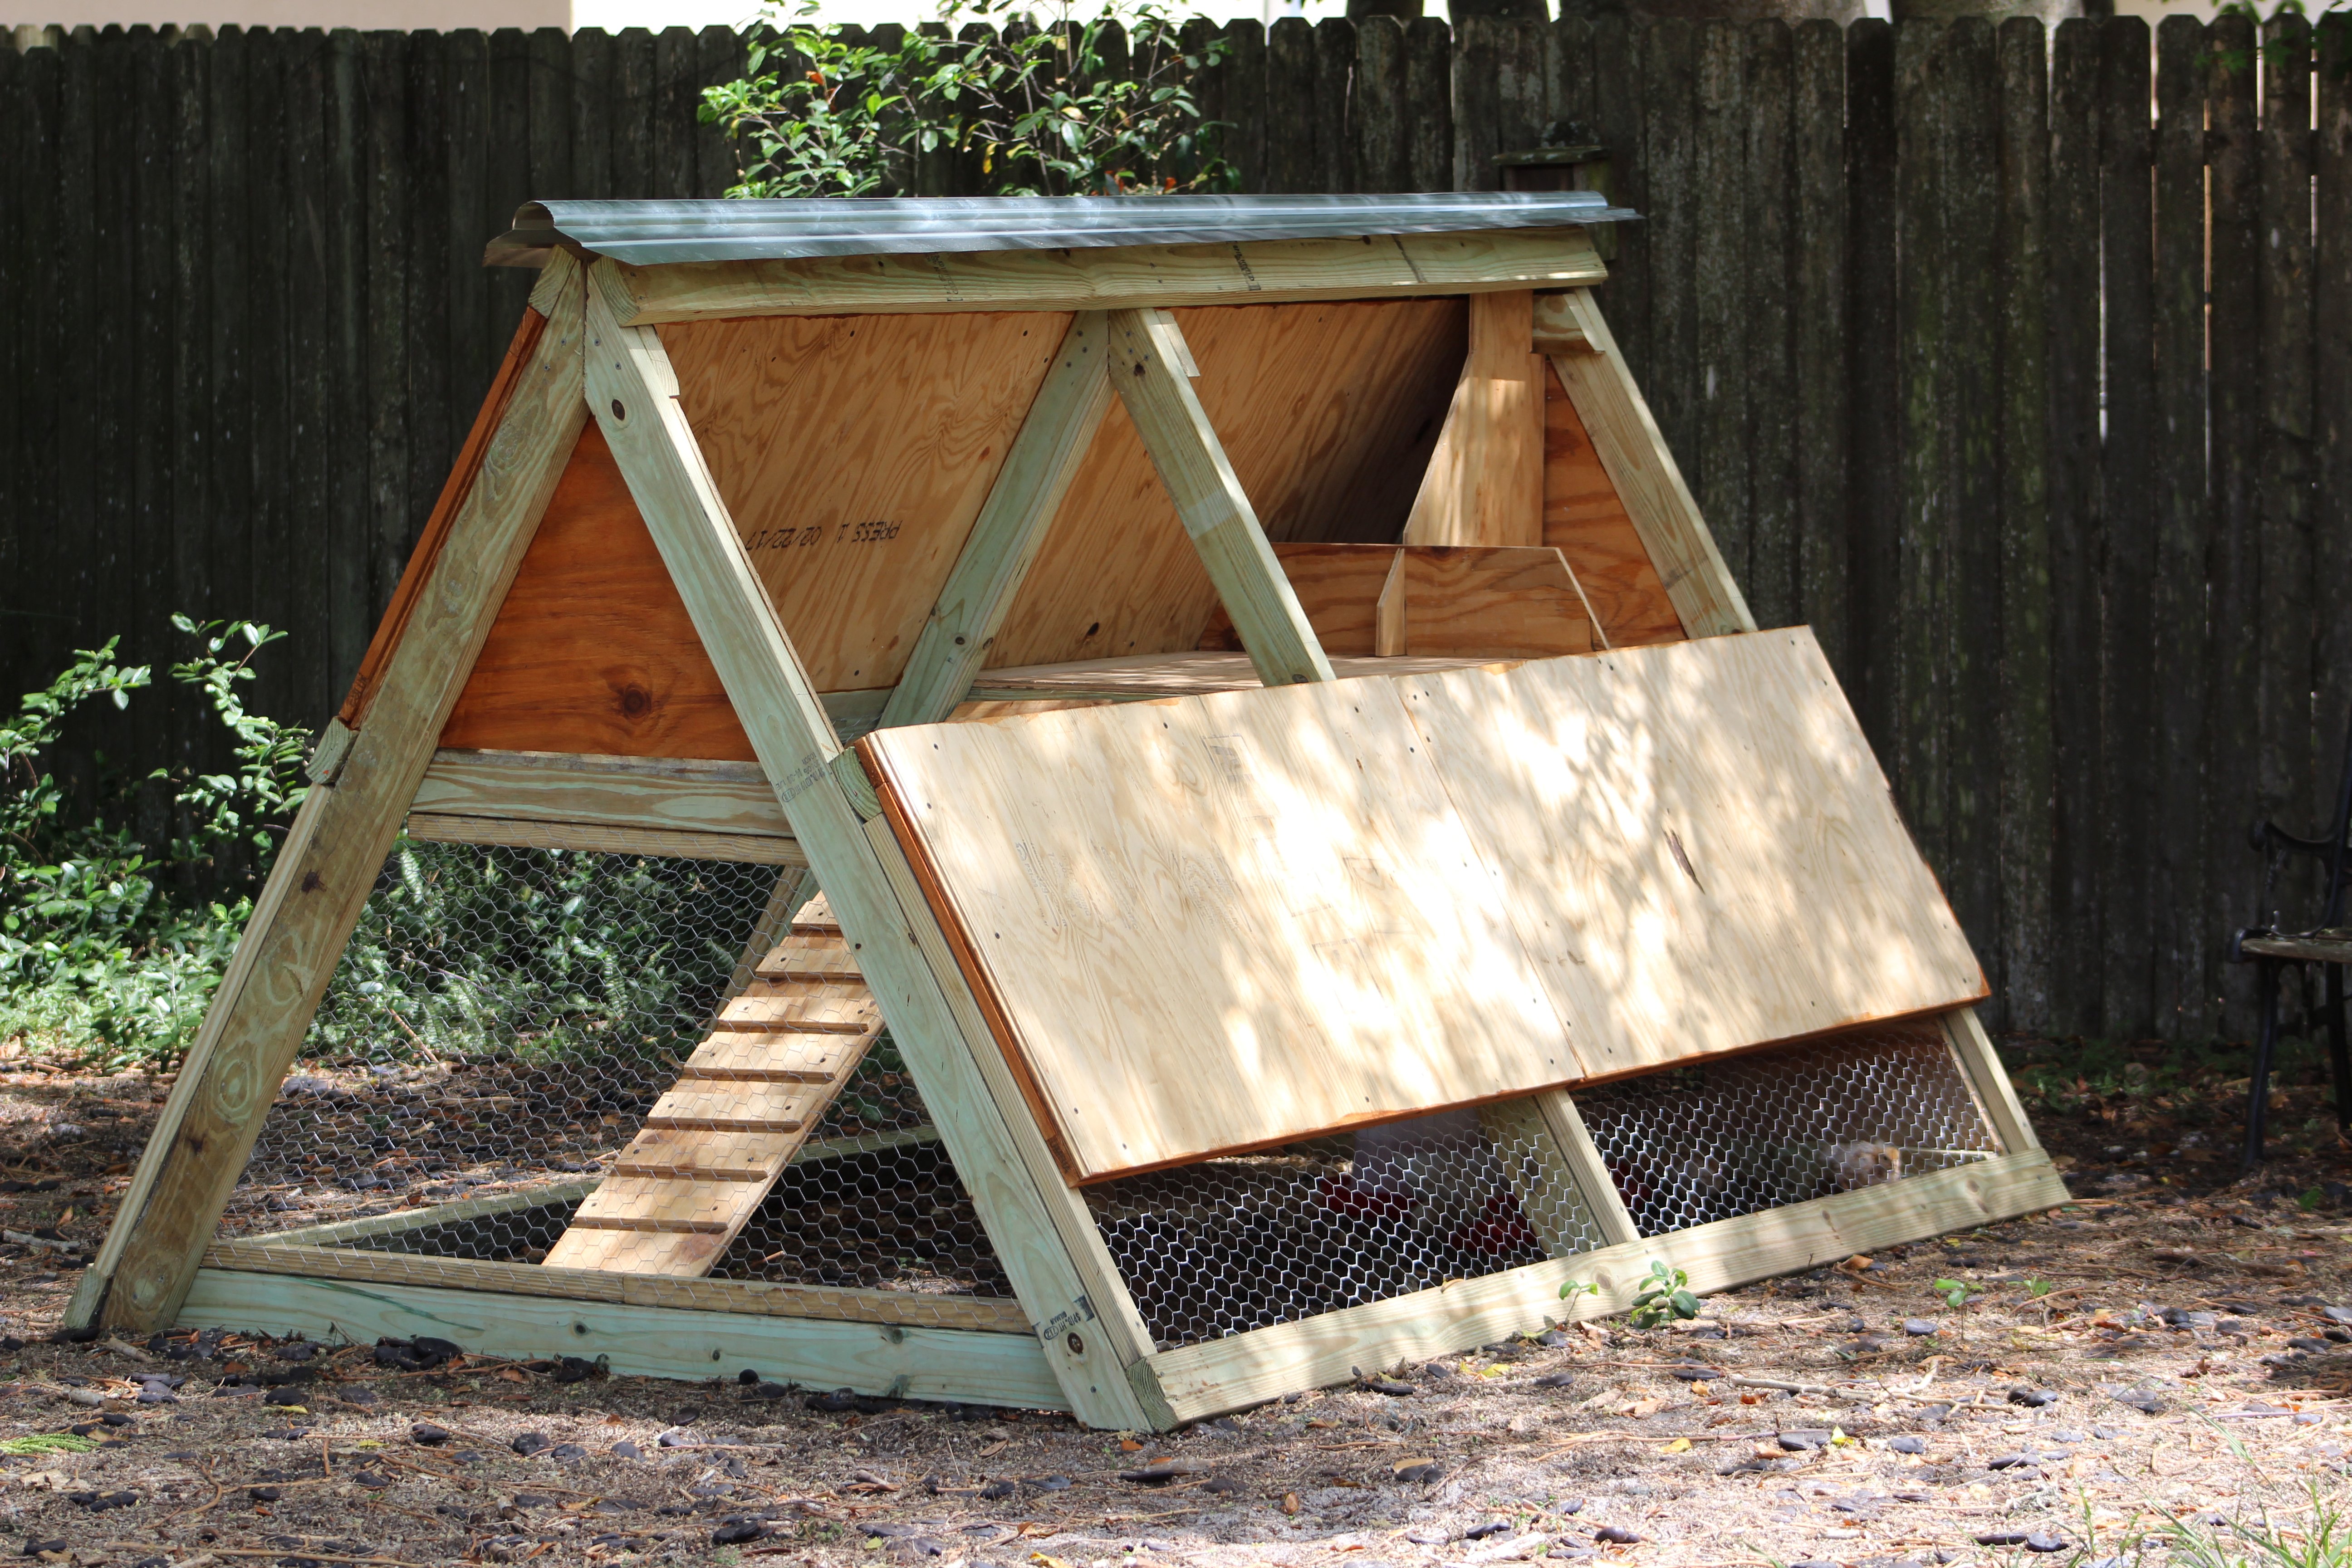
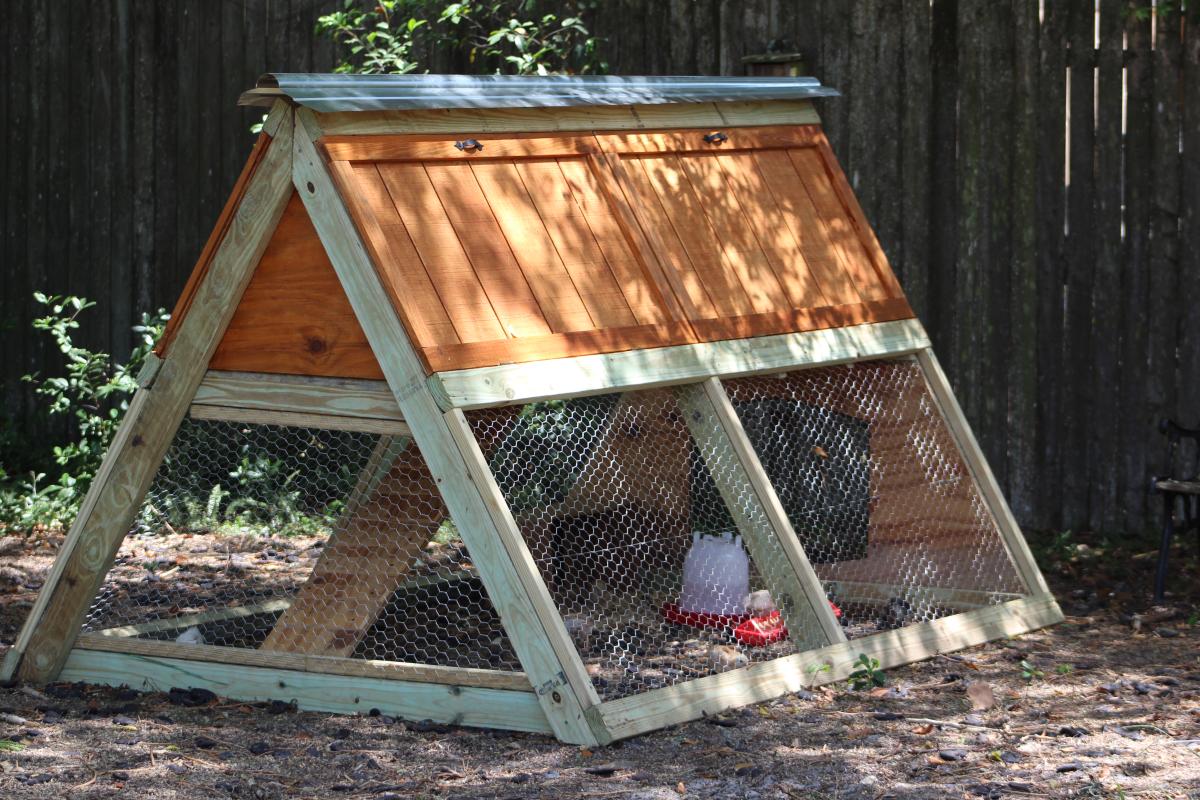
Thanks for the free plans. I did have to make modifications for the doors. i hid the hinges to give it a clean look. i used cedar for the trim and Plywood Siding Panel T1-11 4 IN OC (Common: 19/32 in. x 4 ft. x 8 ft.; Actual: 0.563 in. x 48 in. x 96 in.) for the doors. i used a metal flashing for the roof so it will vent.
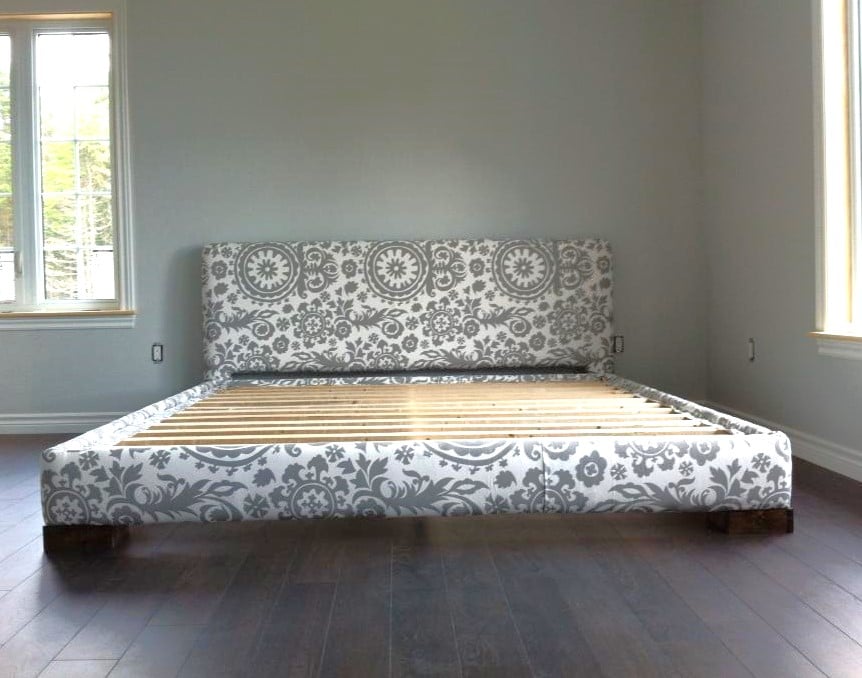
I used the plans from Ana excepted converted the measurements to fit a King. Our mattress comes in on July 3 so I'm praying that it fits! This was our first project and we cannot wait to do more!!
Tue, 06/25/2013 - 14:52
Thanks so much! I purchased it from fabric.com. I actually ordered a bunch of swatches first before I chose :)
Fri, 06/28/2013 - 17:51
That's really awesome! Well done! The Suzani print fabric was a nice choice :)
Tue, 04/13/2021 - 21:40
This is very cool! What size & type lumber did you use for the slats?

Reader submitted photo

This was a great last minute Christmas gift. Took me a little over two hours. Made completely out if pallet wood.
Sun, 12/26/2021 - 13:19
It looks great, I'm sure the recipient loved it! Thanks for sharing:)
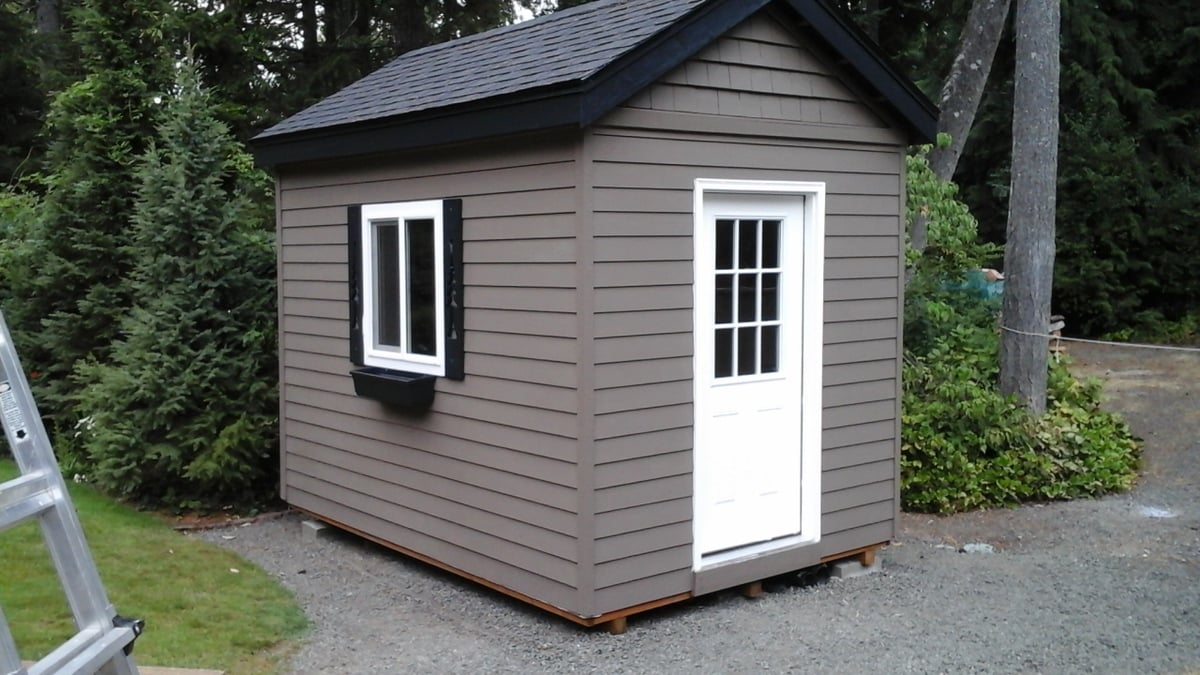
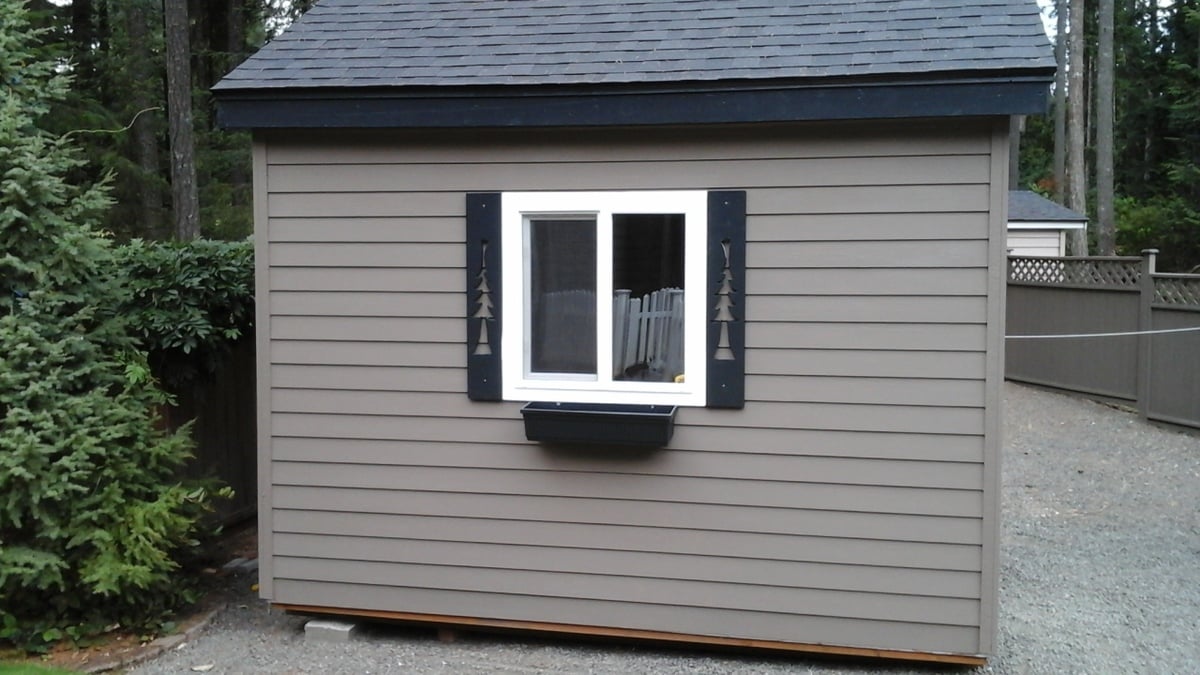
Building a storage shed was quite a jump for me but because of the confidence and experience I gained from Ana's site I decided to give it a shot. I acquired the plans online. It has 8 foot high walls and 3 feet of "attic space". The shed is 8'x12'. I used cement board lap siding. It took about seven weeks to finish working a few hours here and there. I really like it. Even has a little window flower box.
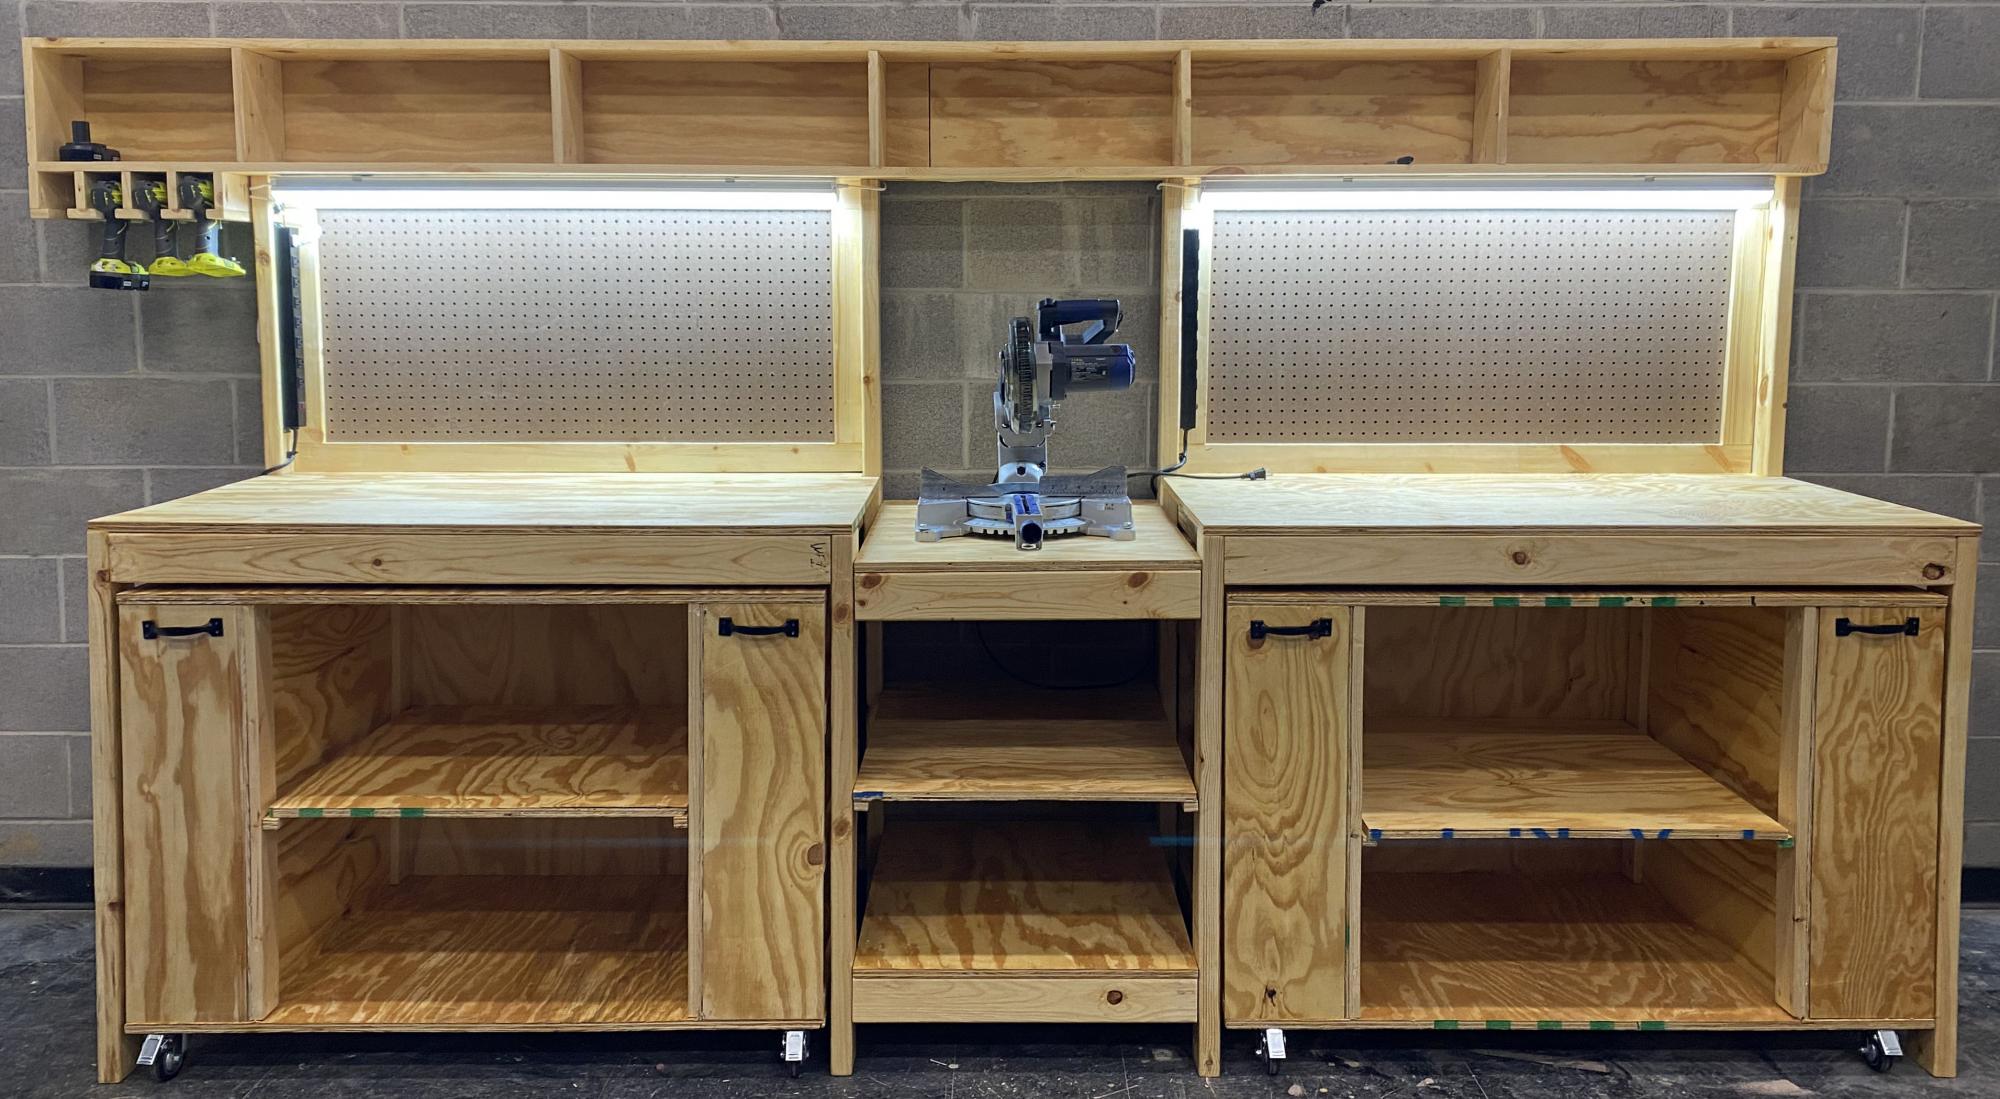
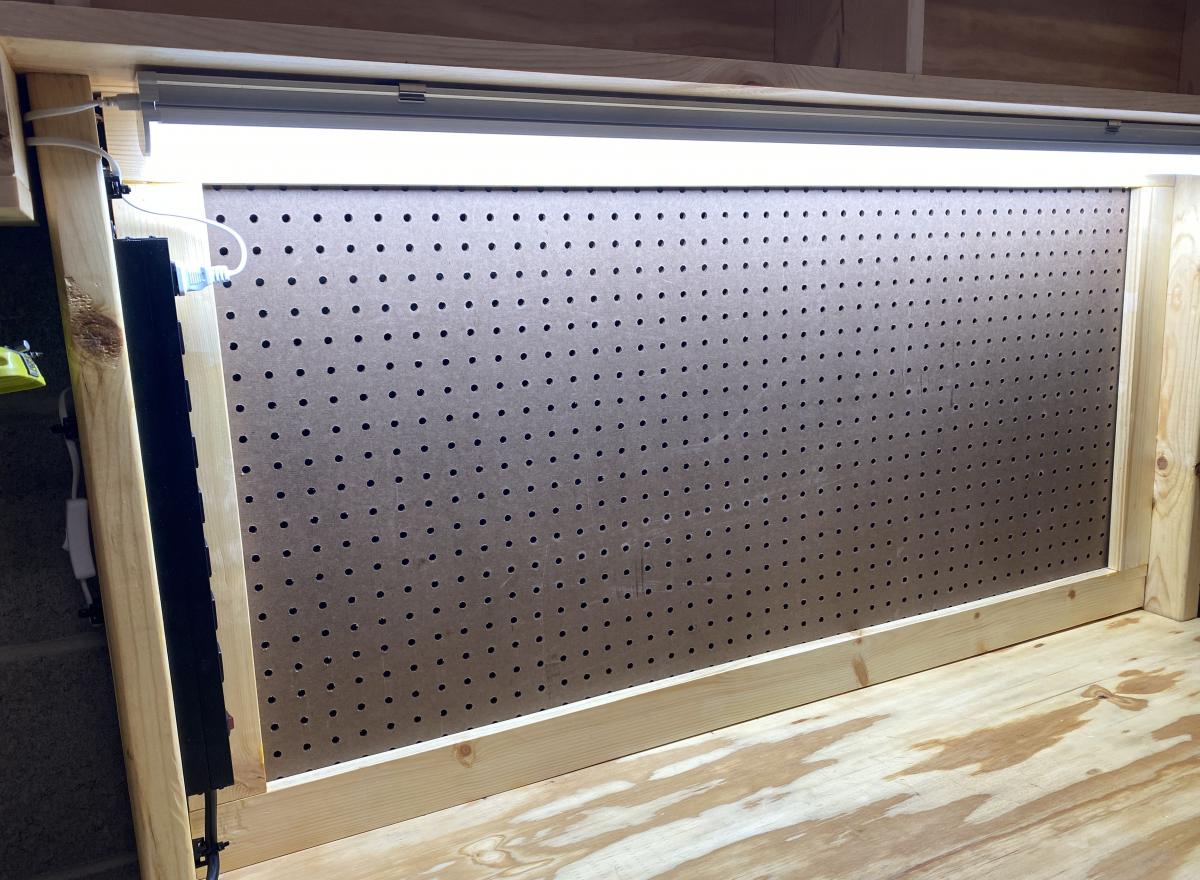
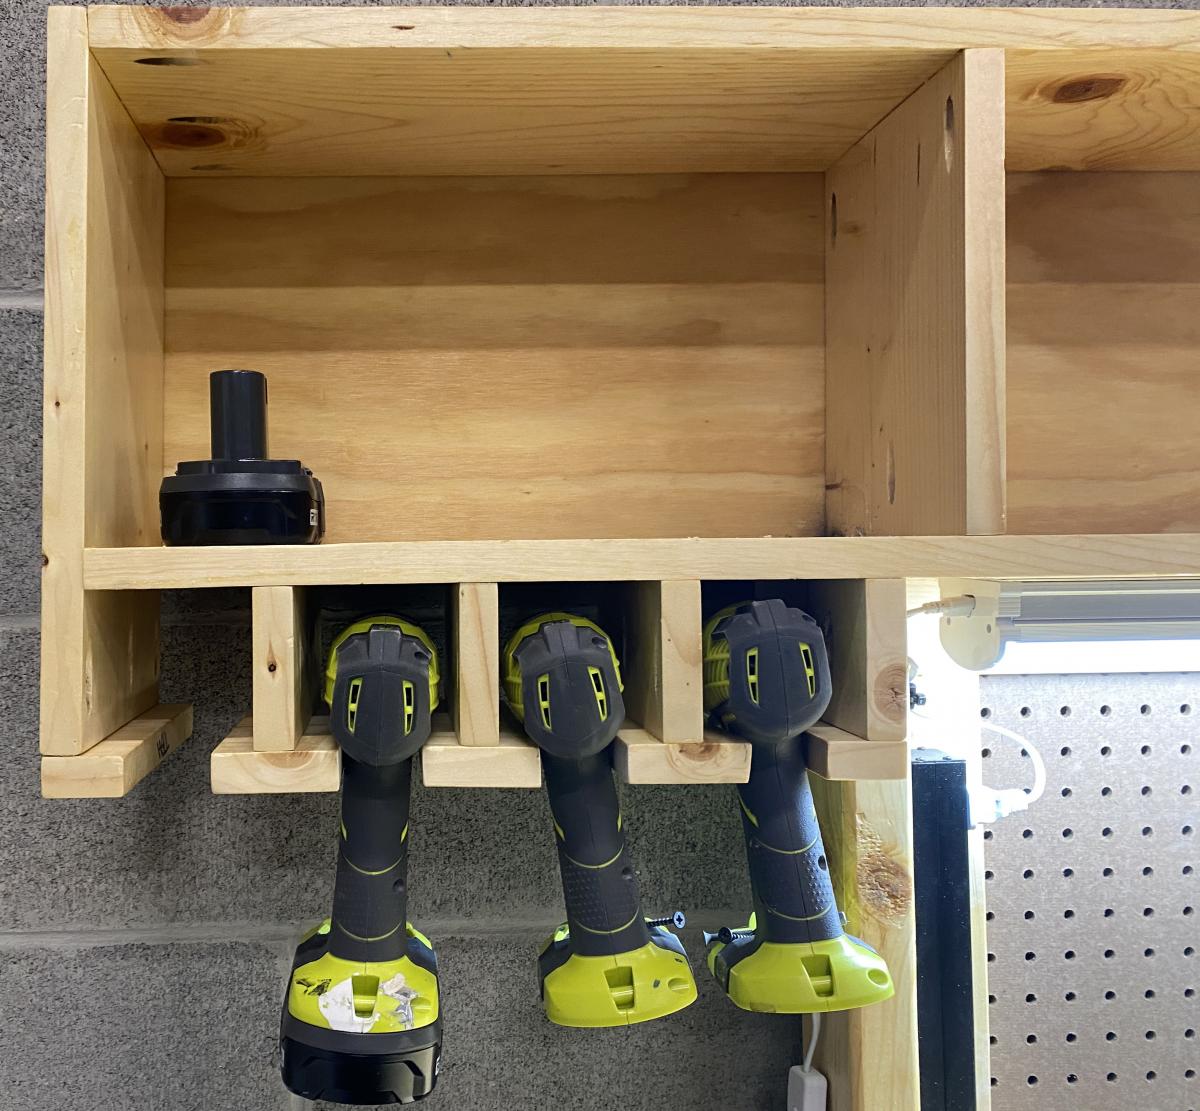
My son chose to make a workbench for his high school theater for his Eagle Scout project, and selected the Ultimate Roll Away Workbench with Miter Saw Stand as the basis for the project. The theater teacher wanted pegboard for tool storage, so we extended the rear legs on each workbench and notched the top to allow them to pass through. We built two frames from 1x3s to fit inside the rear legs, then put a pegboard inside each one.
To secure the extended legs, we added a riser shelf from 1x8s. We put a storage station for drills at one end of the riser shelf.
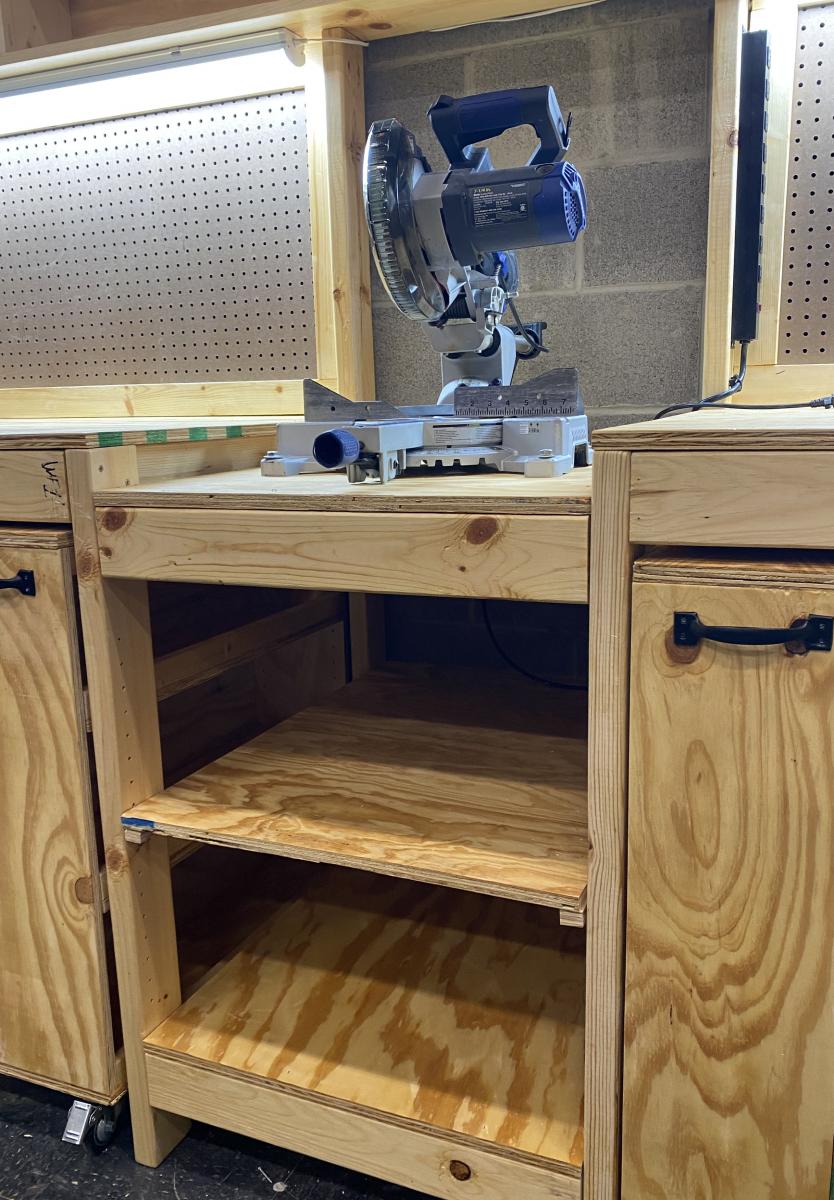
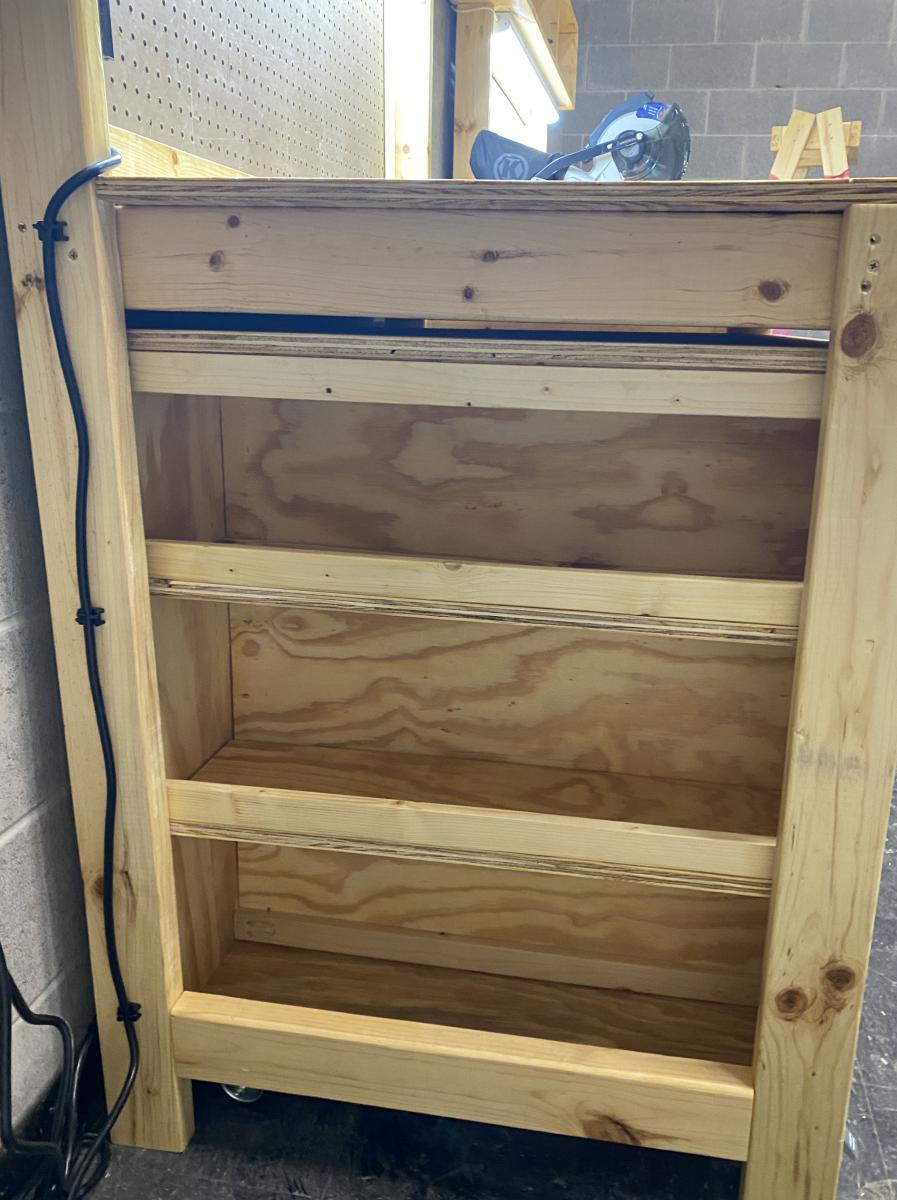
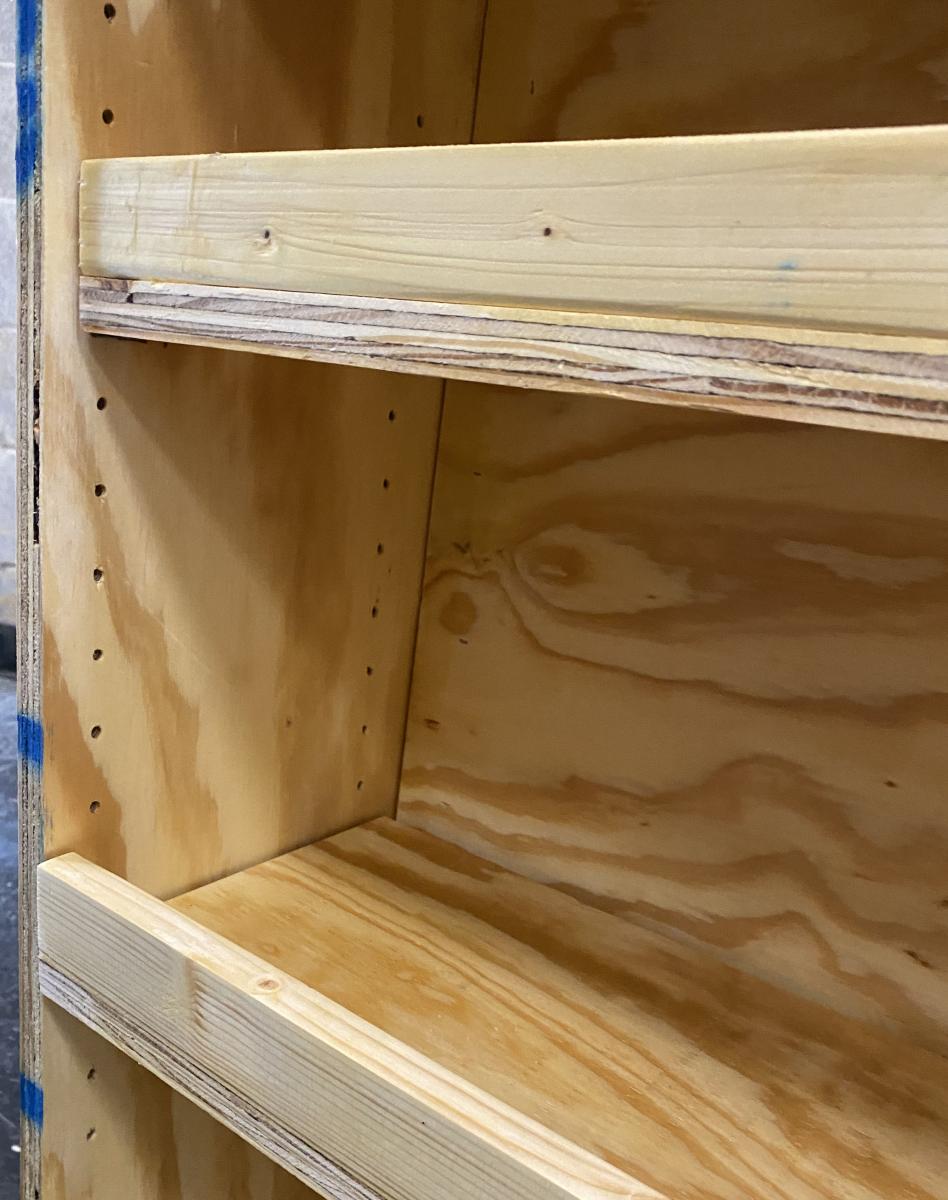
We also made all the cart shelves adjustable and added an adjustable shelf under the miter saw, and added lighting and power strips.
We left out the panels at the end of the workbench to allow access to the shelves there without having to remove the carts. Once we had constructed it, we added a brace at each end of the workbench to better support the outside front legs.
This plan was the perfect one for the theater, giving a stable work area for the miter saw and allowing for tool and materials storage. The carts can be rolled around to where a work surface is needed. This will come in handy for years of set construction in the theater. So proud of my son and all the leadership and hard work he put into this project!
Mon, 10/18/2021 - 11:54
WOW, that is absolutely amazing, thank you so much for sharing this story!
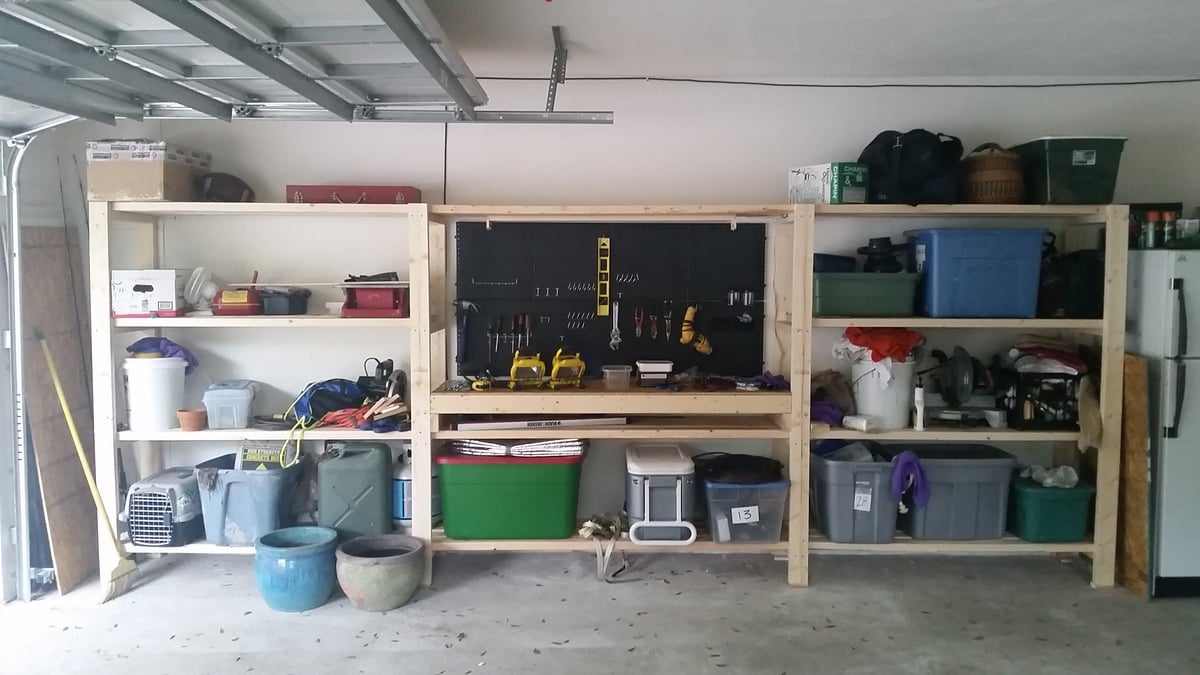
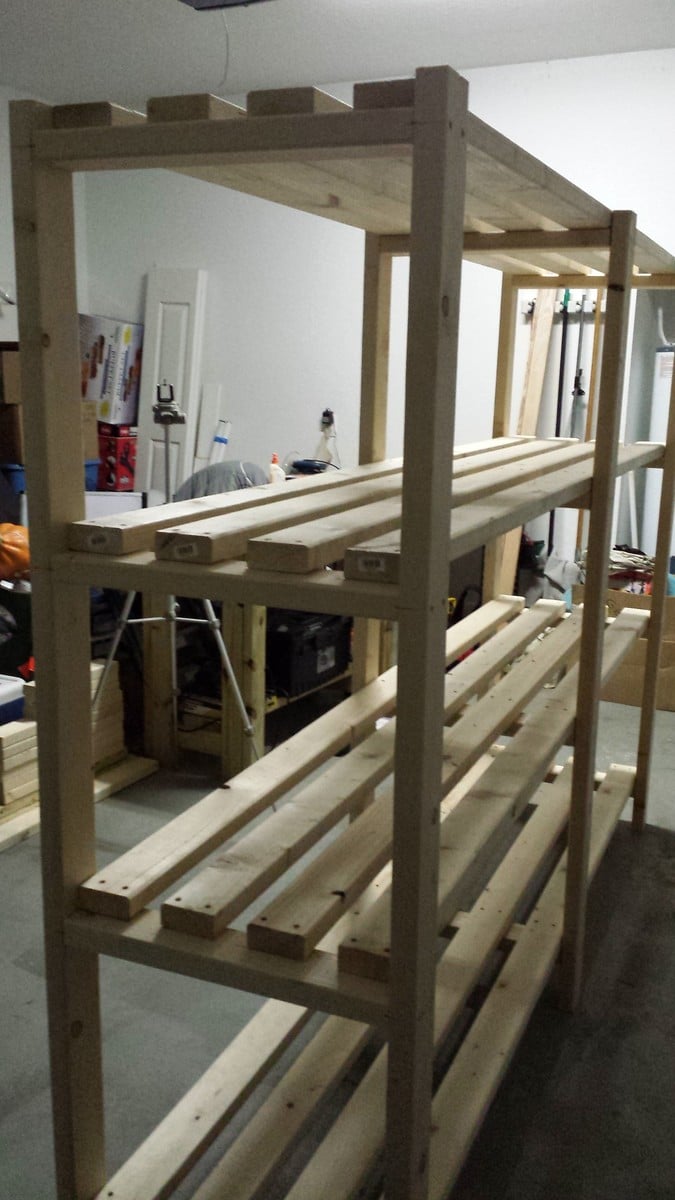
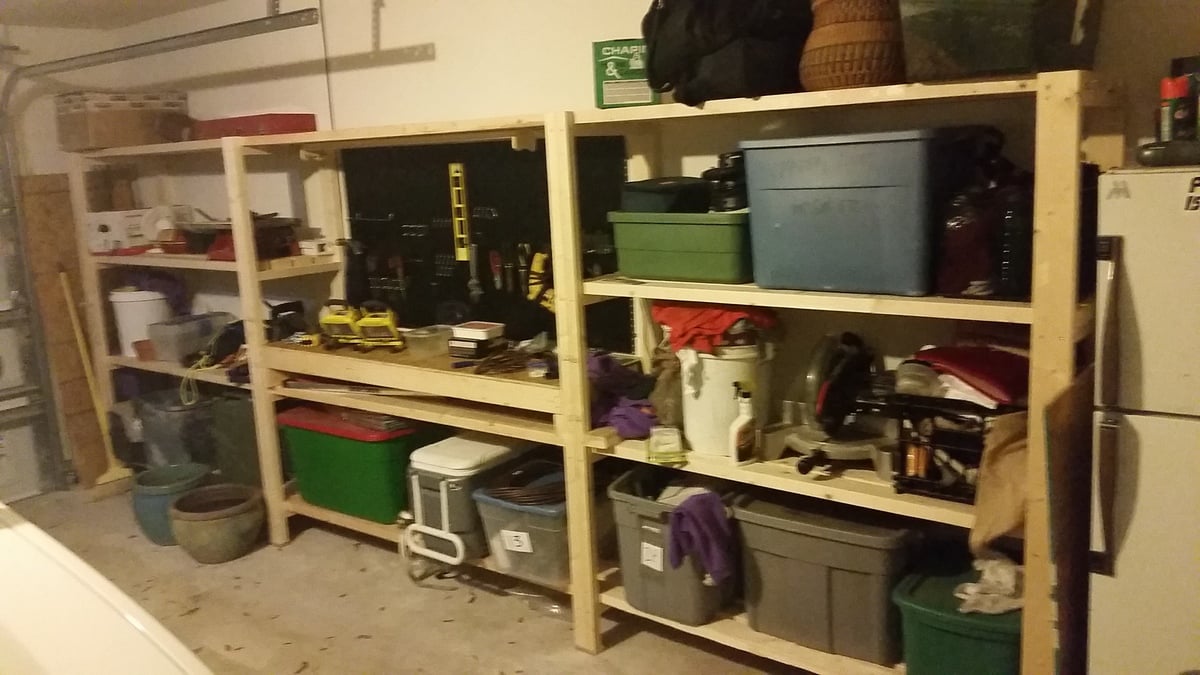
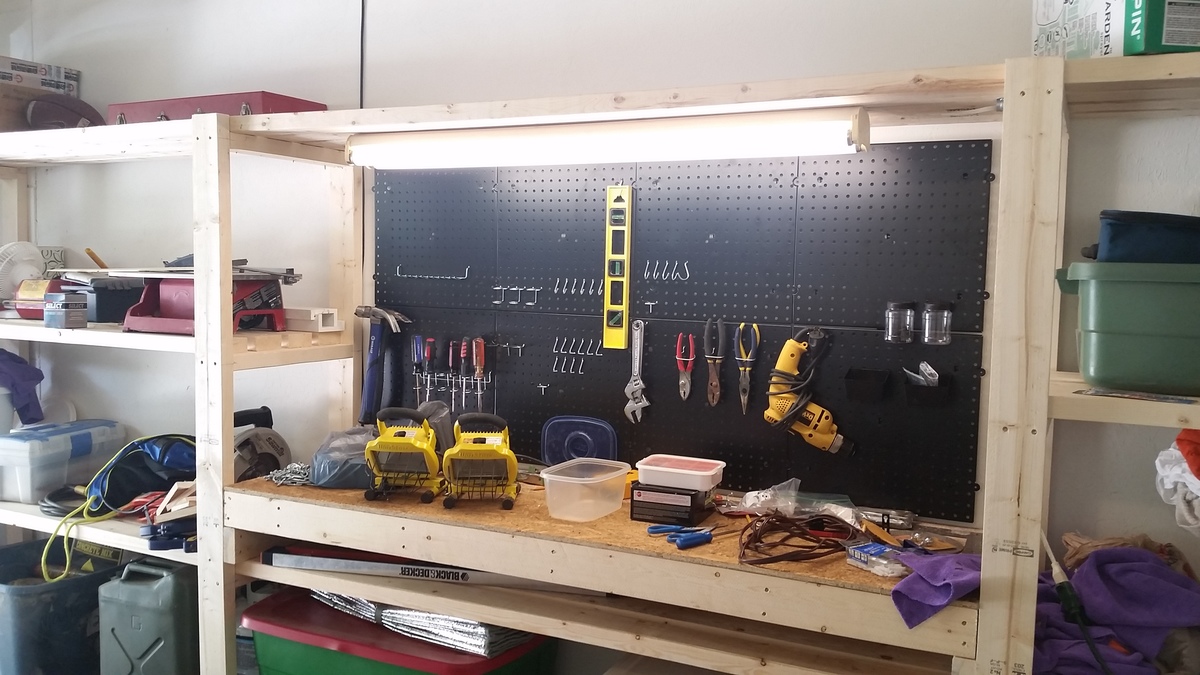
Great plans allow for versatility and easy customization. Put the whole thing together in a day w/ one other person. My set up is 16' long - 5' on the side shelves and 6' for the workbench. Added a pegboard and fluorescent light under the top middle shelves. I'm also designing a slim drawer to go under the workbencheck area. Thanks a bunch!
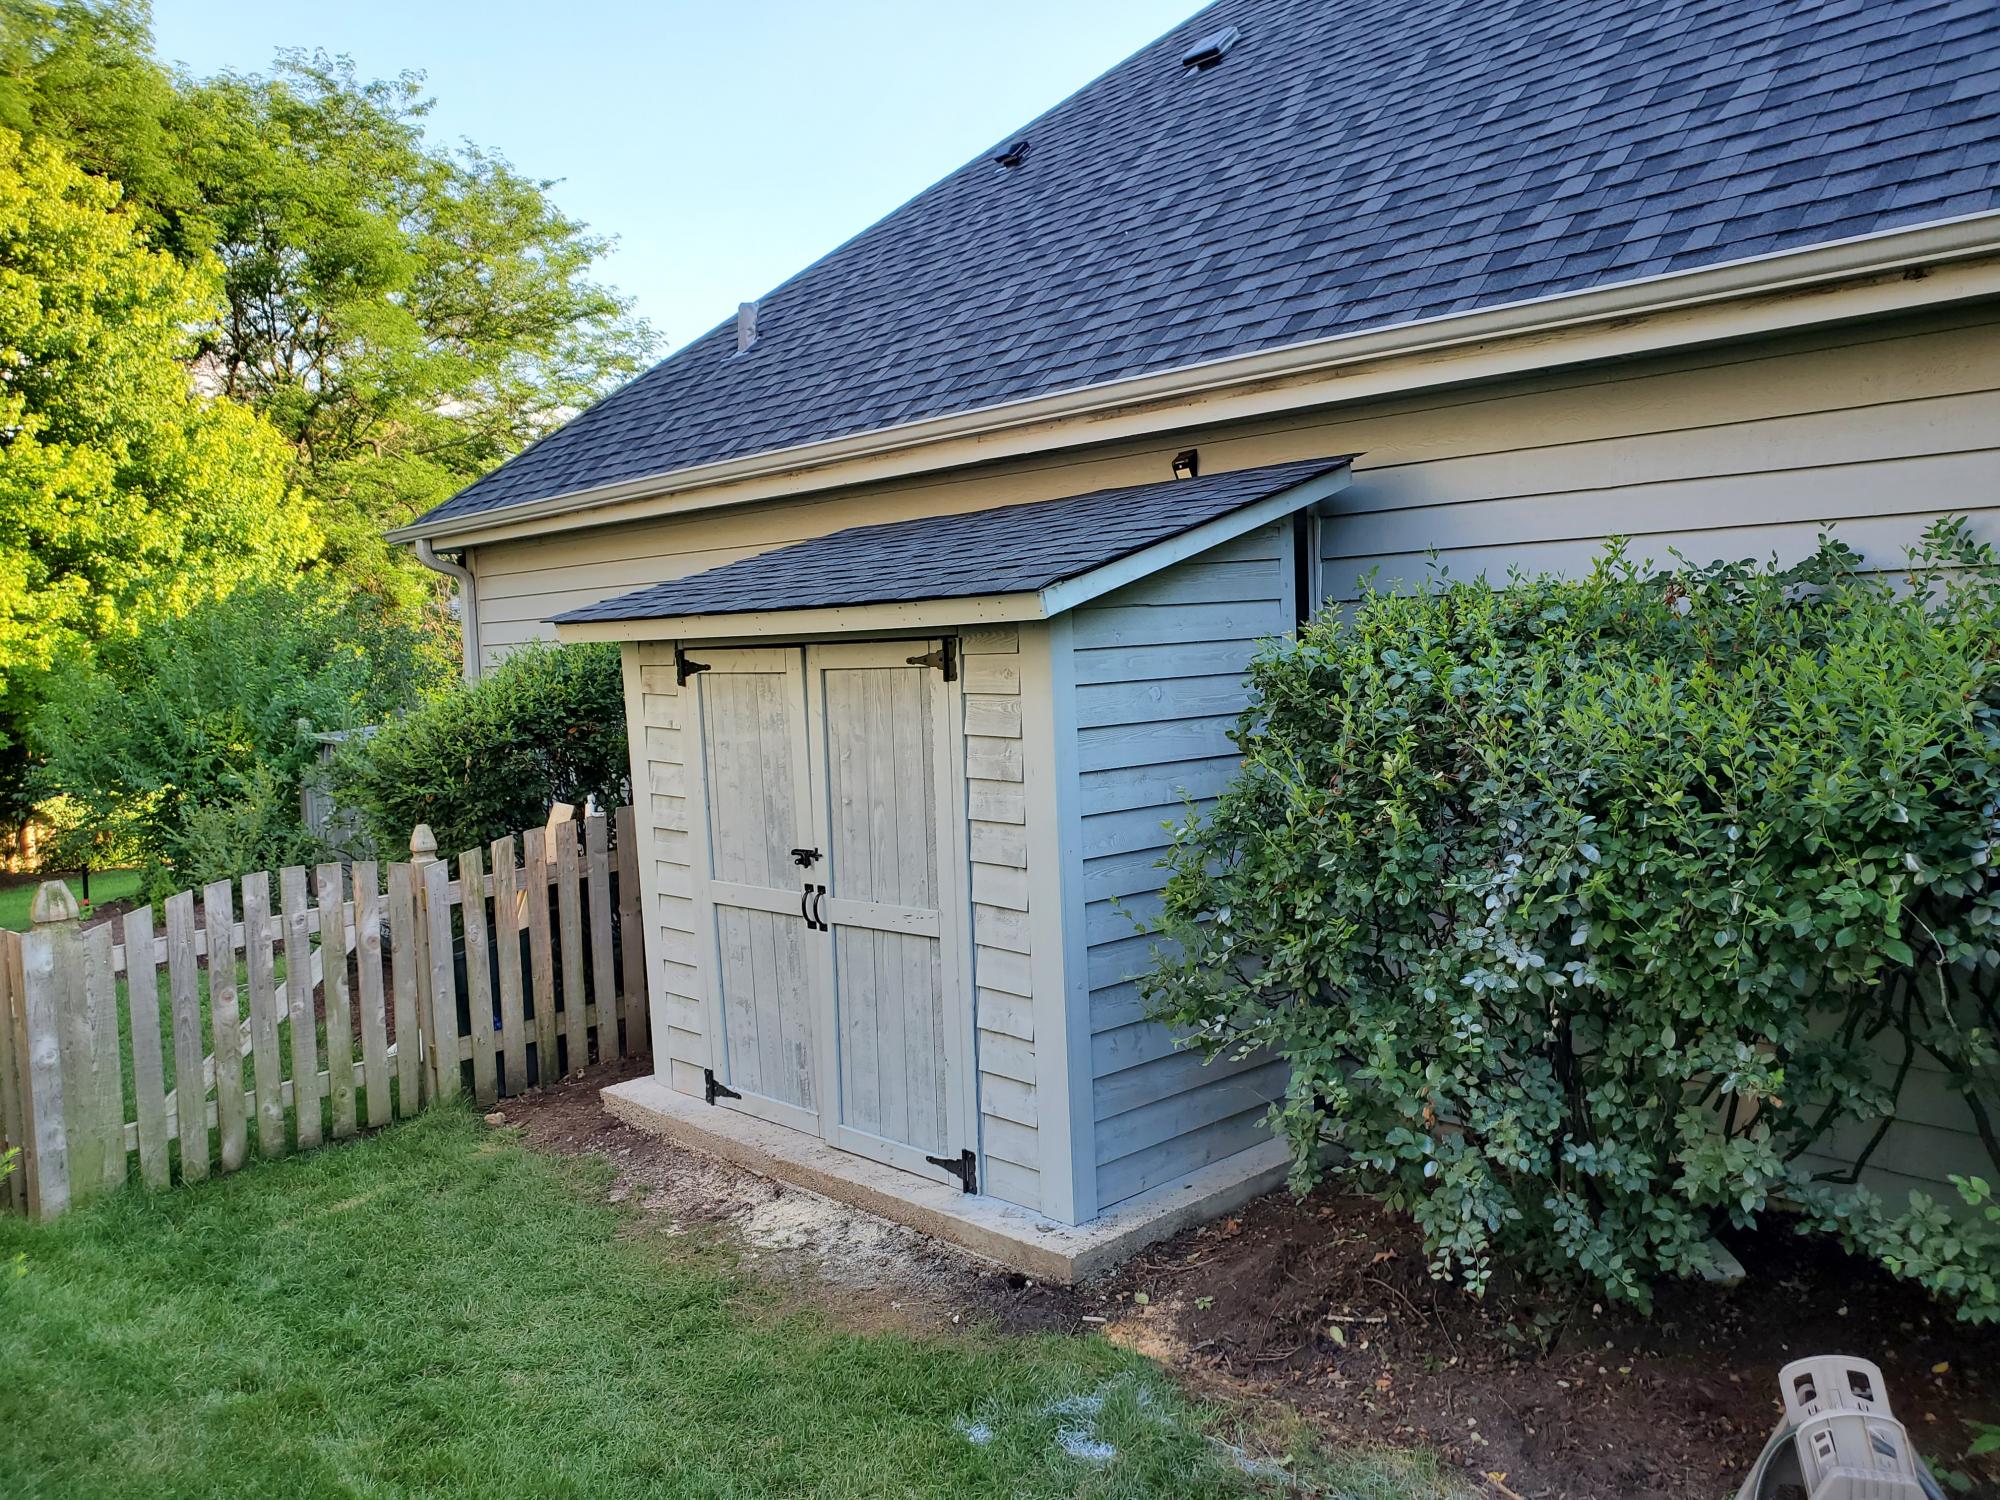
Thank you for the plans, shed turned out great! My association required me to match the siding color, roof color, and anchor to a concrete slab. So I poured 25 bags of 80lbs concrete to make a 9x5 slab. Redid the plans for an 8x4 shed, built the frame with 2x4s and not 2x2's, installed flashing, ice/water shield + felt + matching shingles since I'm near Chicago, and used a flexio finishing sprayer to paint the shed. Saved some $ by using 2 Redwood Grain Fiber siding panels for $22 each at HD.
All in all very happy with my shed and all my dangerous yard tools and woodworking tools can be put away from my toddler.