Finished the table!
We struggled with the angles because we made the table bigger than this tutorial suggests but all in all, awesome build.
Thanks so much for the plans to build the sweet pea bunk bed.
It was just the ticket.
My little girl loves it, we used glitter paint and used some to replicate the stars and night sky on the lower bunk ceiling
We made a little ladder only because of space (or lack of) and will make the shutters and drawers at a later date.
Many thanks.
Dan, Alena and Leonie
This is our very first Ana White project! We are so happy with how it turned out and have definitely been inspired to continue to create. Plans are already in the works for matching end tables, a dining table, and a bookshelf! We used cedar for this table. The stain was MinWax American Walnut, the slight red hue is from the wood only. We finished it with polycrylic because we didn't want any ambering. I think we probably spent about 6 hours doing the actual building A lot of that was spent trying to get the table top boards flush against each other. Any tips for picking straight pieces would be very helpful!! I would suggest cutting and screwing together on the same day do boards don't start to dry out. The rest of the time was really about doing test staining, waiting for coats to dry, etc. We did this in our basement so having water base stains was really key.
This is a modified version of Patrick's beach cottage dresser with a shelf at the bottom instead of a fourth drawer. The dresser was painted with Americana Decor chalky paint and distressed with Americana Decor wax. Thanks for this excellent plan, Ana and Patrick!
This was exactly what I was looking for! I was able to make a sectional that fit our 4-season patio perfectly, and saved thousands of $$ in the process.
Cushion details
Fullerton Outdoor Deep Seating Cushion Set - Threshold - http://www.target.com/p/fullerton-outdoor-deep-seating-cushion-set-threshold/-/A-52019240
Watch for sales on patio furniture, we were able to save 35% on the cushions (30% off sale + 5% Target REDCard discount)
Estimated Cost(s):
Finish Used:
A lighted hall tree.
Wanted to make our friends who were expecting a nice gift that would serve them for many years to come. Used a Kreg Jig (greatest tool ever for amateur carpenter or wood worker!!) for most of the joinery. Wanted it to have a bit of an older look to it.
We built this after getting a new tv. We love it.
I began with the plans for the 4x4 truss table and modified the plans to include notched joints to make the table stronger. Finished the 4x4 pine base with paint to match our dining chairs and finished the 2x10 top with 1 coat of dark walnut stain and 5 coats of verathane. Added hardware under the legs to level the table. This was my very first woodworking project and everyone says how well it turned out! Next is a headboard and then maybe a dresser. Thanks for these awesome resources!
I wanted to buy Adirondack for comfortable lounge chairs but they are so expensive! Came across these plans and it took a little bit of trial and error but they turned out great! Completed 6 chairs total and they are super comfortable and look great!
Apothecary Console
Here's my version of Ana's 'Numbered Cubbies on the Wall'. Mine is made from a 6' long 1/2" x 3" craft board and a 6' long 1" x 4". I followed Ana's plan, adjusting mine for a smaller size and proportion. I used a finish nailer with 1" nails. The numbers were drawn on with black Sharpie following Ana's method. First print out a 3" number in your choice of font, cut it out and tape to the cubby, press HARD to outline the number with a ball-point pen, then remove the stencil and fill in with paint or marker.
This is an easy and fun project. It's very versatile and cute and looks store bought and expensive.
I built the simple outdoor table using a black frame and Brown boards on top.
My sister and I made The Farmhouse Table and Bench (with pocket holes) for my daughter and son-in-love. She was so surprised, she cried! I think she loved it!! It was my first project and now I'm getting requests from my oldest daughter to make one for her after her closing the end of next month.
Thank you Ana White for sharing your plans and making it so easy to follow!
I fell in love with this project when it was first posted...which was quite a while ago. I am so happy to have it hanging in my home making my life SO much easier! I modified it to fit the needs of my family and I LOVE it! Check out my blog for more details!
Easy to build
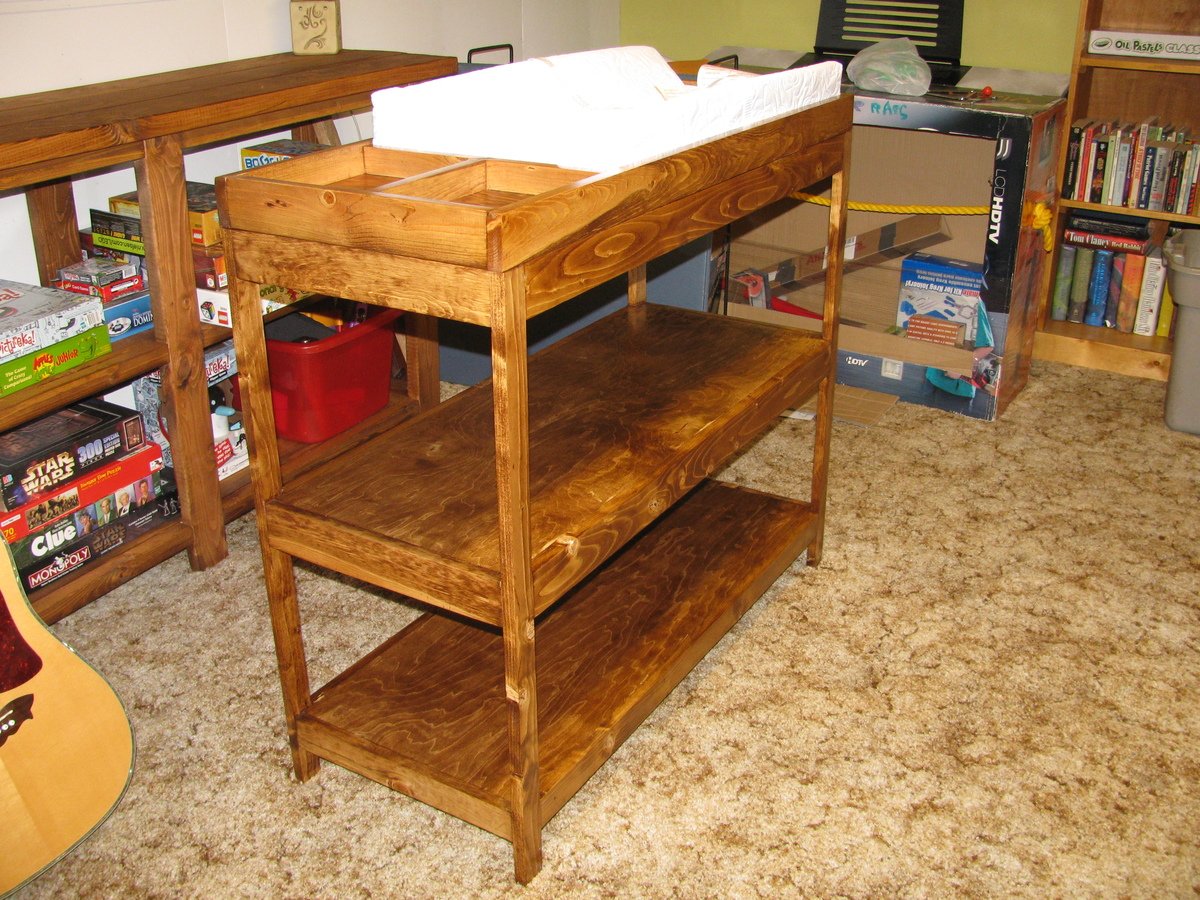
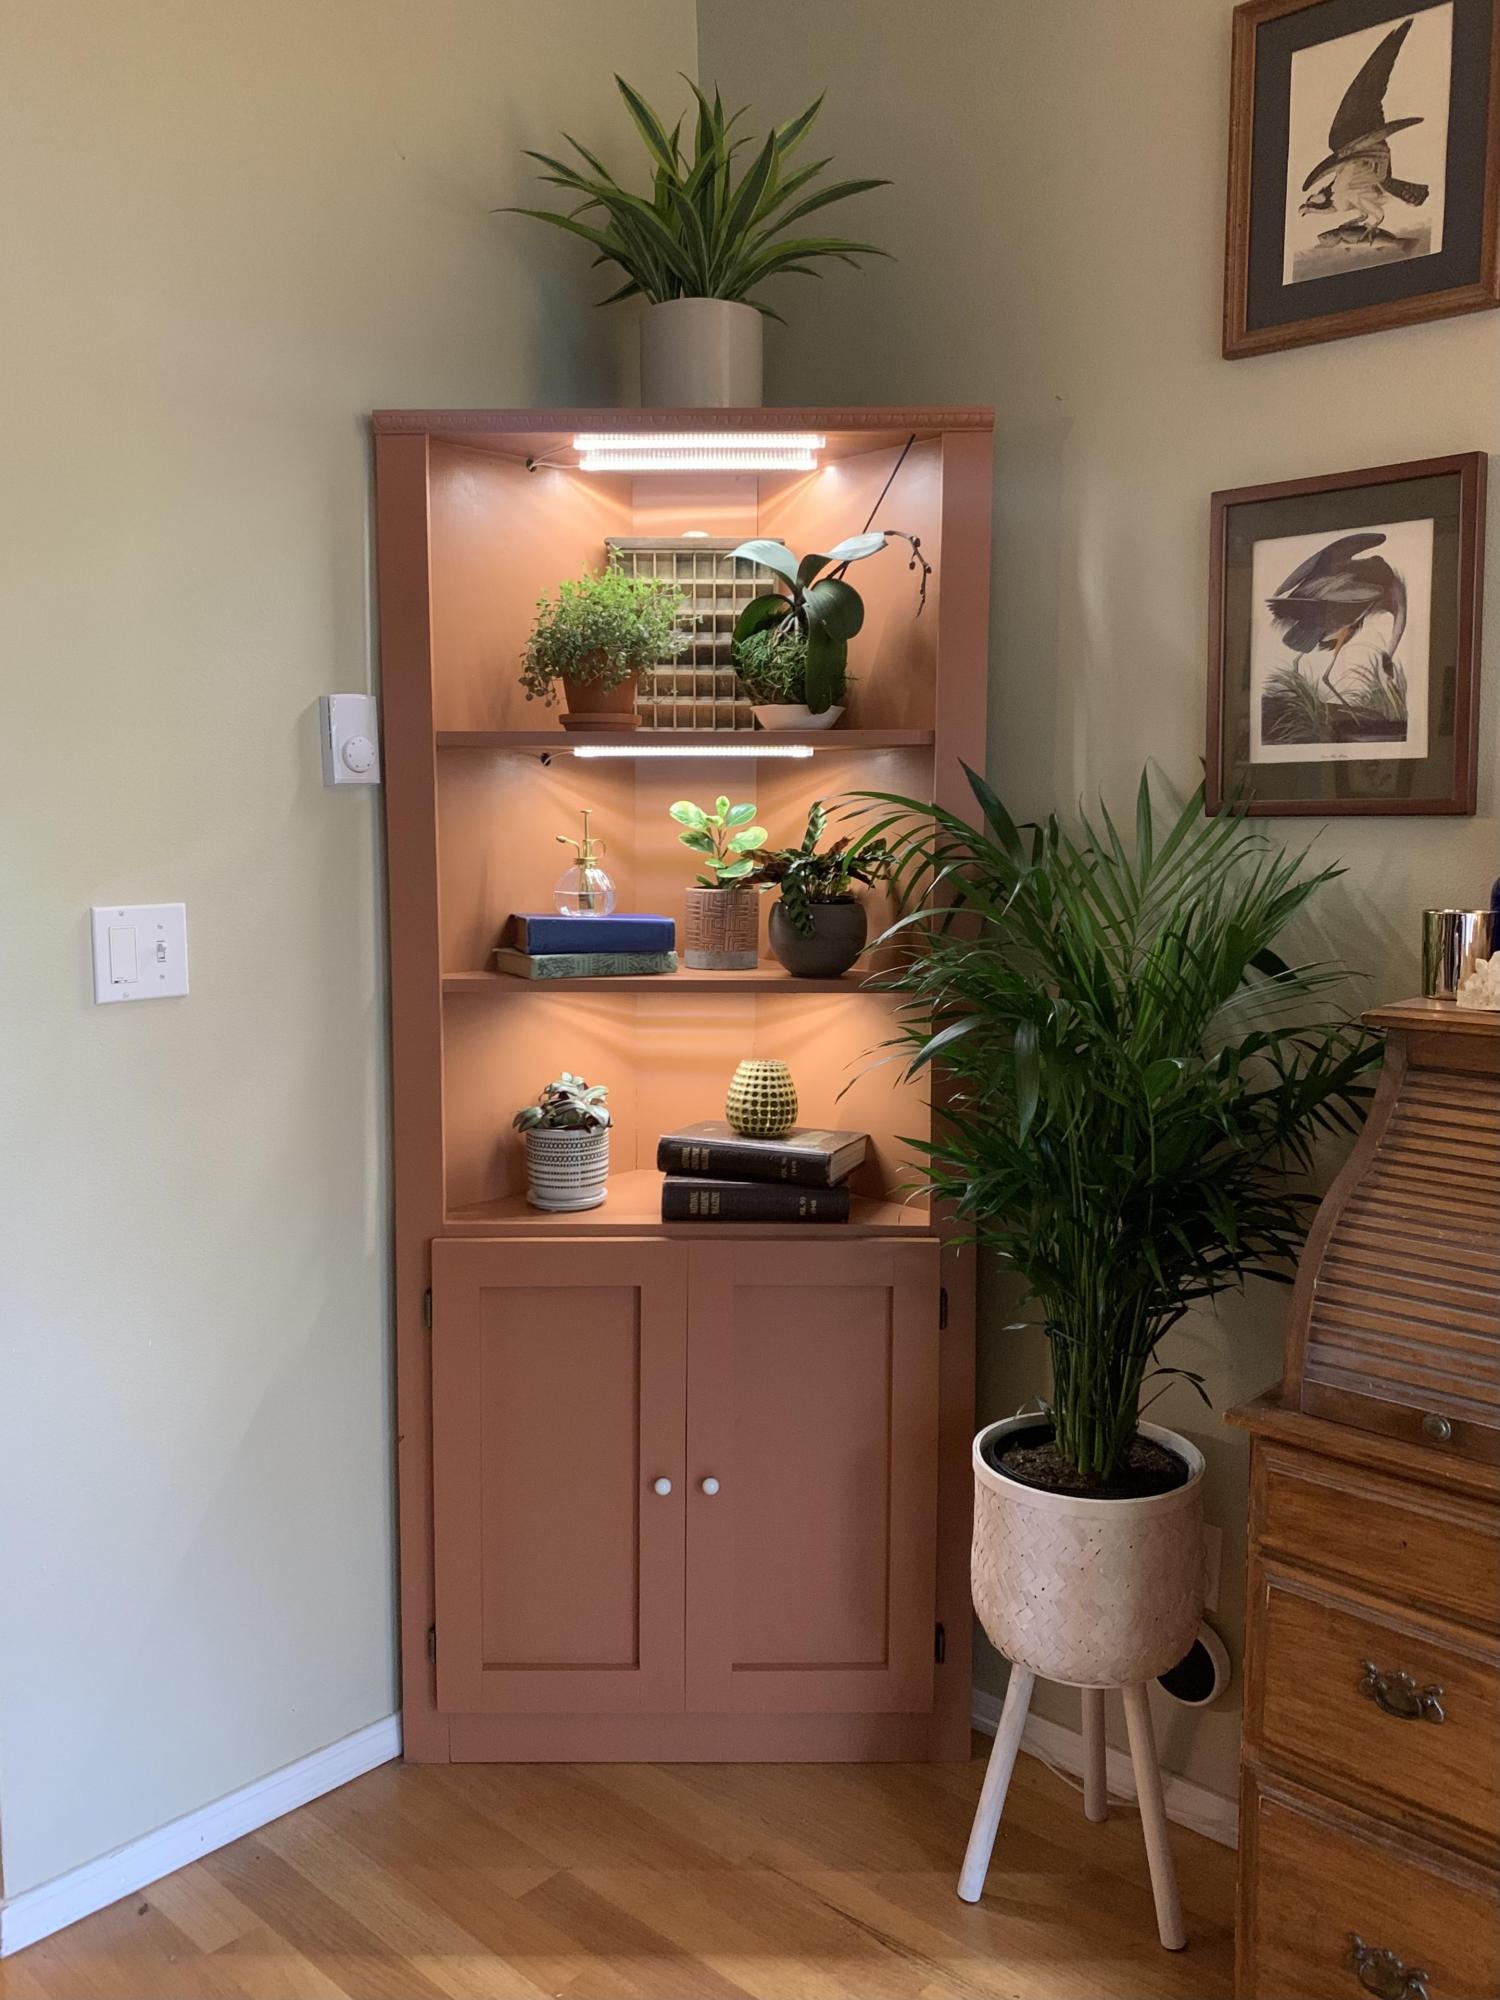
This was my first piece of furniture to make all on my own and the Corner Cupboard plans were soooo helpful! I needed more space for plants and had already built shelves in every window of my house, so I decided it was time to make a larger space to house my plants and add supplemental lighting so I could put it anywhere I wanted. This corner was dark and I don't love lamp light, so I thought a pop of color + plants + daylight grow lights would be perfect for the space! I've been taking on more carpentry projects and also wanted something that was a bit more challenging. This plan was perfect! I'm more of a napkin planner myself, so it was nice having the structure provided in Ana's plans and the cut list was super helpful. I had to make some modifications to fit things into my car, but it all came together nicely! This being a plant hutch with grow lights was the plan all along, but I gotta tell ya, when it came to having to drill 3/4" holes in the back of my newly built beautiful hutch, it took me a minute to work up the courage! I really love how it all came together - thanks for sharing your plans, Ana!
Tue, 02/23/2021 - 10:04
Wonderful job, love the finish and multi functionality of the piece!
I made this train table for my nieces for Christmas. They LOVED it!
I used pre-primed MDF boards and plywood. I skipped the bottom shelf since I knew it would never actually be used as a coffee table and cut half circles out of the top for access so that it wouldn't need hardware.
followed Ana's plan to a T!! took 2 full days of cutting and assembling. Then stain and many, many coats of poly. 14 foot dining room table seats the entire family together!!