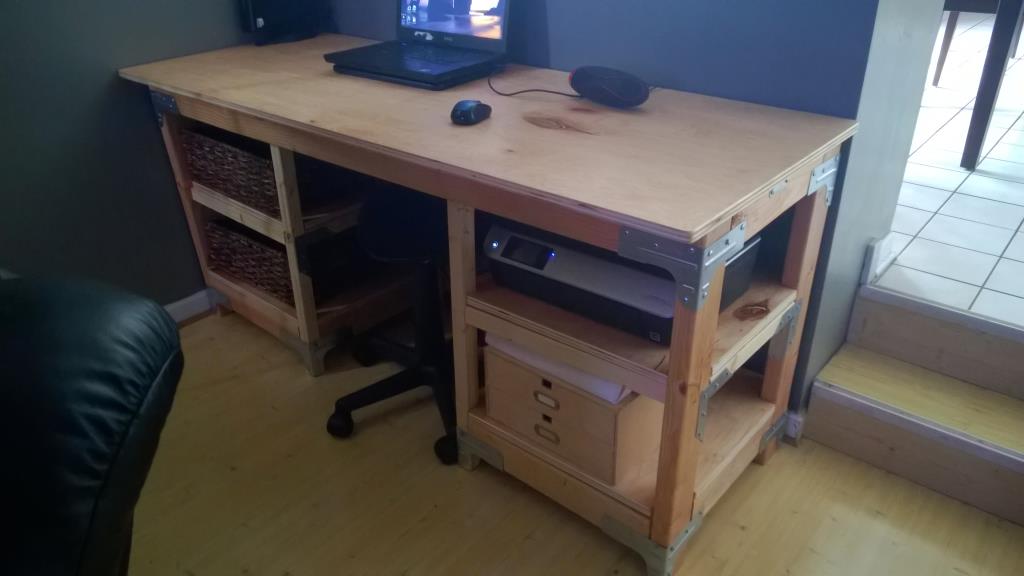
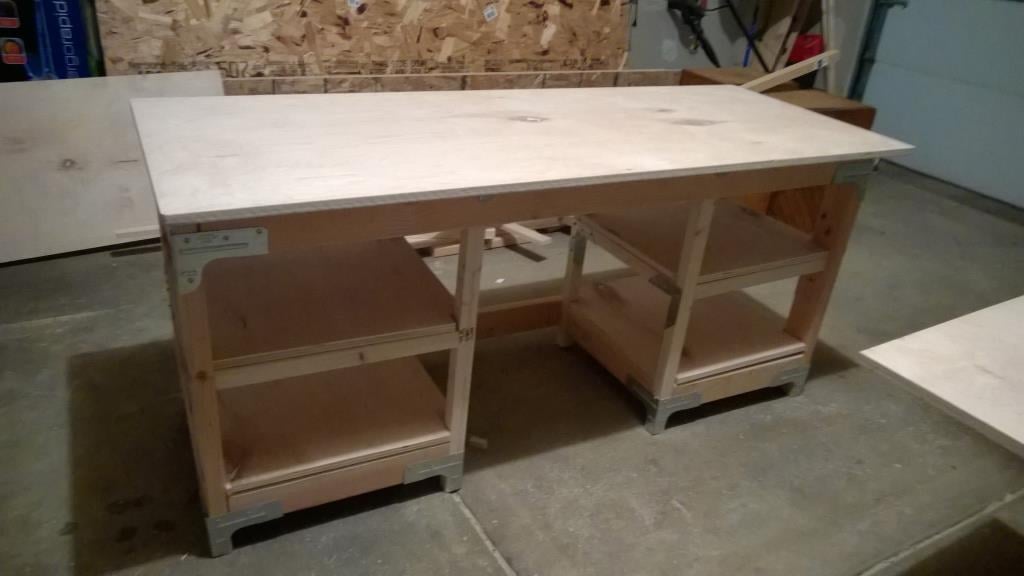
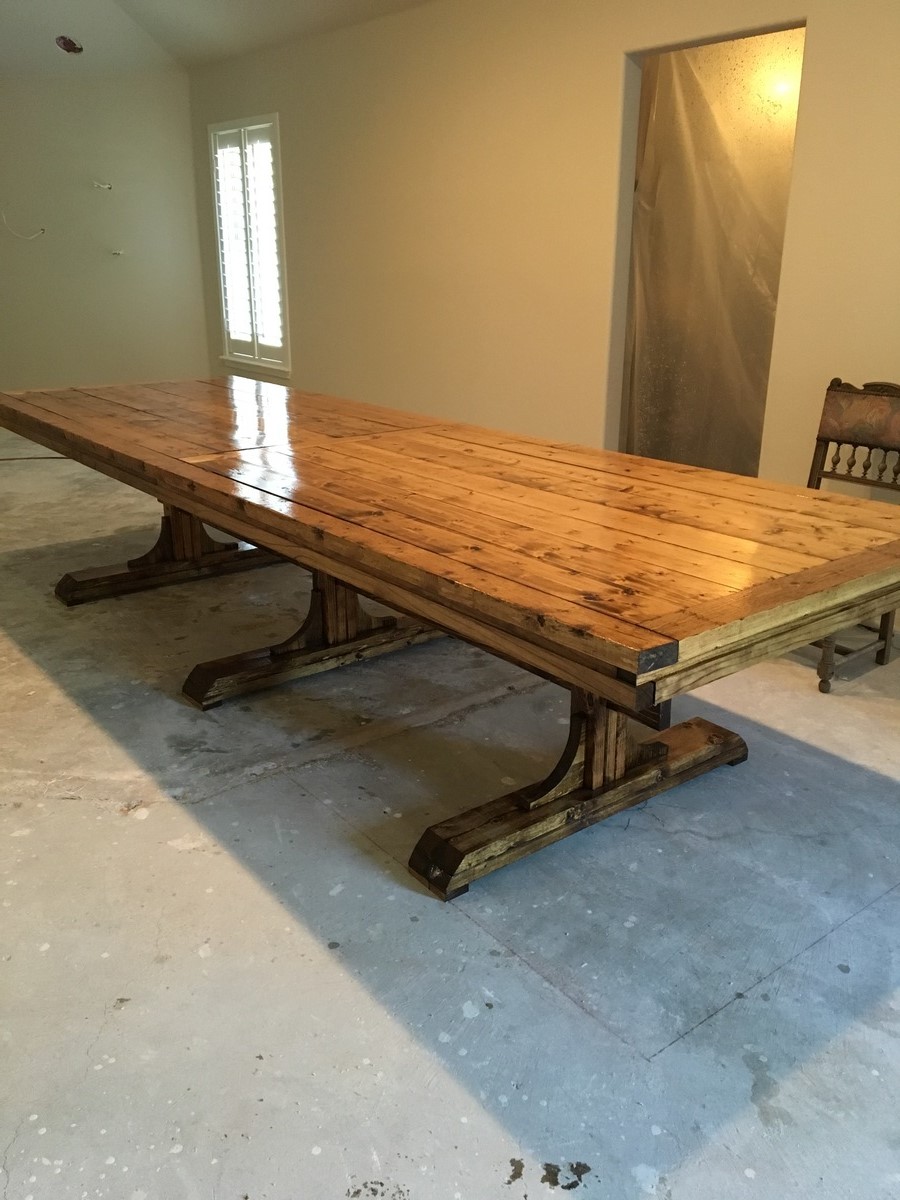
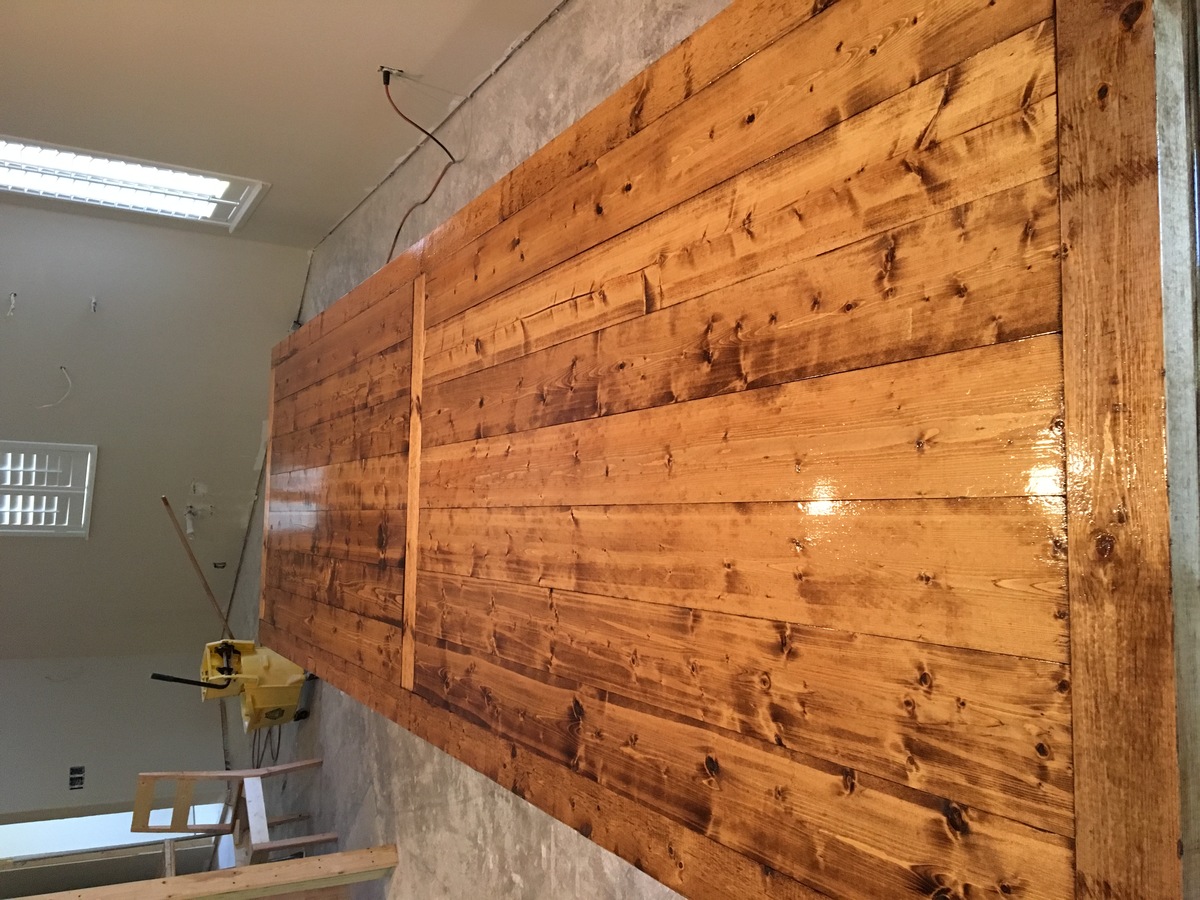
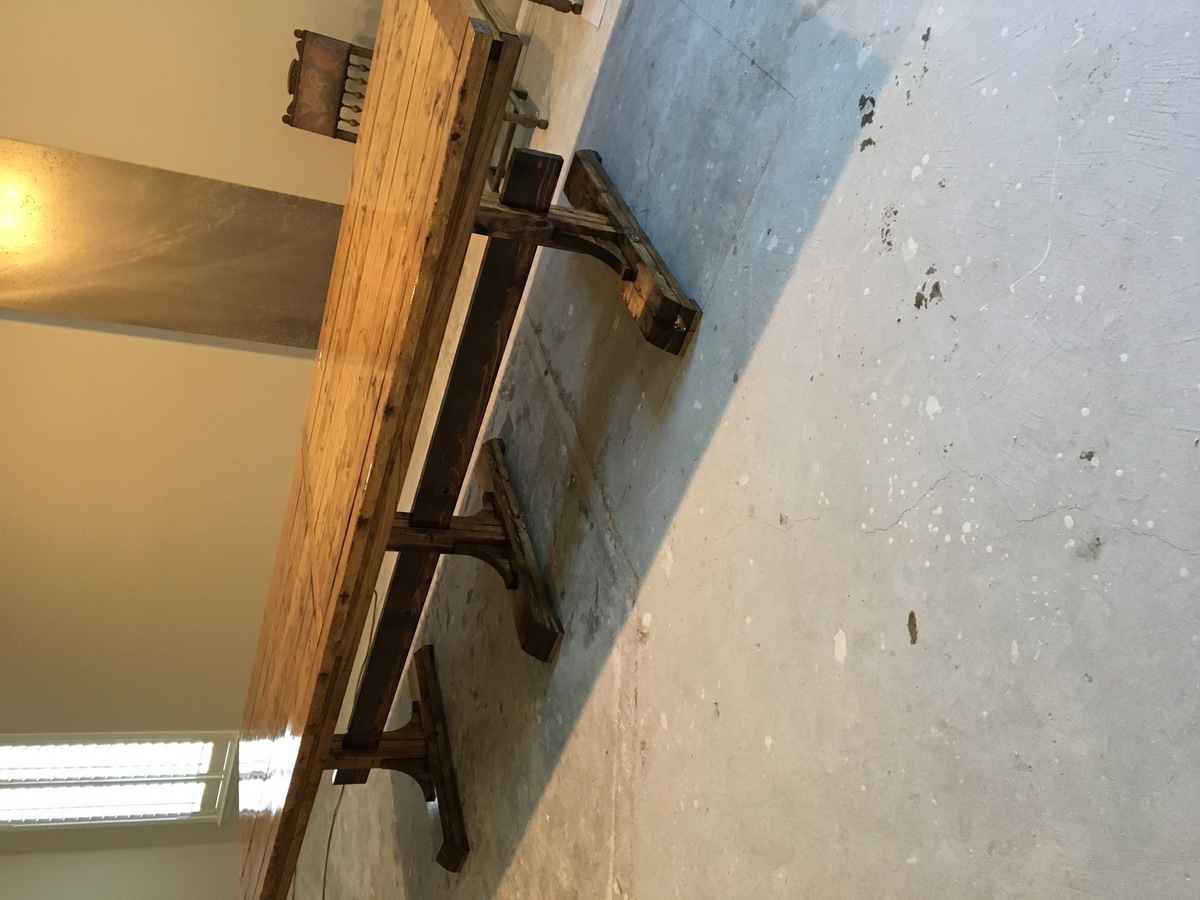
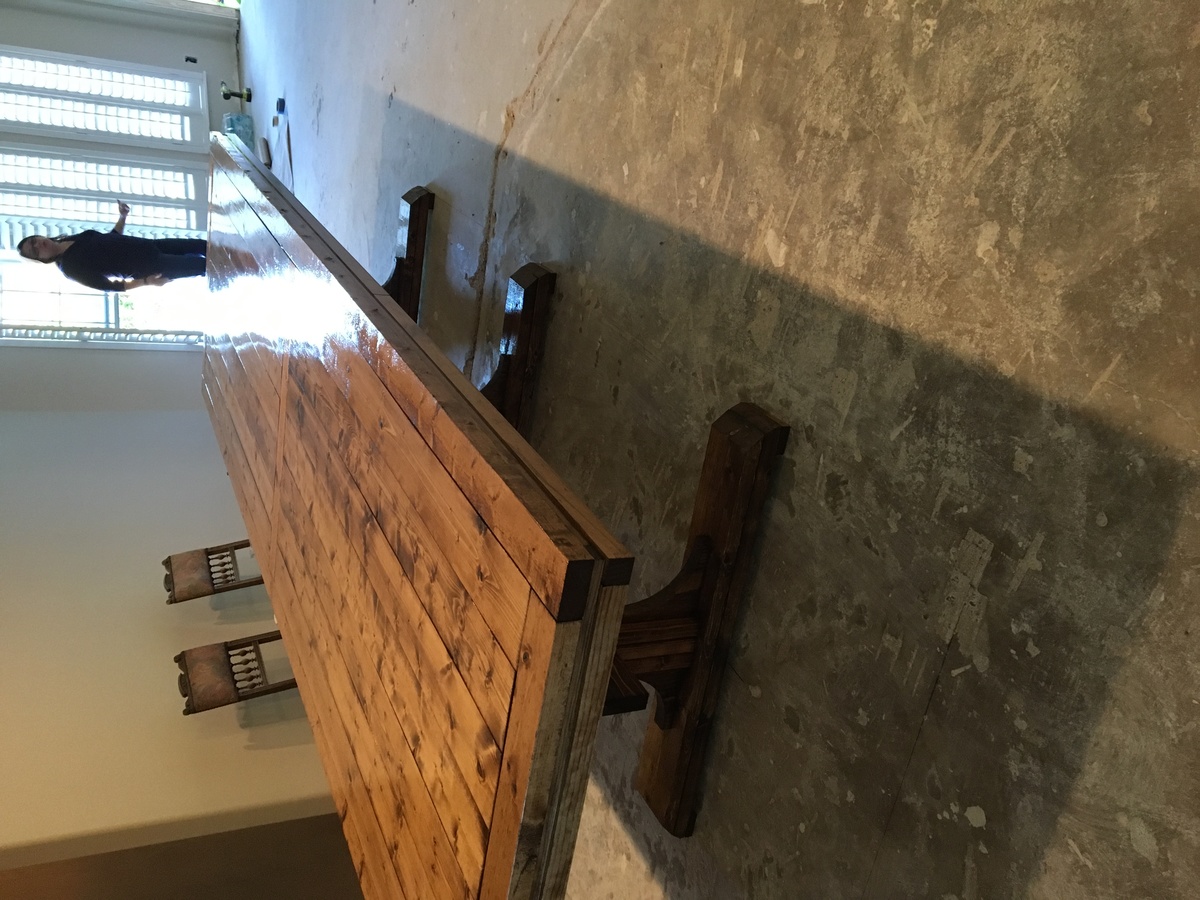
Square Dining Room Table
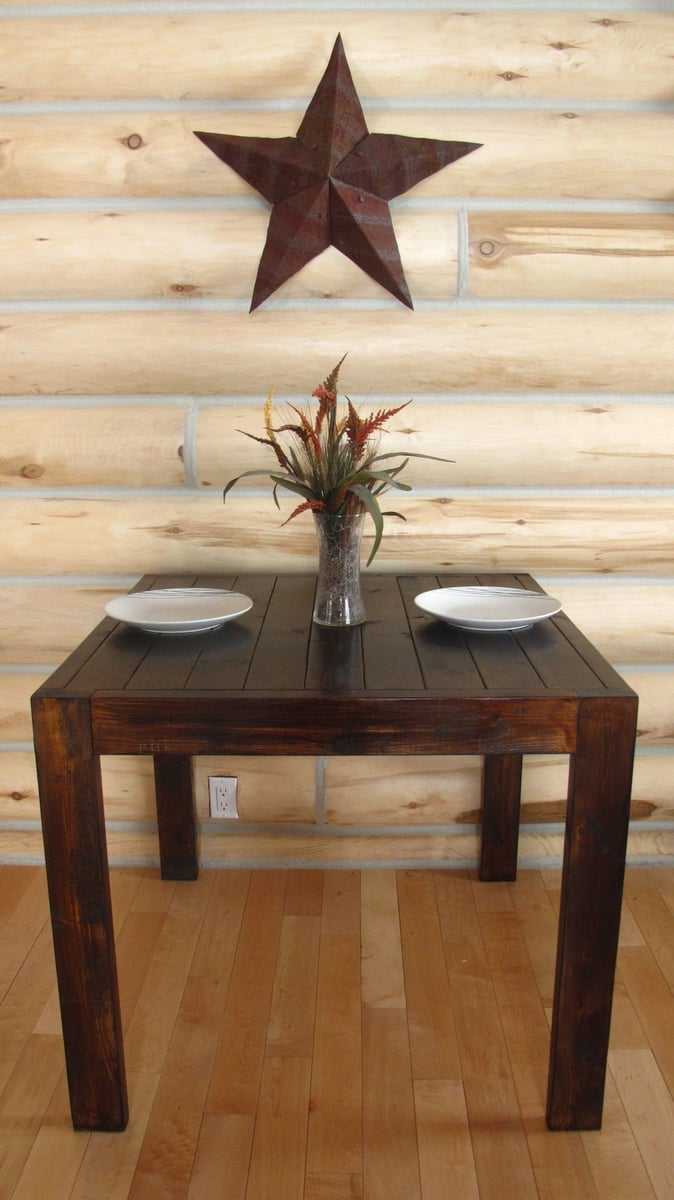
Square Dining Room Table
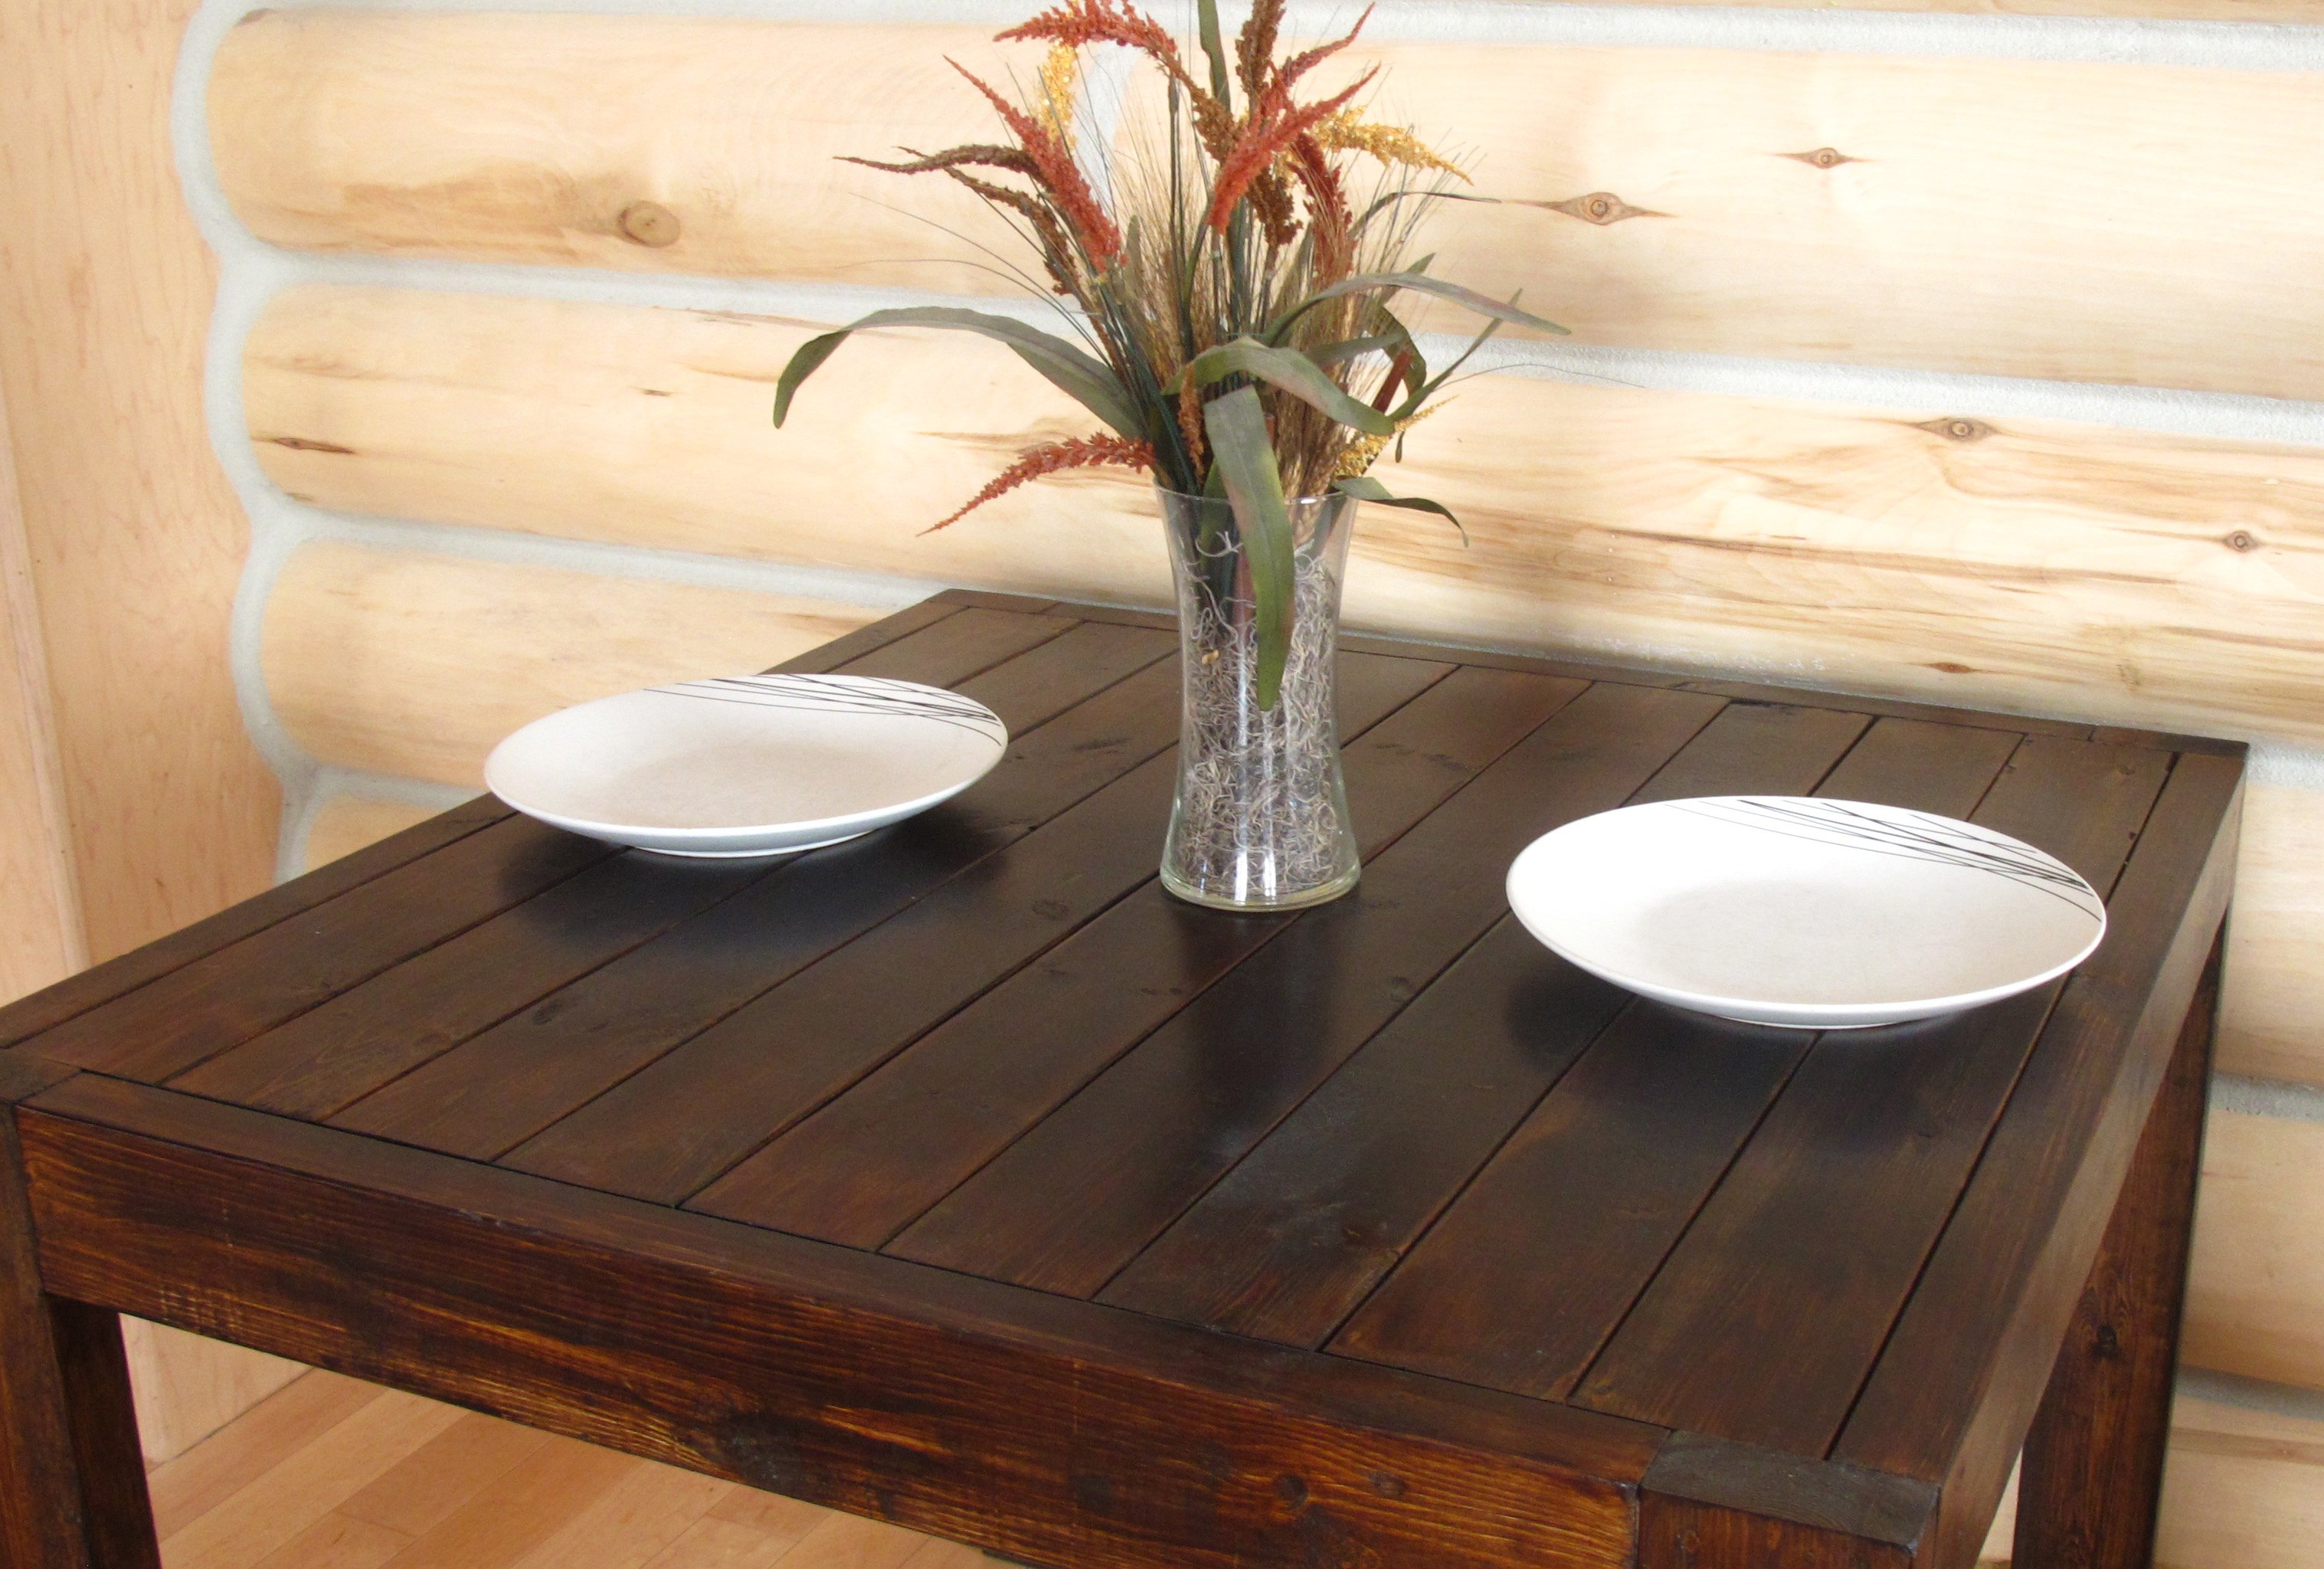
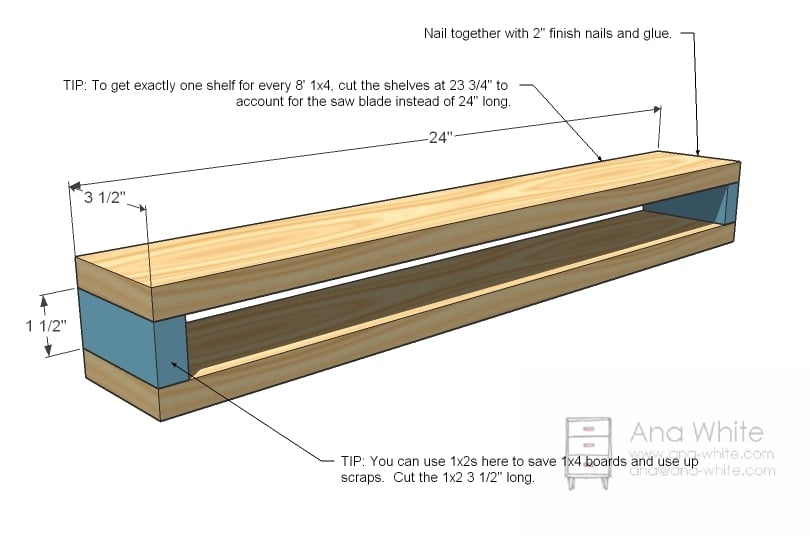
Built from Plan(s)
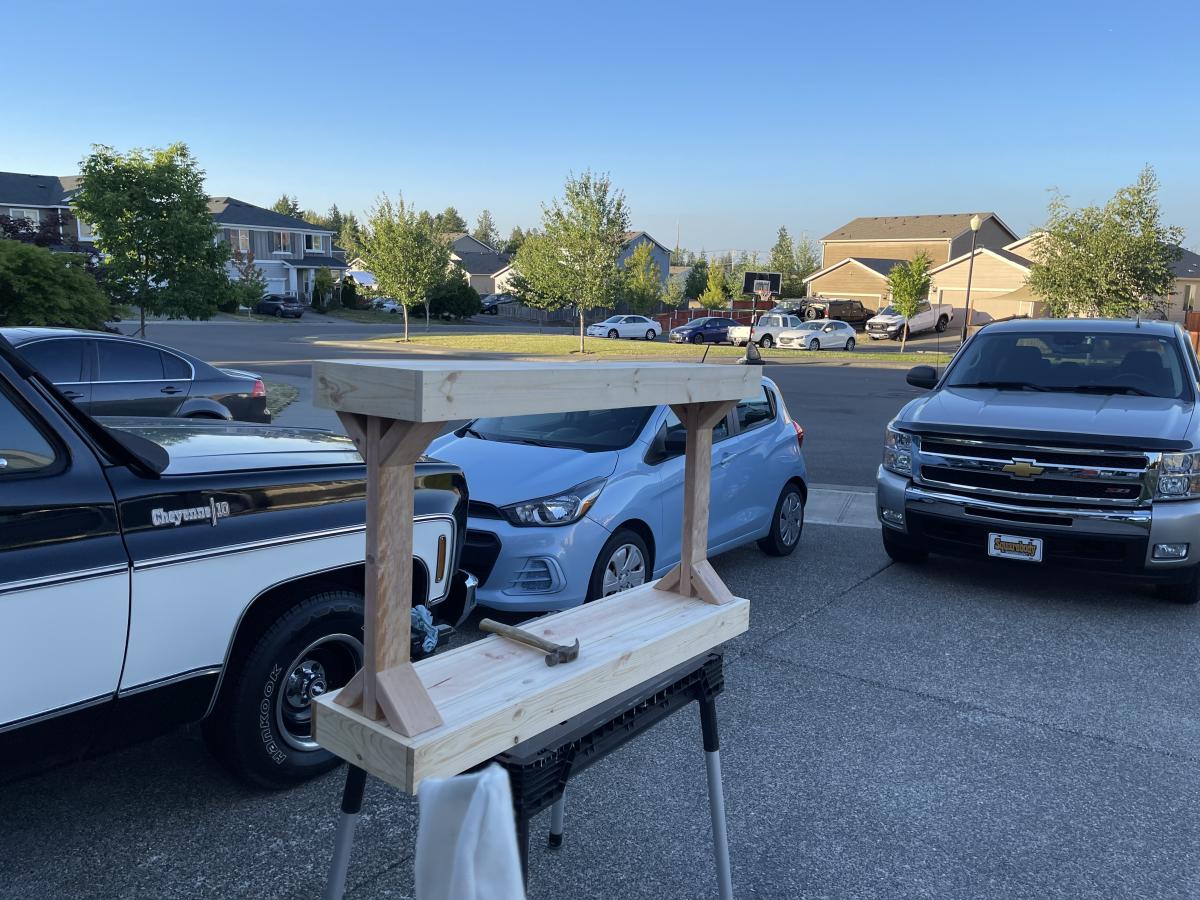
Estimated Time Investment
Afternoon Project (3-6 Hours)
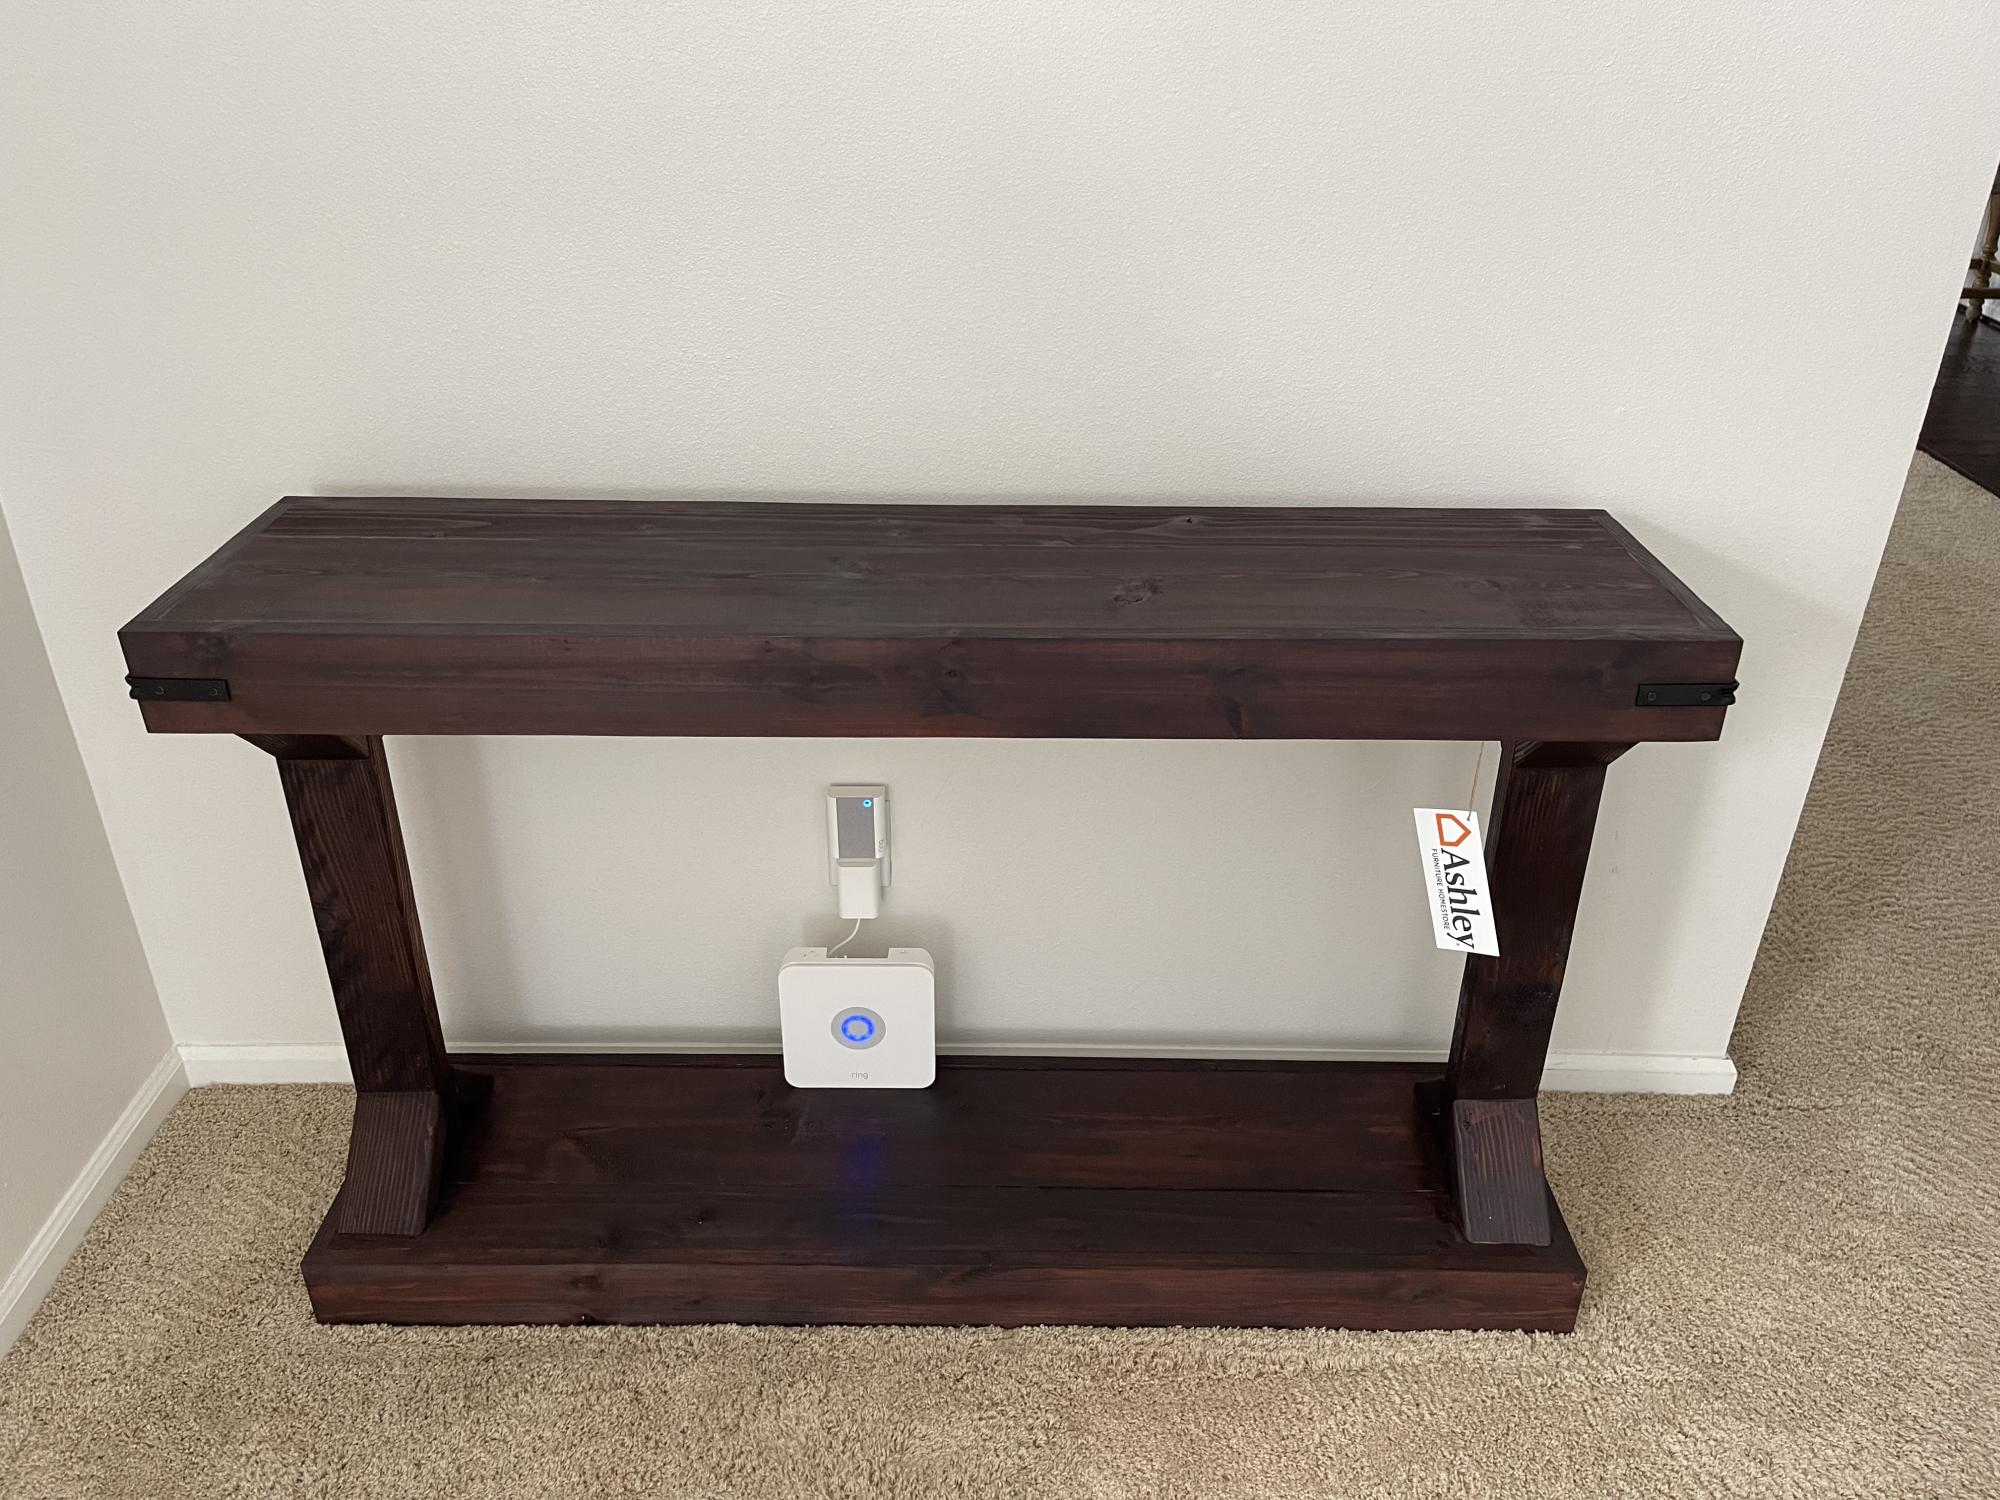
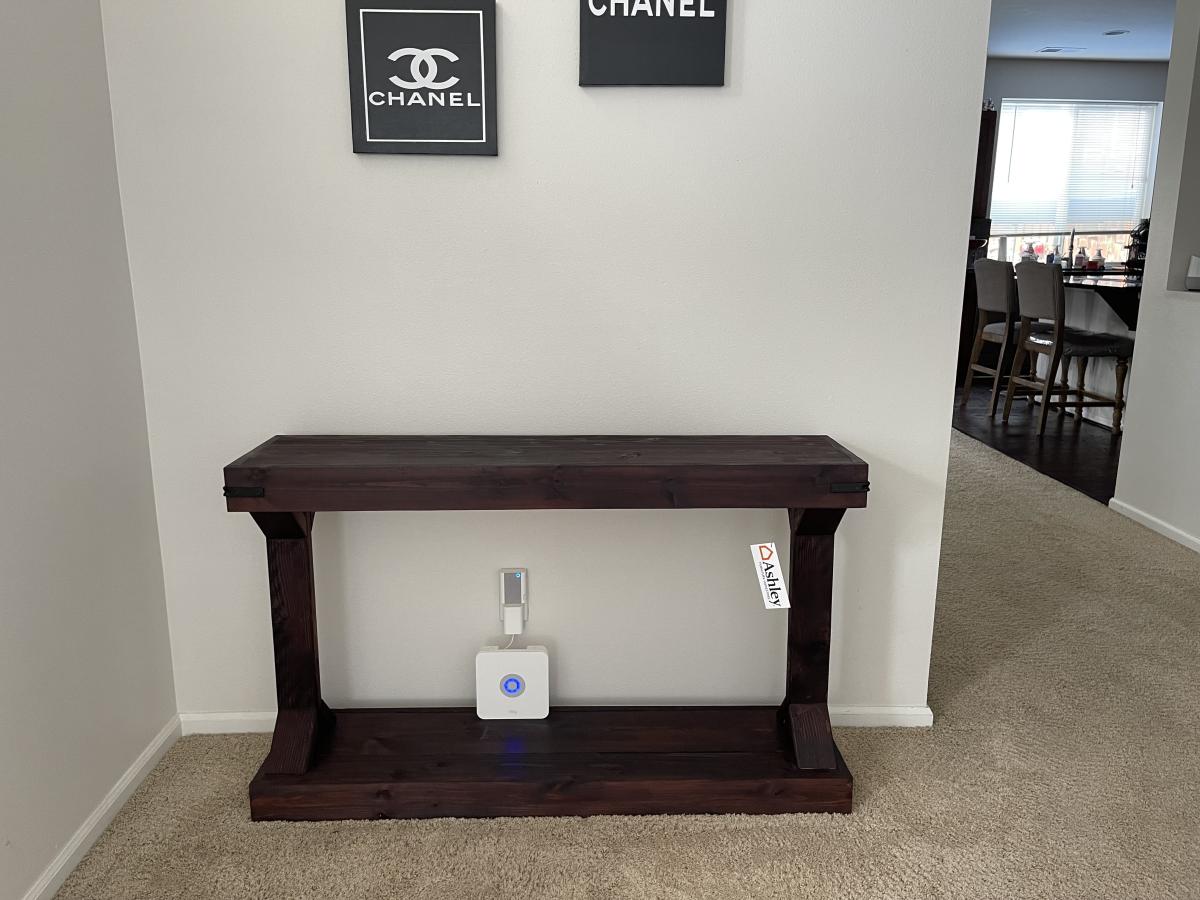
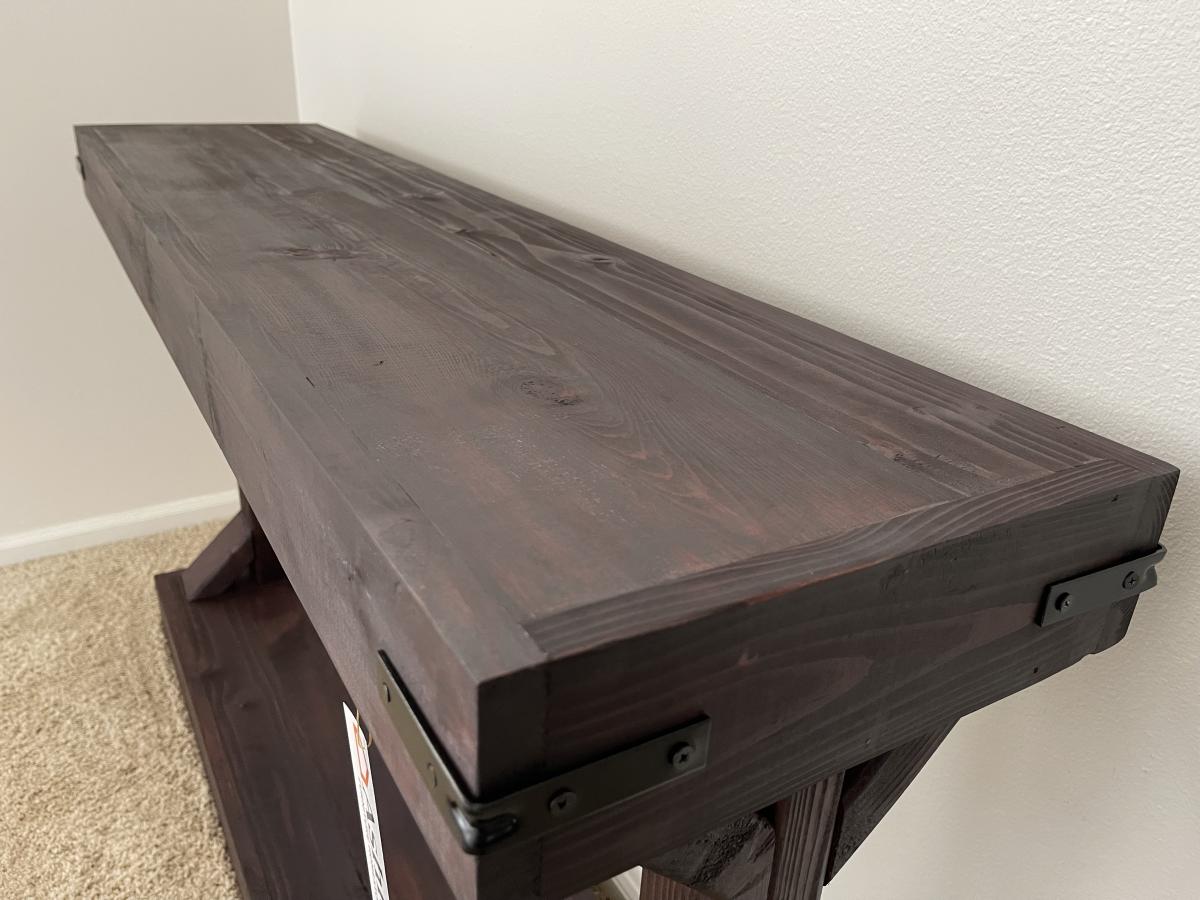
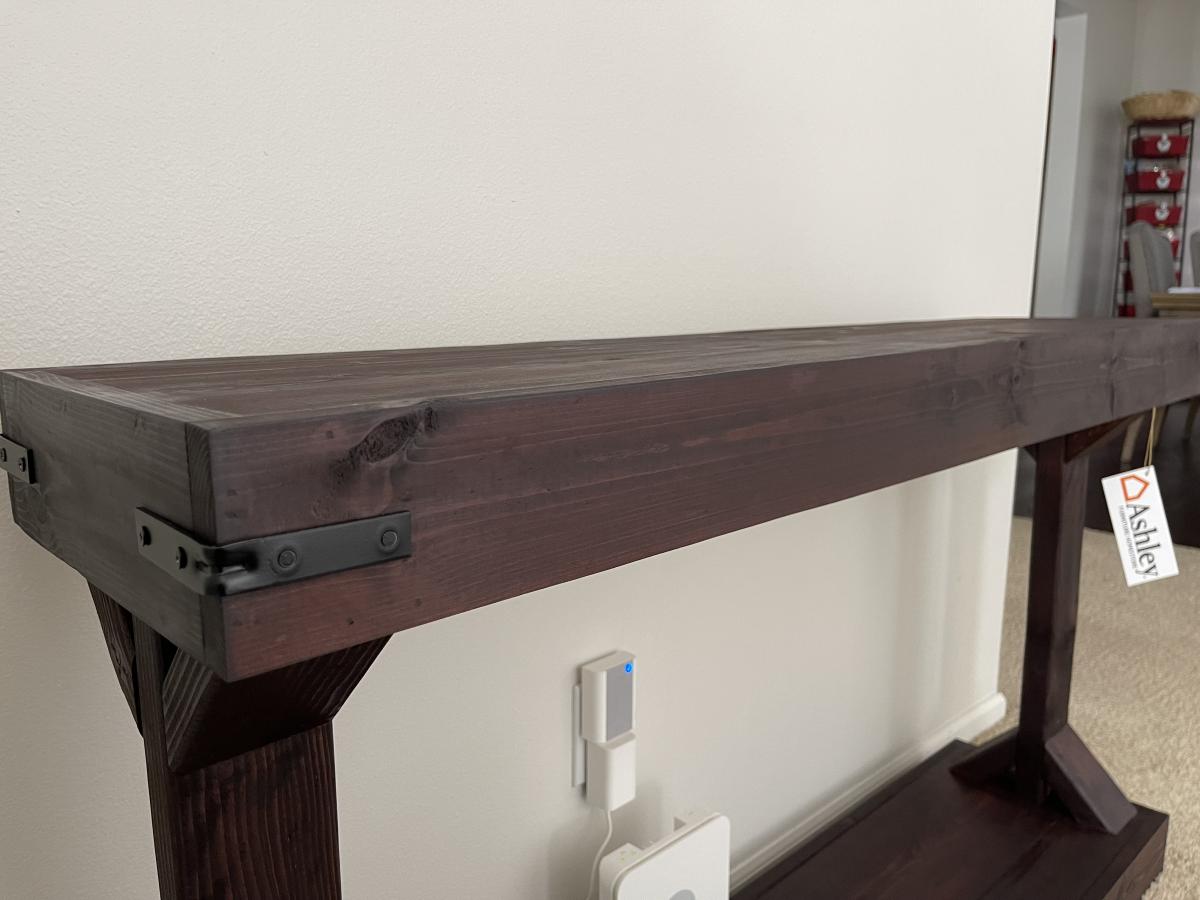
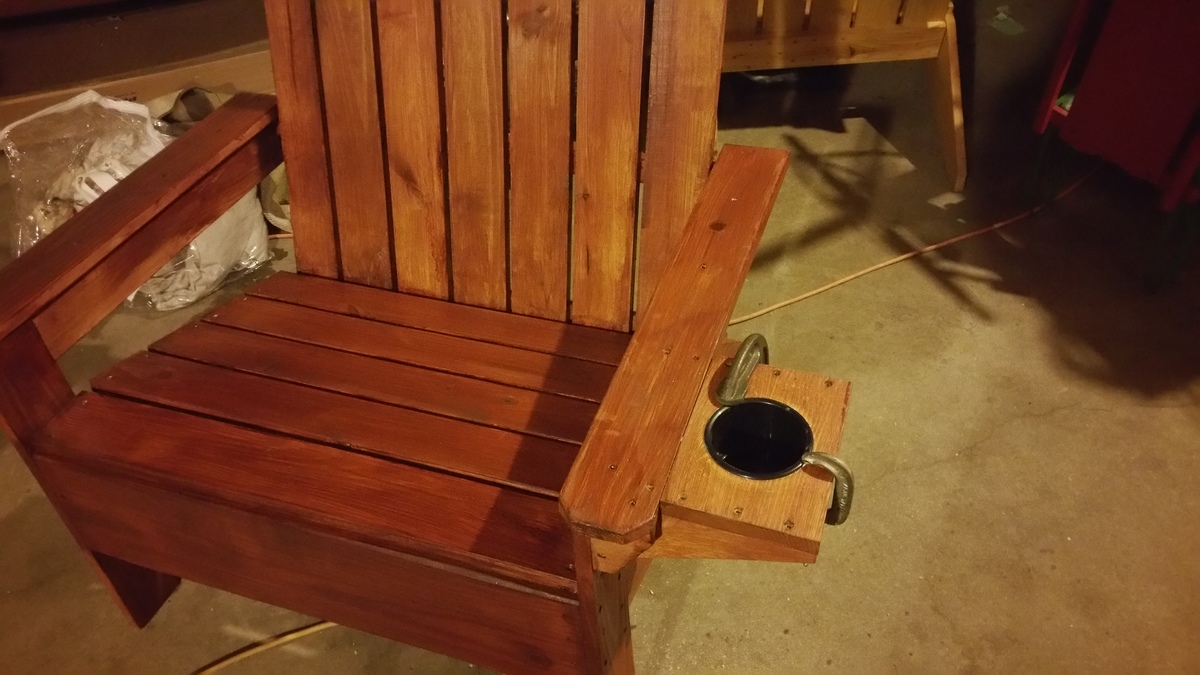
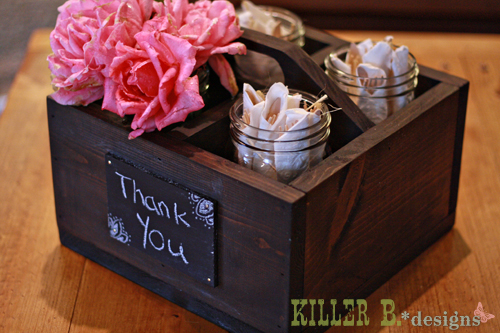
Finish Used
Minwax Stain - I am sorry but I don't remember the color at the moment!
Recommended Skill Level
Beginner