Community Brag Posts

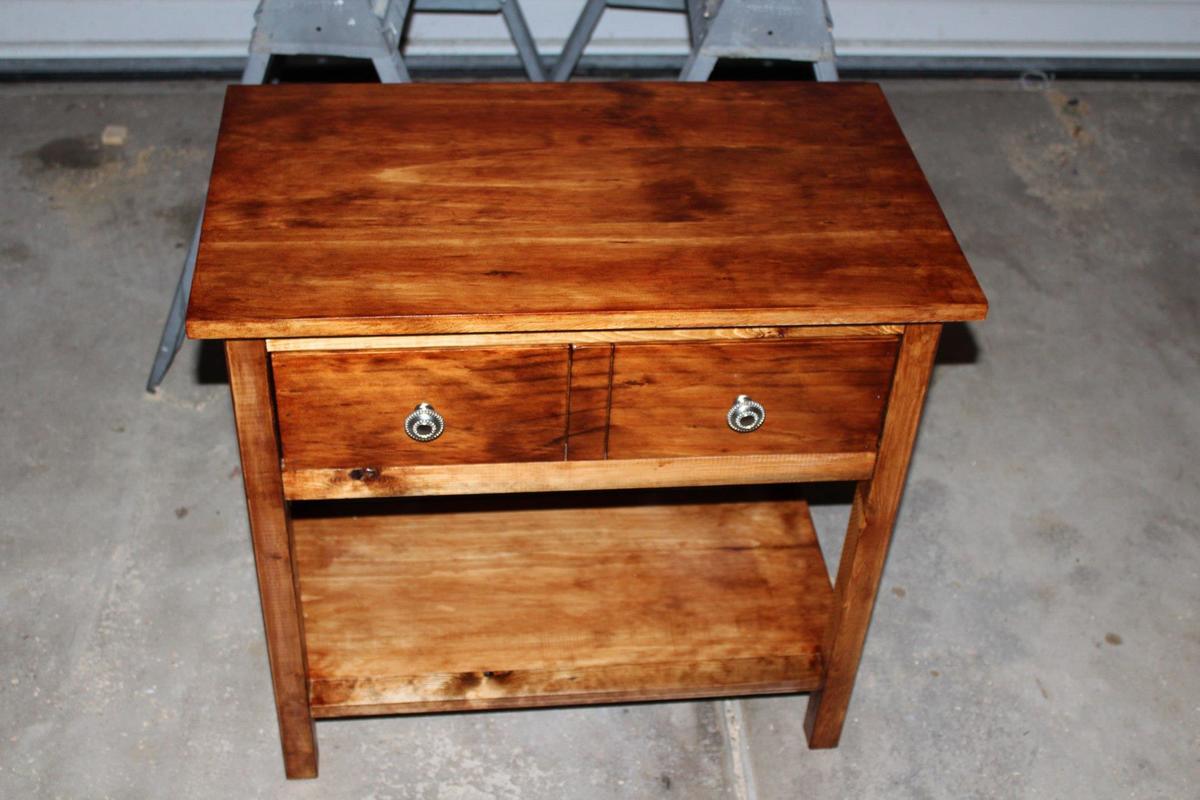
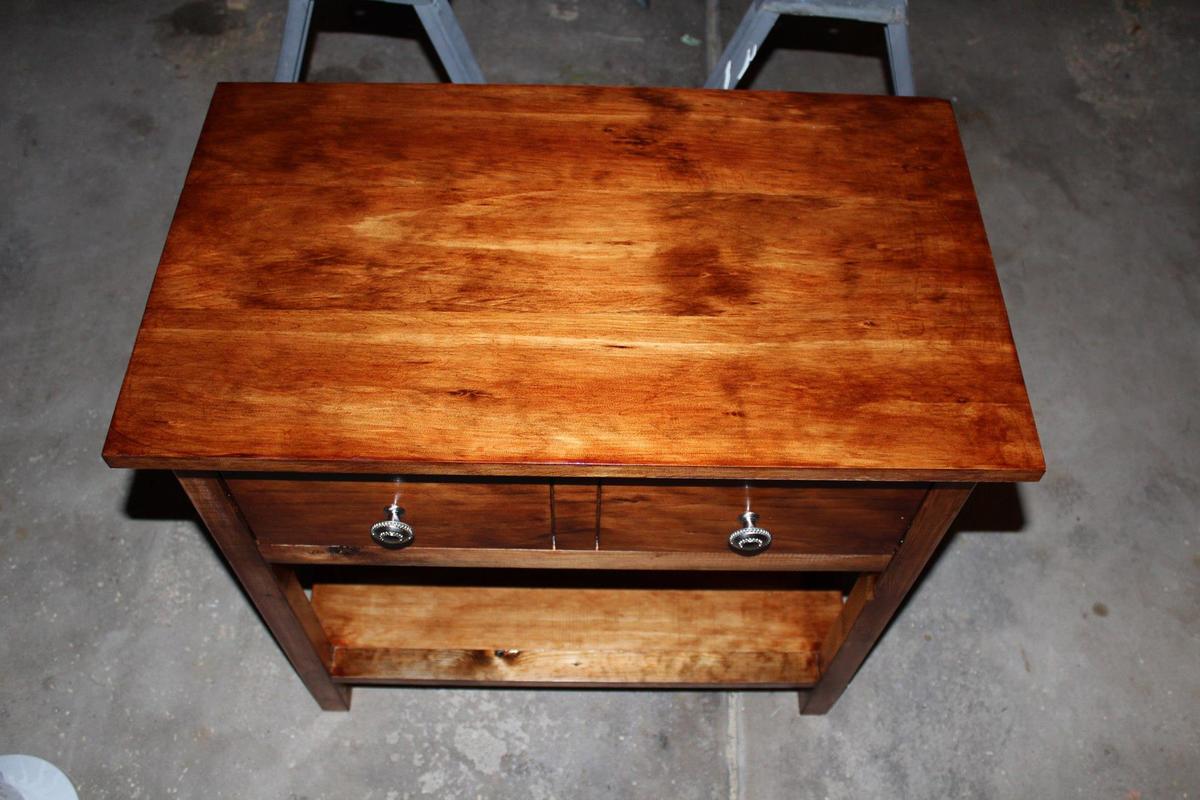
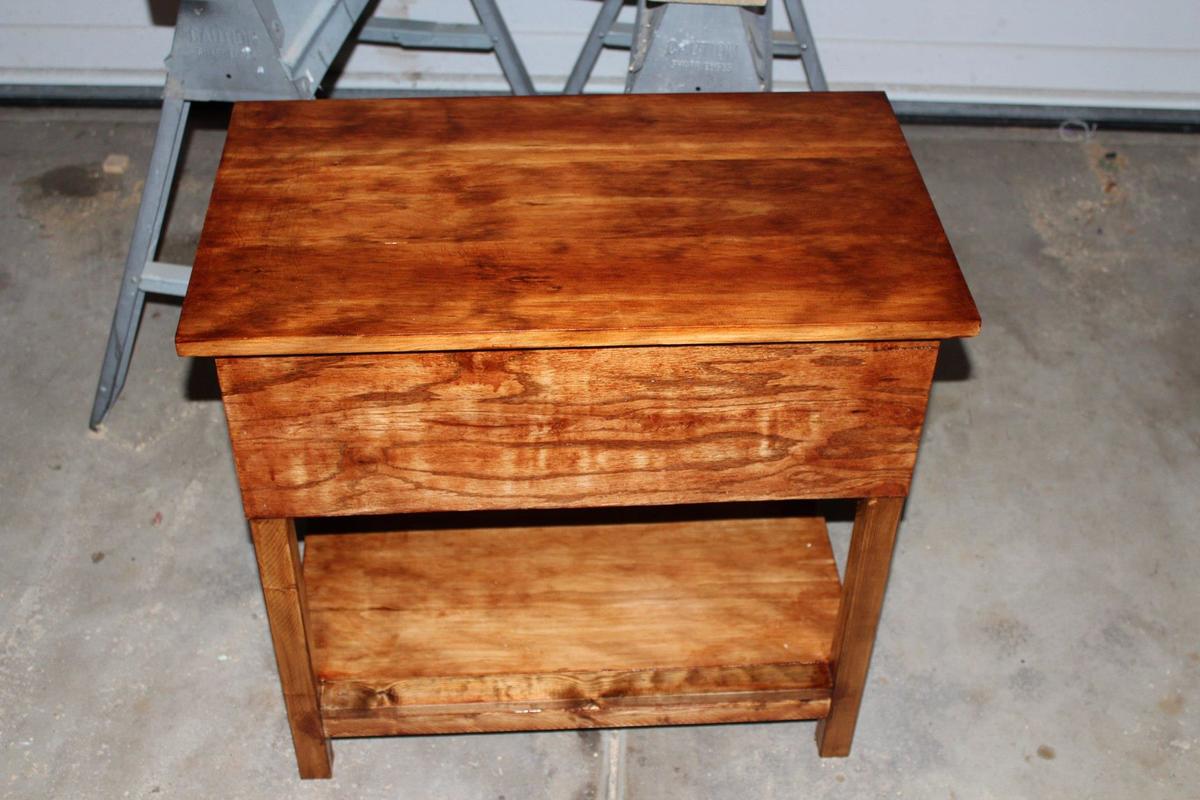
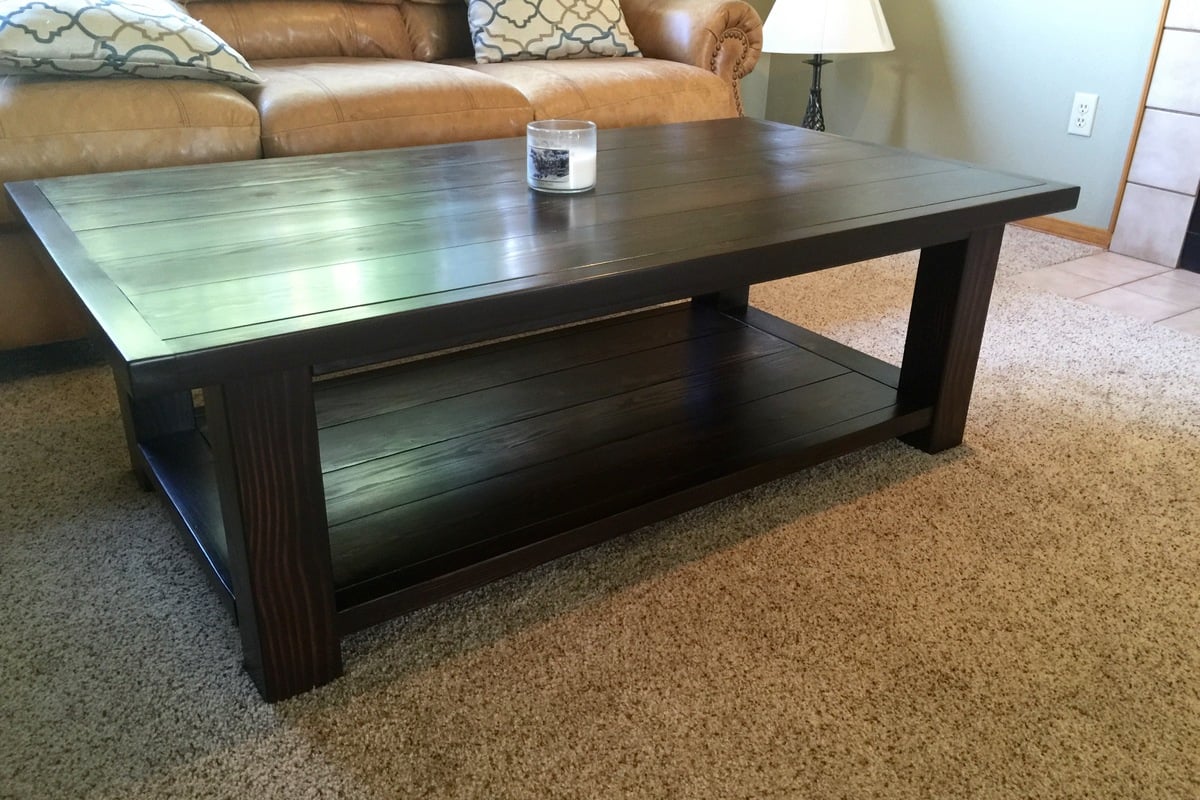
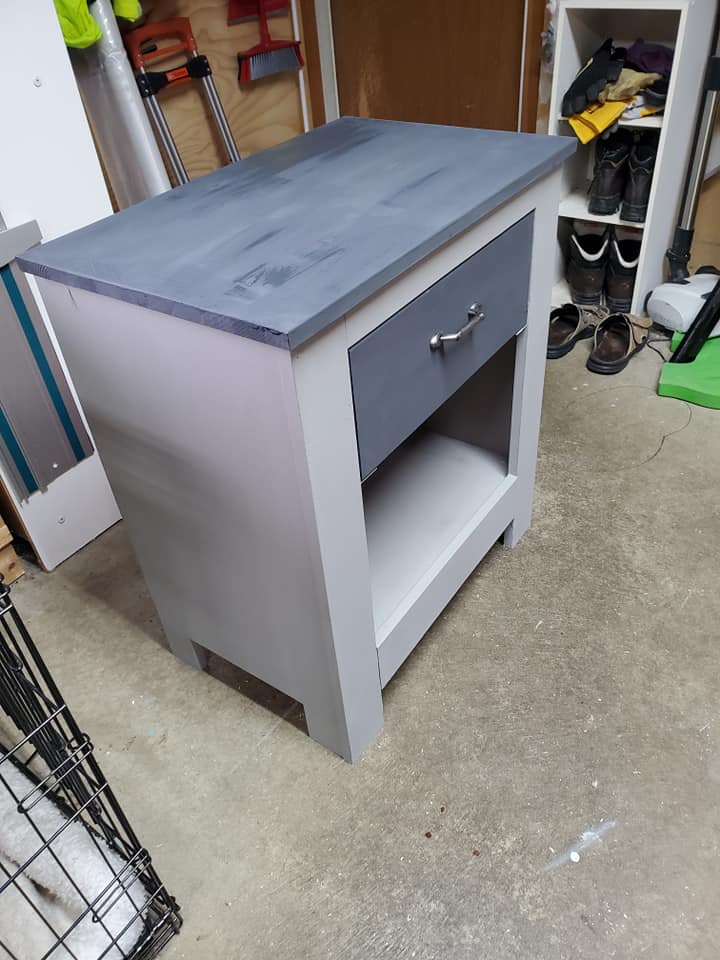
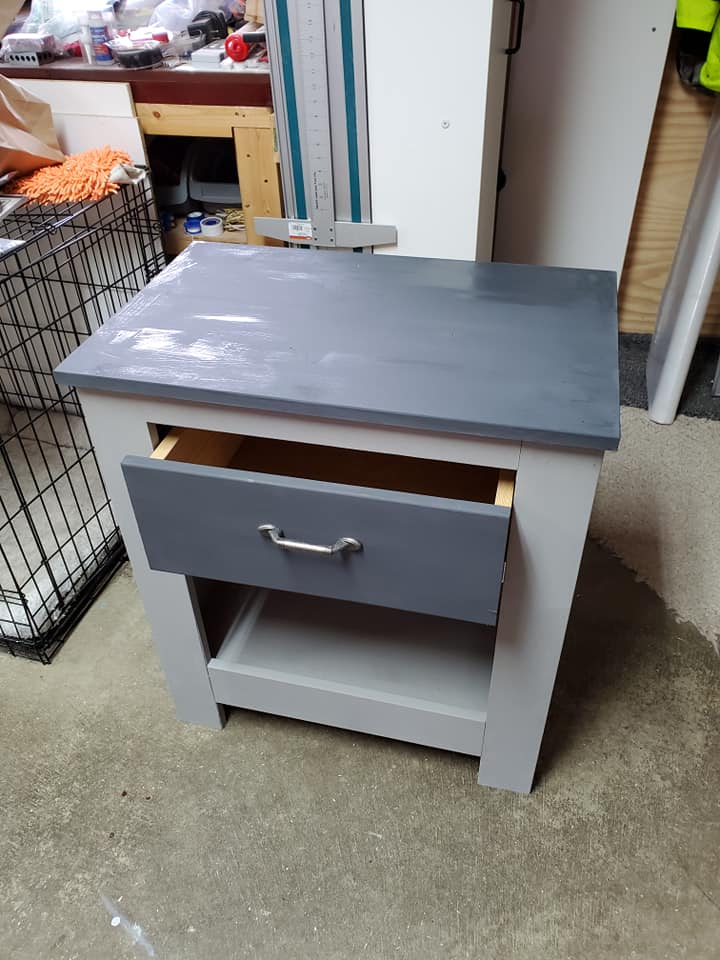
Farmhouse Night Stand

Submitted by searcyb on Tue, 07/24/2012 - 20:28

My Wife asked me to look into a night stand for her. I am so so so thankful that I was able to come across Ana's site. I showed the site to her and she asked me to build this night stand as opposed to going out and buying her some expensive poorly built nightstand. Thank you Ana for this wonderful site and the inspiration that some of us need to "get started."

One thing that I didn't think about when I started this project:
The cut list is a suggestion of what you will need to cut. I only ran into one major issue and that was with the inset bottom of my pull out drawer. I cut my drawer sides to the dimensions on the cut list (not paying attention to the note from Ana) and had to adjust my cuts for the drawer. I ended up ripping down the remainder of the 1x12 and paired it with the 1x6 that I had left over. Using the Kreg Jig I now had a perfect fit for my drawer.

I would have liked to have had a darker stain (more of an espresso) and that is my fault for not buying different stains and testing them on my wood choices. As far as my wood choices I used 1x6 and 1x12 "white board" 1x2 and 2x2 precut pine and bought a scrap piece of 1/4in plywood for the backer.

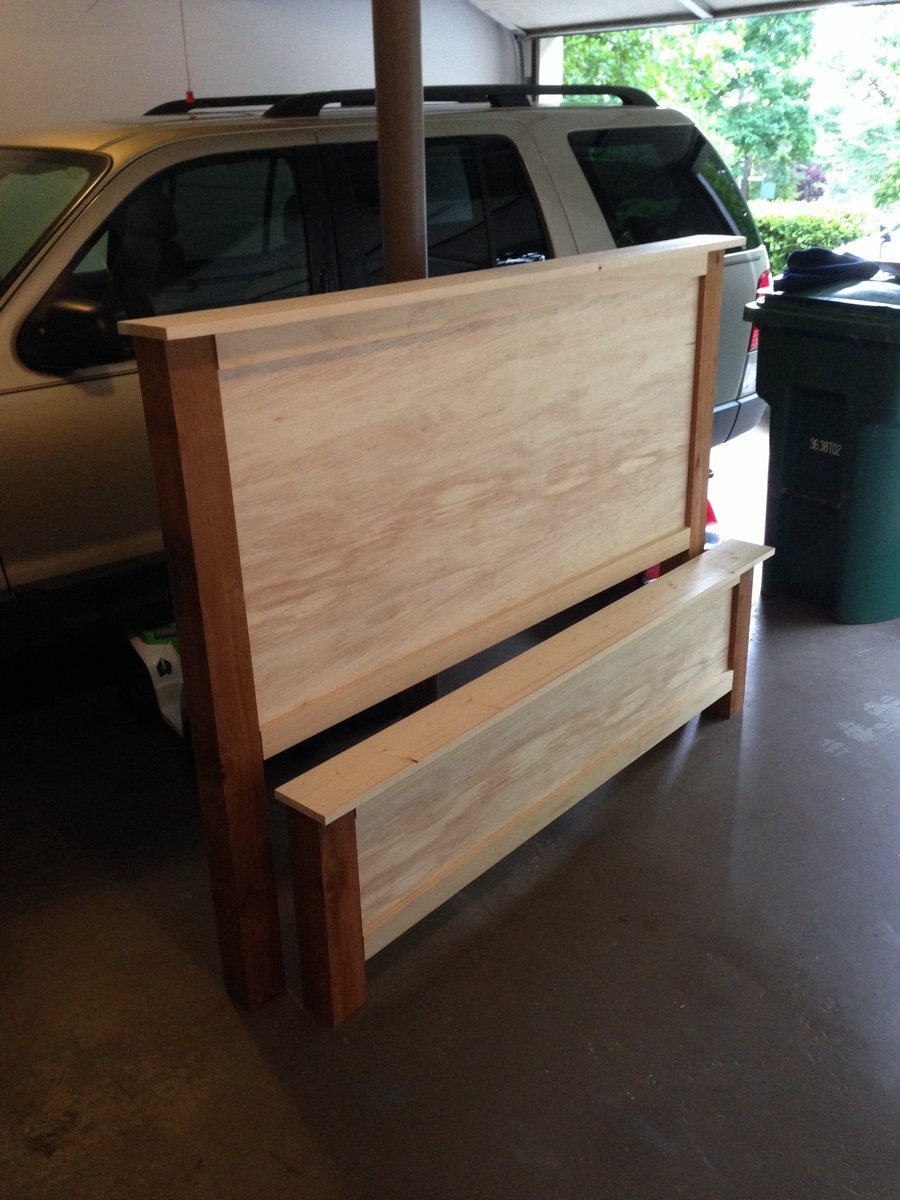
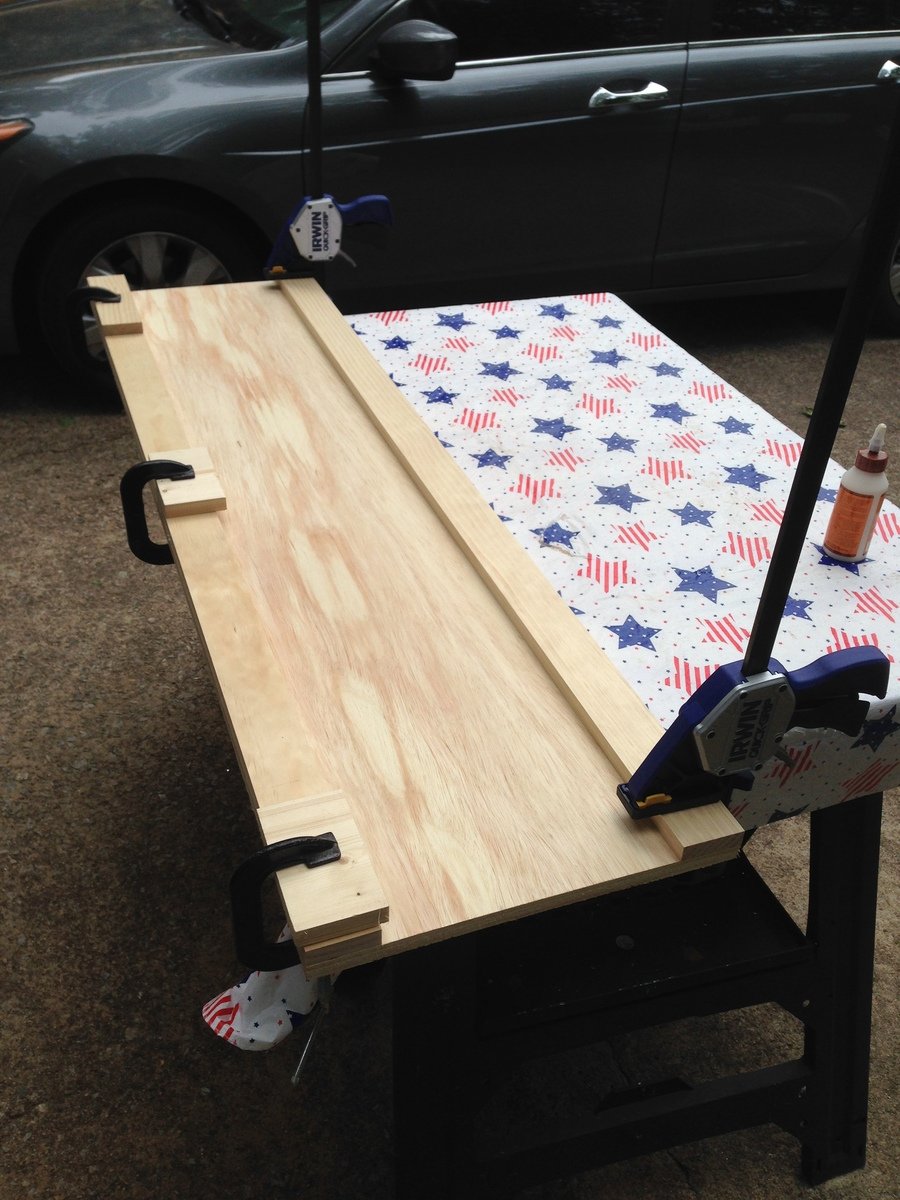
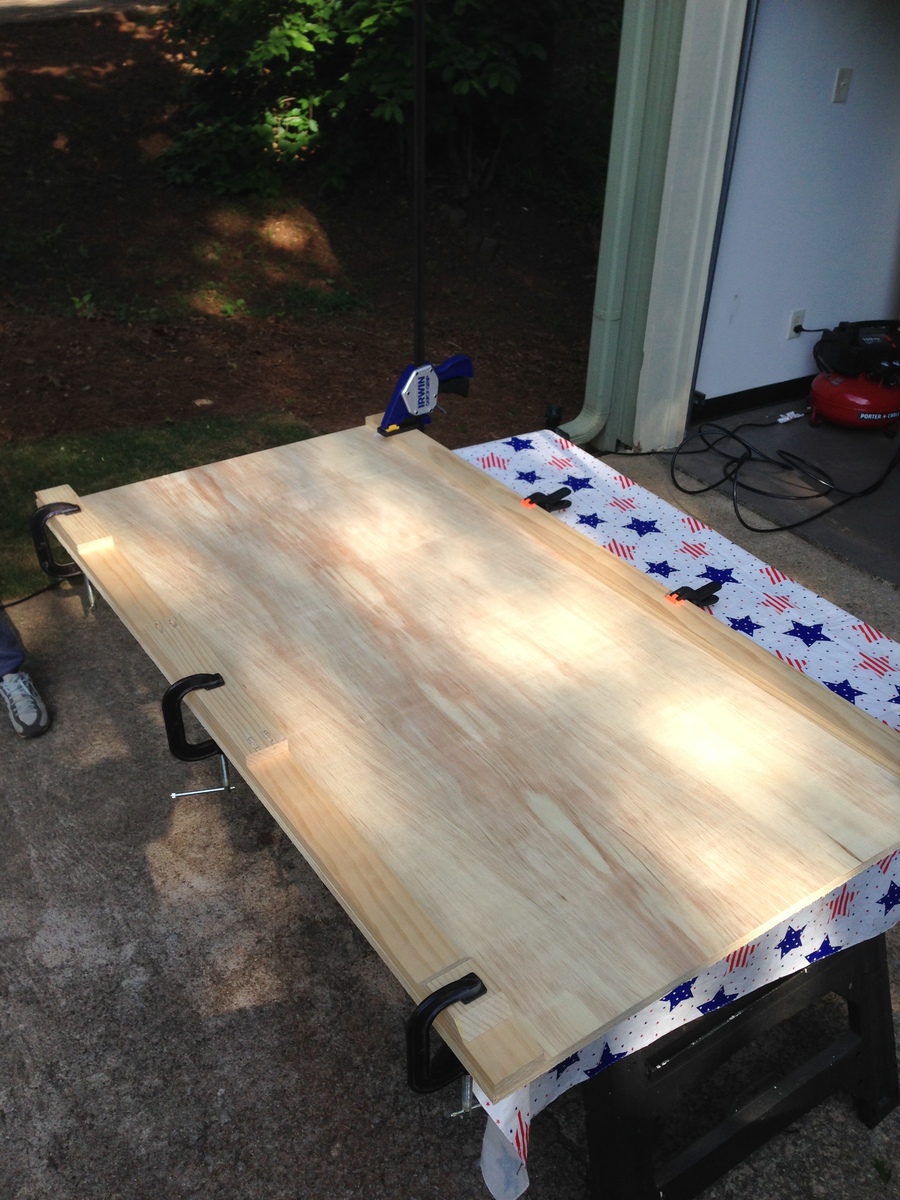
The Kreg Jig made this project very easy to complete as well as my counter sink drill bit. Although not impossible to complete without these two tools it is remarkable easier to complete.

Built from Plan(s)
Estimated Cost
125
Estimated Time Investment
Weekend Project (10-20 Hours)
Finish Used
Minwax Bombay Mahogany and Polyurethane
Recommended Skill Level
Beginner

DIY Herringbone Cassidy Queen Bed

Submitted by mrcleland on Mon, 05/19/2014 - 06:46

I cannot be happier with the final look of my new bed. I decided to take on this task with intentions to make small changes in the plans based on my needs and preferences. The process was easy and original plans were definitely easy to follow. I had the head or foot boards completed in about 3 hours (without the herringbone pattern). I saw where someone else decided to add a herringbone design and I liked it so I did the same. It was a little tedious but overall not hard at all. Building the frame was easy as well and didn't take long at all. I started running into problems when transporting the footboard. I dropped it from about 2 ft and the leg post snapped off. I thought the pocket holes were not that strong from the beginning. This was not a problem though because I just followed the special note in the instructions and added a 2x2 to the back of each side and attached them with 3 inch wood screws. I did this for the head and foot board and it made me feel more comfortable with the stability overall. I was going for longevity for the bed so I wanted to make it easier to disassemble and move around (screwing the frame in would wear out with a few moves). I went to a woodworking shop and picked up some 5/8 inch insert nuts and bolts to match. I added one to each corner and tightened accordingly. This was by far the biggest headache for me. If I could do it over again there are a few things I would change.
1. I would have sanded my cedar post before attaching them
2. I would have attached my cedar post with the 2x2 and not used pocket holes (I l like pocket holes but not for such a heavy load)
3. I would have drilled and placed my insert nuts on the post before attaching anything to them (this would have helped to ensure a level hole).
My wife and I love the natural look of the wood but it doesn't really go well with the modern contemporary look in our home so we are having a hard time deciding on paint or stain. We are leaning toward stain because we love the grains throughout the bed.

Built from Plan(s)
Estimated Cost
200.00
Estimated Time Investment
Weekend Project (10-20 Hours)
Finish Used
To be determined
Recommended Skill Level
Beginner

Comments

spiceylg

Mon, 05/19/2014 - 08:15

I absolutely love how this came out. What did you use for the herringbone part, are those 1x3s?

mrcleland

Mon, 05/19/2014 - 11:08

I used the pine 1x3's from my local home improvement store. They were $1.39 each for a 1x3x8. I used about 15 total. I decide not to go with the select wood for the herringbone and glad I didn't. I feel the less perfect, rounded edges add character.

mrcleland

Thu, 05/22/2014 - 10:35

I like it so much, I am planning to add a box spring to mine. I really like how high yours sits. I also like the color of yours. We are experimenting with stains now and I will post new pics once it has been done. Don't be surprised if it looks very close to yours :). I used cedar for my post so I think it will be hard to match the colors.

jeannajustfine

Thu, 05/22/2014 - 19:00

I love that you like it so much. Between this and getting picked for Anas brag post of the day on Facebook yesterday, I was walking in the clouds...lol

I used Minwax 1 coat of espresso and 1 coat of jacobean for all the larger pieces. I used Cedar as well for the posts. And it does come out a little redder. Just mess with it till u get something you like. It may not match the rest of your pieces exact, but it will look great once its all together.

I also messed around with the herringbone pieces. I used the same colors of stain but did some with one coat some with 2, some for 30 secs some for as long as 15. It kept the colors along the same line, but gave some variation.

I finished with paste was

As for the mattress. I love how mine sits. Feels very regal being up so high..lol. Its such an awesome bed plan. I cant wait to see yours finished.

Thanks for making my day. That was my very first project. So very cool!

Based on FatBobK2's design.

Submitted by Kougar1994 on Fri, 08/19/2016 - 15:30

This was based on FatBob2Ks great design.  I took iut the Xs used 4x4 legs and 2x6s fir the bottom shelf.  I also put a furring strip around the edges to hide the end grain and add some surface area.  I sanded starting with 89 grit, then 120 and finishing with 150.  For stain I used a rag to rub on General Finishes Java Gel Stain for 2 coats. it's really forgiving on bare wood and you don't need conditioner.  I sealed everything with Minwax satin poly wipe-on and did three coats.  


Built from Plan(s)
Estimated Cost
$80. I bought local lumber. The big bix stores just don't have straight boards unless you're buying S4S hard wood.
Estimated Time Investment
Week Long Project (20 Hours or More)
Finish Used
General Finishes Java Gel Stain and Minwax wipe on poly
Recommended Skill Level
Intermediate

Modern Outdoor Chairs with Backrest Modification

Submitted by GBev44 on Tue, 06/02/2020 - 08:16

My first crack at building outdoor furniture. I built two of the Modern Outdoor Chairs built with 2 x 4 and 2 x 6. The first one was a little rough, but the second one was much better. In order to accommodate the higher cushions and make the chairs more comfortable, I added piece 2 x 6 secured to a 2 x 2 to make a partial backrest.

Estimated Time Investment
Day Project (6-9 Hours)
Recommended Skill Level
Starter Project

Back To School Podium

I recently landed my first teaching position, and unfortunately my predecessor left quite a blank canvas for my classroom. I will be teaching math and definitely needed a lectern to hold my book as reference for examples during instructional time. However, I was completely unable to fork over $200 for a lectern...so of course I turned to Ana White! I saw the Podium Plan that another had submitted, and used it as a guide with some changes:

1) My dimensions are 15" wide by 21" long by 43" tall (I'm shorter than your average bear).

2) Used the table saw set at 45 degrees to create mitered joint edges with my plywood

3) Inset the shelves into the frame for added stability using a router.

4) Added casters to the base for maneuverability

5) Added an easily-removable laptop shelf for the side for easy hook-up to the Promethean Board in the classroom.

6) Decoupaging my name to the front for some visual interest...(and of course to claim ownership...:) )

My room is painted yellow, and all of my accessories are teal, lime green, and brown. This is gonna look GREAT in there, and best of all, it's attractive AND functional!

Built from Plan(s)
Estimated Cost
$40.00
Estimated Time Investment
Afternoon Project (3-6 Hours)
Finish Used
Paint and Spray-On Poly
Recommended Skill Level
Beginner

Comments

birdsandsoap

Sat, 07/28/2012 - 22:23

I don't remember having ANY teachers with anything this cool and personal in their classroom (except maybe woodshop, har-de-har-har). All the other teachers will be jealous!

Liberty Wall Art

Submitted by Malwina on Thu, 05/22/2014 - 11:52

I had a lot of leftover pieces of wood from other projects and really wanted to use them. I have been wanting to build the Liberty Wall Art for a while so I finally got to it. I already had a 2x2 piece of a 1/4 inch plywood so I made my piece smaller, fitting my plywood. Obviously, since my piece was smaller I cut and played with the pieces until it looked good to me and this is how it turned out. I glued everything to the board first and then nailed it from the back because my husband didn't want to see the nails. Also, he didn't want me to distress it so I went with his wishes. I think it would have looked nice distressed but oh well, still looks nice. With my husband being in the military, I really wanted this piece and now it's featured in our dining room! Thanks for the idea Anna! As always your plans are great. We have already build several items from your plans and I can't wait to post these brags!

Built from Plan(s)
Estimated Cost
free! already had everything
Estimated Time Investment
Afternoon Project (3-6 Hours)
Finish Used
used leftover paint from other projects and then put a layer of policrylic
Recommended Skill Level
Beginner

My fire pit bench.

Submitted by Mandy D on Sun, 08/21/2016 - 16:59

This was my first furniture build & it was very easy. I had to have a second pair of hands to help hold the ends up but other than that I did it by myself. Thank you Ana for making this build so simple.  

Estimated Cost
$75
Estimated Time Investment
Afternoon Project (3-6 Hours)
Recommended Skill Level
Starter Project

Standing Desk

Submitted by shellyward on Wed, 06/03/2020 - 18:59

During the 2020 quarantine I started working from home and had to take up an office in my grandsons room. I wanted to leave enough space for him when he comes over so I needed it to be more narrows than most but with plenty of space for multiple monitors as well as workspace. I got ideas from many plans here but ultimately designed my own with a little inspiration from multiple plans. I included a pullout for the keyboard as well as 2 additional pullout shelves for added workspace.

Estimated Cost
$500
Estimated Time Investment
Week Long Project (20 Hours or More)
Finish Used
Paint and poly on MDF, stain and poly on plywood
Recommended Skill Level
Intermediate

Wood Window Treatment

Submitted by Anonymous (not verified) on Sat, 03/02/2024 - 11:24

My has been wanting me to make some window treatments to replace aging Roman curtains on our bay windows. It was a challenge never made these before and she is well pleased with the results. The center window is 62 inches wide while the two side windows are 32 inches wide each. Each window treatment is 14 high.

Raymond Spears

Laundry closet makeover

Laundry closet makeover. I was tired of having only the one wire shelf to store laundry supplies. So I added a cabinet, hanging rod, and counter-top over the washer/dryer for folding clothes. Also, behind the curtain on the left is a built-in garbage can for lit. Recovered small ironing board in same fabric as curtain and hung it up so save space.

Estimated Time Investment
Weekend Project (10-20 Hours)
Recommended Skill Level
Beginner

BRISTOL OUTDOOR LOUNGE CHAIR

I followed Ana's plans to build the Bristol Outdoor Lounge Chair. I used White Oak for the chair. The plan was pretty easy to follow and i enjoyed the project. I am excited to build a second chair as well as other items that i will find of interest on her website.

James

Estimated Cost
$220 including cushions bought at Lowe's
Estimated Time Investment
Weekend Project (10-20 Hours)
Finish Used
I used General Finishes Exterior 450
Recommended Skill Level
Beginner

Rolling Cart - pallet recovered wood

Submitted by jgrunwaldt on Thu, 08/25/2016 - 19:36

Rolling bar cart made entirely from recovered pallet wood.

Based on original Ana White's plan, I've just added a side pocket and rails on the lower shelf to prevent sliding of items placed on it. 

Later on I made another one for a friend who attached a hanger plate and a magnetic knife holder.

Built from Plan(s)
Estimated Time Investment
Weekend Project (10-20 Hours)
Finish Used
wax
Recommended Skill Level
Intermediate

NightTable - Finished with Chalked Paint

This is my first Ana White project, made for my daughter who just moved out on her own. Fun project.

Estimated Cost
$100
Estimated Time Investment
Afternoon Project (3-6 Hours)
Finish Used
Chalked Paint
Recommended Skill Level
Intermediate

Bed for Small Room

Submitted by Anonymous (not verified) on Wed, 03/06/2024 - 12:17

In my new house we have a small room that can fit a full but also have a tall family, so when I found out that there is a Full XL, I went on the hunt for bed frames and not many choices, so I turned to Ana's site and found/used the essential bed frame for all sizes plan and adjusted it for a FullXL. Our house theme is black and white so we painted it with Ink Black by Behr. Whole frame built for $50 as I already had the paint. My wife loves the frame.

Storage Step Stool - First Build!

Submitted by red98dawg on Thu, 08/02/2012 - 11:50

We moved my 3 year old son into his big boy room with a queen bed; it was a little tall for him so it was difficult for him to get in the bed so I set out to find a step stool. They were between $60-$80 and there was no way I was going to spend that kind of cash…..so that is how I found Ana’s site!
I built this with no problem and even got to know my jig saw a bit better.

Built from Plan(s)
Estimated Cost
$30
Estimated Time Investment
Afternoon Project (3-6 Hours)
Finish Used
Minwax - Jacobean, 2 coats
Minwax - Fast-Drying Polyurethane, 2 coats
Recommended Skill Level
Beginner

DIY Firewood Storage Shed

Submitted by Anonymous (not verified) on Sun, 08/28/2016 - 17:54

We built this firewood storage shed to hold wood for our wood-fired hot tub! We built this using reclaimed materials we already had sitting around our property so in the end, the only costs involved were the pier blocks plus some screws.

We decided to publish our plans for anyone that may find them useful! Take a look here if you feel so inclined: http://purelivingforlife.com/diy-firewood-storage-shed/

Estimated Cost
$150 if you buy all of the materials new
Estimated Time Investment
Afternoon Project (3-6 Hours)
Finish Used
None
Recommended Skill Level
Intermediate

Modern outdoor Sectional

This project is straight forward and lots of fun. Next time I plan to stain opposed to paint due the amount of time painting takes.

Estimated Cost
100
Estimated Time Investment
Week Long Project (20 Hours or More)
Finish Used
Behr Exterior Chocolate
Recommended Skill Level
Intermediate

Comments

spiceylg

Fri, 05/30/2014 - 11:37

This came out really nice. Love the colors and cushions. Can you share the source of pricing of the cushions please?

Pursuit of Handyness

Fri, 05/30/2014 - 20:23

I like how the color contrasts with the cushions and the throw pillows add a nice punch of color and fun. I also would like to know the source of the cushions. The cushions seem to always be the budget breaker.

Tammylinskey

Wed, 08/06/2014 - 14:44

My apologies for replying so late!!! I didn't realize I received a comment or two!! Thank you for you for the lovely comments I truly appreciate it. As far the cushions, I purchased the fabric, batting, etc at Joan's Fabric at 50% off and sewed myself. Before this project I had never sewed before so please have faith in yourself because if I can do it anyone can do it!!!!! Tammy Linskey

Seasonal And Holiday

Ladder Desk and Shelf

Submitted by Anonymous (not verified) on Tue, 08/30/2016 - 18:50

Had a great time putting this together for my teenage daughter's room. Took me about 4 hours to cut and assemble (I only have a circular saw, would have been SO much faster with a miter saw). Then sanded and painted the next day. Under $50 for the wood. What a deal! Love this plan!

Estimated Cost
$50
Estimated Time Investment
Afternoon Project (3-6 Hours)
Recommended Skill Level
Beginner

Farmhouse Coffee Table

Submitted by Anonymous (not verified) on Fri, 06/12/2020 - 12:08

Took combination of farmhouse coffee table and side table to make a square coffee table for our sunroom

Estimated Cost
60
Estimated Time Investment
Weekend Project (10-20 Hours)
Finish Used
Painted Base- endless sea by Sherwin Williams
Top- Rustic Oak from Minwax - 2 coats
Sealer- 3 coats
Recommended Skill Level
Beginner
Back