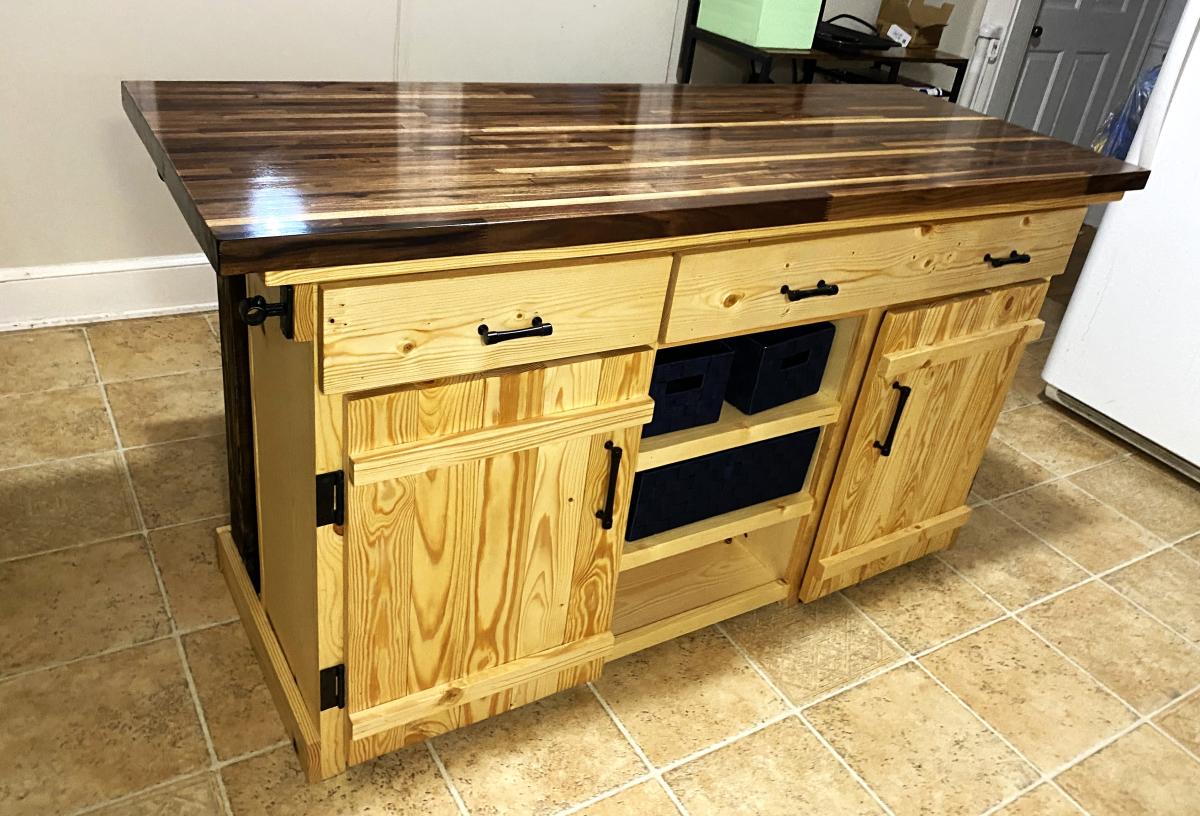
DIY Chef Island
This was a labor of love for my son’s Christmas gift. He wants to be a chef and all he has wanted was an island in our kitchen. Thanks Ana for such an amazing and simple (enough) plan.
Built from Plan(s)
This was a labor of love for my son’s Christmas gift. He wants to be a chef and all he has wanted was an island in our kitchen. Thanks Ana for such an amazing and simple (enough) plan.
THANK YOU ANA FOR ALL THE GREAT PLANS!!
I am in southern california (mild weather) so i just used pine and coated them with urethane.

My wife and I were looking for a larger table for our deck and after searching and seeing that everything out there was 300 dollars and up for something decent I decided I would try building something. This table was perfect for our needs and looked easy enough for me to put together. The most time consuming part was staining all of the boards as I went but it was totally worth it in the end. I also deviated from using screws and used my nail gun along with some glue to put the top frame together and the slats on but I did use some 2inch deckmate screws to attach the legs. One problem I did run into was I was about half a board short on the slats which wasn't a big deal just ripped one on the table saw, not sure if I miss measured or what but either way. We love our table and will entertain around it for years to come.

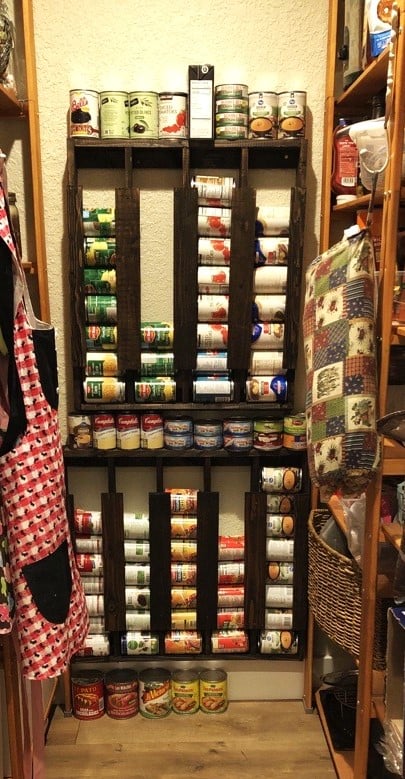
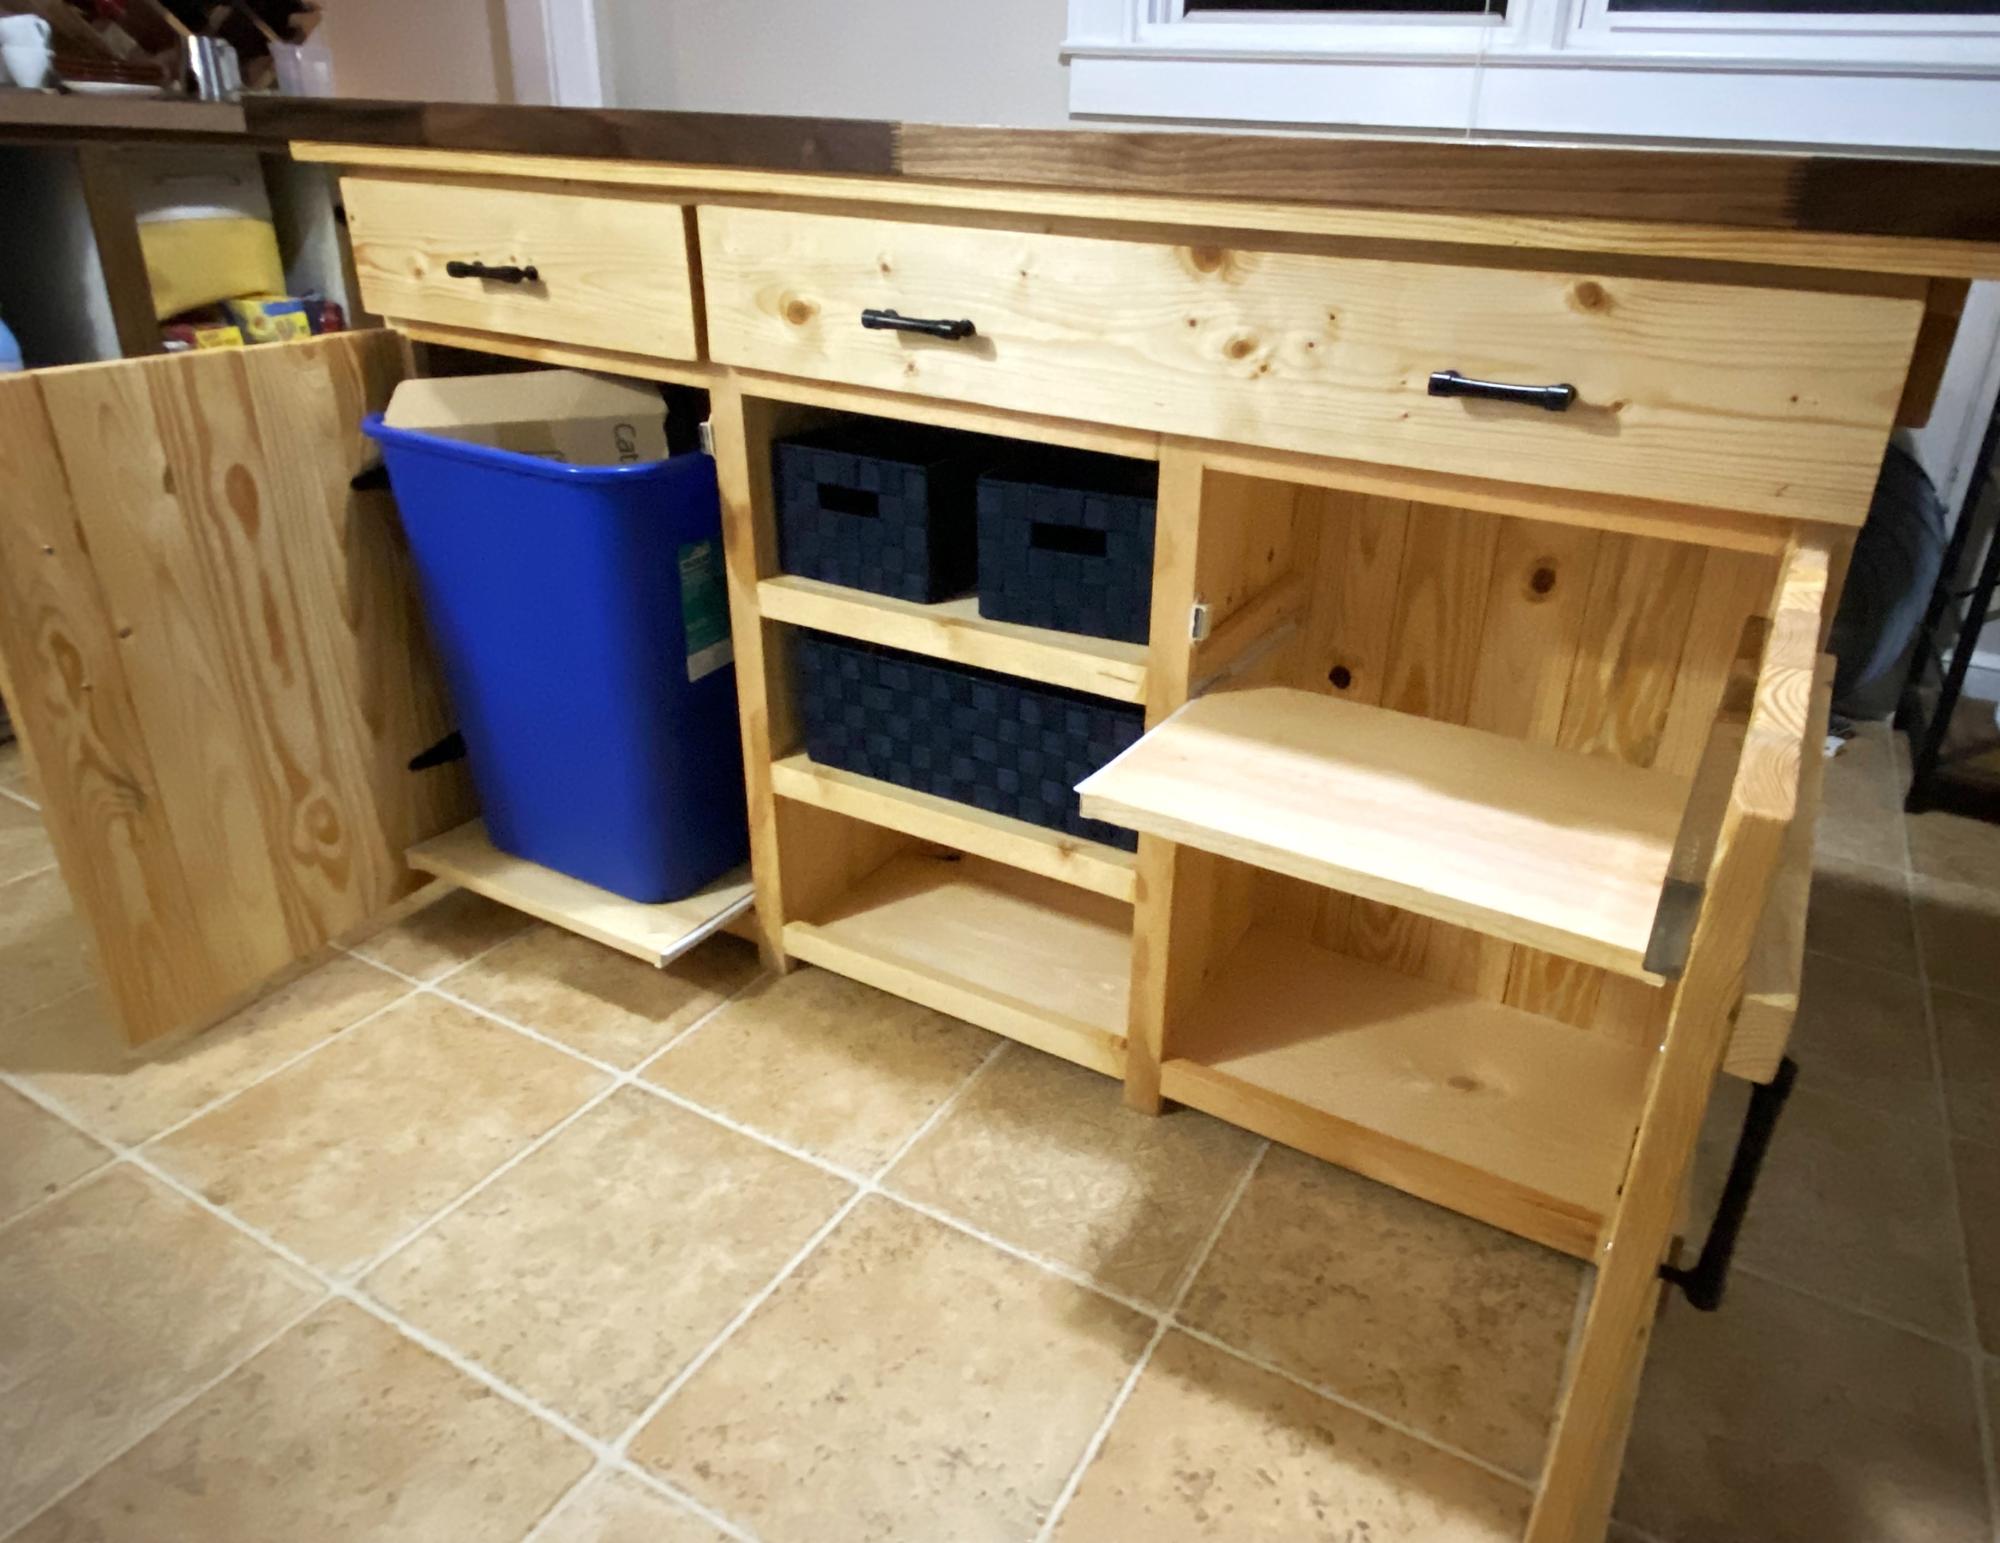
Loved these plans. Top unit was built exactly to specs. Bottom unit was built to accommodate one column of cans. I have also built one for my sis-in-law and will be building one more for this pantry. Love this project!
Leah
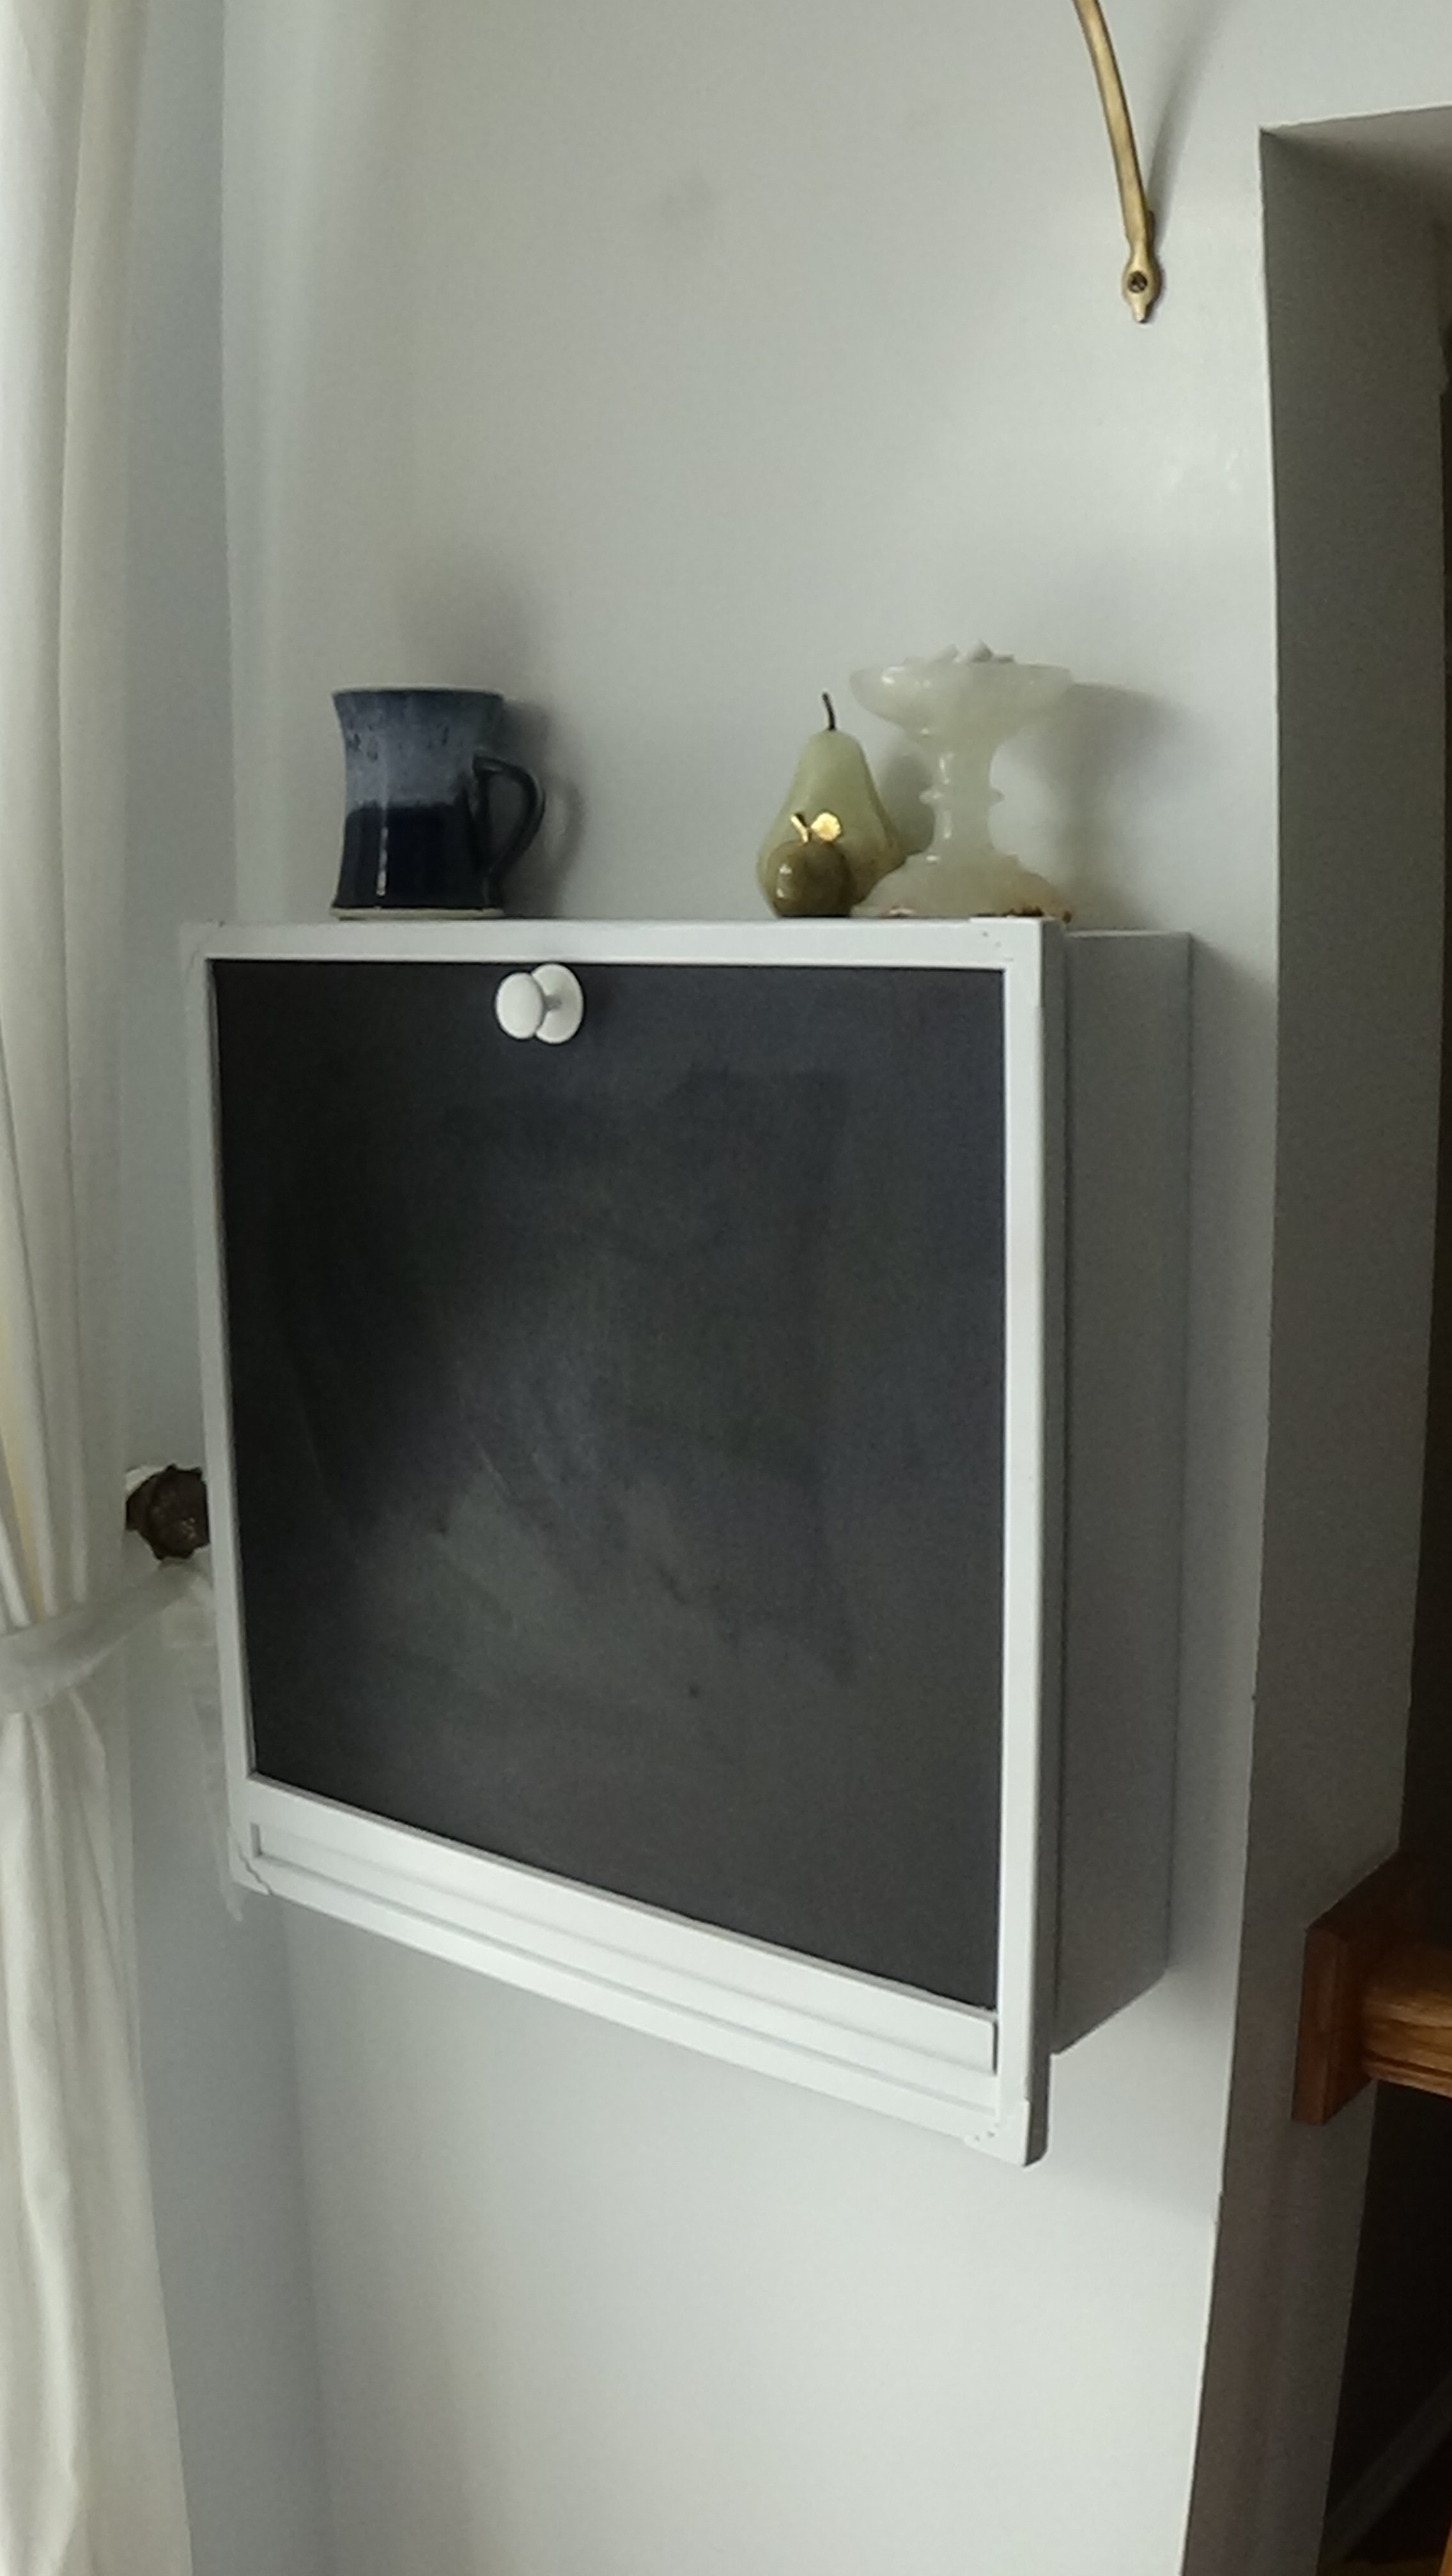
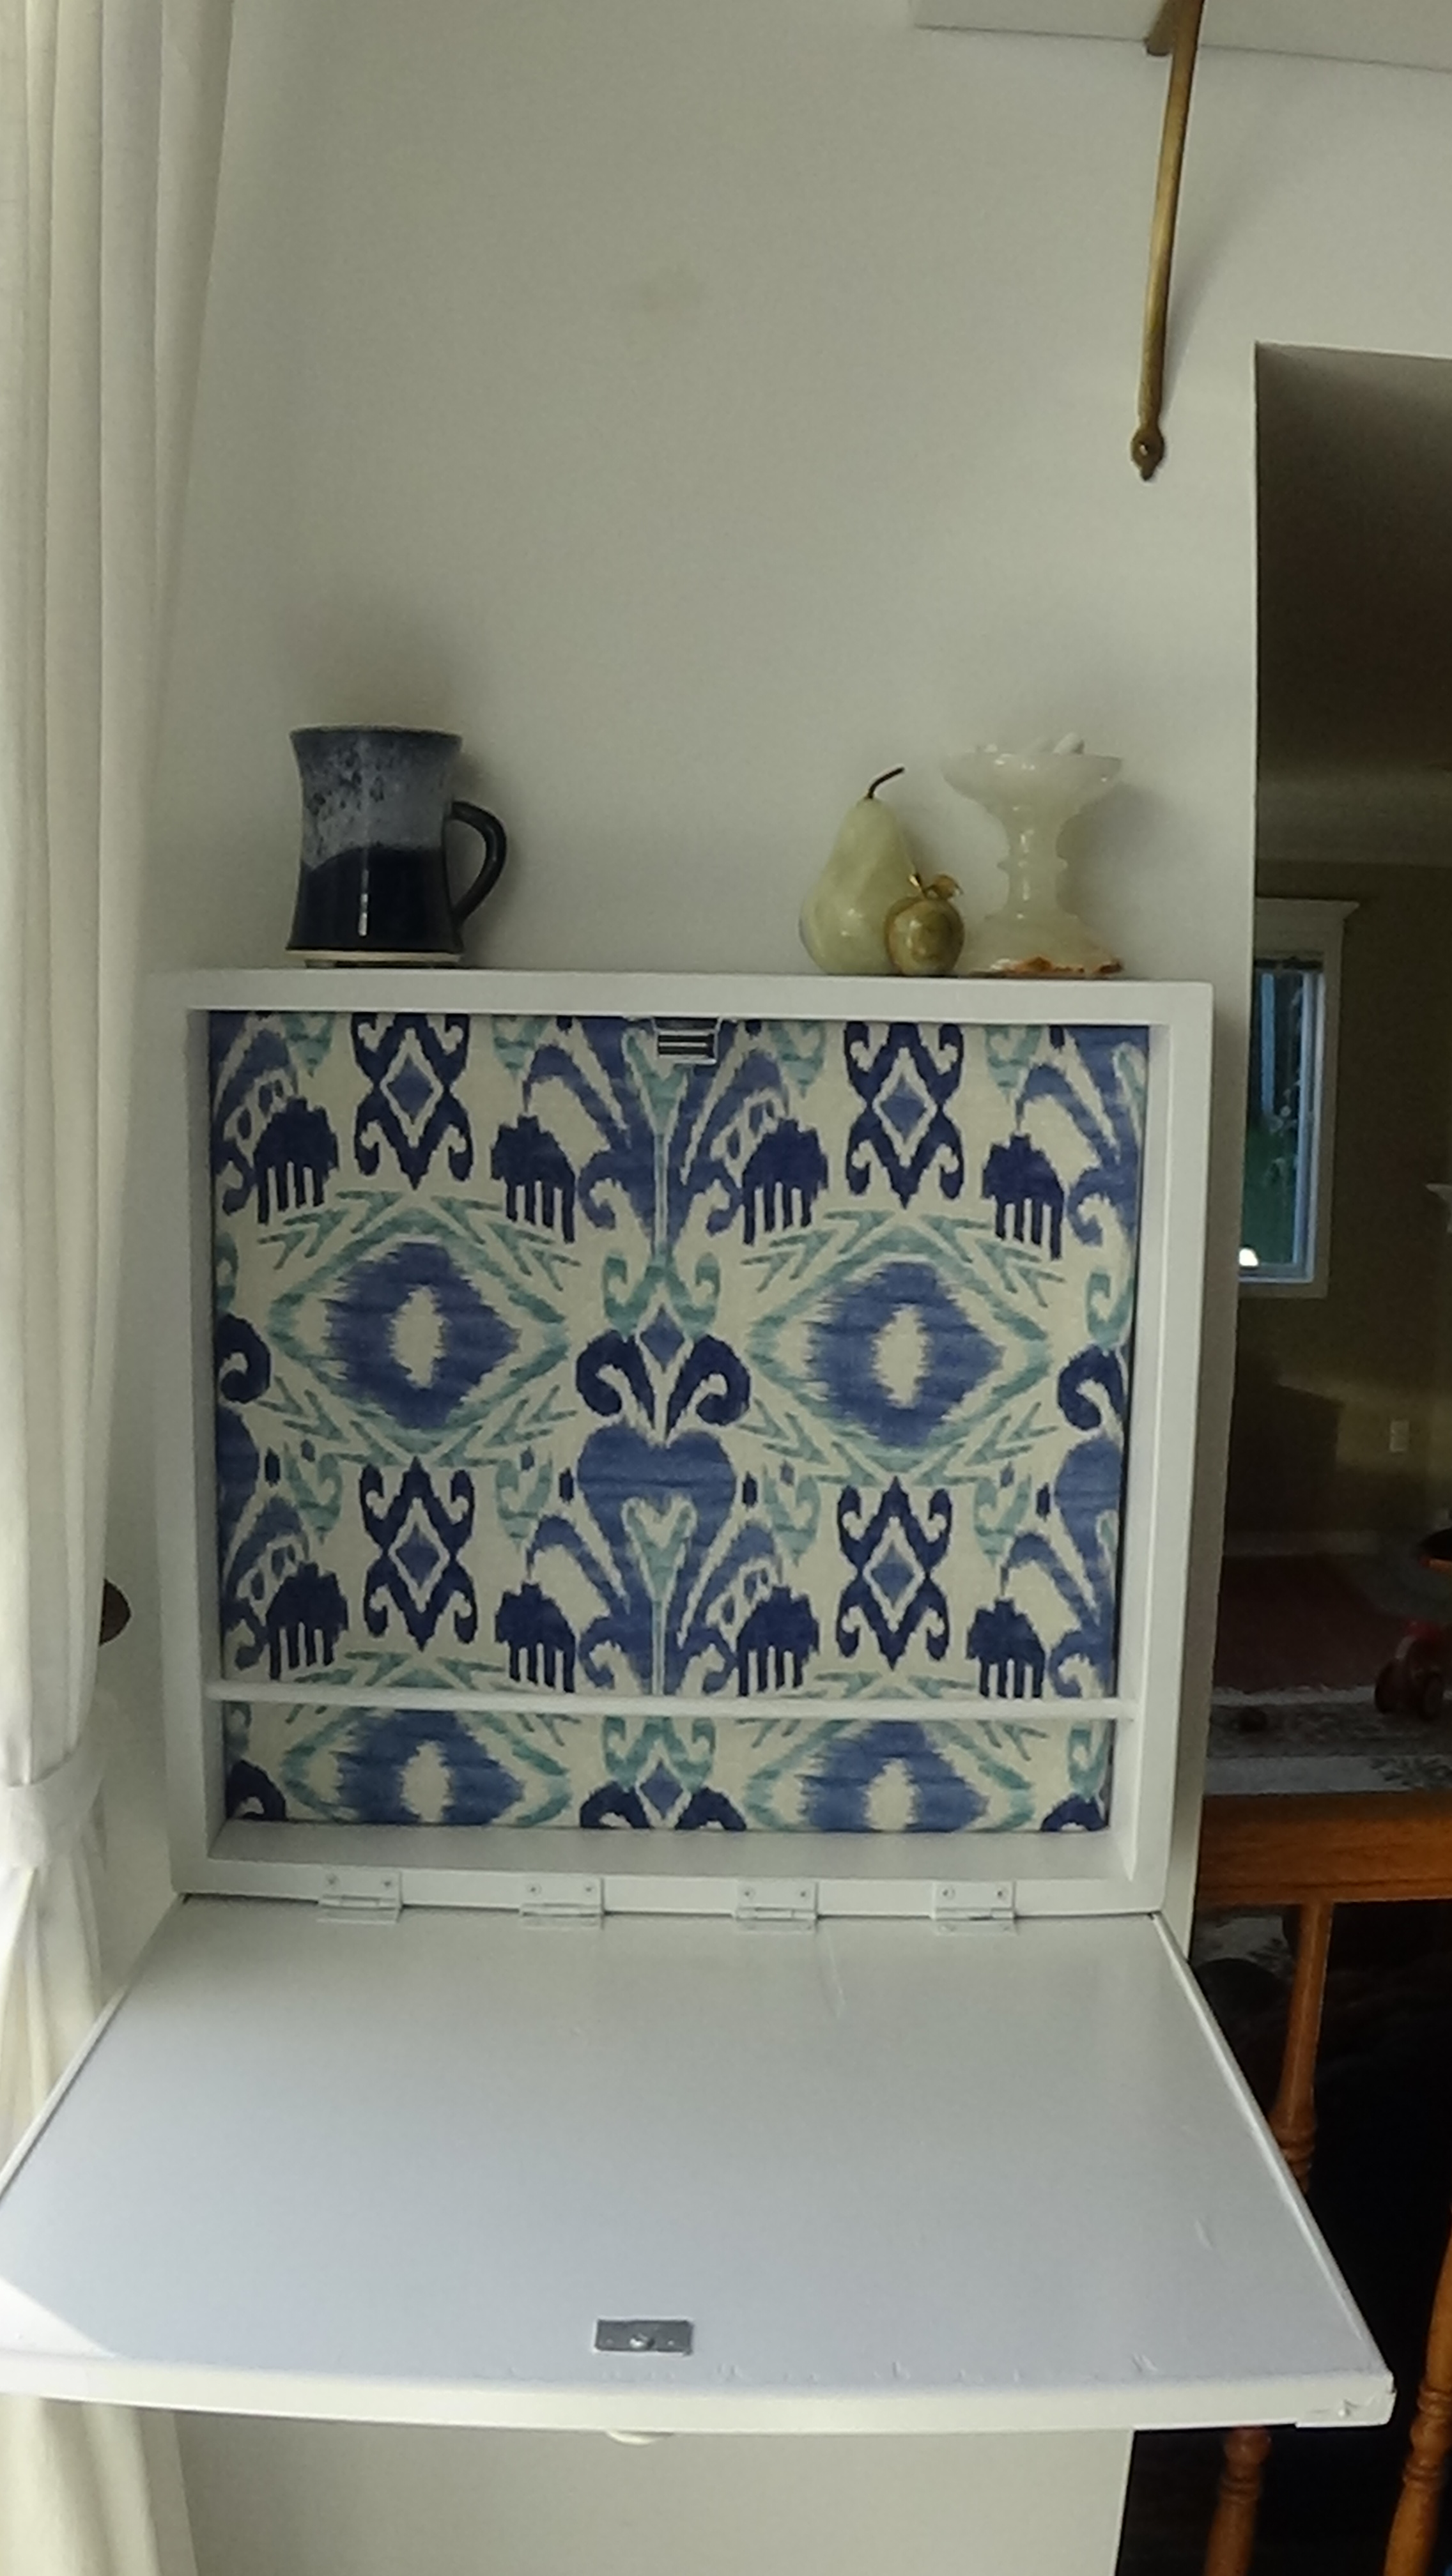
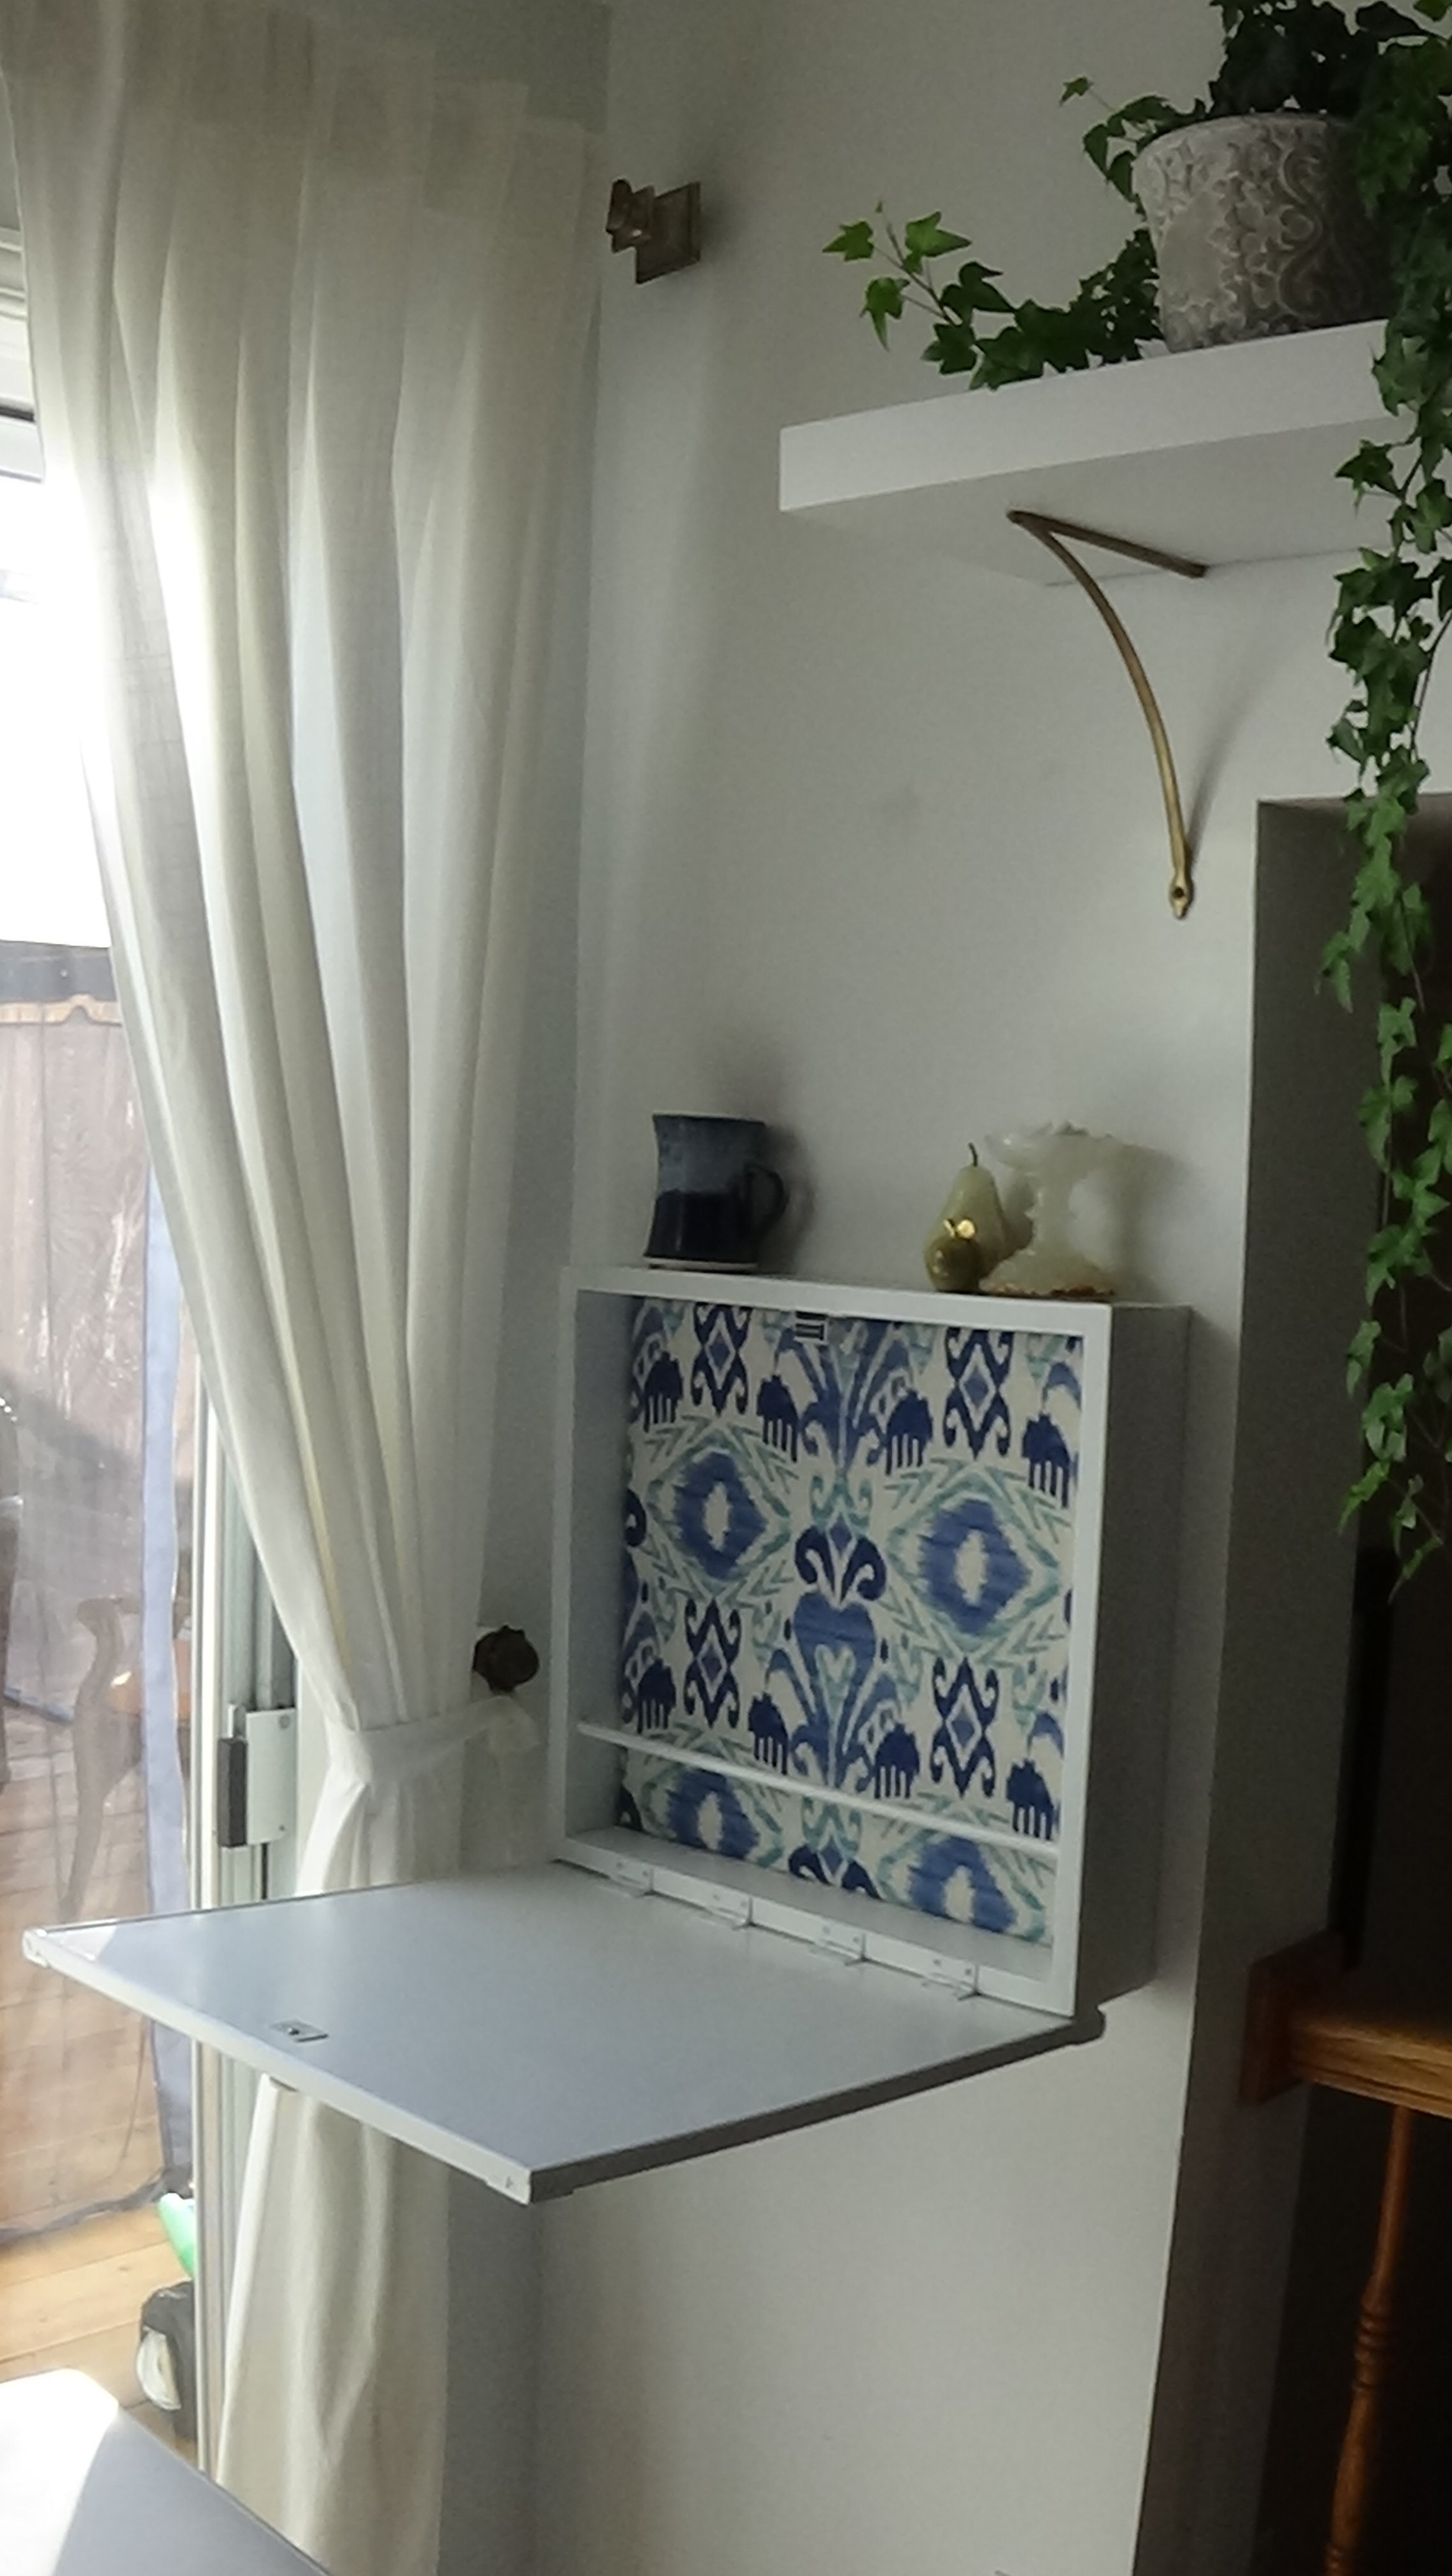
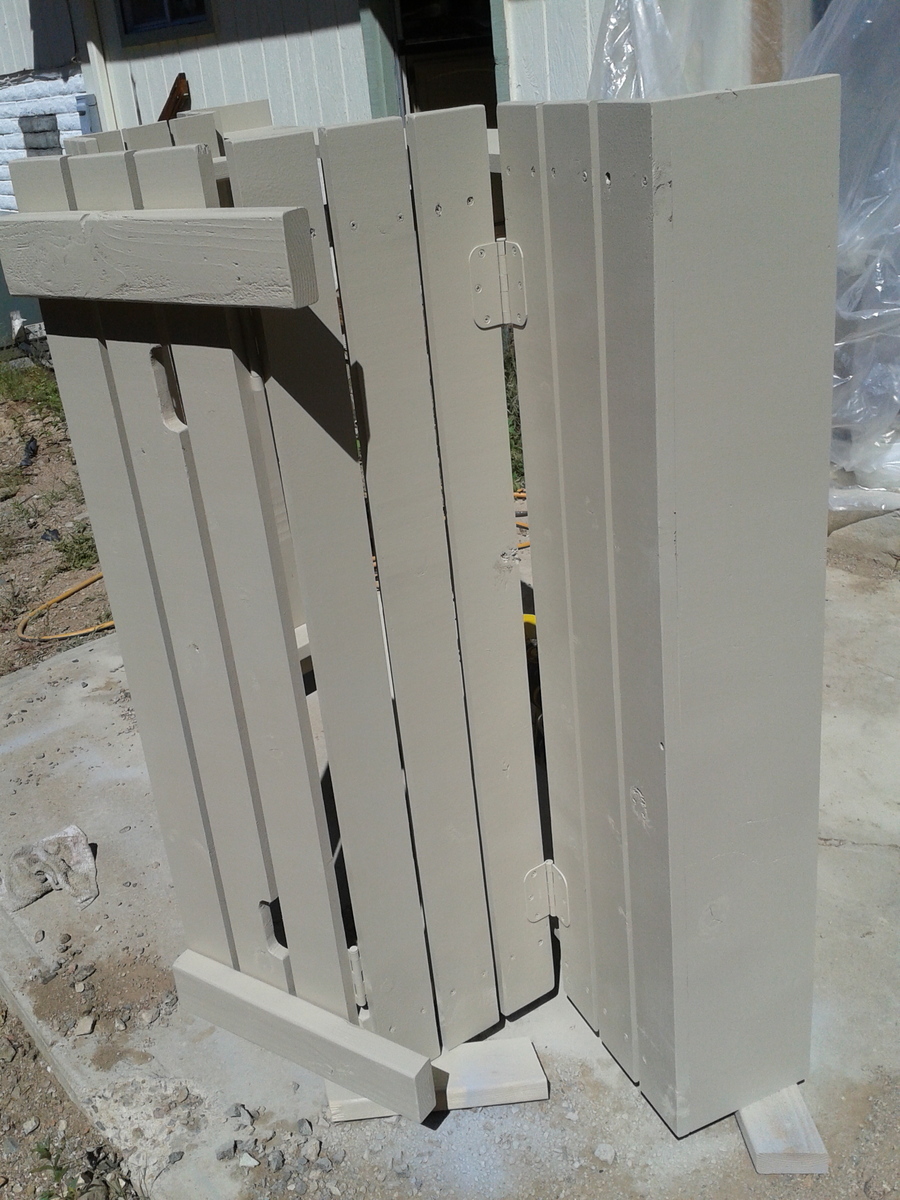
Inspired by Ana's Flip down wall art desk. It has different dimentions since wall space was limited. I used a magnet as a lock, added upholstered back, dowel for storage and extended the bottom part to add some strength. It is very handy!

Thu, 09/22/2016 - 09:06
Very cool, love the upholstered back! Thanks for bragging your project!
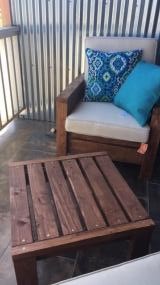
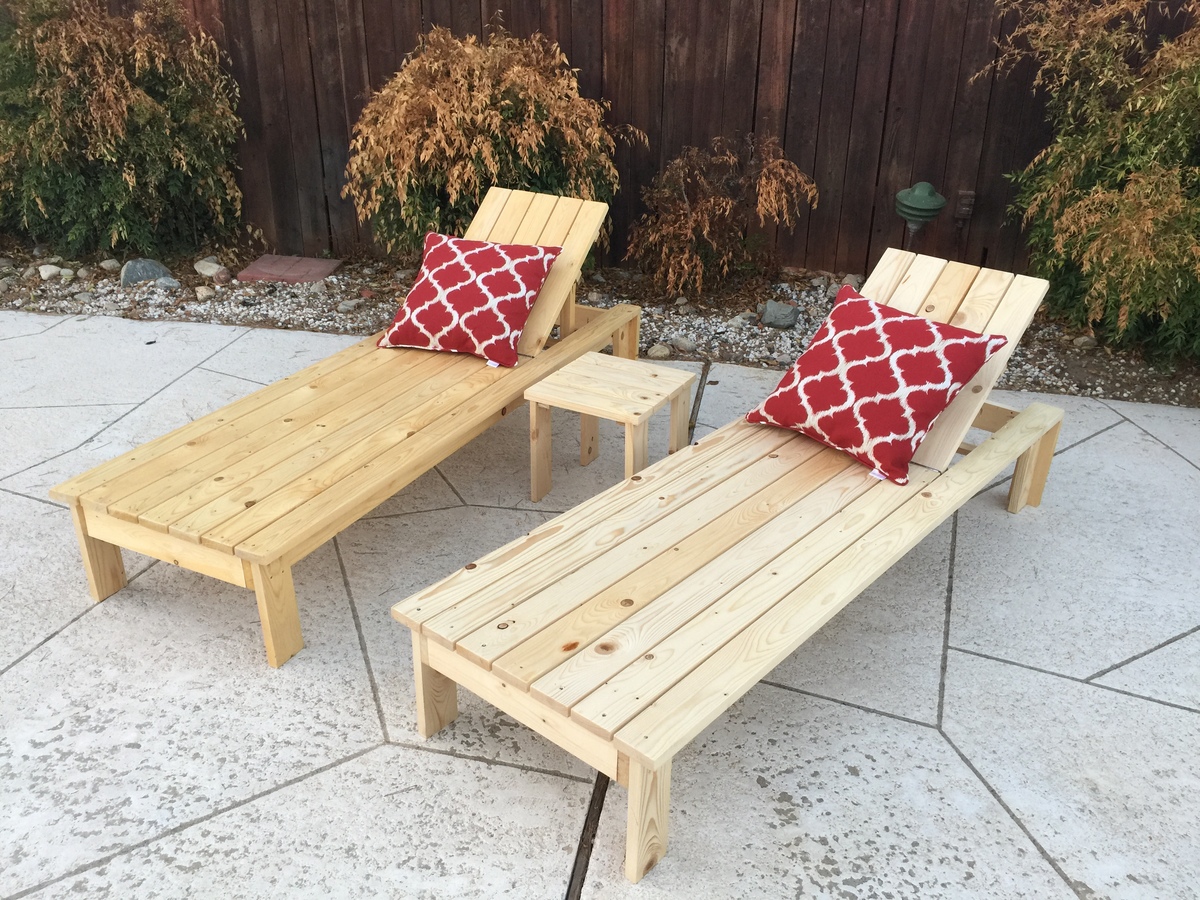
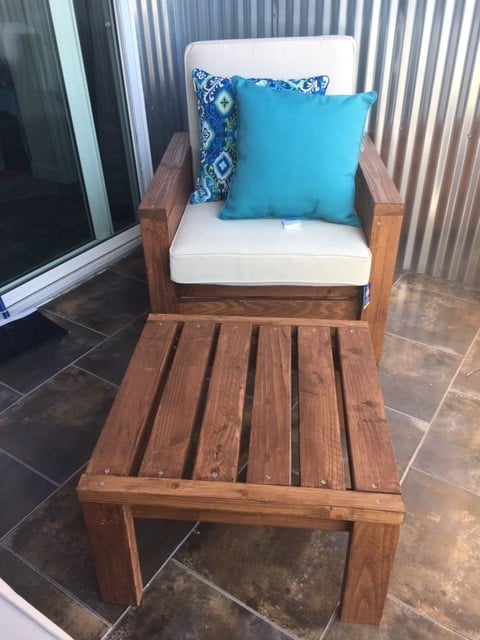
The chairs were my first project ever and they came out great! I even made the ottoman/side table because the chairs looked so good. Ana, your plans were fantastic and easy for a beginner. I learned so much from this first project and I'm already working on another project from your site! The cushions were definitely the most expensive part of the chair.
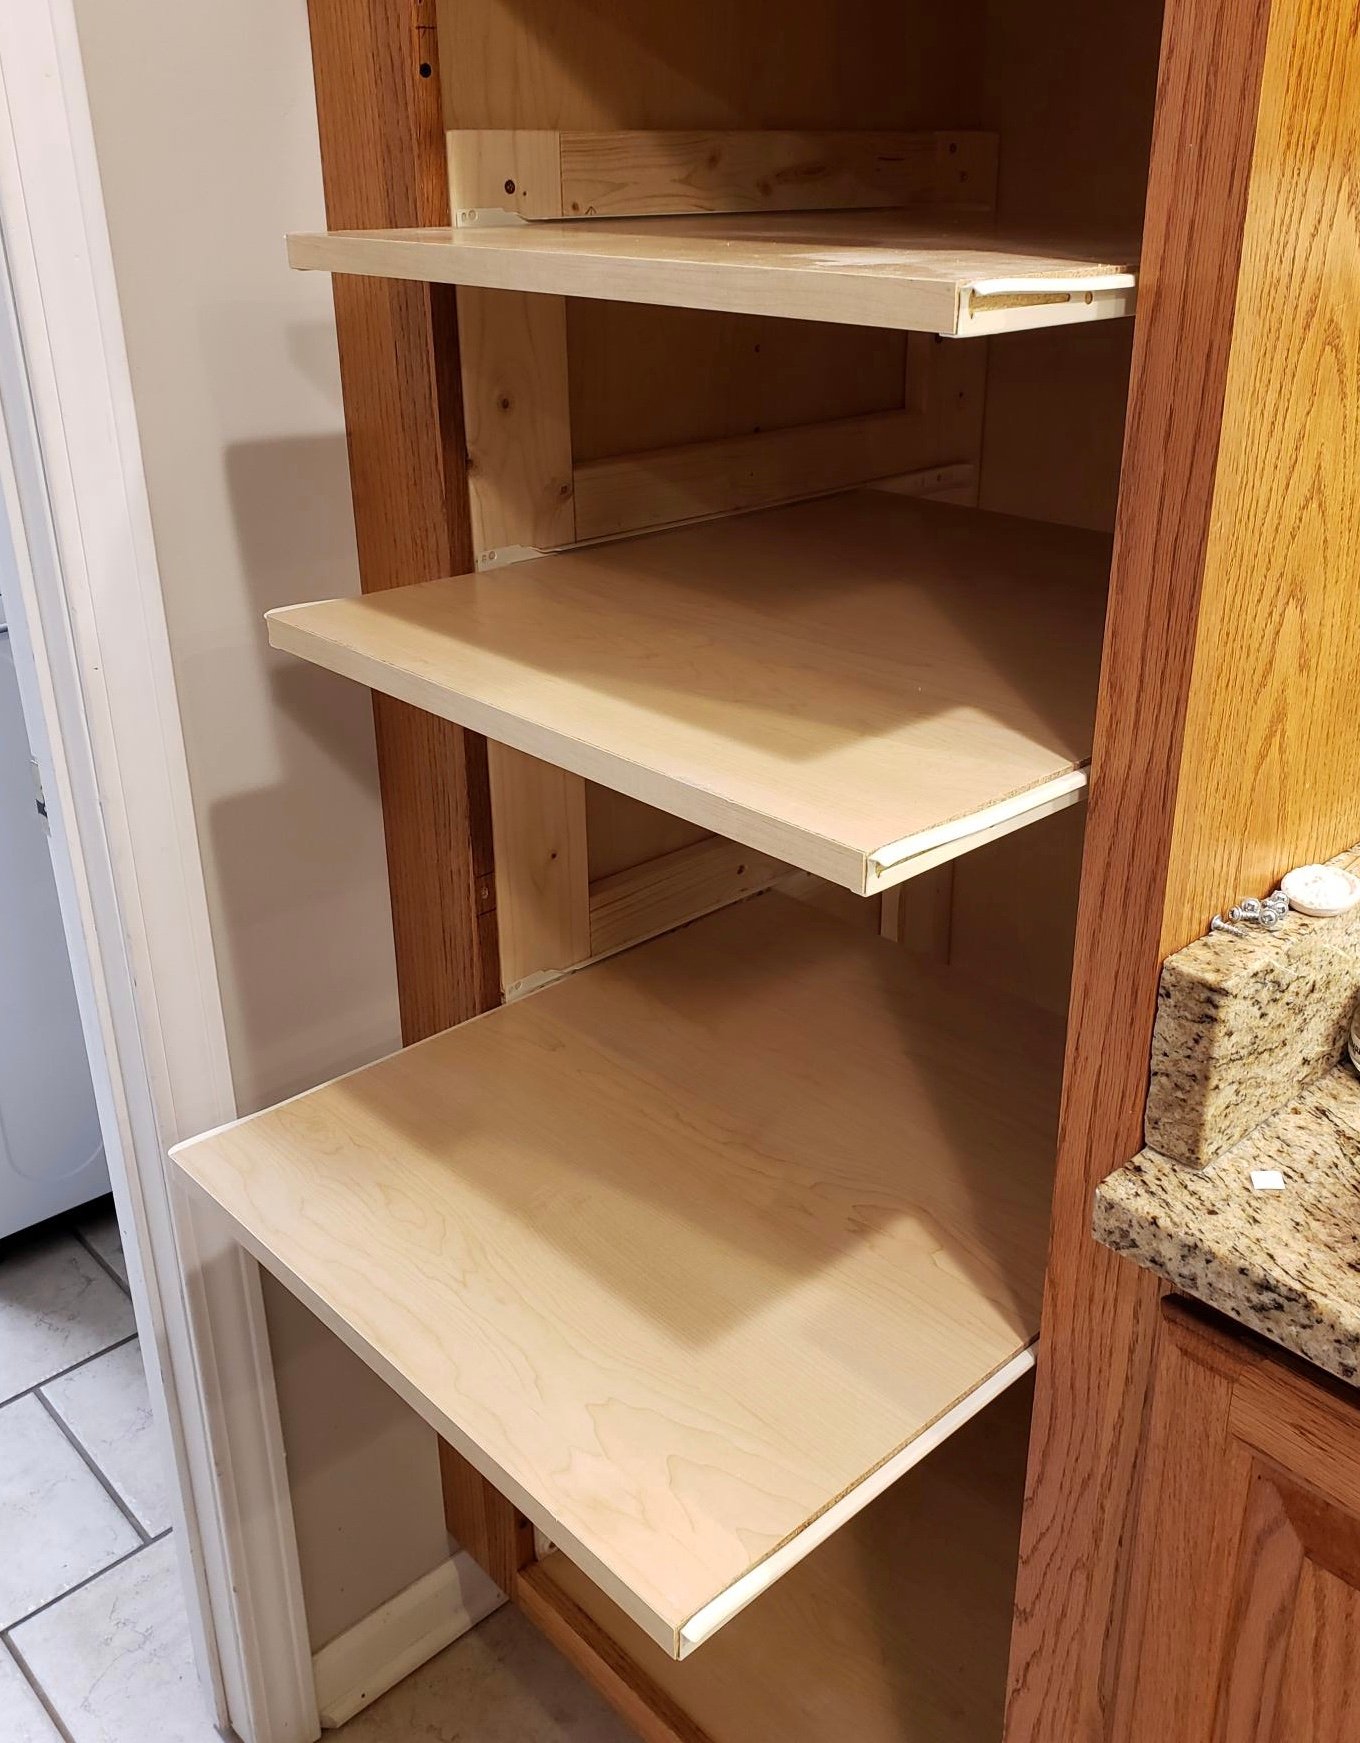
Stationary shelves are such a hassle, especially in a deep pantry cabinet! Now I can actually SEE the contents of my pantry cabinet. Thanks for the inspiration and tutorial to get it done!
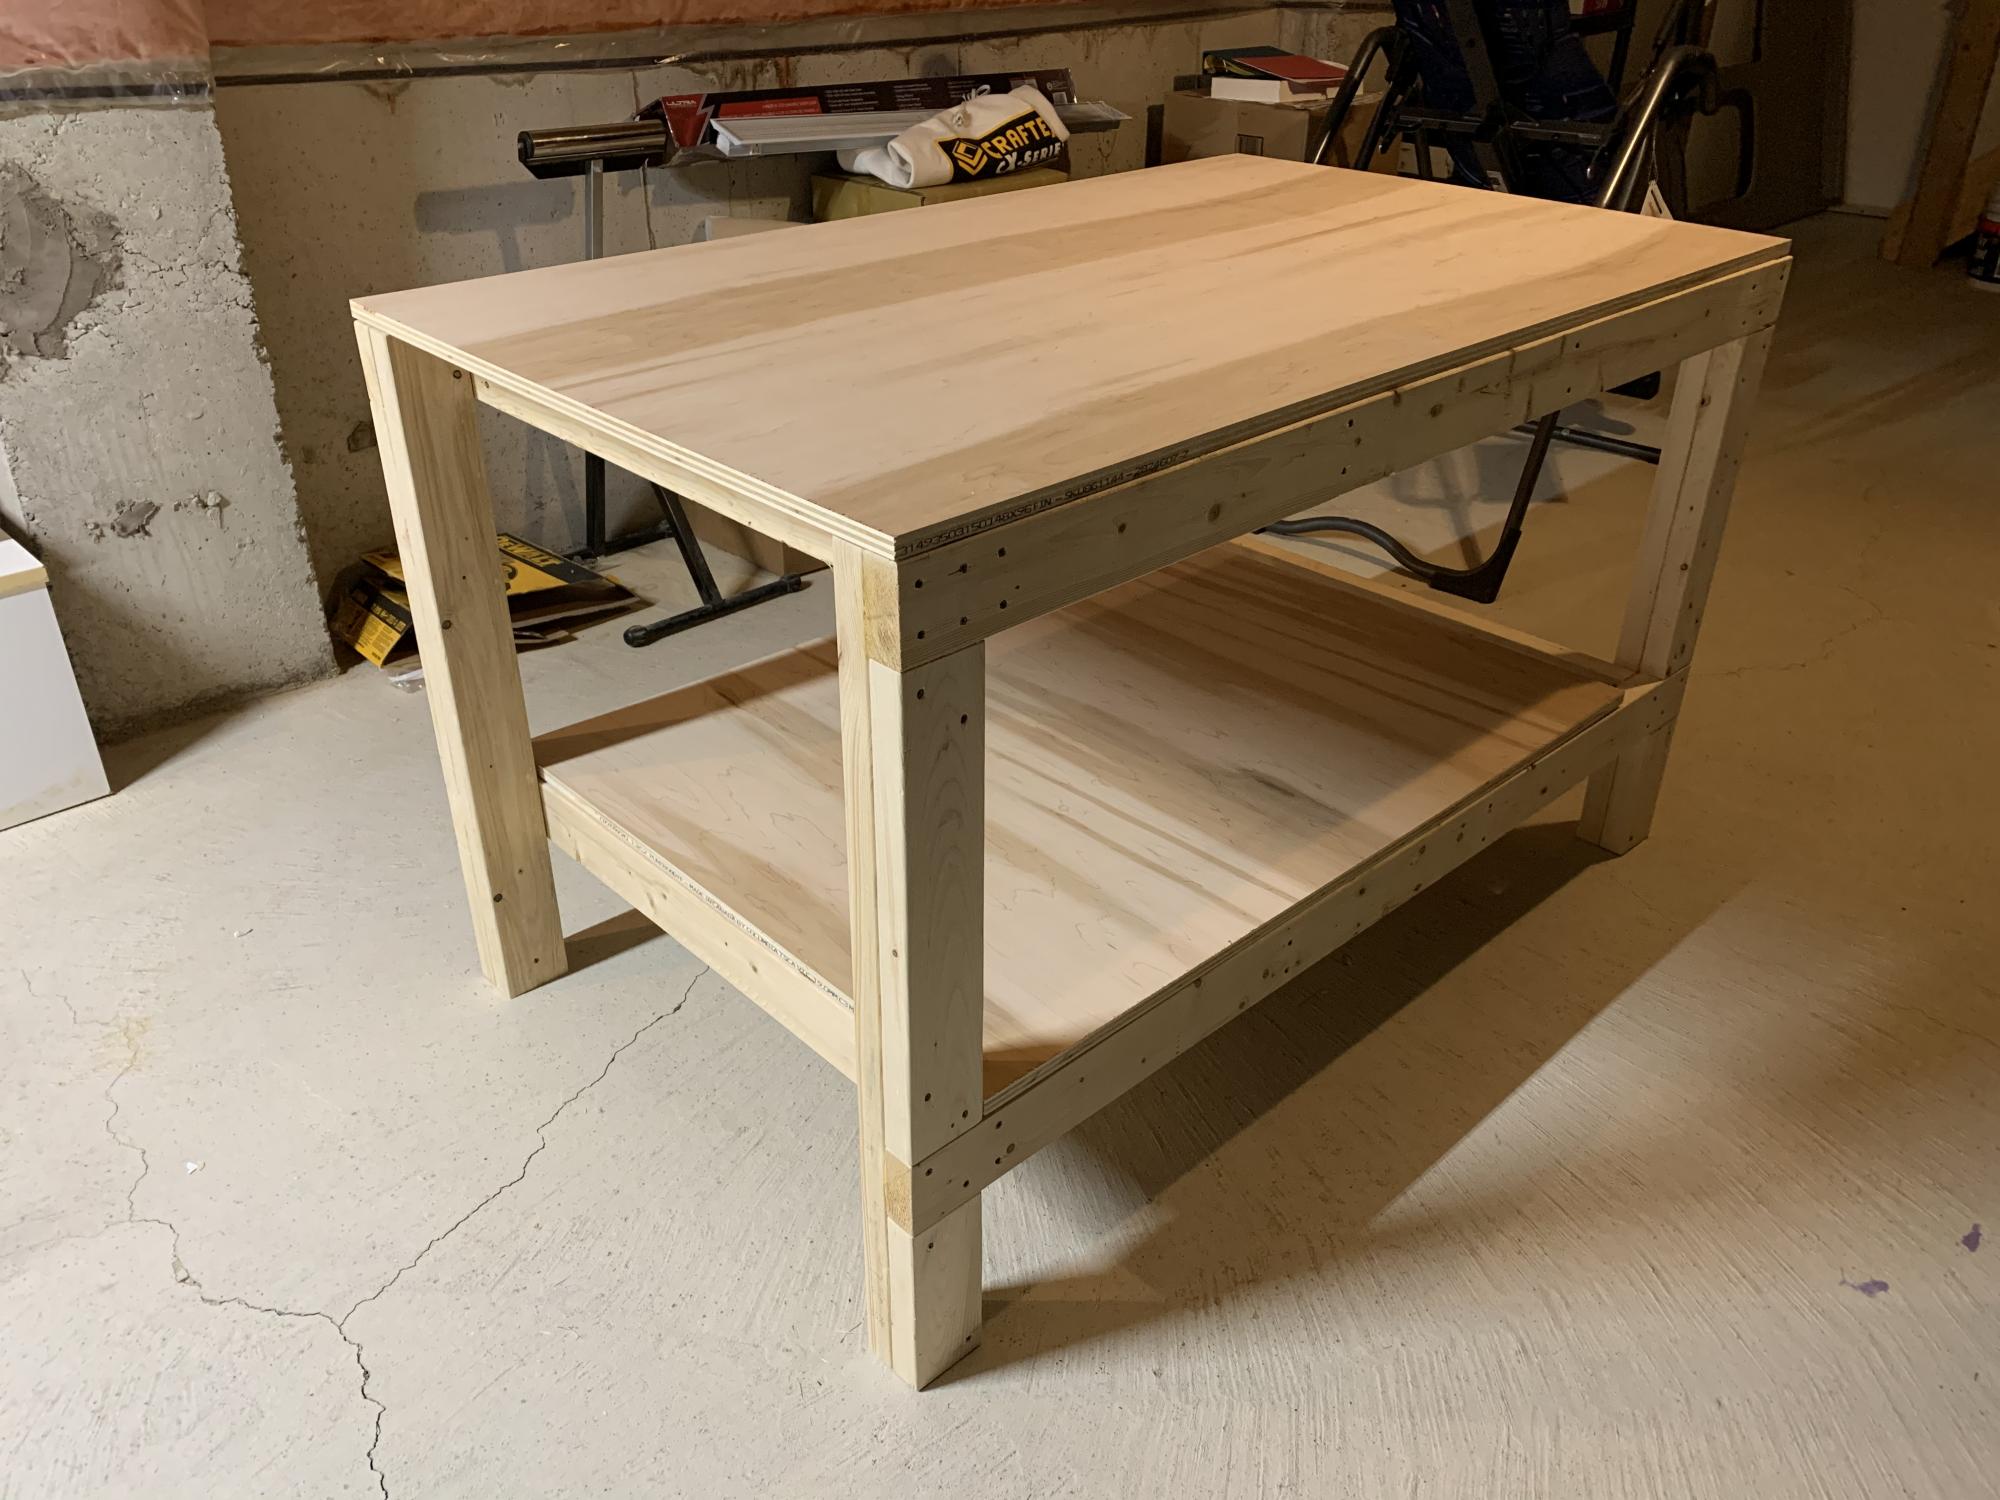
Thanks for the simple plans Anna, they worked out great!. I resized the table to make maximum use of the material, still within the same quantity you specified in your plans. I glued the legs along the lengths of the table, and kept the table top and shelf screwed in, for easy dismantling, if necessary.
Finally I added pop down heavy duty wheels allowing me to move the table (not shown in this pic) easily. When the wheels are not being used they pop up, making the table very stable. The height of the table is about 1/2” lower than the table saw, making it an ideal outfeed table as well.
Great design, and fun build.
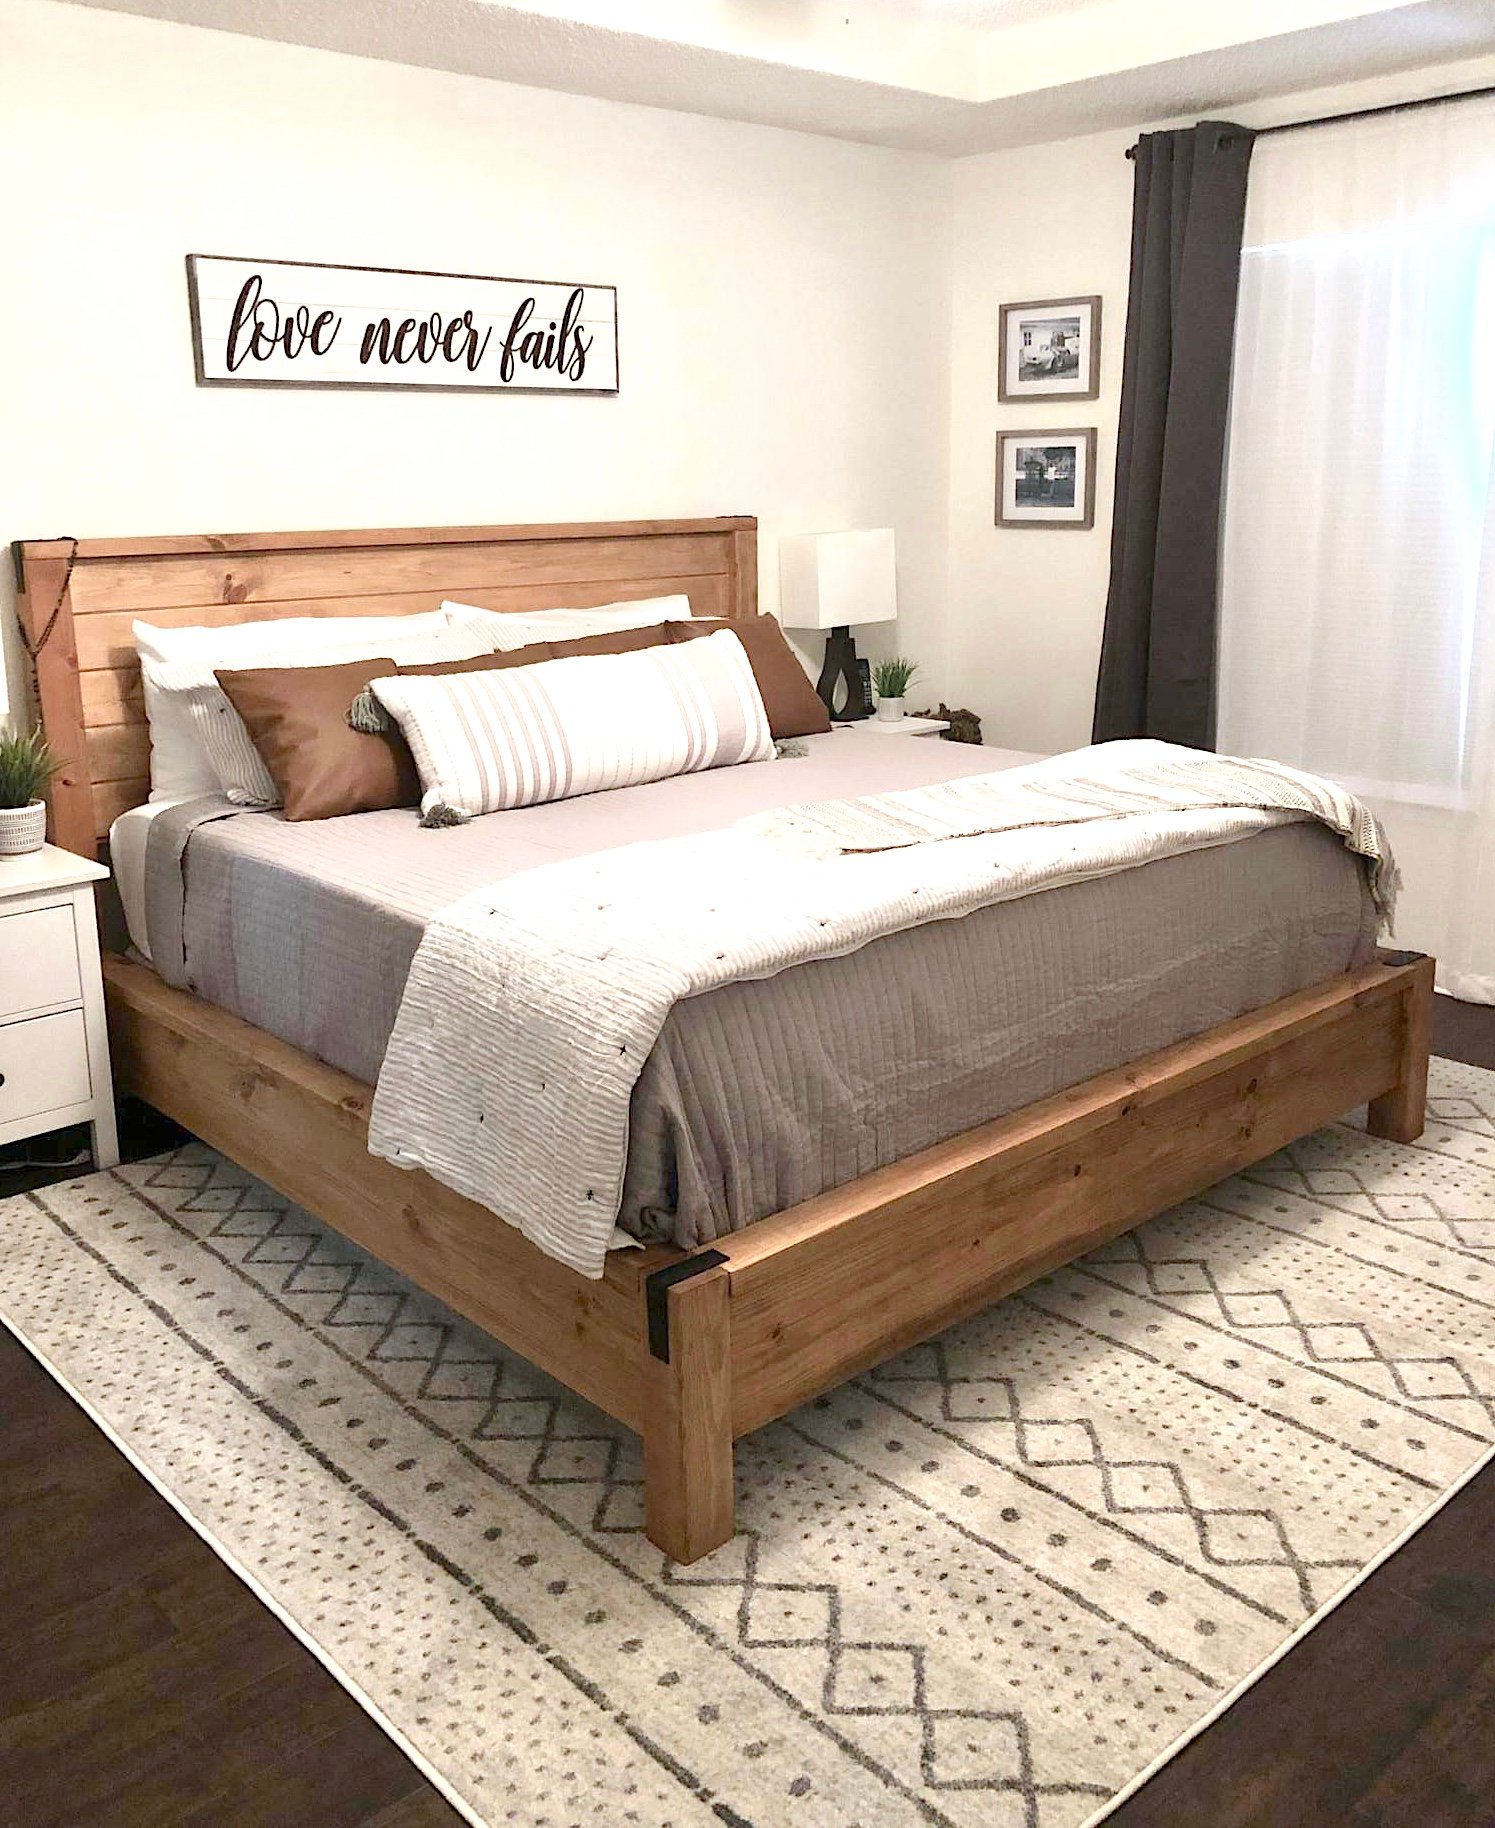
Made this bed from Ana's plans. Modified it with rail so I can add my box spring. Cost was approximately $160 for lumber, screws and stain. Absolutely loved the plans and easy to follow or modify if needed.


Tue, 02/23/2021 - 20:12
This is gorgeous! Is there anyway you could post your modifications? Very nice work!!!
I found the original plans and LOVED them, but my house is tiny, so I was forced to re-work the plans to fit my space! This is a good bit smaller, but every bit as awesome! ;) I decided not to distress it, but I may down the road if it starts to scuff up! ;) Project took about a week long including finishing time. Actual build time was 9-10 hours over two days.
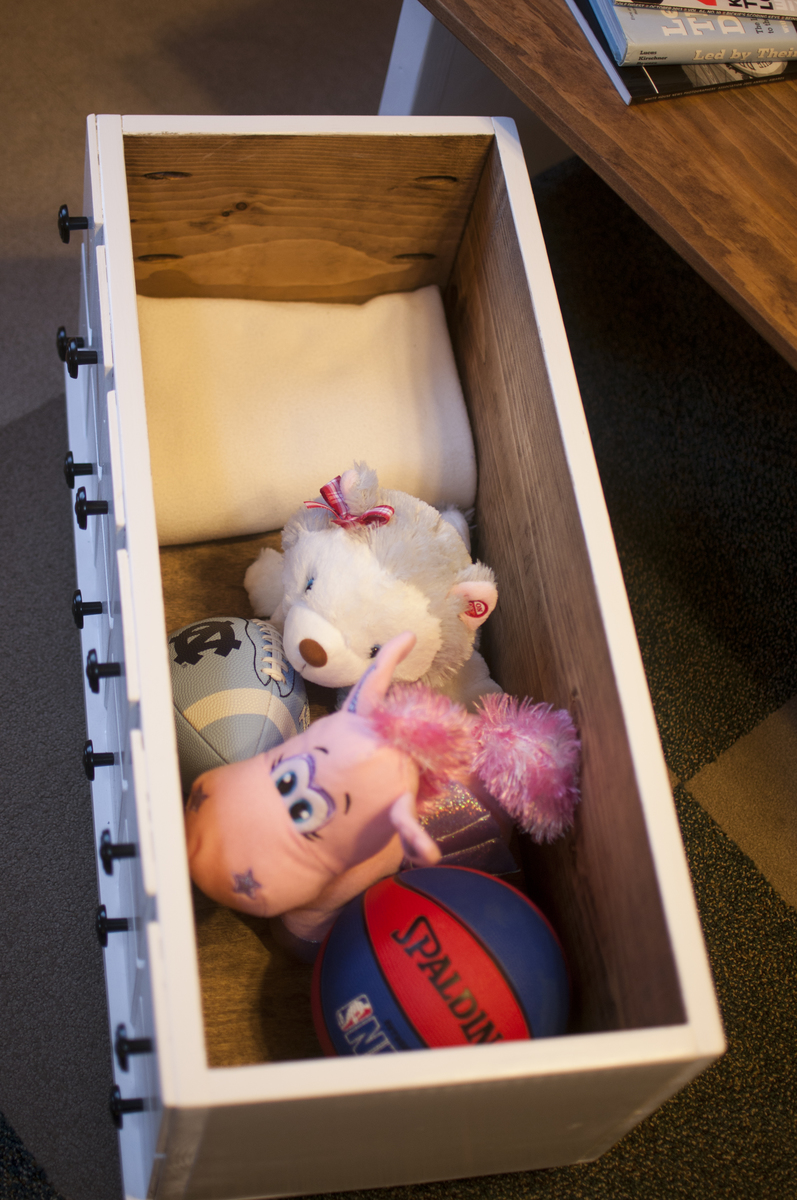
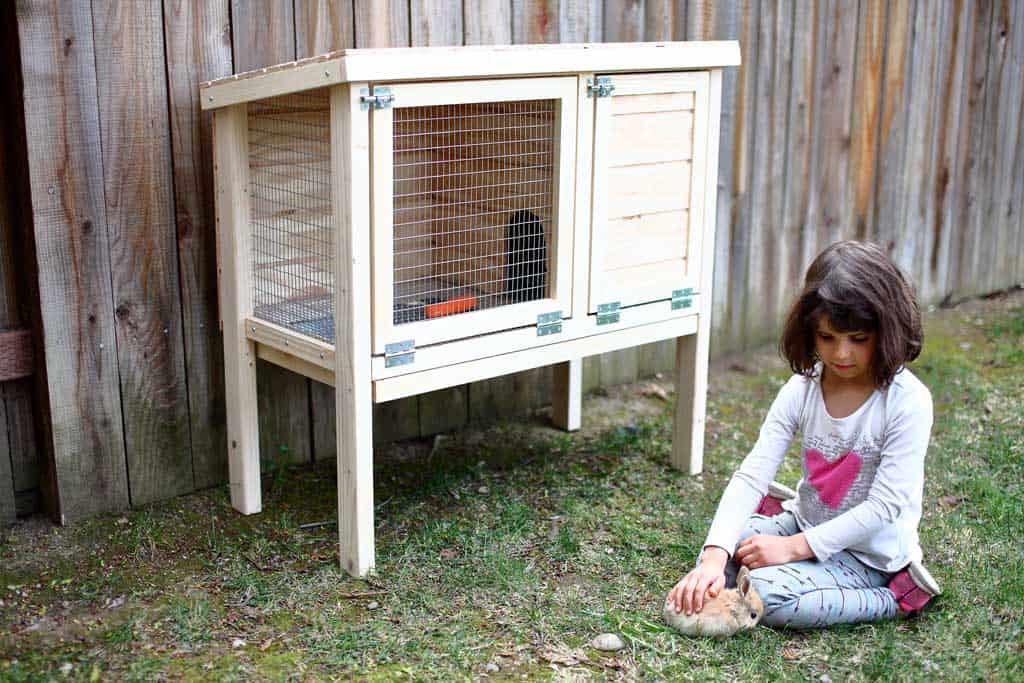
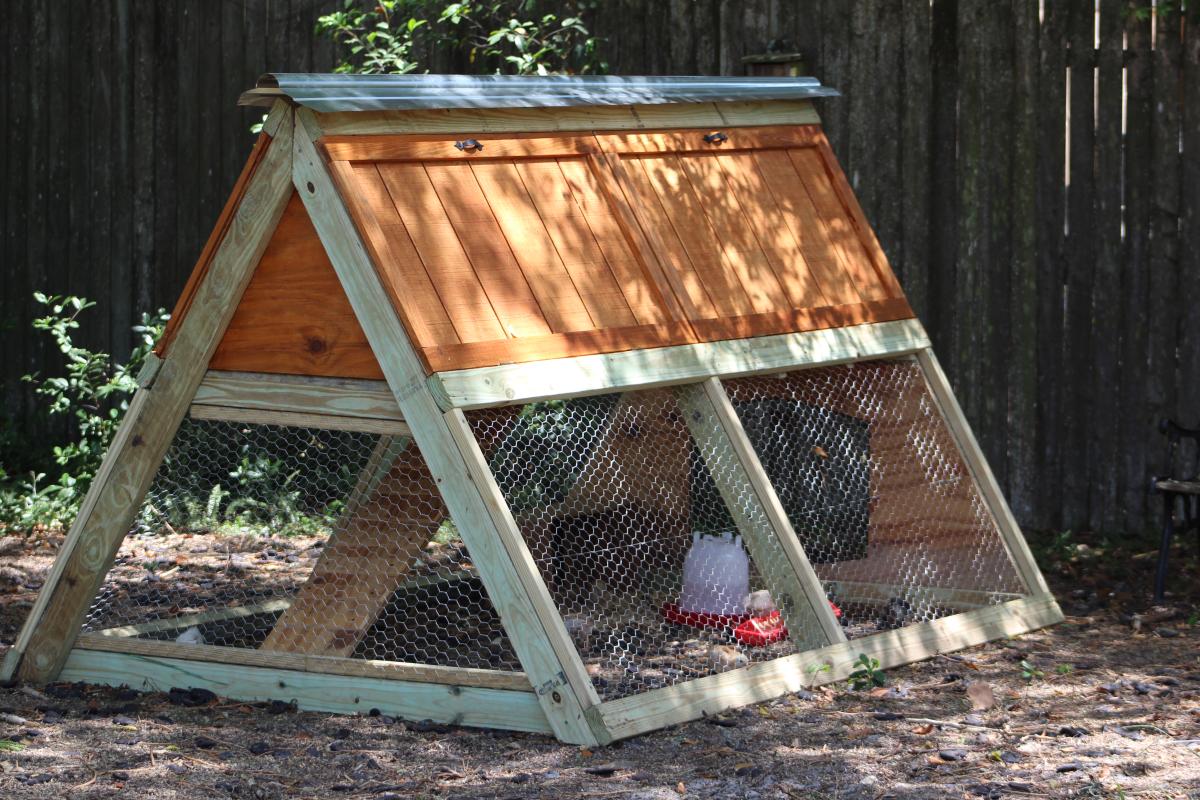
Looking for a cute, interactive pet to add to your home. What about bunnies? These creatures make great indoor pets. But before getting the rabbits, they will need a hutch to live in. To solve this problem, I’ve made detailed plans on how to build a DIY rabbit hutch that could be used indoor and outdoor.
The hutch has a litter pan under the floor that could be removed for cleaning. Since the hutch is only 3 feet wide, it could be easily moved around.
See my website for additional pictures and how I've built it, TheDIYPlan.com


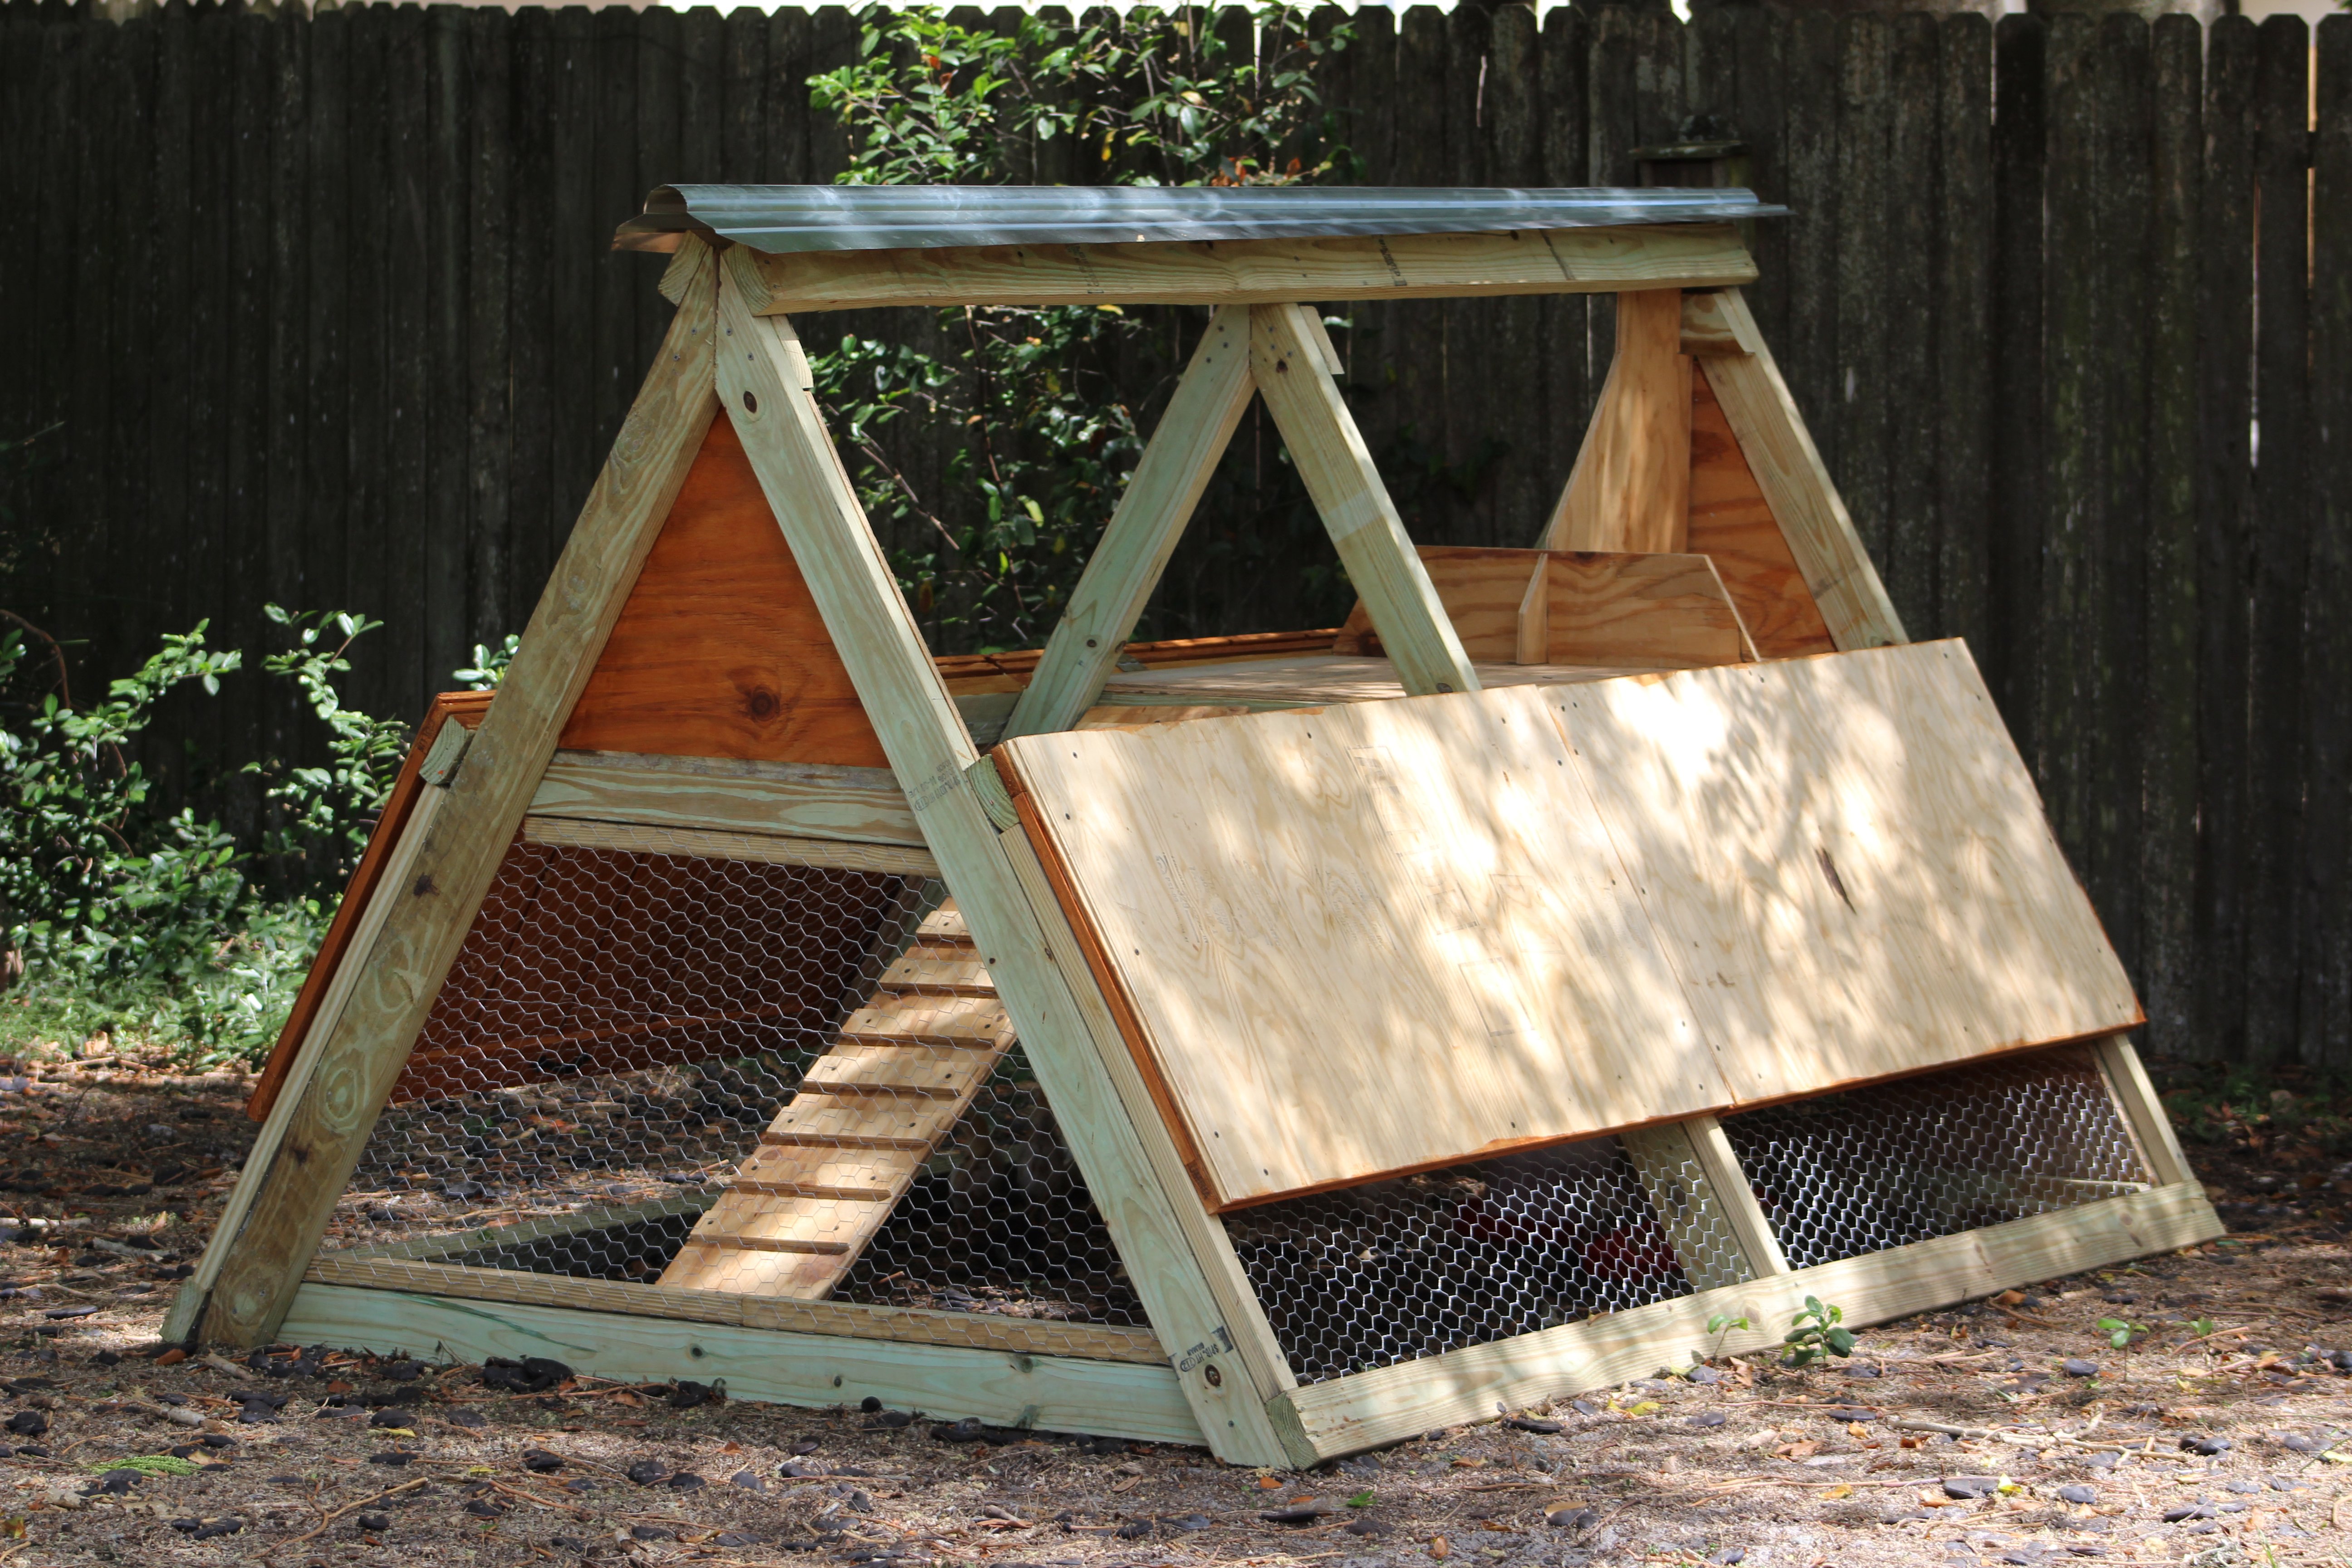
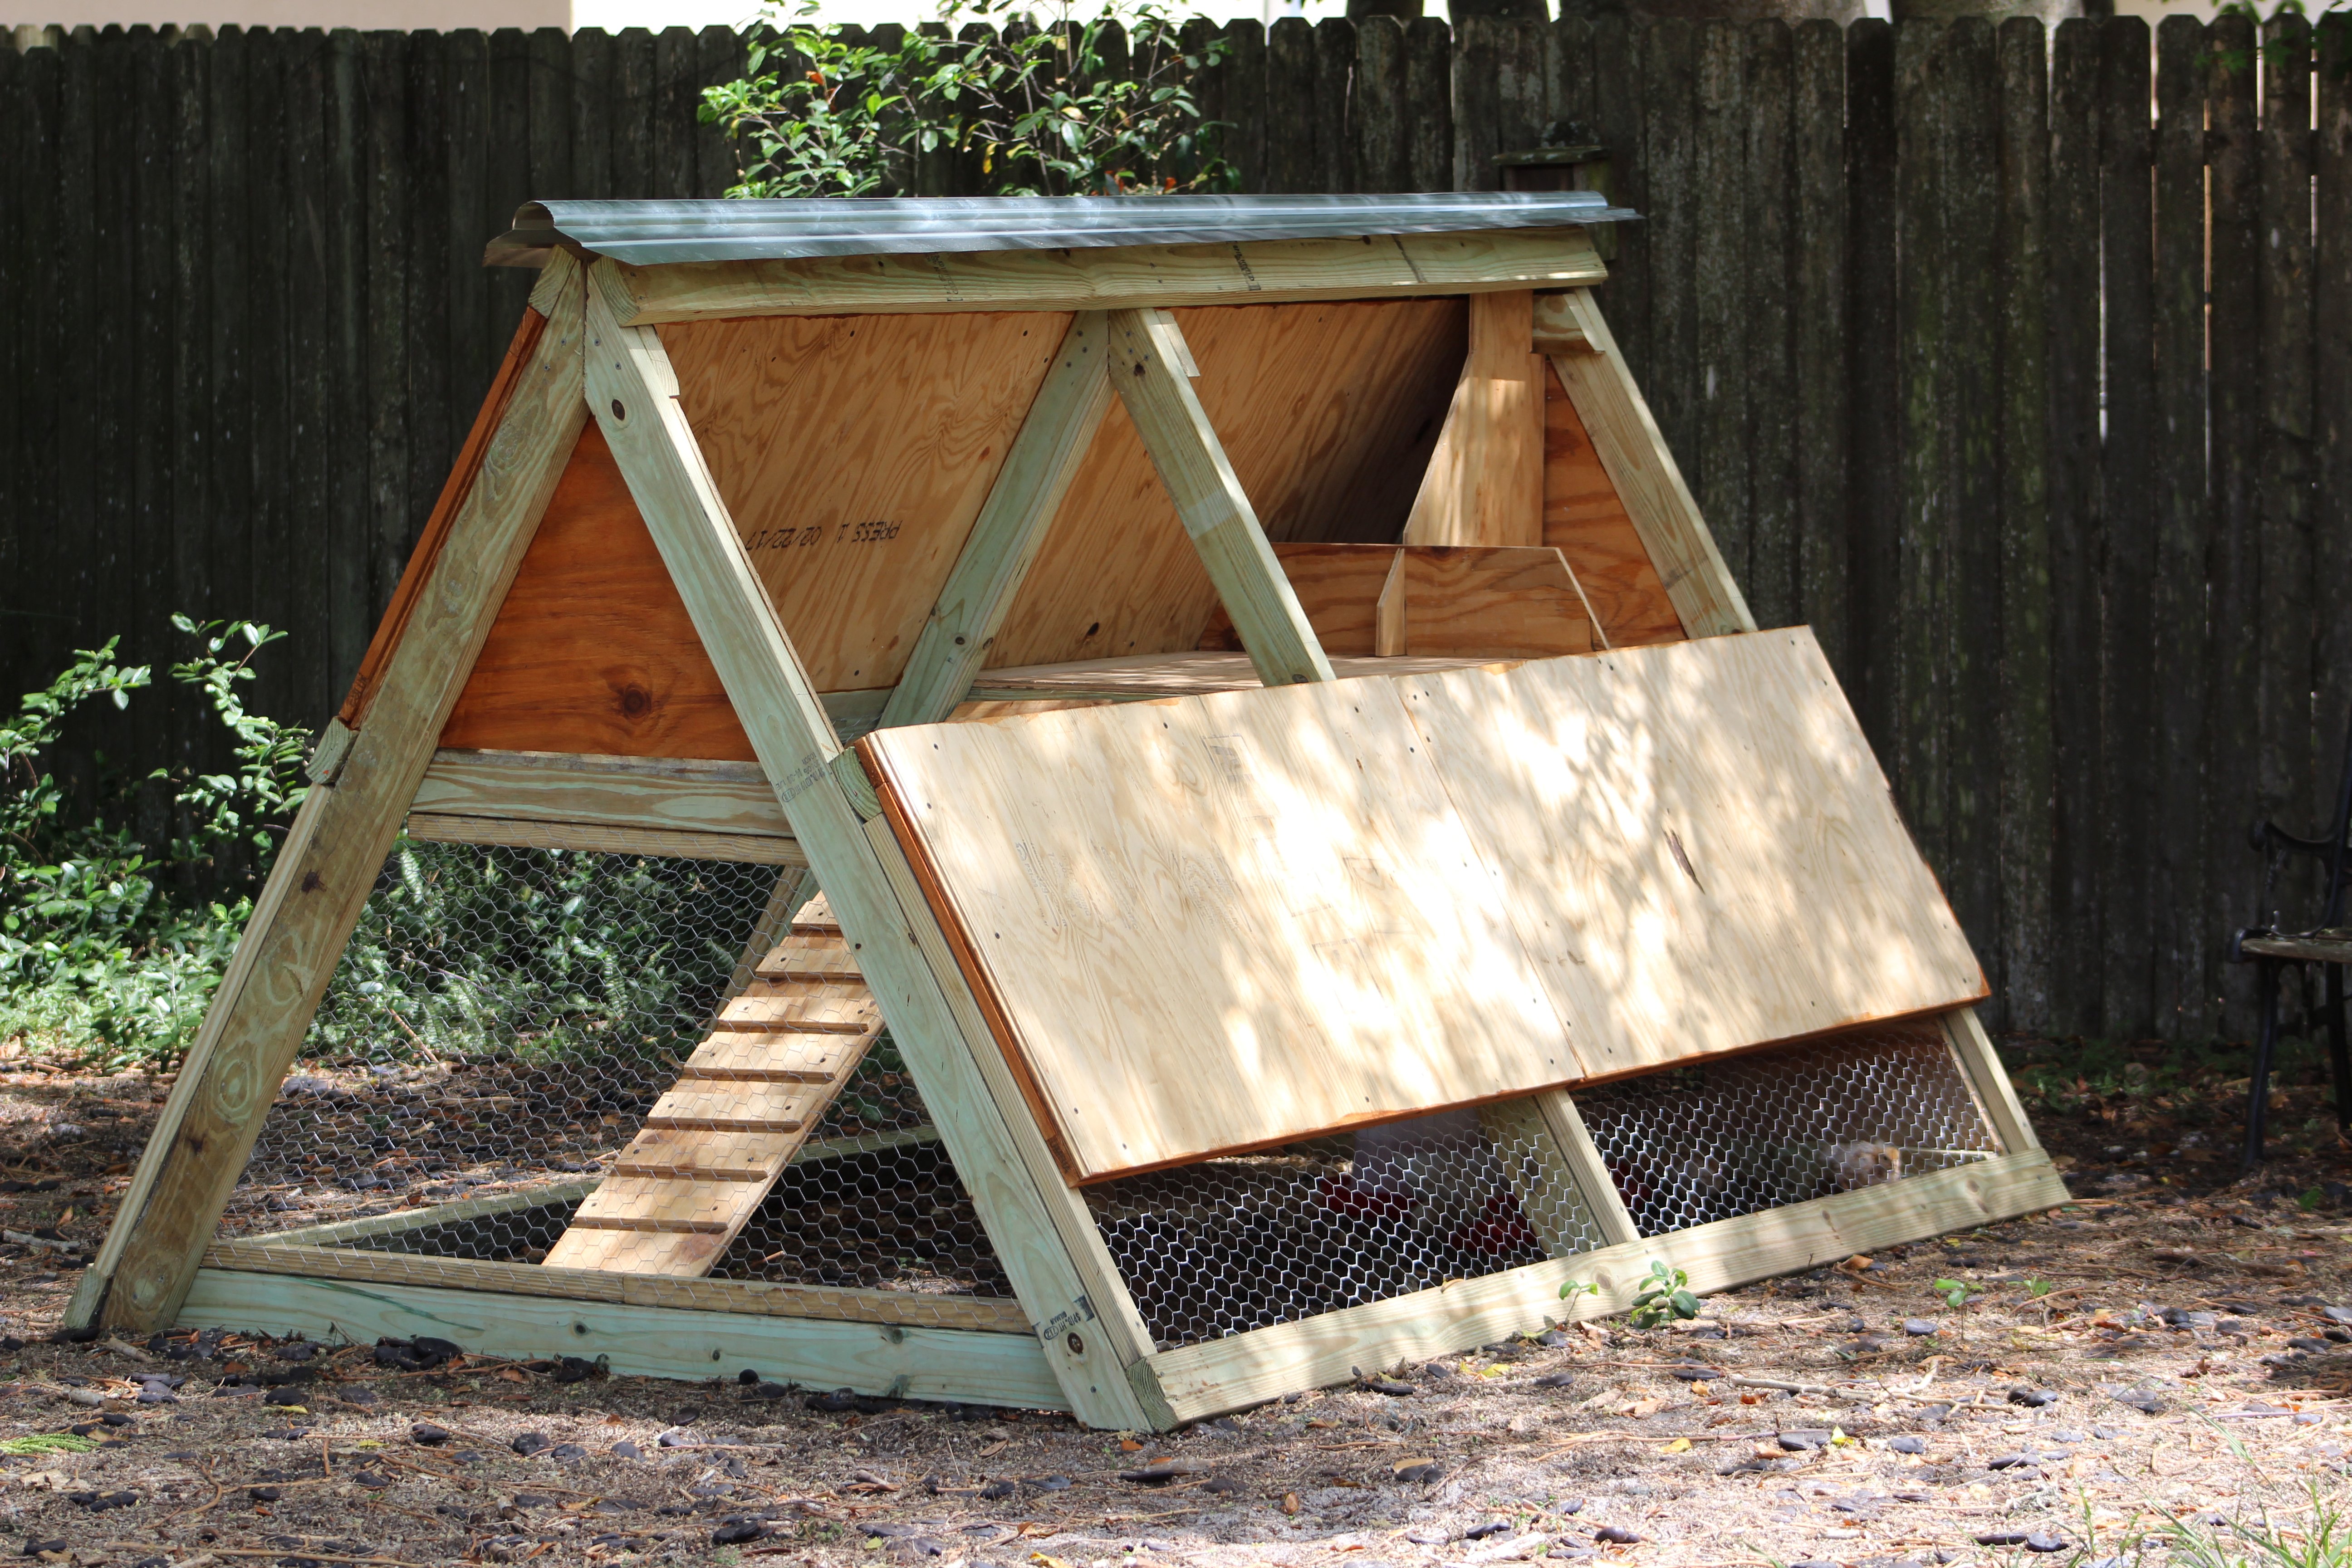
Thanks for the free plans. I did have to make modifications for the doors. i hid the hinges to give it a clean look. i used cedar for the trim and Plywood Siding Panel T1-11 4 IN OC (Common: 19/32 in. x 4 ft. x 8 ft.; Actual: 0.563 in. x 48 in. x 96 in.) for the doors. i used a metal flashing for the roof so it will vent.
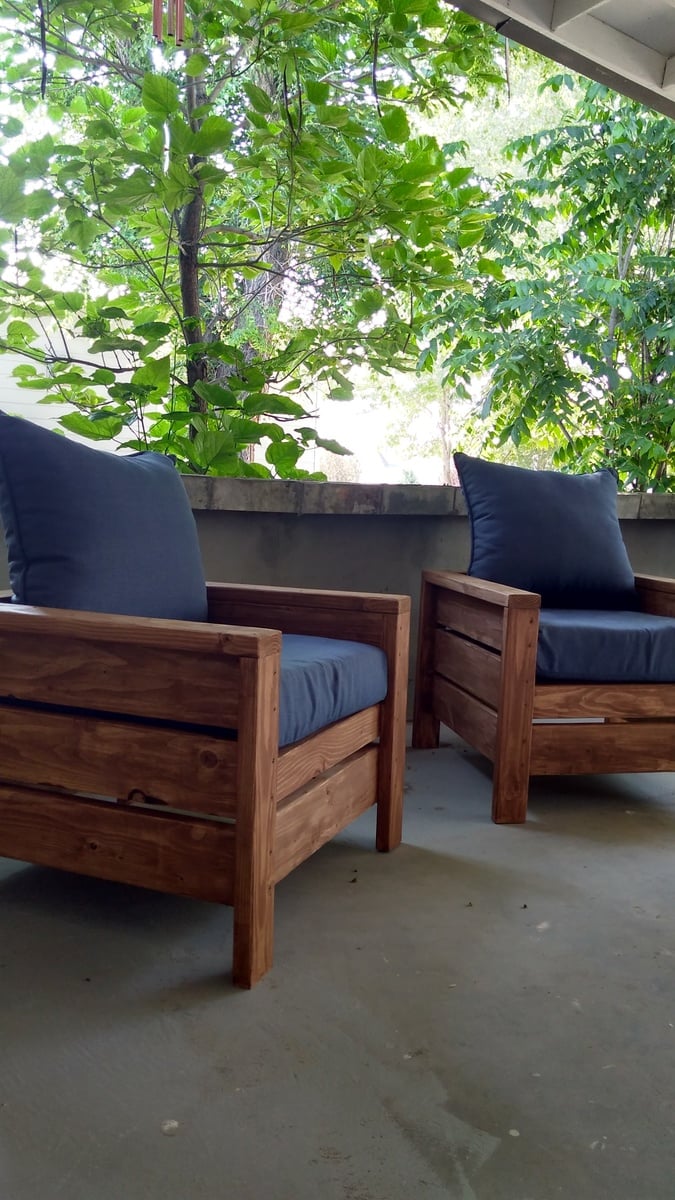
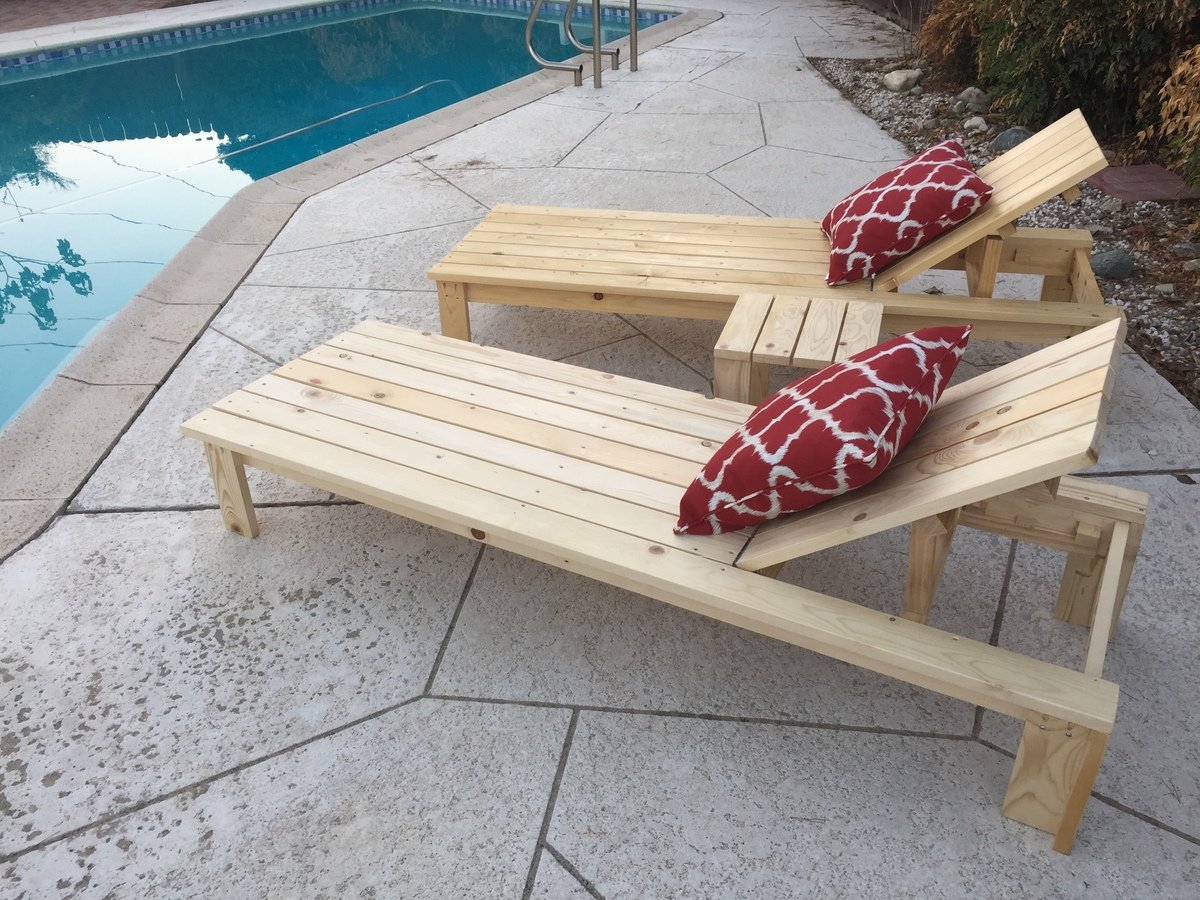
Chairs turned out nicely! Adjusted for cushions from home Depot (24x24)
Will also make a little table to set between soon. Thanks for the plans.
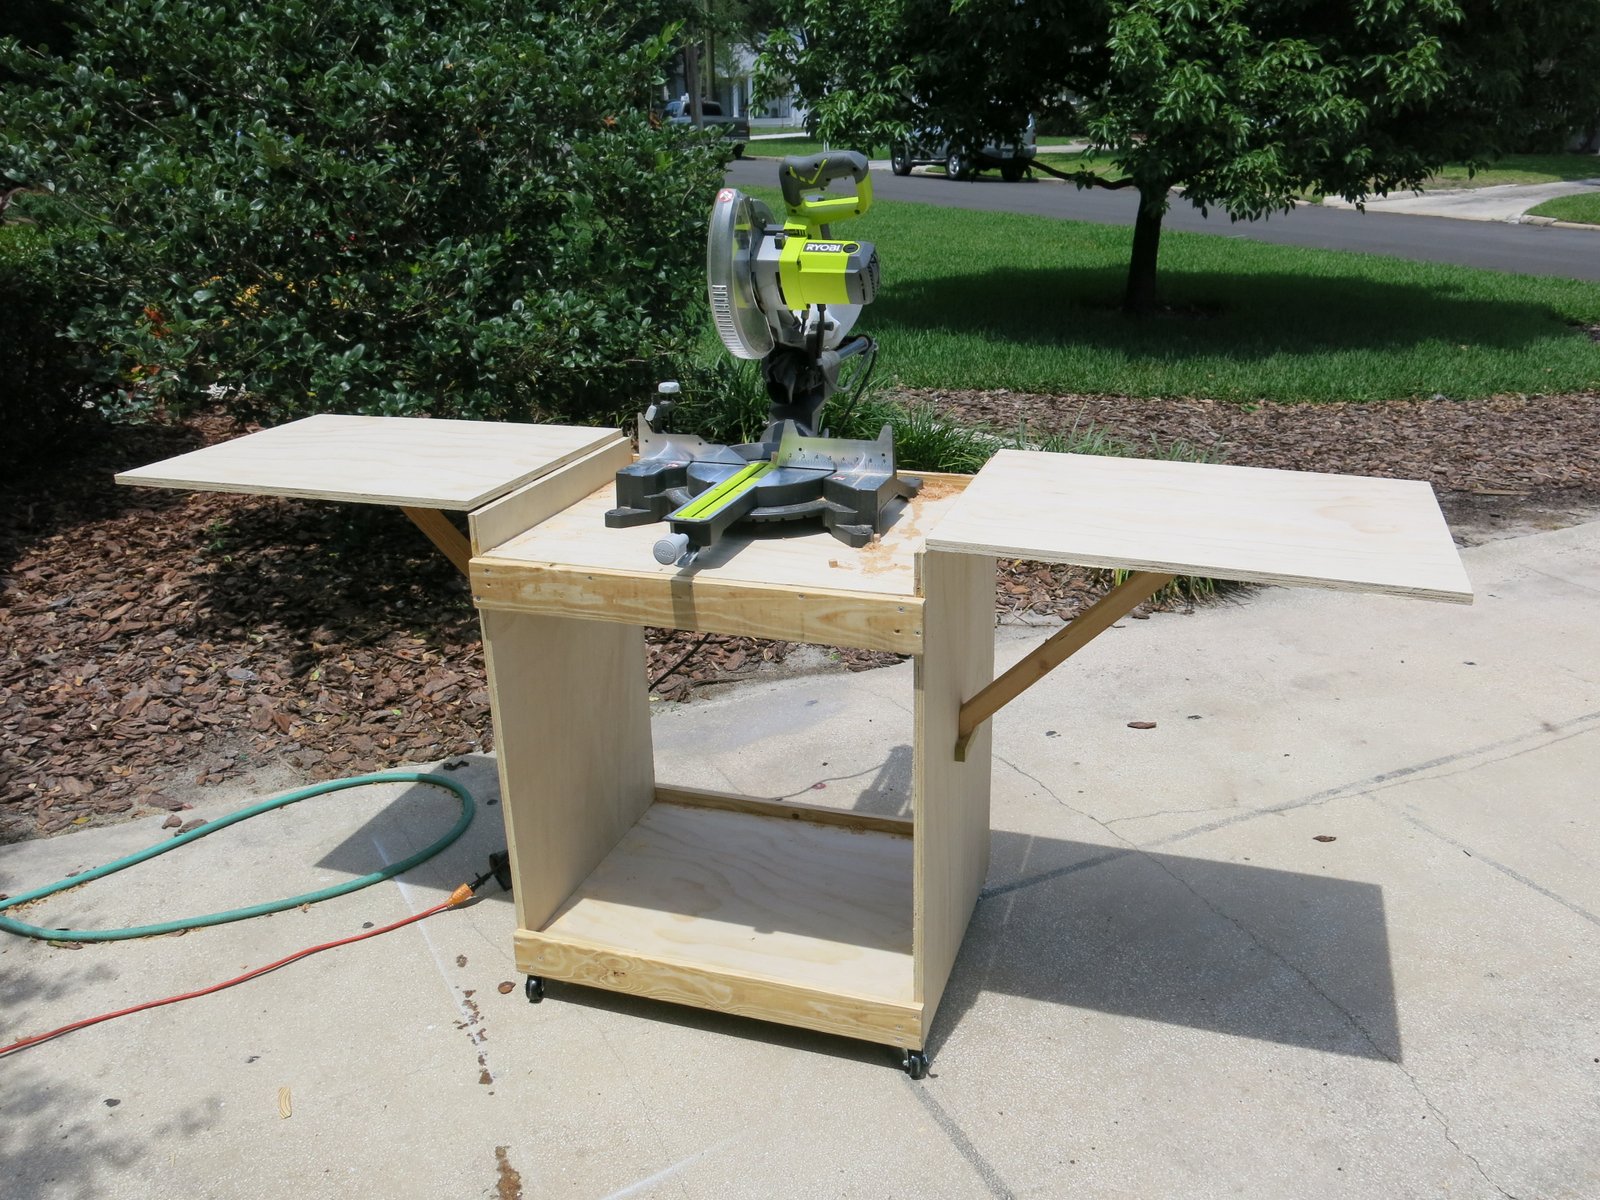
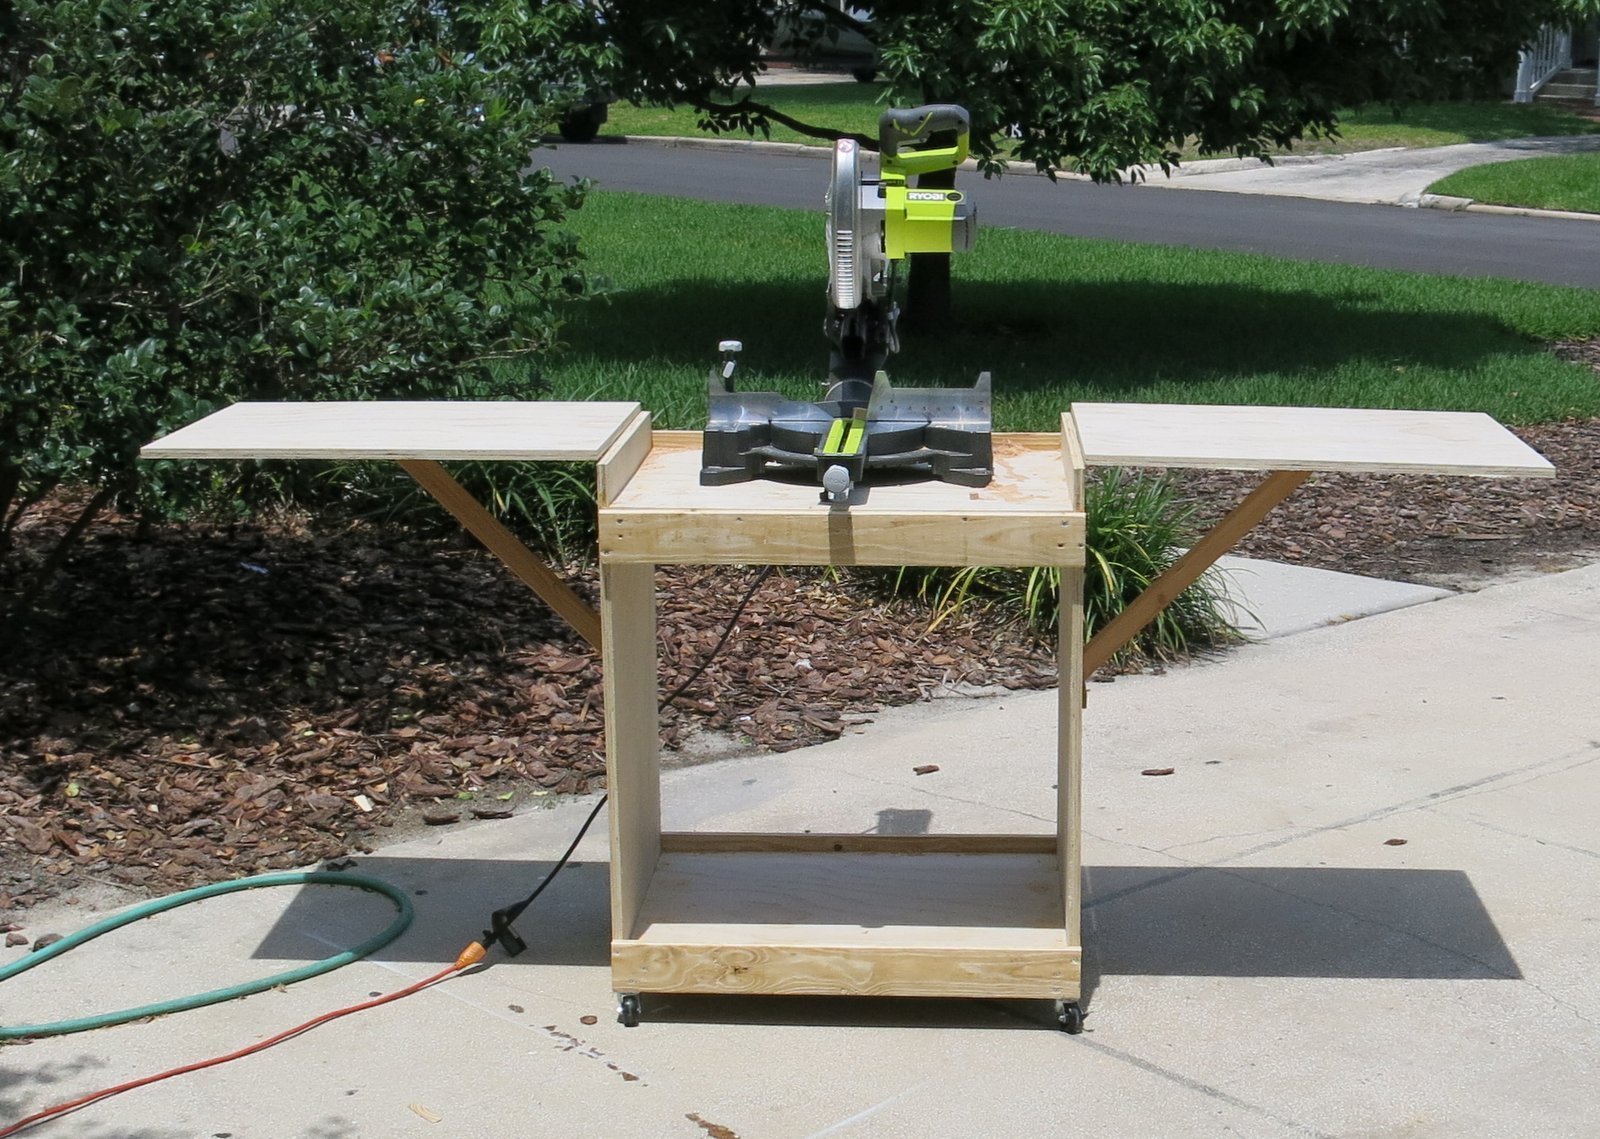
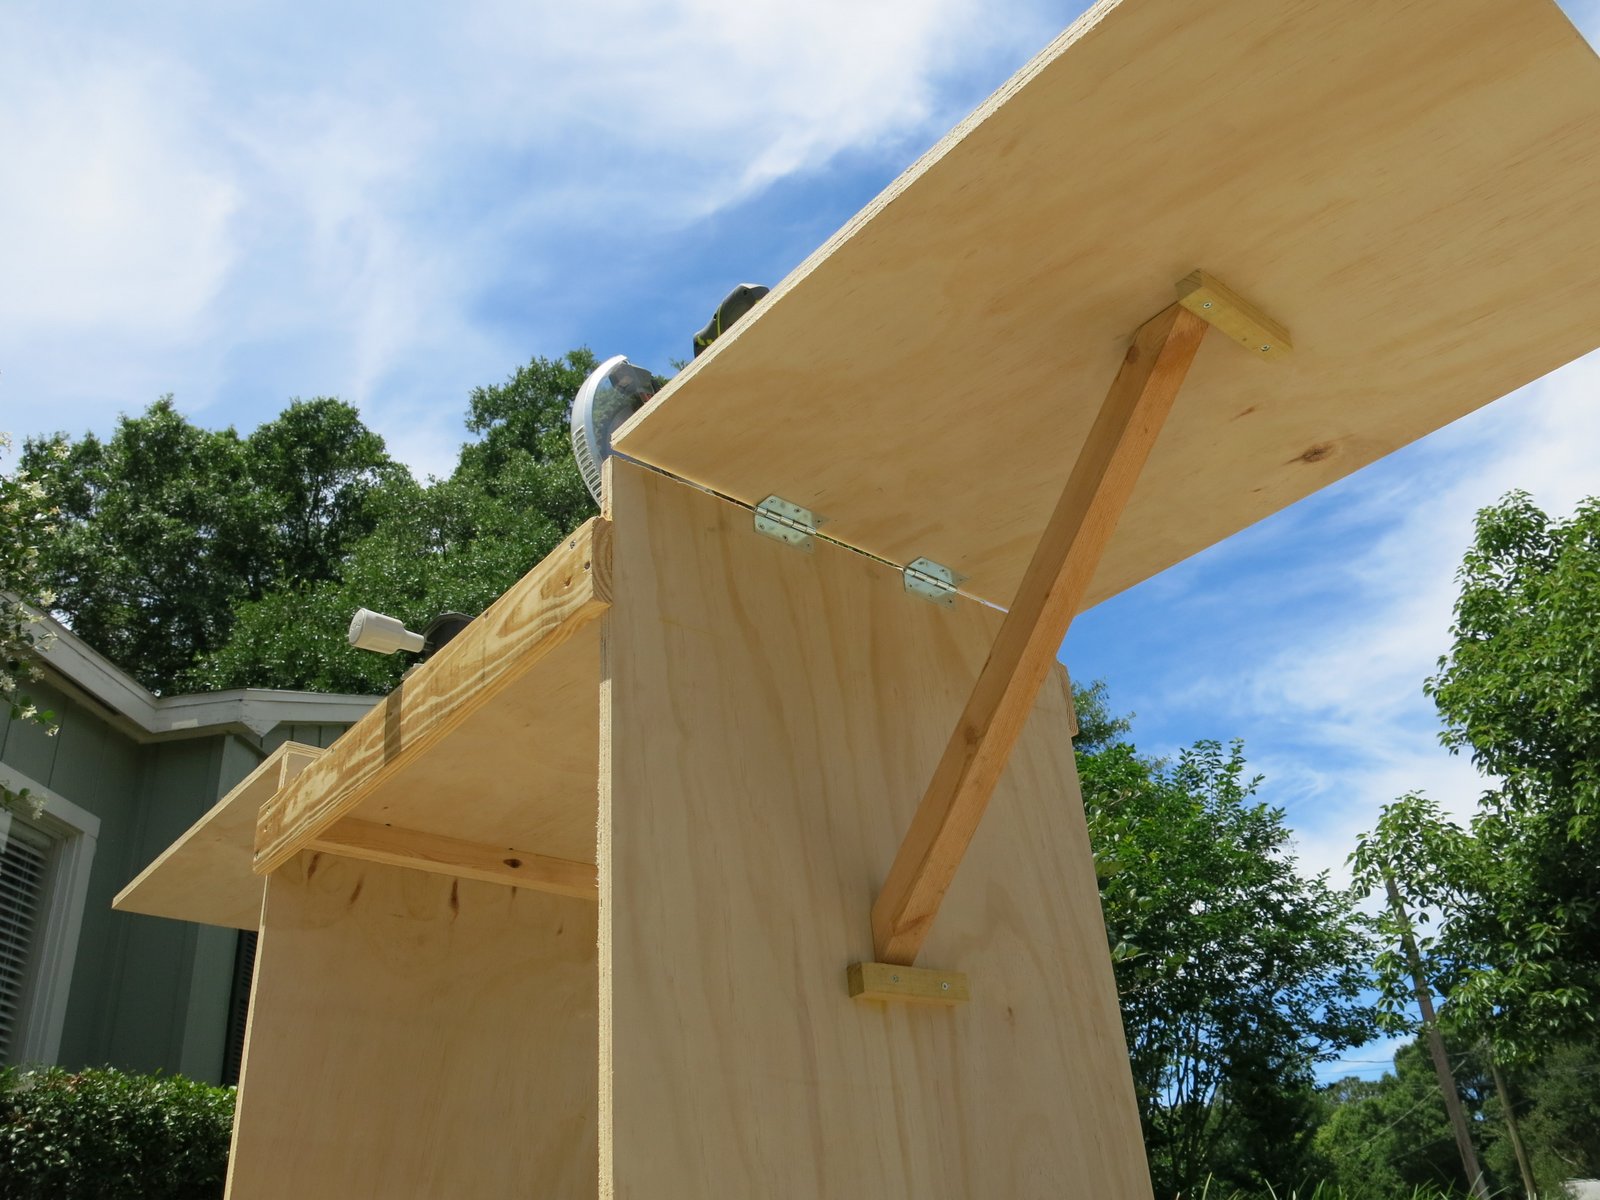
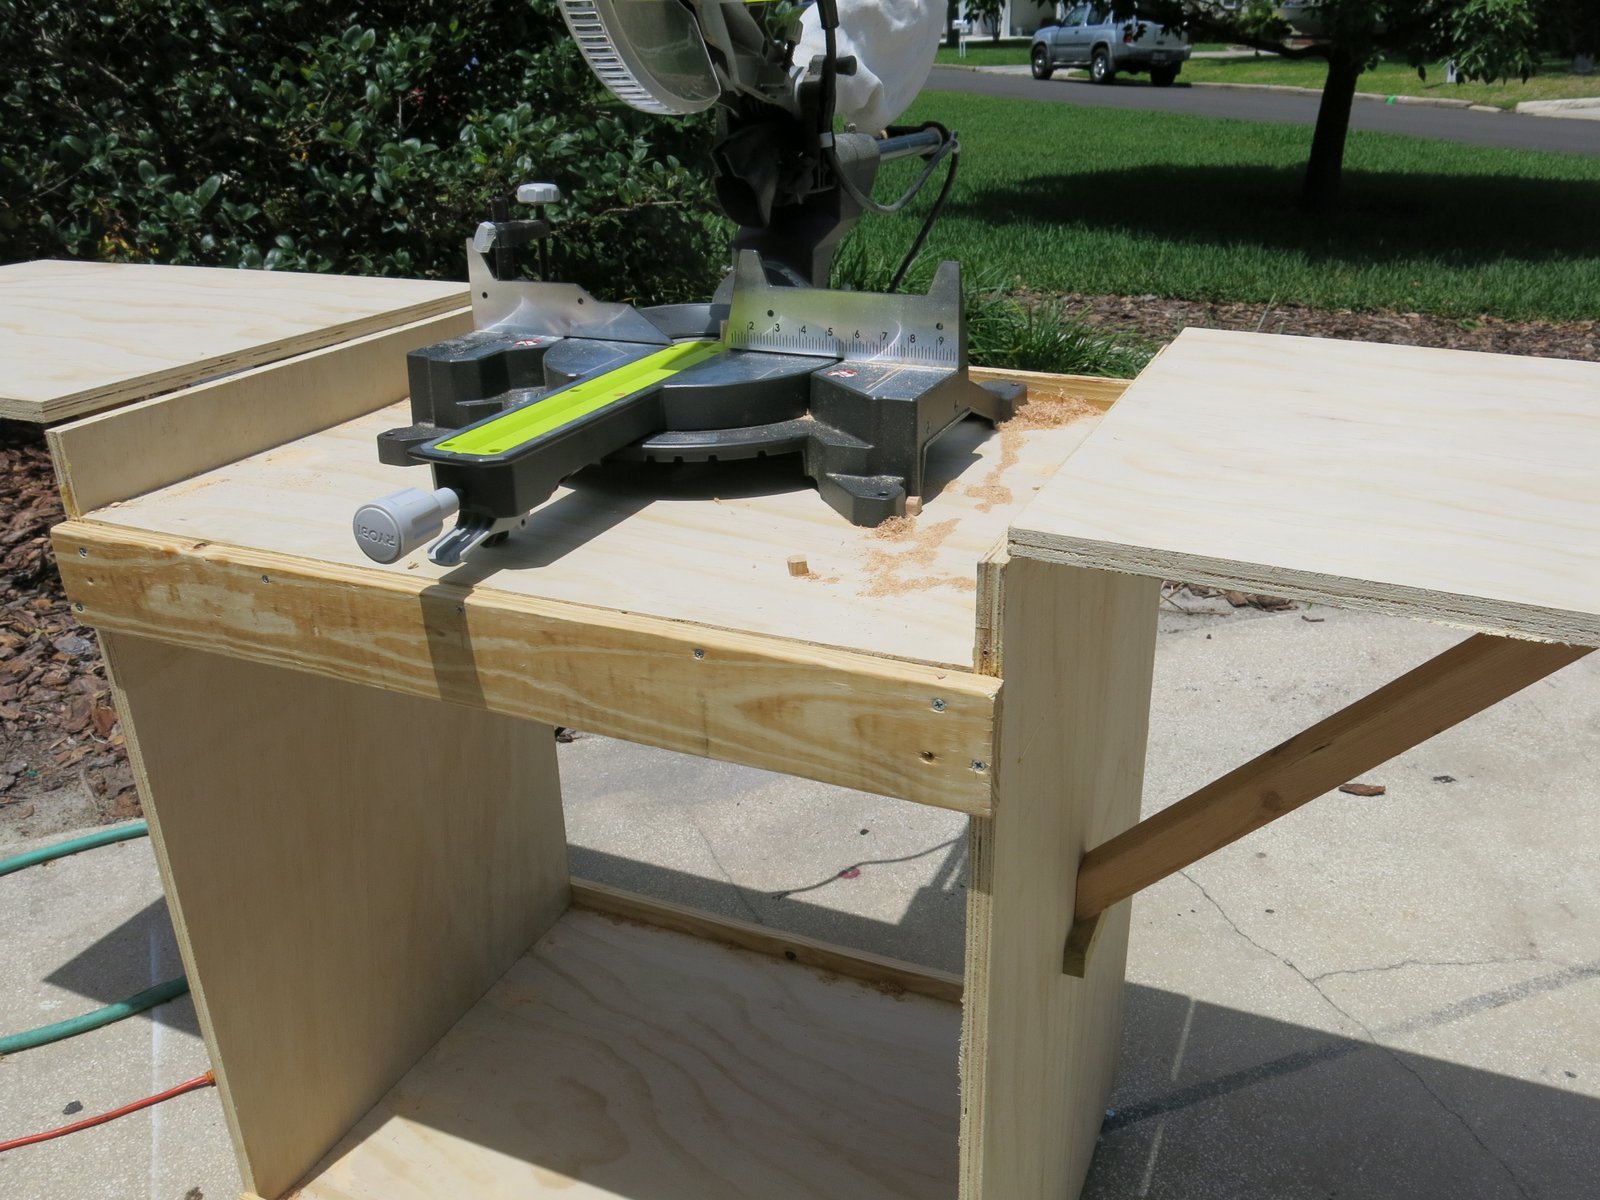
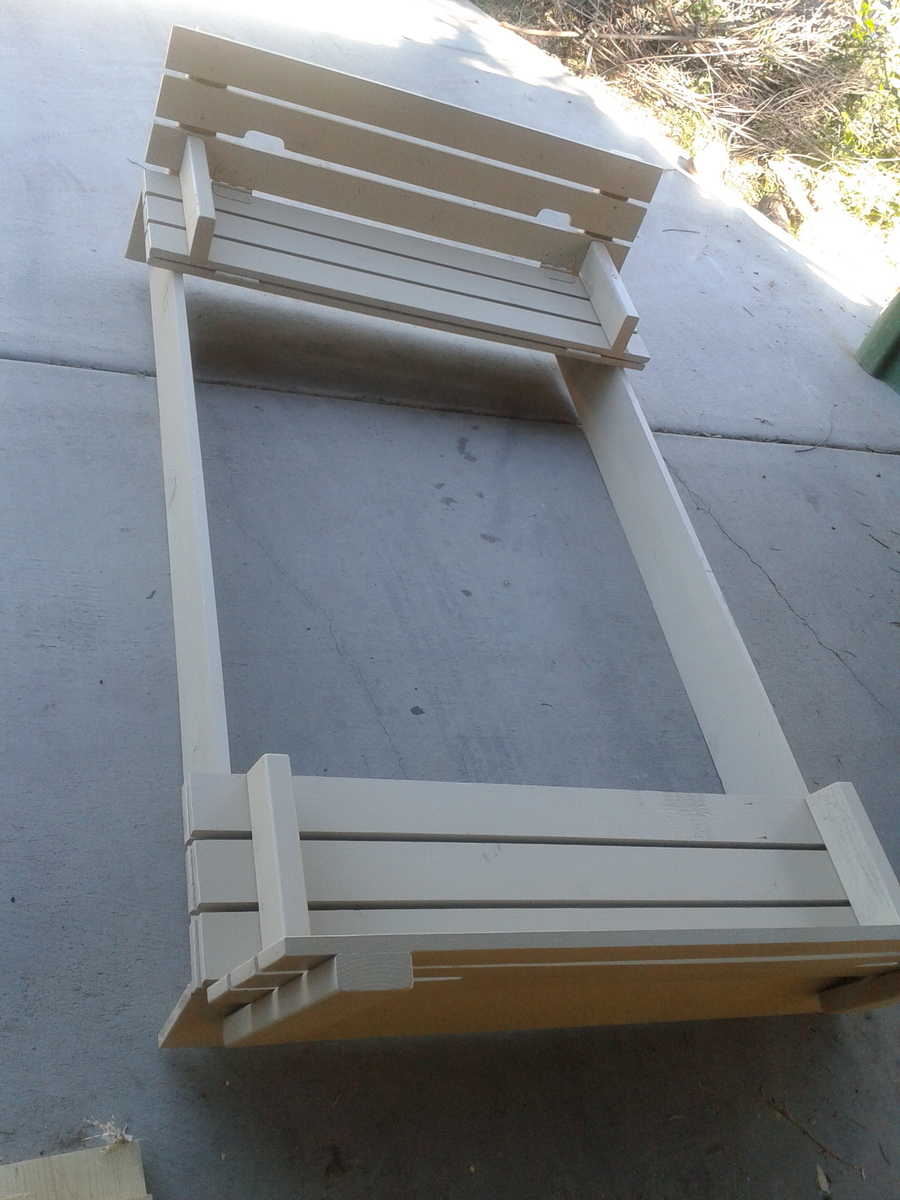
I essentially stuck to the main plan - except to support the wings I used 2X2 boards and standard hinges.
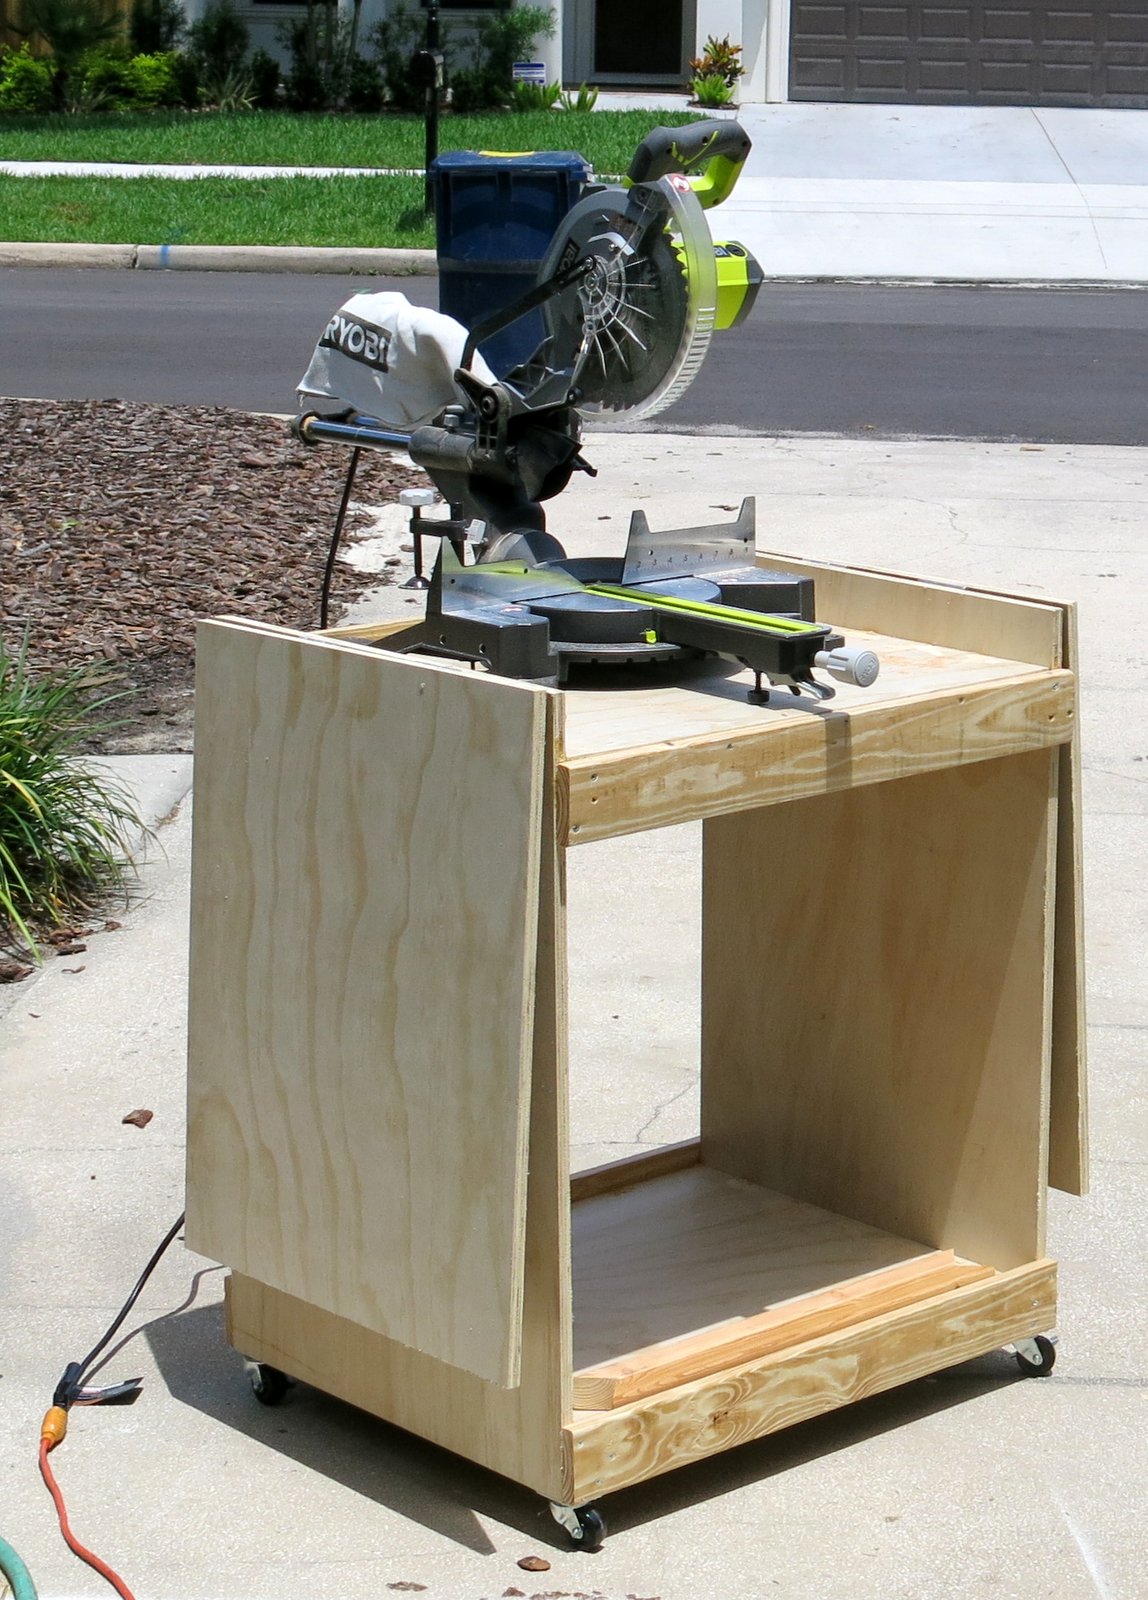
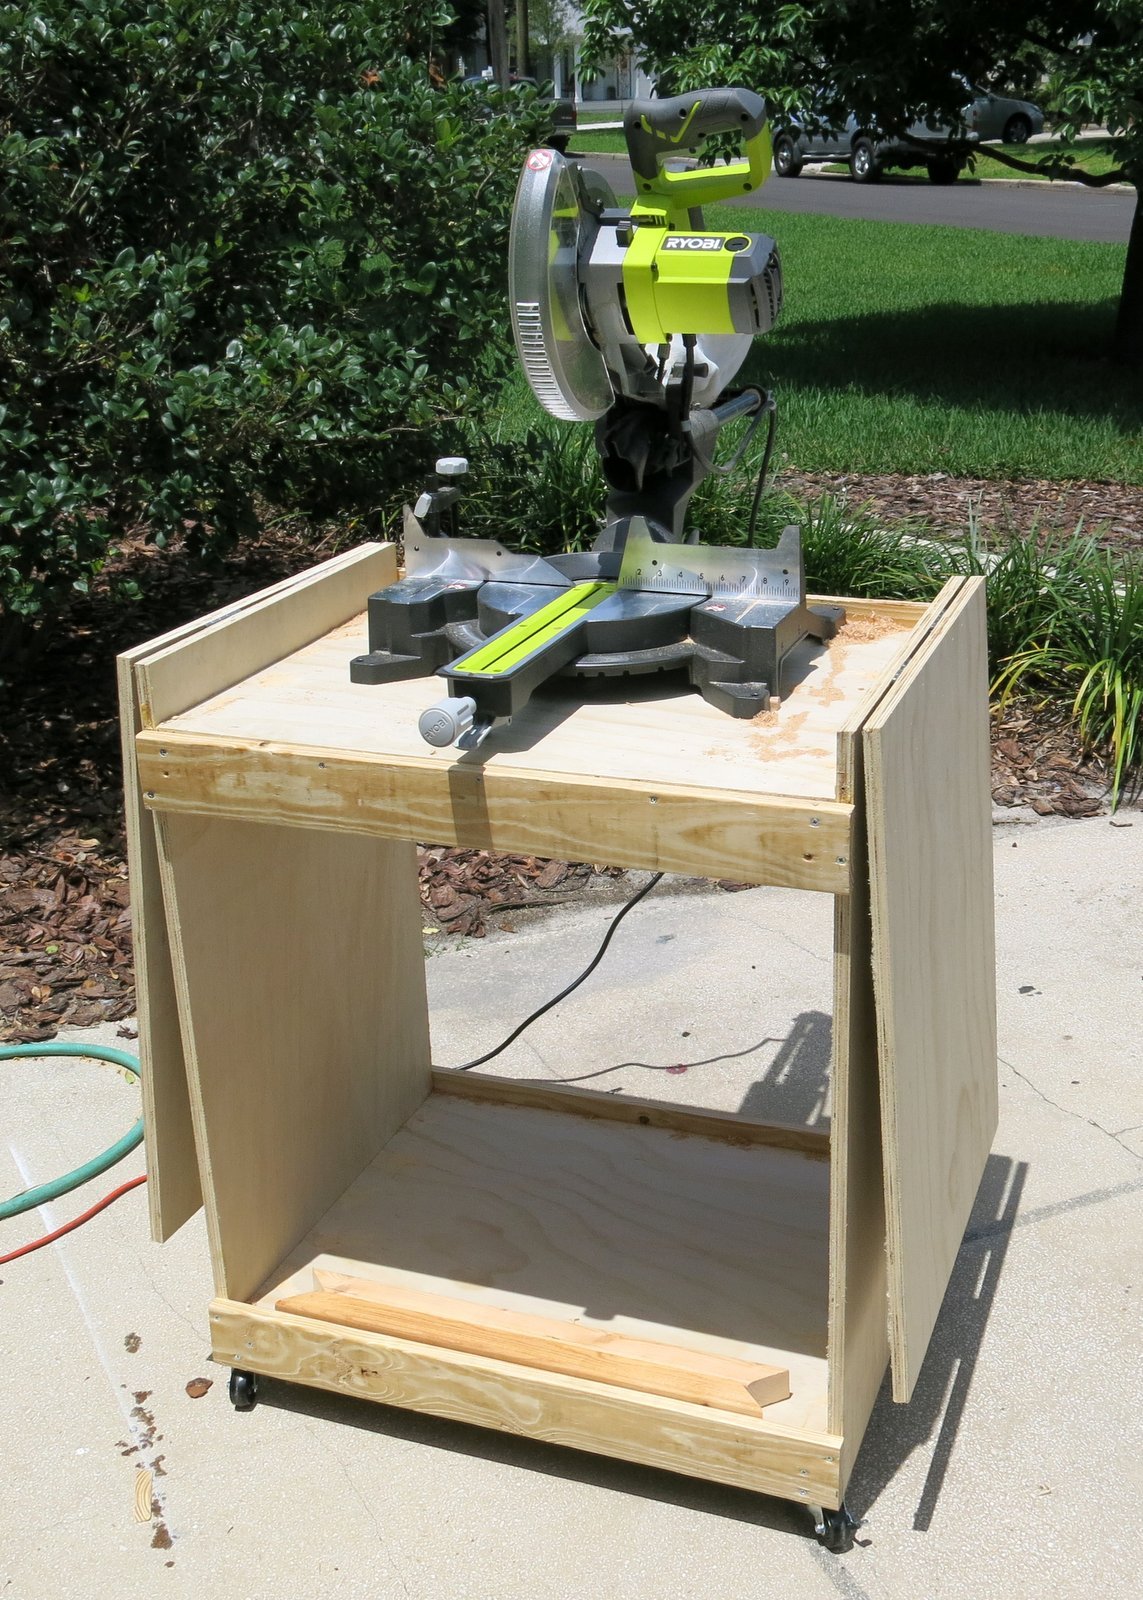
I was worried that there may not be enough space for my Ryobi 10" sliding miter saw because of the slide however, it fits nicely and there is plenty of space.
Thank you for the wonderful plan. This was my first project of this size and I am very happy with the results!
Fri, 05/01/2015 - 08:10
This is great. I am currently getting my Dad's help to turn an old kitchen cabinet into a miter saw cabinet with wings like this. (it was a 1940's solid wood kitchen cabinet we took out of the house when we remodeled). I really like your 2x2 support struts. Have you considered putting a shelf in the middle of your box? It would add extra support and also more room to store stuff.
Sat, 05/02/2015 - 09:09
Good idea. I did consider adding a shelf however I have now decided to use the lower area to store my small router table. I discovered that it would fit in the spot however it leaves not enough room for a shelf.
Mon, 05/18/2020 - 14:12
I know it’s been a while but do you remember the angle you used on the 2x2 supports? I struggle when it comes to cutting angles.

When I first saw the outdoor sectional plans from Ana I had to build this! The sectionals at potterybarn cost at least $1500 and that is without the cushions. I chose cedar for the lumber because I wanted a high end stained wood look that would stand up to the pacific northwest weather. I purchased most of the lumber from Orange and some of the smaller boards from a local lumber yard. Every board was cut first then sanded and stained before assembly. This made it look a lot more professional and no drips! There are just too many tight areas to do this after it is assembled. I made 2 Weatherly outdoor sofas and used the plans from the Weatherly loveseat to leave the end off of one of the sofas to make an L-shaped sectional. This fit perfectly for my narrow deck which is the beauty of DIY and Ana's easy to modify plans. I followed the suggestion of another brag post to attach the 2 sofas together with carriage bolts and nuts. It is important to be very accurate with all of the cuts because they have to fit together perfectly for the final product to look straight and measure correctly. Because there a about a million repetitive cuts in these plans I took the idea of another brag post and youtube and created a stop out of leftover lumber which really helped me keep my cuts accurate and saved me a lot of time. I really enjoyed using my new Kreg K5 pocket hole jig on this project which saved me time and my new Ryobi brad nailer that I convinced my husband I needed. I plan on using it on several projects which "require" a brad nailer! I bought six 25" cushions in turquoise from Pier 1 in mid-July which were on major sale and several pillows to match the color. I am somewhat of a beginner so I didn't adjust te plans to fit six 25" cushions so I had to have one cut down to 22" by a local upholstery shop (I could have purchased a 22" cushion but of course they were all sold out). I suggest at least a 3-4" depth cushion that is fairly firm, which Pier 1 cushion were.
I love the outdoor coffee table with built in beer cooler idea that another brag post had suggested.It uses a planter box as the cooler. I used the same stain which worked well and adequately waterproofed the table. It also has a cover for the cooler when it is not in use. I thought it was a nice addition.
I loved this project and how it turned out! Thanks for the plans and inspiration!!!


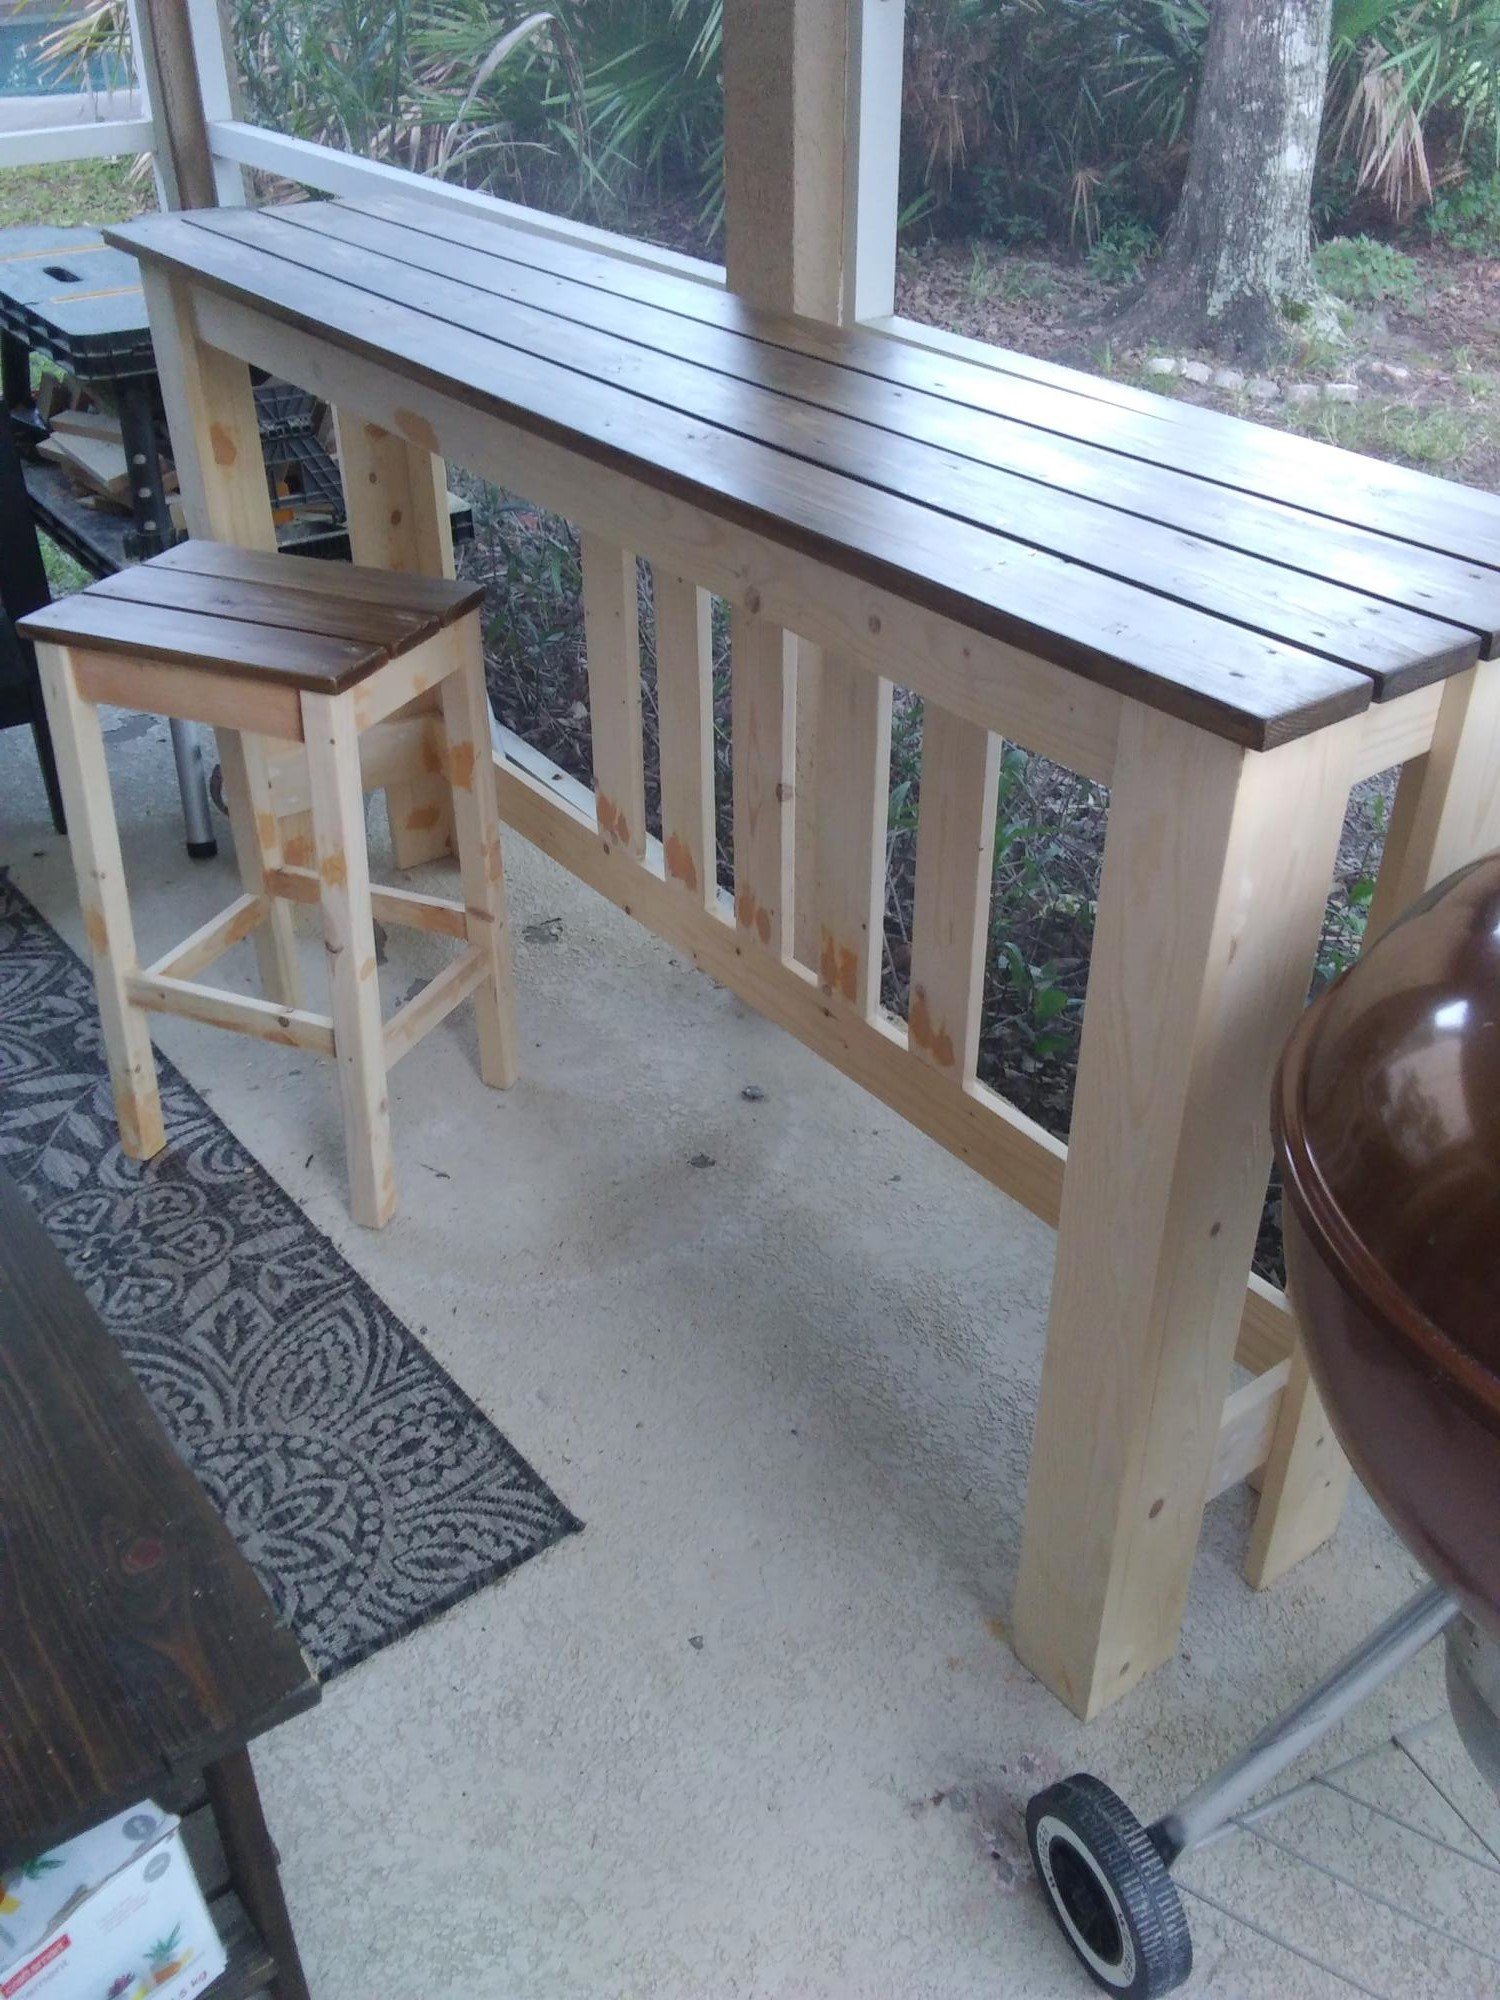
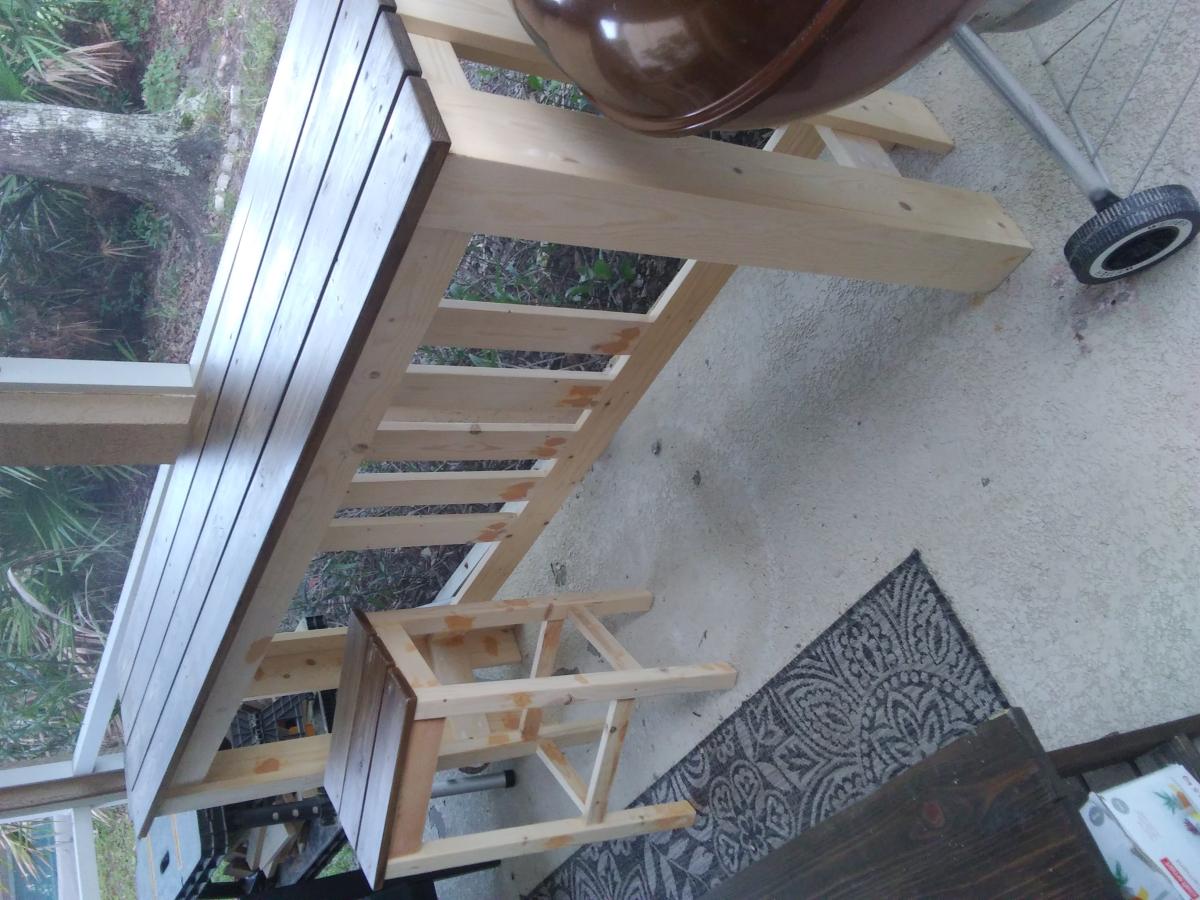
I love this bar table! I needed something long and narrow for our small patio - just deep enough to fit a plate and a drink, or a laptop, and long enough to fit three stools, so I modified Ana's dimensions. Also, living in Florida, we occasionally need to bring our furniture inside for hurricanes, so I made it a lighter by using 1x3s and 1x4s instead of 2x or 4x4s. I still need to paint the bottoms a cream color and build two more stools, but I already use it a lot. Thanks Ana! (The photo was upright on my computer, but I didn't see how to rotate it once it was uploaded)
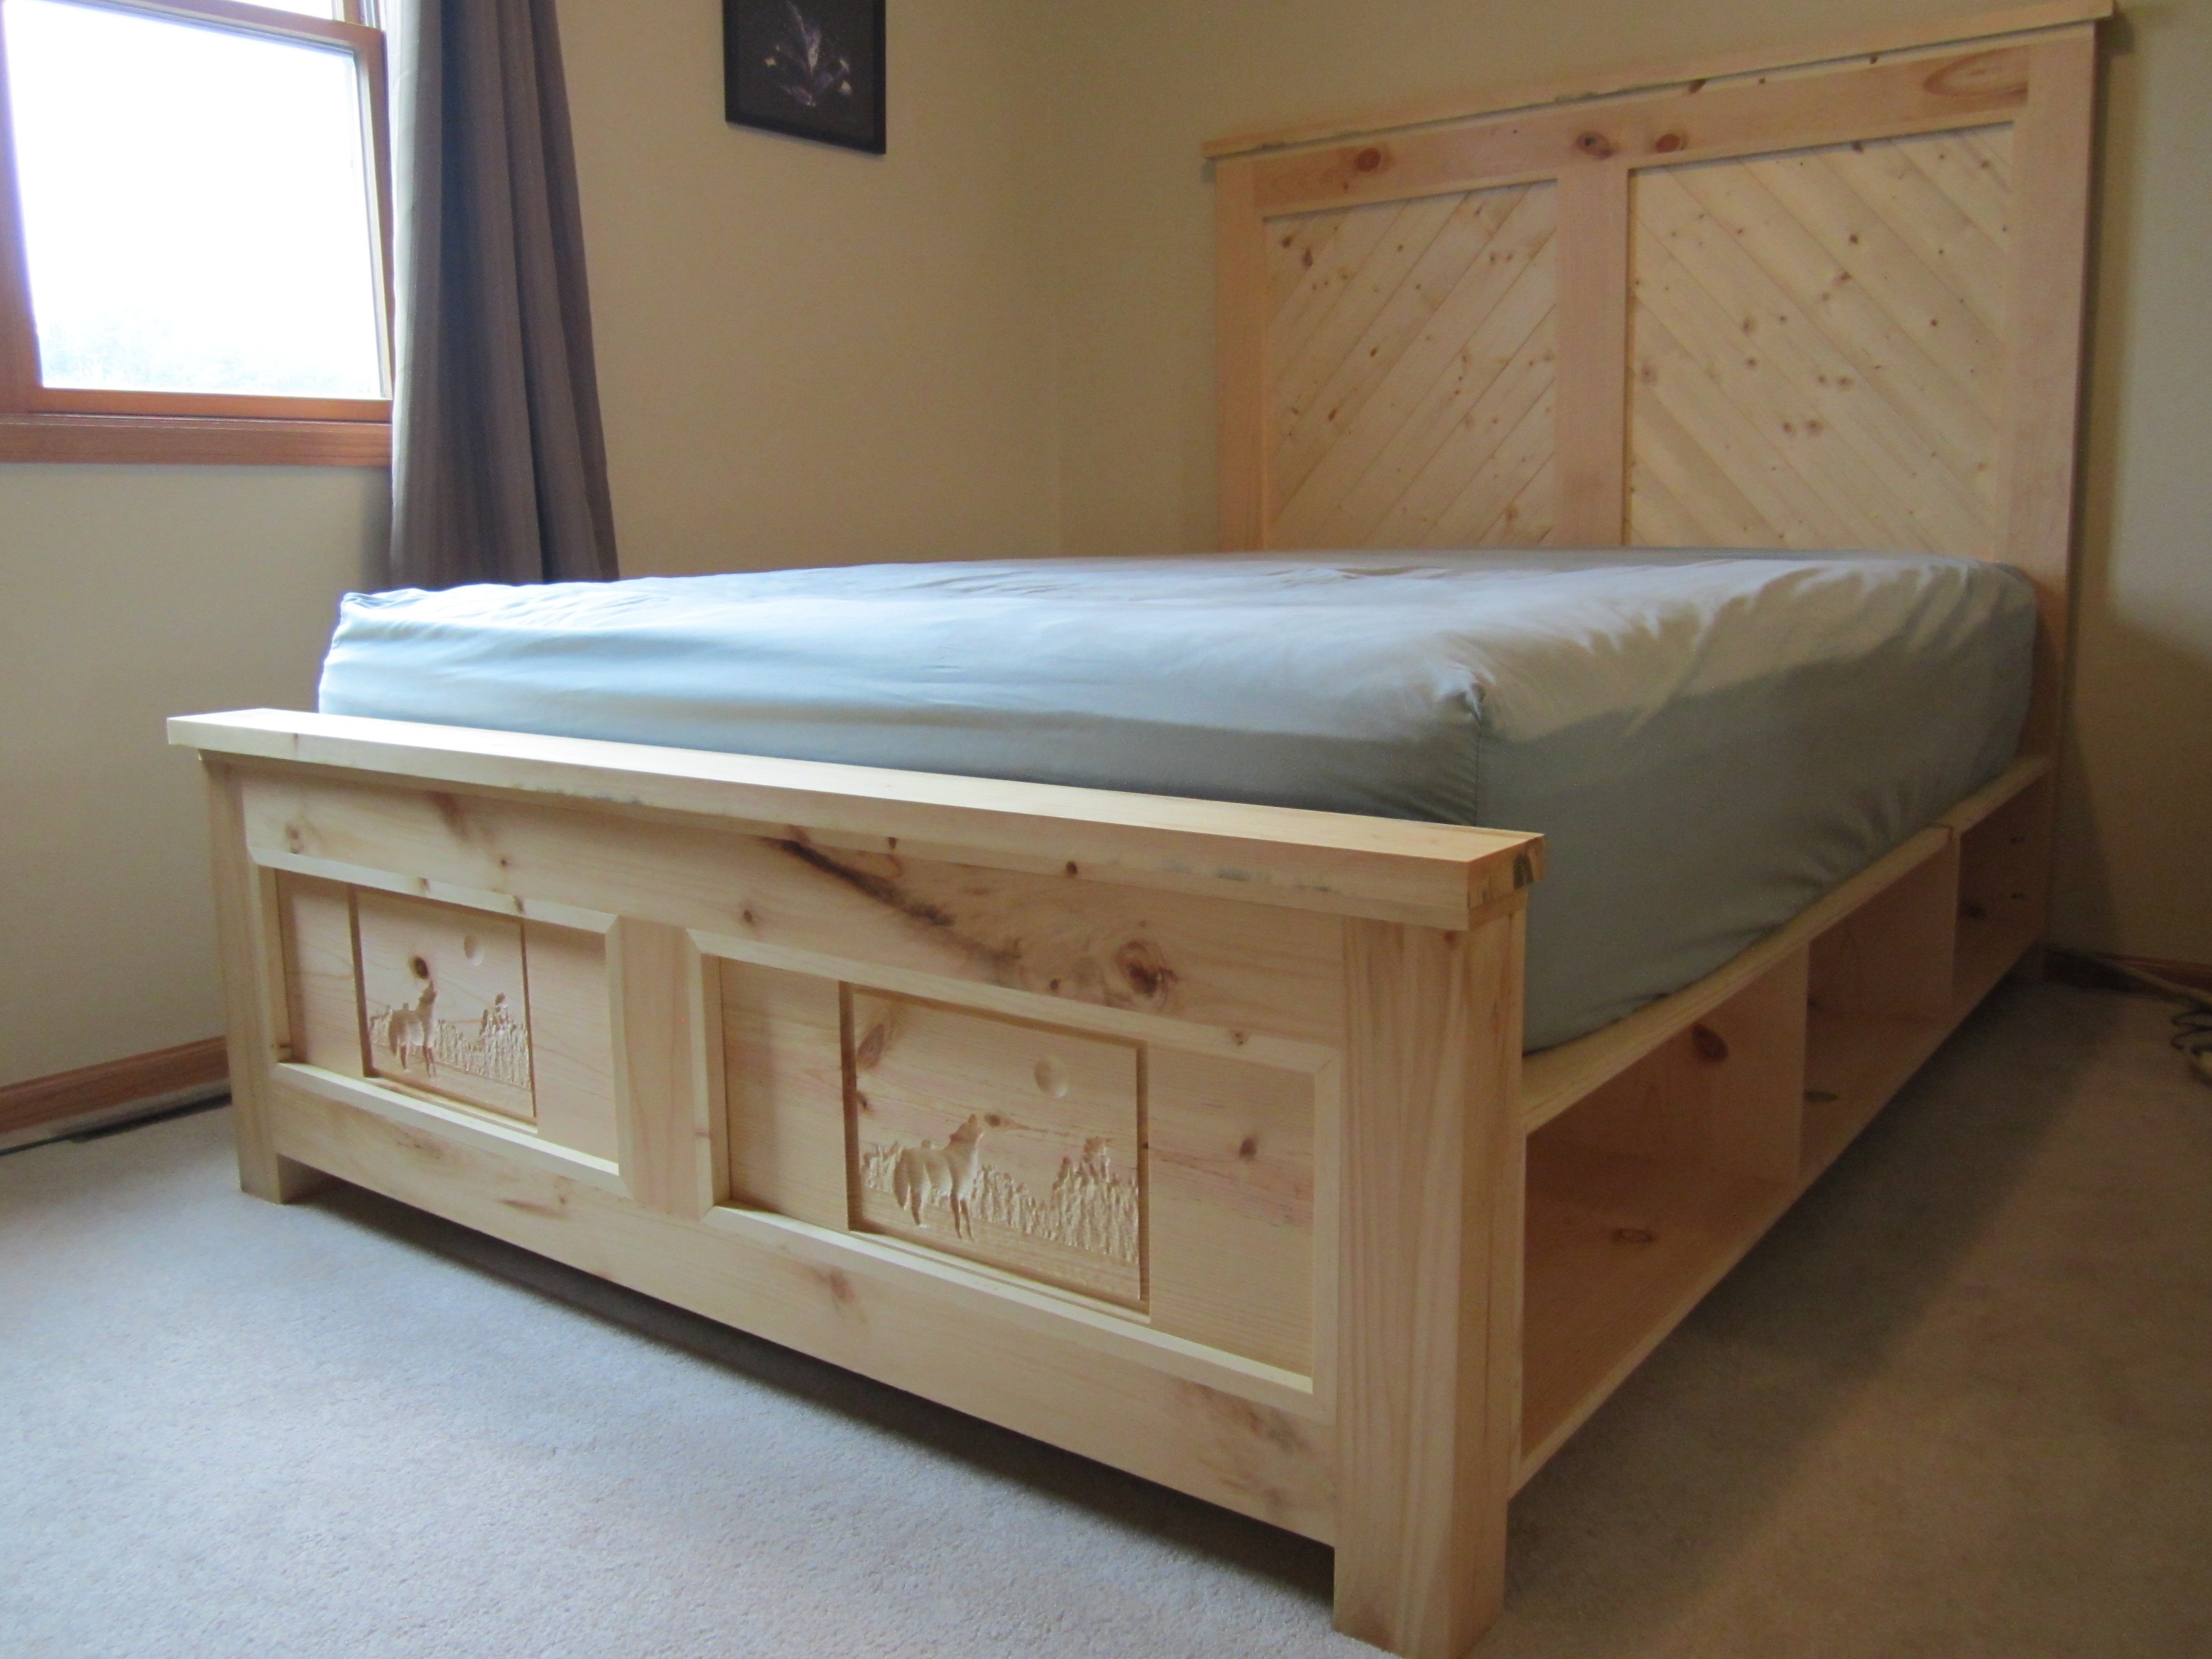
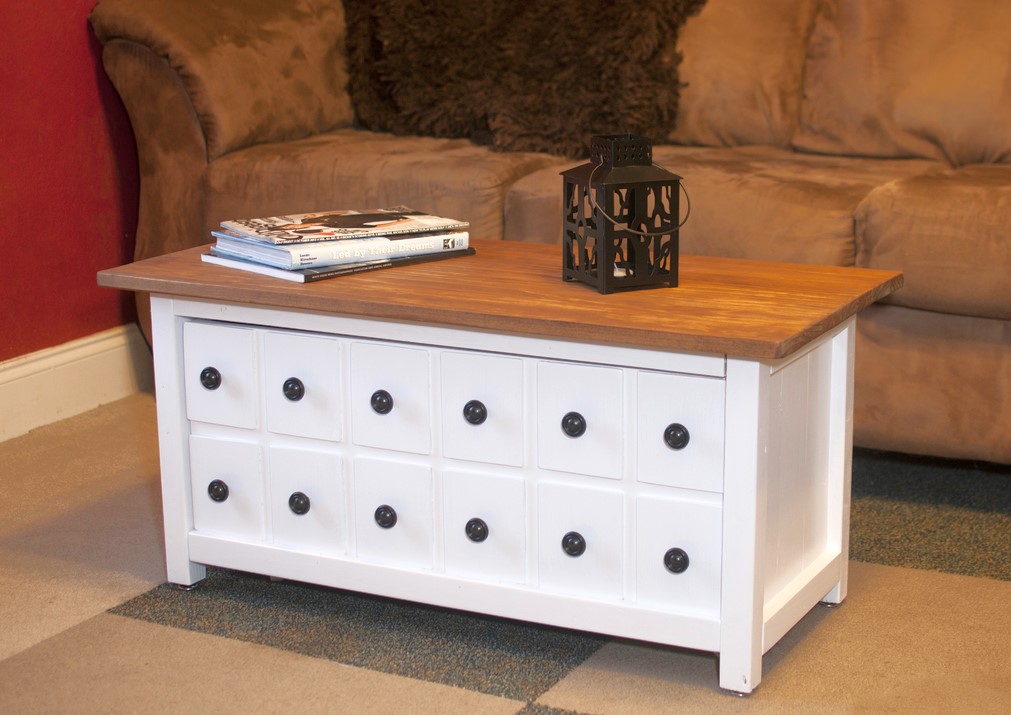
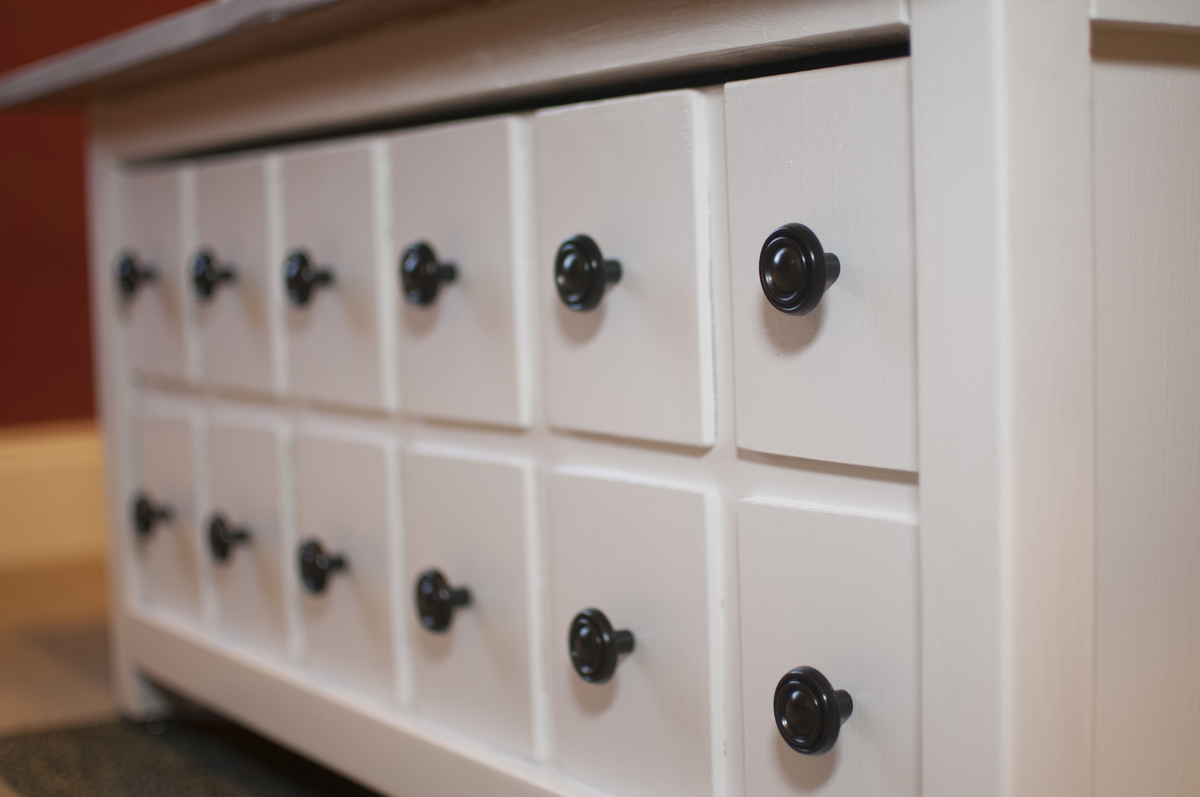
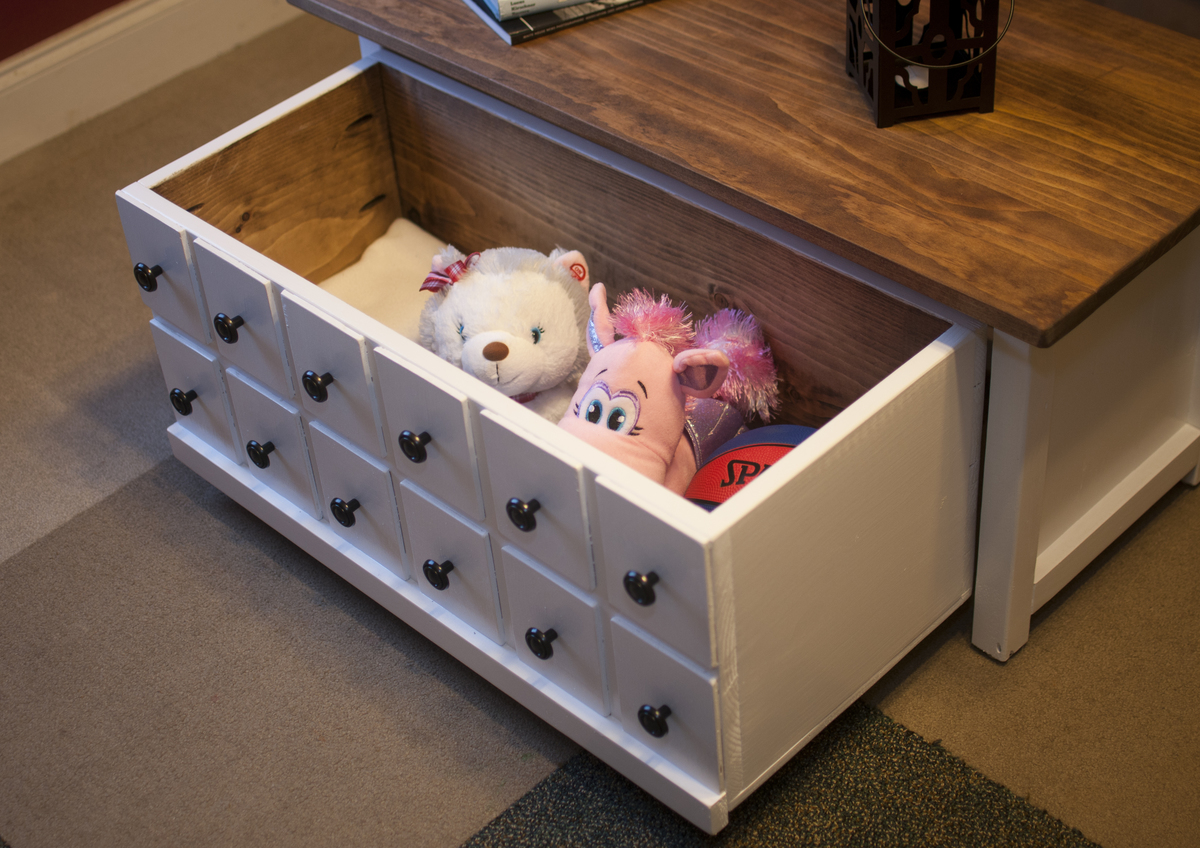
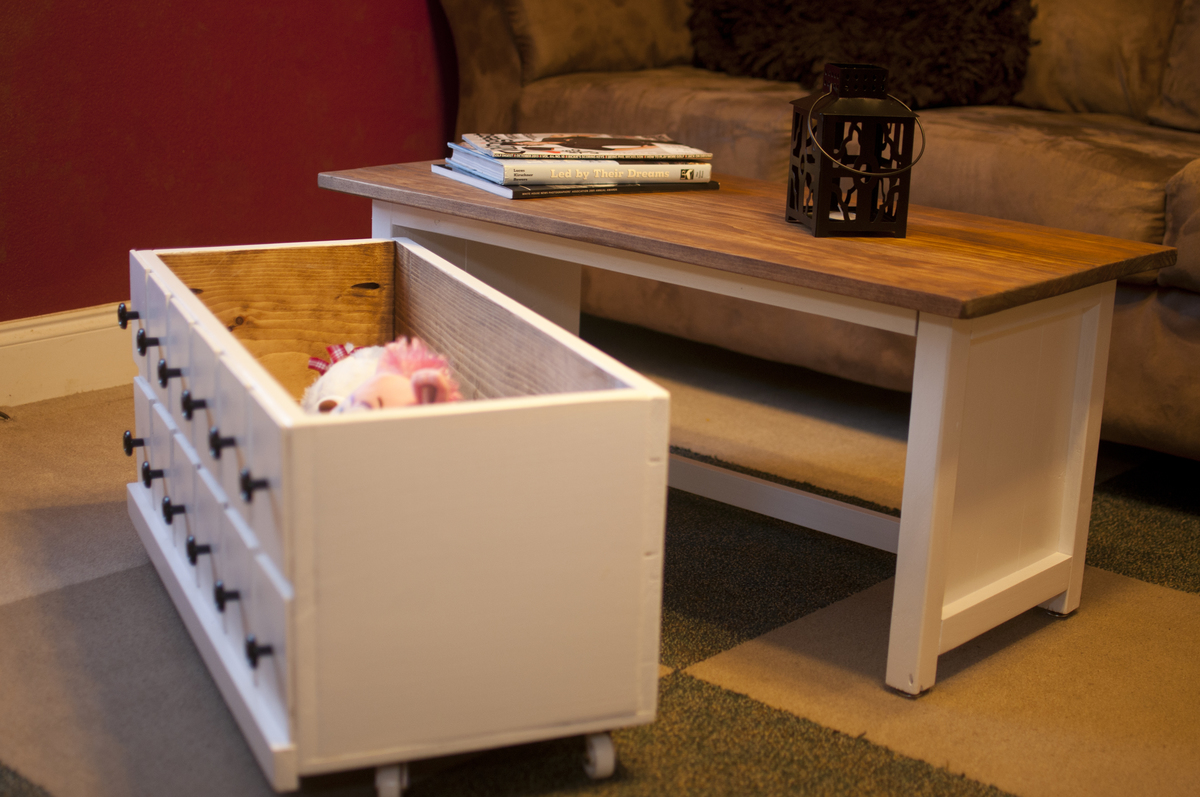
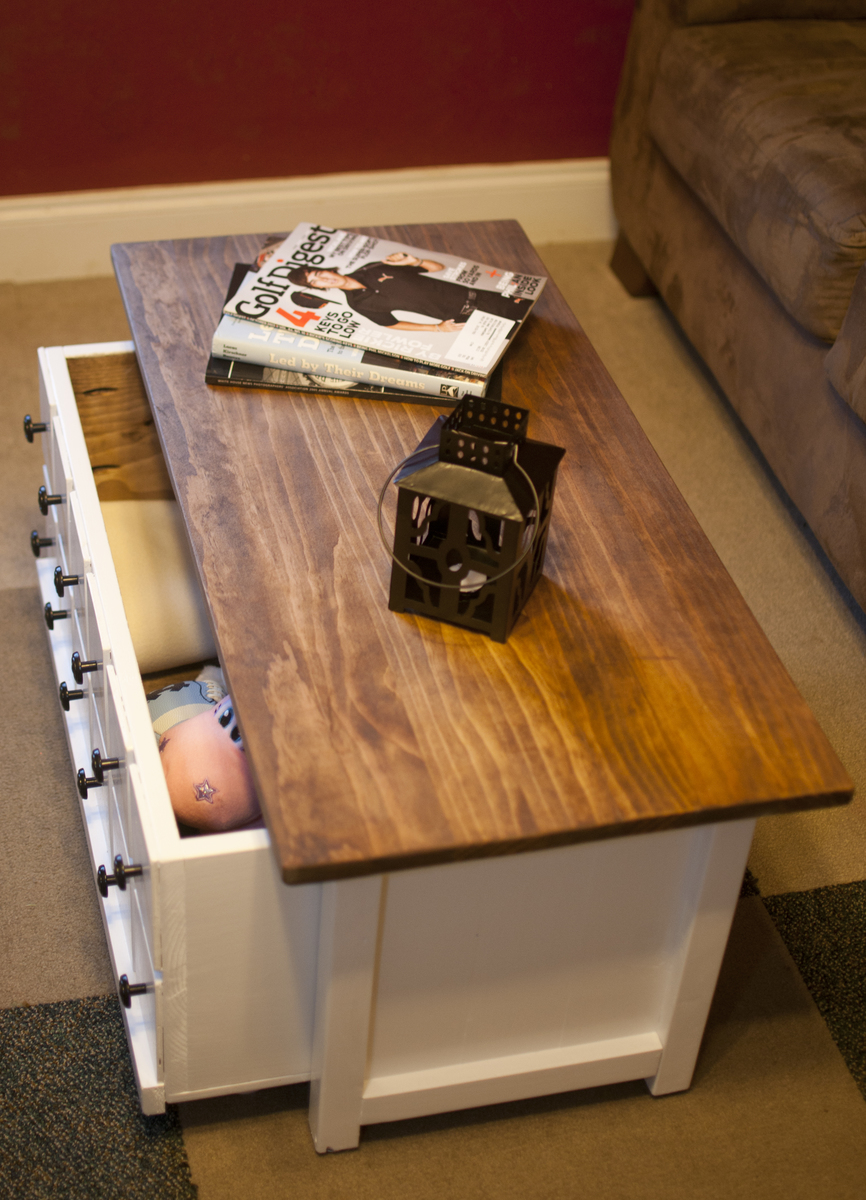
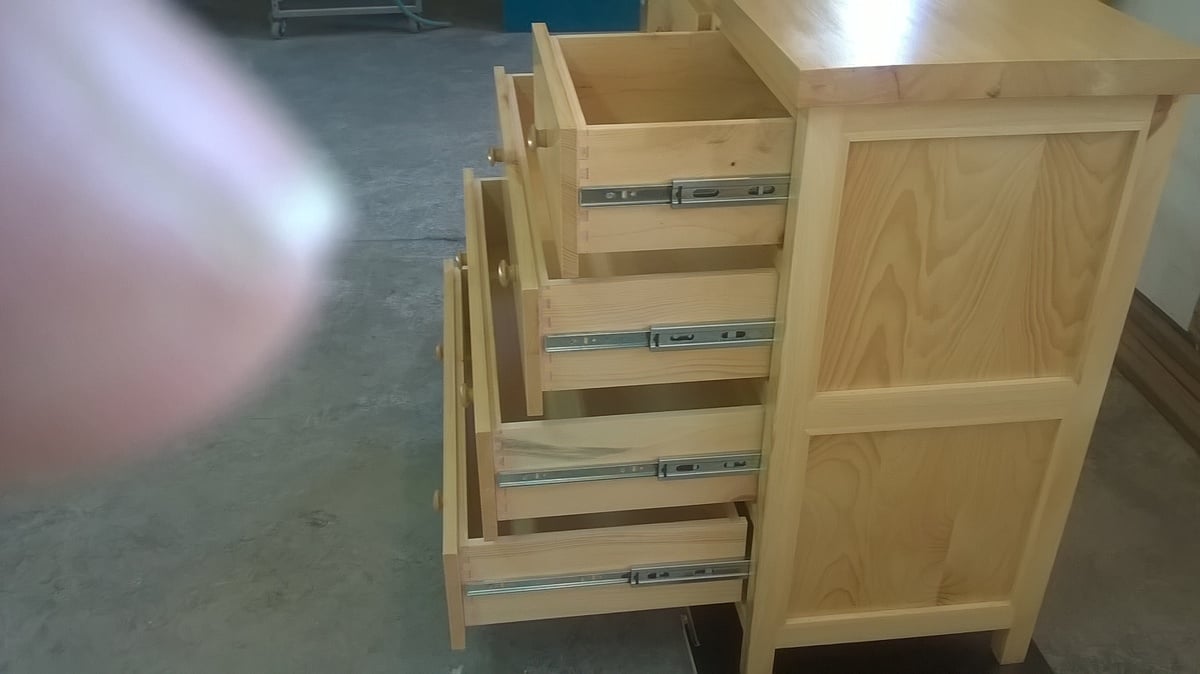
In need of outfitting the spare bedroom for overnight guests I came upon this site and found the storage bed plan we liked. After building the bed of course a dresser was in order. My sawyer has some northern white pine that came from the Wisconsin Northern State Fair grounds in Chippewa Falls. Having never worked with white pine before I found it rewarng and was happy with the finished product. Hope our guest enjoy it as much I had building it

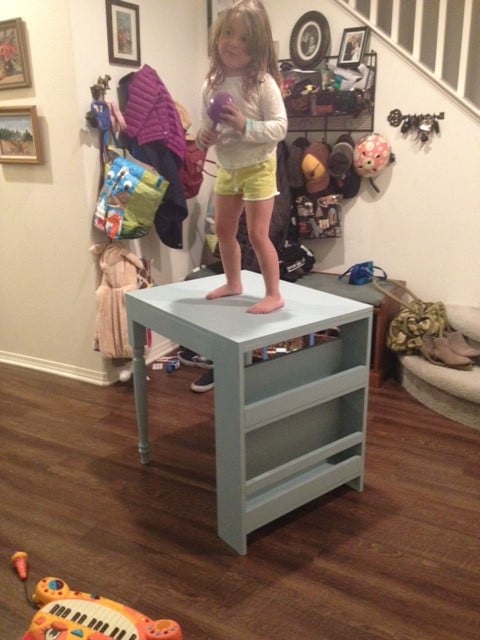
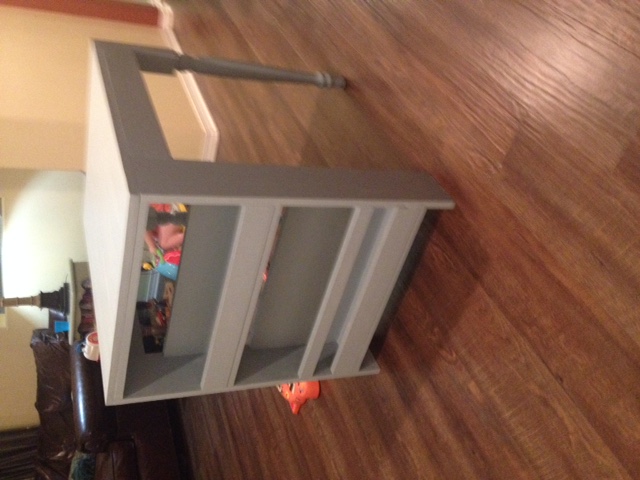
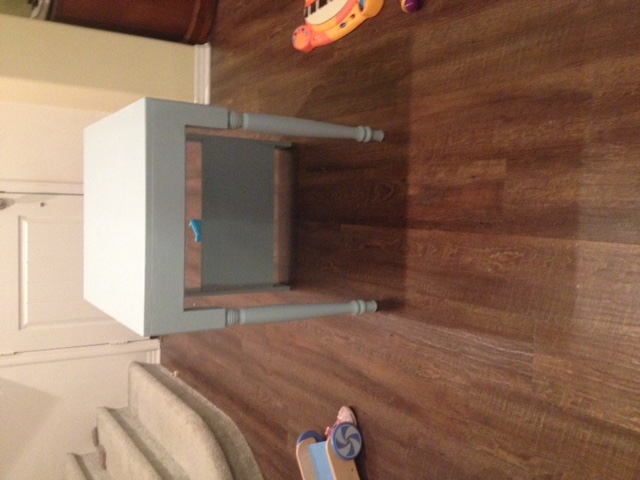
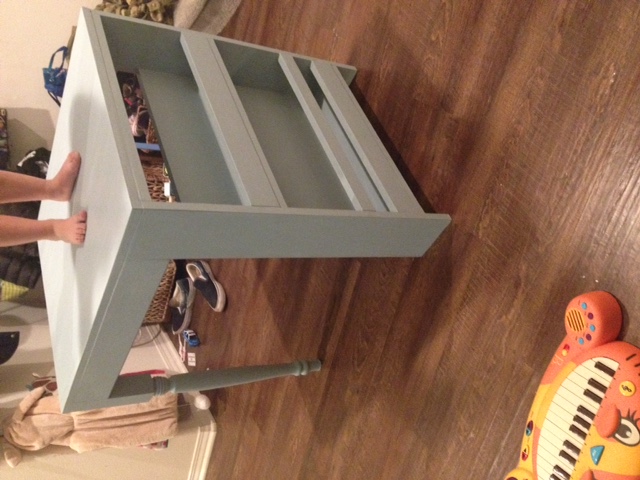
We love this little desk for my 3-year-old's room. She chose the light blue color and helped me paint it. We used Valspar chalk paint and wax and love the look. We didn't have room for the double-sided storage so we used pre-made table legs for the other side. Thanks again, Ana!
p.s. Sorry about the photos rotation. I have no idea why they are all sideways.
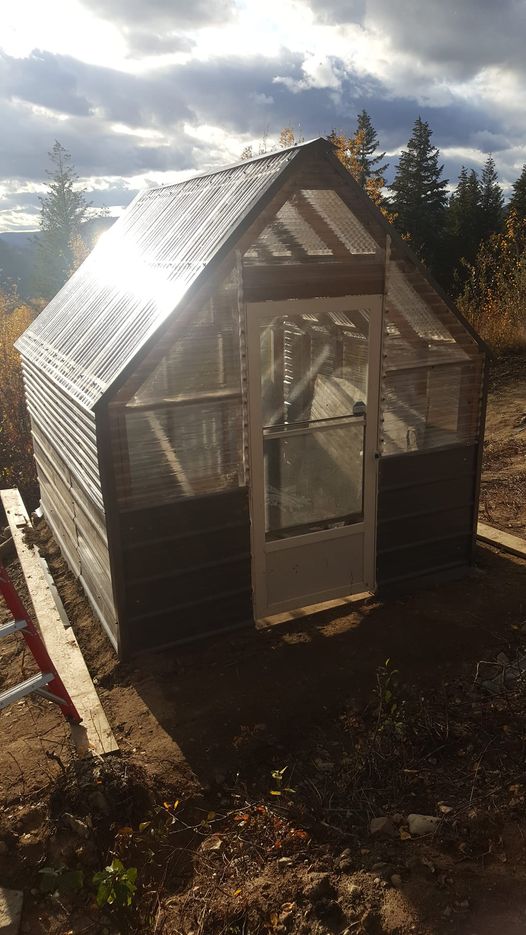
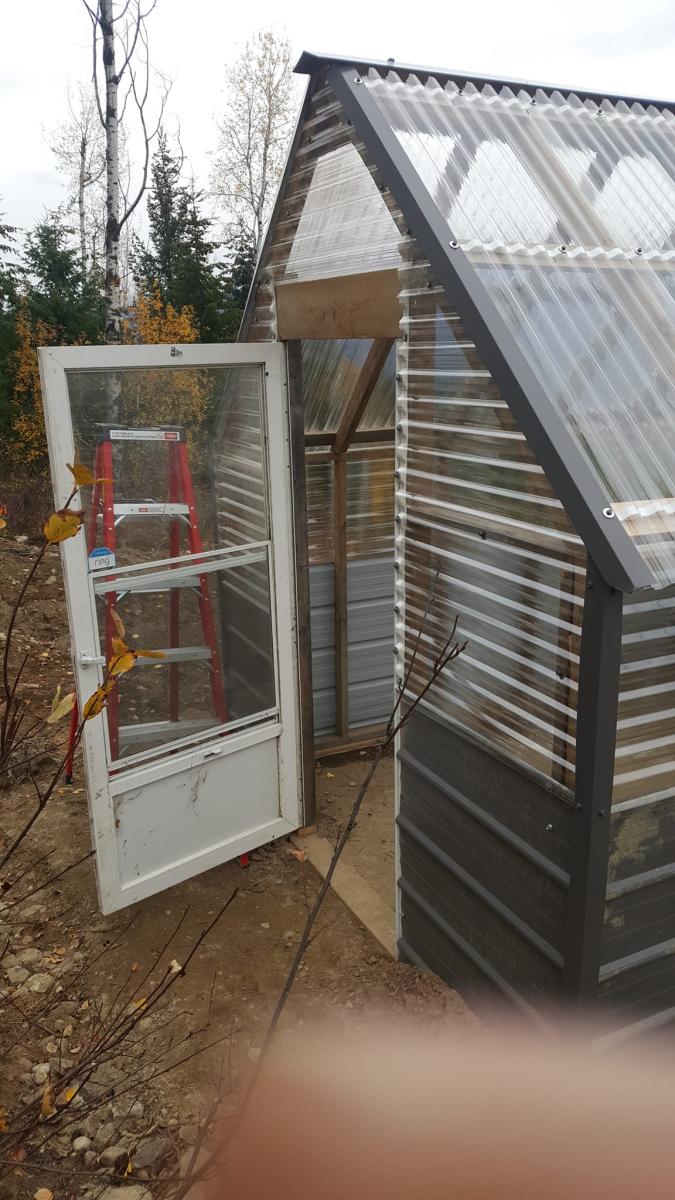
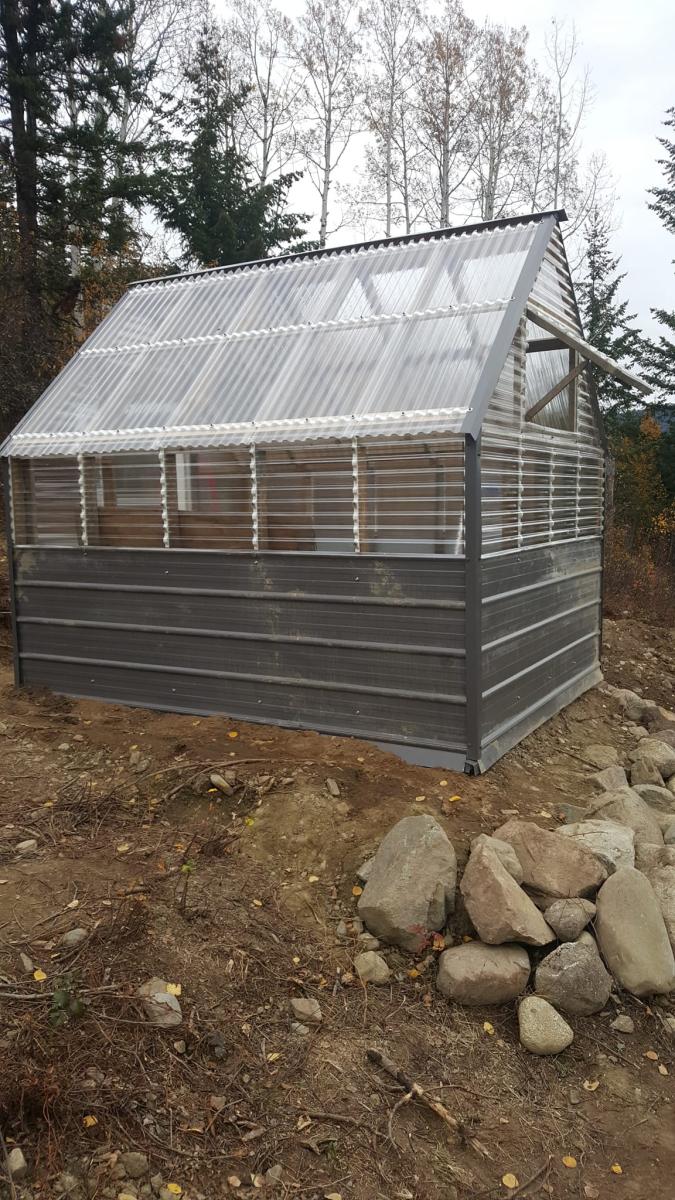
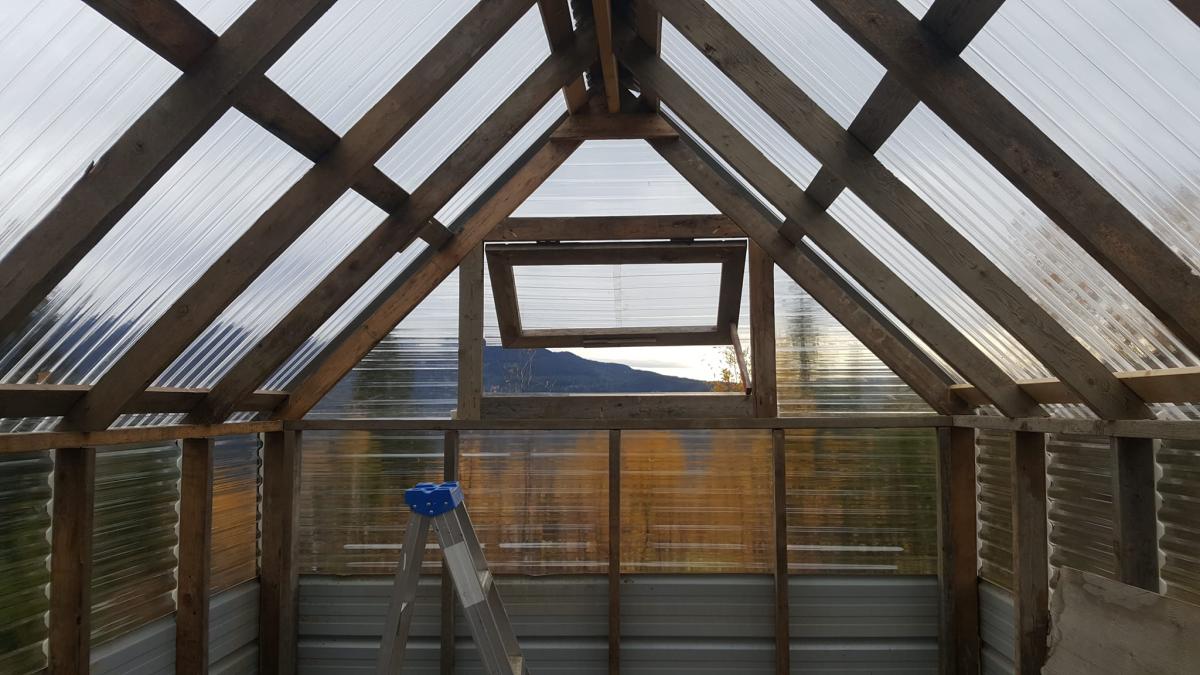
Ana's plans are so easy to work with. This greenhouse was build with all recycled materials from our home build, except for the corrugated plastic (total cost approx. CAN $1,000). I did have to make it a little bit smaller as the area that was leveled was a bit smaller than planned. I'm planning to add raised beds inside, add a solar panel so that I can have light in the evening and a fan during the day. I'm planning to attach some gutters and a rain barrel.
This is my second project, based on Ana's plans (first one: https://www.ana-white.com/community-projects/indoor-firwood-console). Next, I'm planning to make the fancy X farmhouse table and bench with storage. Stay tuned.

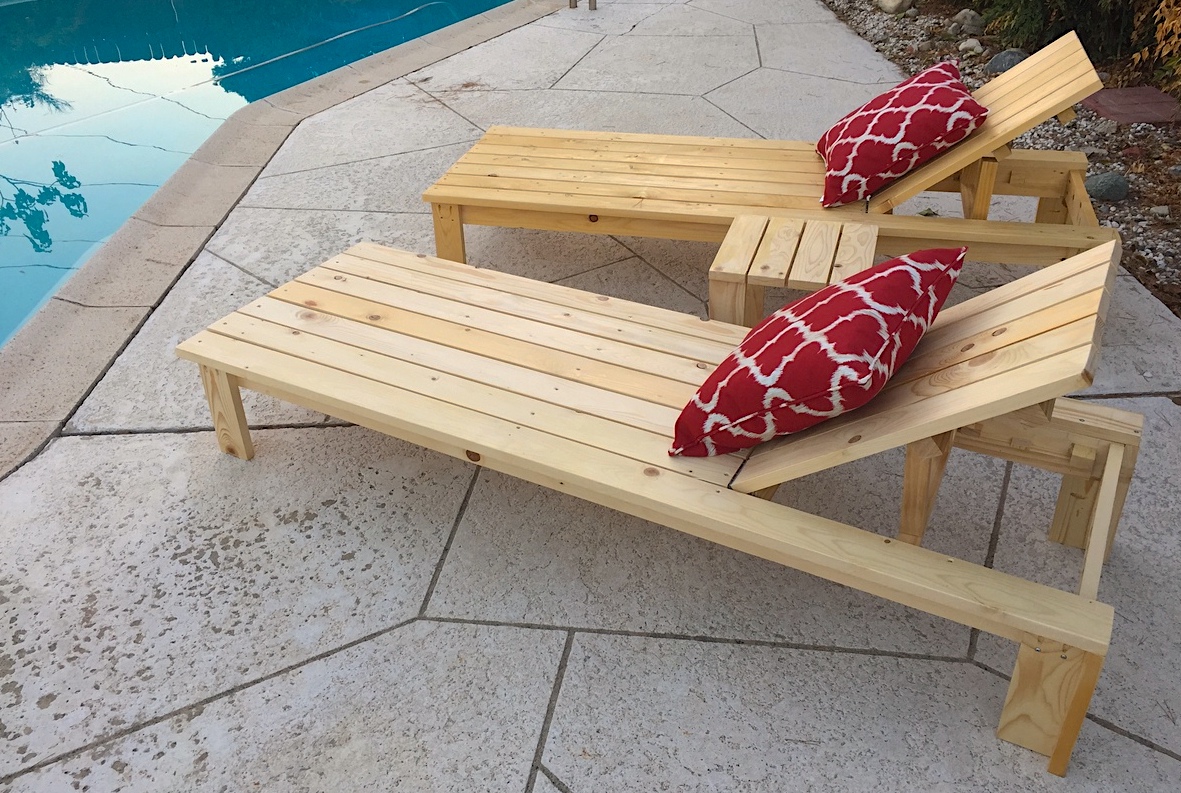
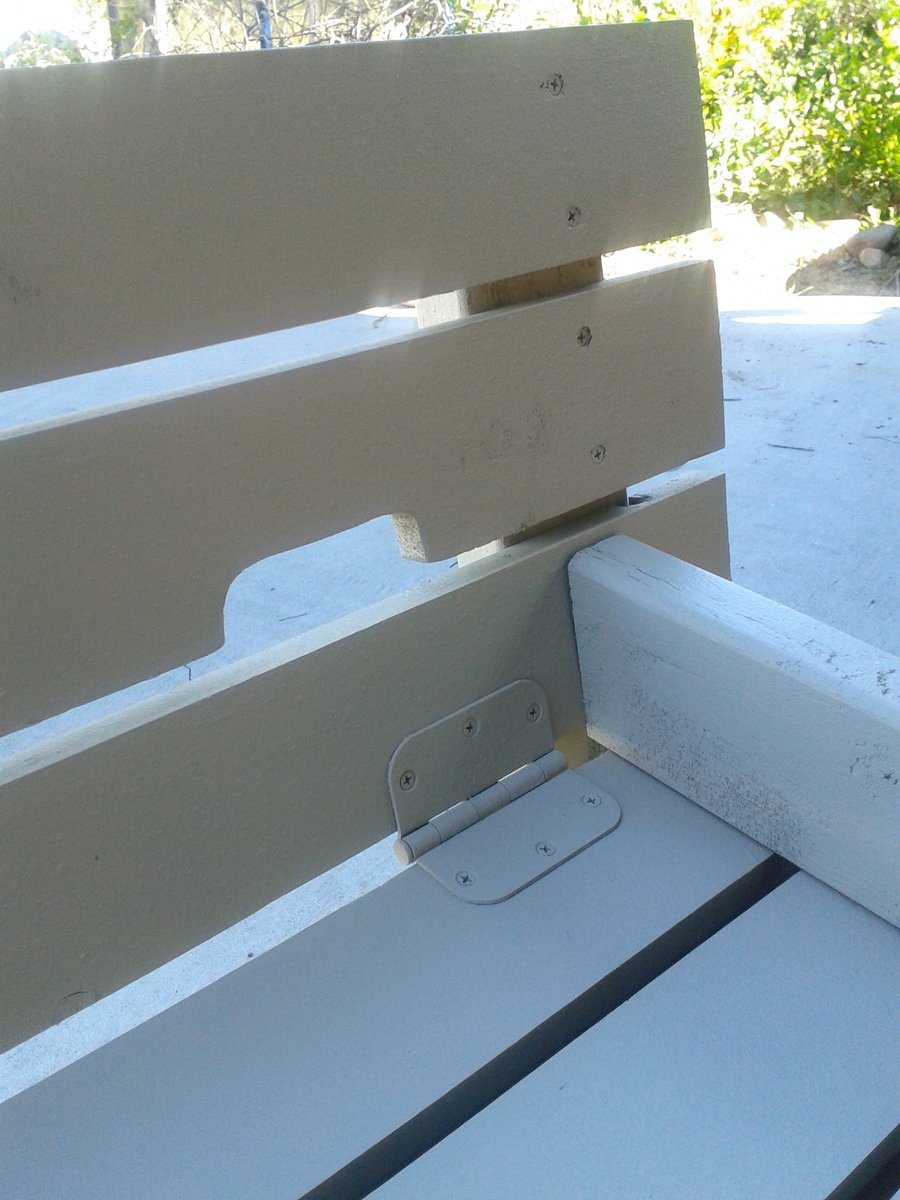
On this project we modified a few things like the arm rests which we cut at an angle to keep kids from pinching fingers in there if someone decided to move the bench back on them. We also modified the size which we made 6'x4' to maximize play sand space and kid space. Therefore this made our benches bigger so that big kids (my husband) could sit on the benches and play in the sandbox. Yes there was talk about putting cup holders but I won the conversation by mentioning sand in his drink and we would have to do a sippy cup. We notched out the handles instead of installing handles which made it look sleek. We used the template from the hinge so it matched the shape....clever huh? We decided to primer and paint this one sandstone in the brick and mortar sample book by Behr and had them put it in an exterior paint color for us. We used a wagner paint sprayer which made the project fast at the end. Overall still an easy project for anyone. I do suggest pre drilling all holes first before screwing in screws so the wood doesn't split when doing the slats on the top.


Wed, 04/08/2015 - 12:41
I was wanting to make a big one like a 6ft by 6 ft and was wondering how long you made everything.
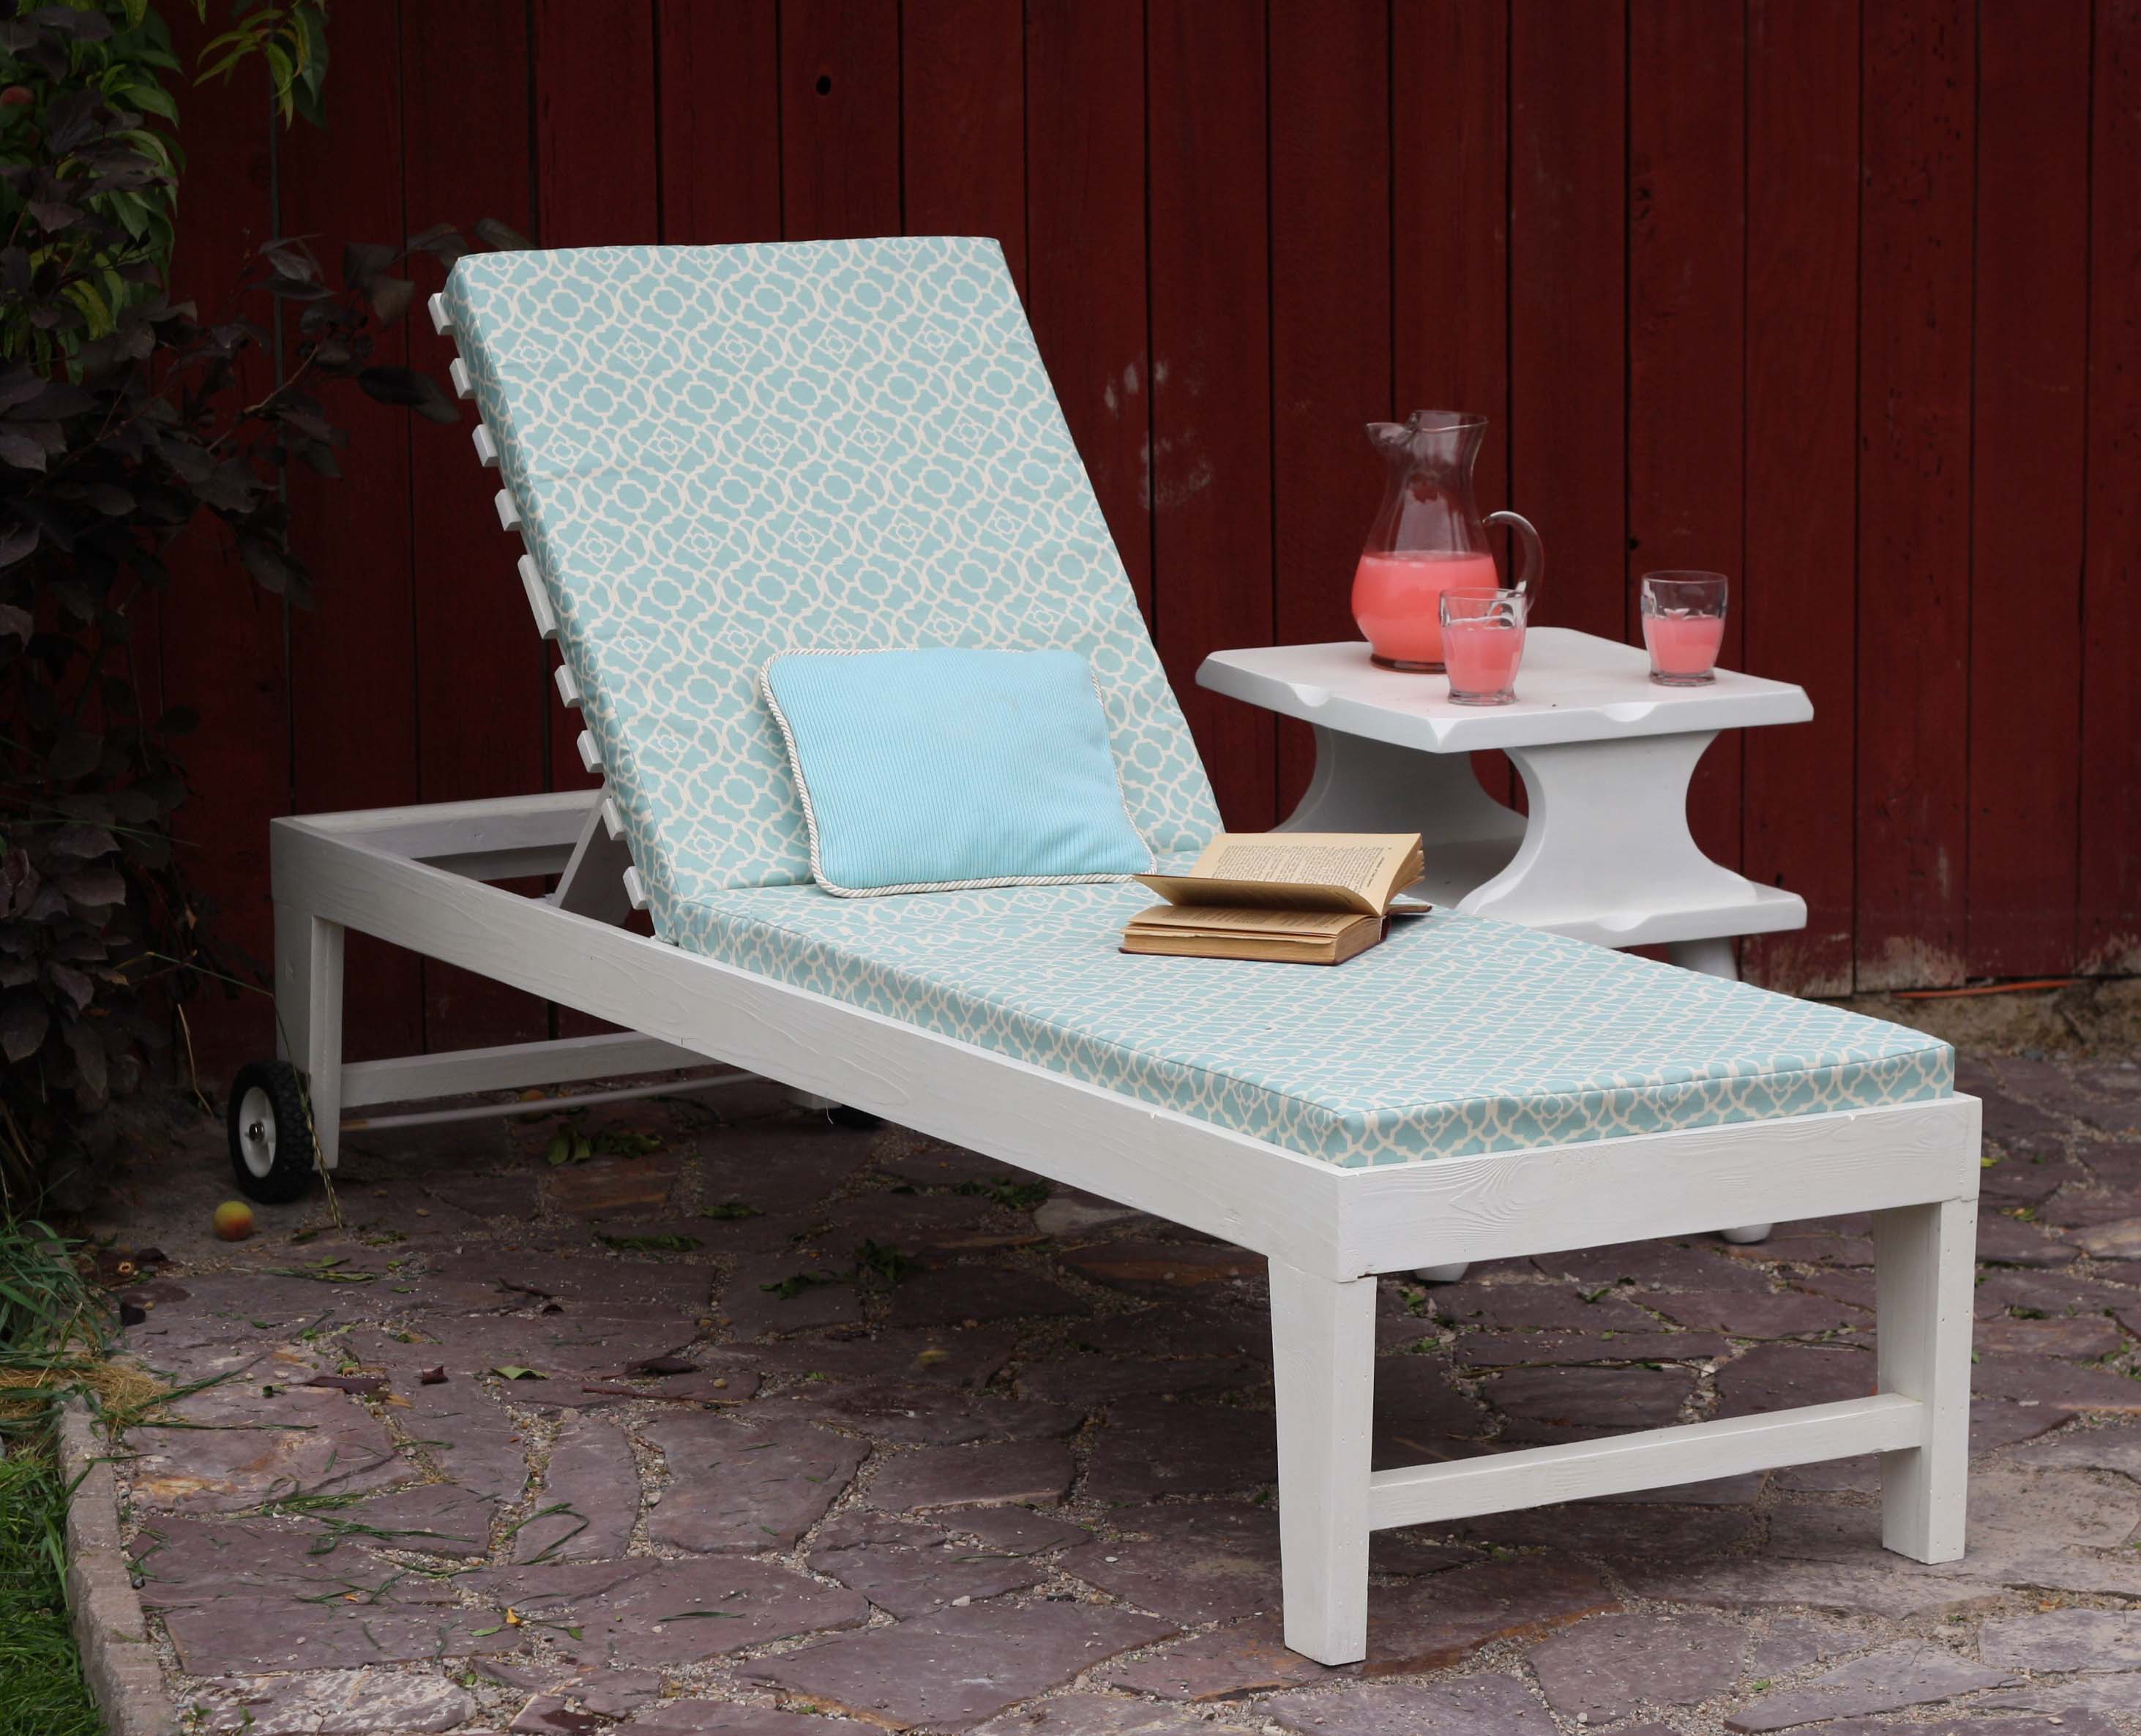
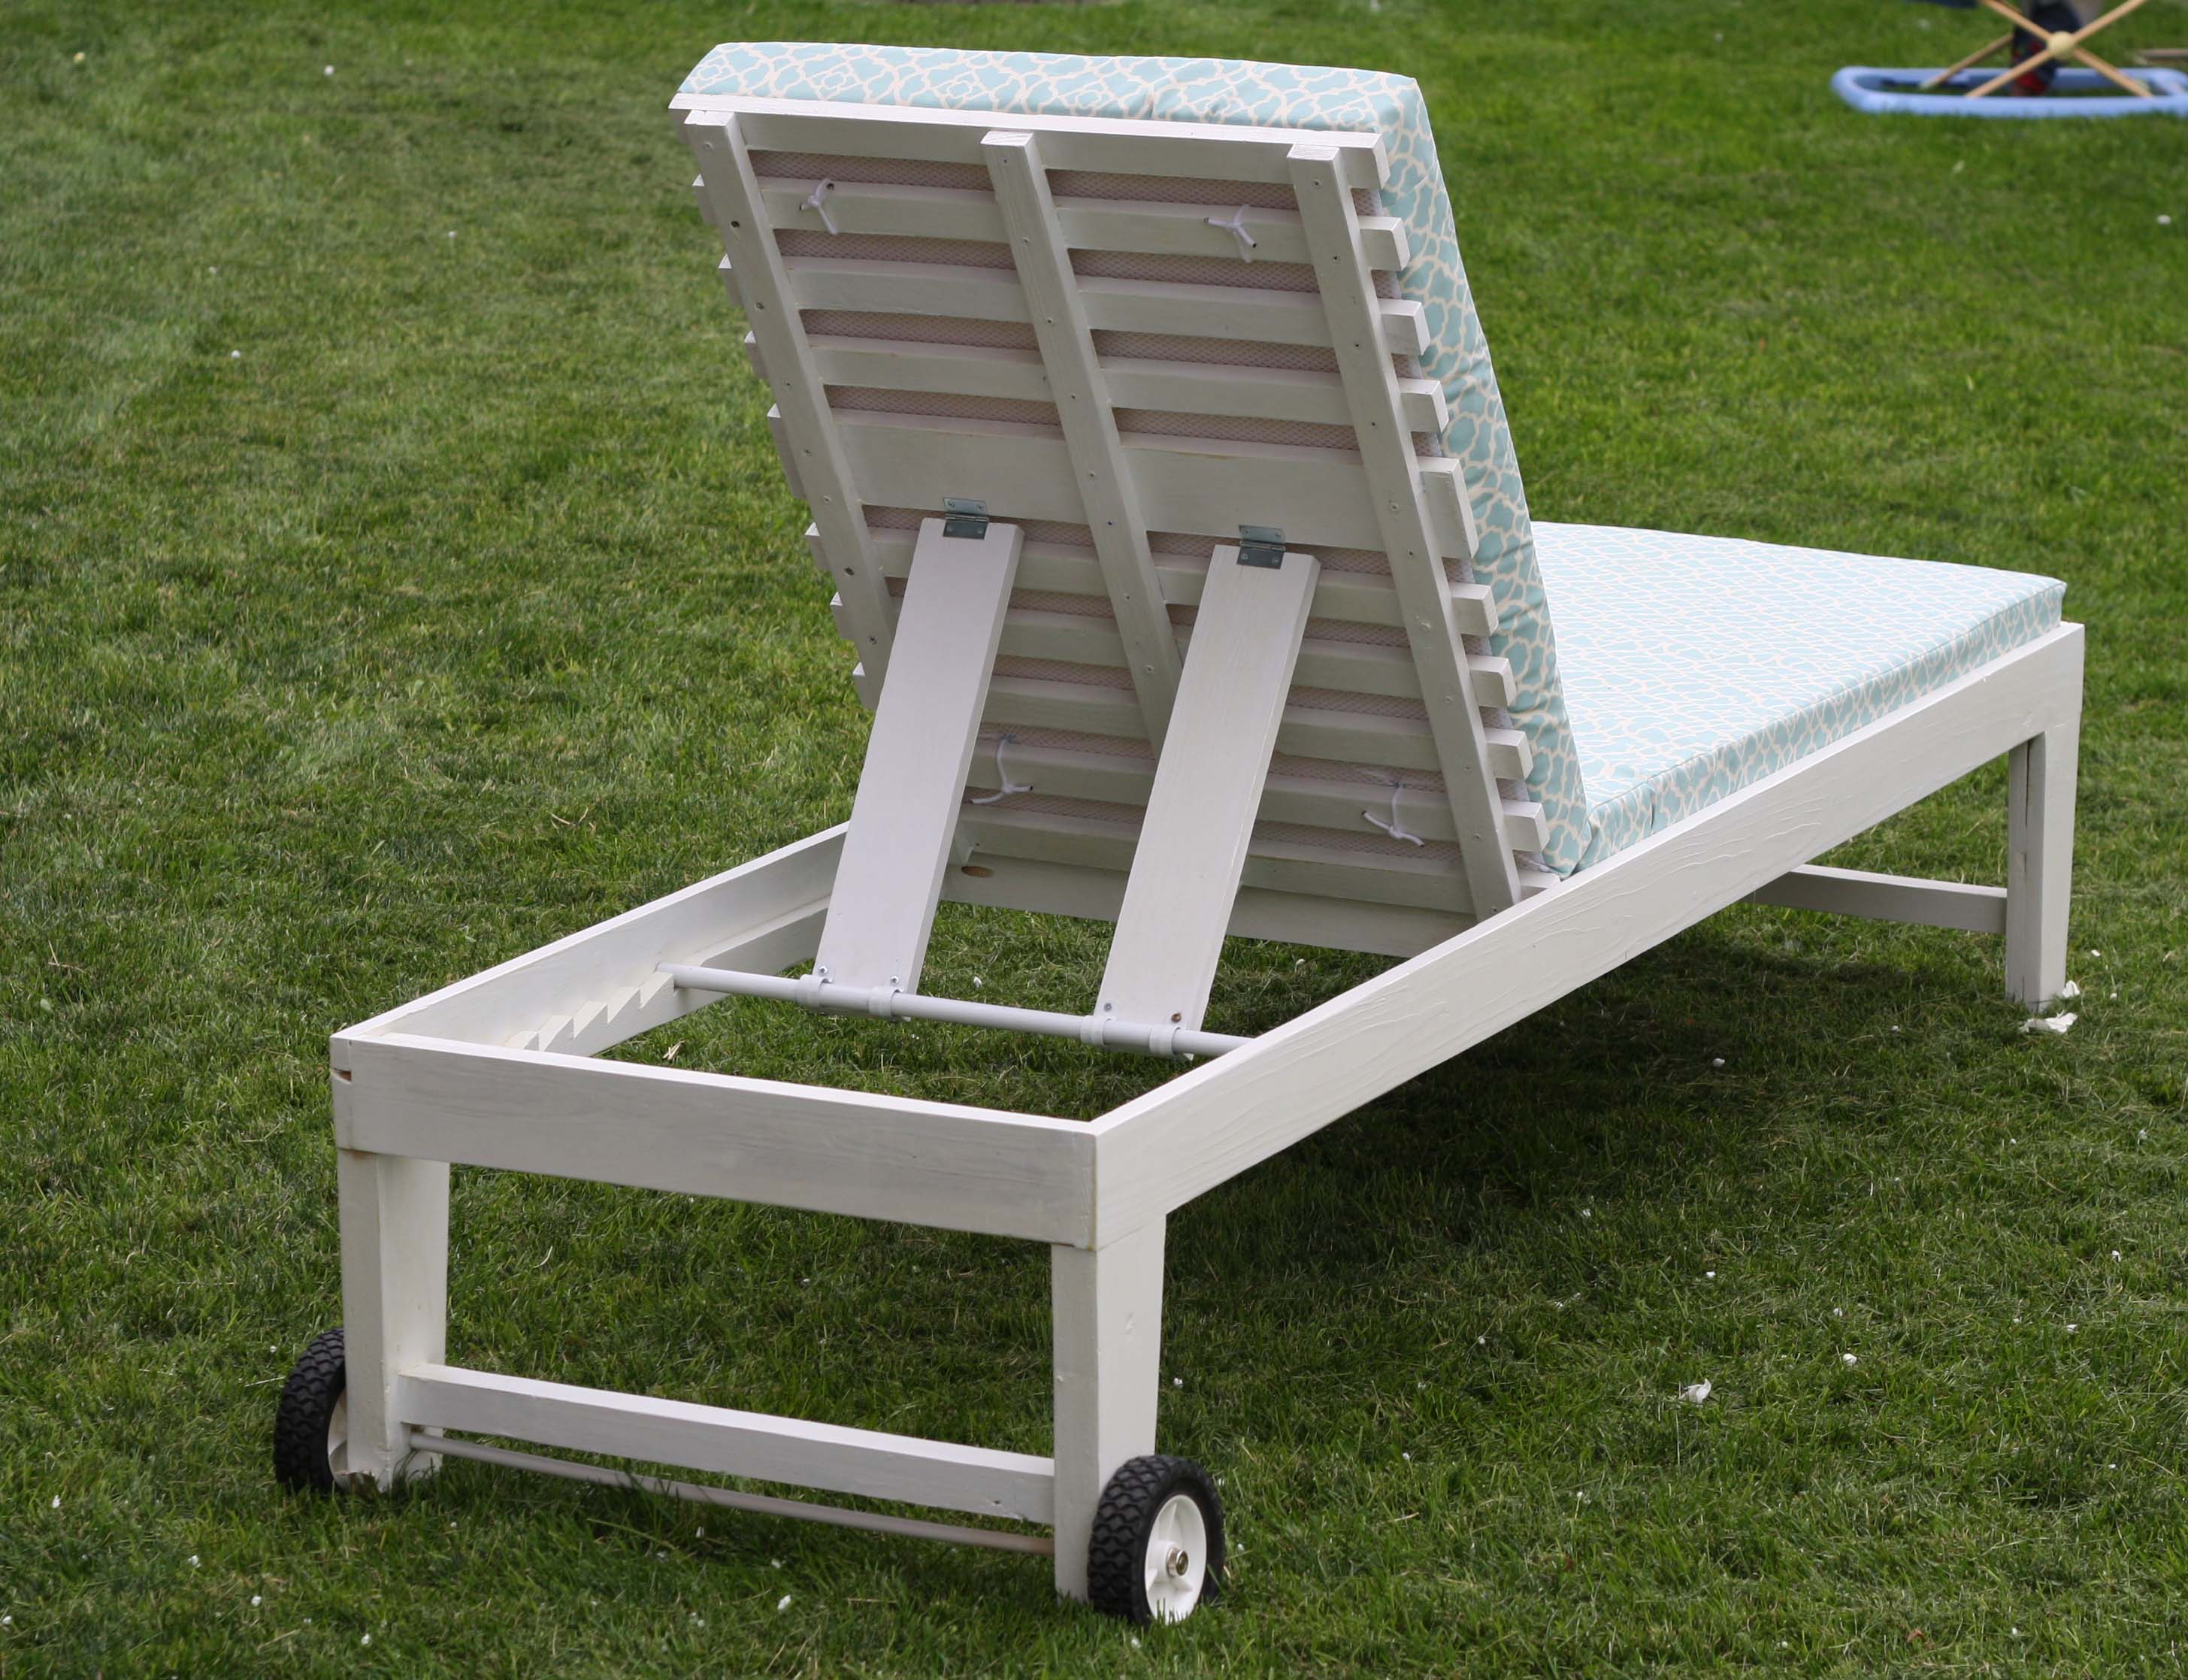
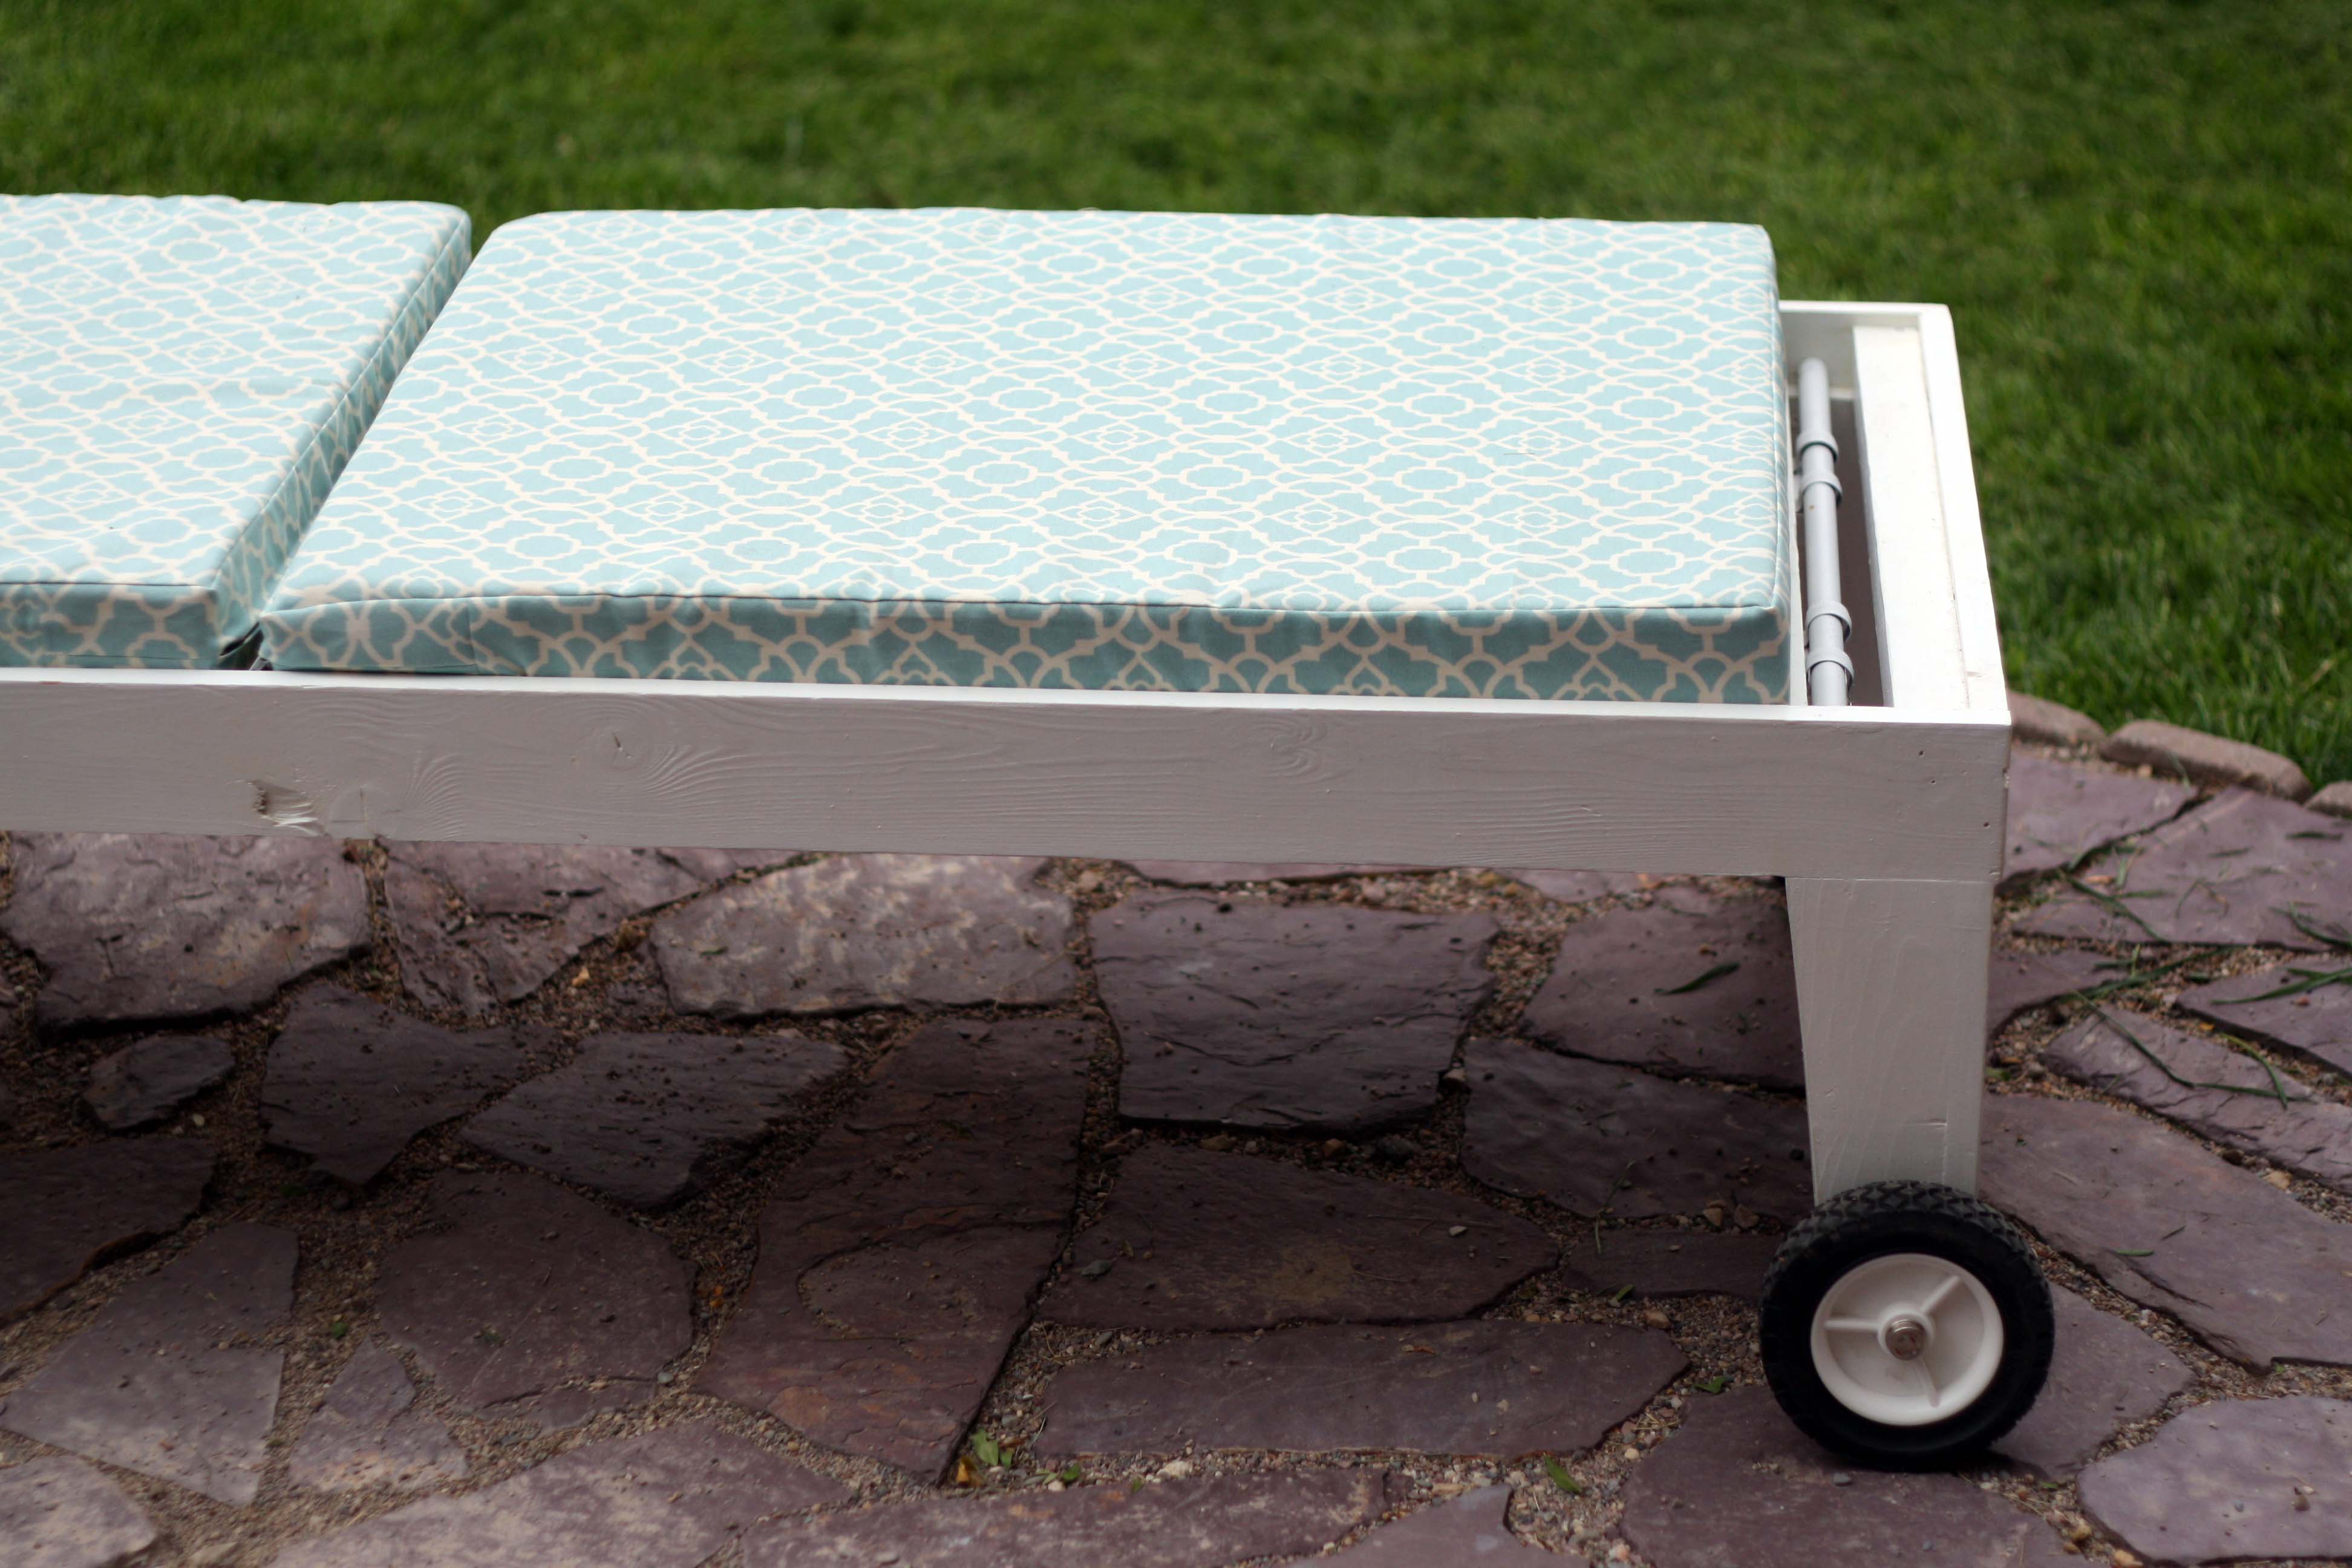
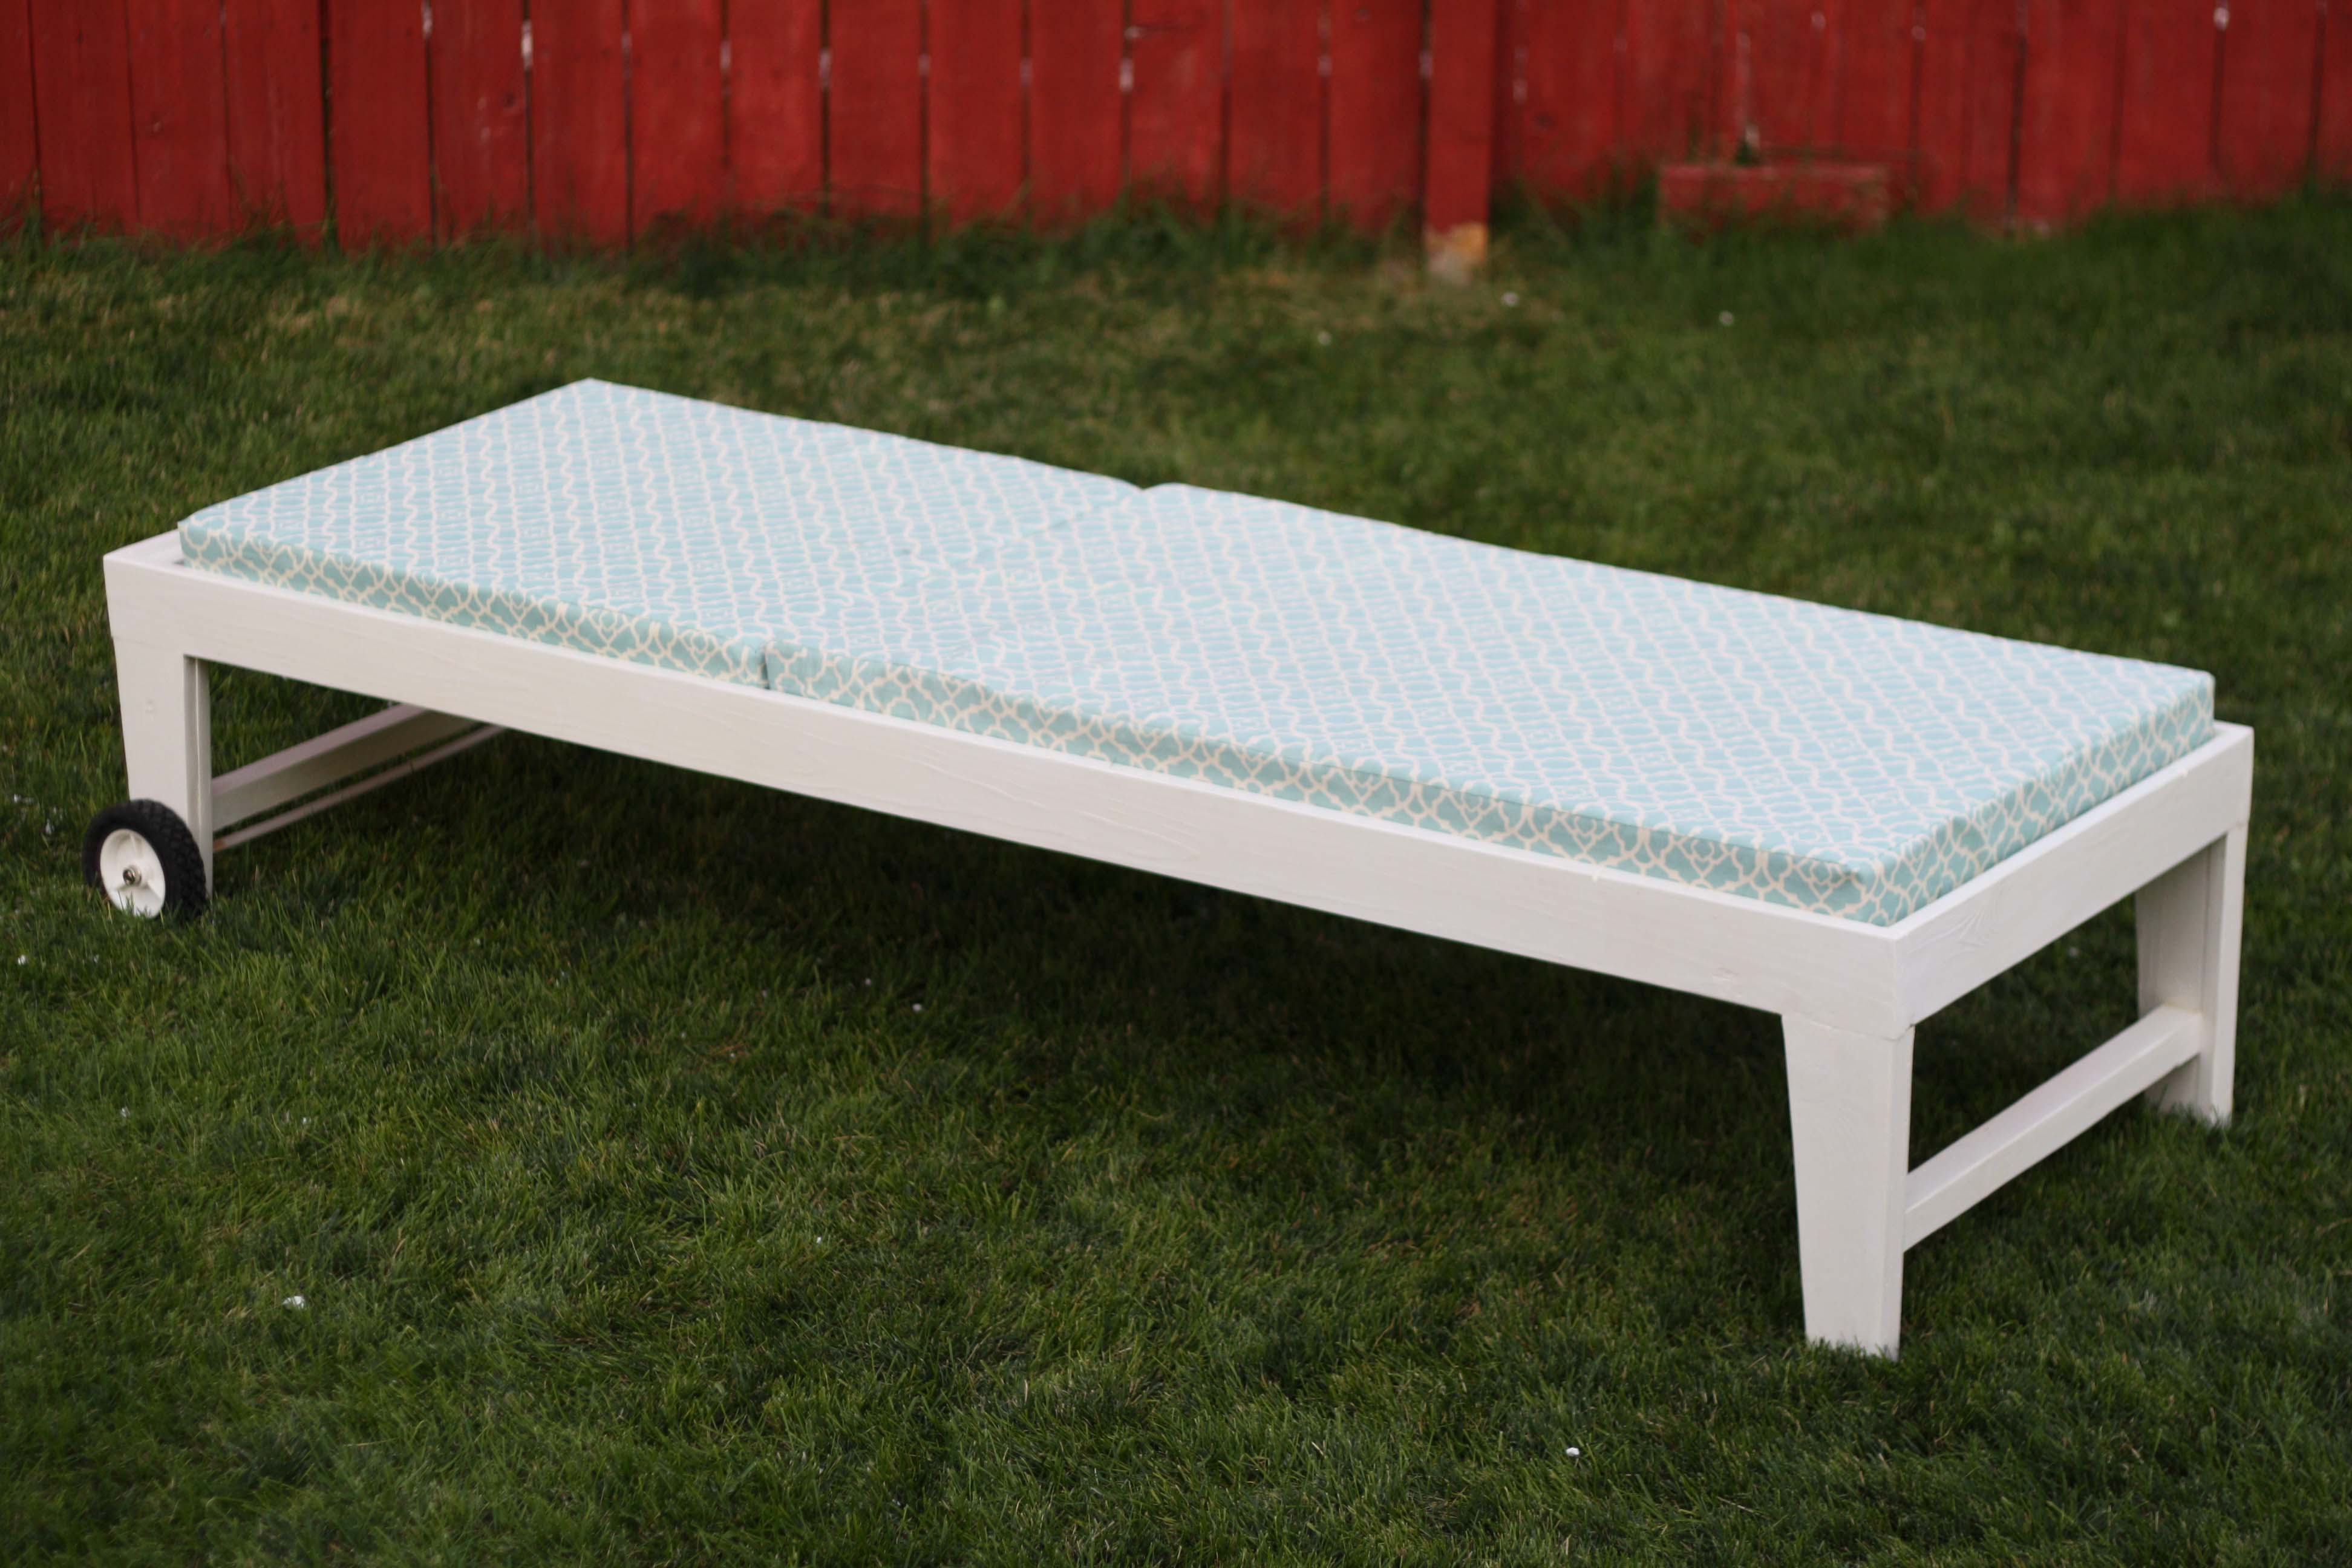
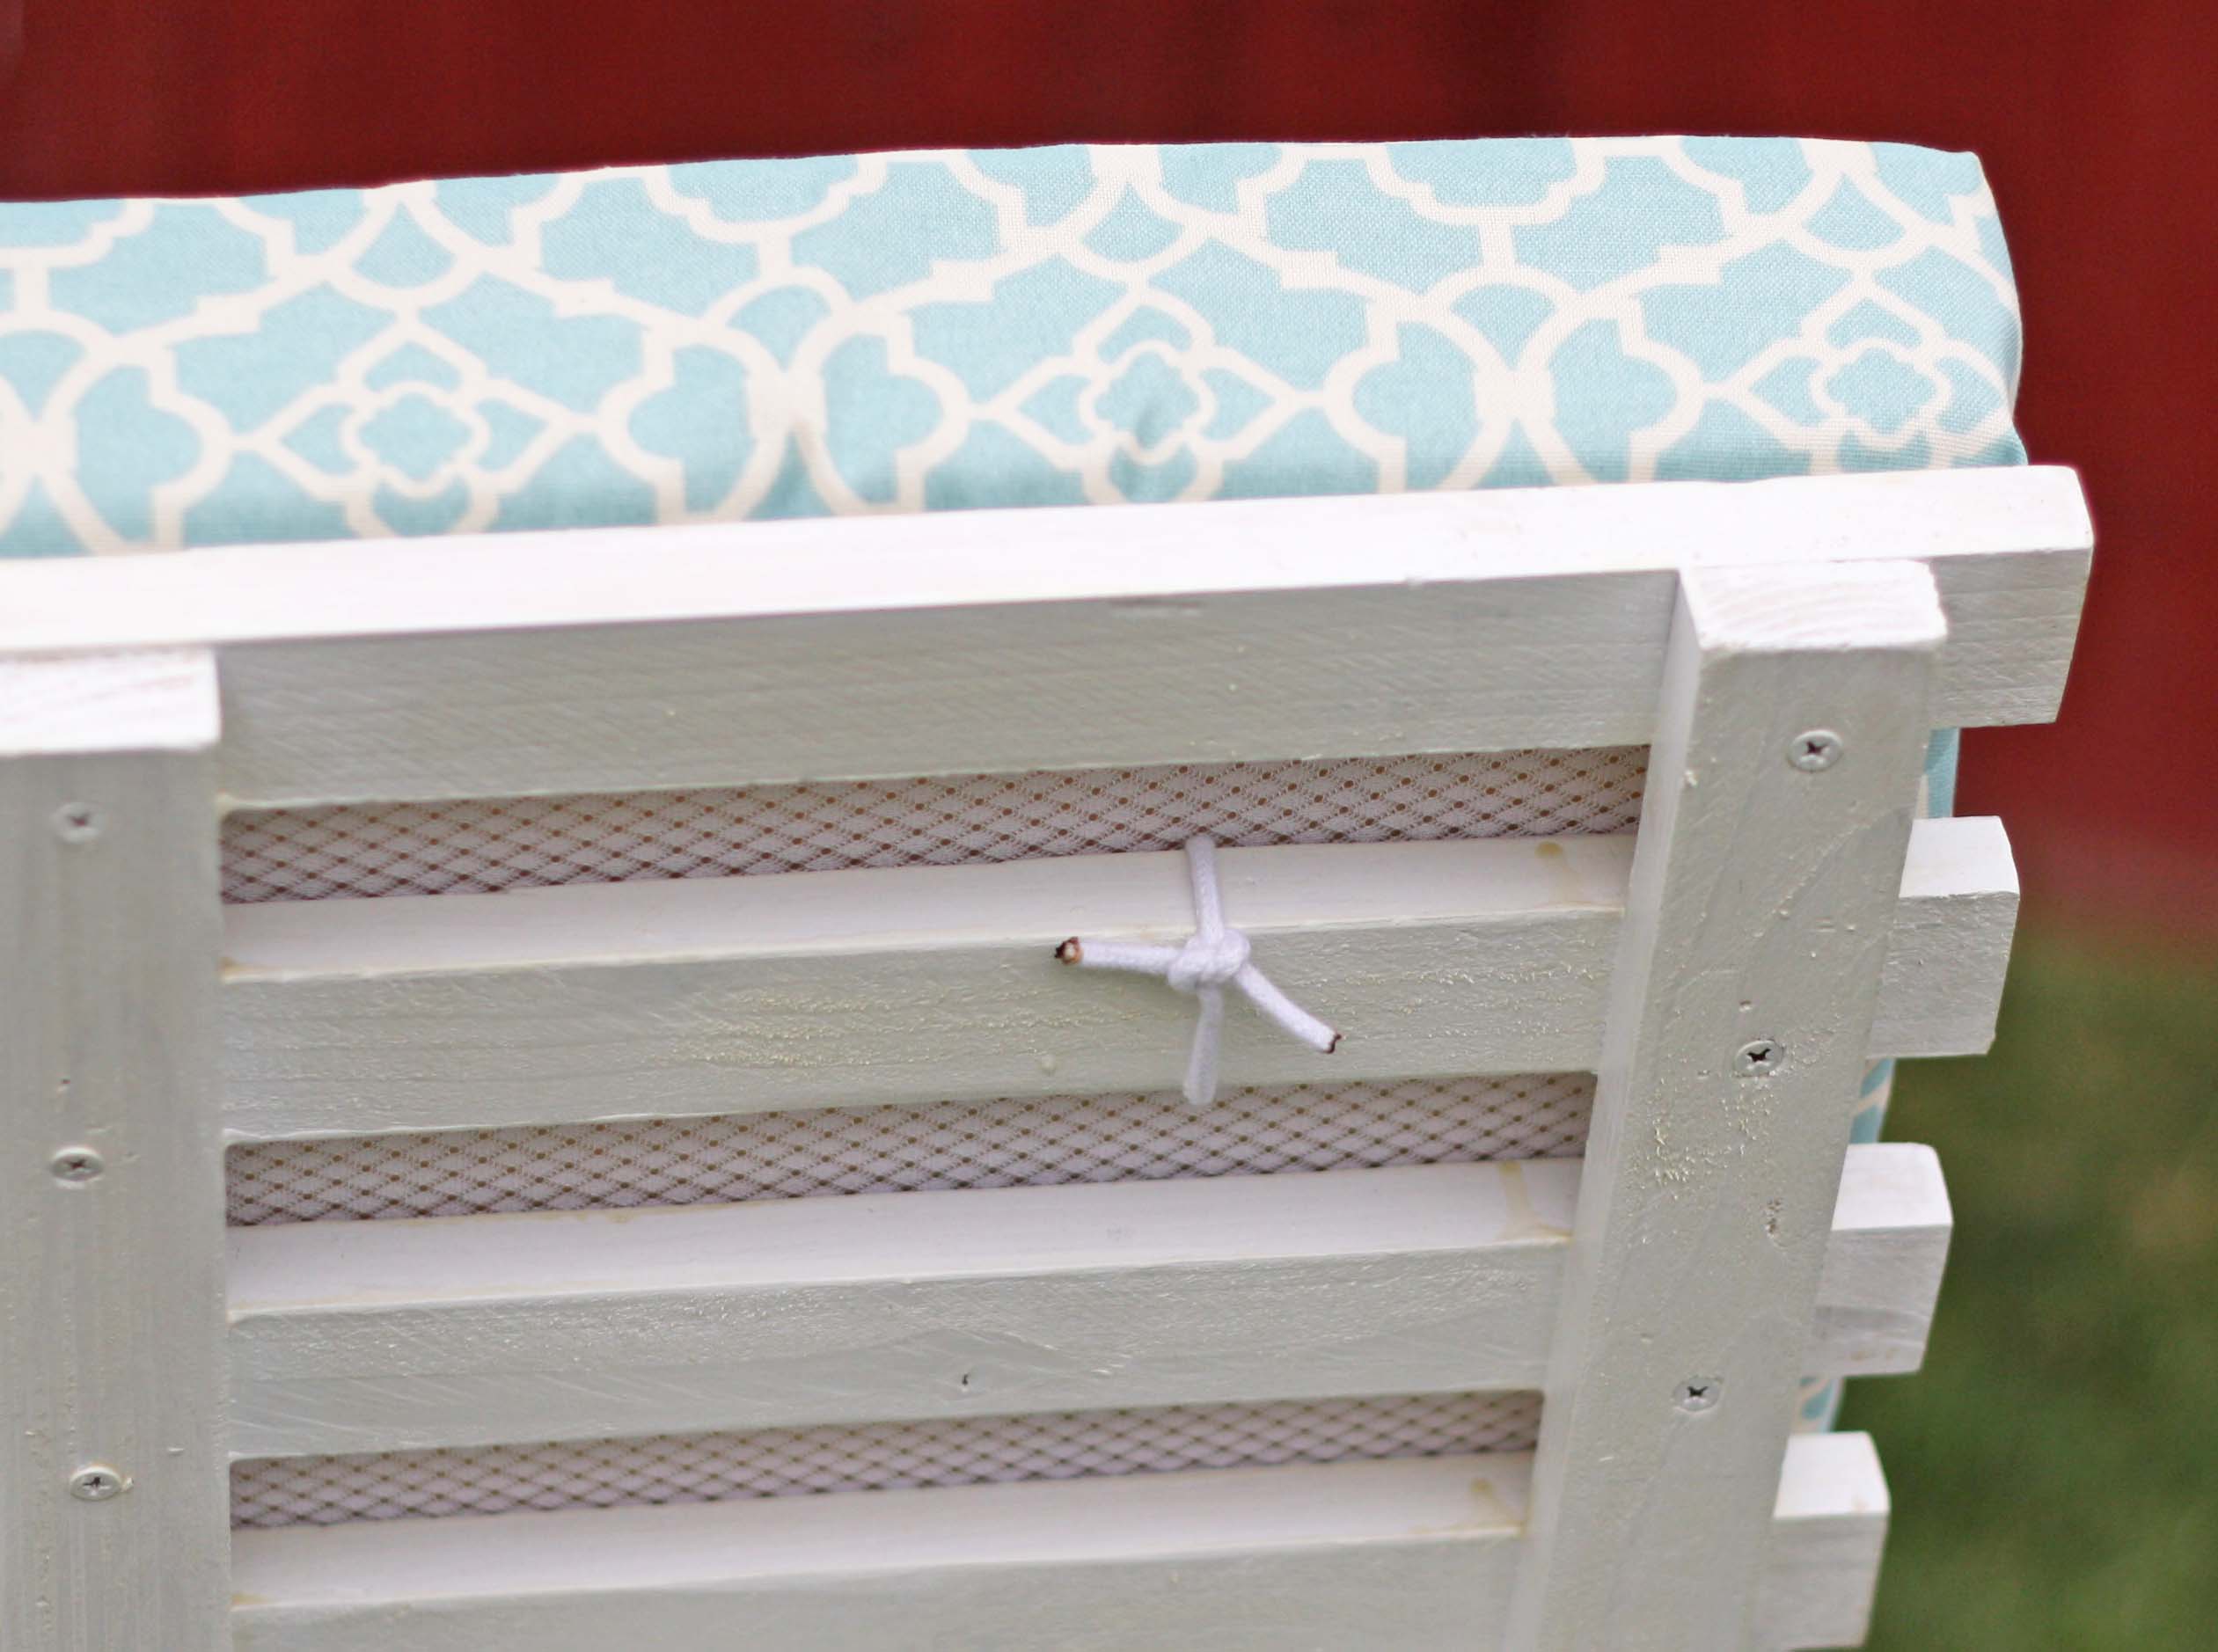
Using this plan I built my lounger with some changes, mainly adding lawn mower wheels to one end. The cushions I made have a mesh bottom to let the cushions dry faster, and zippers so they can be removed and machine washed. More details on what I used and many more photos on my blog.
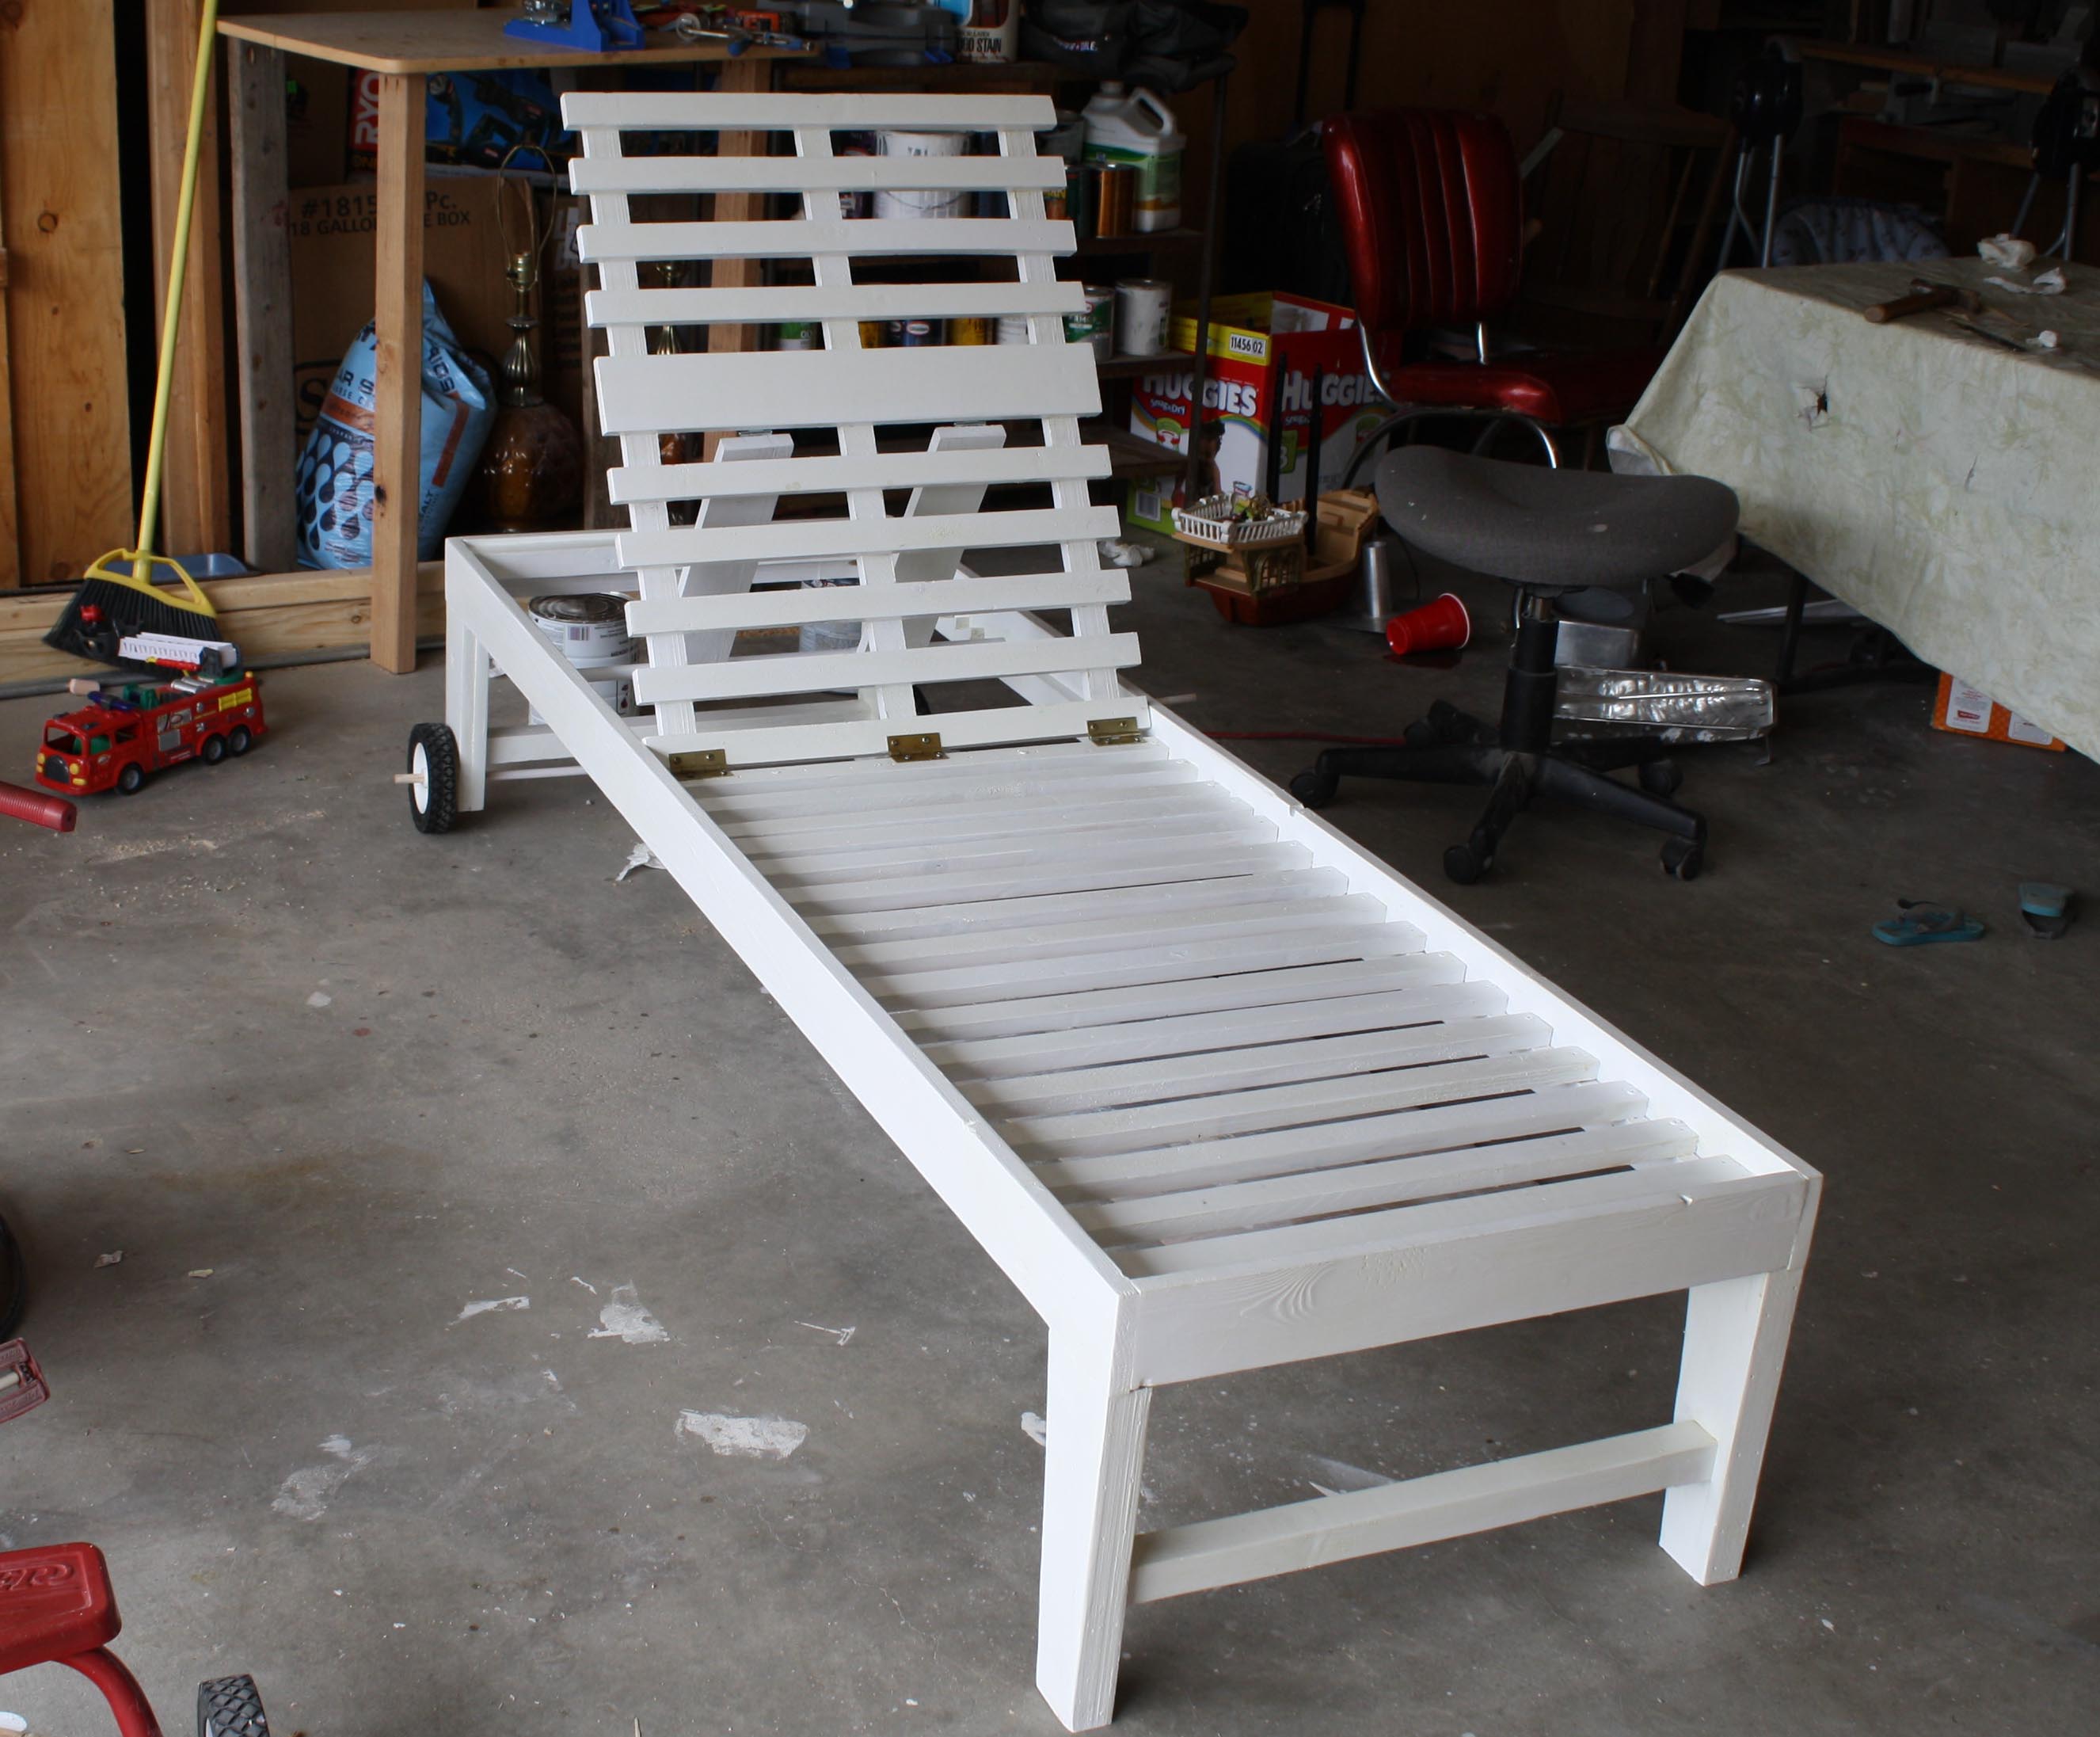
Tue, 09/20/2011 - 12:49
I love the idea of the mesh! It would work as a great bench when you need more seating too. I think it'd be nice with huge wooden wheels also.