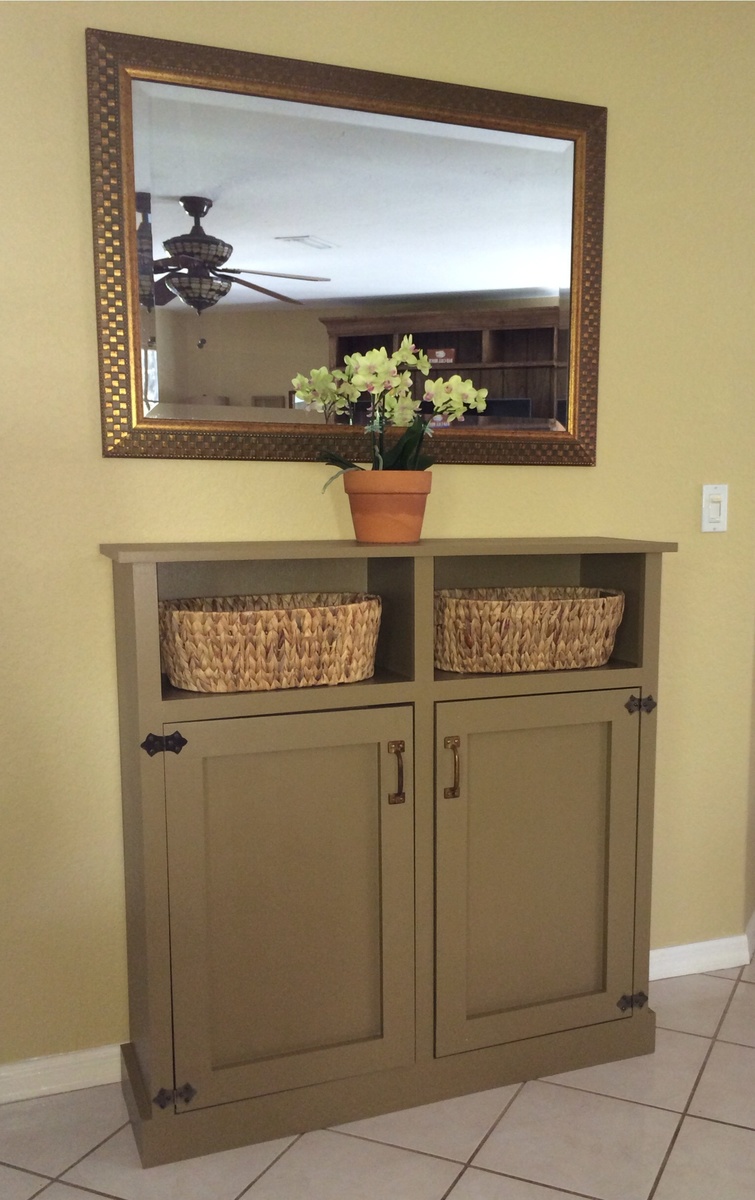
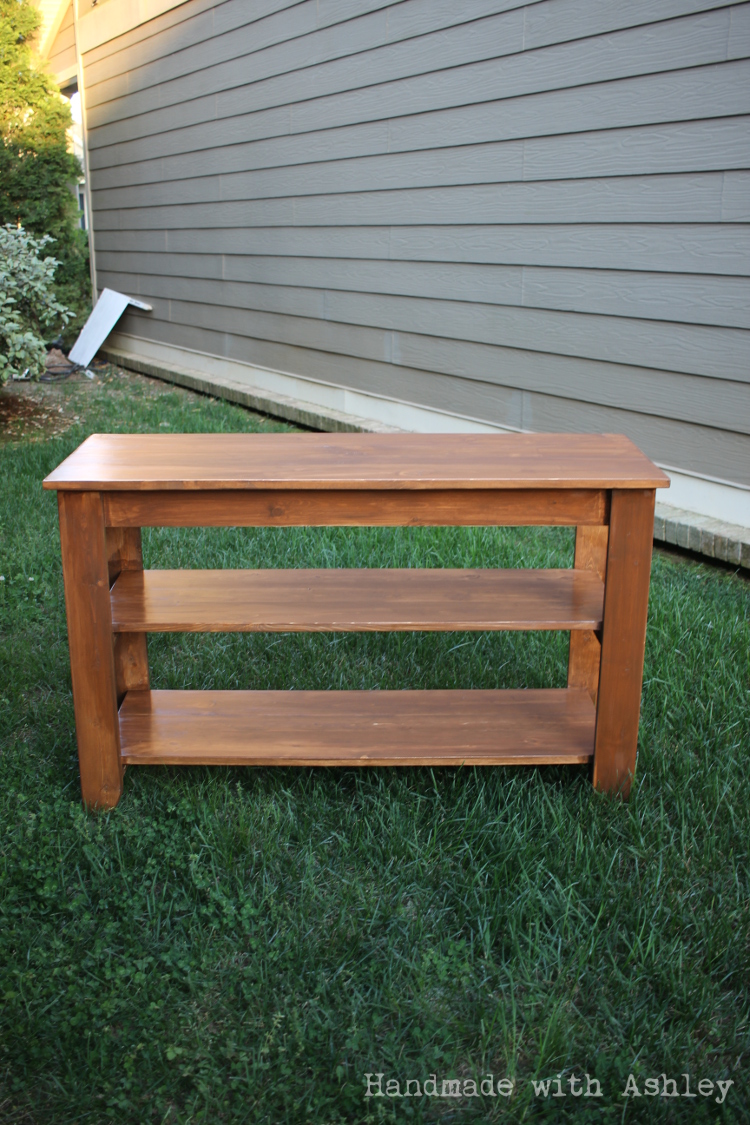
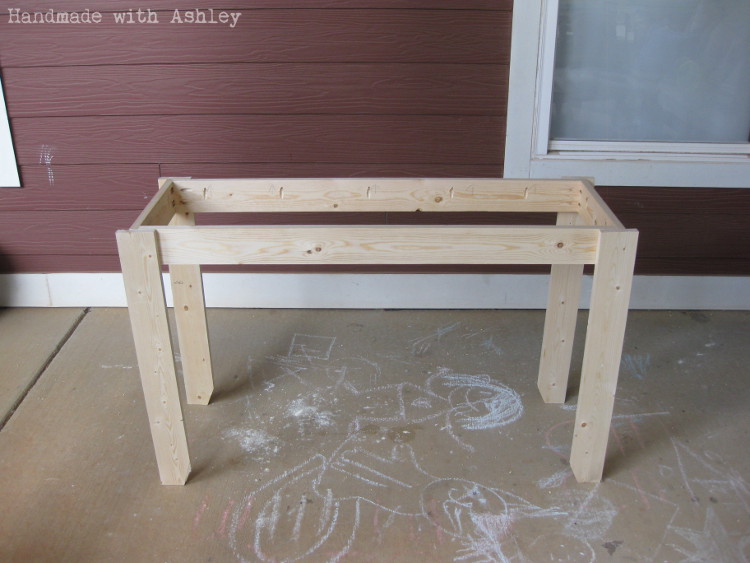
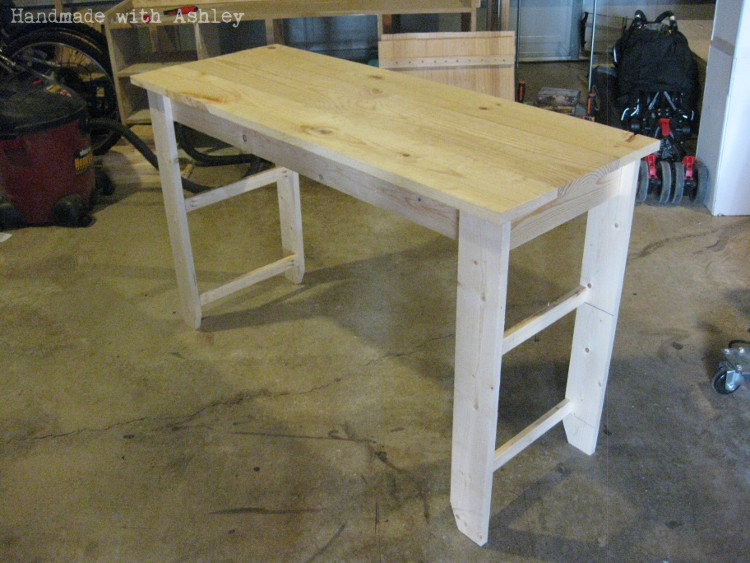
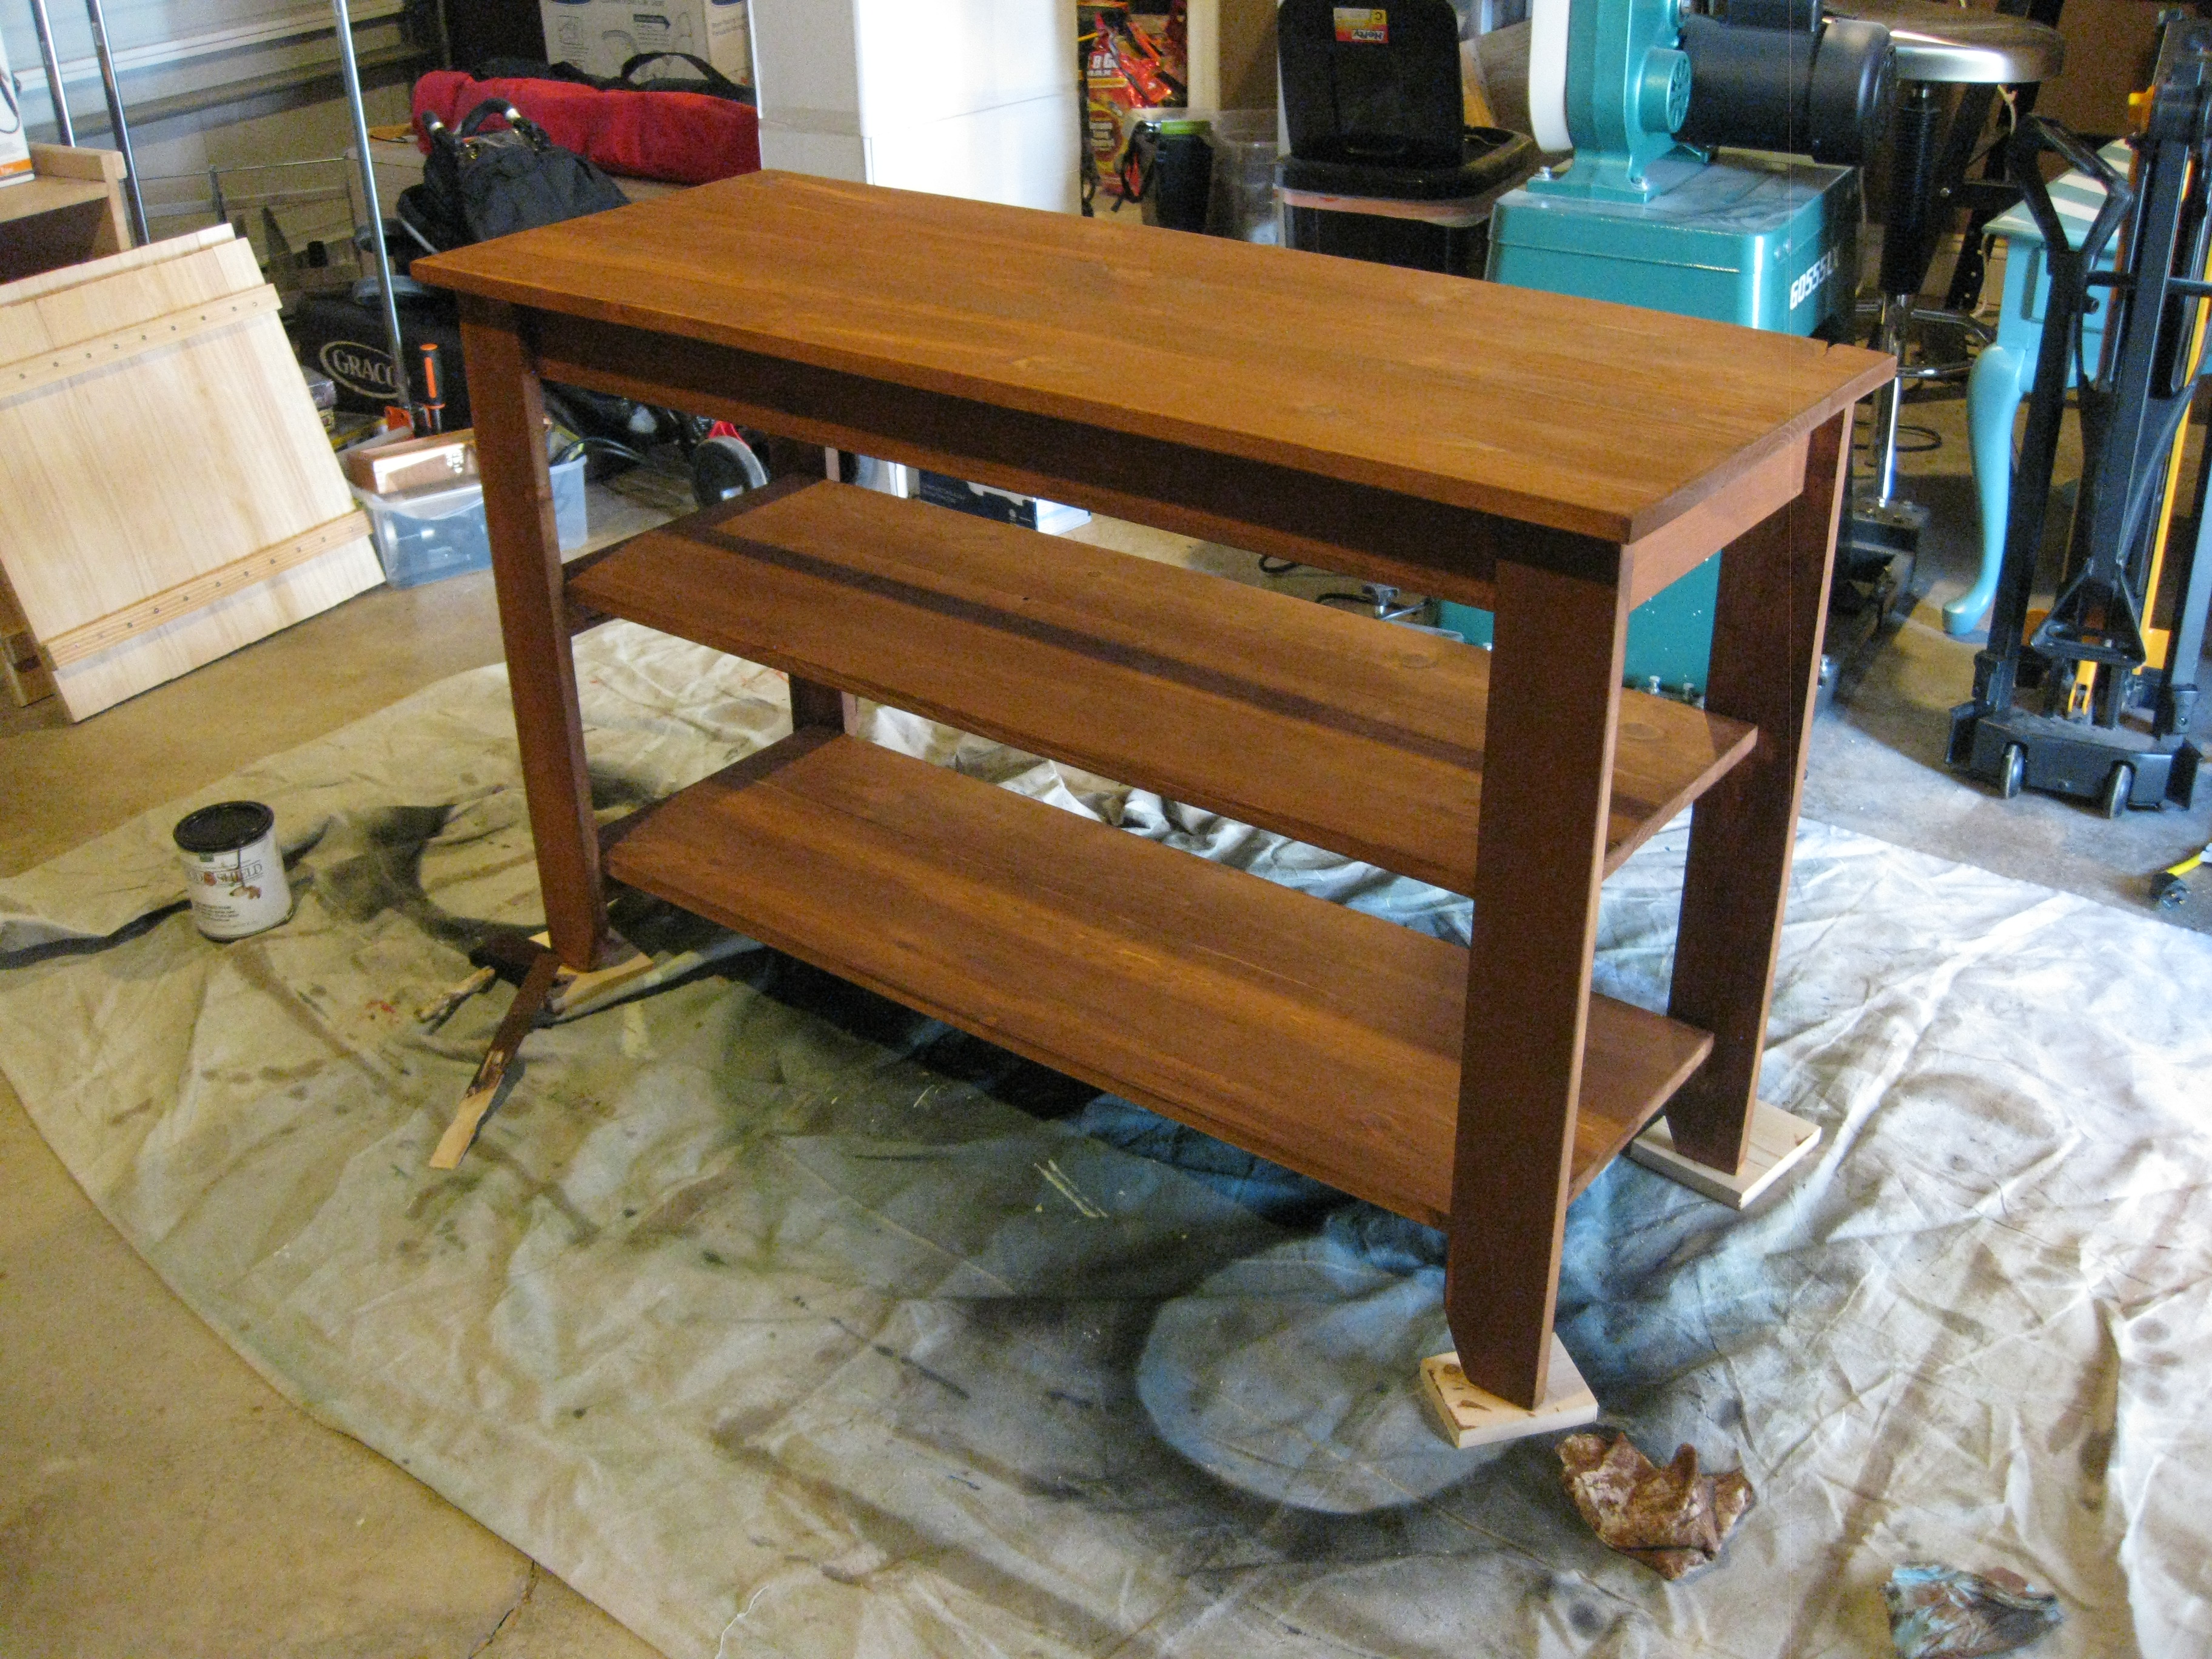
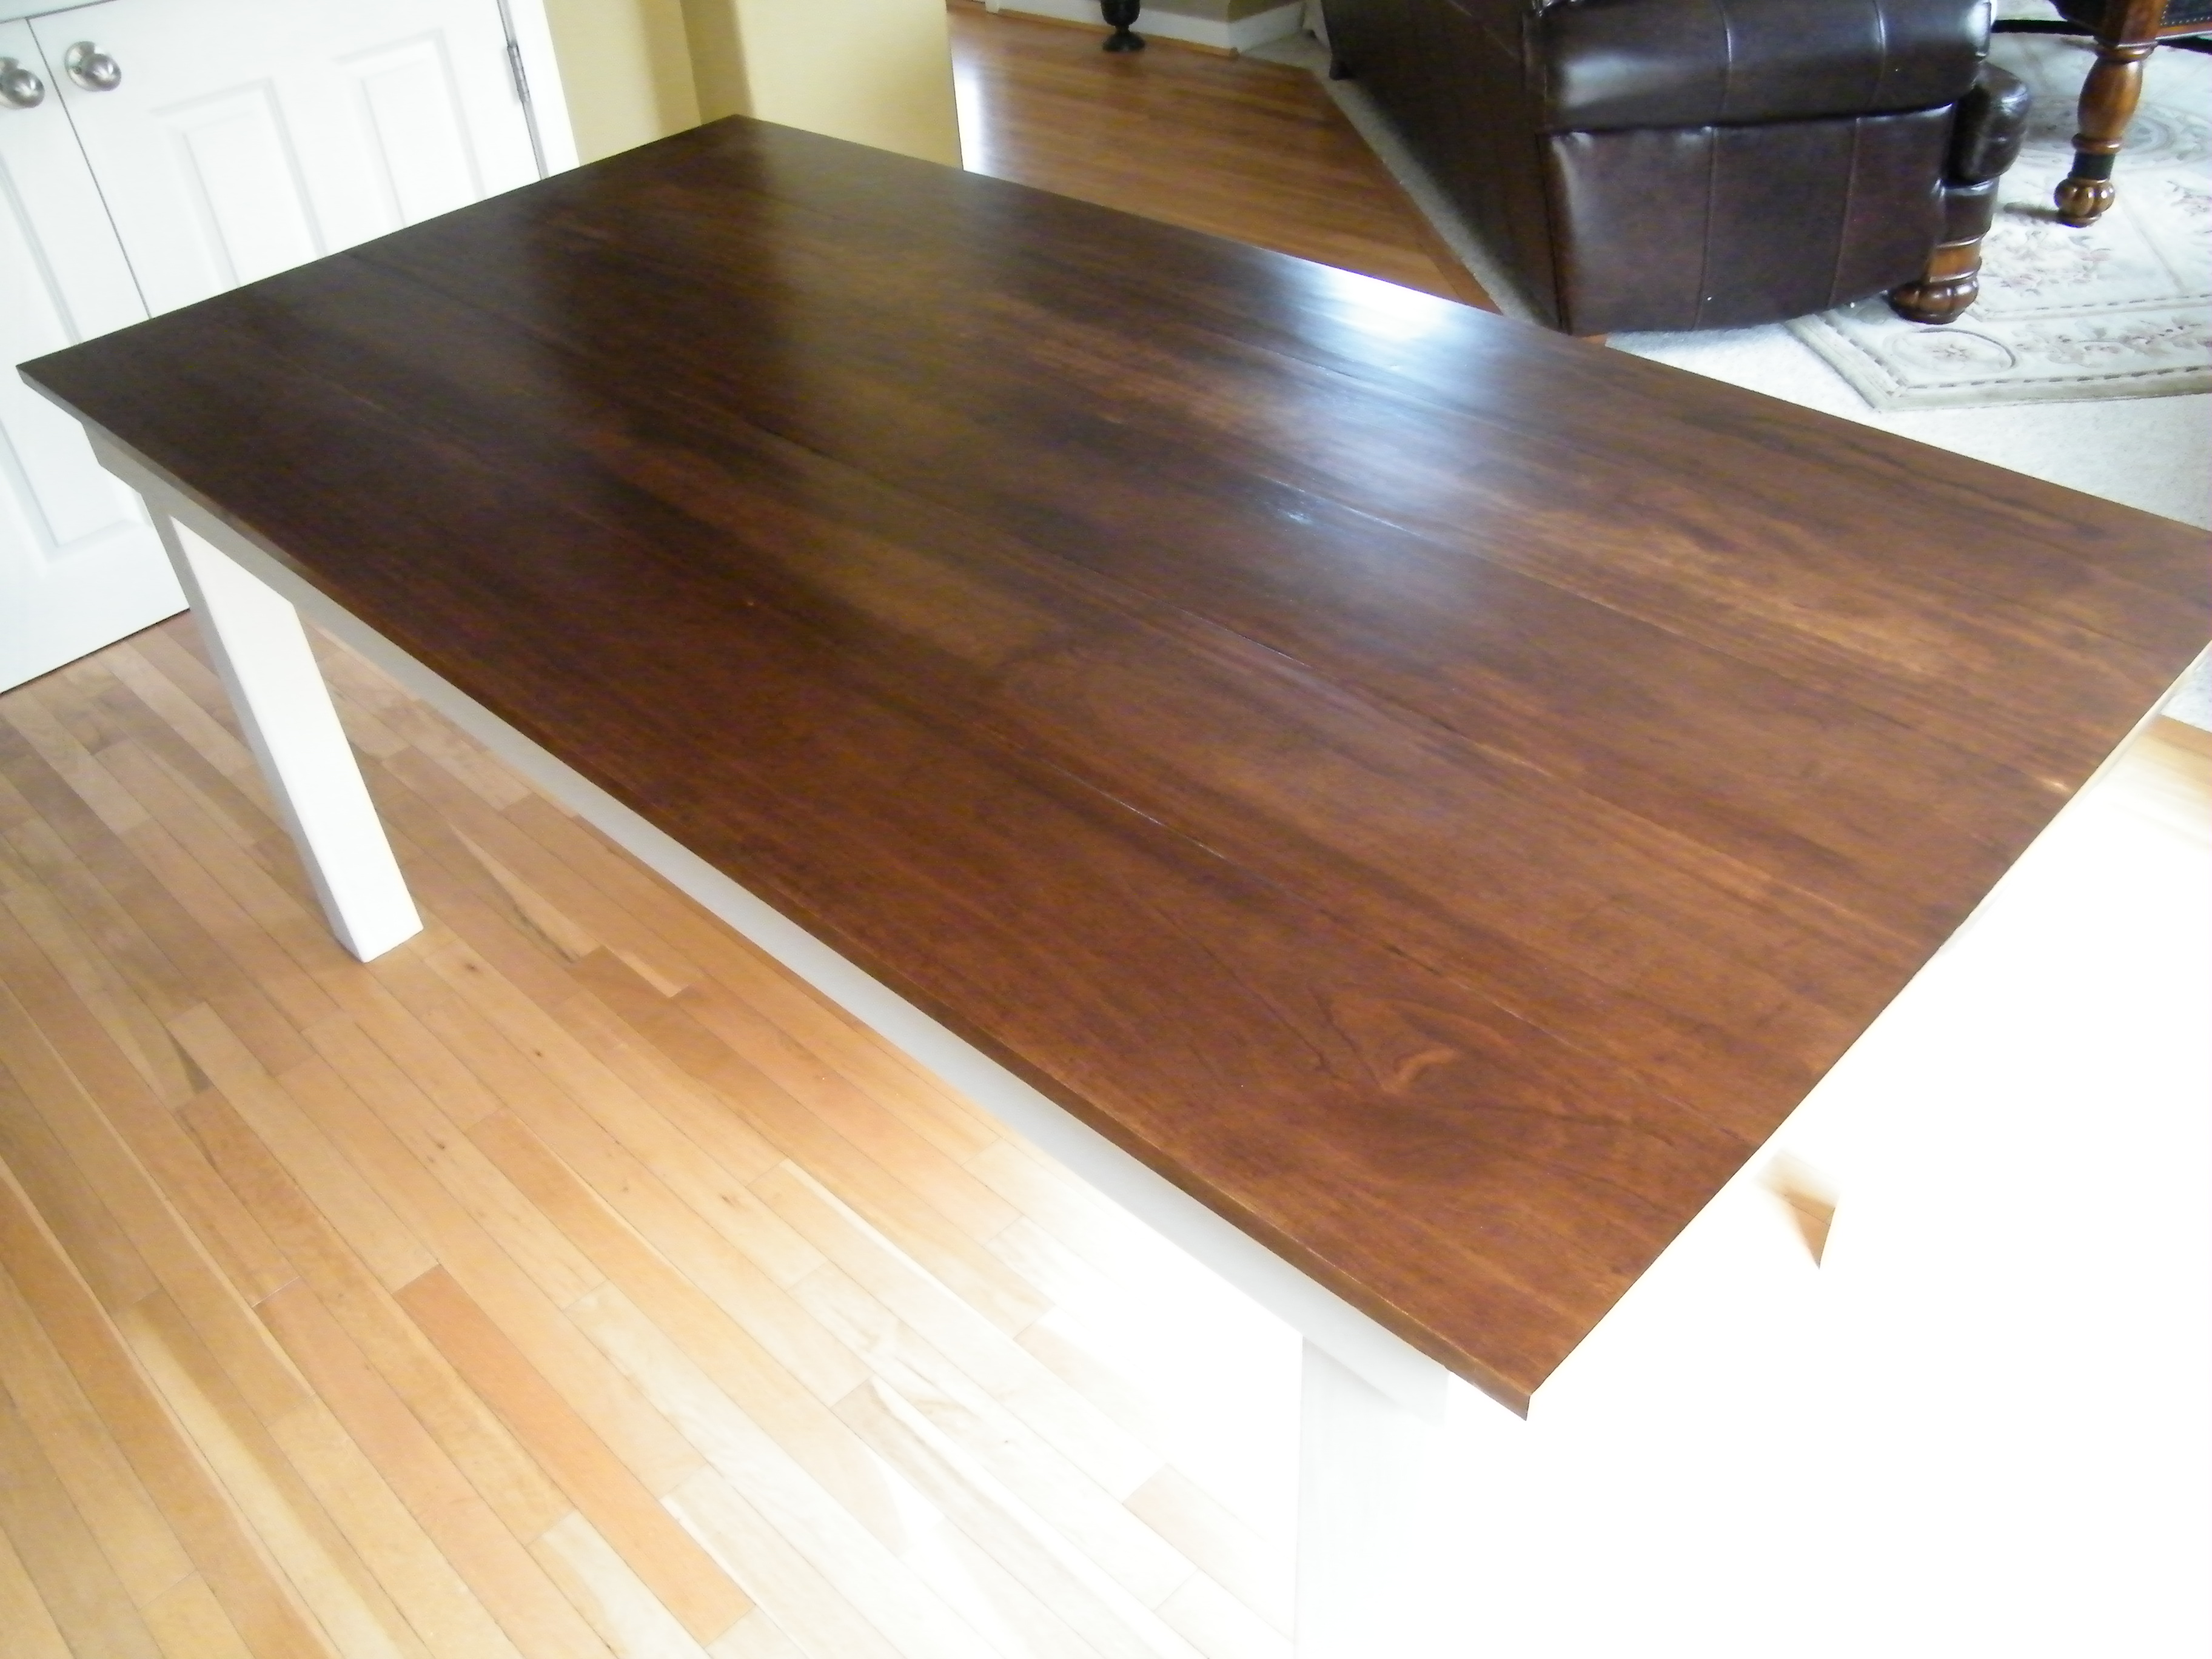
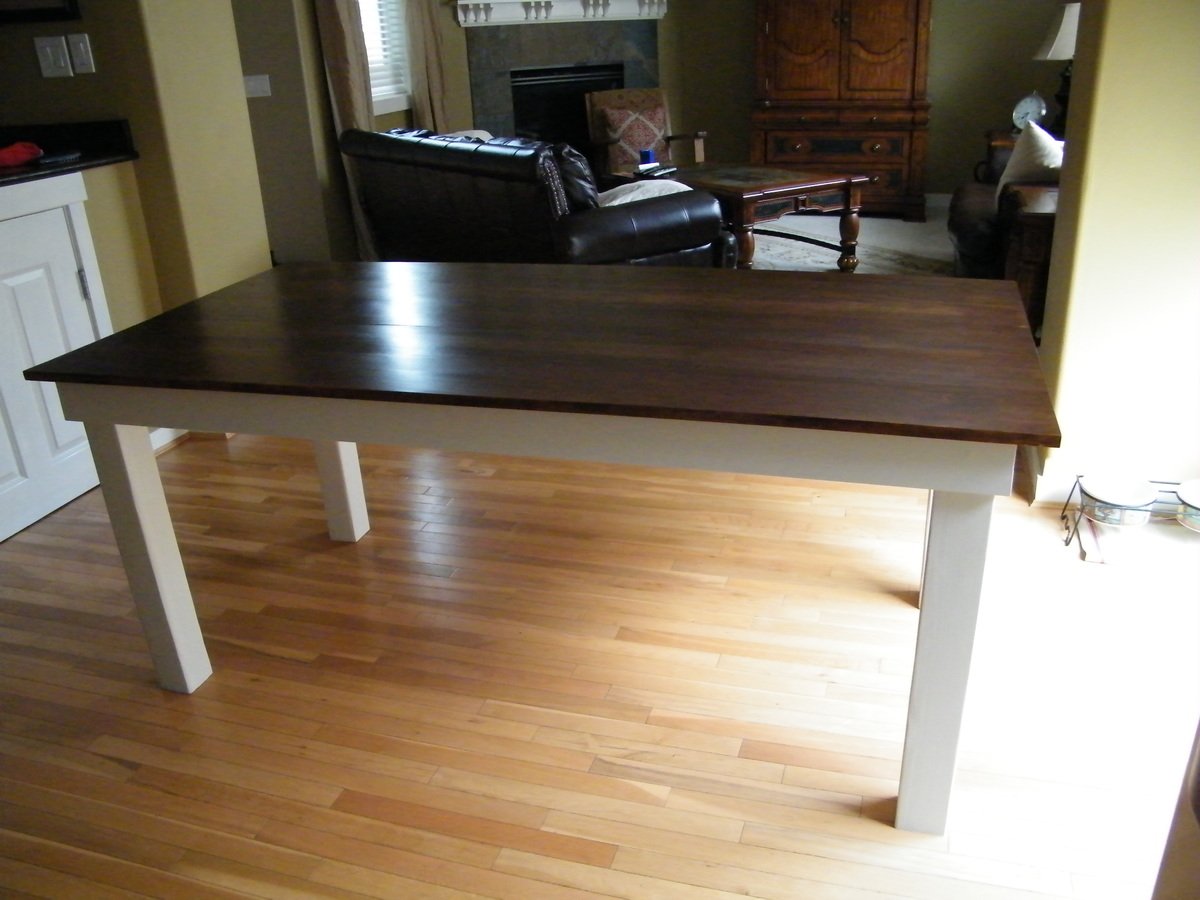
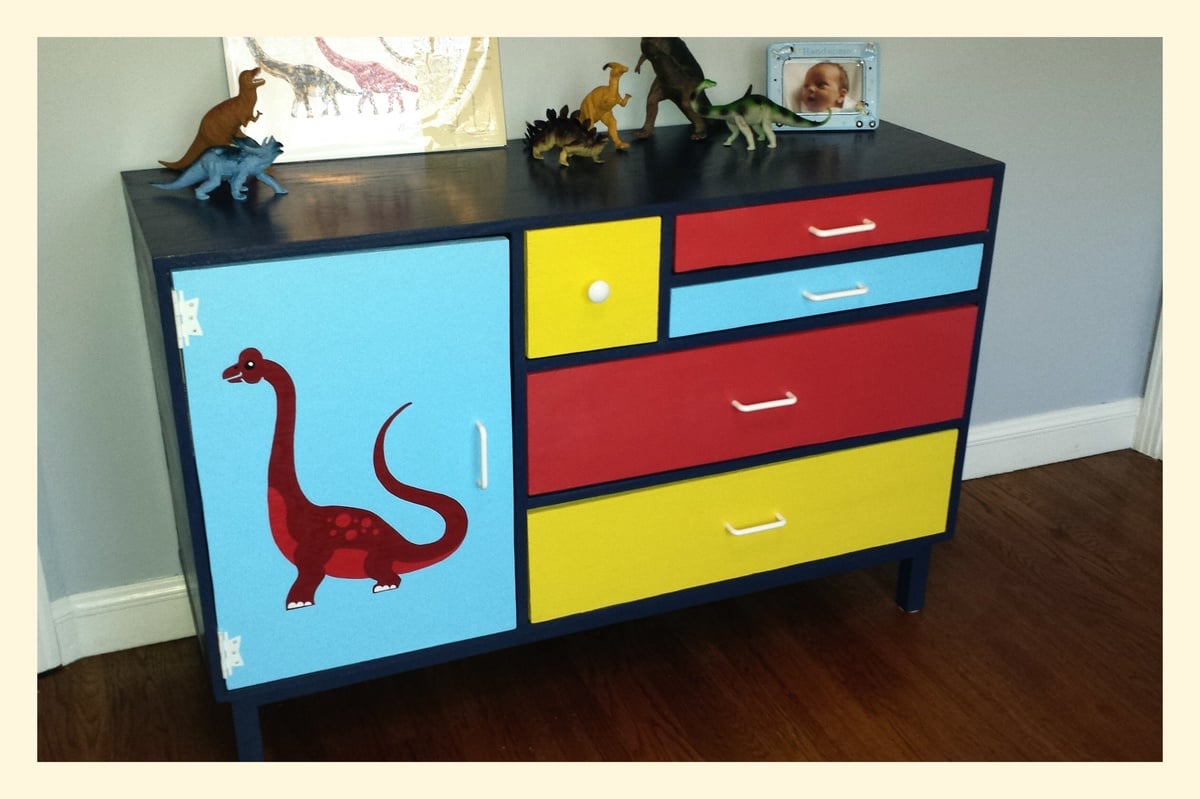
Hudson's Rustic Changing Table
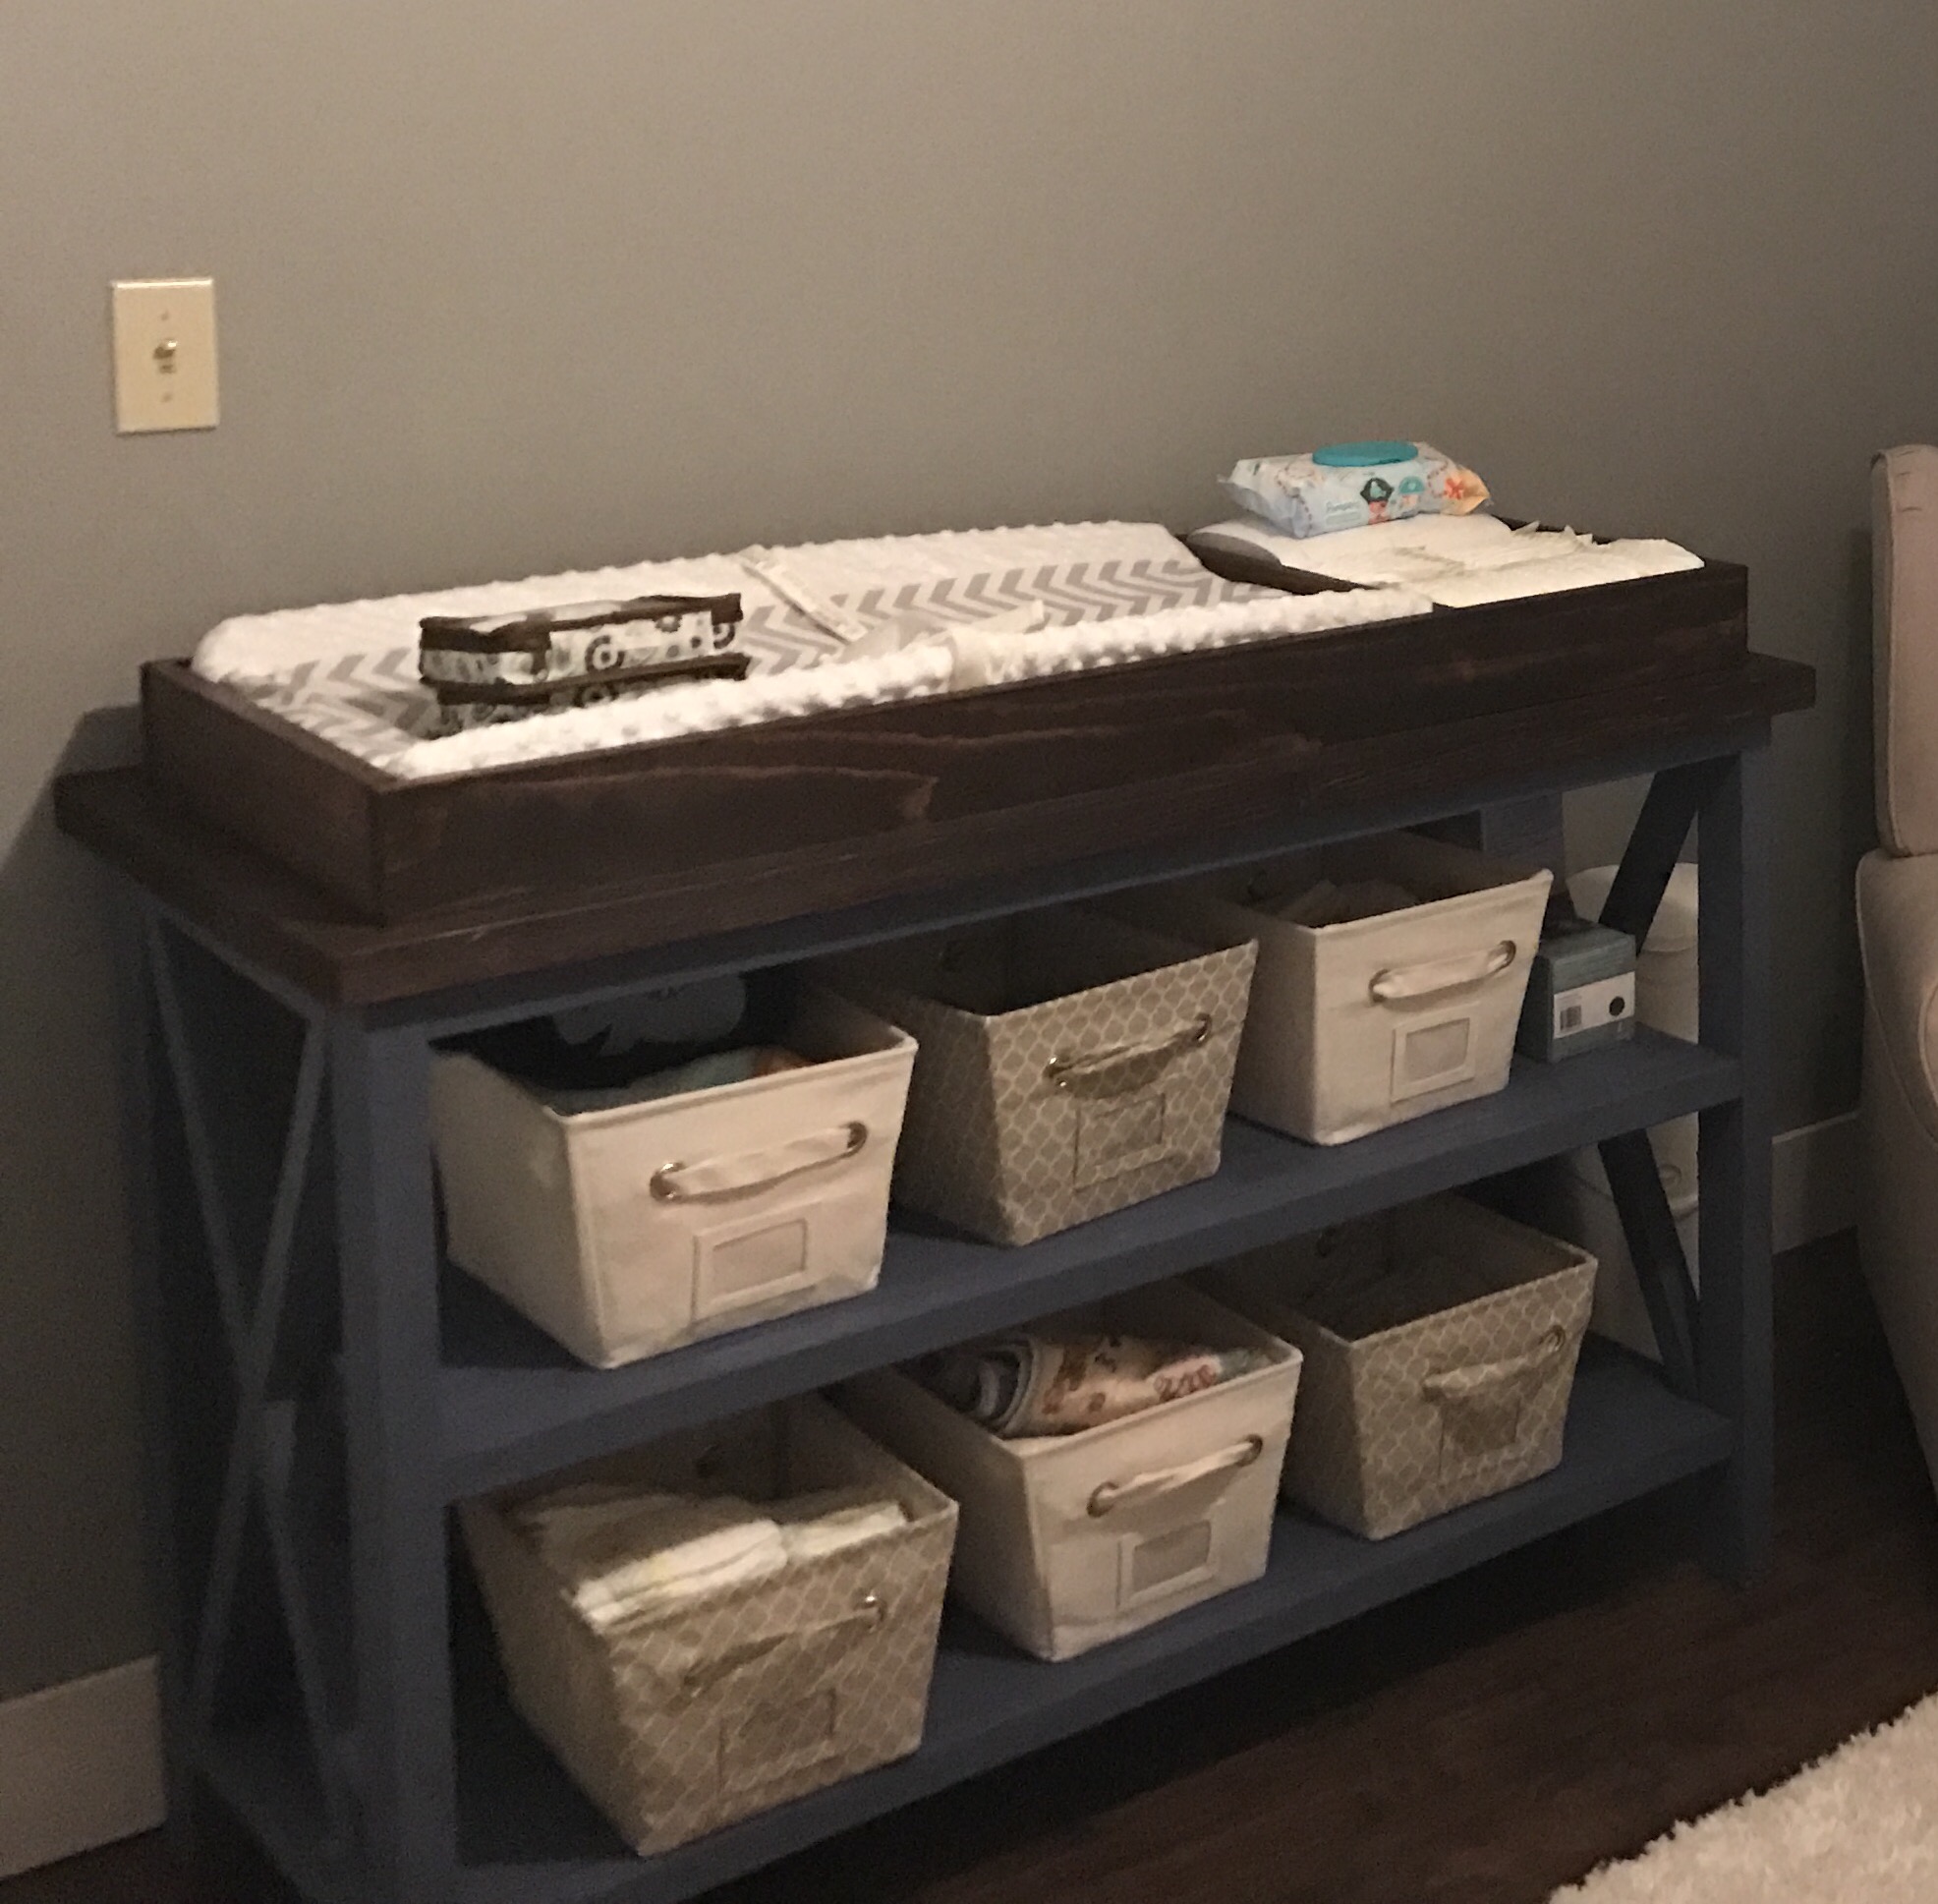
Used Minwax stain in Dark Walnut and Coastal Gray chalk paint from Rustoleum
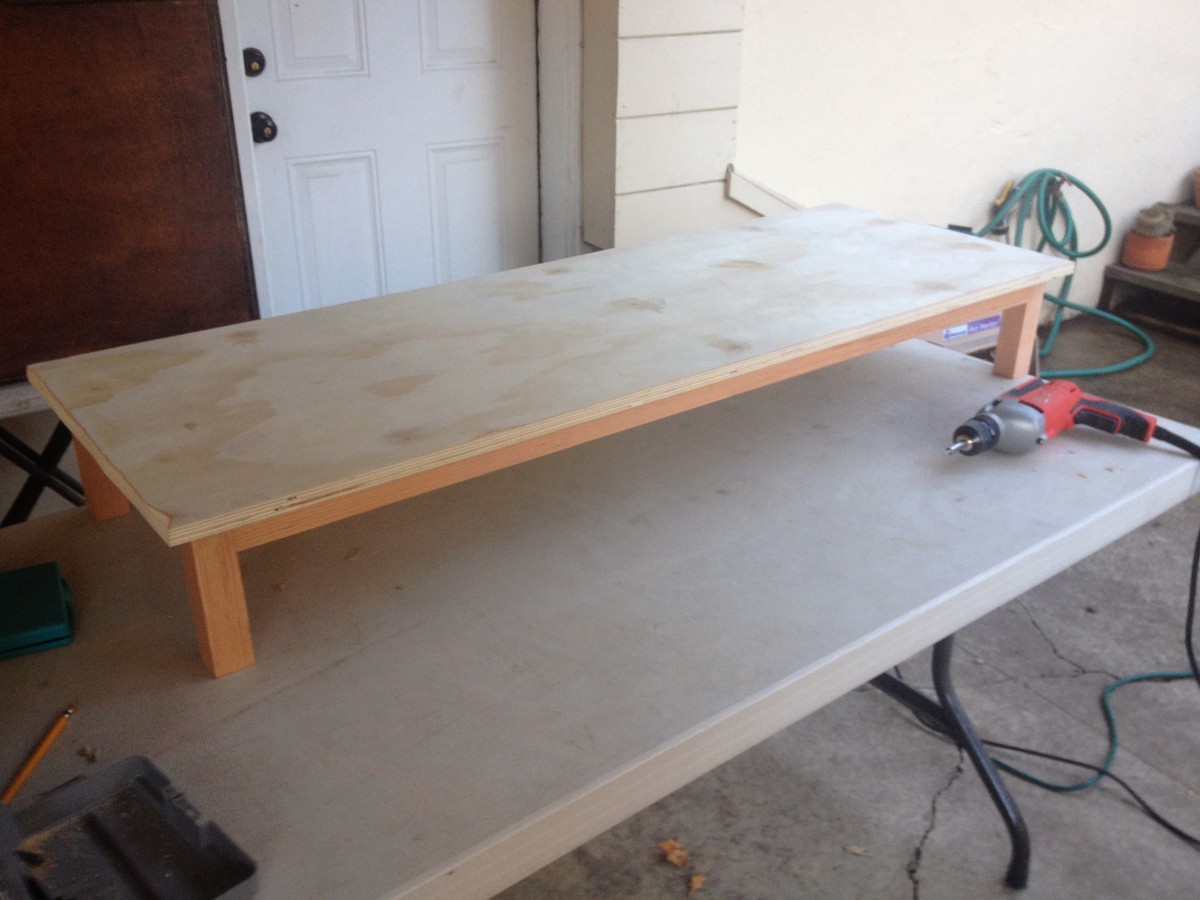
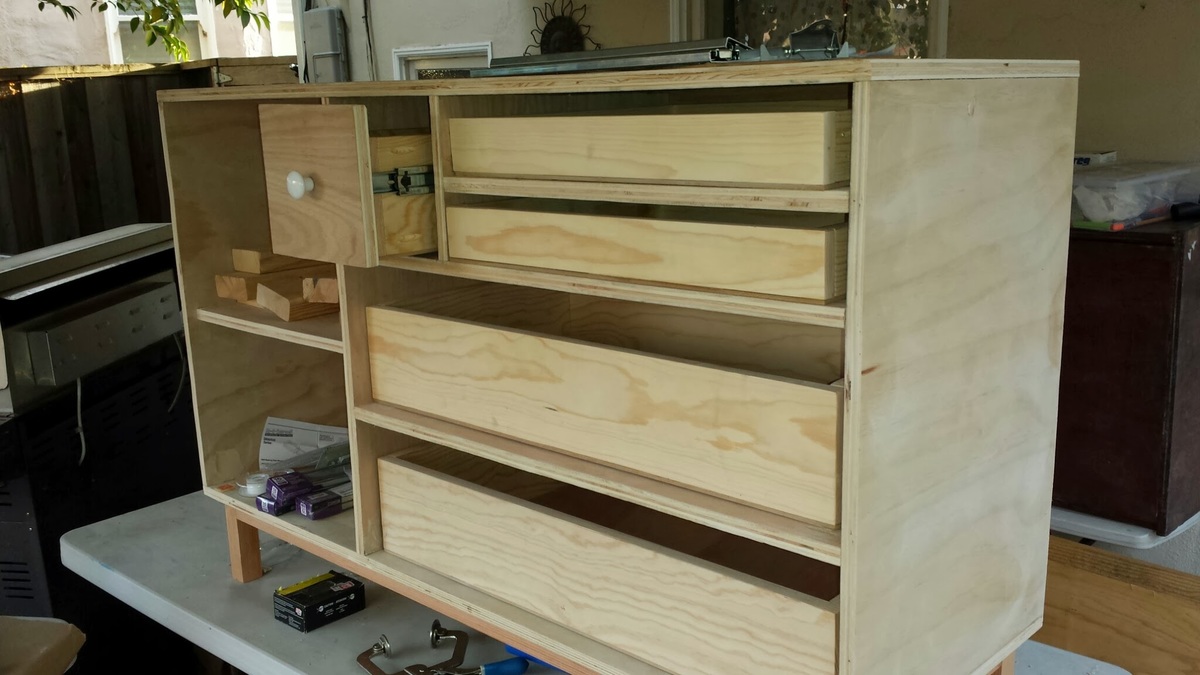
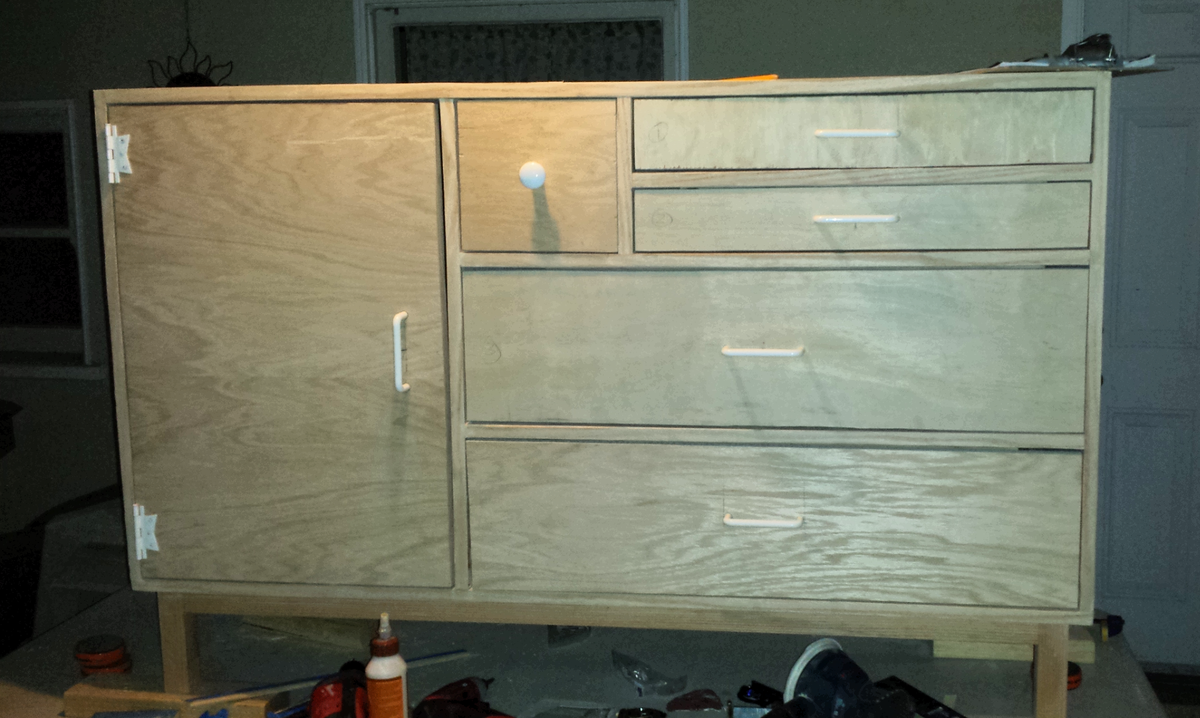
A frame chicken coop with a few modifications- metal roof, insulation and slightly larger second floor.
By Chrystal
Thank you for the easy and fun bench plan.
It was really easy to install.
Even my 2 little daughters had fun (-:
Thu, 04/24/2014 - 08:06
I love the finish you did on the bench. Thanks for sharing!
Great table! Loved the build.
Fri, 01/31/2020 - 09:01
That turned out really nice! What finishes did you use?
Awesome project
The plans were easy to follow and the finished result was perfect! We subbed 1x6s for the 1x10s, because we were using some reclaimed pallet wood. We cut, sanded, and stained/weatherproofed all pieces before assembly, which I would also recommend.
Our little one may be happily playing independently but the second I go to make dinner she demands to be held and refuses to be put down, making cooking impossible. To help keep her occupied but still involved I've been eyeing a learning tower / kitchen helper on Amazon for months now, but at $200 it just wasn't in our budget. My sister-in-law had made a learning tower from a plan by Ana White and suggested I try to make one too. I was unsure at first, I've never made anything more complicated than a birdhouse, but I decided to give it a go!
Please see my blog post for additional photos and lessons learned during this project.
Inspired by Ana White's $25 Wood Baby Gate (https://www.youtube.com/watch?v=cPV6XfheqgA), I needed a gate for my miniature schnauzers. They loved going into the basement unattended ... and well ... potty accidents happen without me being the wiser. So, I modified the hardware used, and so far so good! The puppies and my little nieces and nephews are protected.
Here is my Providence Table made from scrap wood we had left from building our deck. I am not thrilled that it is made out of pressure treated wood but it is what it is. I used 2x6 mixed in with 2x10's for the top, 4x4's for the legs and used a 1/4 router bit for all the edges.
Fri, 05/25/2012 - 18:44
Thank you! I have been asked to build this for nearly everyone who comes over! Great great plan that saved us a TON of $! Thanks!
This is my first furniture build!!! I needed a narrow cabinet (from the wall) and found the plans on your site from Shanty2Chic. I LOVE this cabinet and I LOVE the Shanty girls along with you Ana! I finally put the doors on after I found the handles at a restoration store. I needed to make something 42.5" wide to fit under the mirror so I adjusted the length & height measurements of the original cabinet. This cabinet is 42.5W x 43H x 13D.
We just put in a pool and I needed something to hide a pair of outdoor speakers. I used Klipsh AW-525 speakers.
Basically I raised the bottom of the planter enough to fit the speaker under and had to add a few framing pieces to secure the speaker mount to. The mount attaches to a vertical board and the weight rests on a horizontal board. The wiring comes up from below.
The front panel uses vinyl mesh from Sailrite.com to hide the speaker but allow sound out. Imm planning to hang it with magnets if it doesn't distort sound too much.
My husband and I had been looking at many different stores to try and find a bar table for behind our new couch in our basement. We wanted something that people could eat and drink at when we entertained and/or be able to sit at and play video games. I should have known we were better off to build our own rather than look in a store. It was only $30 in lumber and took 3 hours to build. And another project in the books!
Corn Hole Plans
Made lighter by thinner plywood and using 2x3s instead of 2x4s. Not regulation size as just for family and used rope as handles and Velcro on bottom to carry both pieces as one unit. Decorated to fit kids favorite schools.
So happy to finally get around to this build. Super easy, though I found I am not that skilled with cove moulding...nothing a little wood putty couldn't hide.
I was given an old window that was going into the trash from an old house in Key West that was being remodeled and decided I wanted to use the window as a door on a cabinet. These plans were very thorough and easy to follow. I modified the measurements to fit the window and am really happy with how it turned out. I added some trim to the top and bottom and used beadboard for the back to fancy it up a bit. I painted it in Sea Mist by Behr and distressed it by hand. This is my first post on this site. Thanks, Ana, for making this possible for me!
Mon, 03/17/2014 - 12:11
Love that color! I painted a console table in the same shade and distressed it. Still one of my favorite pieces to date! ( http://www.birdsandsoap.com/2011/07/touch-of-blue.html )Your cabinet looks great. I can't wait to get started building once the weather warms up here!
I had a friend make a request for a console table. We came up with this design to fit her space and needs. It was a pretty easy build.
I used the plans from the "Grandy Barn Door Console" for the basic layout, and then altered them to accommodate an electric fireplace insert in between two cupboards, and an open shelf across the top to put in the stereo receiver. The tv is actually mounted to the wall over the top rather than sitting on the console. Overall, I love how it came out. It's exactly what we wanted!
Ana,
Thanks so much for your octagon picnic tables plans. I teach a Life Skills Class at Russell Christian Academy for middle school. This class of 18 students completed the build of 4 of these tables (with a little assistance from me) and are now being used as an outside dining area for all grades K-12. It was a great experience for the kids and I have received many positive comments about these tables.
Thanks again…
Dewayne Knight of Meridian, Mississippi
Sat, 11/18/2023 - 13:03
I love seeing these student projects. It's great that they are seeing them put to good use and people enjoying their hard work!
Table mad using the Rustic Table plans.
We wanted a bright and colorful dresser for the baby's room, and one that would match the Will Ruocco dinosaur prints that we purchased for the walls (http://etsy.me/PJ1yOs). This project spread out over many weekends but we were very happy with the results. We choose to go with legs instead of wheels, and made them tall enough that the Roomba would have clearance to get under. For the design, we used a combination of the plans here and a similar plan from The Design Confidential website.
These chairs were really fun to build. This was my first project and they turned out great. Thanks Ana!