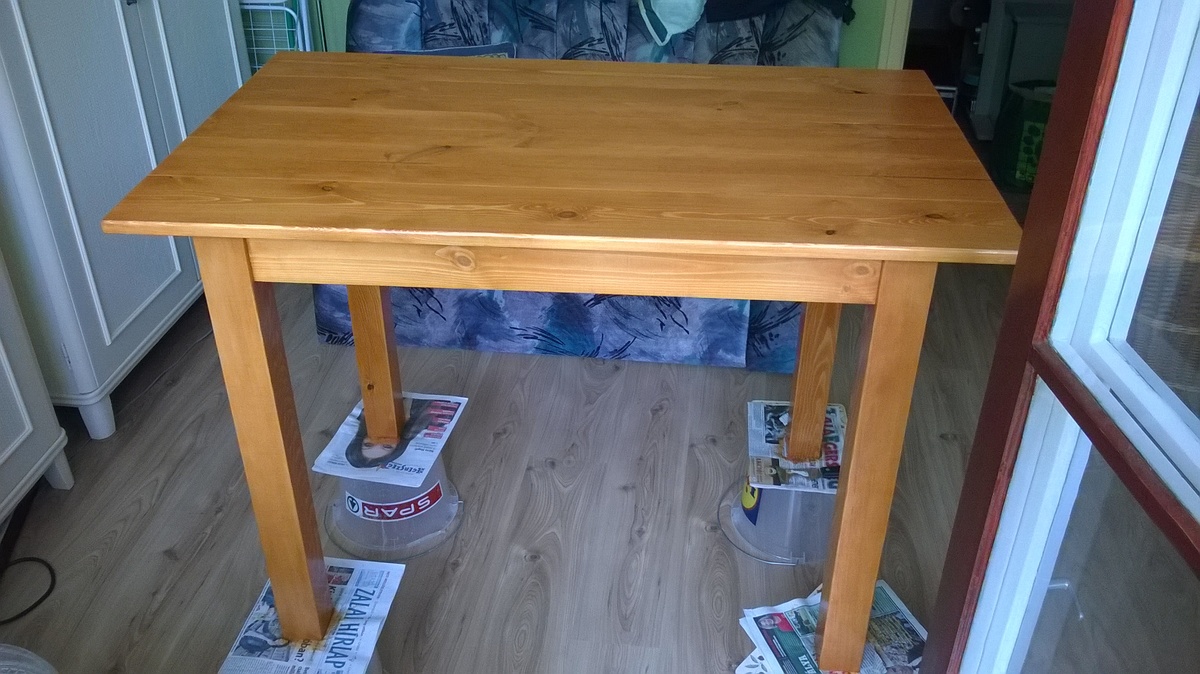
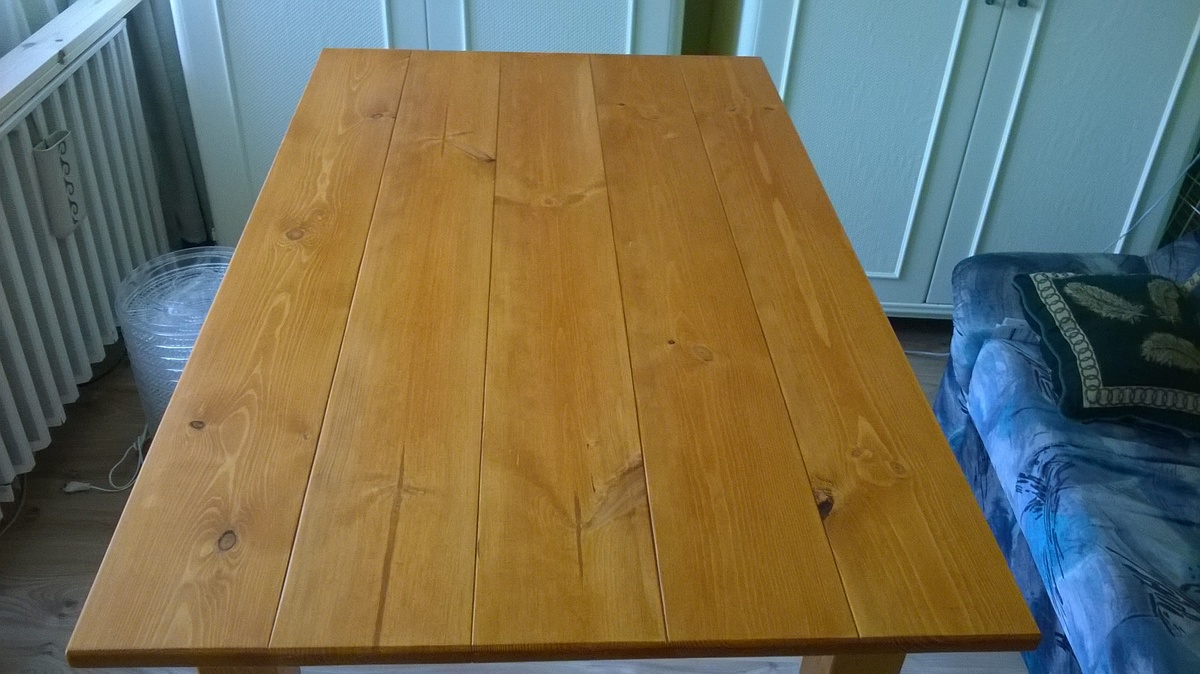
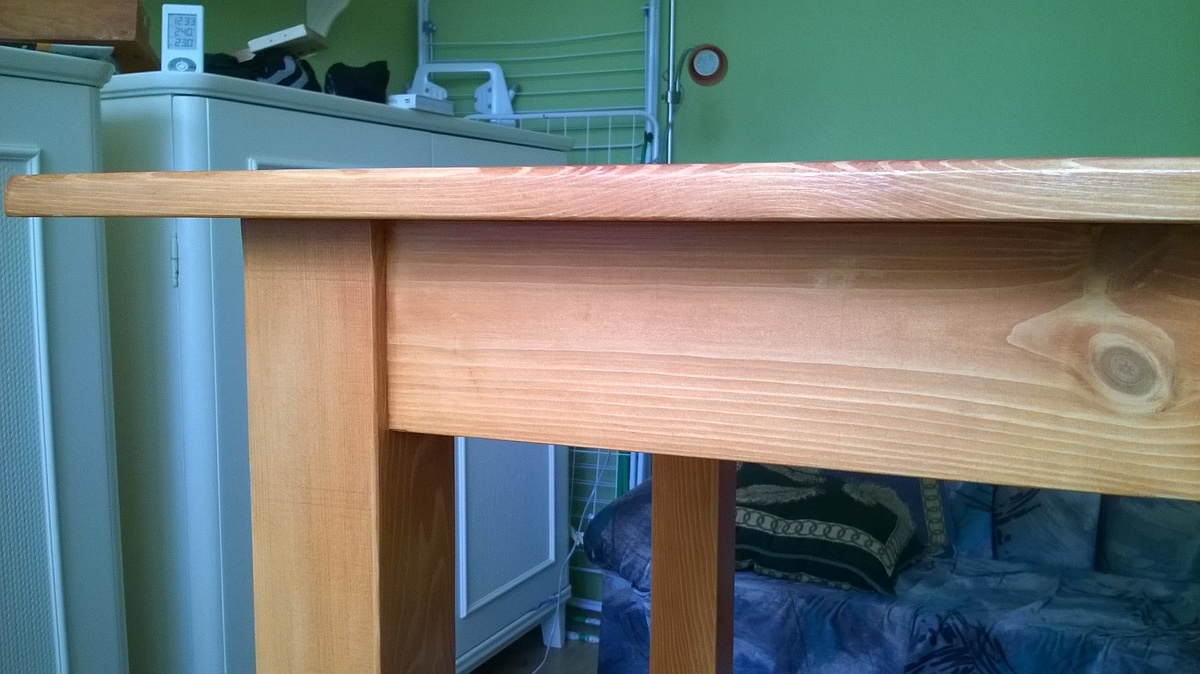
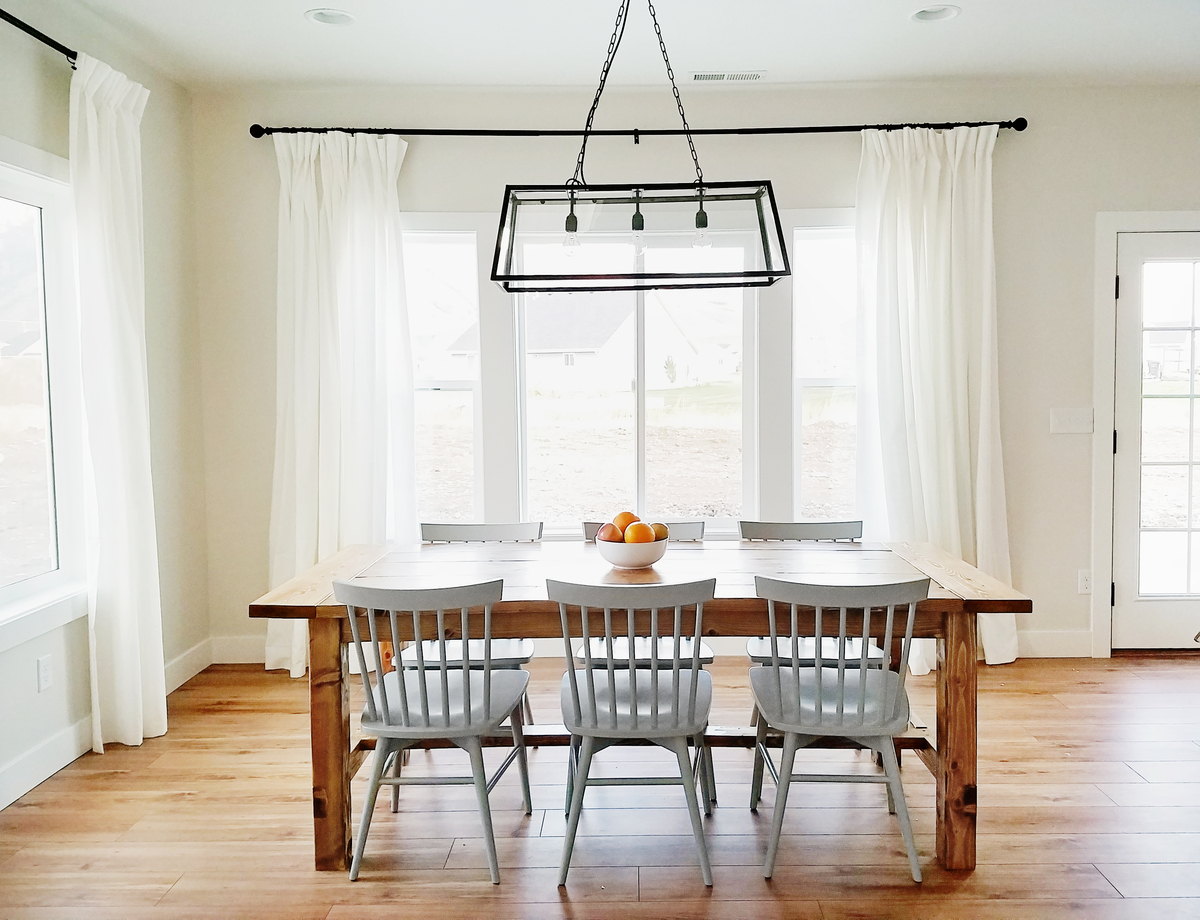
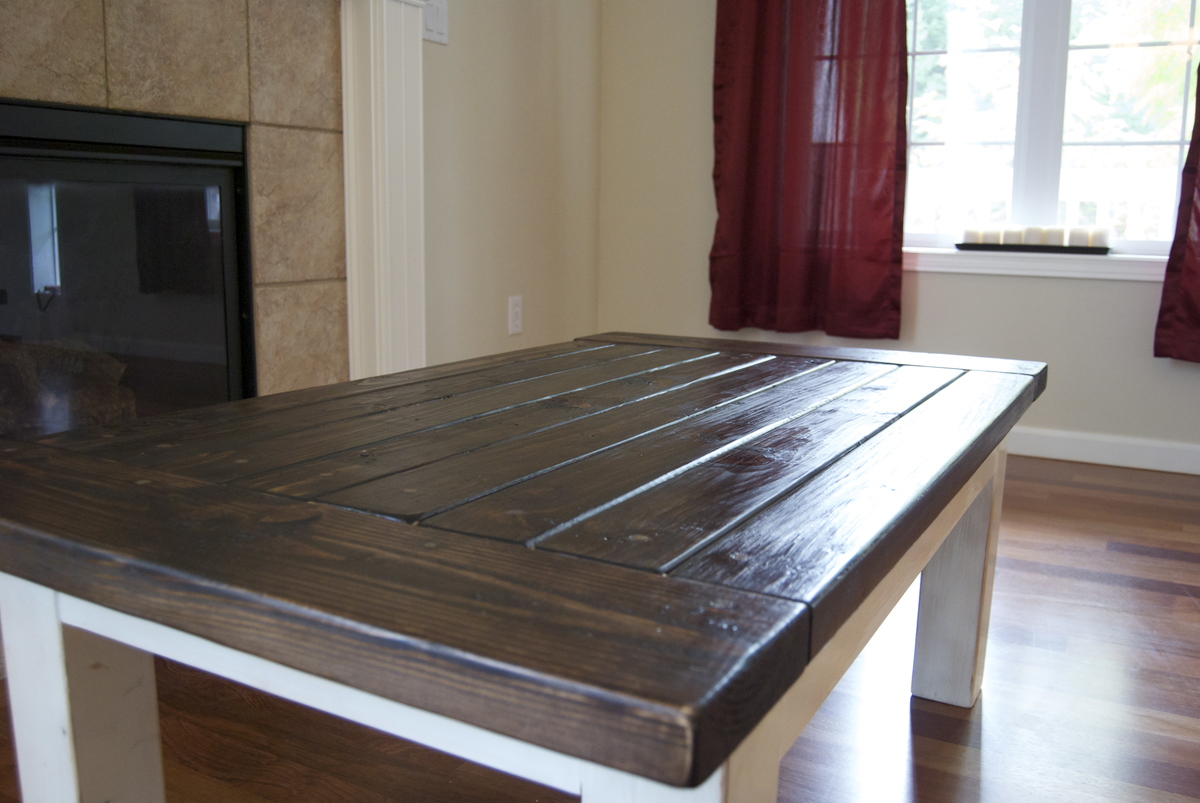
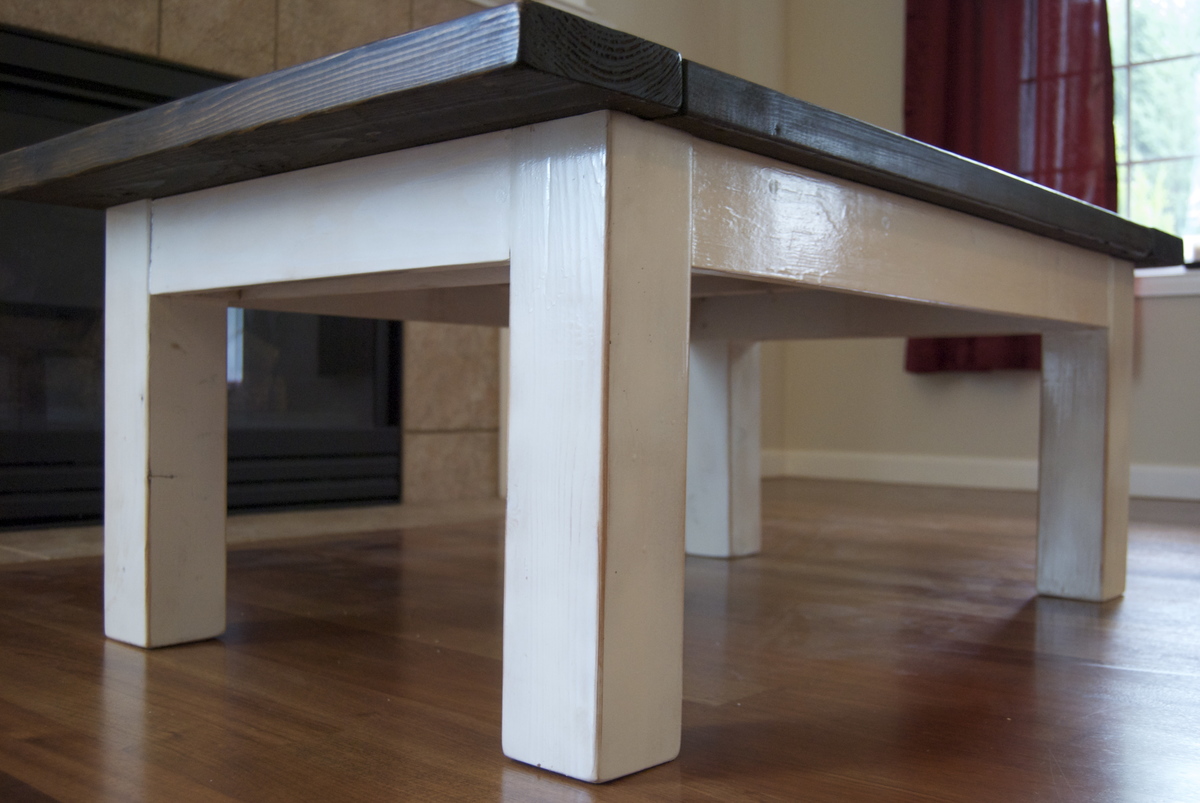
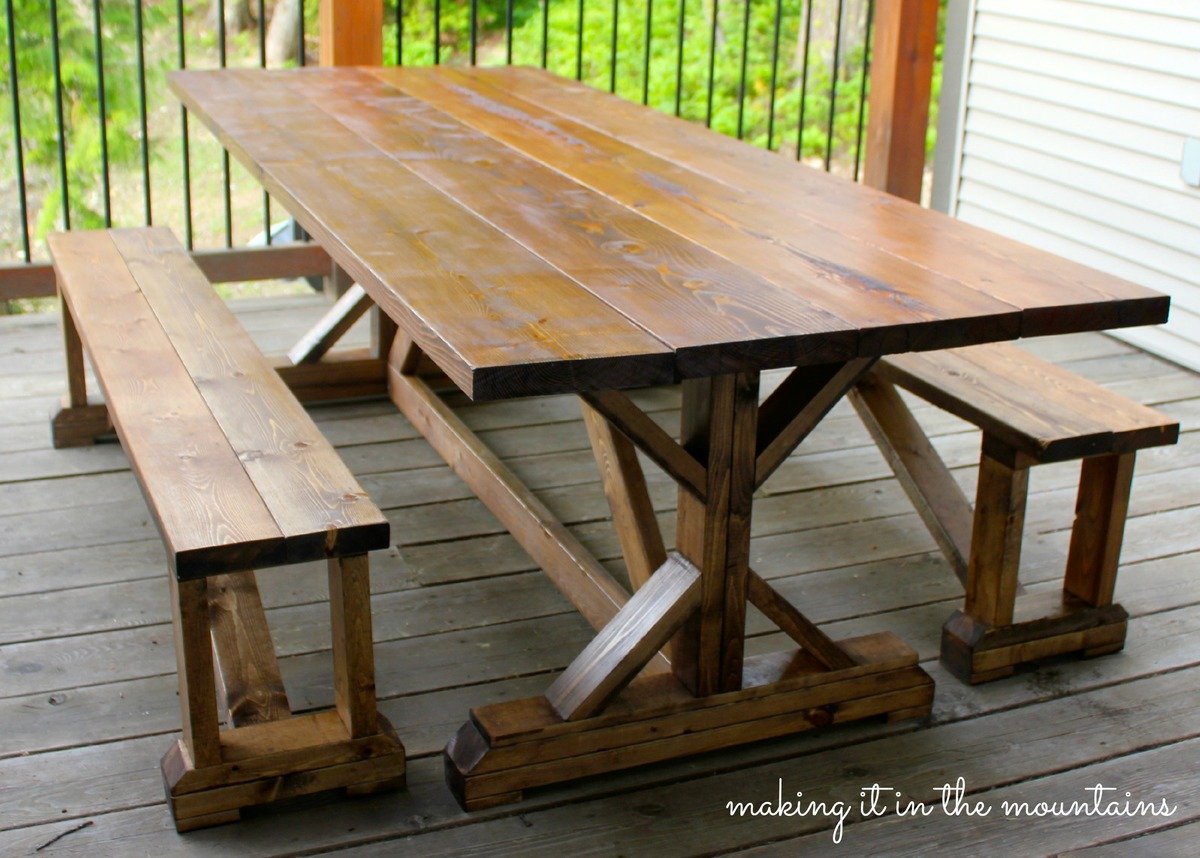
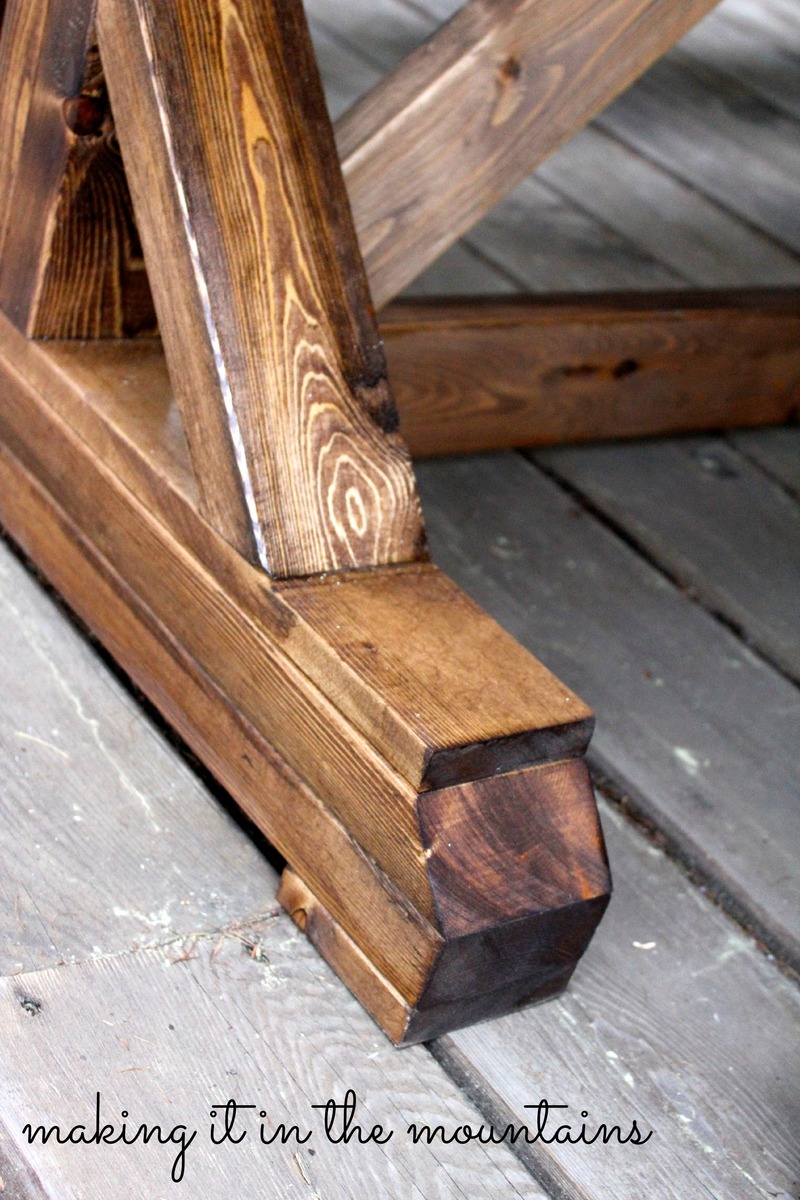
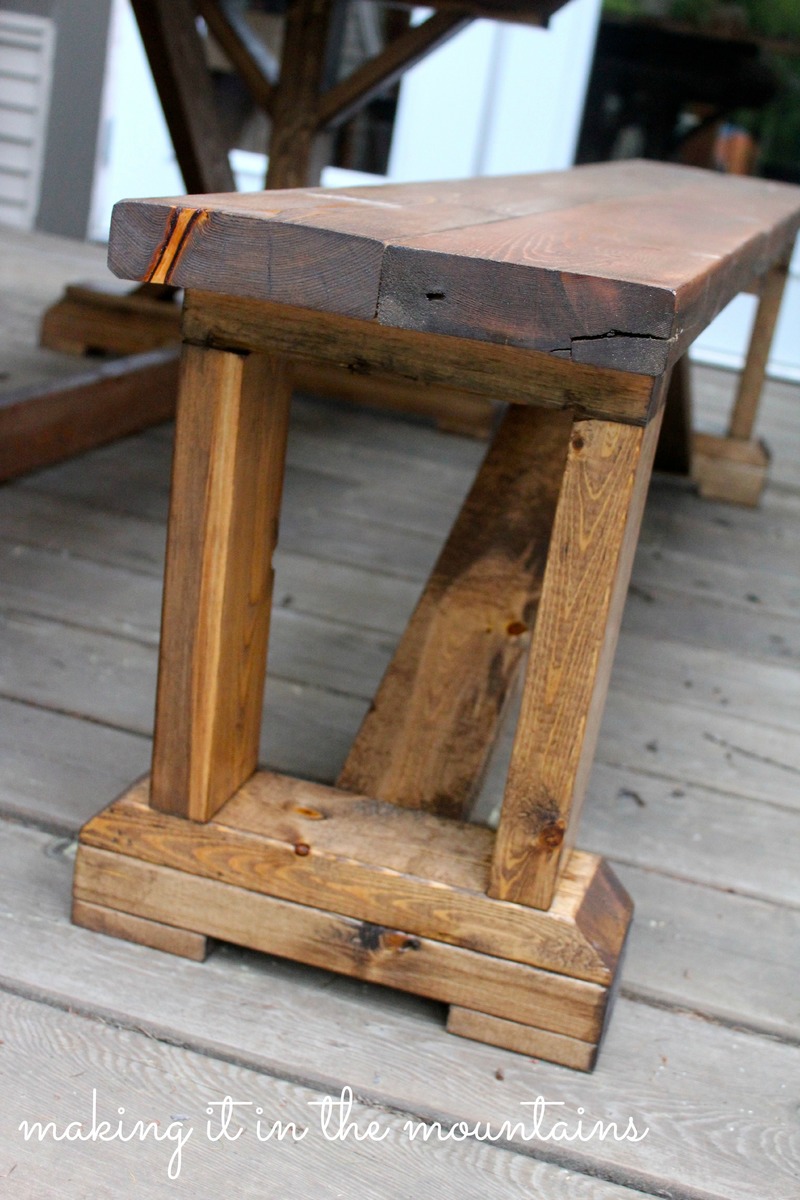
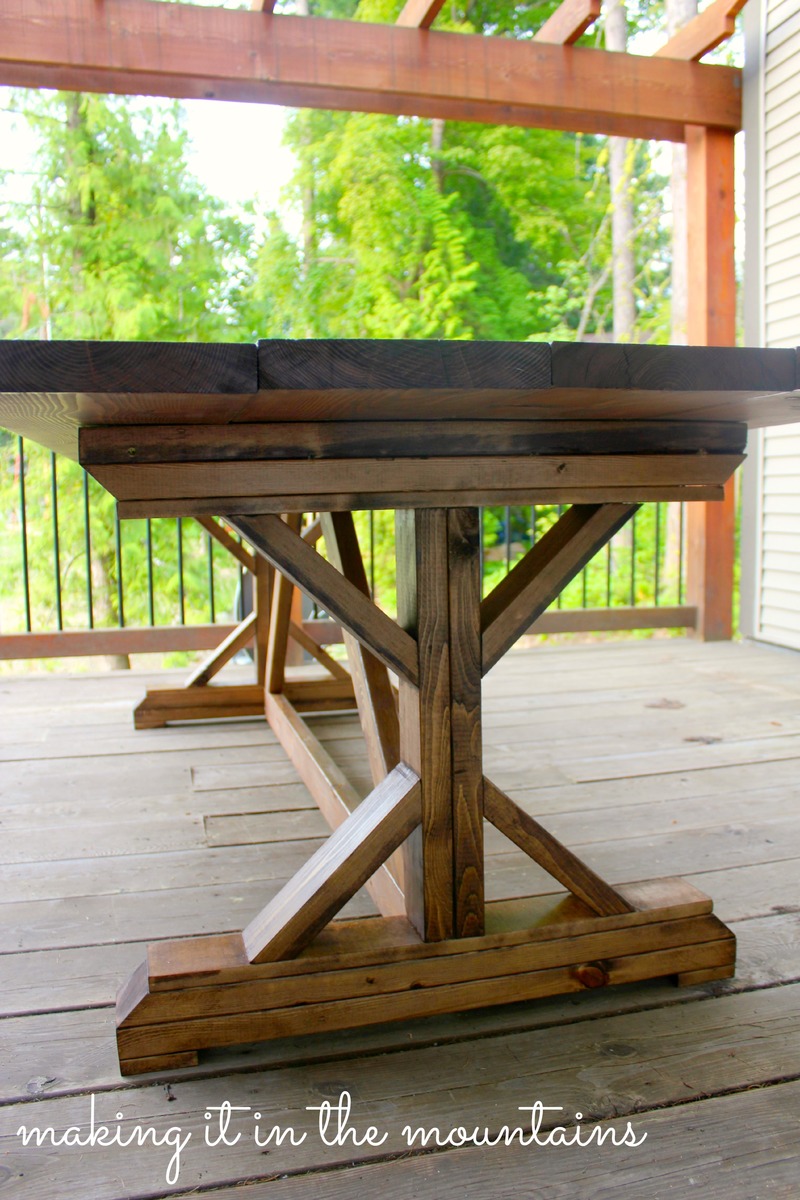
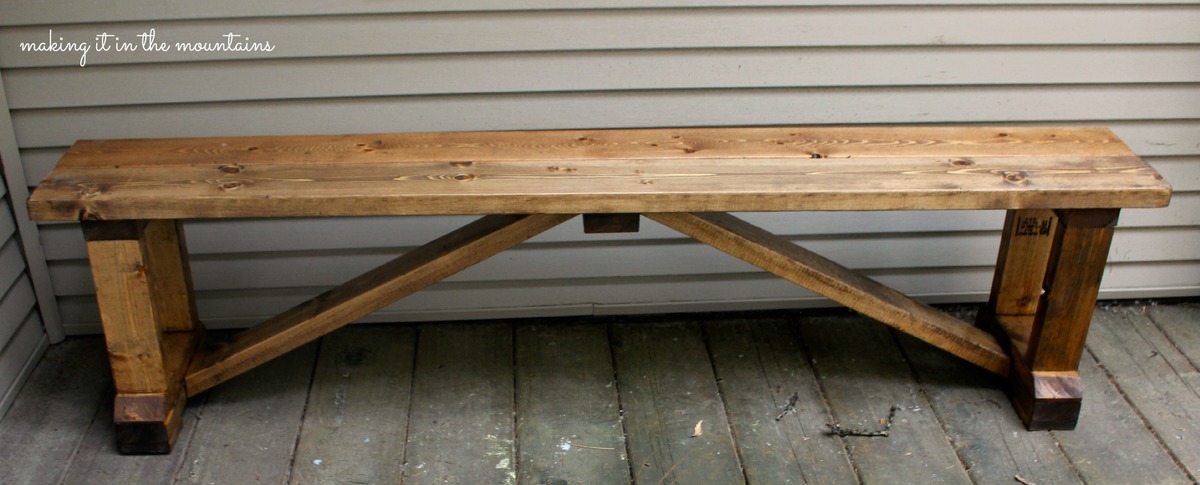
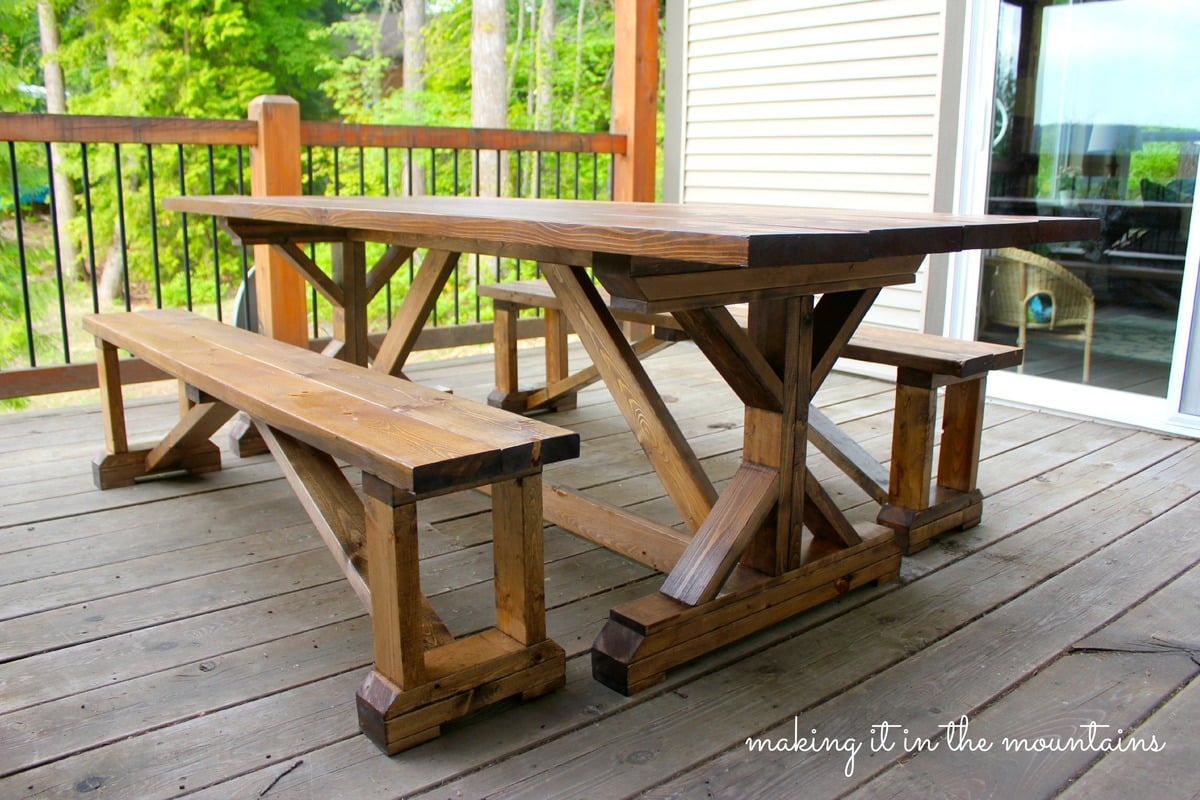
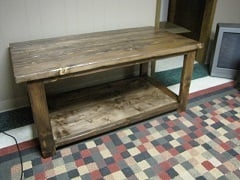
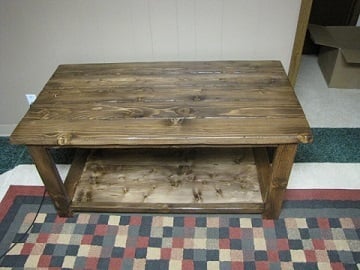
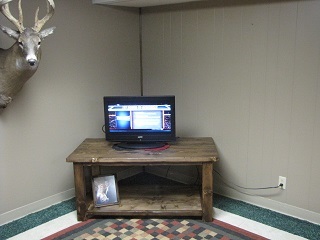
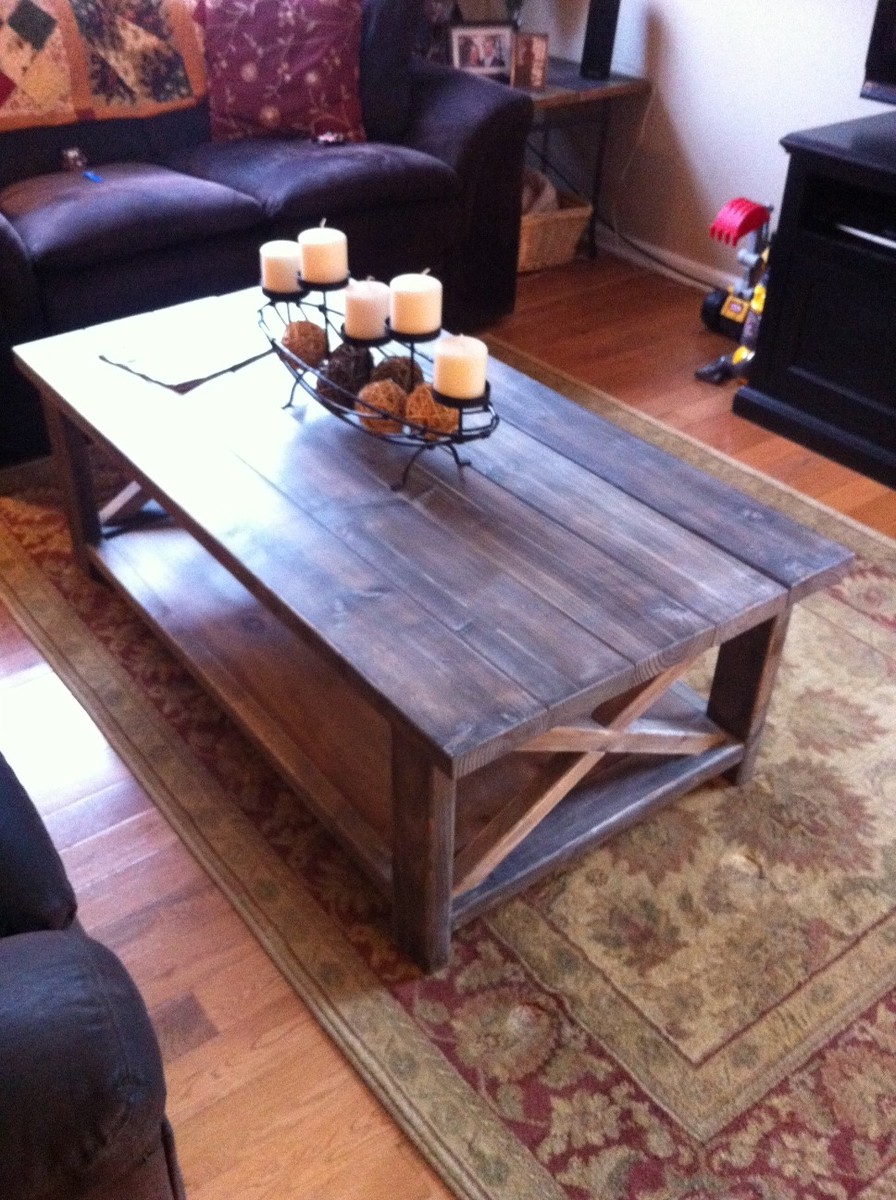
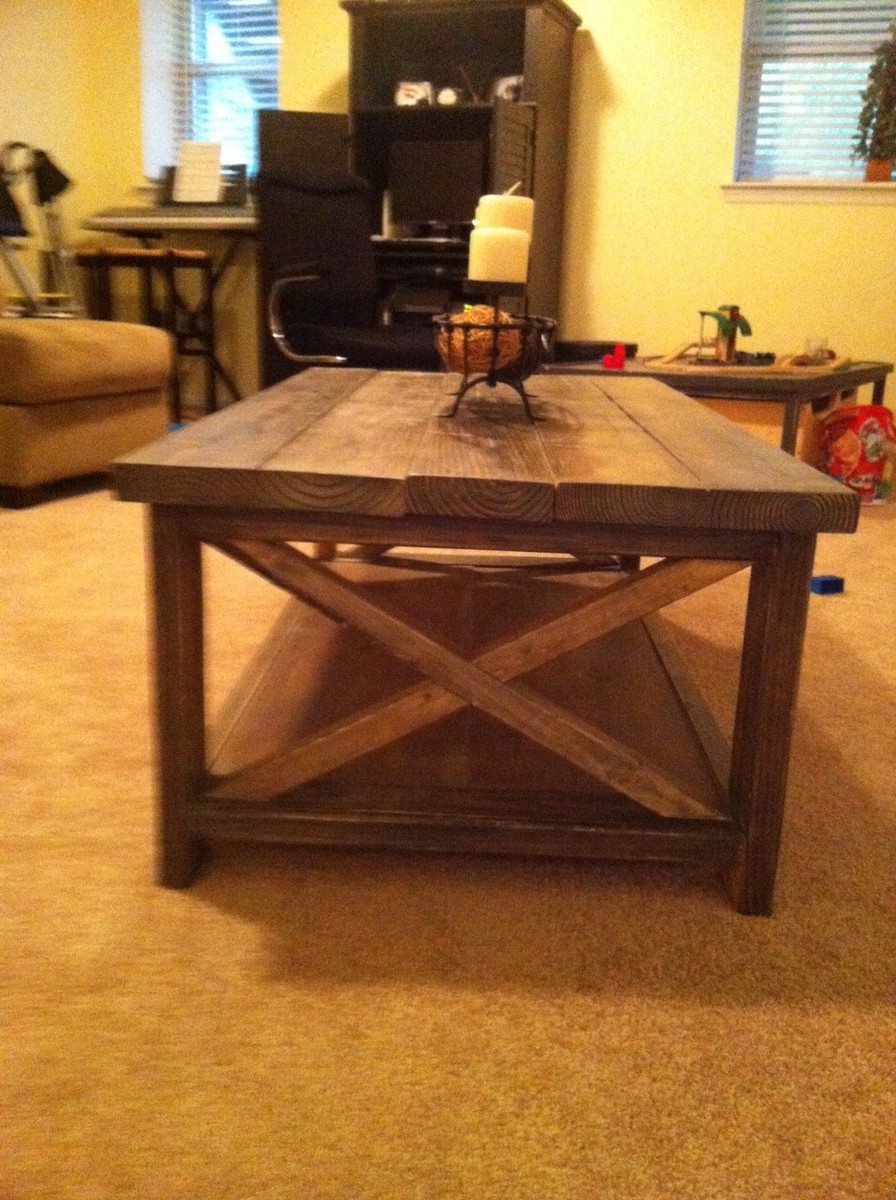
Farmhouse dining table with straight legs
I'm homemade woodworker. This is my first job!
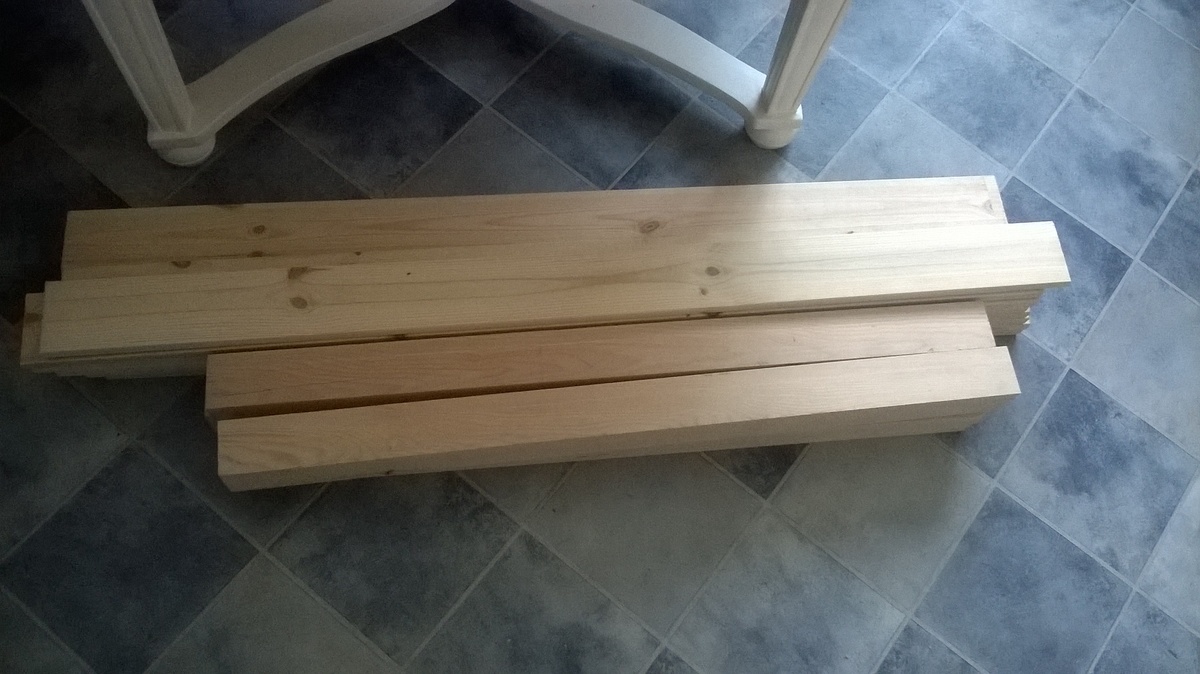
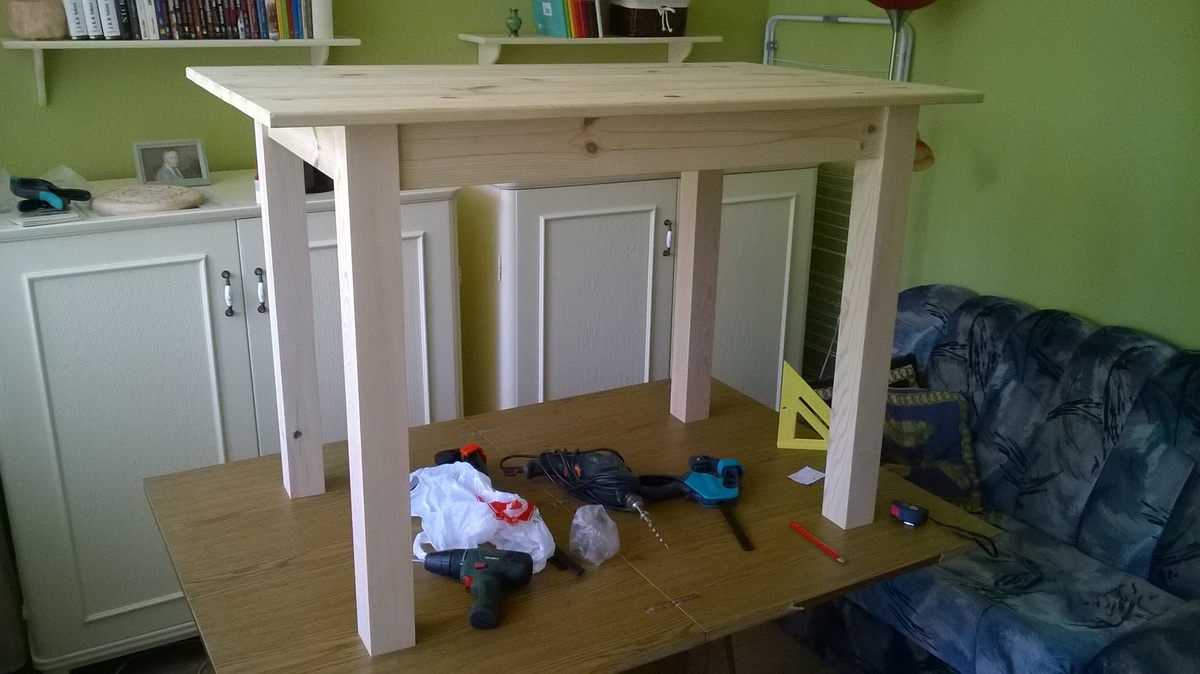

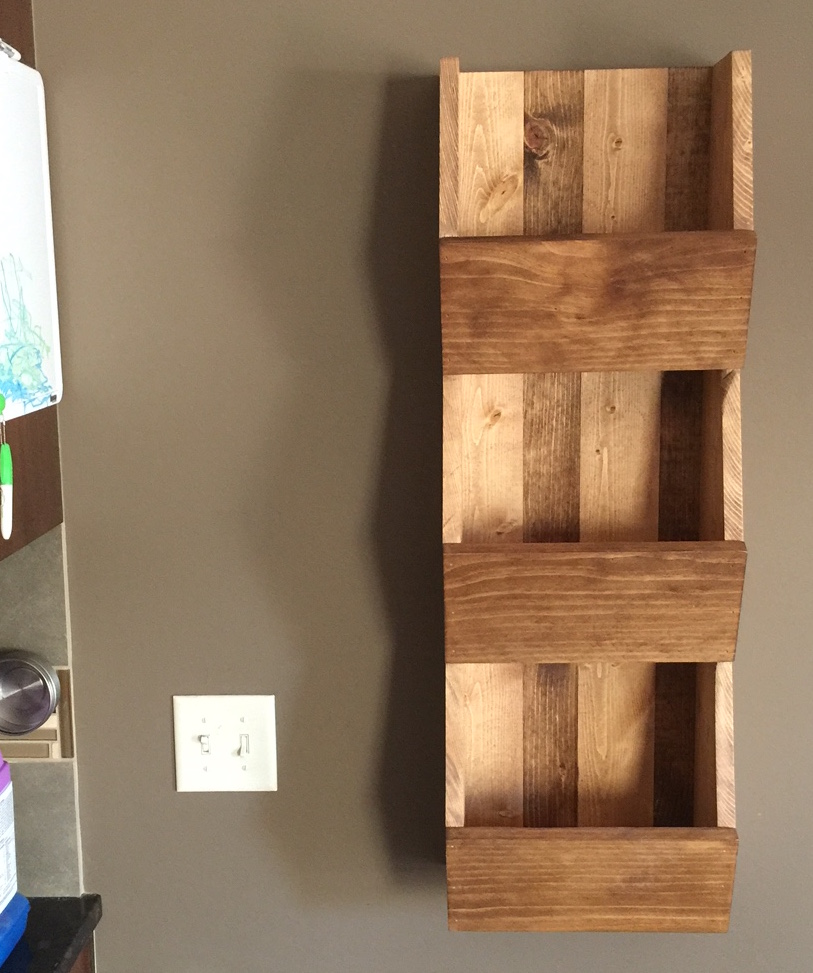
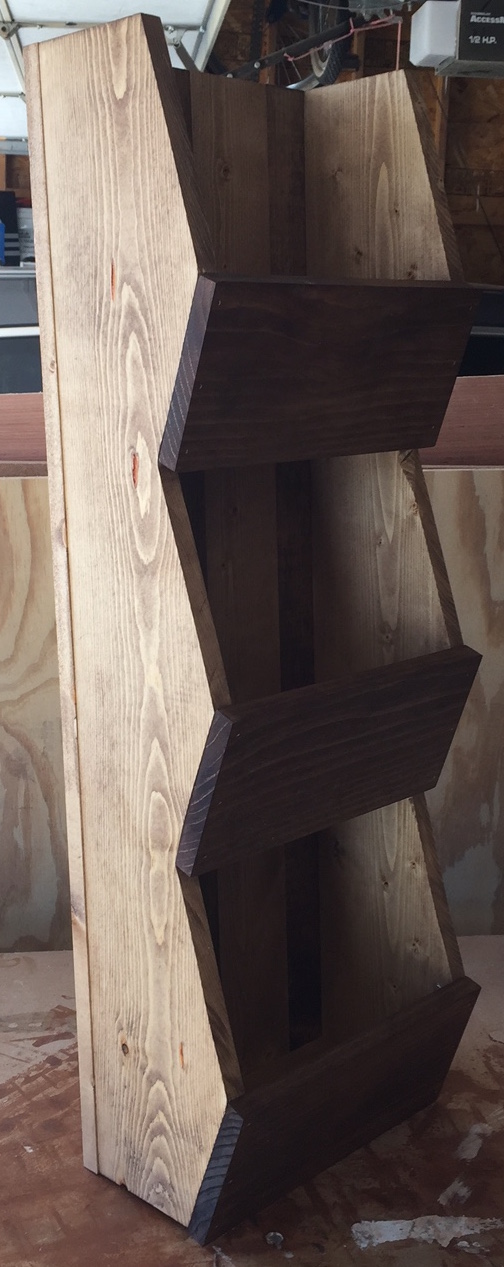
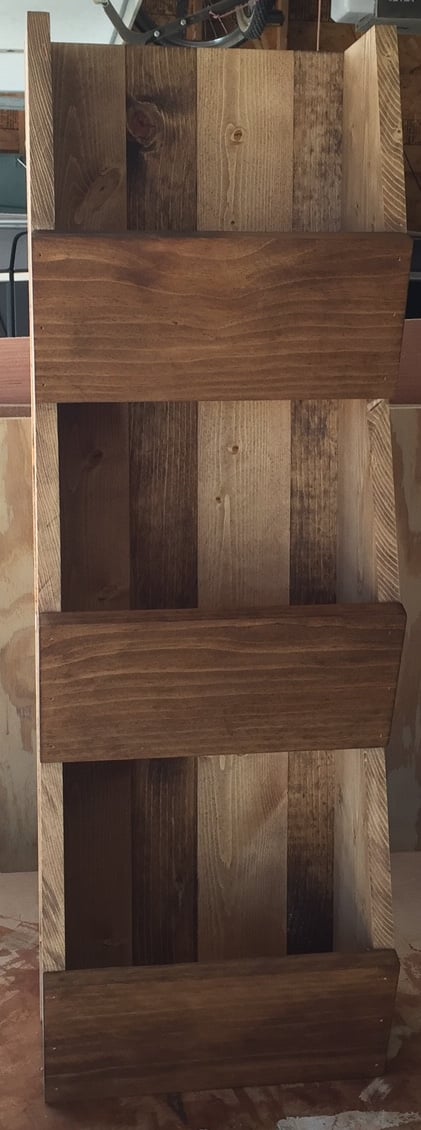
Built from Plan(s)
Estimated Cost
100 $
Estimated Time Investment
Weekend Project (10-20 Hours)
Finish Used
2 coat waterbased stain ( trilak vekonylazur)
3 coat+1 coat tabletop waterbased furniture varnish (Trilak vizes butorlakk)
3 coat+1 coat tabletop waterbased furniture varnish (Trilak vizes butorlakk)
Recommended Skill Level
Beginner


Comments
Pam the Goatherd
Thu, 06/19/2014 - 21:49
Very nice looking! I really
Very nice looking! I really like the blonde stain.