Community Brag Posts

Twin over Full for my Girls!

Submitted by brguad on Sat, 11/16/2013 - 11:44

I have two girls and my youngest was getting out of a crib. I could build another bed or include both girls and build a bunk bed. I chose the bunk bed route with the approval of my wife and got started. I loved the plans from ana-white.com and decided to pull the trigger.
Total cost for bed not including the new full mattress was around $300. A huge savings from the estimated $1,500 from comparable beds on the market. This took me about 2 weeks total but that was a couple hours here and there. I would describe most of the work as beginner skill level but a couple of the steps had challenges but you could figure it out. My girls were out there helping me build and paint so it was also very memorable. Thank you again for all you do Ana.

Bobby

Estimated Time Investment
Weekend Project (10-20 Hours)
Finish Used
Sanded with 120, used a primer and finished with 2 coats of Pixie Dust. It's almost white but has a touch of pink.
Recommended Skill Level
Beginner

Comments

Lindsayayer

Wed, 12/18/2013 - 09:34

I'm new to the site & love this for a potential kids room. Where can I fin the plans w/ specs & materials? Thanks.

brguad

Wed, 12/18/2013 - 12:09

I used the twin simple bed plans, full simple bed plans and the twin over full plans for the ladder. It was easier to just print them all off. Hope that helps

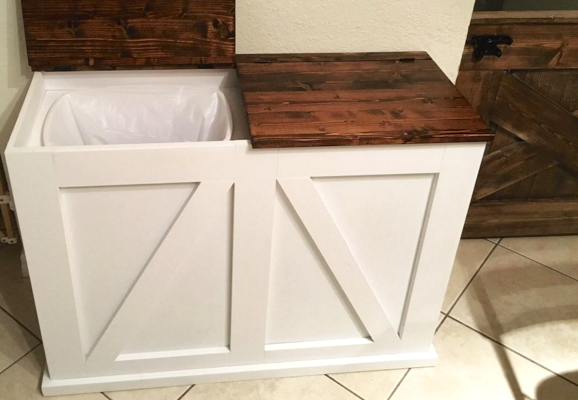
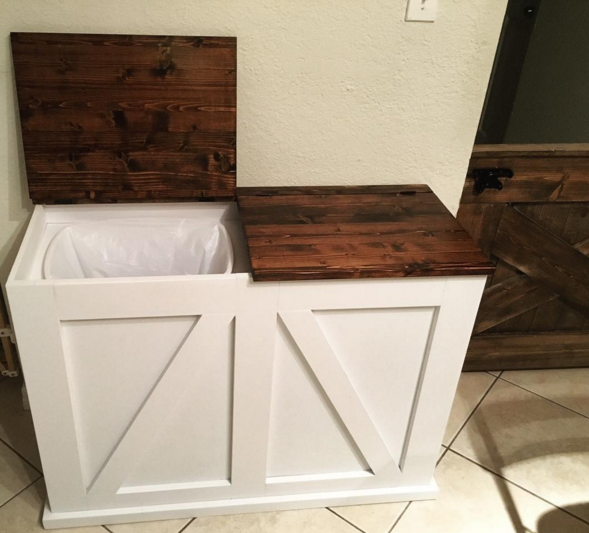
Double Bin Trash and Recycling Bin

Submitted by Anonymous (not verified) on Tue, 02/02/2016 - 12:54

Modified the design a bit to be lift up lids instead of tilt out.

Estimated Cost
125
Estimated Time Investment
Weekend Project (10-20 Hours)
Finish Used
White Painted Base, Dark Walnut stained top
Recommended Skill Level
Intermediate

Comments

Matt712

Sat, 03/07/2020 - 02:29

I’d be grateful for details, plans, measurements for this project. This is an amazing build, nicely done.With green top looks fantastic and complements the white very well.

smbanks75

Thu, 01/11/2024 - 20:31

To everyone asking for the plans, it's a modified tilt out. It states right there under the pics that it was modified and the original plans are there in red, under "Built from plans"

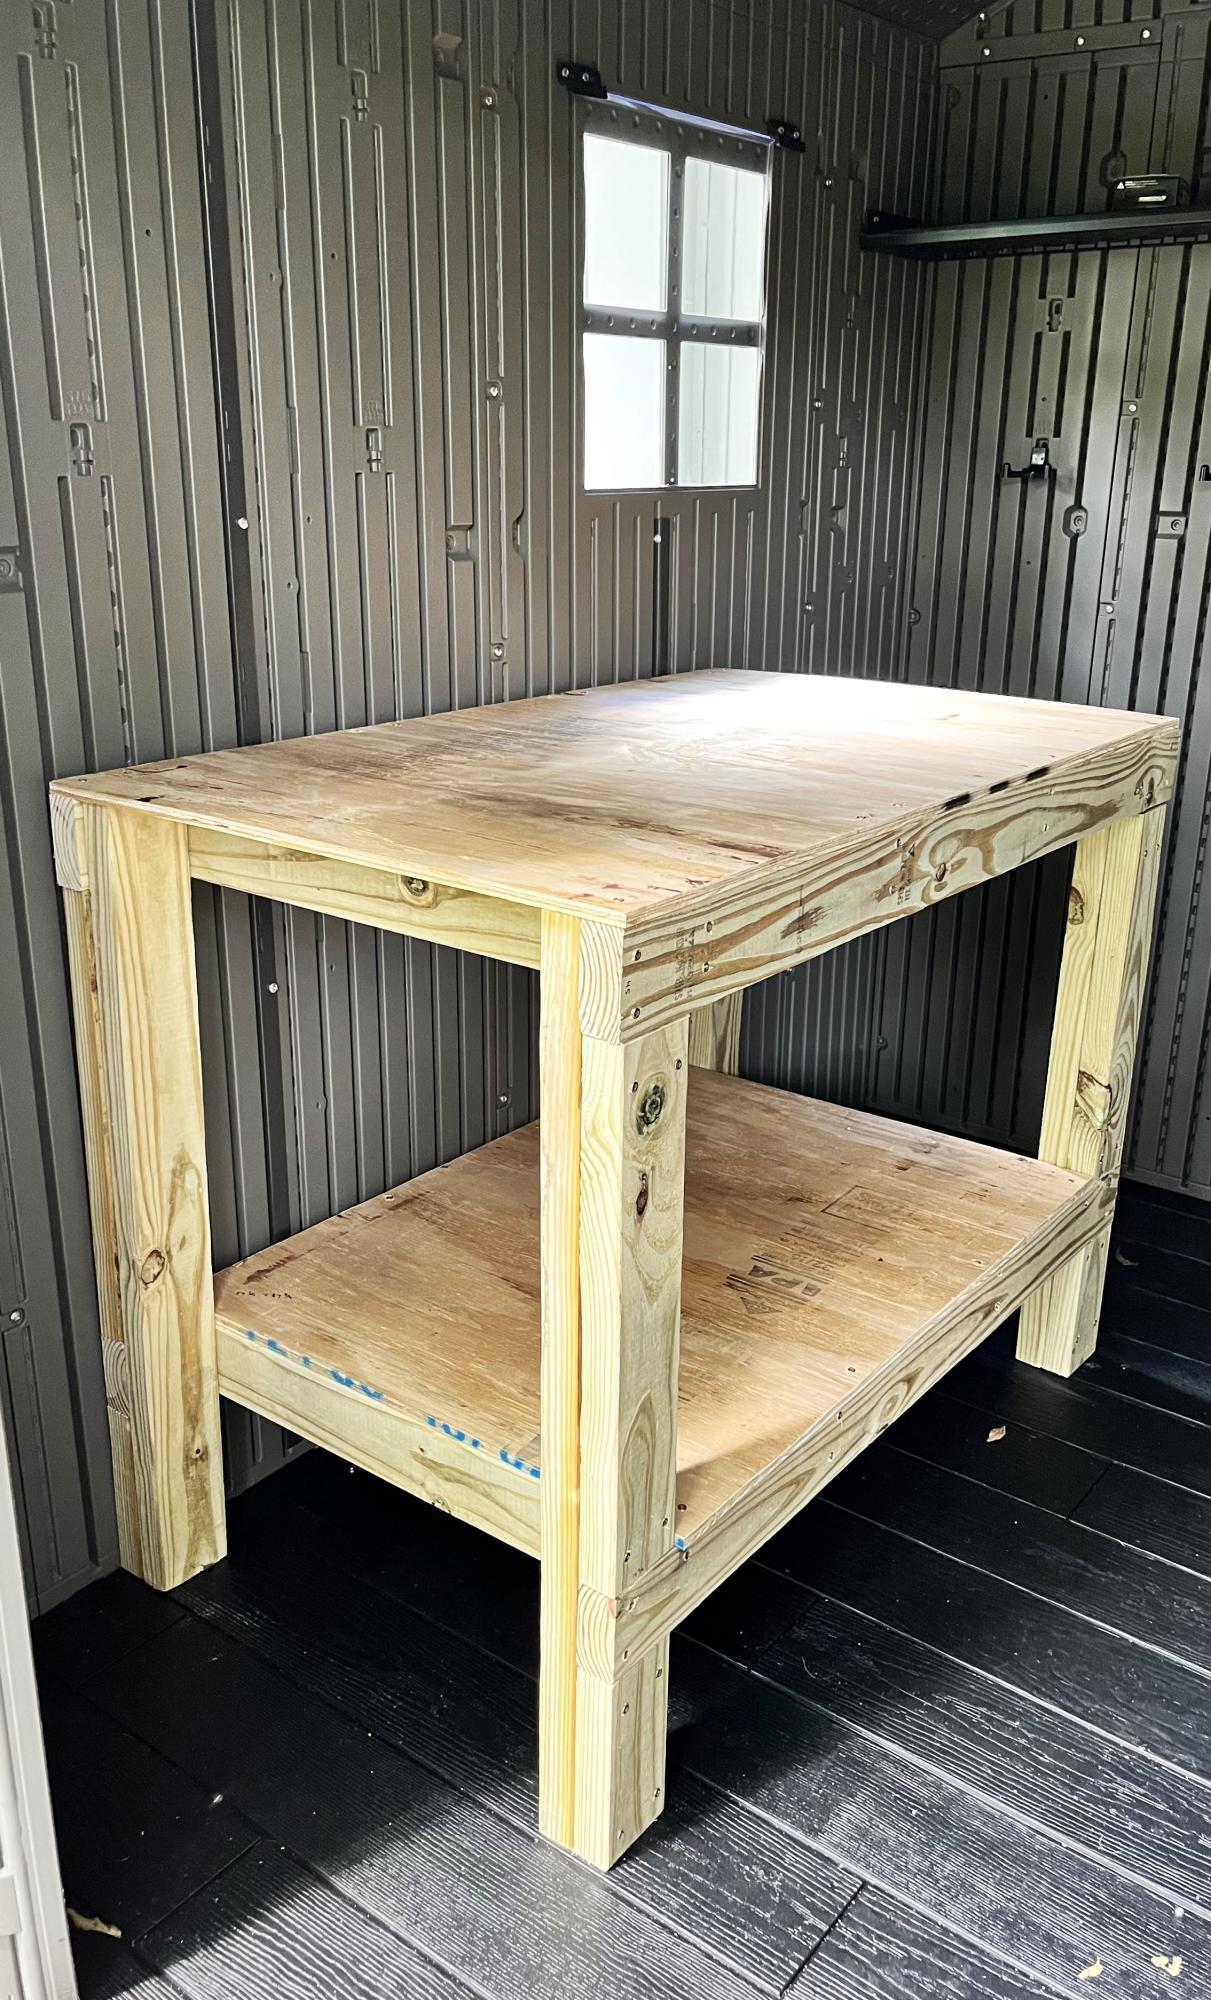
Easy to Build Workbench

Submitted by Anonymous (not verified) on Wed, 09/06/2023 - 09:09

I was wanting a work bench for my outside shed to work on occasionally and help keep organized. This is the first piece of furniture I have built totally on my own! The plan was easy. I sized it down a little with no problem. I'm a little off on a couple of the cuts but will practice more! Overall, thrilled and extremely proud of it!

Lori B

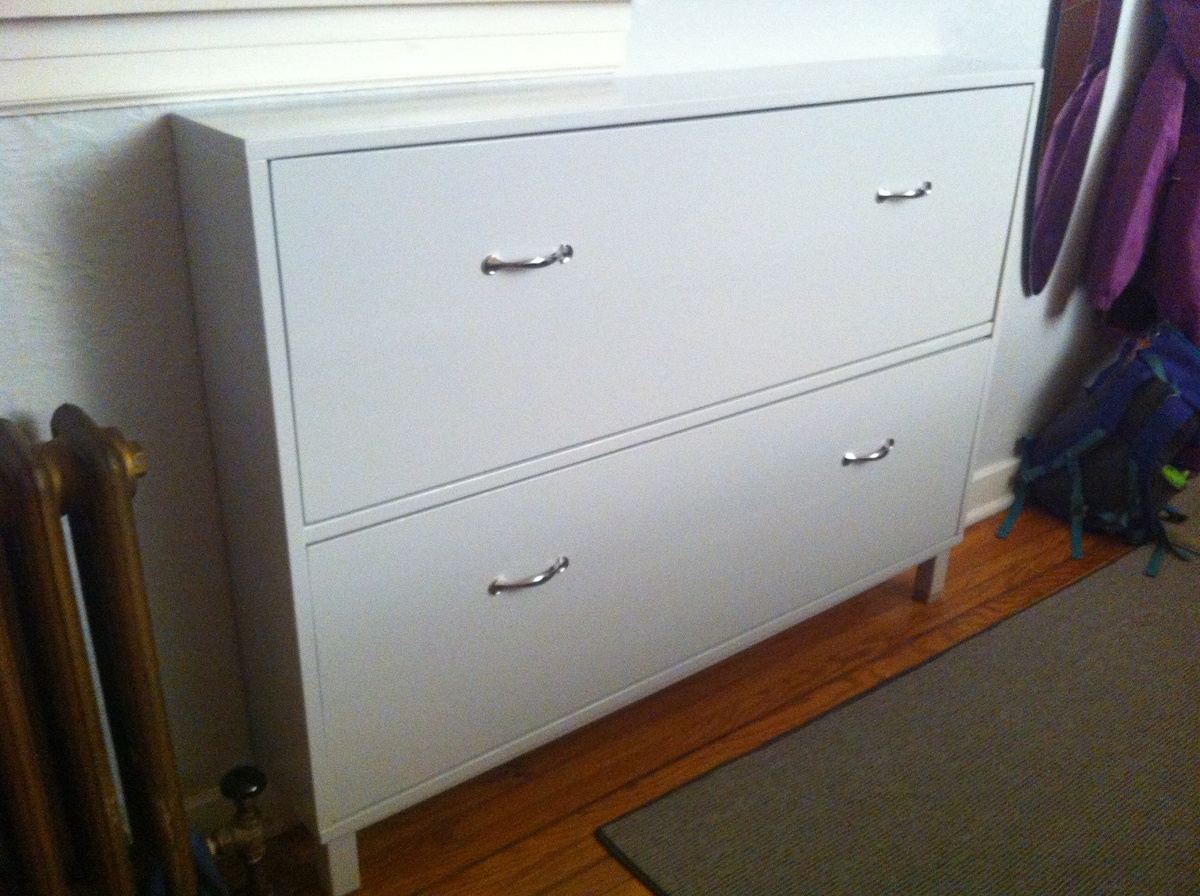
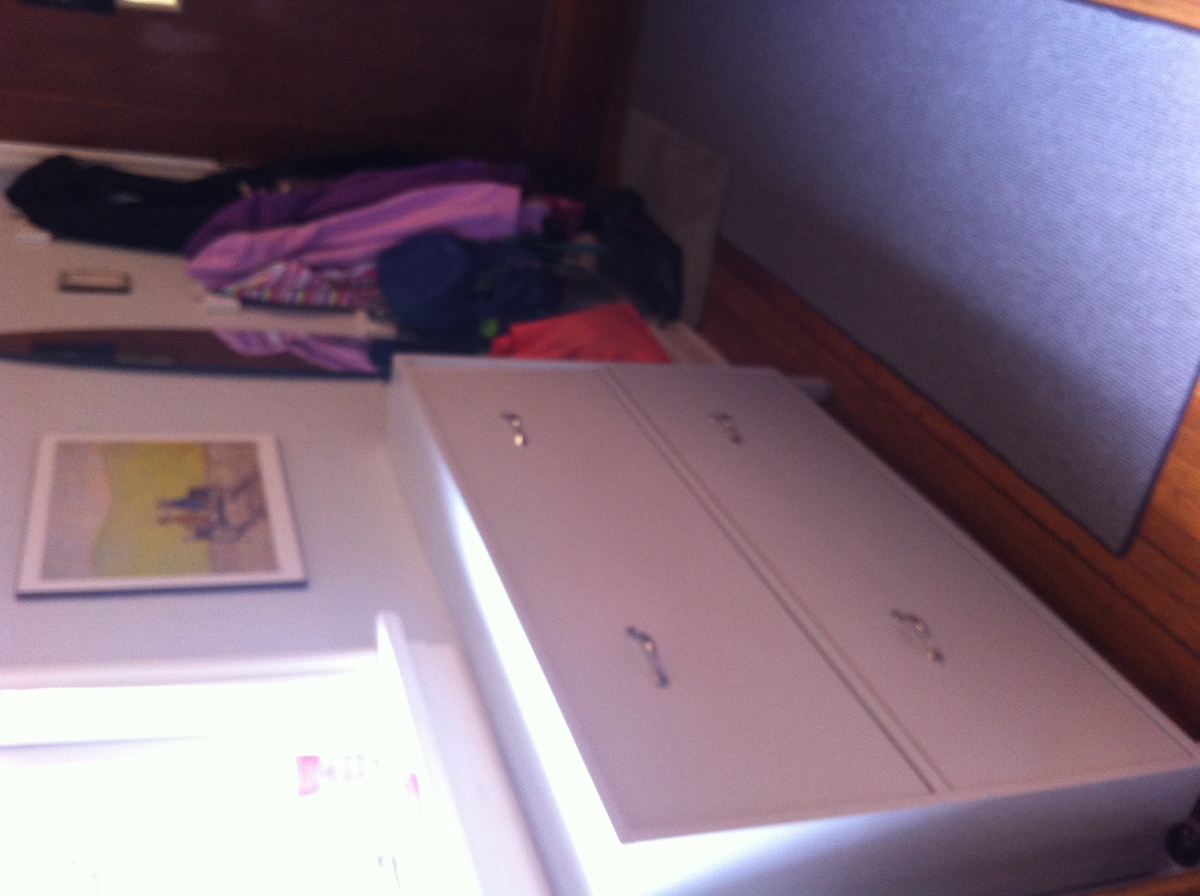
First build--shoe cabinet!!

Submitted by Anniecat on Fri, 05/16/2014 - 23:40

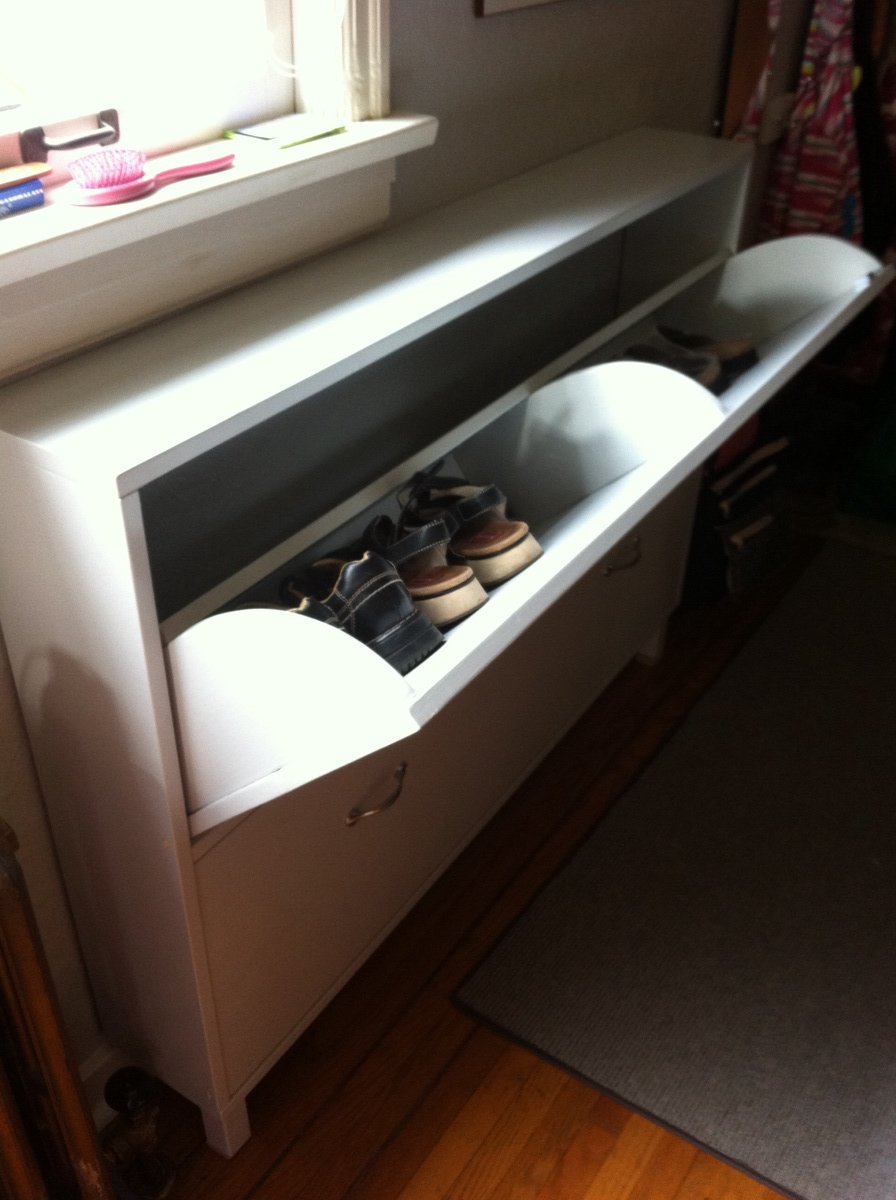
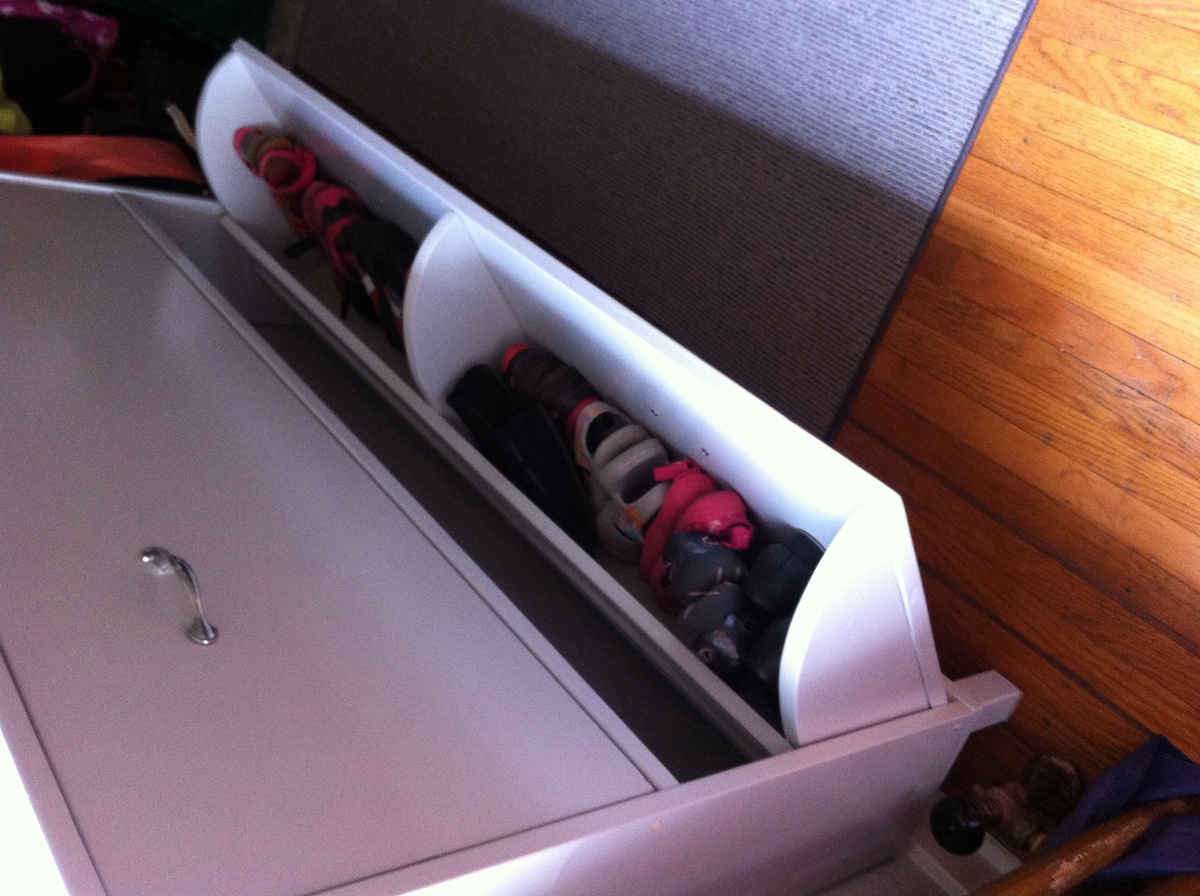
Had a horribly messy front entrance so really needed this shoe cabinet. It's dimensions suited my space better than an Ikea one, and accommodated more shoes. This being my first project, I am glad I started with this instead of a loft bed, since I made alot of mistakes (& corrections) along the way. Although some of the problems occurred because of pieces that ended up being convex. I chose to fill in the gap between the two boards on the front of each bin. It worked out really well.
Really love the Kreg Jig! So worth the investment.

Could not figure out how to properly use magnet catches. Did apply one to one side of the top drawer but it doesn't work too well--pulls the bin too far in. 

Built from Plan(s)
Estimated Cost
$80
Estimated Time Investment
Week Long Project (20 Hours or More)
Finish Used
Used latex primer (which I hated because it behaved like an alkyd & destroyed a couple of brushes) & high gloss paint for high durability.
Recommended Skill Level
Beginner

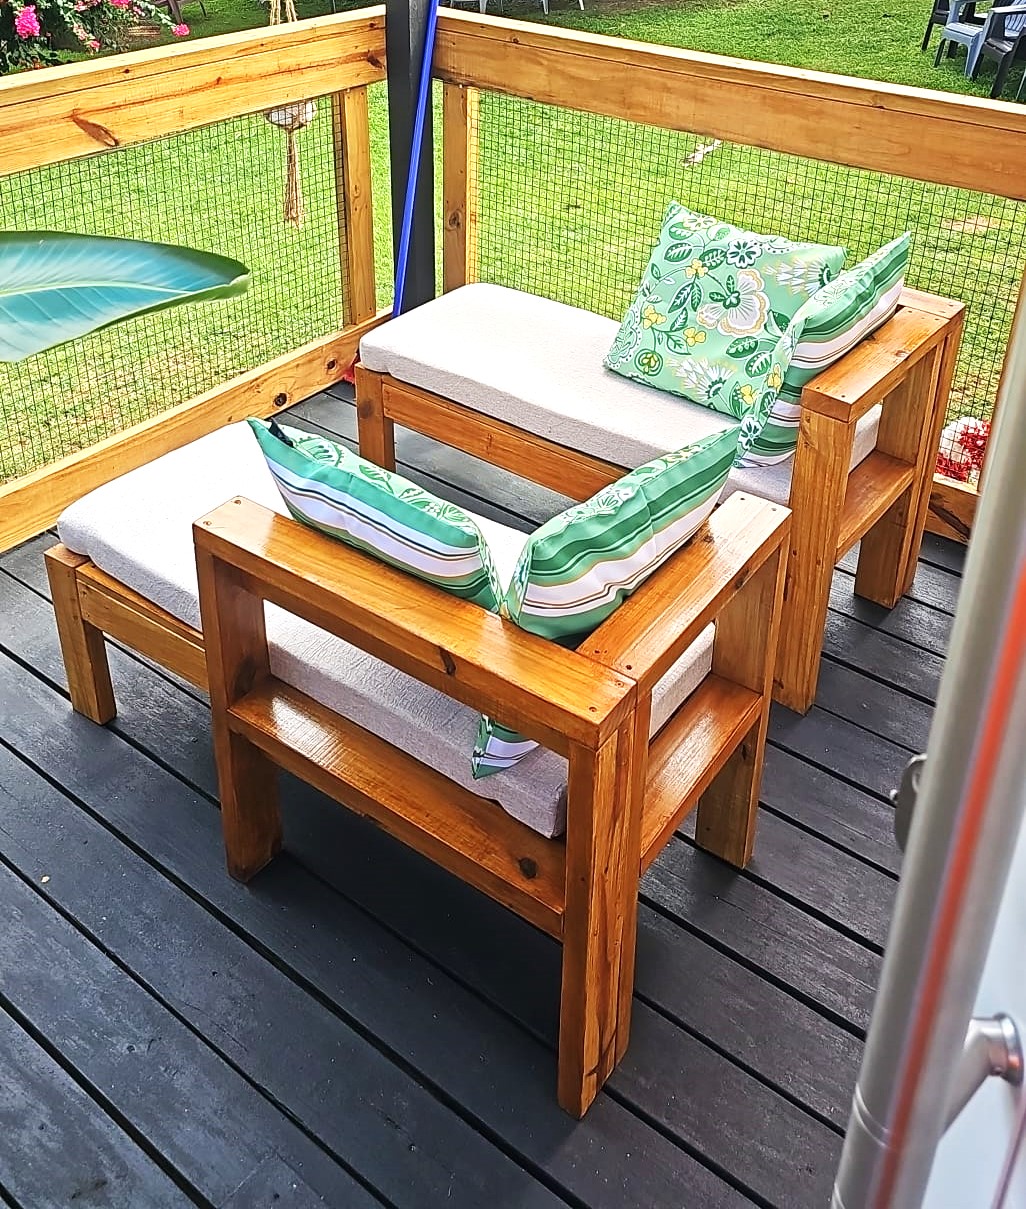
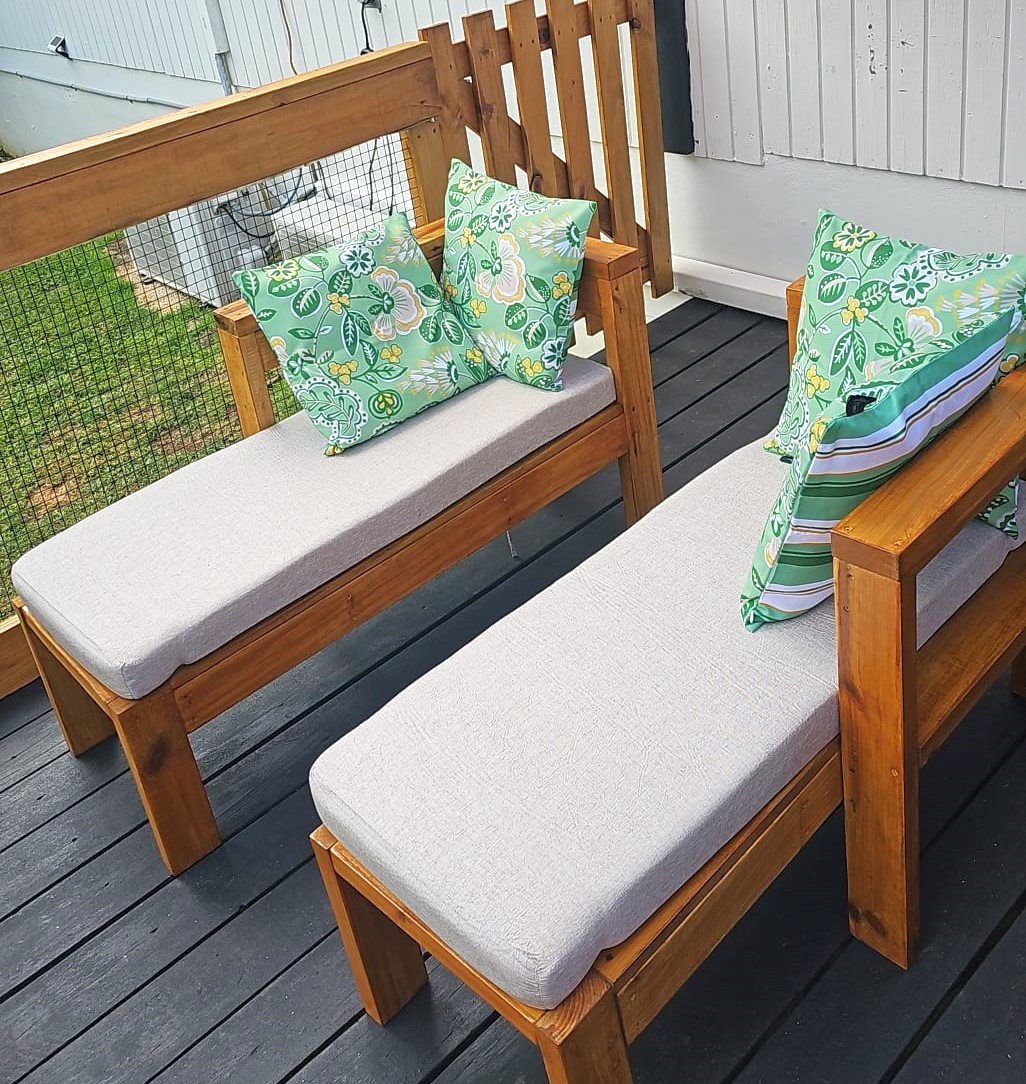
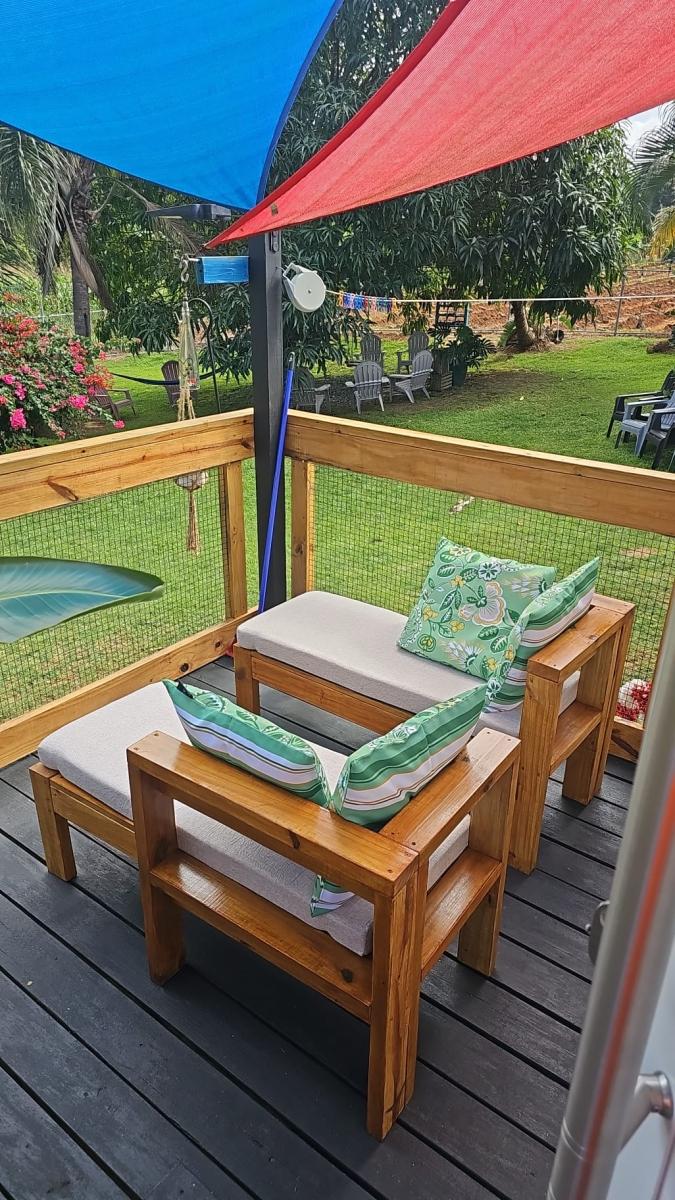
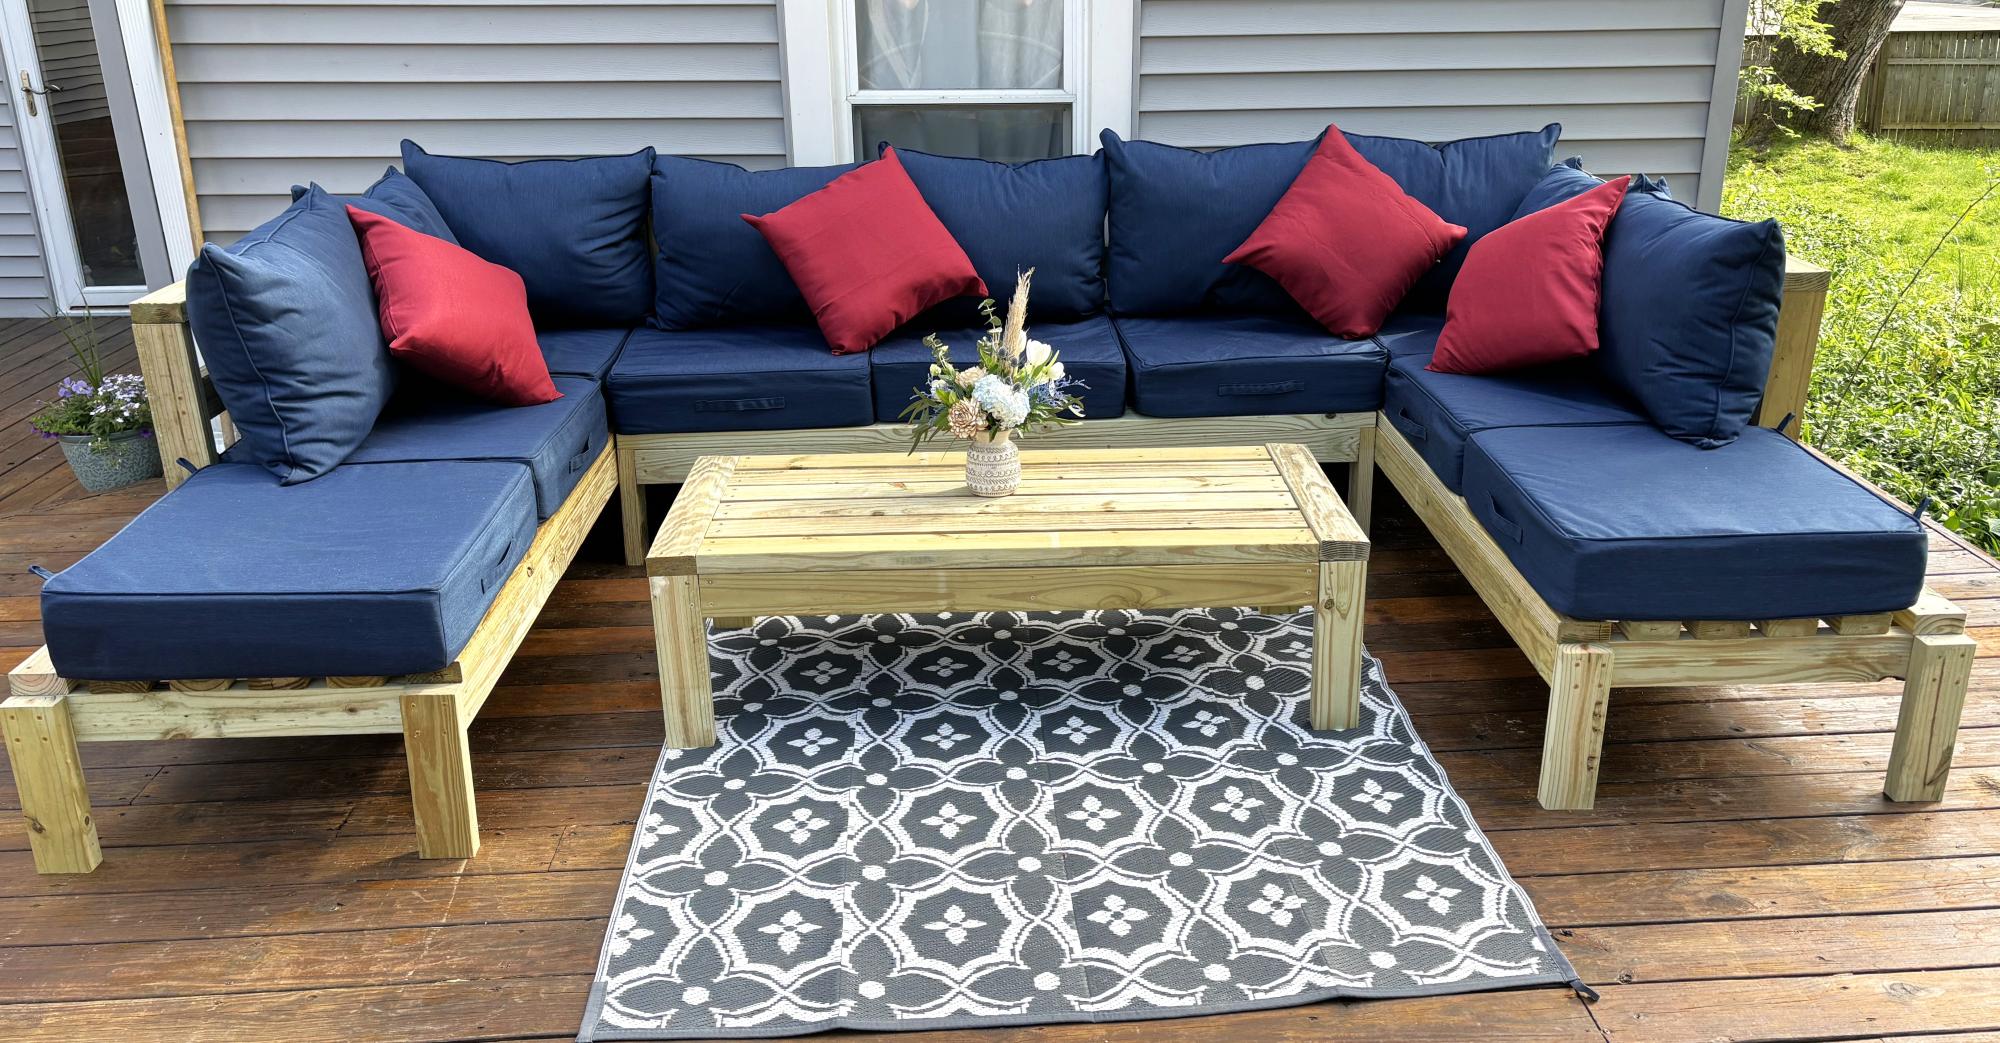
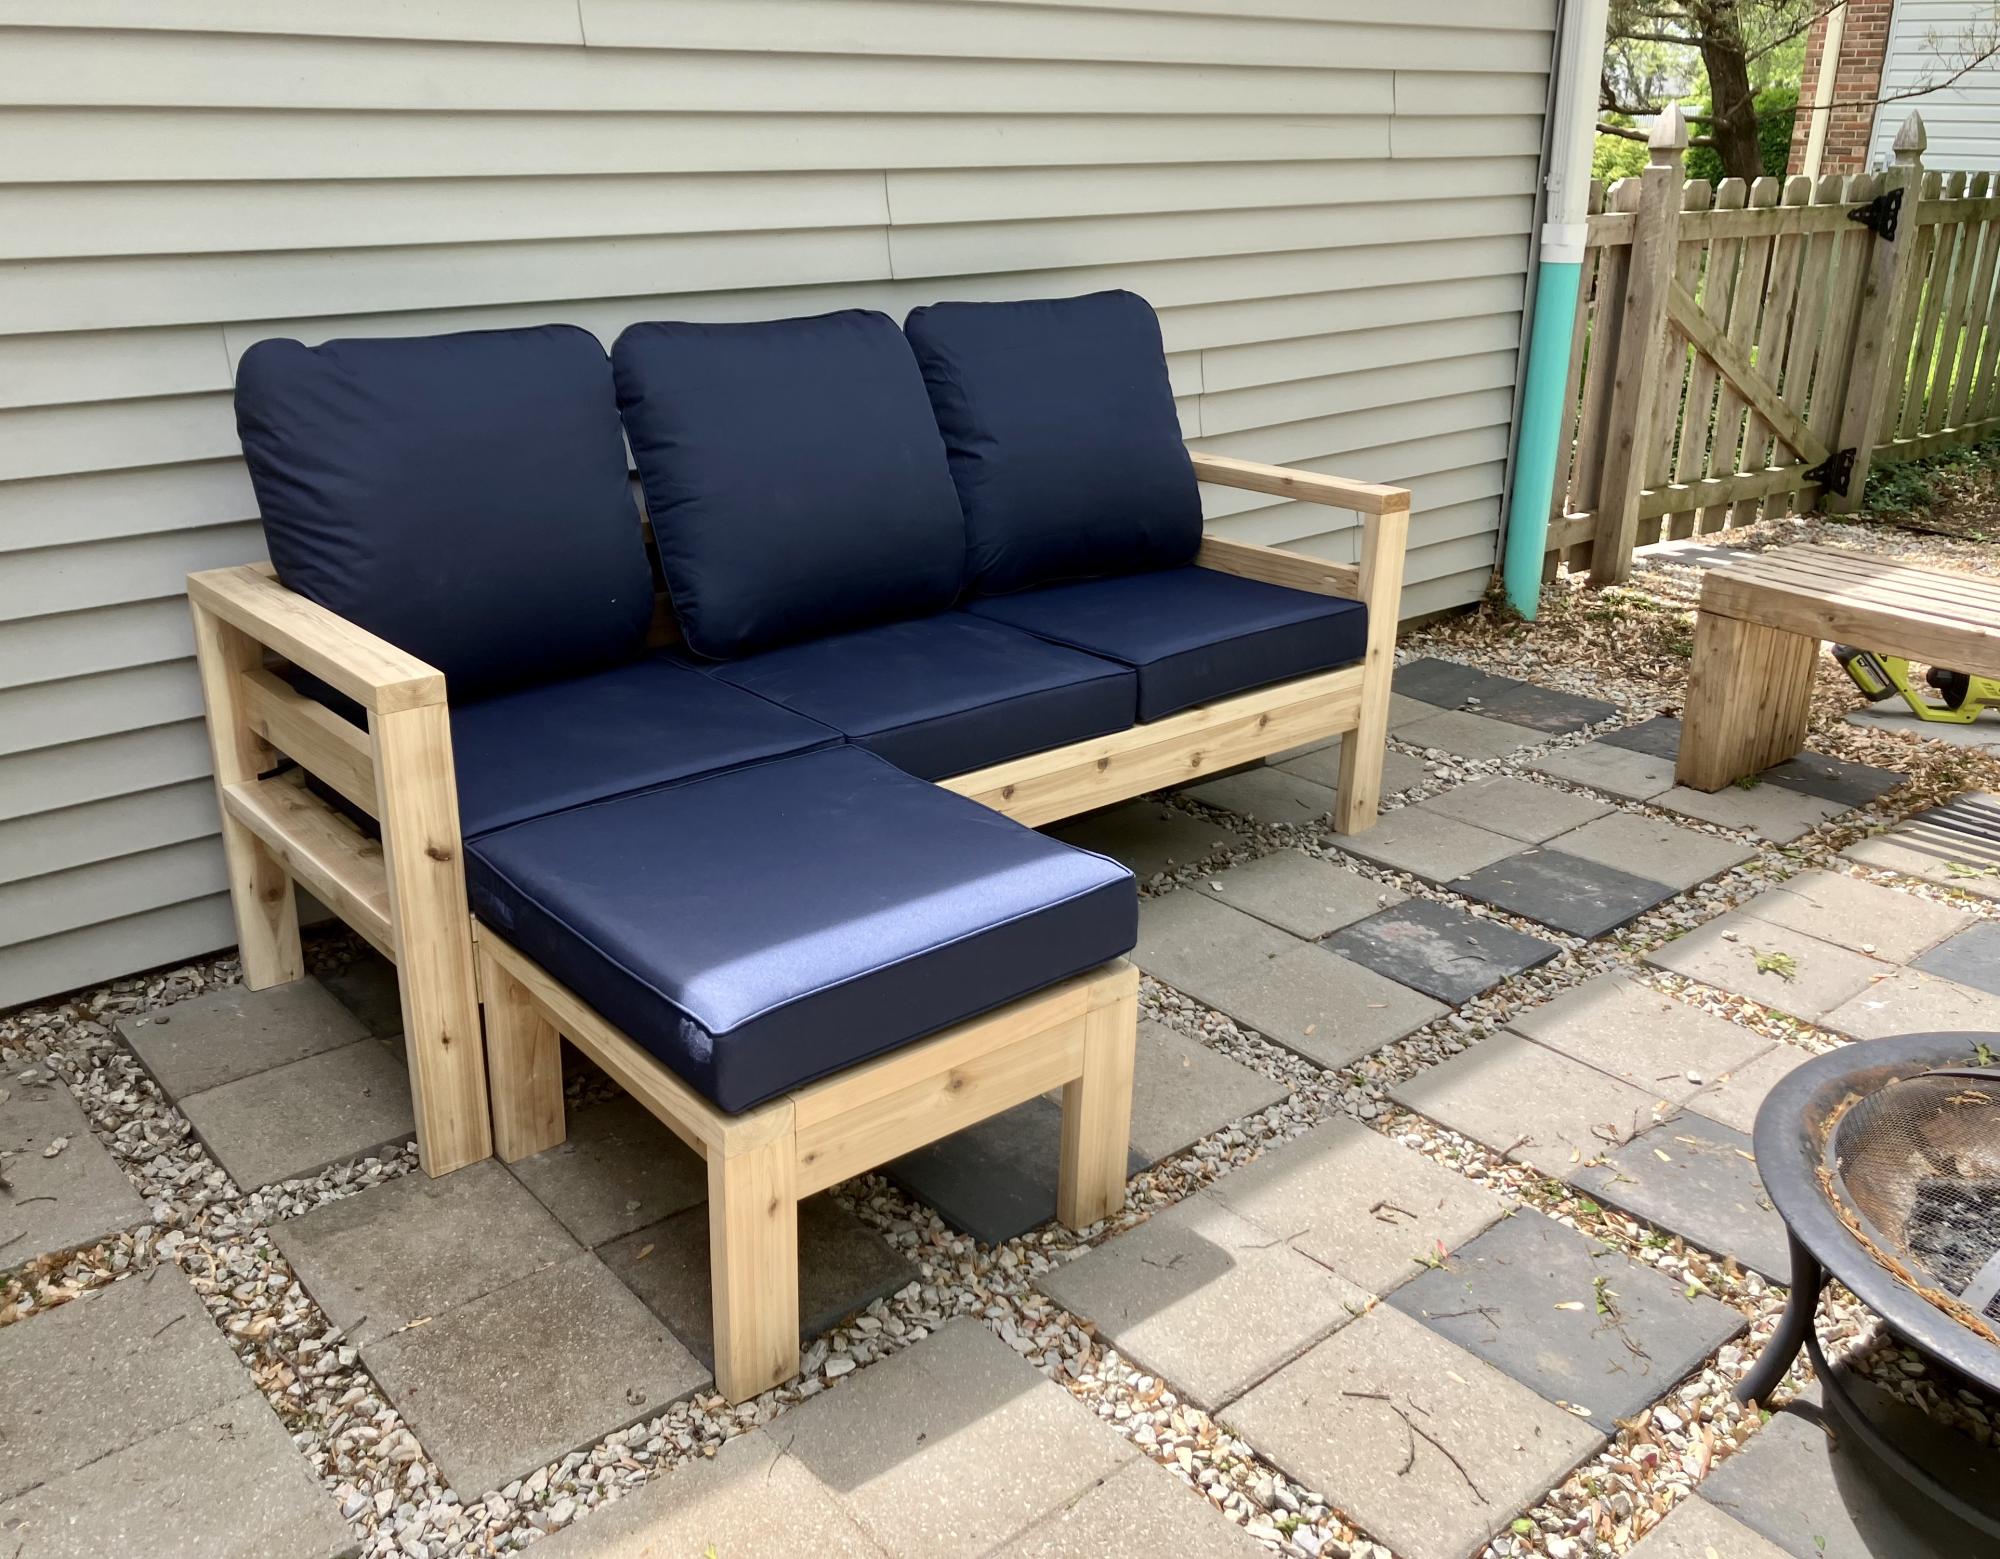
DIY Outdoor Sectional

Submitted by Anonymous (not verified) on Mon, 05/06/2024 - 13:25

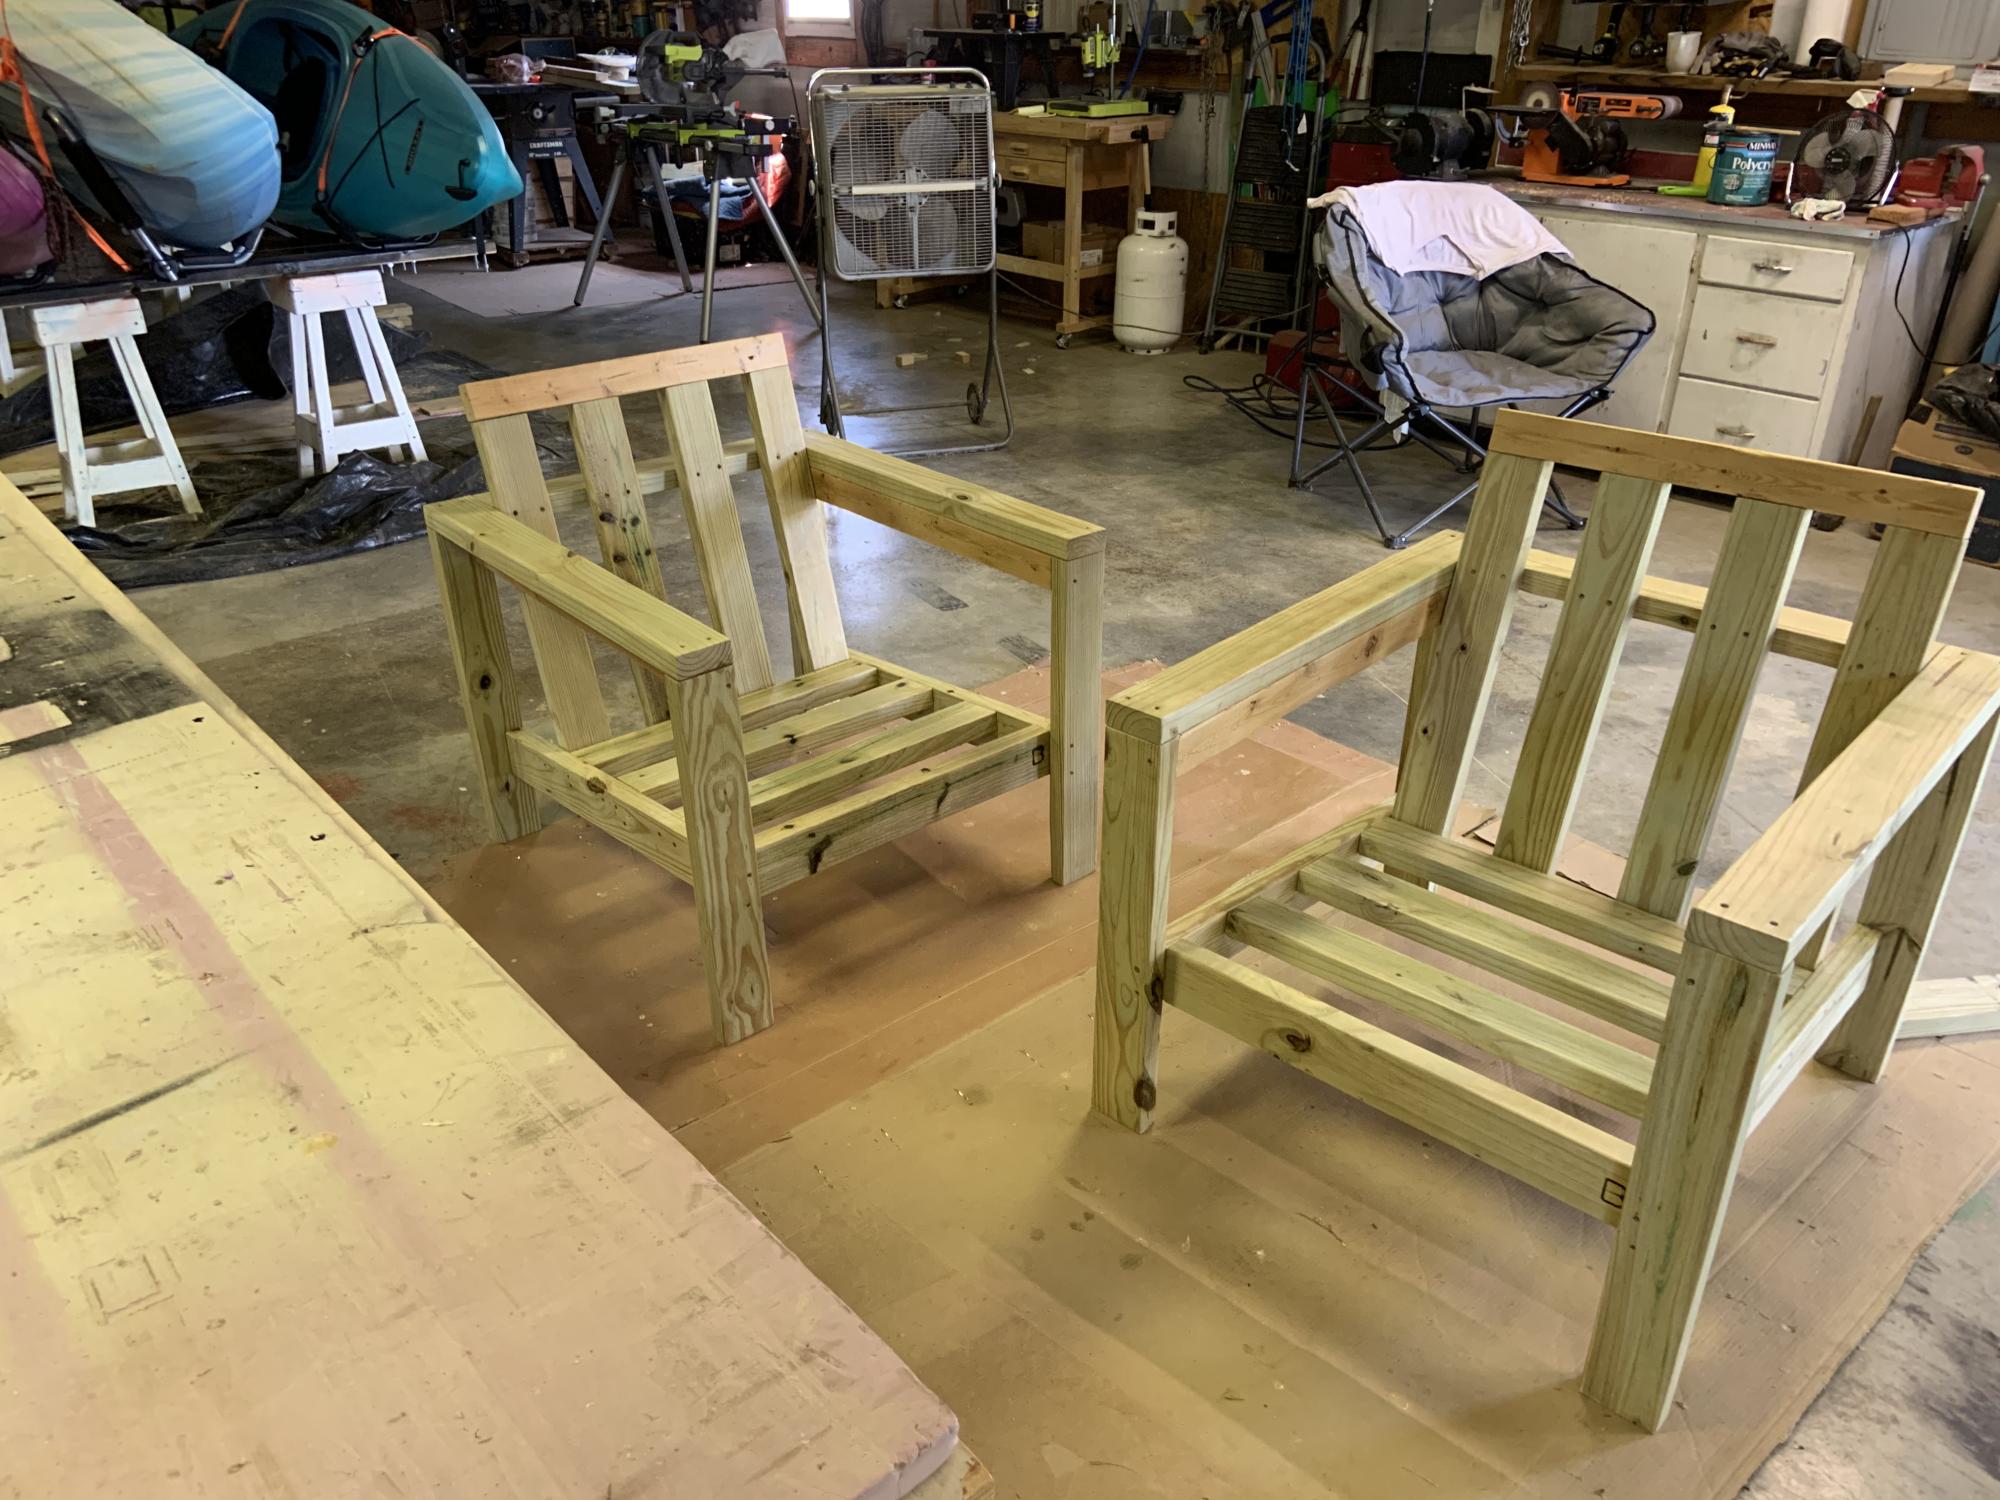
I used the armless chair plan, and altered the one armed plans to make two chaises. Then I increased the size slightly to accommodate the 25x25 pillows I bought. This took about 12 hours with one person working. I am super proud of it! Finished today, and will eventually stain after the wood has dried out a little. Thank you, Ana, for making straightforward plans that gave me the confidence to do my first woodworking project!

Andrea in Michigan

John Deere Tractor Bunk Bed

Submitted by Veronica P on Sun, 07/06/2014 - 16:43

With another baby boy arriving in August, my one and three year olds are moving to a "big boy" room. My oldest decided he wanted a bunk bed and as they both are obsessed with tractors, when I saw the "John Deere Tractor Bunk Bed" plan, I was sold.

We would be needing a twin sized bunk bed though not a toddler. I used the classic bunk bed plans and simply modified them to suit our needs. I moved the ladder to the front, added a rail on the bottom bunk and added a small ladder to the side for my one year old to climb into the bottom bunk.

Once the the frame of the bed was complete, I added the tractor accessories. A couple of storage cubby shelves with fabric baskets for toy tractors which act as stairs up to the ladder and make the tractor bucket at the front. Also, the wheels which are made from joined 1x6s as I find plywood hard to sand and paint to the quality of finish I like. A cab & roof from 1x4s framed together. A side mirror that I decoupaged a picture of another tractor on. I used push lights for the headlights as well as a reading light above each bed (they're on timers so they'll turn themselves off). A steering wheel (play equipment access from toys r us). Also, I built and mounted by the head of both beds a "flat wall book holder" so they would have somewhere to store a few books.

My boys and I are fairly new to building so I spent a lot of time planning and measuring to ensure it would all come together in the end. It paid off because it all went smoothly (even with "help" from my boys). It's not perfect but they're very happy with the result. We also built a John Deere themed "Just my size closet" and even finished with over a month to spare before the new baby arrives! :)

Just want to say a quick thank you to Ana both for the amazing plans and also the inspiration to take on these projects. The time spent with my boys building as well as the resulting treasures are priceless and I would have never realized what we were capable of had I not stumbled upon your website and been so inspired by you and everything you've accomplished. Thank you!

Estimated Cost
$550.00
Estimated Time Investment
Week Long Project (20 Hours or More)
Finish Used
John Deere Green paint (home depot was able to color match a toy tractor), marigold yellow and black and polyurethane.
Recommended Skill Level
Beginner

Comments

Ana White Admin

Mon, 07/07/2014 - 12:13

I love this, such a great build and eveything came together perfectly! Thanks for sharing!

spiceylg

Thu, 07/10/2014 - 19:12

What an incredible build! I agree with Thriftygirl, I love all of the details!

carongirls

Tue, 09/30/2014 - 05:35

I am in the process of copying your bed right now. Just mine will be a toddler loft bed. Thank you for the ideas!

busymomof3

Thu, 10/09/2014 - 14:12

I am new to this and I was wondering were to find the measurements for the twin size bed?  I would love to make this for my boys!!

Veronica P

Mon, 11/03/2014 - 07:48

Sorry for the slow response to those requesting plans. For main structure of the bunk bed, I used Ana's "Classic Bunk Bed" plans. For all of the add-ons, I made up my own plans. I'm pretty low tech so unfortunately they're just pencil & paper plans but I'd be happy to scan and email them to you if you're interested. Just message me and I'll send them your way. :)

MartyC

Wed, 01/28/2015 - 14:08

Hi Veronica, Well done fantastic job! Two little men who want to move in together because of a new addition on the way. Their request though is a John Deere Bunk Bed! would be grateful if you could forward on your plans if you have time, Kindest regards.

tkdiver1

Tue, 05/26/2015 - 18:13

These are just what my grandsons need. I would love your plans.

Thank you

tkdiver1

Tue, 05/26/2015 - 18:14

These are just what my grandsons need. I would love your plans.

Thank you

Mimi64

Sun, 09/06/2015 - 10:06

Dear Veronica,

Our grandson, 6 years old, will absolutely adore this bed.  He loved riding on Grandpa's real JD tractor.  Please send me your plans for the attachments.  They are just darling and I could not do any better.  Thanks for your generosity!

bmeche

Fri, 09/13/2019 - 21:11

Hi Veronica. My 3 year old just loves the tractor bunk bed. I was wondering if you would mind sending me the plans you have. It would be greatly appreciated. My email is [email protected]   

Thanks in advance 

MyMaw

Wed, 10/16/2019 - 17:56

If you're still sharing, we would love a copy of your add-ons plans. 

Thanks,

MyMaw and PawPaw

Veronica P

Tue, 12/16/2014 - 07:21

I just emailed those plans. There should be nine attachments. Please let me know if you don't receive any of them.

cnejones

Thu, 12/18/2014 - 21:51

Could you please email me the plans for this project my son would love this

Veronica P

Tue, 01/06/2015 - 08:21

Hello all. I've tried emailing plans to all those who've requested them. I had some trouble attaching the files as they were large so if you didn't receive them, please let me know and I can resend. Thanks

Alwardt2708

Tue, 01/06/2015 - 11:53

Hi Veronica. I did not receive an email. Woul you have time to try again? If you email me your address I can send you my fax number if that's easier too. Thank you so much! I can not tell you how much I appreciate your dedication to this! [email protected]

Paulieboxer

Ana, First time I have every attempted any kind of woodwork/building furniture other than building Ikea stuff. The plans were very easy to follow and now I want a chop saw for xmas. I roped my daughter in to help me and we completed the project in 2 days. Husband was totally blow away by our achievement. I love it and feel accomplished. Away to work on the table and further benches/seating over the next few weeks. Pauline

Estimated Cost
£200
Estimated Time Investment
Day Project (6-9 Hours)
Recommended Skill Level
Beginner

Work Bench Wall!

Submitted by JoanneS on Wed, 08/27/2014 - 16:23

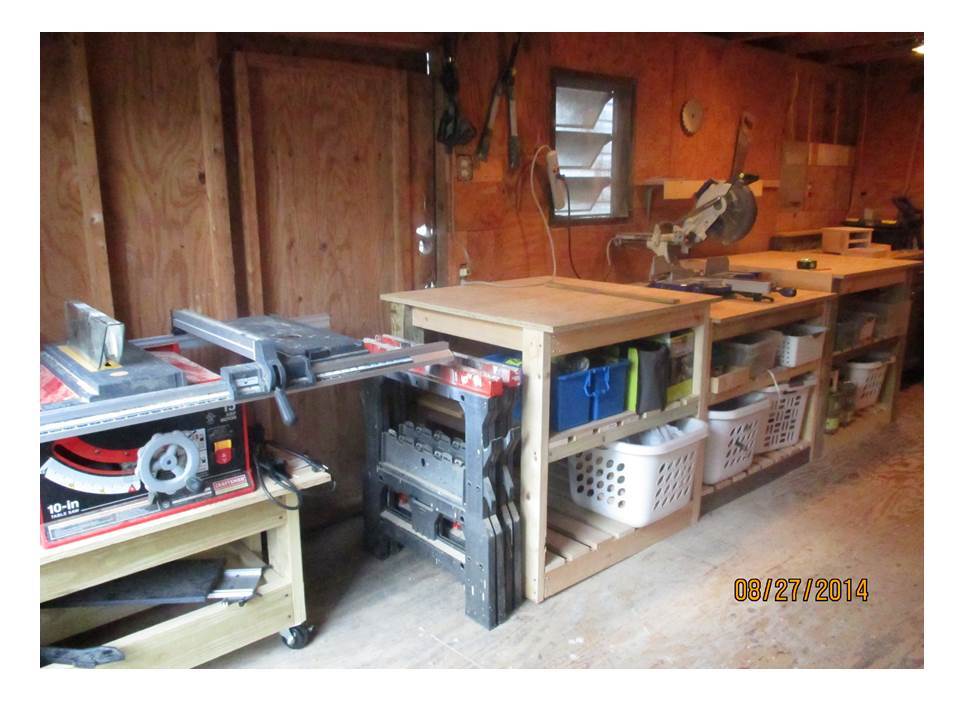
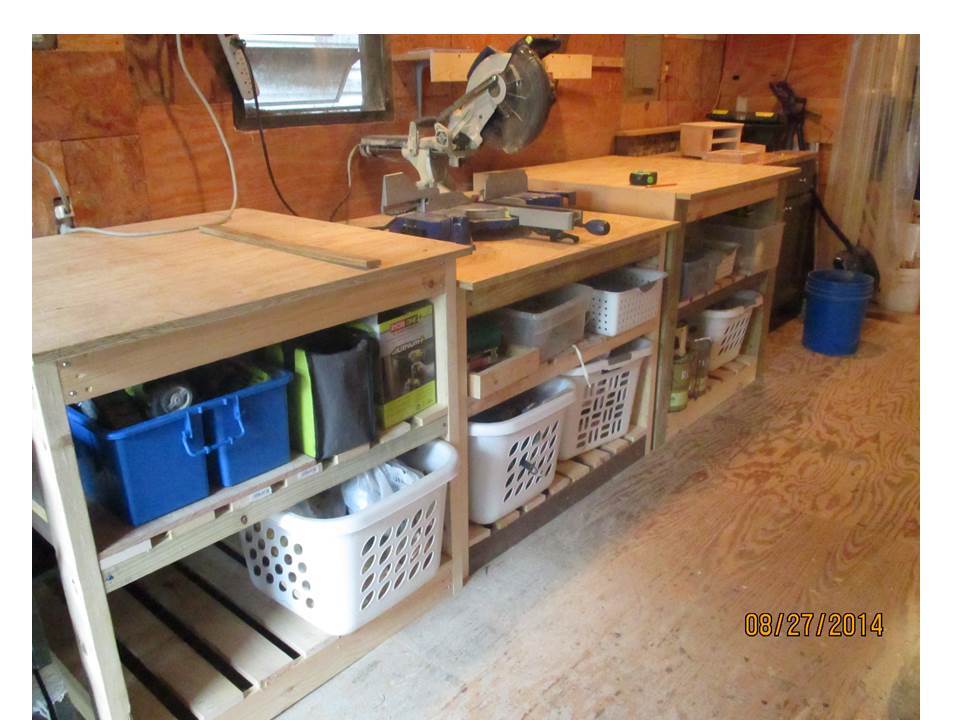
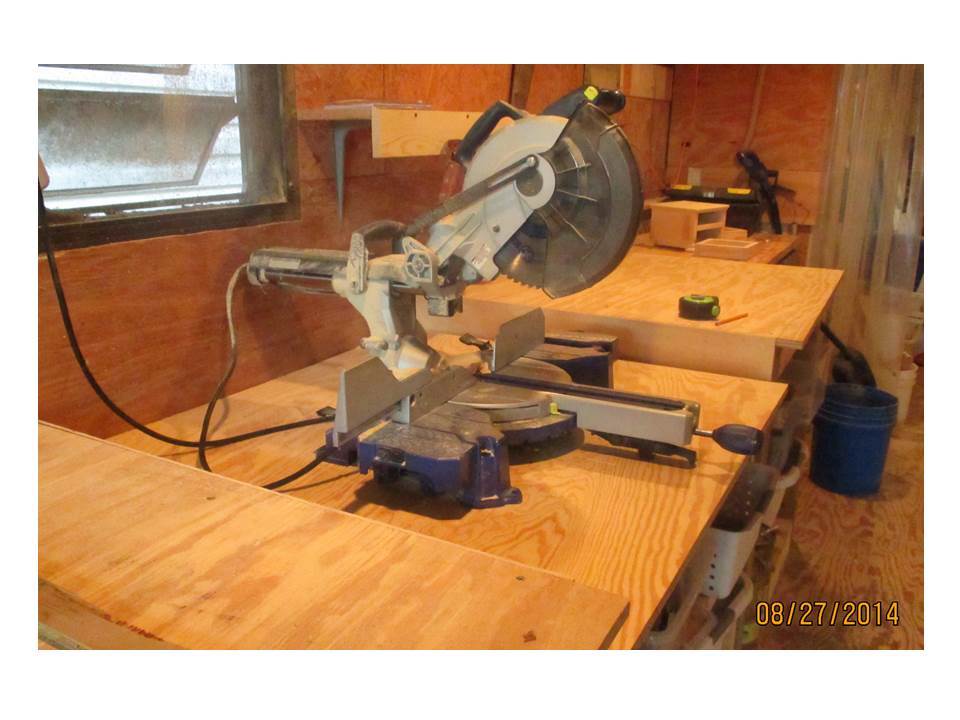
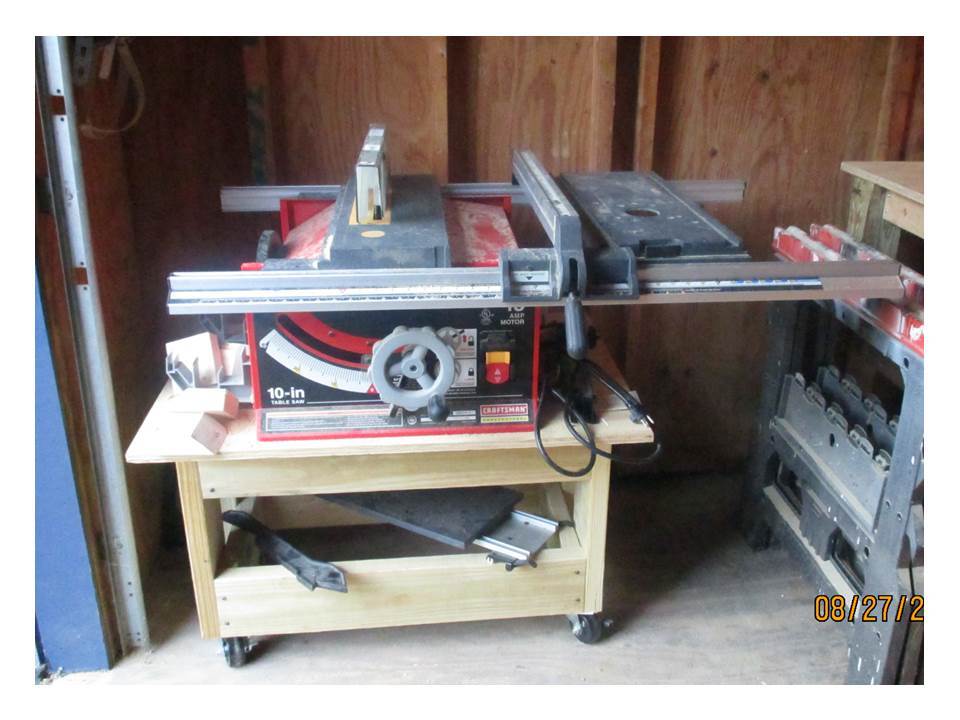
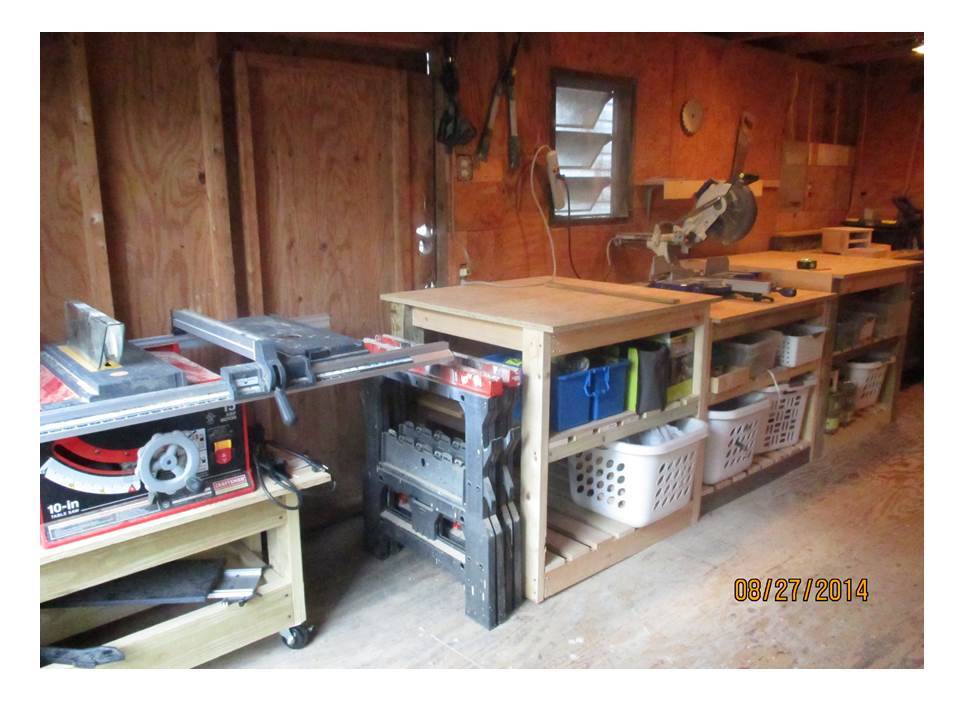
Built a whole wall of work benches for my garage! Instead of one giant bench this is made as 3 separate benches, plus a rolling bench for the table saw. They are a combination of elements from 3 plans - - the Sturdy Work Bench, the Workbench to Get the Job Done, and the Simple Rolling Bar Cart.

The heights allow for the long pieces cut with the miter saw to rest on the side tables, and when using the table saw (it’s on wheels) the tables can catch the pieces as they push off from the back of the table saw. The bench top surfaces are at 36 ½” tall, which is the height of the “deck” of the table saw, and the miter saw table is 3 ½” shorter. The side table widths are sized to fit the wood on hand (one at 36” and one at 40”), and the center lower one is 40” wide to allow plenty of elbow room for cutting miters on the sliding miter saw. The table tops are 36” deep, which allows plenty of working room and space for the sliding miter saw. The table tops overhang 2” on the front and back.

The leg assemblies are made from scrap and left over wood from multiple projects we’ve done over the last couple of years, which includes regular and treated lumber (1x, 2x, and 4x4 pieces, and even some reclaimed 5/4 decking boards ripped down). The legs are a mixture of 2x4’s and 4x4 posts. The only lumber that wasn’t already on hand was some more 1x4’s for the shelf slats and the plywood for the tops. Since this is a work bench, the finish will remain au naturale. It does need some additional sanding on the sharp/pointy edges on the table tops though.

The blue caddy at the end of the left shelf holds my newest power tools – Ryobi One Plus 18V Airstrike nailer and compact drill/driver, with extra batteries. Woot!! Those came in really handy on this build!

For now the shelves have open bins and baskets, but the plan is to get closed (clear) bins with lids for all the things on the shelves, to protect everything from the sawdust.

The shelves are slatted so they wouldn’t gather such big piles of sawdust since the tables are open. I can just vacuum or use the blower at the bottom to remove the sawdust that falls through.

The table saw bench was an afternoon project, and the 3 benches took several hours spread out over 3 weekends. I'm delighted with how these turned out, and can't wait to use them for more projects!
Estimated Cost
$175 for 1x4s, sanded plywood and screws (the rest was already on hand)
Estimated Time Investment
Week Long Project (20 Hours or More)
Finish Used
Leaving this unfinished
Recommended Skill Level
Beginner

Comments

HD

Thu, 08/28/2014 - 11:35

If you go to lumberjocks.com or any woodworker website, you can find shop tours by the hundreds. Of course, most of these shops are used by really dedicated amateur or professional woodworkers. It's been great to see inside the shops of "average jolene" woodworkers like me.

I have a garage that can maybe accommodate a shovel or a rake (but not both) so this workshop layout wouldn't work for me. BUT it's a great use of some of the designs on Ana's website and would be excellent for a double car garage or a "garage and a half" layout.

JoanneS

Thu, 08/28/2014 - 13:26

Thanks HD! Our garage quickly morphed right into a workshop shortly after we moved into our house. It's a single car width. Since we don't park vehicles in there, we use the whole front of it as a workshop. It started out with old tables and repurposed furniture pieces from the house as our workstations. My DIY dream would be to have the folks from that show "Garage Mahal" come over and do an awesome climate controlled space with a mega dust collection system, *sigh* :)

MrBroctoon

Thu, 12/27/2018 - 14:52

This great! I'm going to try to replicate 3 of those pieces. Thanks for the inspiration - awesome!


Simple 2x4 Bench

Submitted by jennibee on Sun, 09/14/2014 - 17:03

I made this in an afternoon. Loved this project. It is made with 2x4's using a Kregs Jig and mitre saw (plus additional tools like a drill and square).  This was my frist time using the Kregs Jig and I am sold!!

The free plans were taken from another website. They are very detailed and there is even a video (I recommend it as he gives a great tip for making sure the back stays equal/level to each other before putting the back on). Even though you can build this by yourself, I did have help for the heavier sides once they were assembled.  I plan to build the additional side table soon and finish them both with sanding and staining when the weather seems less iffy for rain.

If you are looking for a good beginner project that doesn't take forever or have complicated steps, this is your project.

Built from Plan(s)
Estimated Cost
Around $50
Estimated Time Investment
Afternoon Project (3-6 Hours)
Recommended Skill Level
Beginner

Adirondack Stools / End Tables

Submitted by Lhamiel on Thu, 12/25/2014 - 06:18

Have made many of these as you can see.  The plan is easy to follow and easy to modify to suit your needs,  Wonderful site #anawhite


Built from Plan(s)
Estimated Cost
12.00
Estimated Time Investment
An Hour or Two (0-2 Hours)
Finish Used
polycrylic, polyurethane, rustoleum spar finish, minwax stain
Recommended Skill Level
Beginner
Seasonal And Holiday

Coffee table and end tables

Submitted by Anonymous (not verified) on Tue, 05/23/2017 - 00:34

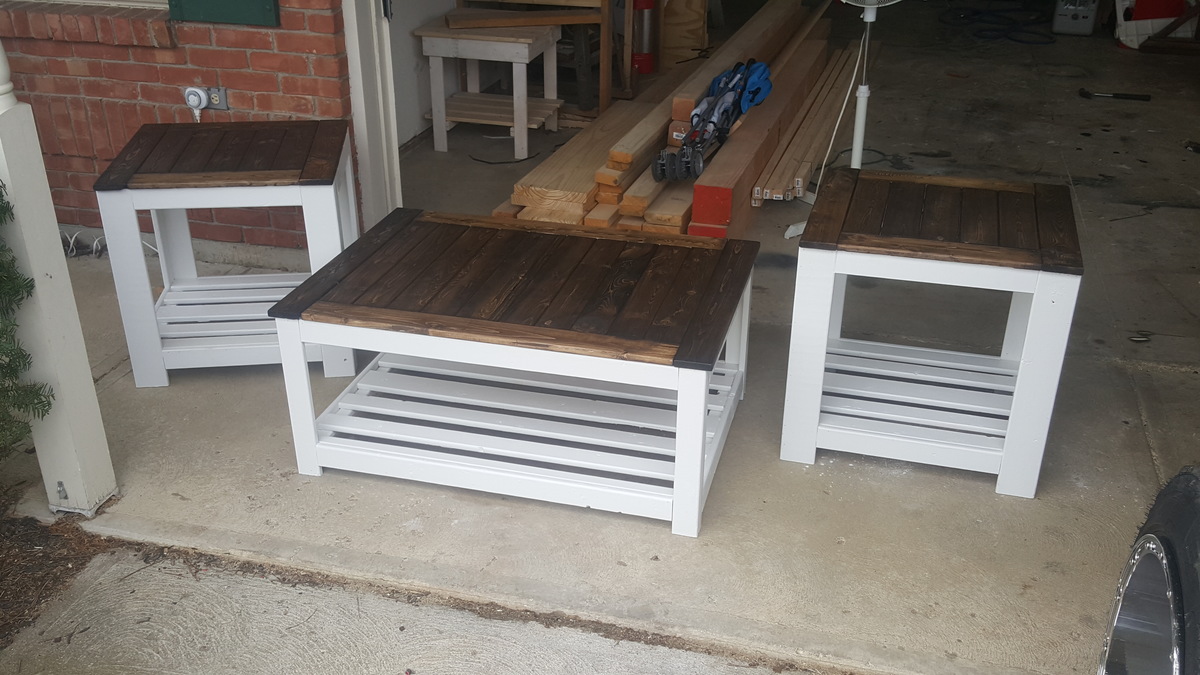
Built from the outdoor coffee table plans.

Changed the dimensions up a bit on the coffee table and shrunk them down to make matching end tables.

Changed the top layout and the bottom shelf a little bit. 

Thank you for the plans!!!

Built from Plan(s)
Finish Used
White frame
Dark walnut tops
Recommended Skill Level
Beginner

Little Kids Picnic Table

This little table was built for our grandson who loves it so much, it was taken inside. About 6 hours, and he took possession of it. Amazing piece!

Built from Plan(s)

Comments

8 foot long shelf with a little twist

Submitted by Daniel_ram on Mon, 01/03/2022 - 17:25

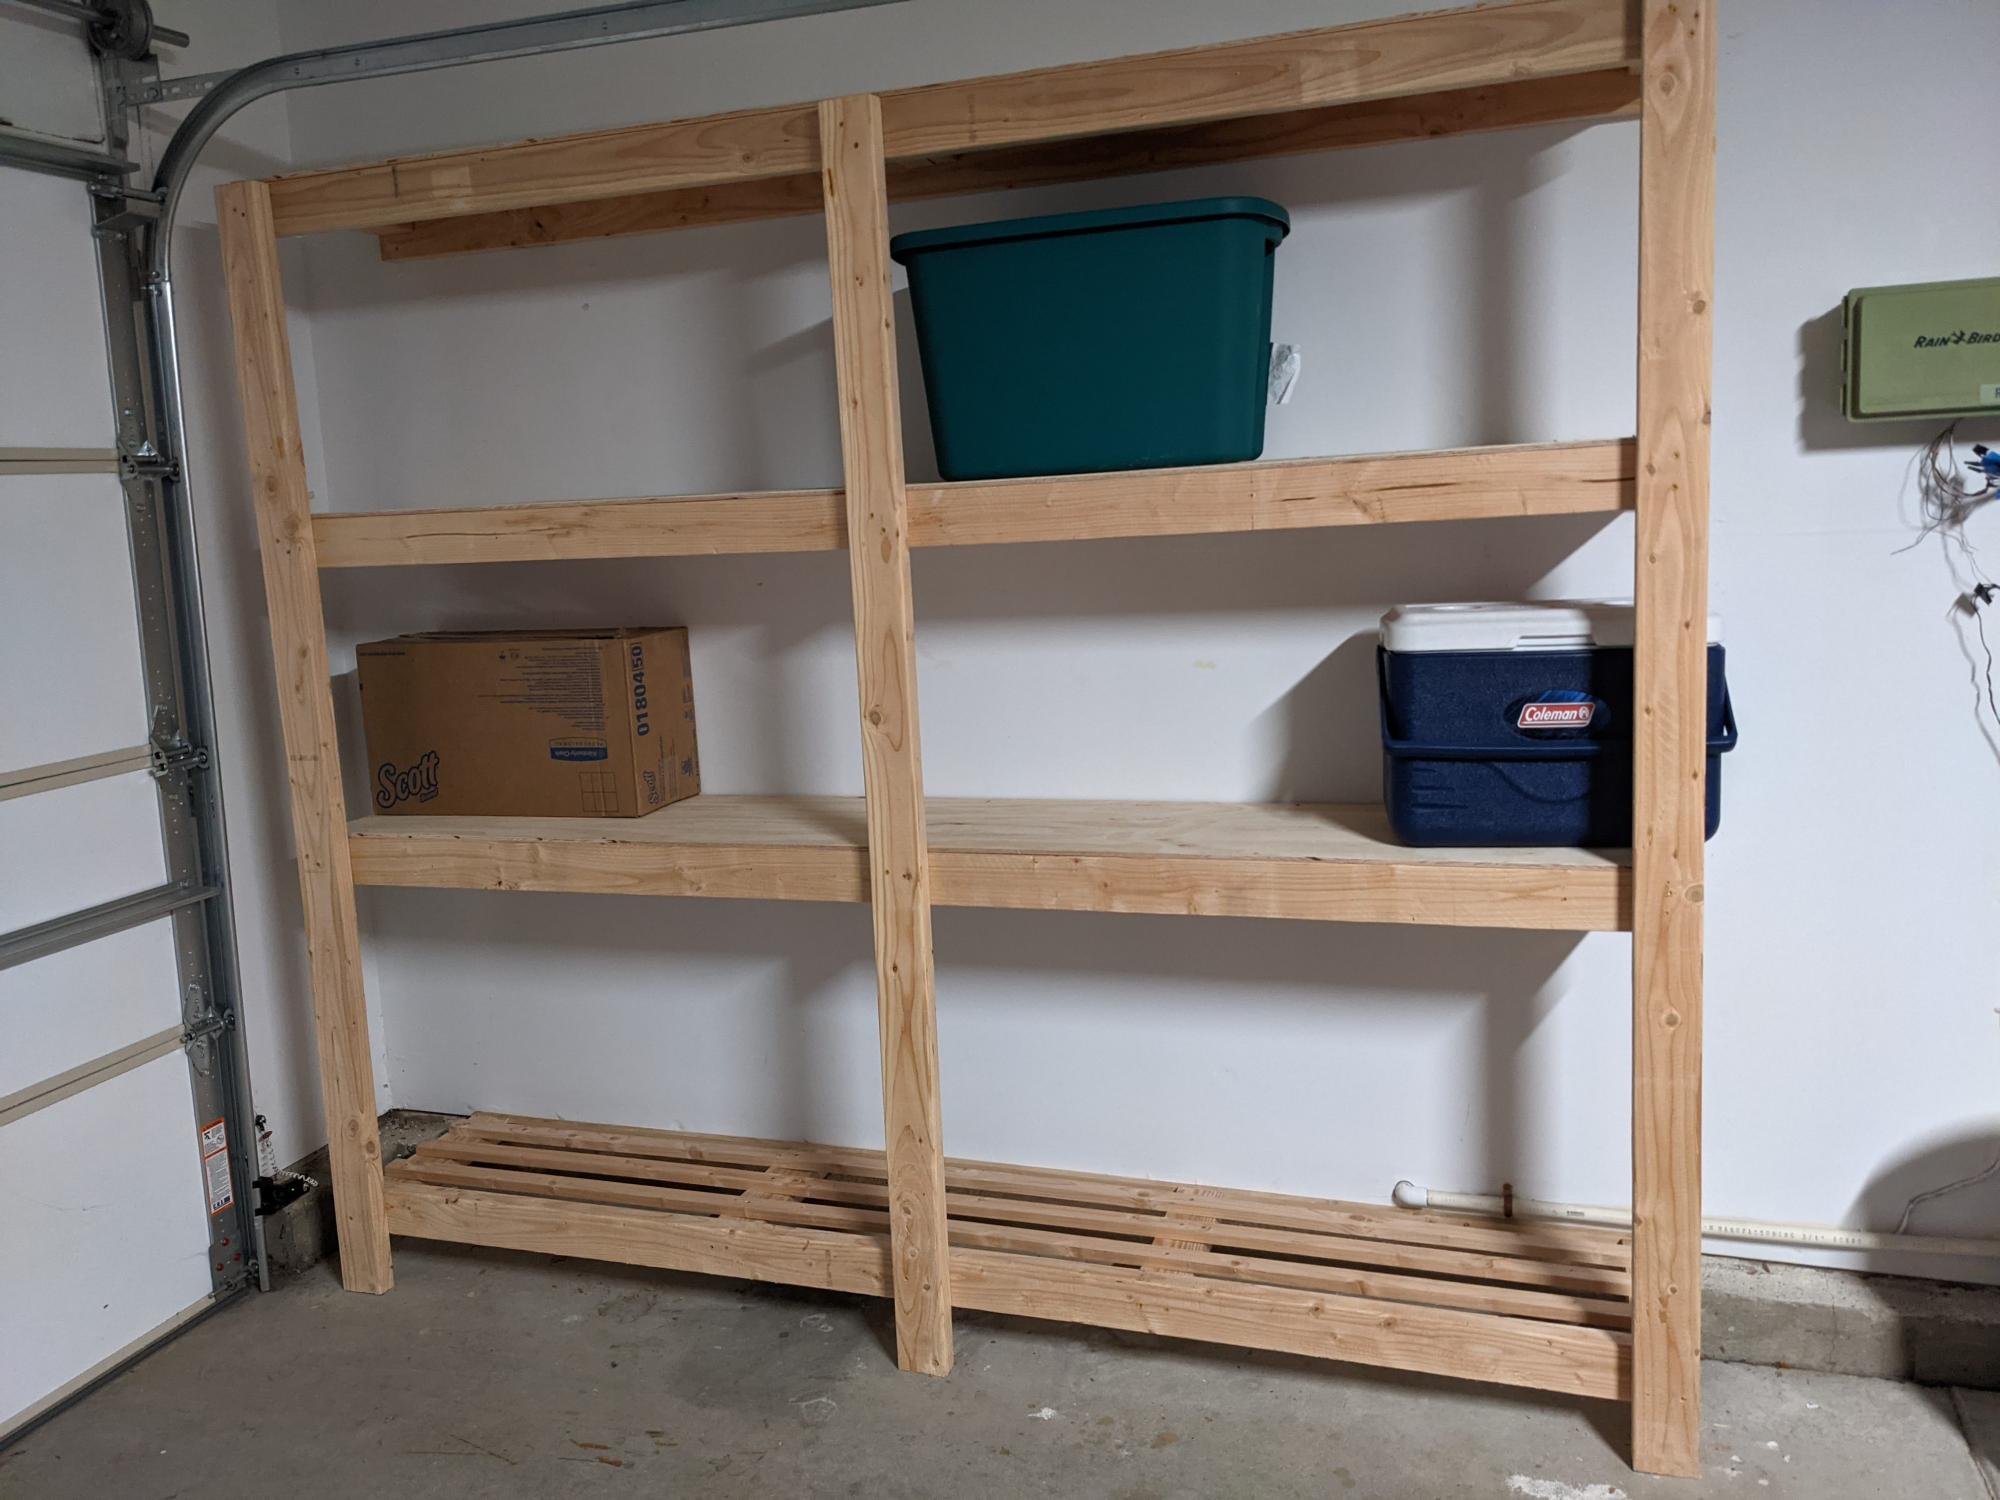
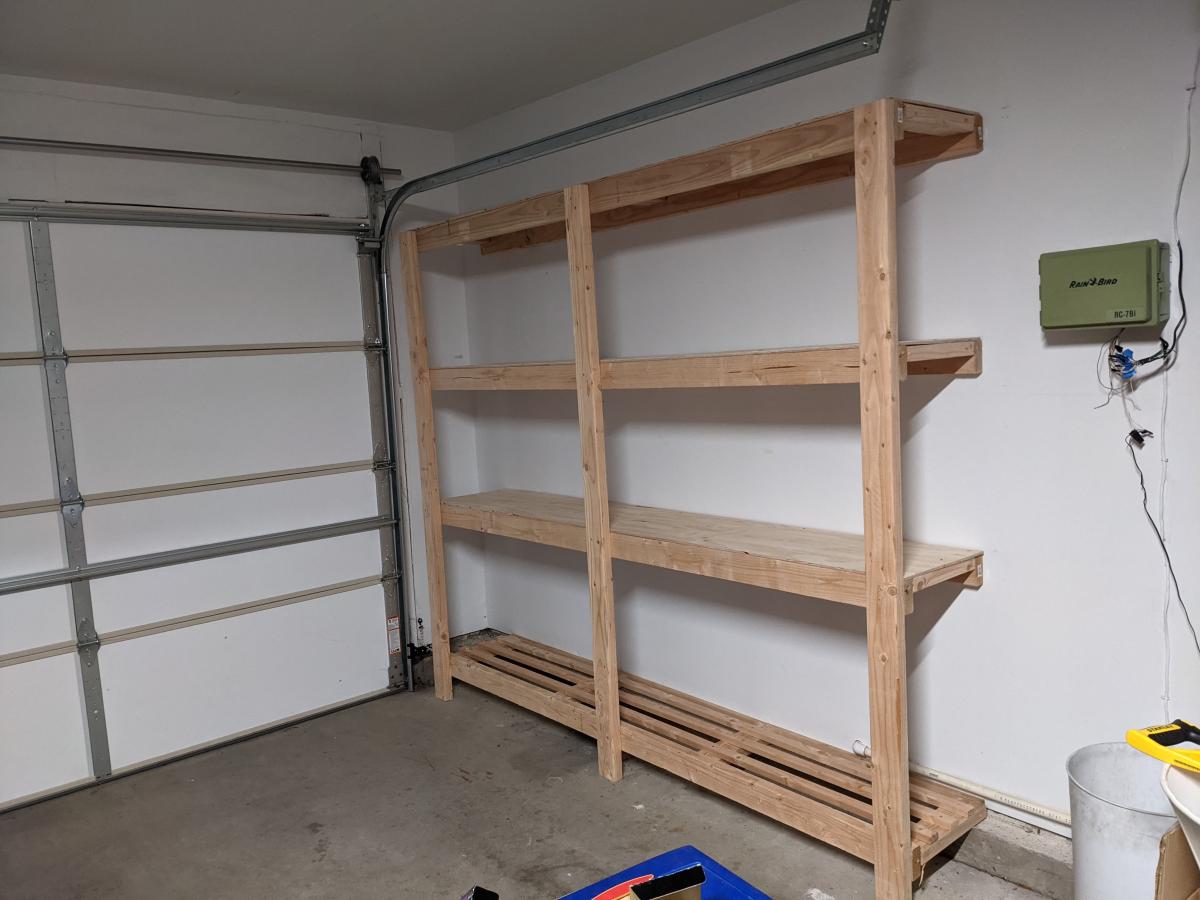
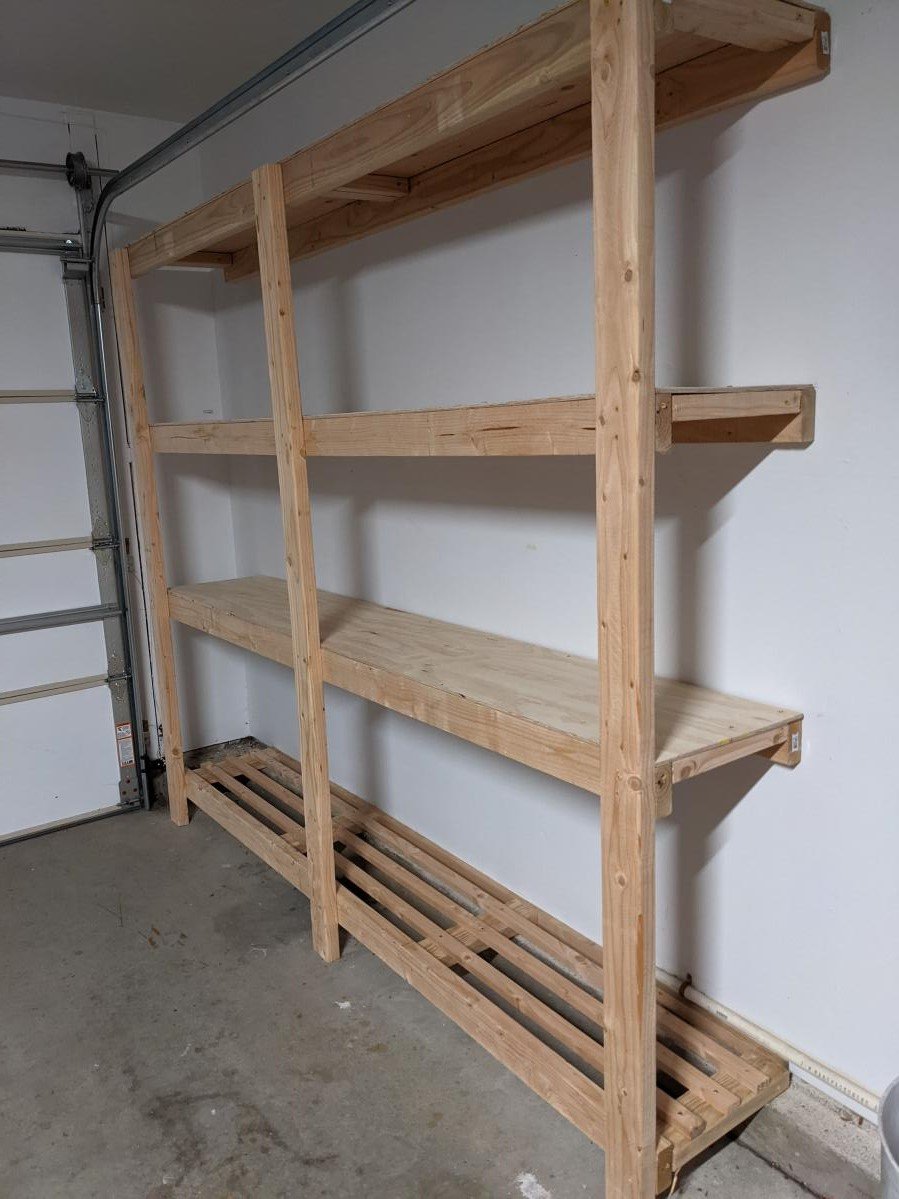
I just made this shelf using 2x4s 8 ft long wood. It is very strong and looks great. My garage size required the shelf to be max 16 in deep, so I used a 1 plywood sheet divided by 3 equal parts for the upper 3 shelfs. Since I made a 4th shelf, I used 3 1x2s for the 4th bottom shelf instead of a new plywood sheet and avoided having extra 2/3 of the sheet around and also saved like 30$ since the 2x1s were only 2$ea. That touch makes it look a bit stylish too so a win win. If you do that, here's a tip: use the outer 2x4s as rails - make sure that the cleats on the lower shelf are placed a bit lower ~ 1in. In such way, you can place the three 1x2 rails at the same level as the outer 2x4s and this you end up having 5 rails total in the shelf. Do use the wooden screws with star head if you can, they were muuuuuch easier to use compared with the regular ones. Note, this shelf is very strong, probably too strong for my needs. For a 8ft long, and my storage needs (camping, Christmas stuff, other lighter things), I'd probably use 2x2s instead of 2x4s. That would save costs, specially since wood isn't cheap these days( I spent ~$150 in materials Jan 2022).

Comments

Cedar Garden Shed

We needed a way to get all of the lawn & garden stuff out of our garage and organized. I found Ana's plans for the Small Cedar Shed & adjusted them to fit our space. We used 2x4s as our studs & added front walls on the sides. Our shed measures 9.5'x30". We had a concrete slab poured for our foundation. We are experienced DIYer's but had never taken on a project of this scale from scratch. This project was much easier than I was anticipating, and we were able to complete it in one weekend! Similar shed kits were way more expensive and not the size that we were looking for. Thank you so much for the inspiration!

Built from Plan(s)

Comments

Seasonal And Holiday

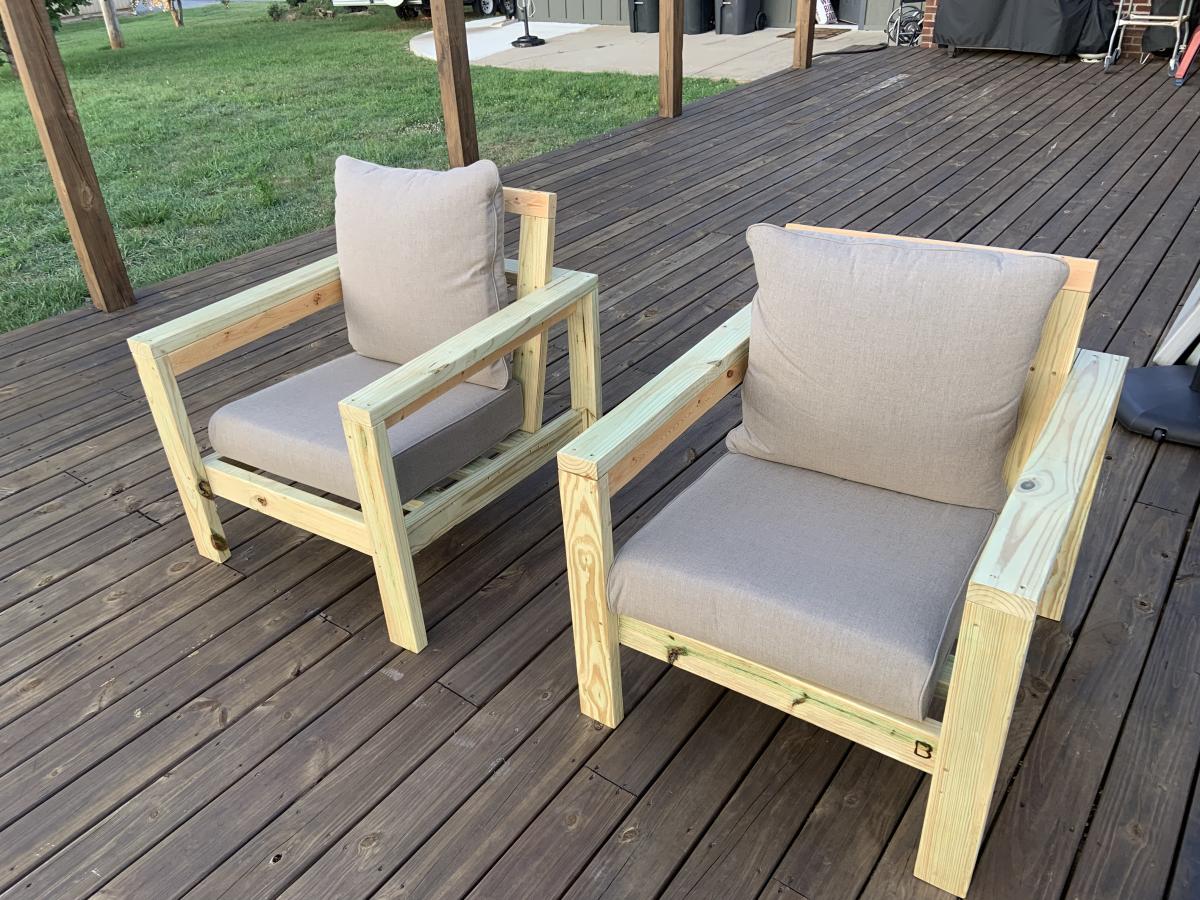
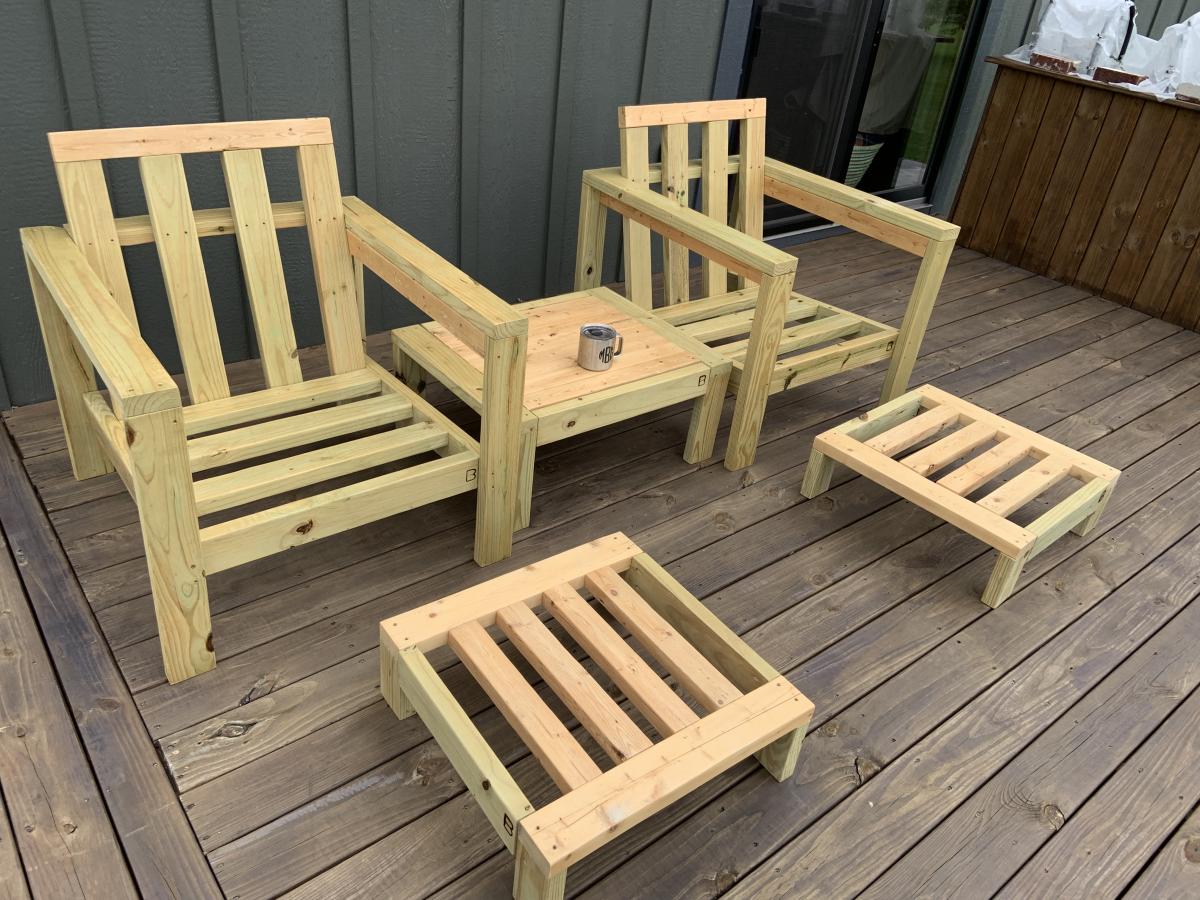
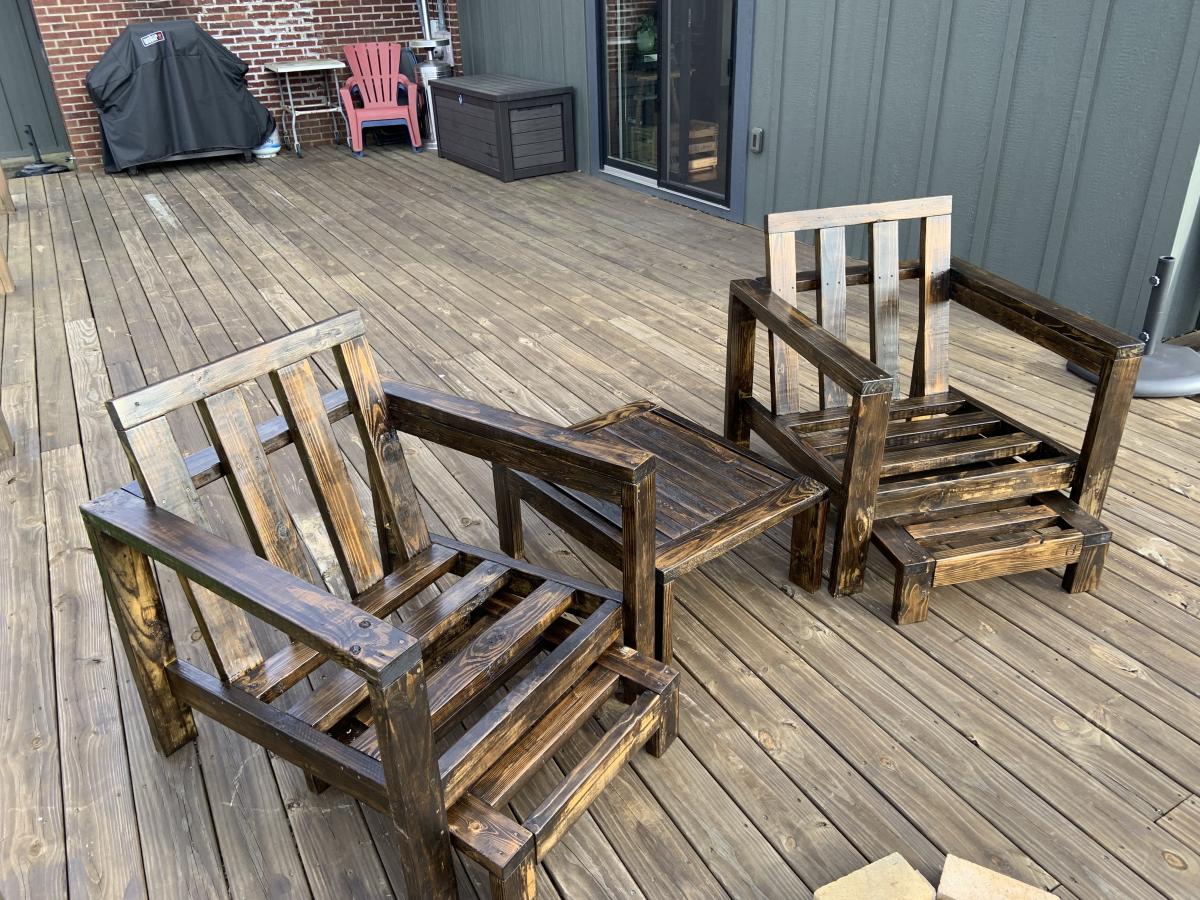
Deck Chairs

Submitted by mgb11184 on Thu, 07/21/2022 - 19:54

I made a couple of additions/modifications

I also made a couple of side tables and foot stools for the chairs. A total of four chairs, two tables and two foot stools for the deck set.

Comments

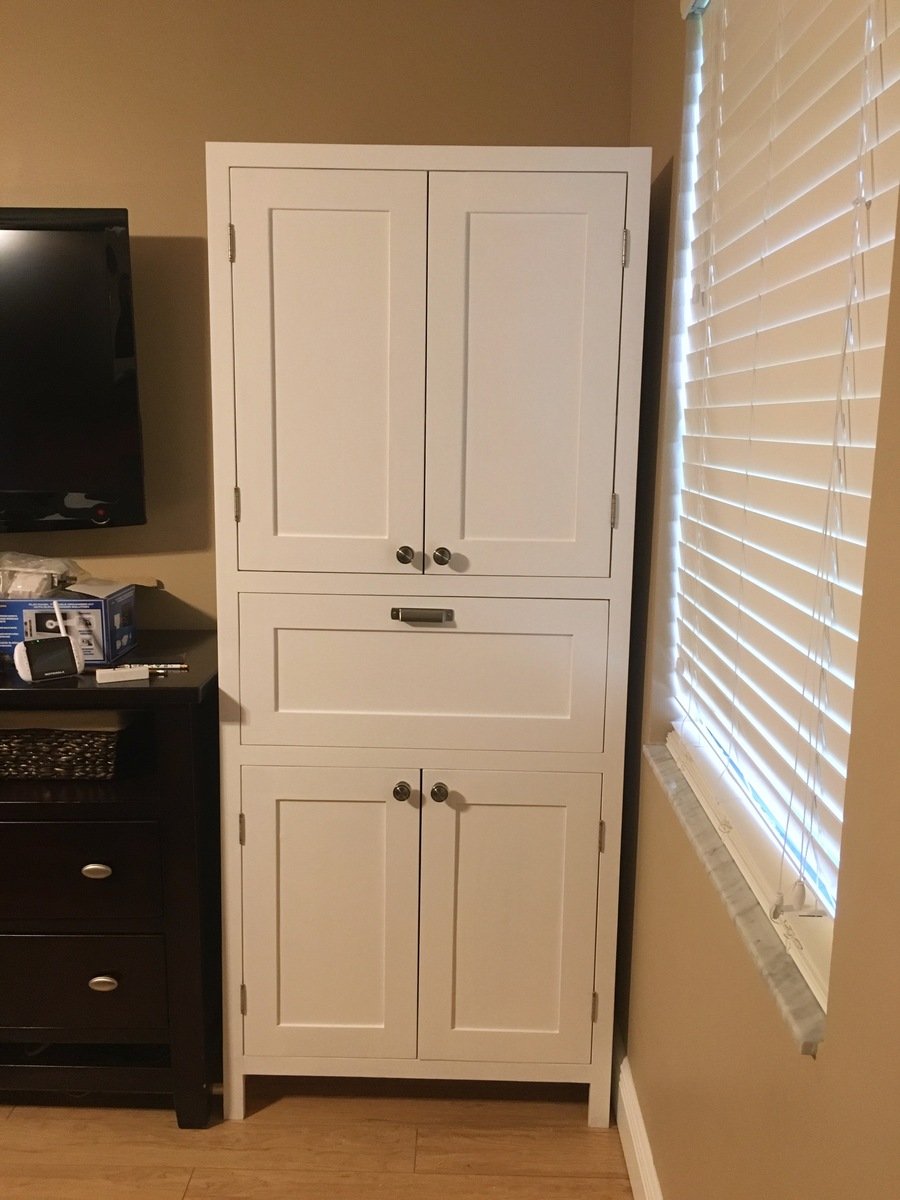
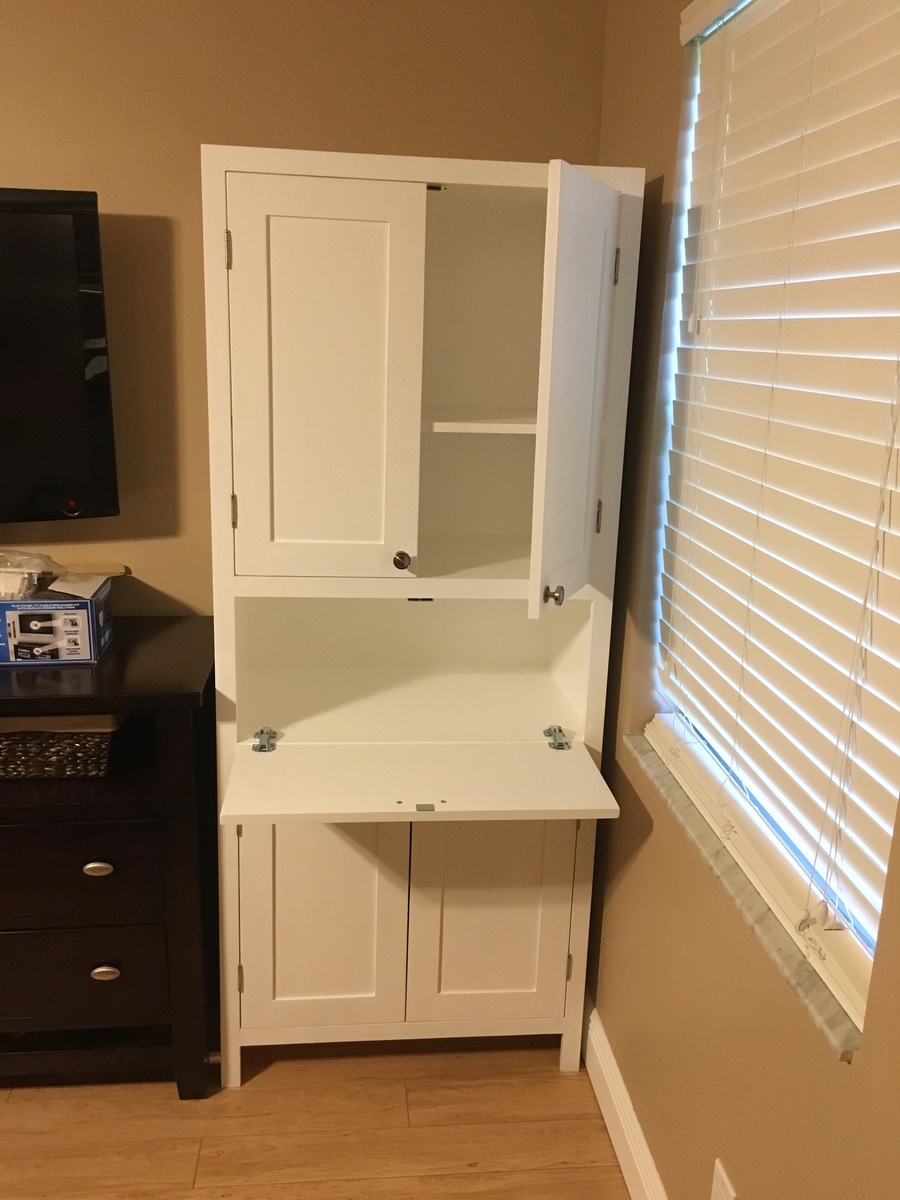
Secretary/Storage cabinet

Submitted by Kirch3333 on Mon, 11/02/2015 - 05:39

Inspired by the Tall Secretary with mail slots but with my own twist/needs incorporated in it. Finished with pure white satin paint.

Estimated Cost
$150
Estimated Time Investment
Week Long Project (20 Hours or More)
Finish Used
Pure white Behr satin enamel paint, finished with Varathane Matte Soft Touch Polyurethane
Recommended Skill Level
Intermediate

2x4 outdoor cedar couch with ottoman

Submitted by Anonymous (not verified) on Thu, 05/04/2023 - 11:51

I used pocket holes to hide the screws. I made an ottoman out of the outdoor coffee table plans to my dimensions that can be used as a coffee table when we need it.

Comments

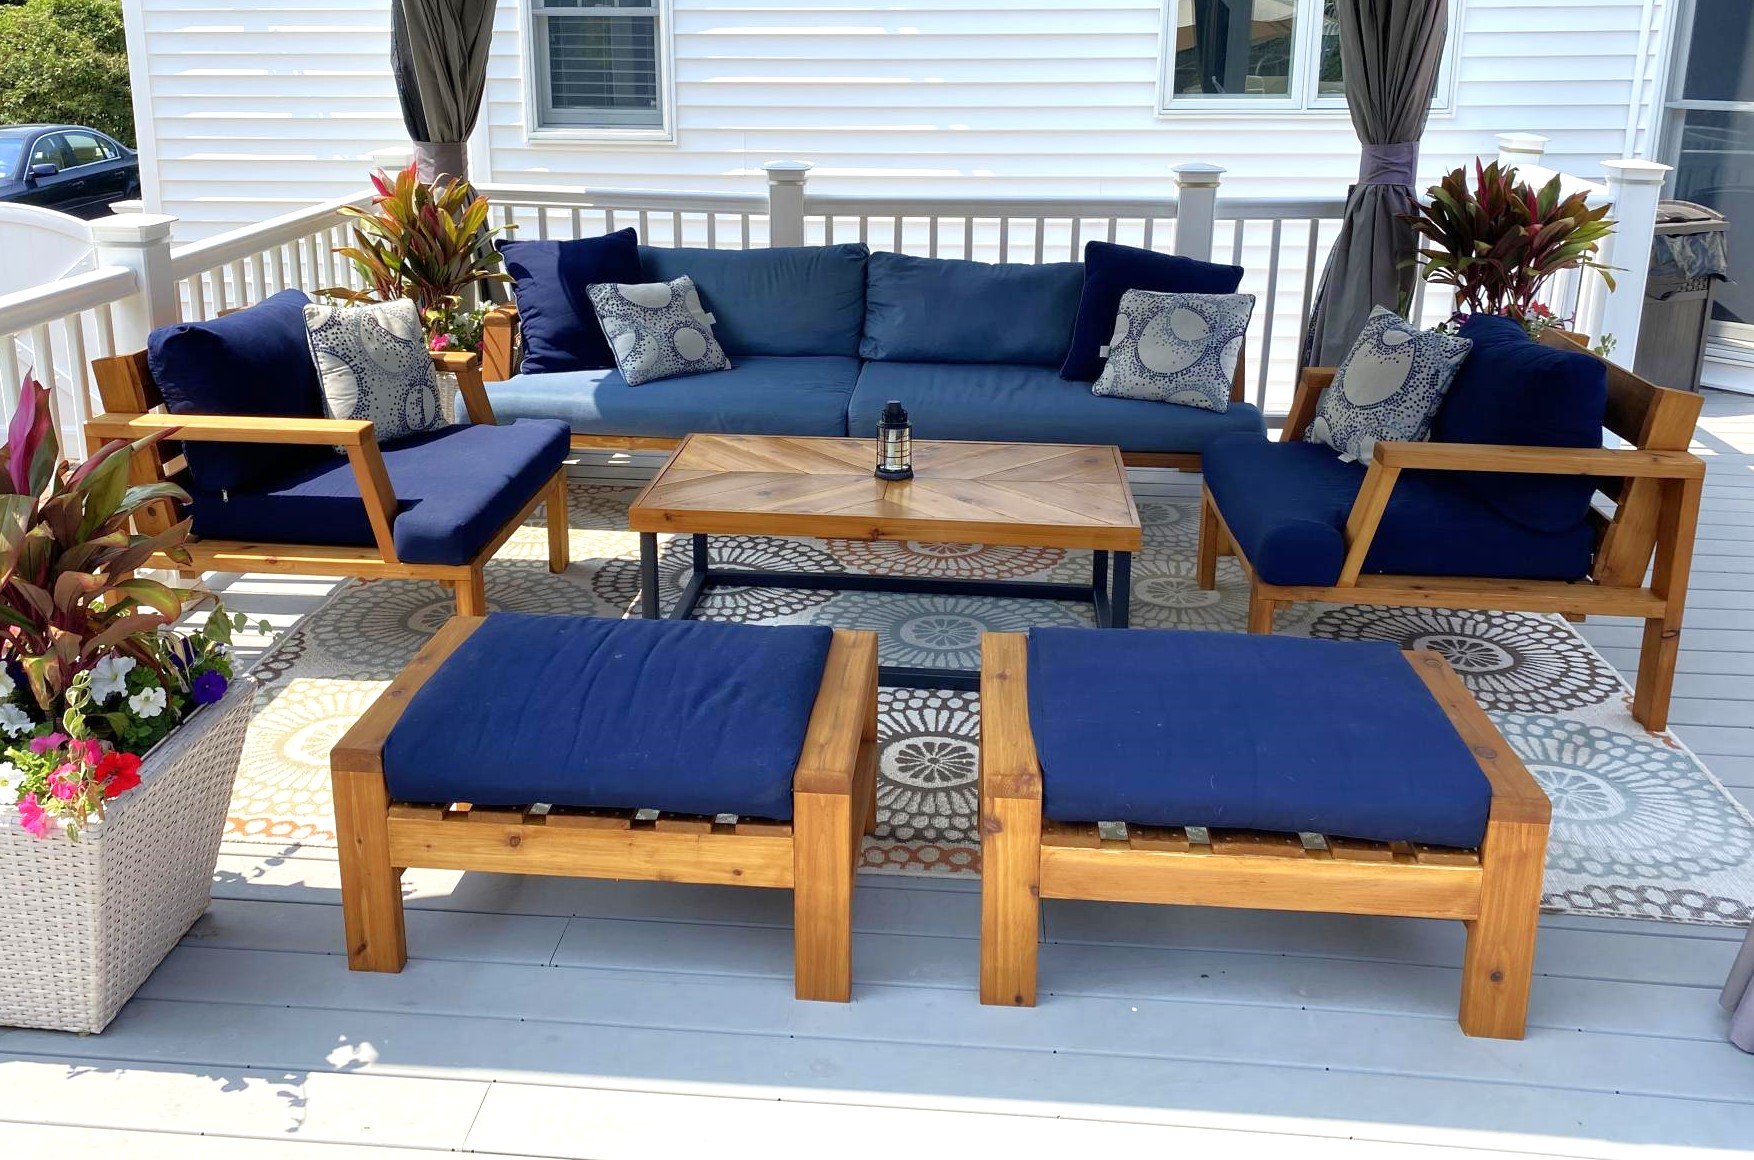
Outdoor Patio Furniture

Submitted by Anonymous (not verified) on Tue, 06/20/2023 - 09:32

Our outdoor furniture from Costco was falling apart but the cushions were still in great shape so I decided to design the furniture around the existing cushion dimensions. I used all Cedar wood and stained it with Australian Timber Oil Honey Teak stain. The table design was from a picture I saw on another site.

Comments

Seasonal And Holiday

Pool Steps & Safety Gate

Needed a safety gate and steps to get into the pool. Even provided shelter for the pump and filter.

Estimated Cost
$100
Estimated Time Investment
Day Project (6-9 Hours)
Finish Used
None
Recommended Skill Level
Beginner

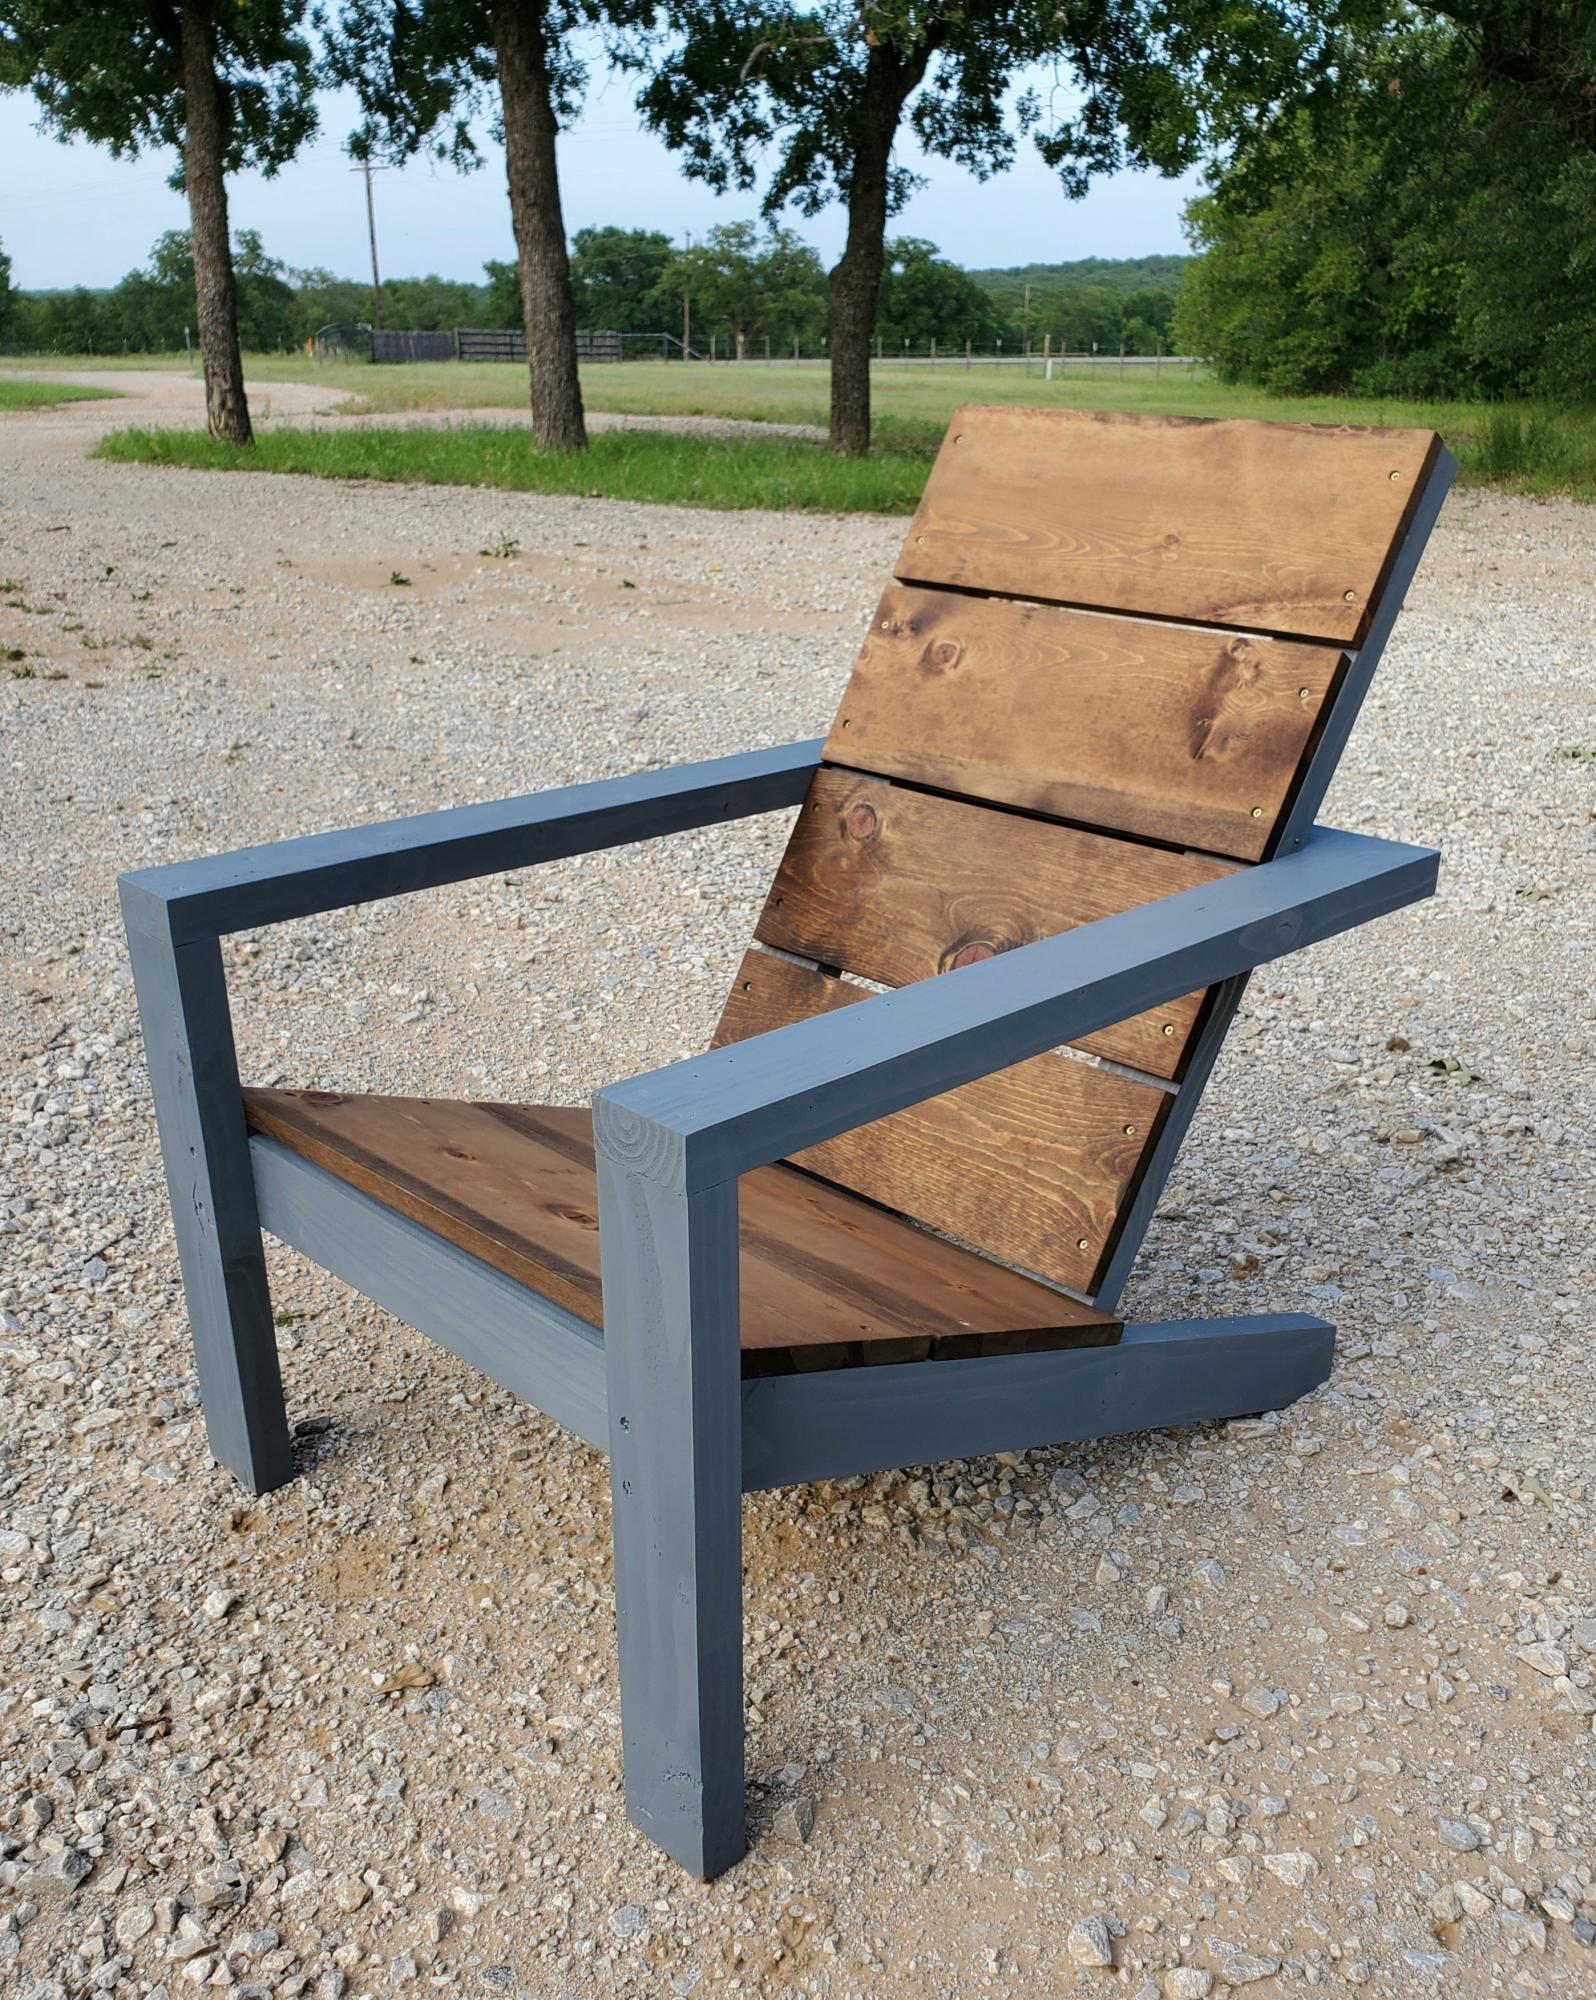
Essential Adirondack chair

Submitted by str1523 on Mon, 05/25/2020 - 10:23

Like this chair! Changed the 3 1x10's on the back to 4 1x8's ripped down to 6 ¹⁵/¹⁶

Estimated Cost
40
Estimated Time Investment
An Hour or Two (0-2 Hours)

Comments

Back