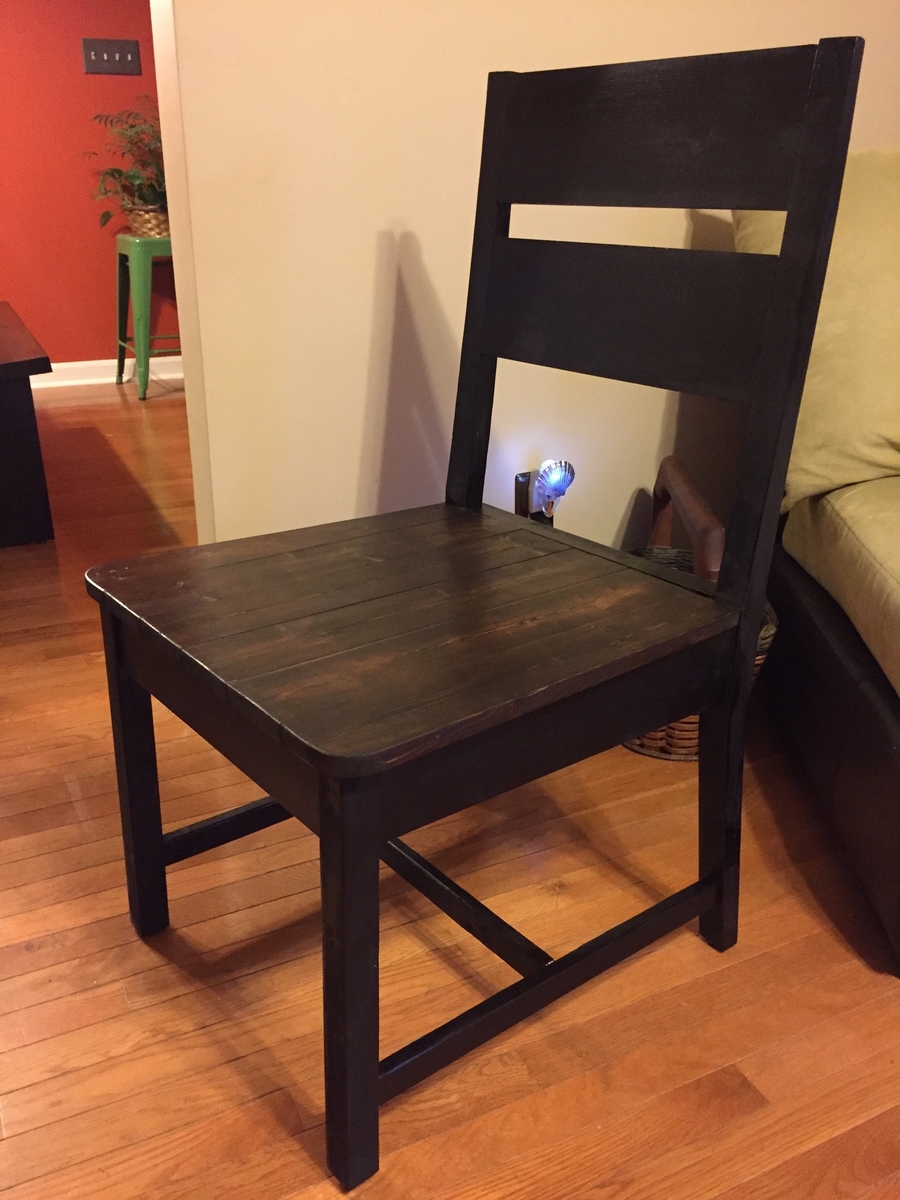
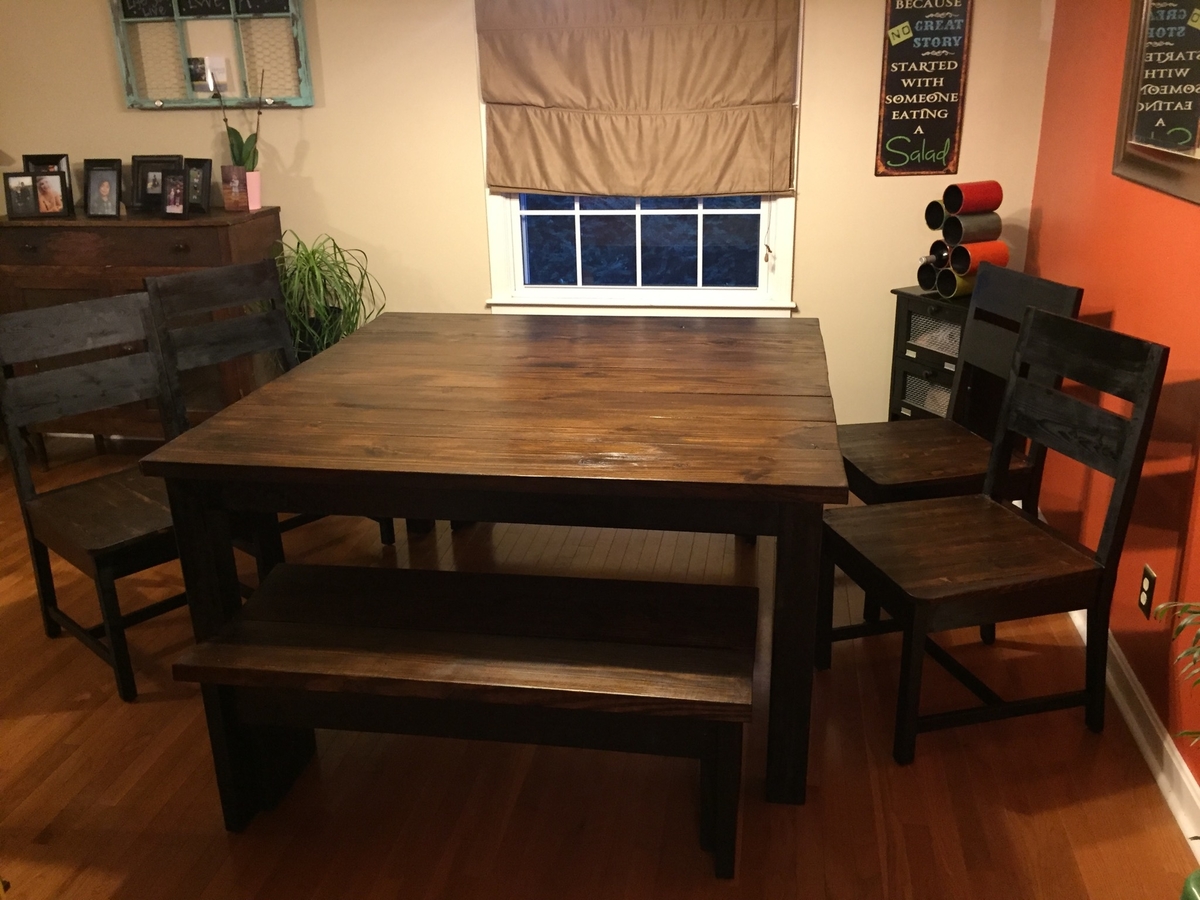
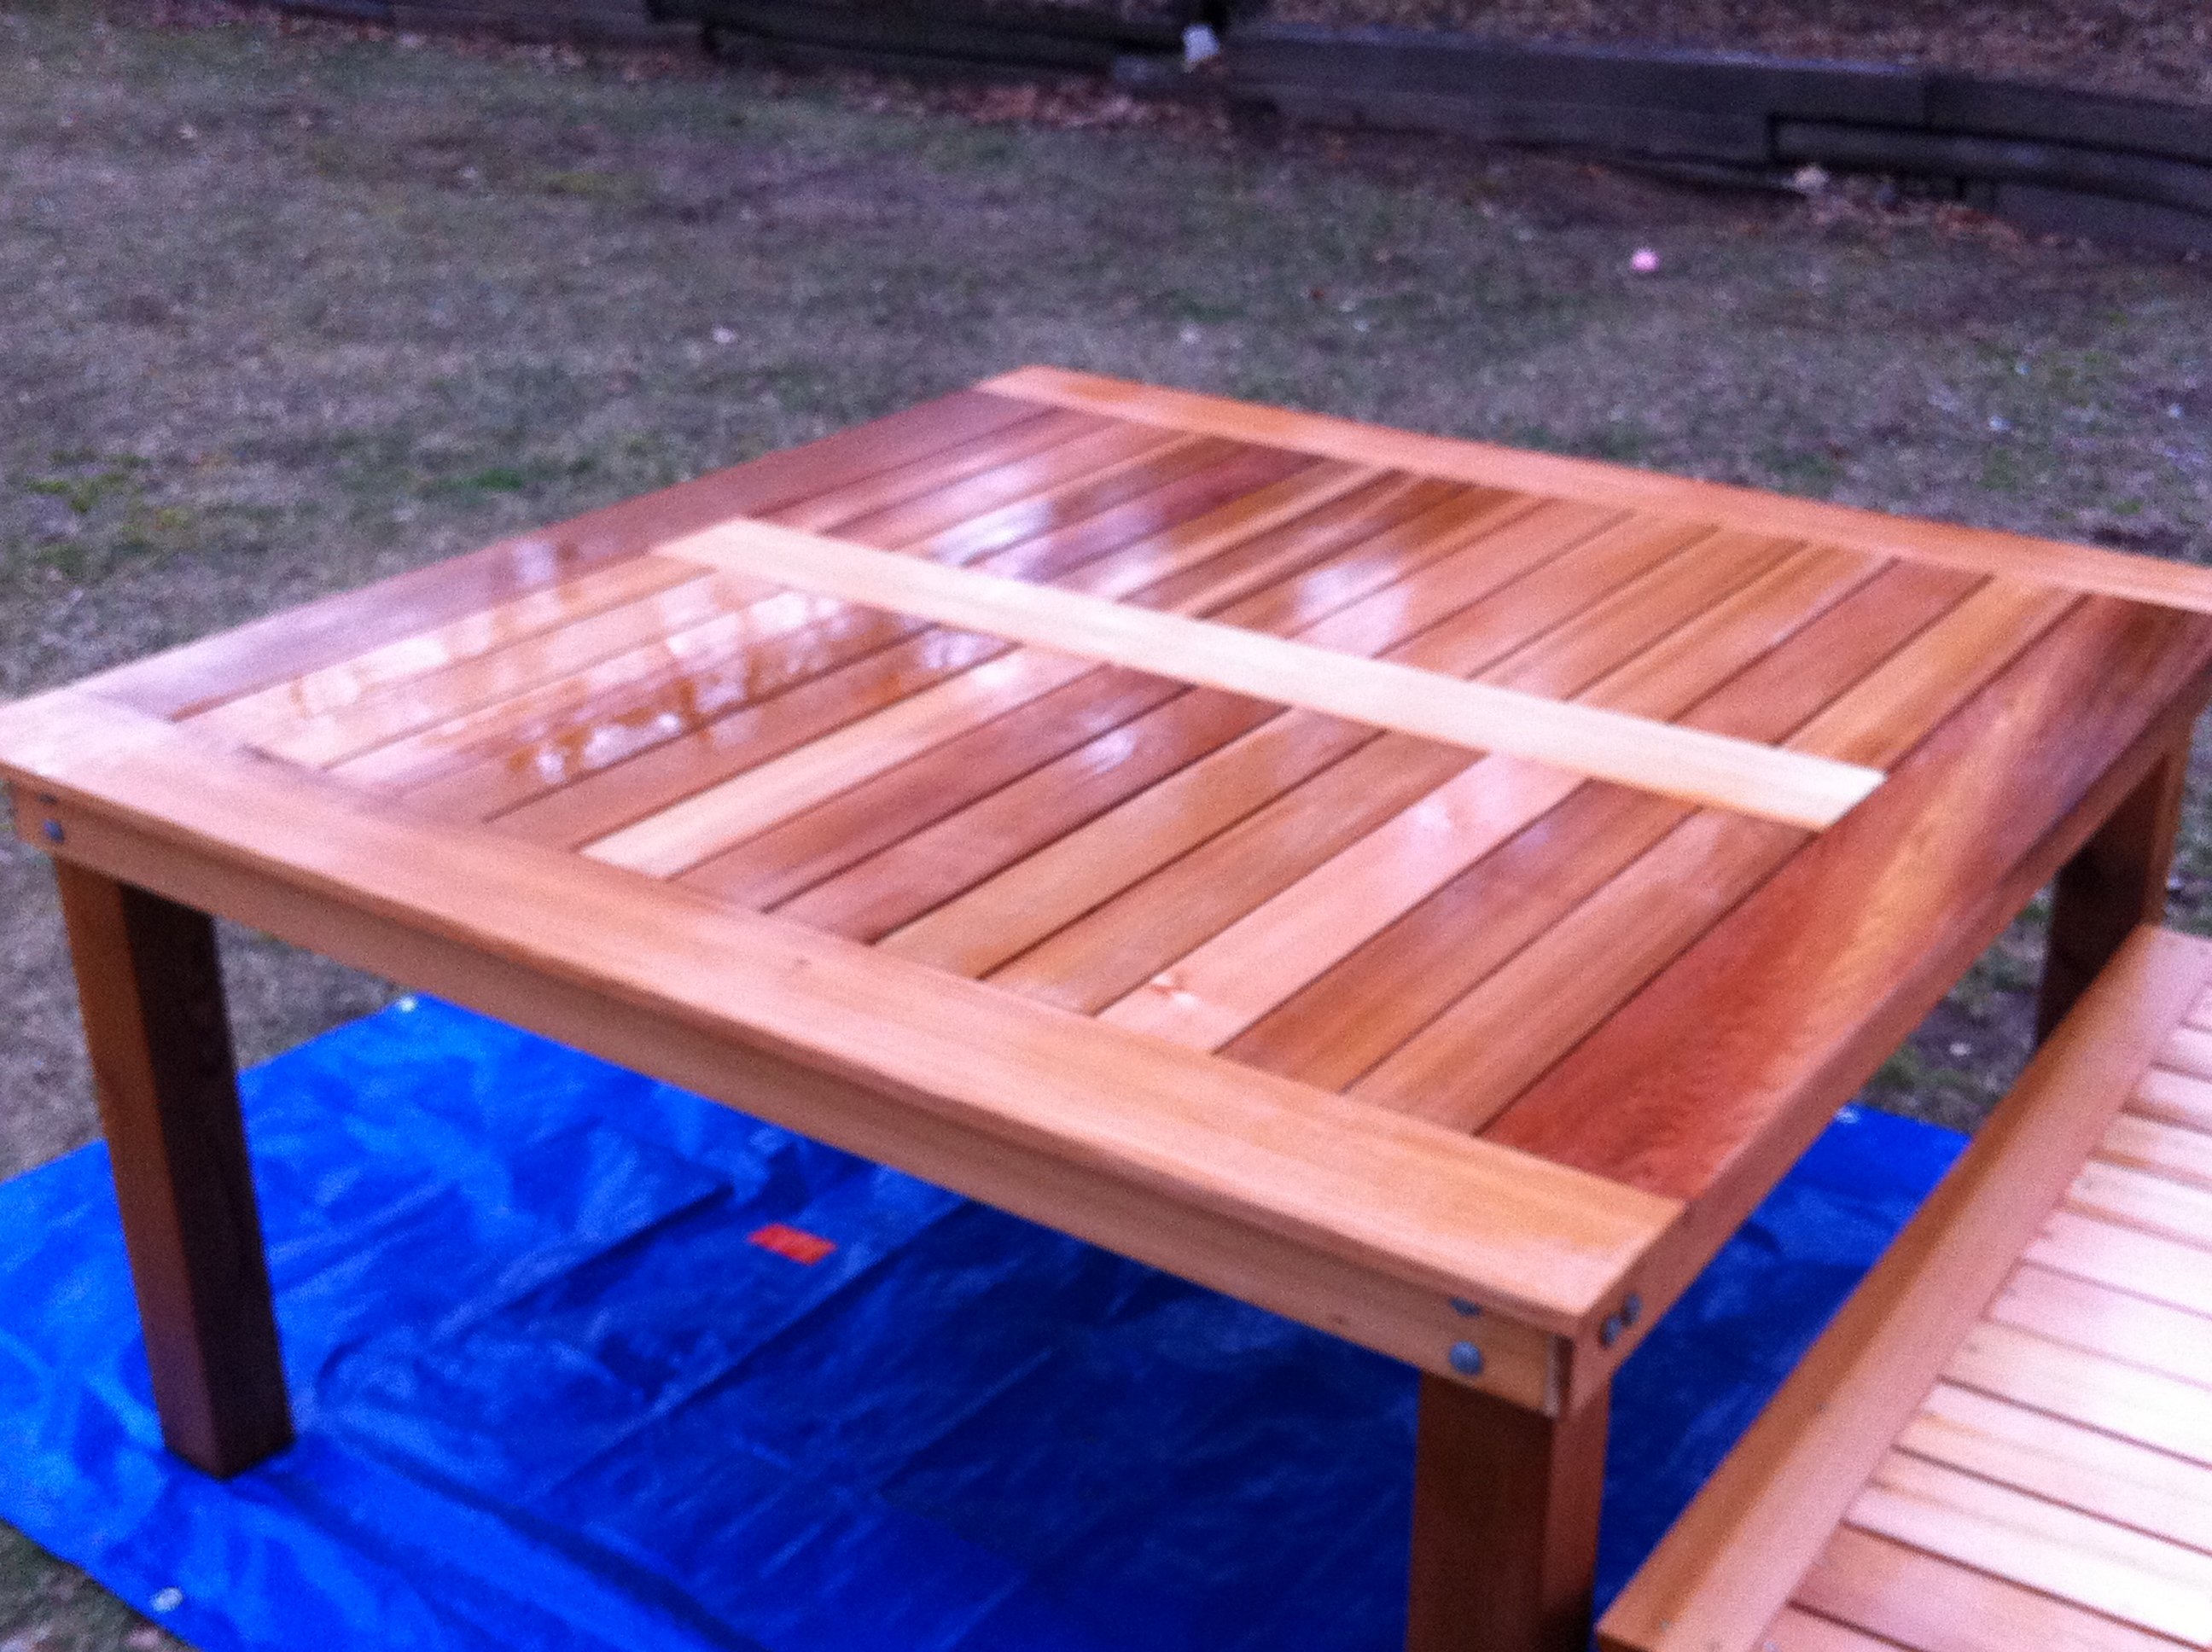
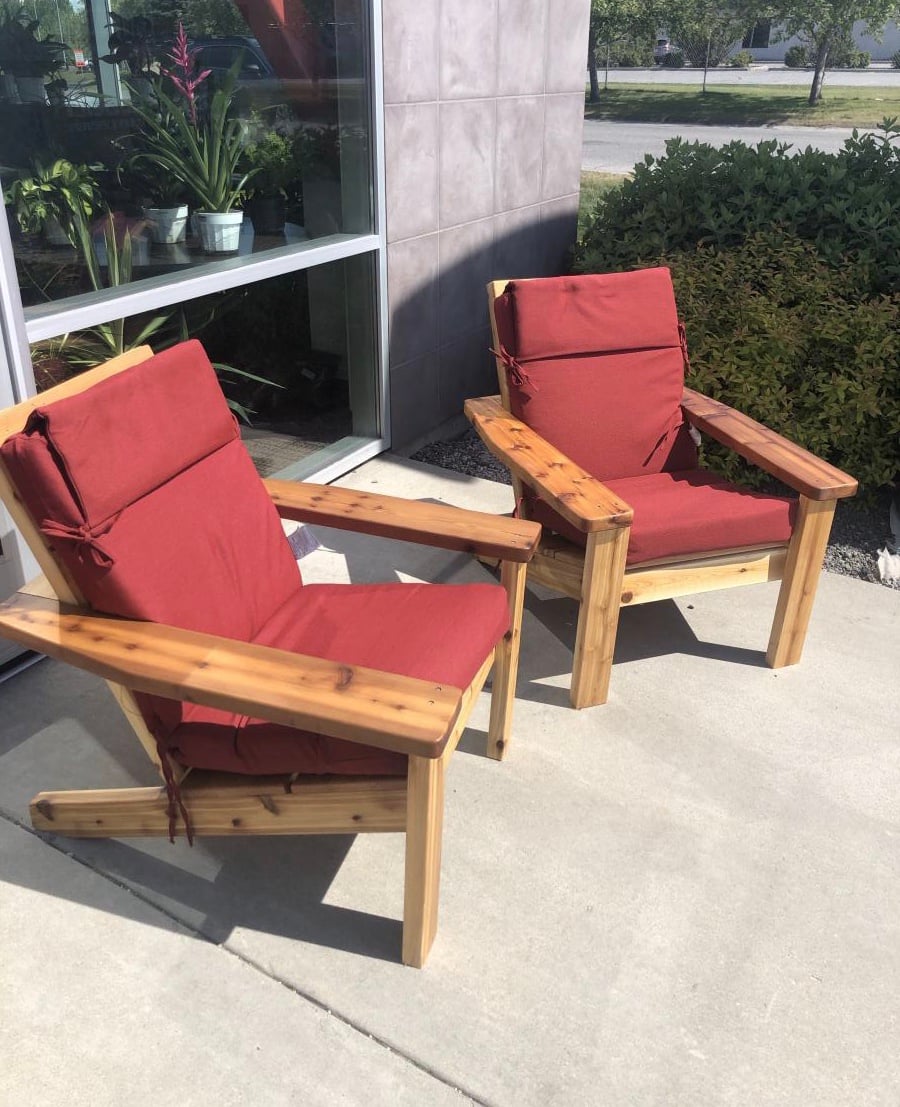
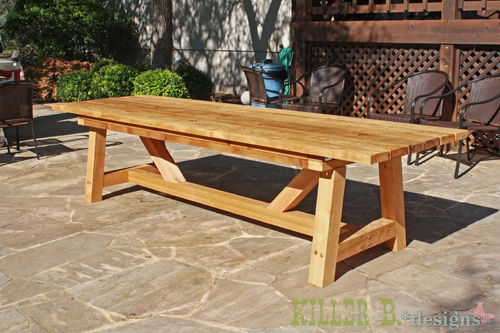
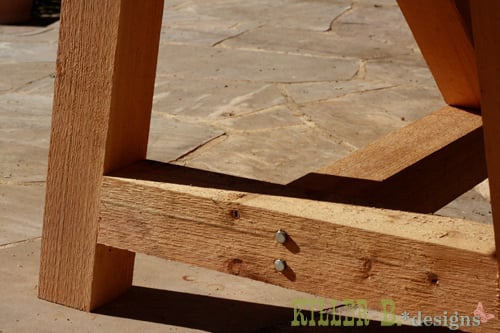
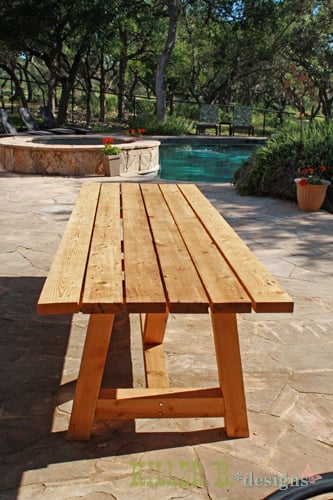
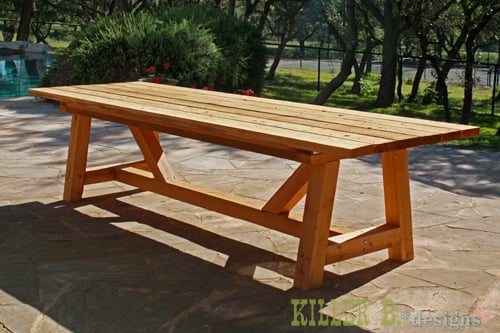
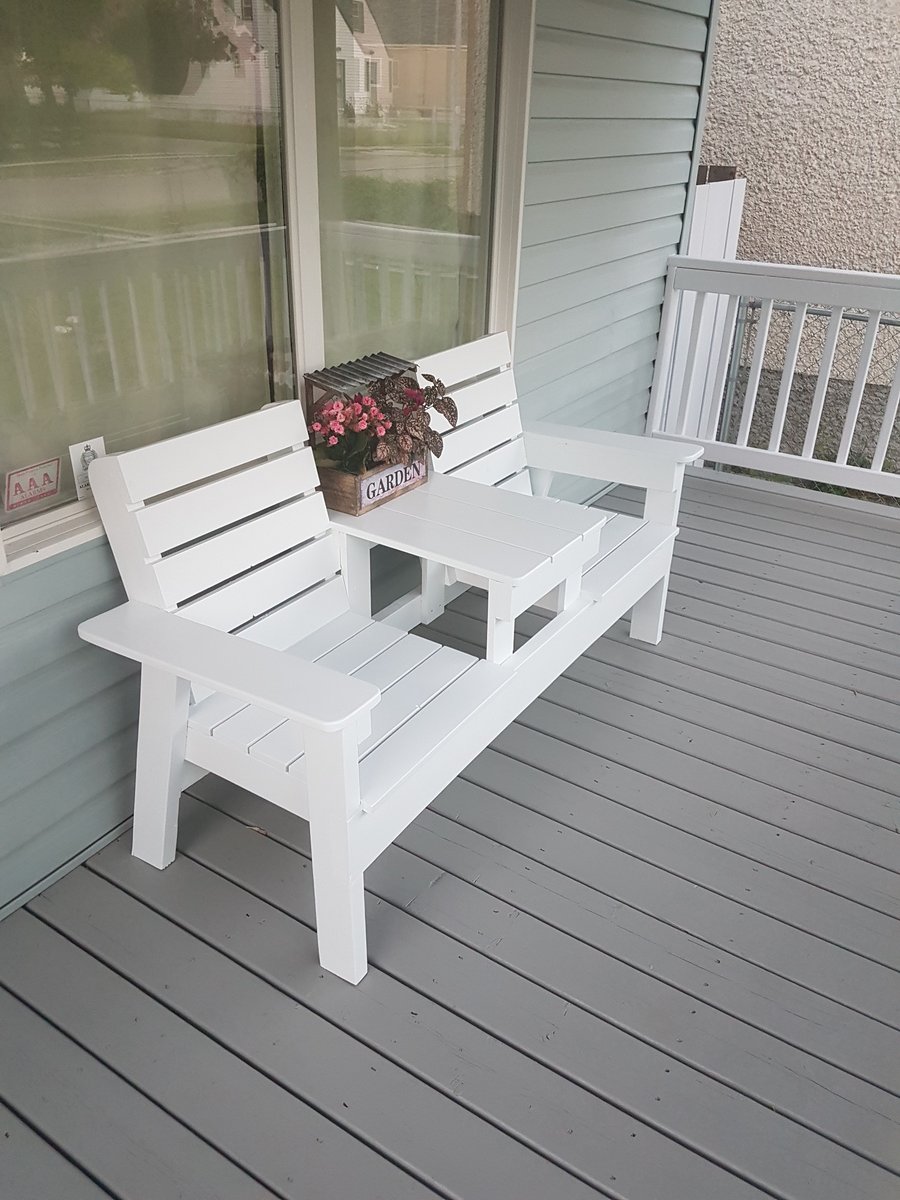
Dining room set (with Classic Chairs made Simple)
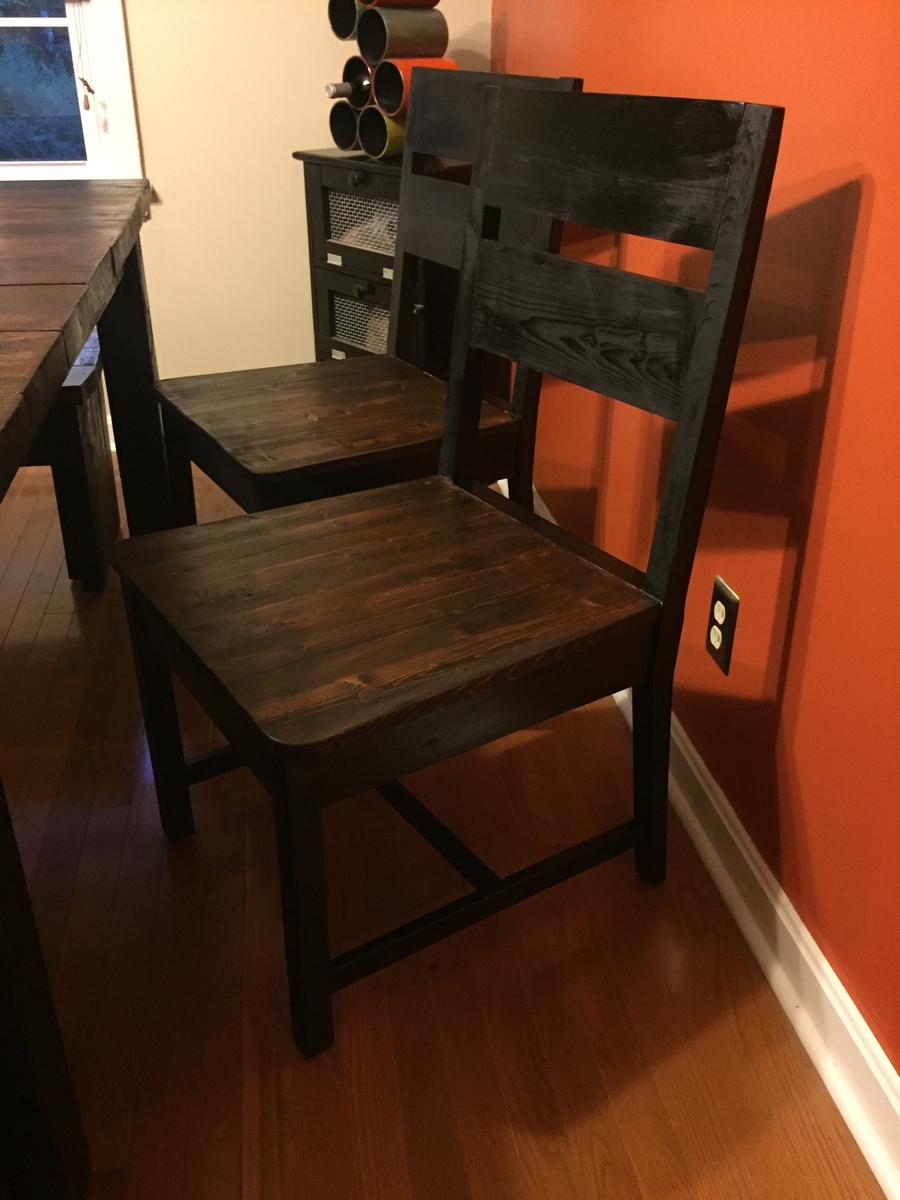
This was my first attempt at making furniture...but it turned out GREAT! My fiance was about to buy a VERY similar dining room set for $1300 before I stopped her and insisted that I could build it myself, finish it to match our kitchen/dining room, and save a TON of money!
Built from Plan(s)
Estimated Cost
$350 total
Estimated Time Investment
Week Long Project (20 Hours or More)
Finish Used
Minwax Expresso Stain plus 2 coats of Minwax Polycrylic on table top and seats
Minwax Classic Black Polyshades on frame
Minwax Classic Black Polyshades on frame
Recommended Skill Level
Beginner


Comments
Ana White Admin
Wed, 03/10/2021 - 09:15
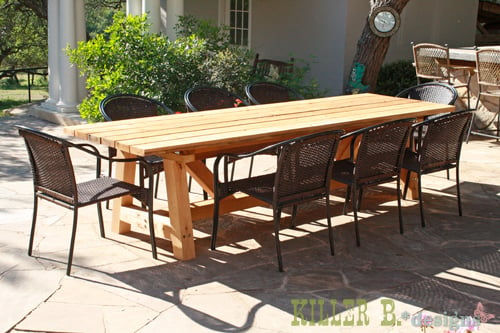
Impressive!
Fabulous job, looks better than anything you could have bought!