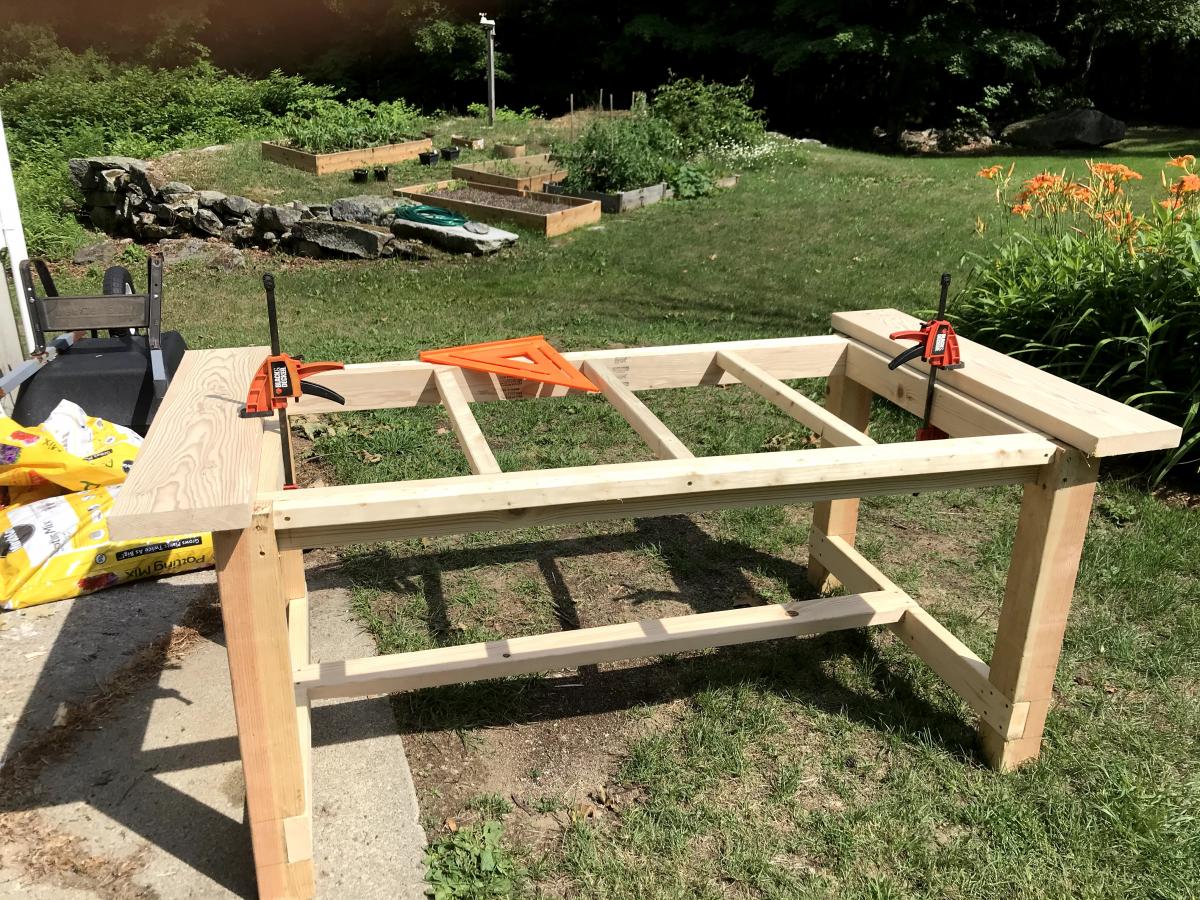
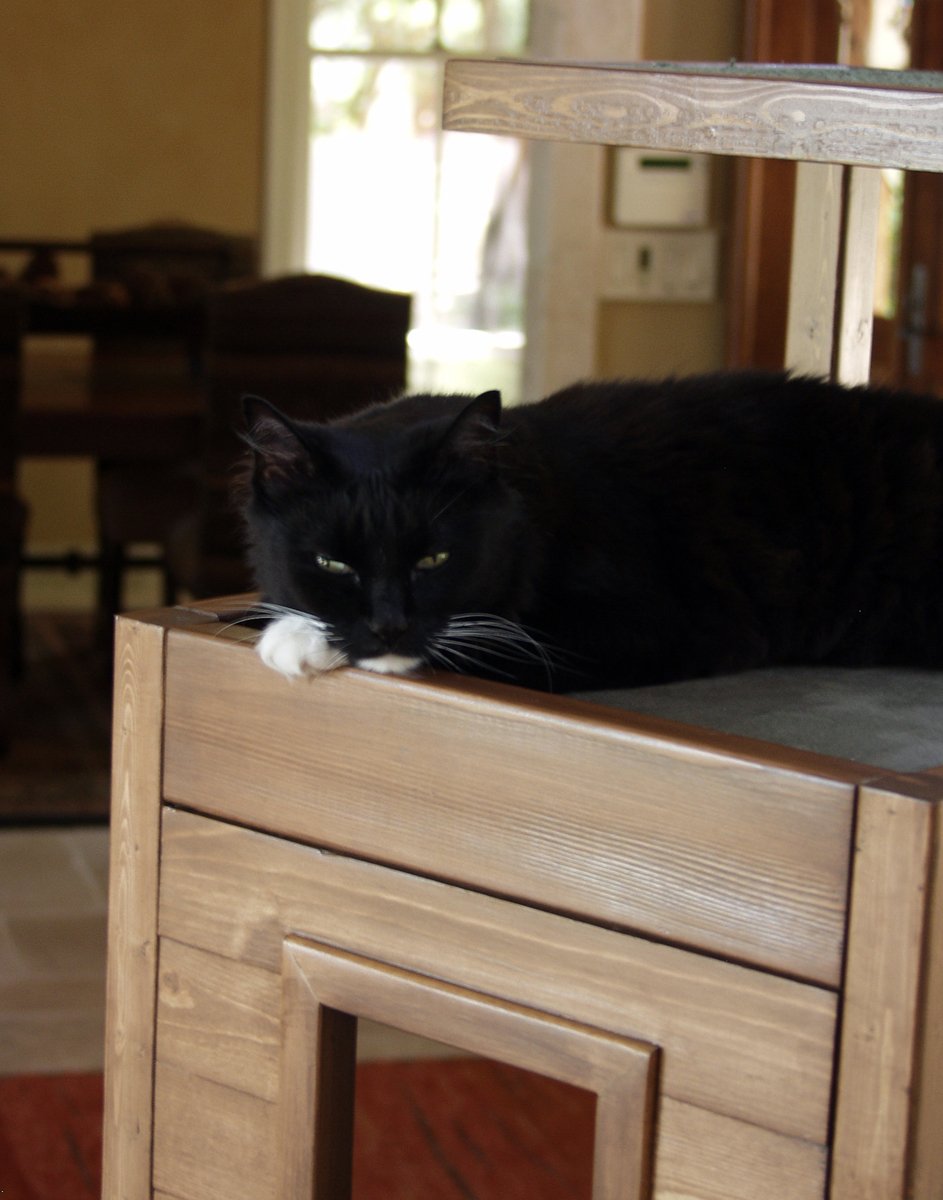
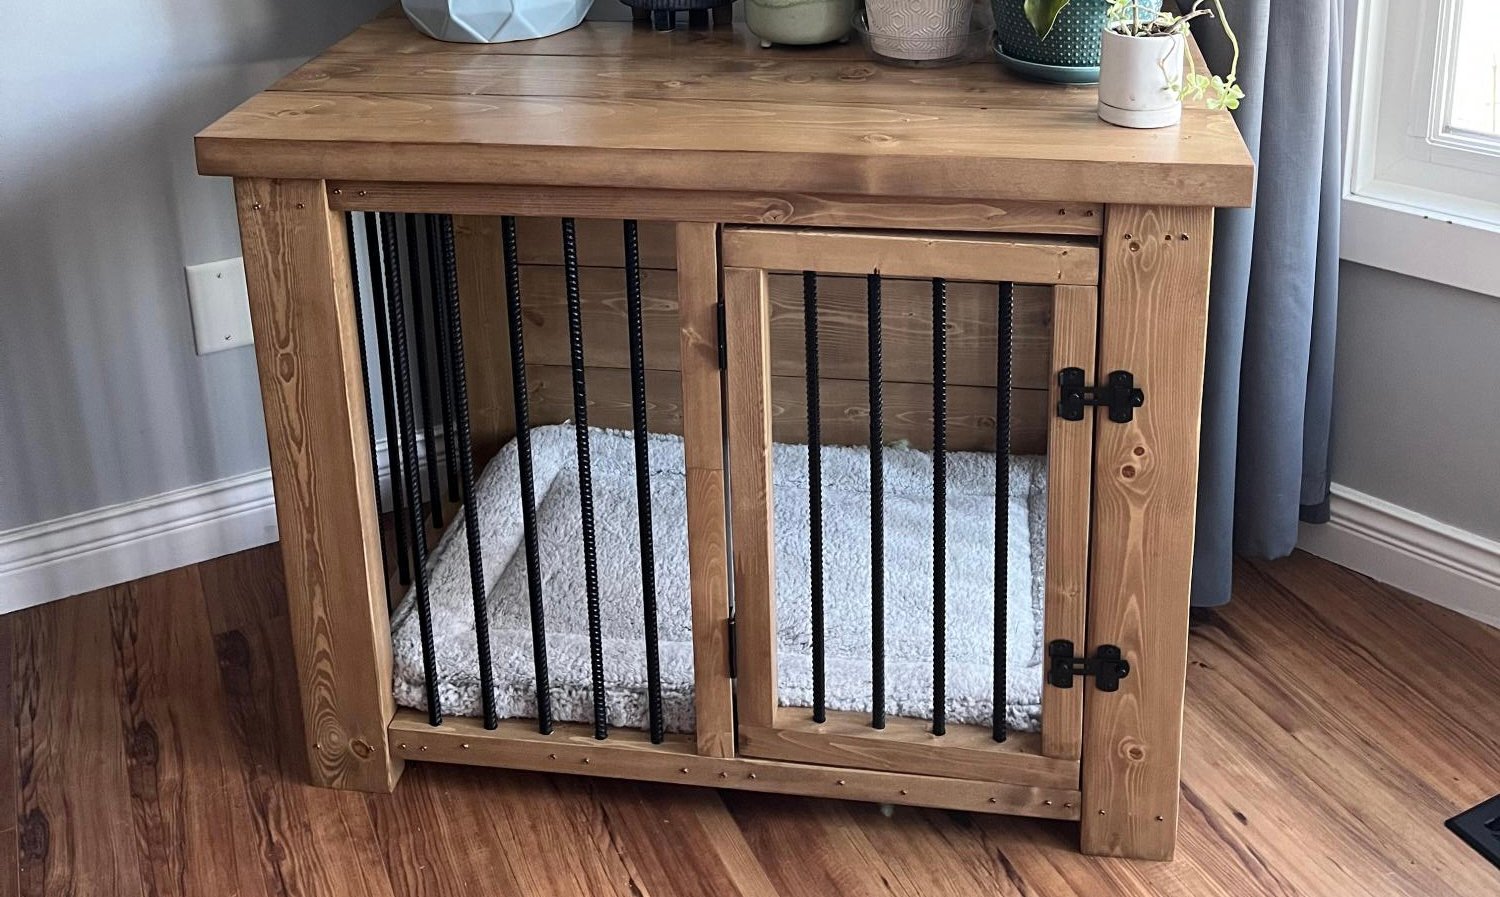
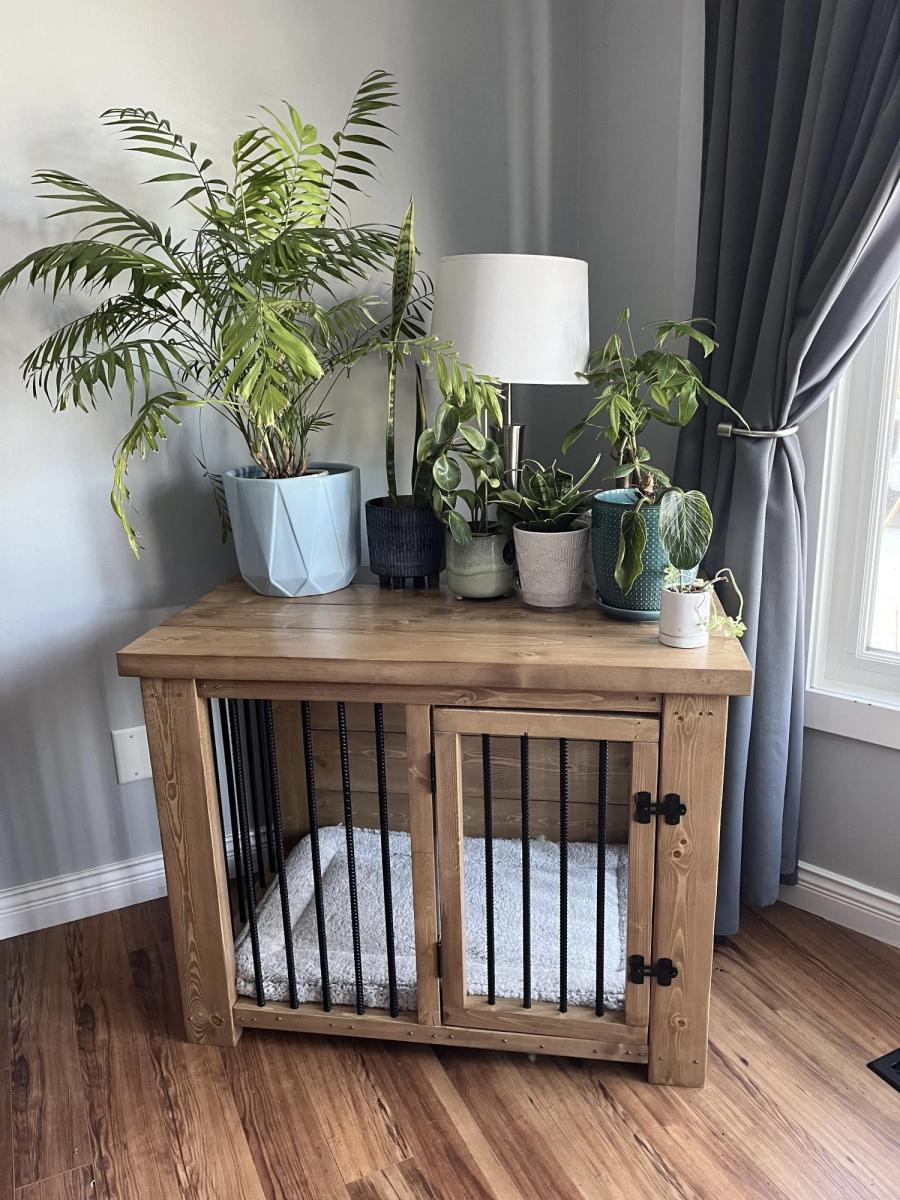
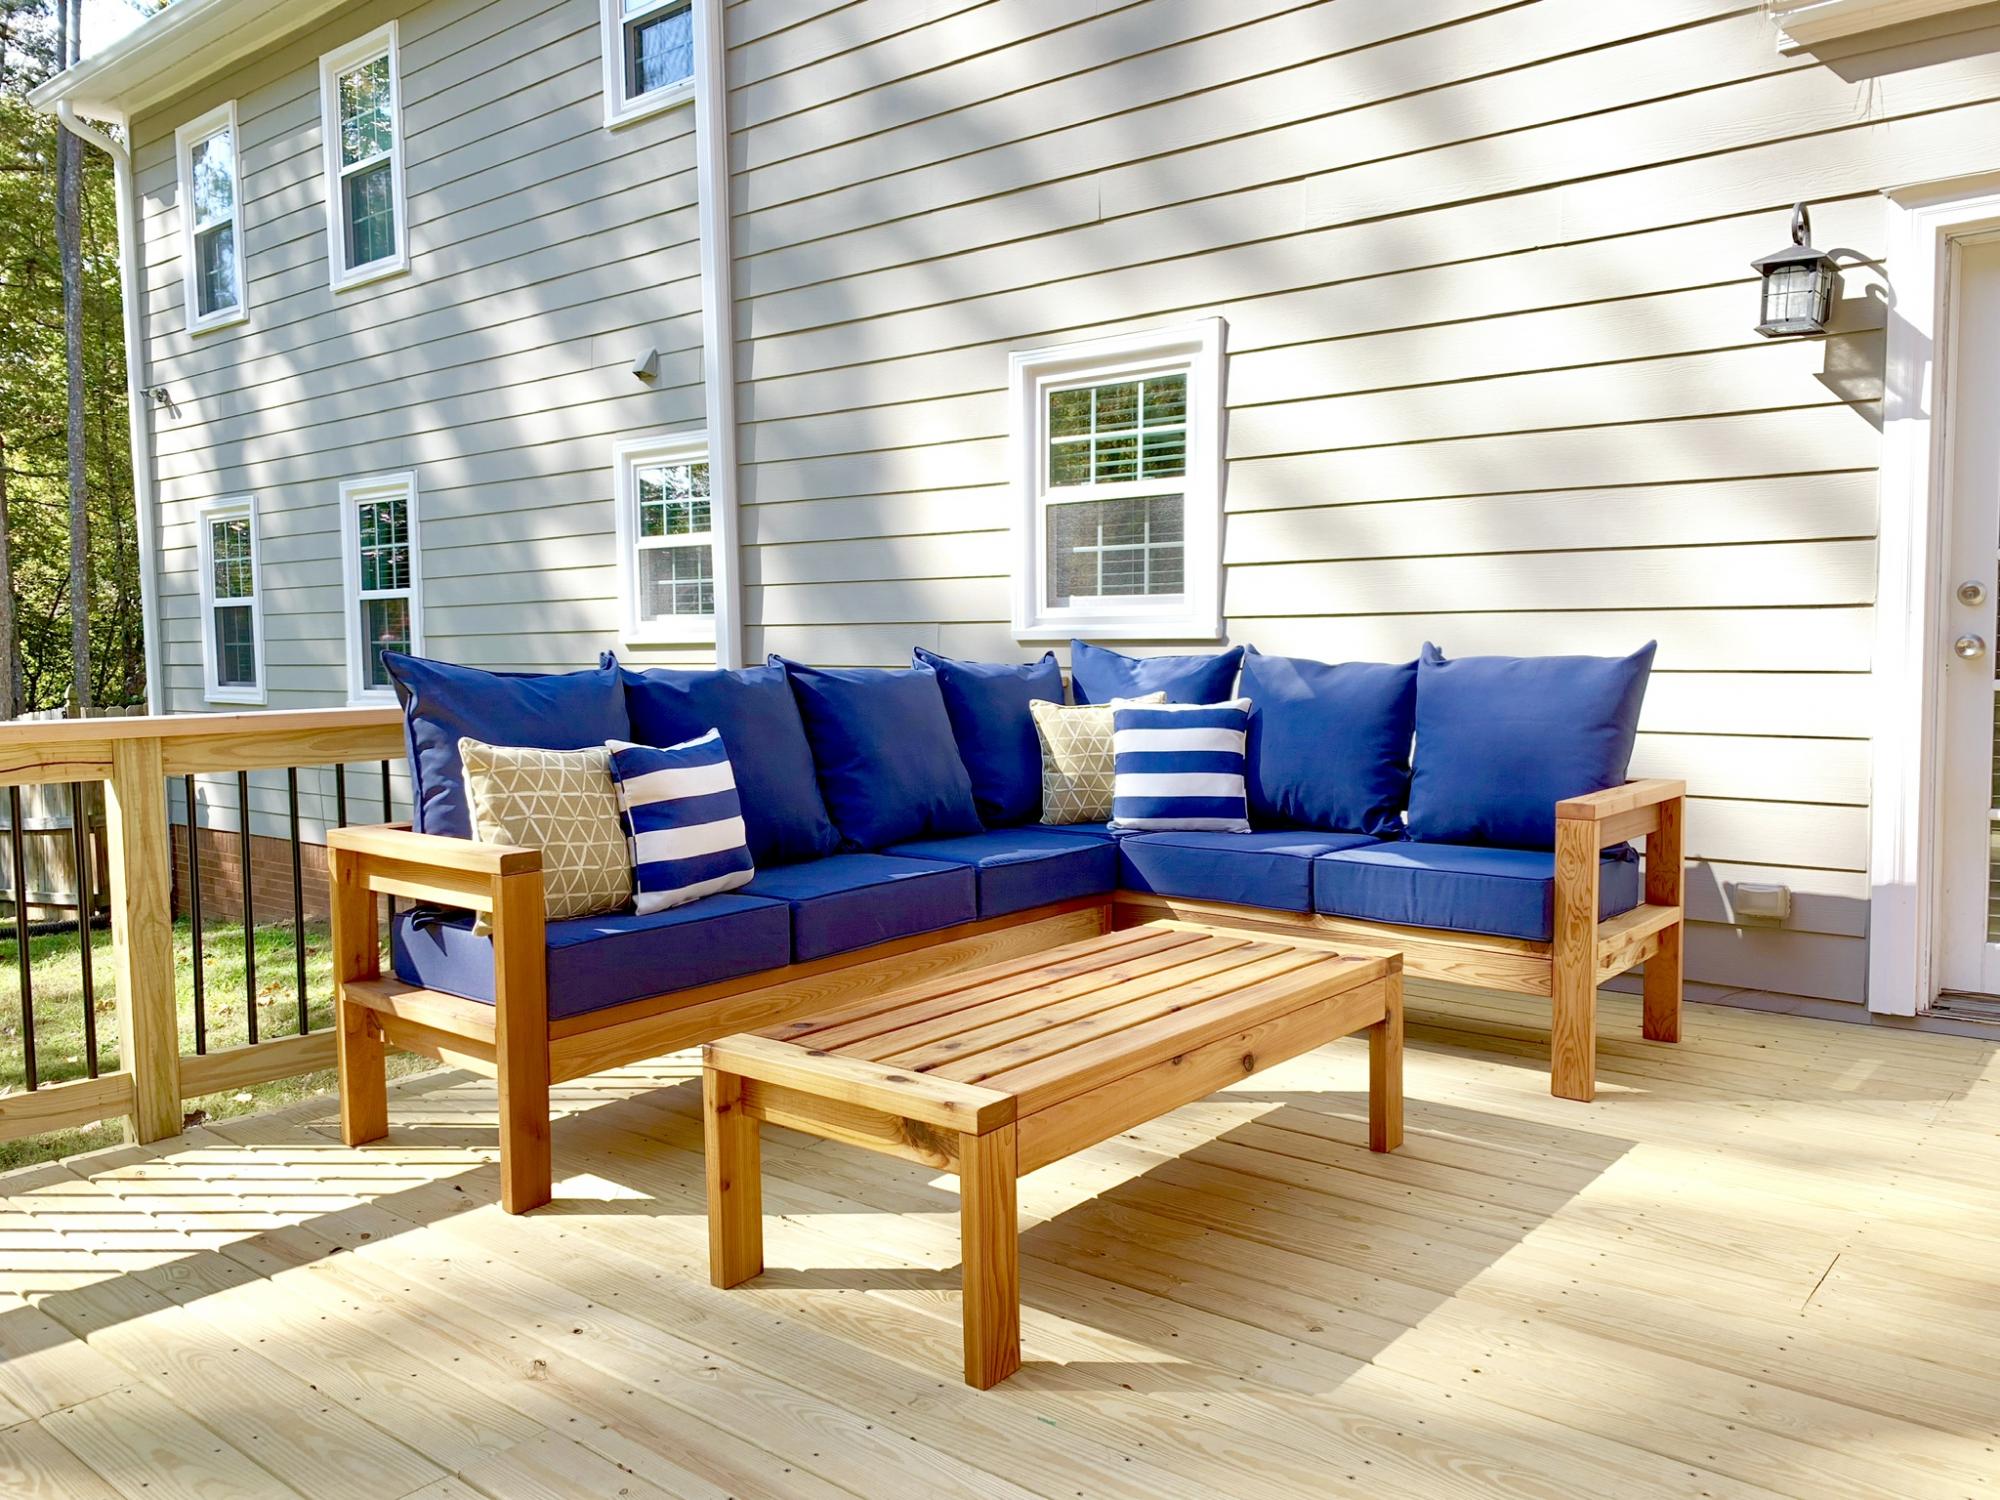
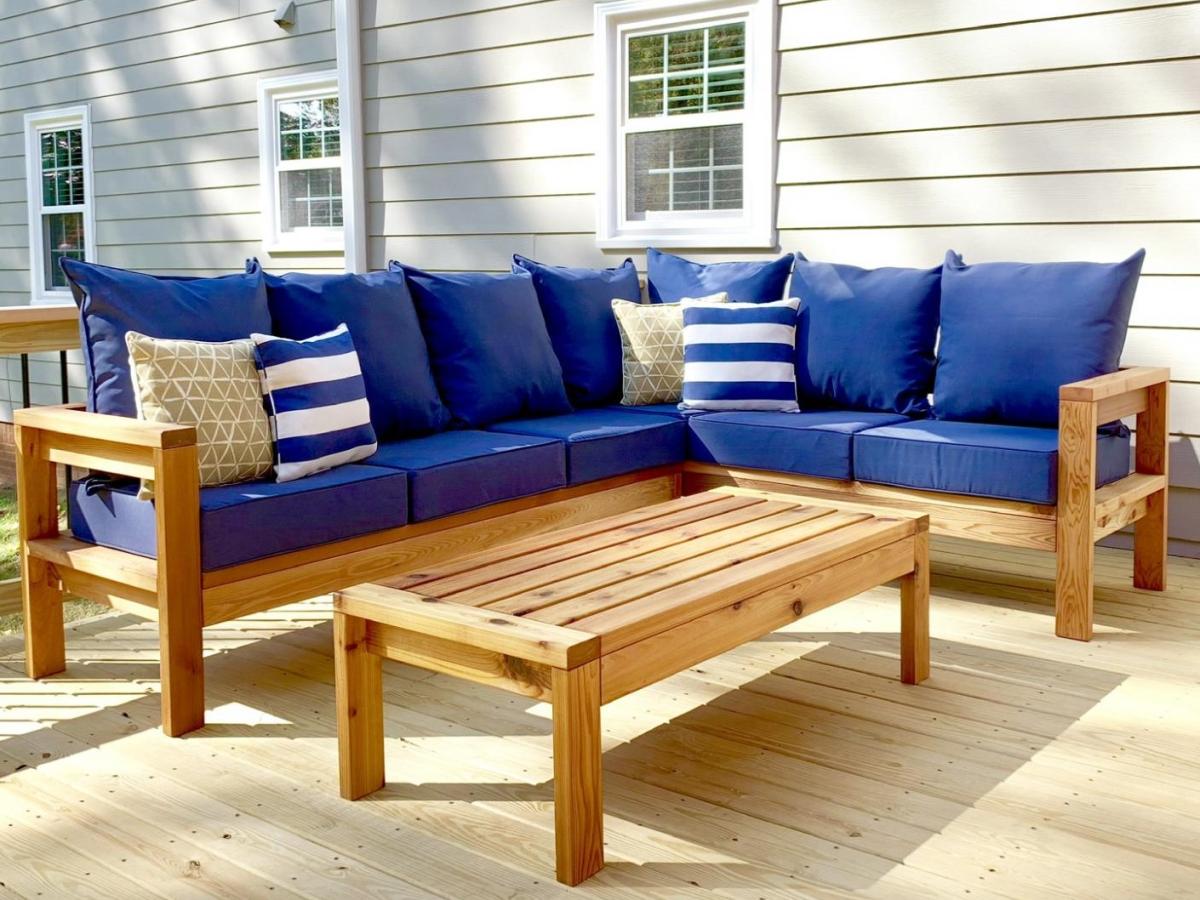
I always wanted a cabin-type cat tree where my cats could crawl in and feel safe, but still have a great view of the birds out of a window. I tried to draw my vision on paper, but that had a hideous result. Learning Google SketchUp (at least the basics) was an absolute necessity. I could never have built this without drawing it in 3D first, and seeing how the boards would connect, etc.
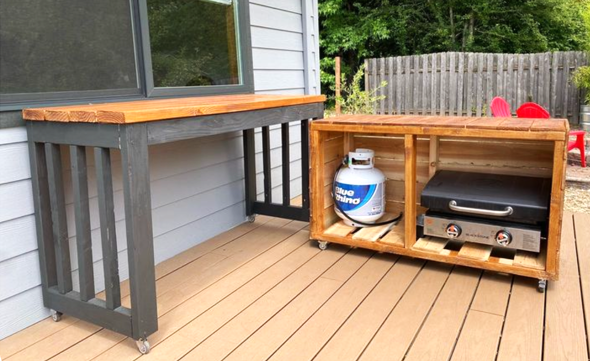
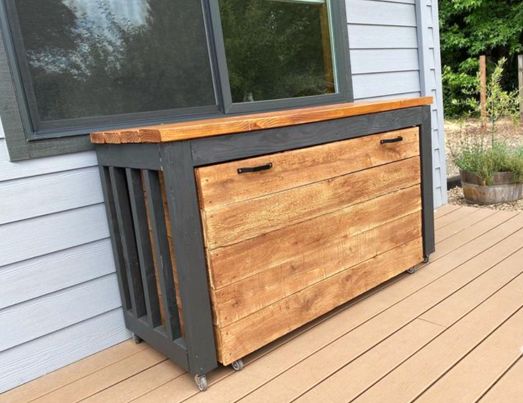
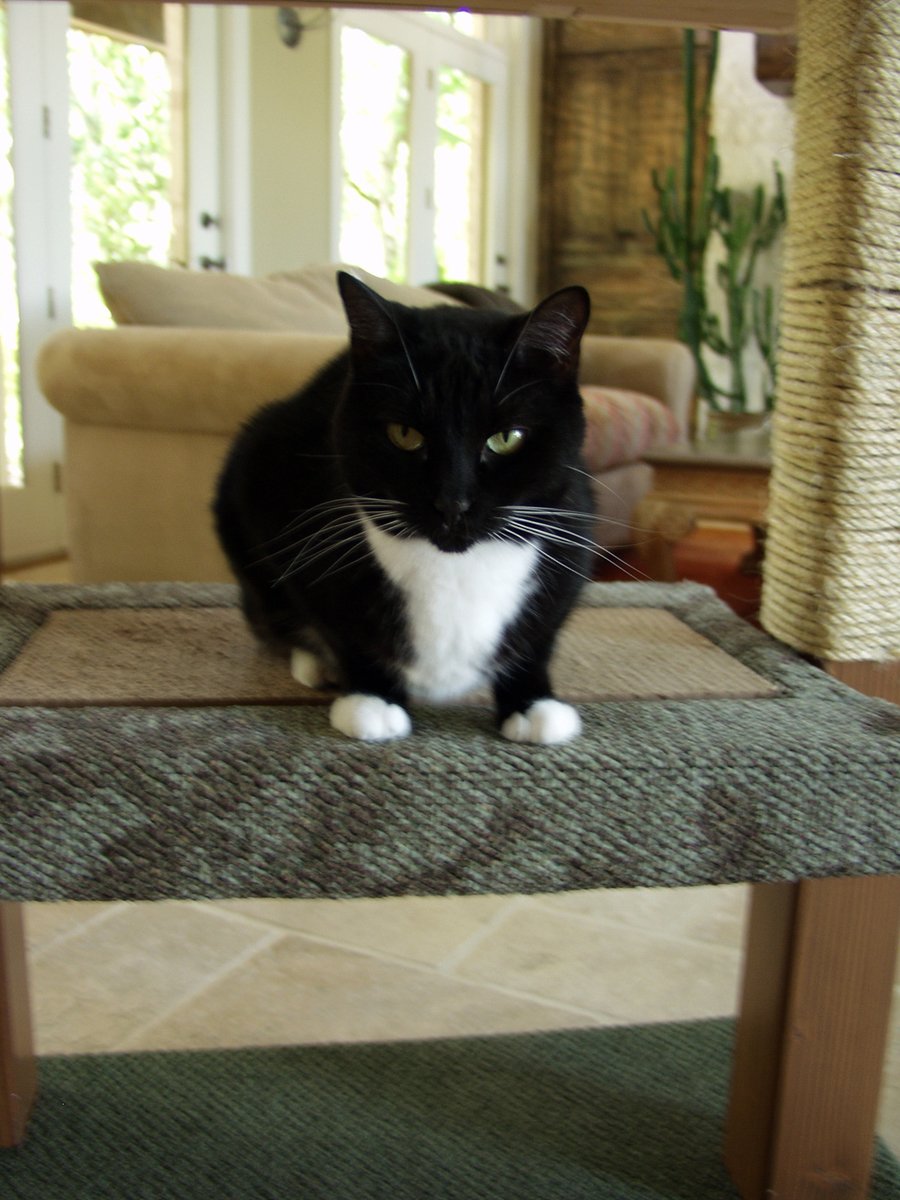
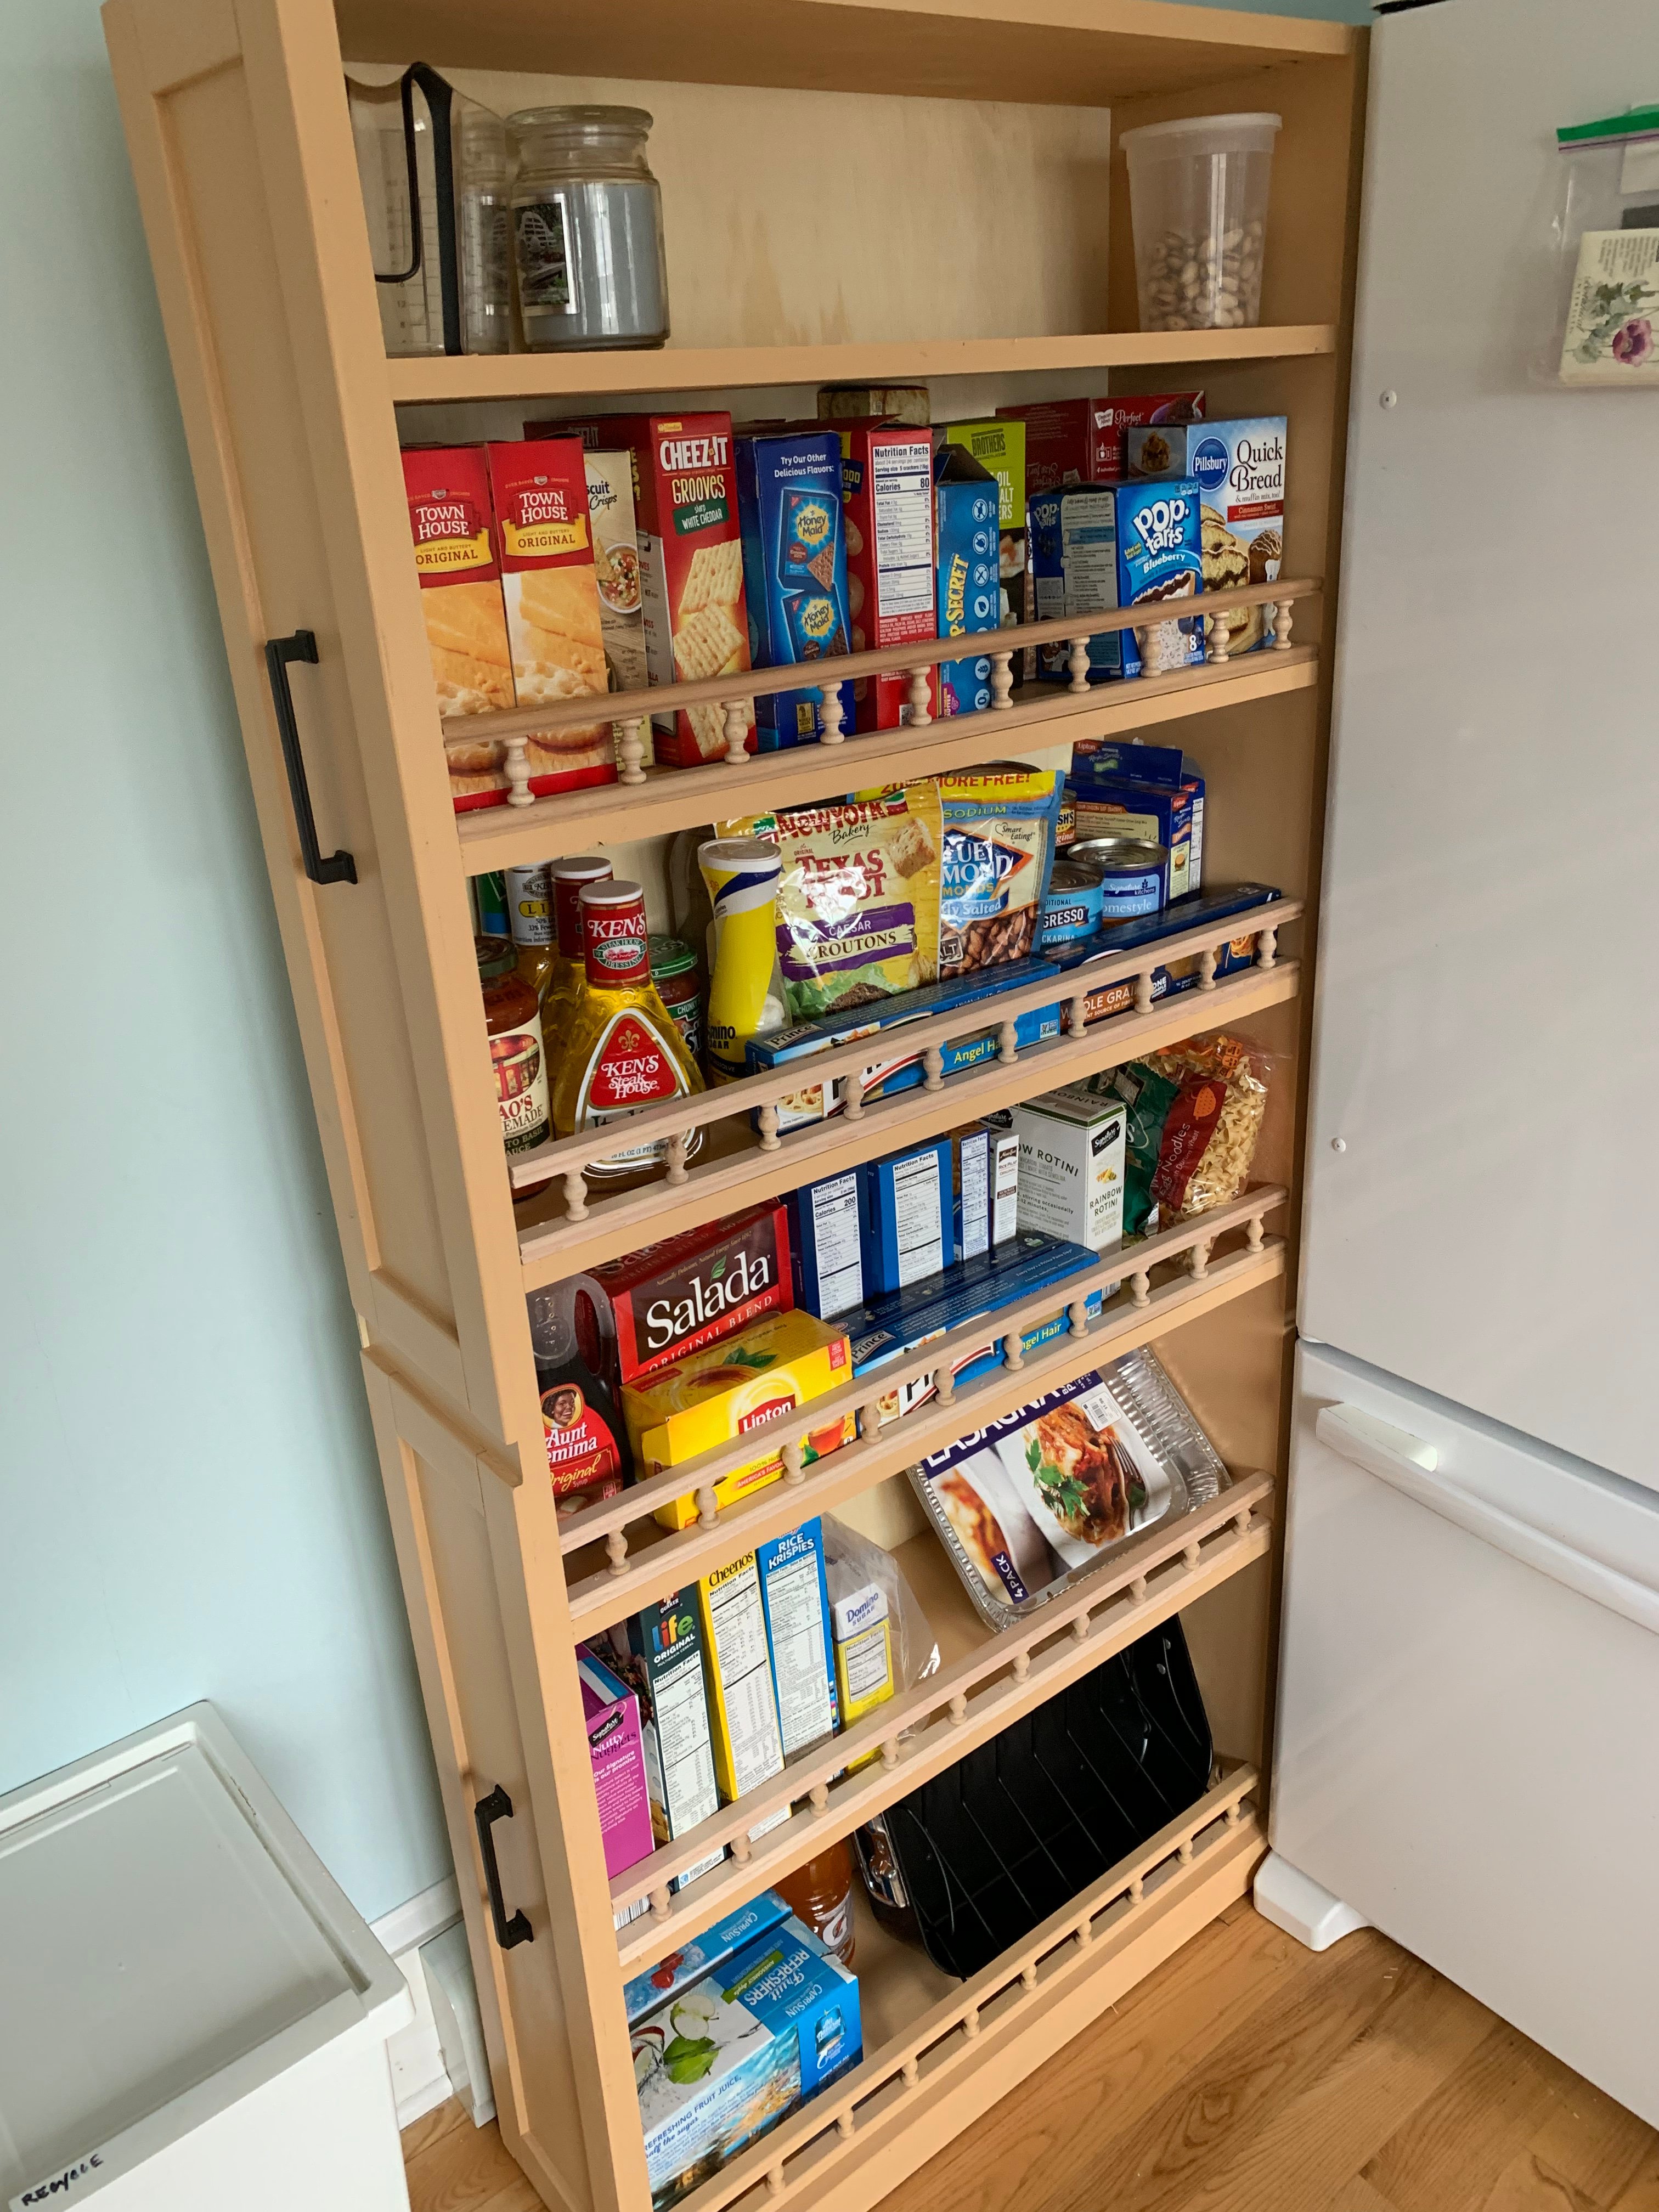
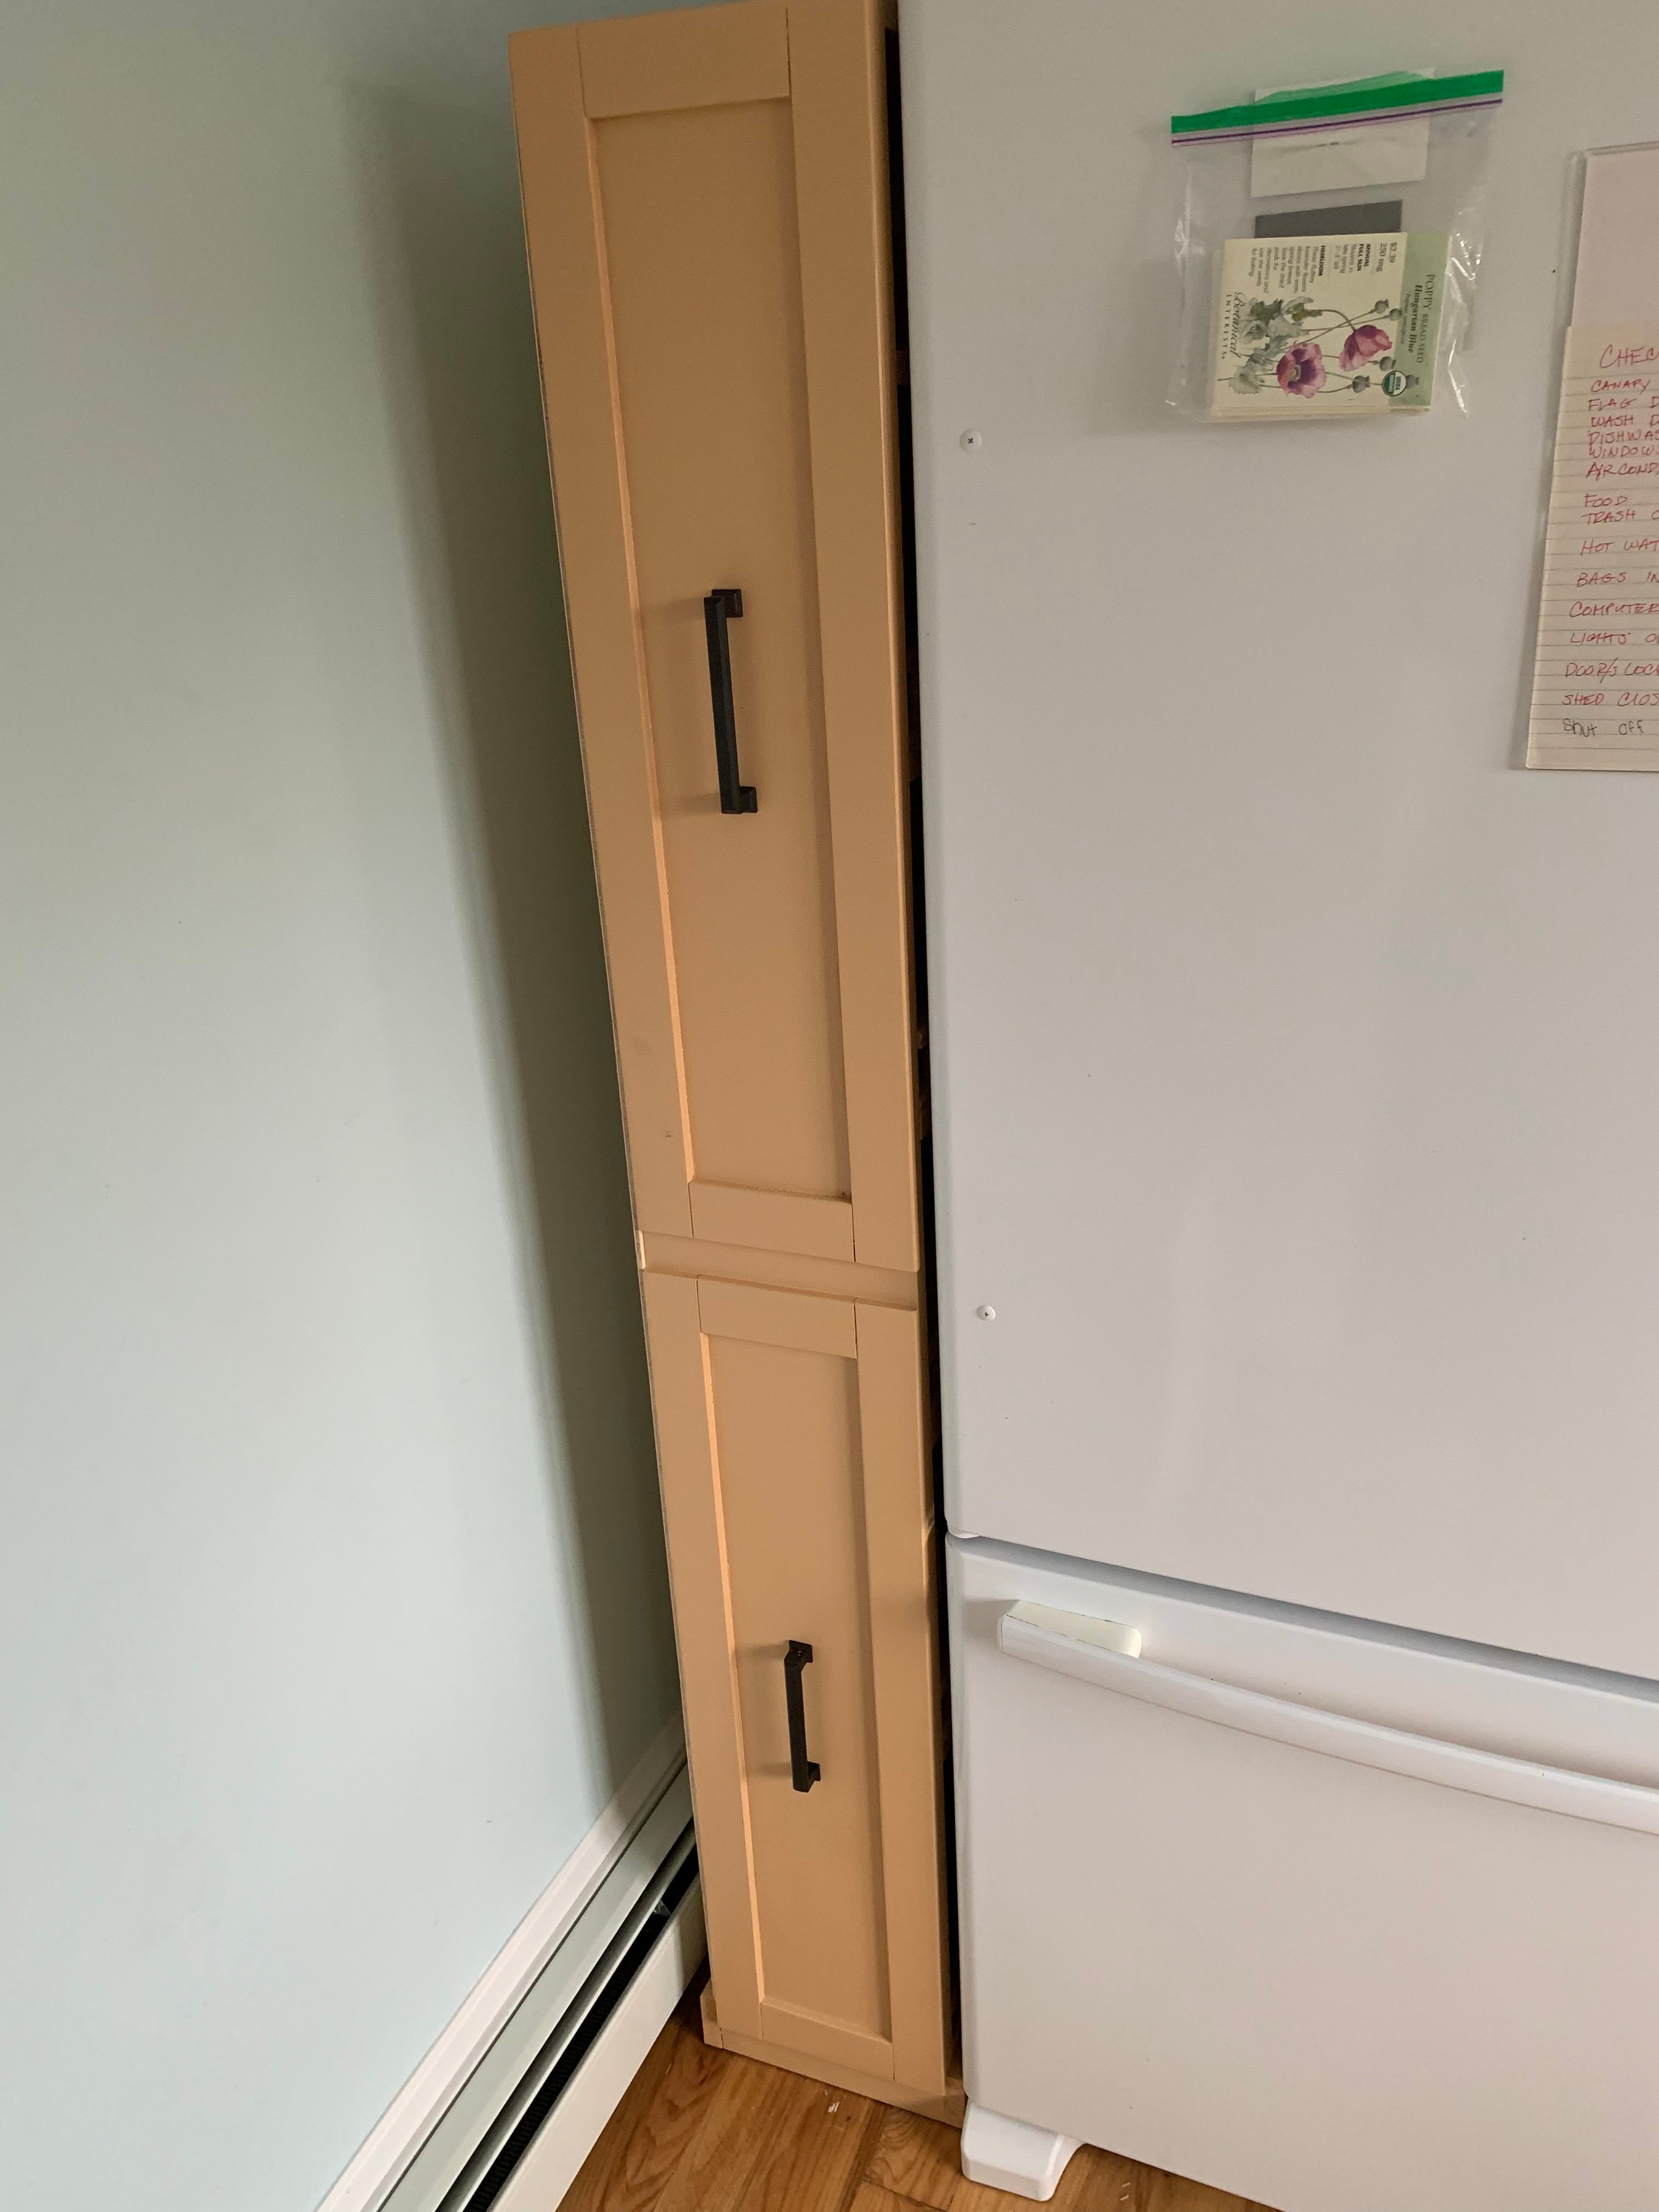
For the scratch pad, I built a frame out of 2x4s on top of plywood, covered it with carpet, and dropped the standard size scratch pad in place. This is the cat's favorite feature. I put barn doors on the window with tiny hinges so that I can close for added privacy. The tree sits against a window so that the back side is totally open. I made cozy zippered cushions for the platforms (that can be taken off and washed). I covered the carpeted areas with spare carpeting.
Estimated Cost
Approx. $30 for can of paint, varnish and a 4x4 (all other was scrap material)
Estimated Time Investment
Weekend Project (10-20 Hours)
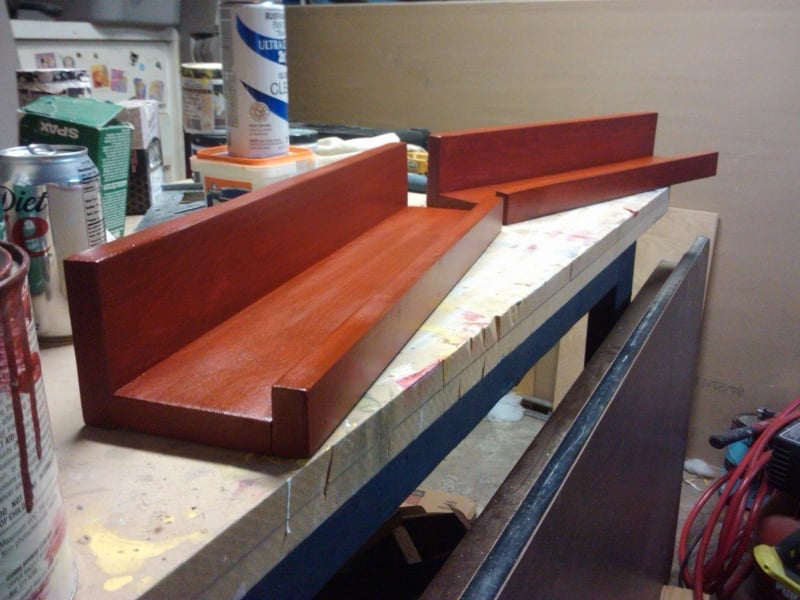
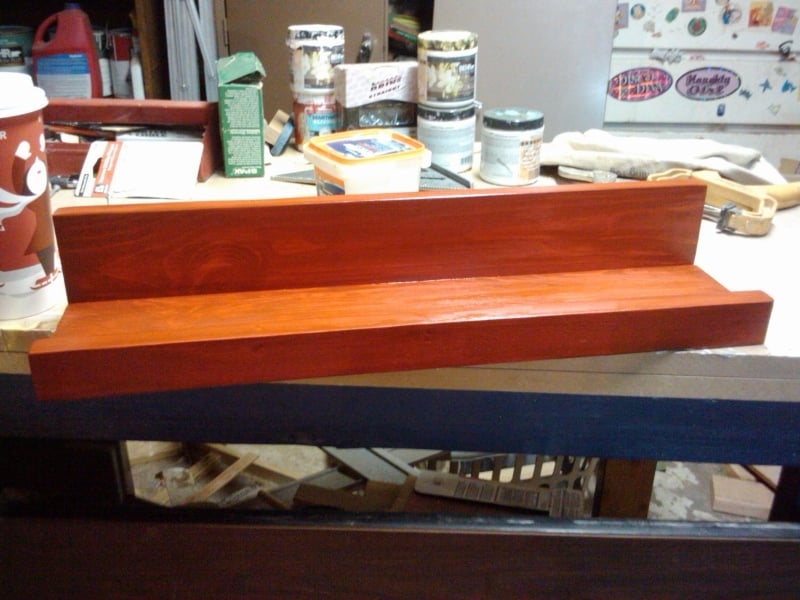
Finish Used
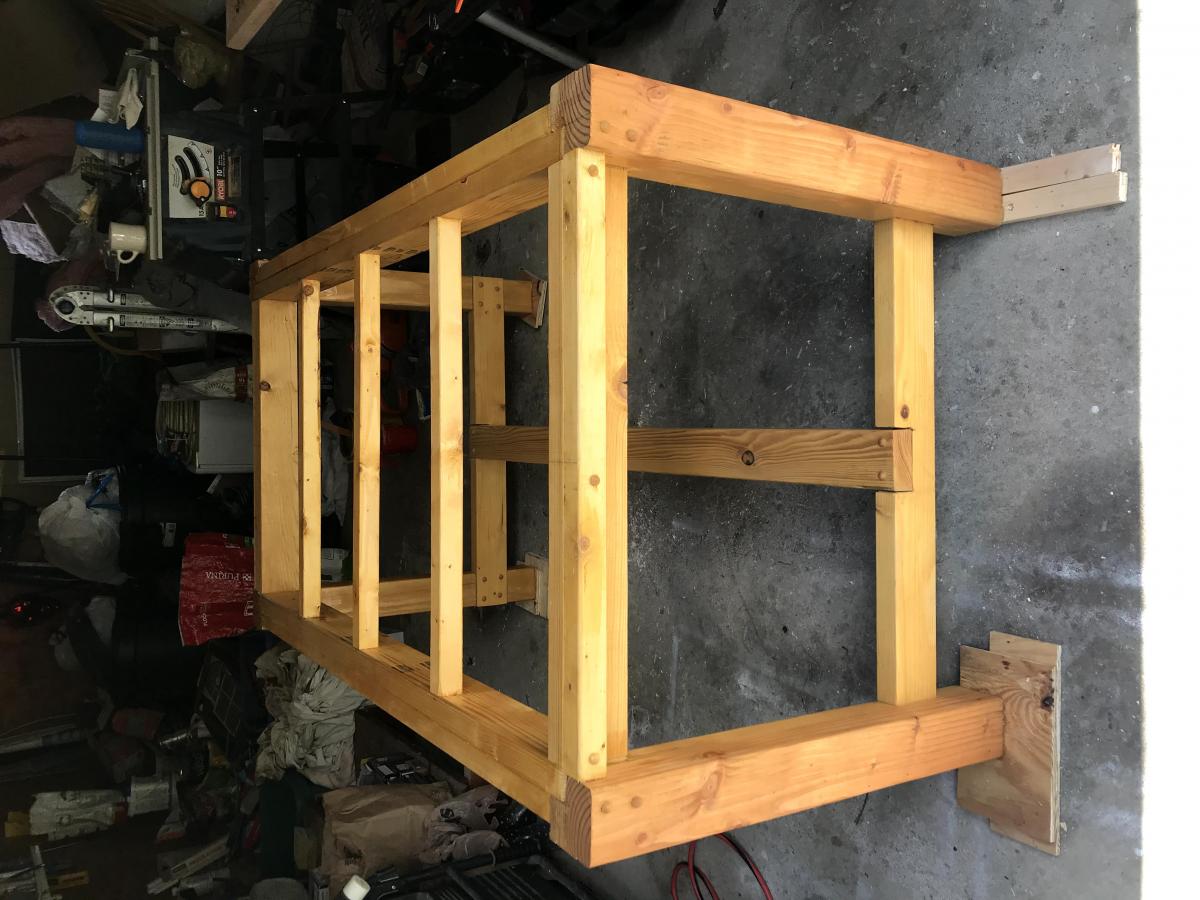
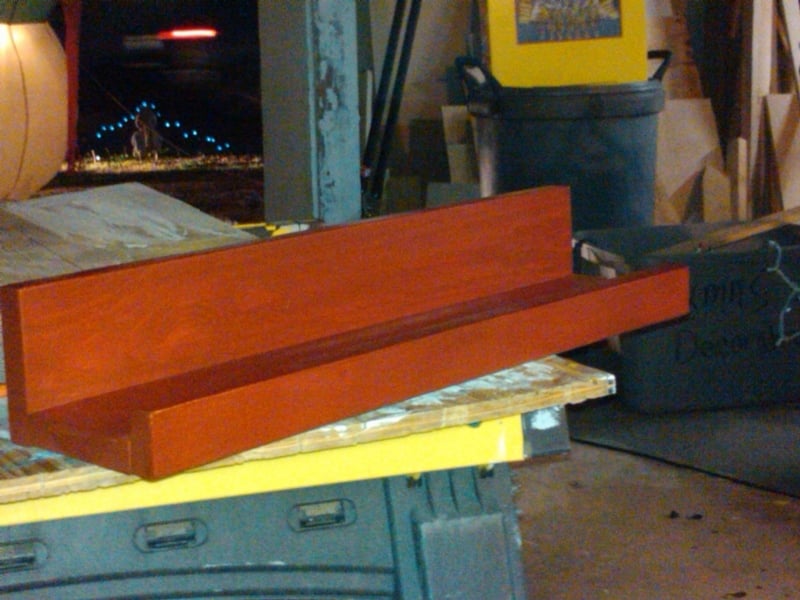
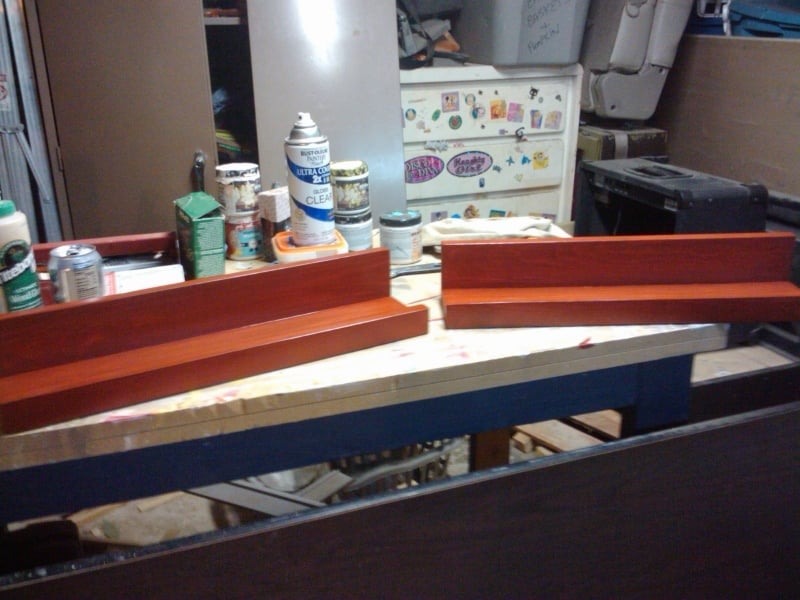
Combination of Minwax Water-based stains: 6 parts Colonial Pine: 1 part American Walnut, followed 3-4 coats Minwax Polycrylic
Recommended Skill Level
Intermediate