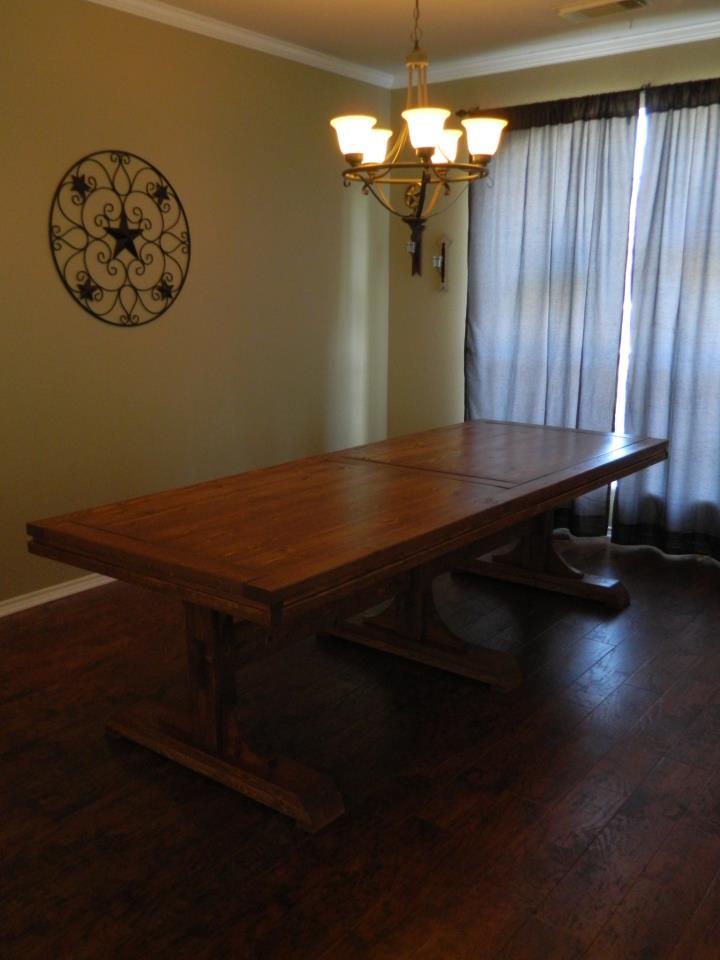
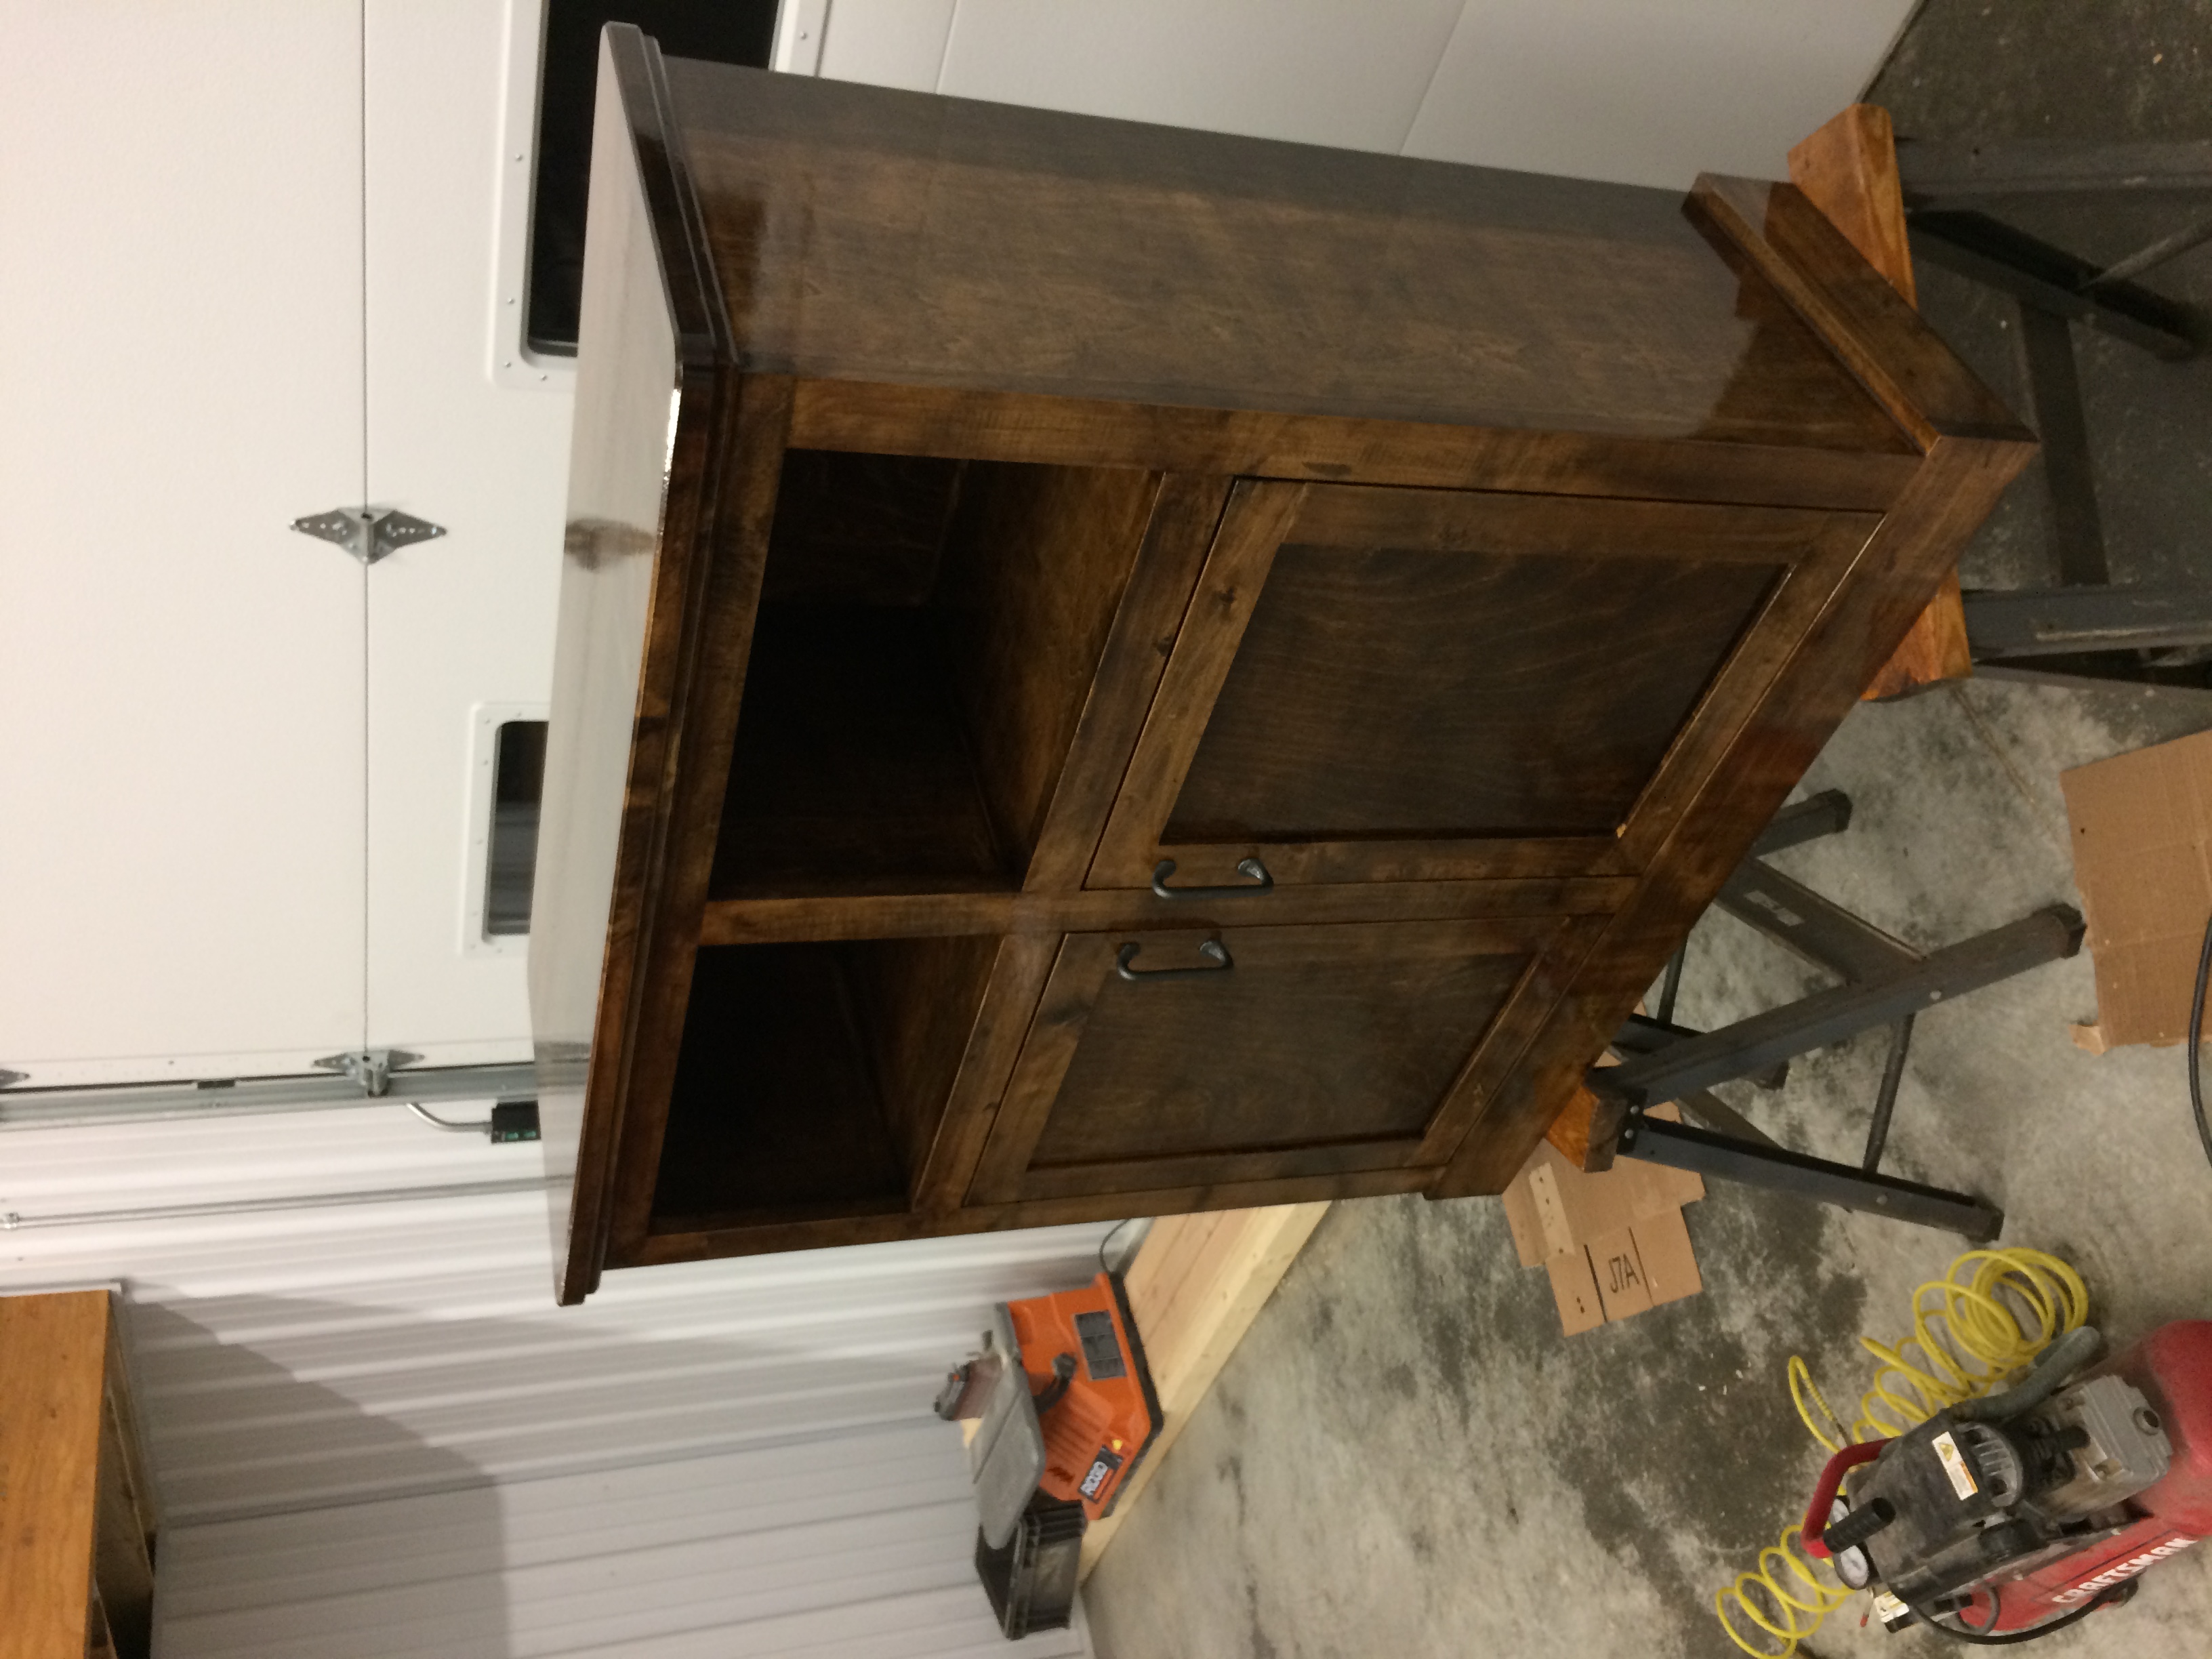
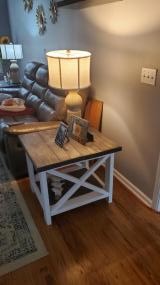
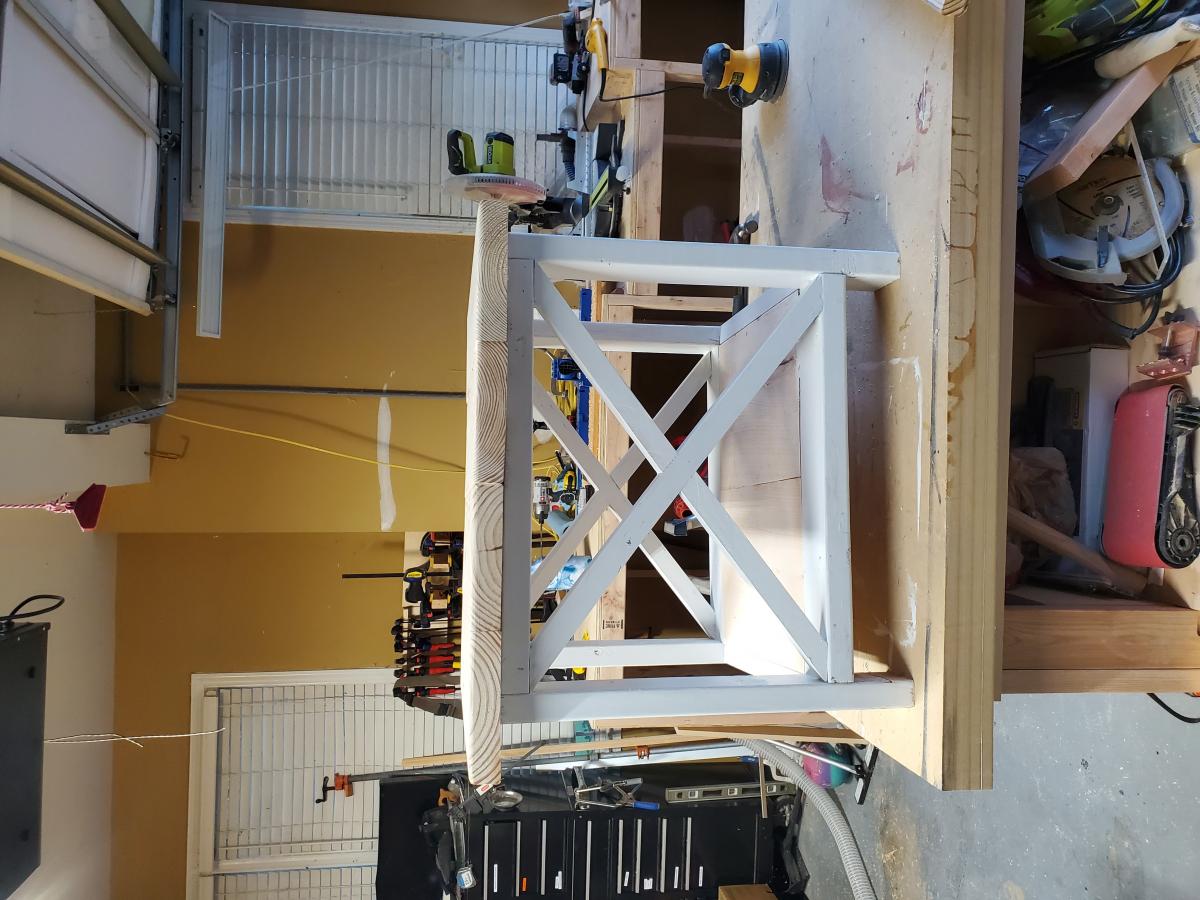
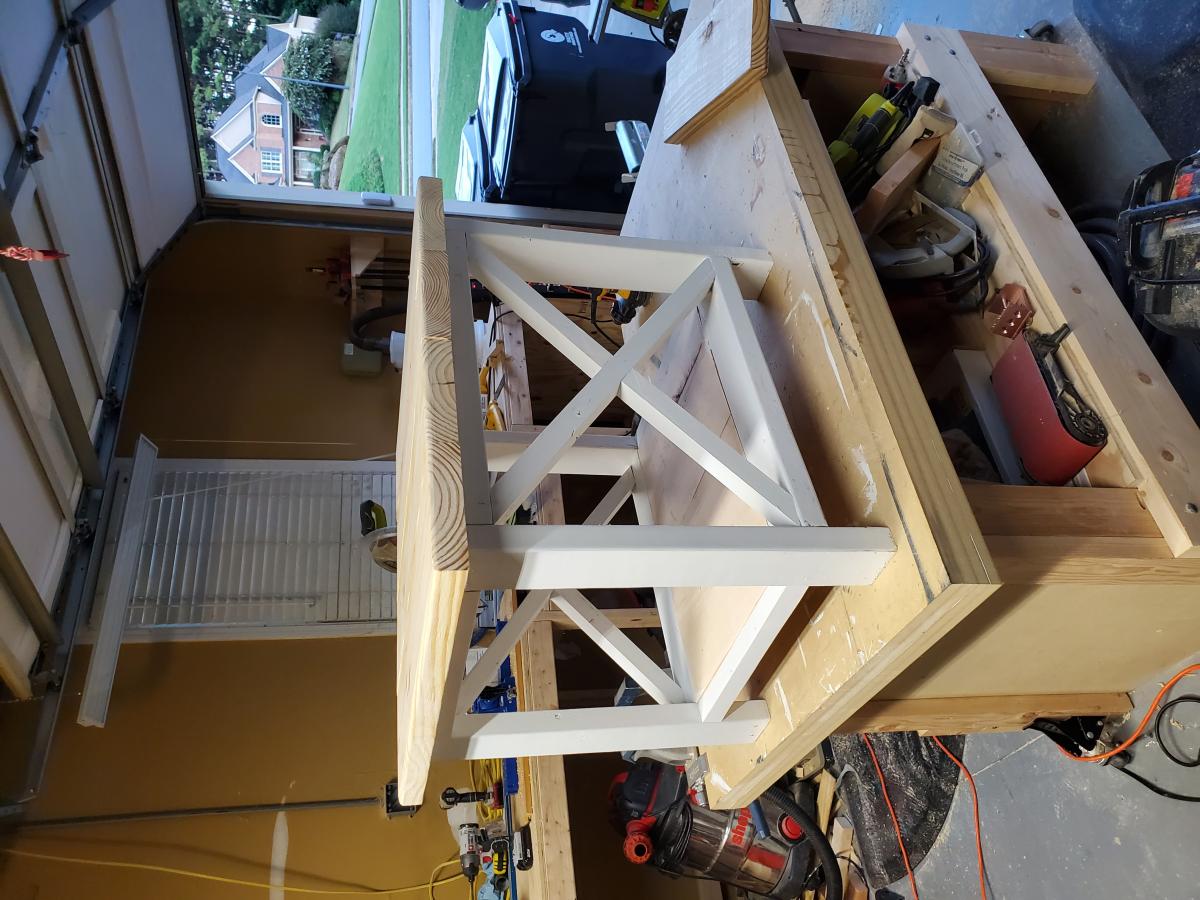
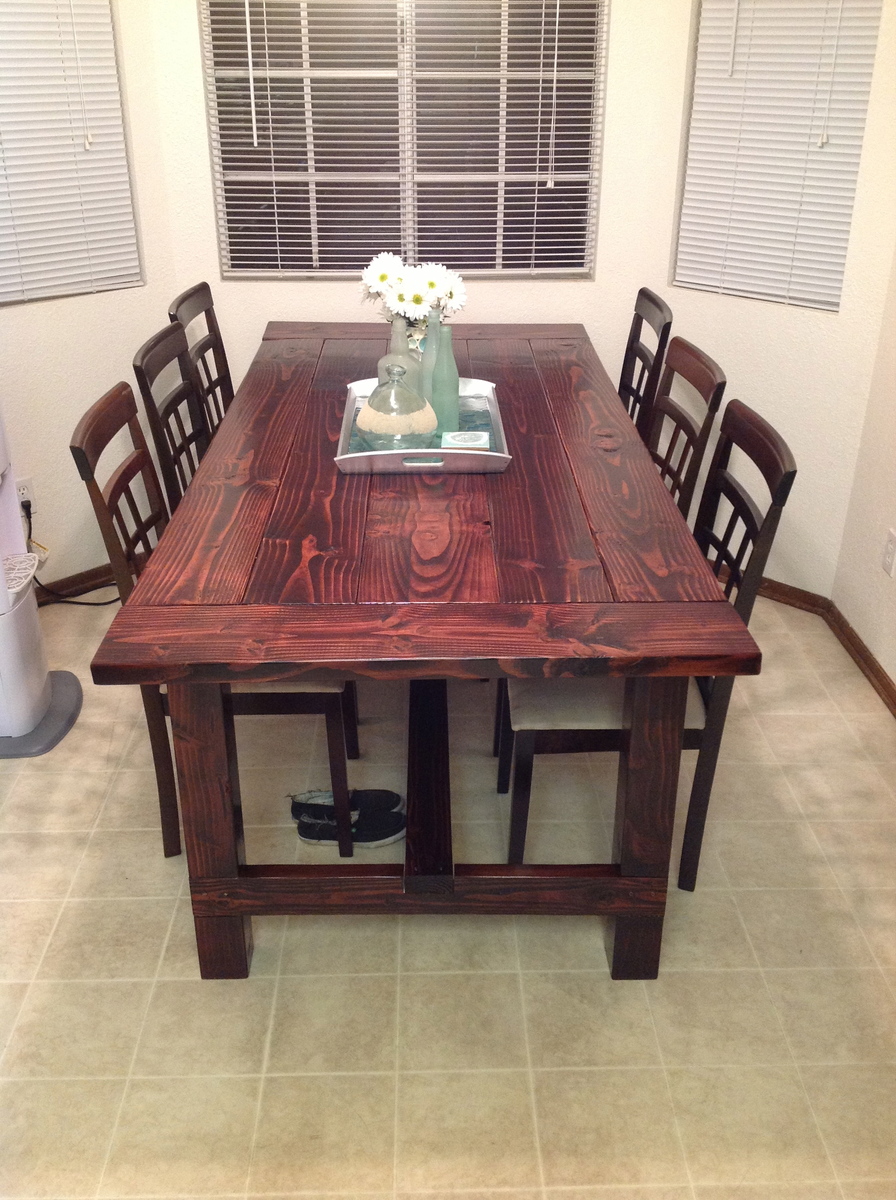
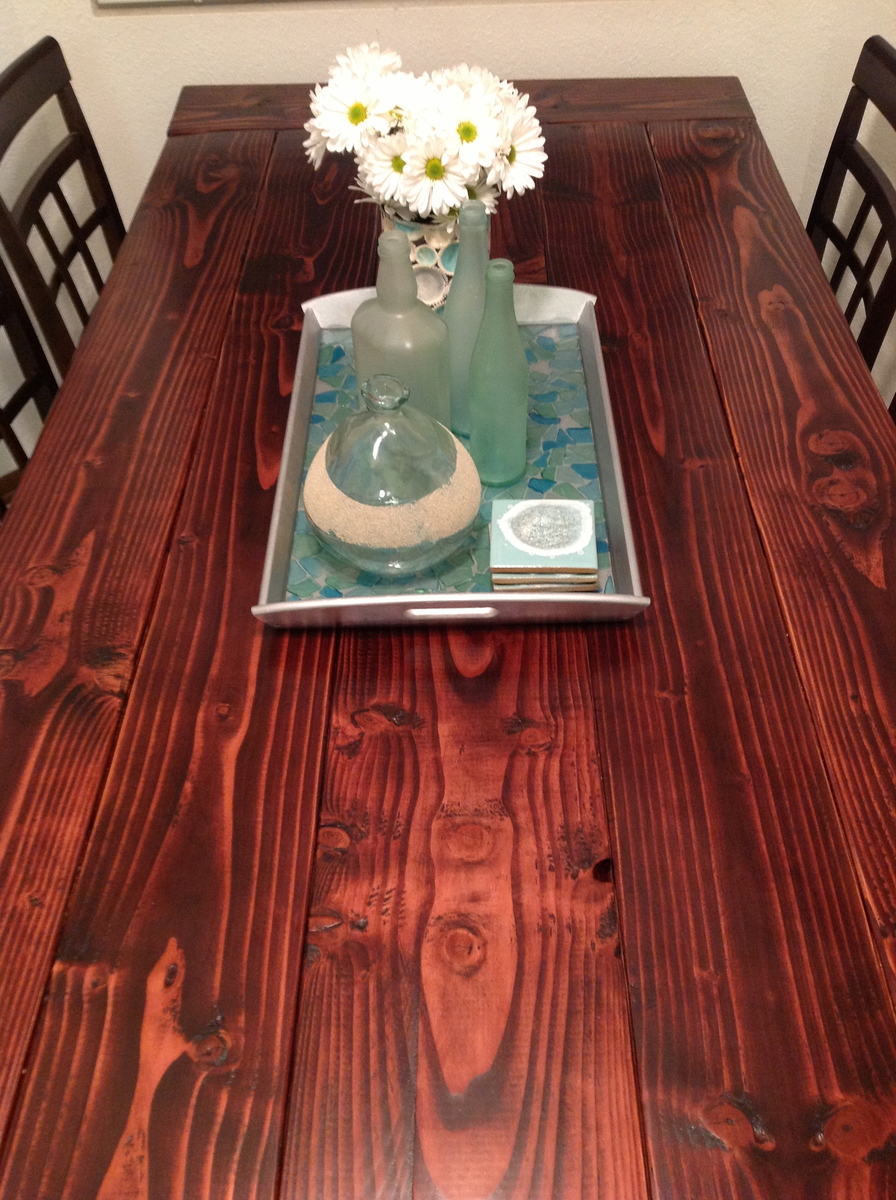
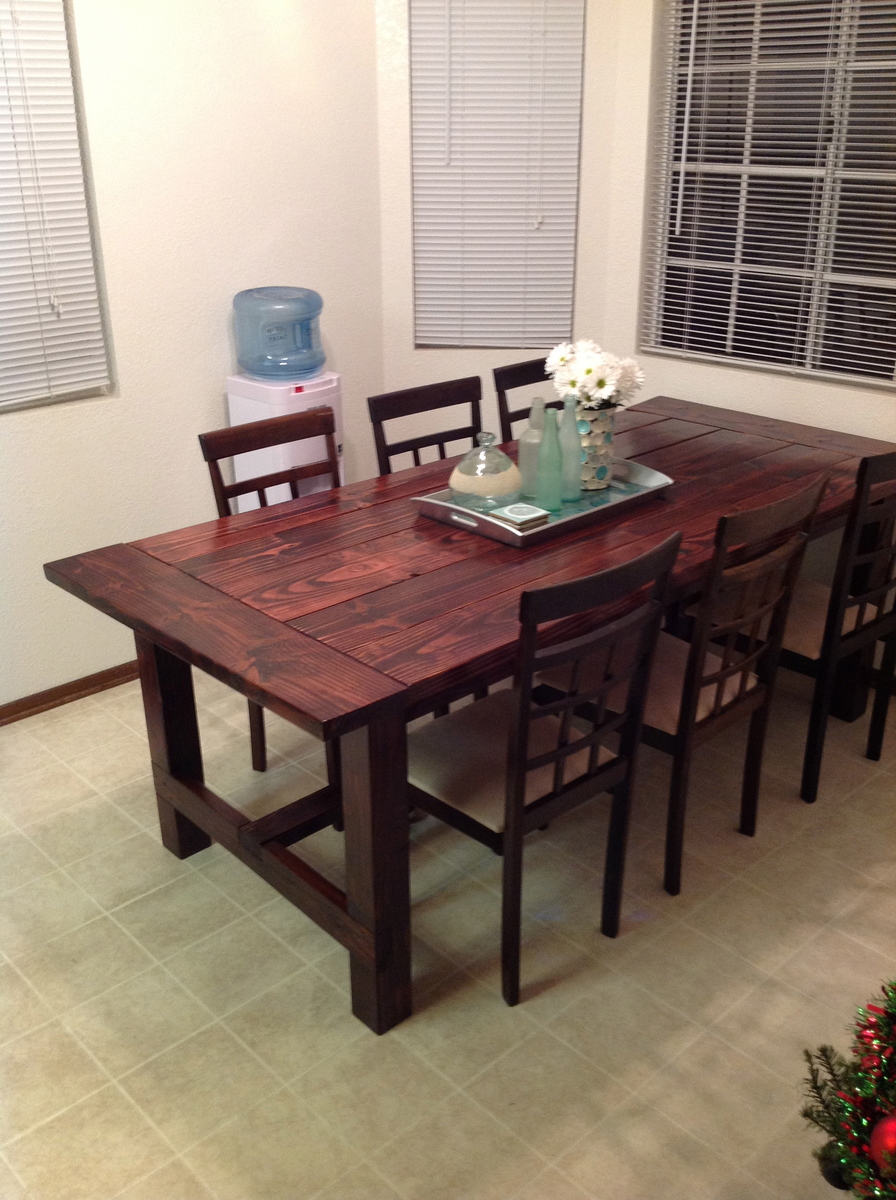
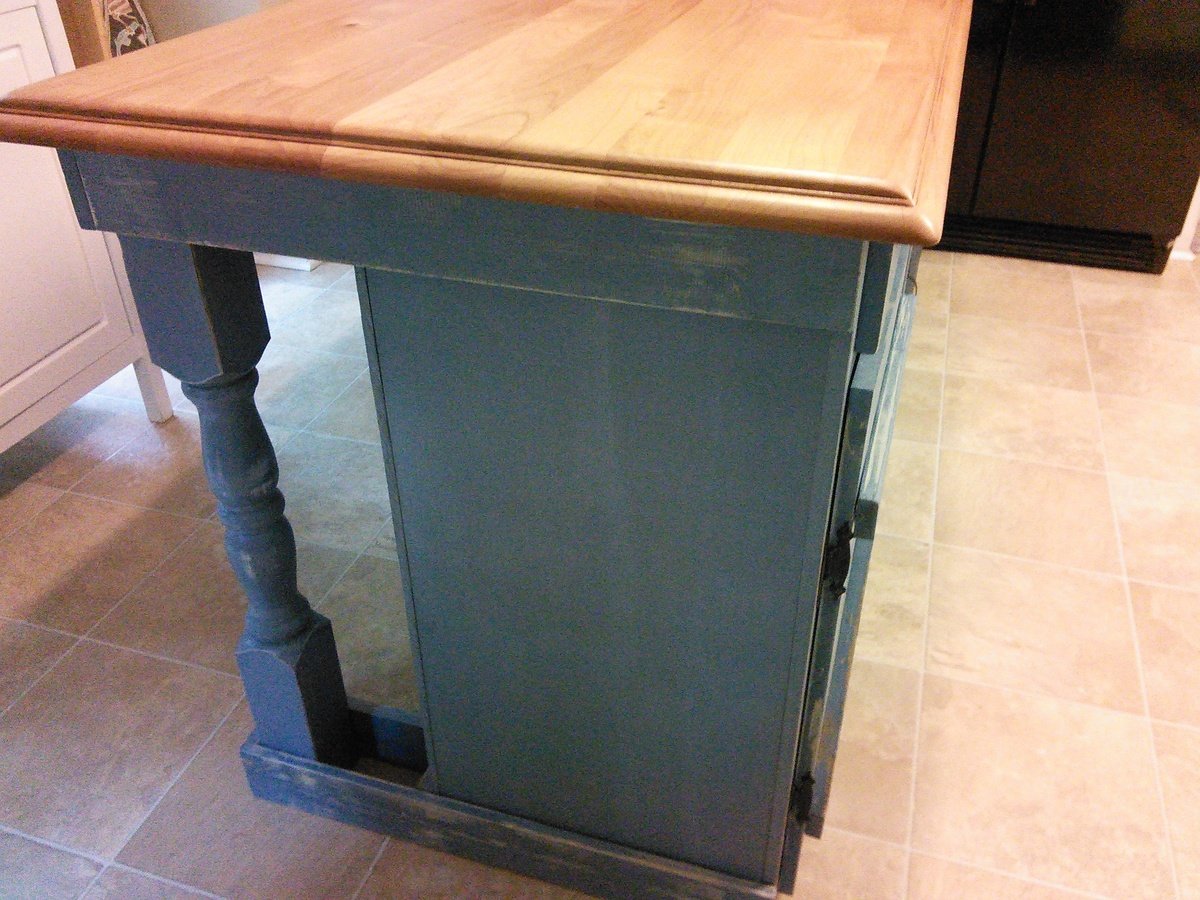
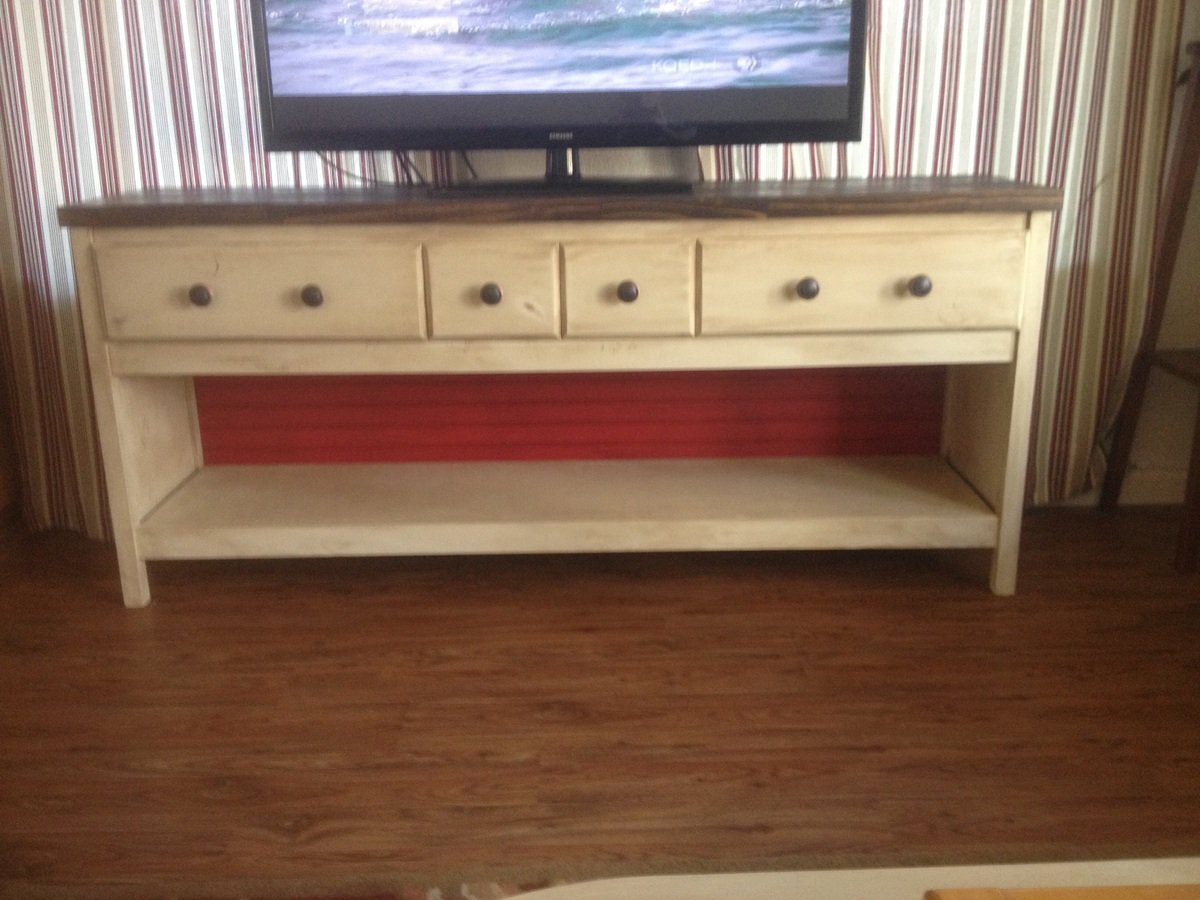
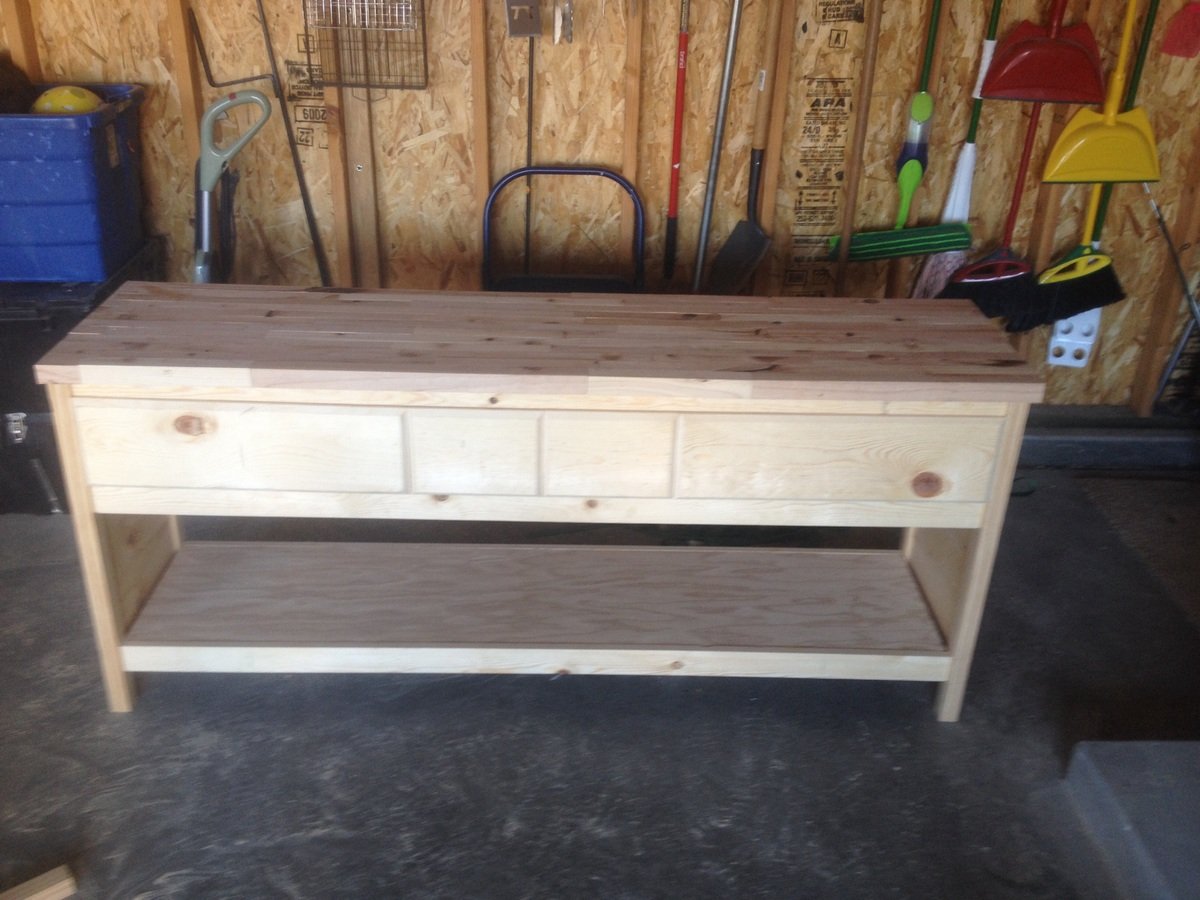
Triple Pedestal Farmhouse Table
Great Plans, I had a blast making this table for my wife! It turned out great. Thank you for sharing the plans for this beautiful piece!
-Mike
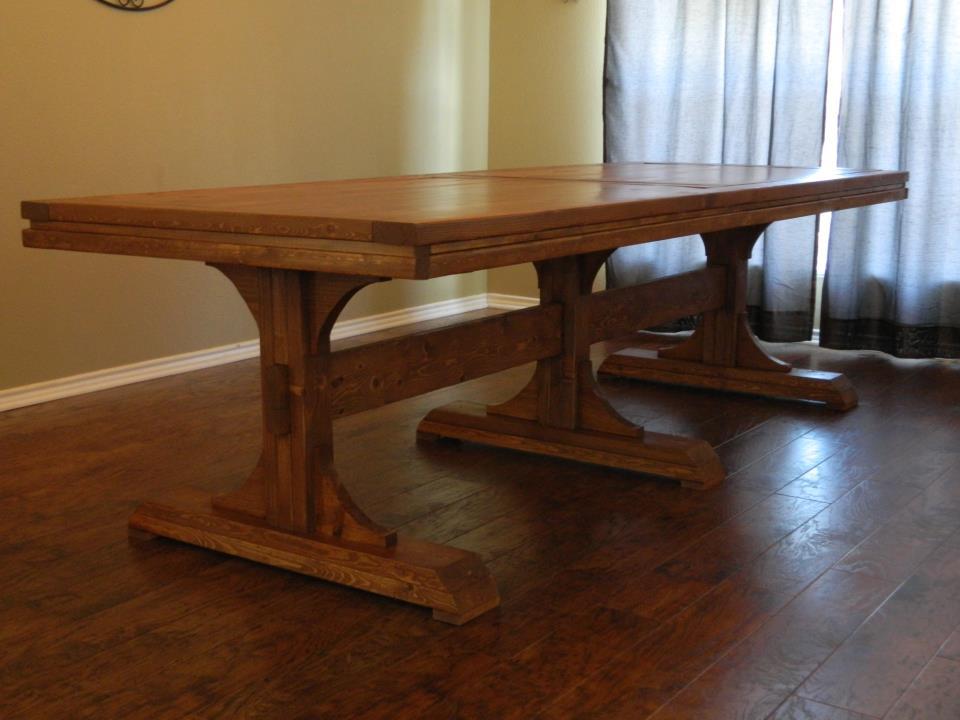
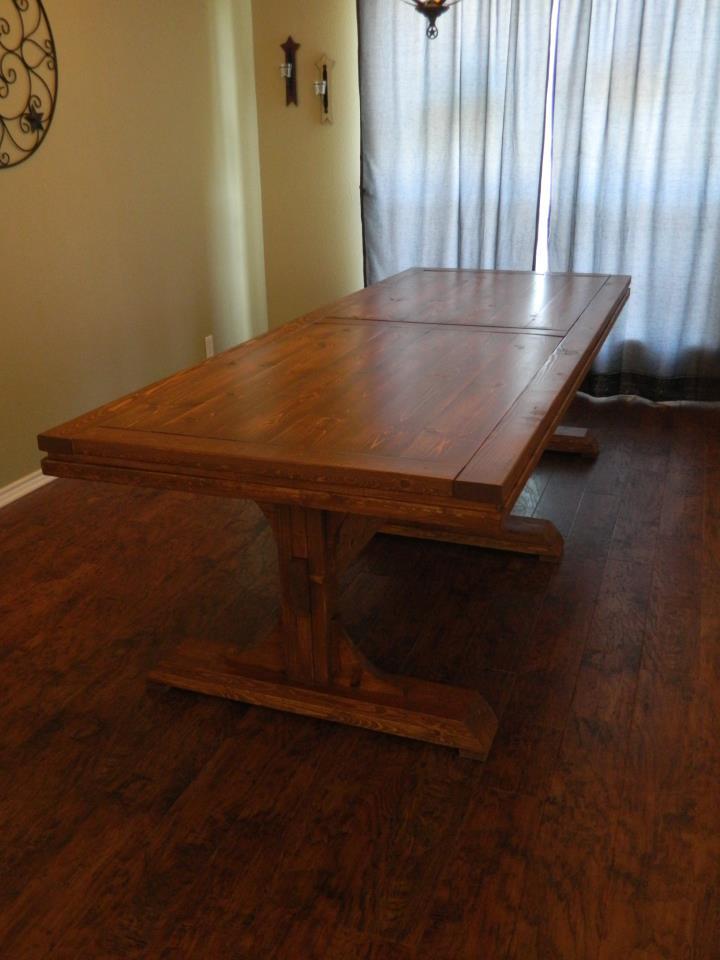
Built from Plan(s)
Estimated Time Investment
Week Long Project (20 Hours or More)
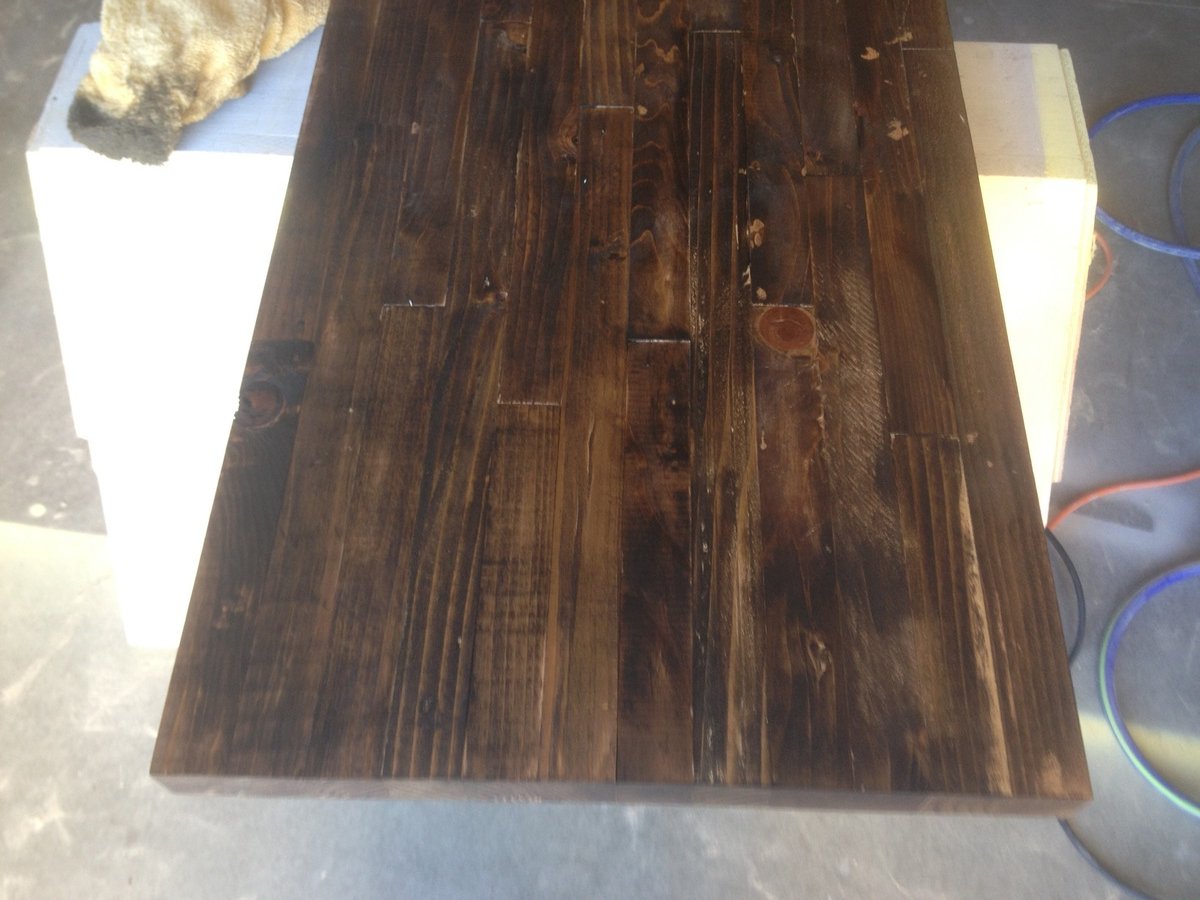
Finish Used
Cabot Pecan Stain and Cabot Satin Polyurethane
Recommended Skill Level
Beginner


Comments
kristen
Thu, 12/27/2012 - 09:21
Great job!
Your table turned out fantastic! I'm glad to see that because I am considering this table for a project in the near future :)
YankeeBelle
Thu, 12/27/2012 - 12:30
GORGEOUS!!
Your table turned out just beautiful!! Great job and I love the finish!!
radosevicha
Sun, 09/14/2014 - 13:45
Love your table!! How did you
Love your table!! How did you attach the 1x6s to the frame? I am stuck at that step! Thank you for your help!