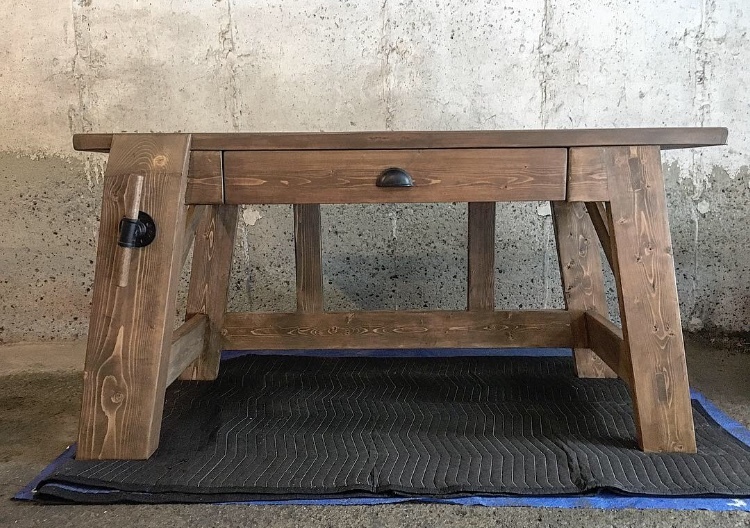
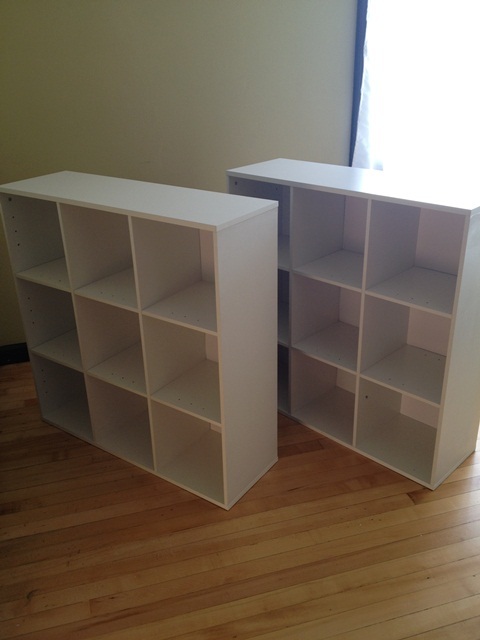
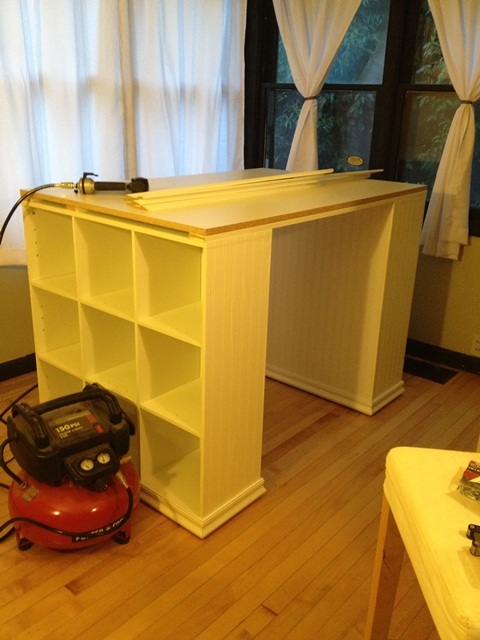
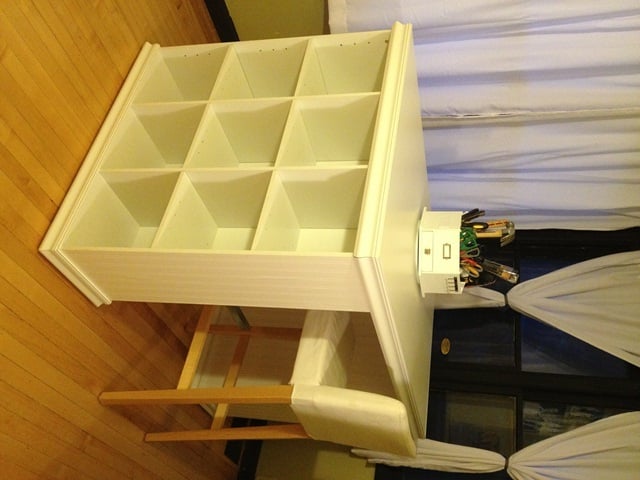
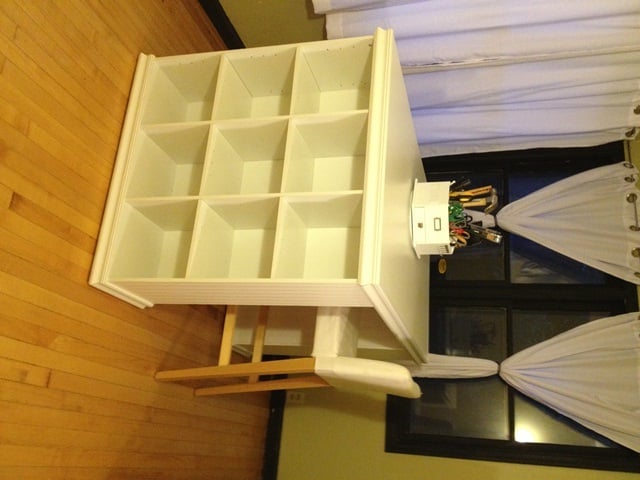
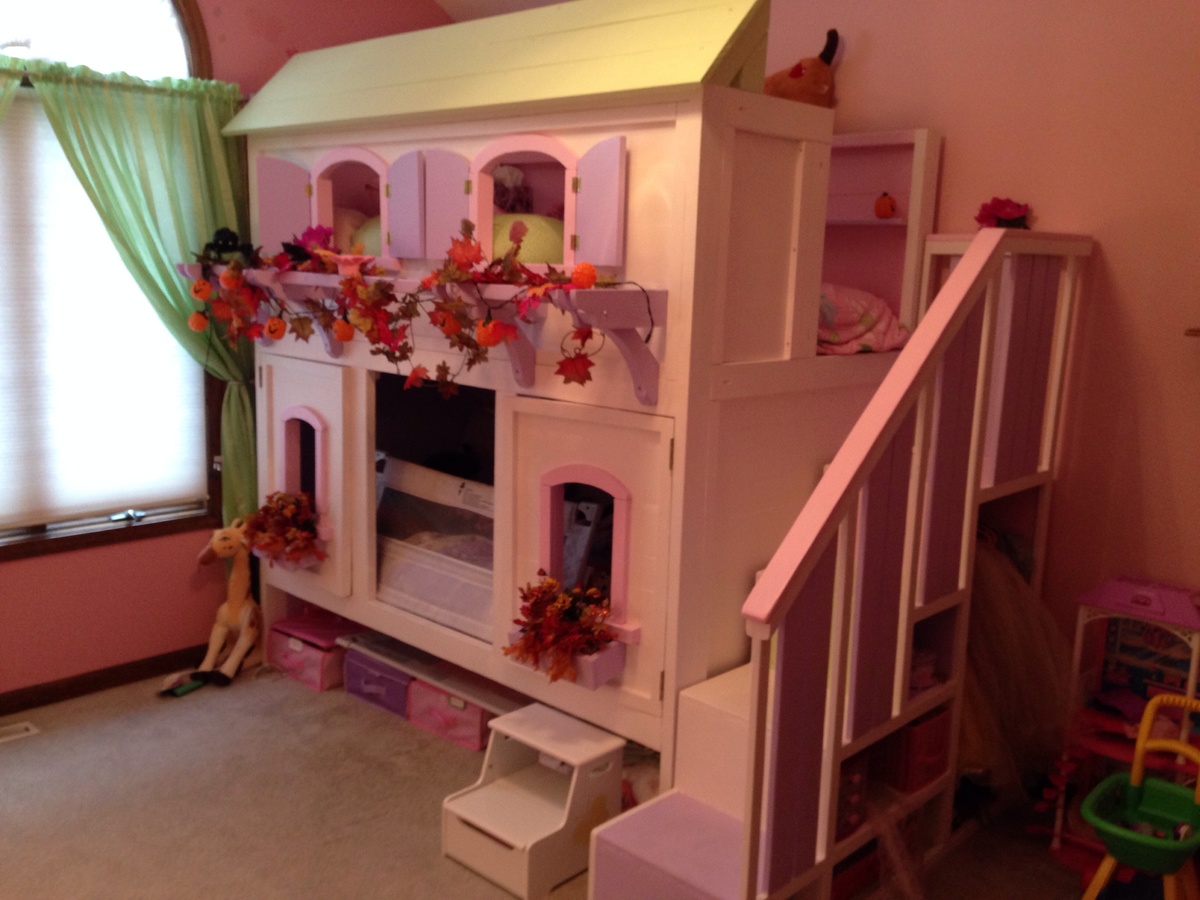
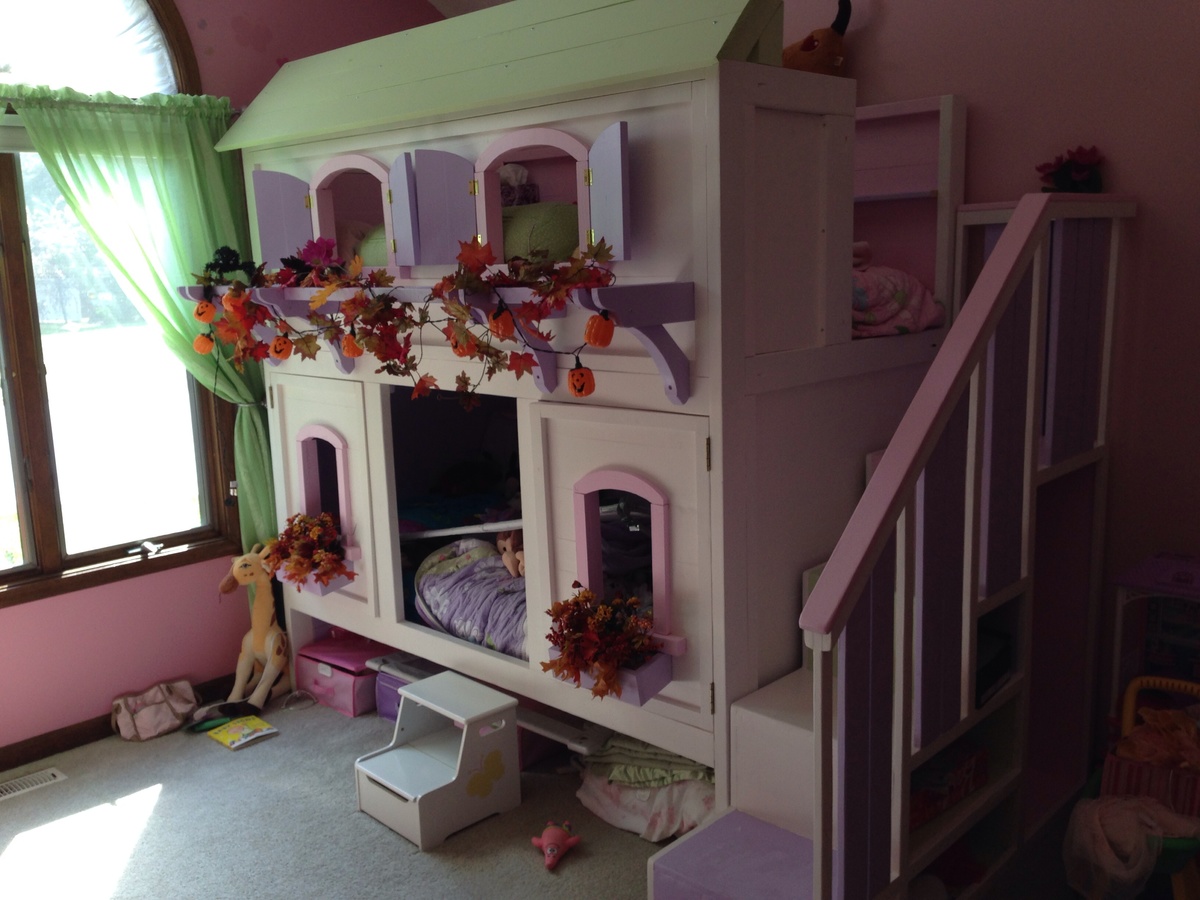
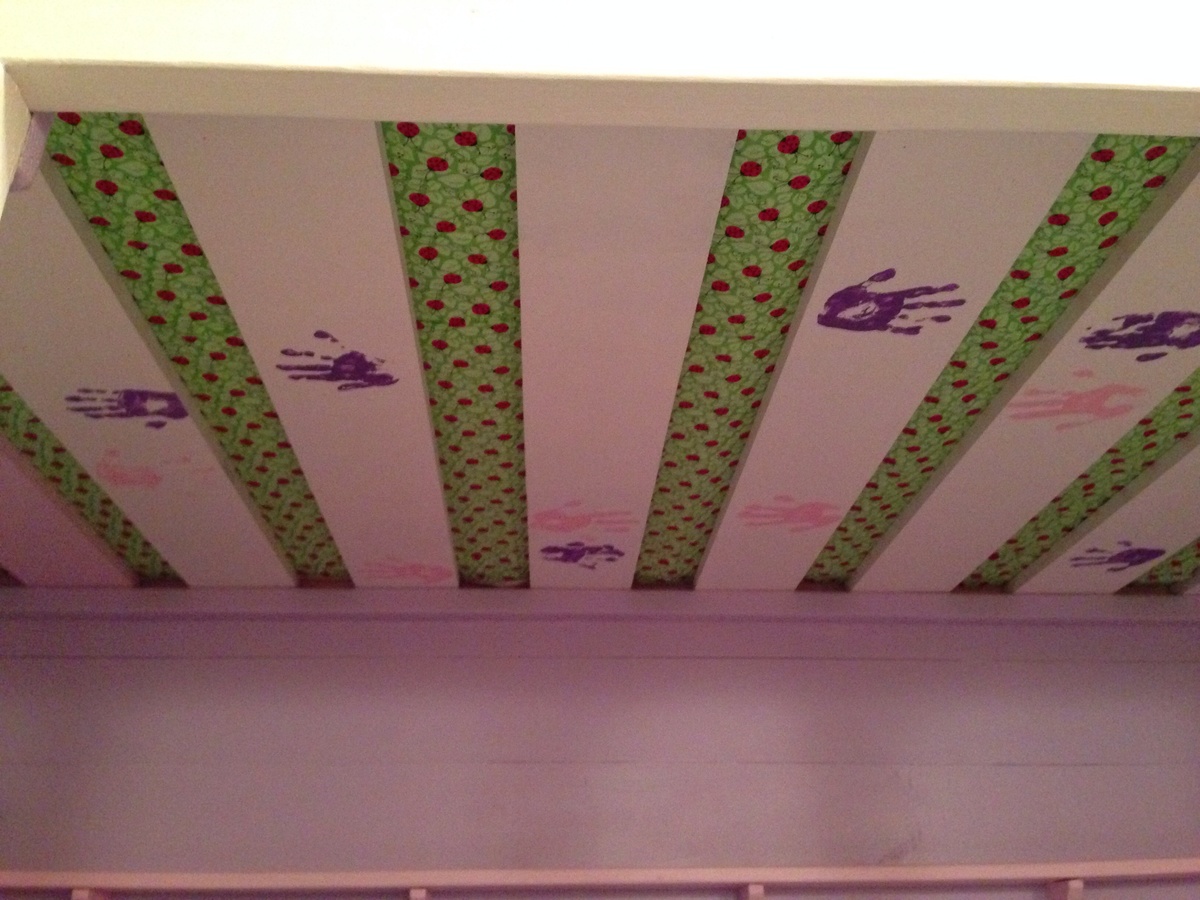
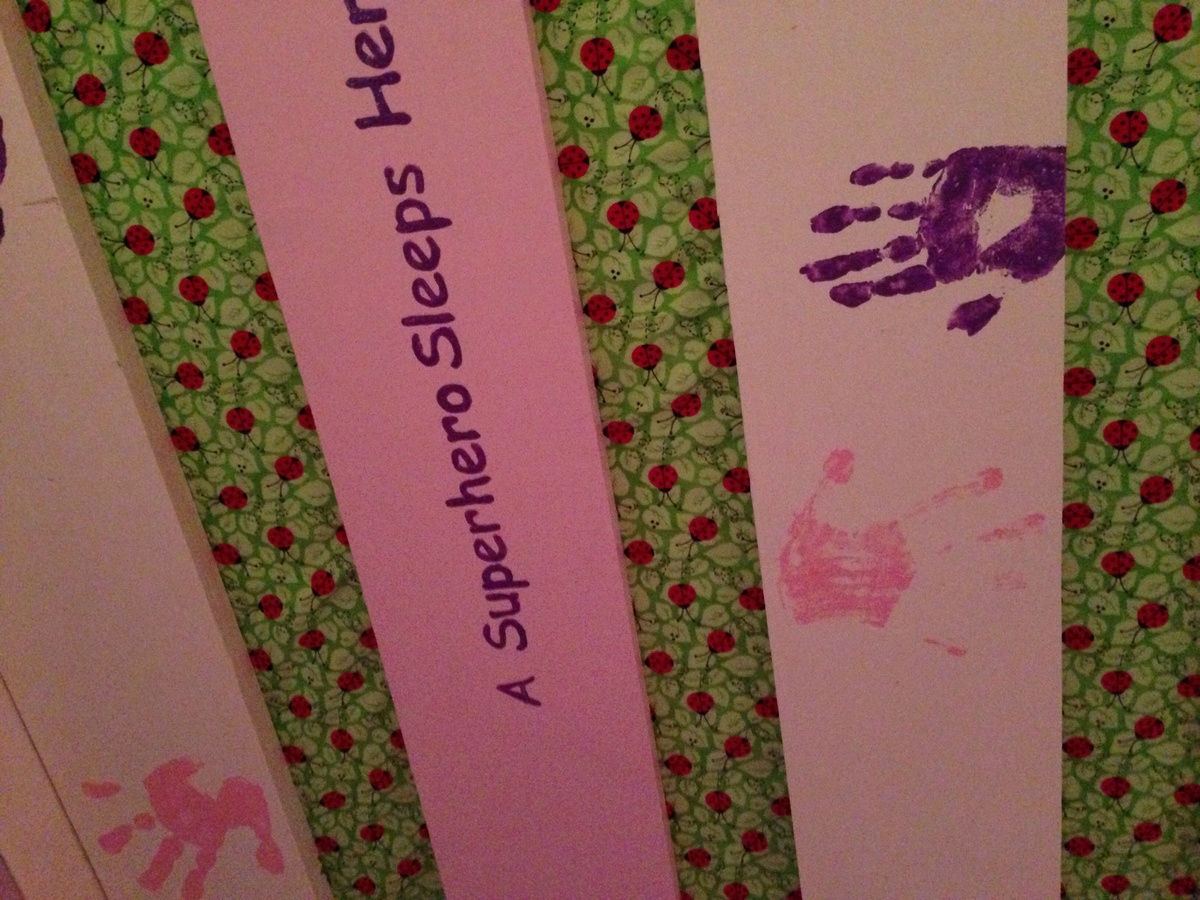
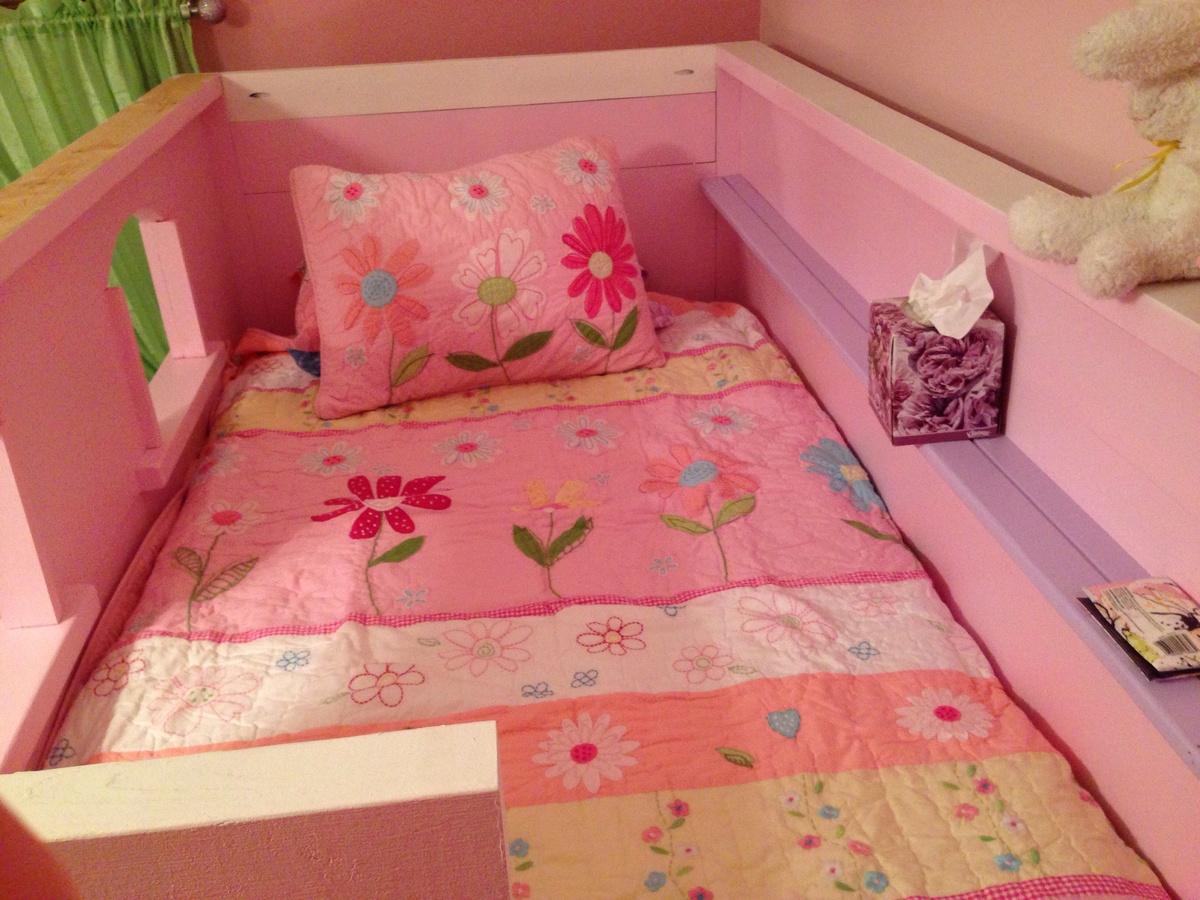
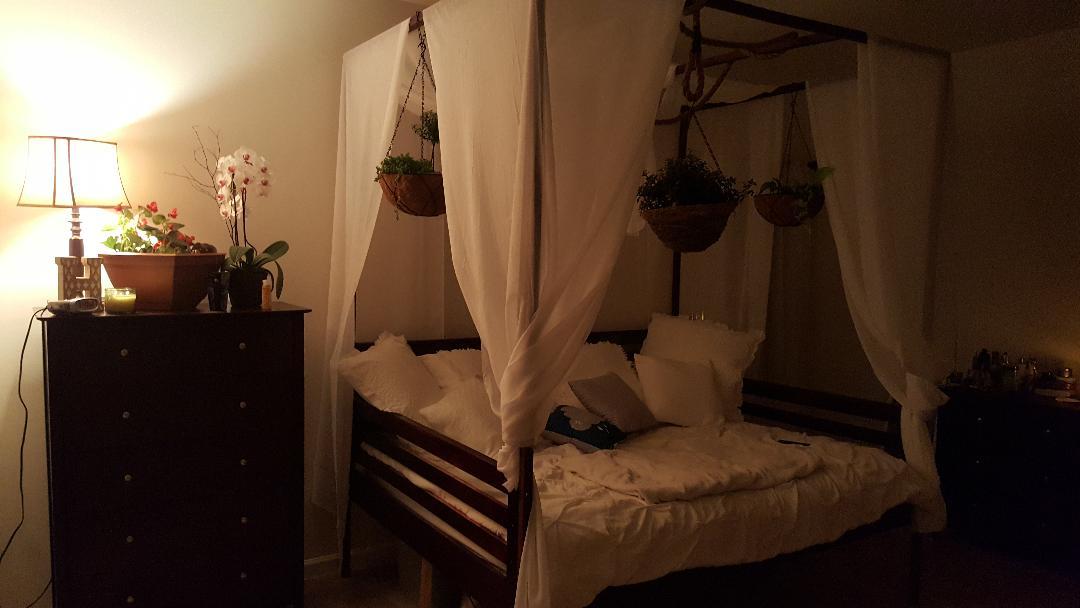
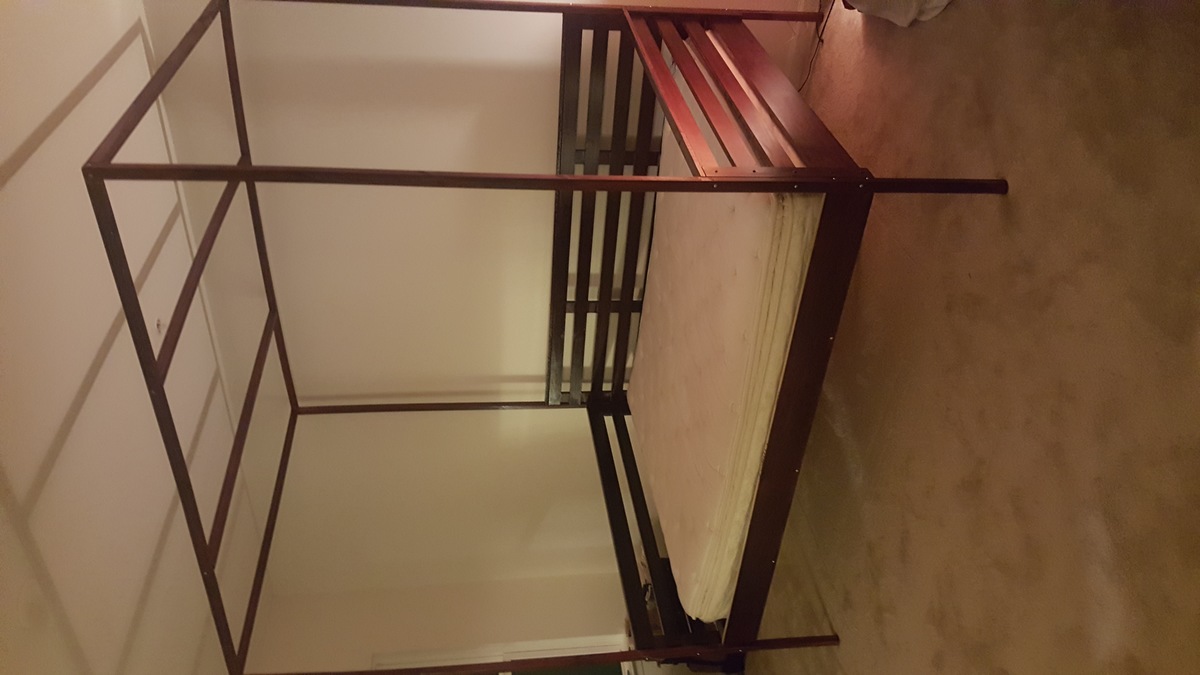
daybed converted to fit ikea kura bunk bed
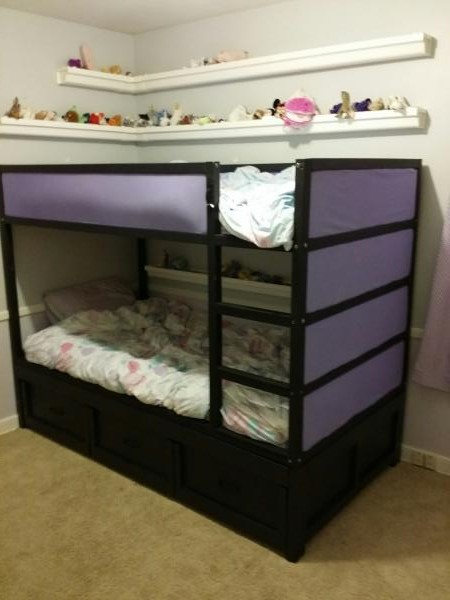
We wanted to add some storage to our Ikea Kura bunk bed. We needed to adjust the size of the day bed by a couple of inches but worked awesome. Looks like one finished bunk bed.
Adapted from Ana's mudroom in closet plans, I made this to fit the small closet when you walk into the house. I slotted it and hung wire baskets for air flow since it will be used mainly for hats and gloves which we wear more than not up here in AK. Next for the closet directly across will be a sho storage project which I'm sure I will find on here. Thank you Ana for your awesome site and work you put in.
Had to watch a few YouTube videos but got it done and very happy with how it turned out!
My son loves his tower! We didn't attempt the curved sides, but made it work by adding a door with a toy steering wheel instead :)
Fri, 10/07/2011 - 06:24
So Cute! I wish my guys were this little again - enjoy him!
Fri, 10/14/2011 - 19:16
I think the added steering wheel is a great idea!
Wed, 12/05/2012 - 18:58
I love the paint and steering wheel! I'm making this now and, first time using a jigsaw, my arches look awful! I think I'll just go with them but this was a good innovation.
Sun, 02/10/2013 - 17:57
We're actually going to drop the arches so ours will fit underneath our counter when not in use. :)
Only heating source for our house have been wood stove and some mornings we don't feel like starting a fire even if it is chilly, so we bought electric fire place. As our house is Scandinavian country romantic style, I wanted to make modern fireplace a bit more rustic.
We are missing some beams and moldings, so it looks a bit "naked" now.
More about this project you can read in my blog:
http://ourleaningtree.wordpress.com/diy/fireplace/
Hey guys,
Here's my version of the Henry Desk following Ana's plans. There are a few minor differences that were requested by my client:
- A thicker top. I used 8/4 dressed pine (basically 2x6 knotty pine) and I laminated them together.
-Smaller desk - Top 60 inches long.
-A large drawer.
-Through tenons on the right leg that I made by using a drill press, chisels and lots of elbow grease.
I used mainly glue and dowels to assemble the pieces together, but also some pocket holes here and there.
Very helpful plan Ana. Thank you!
Erika
Rustic Charm Woodshop
I made these two Ana White outdoor end tables for my patio. Next up will be the matching coffee table
Sun, 01/29/2023 - 16:04
Thanks for sharing, they will be a nice outdoor additon!
Had some scraps hanging around and thought I would try using Ana's plan to organize the mess. Wow. What a difference. So nice to build something to fit your space rather than working around a preformed, plastic or metal utensil holder. Thank you Ana!
This was my FIRST Ana White project ever! I really wanted the PB version of this desk, but didn't want to spend $1,200 (cough, cough, gag)!! I started out with Closet Maid cubbies (since I had never used a power tool - ever) just to be safe. Then, I went to Home Depot and got the MDF for the table top, and had the hubby help me figure out how much moulding to get (because it HAD to be fancy, darnit). I raised the height with 3 support boards across the top and the hubby made some feet for the cubbies. Then I attached the moulding. On the sides and back of the cubbies I used spray adhesive and paintable beadboard wallpaper! That stuff rocks! And it's really cheap at Lowe's.
I didn't get very detailed photos as this was my first project and I was so excited I didn't want to stop. Now all I have to do is fill in the nail holes and throw a coat of paint on it! The best part: The whole thing cost under $300!! AND the Ikea chair that I almost gave away fits and matches perfectly! Someday I will build matching chairs (1 for each side so I can craft with a gal-pal), but for now my craft room looks pretty awesome. Thanks Ana!!
Modified the cubby plans to just be 5 cubby's wide. My wife wanted white so I dressed it up a bit with the bead board, trim and crown moulding.
Wed, 12/30/2015 - 11:11
I love your entryway! The white is great, the moulding really makes it beautiful! Thanks so much for sharing it!
I was tired of browsing the market place and seeing the same traditional farmhouse design coming from just about everyone in the woodworking industry. It seems as though the market place is inundated in the same 4 leg, and cross support design. I designed these to go against the grain. They were my first project ever and were sold within days. They had nearly 3k views within the first 2 weeks on facebook. I am particularly proud of them.
I built this storage bench and my wife stained and painted it. It is for use at the kitchen table as well as have storage for baskets underneath. This is my 1st project I have used my Kreg Jig on. Absolutely love it!!!
Tue, 04/24/2012 - 08:54
I was thinking about building mine with the top having some over hang and like how yours turned out. Did you lay the boards on top of another piece used to make the top or where they laid on the open top and screwed to the sides?
This project was a lot of work, but was so worth it. It took my husband and myself a month of working weekends and some evenings. We have 2 little girls that adore it. I think the little touches make it perfect. We have not completed the storage boxes, but they are in the beginning stages. We did alter the plans slightly as we liked the bottom doors to open so that I didn't have a tiny hole to crawl into to make the bed. We also made the space under the tallest step a closet area to hang up all their dress up clothes. I think this is one of those great projects you can make your own.
Sun, 10/13/2013 - 12:10
I love the modifications you did on the lower bunk for easier access. And the little touches on the bed slats are fantastic. My girls say they want a bed exactly like this, nevermind that they already have it, haha!
Thu, 10/17/2013 - 08:24
We love this bed! Your plans were fantastic! Although it was a lot of work, it was so worth it. We have 2 friends now that are looking into making this bed for their girls. This bed is a dream come true. What little girl wouldn't want to have this in their room?
The plan had excellent bones, though I modified the top to hold a sink for rinsing and cleaning. It is now painted "San Antonio Rose", and resides happily in the backyard.
This is such an easy plan to make. It was my first time making ANYTHING but I was motivated by saving money. The original bed like this from a store was 1700 dollars. I did make a few beginner mistakes but figured it out. I changed some of the measurments to fit my queen size mattress and of course its for my actual bedroom and not patio... I get so many compliments!! Hope you like it.
After replacing that trashed out IKEA dresser with the fire fighter style locker in the boys room I started taking apart said dresser to put out on heavy trash day. It was then I realized that while it wasnt the BEST materials, the top and sides were actually not all that bad. As it was the piece was too wide for the space I was looking to fill, so I did a little trim of the top, replaced the supports and framing and rebuilt this into a shelving unit.
I bought a couple 1x2s to frame shelf supports and actually used the base of the drawers as a shelf.
My neighbor across the street is a DJ and has about 100 million plastic crates in his garage that he is getting rid of (they used to hold his vinyl). So I took a few and have been finding uses for them. I spray painted 2 of them red and used them as the basis for where to attach the shelves.
I also had a couple of other baskets for toys that were just the right size for the small top shelf. I just need to go back and paint those red too.
We built this console table after the rustic X coffee table and end table. We have learned from previous experience to cut the "X" last, marking them against the frame instead of measuring to cut. This time, my husband made a suggestion to leave the X's out and it was great! The console table still goes very well with the rustic X coffee table and end table, but without the X, it also fits well into other rooms we can use it for. In the end, we are very happy with the result!
Tripled the dimensions, filled with mums for the fall. Now pine boughs and fairy lights! Love!
I had a different idea for the barn door hardware. I used 1/2" black pipe and fittings for the rail . I found rollers on eBay that were perfect for this application. It went together great and I love the industrial look .
Beautiful Shiplap Fireplace By Adam Morrison
Comments
Trakrys1011
Wed, 02/03/2016 - 12:43
great idea!!
Hi i just purchased the lumber to make this following the plan from thw original day bed. Would you happen to still have the changes that you made to put it under the ikea kura bunkbed?