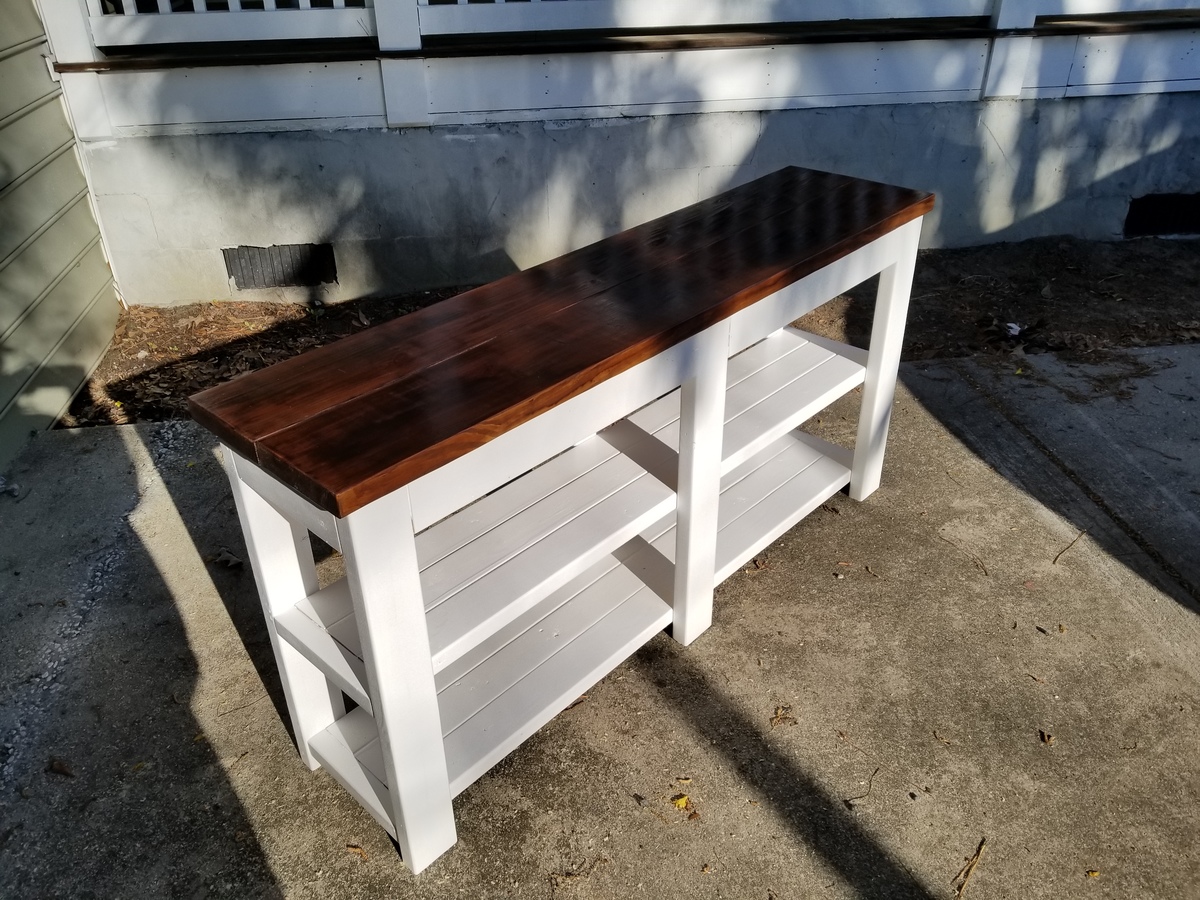
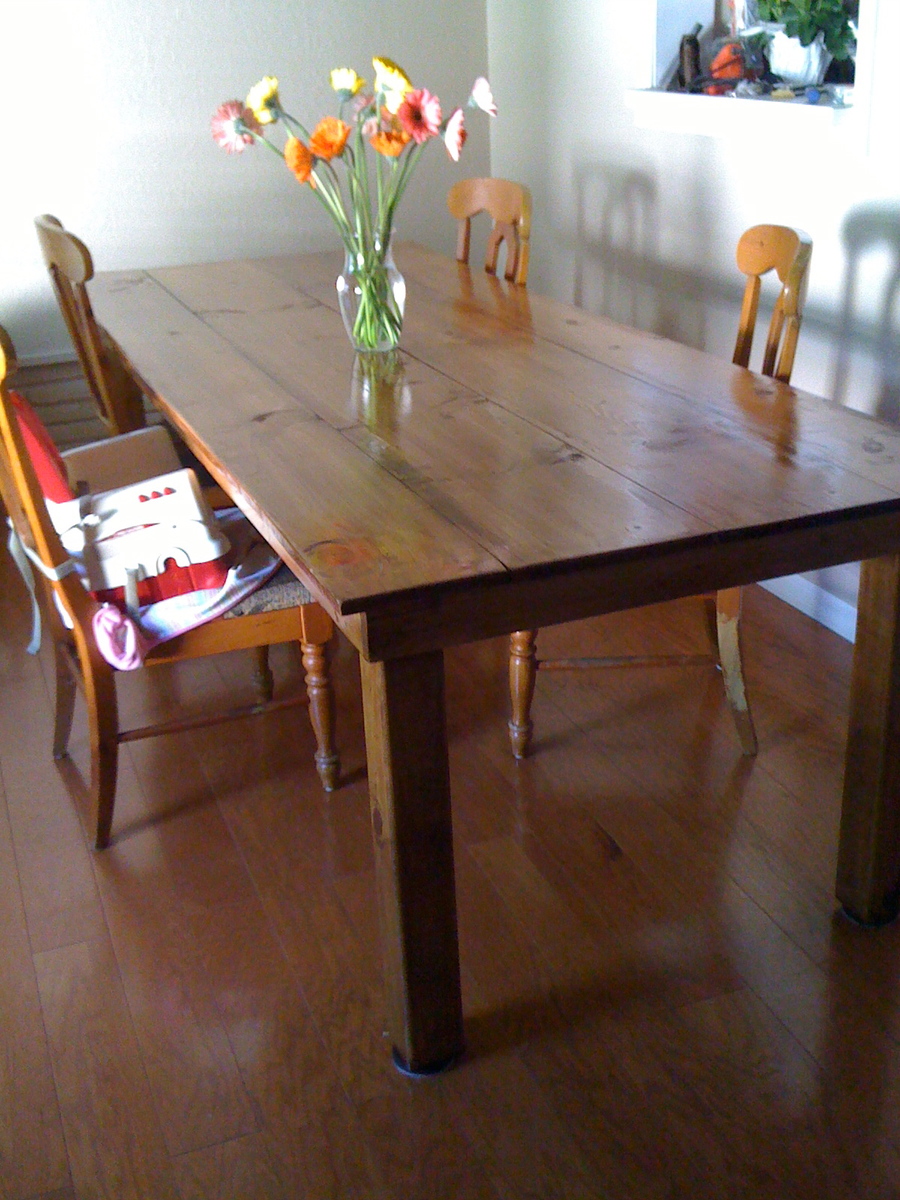
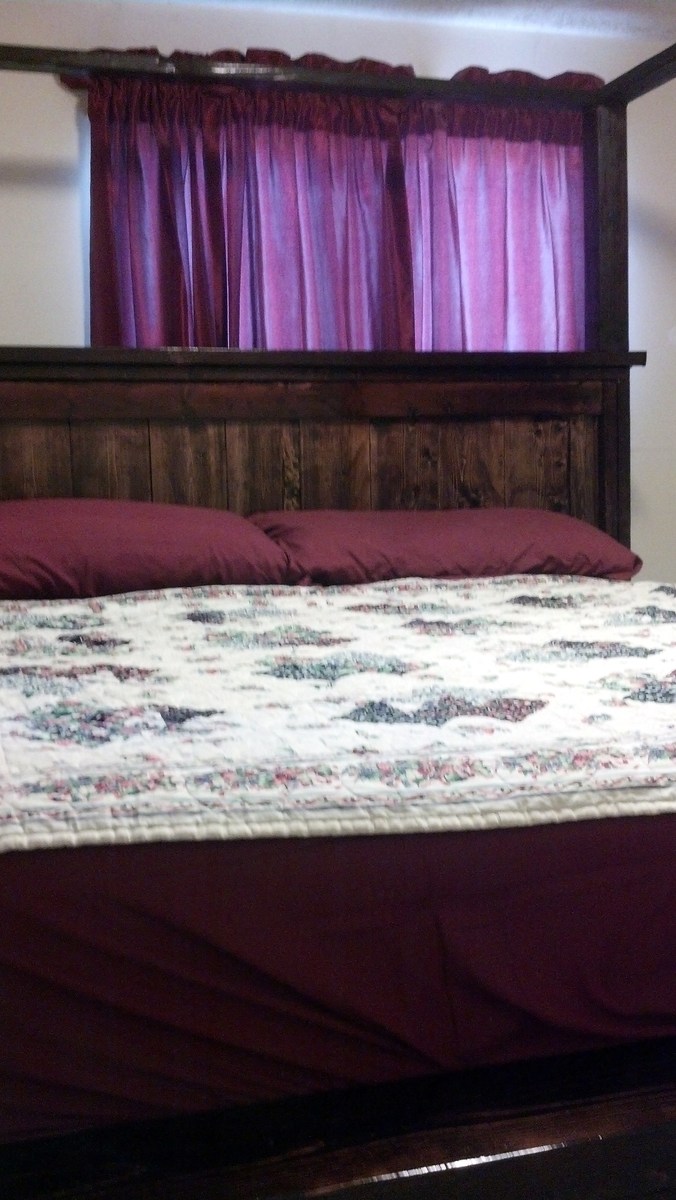
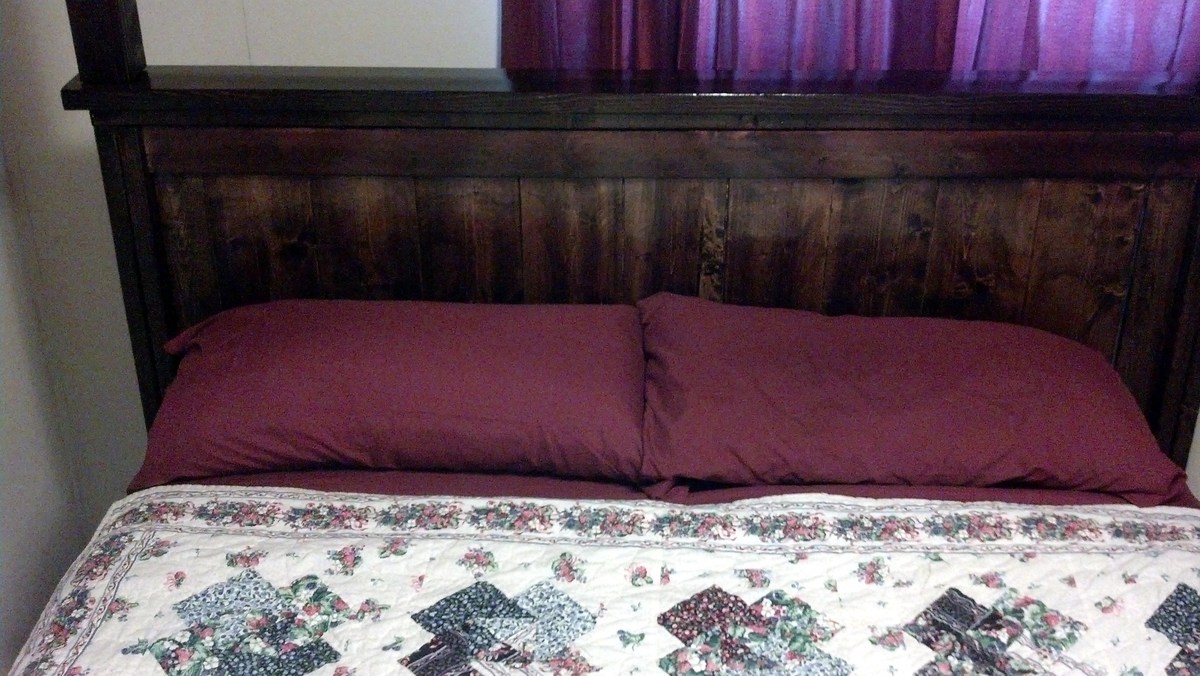
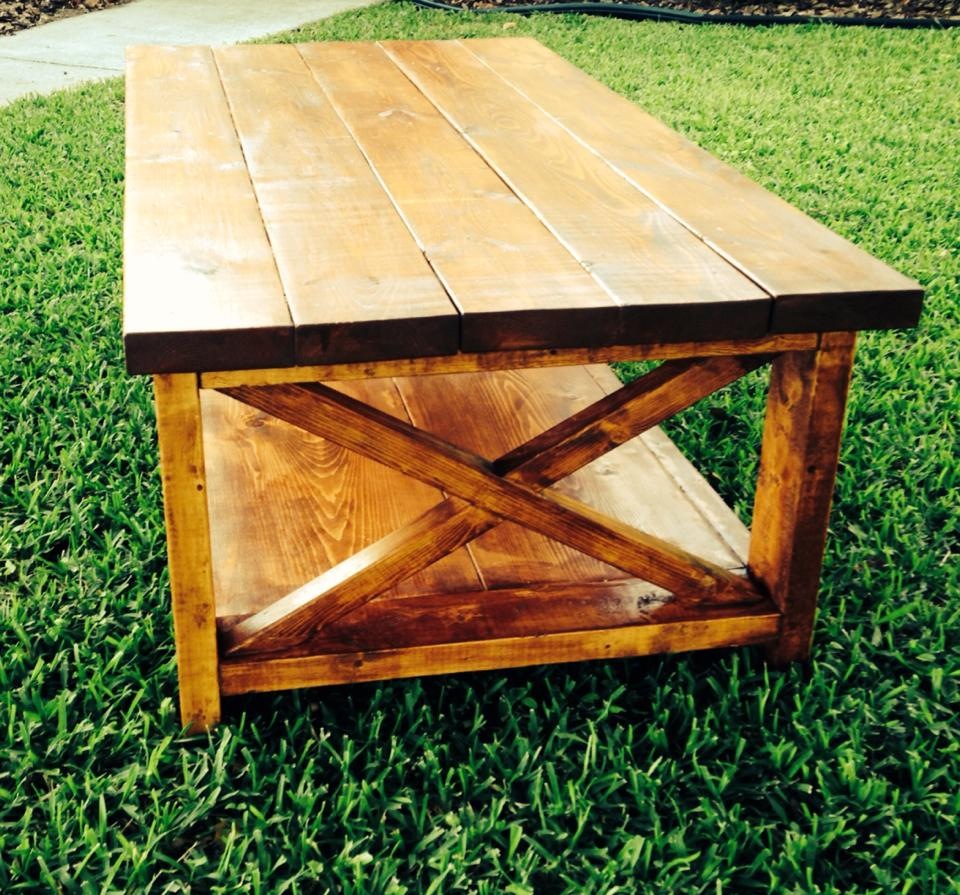
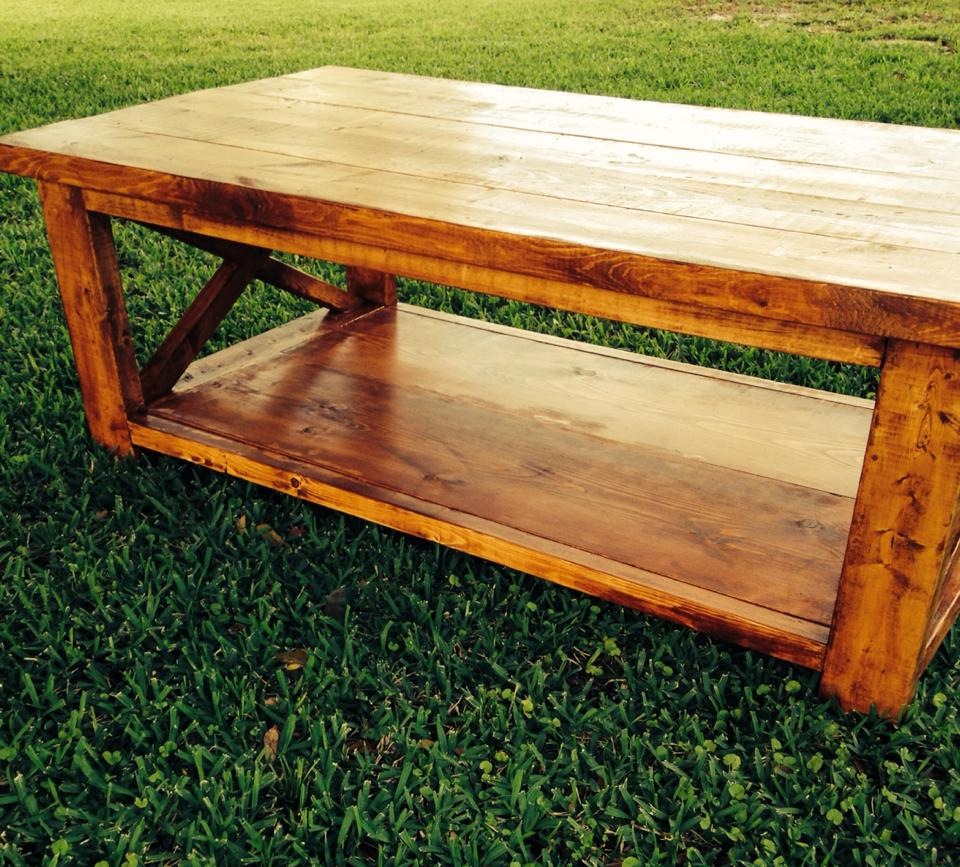
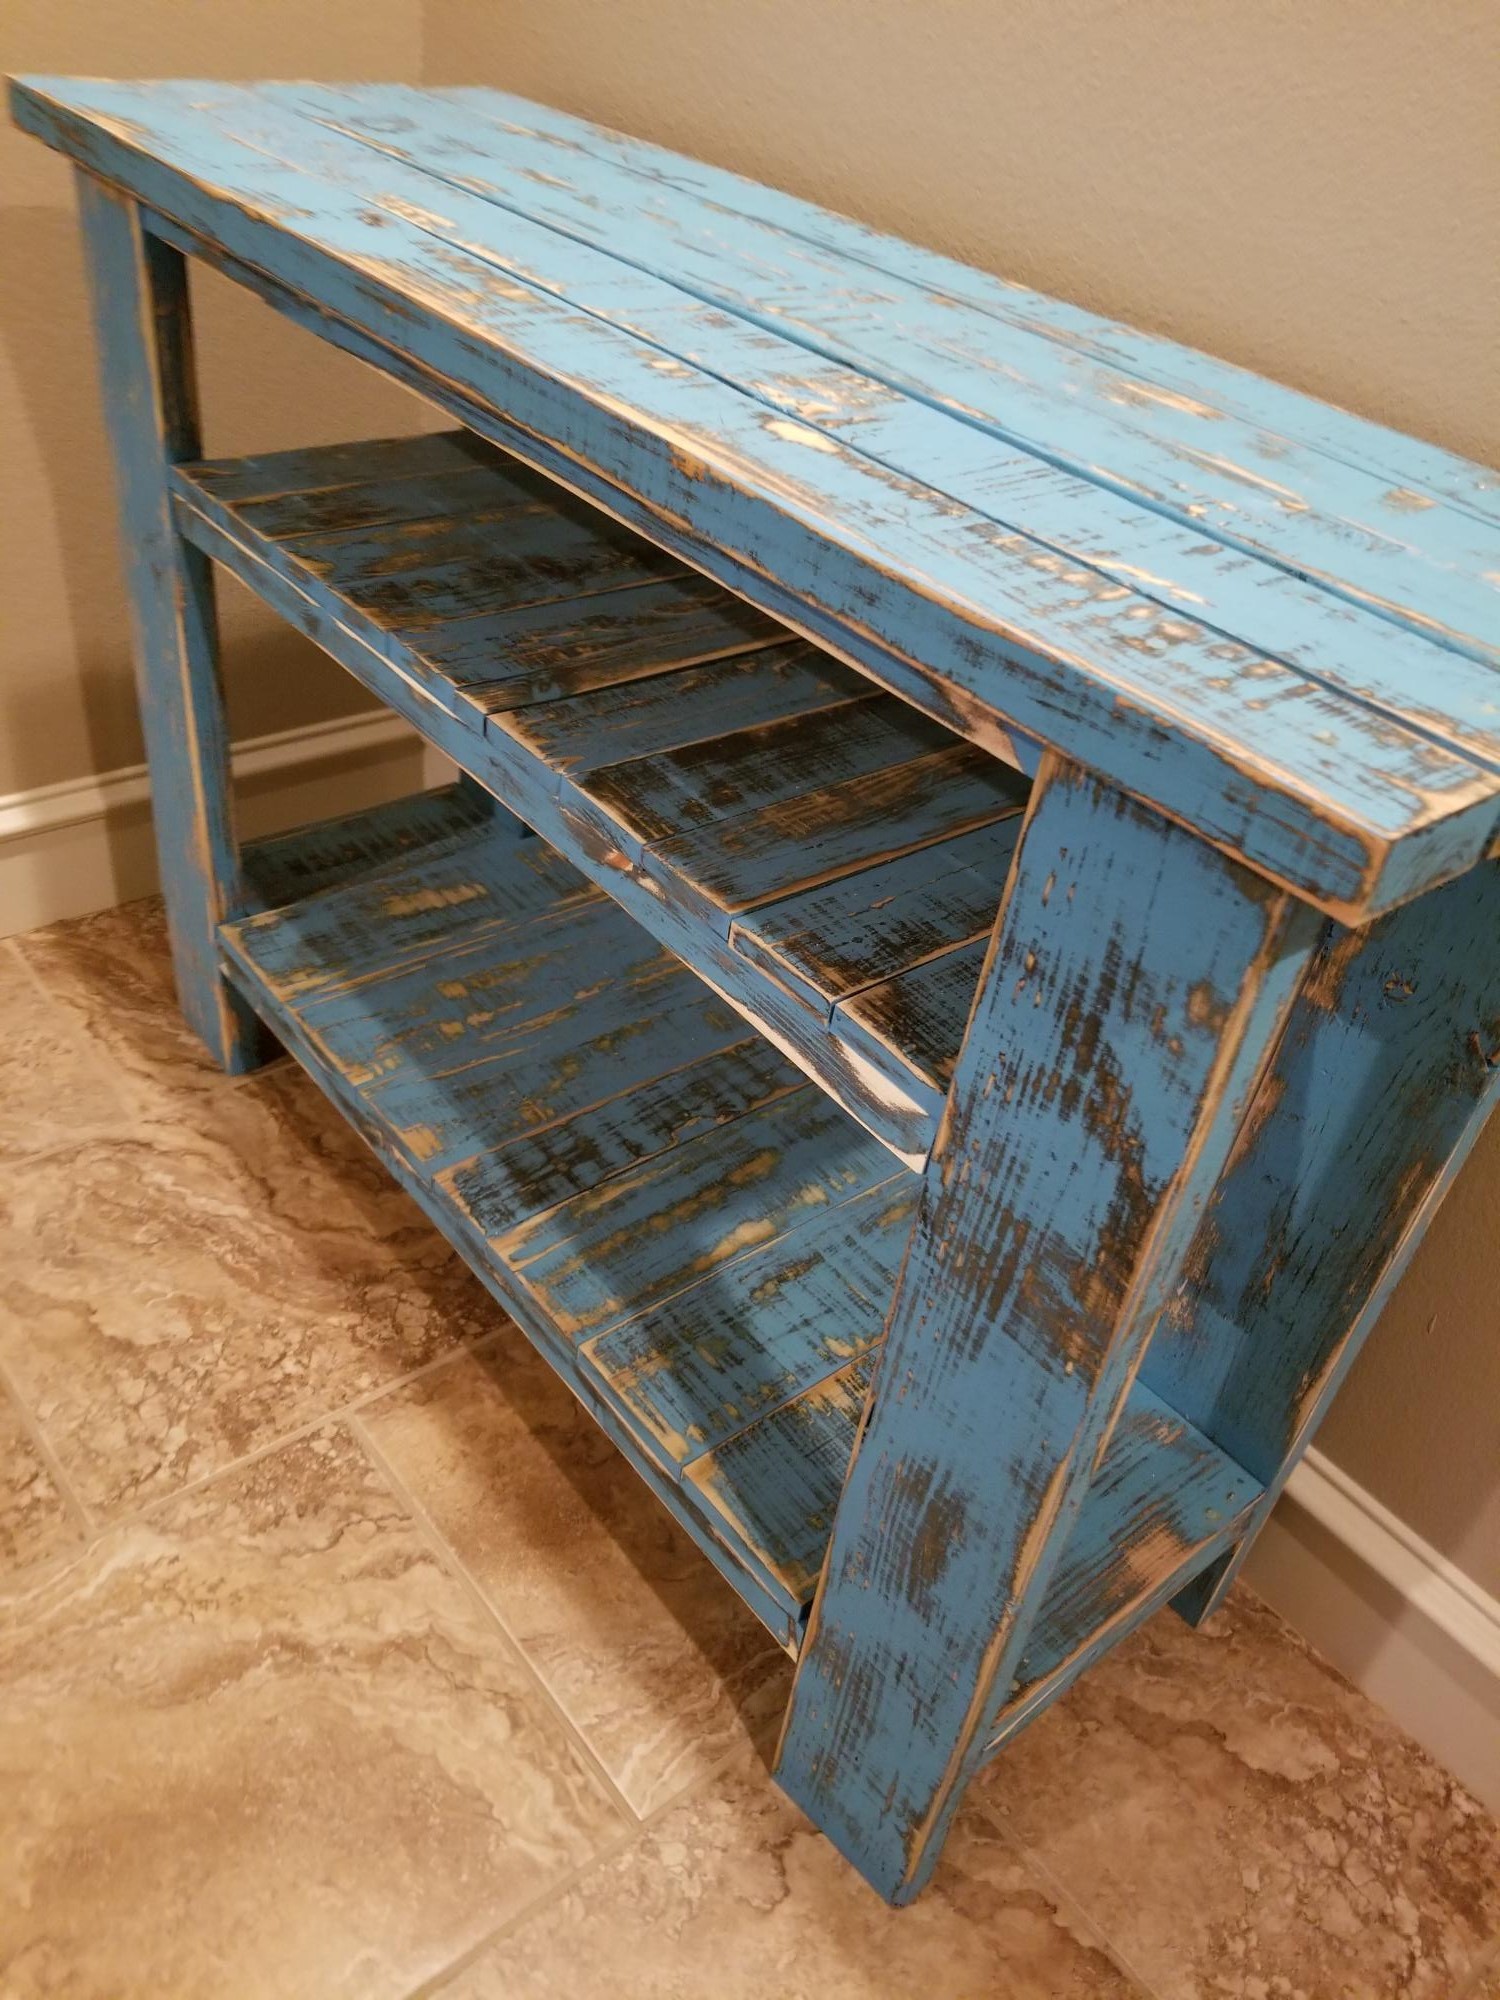
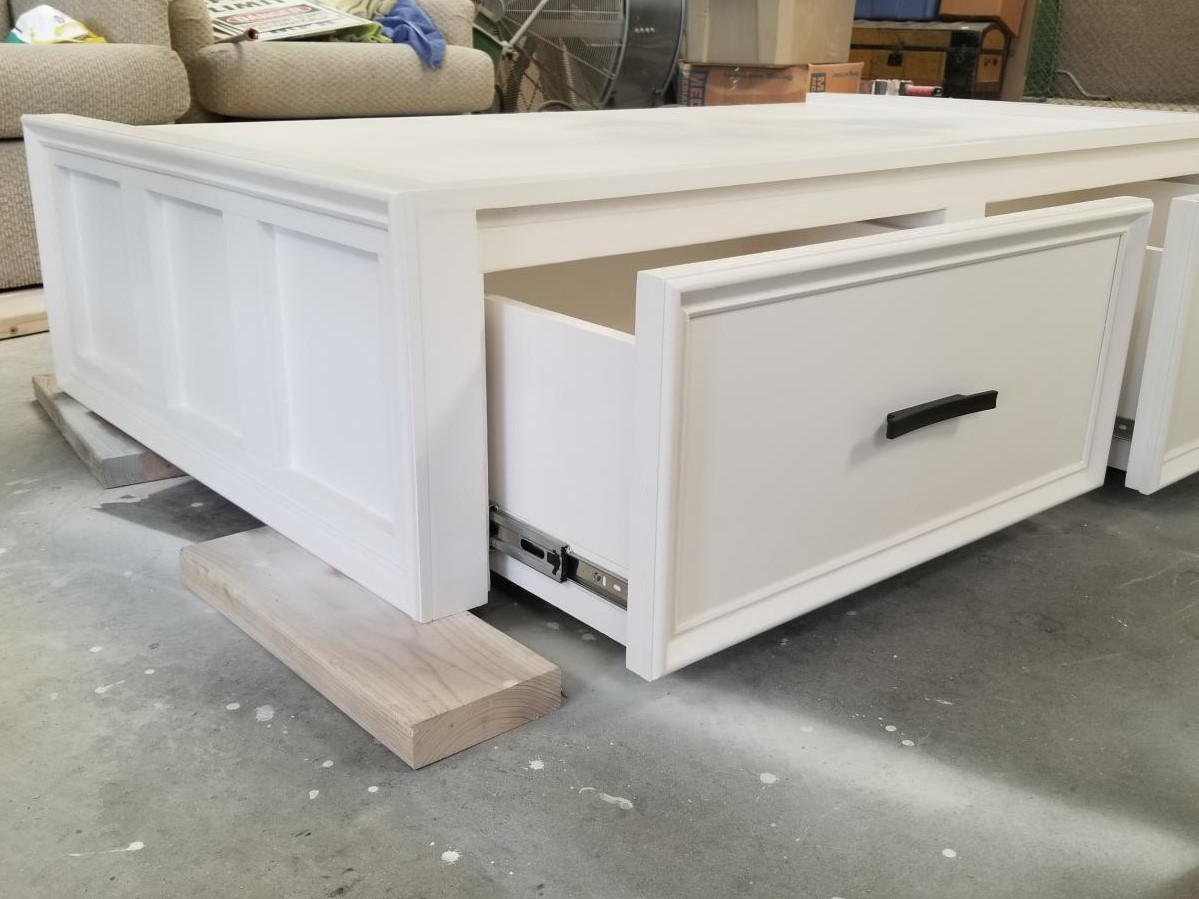
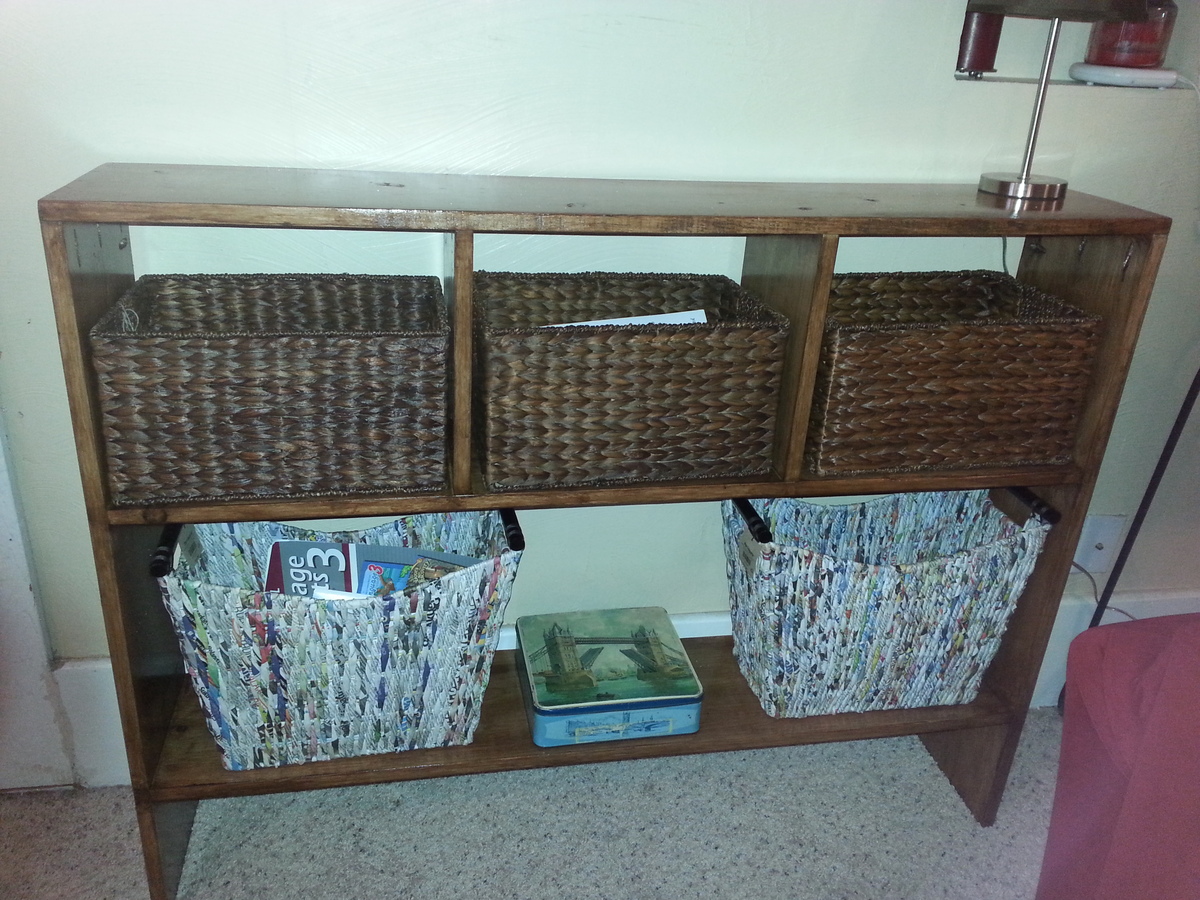
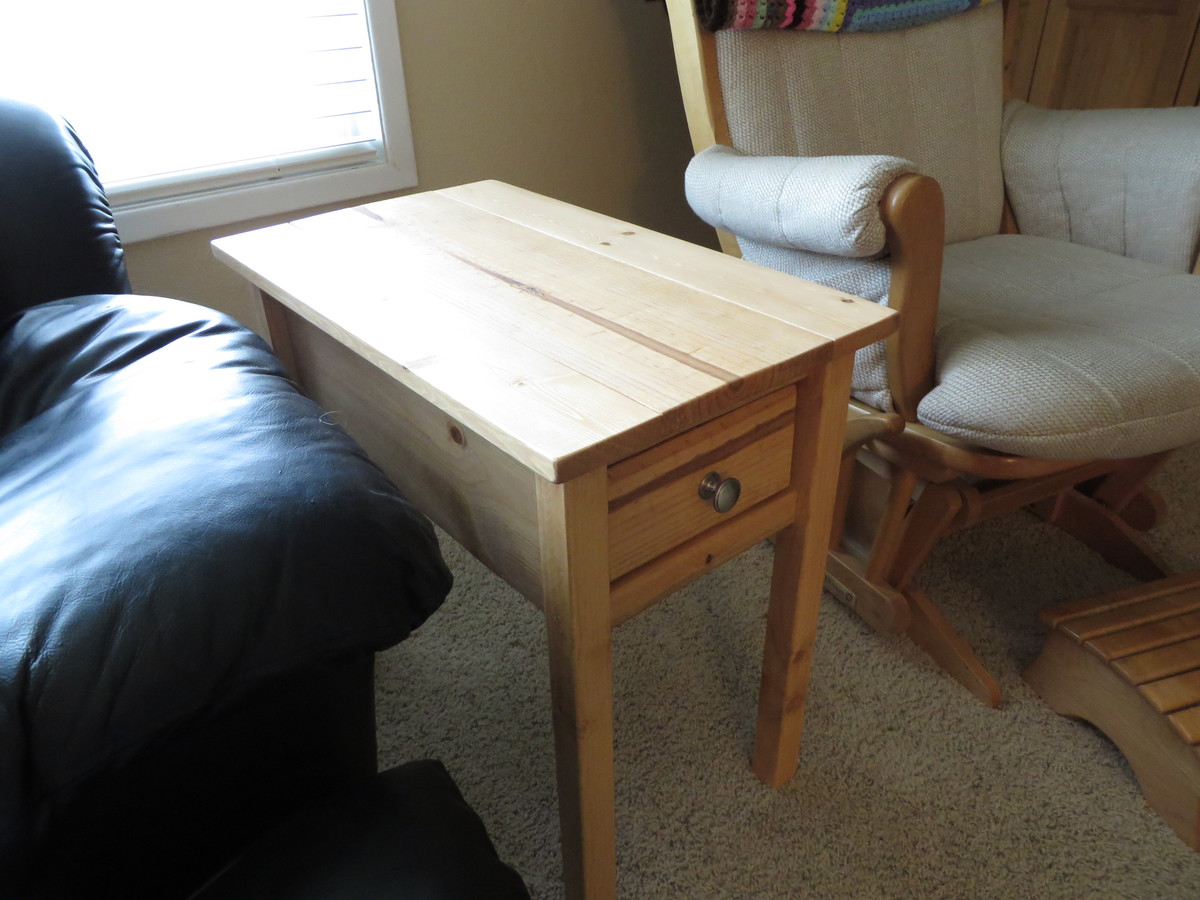
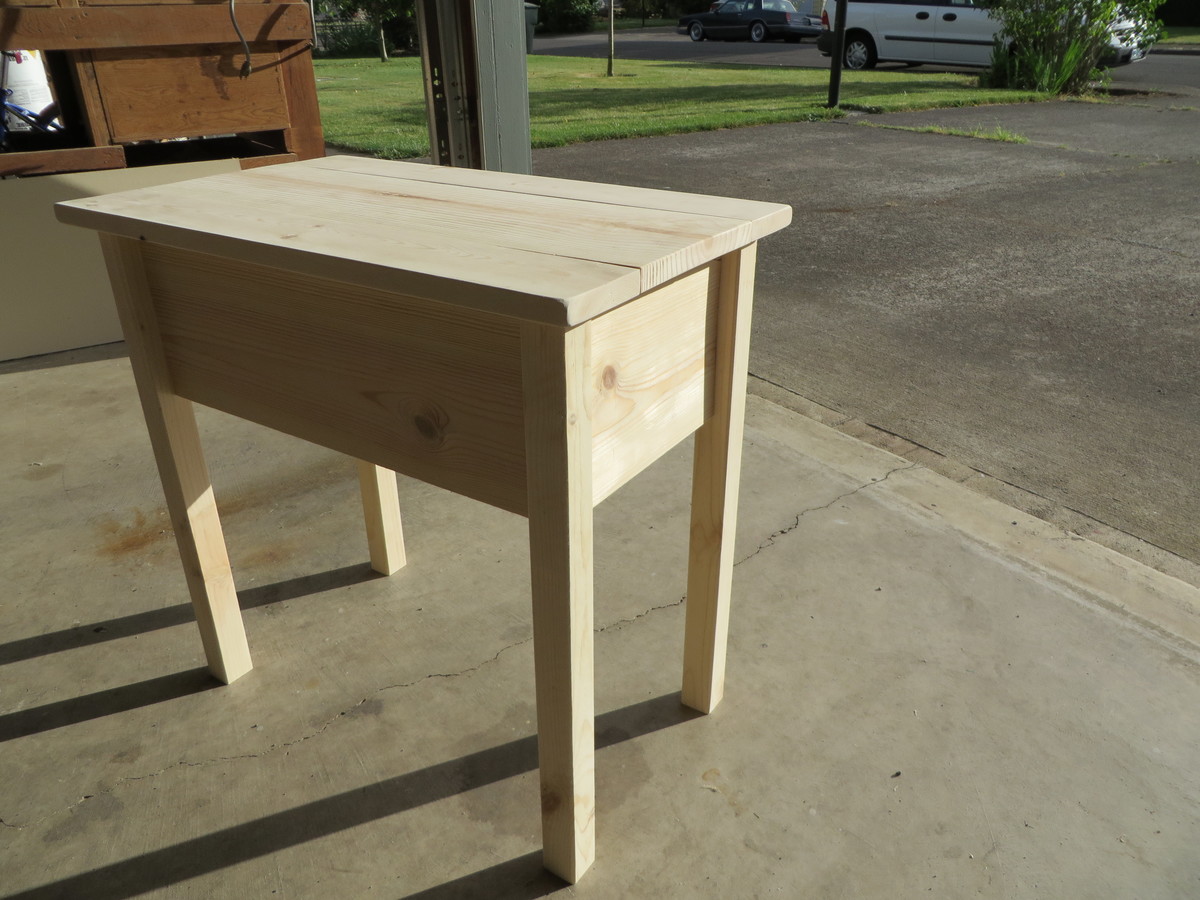
Narrow Cottage End Table

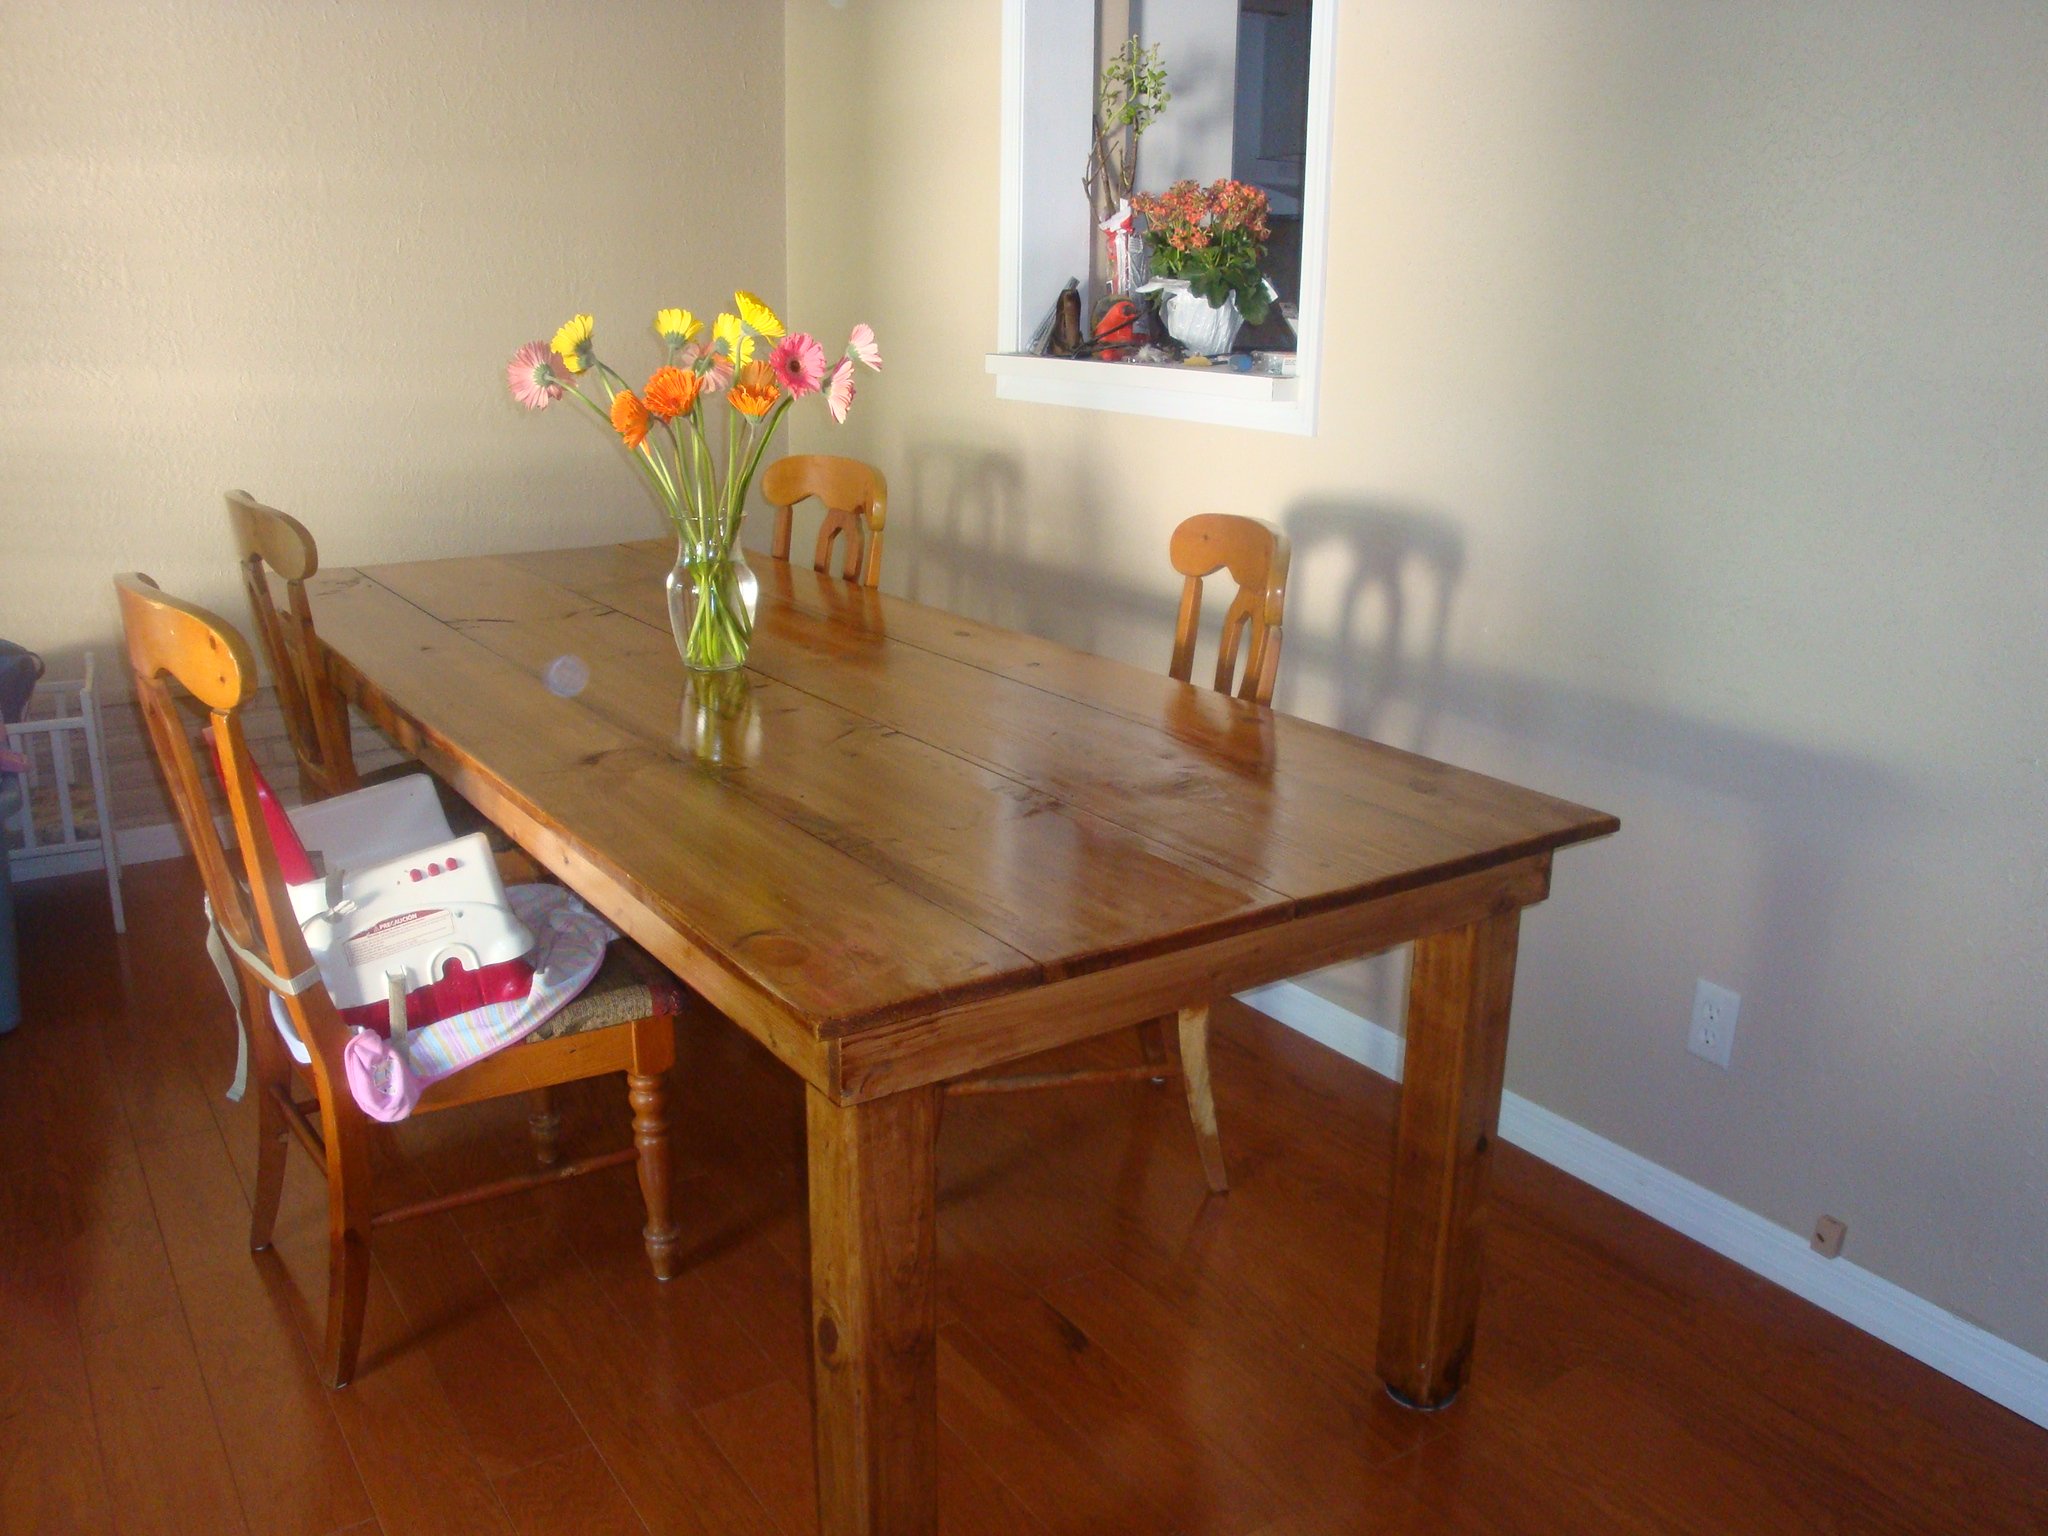
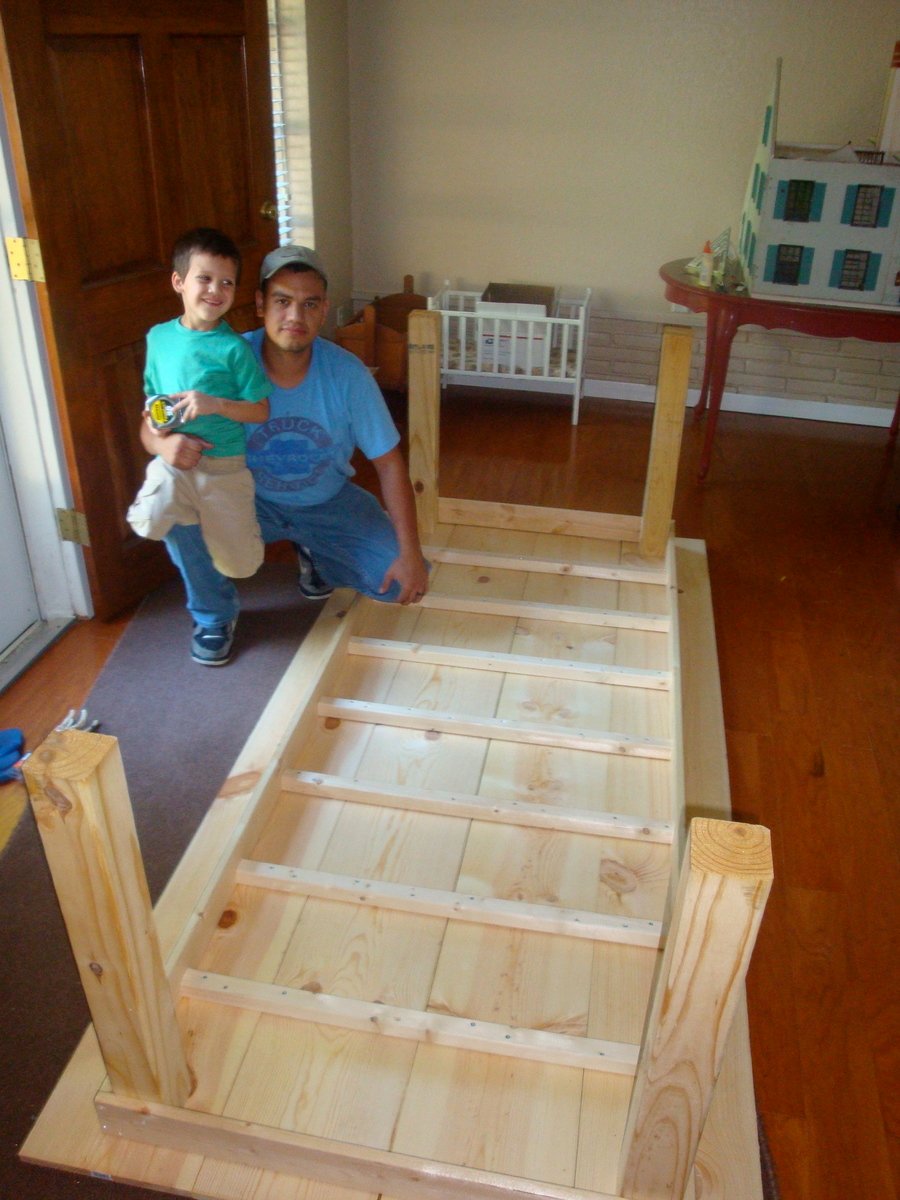
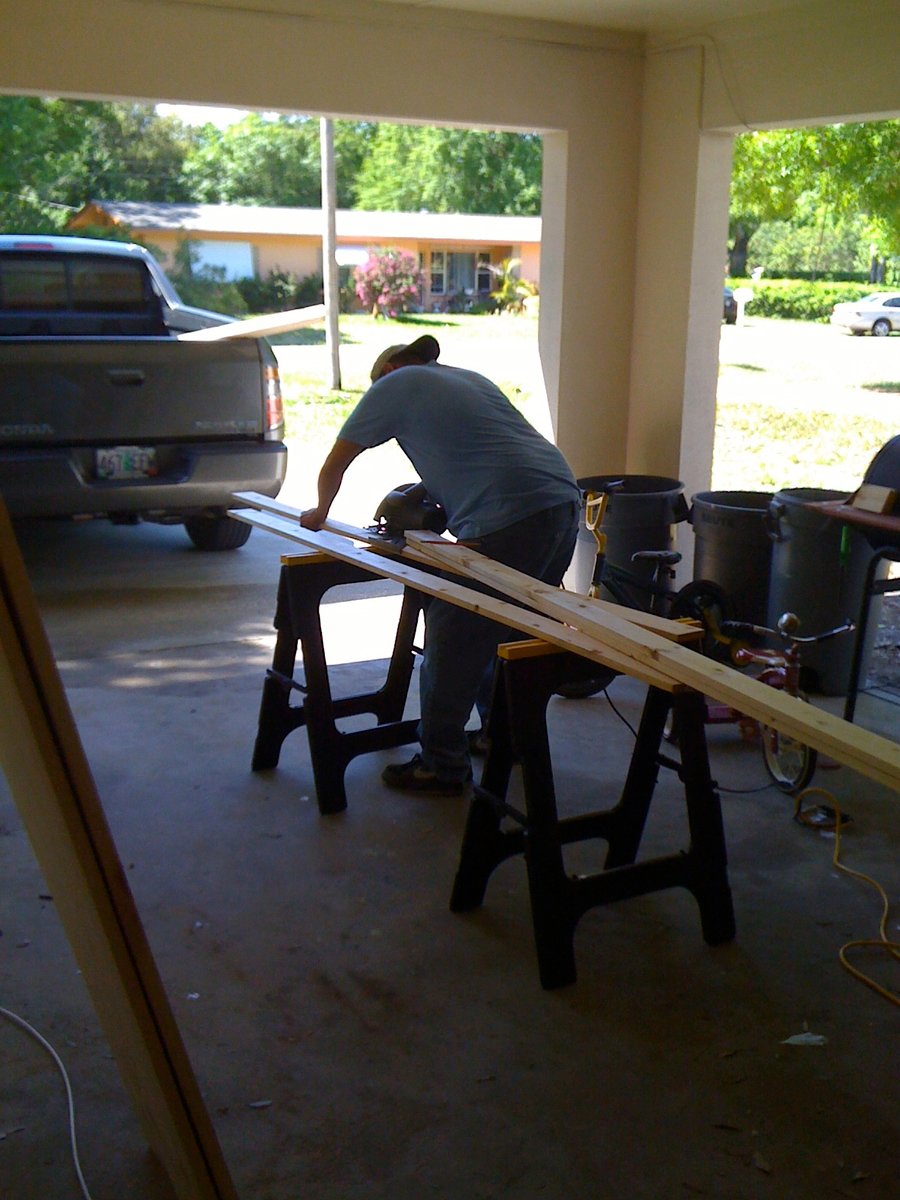
I built matching side tables using Ana's Narrow Cottage End Table plan. I changed the height to suit the arms of my furniture. They fit our tight space and look fantastic with our existing wood pieces. Very easy to build, even the drawers! I used a router to finish the edge on the drawers, to make them stand out a little more. I learned to put my pocket holes on the outside of the drawer, since the back one is in the back, and the front one is covered by the separate drawer front piece. A Kreg jig makes this a very simple project. Also, I sanded my boards before assembly, then did touch-ups before finishing the project.
Built from Plan(s)
Estimated Cost
$50 total for two
Estimated Time Investment
Day Project (6-9 Hours)
Finish Used
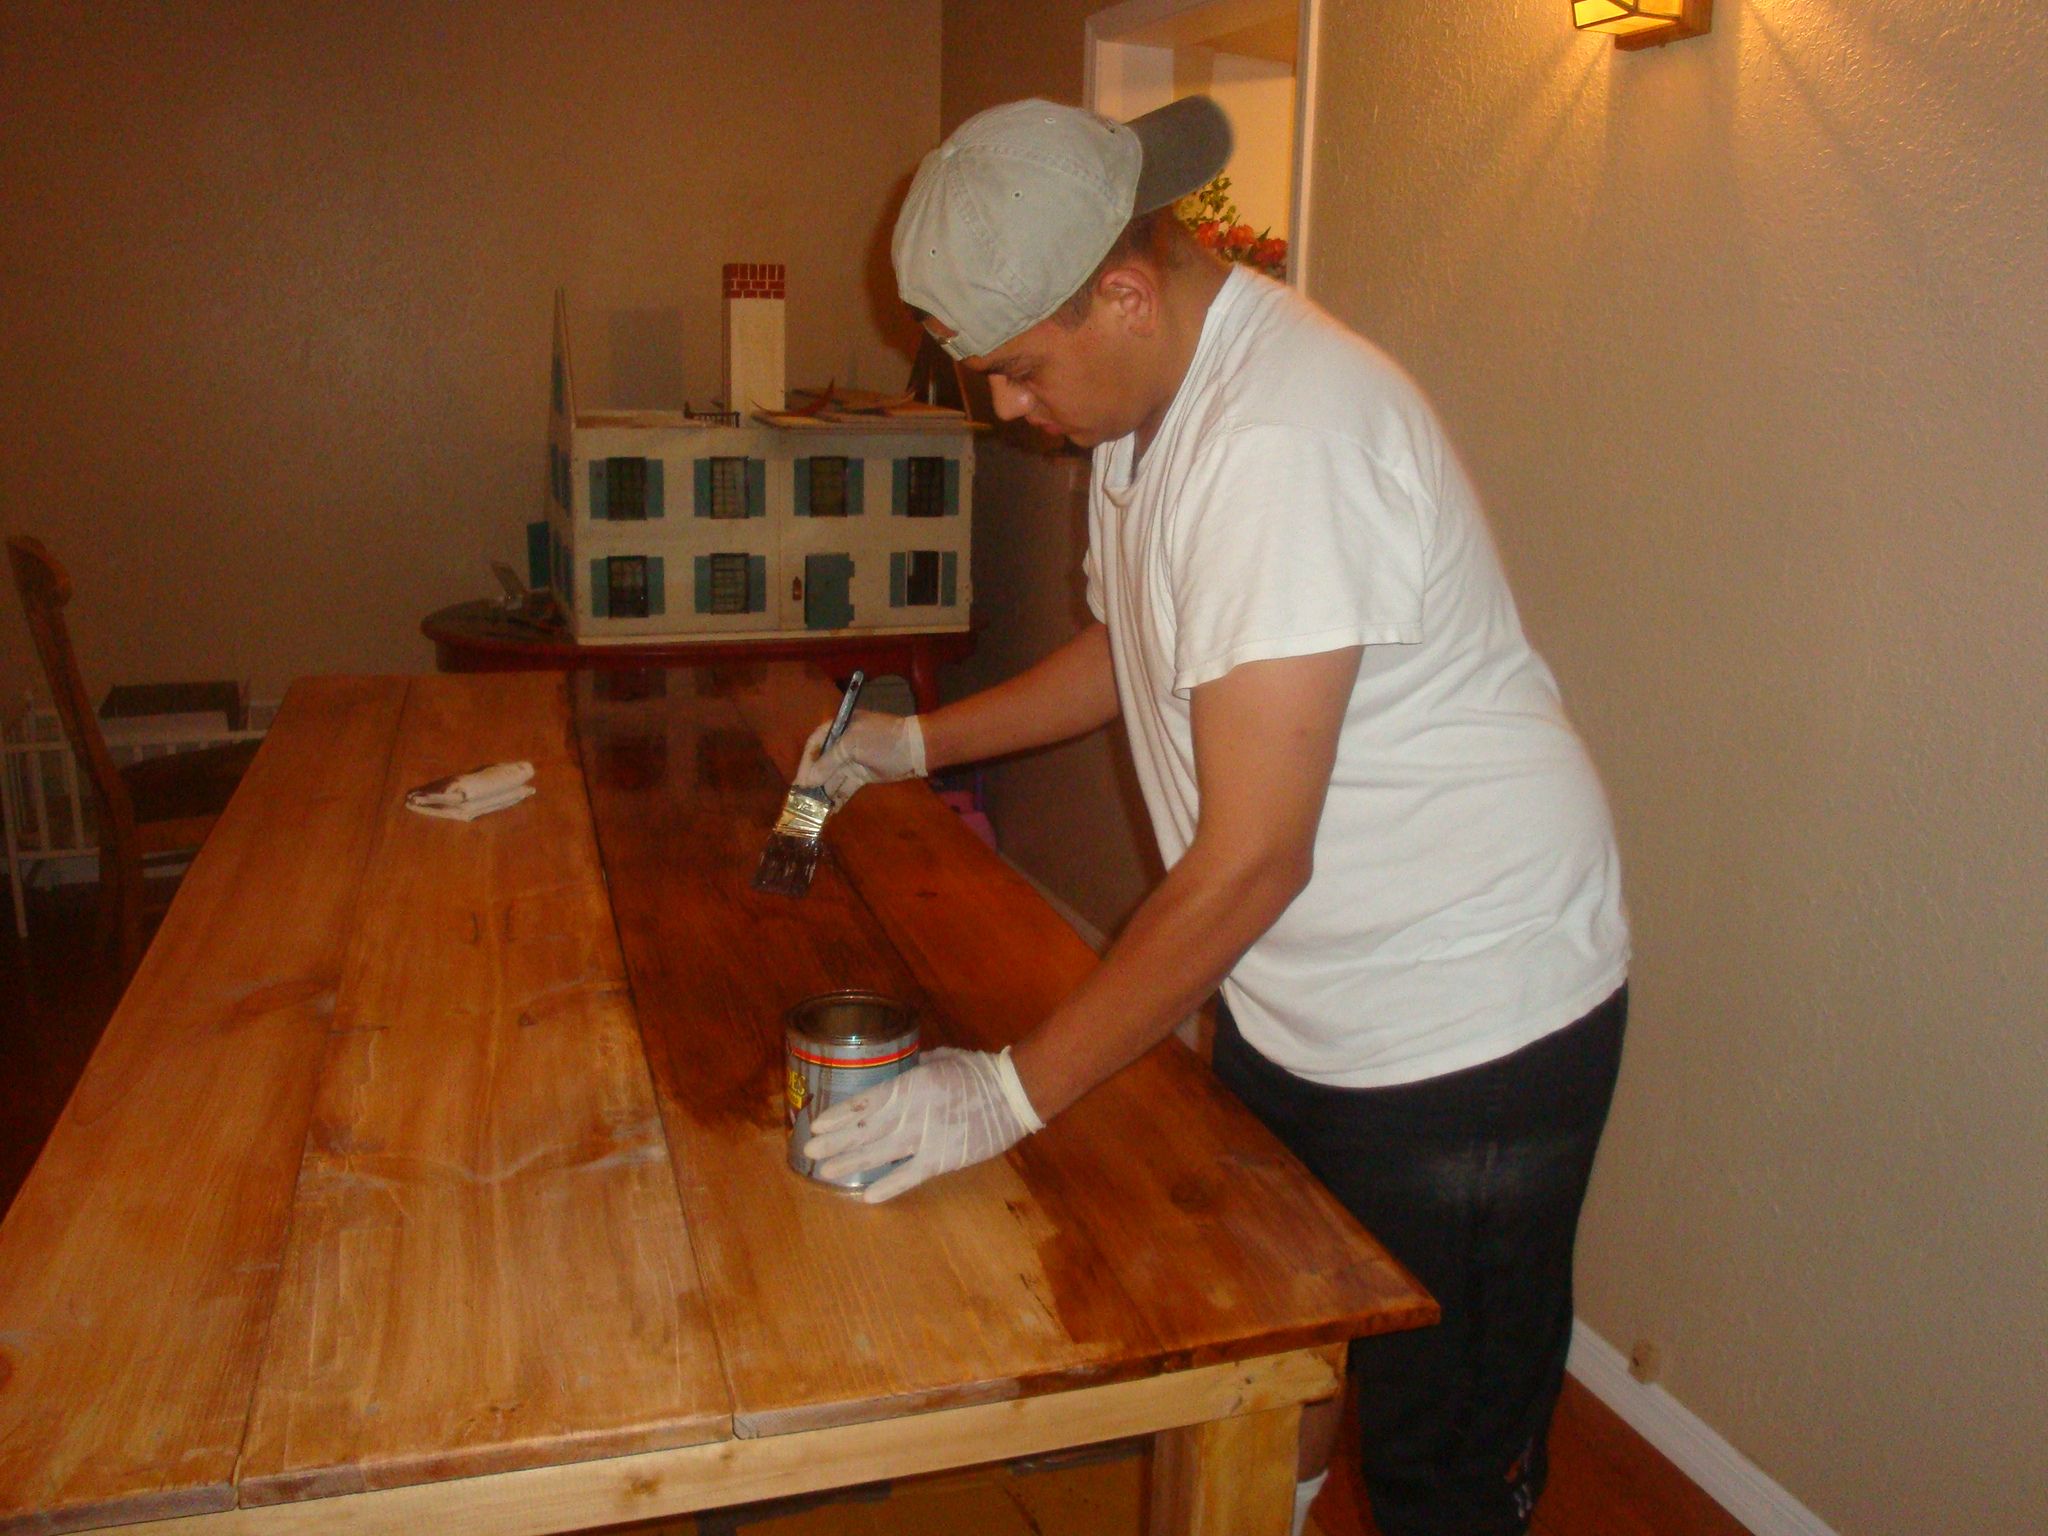
One coat Minwax Ipswich Pine Stain. One coat Minwax finishing paste, hand rubbed.
Recommended Skill Level
Intermediate