First Ana White style modern Adirondack chair
Thanks Anna, great design great plan. My first attempt at a chair. Was a lot of fun , just have to build 5 more, my wife loves it.
Bob
Duluth MN
Thanks Anna, great design great plan. My first attempt at a chair. Was a lot of fun , just have to build 5 more, my wife loves it.
Bob
Duluth MN
My sister wanted this to go with the Simple Outdoor Chairs I had built her for her birthday. I added a 2x4 between each leg to make it more stable and shortened it by one slat to fit the cushion. This was very easy to build and would make a great beginner project.
I found this plan while looking for a entertainment center, I had never built such a large piece of furniture. After reading thru plans I decided to build my first. Plans were simple, yet effective. I did make some modifications on the fly. I didn't want to go with the panel look so I replaced side panels with 1/4 plywood routered into outer legs (cleaner look than nailing to inside). Also went with glass doors(partially frosted to hid junk stored inside). I deleted the drawers and placed shelfs instead for tv components.
My advice to anyone making this is to be really careful when building main frame of cabinet and check square-ness several times and when applying wood strips around door jams careful measuring openings for consistency top to bottom and side to side. This will make hanging doors much easier. I learned the hard way, had to make some adjustments when hanging door. Also have hinges you plan on using on hand so as to measure thinkness of desired hinge to check clearance of door.
July 2016: We recently moved and the corner cupboard we purchased several years was too tall for the new house. I needed a new storage solution for our kid's arts & crafts, games, and funny business materials. Of course, Ana and her corner cupboard saved the day! Thank you! The kids have a great place to store their business and mom and dad can finally recycle all of the cardboard boxes stacked dangerously in the corner.
Our corner cupboard was adapted from Ana's Corner Cupboard plan. The height was increased to 84", adjusted the dimensions for increase heights including the shelf spacing, doors on top and bottom to hide messes, used 1x12 for spine of the cupboard and shelves.
Thank you Ana!
I built this for our two year old, who absolutely loves it. We really like the rustic look, and it's a very sturdy bed. This is a weekend project if you don't have young children. If you do, and you have limited free time like we do, it's more like a month-long here-and-there project ;) Try to get the flattest boards possible, so you don't have to spend a lot of time jointing and planing to correct any twists or warping. We chose to mount the step a little higher than Ana's plan, but aside from that everything is to her plan's spec. Thanks for the great plan, Ana!
Well, it's not a barnyard play set, but there are farm animals in it. This is my wife's nativity set that her late sister made. Never had a barn till yesterday. All scraps from my shop. Keep the plans coming!
mccabechristopher
I have been redoing furniture for quite some time, but had never actually thought of making my own furniture, until I ran across Ana's blog. Now I am so addicted! My husband is very handy with his tools and can follow plans fairly easily (unlike me) so I definitely had to enlist his help with this project. We are stationed overseas in Germany so our project costs us a bit more than it would have if we were stateside, but still quite a bit cheaper than purchasing the similar one at Pottery Barn.Since it was our first project it did take us a bit longer than normal, but still easy enough to do. I absolutely love how this turned out and now my husband and I are ready for our next project of a rustic console table that we made our own plans for.
I have boys that share a room and we needed some sturdy twin beds. My wife looked online and found some on potterybarn.com or crateandbarrel.com for $425 each and that's before shipping. I told her I could make them for half that. The plans were pretty straight forward. The finishing (sanding, sanding and more sanding - then painting) was the hardest and longest part. I would recommend an electric palm or disc sander. It will be your best friend. I used 100 grit and then moved to 120 to sand all of the wood. I did this after I made all of the cuts and before I assembled. Seemed to make it easier. We decided to paint them to go with the colors in the room. The bed is very heavy and sturdy. I made both beds at the same time, which cost me right at $300. Clock hours was about 20-22 from beginning to end and it took me a little longer than a weekend since I was working around weekend soccer games and birthday parties.
This was such a fun build and a wonderful addition to my Christmas collection.
Beth Belflower
My girls wanted a bunk bed badly! I was shocked to see the prices shopping around at local furniture stores. So I made one :)
Bed is constructed with all pine wood and stained with Kona color stain. I added a few fun things like a window and a tent on top. These were really simple. Email me if you have any questions.
These potting benches were so fun to make! The plans are well-written and easy to follow. My friend and I had a blast!
My wife loved the x-pattern of the eatherly sofa and also wants an L couch for our deck. Still have to sand and paint but that is her job :)
My First Build!!
Wanted a nice big table, but couldn't find one in local stores. Decided to build one after seeing a small tiled table at Home Depot. This is my first project like this. I am a network engineer not a carpenter, but the table turned out great.
Thu, 06/28/2012 - 17:49
could'a fooled me! The table looks amazing!
Fri, 06/29/2012 - 06:14
This is my first ever project like this... but I just found out that I like doing this kind of stuff.
Already have some more ideas in mind, and once the weather cools down from the upper 90's we are having right now, I will probably do many more projects.
I made it wider than the plan and use it in my bathroom for storage. Its pine and cedar.
We decided to adjust this plan by removing the stretchers on the bottom. We knew we wanted to use the ends of the table for seating fairly regularly without adding a leaf on the end. The lack of support doesn't seem to have any effect on the sturdiness of the table. This was a super fun (and first woodworking) project! Can't wait to knock out the bench!
Prior to making this table I had never used a power drill in my life, and I was scared to death. I was intimidated by the power and scared to death to mess up, and in making this table I messed up A LOT! It was a big undertaking but I was determined. It’s rustic and authentic and full of mistakes and I LOVE IT!! Thank you Ana for modeling how to make such wonderful things. Up next is the raised flower bed.
Built this loft bed for my girls playroom! They love it.
I built this caddy to celebrate a 4th birthday party for a sweet little girl. I used pine scraps, painted it with some leftover pink paint, and then created some name artwork and a little logo with her initial. I made the art on my computer (in Adobe Illustrator) held up a piece of notebook paper to the screen and traced it with a pencil. Then I held it on my caddy and used a mechanical pencil with the lead down to press the indent into the wood. Filled that in with a silver paint pen and traced it with a fine tip black sharpie. Then filled each cubby with a large mason jar from Walmart (about 50 cents each) and filled them with art supplies. It turned out so cute! And it's a great way to use up some scraps.
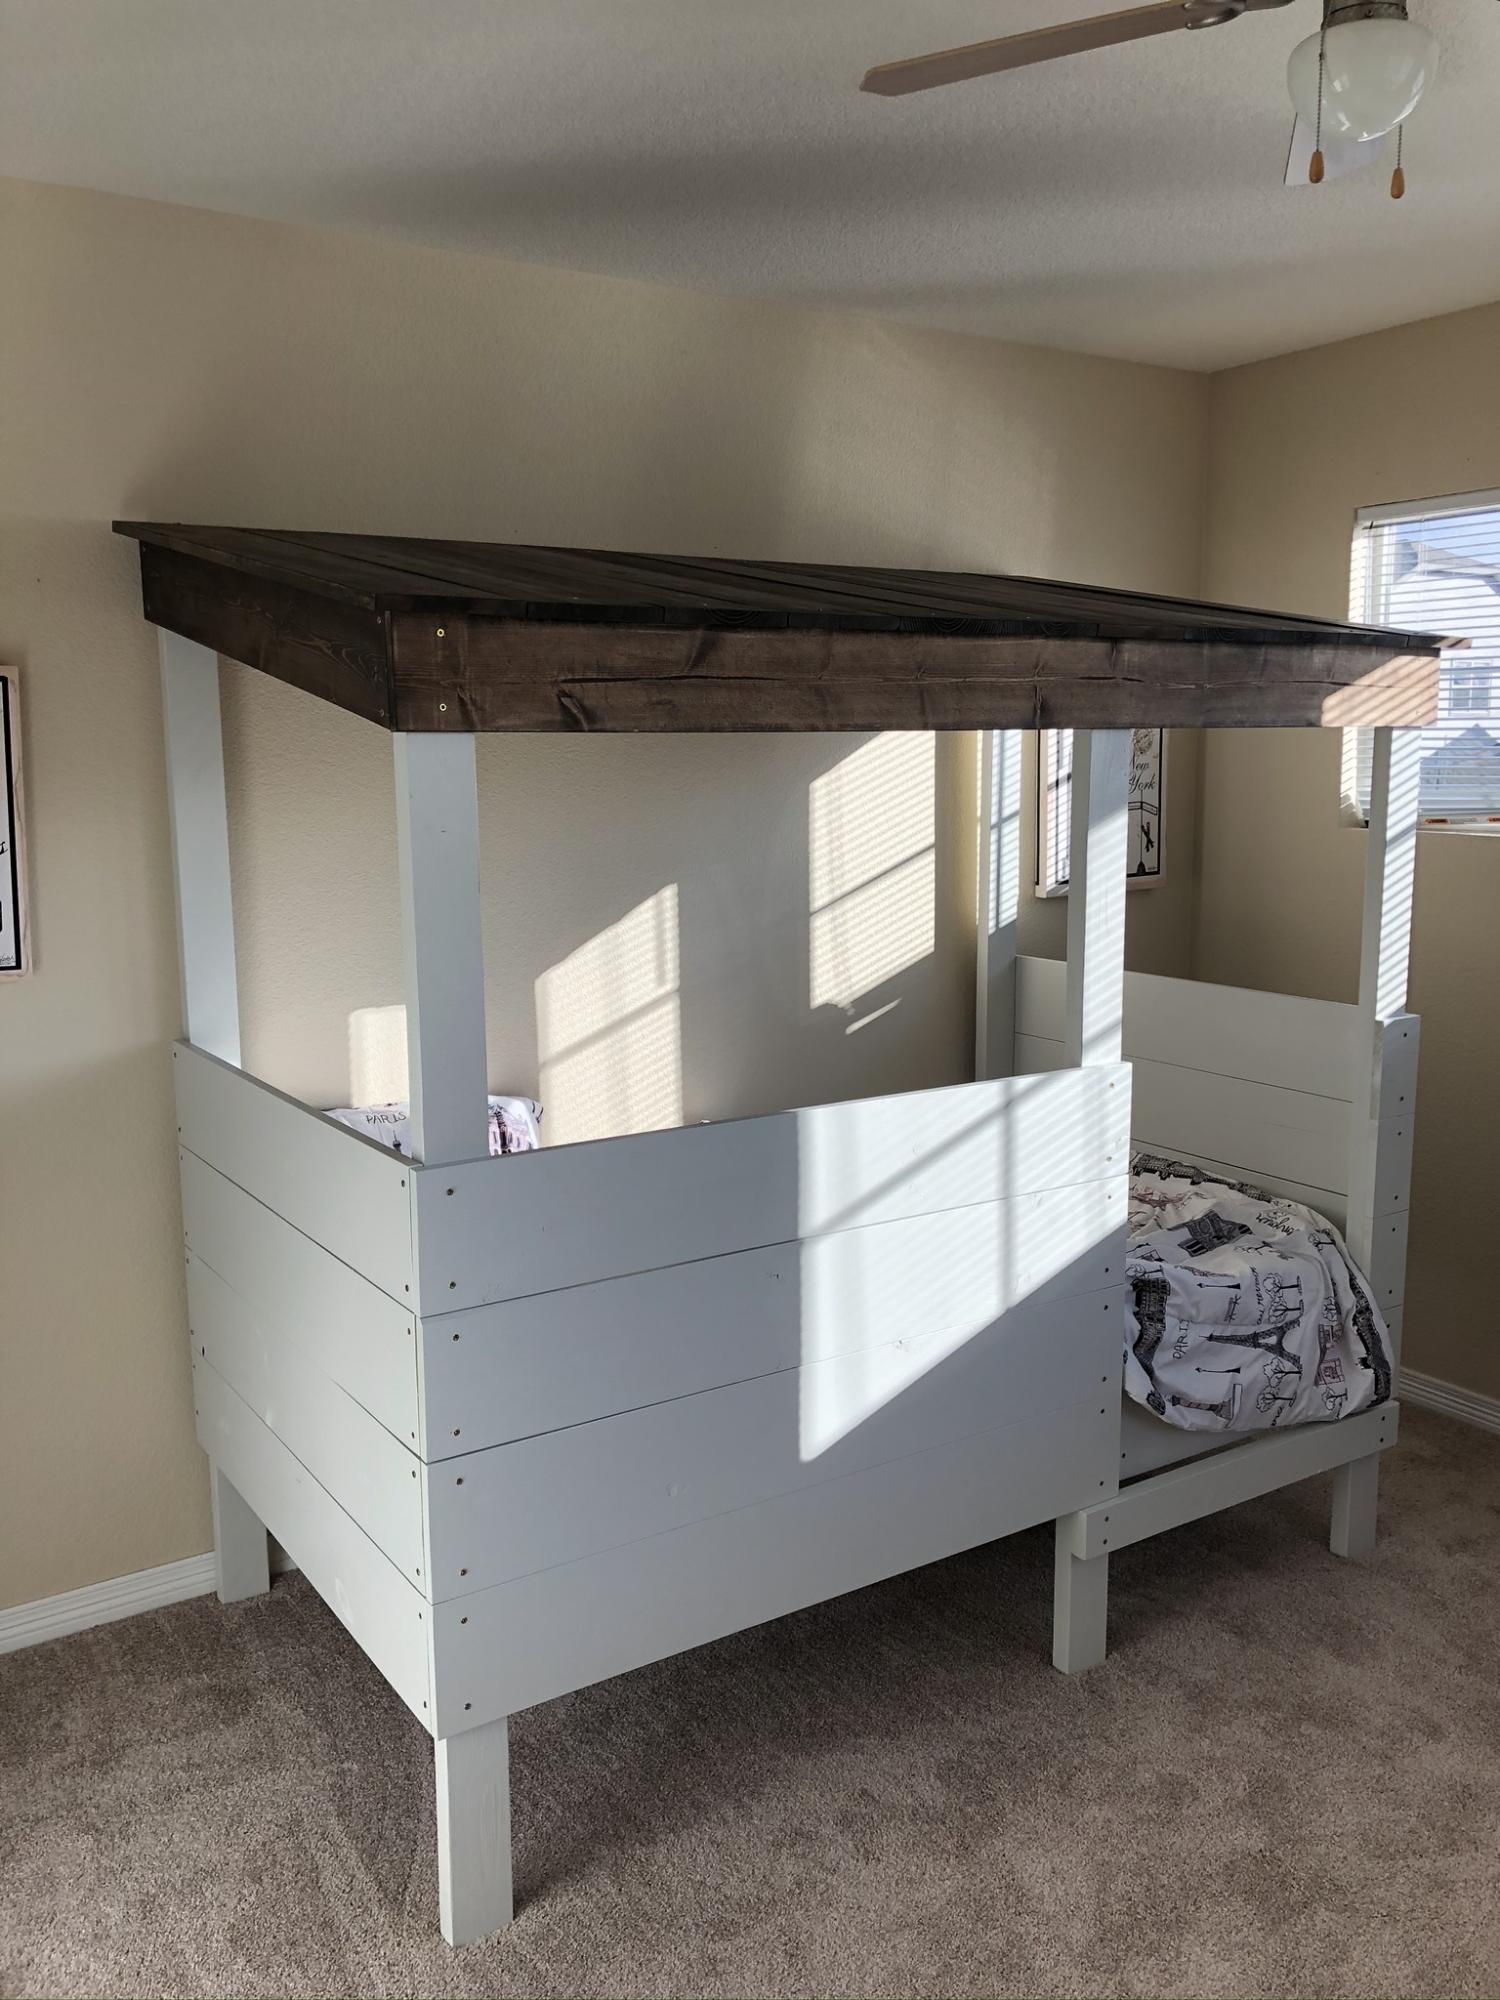
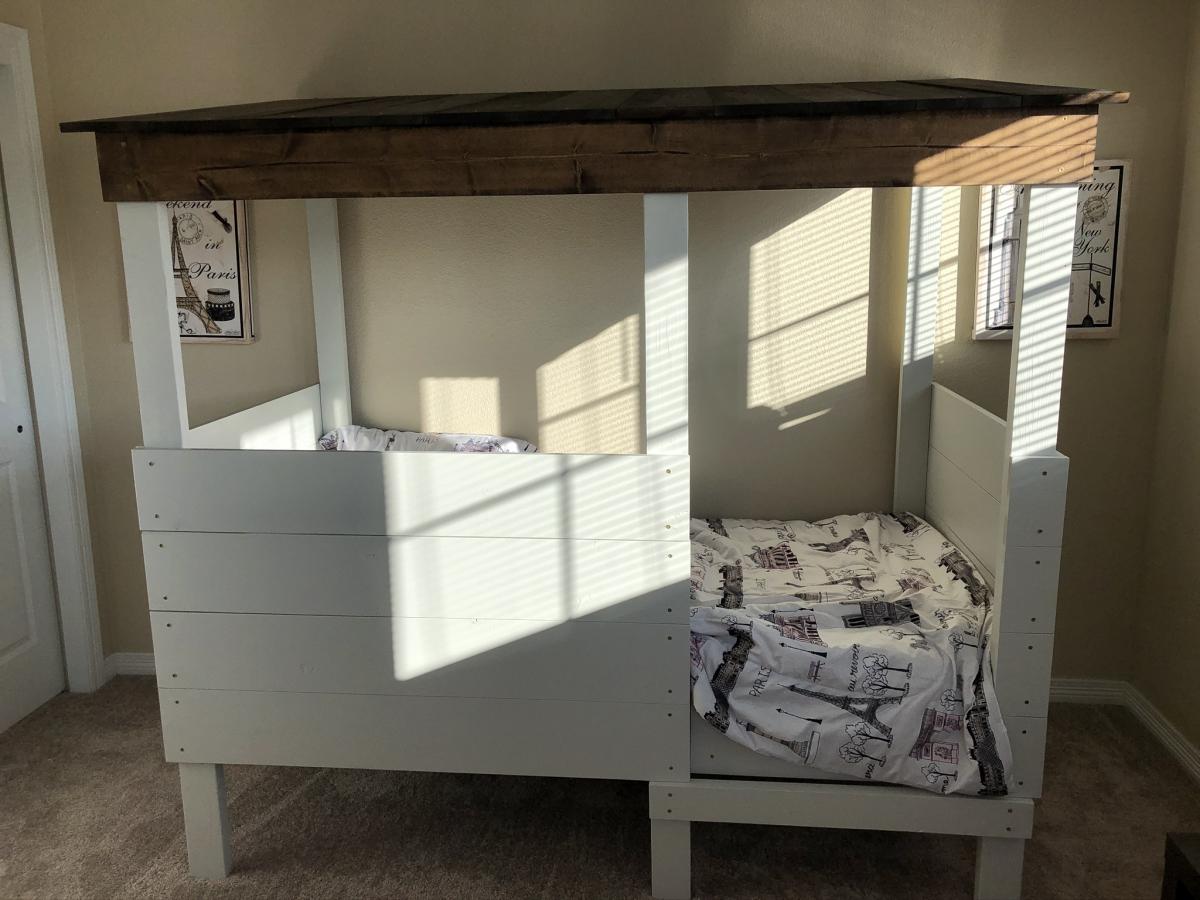
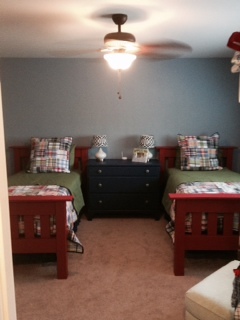
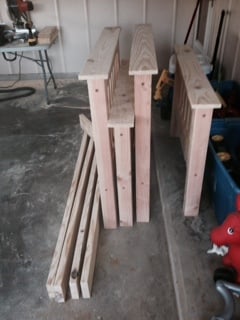
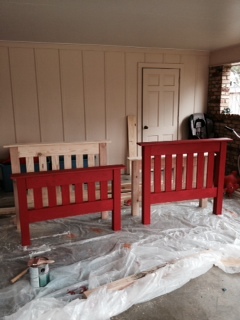
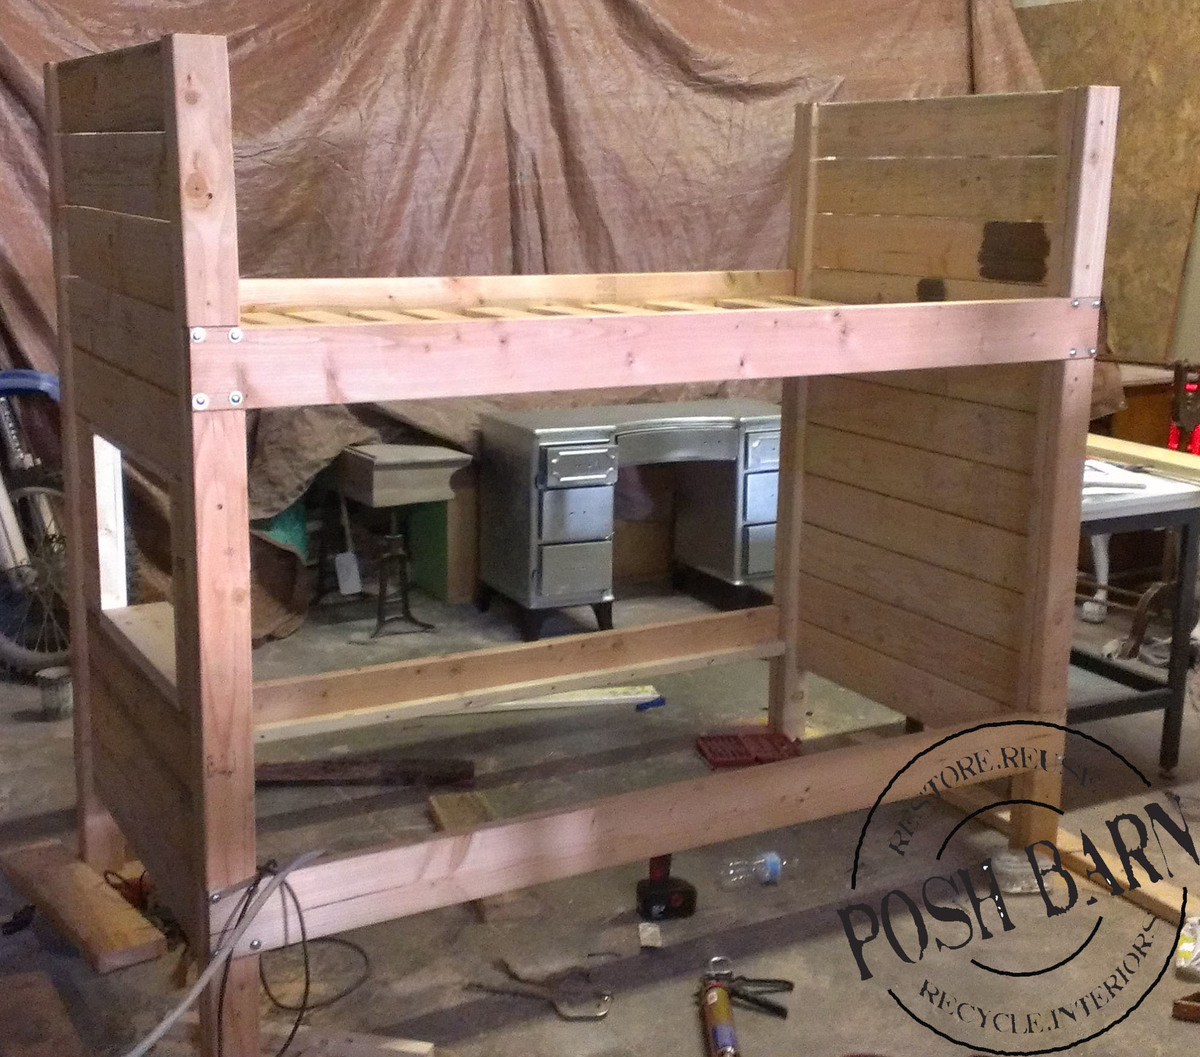
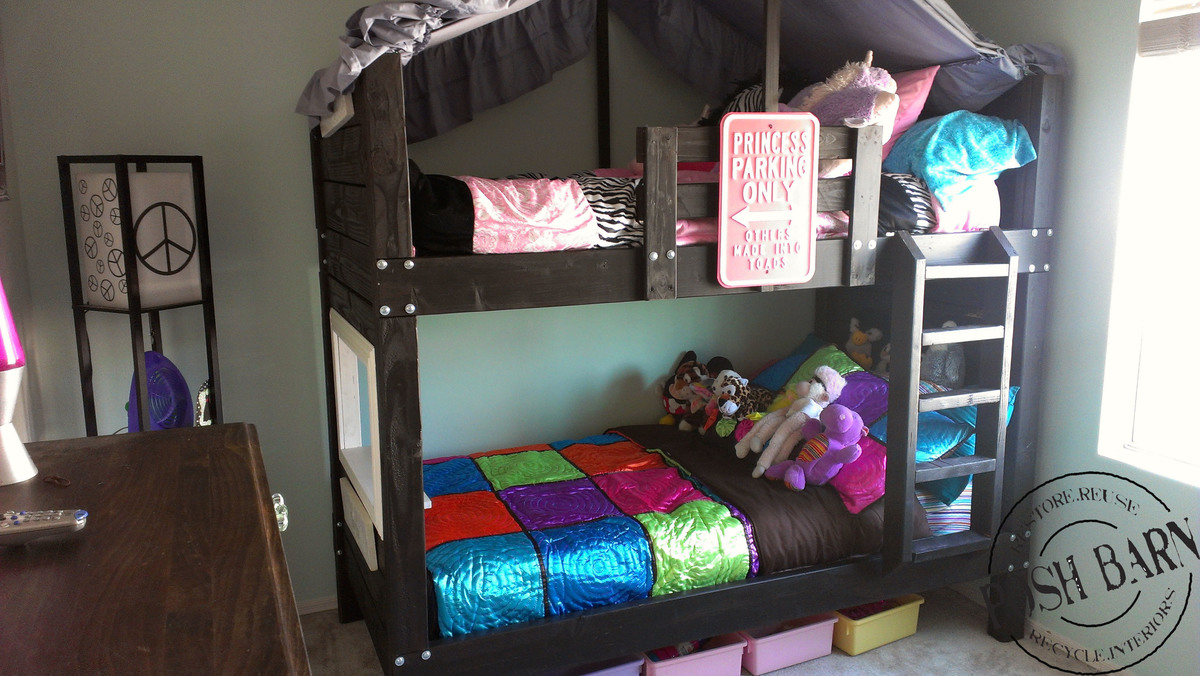
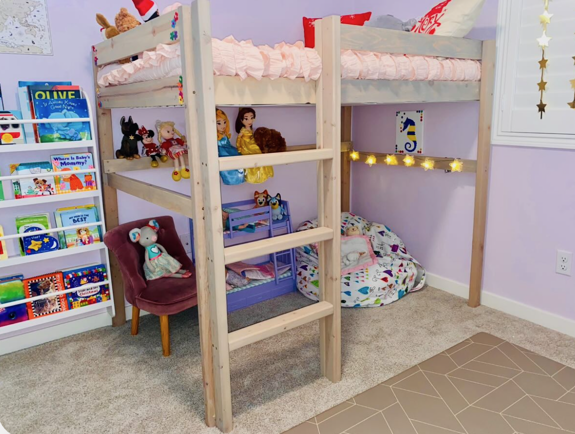
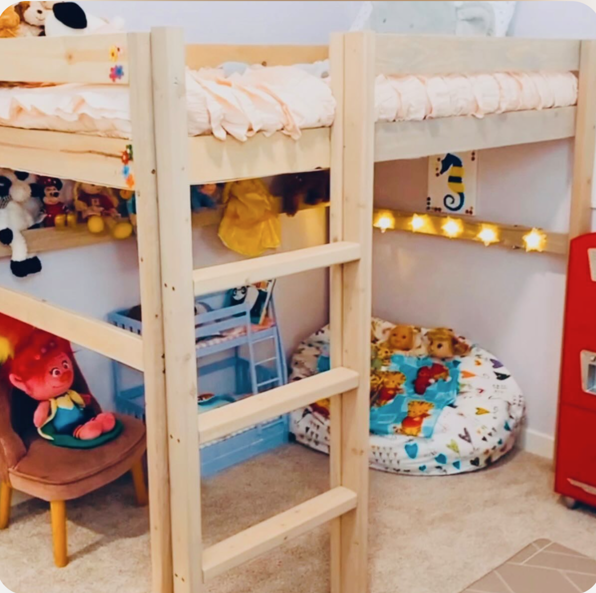
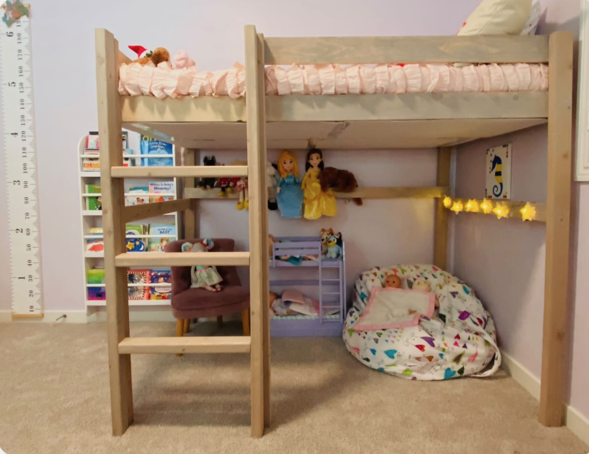
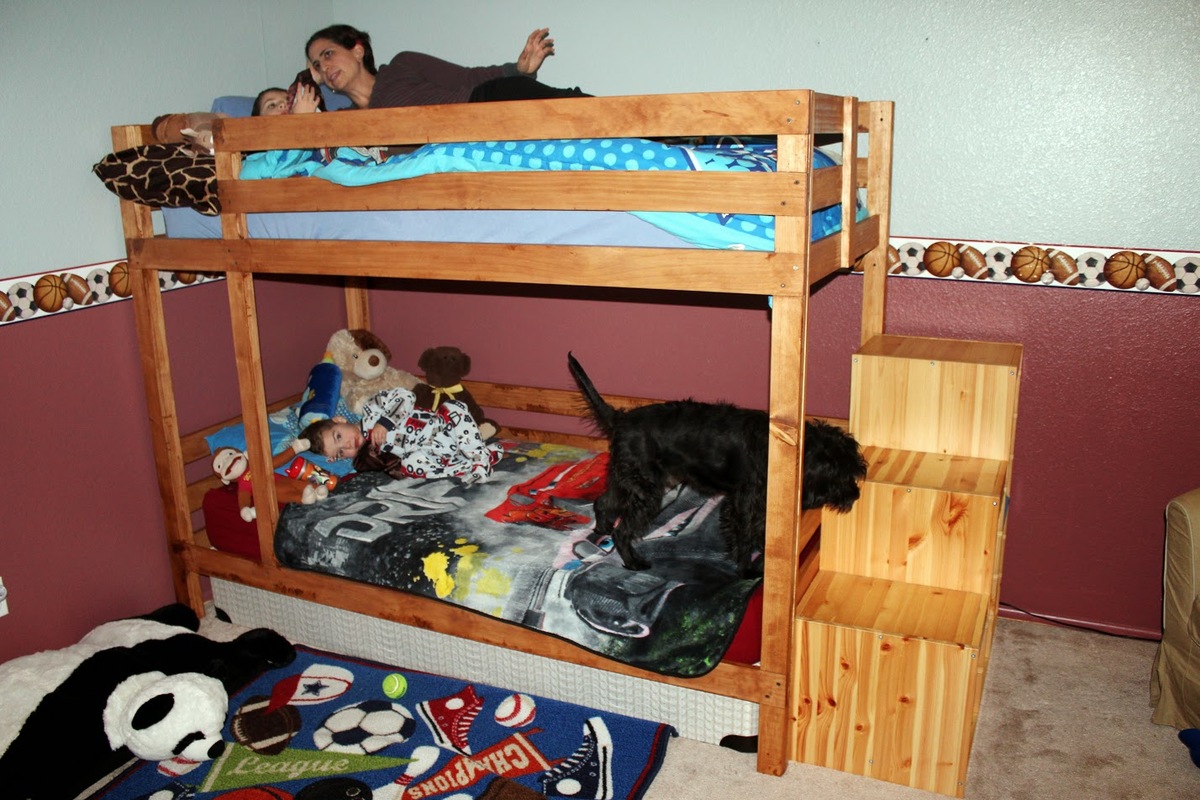
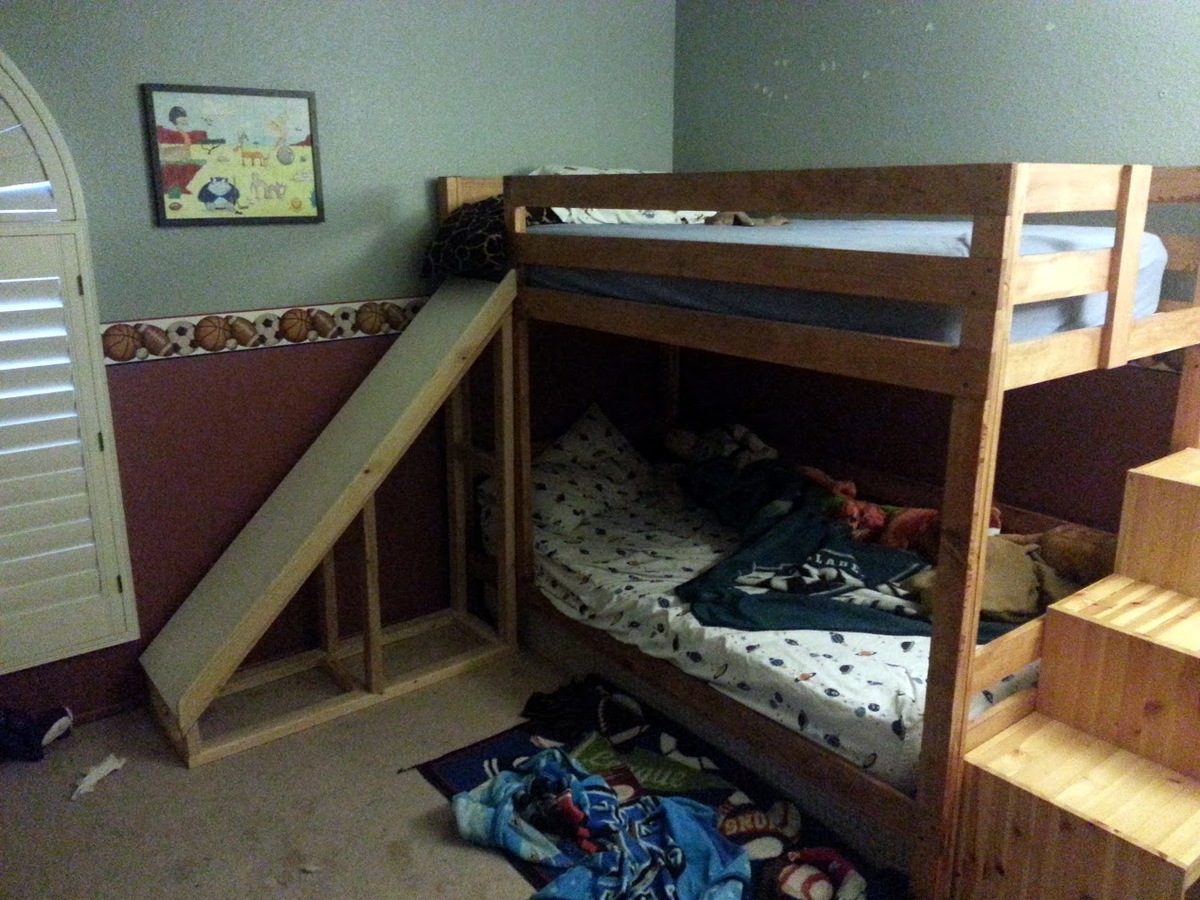
This was my first building project, made possible by finding this wonderful website. The beds were made from the Classic Bunk Beds plan. Several months later I added a slide made out of melamine board and 2x3s - very sturdy and somewhat overbuilt to compensate for not using any plans for the slide).
I used Minwax polyshades for the finish - my first time finishing wood, and let's just charitably say that I learned a few lessons in doing so.
The steps are a repurposed solid pine Ikea Trofast unit - it worked very well for the kids (4 and 2 when the bed was built). However, it wasn't a great choice for getting my wife and I up to the top bunk - one of the top panels eventually broke... leading to a big bruise for my wife and strict instructions that I quickly build a new, more solid staircase option - to be shown in a future brag post.
All in all, I am very thankful for this website and its plentiful plans - more brag posts to come!
Modified plans for a king.
Made of pine and cedar.
Took about a week of evenings.
Comments
Ana White
Tue, 04/28/2020 - 09:21
Thank you so much for…
Thank you so much for building and sharing a brag post! Looks great! Can't wait to see the other 5!