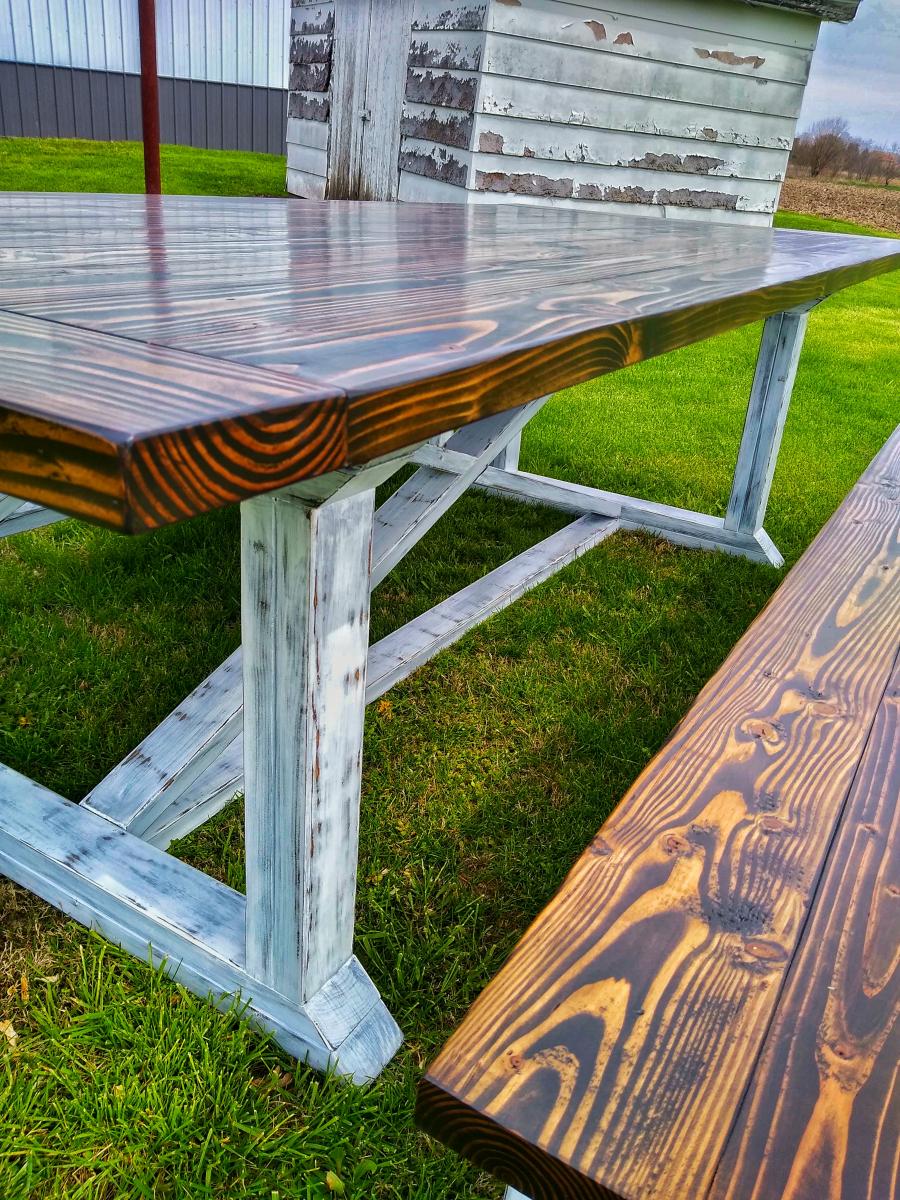
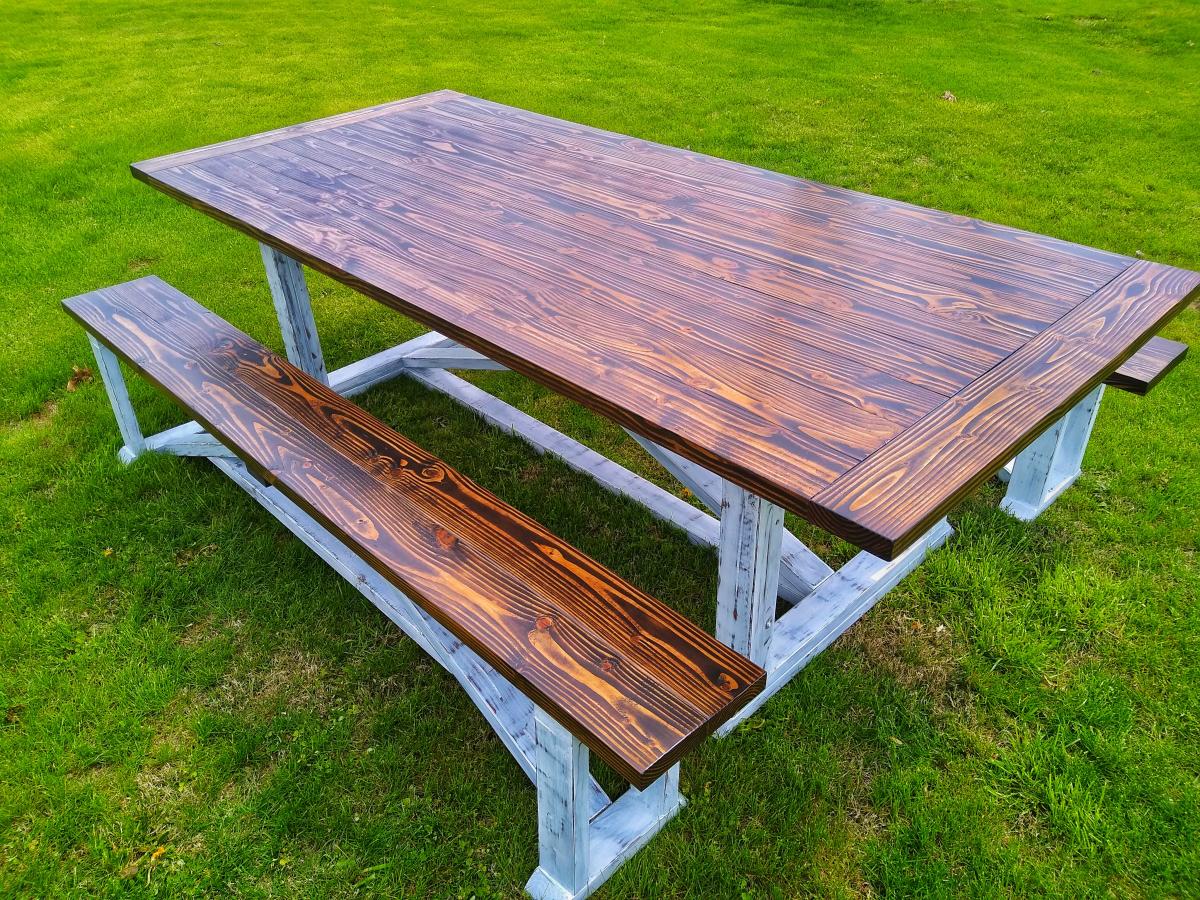
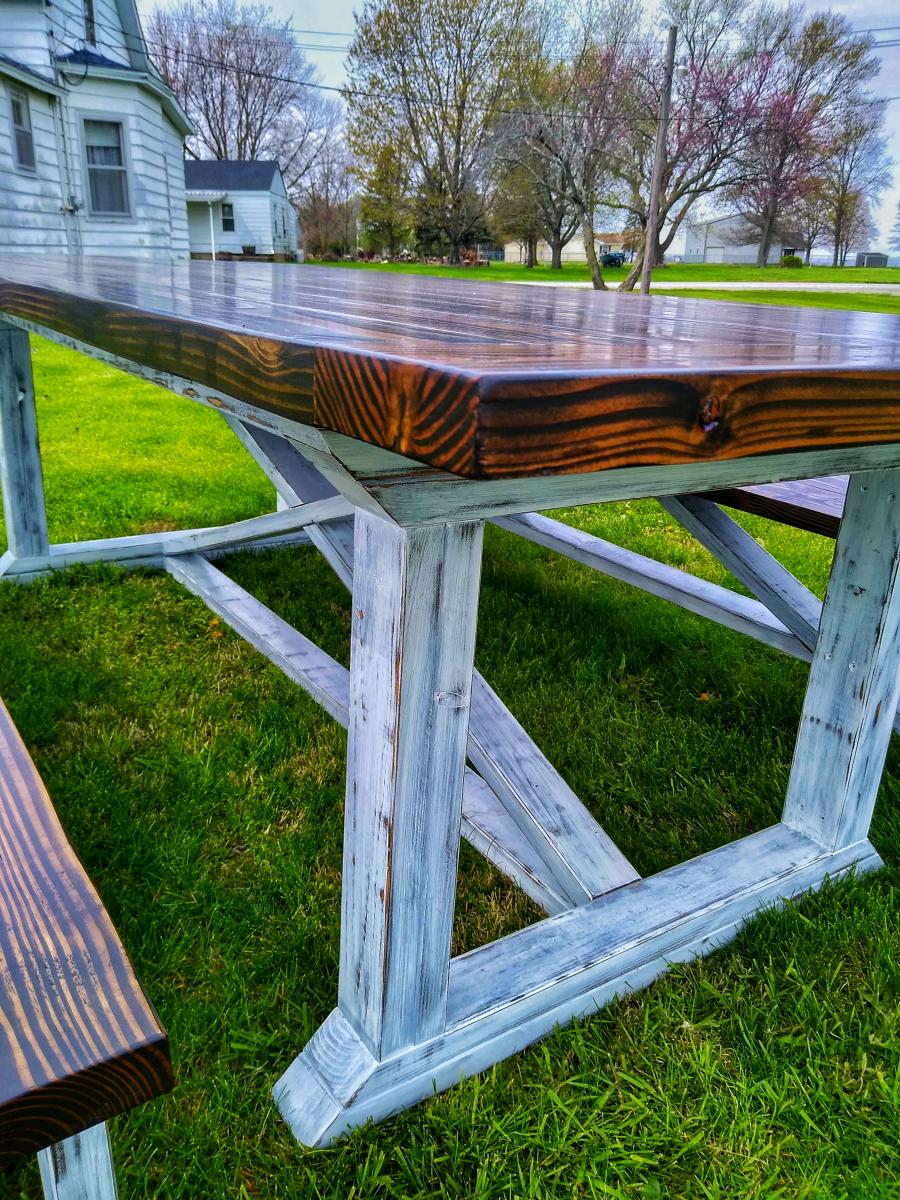
Farmhouse Table
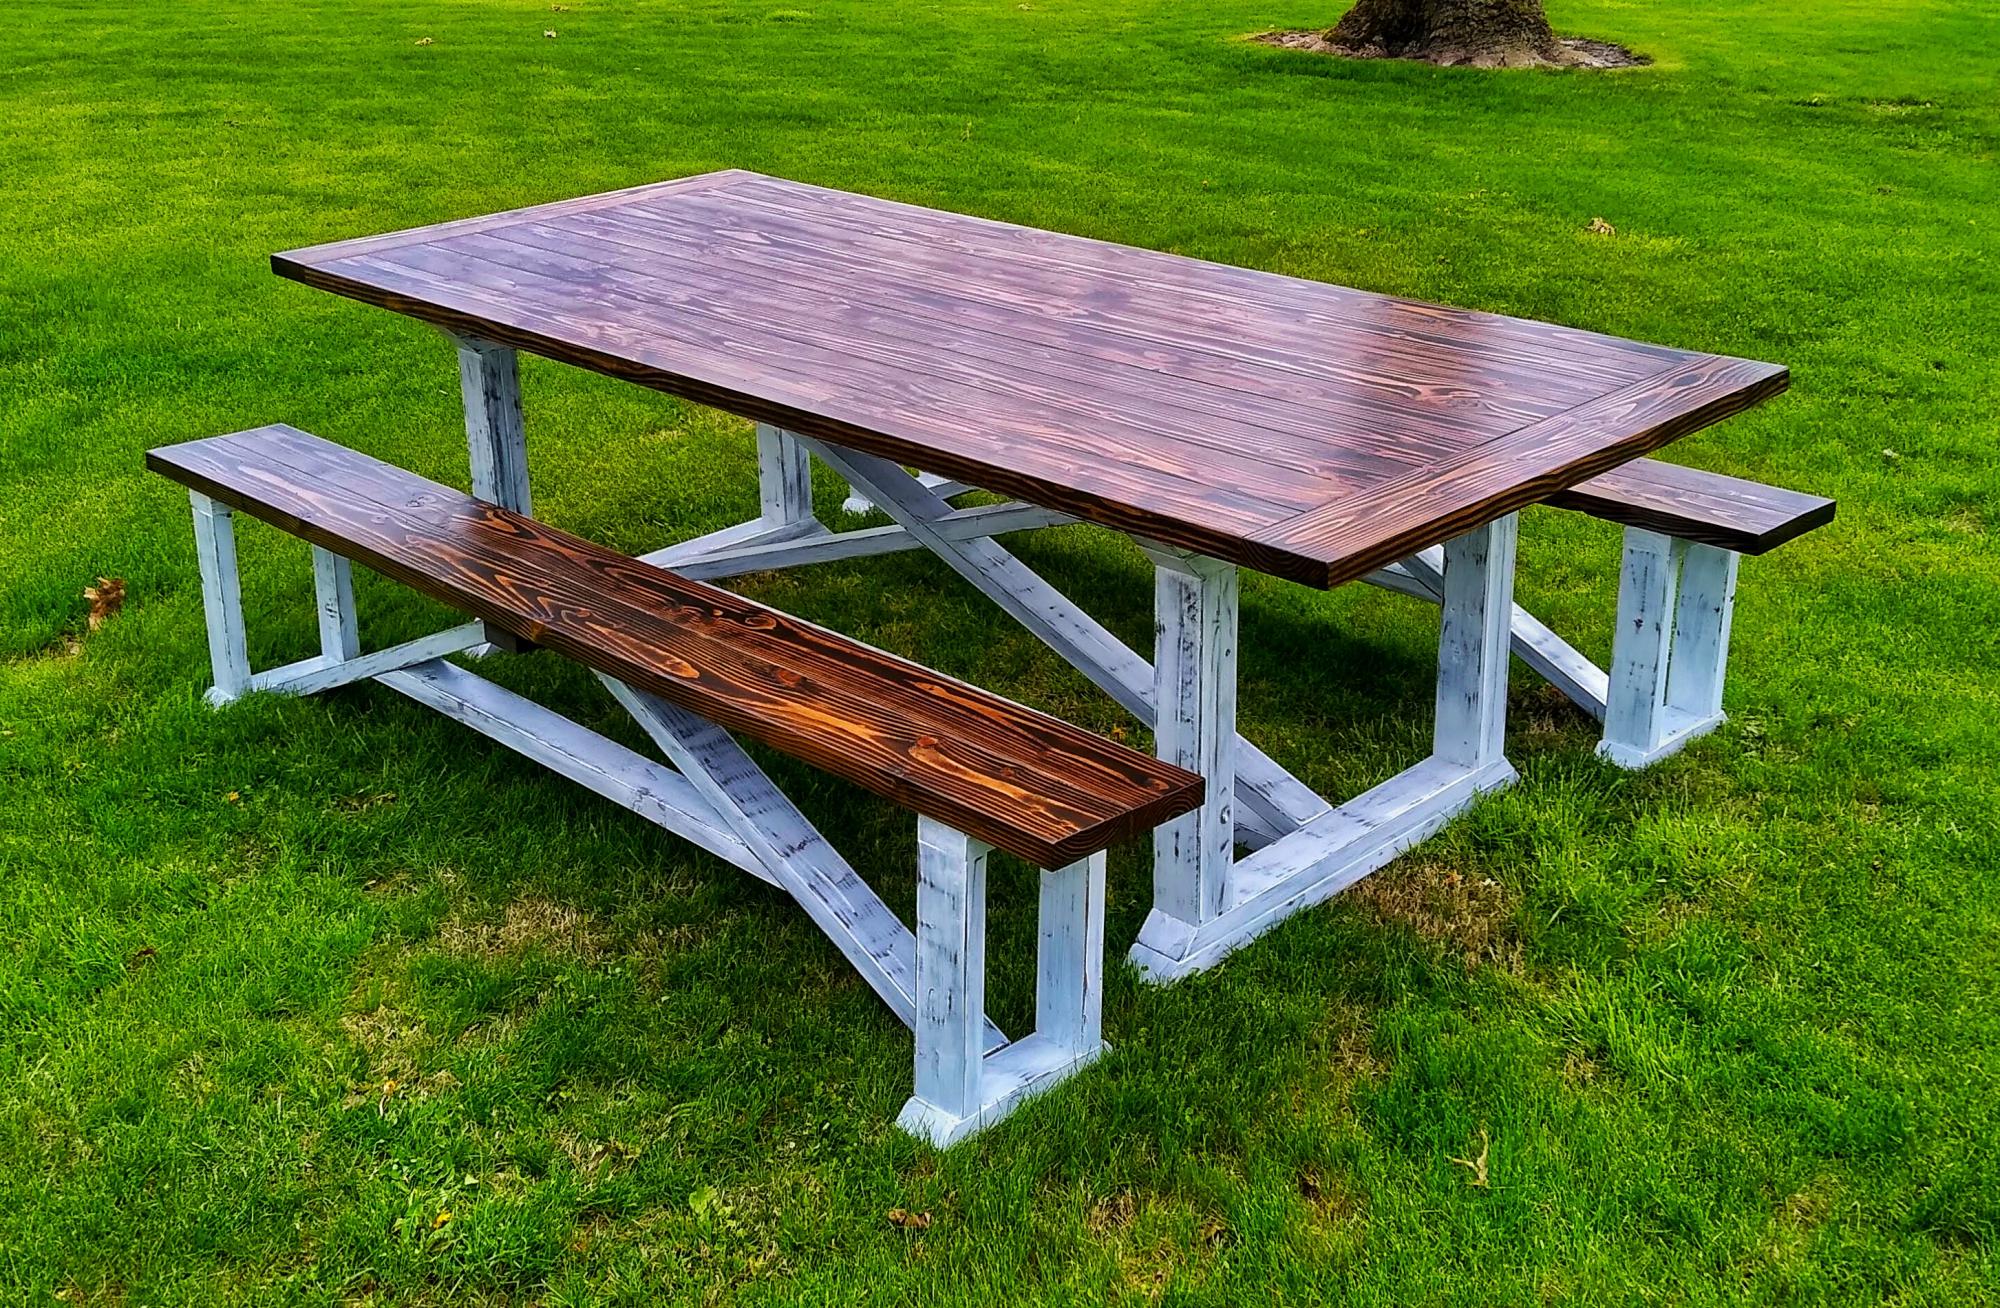
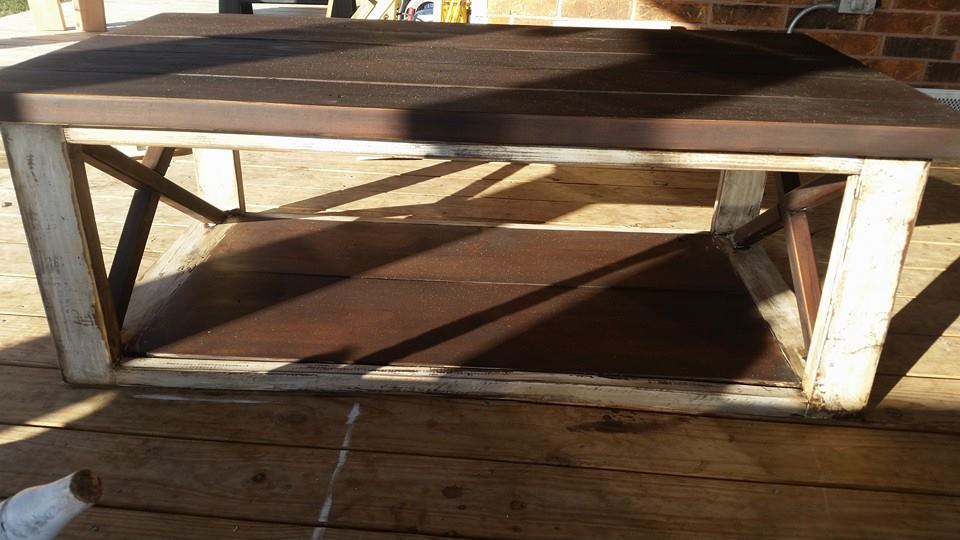
This was my first Farmhouse Table build. 8ft long with 2 benches. Distressed white with True Brown tops.

Built from Plan(s)
This was my first Farmhouse Table build. 8ft long with 2 benches. Distressed white with True Brown tops.
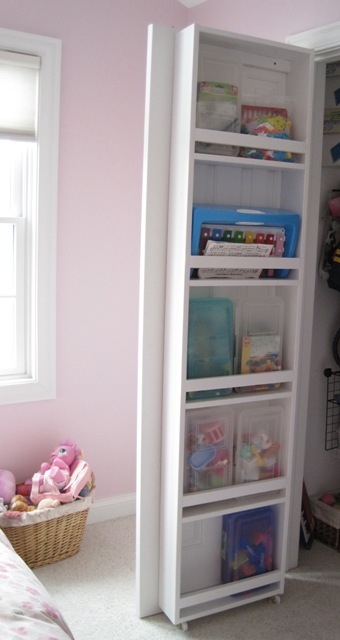
This was my first Ana White project, and I learned a lot from making it since I was also a novice woodworker. I am very happy with the end result, but it was probably a good thing that this went on the inside of a closet :) It gave me the confidence to go on and build something more difficult with the skills I built along with the storage.
The $30 estimate is only for the wood. Wood putty, sandpaper, screws, paint, etc. will make this more expensive, but you will use all of the extras on other projects since this one won't use those up.
The time involved is a guess--it has been a few months since I completed this. Someone with experience could probably do it faster and someone brand new to building might go slower. So I chose 3-6 hours, a nice in-between number.
Watch your caster size with carpet. That was my only snag with the instructions. Ana has hardwood floors that the casters roll on. I have carpet so I wanted larger wheels in order for smoother rolling. That added height to the caster also, so you want to modify the length of the sides of the storage unit to reflect the larger casters on carpet.
All in all a great plan and useful end result!
**UPDATE--January 30, 2012** We removed the casters from the bottom of this just yesterday and the door opens SO much easier. I would invest in some high quality casters and not the cheap ones I bought if you are going to use these. Without the casters I am only putting light things (stuffed animals) in this. If you are using it for heavier items, I would use the casters but make sure they readily turn. The casters I had did not want to turn as the door moved and they dragged on the carpet instead. Also, the overall height of your unit will depend on the height of your casters, so buy them first if you are going to use them. I still love this though!
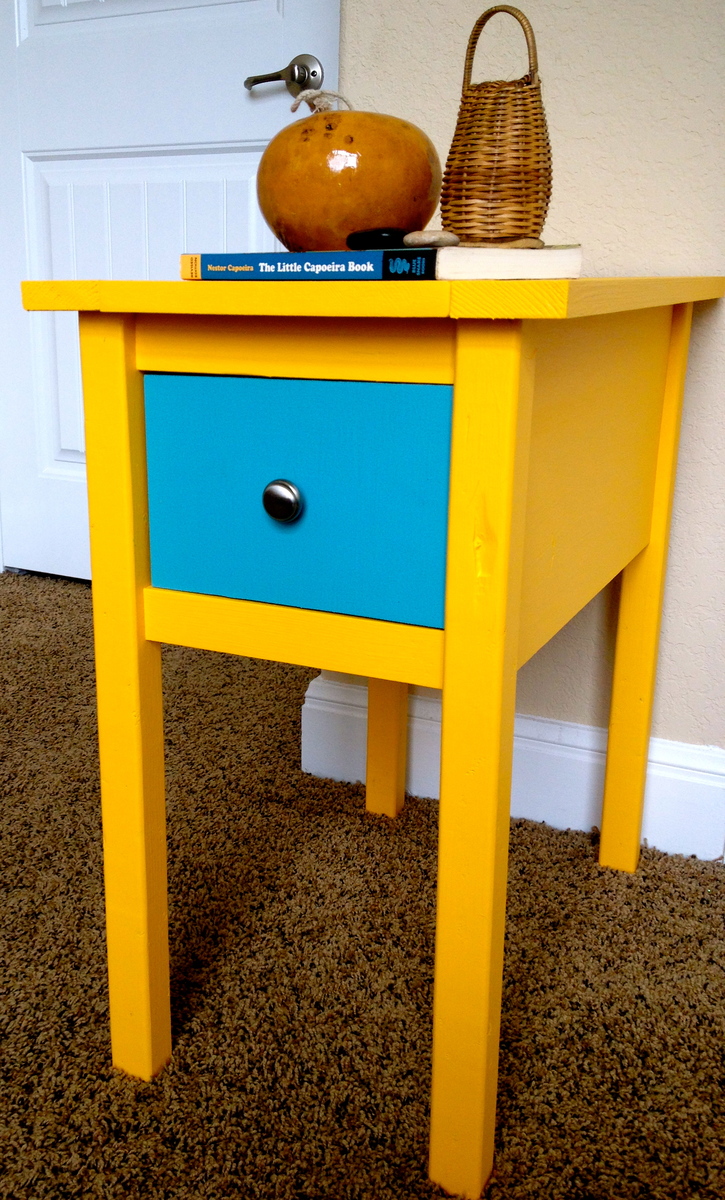
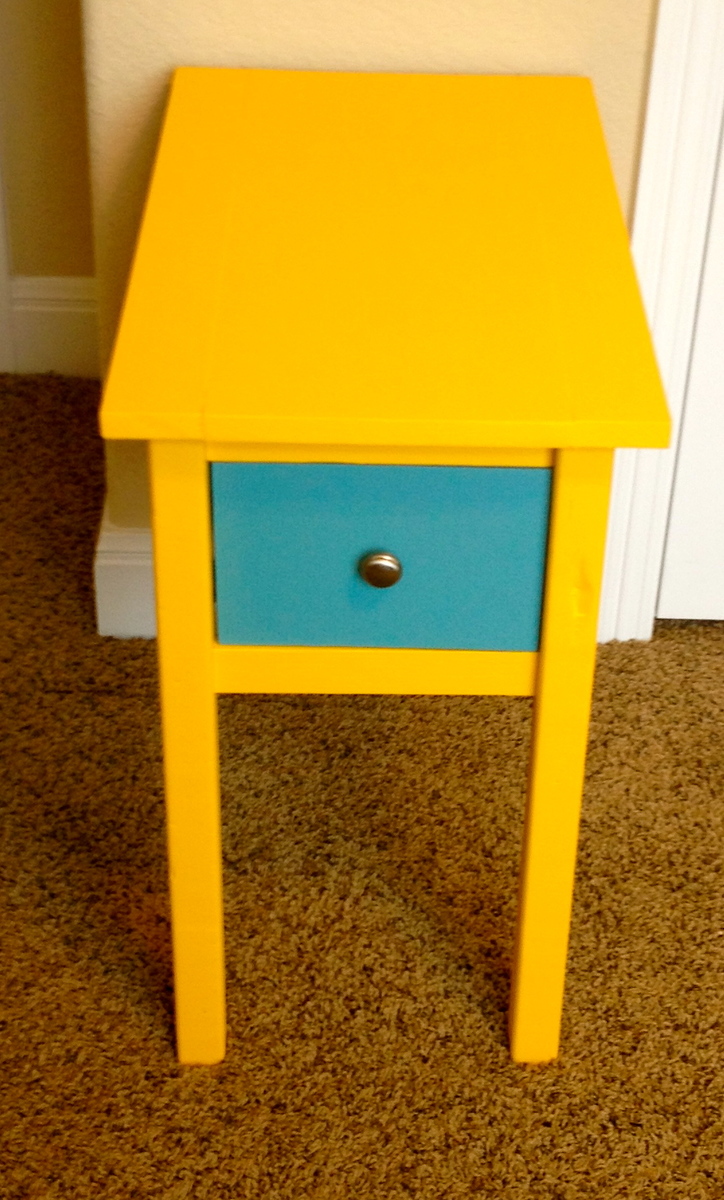
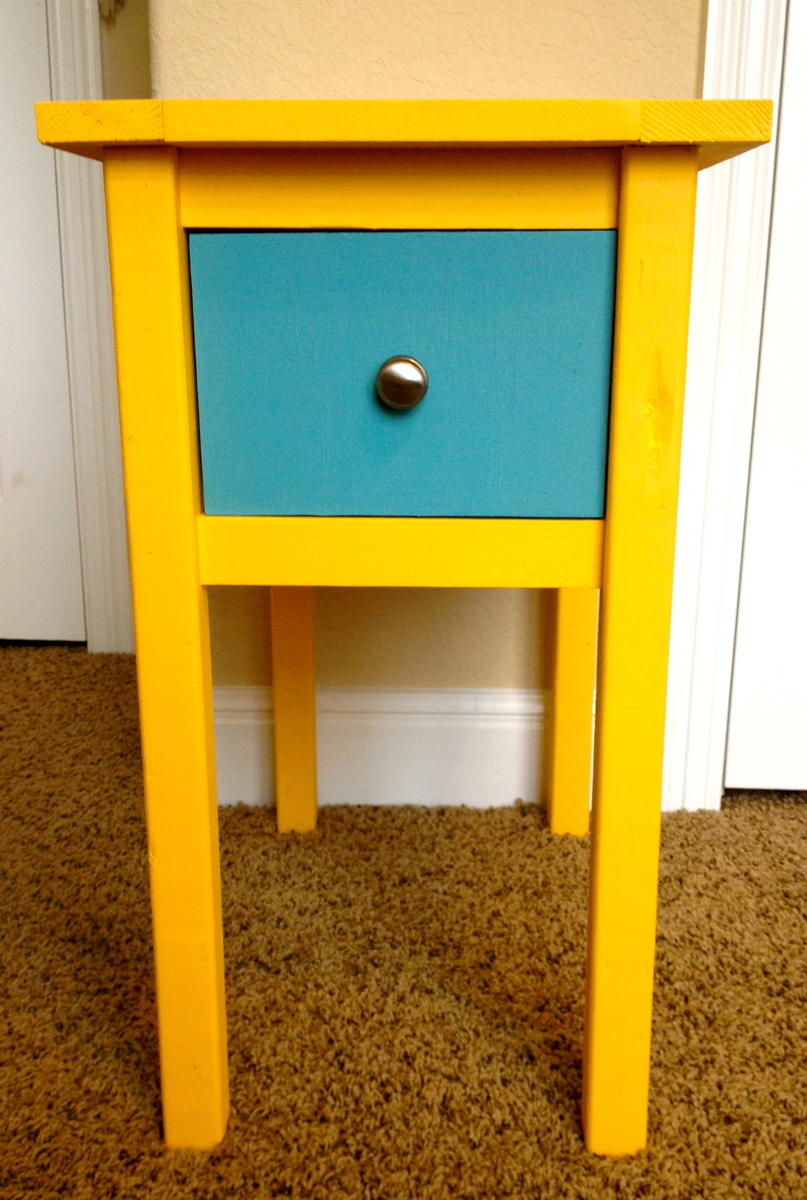
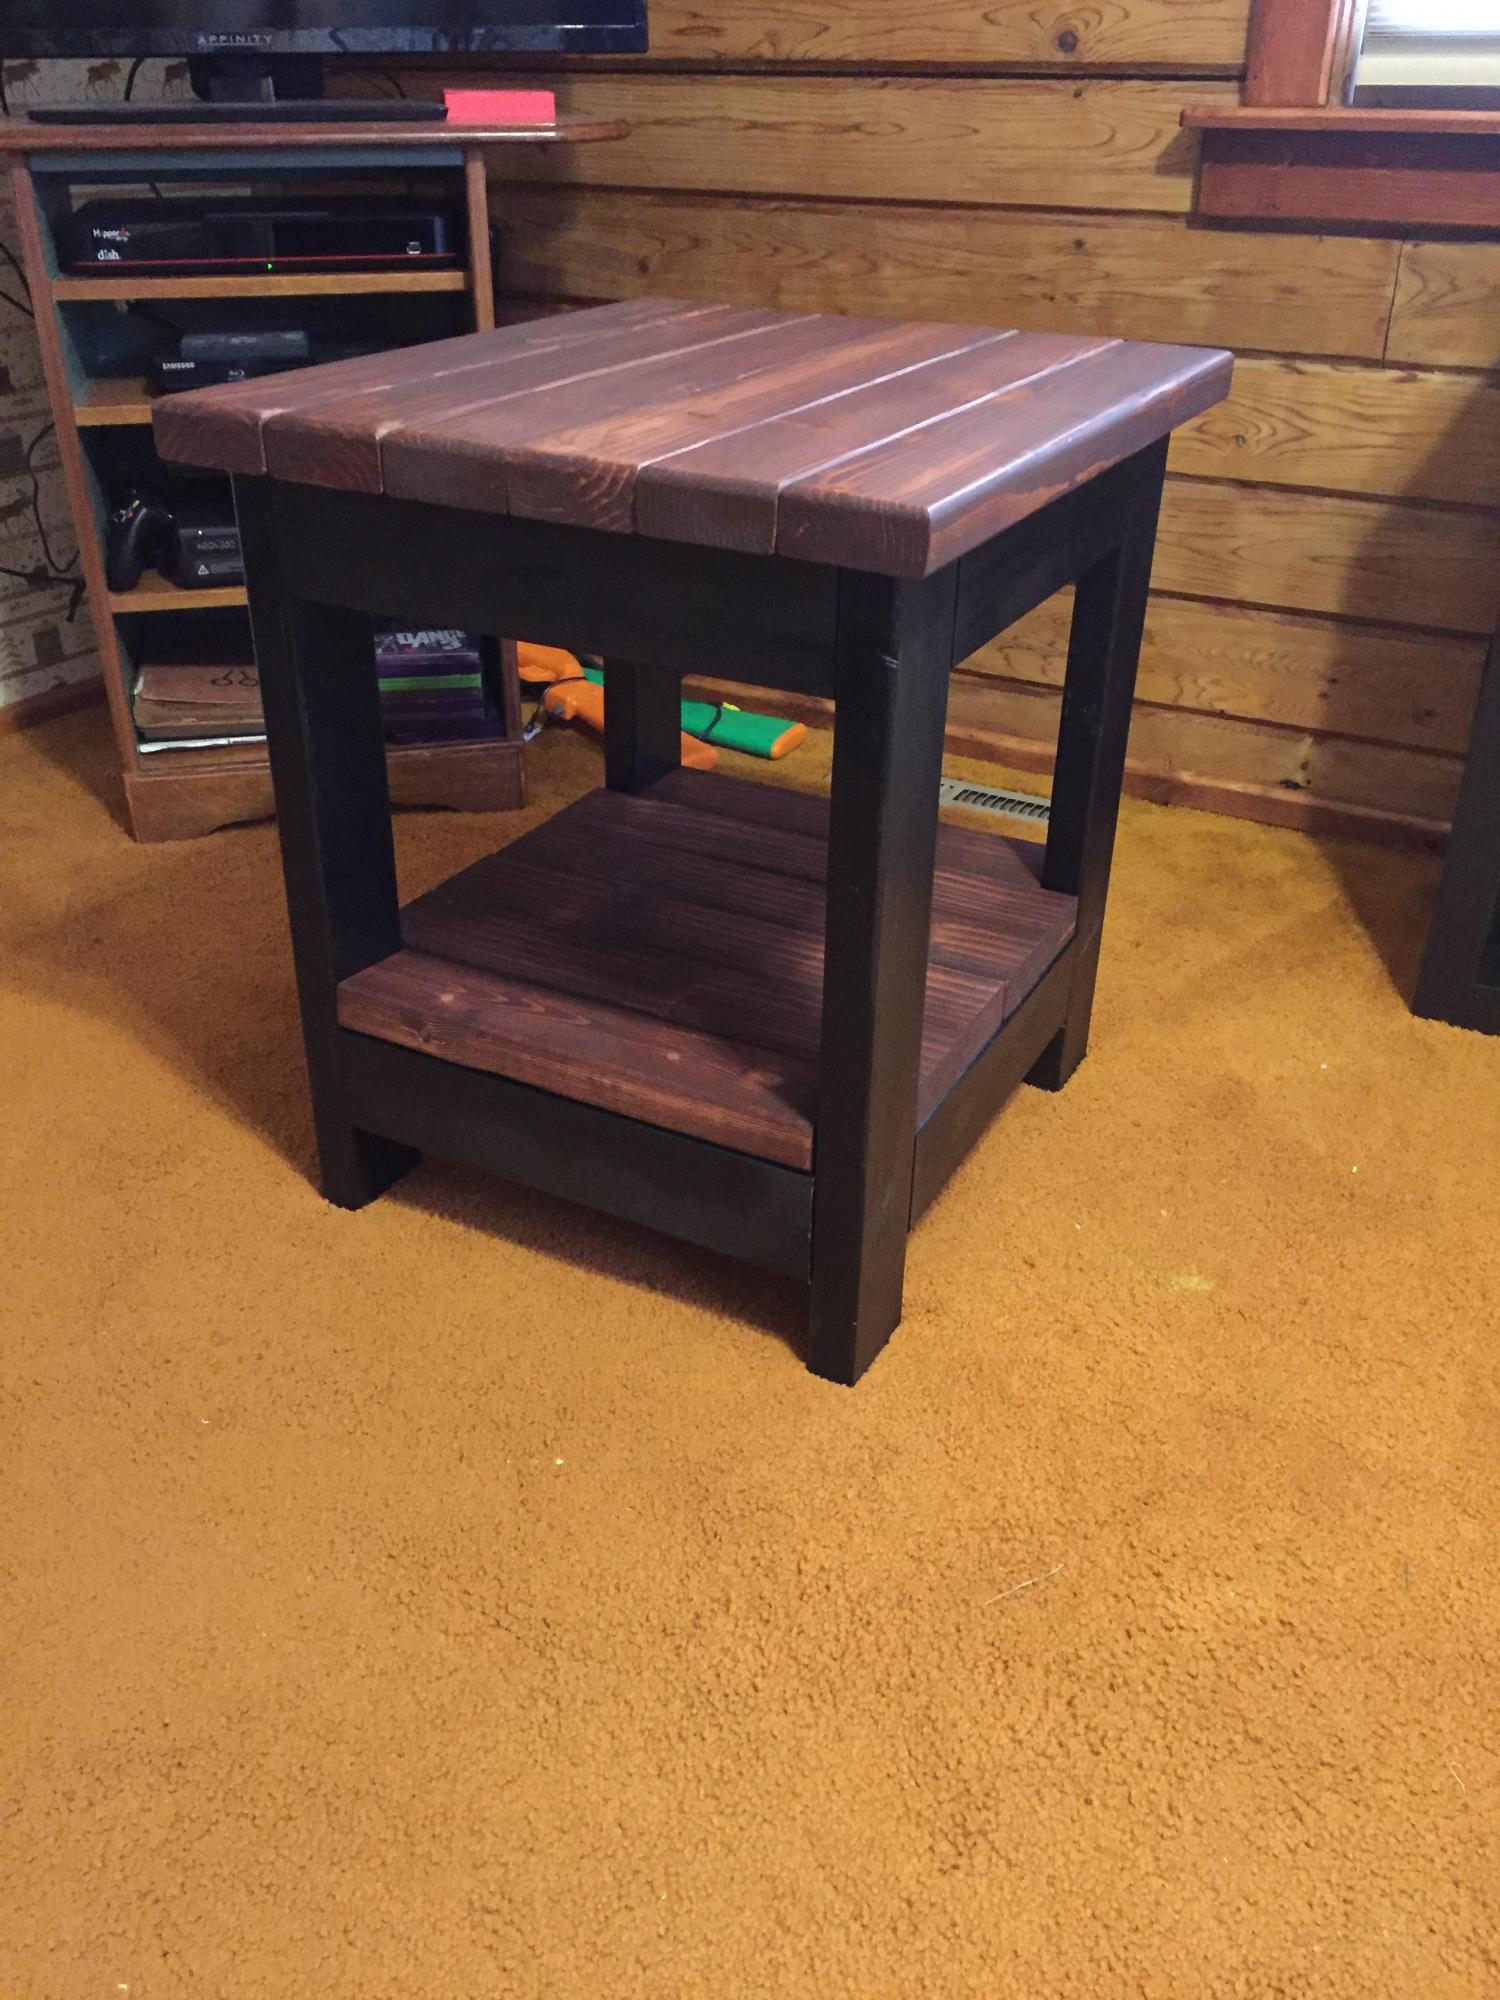
This was my second project I attempted, the hardest part was the drawer! Other than that I think it turned out great!
https://www.etsy.com/listing/152638624/handmade-narrow-end-table
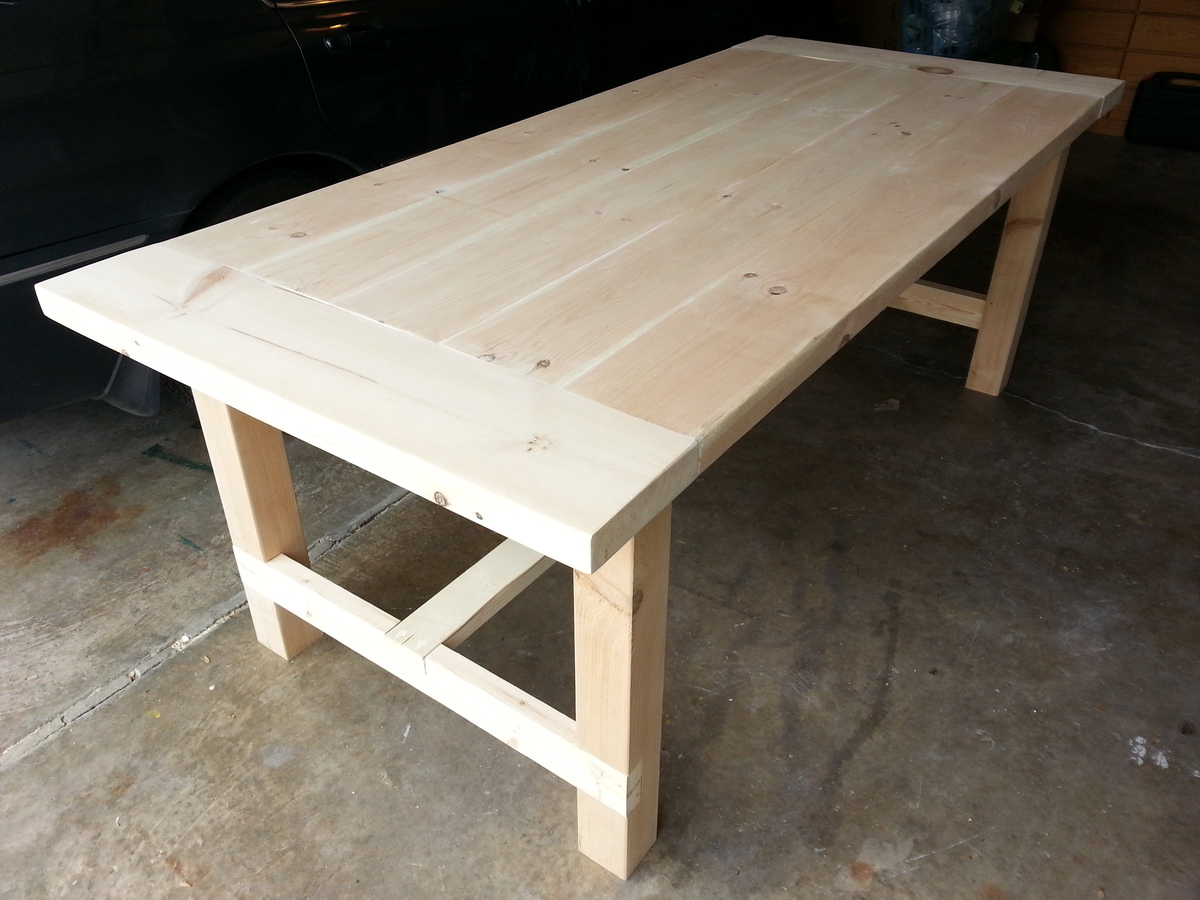
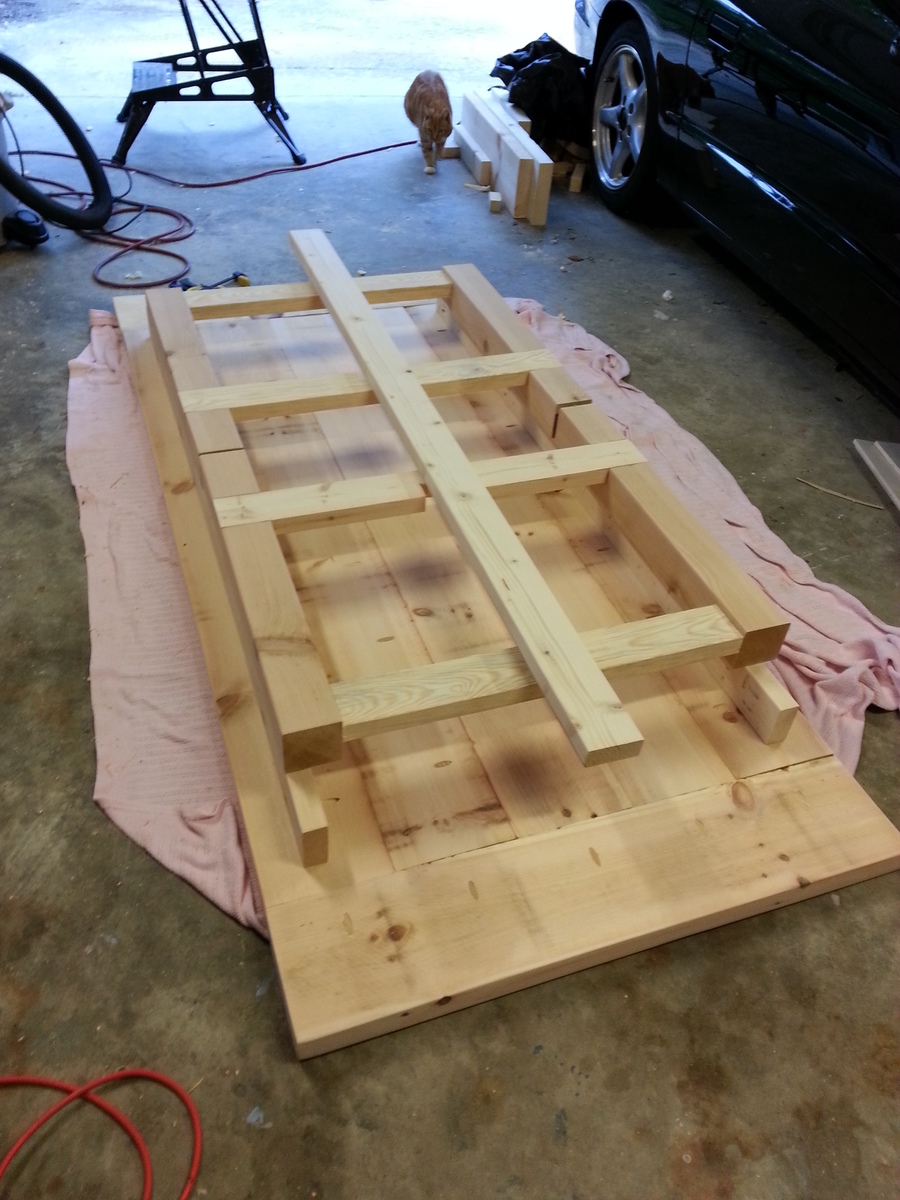
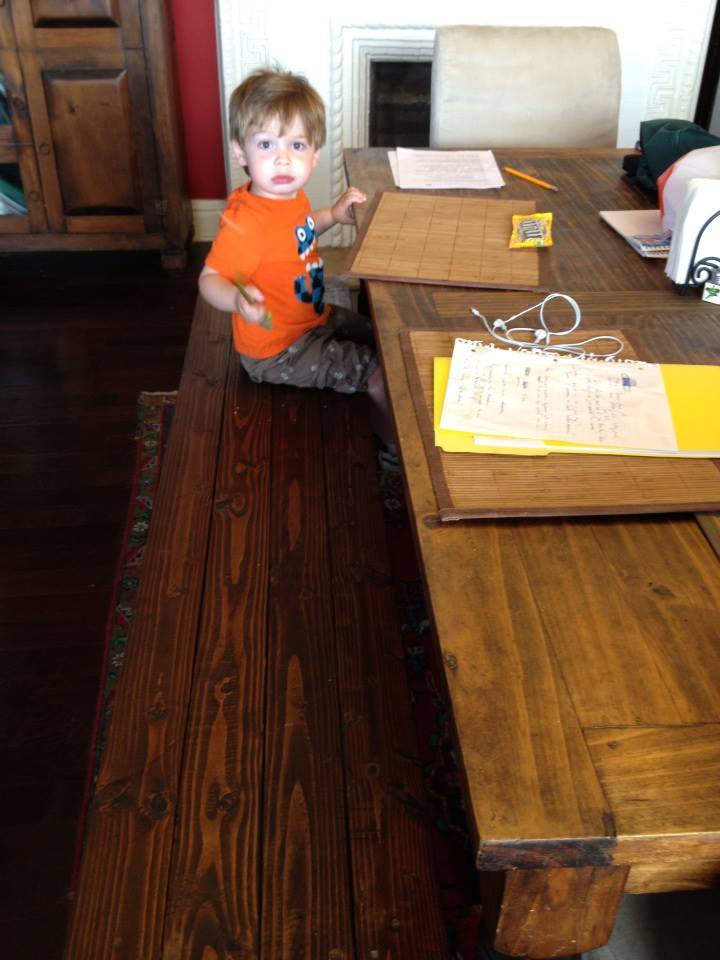
Farmhouse dining room table built for my mom. Unstained.
Table top is 2" White Pine Boards, legs are cedar, and everything else is whitewood studs. Left the leg assemblies and stretcher board unattached for the two hour transport to Charlotte. Attached them with screws and some glue upon arrival. Loved the plan and finished in two days!
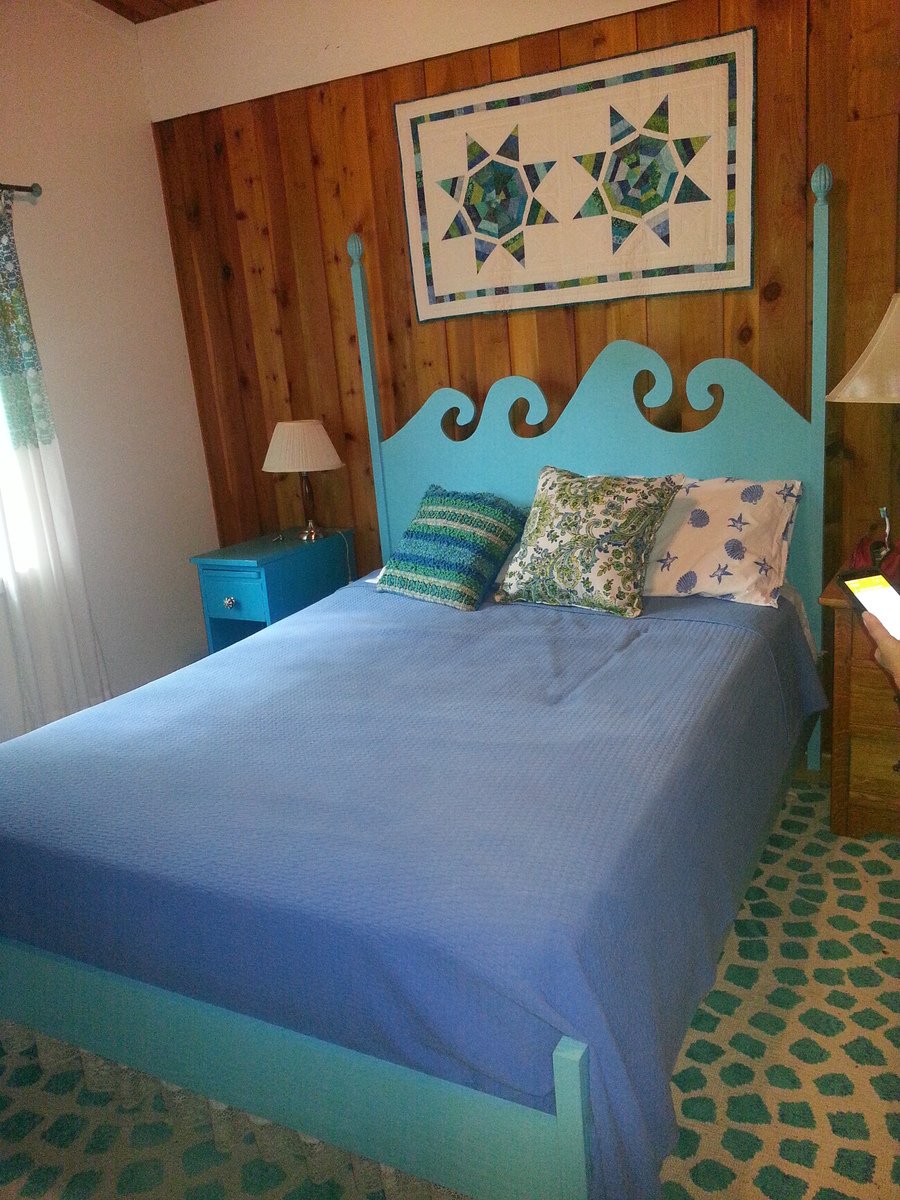
This "pin" was my inspiration (https://www.pinterest.com/pin/540643130244817922/) and I was very happy to have the Hannah canopy plans to modify! The upper canopy was eliminated, a "whimsical wave" was cut in the headboard using a jigsaw, and the foot board posts were shortened. In addition, measurements for the bed were modified to fit a queen size mattress. I used hardwood plywood and hardwood side boards, as I wanted a durable bed. The posts were pine 2x2's as I could not find hardwood of this dimension at my local stores. I also used hardware from the Rockler company (http://www.rockler.com/5-surface-mounted-bed-rail-brackets) to mount the head and foot boards to the side boards, as I wanted to assemble and disassemble the bed easily.

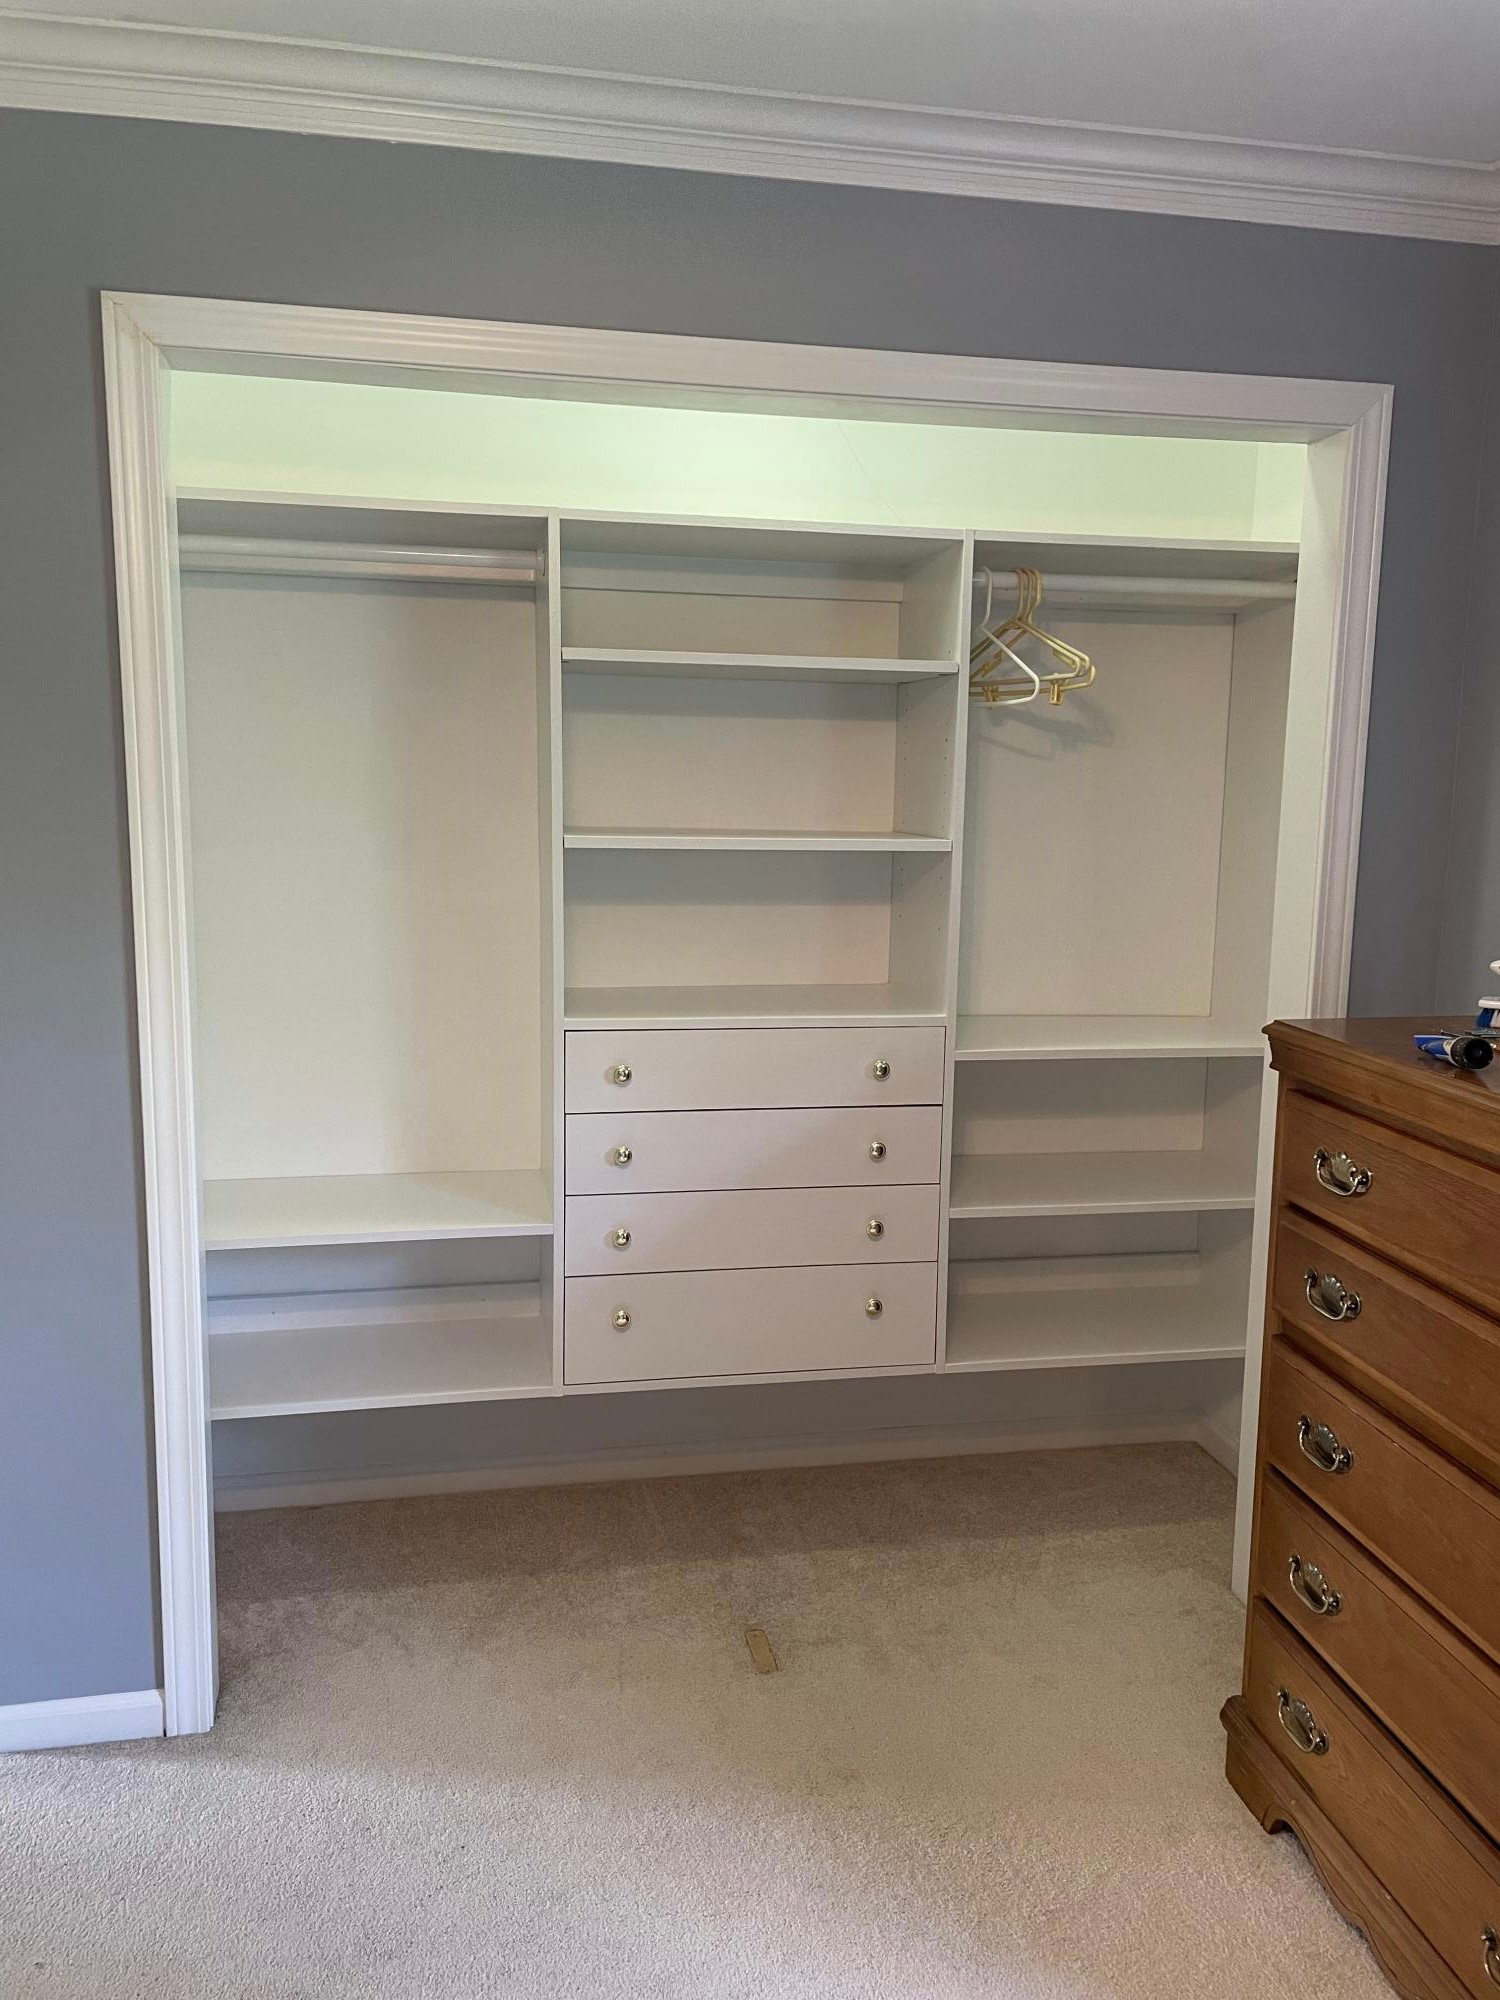
This is a guest bedroom. The closet had 6 panel, colonial bypass doors. The bypass doors leave the center unusable. To save room, I built a dresser in the center. The bypass doors are getting converted to swing doors. I used shelf help to design the project.
Wed, 10/06/2021 - 09:32
Love the built in dresser! Thank you for using Shelf Help, that looks amazing!
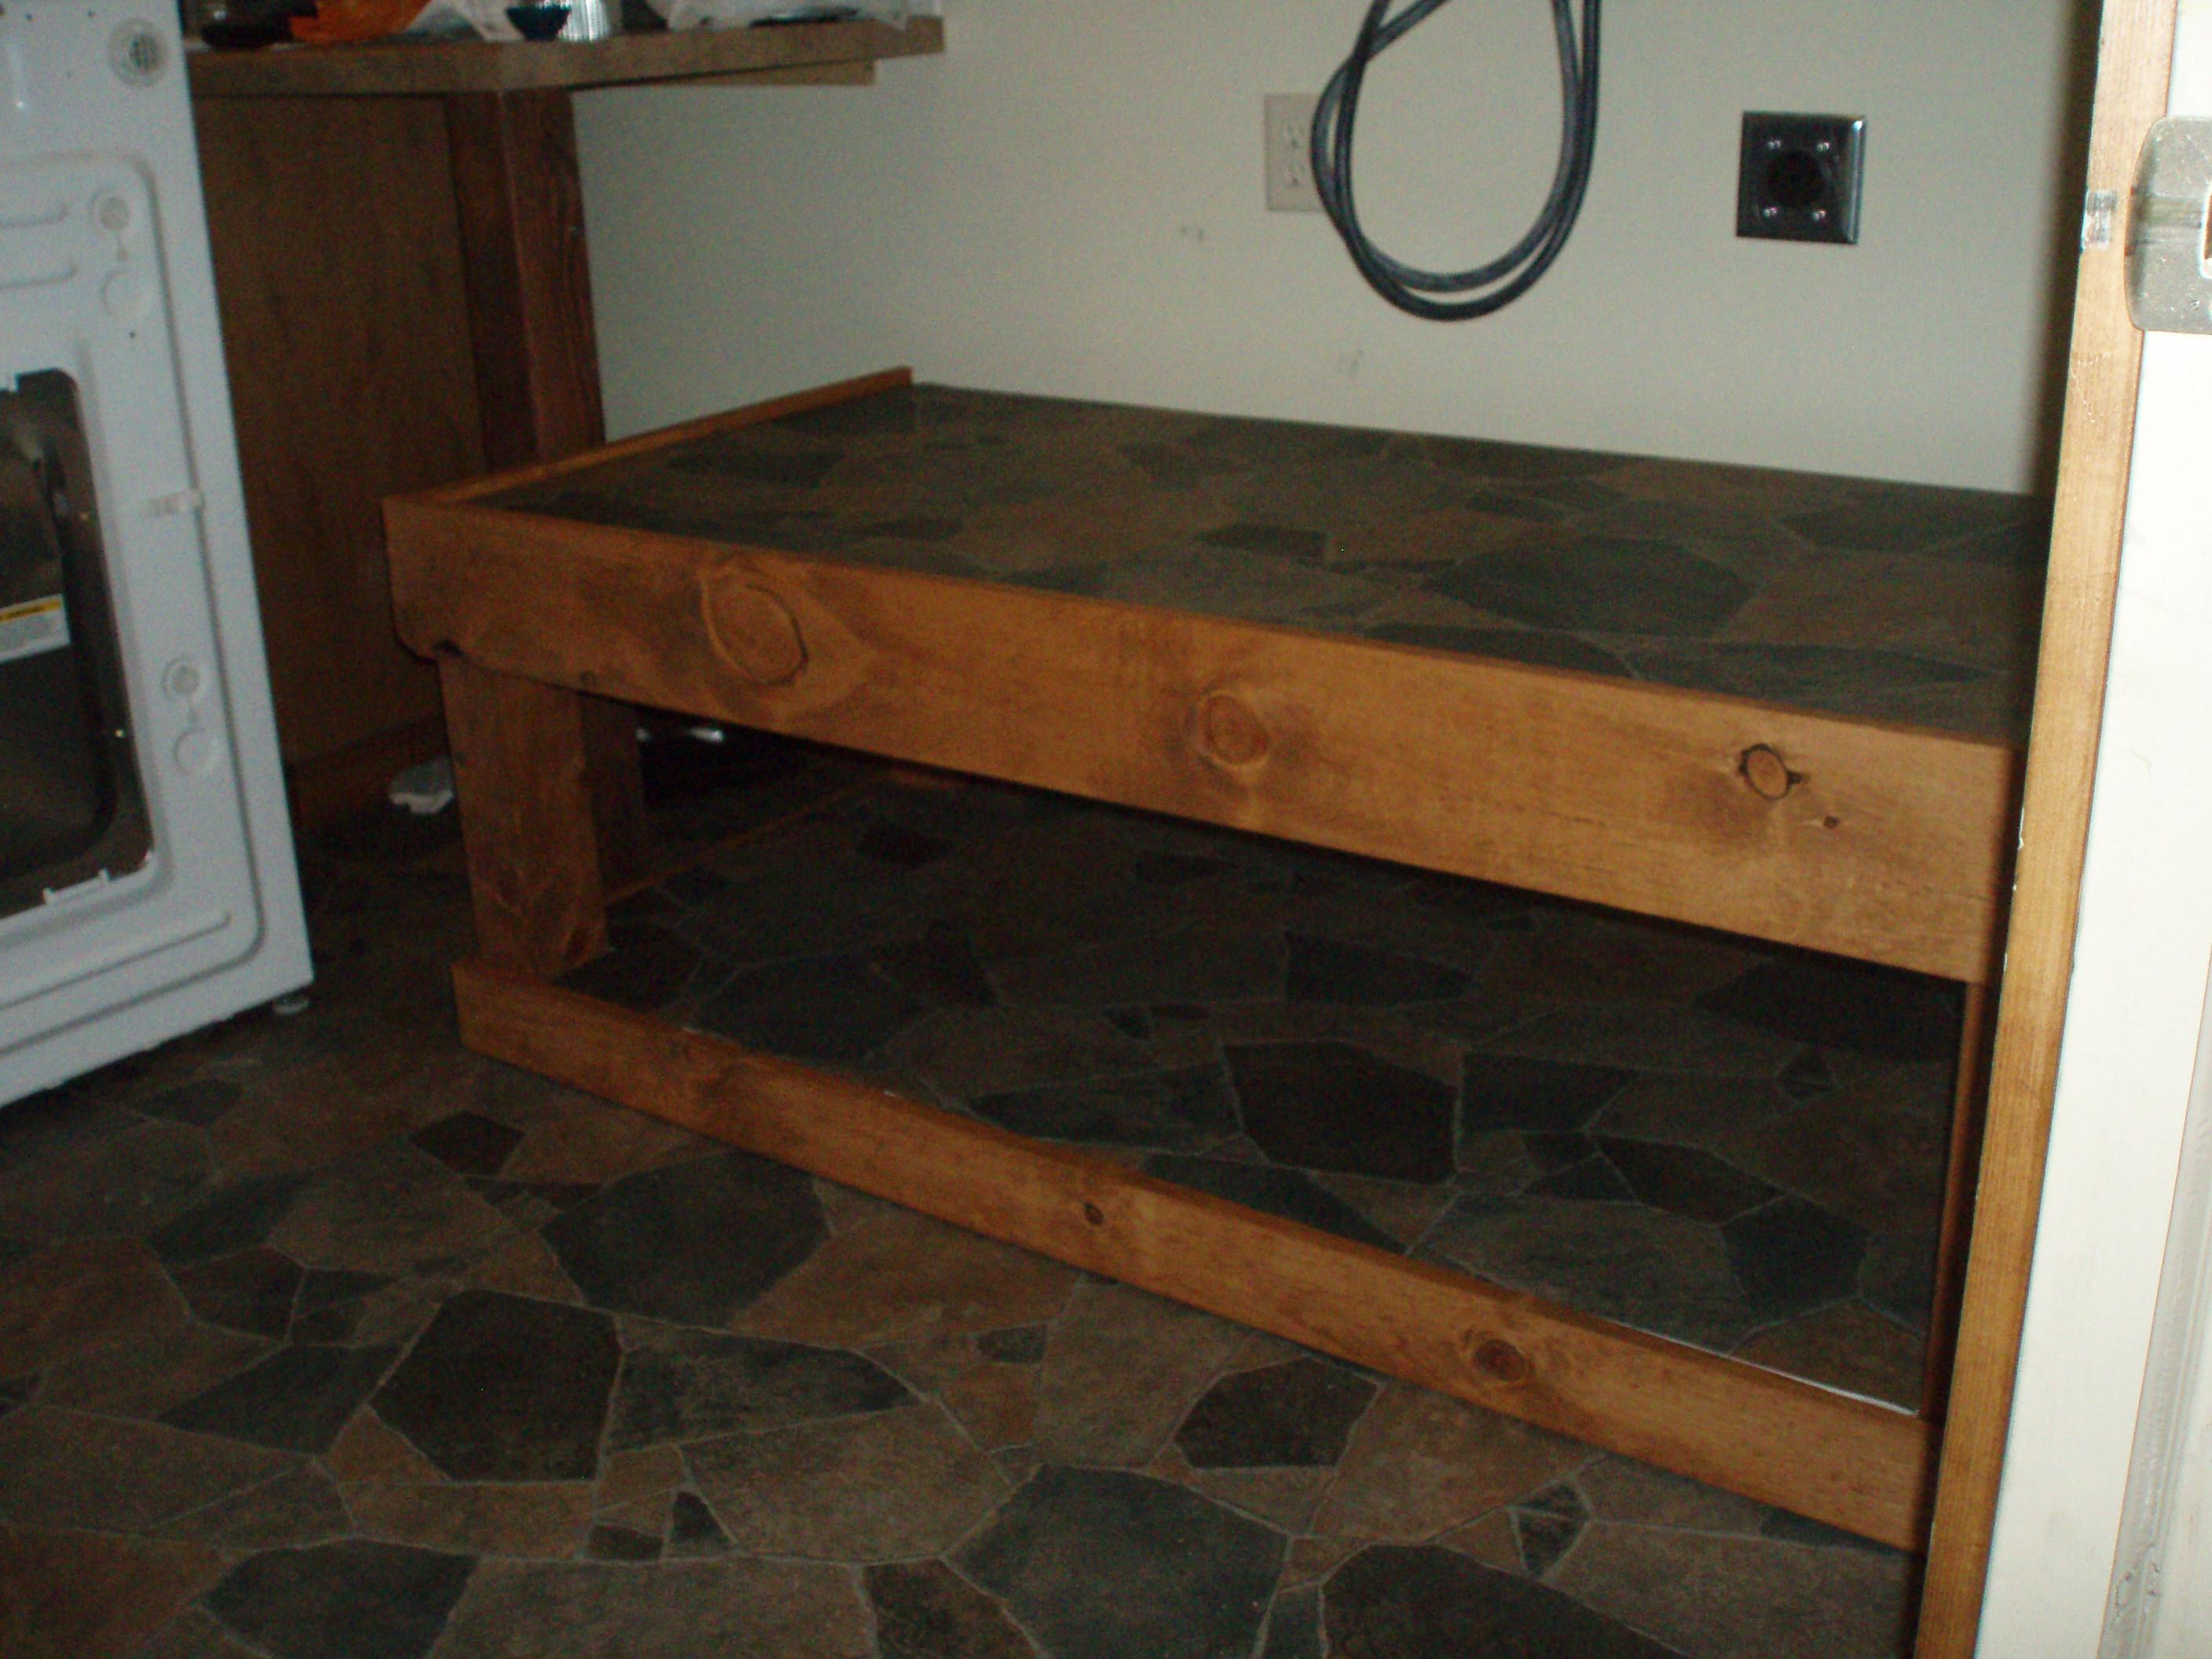
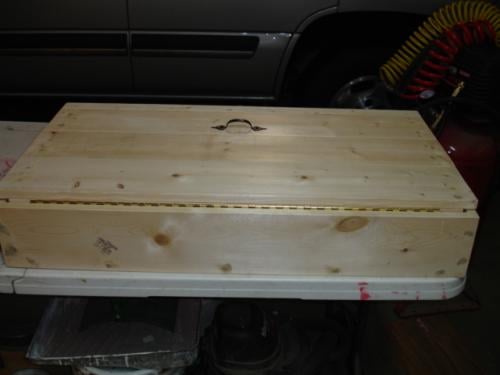
weekend project that had been put off for about a year and finally got done. was not that challenging even for a rookie. turned out well and most of all the mrs. was pleased with it.
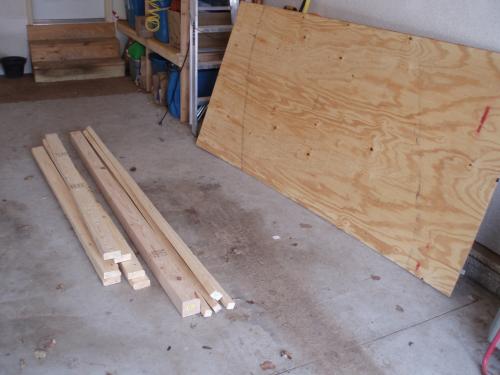
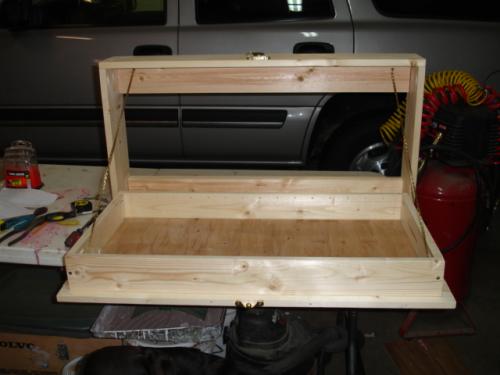
photo 1: materials
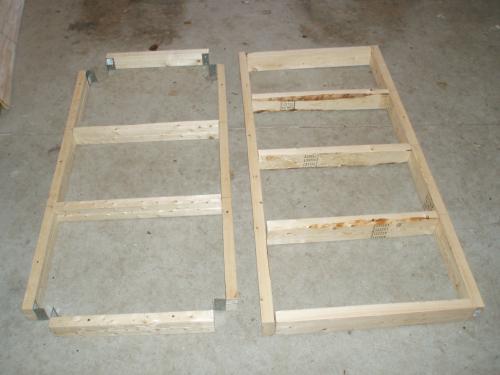
photo 2: lower level on left and upper level on right
photo 3:close up of each level, bottom level was stacked 2x2's plus 3/8 ply on top and 1/8 vinyl so that a 1x4 would cover the front flush and not have a lip so that tha baskets wont get caught.
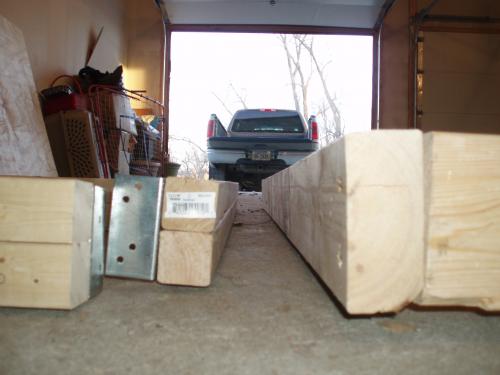
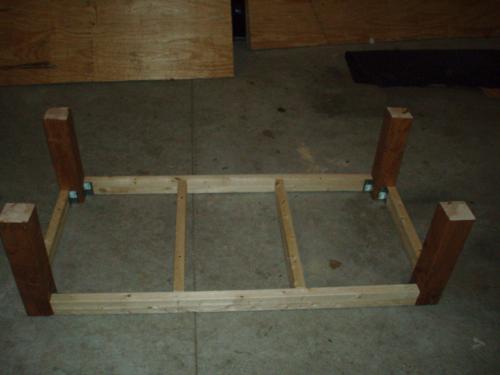
photo 4: base with corner posts
photo 5: all set minus the trim boards!
final trim on the top level overlapped by 1/2" to act as a lip to hold w/d in place if they decided to "move" on me.

This is the third project I've done from this site and the first that came out absolutely perfect. The others were GREAT but this one....it just soared.
Took me all of 1 afternoon to build and 3 days to stain and finish. I used Early American by Minwax to match the existing dining room table.
My goal is to build the table that goes with it.
But, for now, this is the perfect addition to the house.
One thing.
The plans for this bench call for 1x4s for the breadboards and that doesn't make sense. I think it's a typo.
You will need extra 2x4s to make the project really soar. But, heck, who can't use an extra 2x4 lying around?
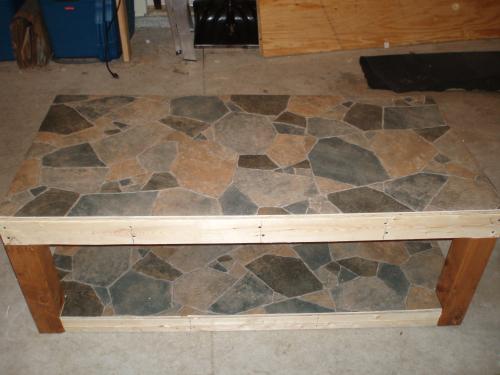
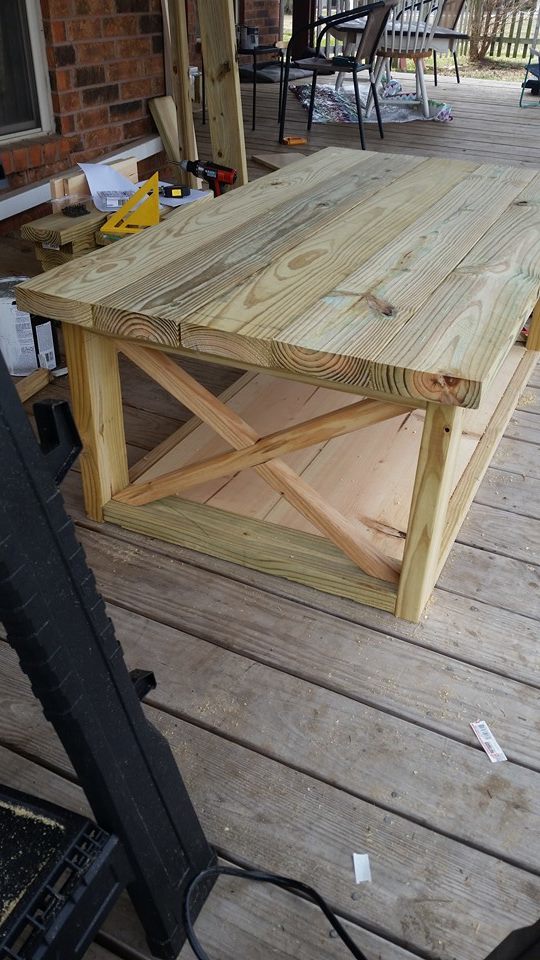
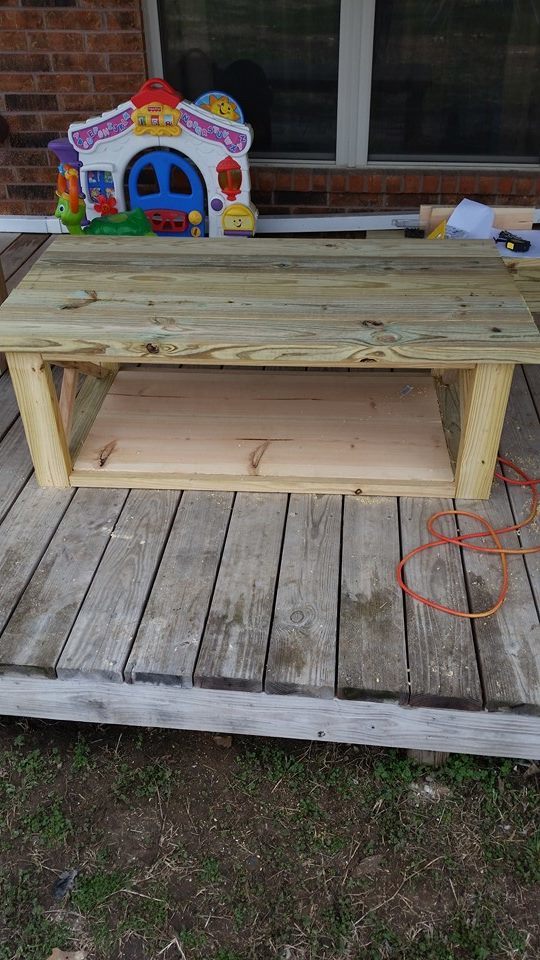
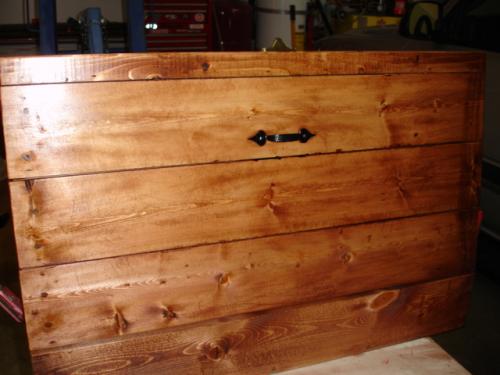
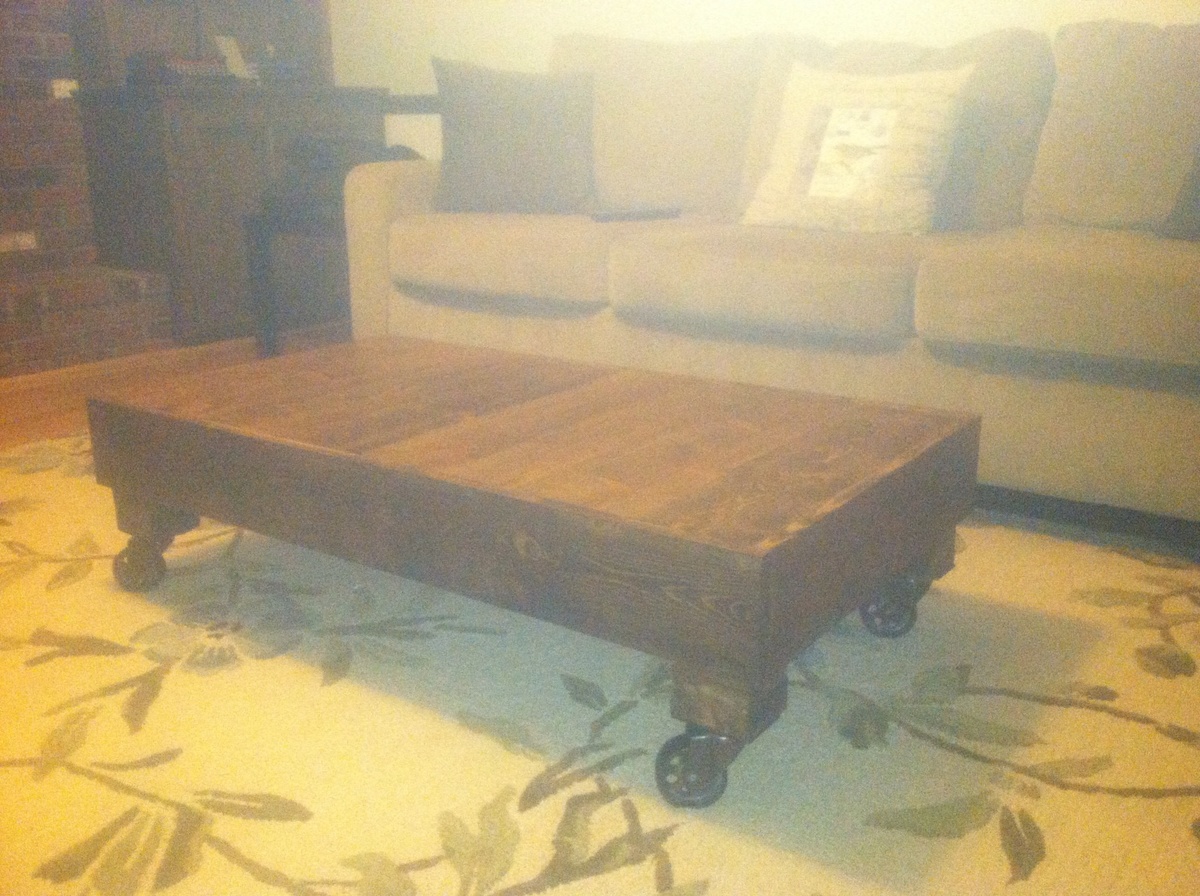
My wife was wanting a new coffee table so I decided to build one instead of goin and buying one. This being really the first somewhat hard wood working project that I had tried it turned out very good. My wife did her handy work on staining and making it look very old and rustic.
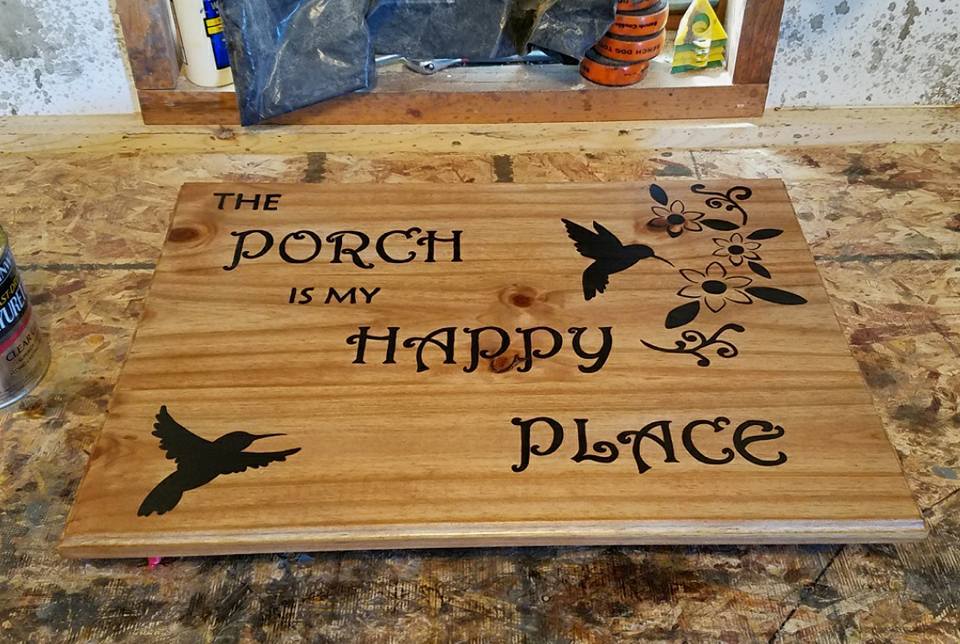
My father asked for a porch sign for his birthday, and as he enjoys sitting and watching the hummingbirds feed, thats the theme I went with. Sign is made with a redwood fence board that was sanded down and biscuit joined together, then given a decorative routered edge. Painted with Rustoleum paint, and given a few coats of spar urethane. Used jute cord on the back to hang the sign with.
First time building and I'm in love with it!
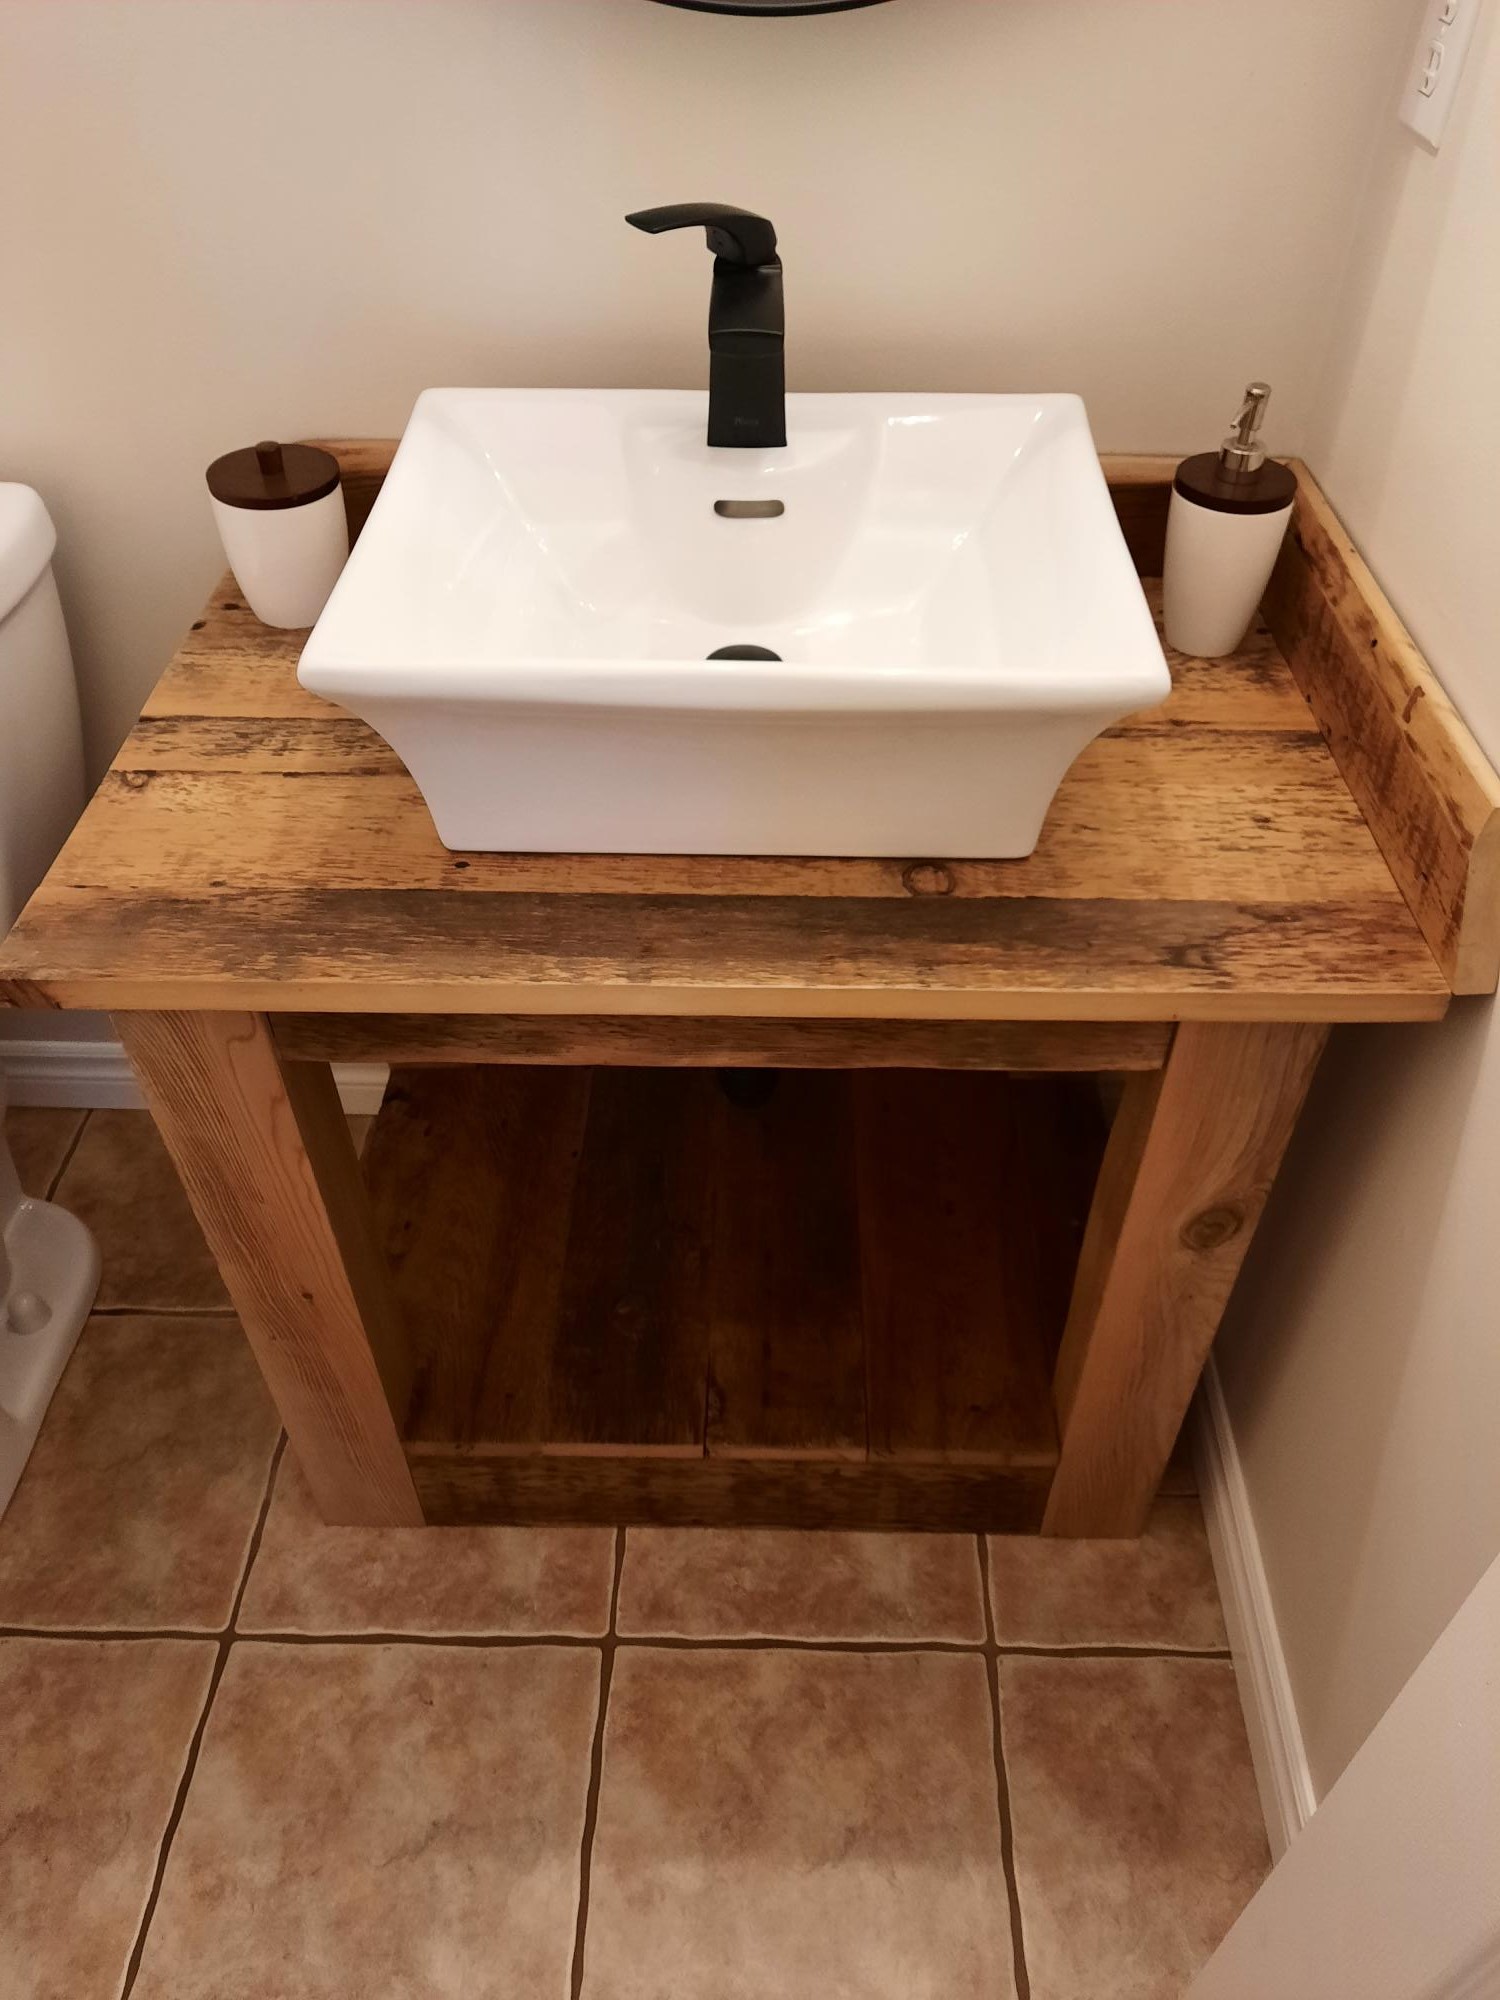
So happy with the finished product. Used 100 yr old barnwood and matte finish with varathane.

I LOVE this stool! I love the style, the function and how easy it was. I made this in just an hour while the kids were out front riding their bikes. The best part was it was a gift for my dear friend for her nursery.
I already have two more rooms in my house that are in need of this stool, so a few more are in my future.
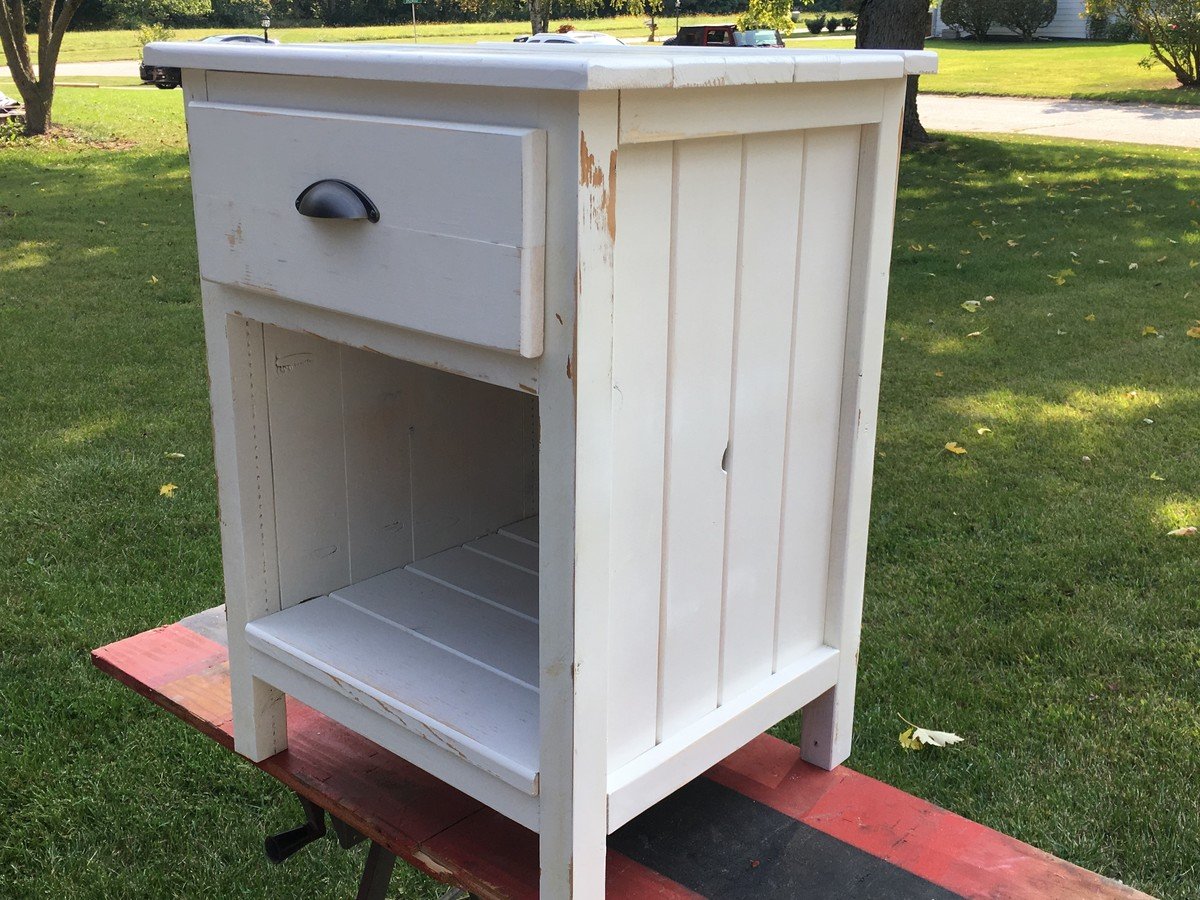
This is my interputation of the Reclaimed Wood Look Bedside Table. I beveled the edges of the of the 1x material and a top drawer with a large cubby beneath. I used a sprayed latex paint then a light sanding to give it the distressed look and the two coats of clear poly.

What a fantastic project!
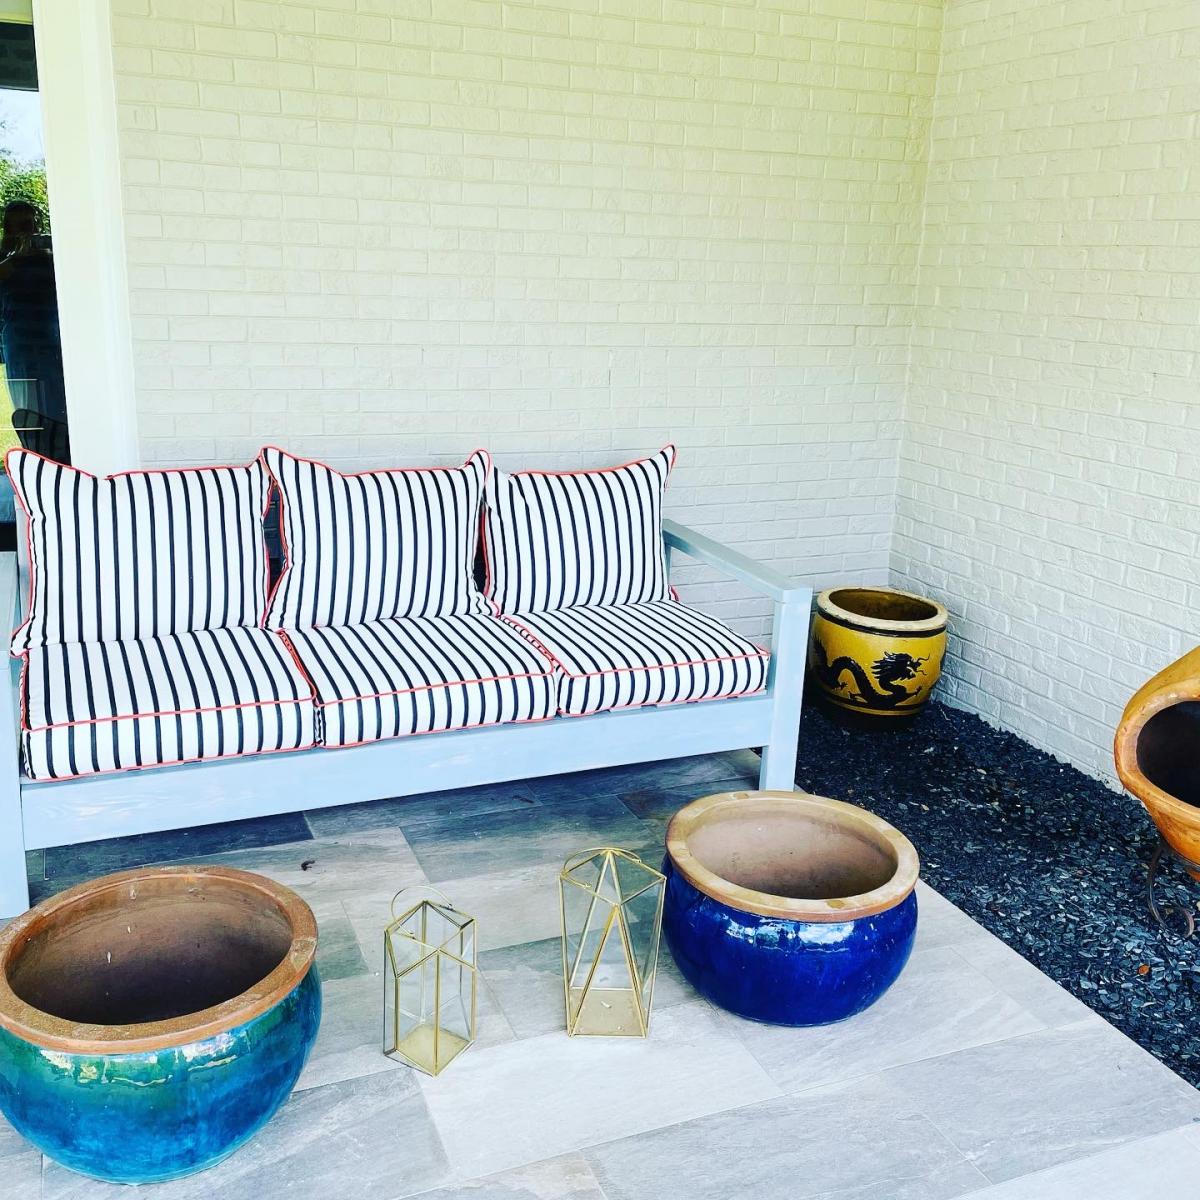
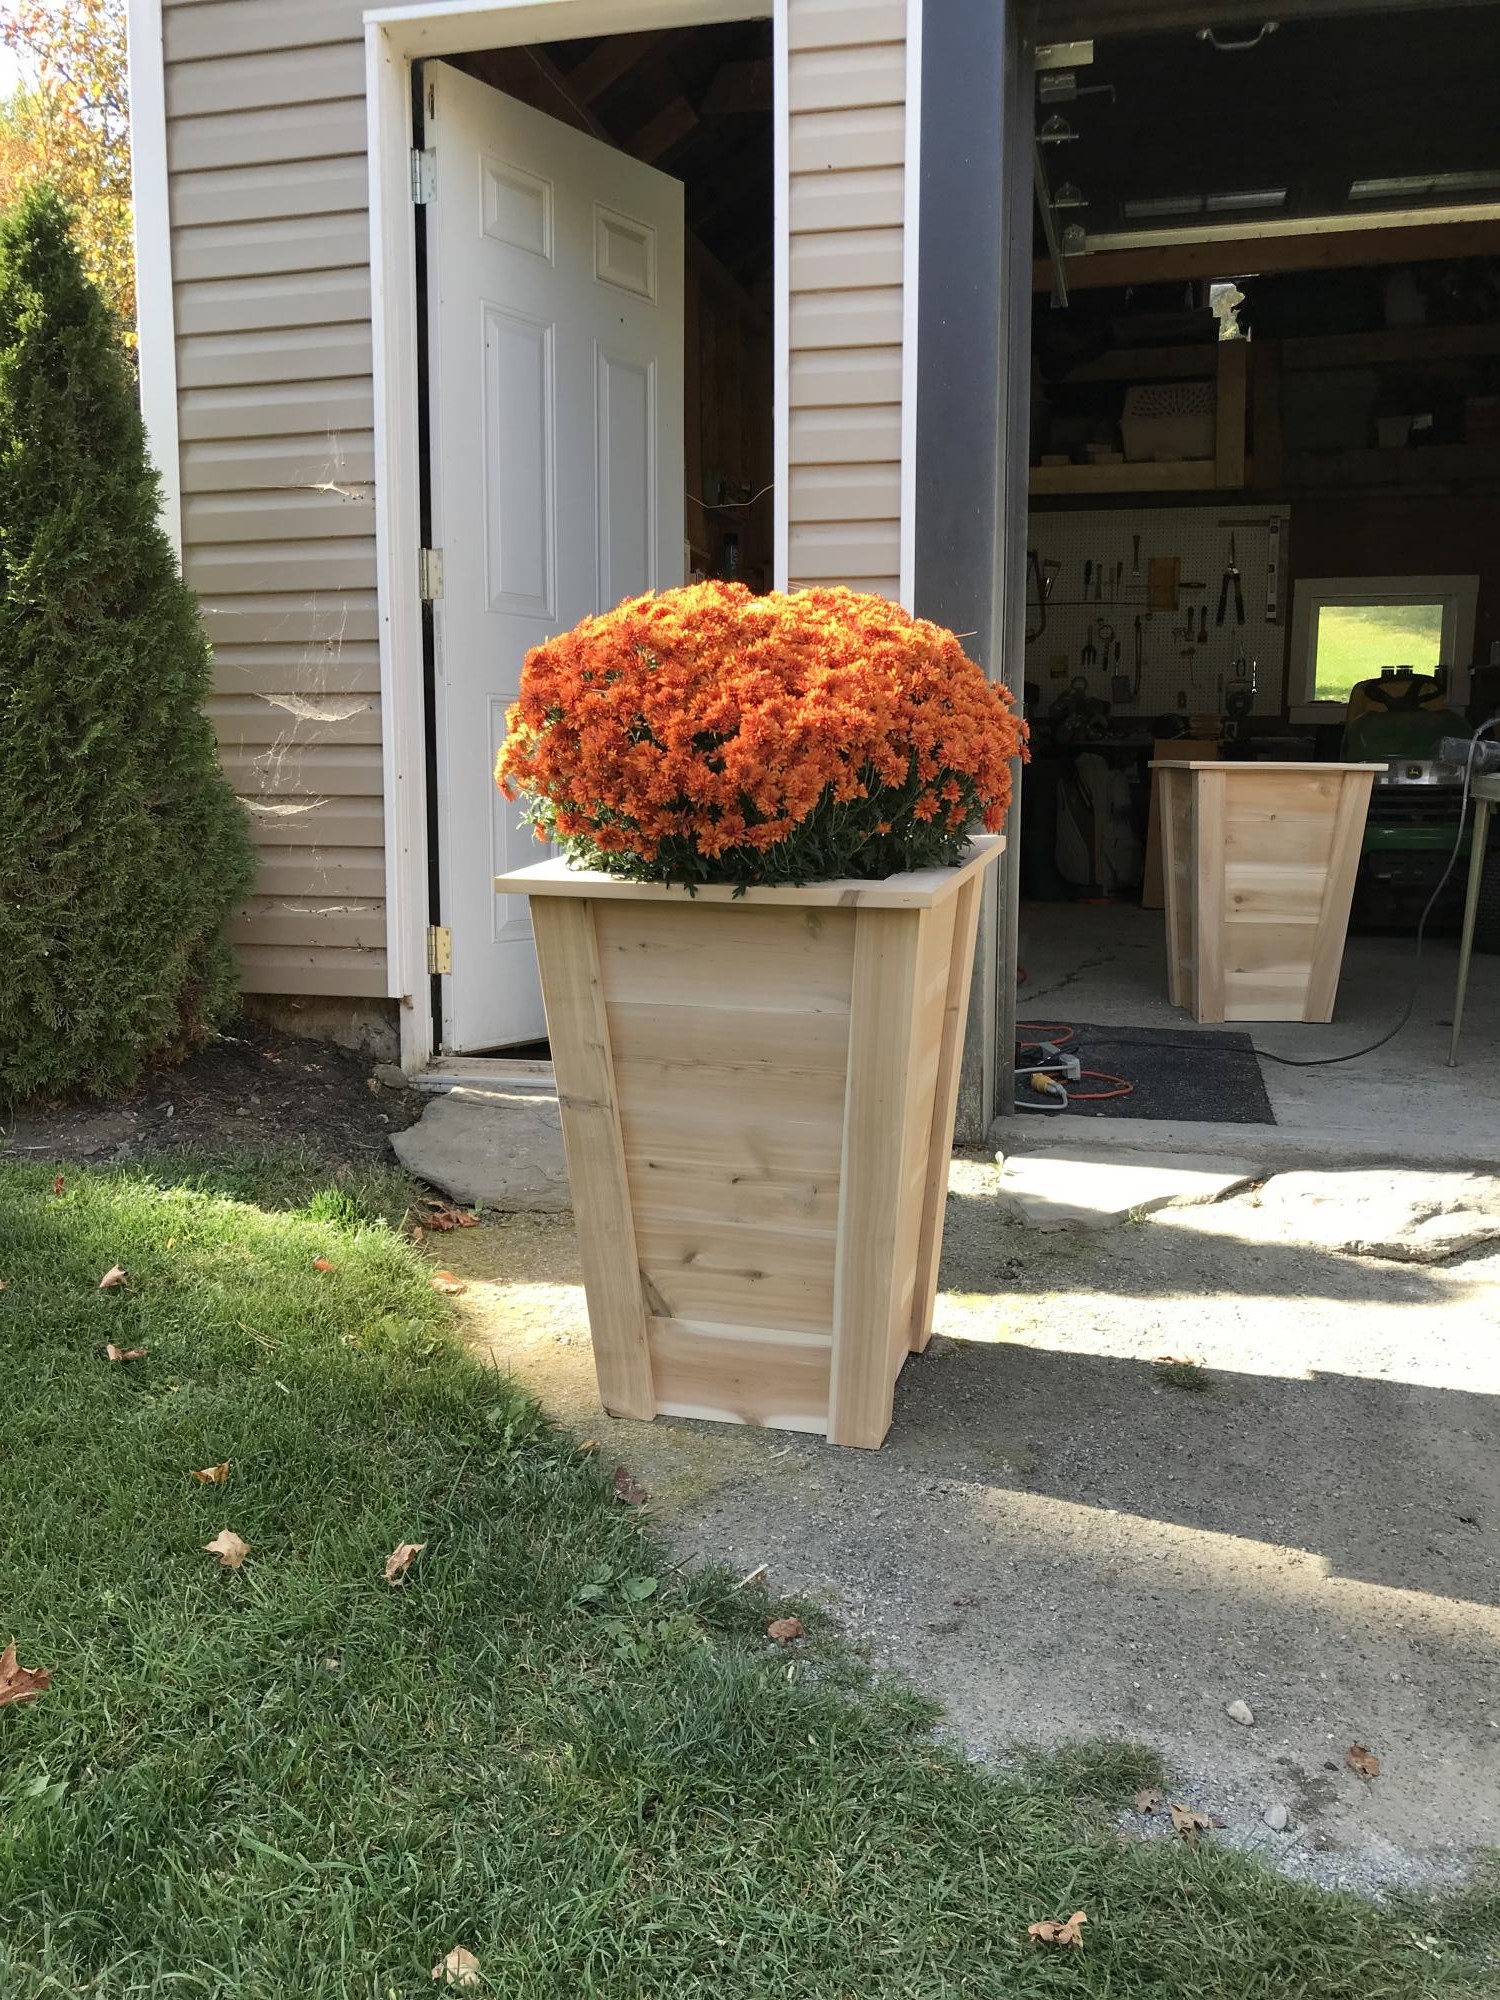
Color of the stain - colony blue by Behr. Lightly distressed.
Now awaiting cushions!
Updates: cushions arrived!

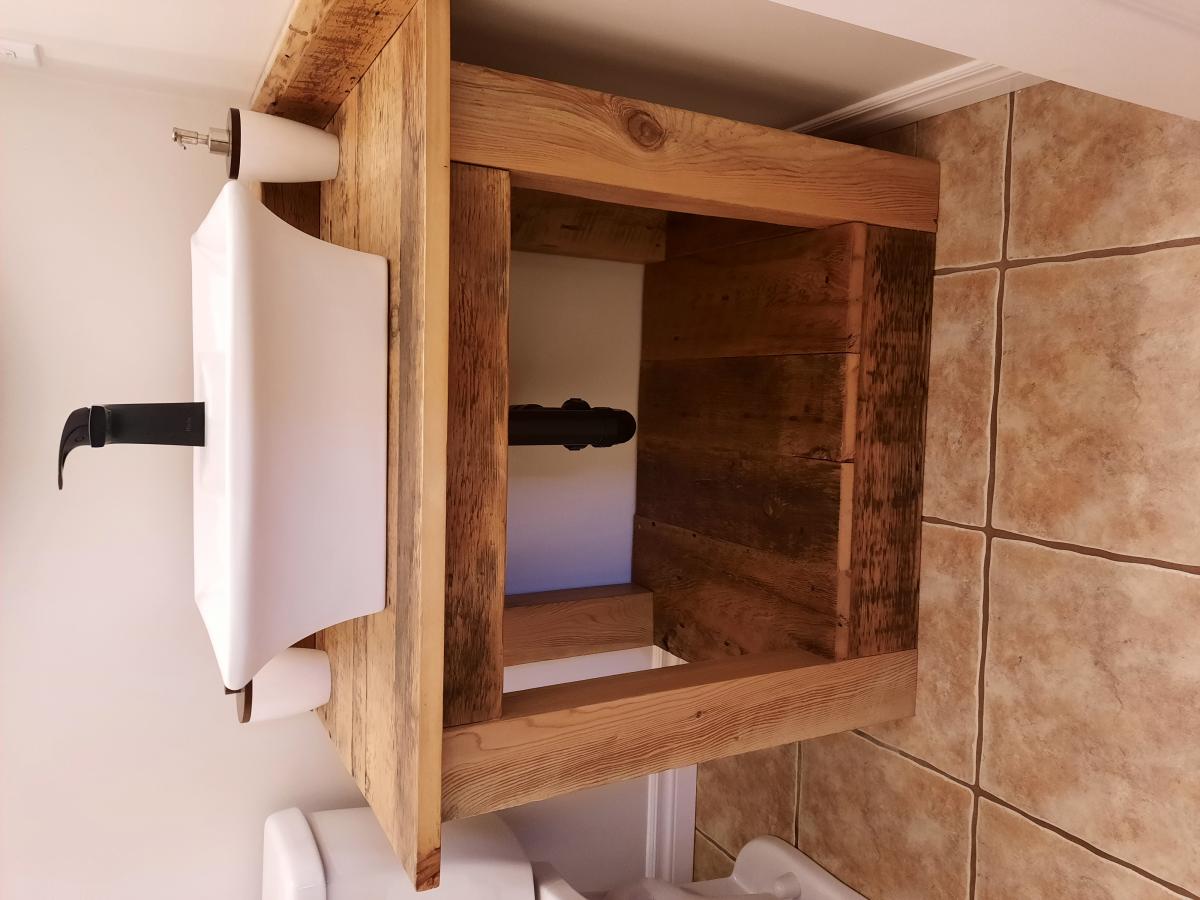
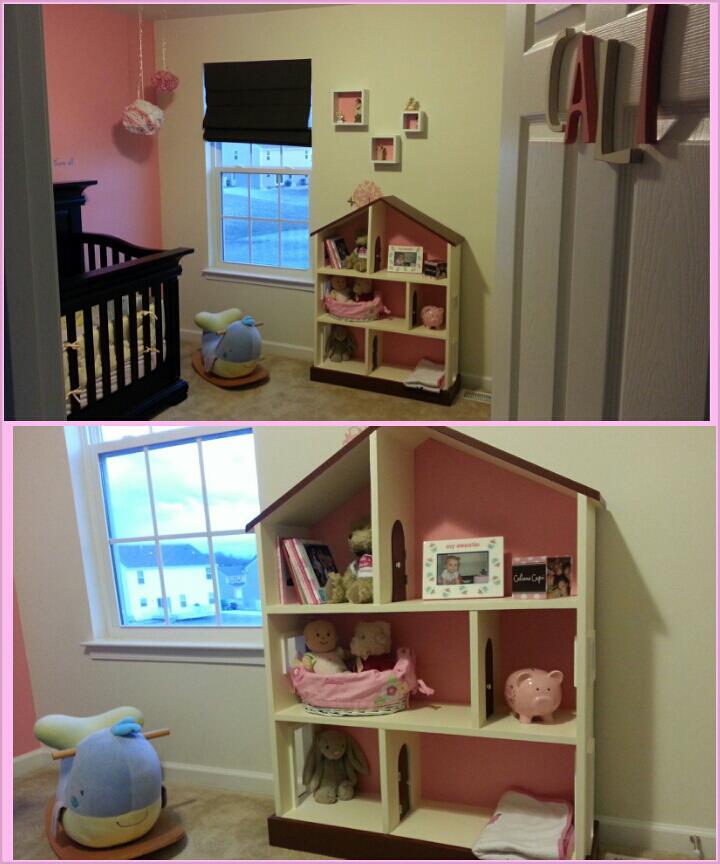
A good friend of mine needed a changing table to save space. I originally planned on building her a standing changing station but then she wanted to have one that hung and she planned on buying one that you find in a store restroom. I knew I could make her one that she wanted and that looked awesome. Here are some of the photos I have of it pre-hanging on the wall. Click the URL and you can see it being used!!!!
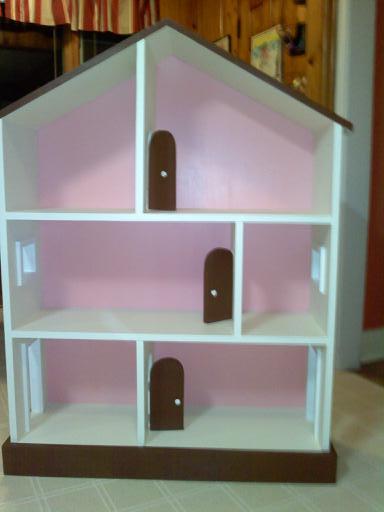
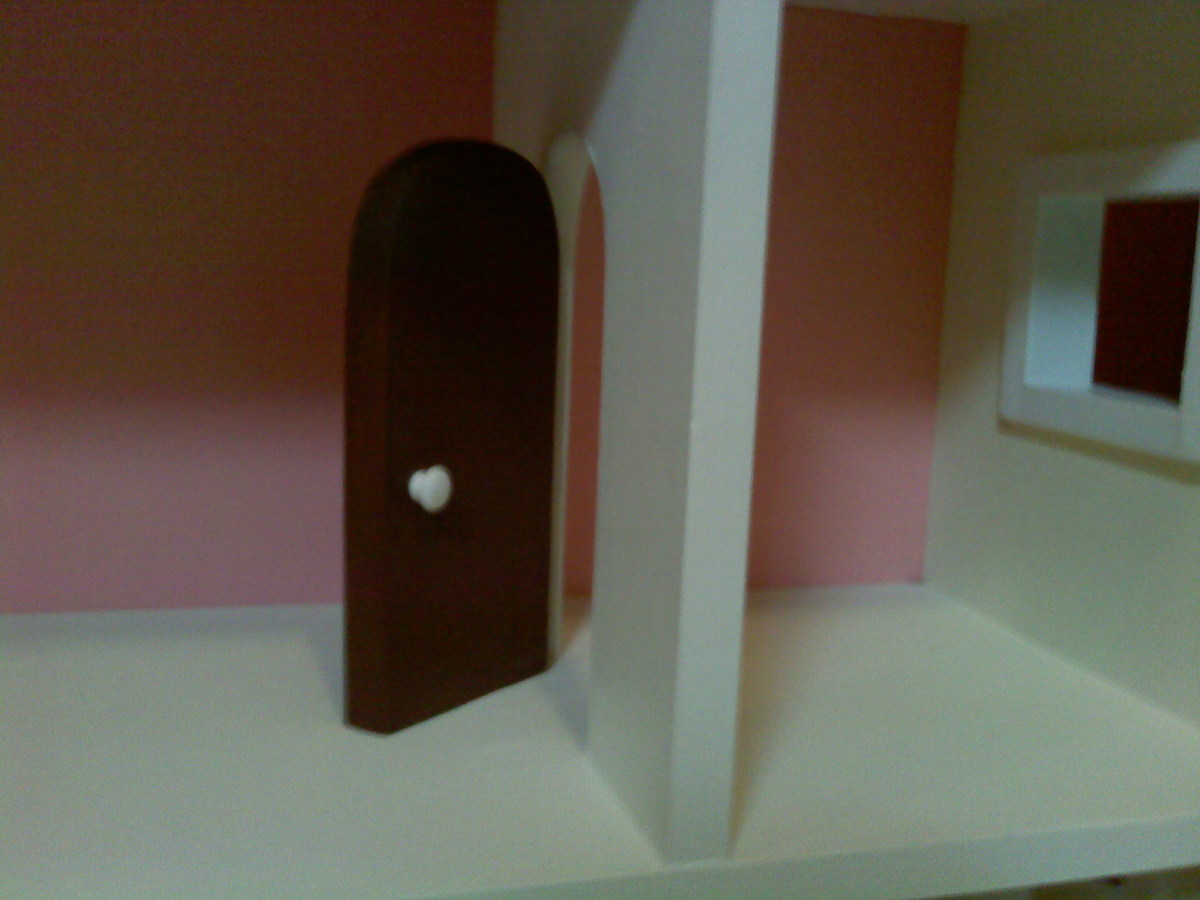
This was my first project and there were many starts and re-starts and tearing apart and re-doing but finished product was great! I added the arched doors to original plans and had fun with the whole project!
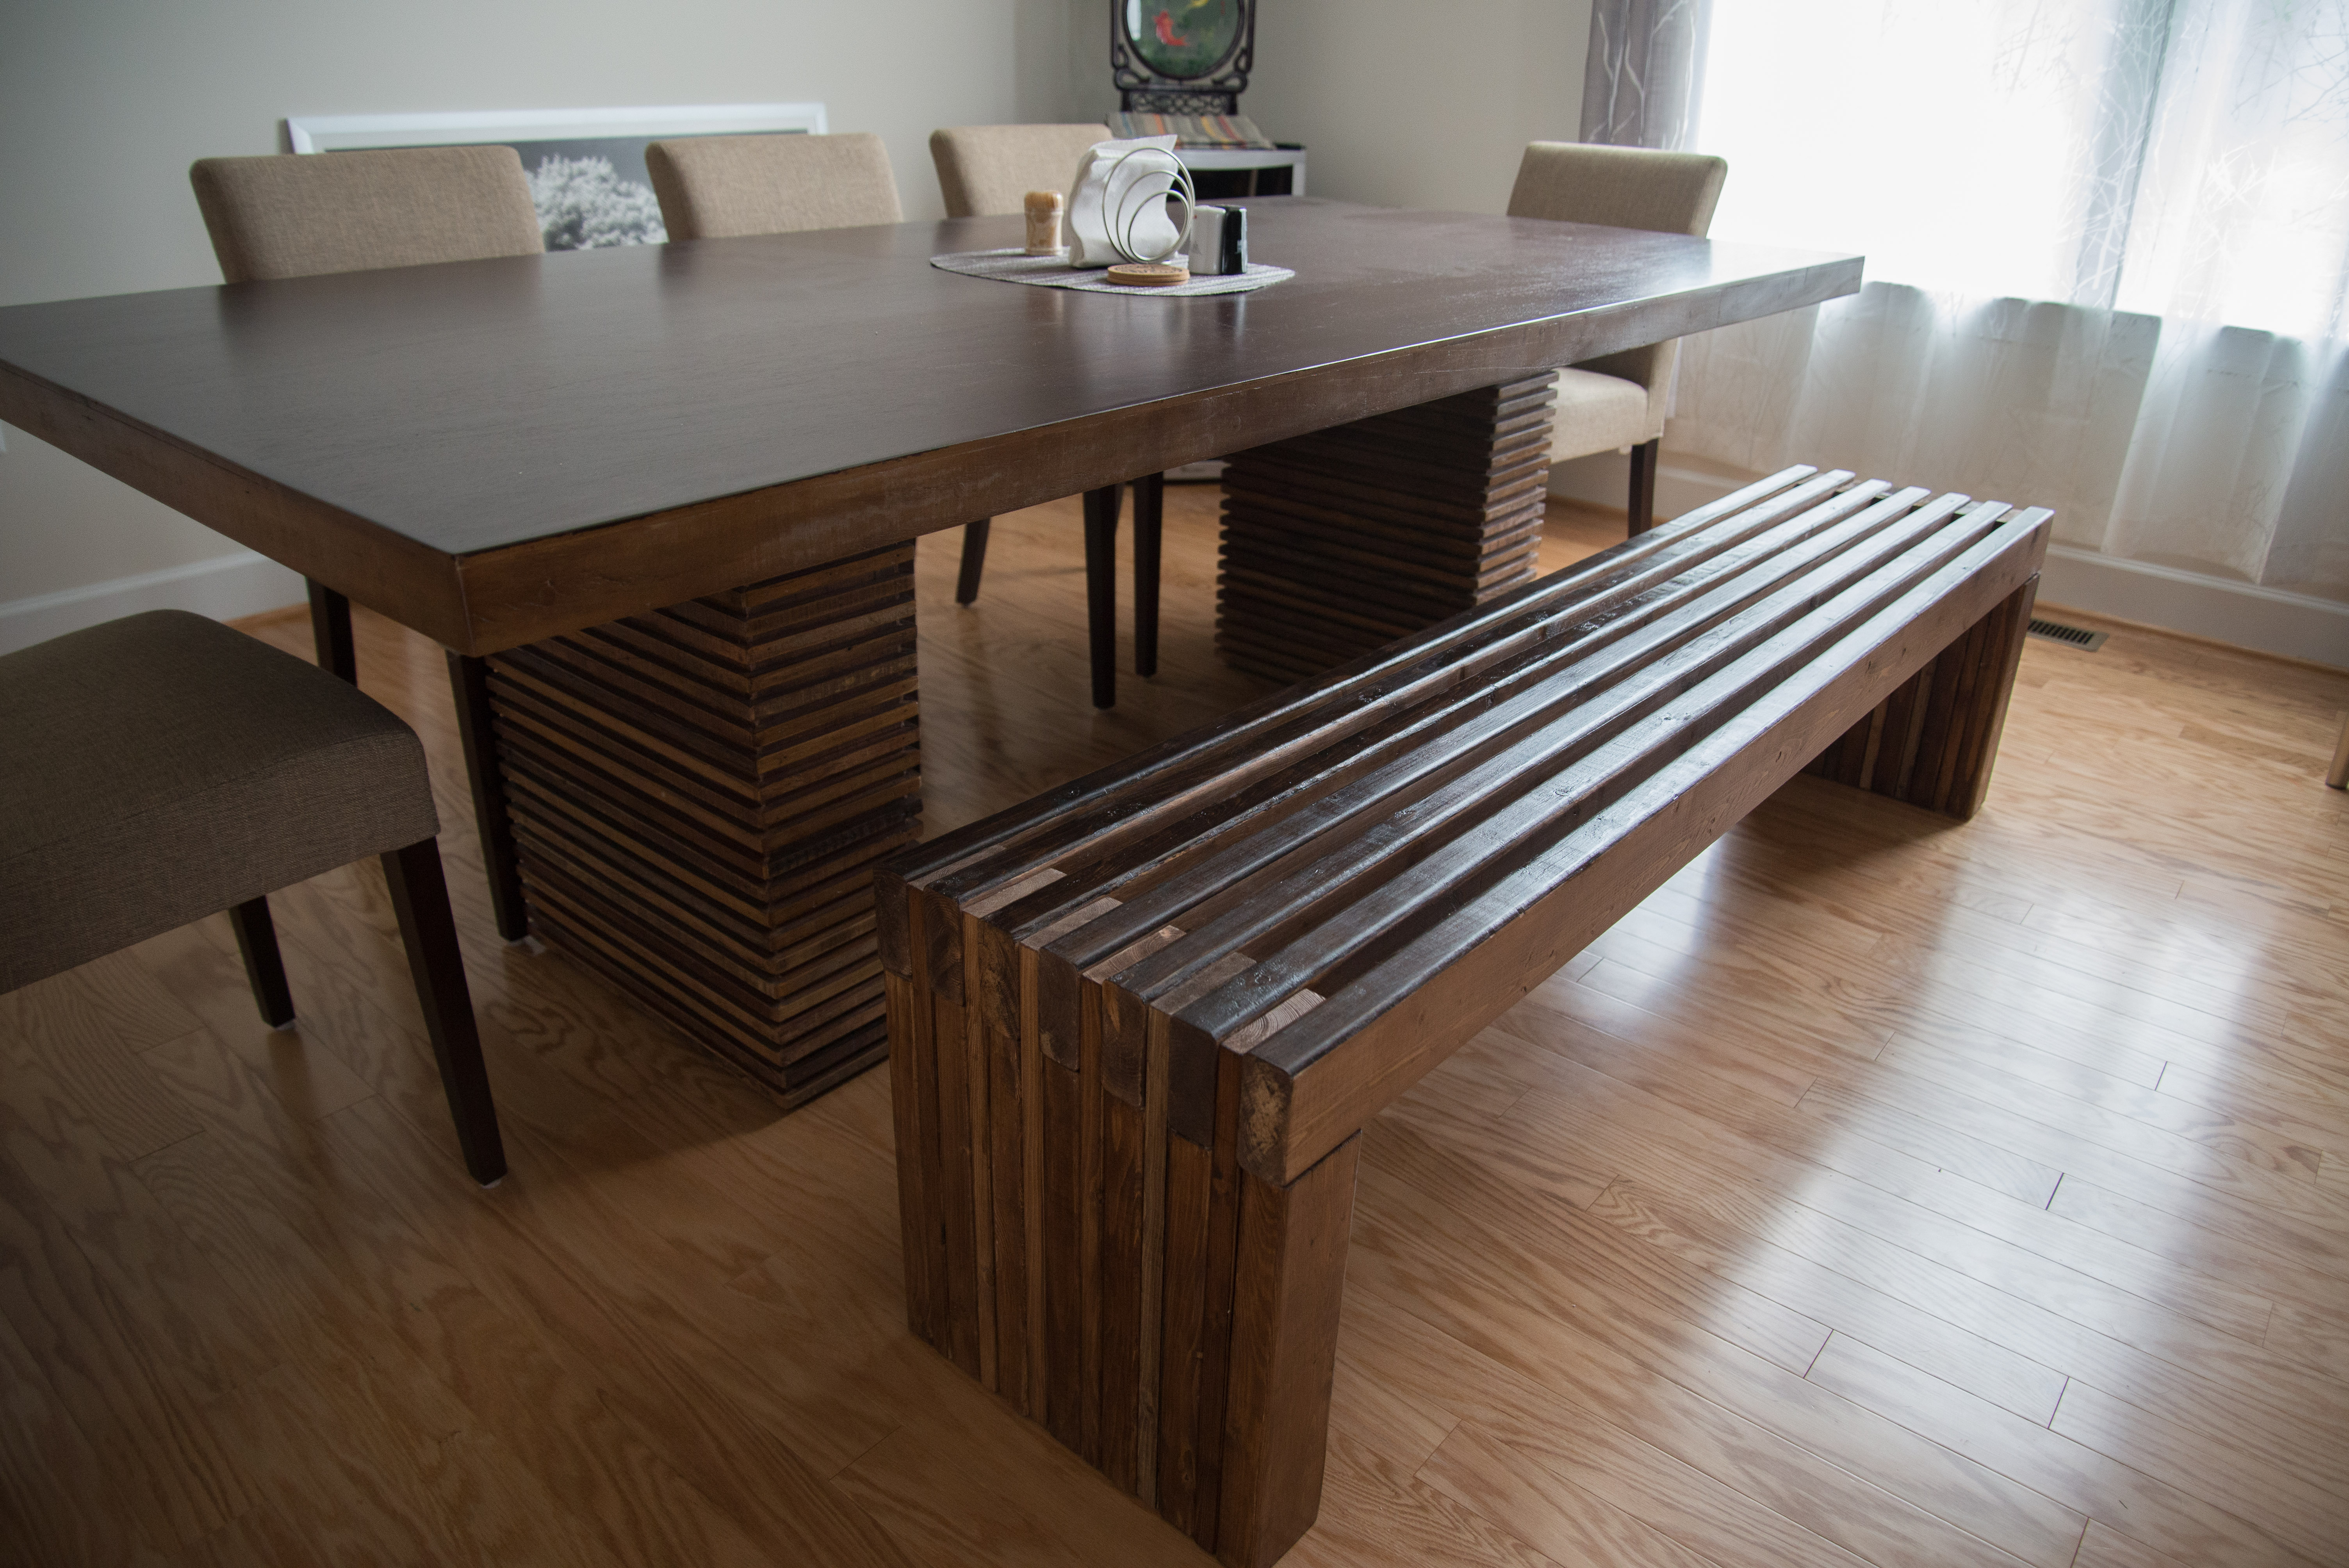
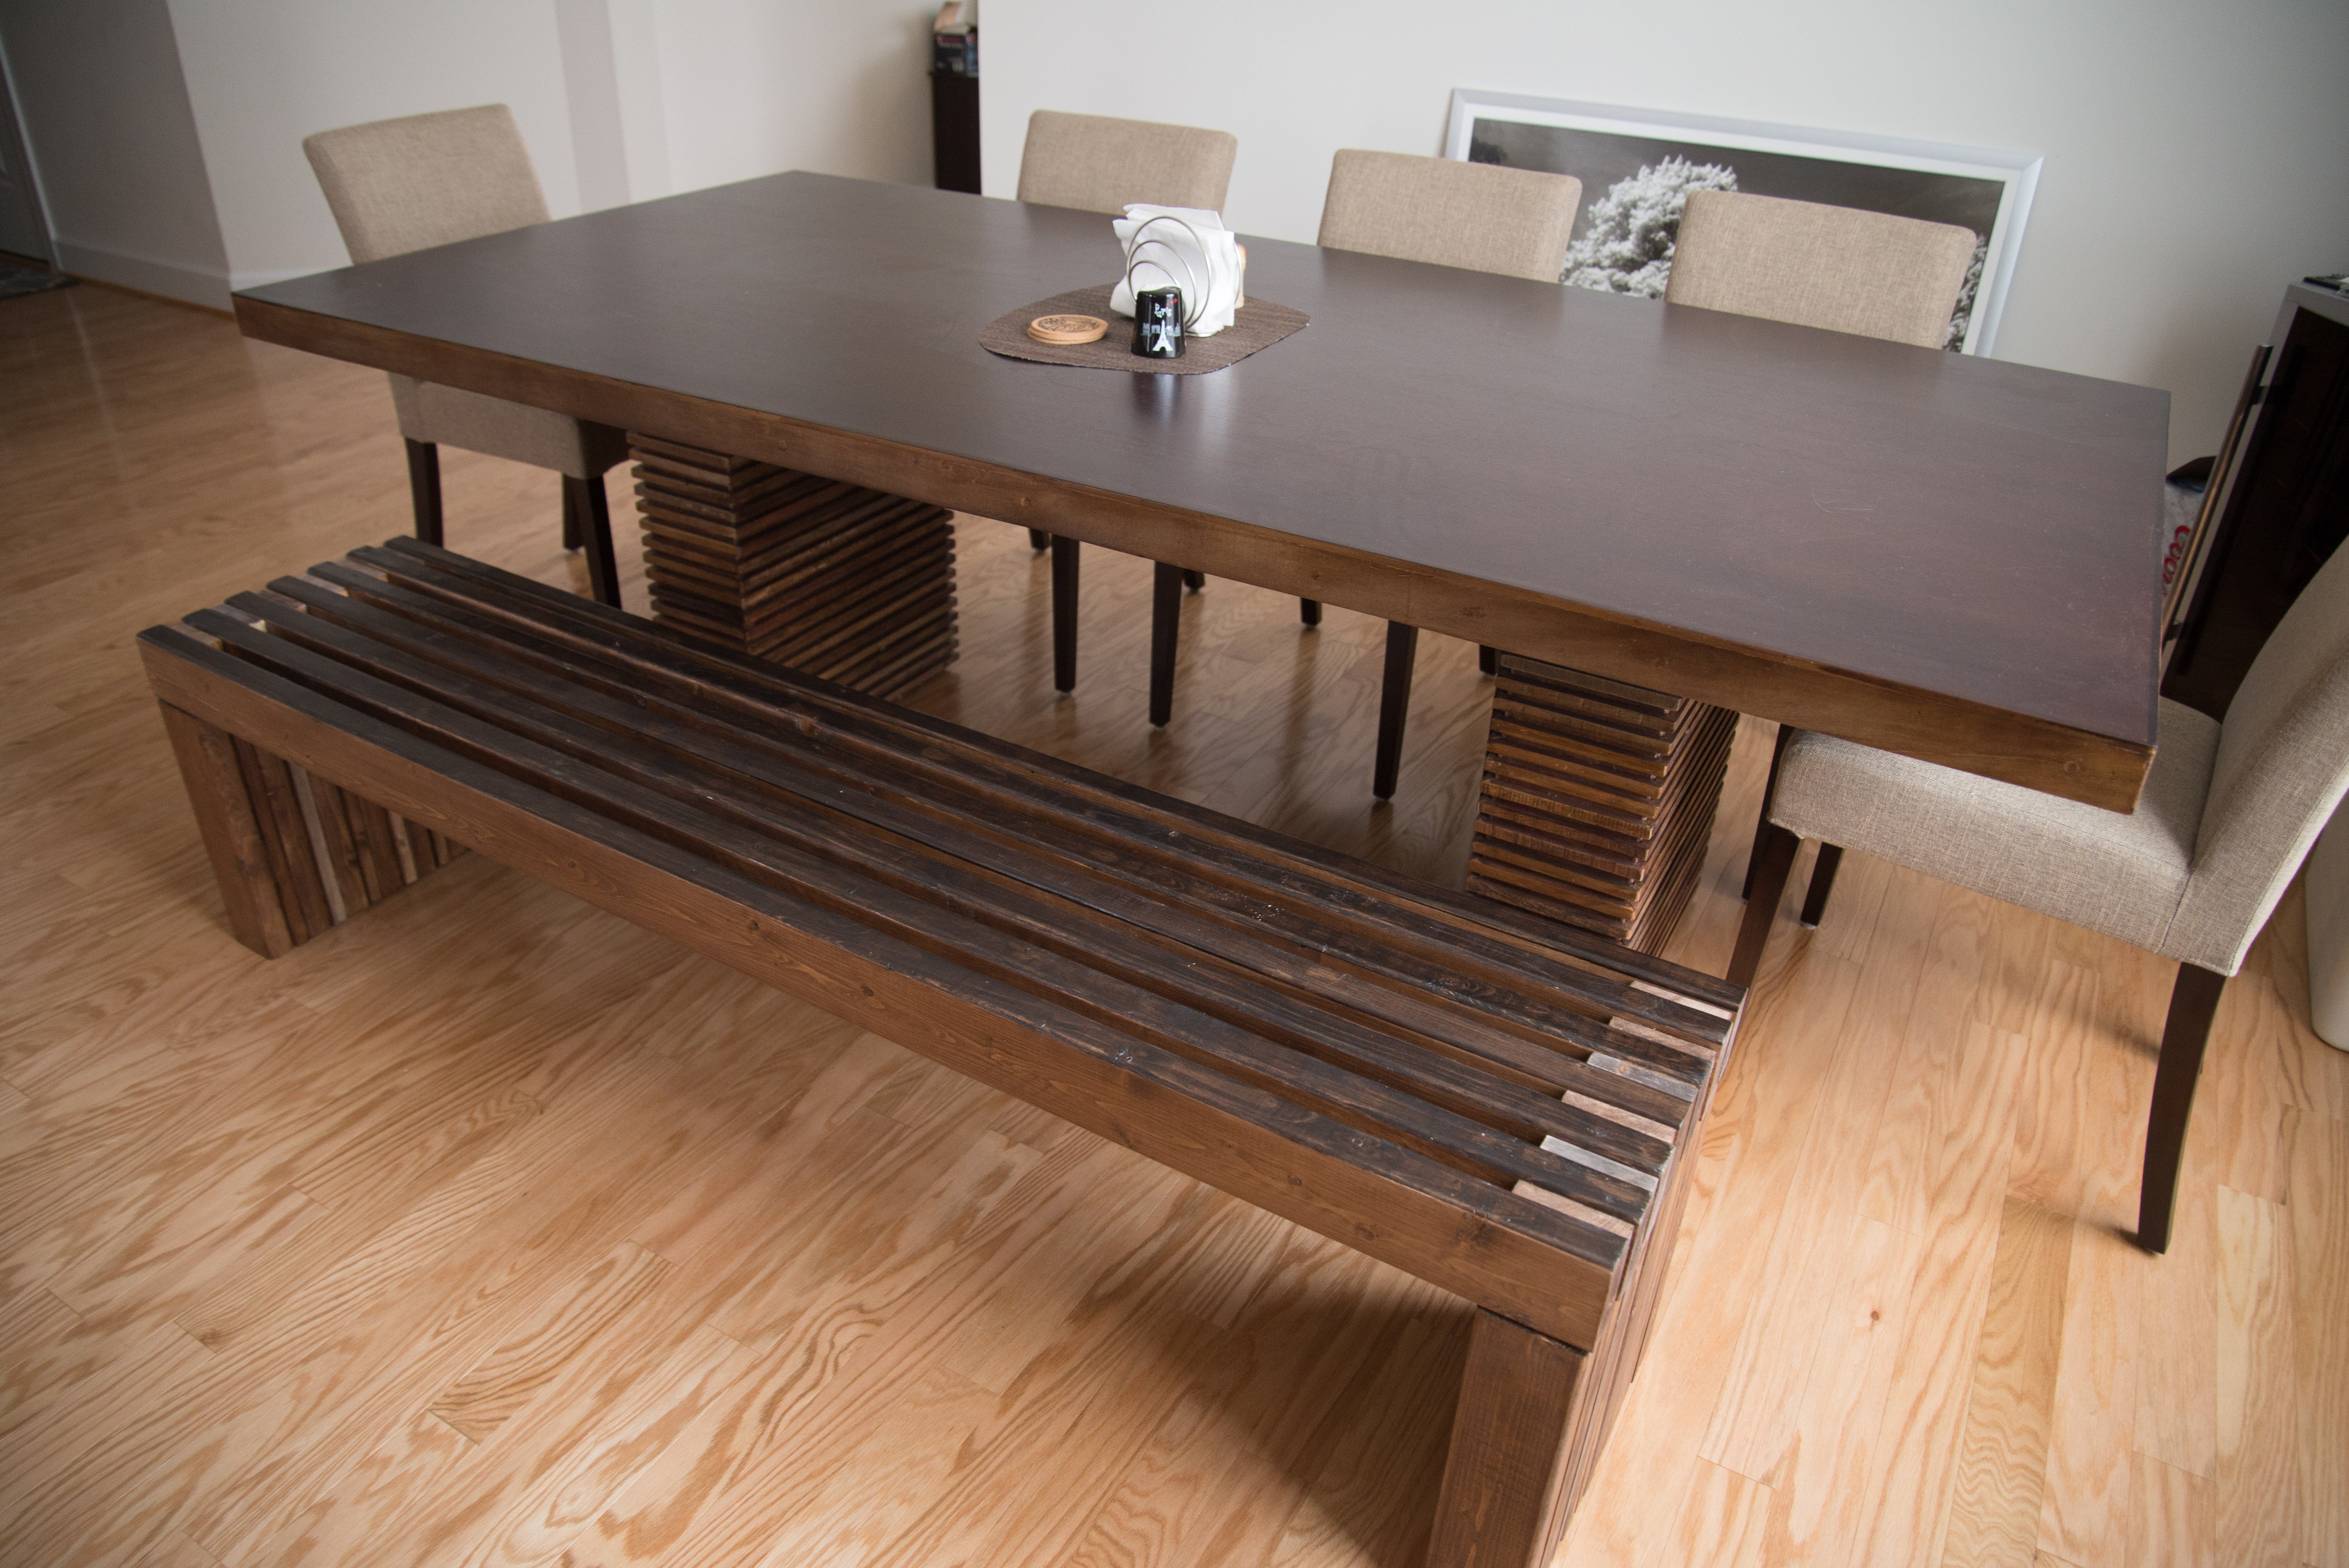
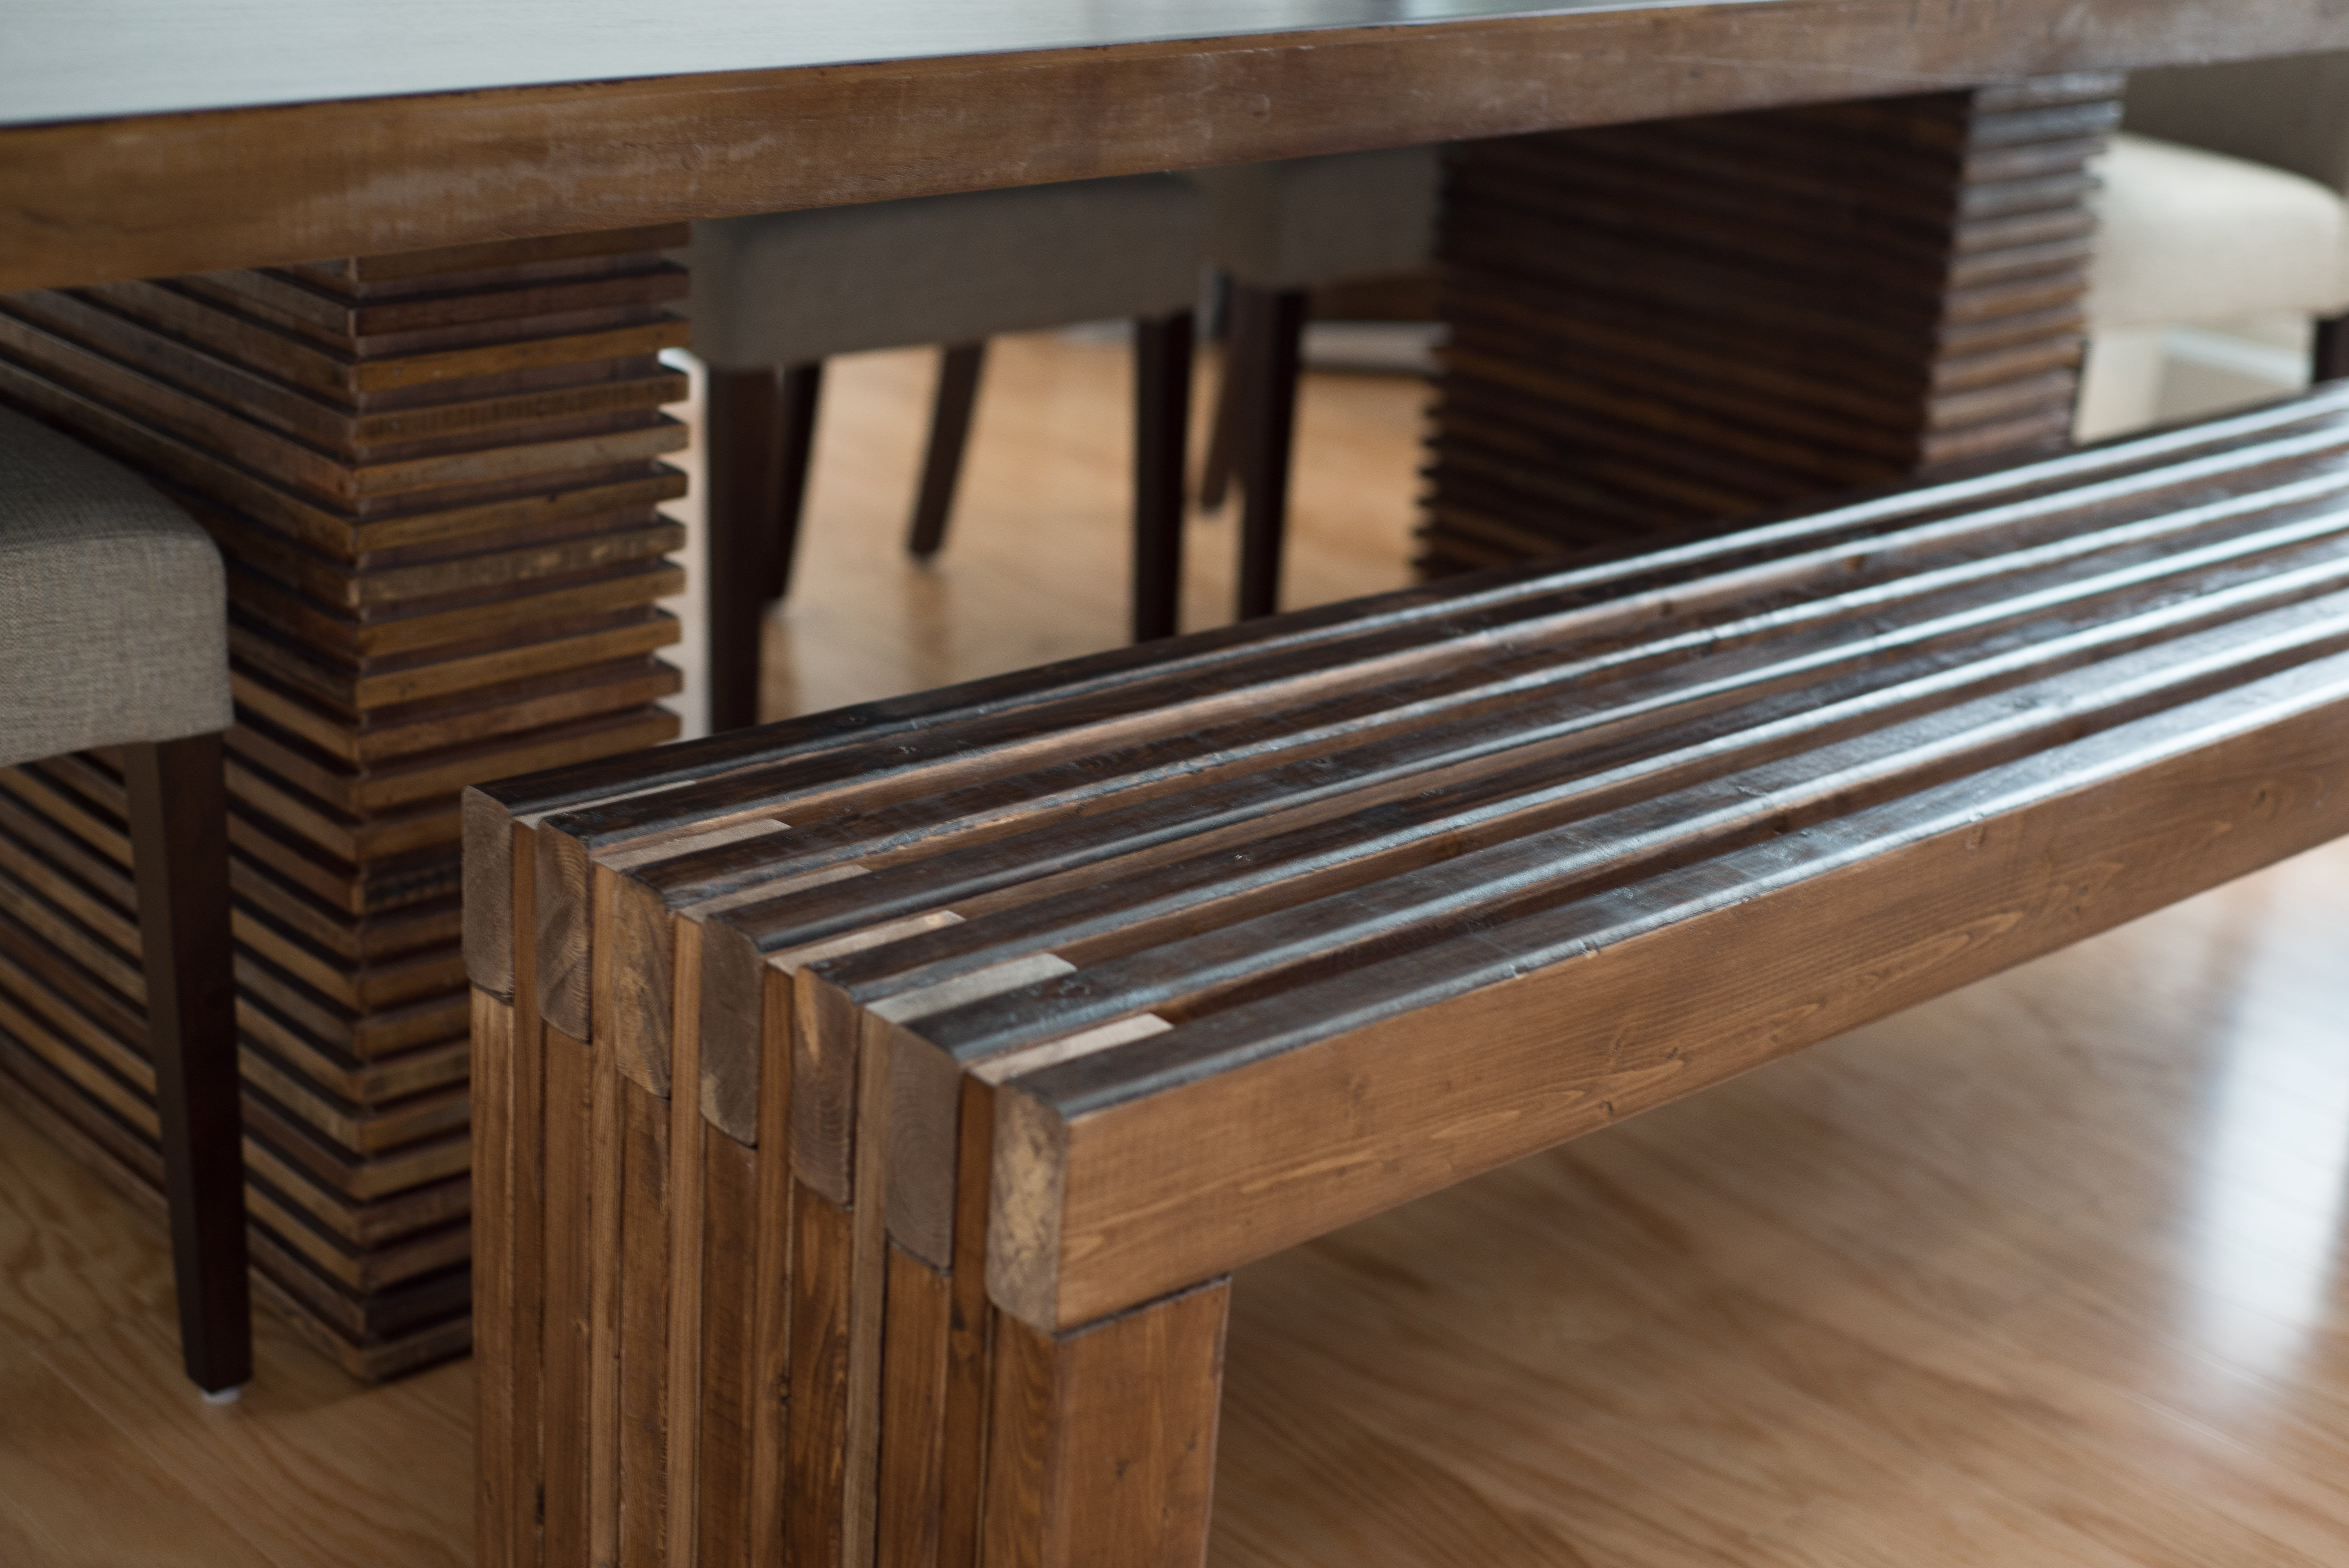
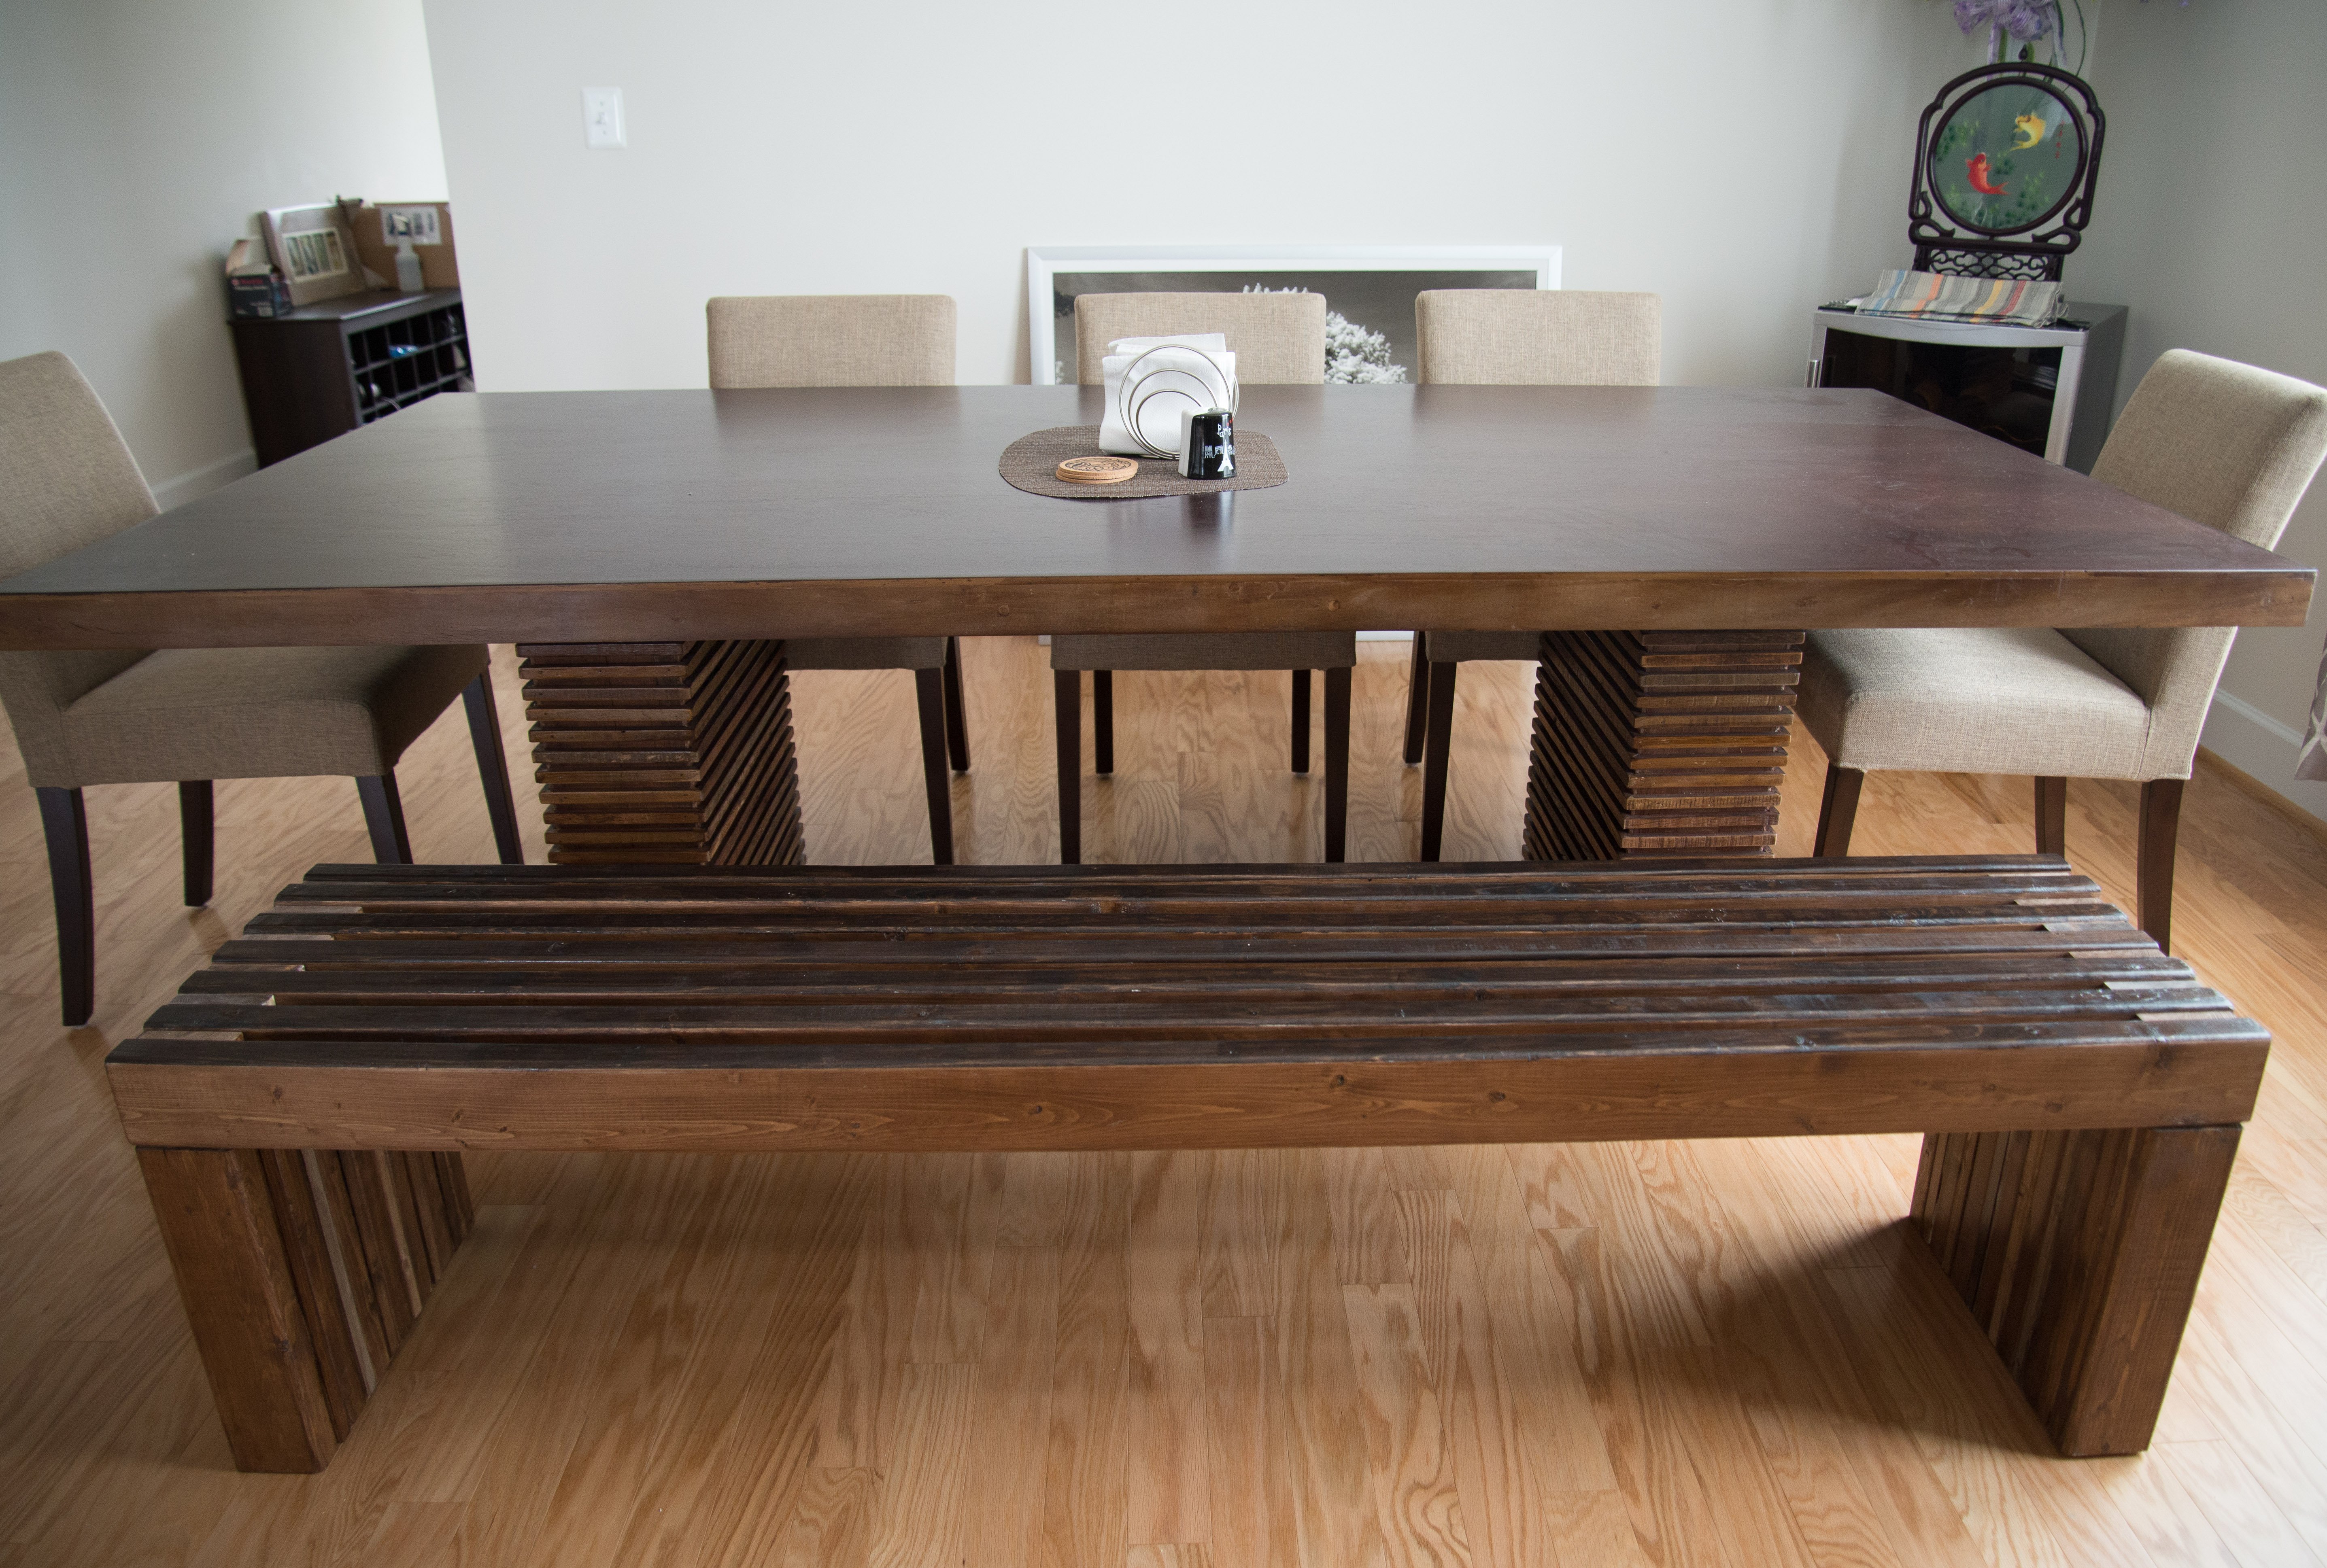
This was my second project after creating a custom bookcase for underneath our kitchen island. When I saw this bench, I knew it would go well with my dining table. It was pretty easy to do. I sanded and stained each piece before putting it all together and I stained it to try to match my dining table.
Thu, 05/07/2015 - 13:51
I love how you were able to match the bench to the table. By the way, what is the name of your table? I really like it! I wonder if Ana has time to draw up this plan, pretty please Ana.
Fri, 05/08/2015 - 10:19
It's the Paloma I from Crate and Barrel: http://www.crateandbarrel.com/furniture/dining-tables/paloma-i-dining-t…
Fri, 05/08/2015 - 10:35
It's the Paloma I from Crate and Barrel: http://www.crateandbarrel.com/furniture/dining-tables/paloma-i-dining-t…
Our first project using the plans provided on this web site. We couldn't be happier with the outcome. The plans were concise, accurate and easy to follow.
Tue, 09/19/2017 - 21:52
I apologize that the picture is sideways. That is not the way it is saved on my computer but no matter what I try, it rotates to this.
I love my new hobby and your site makes it so fun and simple, thanks for sharing your knowledge and enthusiasm.
Cindy

I wanted to take on this project simply as practice. I didn't have any room for it in my home, but I really wanted to make it anyway! Besides, I had a friend who not only had a birthday coming up, but a housewarming party as well. What better present than a handmade bench could I give?! I had MDF leftovers on hand, as well as a Hobby Lobby giftcard to buy the foam and fabric, so the only purchase necessary was a couple of 2x4's.
I pieced together the foam top by cutting two 4" blocks from Hobby Lobby to size (you can save 40% with a coupon if you time it right, and get the two 4x22x22" blocks for $16). Though it worked fine, after sitting on it you can definitely see the creases from the cuts in the foam. So if you can afford it, try to get one full strip.
The sewing was really simple, I outlined the process step-by-step in my blog post. Then all you need to do is staple it down, and you have a bench that's the perfect size for a 6' long dining table!


Comments
Ana White Admin
Wed, 10/06/2021 - 10:16
LOVE!
You have that finished nailed down, just stunning!