Community Brag Posts

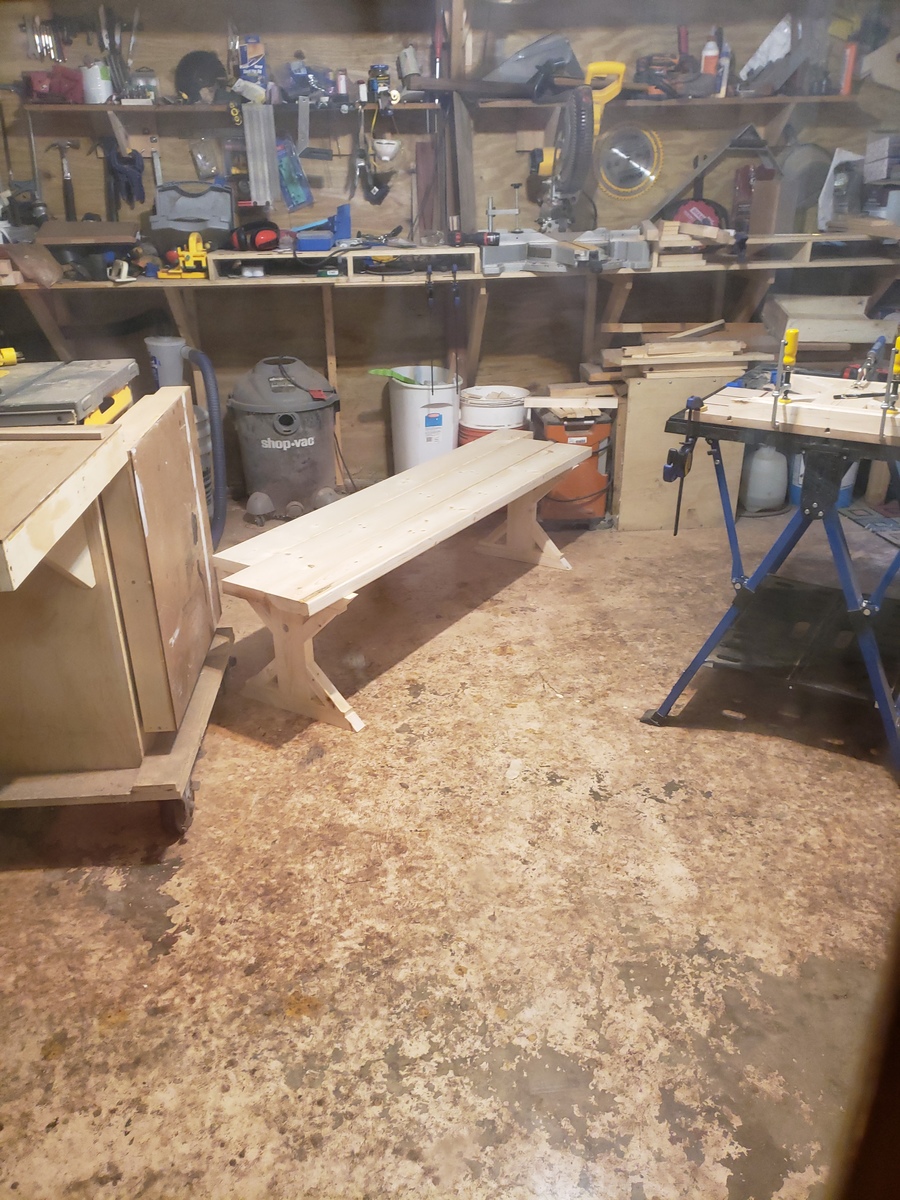
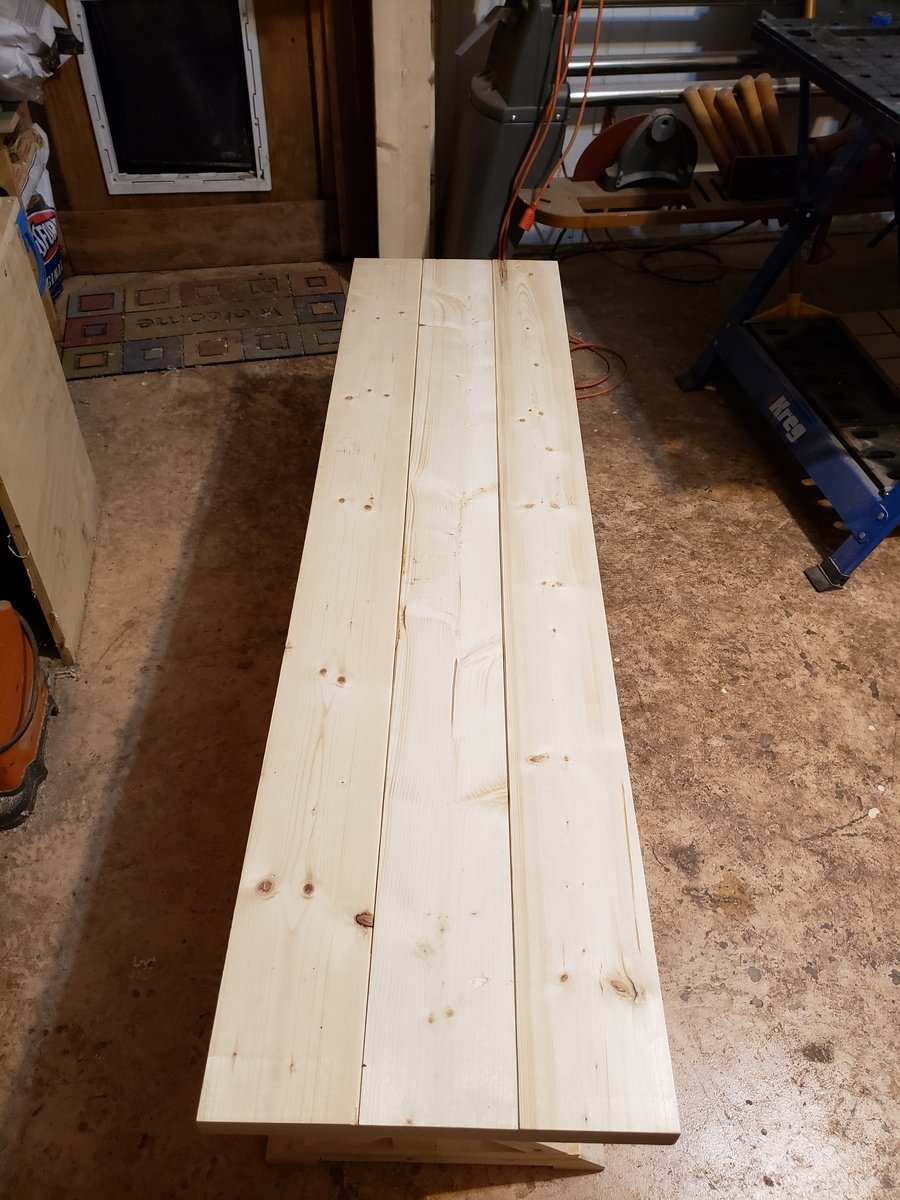
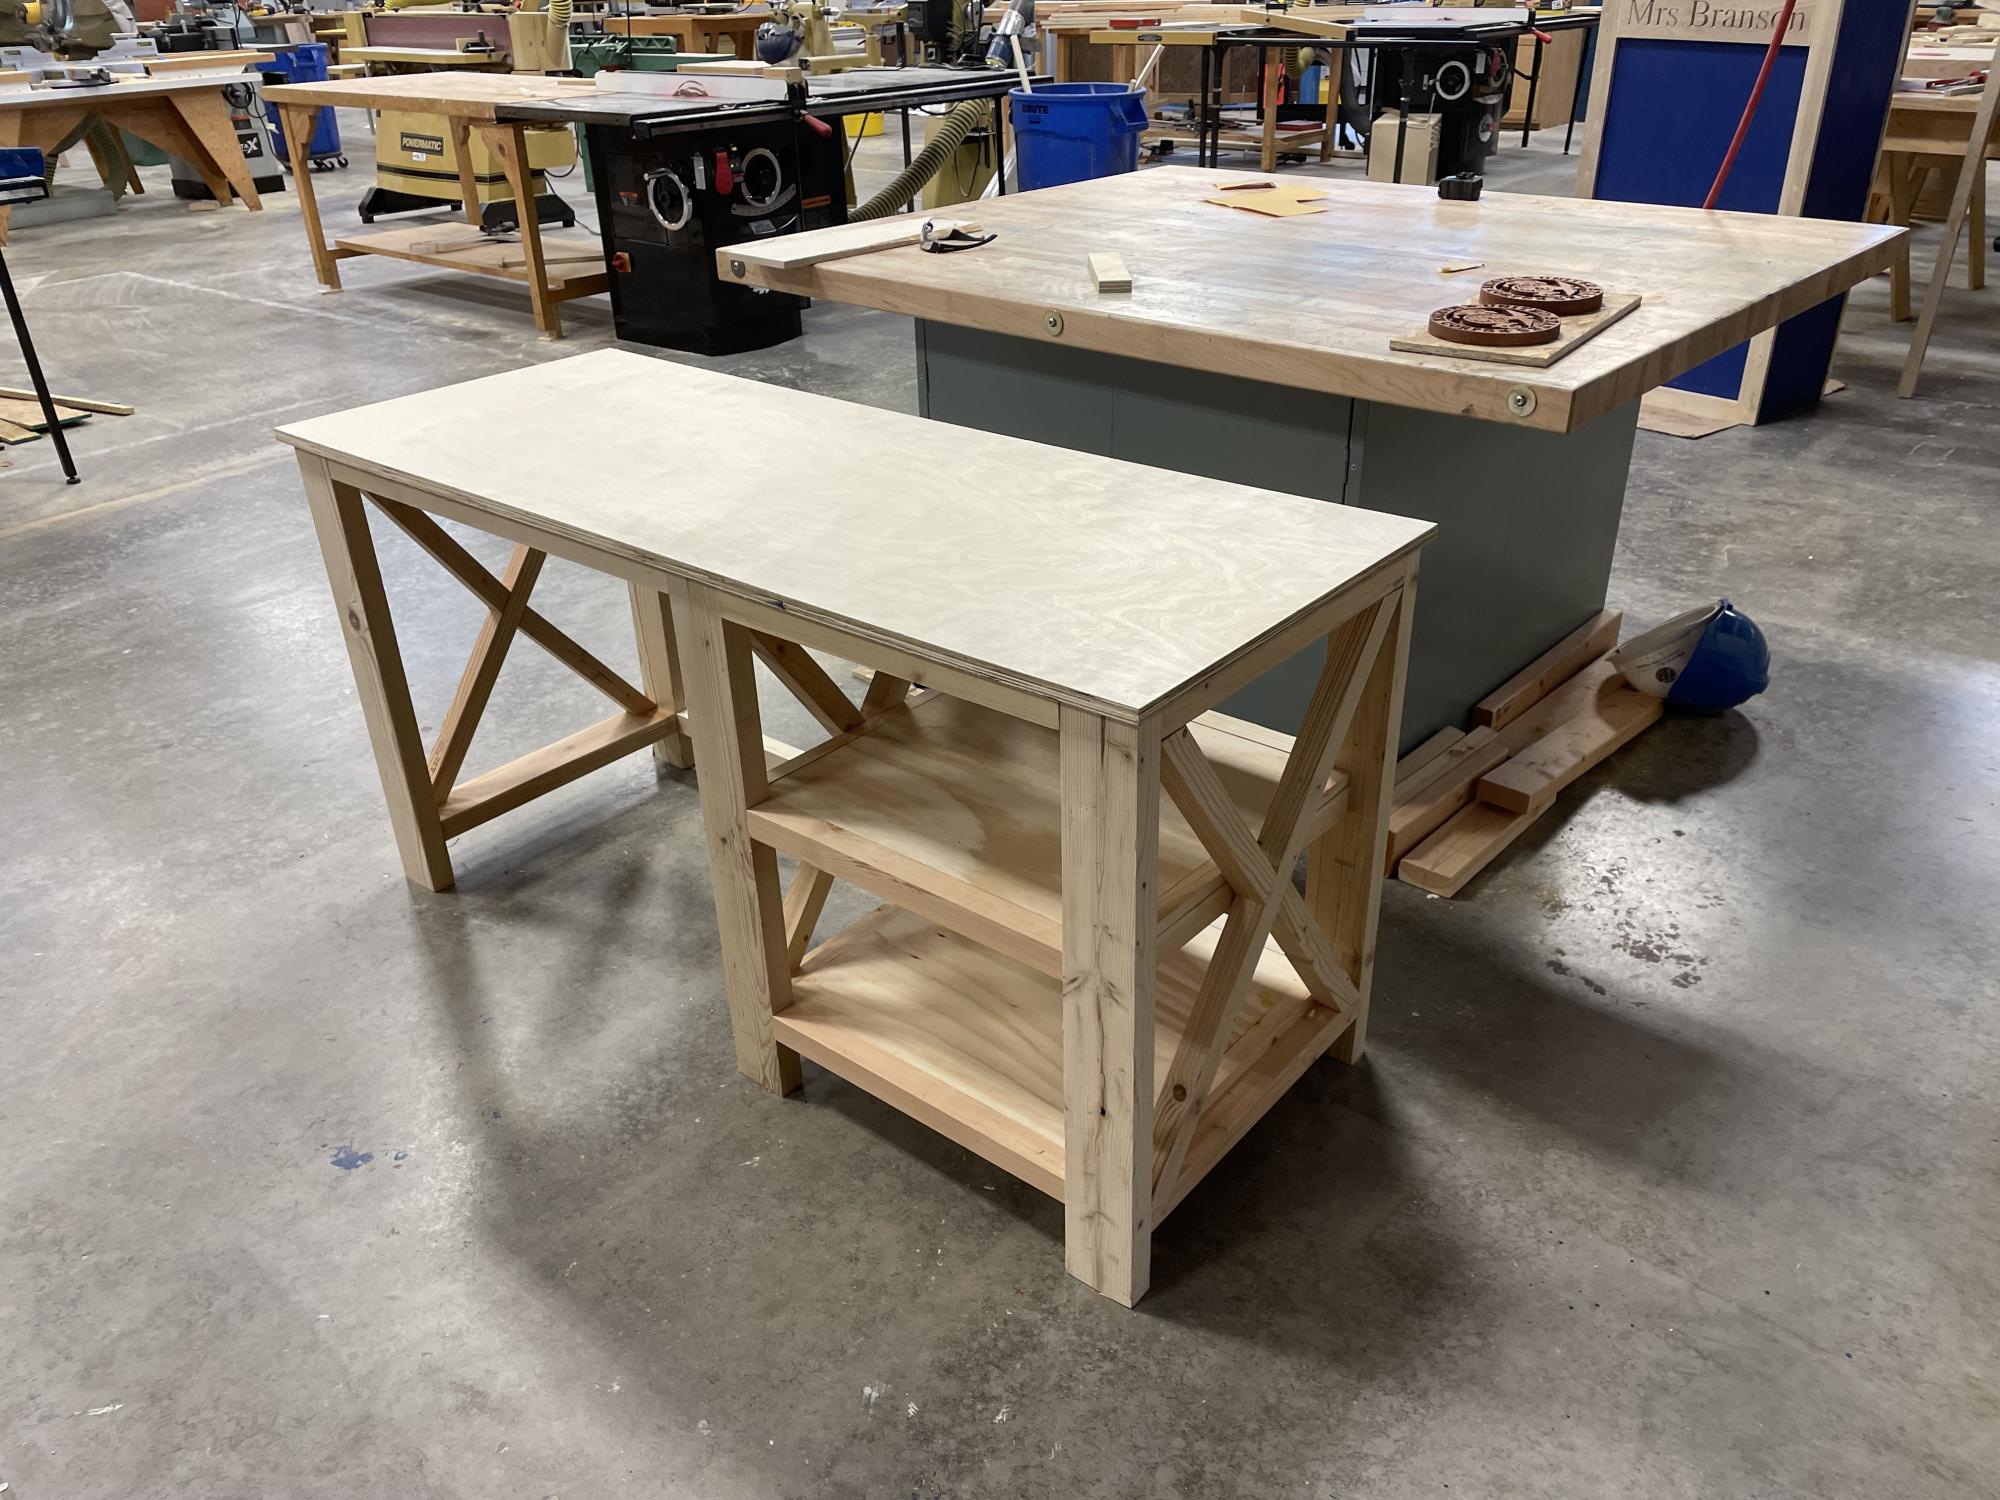
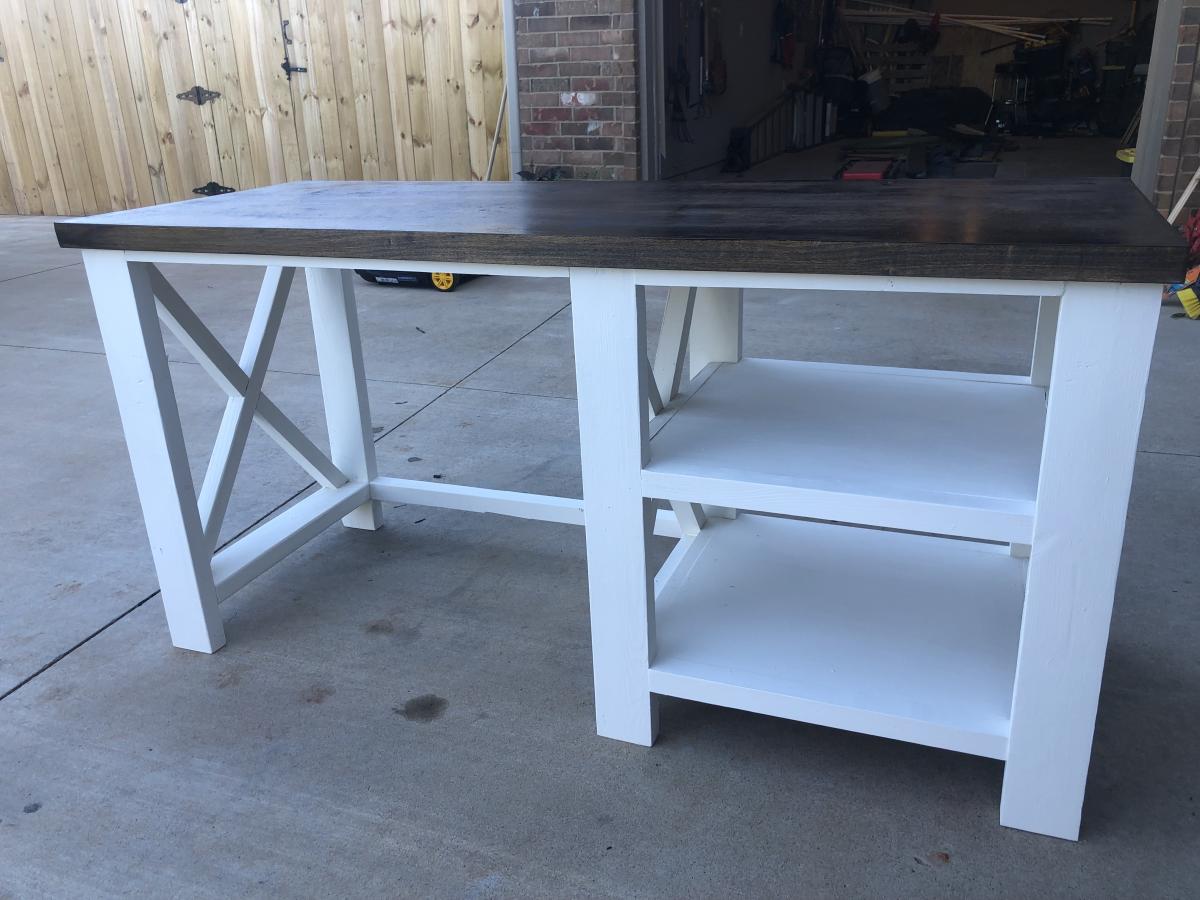
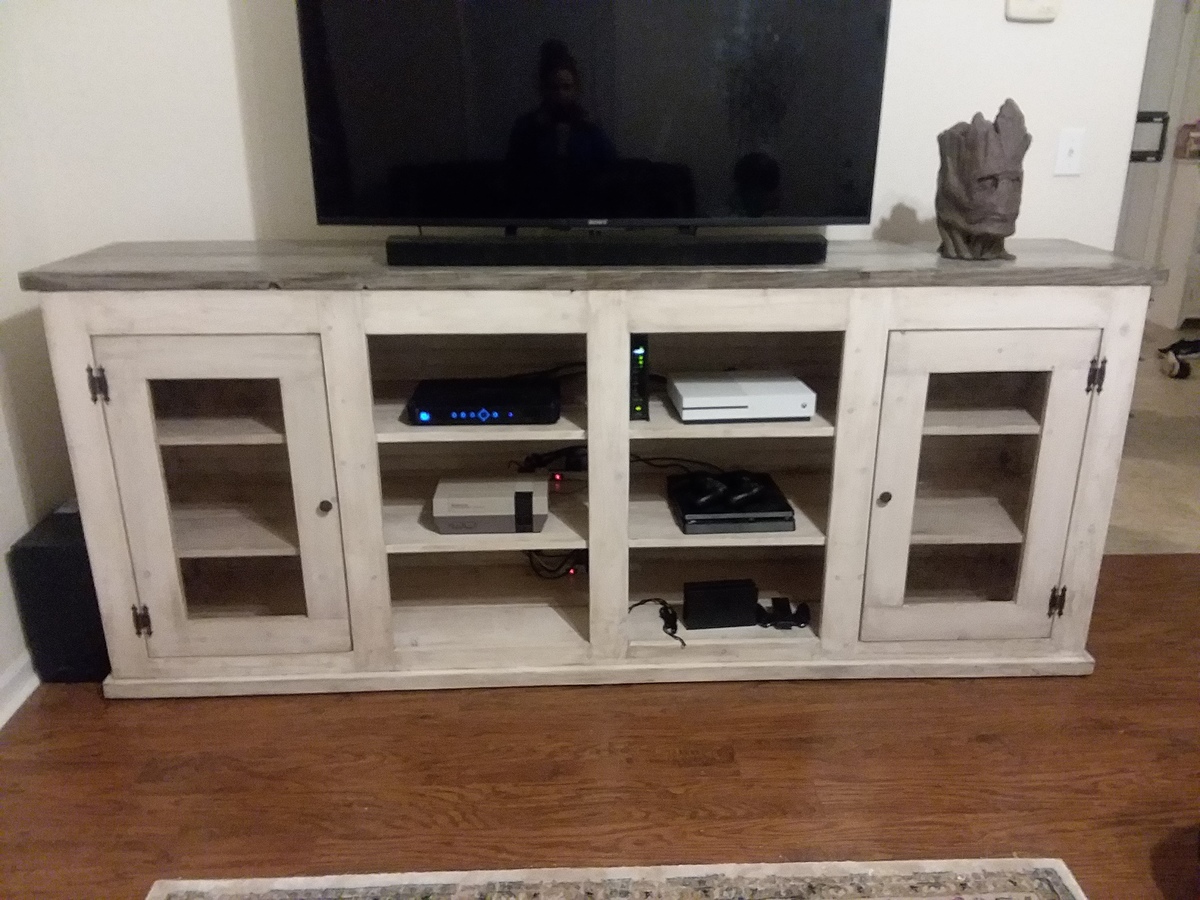
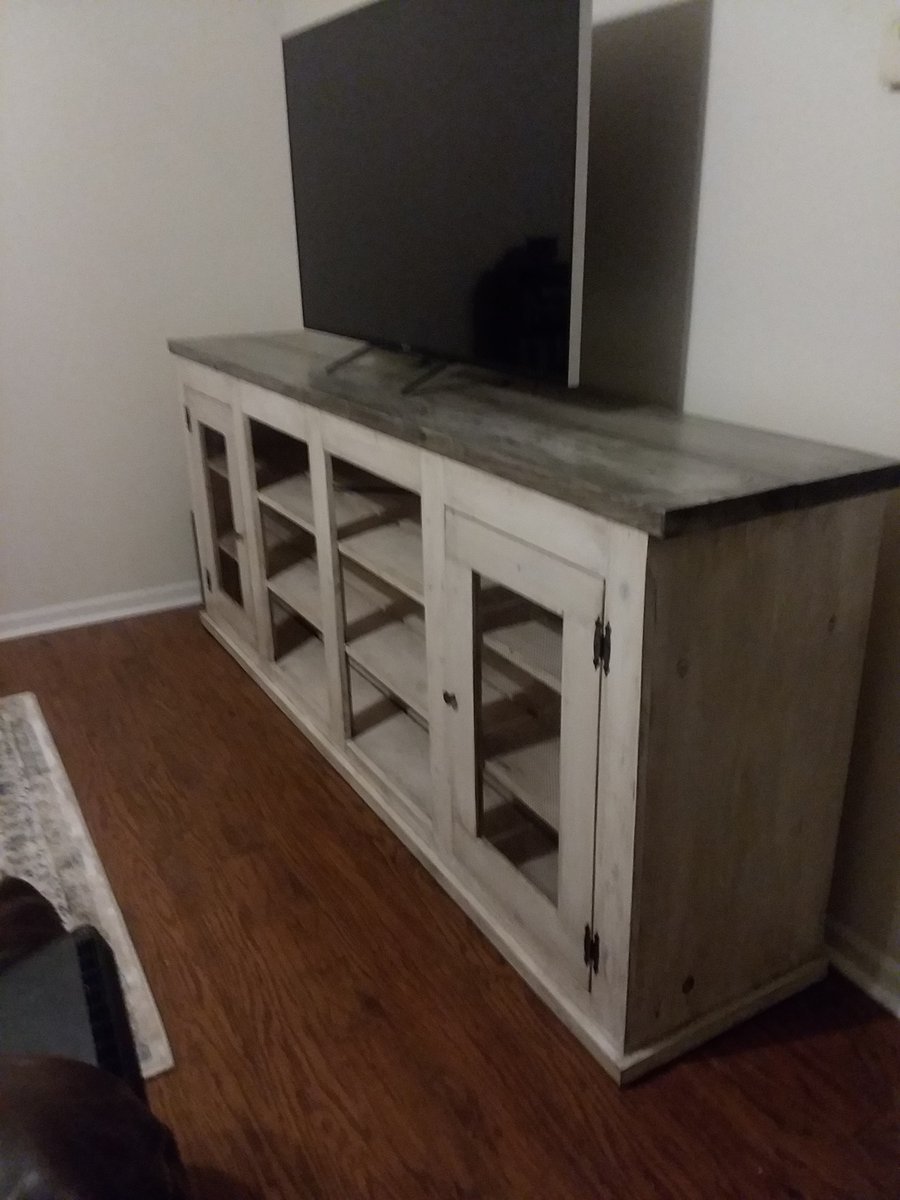
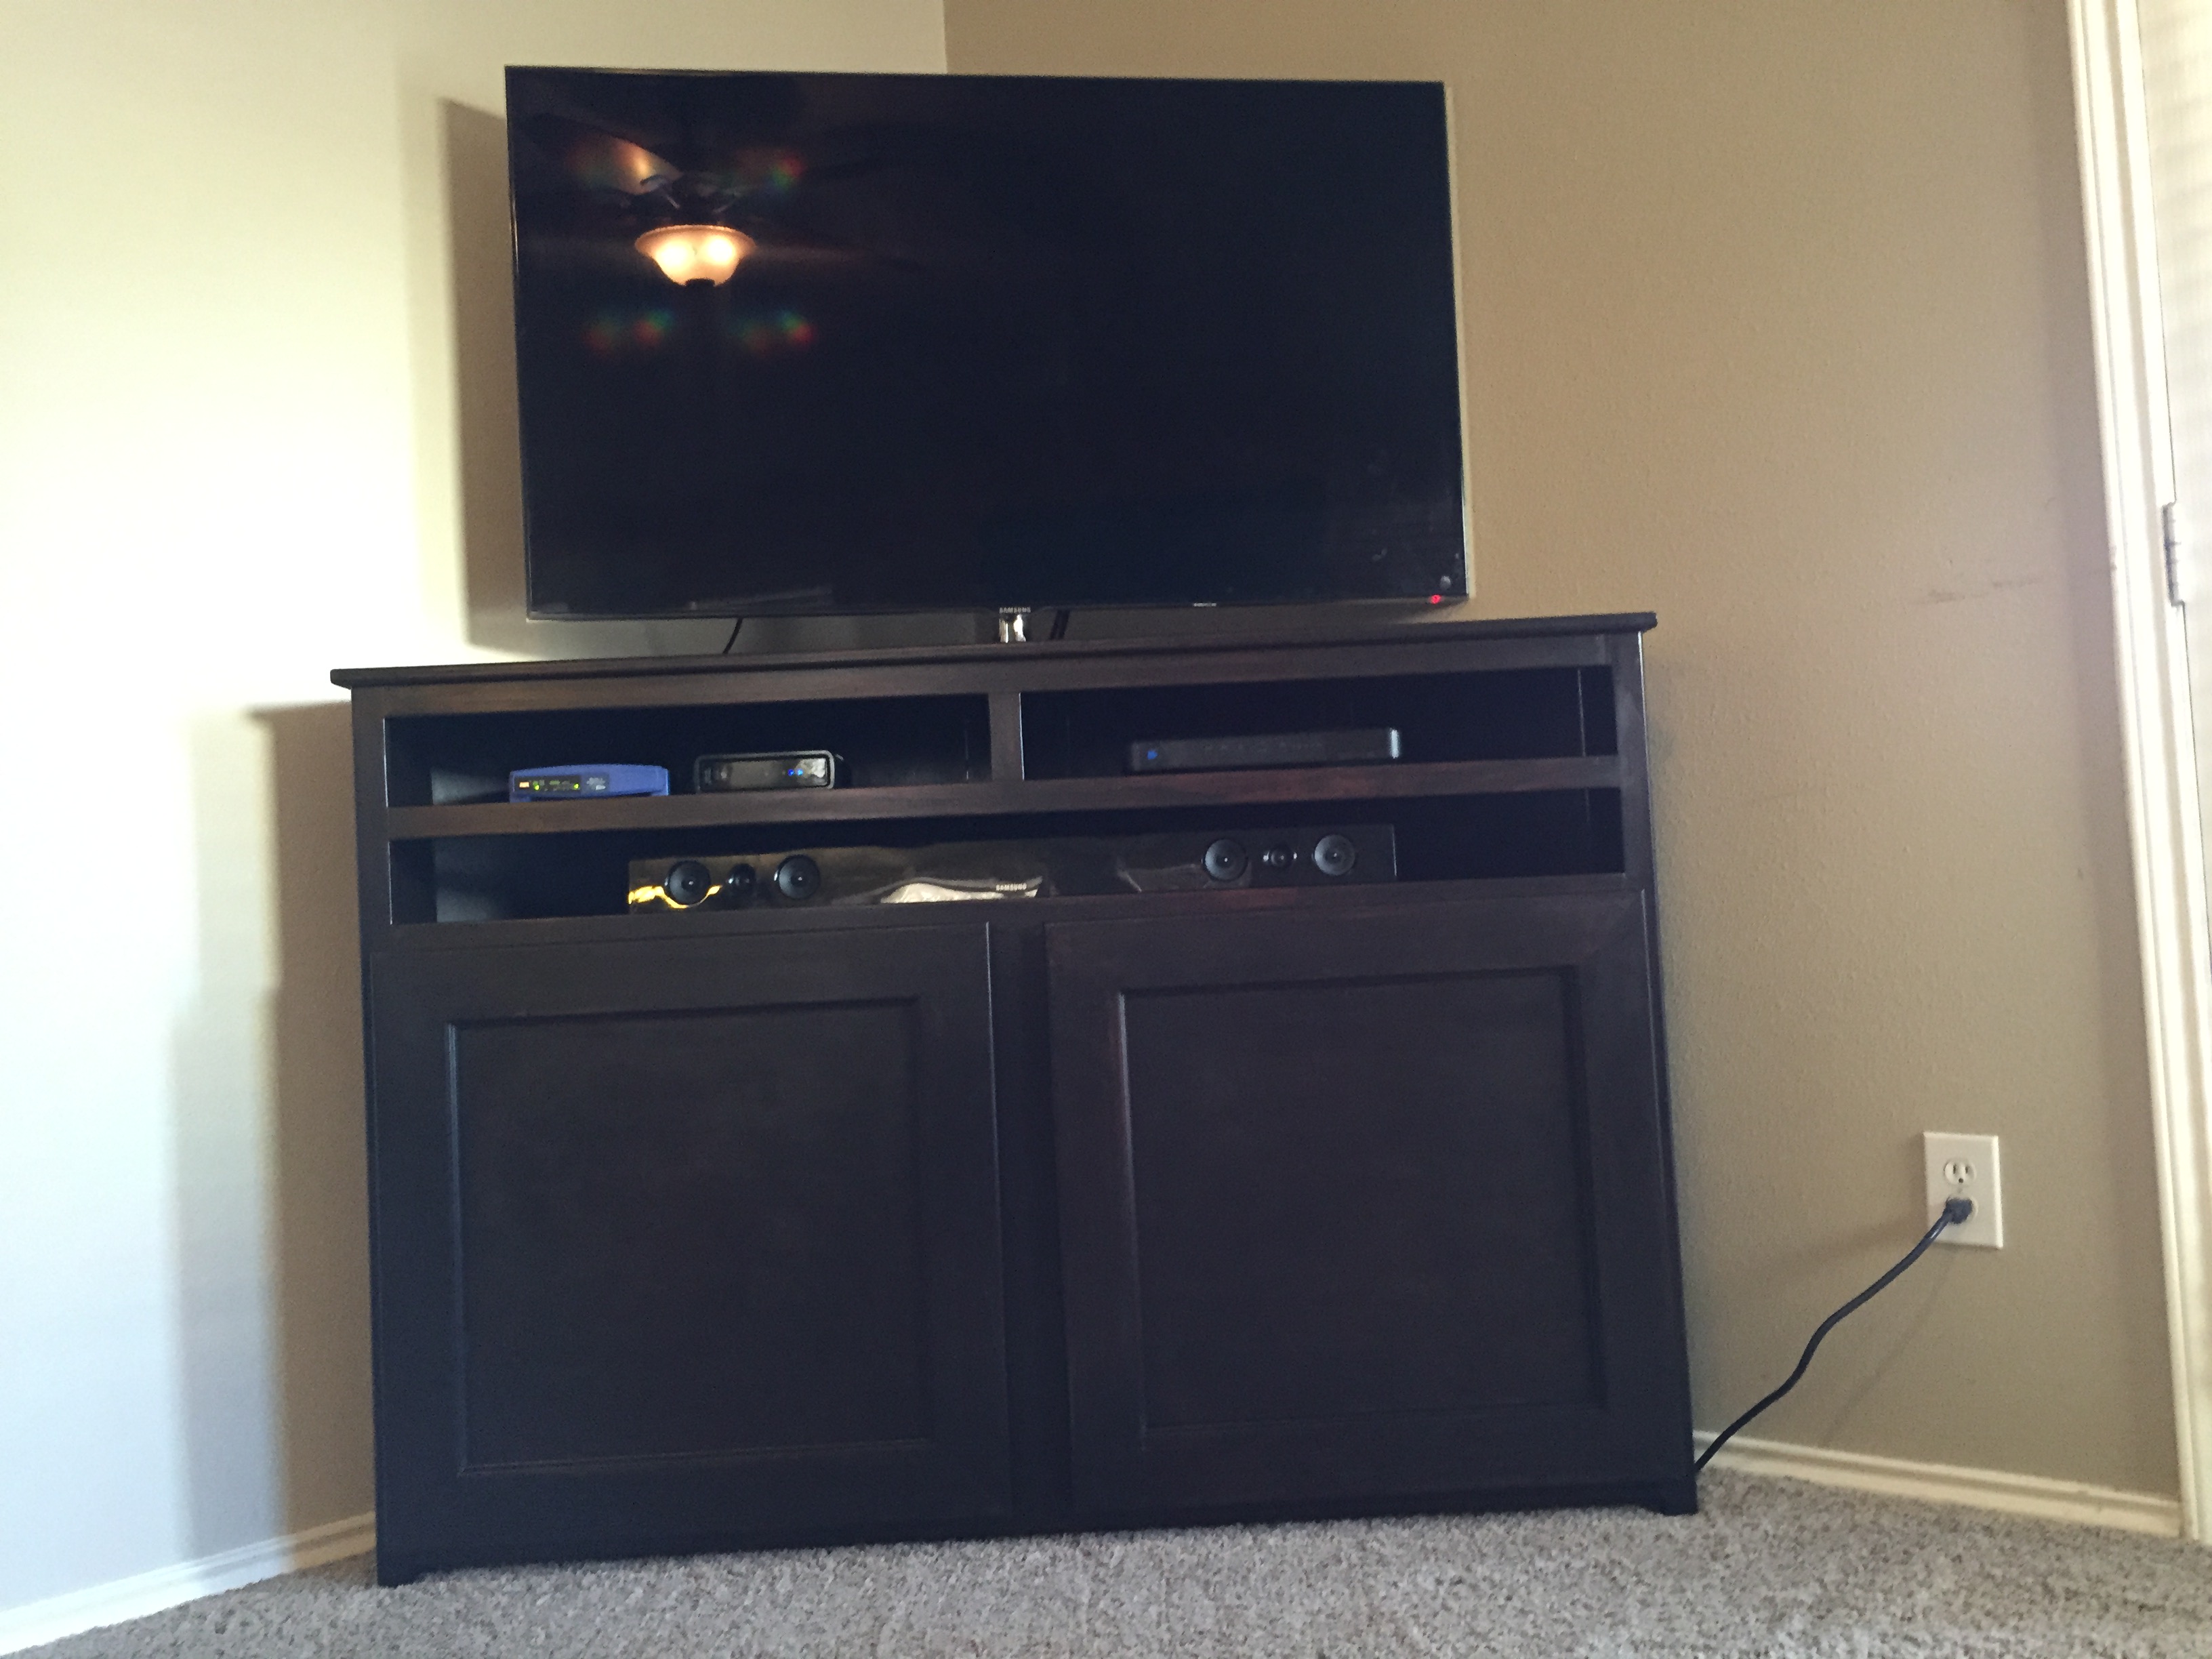
Grandy Sliding Door Console

Submitted by Codding58 on Mon, 10/08/2018 - 15:52

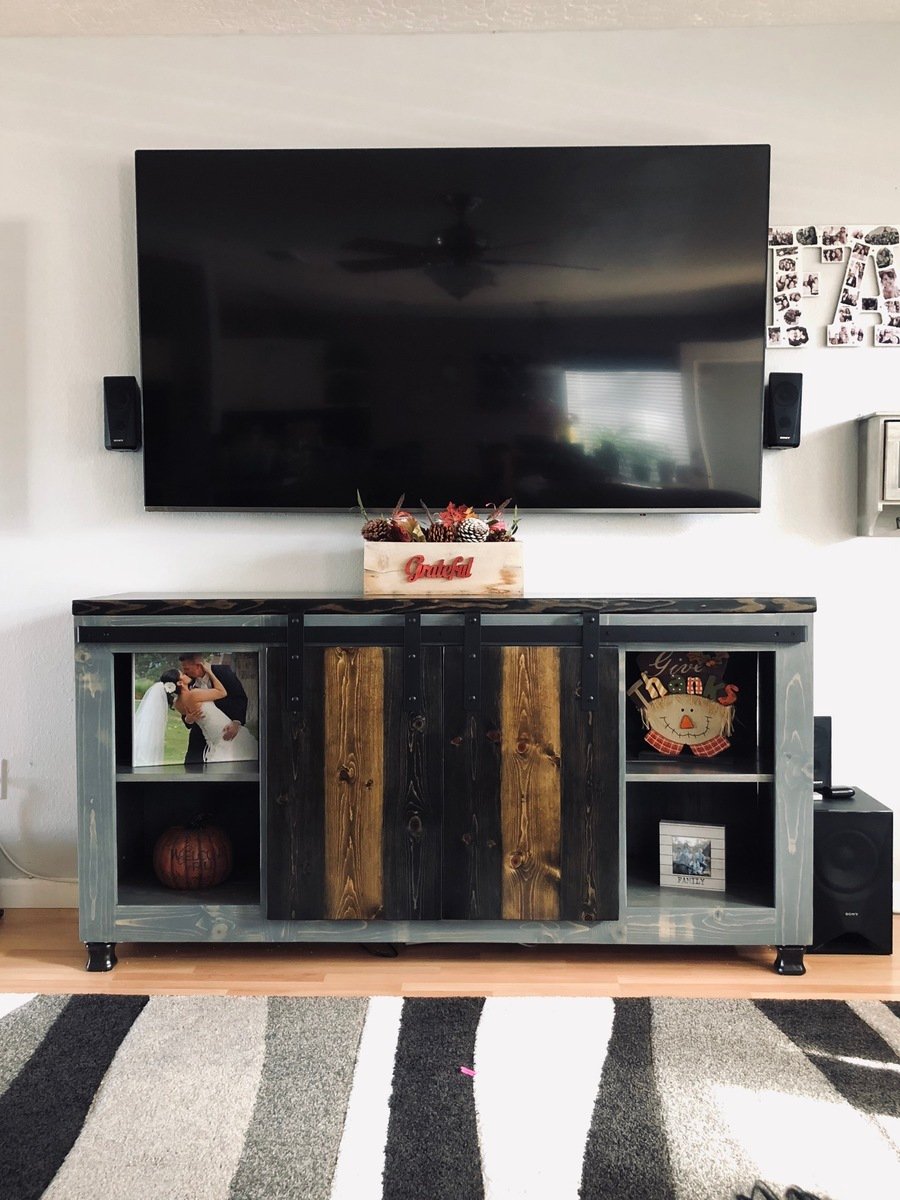
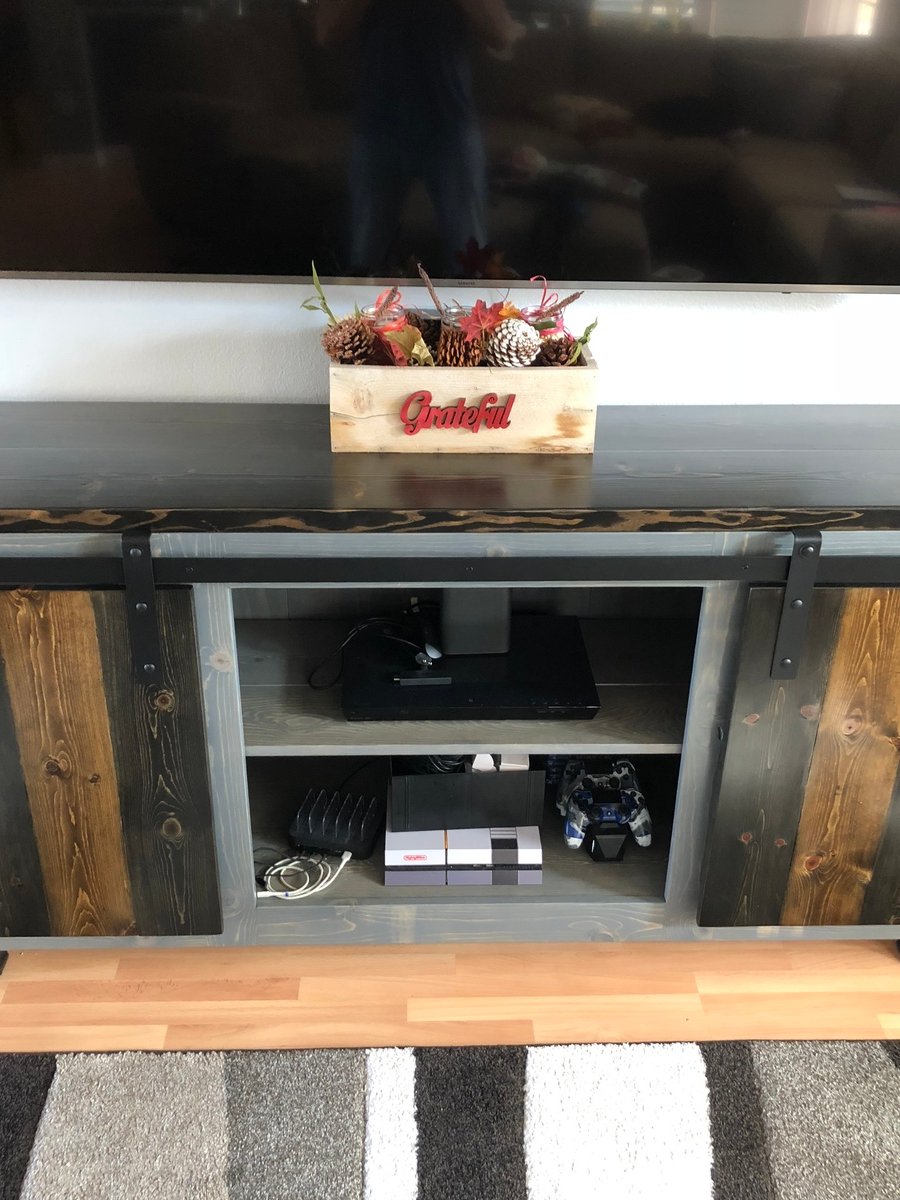
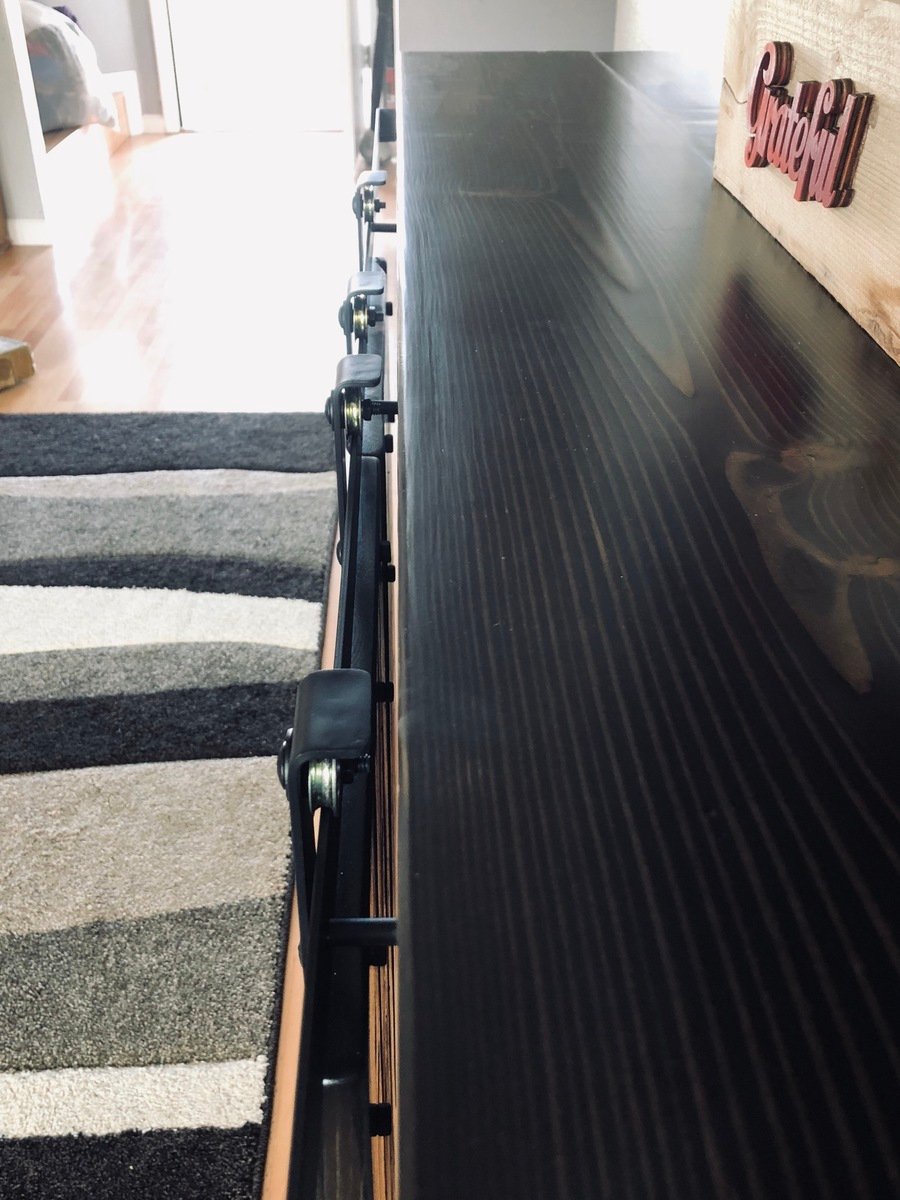
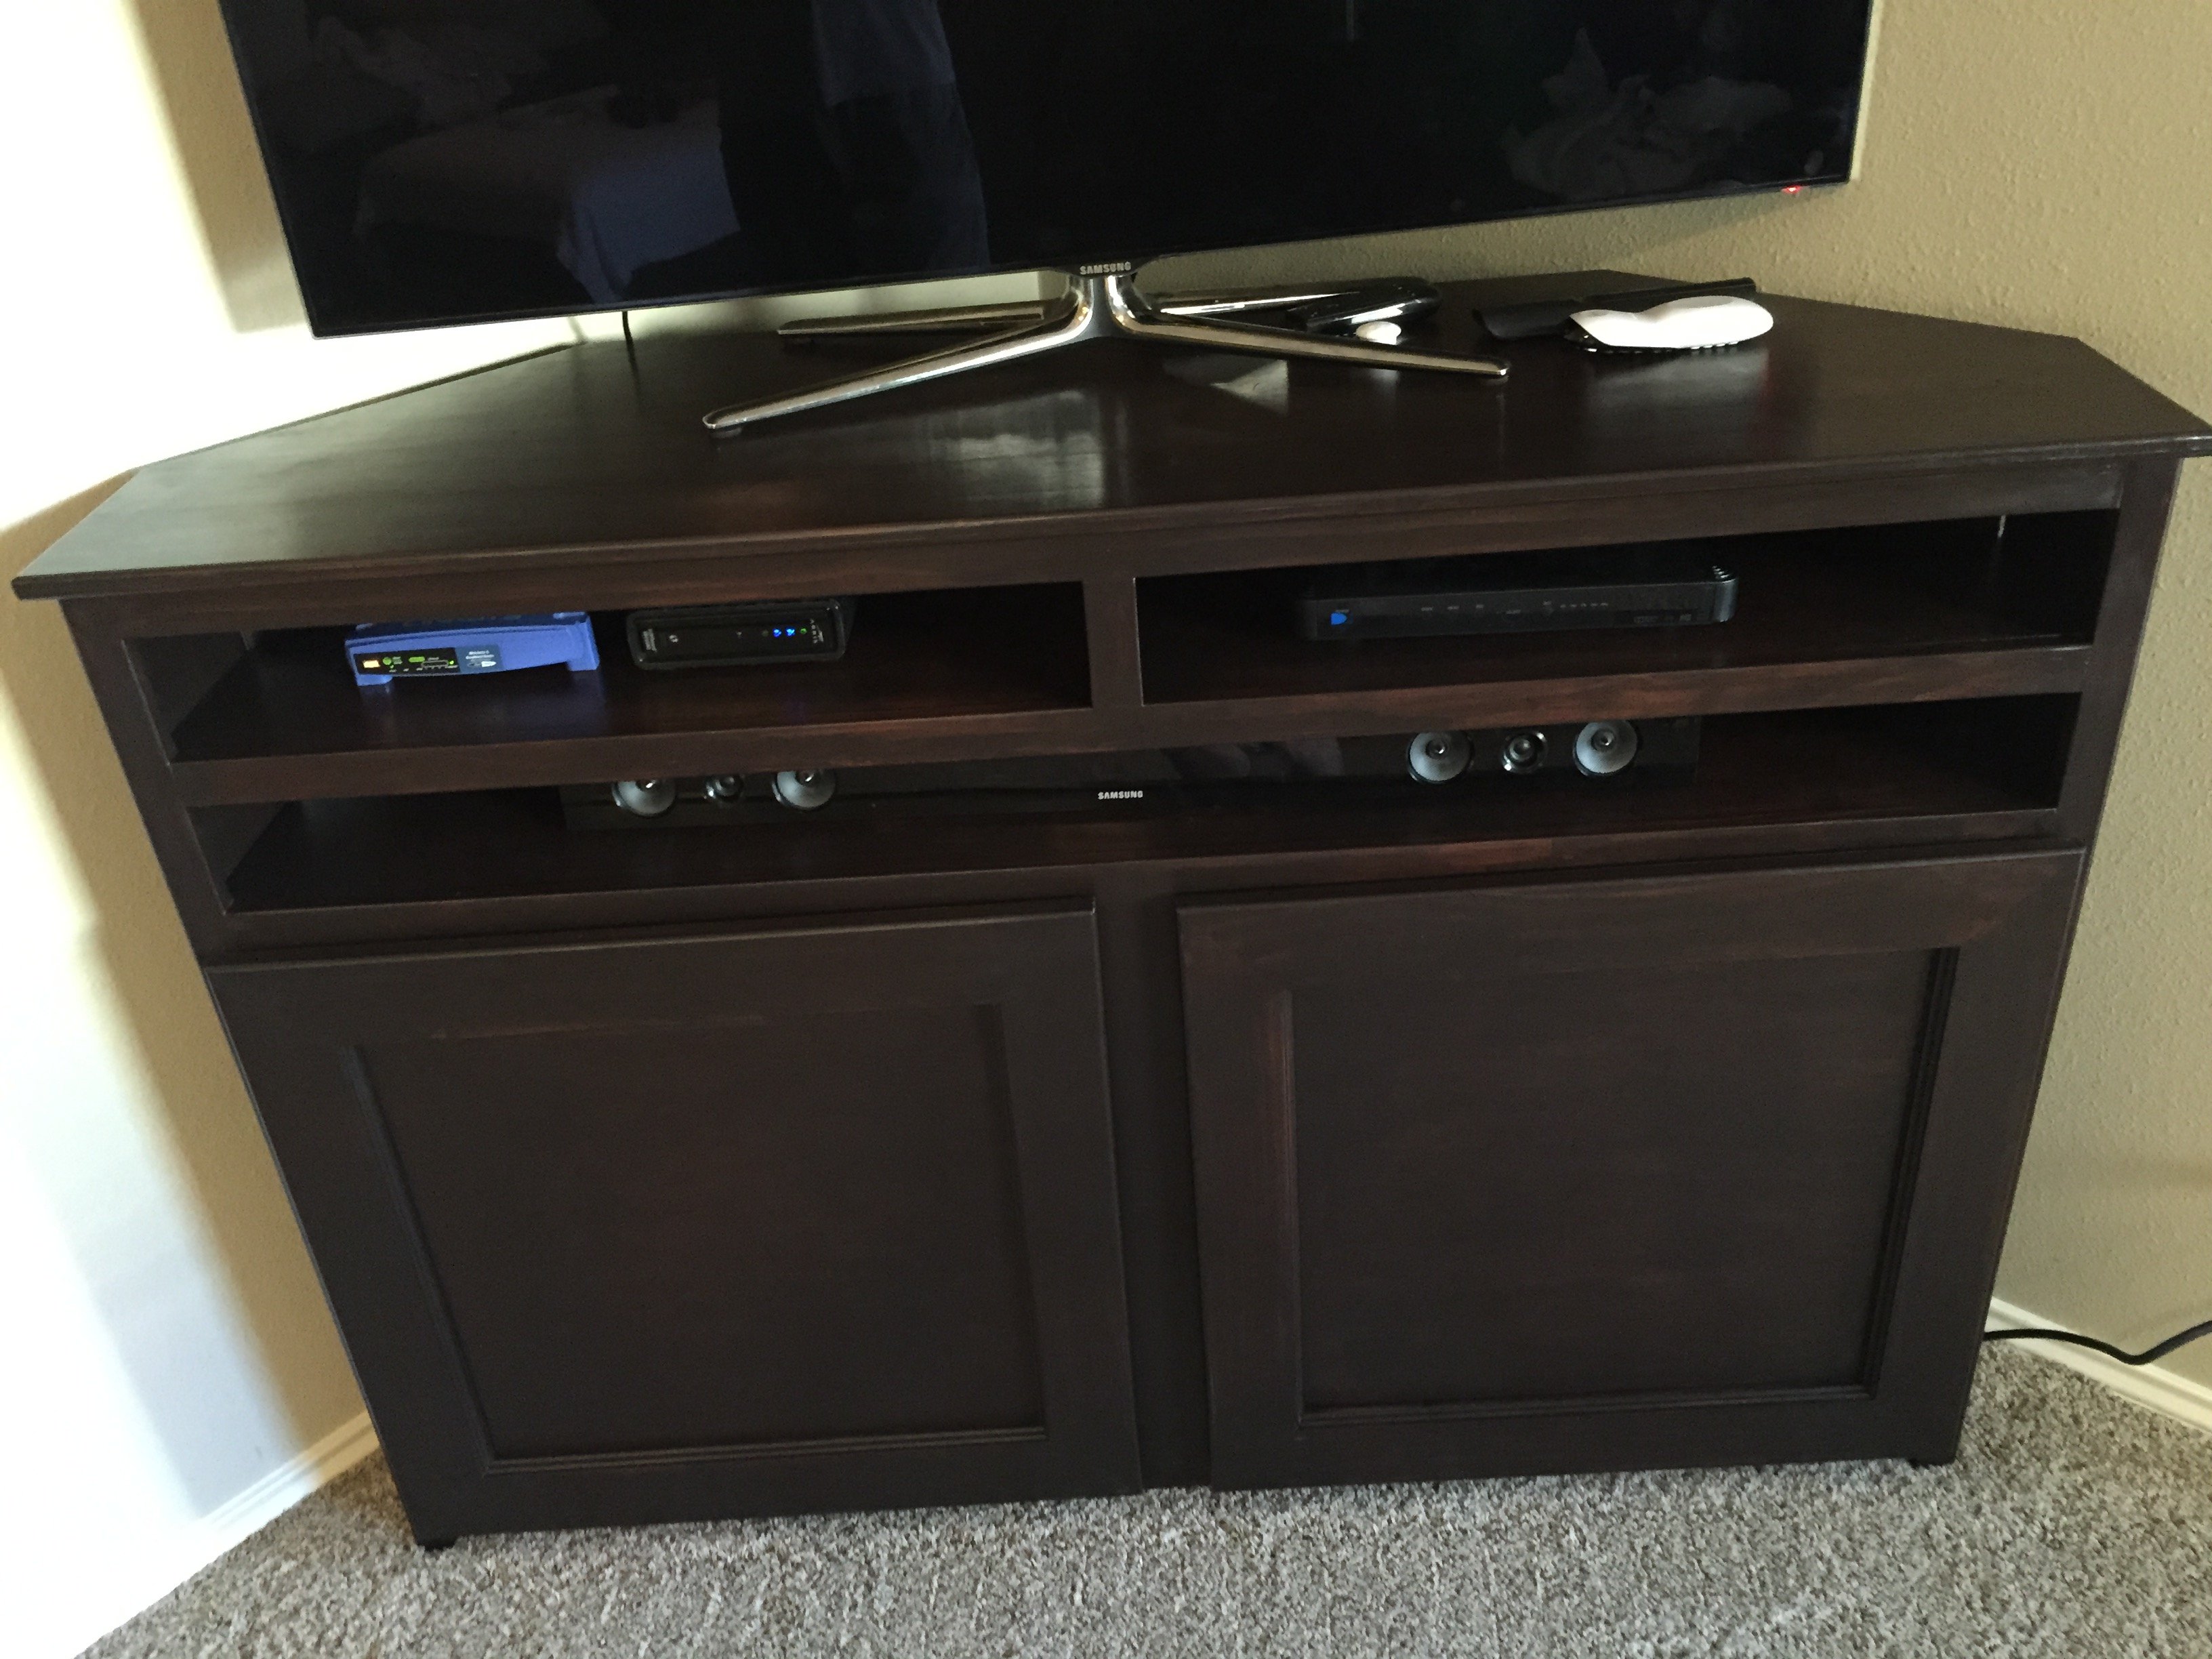
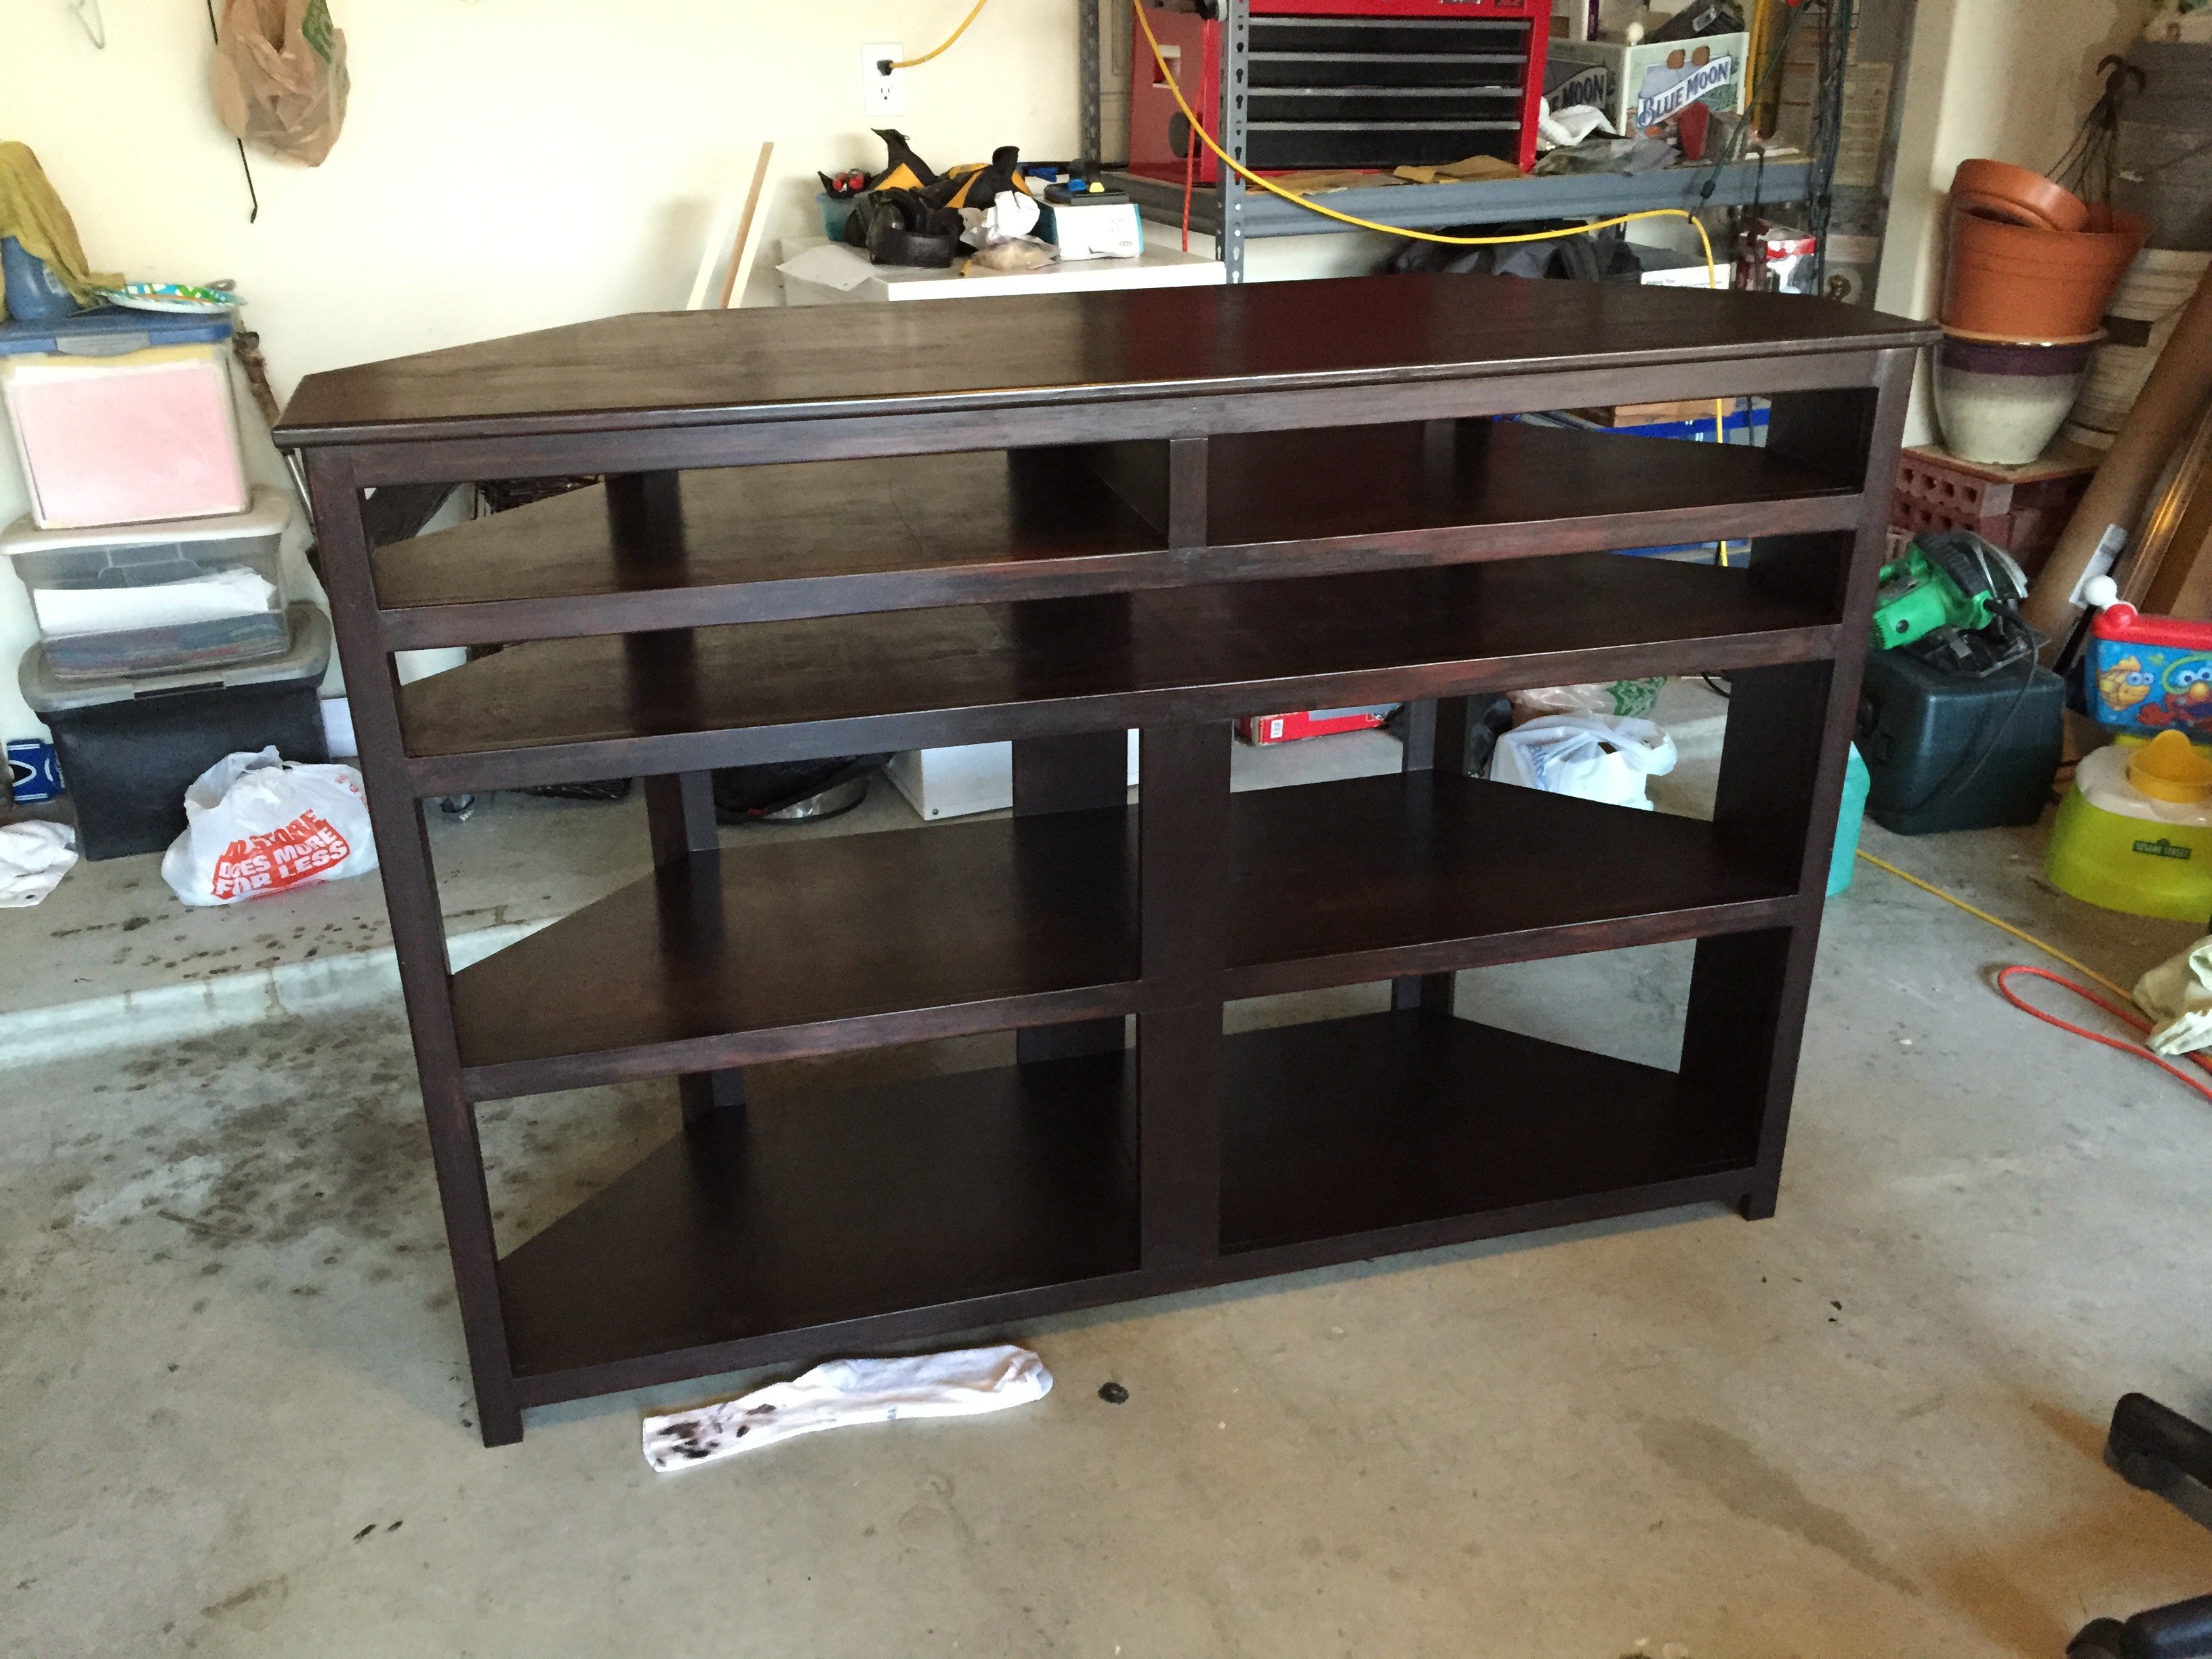
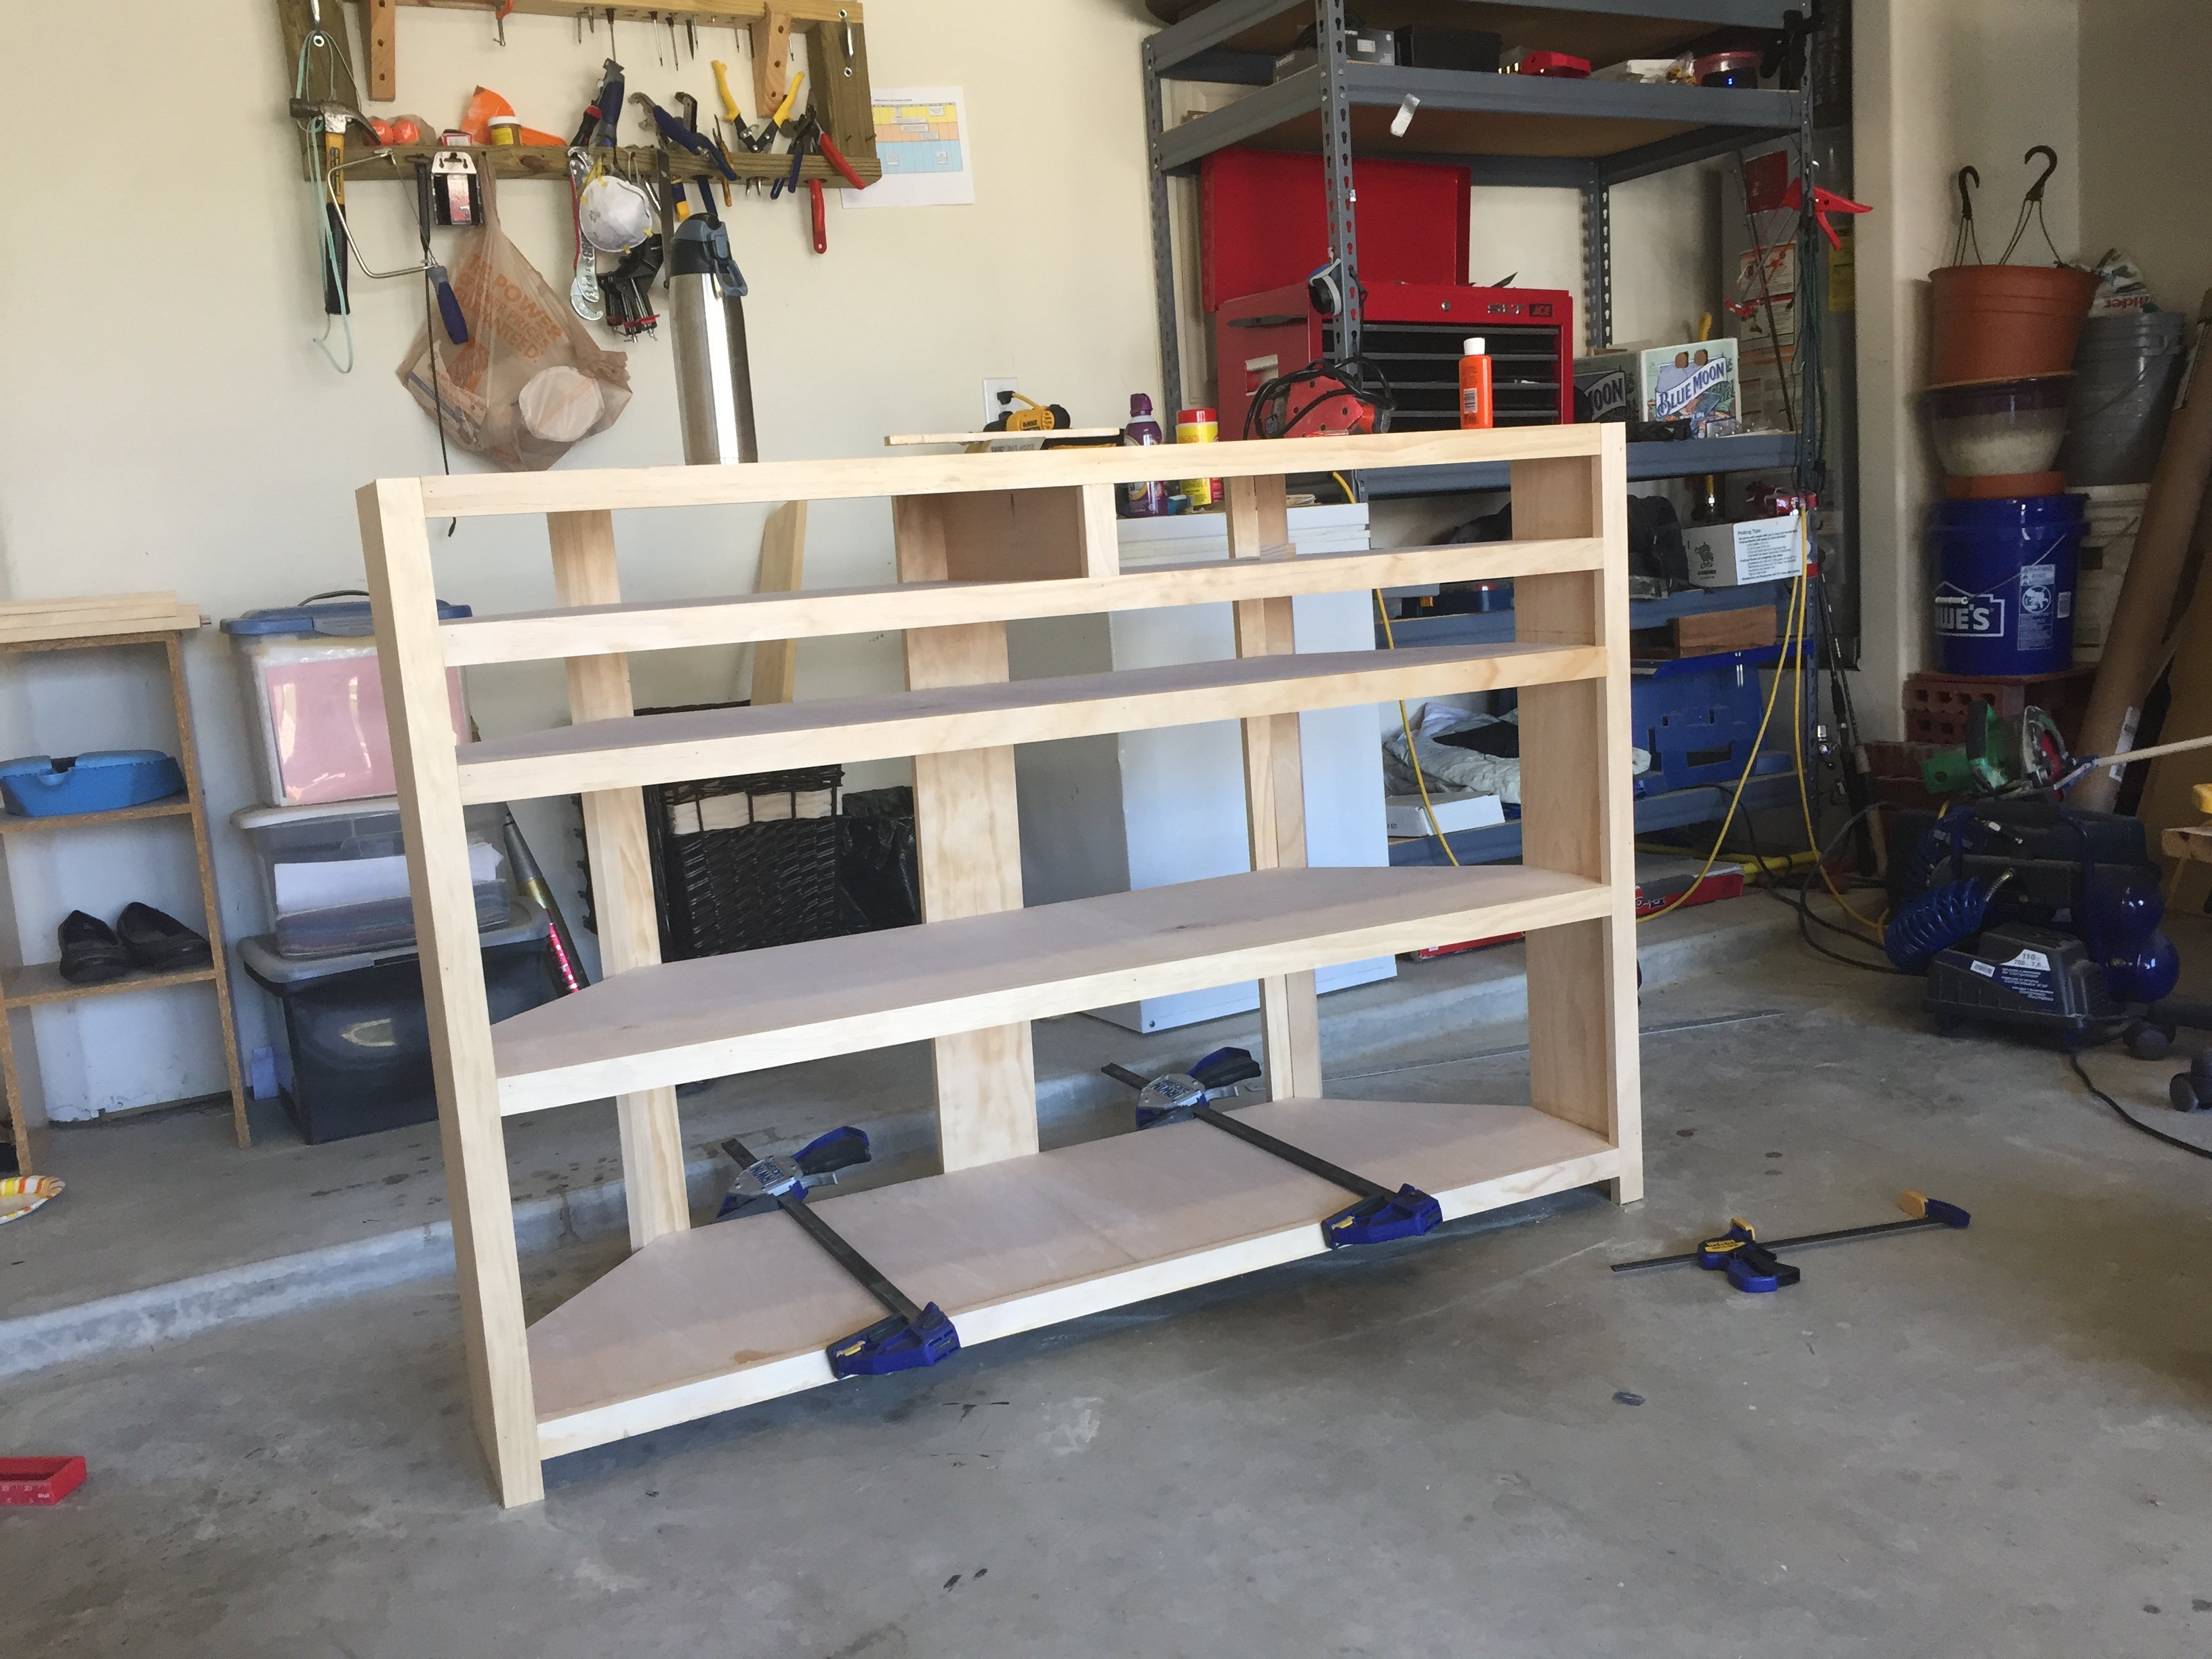
This was a super fun build for me!    I have been wanting to do it for a long time, but was a little intimidated with the hardware.   I bypassed the expensive kits you see online and built my own from aluminum flat bar, carriage bolts, and sliding door pulleys.  I am very pleased with the overall project and wish I would have done it sooner!   Shortened down to 6', and I opted to make 3 "openings, with the middle being the same as the outers, doubled, to insure the doors matched up.

Built from Plan(s)
Estimated Cost
Probably around $250
Estimated Time Investment
Weekend Project (10-20 Hours)
Finish Used
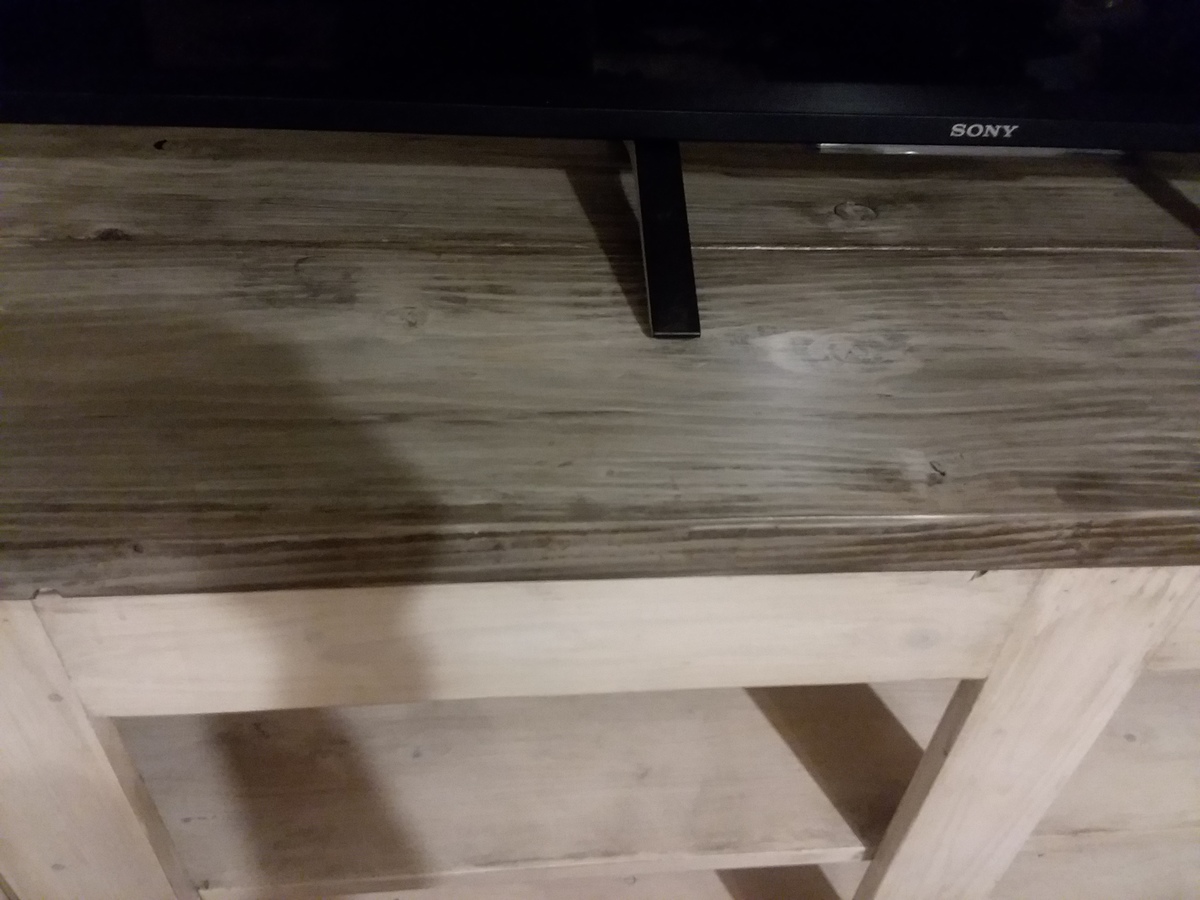
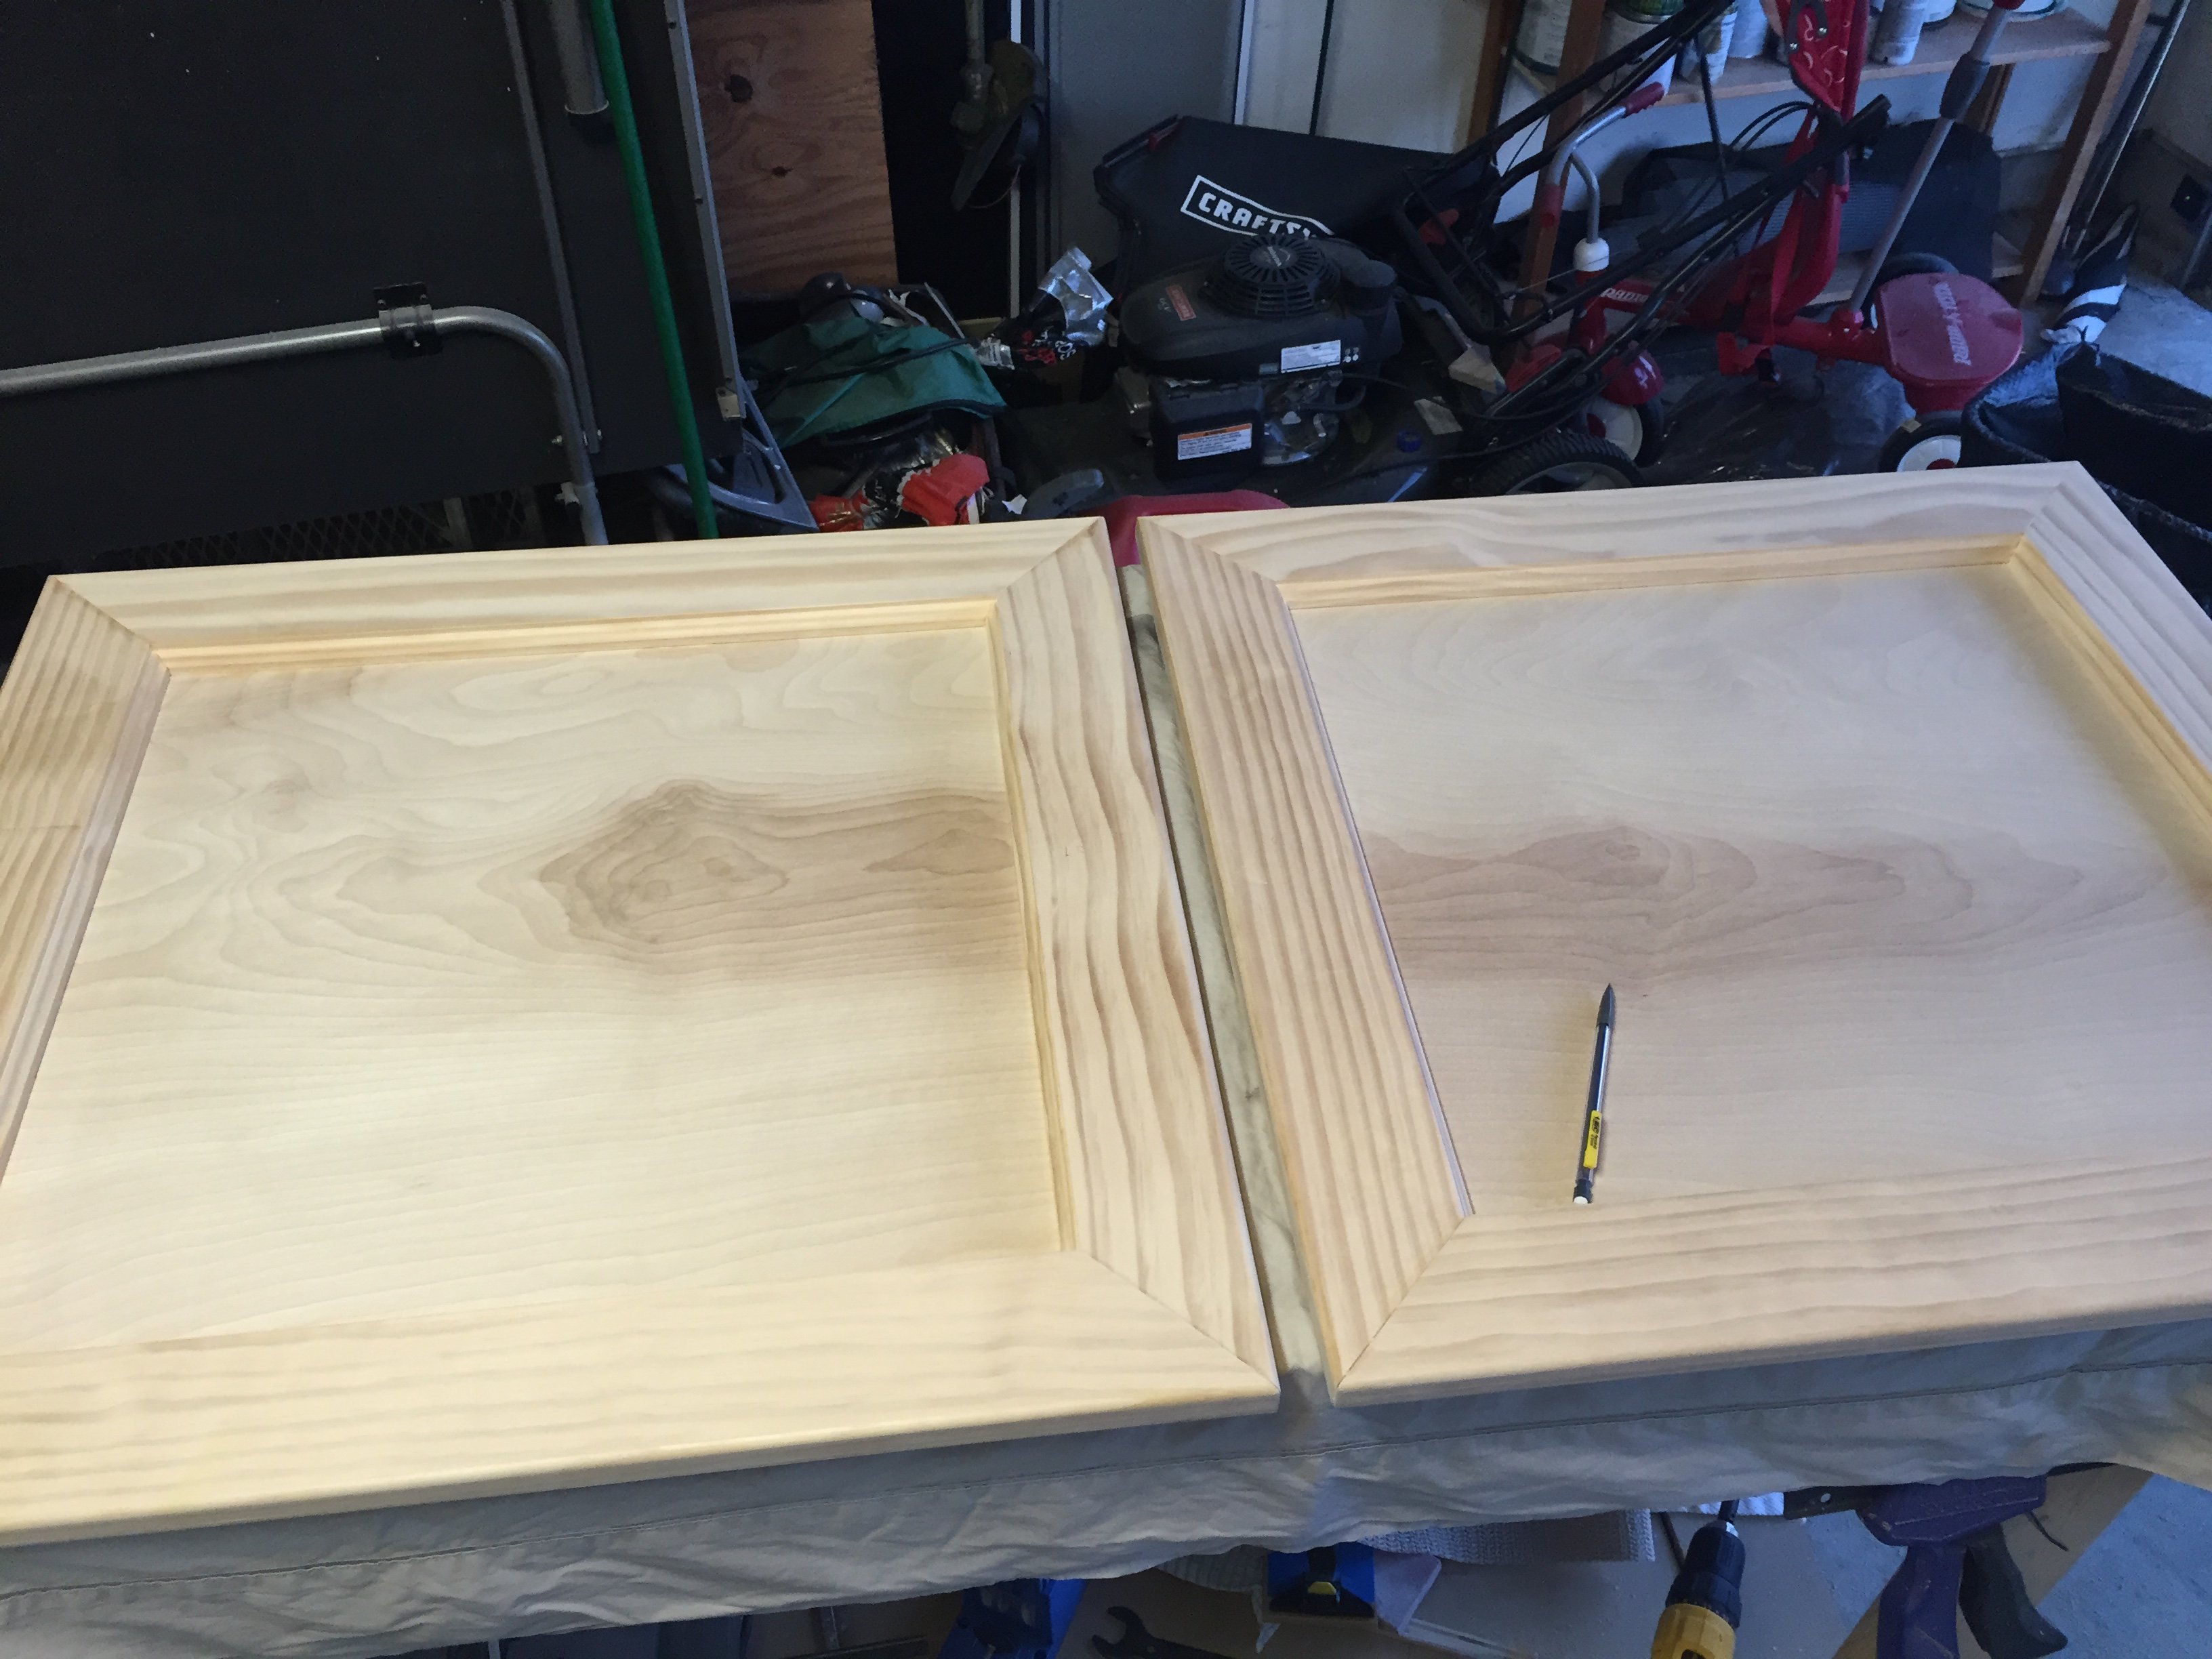
Varathane Weathered Gray wood stain (base)
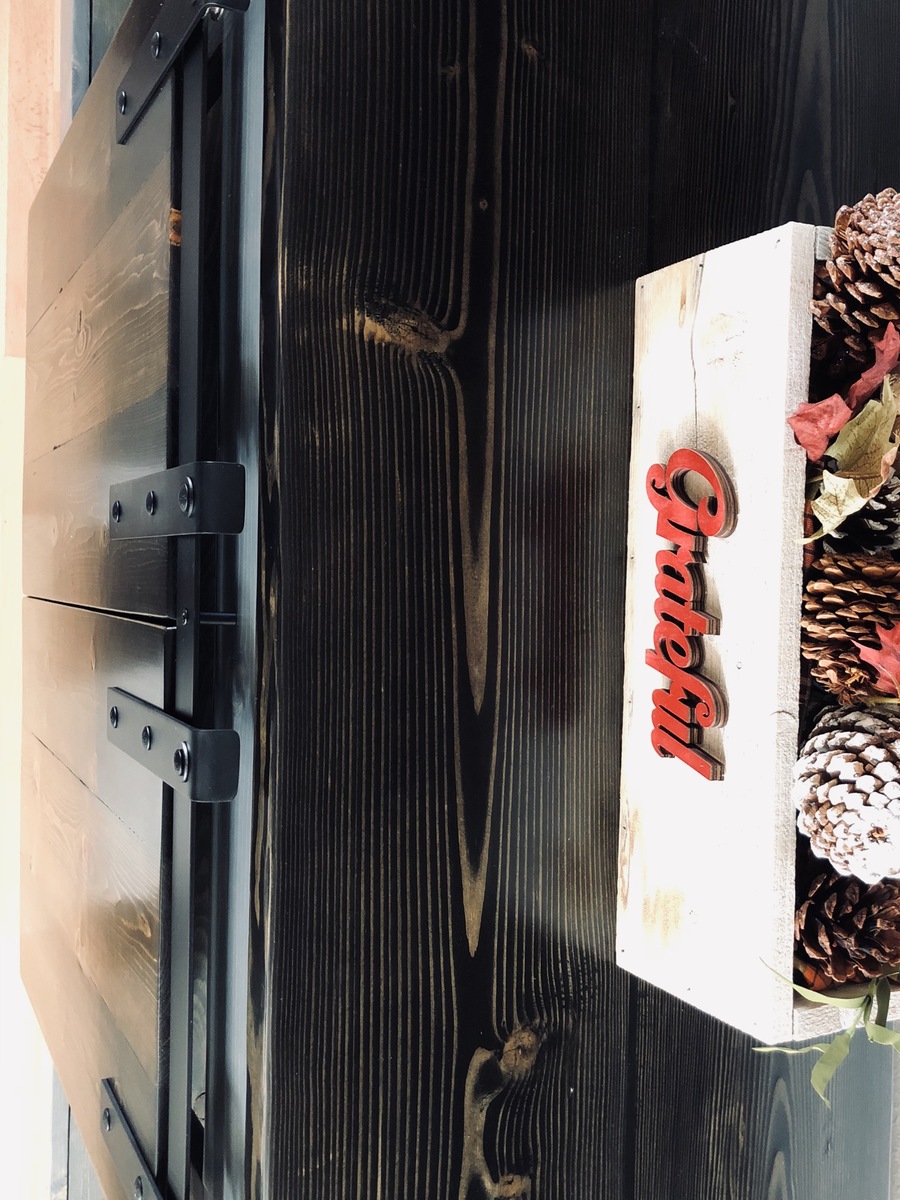
Varathane Ebony (top and outter planks of doors)
Minwax jacobean (middle door plank)

Multiple coats of polyurethane
Recommended Skill Level
Intermediate

Comments

Whoop! I did it!!!!!!!

Submitted by amanda4024 on Sun, 07/24/2011 - 11:10

I am very suprised, but I made my very first ANYTHING with the help of this website and my very dear step-dad! We used two plans from this website and did some modifications by adding some back supports at the tops. We also made two foot stools to act as chaises on the two ends. I thought that I would go ahead and post the results now before I painted the sectional so more of the detail. What cost so much was the cushions. The cushions were from Target and they were $650.00. I was concerned that when people sat on the sectional they would be able to feel the wood underneath, so I purchased the 5" deep seat cushions and over sized pillows, which I am soooo glad that I did, it makes this sectional look so much more professional looking and gives it even more of a crisp look! I also didn't skimp on the paint which was $65.00 on the paint! The rest was wood, materials and tools that were needed. But if you priced purchasing something like this from PB or WestElm, it would easily be 3-4K at the least! Unto the next project!!!

Estimated Cost
$1000.00
Estimated Time Investment
Week Long Project (20 Hours or More)
Finish Used
My plan is to use wood filler where needed, sand 120 grit, prime and apply an outdoor black satin finish.
Recommended Skill Level
Beginner

Tree House Stool

This project was so fun! I made it to blend in with a tree house I built (adapted from Ana White plans). The top of the stool was the best part. Full details on my blog.

Built from Plan(s)
Estimated Cost
$3
Estimated Time Investment
Afternoon Project (3-6 Hours)
Finish Used
"dried leaves" Clark & Kensington paint
Recommended Skill Level
Beginner

Comments

JoanneS

Thu, 08/22/2013 - 13:34

This is super cute and so creative! I looked at the tree house on your blog, just made me say Wow!!!!

Loft Bed

Submitted by Medickep on Sat, 10/03/2015 - 13:34

I built this loft bed for my neighbor's daughter.  It has a lot of space for storage and the book shelves with desk really add a lot of stabilty.  I added some supports to the back rail as it moved to much for me and made the ladder out of 2x material as it kept costs down and seemed stronger.  Neighbor wanted the ladded straight up and down so I connected it to the lower bookshel too!  Would not recommend cutting pieces in advance on this one!  I also used plywood for the shelves and trimmed them out as it was cheaper!

Estimated Cost
300 +/-
Estimated Time Investment
Weekend Project (10-20 Hours)
Finish Used
Up to the neighbor this time!!
Recommended Skill Level
Intermediate

Comments

LanMan20

Mon, 10/05/2015 - 14:39

Good job!  I am toying around with building something similar from scratch.  A few questions if you don't mind: 

1. Given the sturdiness, I am guessing it is fairly heavy.  Could two people move it?  

2. By chance, is it modular for easy breakdown and transport (upstairs)?  

3. Are there any plans available (materials listing, cuts, etc.)?  

Thanks for posting and keep up the great work.  I am sure your neighbor will be pleased!

Medickep

Tue, 10/13/2015 - 15:03

Hopefully you have not been waiting long! I do not get notified for some reason to remarks any longer!

Yes, it's very sturdy, especially with the addition of the book shelves and desk.  Itt is designed to come apart with a few screws, so going up stairs is not an issue.  I got it from the following plans. 


http://ana-white.com/2010/05/furniture-plans-loft-bed.html

http://ana-white.com/2010/06/plans/what-goes-under-loft-bed-how-about-big-bookcase

http://ana-white.com/2010/06/loft-bed-small-bookcase-and-desk


I do not recommend cutting everything in advance.  Build as you go if you want everything to fit perfectly!!

Love this bench!

Submitted by Anonymous (not verified) on Tue, 10/16/2018 - 10:38

This was my first real project from start to finish. We bought rough lumber from The Home Depot.  Between having a toddler, tweenager and a life it took about a month of sporadic work but it was a great bonding project for my husband and I.  Guess the overachiever in me should have seen that one coming, I wanted have the full experience of jointing our own wood.  I learned a lot and had a lot of fun working with the table saw, miter saw, jointer, and kreg jig, all of which my husband already owned.  I did not use any glue on this project simply because I wanted to avoid the mess.  The best part about this project was the easy measurements..I'm not too good with the confusion.  It made it so much easier when cutting, specifically the 45degree angles. 

Estimated Time Investment
Week Long Project (20 Hours or More)
Finish Used
None at this time
Recommended Skill Level
Intermediate

The Easiest Shelf!

Submitted by osopurdy on Wed, 07/27/2011 - 21:19

This really is a easy beginner project and adds instant decor for your wall.

This project is also pretty versatile because it lends itself to ANY decor. You could go totally country like I did or pick a nicer, newer pallet and paint or stain it for a more modern or traditional take. Whatever you choose, it's something you can do in no time at all!

Another great thing about this is you don't need any fancy tools, although it does make it easier! You can choose from a circular saw, a sawsall, a jig saw or even a hand saw to cut your section out.

Estimated Cost
Free
Estimated Time Investment
An Hour or Two (0-2 Hours)
Finish Used
Lightly sanded then sprayed with a light coat of polyurethane.
Recommended Skill Level
Starter Project

Comments

Back to school desk

Submitted by bhoppy on Sun, 08/25/2013 - 09:09

I made this for my 6 year old who just started the first grade. The only modification I made to the plans was to make a couple cutouts in the hutch for cords. I also added cork which comes in a 24 by 48 inch roll.. I ordered all the hardware from the same place that Jaime from That's my Letter suggested in her build post. This was my first drawer and it was intimidating but it was fairly easy and cute as it can be:-) The plans were very easy to follow! I got the idea for the peg board organizer from the Shanty 2 Chic website. It's just 1x4 frame around the pegboard. The chair was a craigslist find I painted and made a cushion for with some foam and cute fabric. I'm really happy with how it turned out and look forward to the day when my daughter will actually use it. LOL

Estimated Cost
100$
Estimated Time Investment
Weekend Project (10-20 Hours)
Finish Used
The paint is Olympic satin white with the primer already in it but I also used Kilz oil based primer since the wood was bare. I really thought it made a huge difference. The tealish color is actually just oops paint from Lowes I already had. I used 3 coats of satin Polycrylic on the top.
Recommended Skill Level
Intermediate

Comments

Wood Crate Coffee Table

Submitted by TMW on Thu, 10/08/2015 - 06:44

A buddy of mine showed me a picture of a coffee table his wife wanted that he found online. It appeared to be several crates attached together. I came up with this design. I added a base to raise it off the floor a few inches to make cleaning around it easier. Was made using all scrap. It was a very easy project and took about 2hrs. This picture was taken before any finish was applied.

Estimated Cost
$25
Estimated Time Investment
An Hour or Two (0-2 Hours)
Recommended Skill Level
Beginner

Comments

Audrey Wright

Thu, 10/22/2015 - 05:06

I glanced at the picture for two minutes straight, wondering how the heck you designed this layout, before I realised it was premade crates.. Silly me.. Great job !

Lovely entertainment center

Submitted by Anonymous (not verified) on Wed, 10/24/2018 - 15:22

I went with inset doors with chicken wire instead of the sliding barn doors, and I added an additional shelf.

Estimated Time Investment
Week Long Project (20 Hours or More)
Finish Used
Whitewash pickling stain, an antiquing glaze, sanding sealer, and polycrilic.

For the top, I stained the bare wood with the antiquing glaze, then I added the whitewash pickling stain over that once dry. Then a sanding sealer, and finally the antiquing glaze again, concentrating on the outer edges and knots. It gave it an old, barn wood look.

For the rest, I used the whitewash pickling stain (Minwax), sanding sealer, and then the antiquing glaze (Valspar). I did 3 coats of polycrylic on everything after.
Recommended Skill Level
Intermediate

Crooked Dog House

Submitted by Anonymous (not verified) on Mon, 07/11/2022 - 06:45

Thanks for these plans! Worked perfectly. One day build.

Built from Plan(s)

Comments

I couldn't be more happy about a garbage can!

Submitted by hoffer5353 on Mon, 08/01/2011 - 12:29

I started this project thinking that I would put in a rental home we were working on. But after I completed it I couldn't part with it.

I found the plans to be easy to follow! I watched the videos and tackled the raised panel doors. I wanted to add some height so added a few inches just in-case. I couldn’t bear the thought of completing this project and my garbage can not fitting. So I did use 1x6 for the rails and found it didn't look too bad.

I put a lot of thought about what color and finish I wanted. I thought about distressing it but couldn’t decide on the color or technique. So I decided on Color Place paint that I had left over from another project. I am going to find a spray paint that matches and do the inside.

I choose an oil rubbed bronze knob that I had left over from a kitchen remodel, added a magnetic closure as well as a door safety chain. I have lots of little hands and toes that I don’t want getting smashed. I like the idea that if I want to open it all the way for cleaning all I have to do is unhook the safety chain.

Over all I am so pleased with how it turned out. It keeps the garbage and smell in and curious fingers out! My kids love to put stuff in the garbage now!

I spent a weekend with a visiting friend and made one as well as completed two more for Christmas gifts.

Thanks Ana

Estimated Cost
$30-35
Estimated Time Investment
Afternoon Project (3-6 Hours)
Finish Used
2-3 coats-ColorPlace-Redwood semi-gloss exterior
1 coat-Minwax-Polyurethane-Semi Gloss
Recommended Skill Level
Intermediate

Twin Farmhouse Bed

Built 2 of these for a customer. Stained with Rust-Oleum Dark Walnut and finished with Rust-Oleum Satin Ployuerethane.

Built from Plan(s)
Estimated Cost
150
Estimated Time Investment
Weekend Project (10-20 Hours)
Finish Used
Rust-Oleum Dark Walnut and Satin Polyurethane.
Recommended Skill Level
Beginner

Corner TV Stand

Submitted by Jeffmp29 on Mon, 10/12/2015 - 07:27

We've searched for a corner TV stand but couldnt find anything we liked. I finally decided to build one. 

Built from Plan(s)
Estimated Time Investment
Week Long Project (20 Hours or More)
Finish Used
General finishes java, 2 coats. several coats of satin for top coat (GF as well)
Recommended Skill Level
Intermediate

Patrick's Beach Cottage Media Center

Submitted by bcarter_1 on Tue, 10/30/2018 - 04:36

Modified the plans to have sides like the wide cabin dresser, and took out top two drawers for media center

Estimated Time Investment
Week Long Project (20 Hours or More)
Recommended Skill Level
Intermediate

Comments

Red Coat Tree

Submitted by StacieM on Wed, 08/03/2011 - 19:35

So I finally painted my coat tree this weekend (in the 105+ degree heat). I love it. It's far from perfect but it was only my second project and was a great learning project and serves great for towels, coats, hats, dog leashes, etc. Sorry about the poor photo.

Overall the project took much longer than it should have since I was cutting everything with a crooked cutting circular saw so getting the angles right took a long time. (I have learned that a power miter saw is worth every penny!)

I'm very happy with it. Thanks for the great plans Ana!

Estimated Cost
$10
Estimated Time Investment
Afternoon Project (3-6 Hours)
Finish Used
One coat of spray primer, two coats of Krylon Pimento spray paint (Satin finish).
Recommended Skill Level
Starter Project

Modified Loft bunk

My boys have to share a room so I needed to have some storage and increased usability. I added a 10" deep headboard to the top bunk and extended the desk to 10" deeper. I couldn't put the ladder in the middle of the room so i had to put it beside the bookcase and in turn had to turn the drawers to the inside so they wouldn't be under the ladder. I then needed a gap between the bookcase and the bottom bunk to access the shelves the the drawers on the side of the bottom bunk, so now there is a large shelf above the desk which is also the underside of the headboard. I also modified the desk to accommodate a computer tower when they get a bit older. There will also be a slide out keyboard tray and a small drawer. (haven't built them yet.) I managed to build this without adding much materials at all. the headboard was all scraps from the rest of it. The desk and bookcase are also 3" taller than the plans(seemed too short, in hindsight, now its too close to the ceiling... oops. )

Estimated Cost
$500
Estimated Time Investment
Week Long Project (20 Hours or More)
Recommended Skill Level
Intermediate

Donated bed

Submitted by Medickep on Thu, 10/15/2015 - 08:42

I made another one of these bunk beds for a family near my community.  This time I made all cuts from longer boards 16' + The boards had less nknots, which required less sanding and came out better!

Built from Plan(s)
Estimated Cost
220.00
Estimated Time Investment
Weekend Project (10-20 Hours)
Finish Used
Watco Medium walnut (2 coats)>
Recommended Skill Level
Beginner

Comments

Blanket Ladder

Submitted by Anonymous (not verified) on Fri, 08/05/2022 - 05:12

My husband was an amazing woodworker and when he passed away he left me a wood shop full of tools. No skills but with amazing directions, I was able to make a blanket ladder to hold the quilts that I so dearly loved. I think my husband would be very pleased!

Built from Plan(s)

Comments

Rustic X End Table

Submitted by Lis West on Sun, 09/01/2013 - 10:42

I modified the original plans to fit the height and length of my sofa as well as to show off the chevron planks. I was offered some pallets...so, I greedily accepted them, to which my husband rolled his eyes and sarcastically said, "Great, more wood!" I tried to make all of the table from the pallets but I ended up using pine for the table edging and the "X."
I laid out the table top in a chevron style on 1/2in plywood, glued and screwed them in from the bottom with wood screws. I attached edging with pocket holes. For the bottom part of the table, I attached larger pallet boards using glue and pocket holes instead of attaching to plywood. I actually attached the edging first to the bottom boards and then attached to the table rather than attach the bottom edging and then try to make the boards fit. I sanded the top and bottom tables with 40, then 80, then 120, and then 240 grit sand paper until smooth. I also sanded the legs the same way. To say that total time sanding for the entire project was 20 hours maybe an understatement. If you look at the underside picture, you can see the roughness of the wood...and I had already lightly sanded them! I ripped my own 1x2's for the edging and "X" from 2x4's with my table saw because I could not find anyone who sold unwarped wood...so frustrating!! The wood was so much straighter when I ripped them. I will rip my own wood as much as possible for now on!!
The "X's" were a challenge and I ended up cutting the ends at a 47.5 degree angles. I do not know why I had such a problem. I had right angles, but the wood is imperfect in many ways and not perfectly straight. I attached the "X's" together and to the table with glue and pocket holes. The legs had ink stamping, so I tried to keep that and not sand the ink completely off.
I added the metal "bling." I dulled the metal, primed and painted with metal paint. The paint chips off easily. So I think will end up replacing these pieces later on. The bolts were originally black, so they will stay.
Total time...several weeks because of all the sanding. I cannot devote whole days to woodworking because of family and work and I can only sand one hour at a time before my hands start to go numb. Also, the Waterlox requires at least 24 hours between each application. Cost: approximately $15...for the pocket holes screws (fine Kreg screws), hardware, other wood screws and 1 8ft 2x4. Everything else I already had (I already had the Waterlox, bolts, screws) or was given to me (pallets).

Built from Plan(s)
Estimated Cost
$15 +
Estimated Time Investment
Week Long Project (20 Hours or More)
Finish Used
Waterlox. I have a friend who does beautiful woodworking and he considers staining (and polyurethane) a sin. Because pallet wood has unique coloring, grains and textures, I nervously leaned towards his "no stain" stance and did not stain. I used Waterlox sealer, 3 coats original and 1 coat gloss, for protection. The Waterlox brought out a lot of color in the pallet wood, but since the pine has less color to bring out, the pine looks a little lighter than the pallet wood, which may look odd in the pictures but is really cool looking.
Waterlox is expensive, but I like it much better than polyurethane. Waterlox is easier to work with in that I do not get ANY bubbles or brush marks. Polyurethane seems to dry before I am finished, making it so difficult to work with and to get nice look. The Waterlox may take 24 hours to dry between applications, but I can apply it and keep "working" it until I like the way it looks and then it dries evenly without drips and without dull or uneven looking patches. Also, in the future, if I want to add more coats, I can without stripping. When the Waterlox is dry, it does not have a plastic look to it and it does not yellow, so my pine will keeps it color.
Recommended Skill Level
Intermediate

Tryde End Table with a Colorado Logo

Submitted by ajbehrens on Thu, 10/22/2015 - 21:45

Skipped the 2x4 top and shelf and replaced with a 1x4 board. Got lucky with some scraps. The Colorado logo was distressed with a rotary sander. 

Estimated Cost
$20
Estimated Time Investment
Day Project (6-9 Hours)
Finish Used
Dark stain and spray shellac
Recommended Skill Level
Intermediate