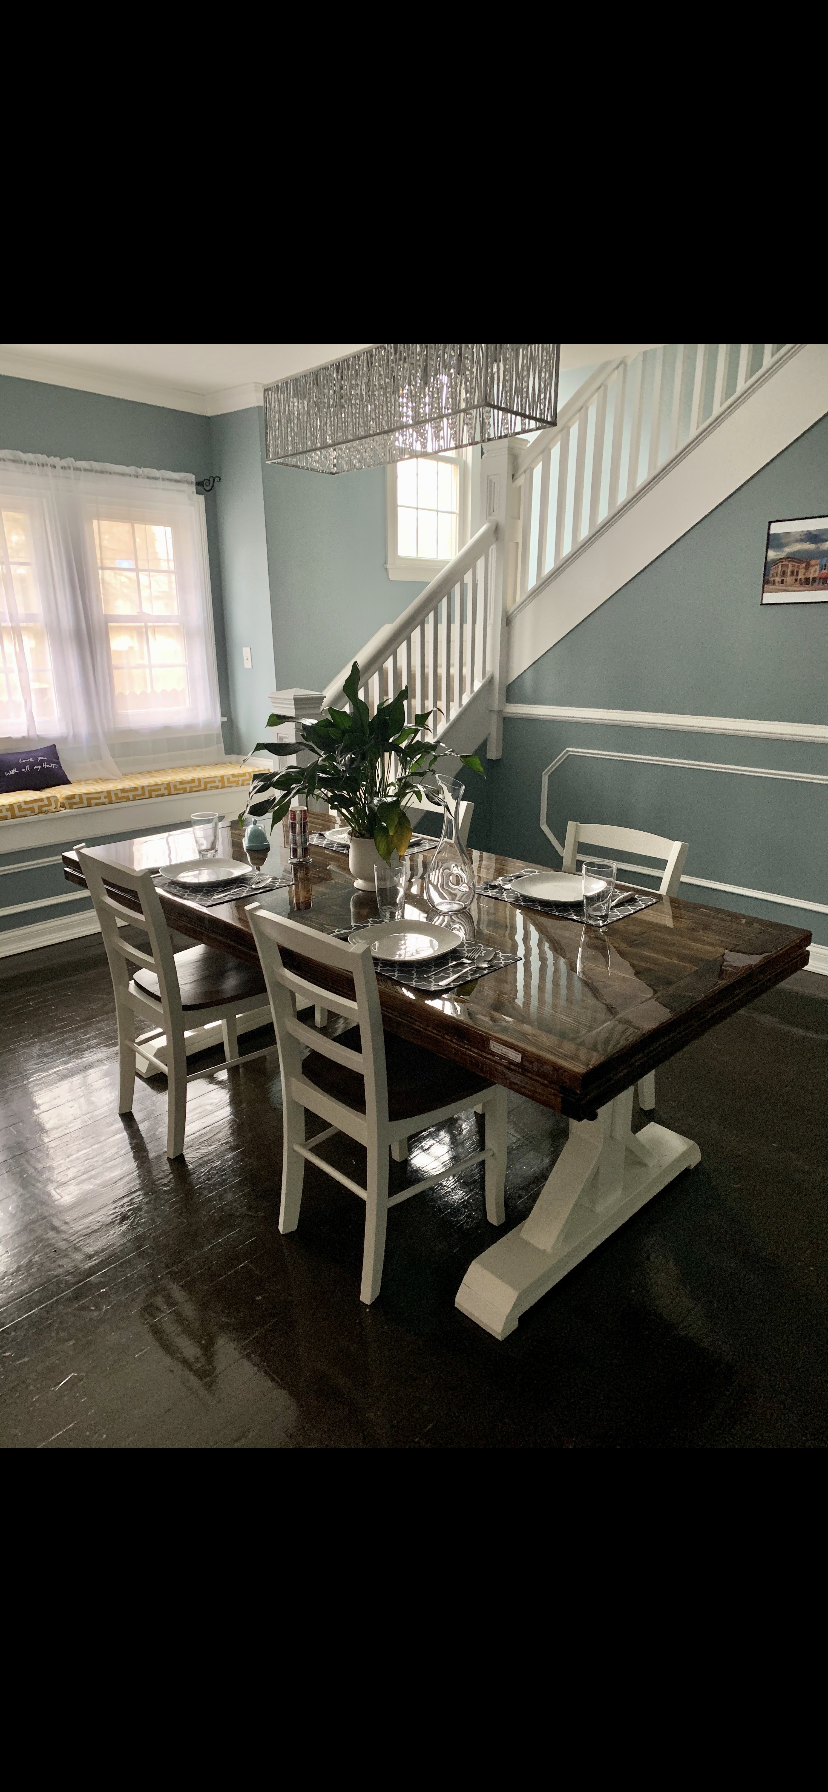
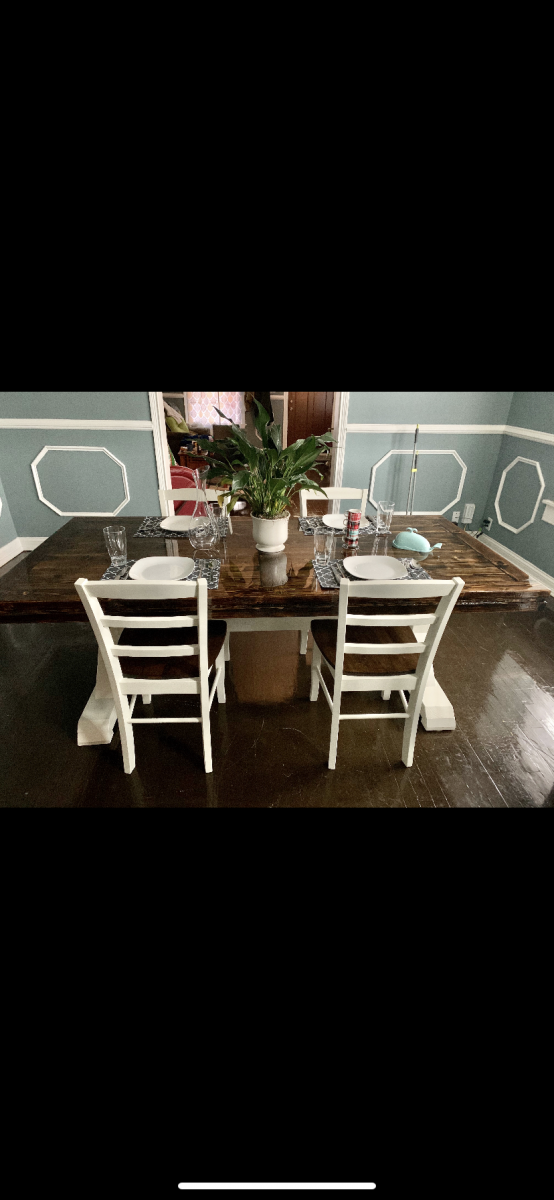
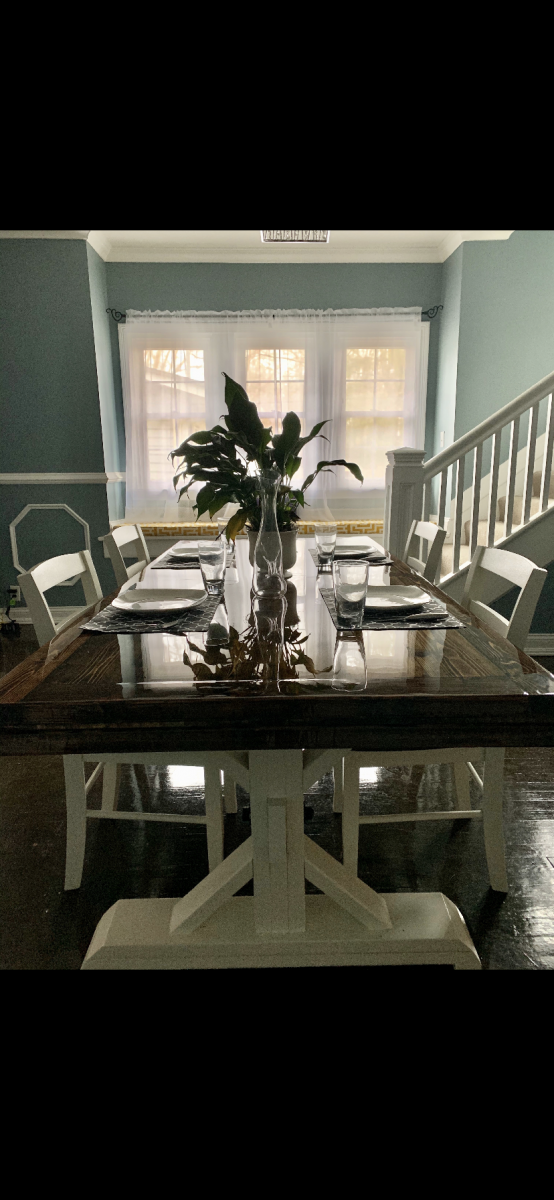
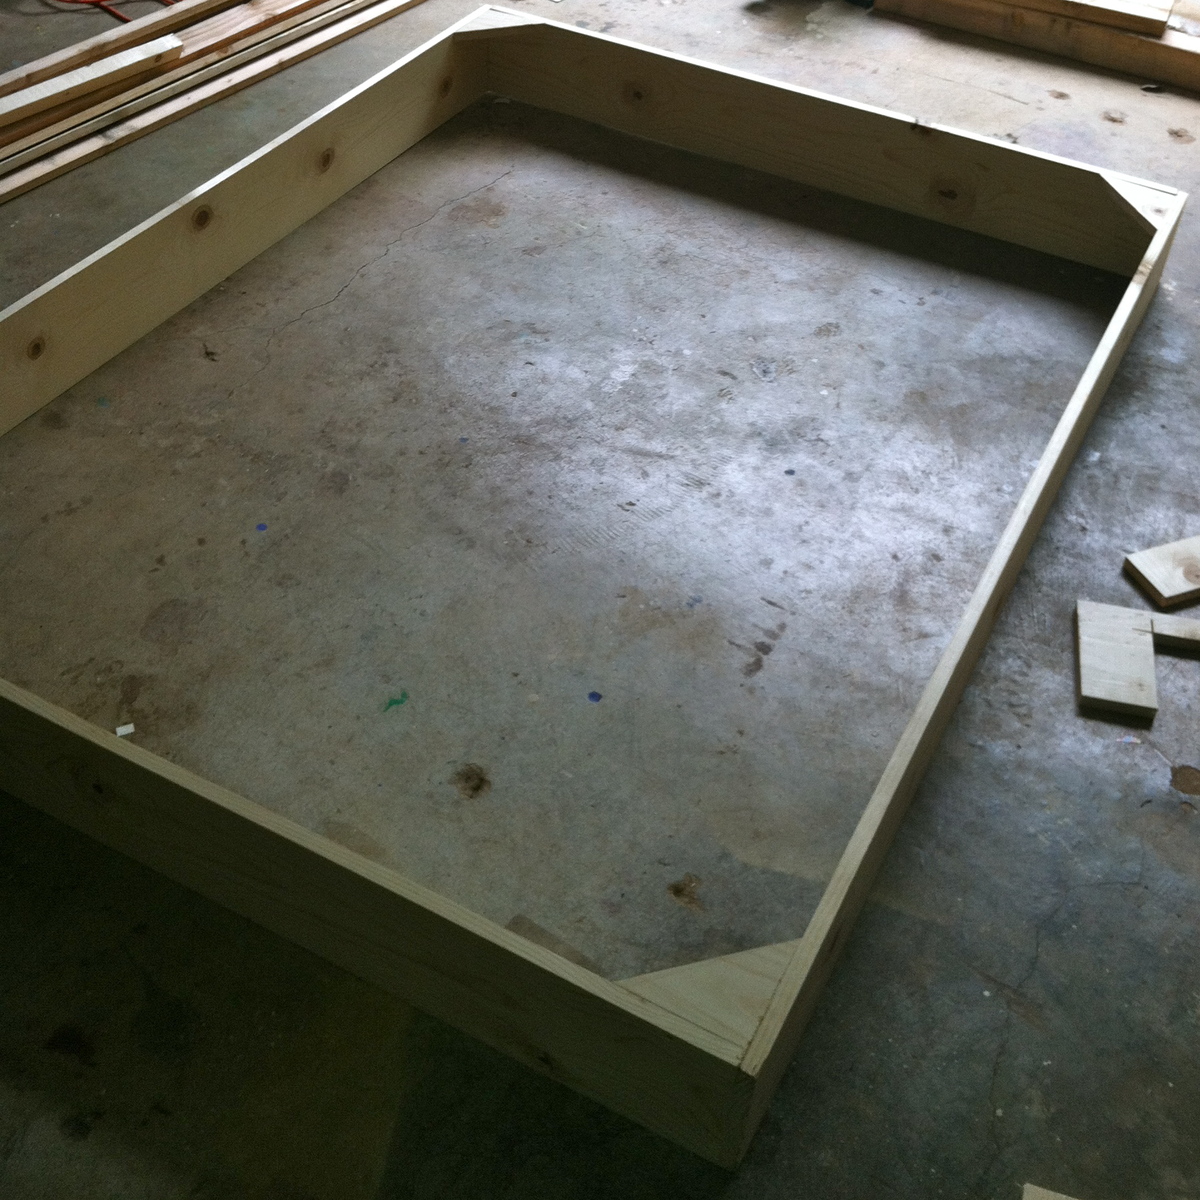
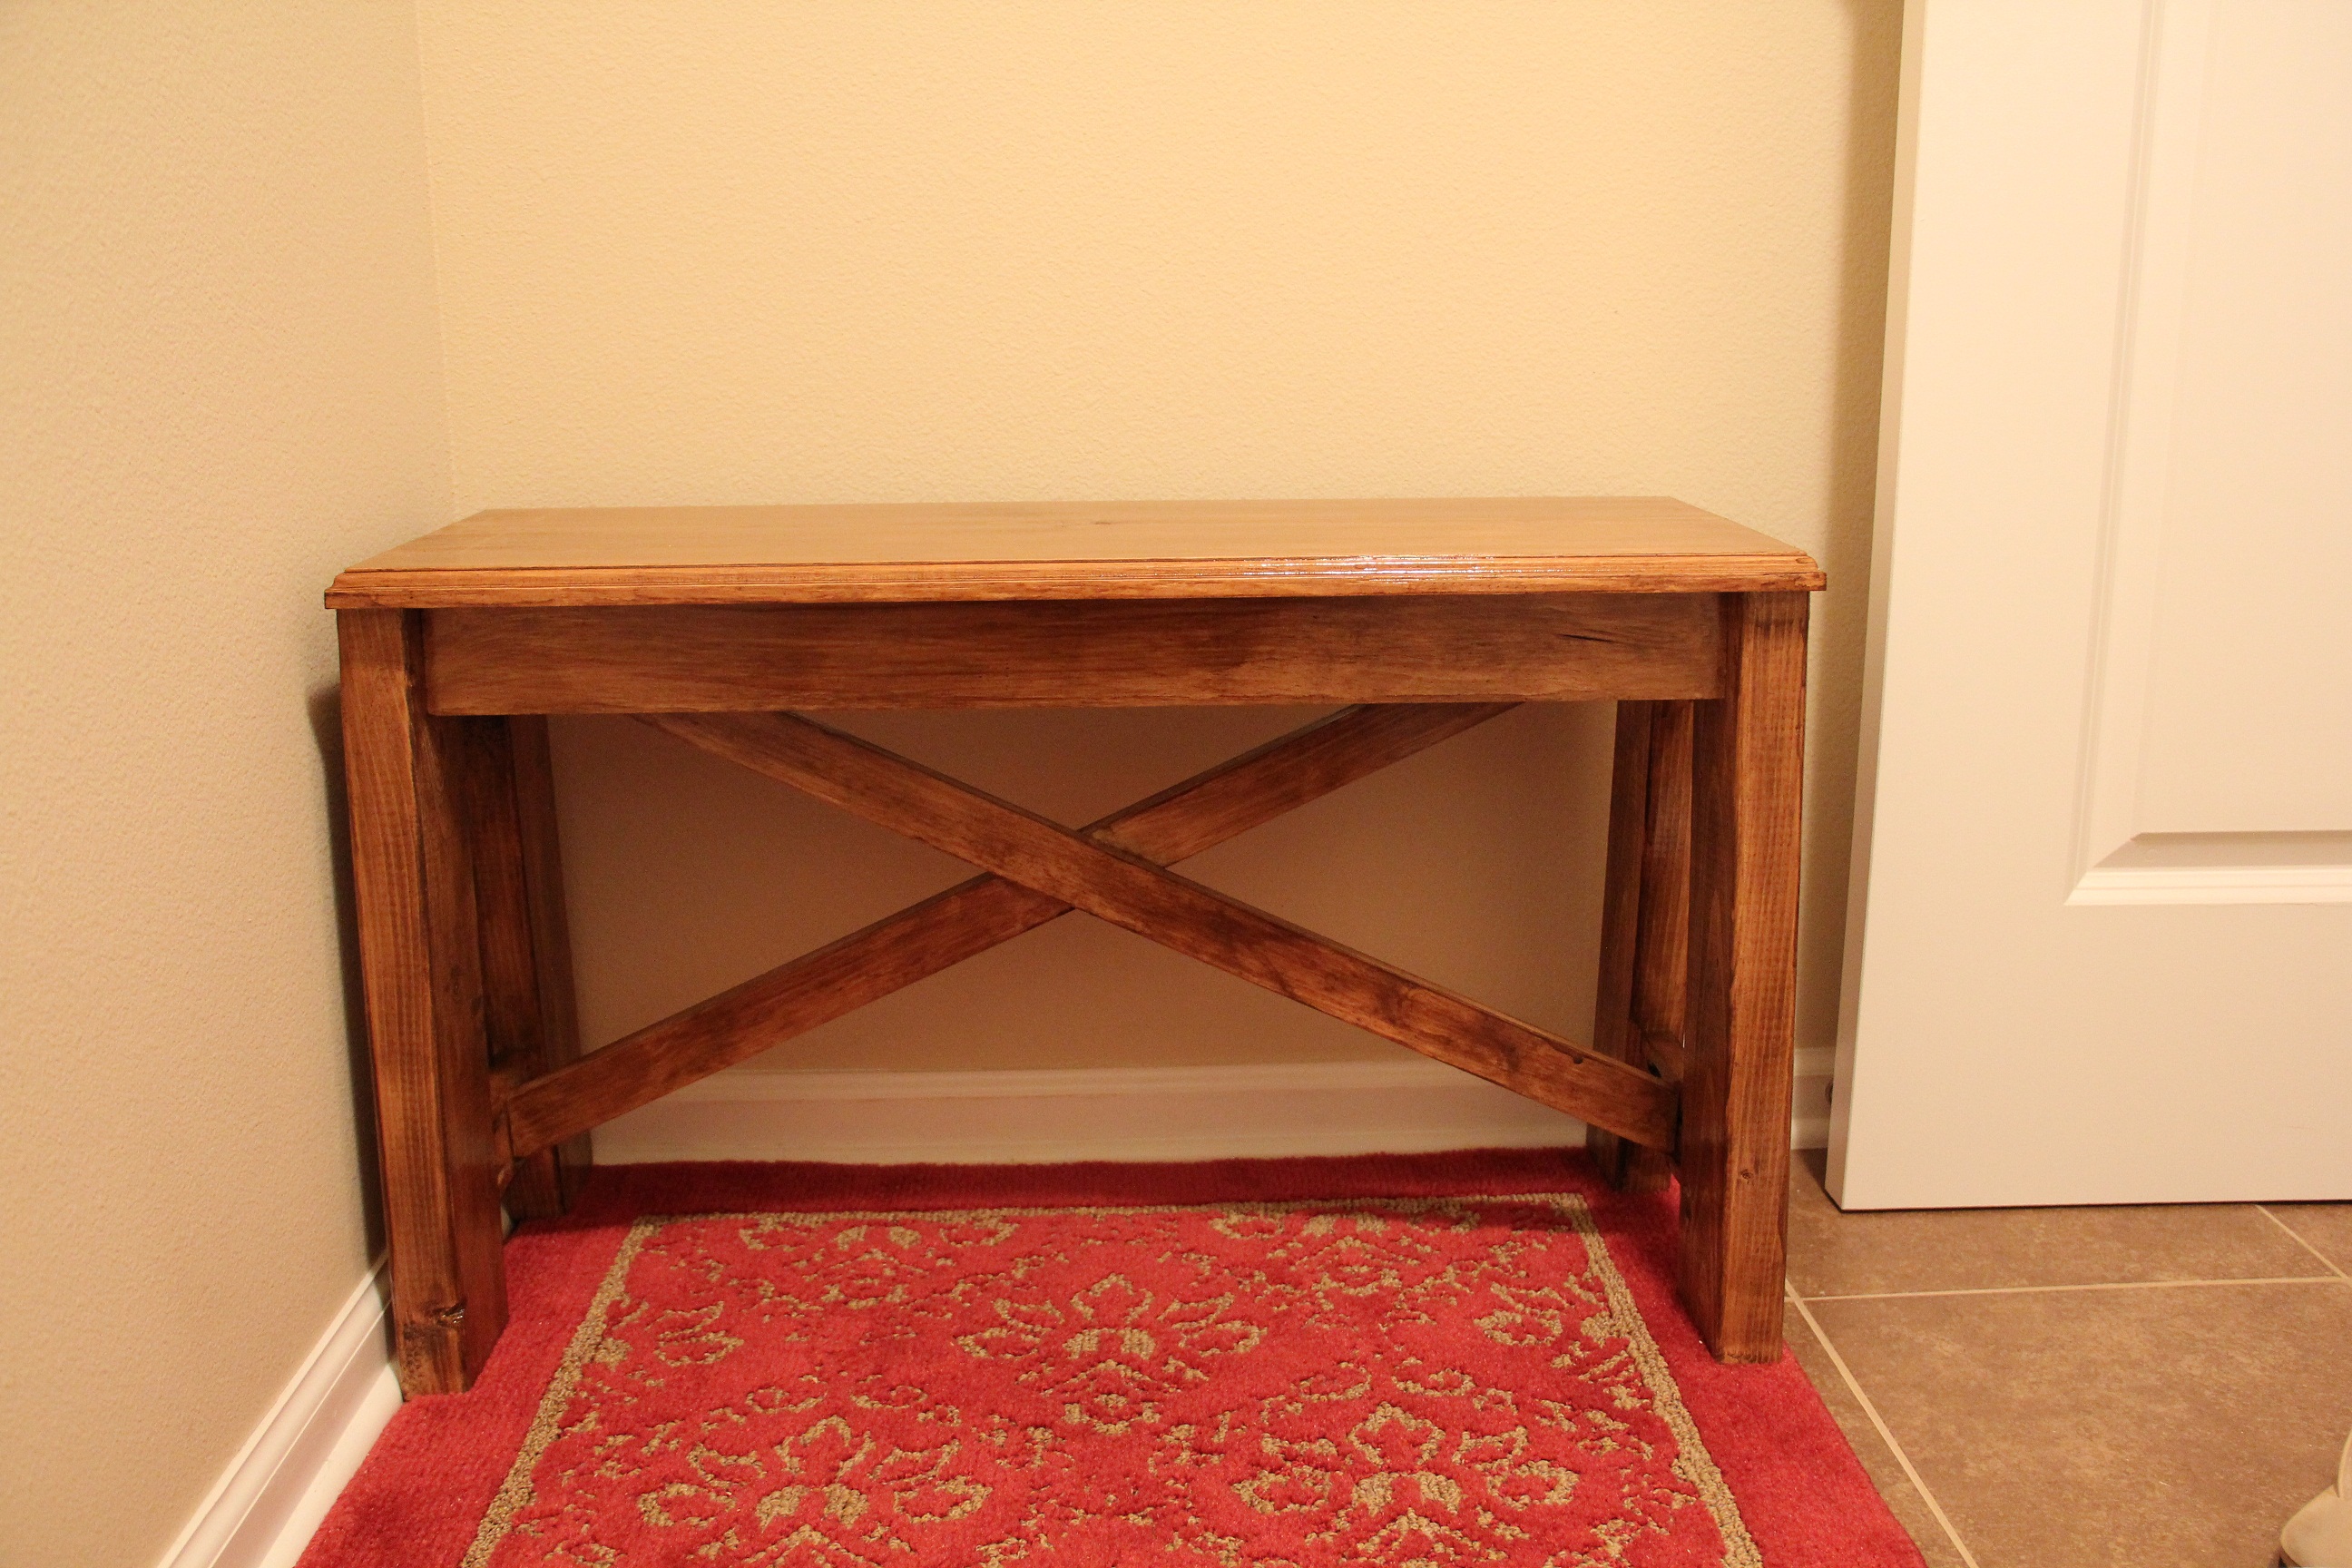
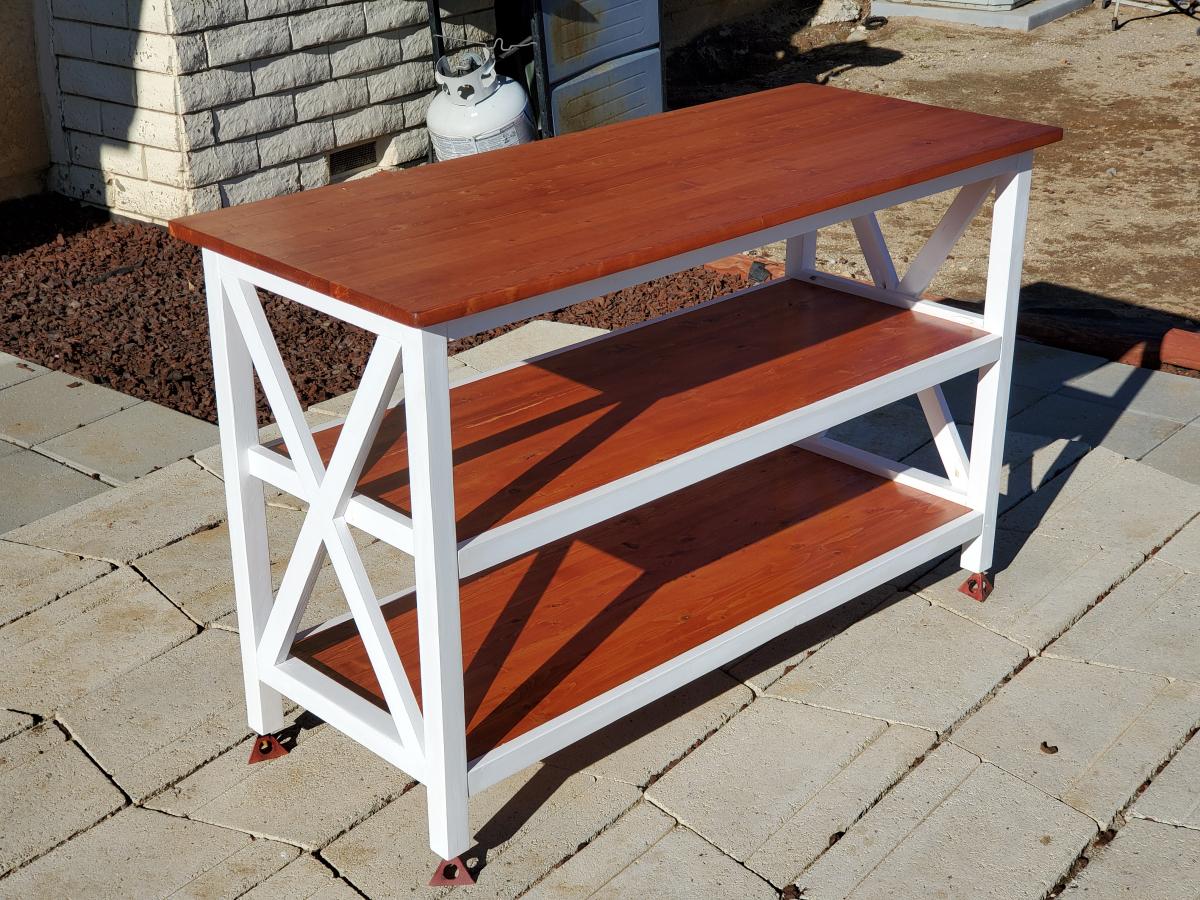
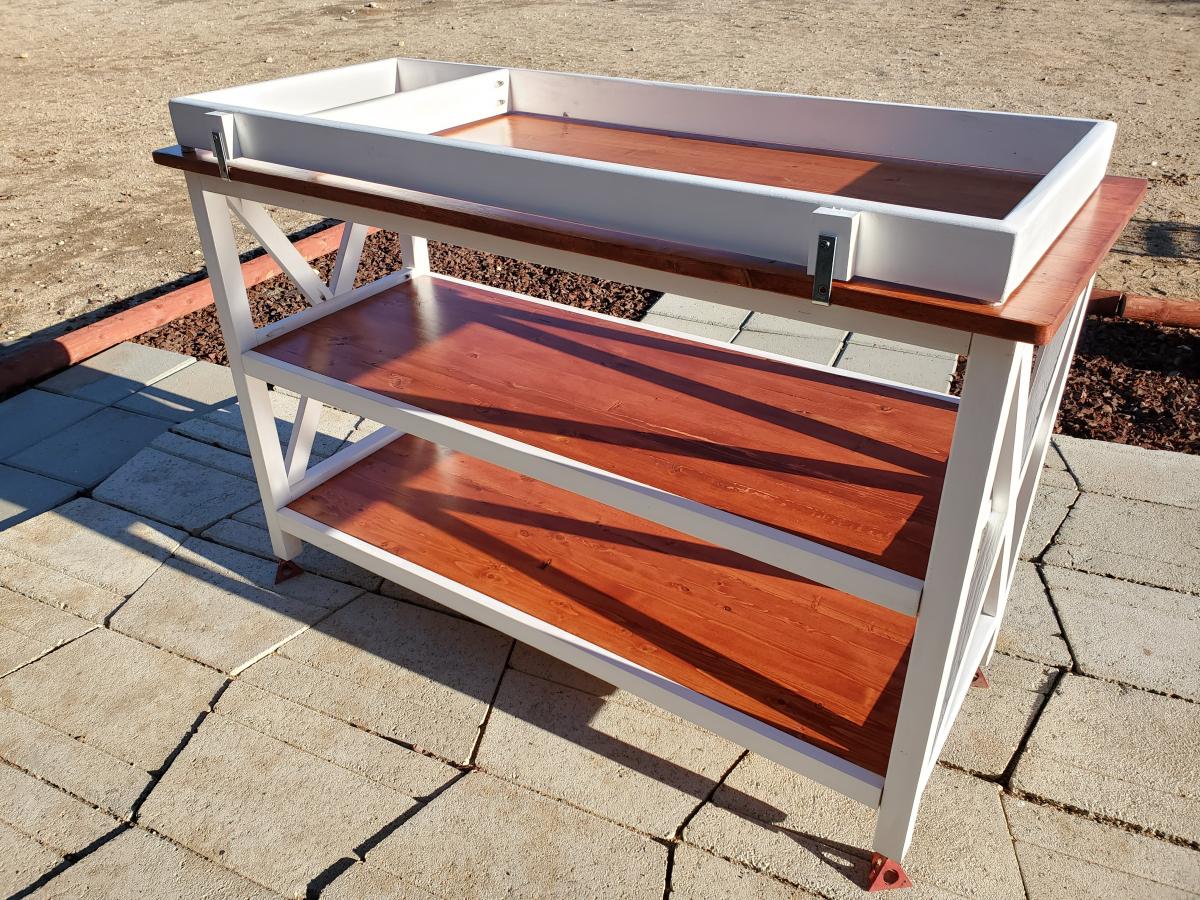
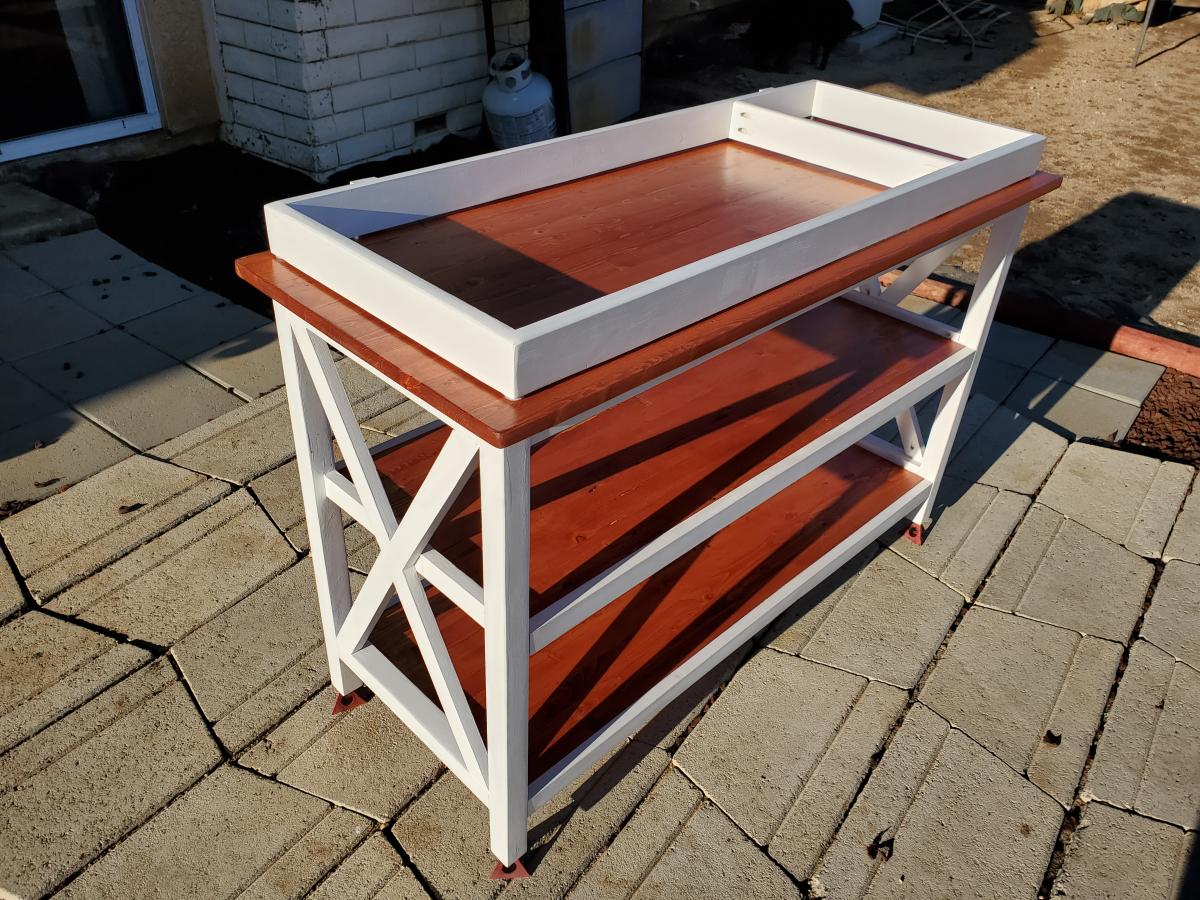
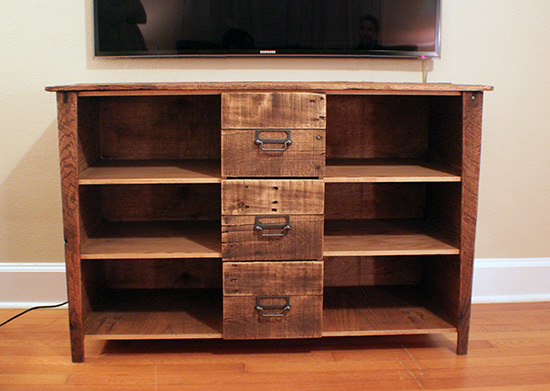
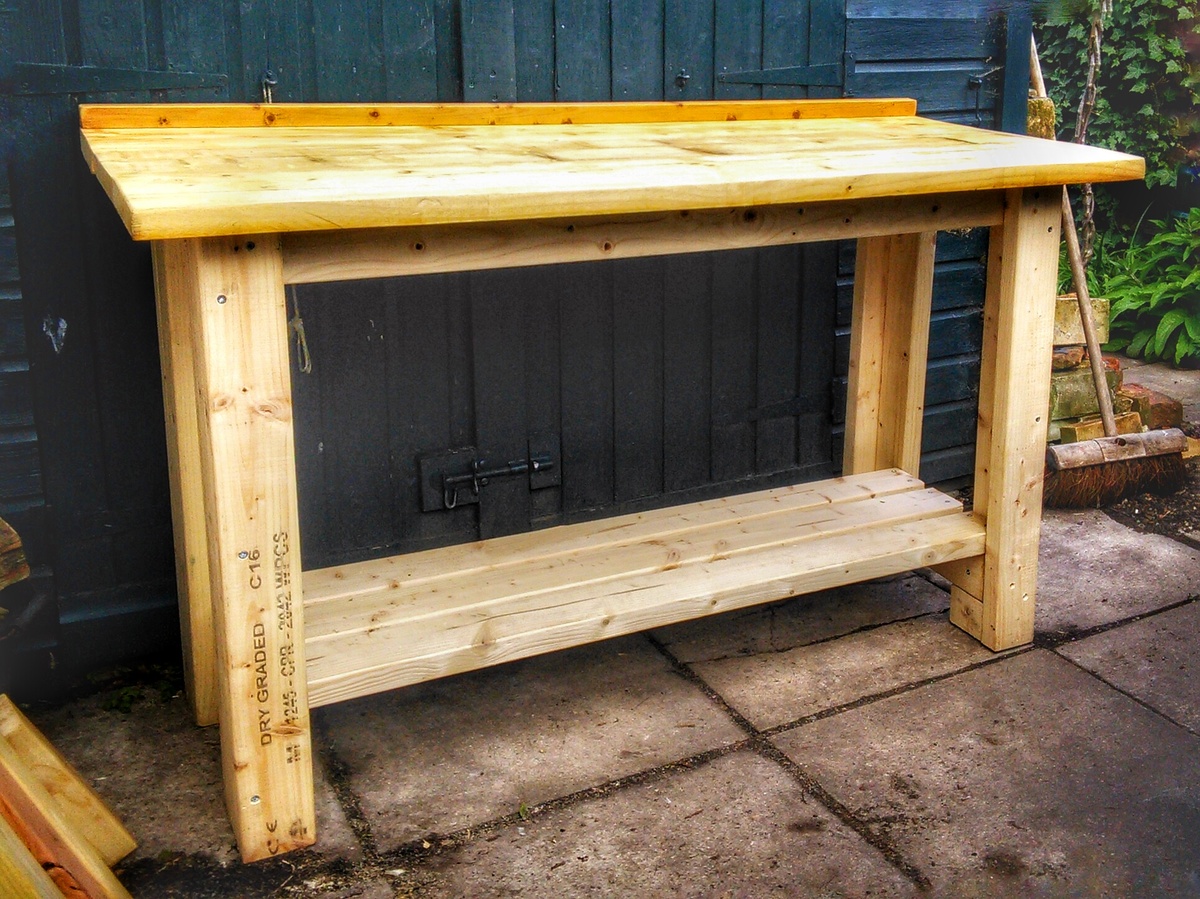
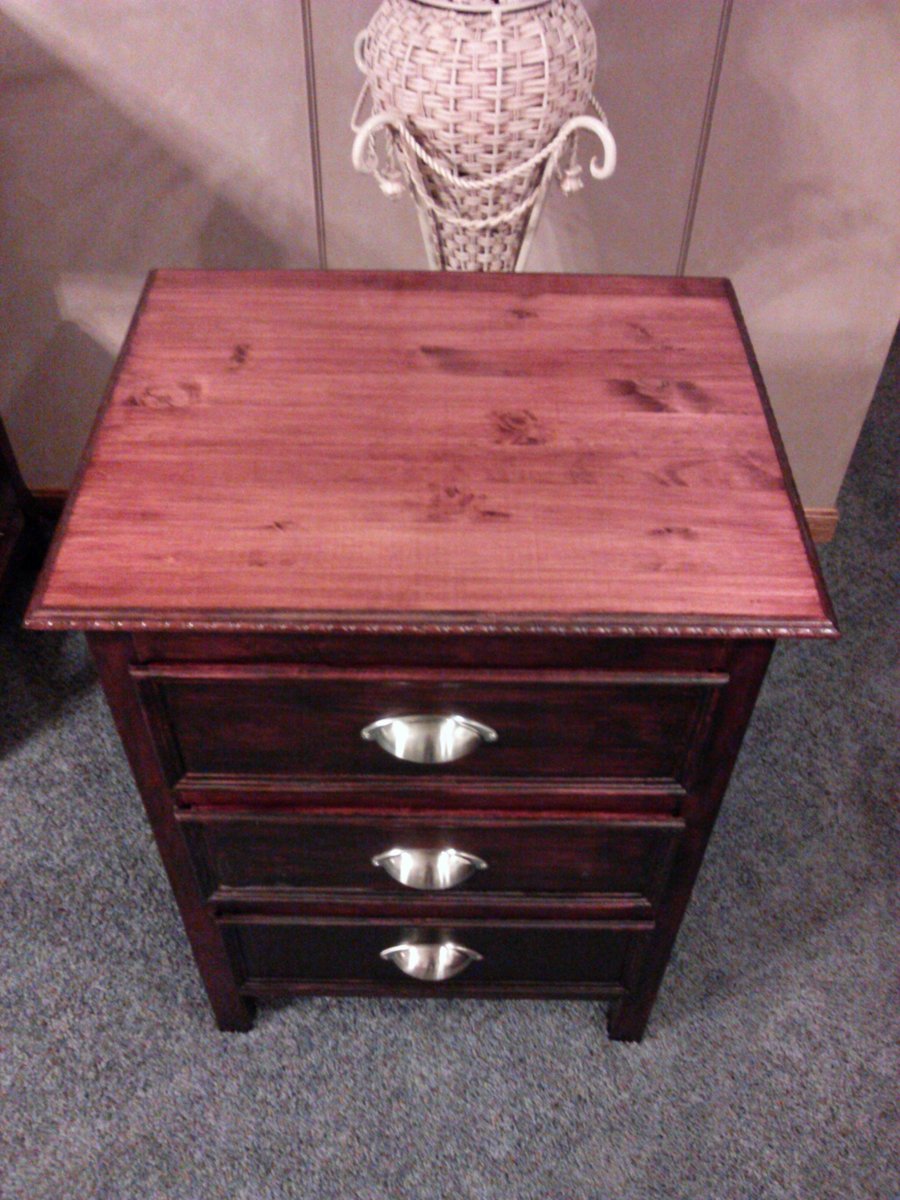
Truss Table
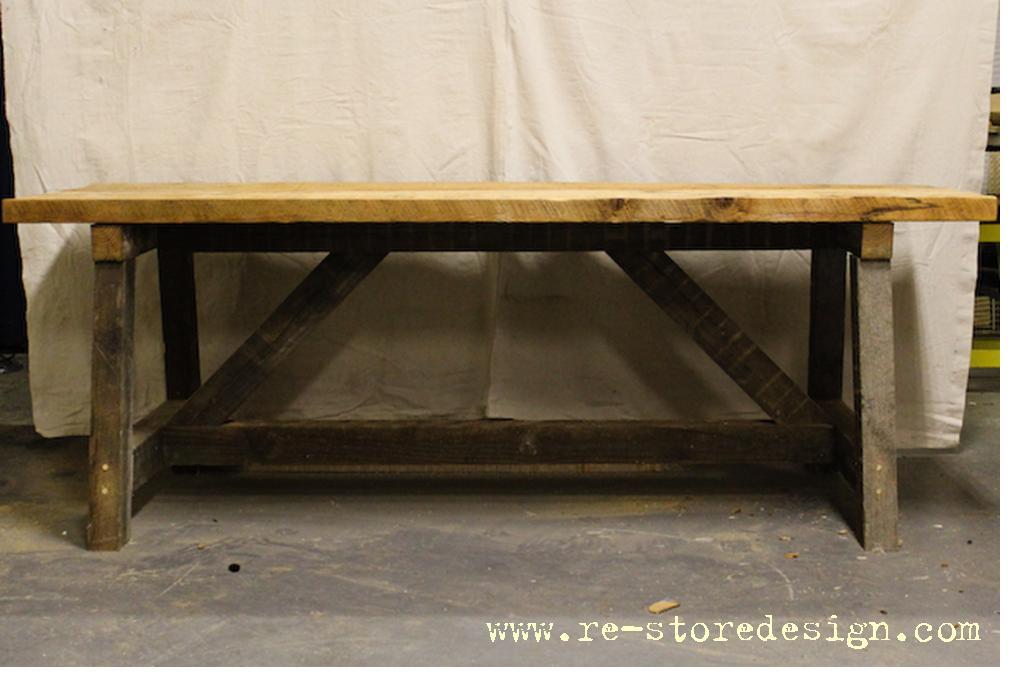
I have been wanted to build this table for over a year and finally had the time for it. The plans made the cuts very simple.
Starting from the Extra Wide Shoe Bench plans, I expanded the upper section considerably. The cabinetry is all cut from hardwood plywood and joined with pocket screws and glue. I don't have a table saw, so a circular saw and straightedge were extensively used.
this table and chairs was a joint effort between my lifelong best friend’s son and I, his dad had just recently passed away and it was a good way for us to stay busy and also to help furnish his new house he’d just moved into, we used stock pine 2x and 1x lumber from the big box store and StoneCoat countertops epoxy resin on the table top.This was a lot fun and not too difficult to make and we were super happy with the way this project turned out!
Reclaimed wood projects.
In our living room/sun room we needed a place to lounge as well as a place for guests to sleep. We used the chunky leg bed frame plans with the full size modifications to build 2 of them to make a giant Hawaii style Punee. We were able to build both of these easily in 1 day. We modified the legs and used 4x4's to make them taller and more rustic looking.
Sat, 05/19/2012 - 14:47
Nice beds! They are very tropical looking - really blends in the outdoor with the indoors.
We built this in our living room start to finish - we live in an NYC apartment. Because of the small room size we chose to modify the plans to a small mattress - hoping that it will last our boys until they are about 5 and 7 (currently 2 and almost here). This blog post outlines our buy and cut list for the modified size: http://wp.me/p3DCu3-Kd
I started this in my garage this winter so that it was ready for spring. Nothing in this is too complicated but it requires some patience. It was all worth it to see how excited my daughter was to finally play with her friends.
I built two of these for my grandkids for Christmas. One for each of my kid's homes. I used Phillip Moore's folding modification where each side is a separate panel. (Great mod!). I used one T-Nut per hinge on the side where short screws had to be used. I just felt a little safer having that connection that cannot come apart since my grandkids can get pretty active. The kids love them!! Thank you for this plan!
Made a tall wood planter from cedar and pine fence posts using Ana’s plans this weekend! Modified slightly and added a frame around top to give it a more finished look.
Awesome plans! Thanks Ana.
My first real project from your site. This was my first time to use my pocket hole jig. Wow did it work great. The video was great made it very easy to follow the plans
So I altered the Emersen Buffet a little. We needed a changing table and I liked the idea of having the baskets handy for diapers, ect.. I will add the changing pad topper after we get the actual pad.
The door is from a weathered pallet I reclaimed.
I must say this is my first large project of this type. I would have NOT been able to do it without Ana White's site. However, now I feel capable of a lot more.
Thanks so much.
T S
I used whitewashed clear pine for the bases and maple for the tops. I also built a corner table to match. I used a Kreg Jig for the first time for all 3 tables.
A Christmas gift for a friend who recently had a baby.
I went with one inch (3/4") project panels. The top shelf is 1"x 20". The lower shelves are 1"x 16", but I added 1 1/2" with two 1"x 2" banding. For the "x" brackets, I used 1"x 2" and added a middle piece to connect the legs and double as a side shelf ledge. The baby changing station top is secured by an L-bracket, where I added a block to keep the spacing even around the station top and screwed from underneath. (Note, you might have to trim the L-bracket to fit on the underside of the lip.) Also, I put on furniture felt under the baby changing station top to prevent any marring to the top shelf.
The removable top allows the changing station to become a standard shelving unit once the baby outgrows the changing station top. There are no holes drilled onto the topside of the top shelve as it's being secured by two L-brackets.
Very sturdy. Gets lots of use. Need to make one for new baby brother.
Customized the cabin Bunk bed palns and built this for about $200 and 2 weekends work.
Nuff said!
This was a media cabinet that I designed for some friends, and I've got a full how-to and FREE PLANS up on my site at
This version is five feet long. The sturdy top was made from scaffold boards. I nailed four stout 3" oval nails into the joining edges of two planks, then cut the projecting heads off at angle. Putting plenty of glue along the nail-free face I sash cramped the whole lot together overnight. Once screwed down I filled holes and cracks with epoxy woodfiller, gave it a though sanding and splashed on a generous amount of Danish Oil just to seal it from spilled coffee etc. Now all I have to do is line the shed...
Had fun doing this one. I used a gel stain and about 4 coats of lacquer to finish
We were in need of a nice patio set and just couldn’t find the right fit until we came across some 2x4 plans and thought “that seems simple enough”. Took some planning for the right dimensions but I swear my husband can build anything. It turned out beautifully. He made a table, a sofa and a chair….burned them with a torch is certain areas then put polyurethane on them. Thanks for looking.
Lanette
I made this as a birthday present for my two year old neice. It was really easy to make even for a beginner like myself. My five year daughter has been asking me every day if I would make her one "just like it" for her dolls, so I guess I know what I'm doing this weekend!
This stain color photographs blotchy looking. It does not look that way in person........
I used beadboard for the sides because I had some left over. I'm glad I did. I really like the way it looks. I also used trim on the outside of all the drawers. It really gives it a polished look. You could also use it if you have uneven gaps where the drawer slides in.
One other thing I did was use a solid piece for the top. I wanted it to be a smooth surface. I then trimmed the top piece with trim that I used on the Fancy Farmhouse Bed I made. I wanted to tie the two pieces together.
I've never made anything with drawers before. It is a bit more challenging, but not that bad if you are careful. However, I am not looking to build anything with drawers again for awhile :>}
Sat, 02/01/2014 - 09:56
Pretty cheap and all wood. When we bought my daughter's bedroom set,her nightstand cost us an extra $160,and its cheap mdf with an extremely thin wood laminate over it. Wish I had found Ana's site before we purchased it,could have saved a ton and built a bedroom set out of real wood.
Superb job on the nightstand,really like the way the trim u added came out!!
Comments
Ana White
Wed, 01/22/2014 - 12:39
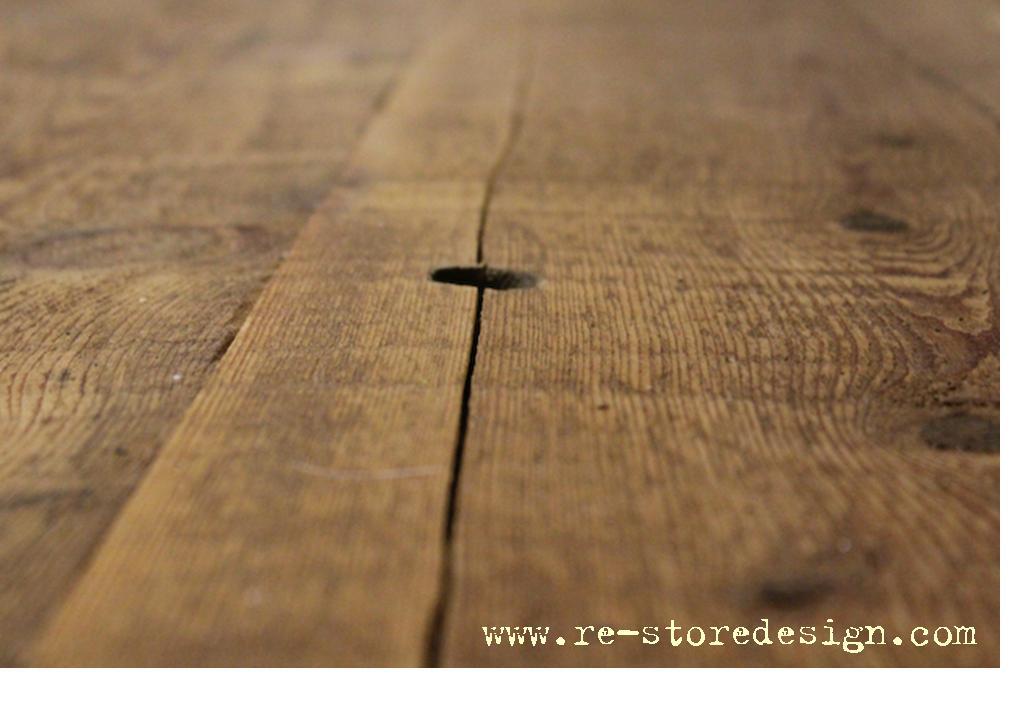
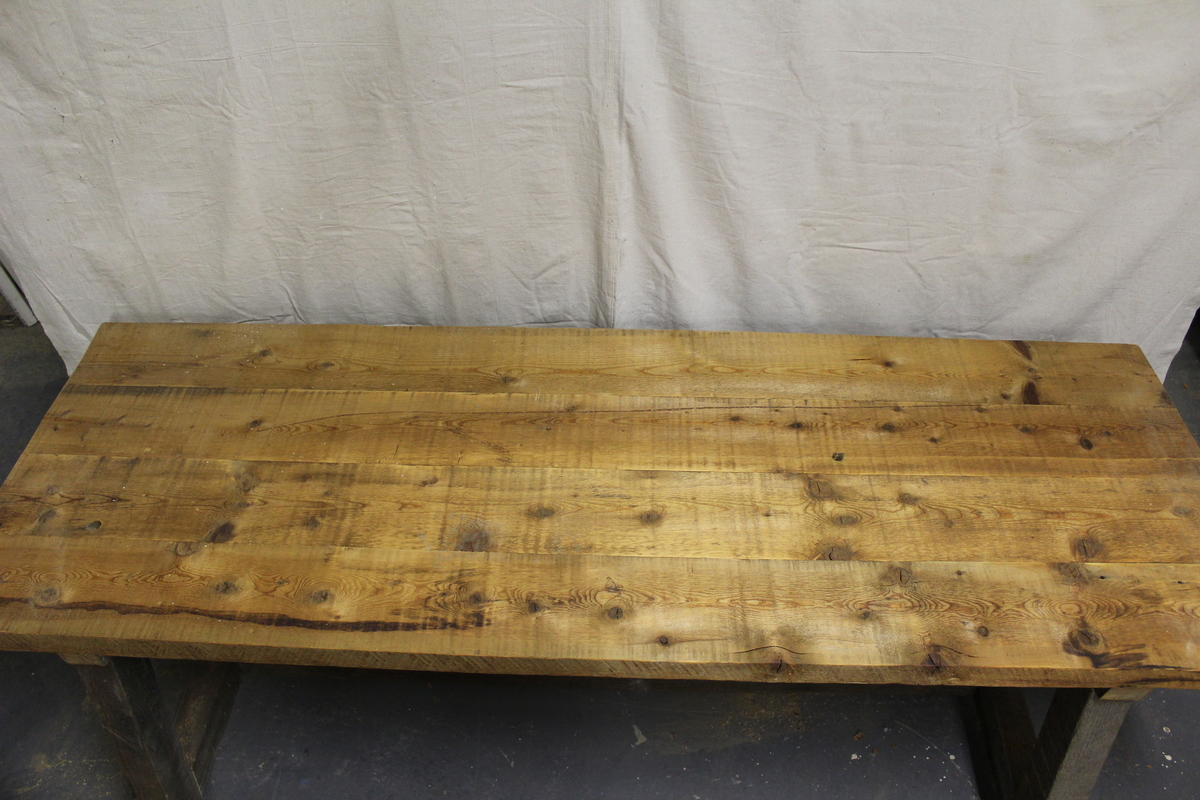
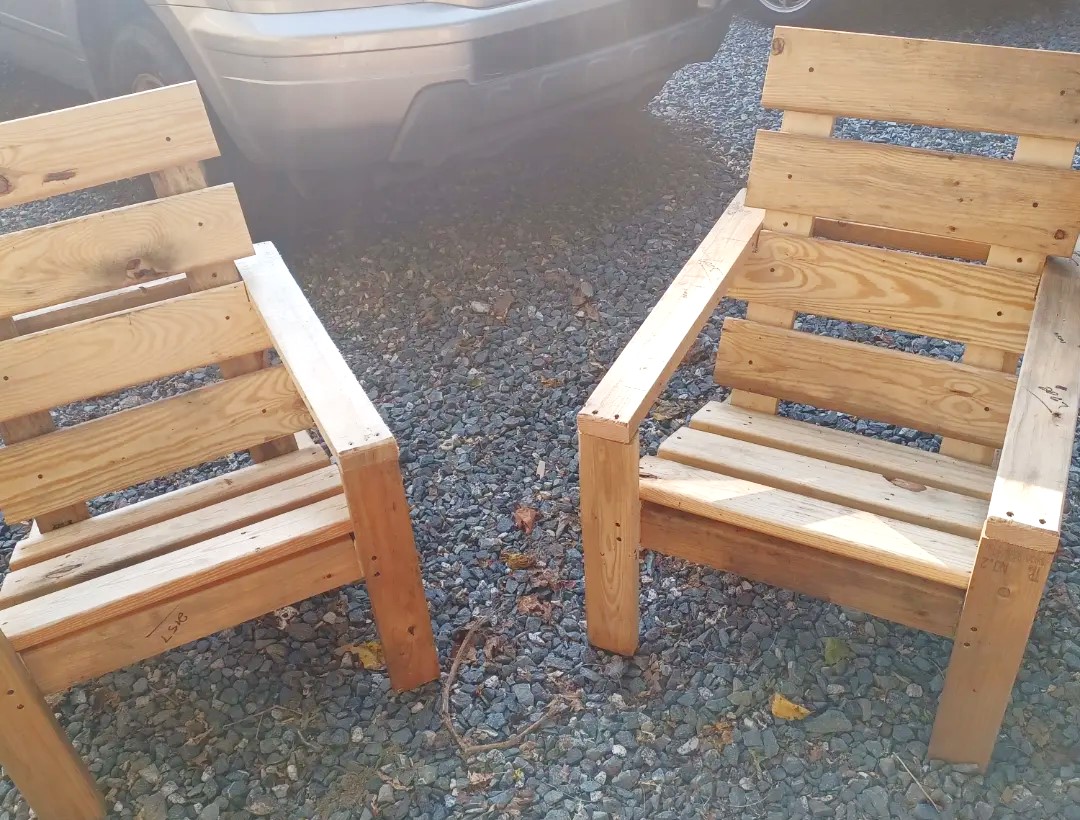
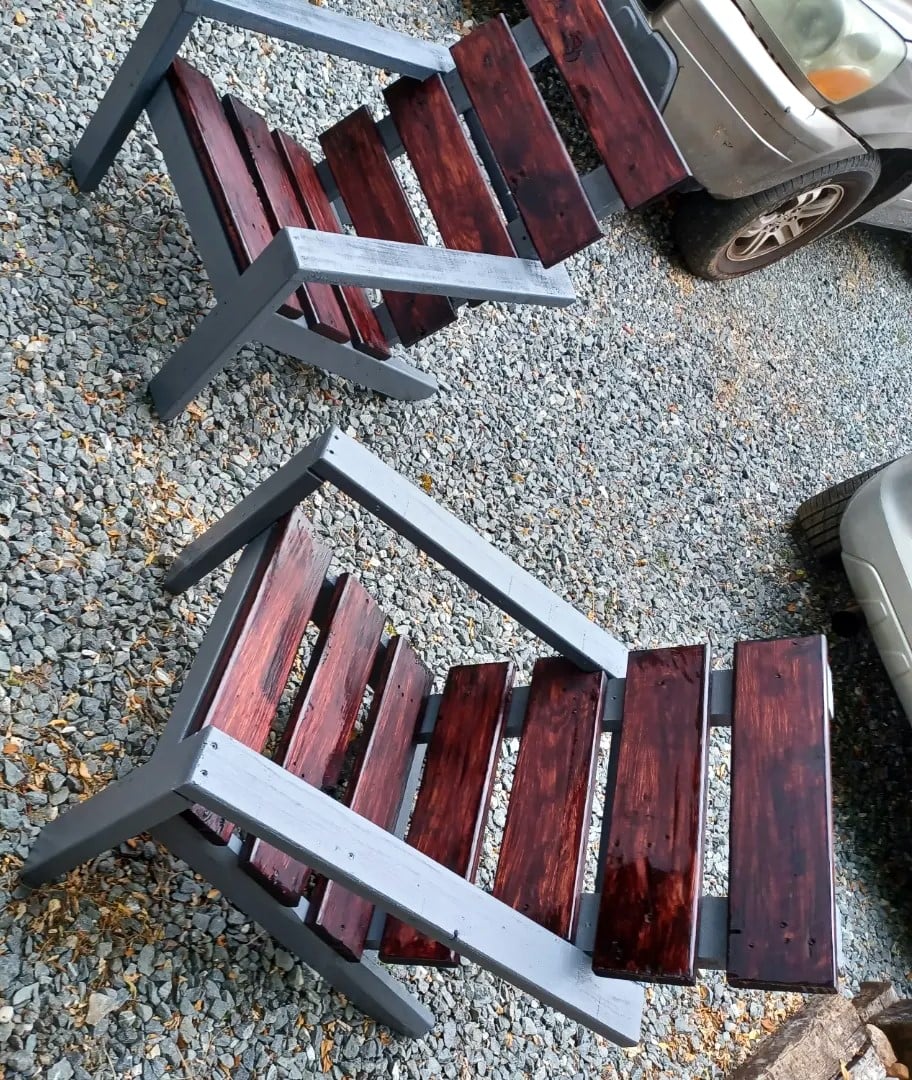
WOOD!
Love the reclaimed wood you used!