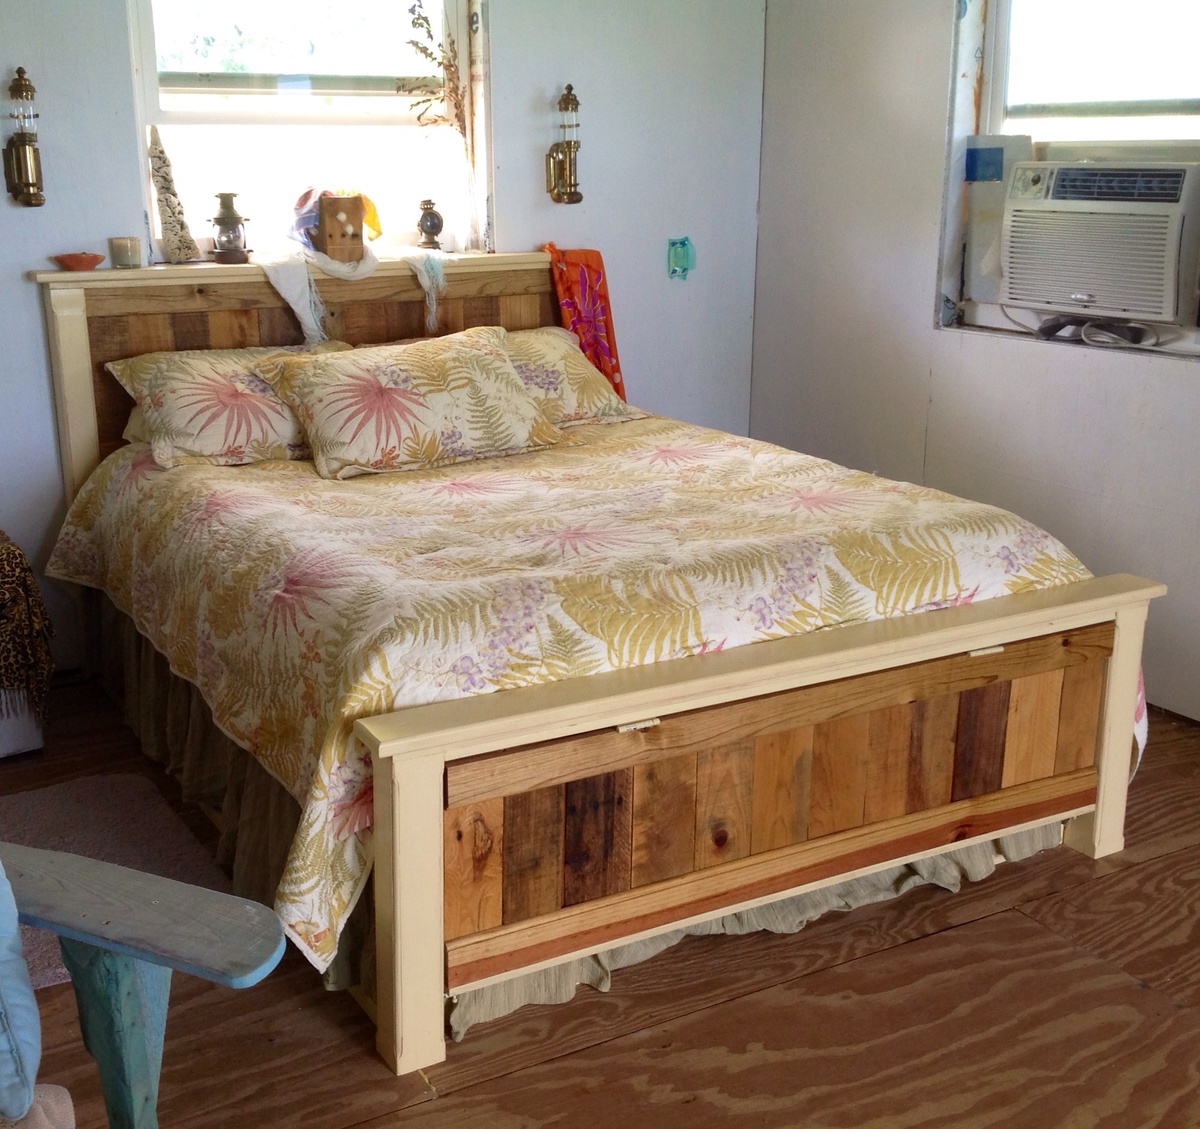
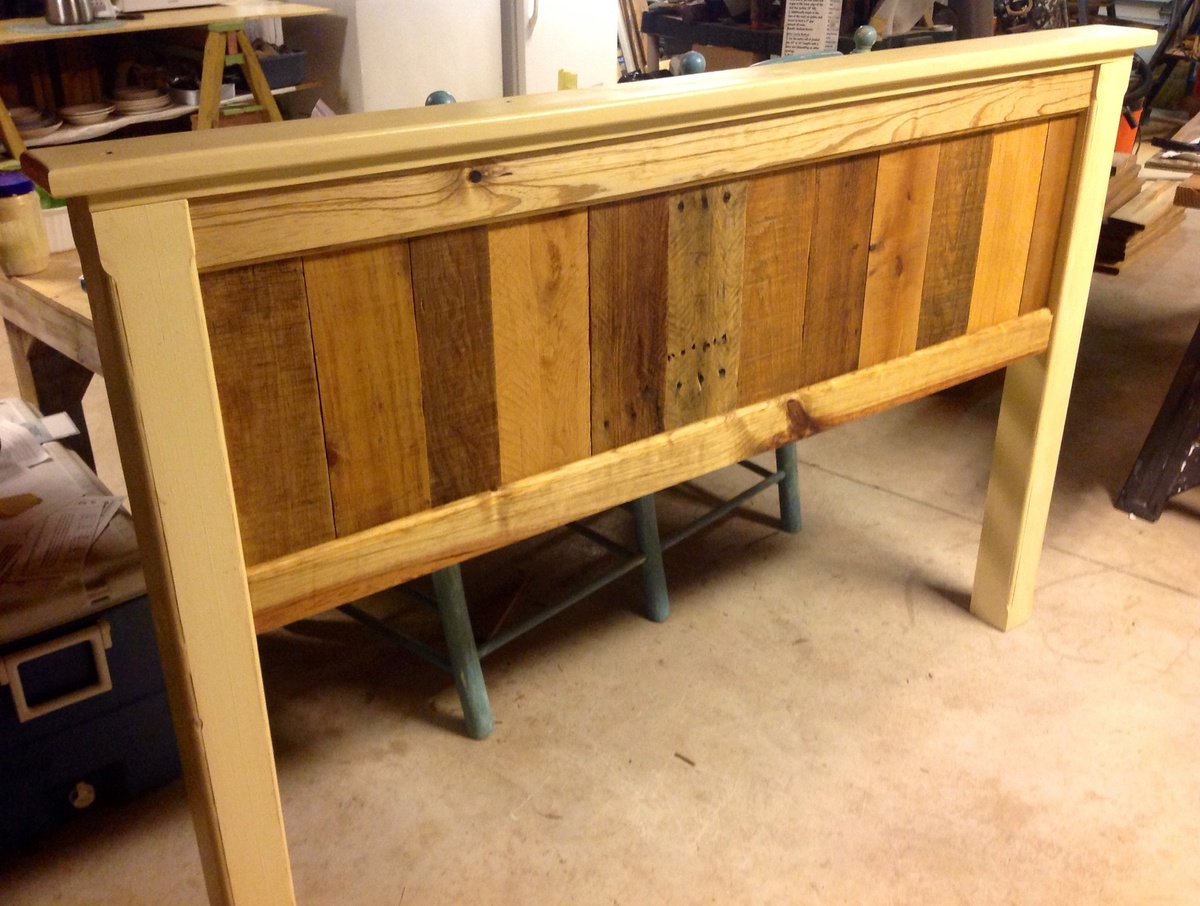
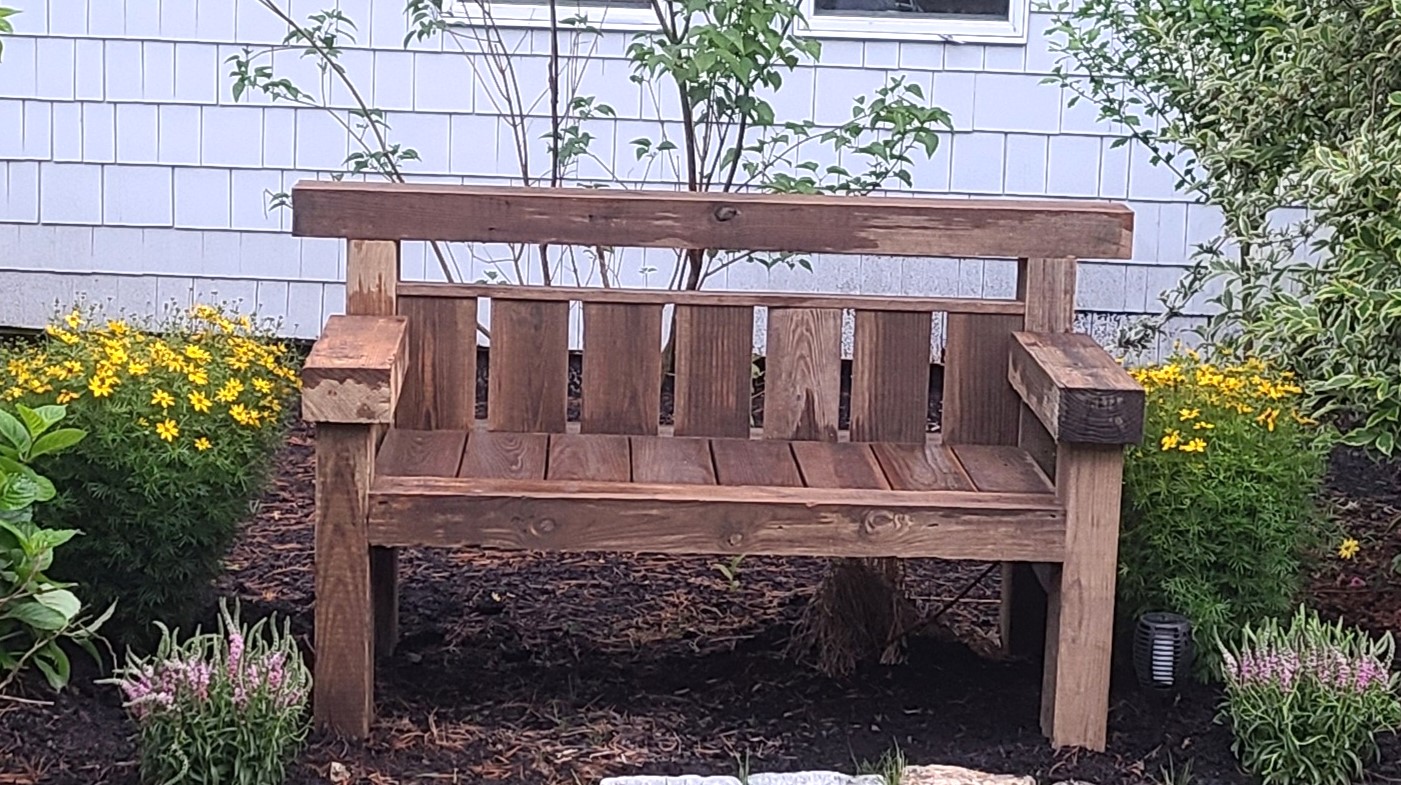
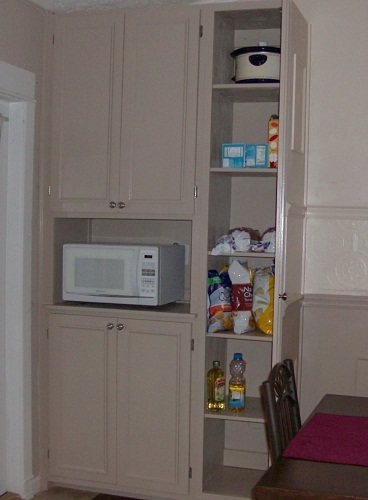
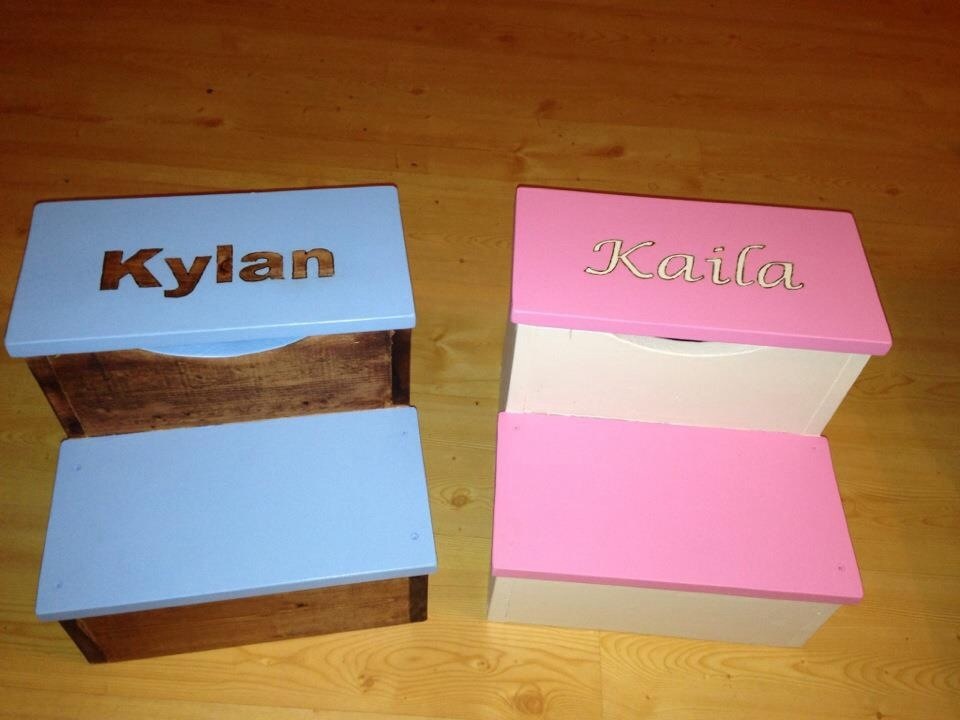
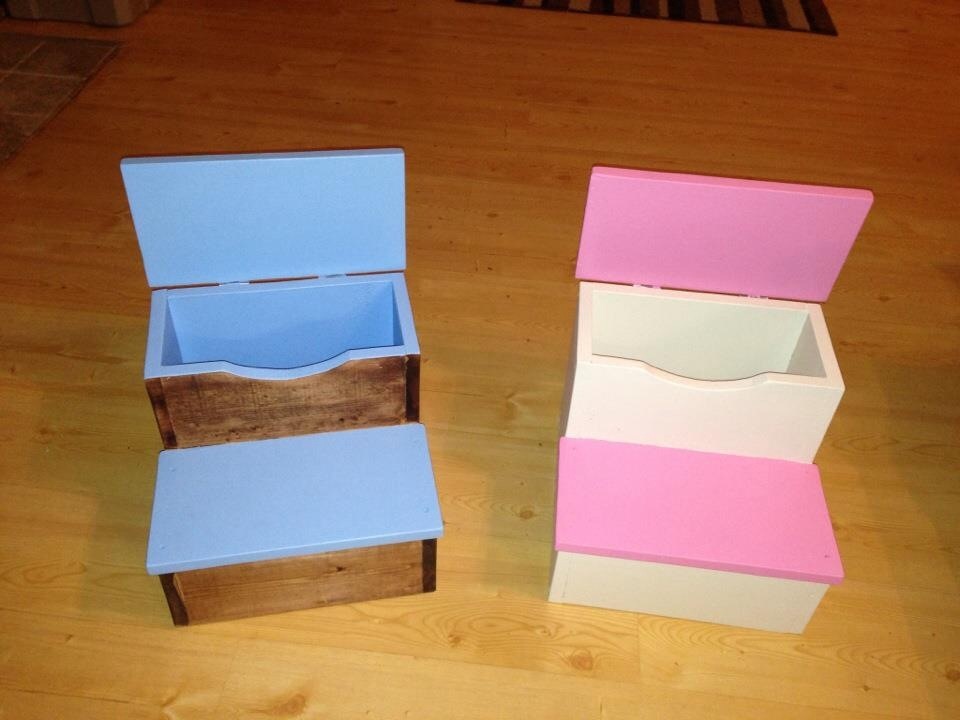
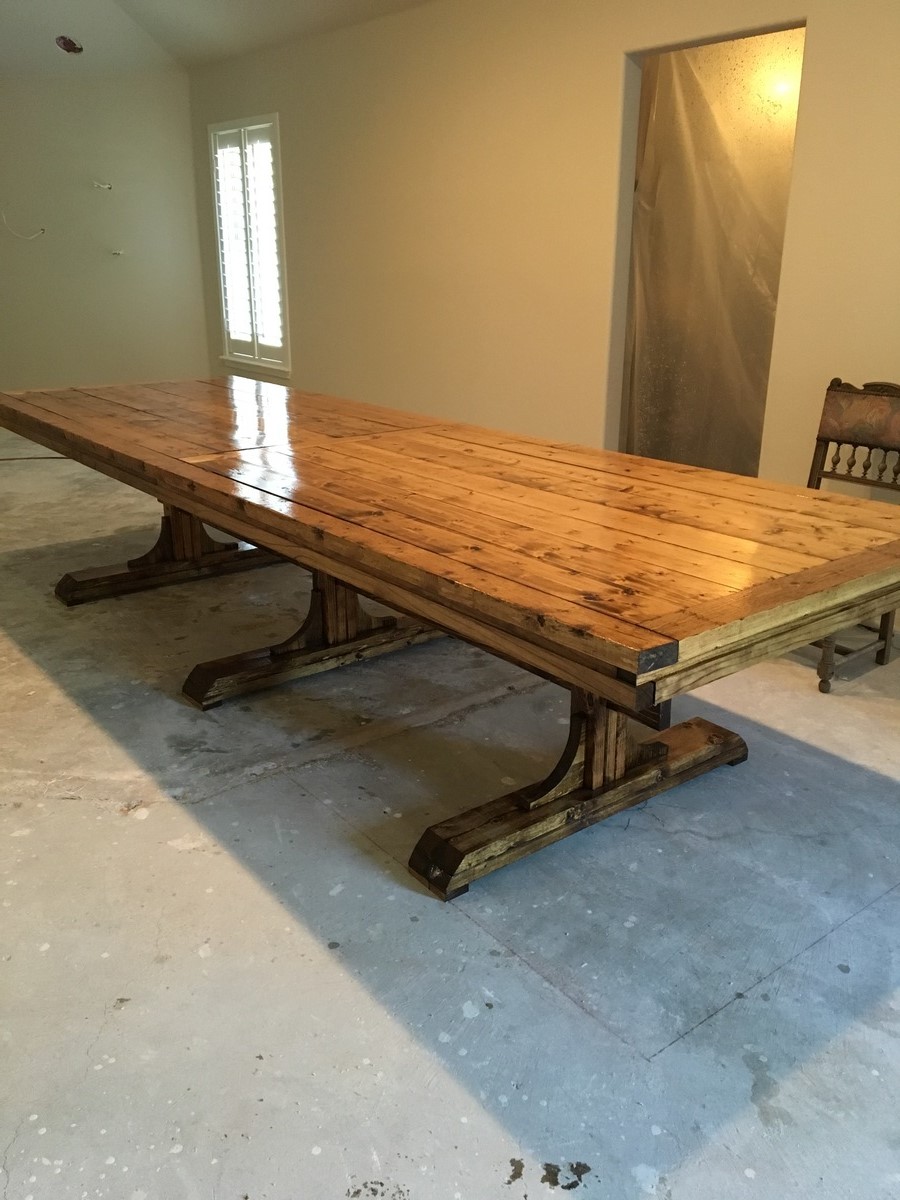
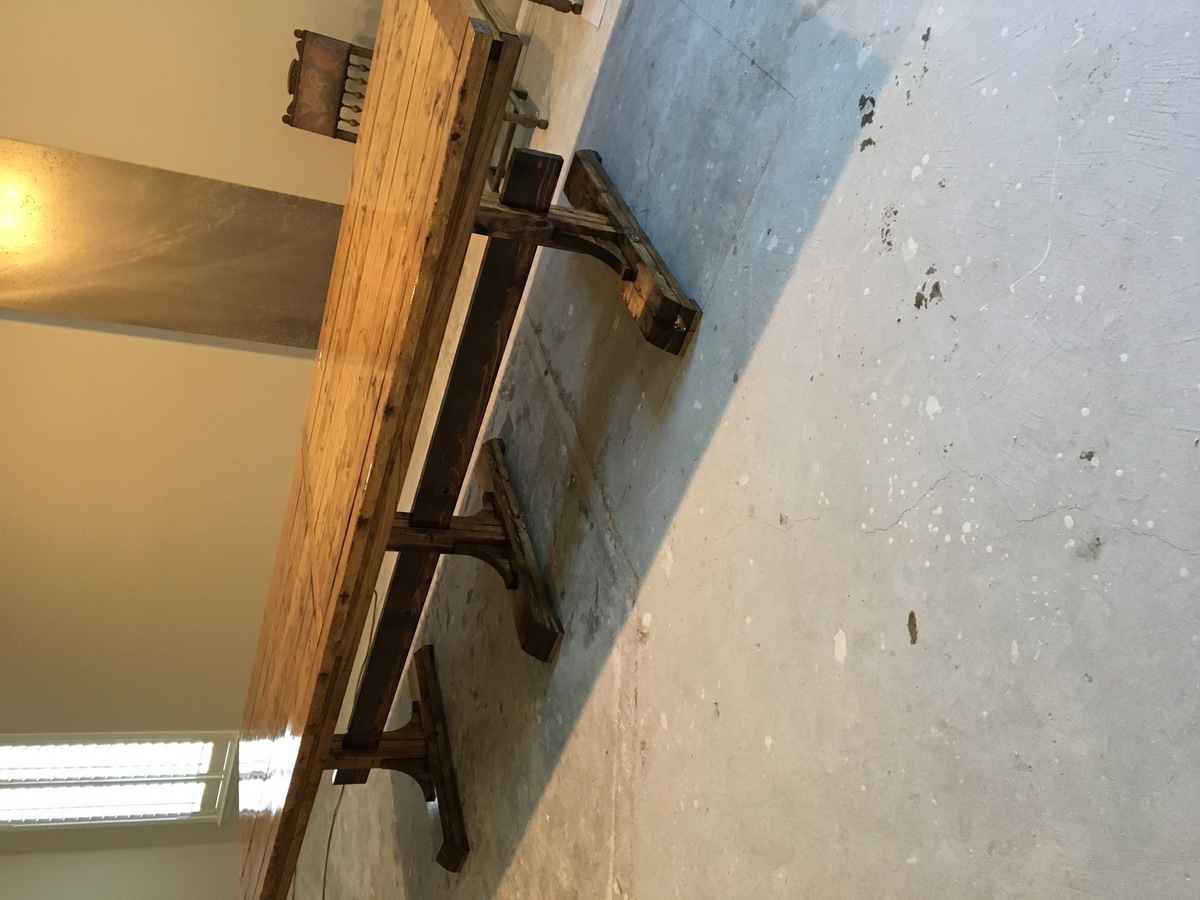
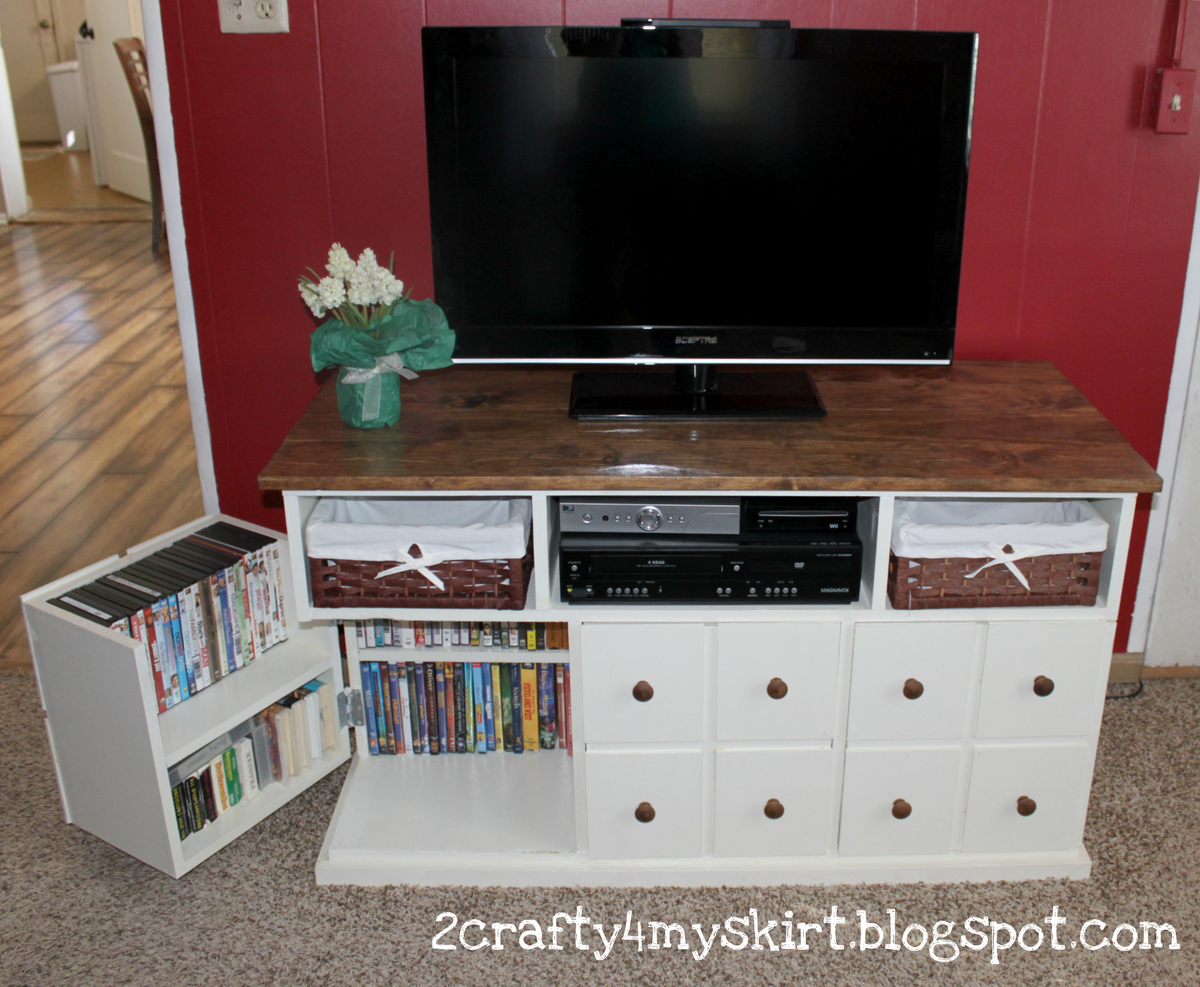
Flip-top bench

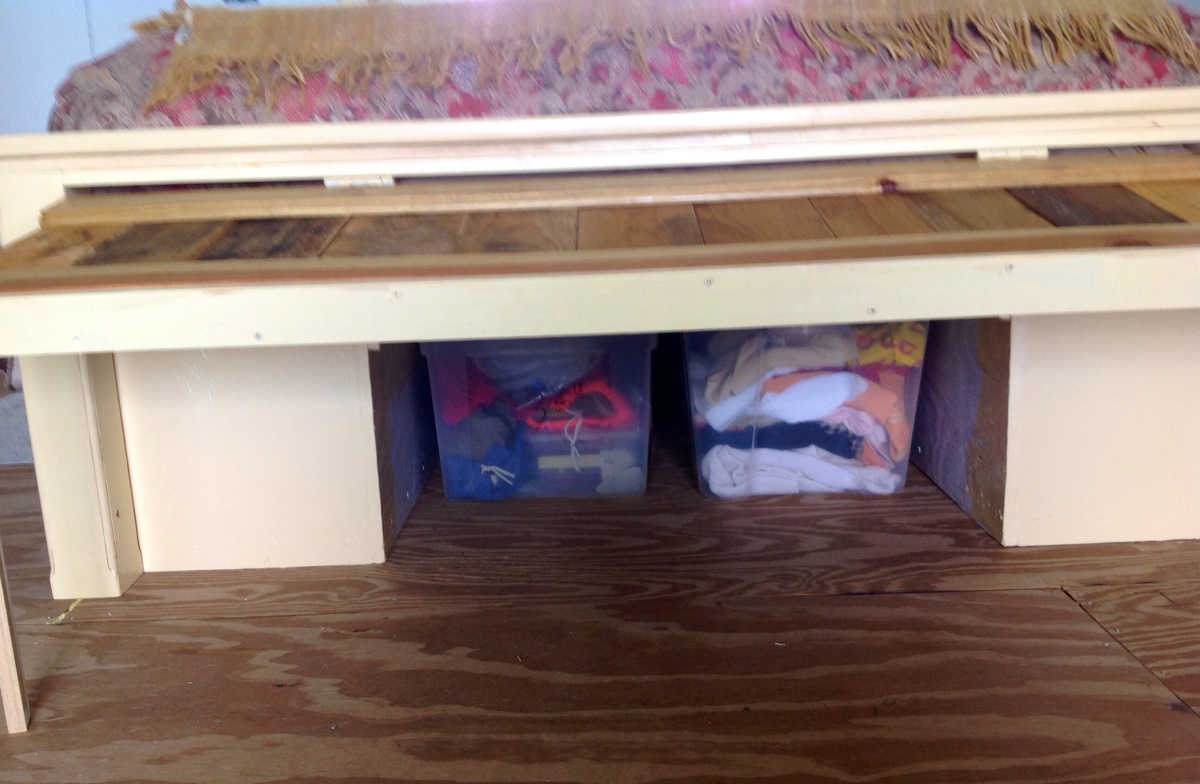
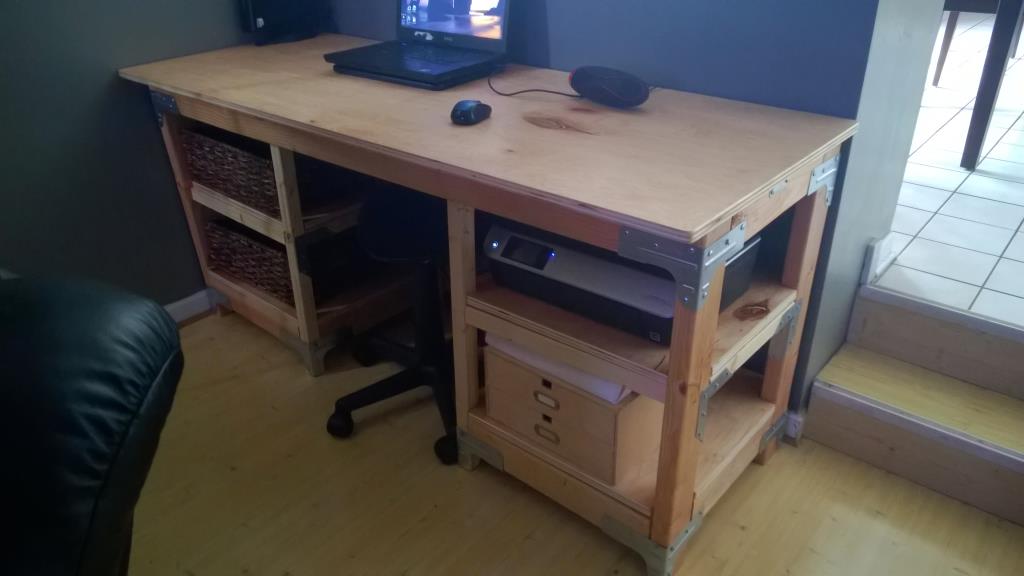
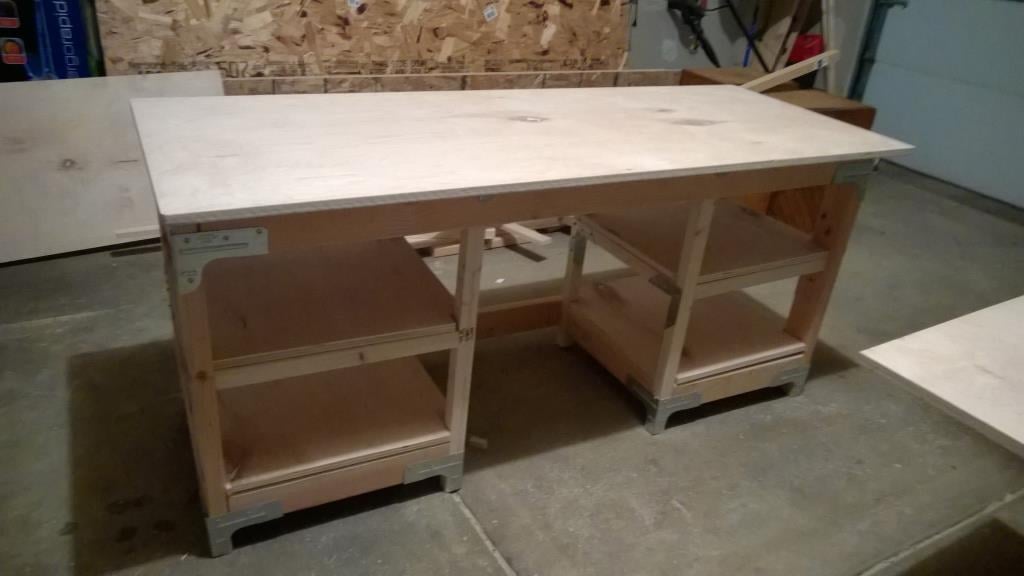
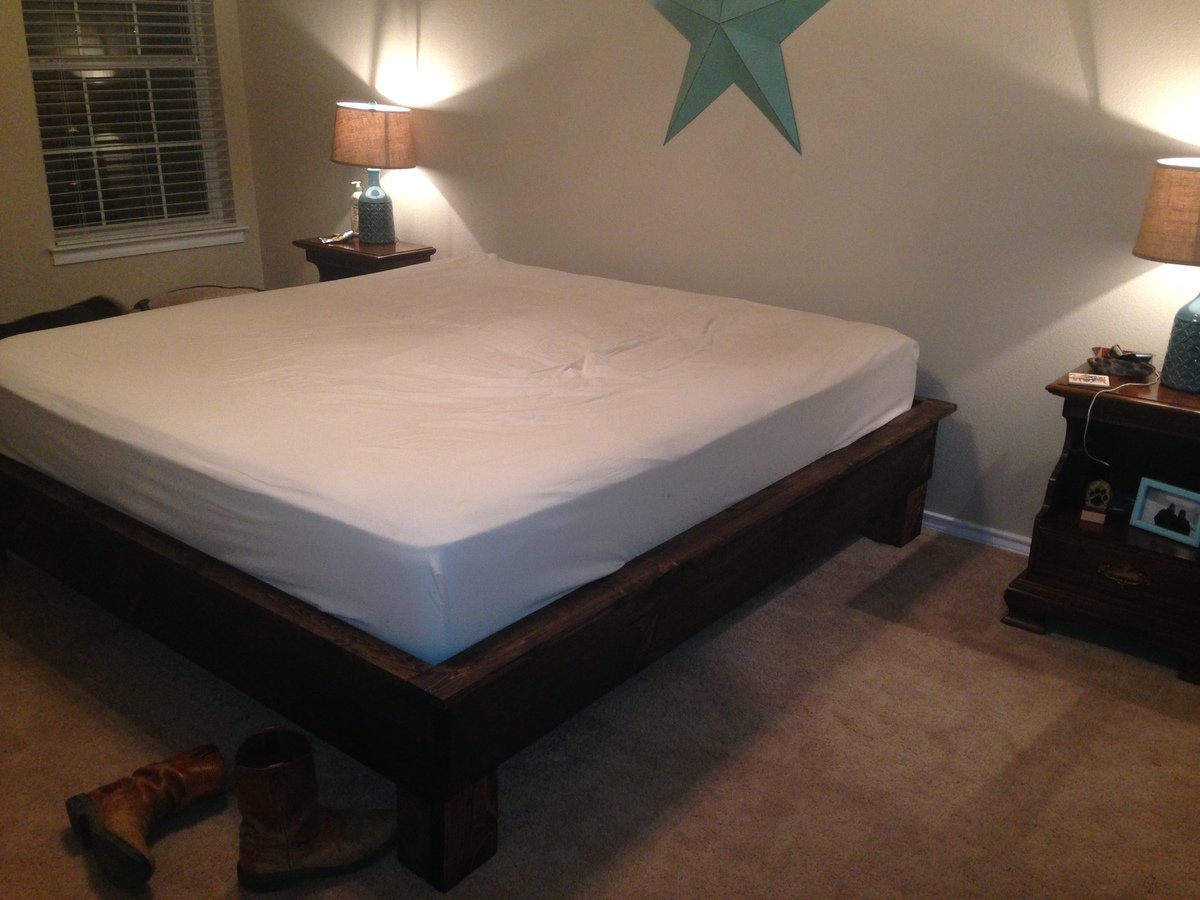
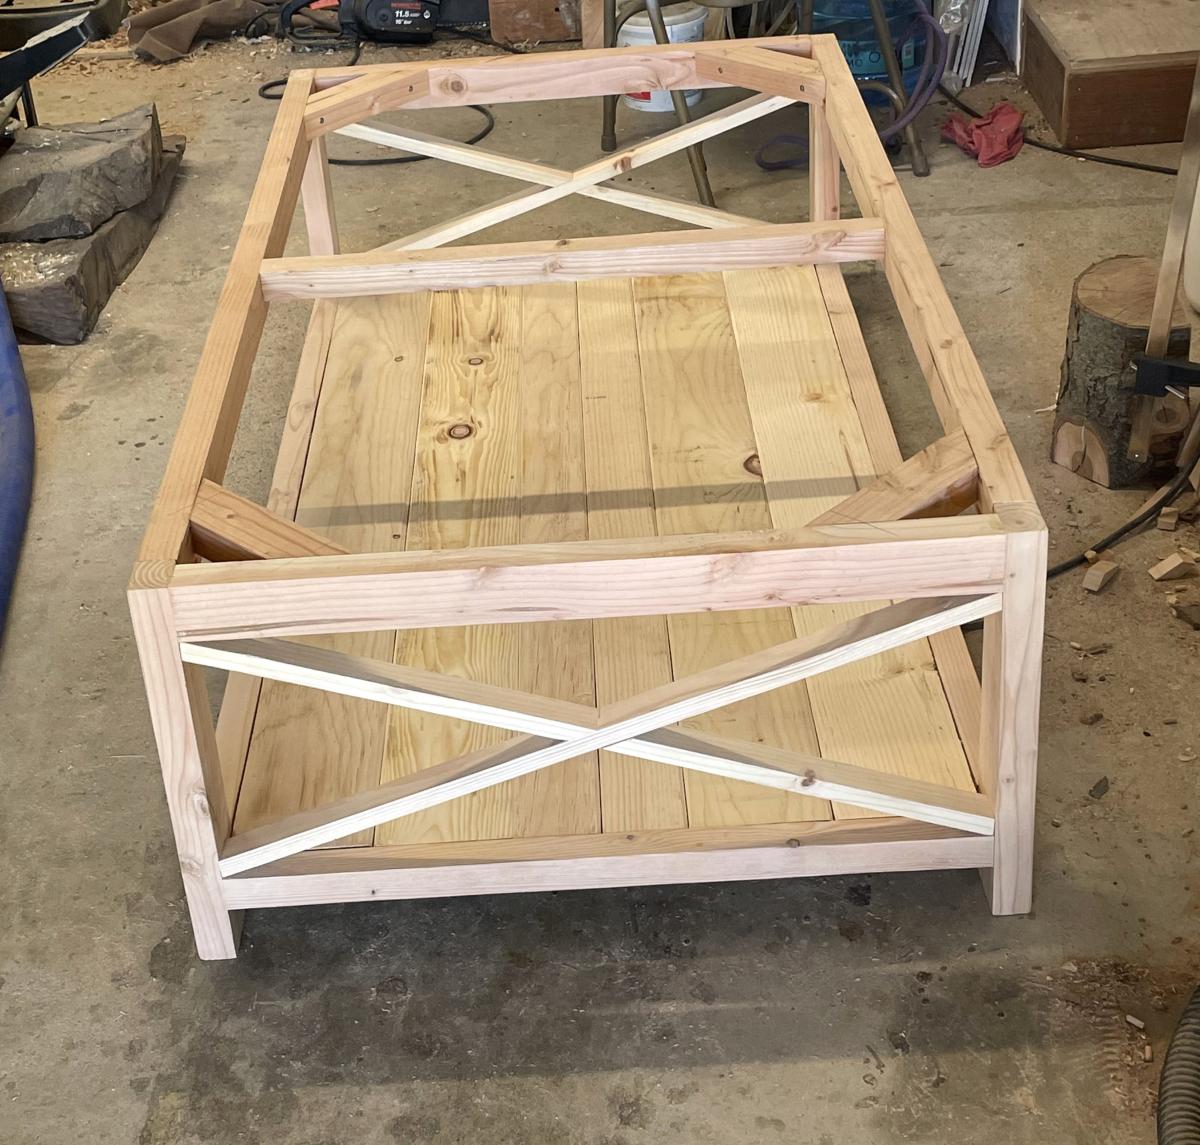
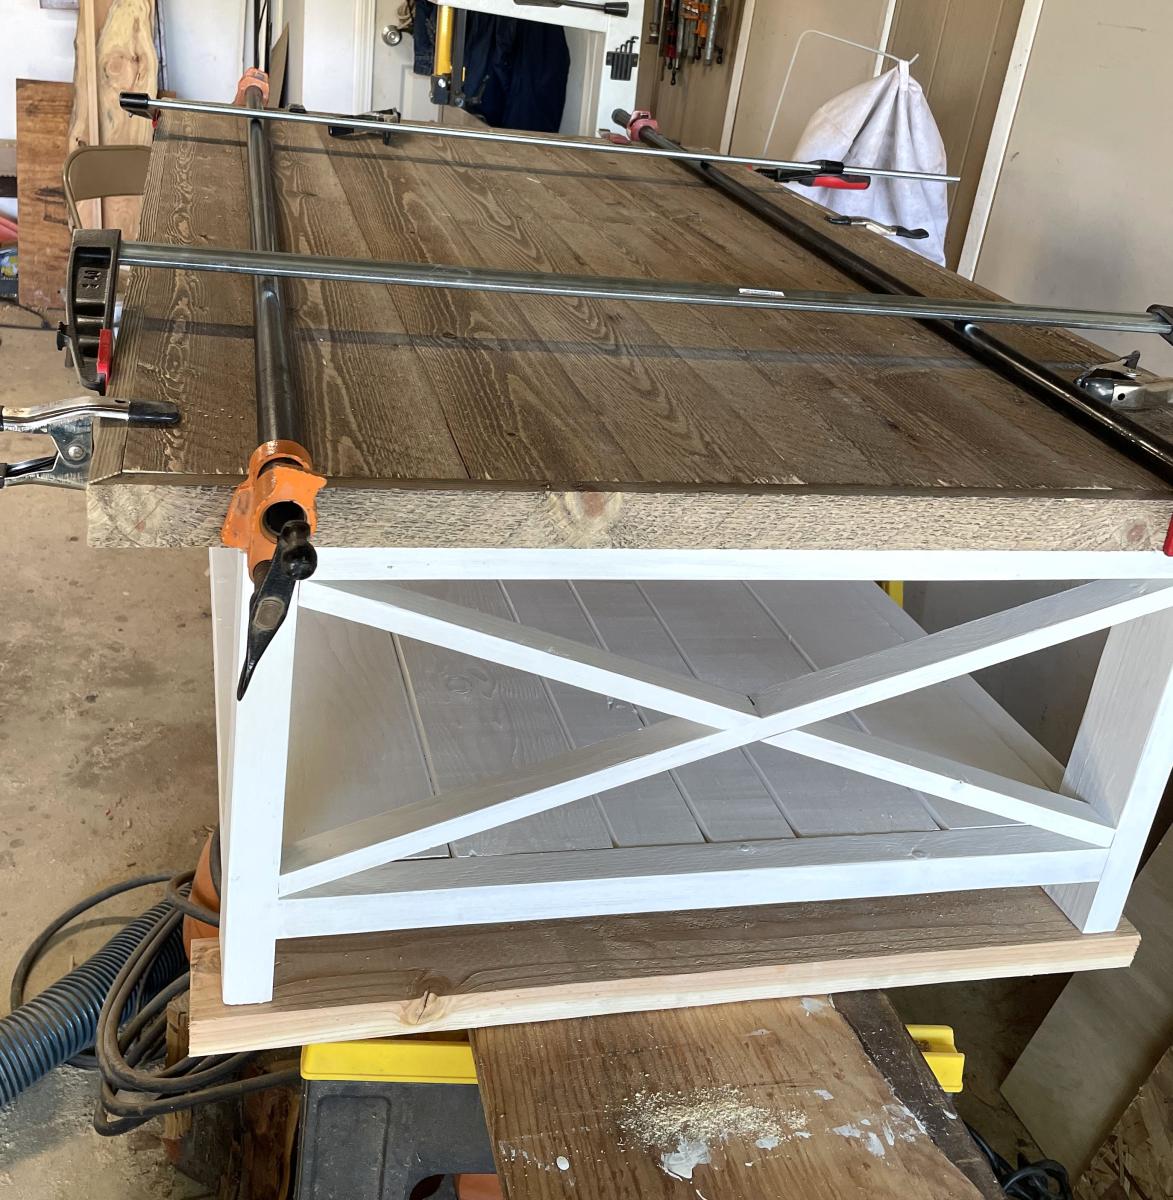
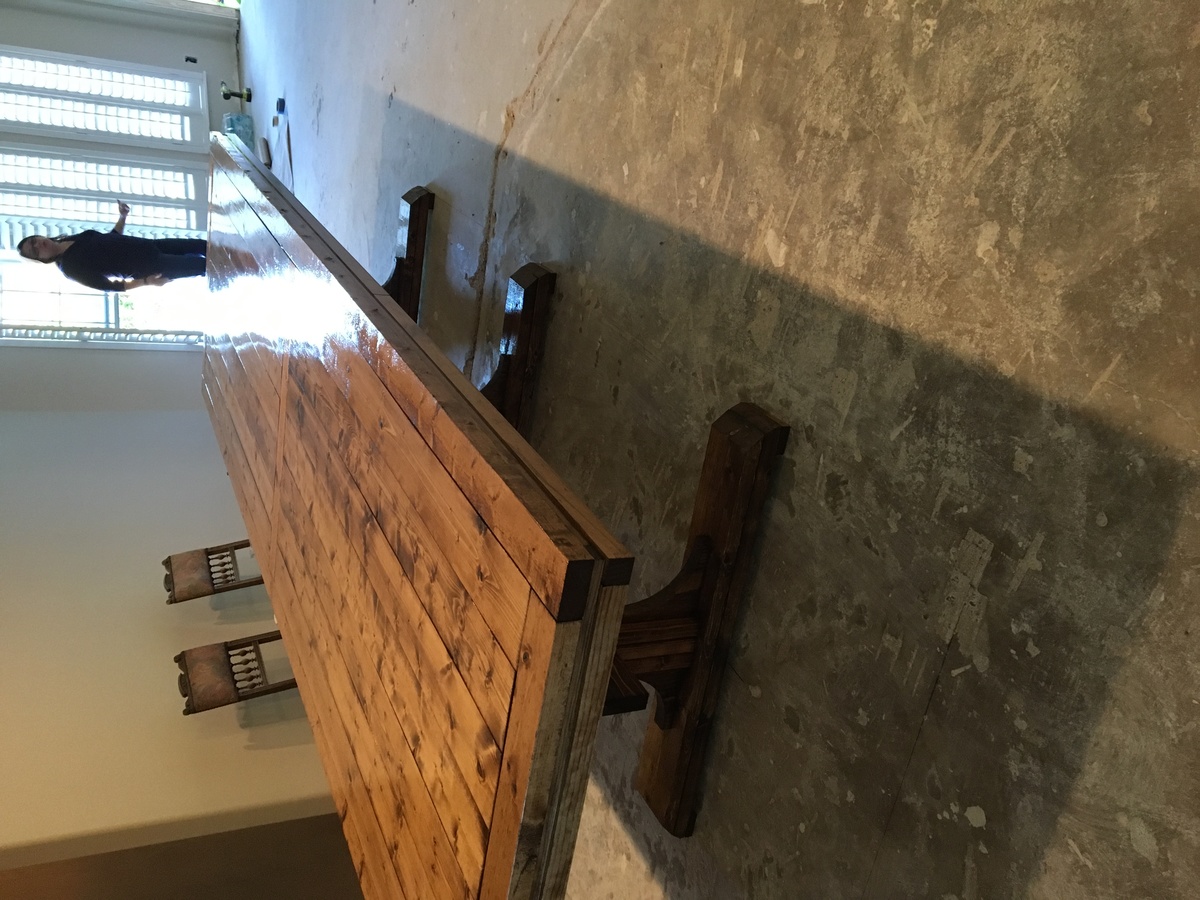
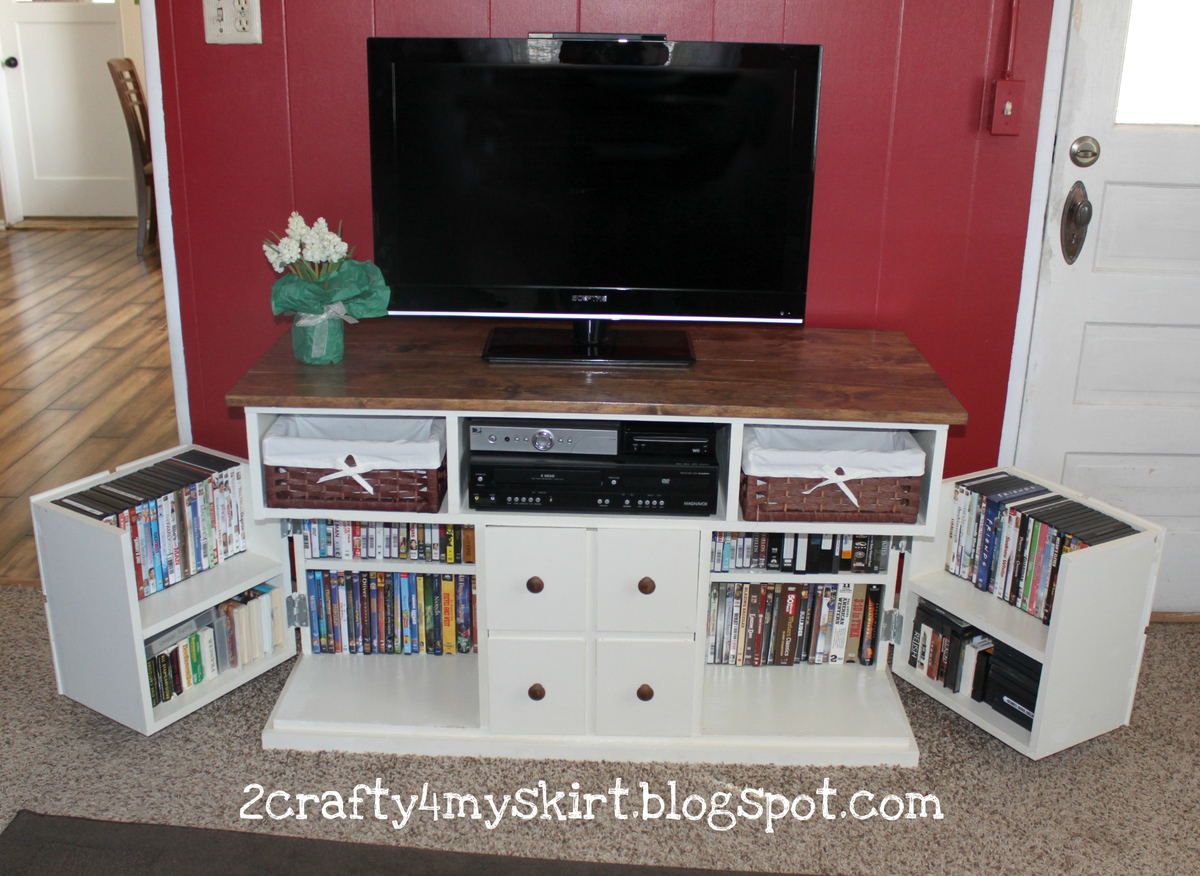
This was my first project and I followed the plan closely, with the exception of adding a center brace under the top. I used a pocket hole jig to attach some of the of the boards, and finishing nails to secure other spots. I had to adjust the side trim pieces because my lumber was a different length than the stuff on the original plan.
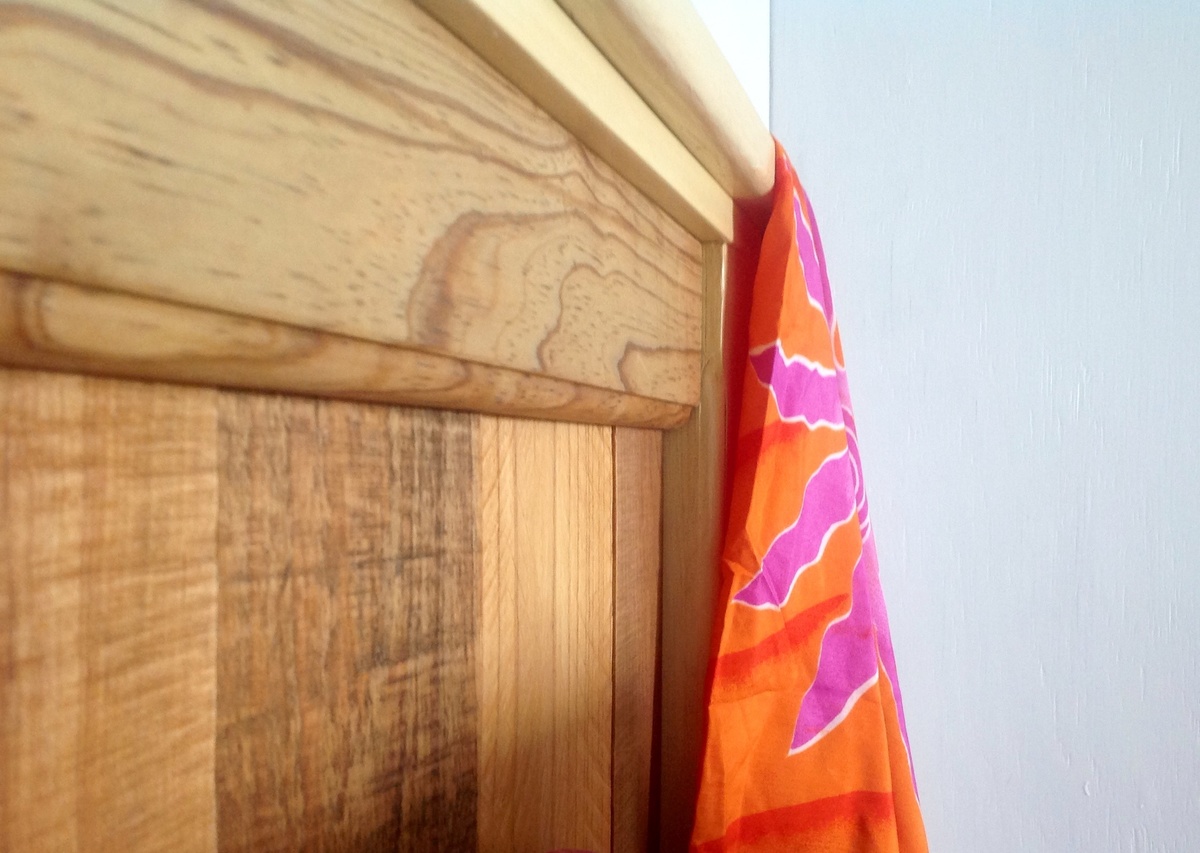
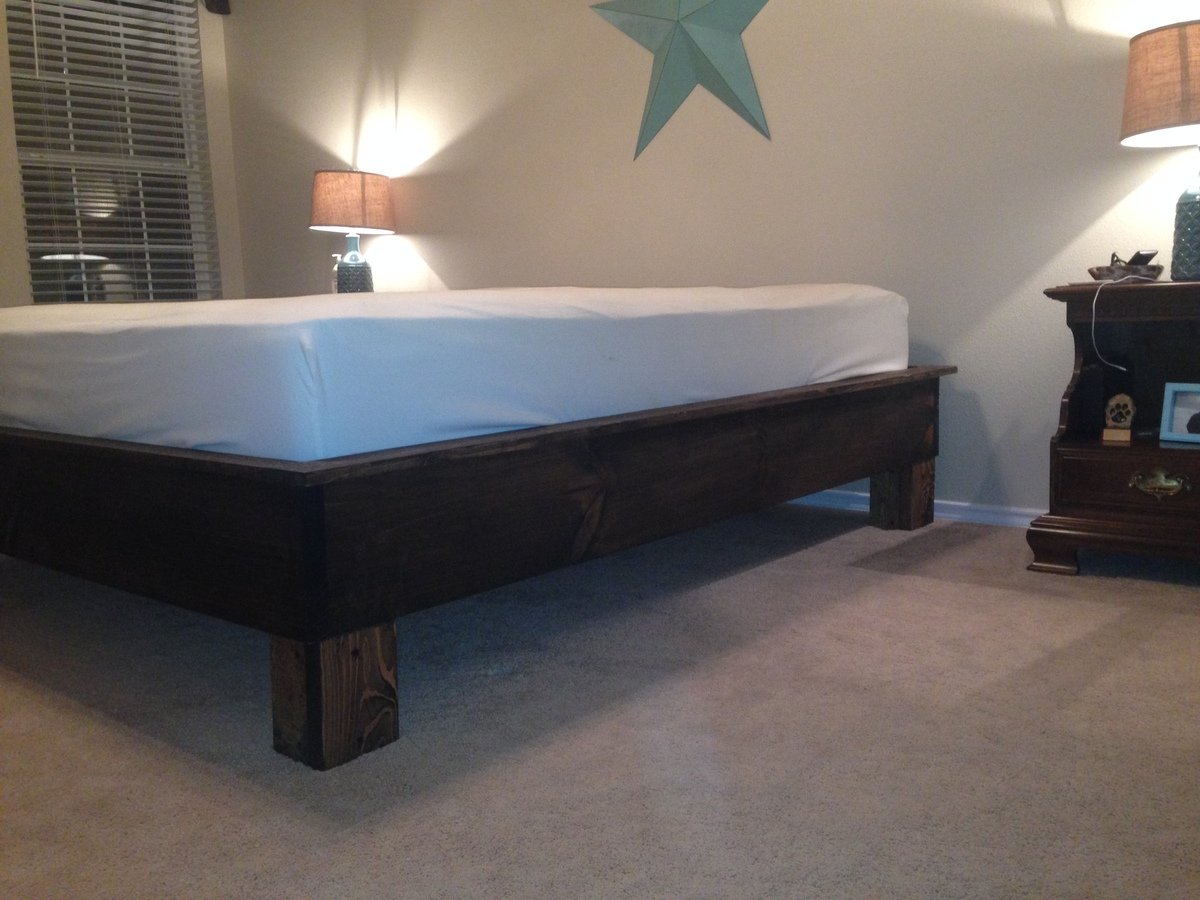
I learned a lot doing this. It was wobbly when I first started but got better the more I added to it. The most important thing I learned is to be choosy when selecting boards. My top board is warped a bit so that it doesn't quite rest on the ledge on one side -- I will know what to look for next time I select boards.


Estimated Cost
$70
Estimated Time Investment
Weekend Project (10-20 Hours)
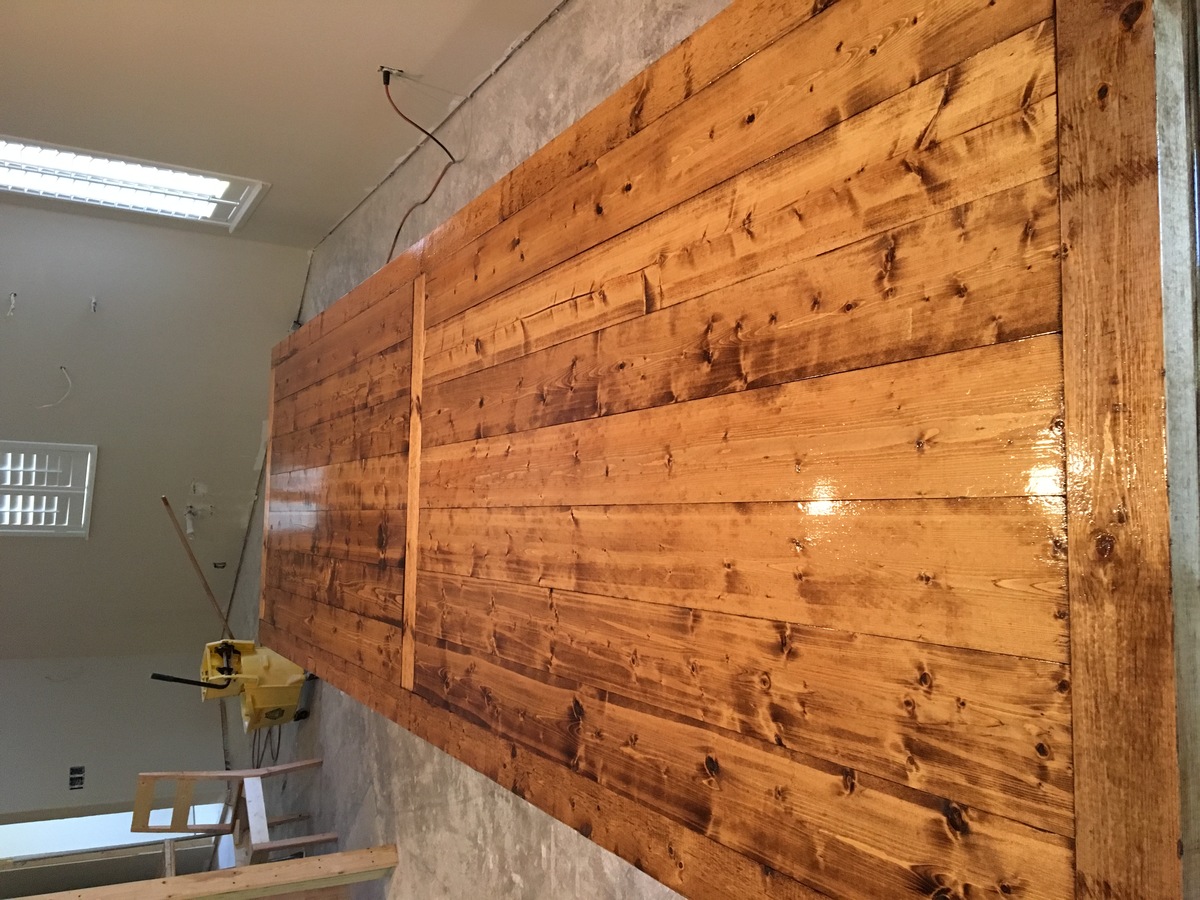
Finish Used
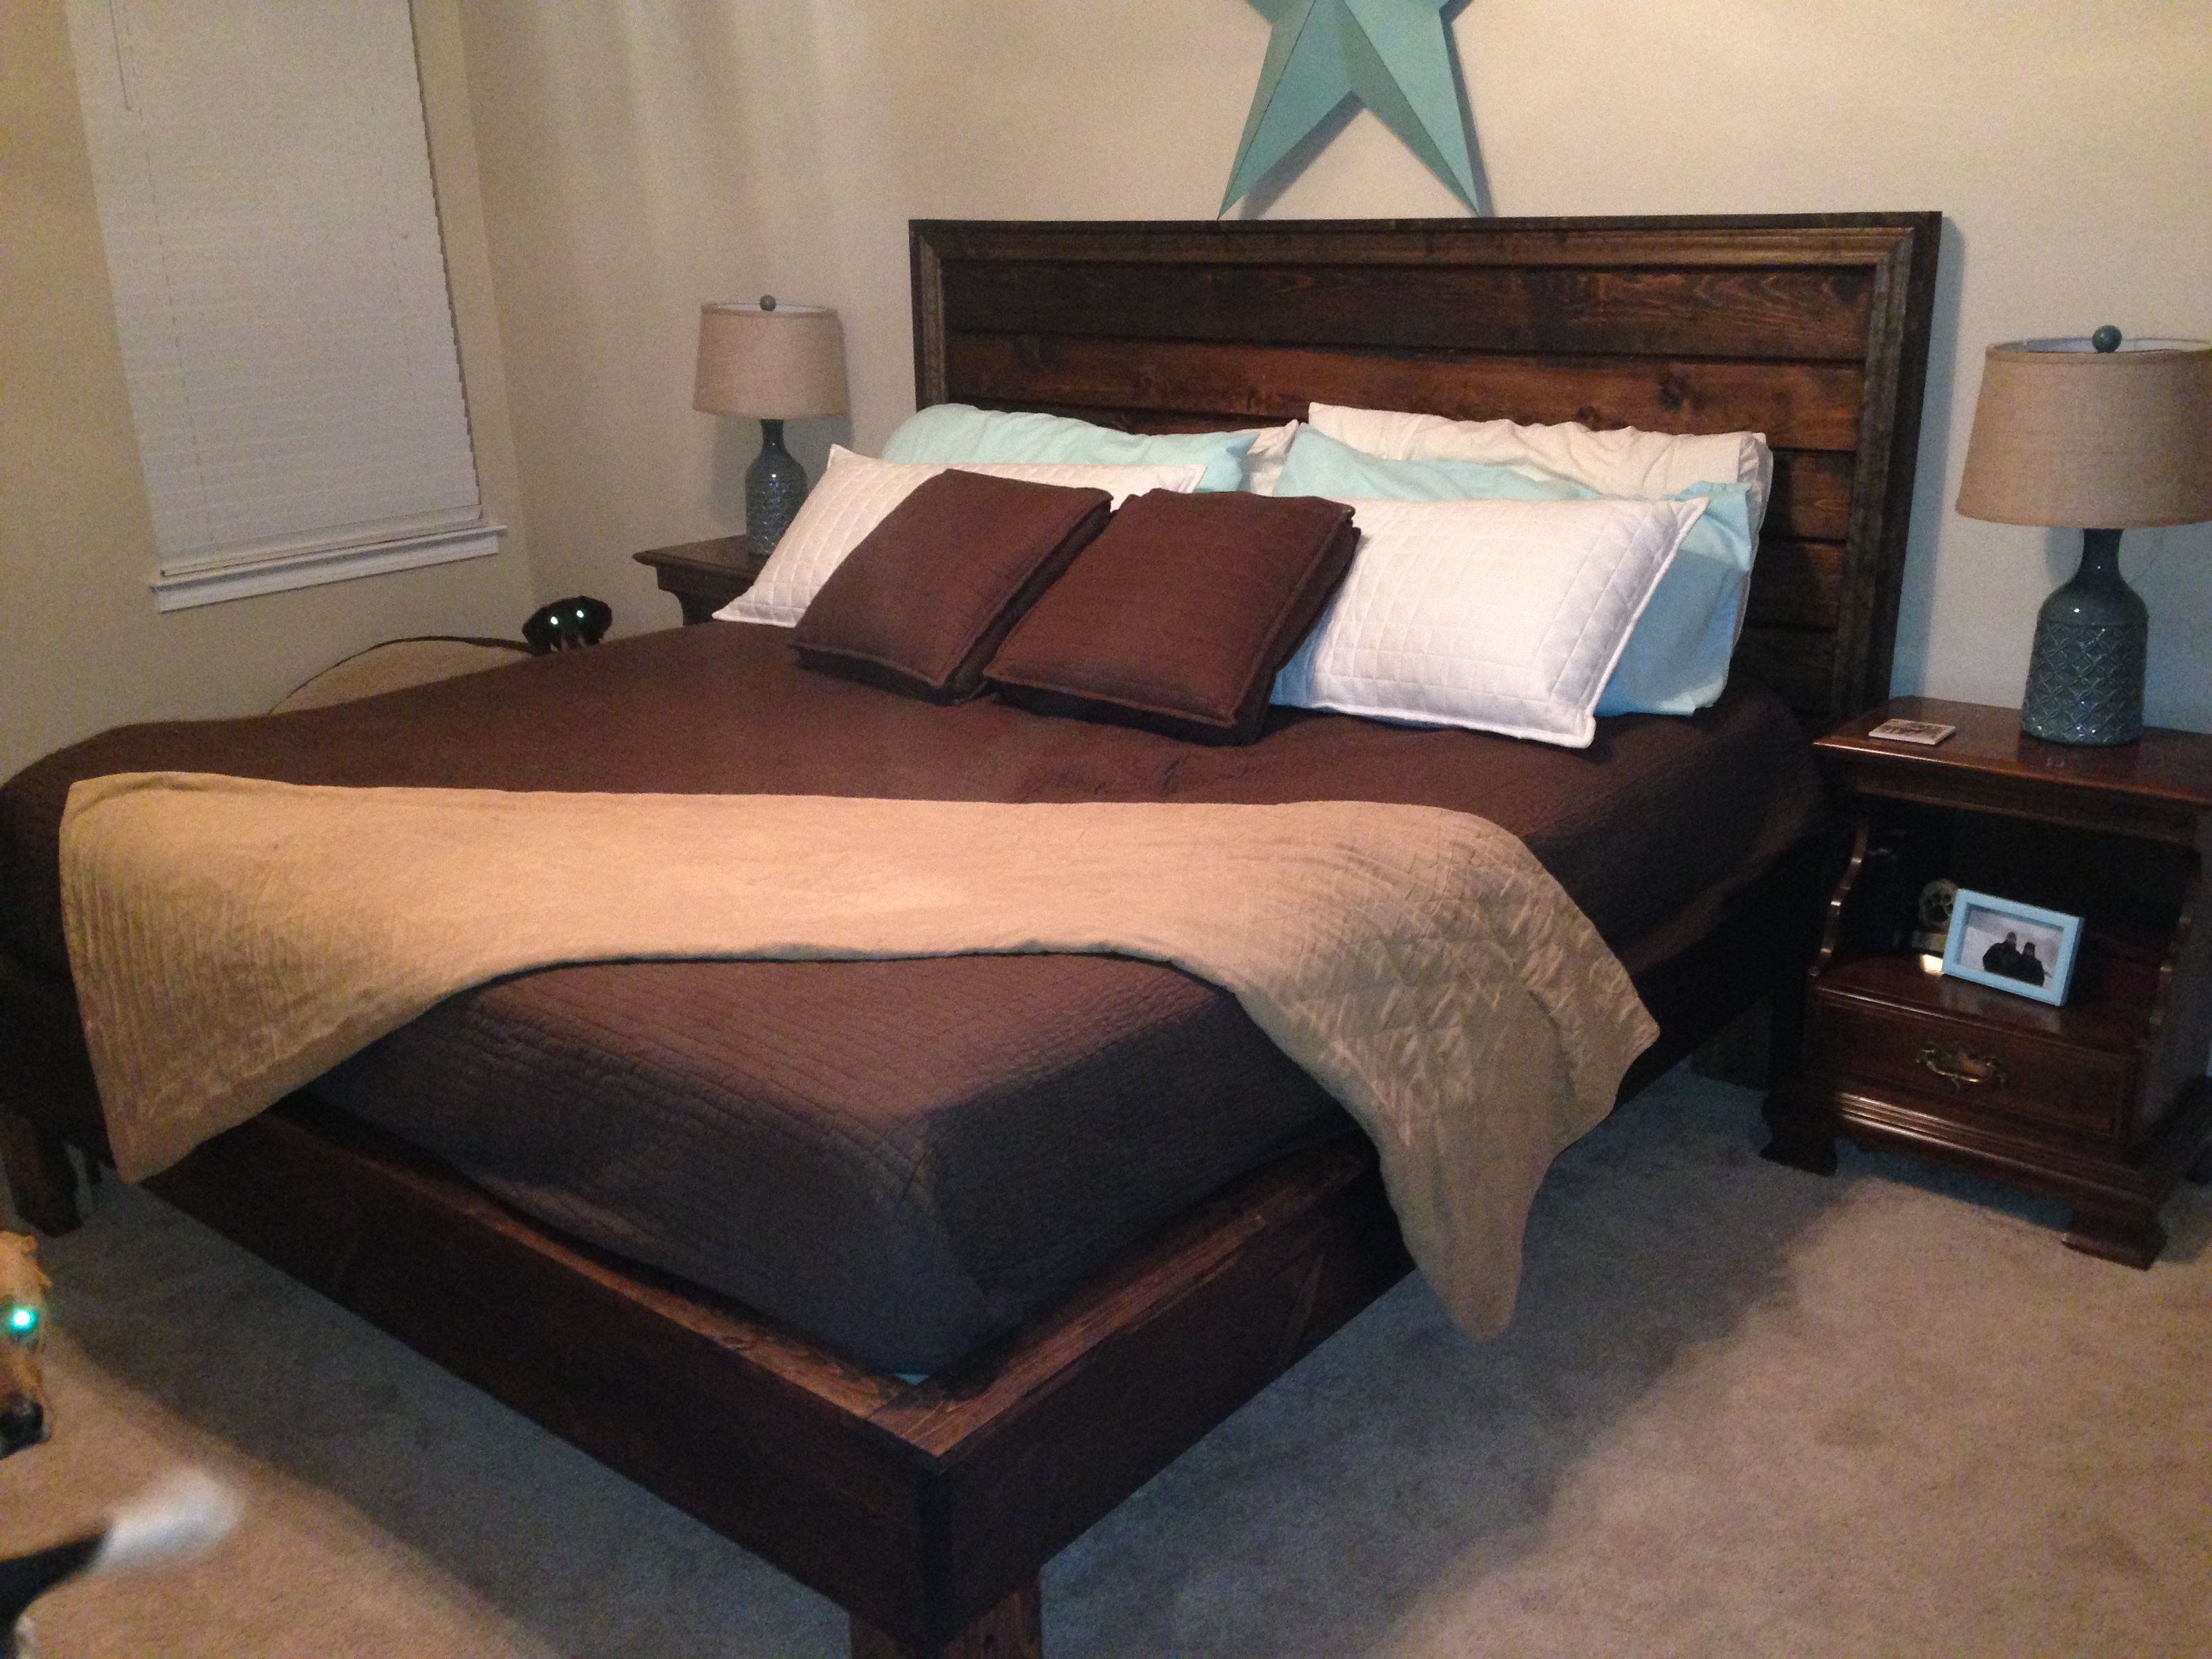
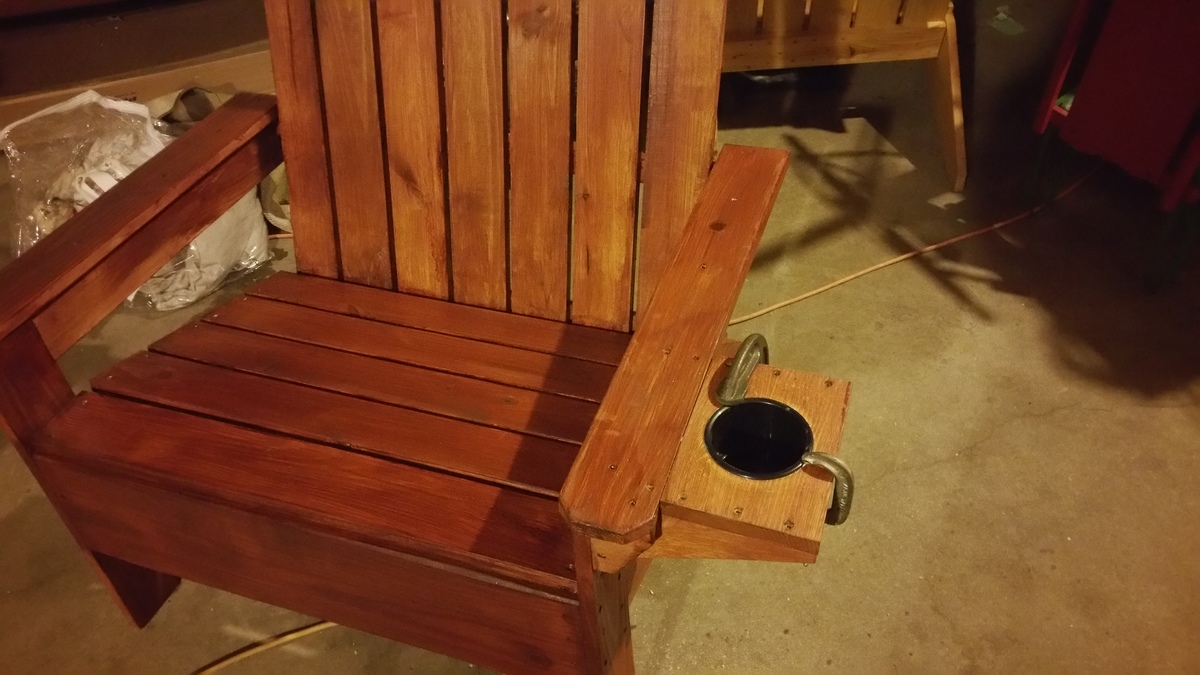
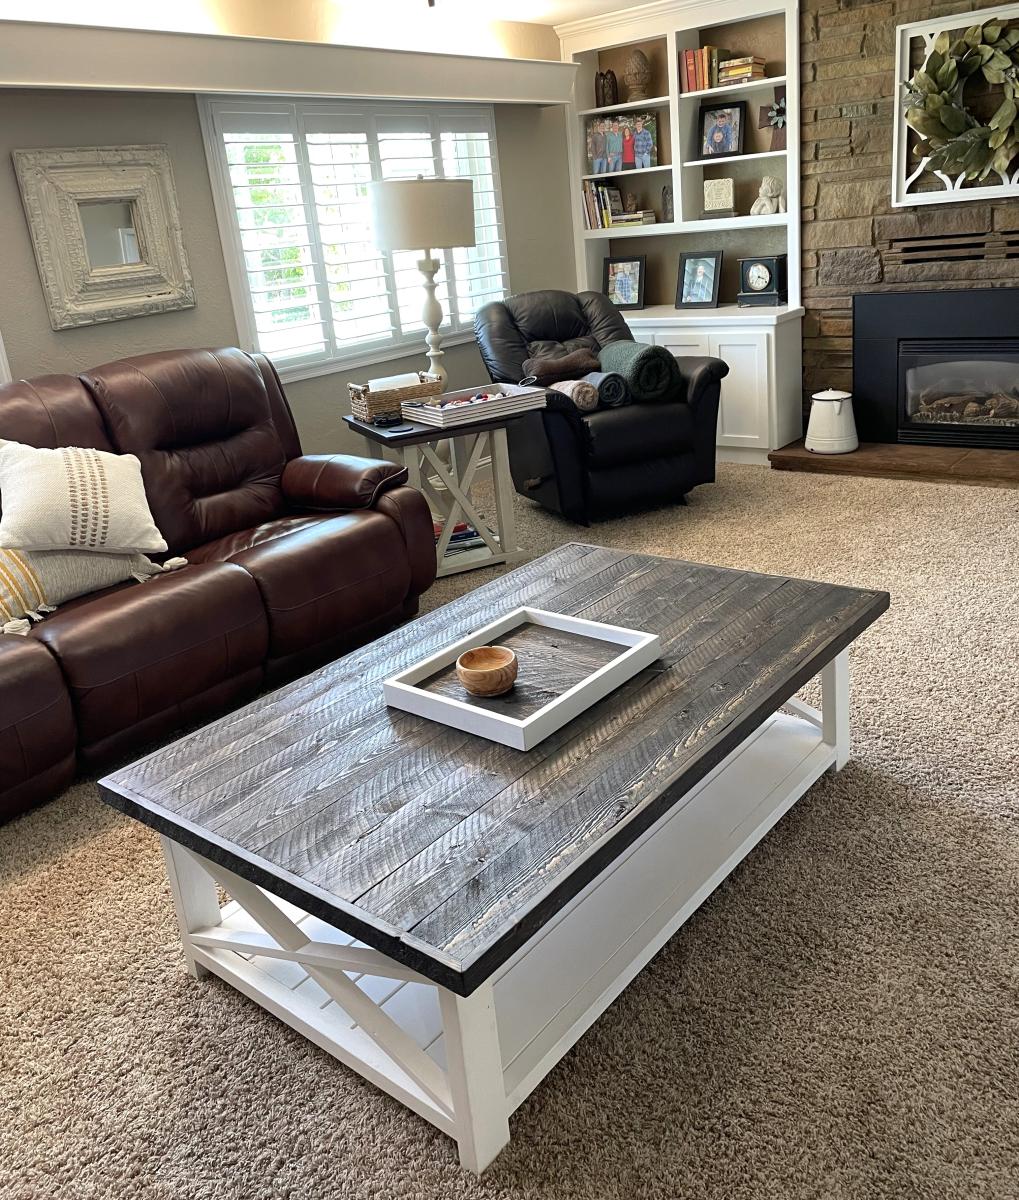
The stain is mini wax walnut, applied with a dry rag with a light hand, then wiped off.
Recommended Skill Level
Beginner