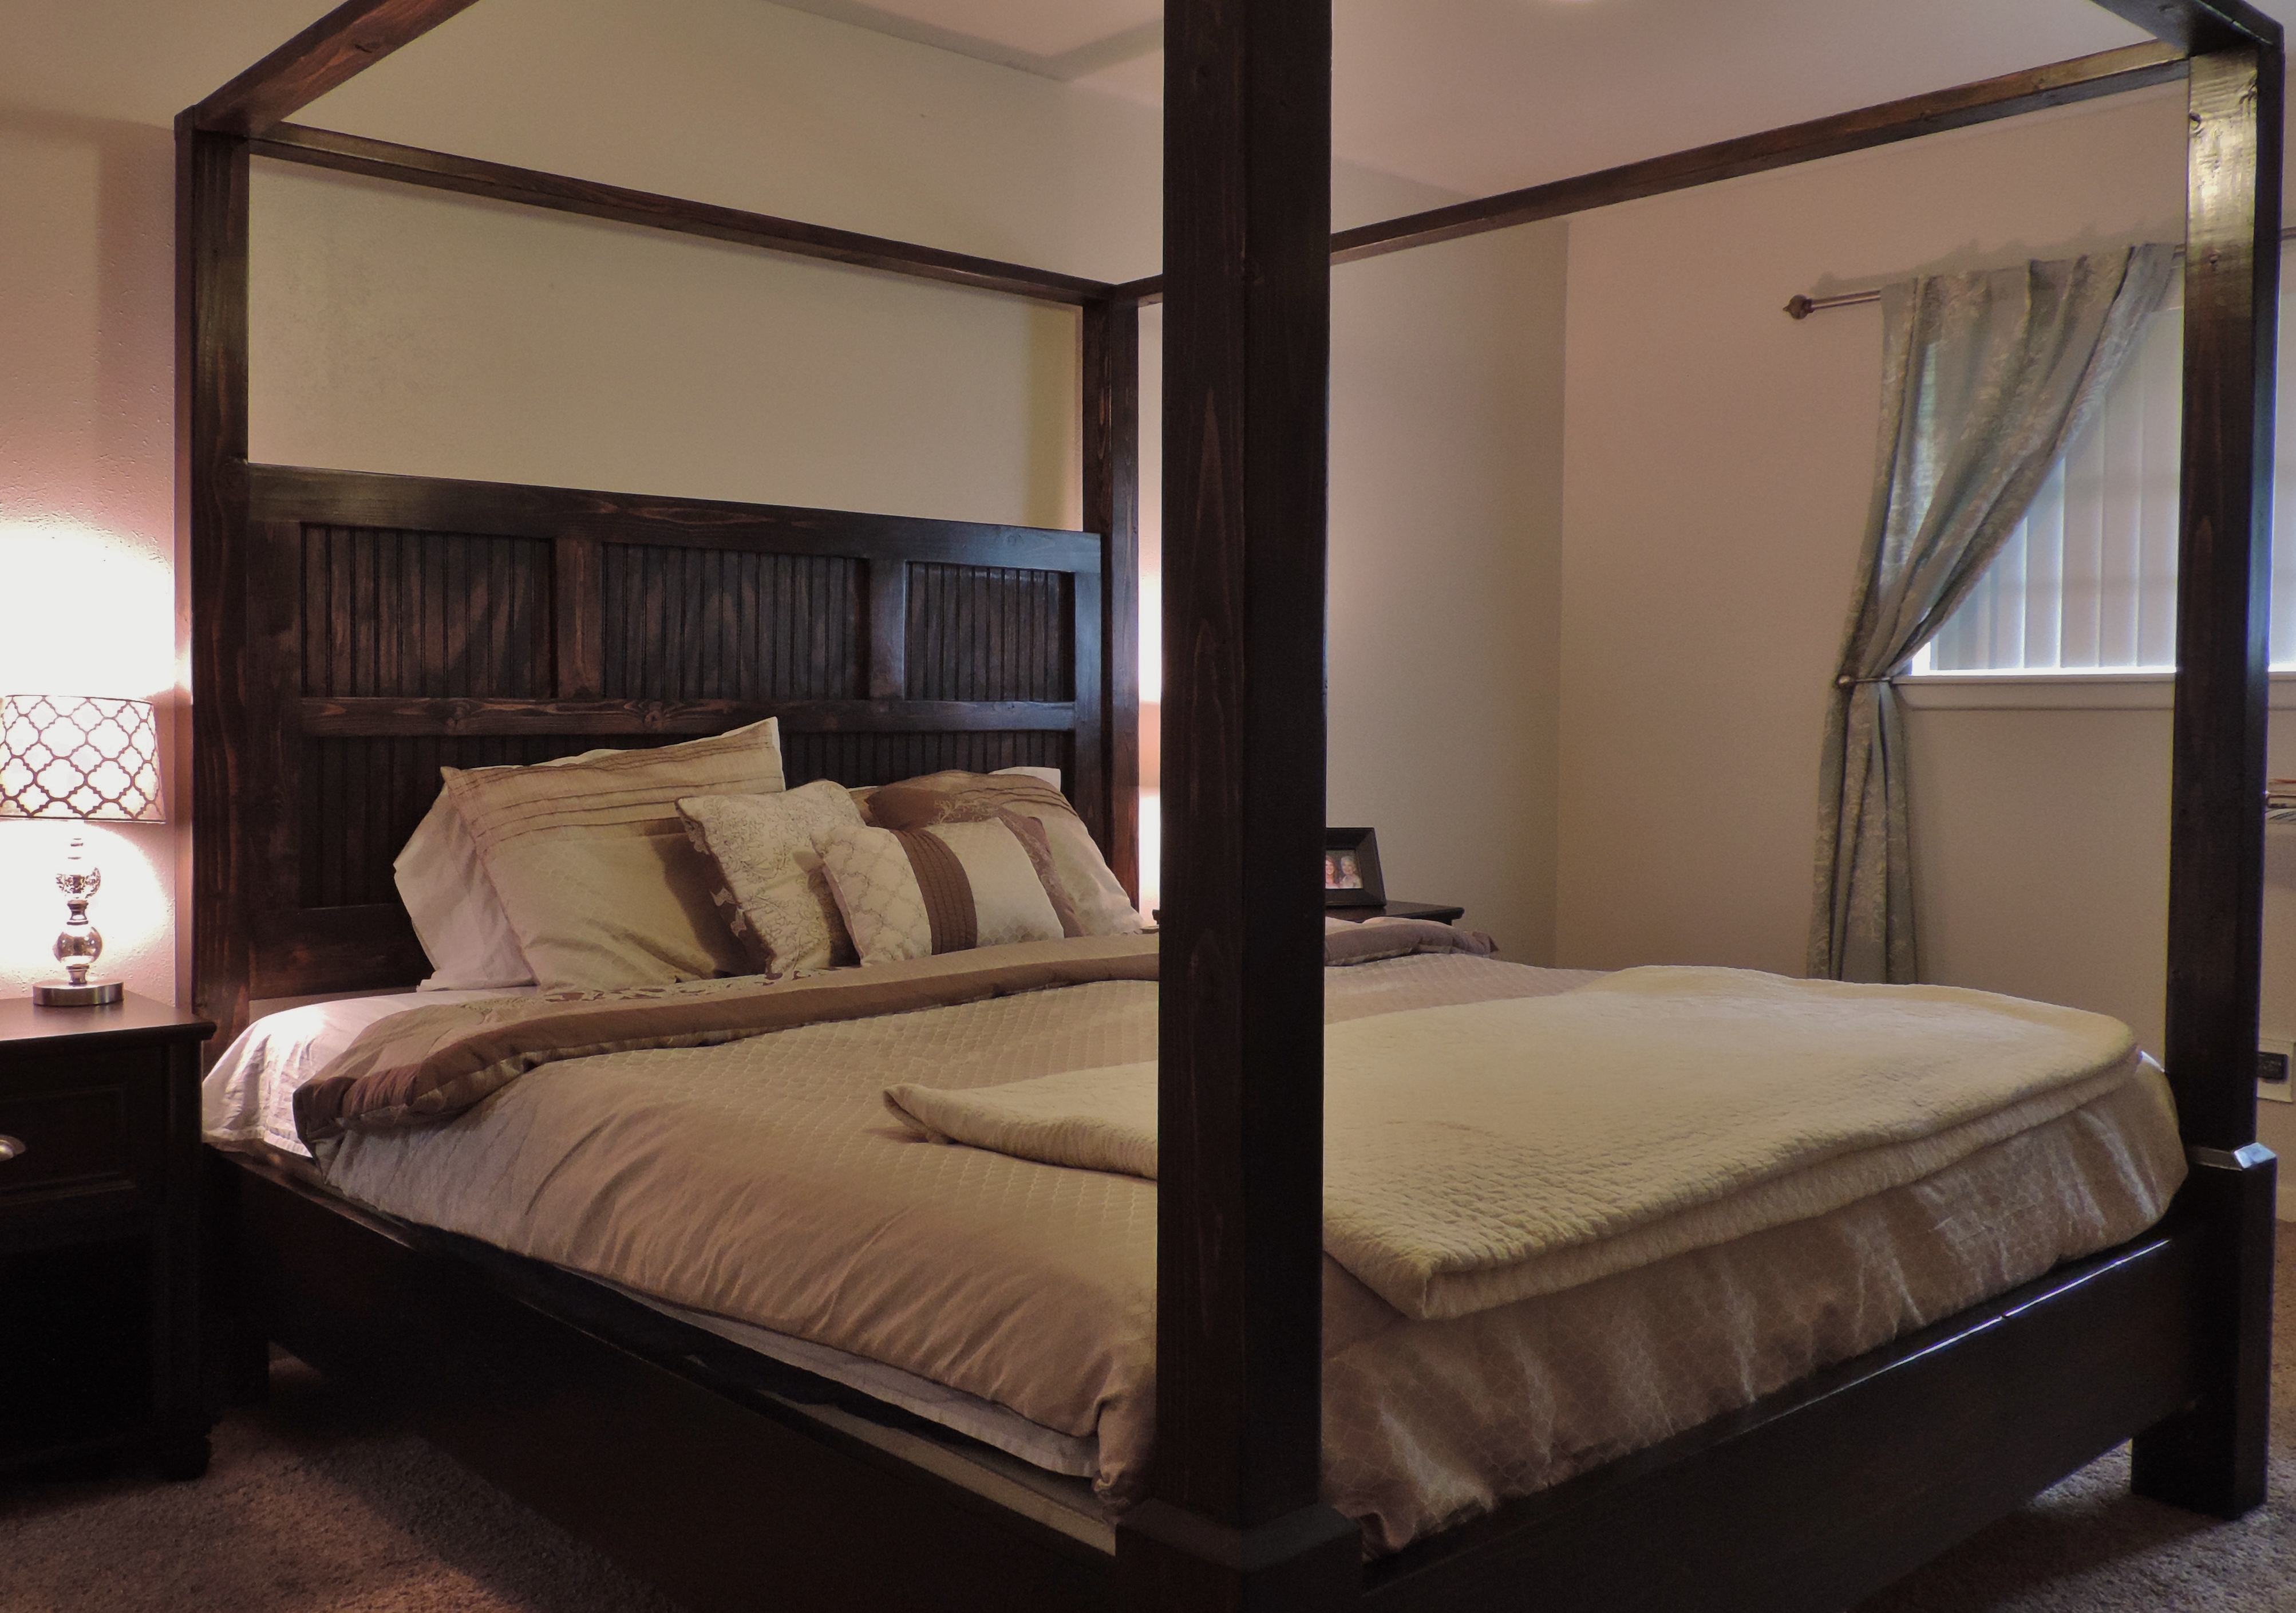
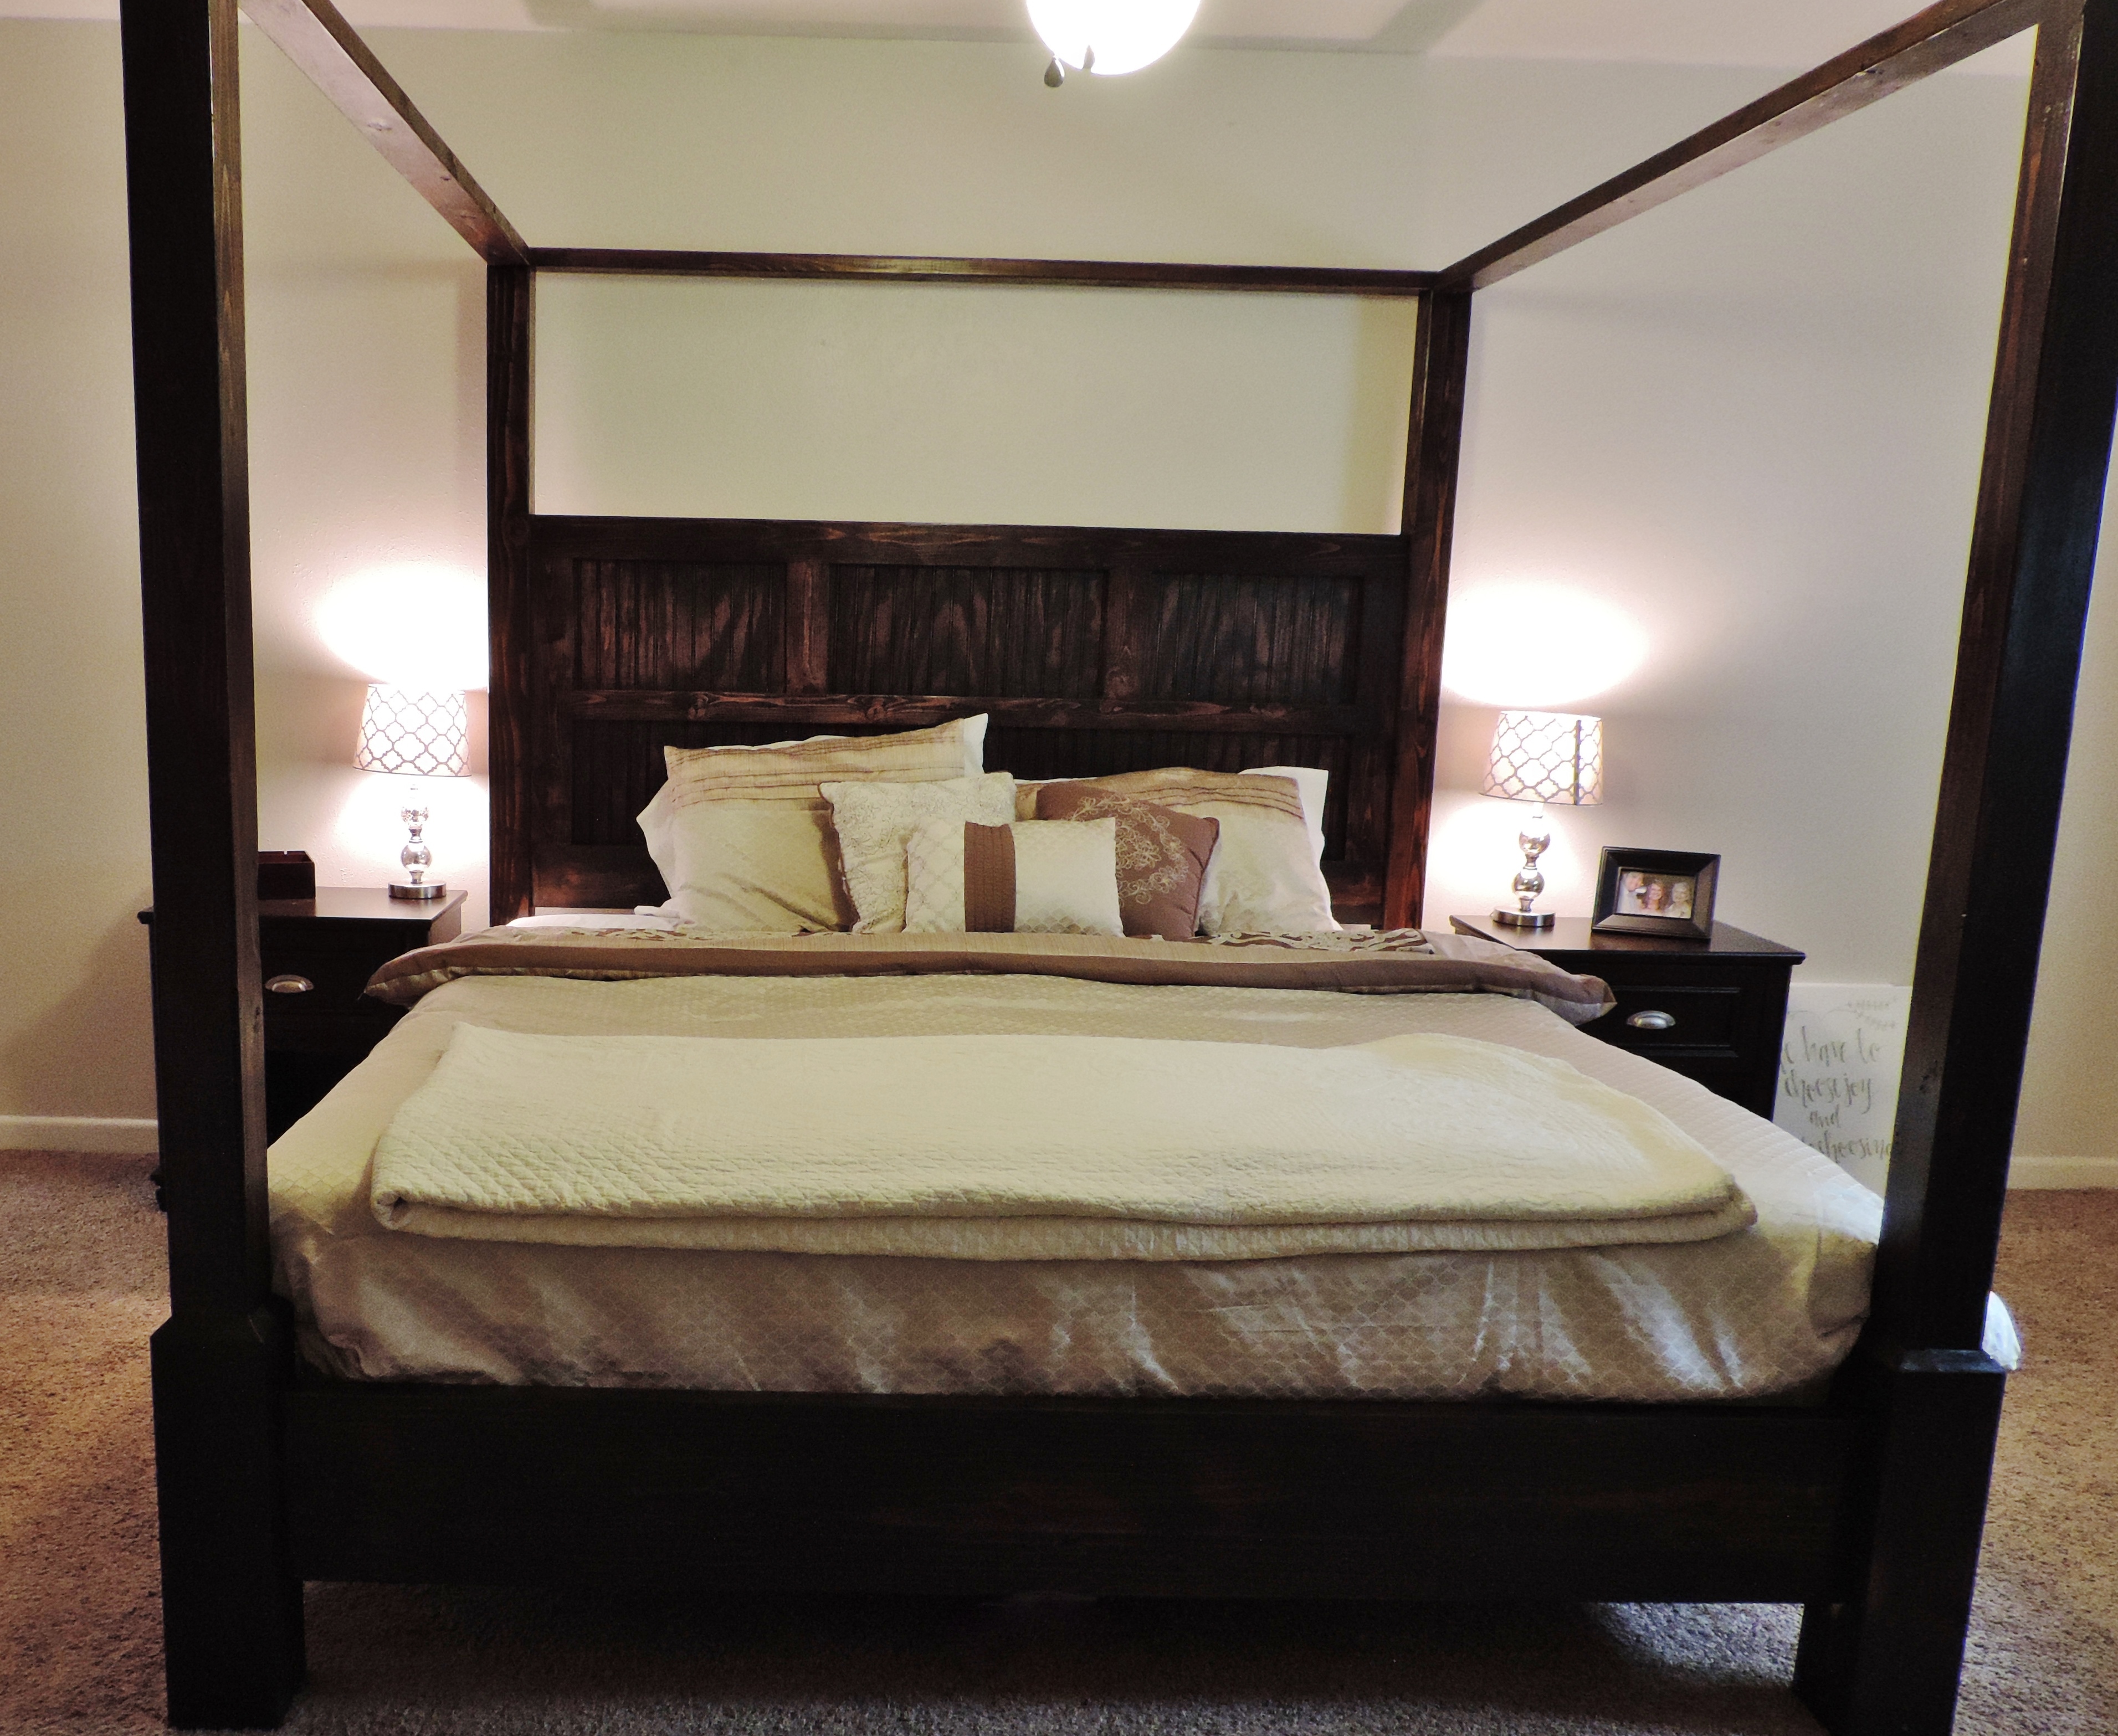
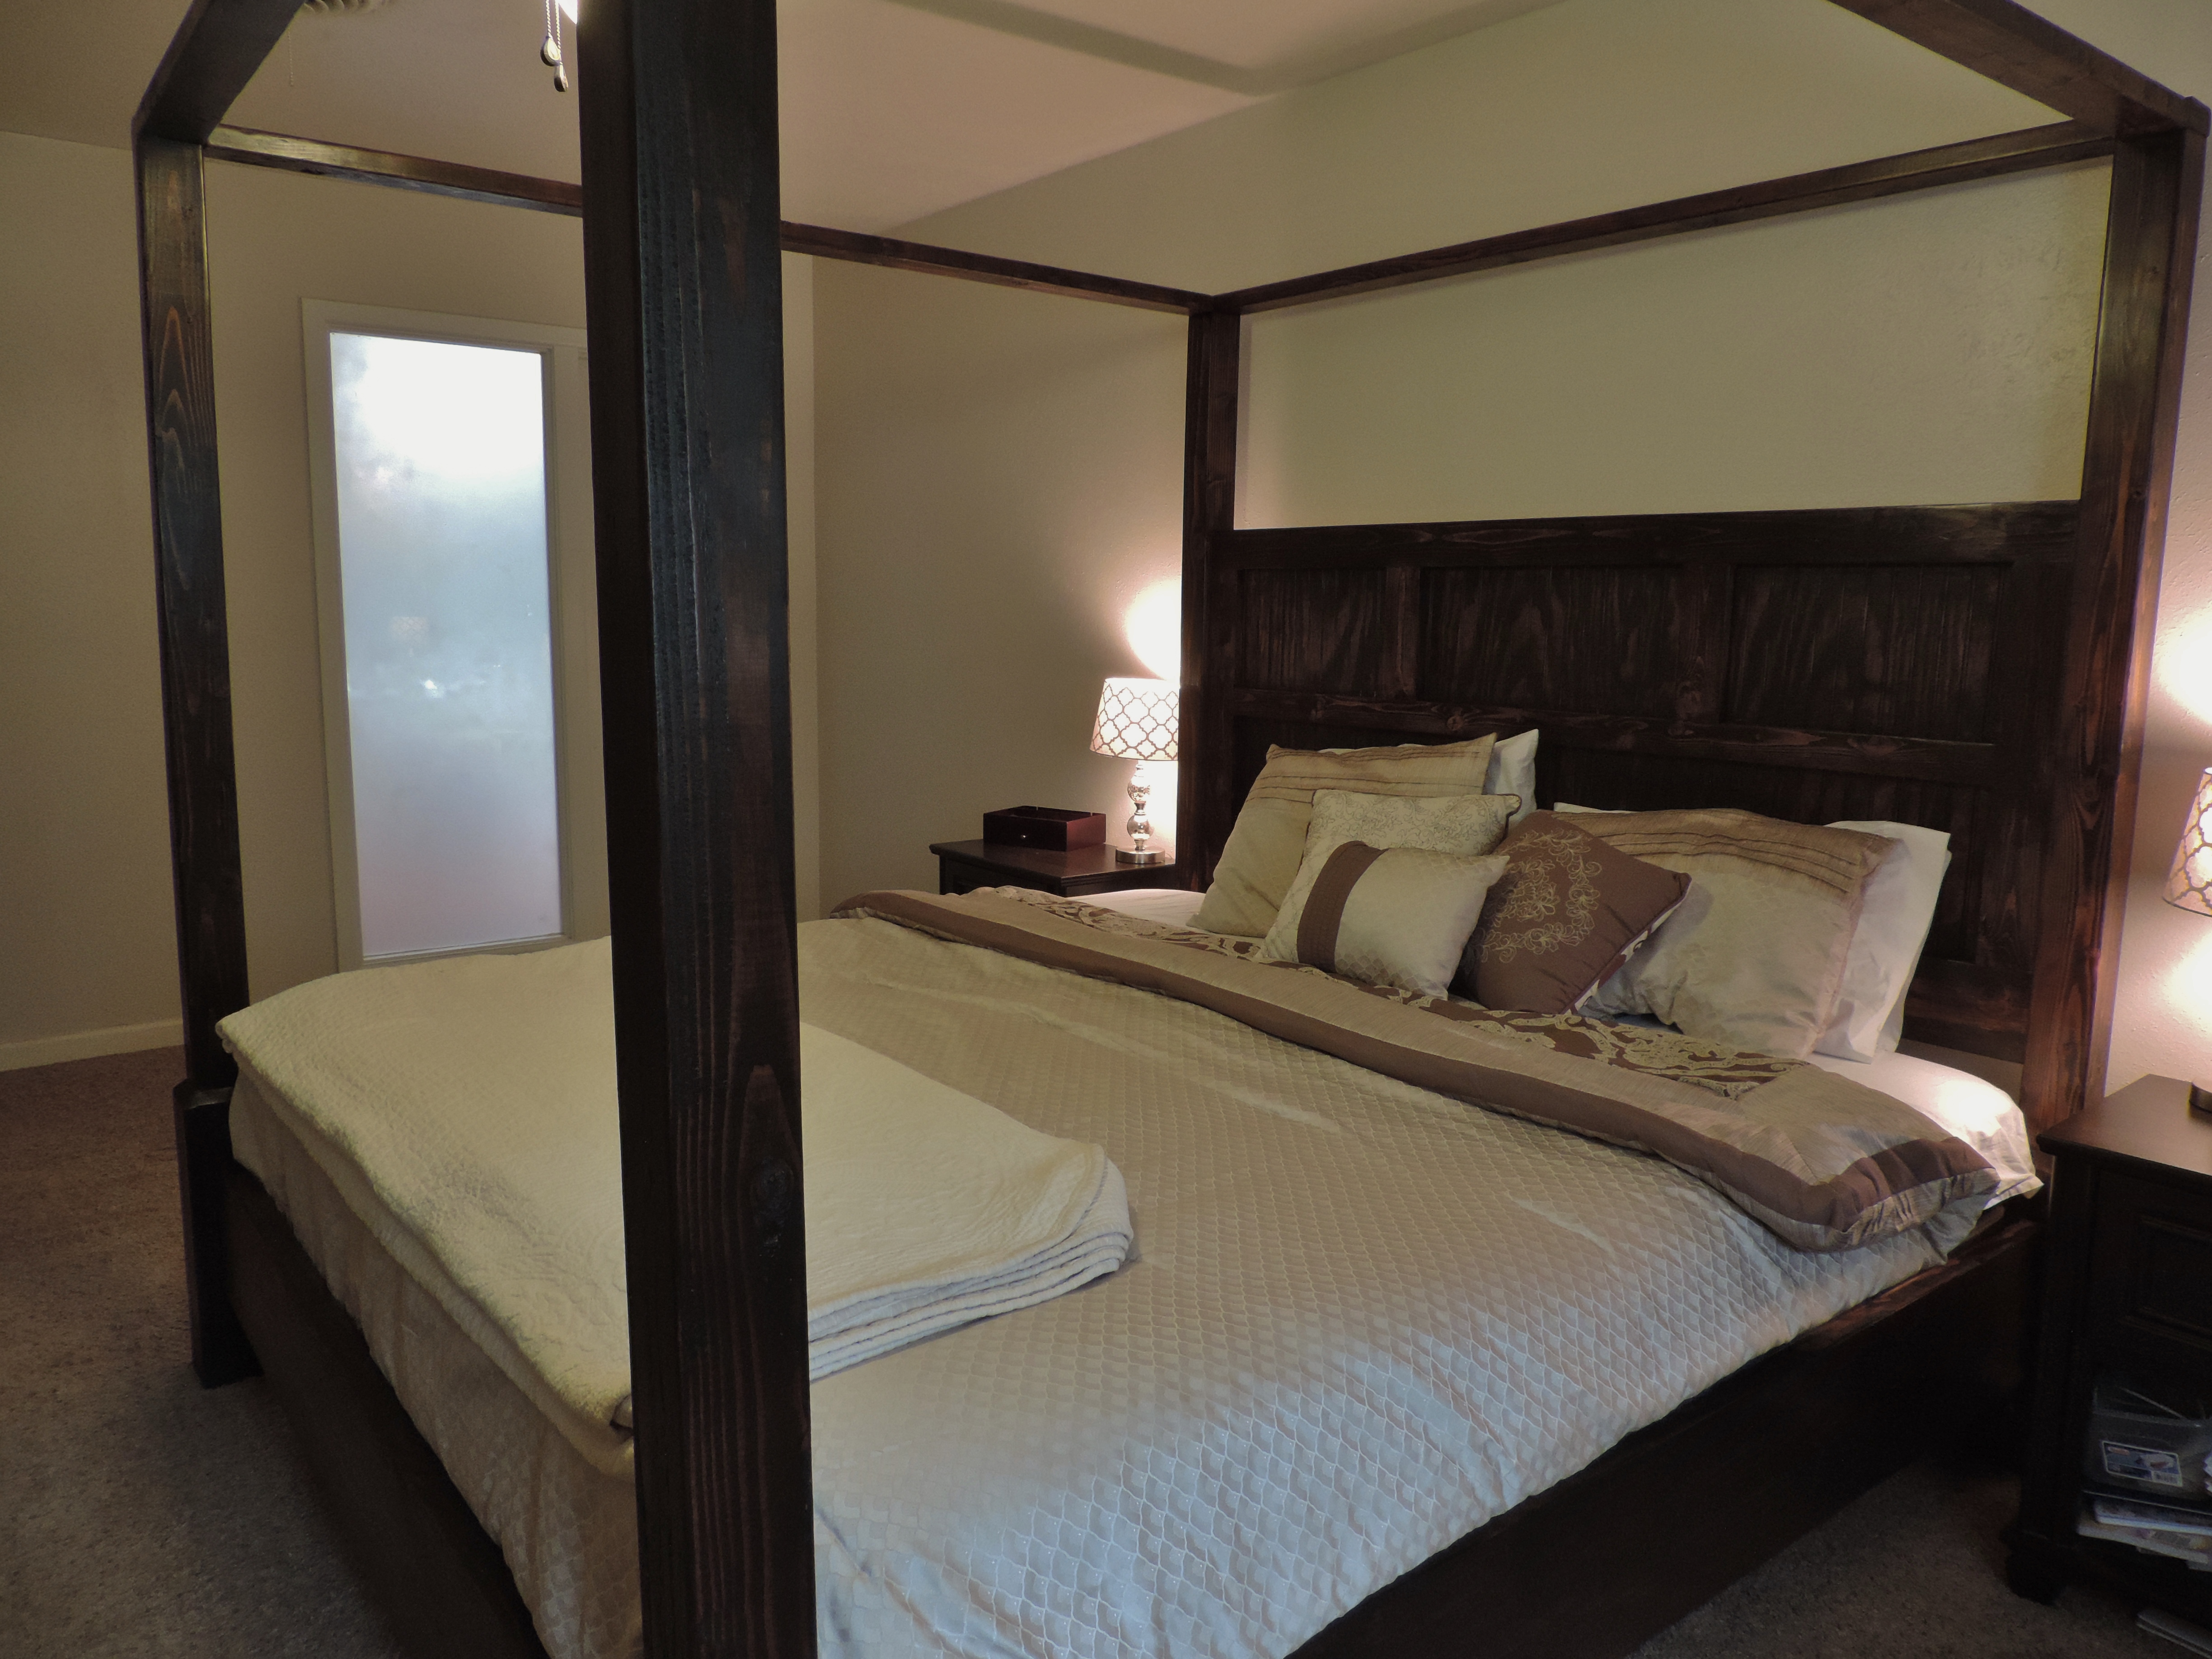
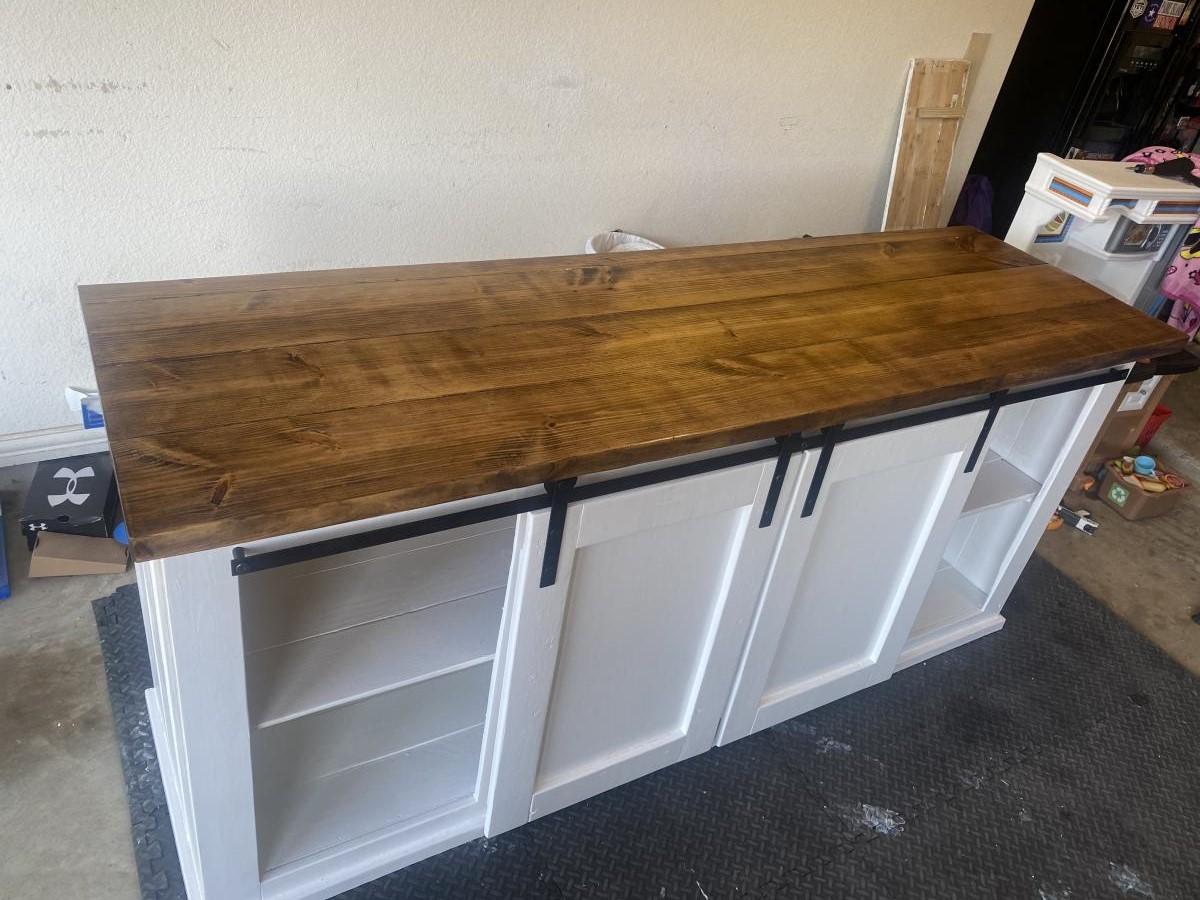
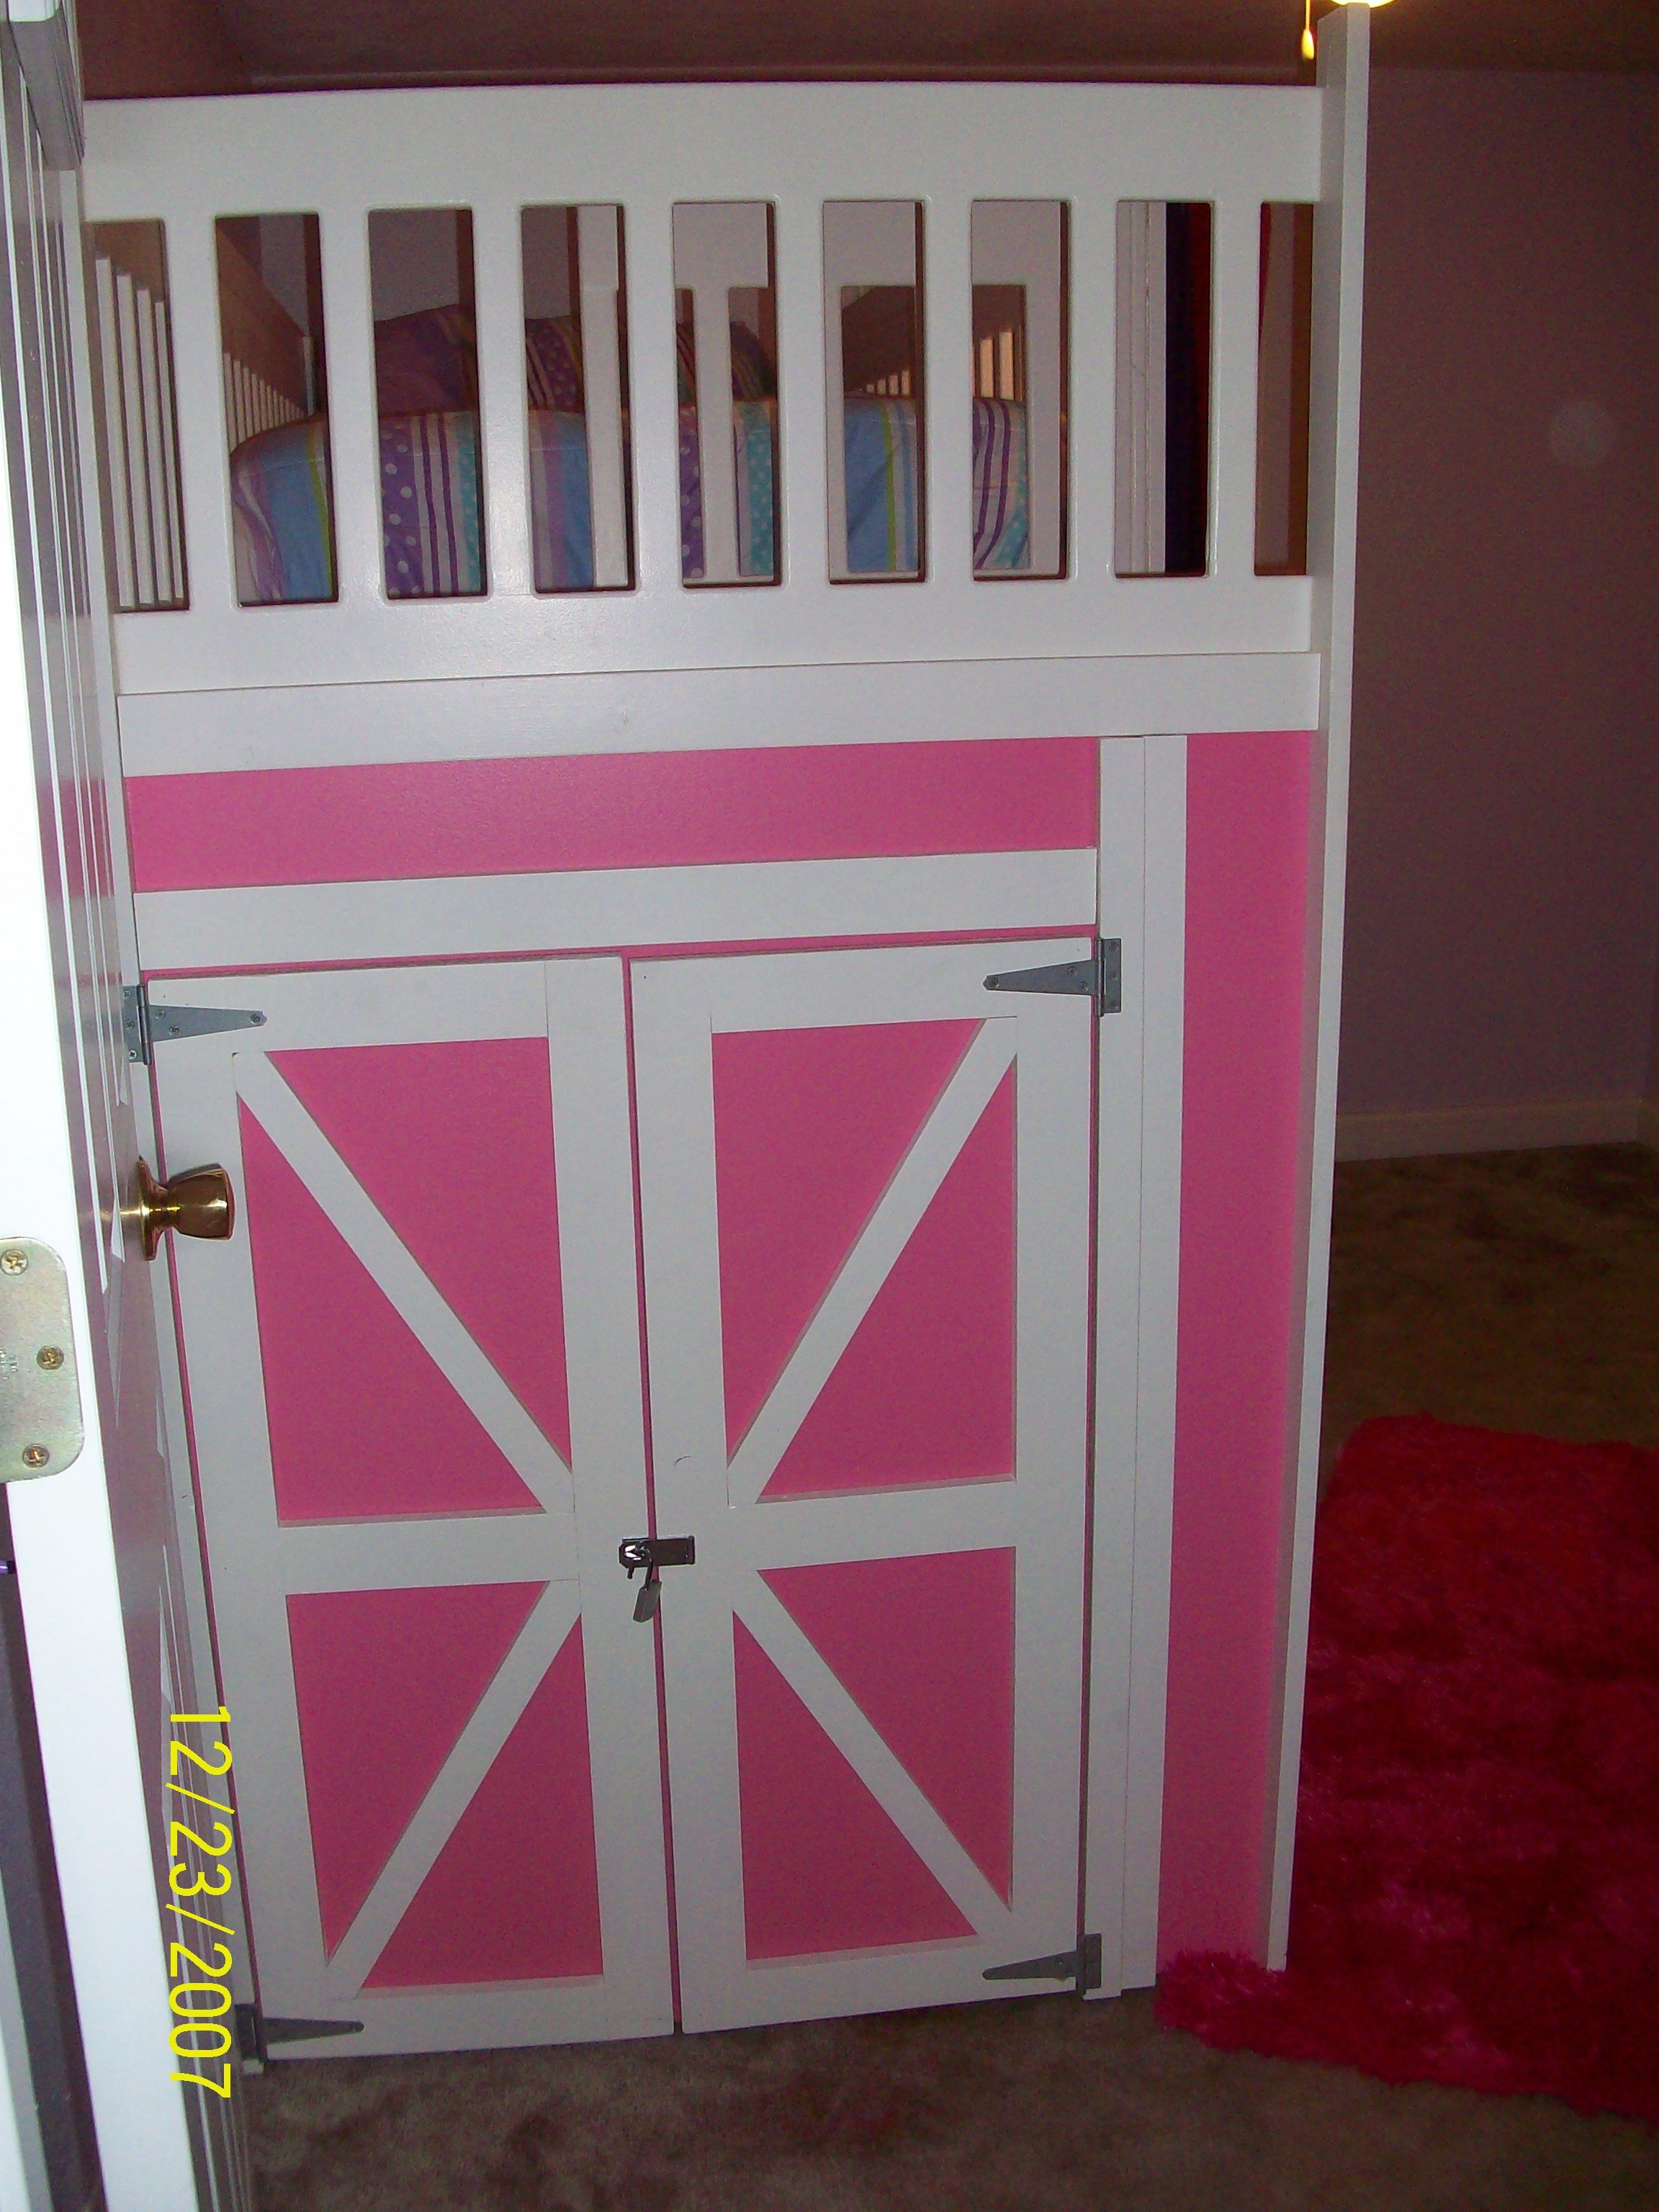
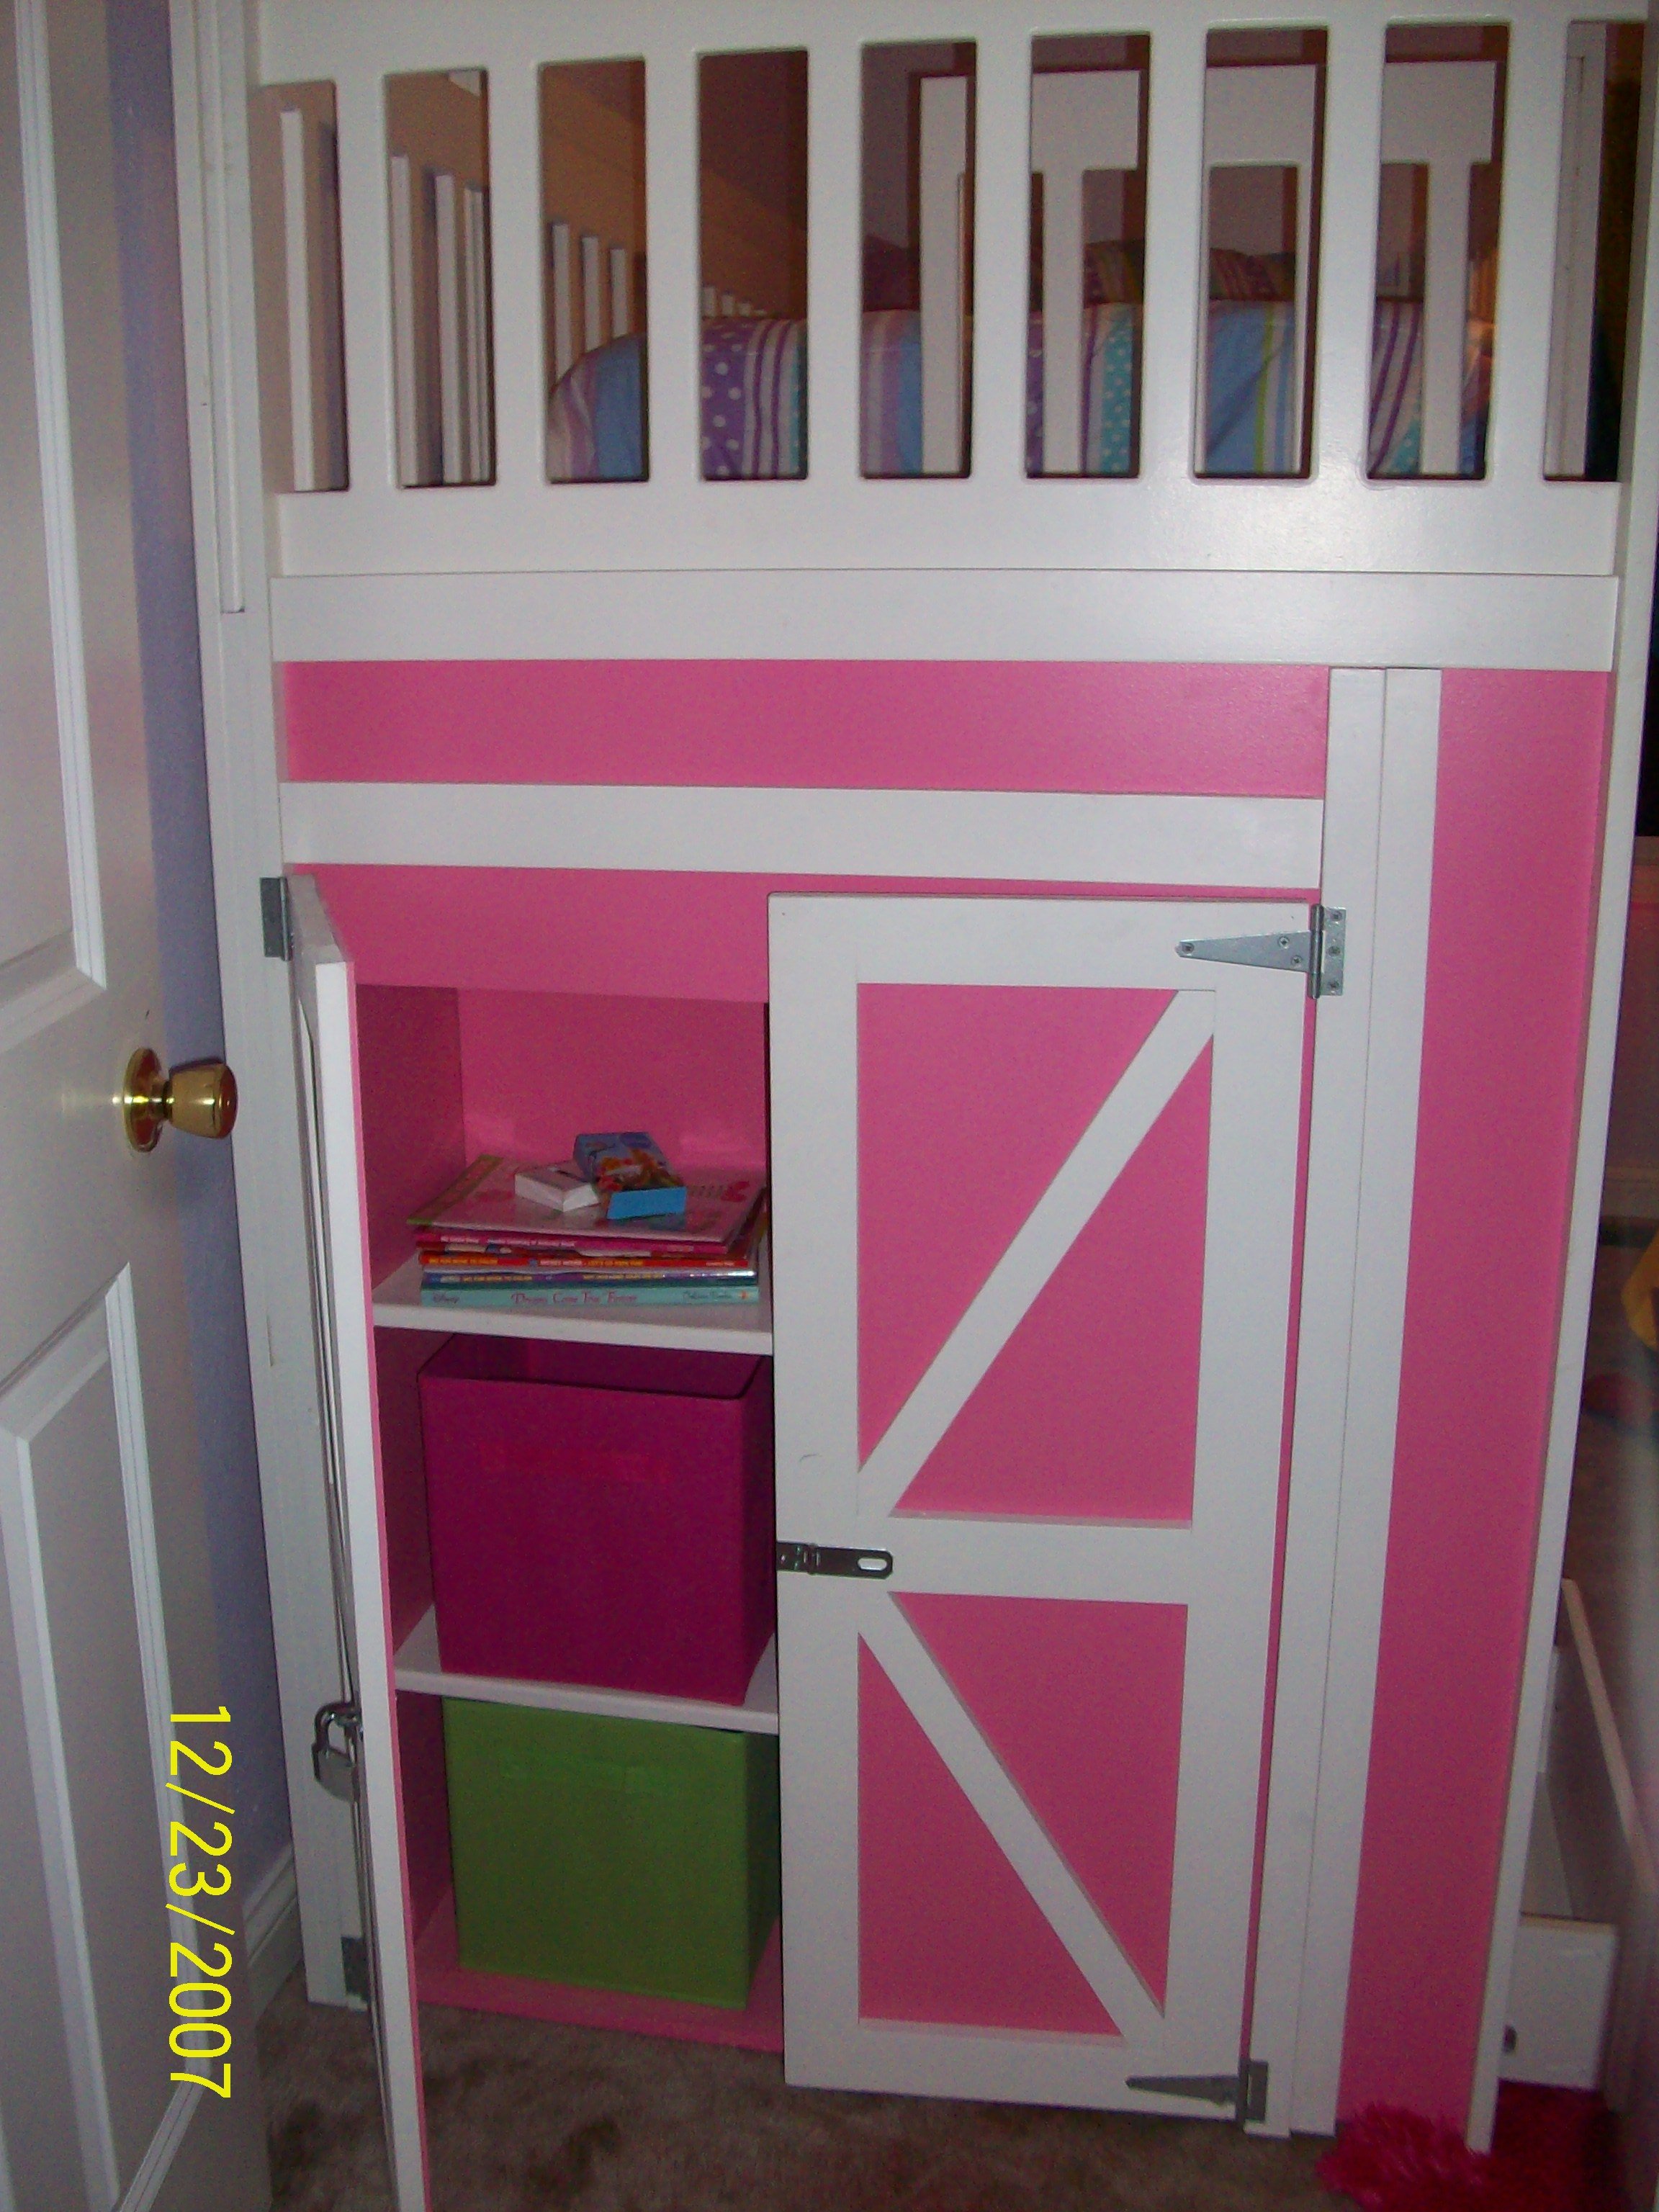
Community Brag Posts

Anastasia's new bed

Submitted by dave on Mon, 04/04/2011 - 18:57

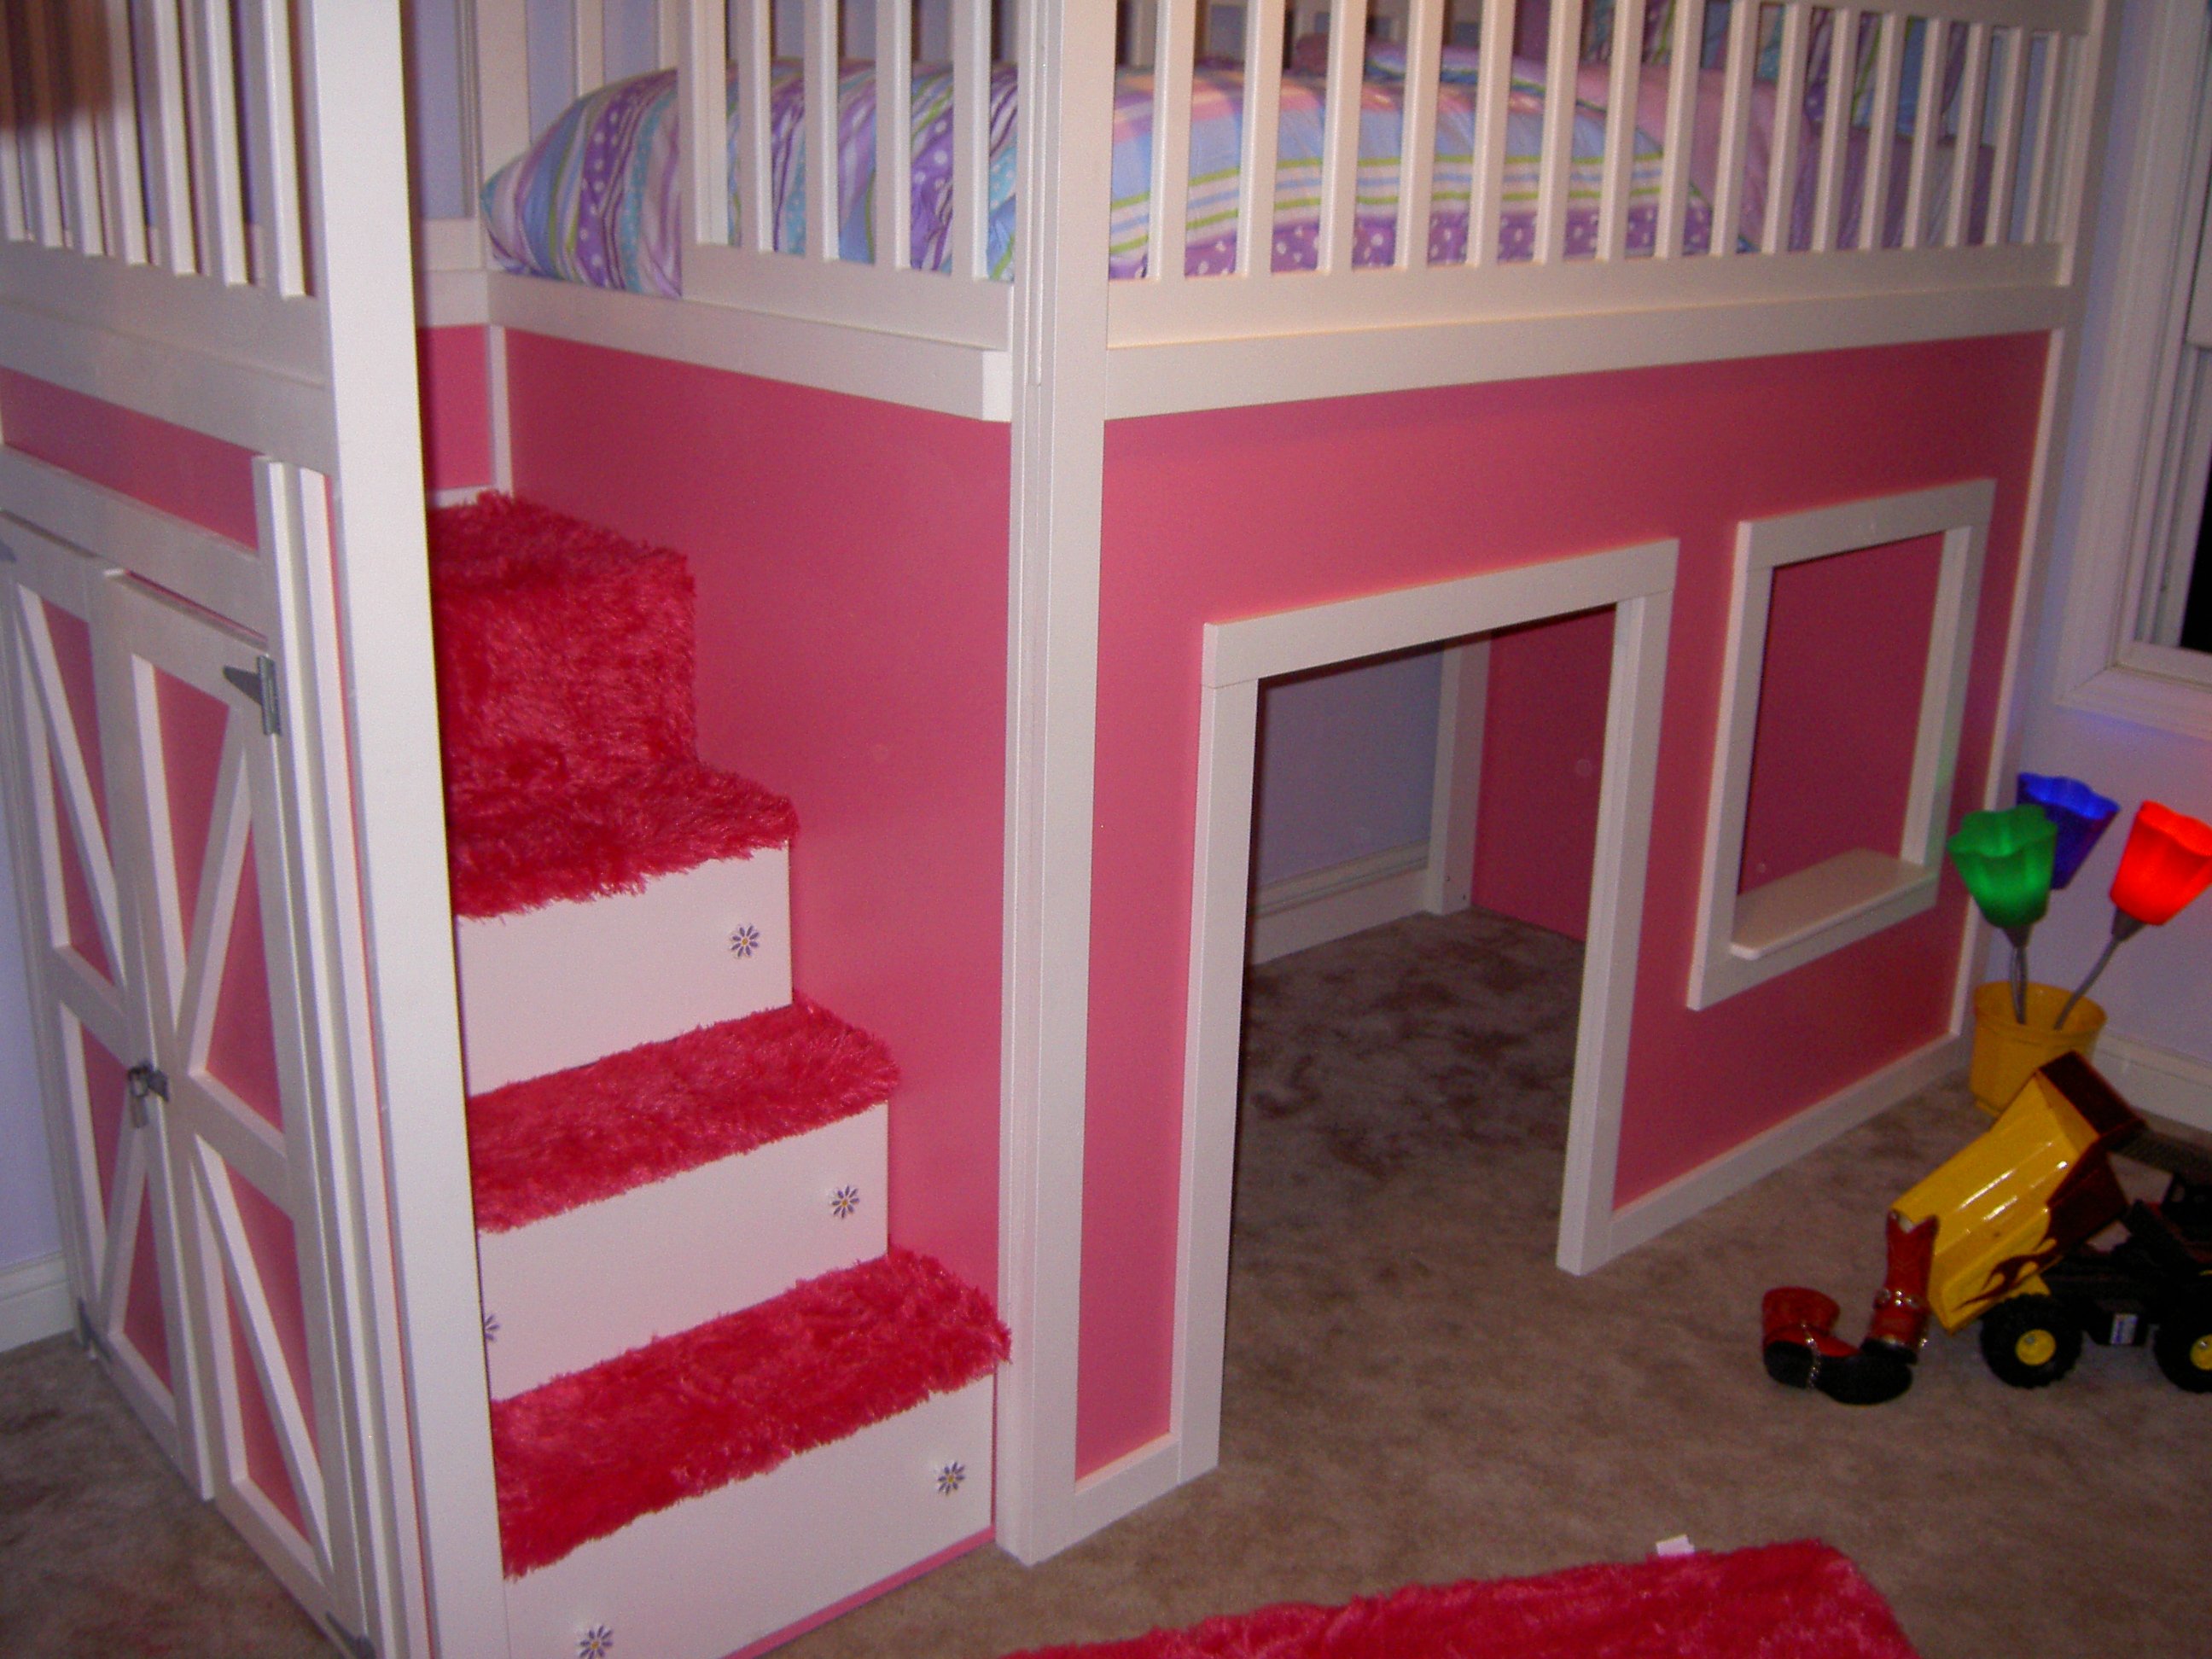
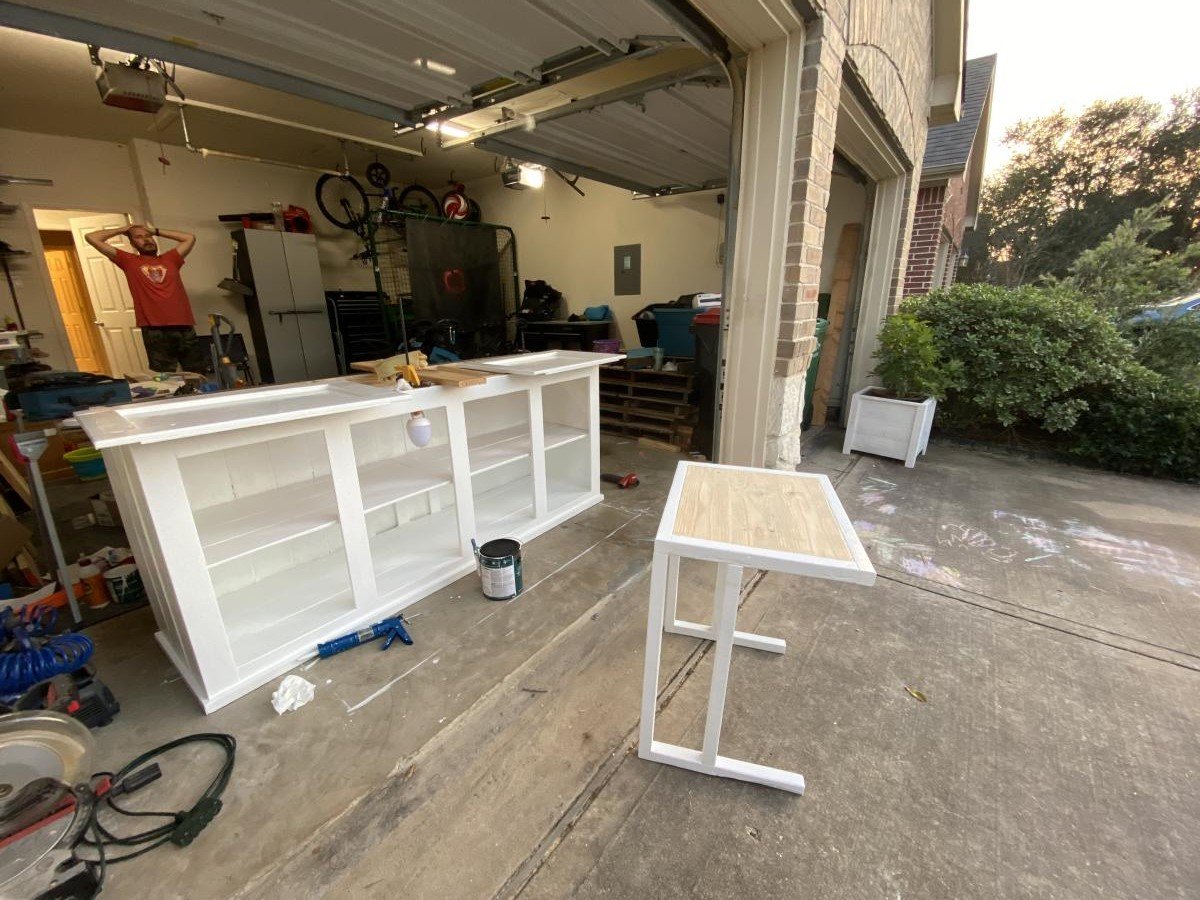
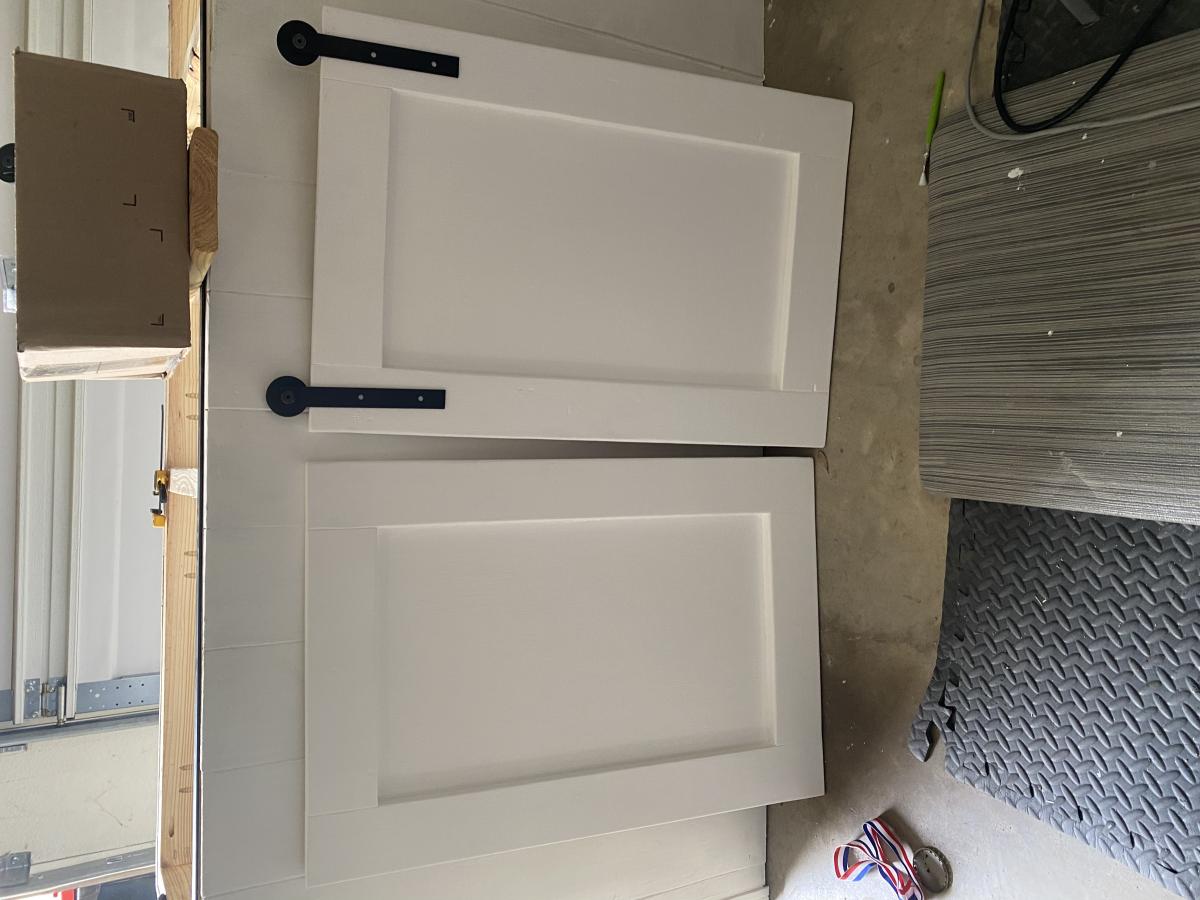
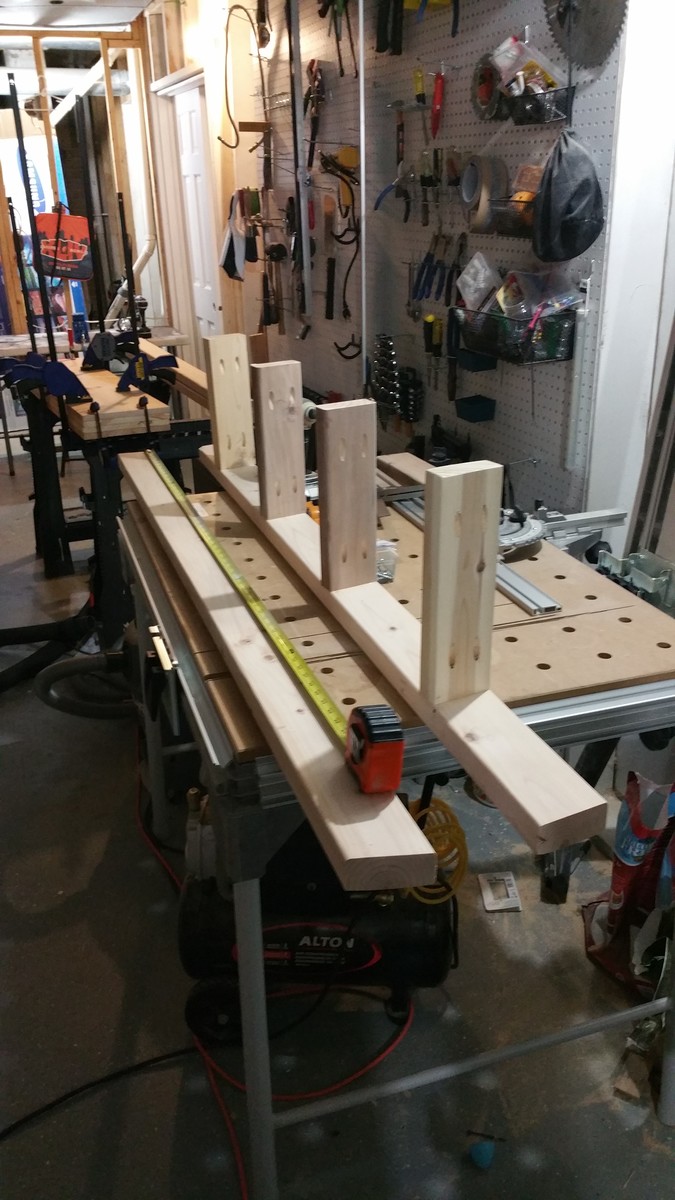
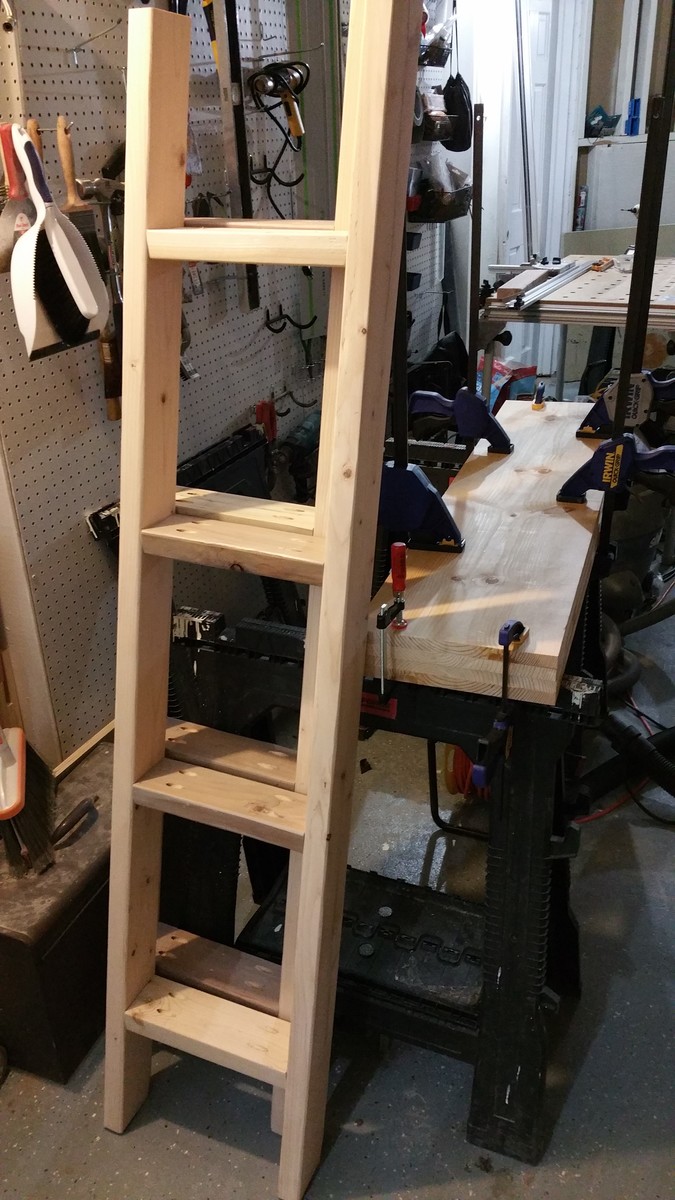
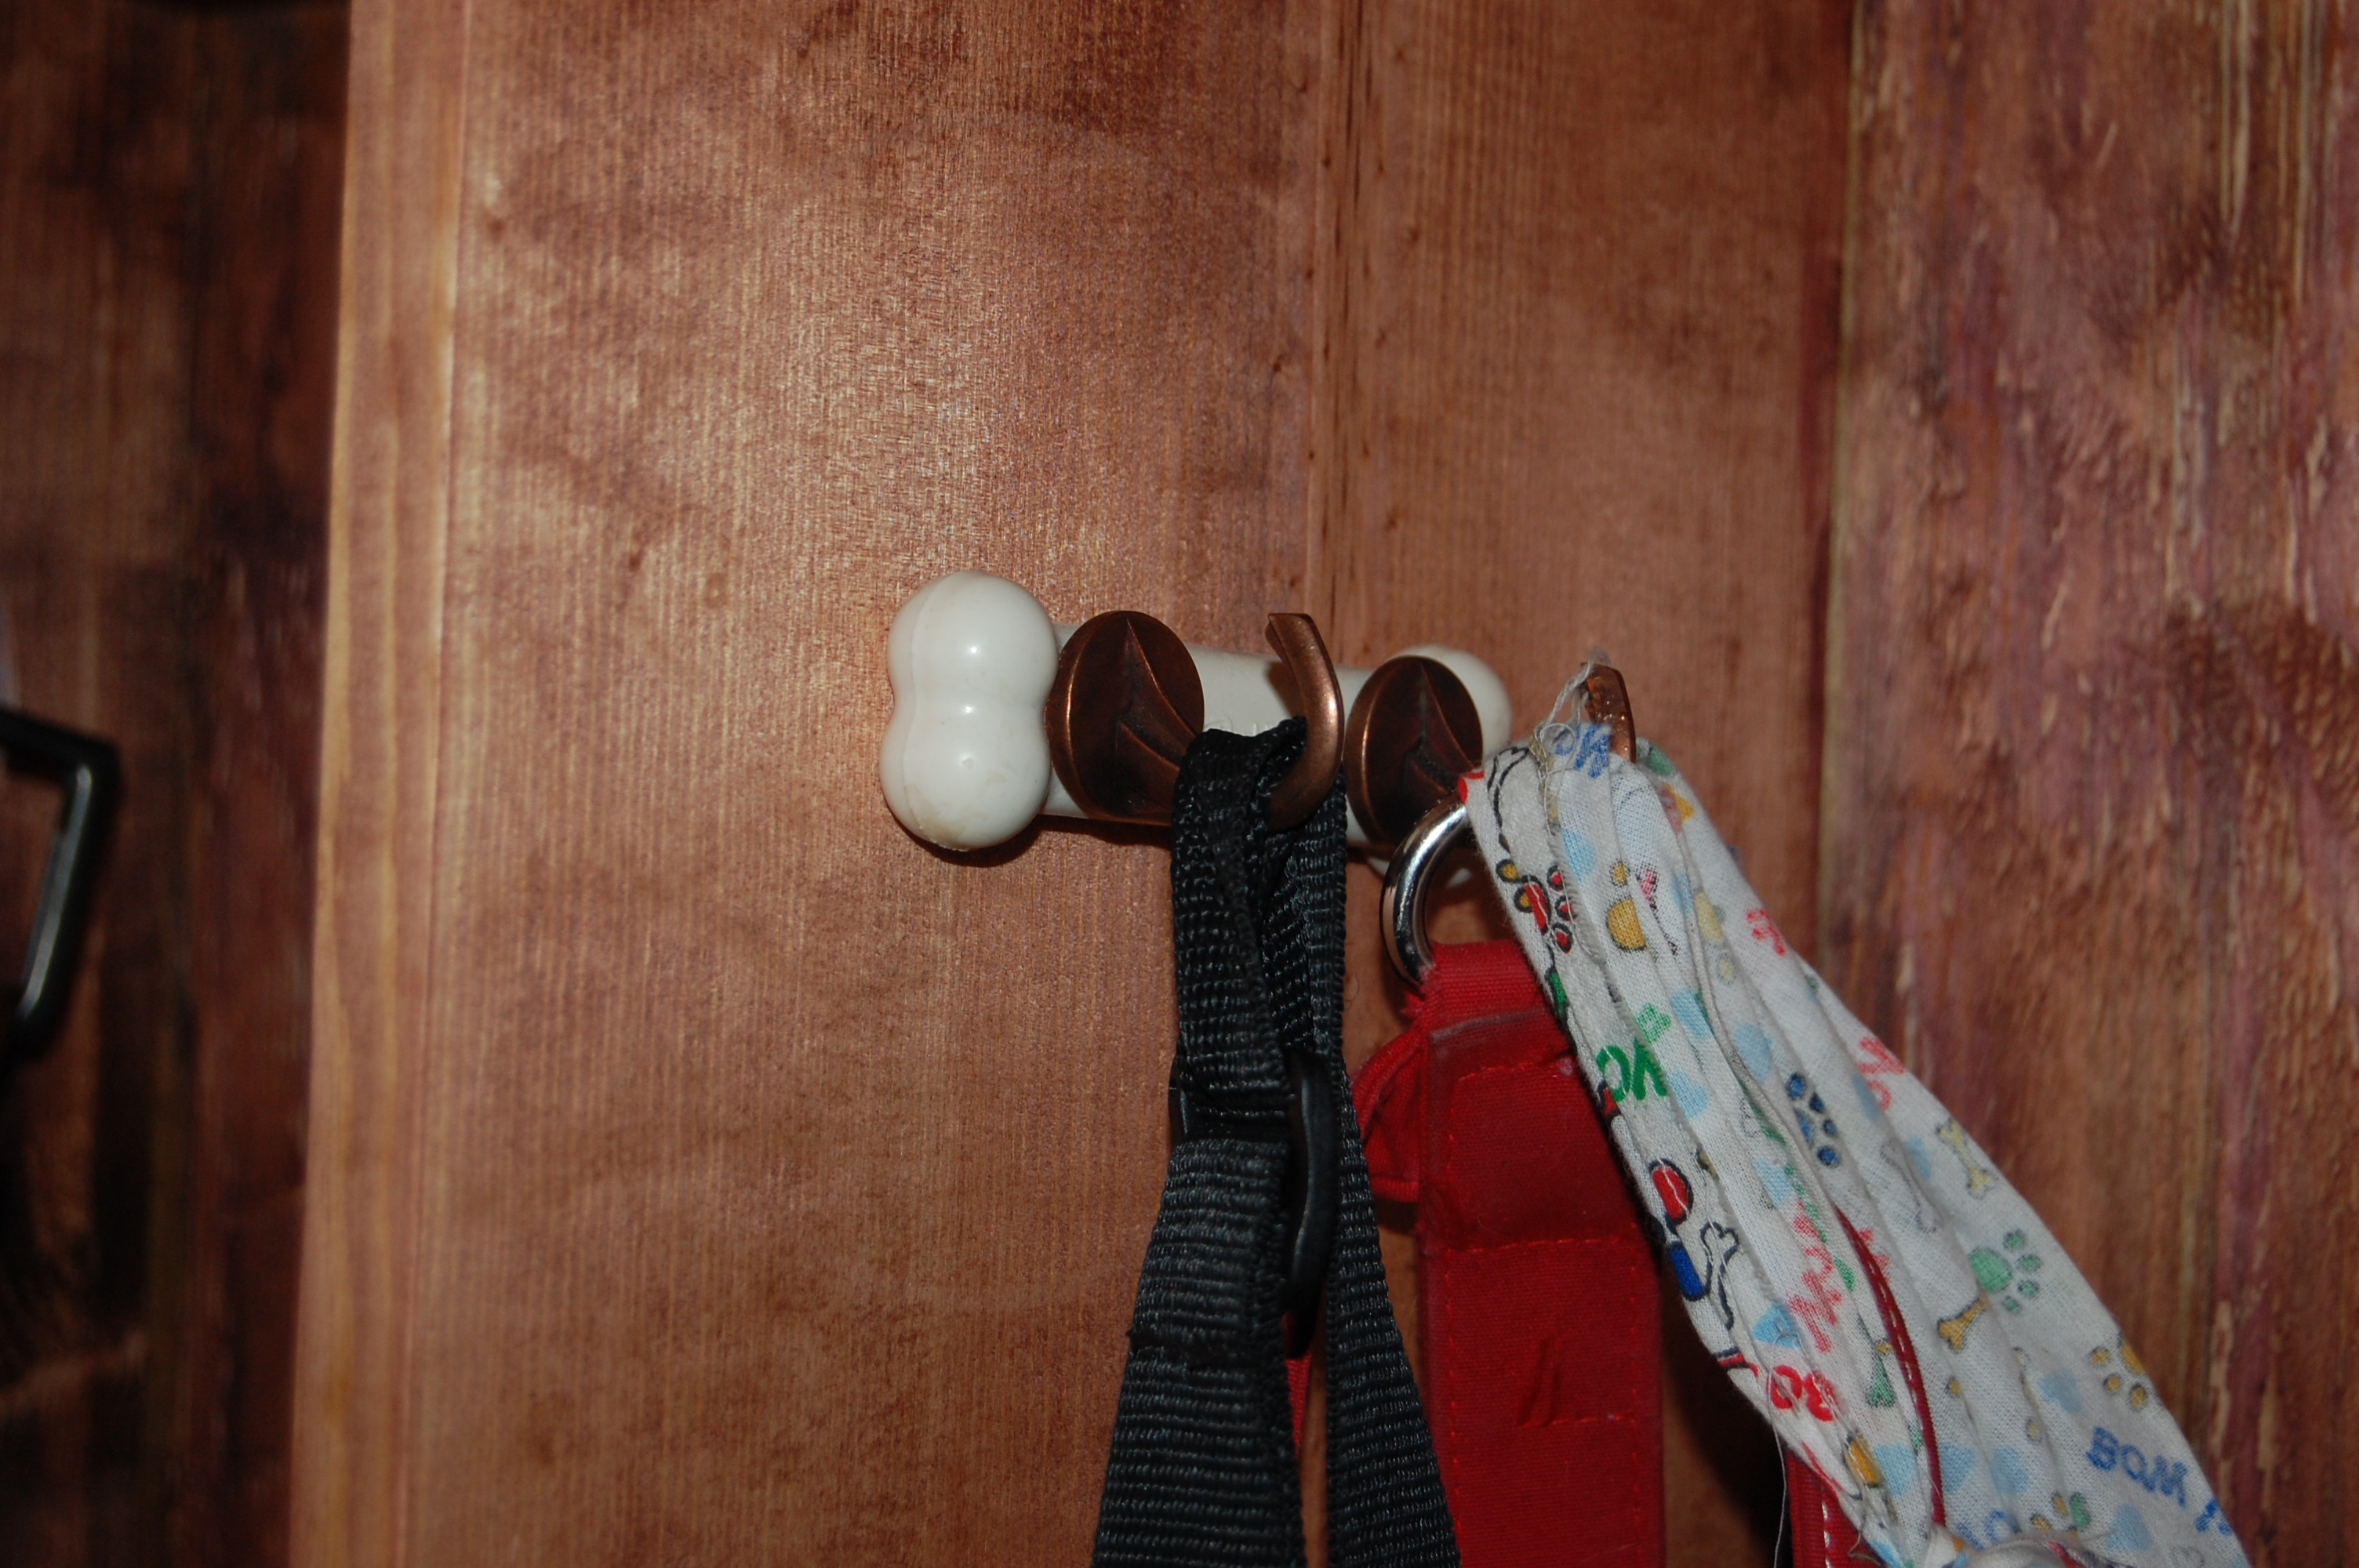
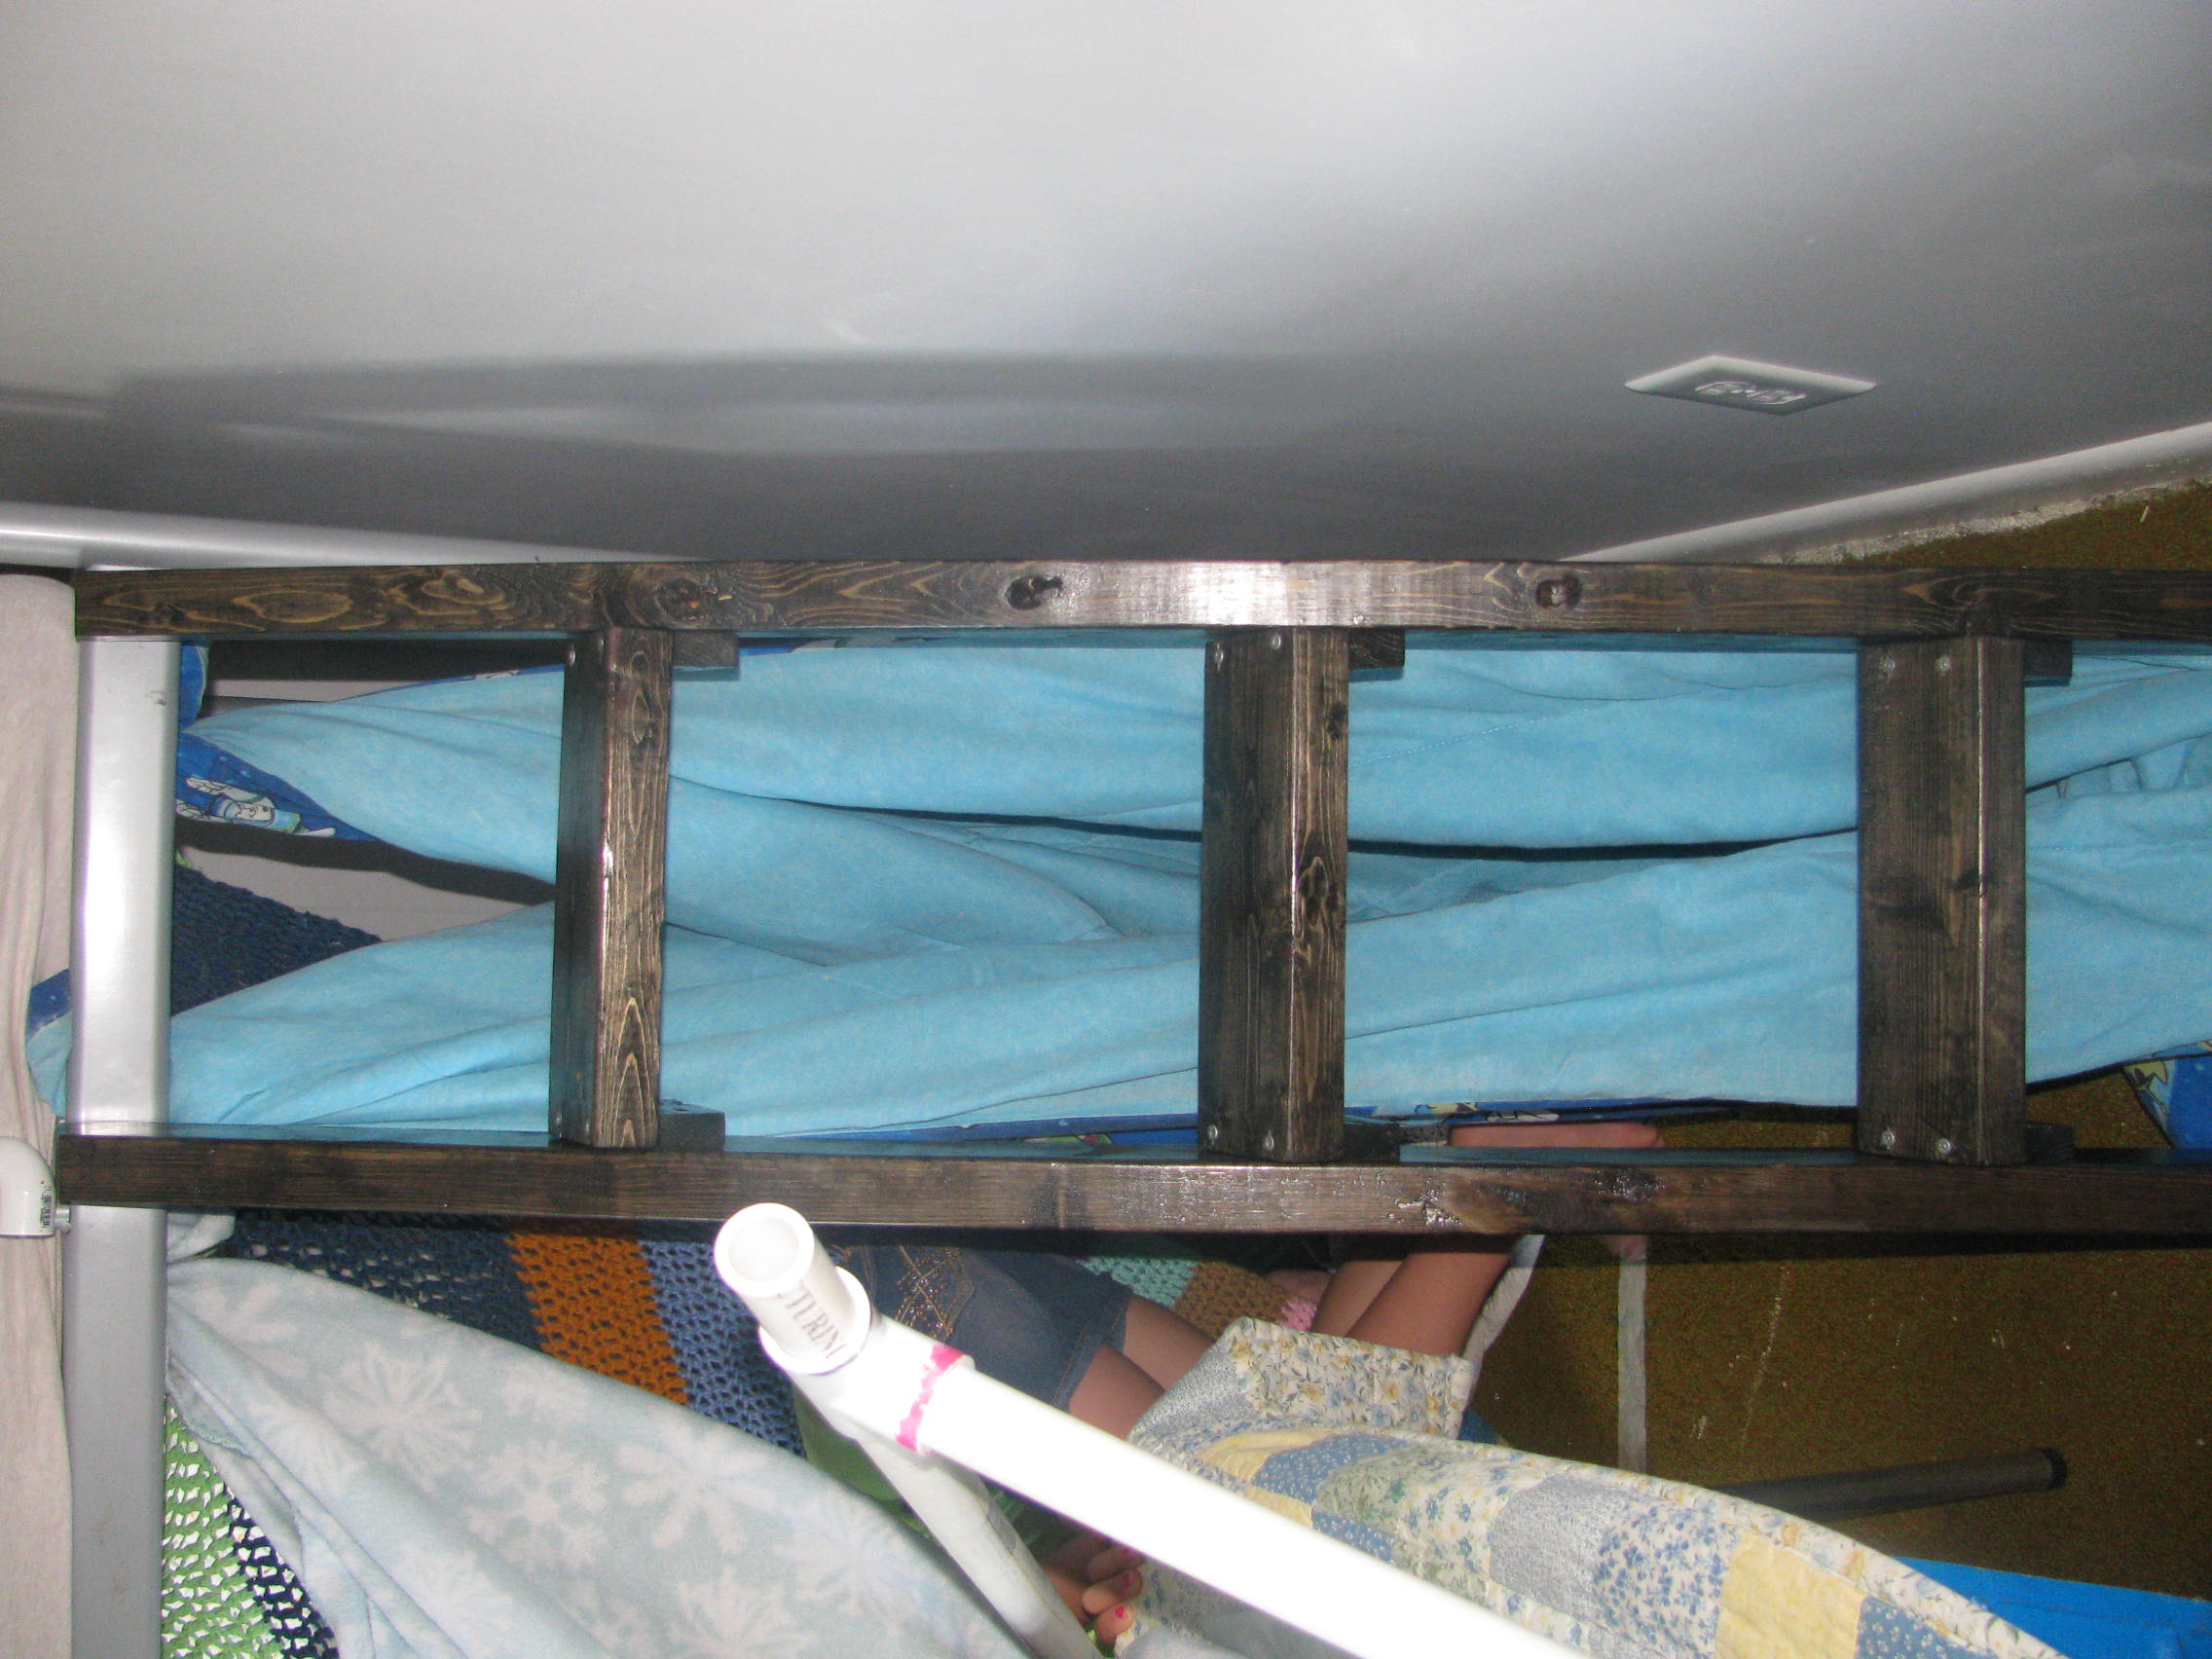
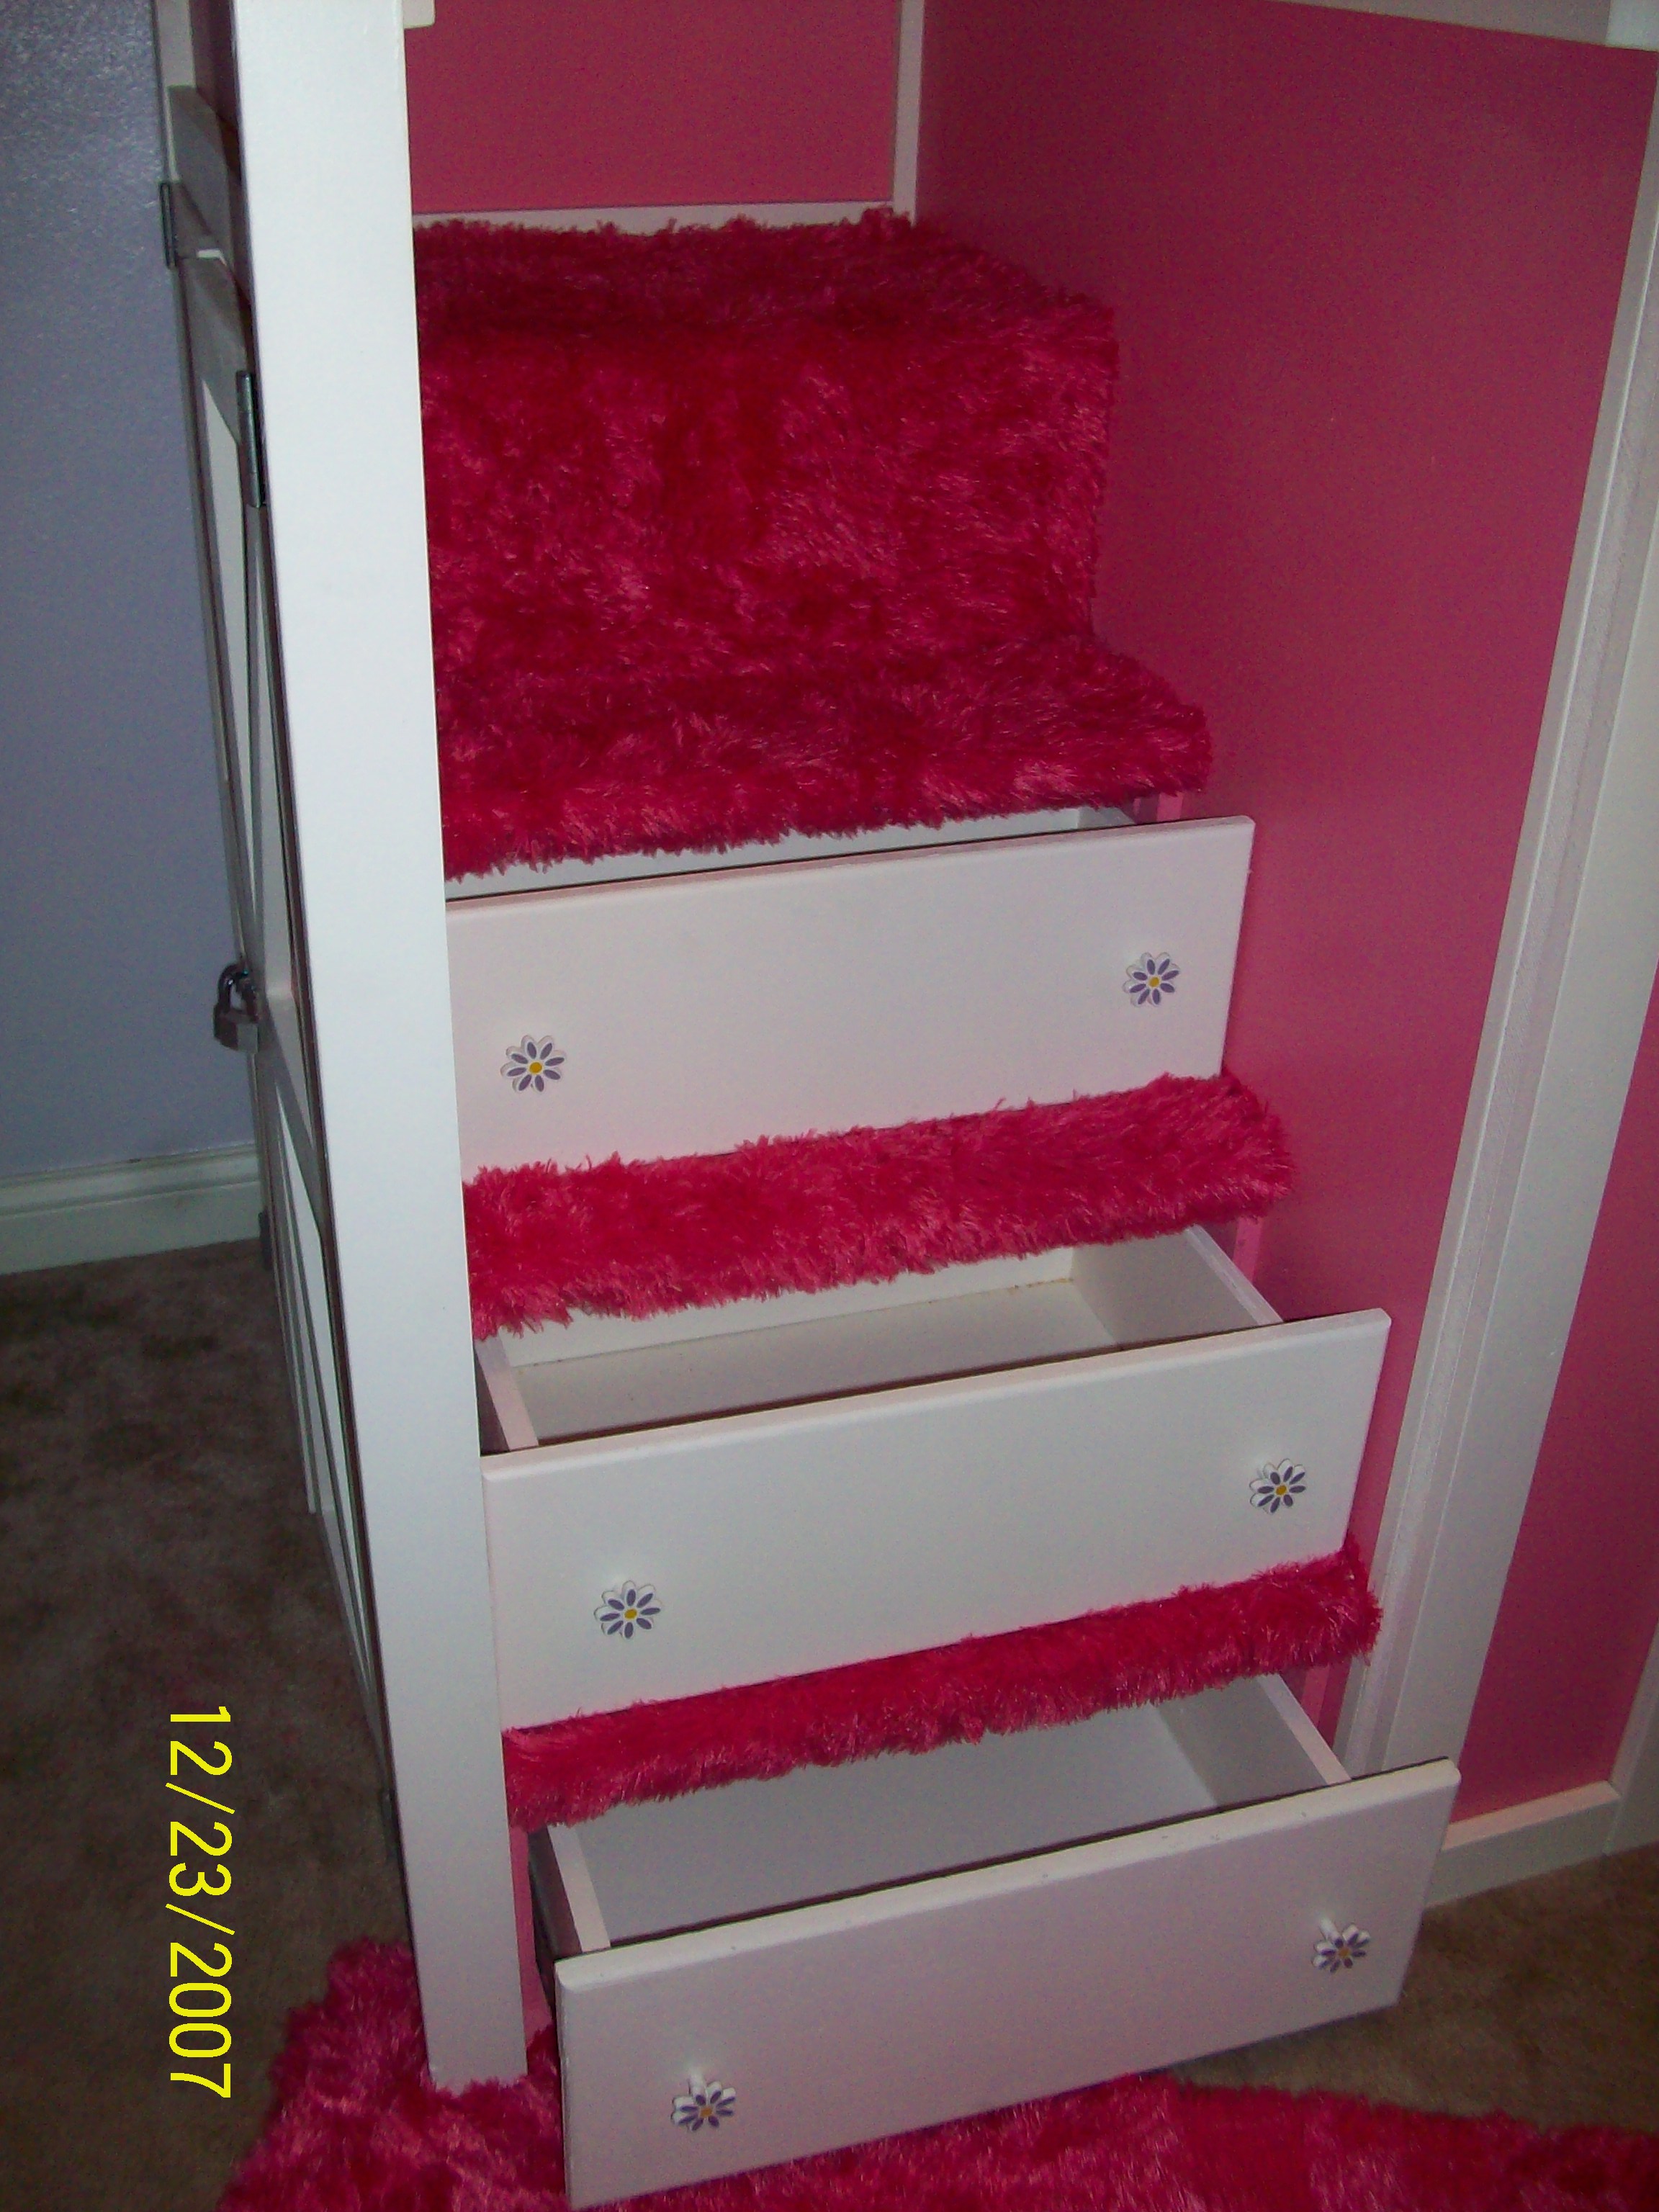
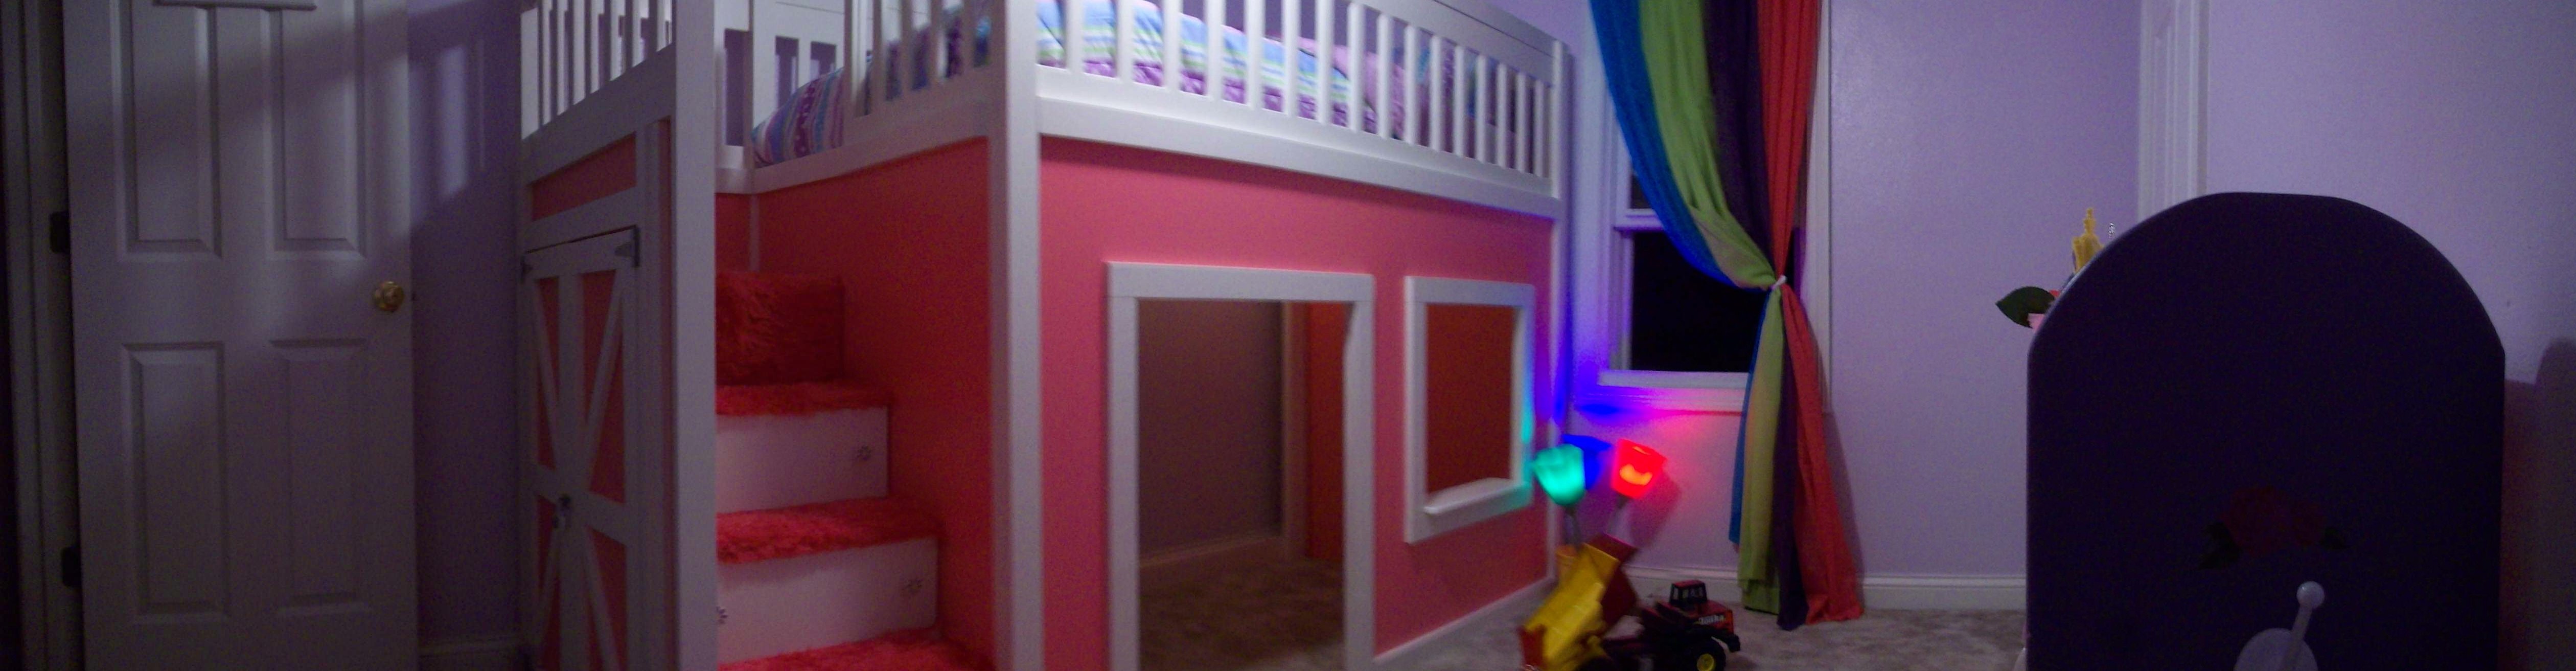
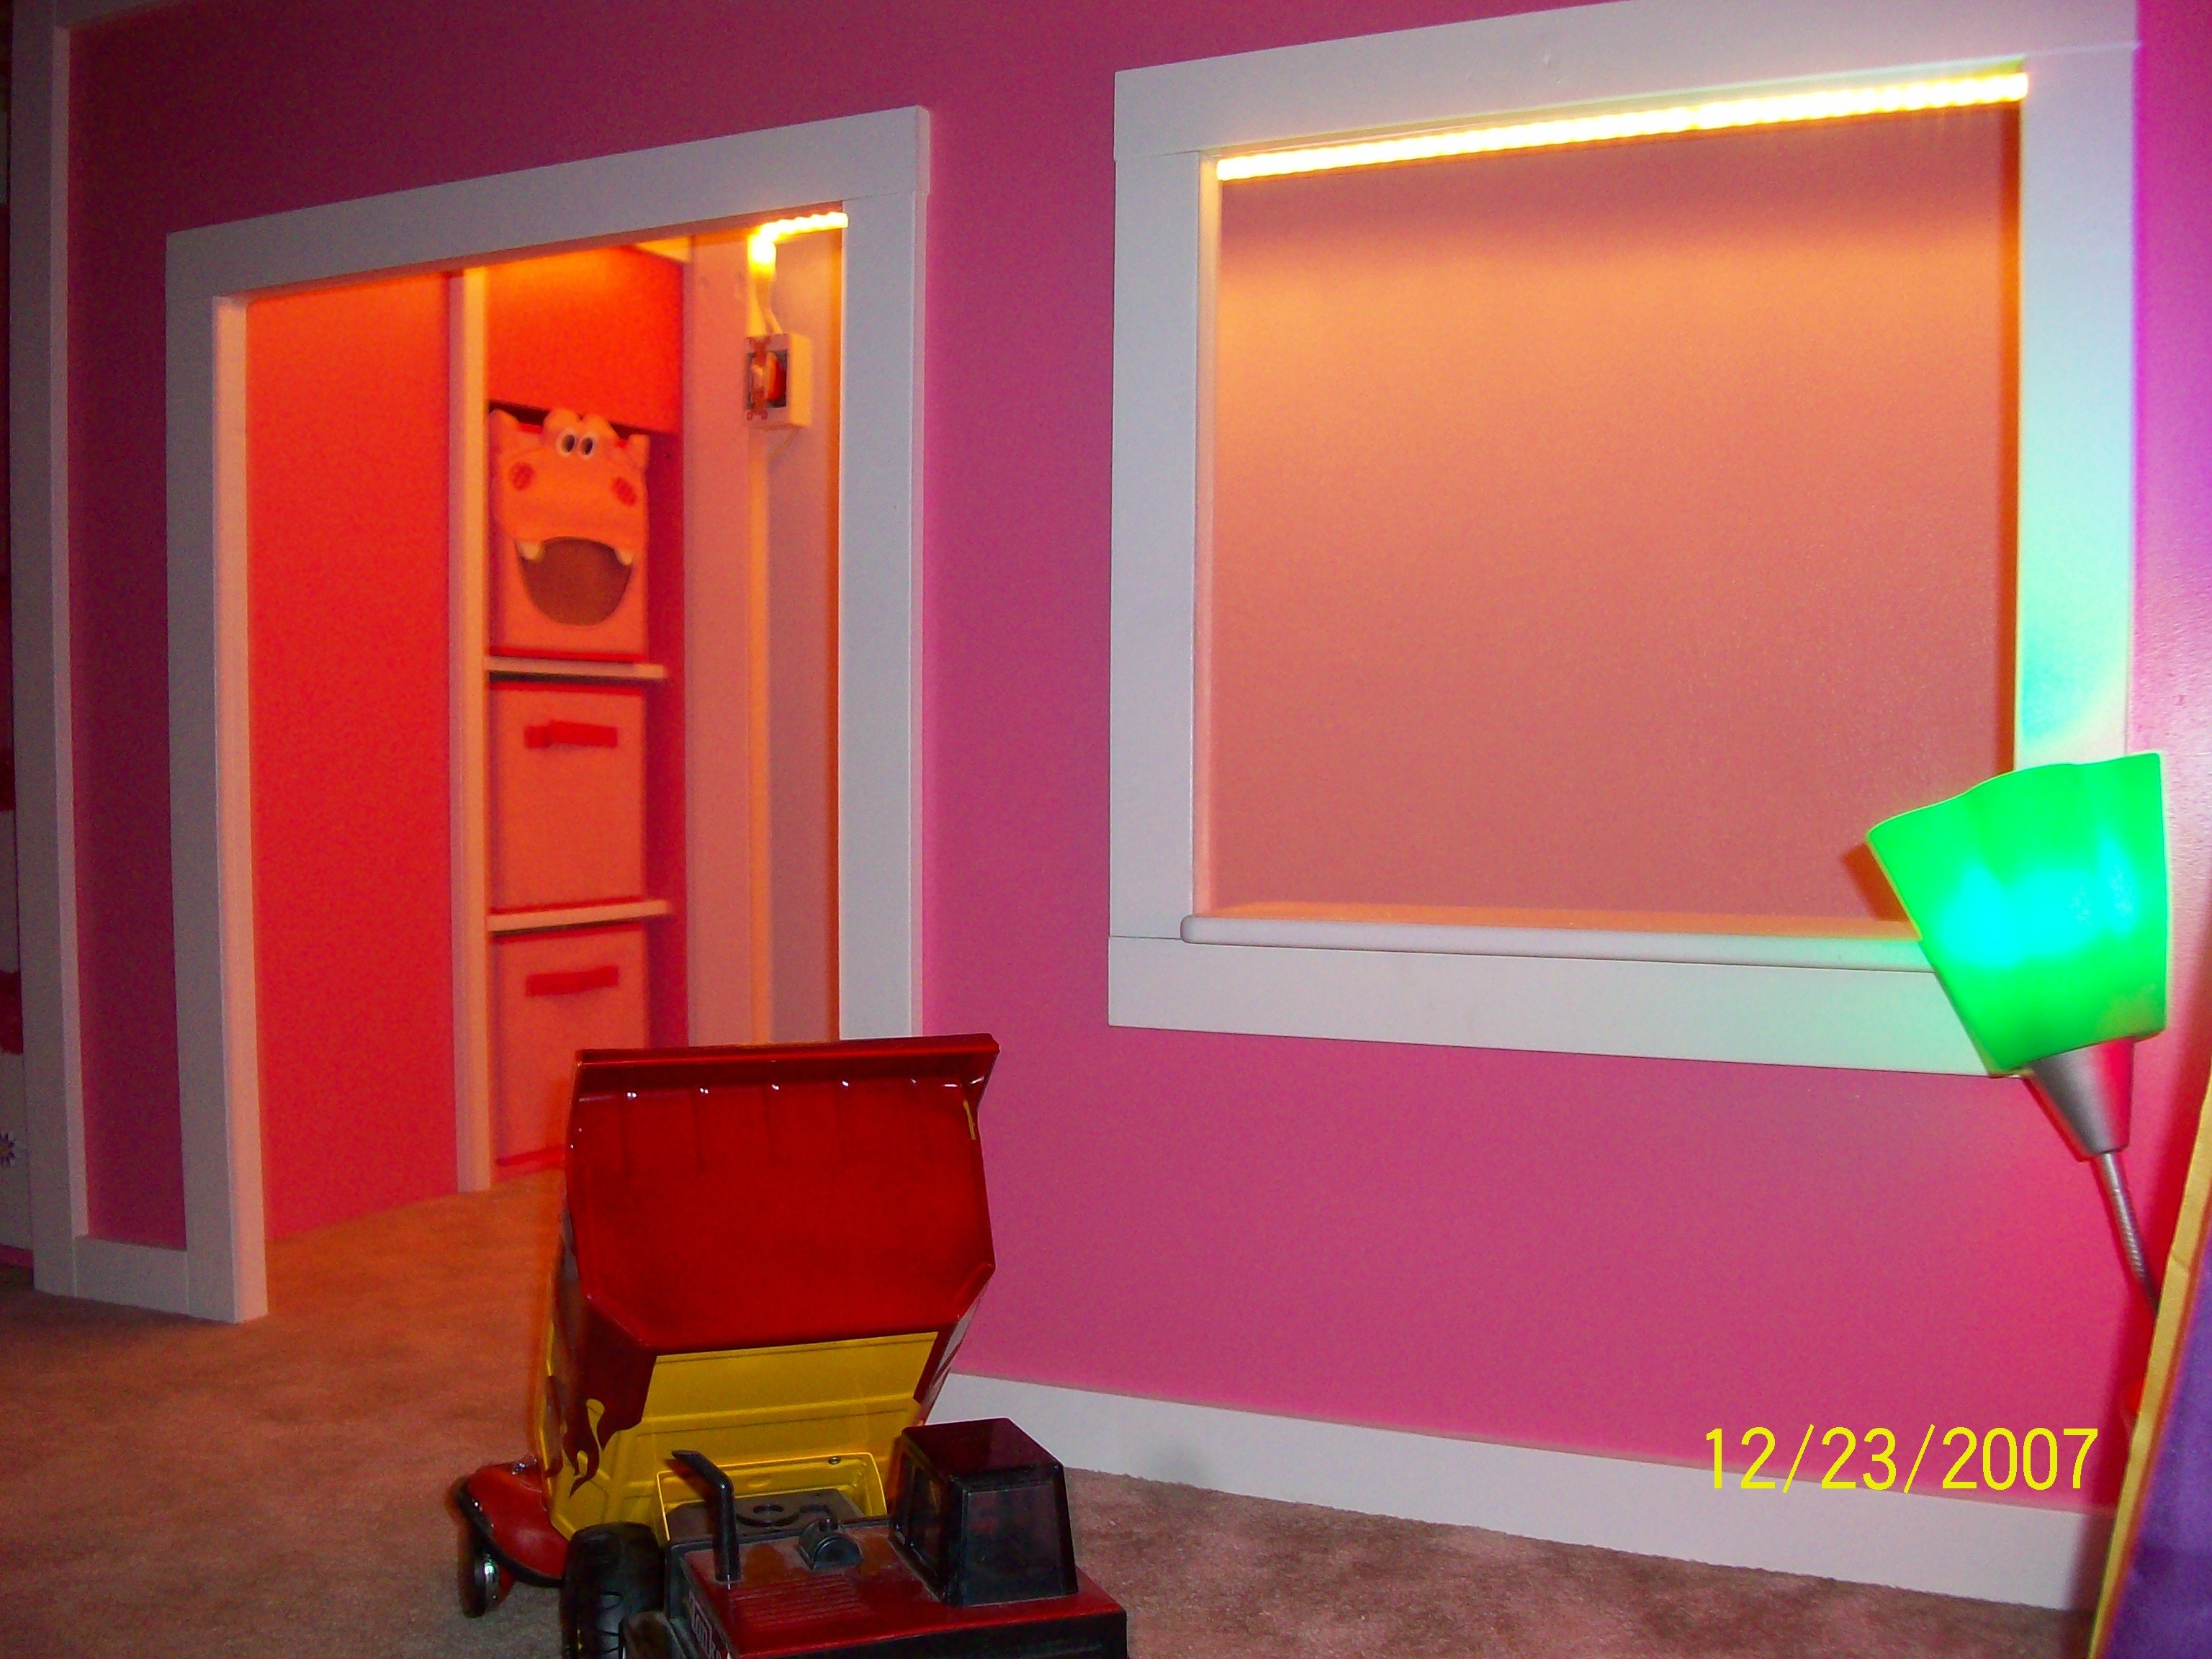
This is my daughters new bed. We modified the plans to fit what we wanted. I added drawers to the stairs. Then put shelves behind the stairs. Added doors so we can hide the shelves. We used rope lights inside to add light with her own light switch.

PS Don't mind the date on the pictures. Forgot to change the date.

Estimated Cost
450.00 USD
Estimated Time Investment
Week Long Project (20 Hours or More)
Finish Used
We routed all edges to round them over and sanded.
Then primed and painted. We used a hvlp paint sprayer.
Recommended Skill Level
Intermediate

Barn board flags

Barn board flags made from a dilapidated barn.

Estimated Time Investment
An Hour or Two (0-2 Hours)
Recommended Skill Level
Starter Project

X-bench for kid's table

Submitted by T.R. on Tue, 05/19/2015 - 10:38

I scaled down the large rustic x bench plans to create seating for my grandkids at the new kid's table.

Estimated Cost
about $25-$35
Estimated Time Investment
Afternoon Project (3-6 Hours)
Finish Used
satin paint
Recommended Skill Level
Beginner

Comments

Afternoon Farmhouse Table Build

Submitted by Ahuff9103 on Wed, 12/13/2017 - 06:43

I got the plans from Anna White $50 beginner farmhouse table build. Changed from a 6 ft table to a 5 ft. Built in a few hours but took longer to paint than anything because it took 2 coats. 

Estimated Cost
$50
Estimated Time Investment
Afternoon Project (3-6 Hours)
Finish Used
Minwax honey 272
Recommended Skill Level
Beginner

Comments

Mike Mercer

Thu, 12/28/2017 - 16:23

Hi,

I really like the colour you chose!  Did you use "SPF" lumber or something else?  I am using SPF, so I am curious to see what the stain will look like once dried, etc.    


Thanks again, 

- Mike

My little side tables

Submitted by tdqueenroy on Wed, 11/24/2021 - 18:20

I have previously made side tables for our master bedroom but after two grown kids came back we had to move to the smaller of the two bedrooms we have. So here’s my 13” width version !

Nice easy build, thanks again Ana. Took longer to figure my new measurements for my cut list than actually building them!

Comments

Simple Nightstands

I absolutely love the way these turned out! I drew up an example in Sketch-up using Ana's plans for the Simple Nightstand as a starting point. 

The top is made from 5 boards, 19 inches in length, joined together underneath with a kreg jig. I made two of these, identical. Each nightstand took exactly 50 kreg screws, not intentional, it just worked out that way. I used a brad nailer to attach the trim along the bottom shelf (which I could have avoided with a a little more planning in the beginning), also to attach the side panels that you see on the sides and back, and to assemble the majority of the drawer, using kreg screws to attach the front.
I'm in love with the drawer pulls, a metal twig shape bought at blue! I'm debating whether or not I want to paint them with some brown paint and distress them a little bit, but not sure if it would just end up looking hokey since they are obviously not real twigs.
It took me several hours to build these, mostly because I had to kind of work out a few details as I went, but I'm confident I could do it quicker if I had to do it again. The finishing is what takes the longest!
Built from Plan(s)
Estimated Cost
$110 includes enough Select Pine, kreg jig screws, and drawer pulls to make two nightstands
Estimated Time Investment
Day Project (6-9 Hours)
Finish Used
Two coats of Cabot stain, Pecan color. Three coats of satin polyurethane, with a light sanding between each coat.
Recommended Skill Level
Intermediate

Restaurant High Chair from scraps

This took me longer to build than I expected -- maybe because I was working from scraps and had to figure out what would fit where along the way. Also, I initially cut all the side pieces with parallel cuts. Oops. So I had to re-do them all.

For more info, check out my blog post!

Built from Plan(s)
Estimated Cost
$14 for paint and furniture glides -- had the rest on hand.
Estimated Time Investment
Day Project (6-9 Hours)
Finish Used
Gloss Cherry premixed paint by Valspar.
Recommended Skill Level
Intermediate

Comments

Farmhouse King!

Submitted by Britt.E on Sat, 05/23/2015 - 19:25

I only recently stumbled upon Ana-white.com and was amazed by all of the wonderful plans and tips here, not to mention the community. My wife and I had inherited a king size bed after my grandparents passed away. While we were both grateful, the bed was on a very basic metal frame that sat very low to the ground and was hard to get up out of. My wife had often talked of having a nicer bed to put our mattress and box spring on, So with great eagerness I set to work. I loved the classic look of this bed and was a bit saddened that there was no king-size plans available. I decided that wasn't going to deter me, so I set out to modify the plan to fit. After making a few adjustments and modifications, the bed really started to take shape. Needless to say, I am very pleased with the results! Thanks everyone, and thank you , Anna!

Estimated Cost
$185
Estimated Time Investment
Weekend Project (10-20 Hours)
Finish Used
Finish was a single generous coat of Rustoleum "kona" finish then following up with three coats of Rustoleum semi-gloss polyurethane varnish
Recommended Skill Level
Intermediate

Scooter for Christmas

Great plan! I curved the edges with a French curve and a bench sanding disk, and then used a router on all exposed edges. I used a dremel router table with a small bit for the small pine pieces and a full sized router for the two main platforms. If I were to do it again I’d be far more careful with angle accuracy.. I think my miter saw is a little off. My table saw was spot on for the plywood cuts. I also used smaller wheels and only have spinners on the front, preventing collision.

Estimated Time Investment
Afternoon Project (3-6 Hours)
Recommended Skill Level
Intermediate

Barn Door Console Table

Submitted by Anonymous (not verified) on Thu, 12/09/2021 - 19:57

This is my 1st wood project and I wouldn’t have tried it without your plans, thank you!

Took about 3 weeks between work and 3 kids. (My 2 year old wanted attention and pulled down what I put up in one pic) I also made some planter boxes in the middle to complete something and a side table that slides under the couch to test the finishes on before I completed this massive entertainment console.

Built from Plan(s)

Comments

Bathroom Tower out of scraps

When I saw another builder's little bathroom tower in the brag blog last week,  I knew I needed one for my powder room! Ever since we installed a pedestal sink several years ago, we've had nowhere to put extra toilet paper. With this little tower, that problem is (finally) solved!

I built it will materials I had on hand. Oak plywood I ripped to 11" for the sides and shelves, 1x2 pine for the face frame, and a variety of pine for the top glued and screwed together with my Kreg jig.

The only purchase I made for this tower was the two fabric baskets from Target for about $12, I think. The fact that they fit is not a happy accident -- I built the unit around the basket dimensions.

While it is inspired by Ana's storage tower plans, I definitely went out on my own to make it work with the materials I had lying around.

Built from Plan(s)
Estimated Cost
Almost free.
Estimated Time Investment
Day Project (6-9 Hours)
Finish Used
The paint is Benjamin Moore Hancock Grey. I picked up a gallon for $5 at the ReStore and cut it with white to paint my bathroom walls and used it full strength for the storage tower. The top is a mixture of stains -- some pecan, some ebony, and some nutmeg. I kept mixing until I got the color I wanted and then applied several coats to get the depth of color I was looking for. I also distressed the top before staining. The whole thing is coated with Krylon satin clear coat.
Recommended Skill Level
Starter Project

adirondack chair

Submitted by JennyInGex on Tue, 06/18/2013 - 12:47

LOVed building and painting this. Although using European wood is a headache as of course the standard wood sizes are different. ... always 4-6 mm off... so all my things are crooked. I don't care though and it is my new favorite chair. I used ArchiTect blue exerior color, two coats, and pine wood.
I am grateful for Ana White's metric conversion chart in the book I now have but when going to the hardware store here, I am confronted with numerous standard wood sizes that are not the same as in the US!

Estimated Time Investment
Weekend Project (10-20 Hours)
Recommended Skill Level
Beginner

Truss Bookshelf in Antique White

Submitted by pcarroll on Wed, 05/27/2015 - 09:56

Friends of mine are having a girl and needed a bookshelf for the nursery. Loved the simplicity of this design and wanted to see in an antique white finish. Great plans and design.

Estimated Cost
$40
Estimated Time Investment
Afternoon Project (3-6 Hours)
Finish Used
Two coats of white milk paint.
Recommended Skill Level
Beginner

Parsons desk

I added an additional detached shelf so we can change the setup anytime. I also increased the space between the two main shelves to 30 inches and extended the depth to 22 inches overall. I left one shelf off to make room for the computer tower. The top is made from maple with a gunstock stain. This desk will mainly be for my kids gaming station. 

Built from Plan(s)
Estimated Cost
$130
Estimated Time Investment
Week Long Project (20 Hours or More)
Finish Used
Minwax gunstock and Pro Finisher crystal polycrylic.
Recommended Skill Level
Beginner

Outdoor Sectional

Submitted by Anonymous (not verified) on Thu, 12/16/2021 - 13:18

Built this for my daughter in law for Christmas. Turned out awesome. Plans and directions were great!

Comments

My locker Cabinet

Submitted by stedders on Fri, 04/15/2011 - 20:28

I built this locker system with a twist.  I personalized the lockers by drilling the hooks into a cd and paint brush for my son because he is so artistic, a bone holds two hooks for my doggies' cubby, and my daughter has two hooks in a stuffed animal which represents her love for animals.  

Built from Plan(s)
Estimated Cost
$60.00
Estimated Time Investment
An Hour or Two (0-2 Hours)
Recommended Skill Level
Beginner

Just a ladder...

Submitted by ktkadoo on Thu, 06/20/2013 - 09:39

(I don't know why my picture is horizontal, it shows up fine on my computer).
In redecorating my oldest son's room, we needed him to have a loft bed, but all the commercial loft beds are too tall for his bedroom. So then, we thought we would re-work his current bunkbed. In order to use it as a loft bed we had to remove the bottom support rails and that meant we needed a new solution for a ladder (because it was part of the support system). After looking through the site, I decided that this ladder was the best for our needs. The ladder went together smoothly. We had to modify the directions just a bit to make it the right size. We put a set of U-brackets on the end of the ladder to put over the bunk bed. We also drilled through the bed frame and into the ladder for additional support.

Estimated Time Investment
Afternoon Project (3-6 Hours)
Recommended Skill Level
Beginner

Comments

kikidolly45

Wed, 10/30/2013 - 12:14

Hi there! I'd like to rework my daughter's bunk bed like you did, but struggling to figure out how to raise it. I also need to build a new ladder. Can you offer any guidance on this? Thanks!

Modern Slat Top Outdoor Wood Bench

This took about 6 hours from beginning to end, but next bench should take about 4-5 hours. Most of the time was spent on sanding the wood and waiting for the stain to dry.

Main lesson learned: Drill pilot holes throughout. I used no-drill construction screws, but it didn't pull the wood tight enough against each other. Also, stain all the wood pieces before assembling (as opposed to just the top slats as suggested in the plan). Remember that the leg pieces will not need stain on the flat surfaces, just the sides that will be exposed. Use a square tool to stay as close to 90 degrees as possible.

Estimated Cost
$45 using "whitewood" (SPF) and pine 1x4's from Home Depot.
Estimated Time Investment
Afternoon Project (3-6 Hours)
Finish Used
Minwax red oak, wiped on with cloth.
Recommended Skill Level
Beginner

Spice Cabinet

Submitted by Anonymous (not verified) on Fri, 12/24/2021 - 20:39

Love to cook, didn't have enough space in the pantry for all my spices. Used the spice cabinet plan and it was perfect.

Built from Plan(s)

Comments

Turnings

Submitted by Russell AP on Sat, 06/22/2013 - 21:30

These are a few of my turnings. They are available for sale. Message or comment for price and shipping.

Estimated Cost
100$
Estimated Time Investment
Week Long Project (20 Hours or More)
Finish Used
Most of my finishes for turnings are Arm-R-Seal poly.
Recommended Skill Level
Advanced

Patio Table

I looked around to buy a patio and found they were often quite expensive or they were poorly made out of metal that would rust. I had some scrap pine and some table legs from an old table I wasn't using so decided to make a patio table myself.

For more details, check out my blog:
http://www.woodworkingfourdummies.com/blog/patio-table

Cheers,
Ian

Estimated Cost
$20 for paint
Wood was scrap
Estimated Time Investment
Weekend Project (10-20 Hours)
Finish Used
Paint and Polyurethane
Recommended Skill Level
Starter Project